
How to become self-sufficient–20 tips for growing, gathering, and preserving your own food
Self-sufficiency might sound grand, but it’s actually about down-to-earth things like growing and gathering your own food. Instead of complete self-sufficiency, you can also aim for partial self-sufficiency. Which of these tips would you try?
1. It all starts with a realization
Self-sufficiency begins with a realization: I can do it myself! Then comes the question: What else can I do on my own?
2. What do I eat?
Think about the kinds of ingredients and foods you eat. Which ones could you grow yourself?
- Root vegetables: potatoes, carrots, parsnips, beets?
- Salad greens: leaf lettuce, sprouts?
- Herbs: parsley, dill, coriander, basil or other herbs?
- Tea: mint, blackcurrant [in Finnish], anise hyssop?
- Berries: currants, strawberries, sea buckthorn, blueberries, raspberries, lingonberries?
- Fruits: apples, pears, plums?
- Eggs? Fish? Meat?

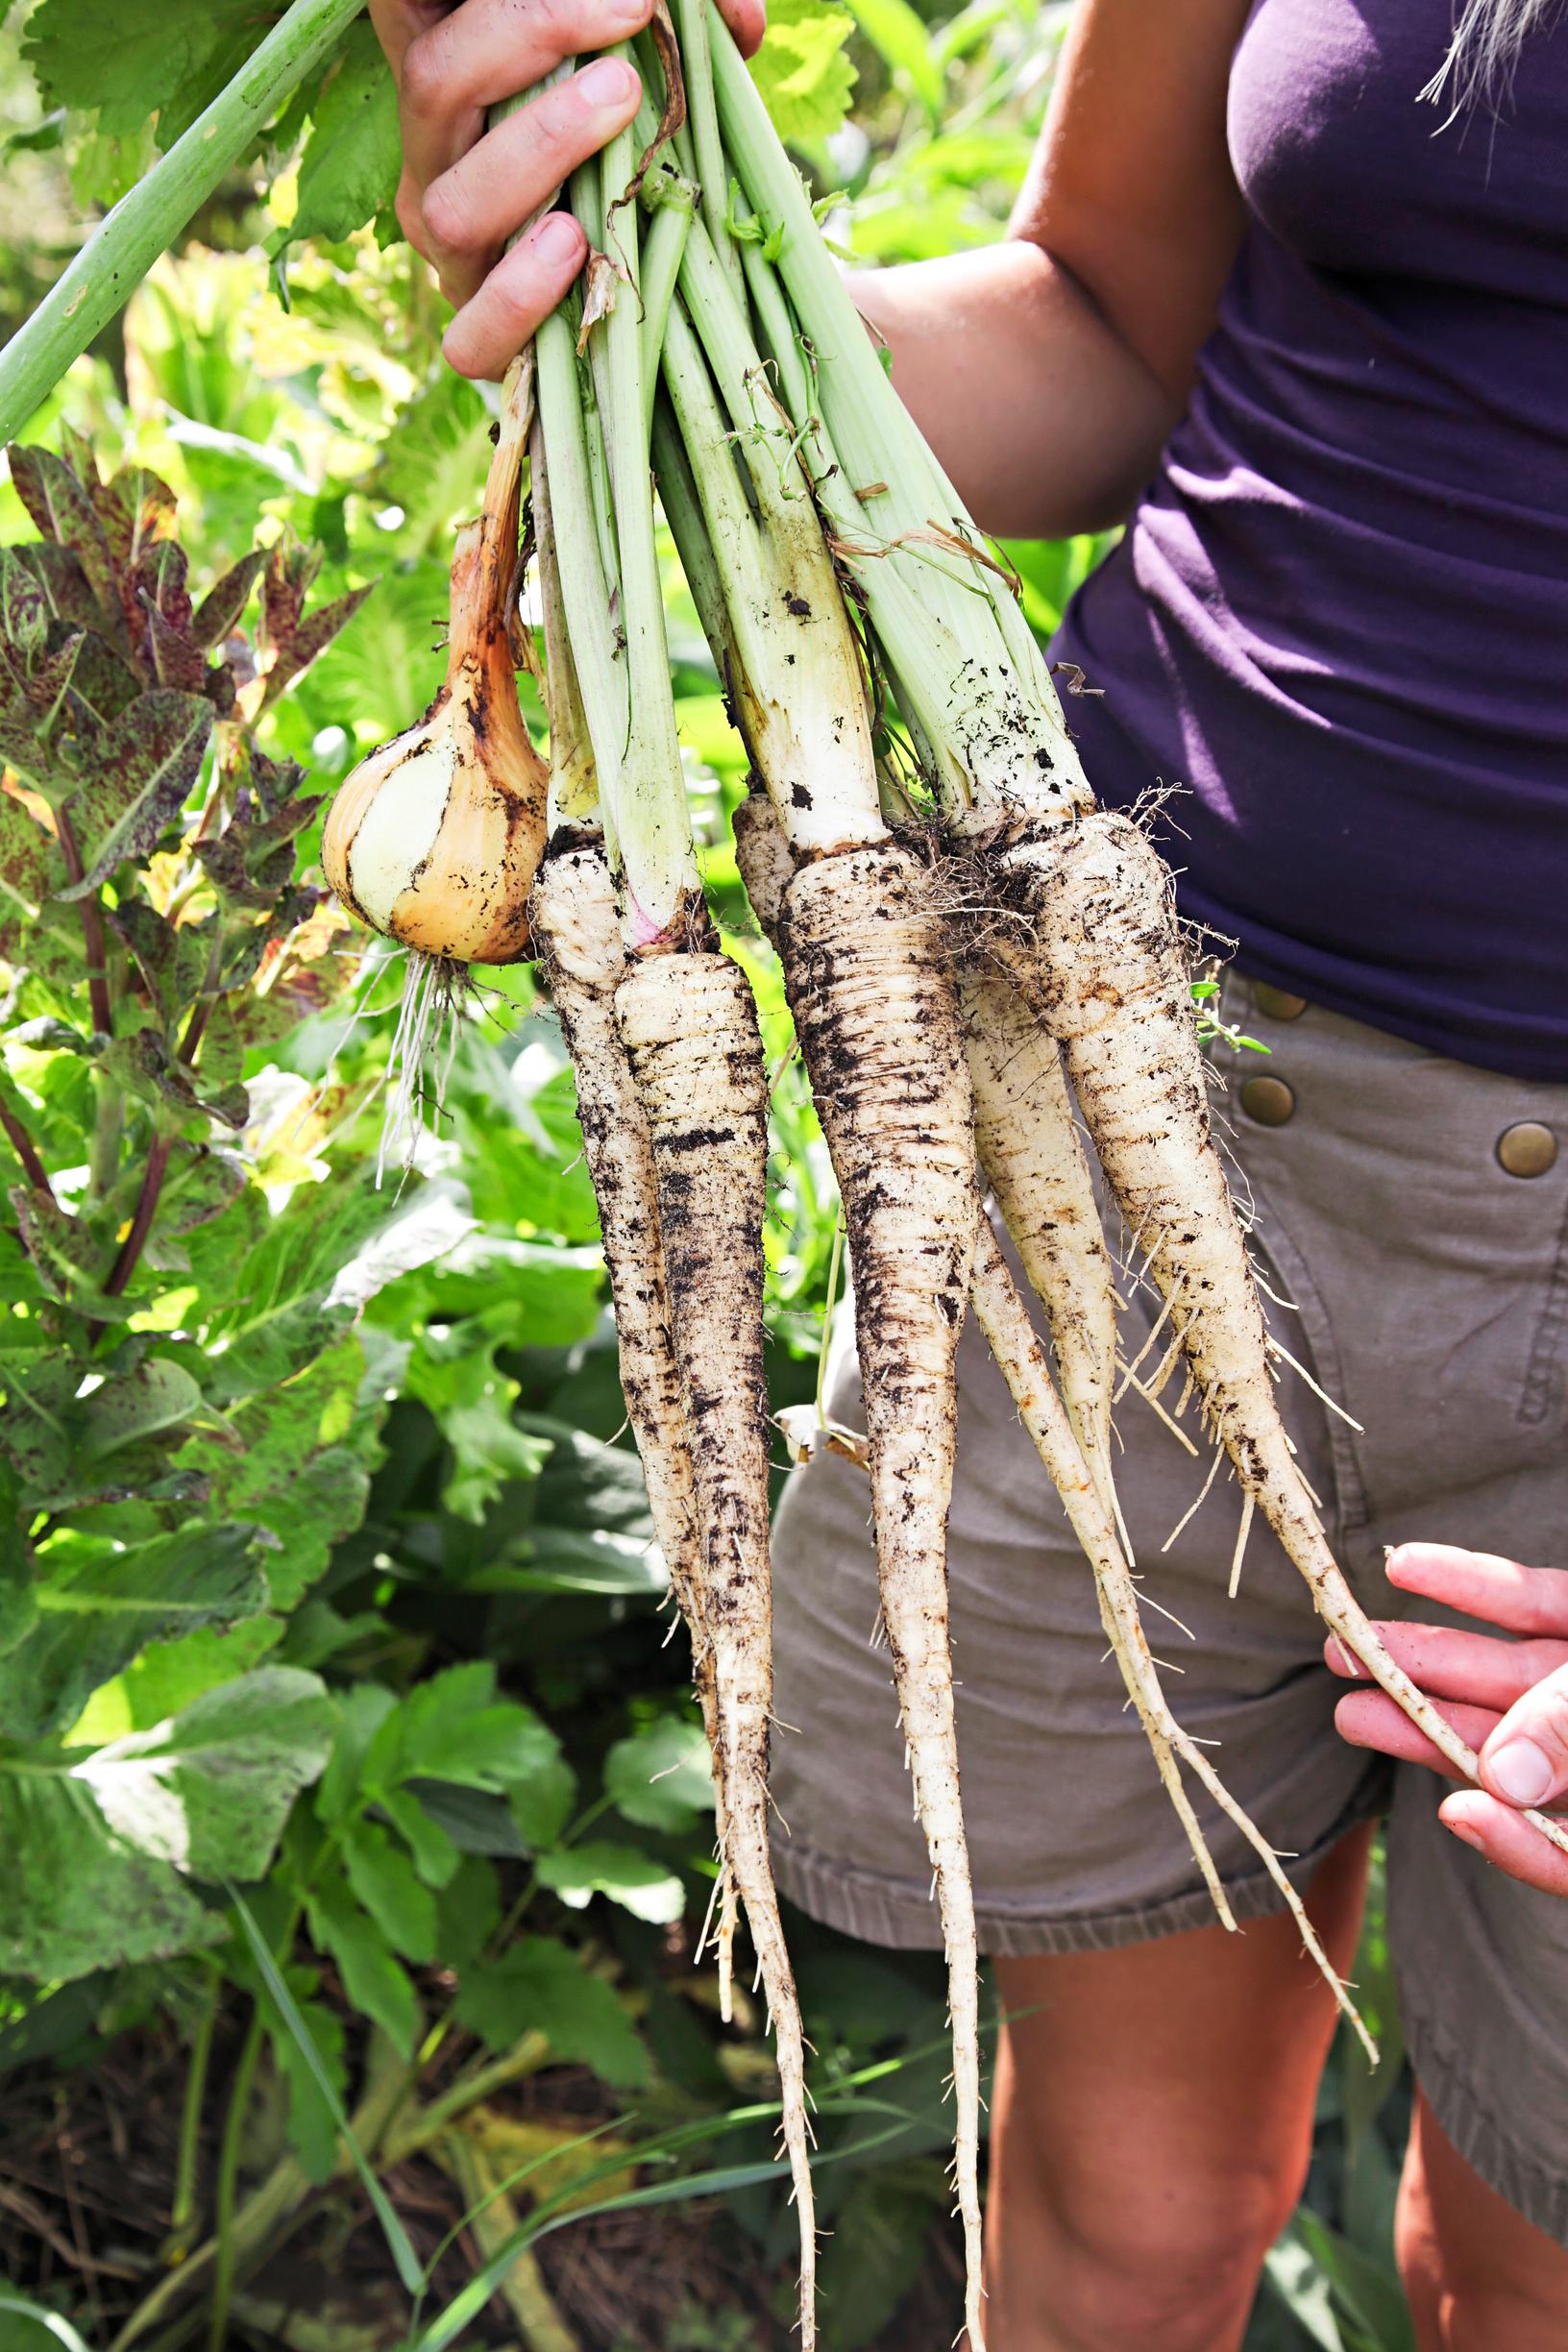
3. How do I cultivate?
Think about where you'll get the soil, seeds, fertilizers, and materials for building your cultivation area.
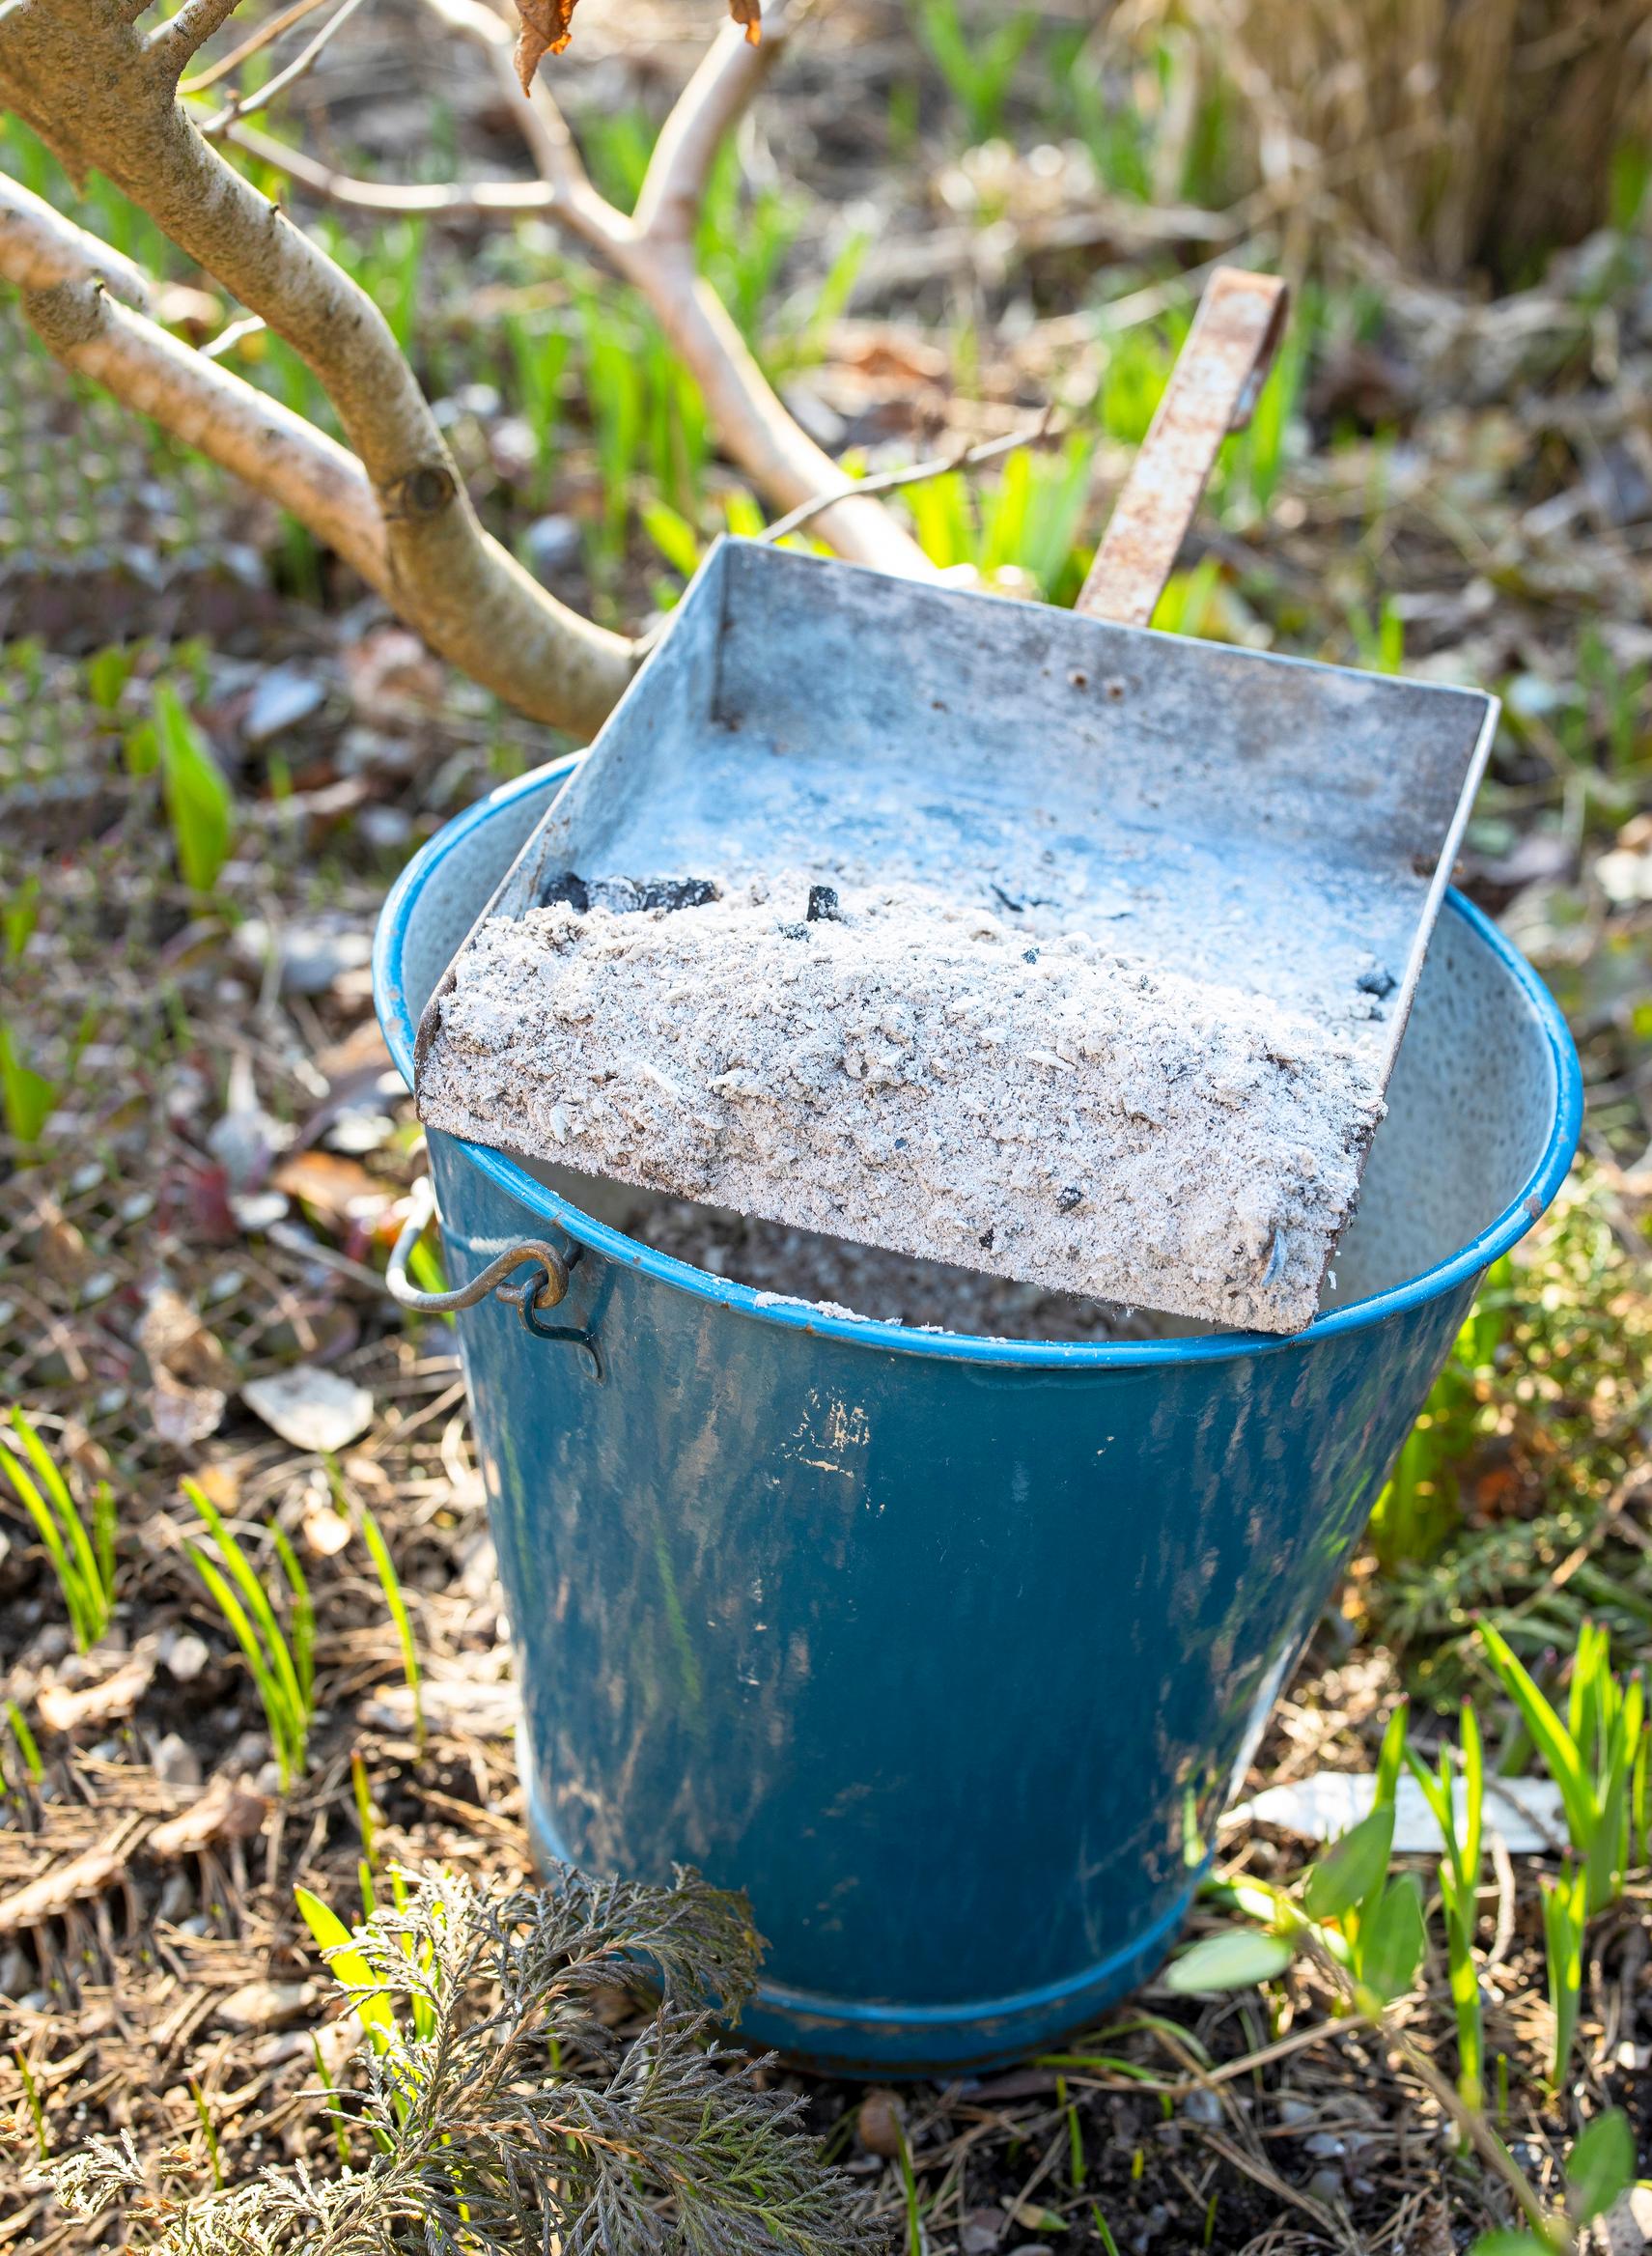
4. Compost for soil and soil improvement
Composting is an excellent way to produce your own soil while simultaneously disposing of organic and garden waste. Setting up a garden waste compost is surprisingly straightforward: you only need a wooden frame and a suitable mix of leaves and branches. Composting indoors is also possible with bokashi—find out more here.
5. Fertilizers from your own garden
You can make organic fertilizer yourself from plants in your own garden—or from urine!


6. Speed up the growing season
Create a hotbed or composting raised bed in a sheltered part of your garden for heat-loving plants like cucumbers or pumpkins. Dig a hole: 20–30 centimeters deep and 120–180 centimeters wide and at least as long as it's wide. Put a layer of twigs or wood chips at the bottom. Add in tufts of grass turned upside down or other organic material. Make a 50-centimeter thick heating layer by mixing manure or chicken manure pellets, lime, and leaves or straw. Water if the materials are dry. Add a 20–40 centimeter layer of semi-finished compost or bagged soil as insulation. Finally, make the growing medium with a 20-centimeter layer of soil.
Wait for the hotbed to warm up, then plant your crops. The bed usually starts to heat up in a few days. If it doesn't, water it with warm water.


7. Improve the soil
Enrich the soil of your cultivation plot with nitrogen-fixing plants and practice crop rotation. Over time, you'll get larger yields and fewer plant diseases.
8. Make a cultivation plan
Divide your vegetable garden into four parts, reserving one for legumes. On the other plots, sow and plant crops according to how nitrogen-rich soil they require. Grow plants with similar nutrient needs in different plots each year. If systematic crop rotation isn't possible, at least vary the locations of plants annually.
9. Find land for cultivation
Explore the possibility of allotment gardening in your area or, with the permission of your housing company, start a cultivation group in the shared garden.
10. Try it in the city too
Look into urban cultivation opportunities, such as sack and box cultivation areas. Big cities might offer organized urban gardens.
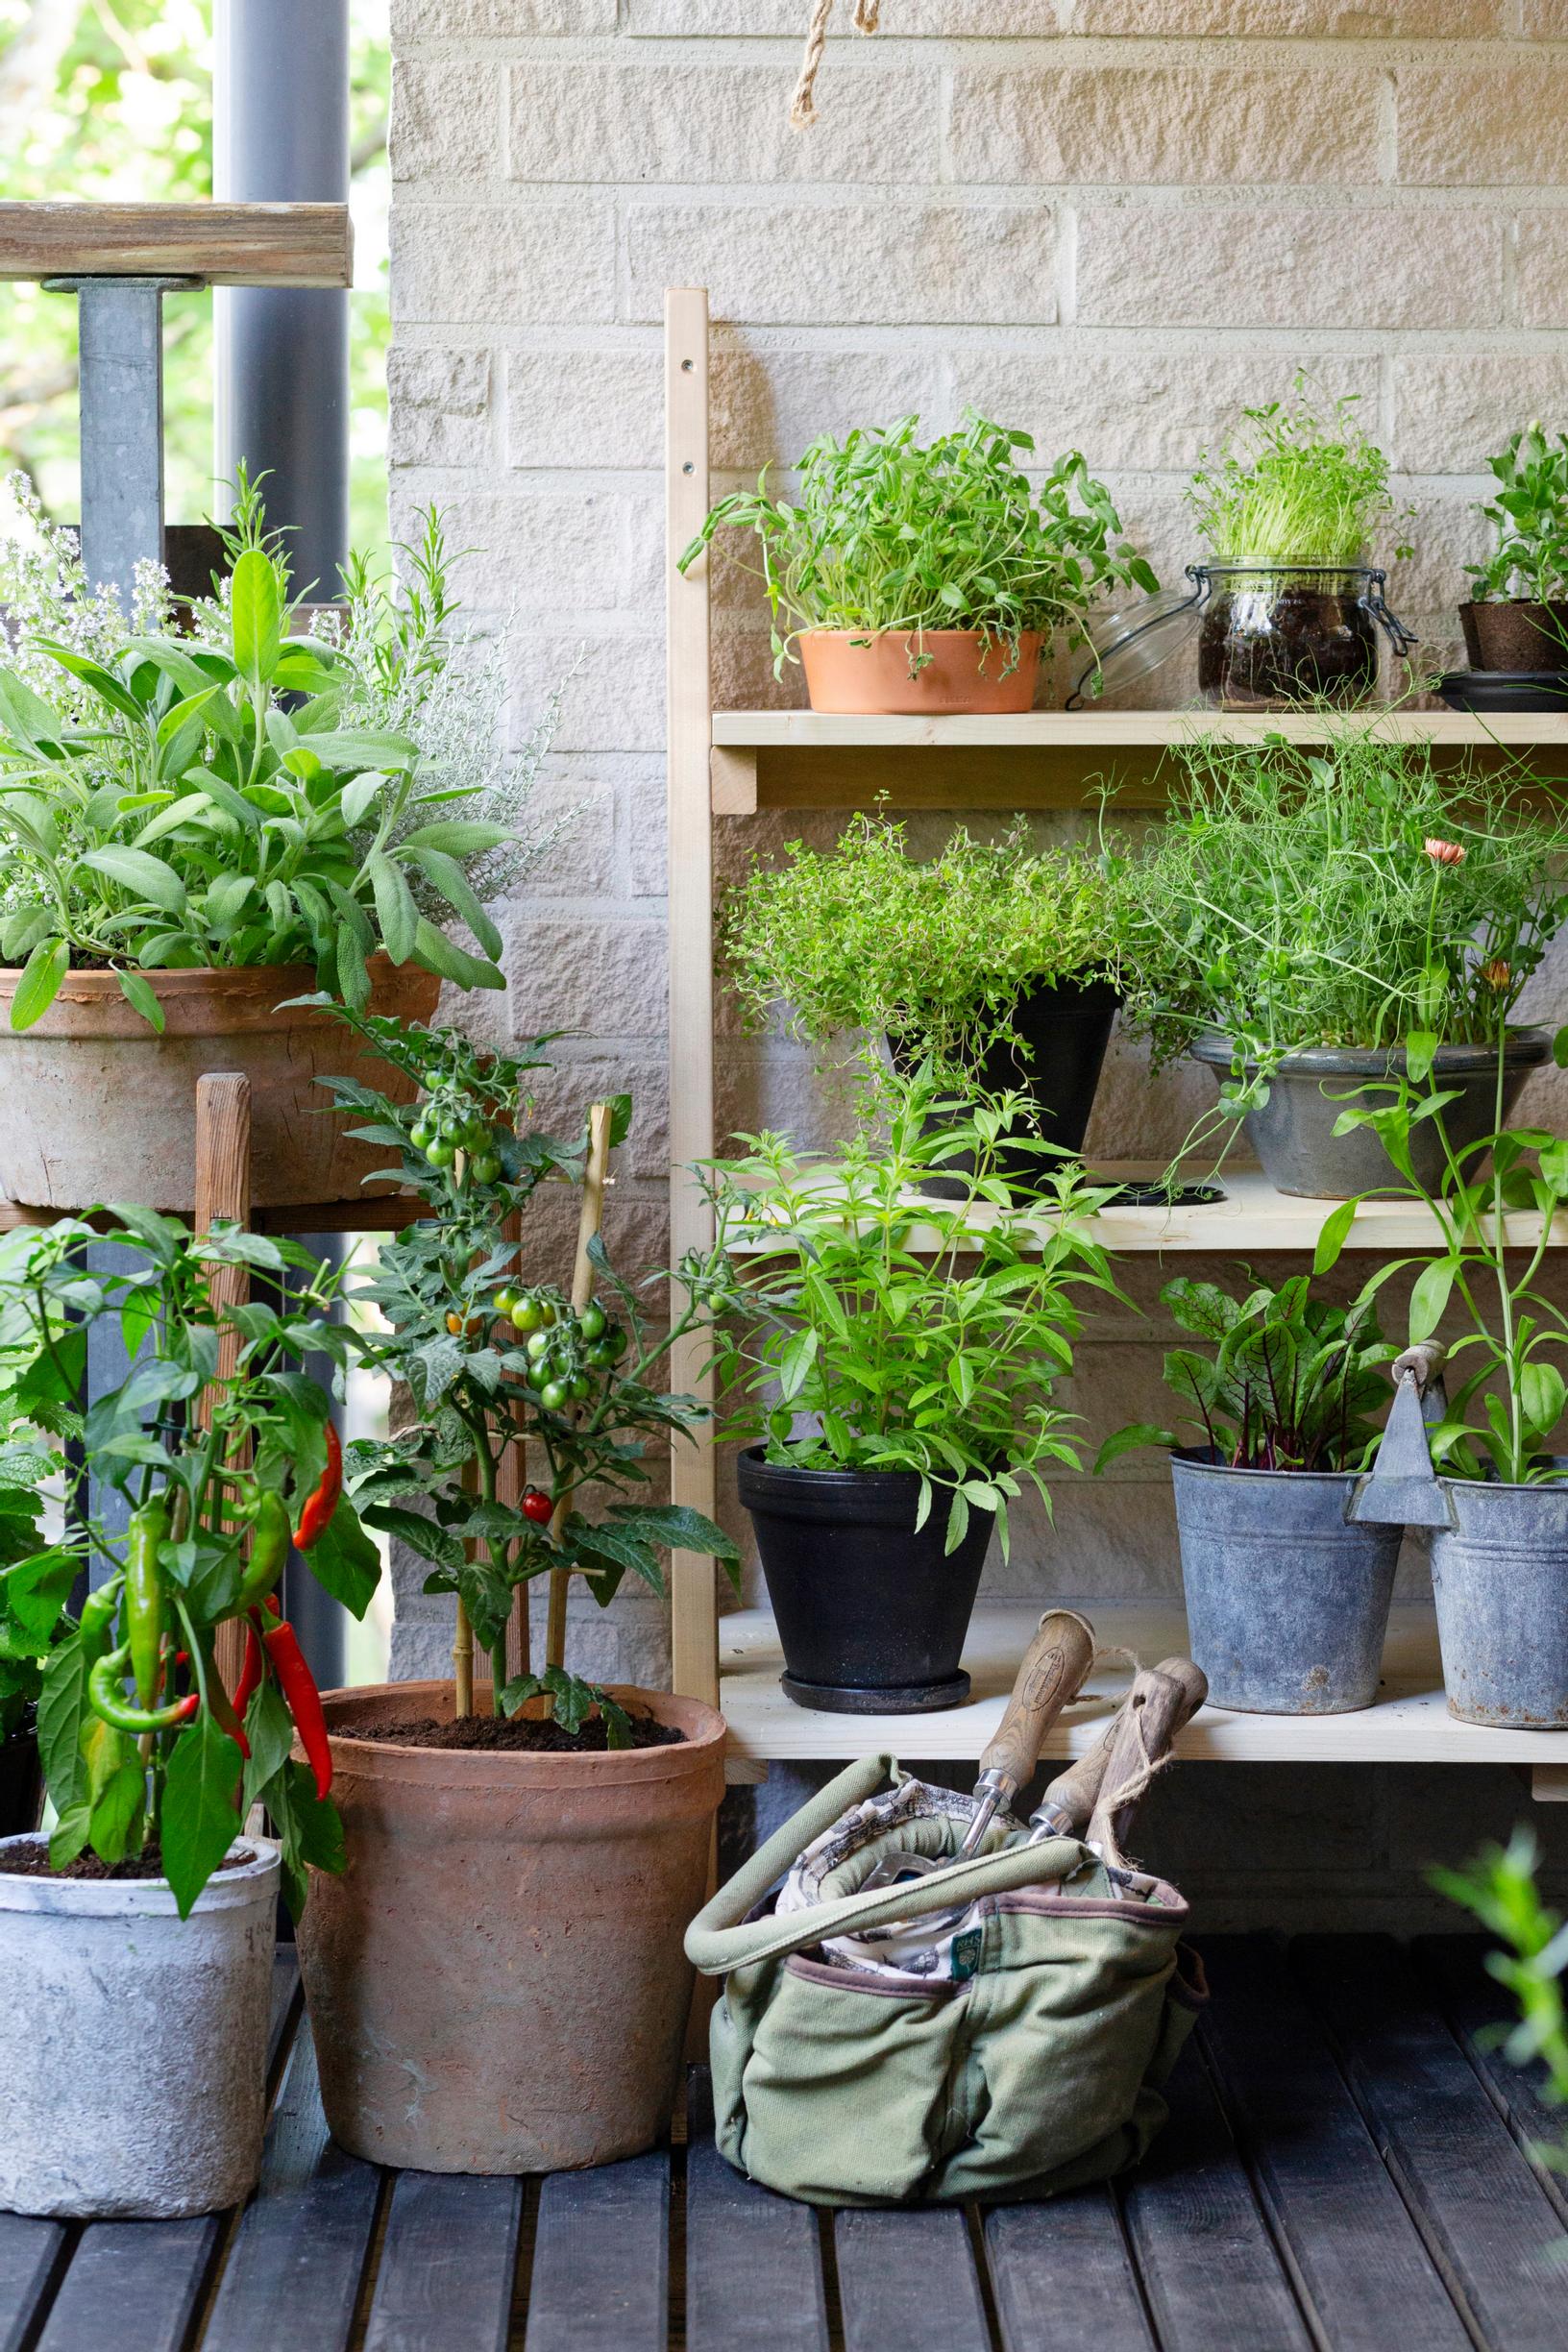
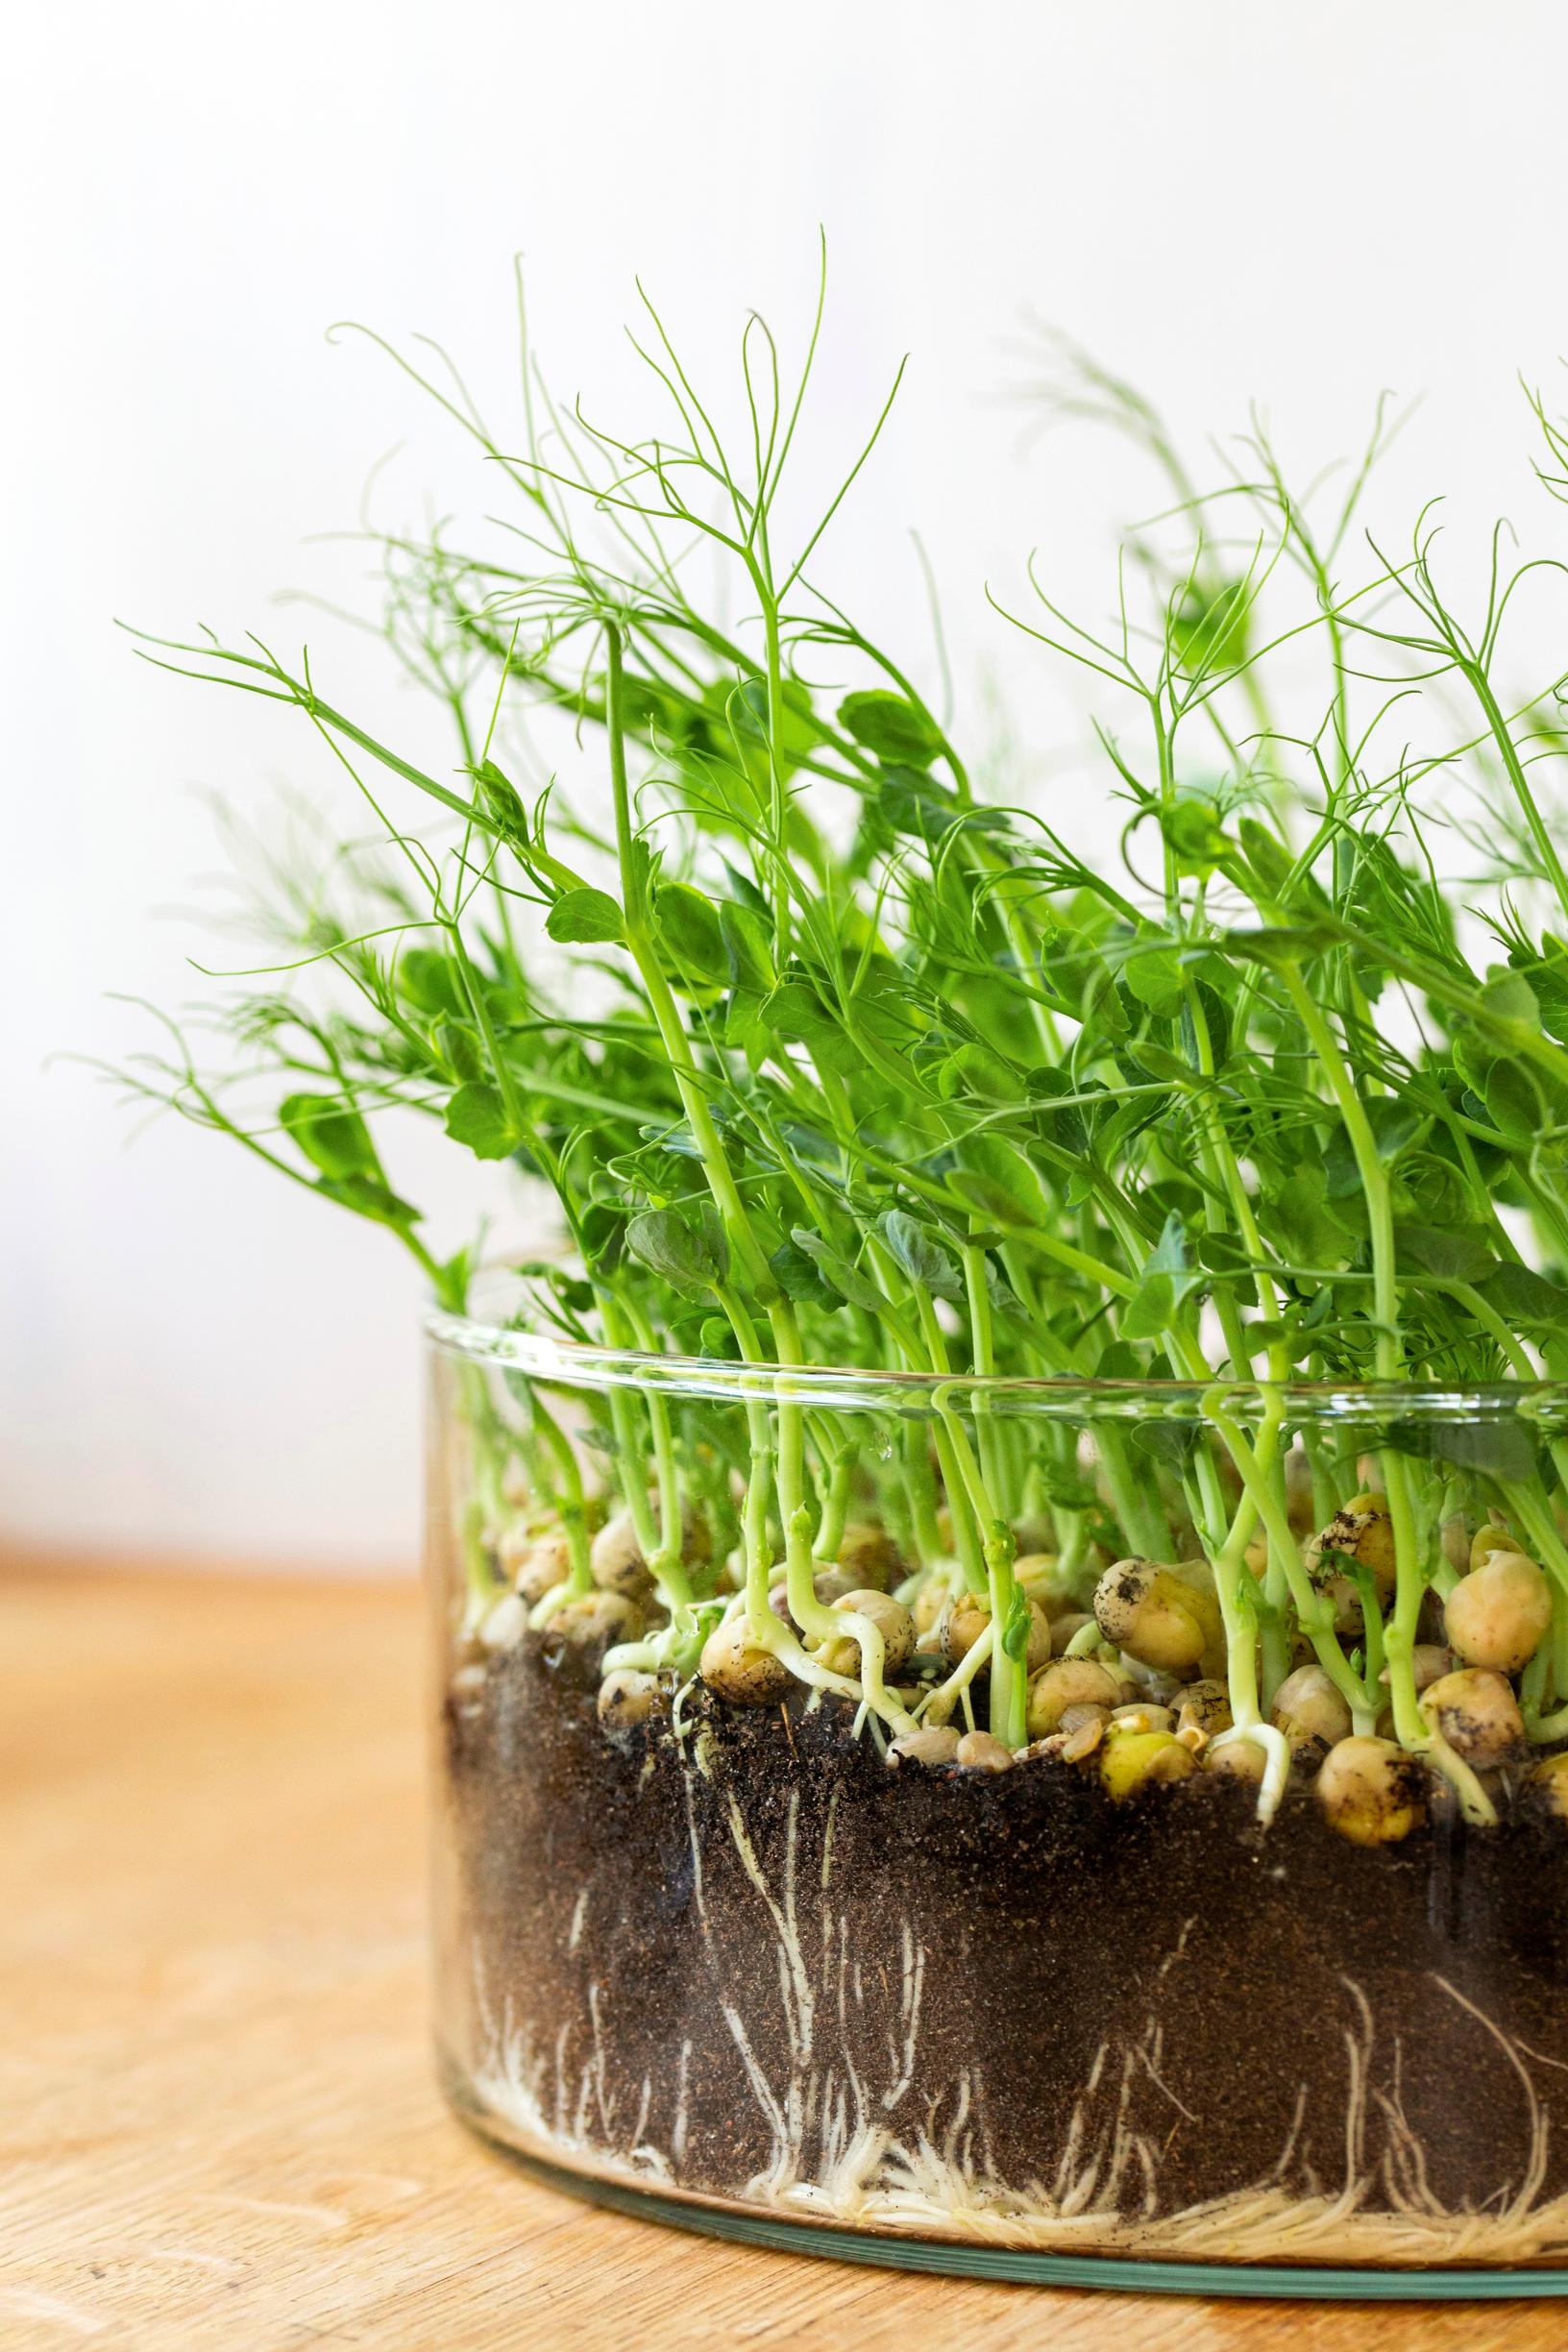
11. Try small-scale cultivation
- on the windowsill
- on the balcony
- as a mixed crop in the flower bed
- in a pot
- in a hanging basket
- in a cultivation sack or box in your own garden
- in a vertical garden, which you can make from a pallet, for example.

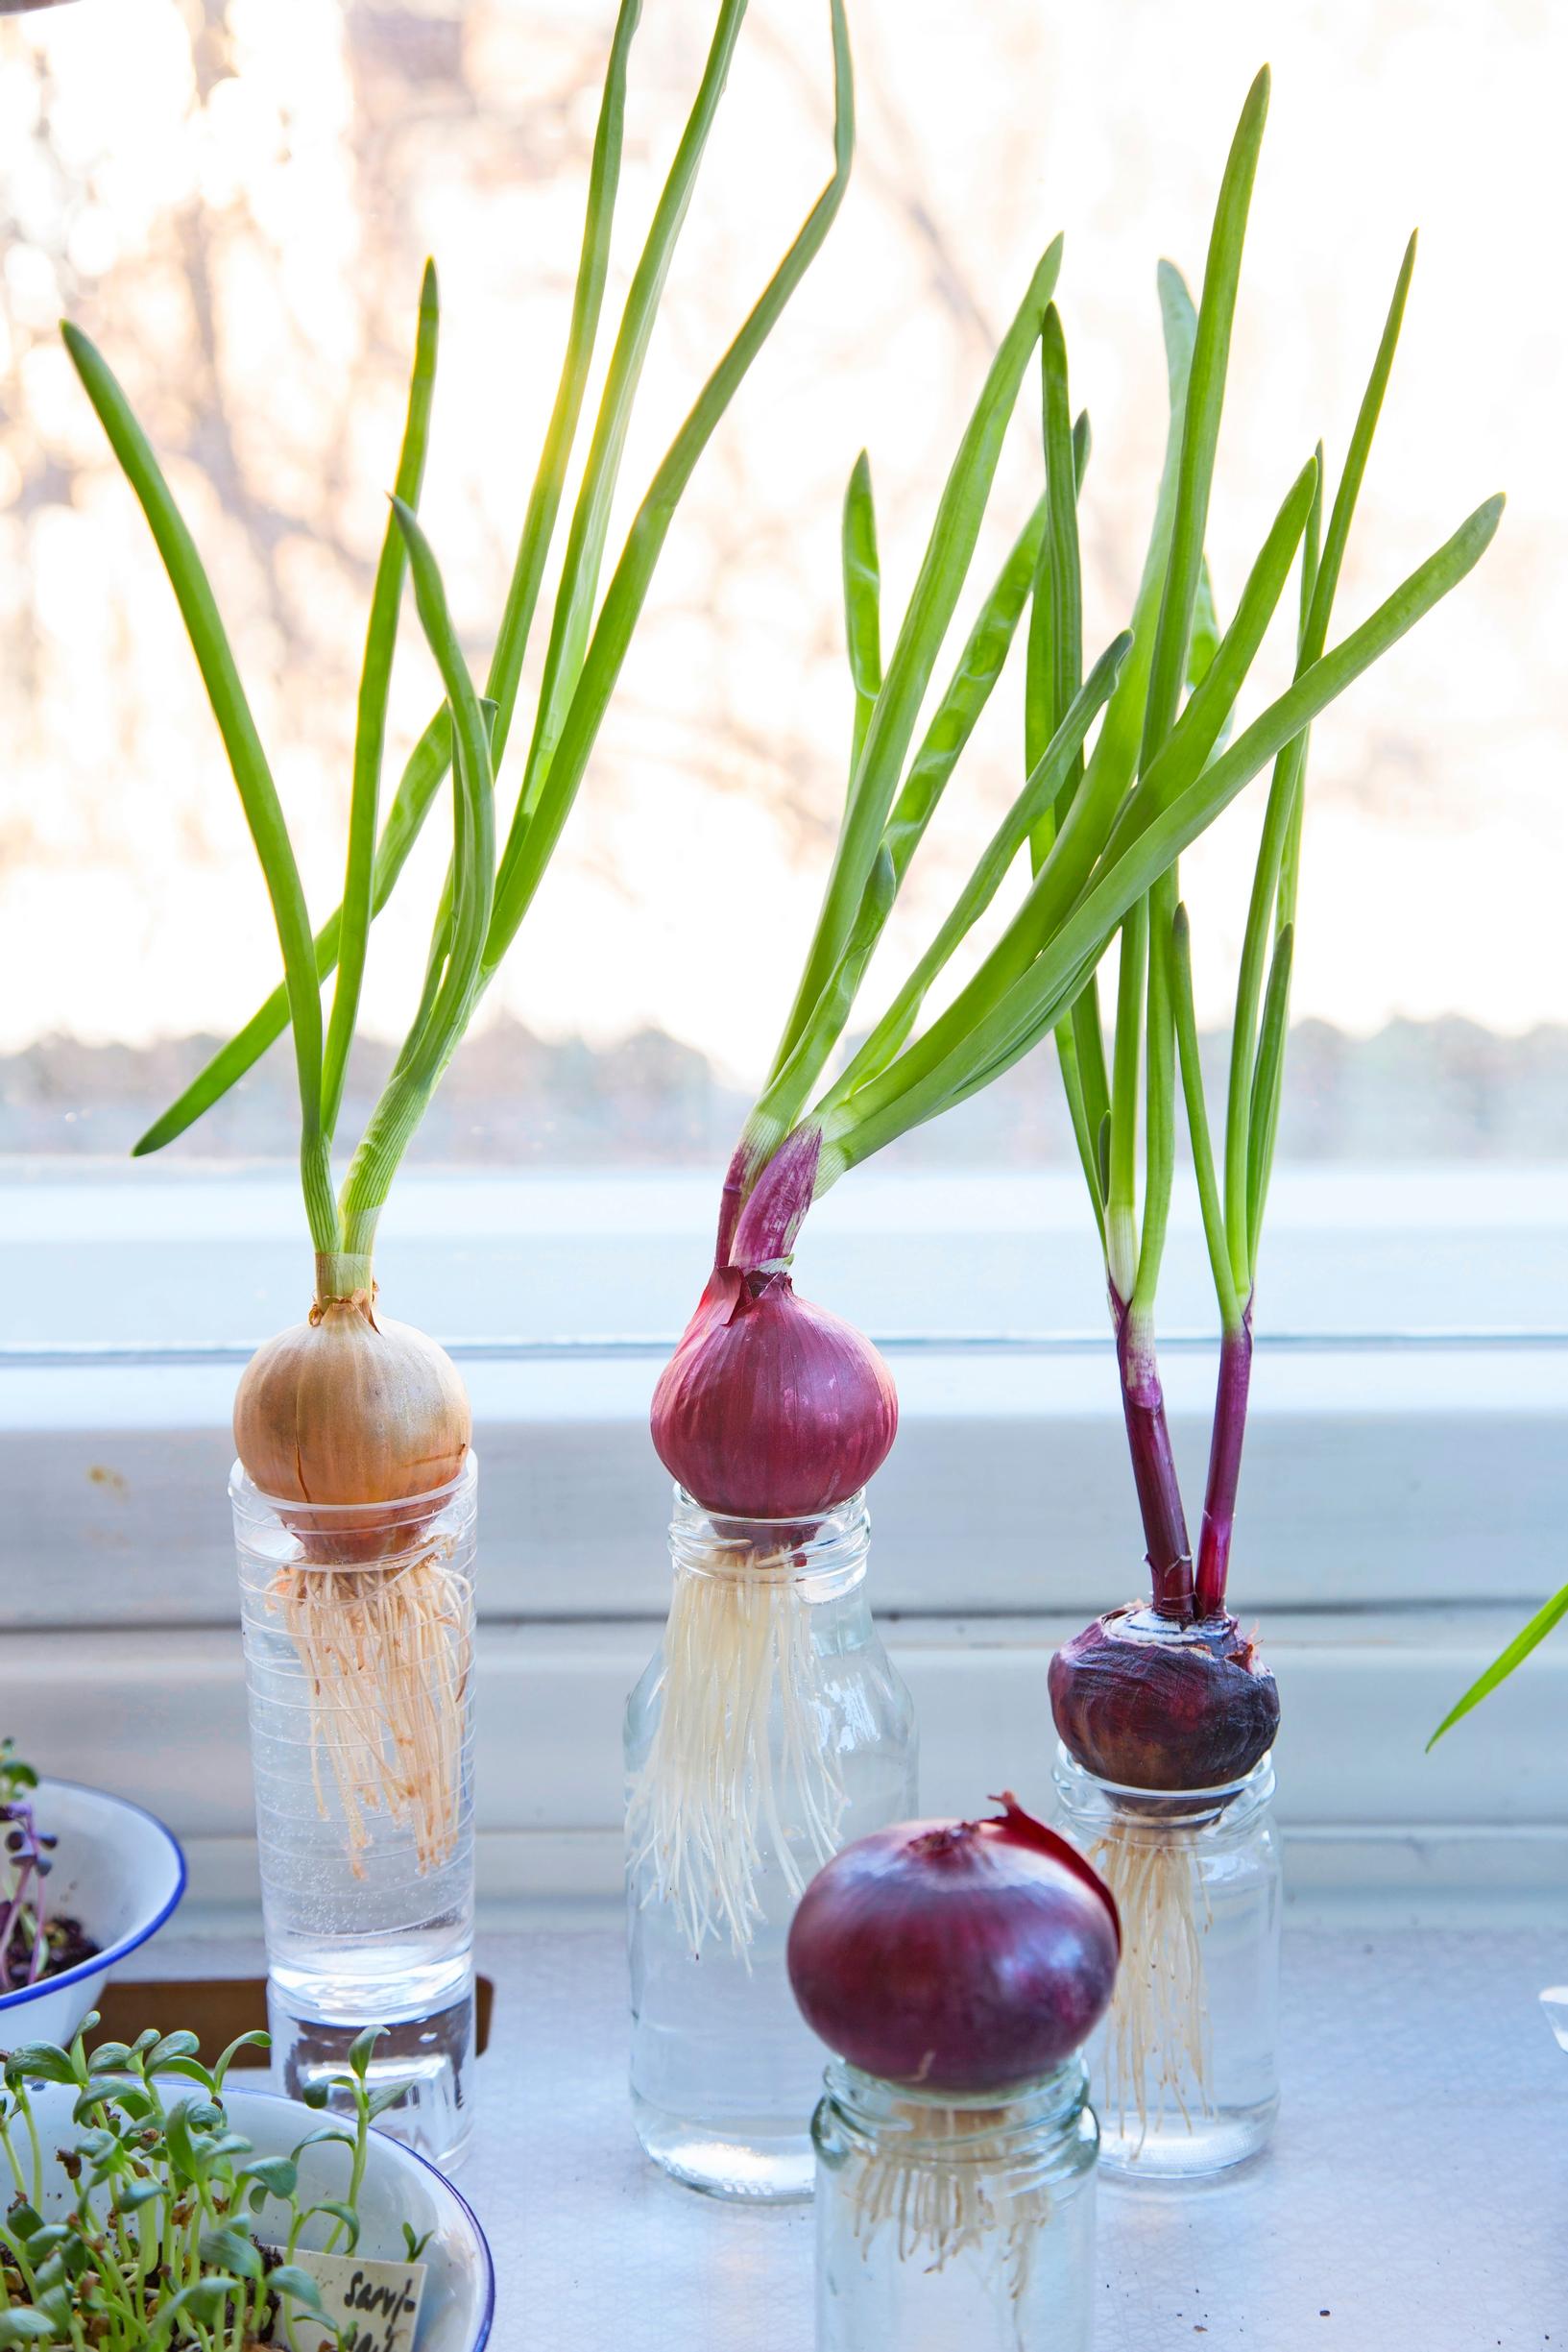
12. Utilize leftover potted salad
Leave a few small leaves intact, and be careful not to damage the growth point. Remove the root ball and plant it in soil. Eat the leaves as they grow. You can also plant leftover potted salad outdoors in early summer—they grow very well.
13. Harvest from potted herbs
Grow more spices from store-bought potted herbs. Plant them directly into sandy soil in a flower pot with their cultivation pots and nurture them in the light. Avoid a drafty windowsill, as herbs need warmth to thrive.


14. Gather urban harvest
If your local city guidelines allow it, you can pick berries and fruits in public places, parks, and forests as well. When handling urban harvest, use common sense: wash the berries and peel the fruits. Try asking your local social media groups for information!
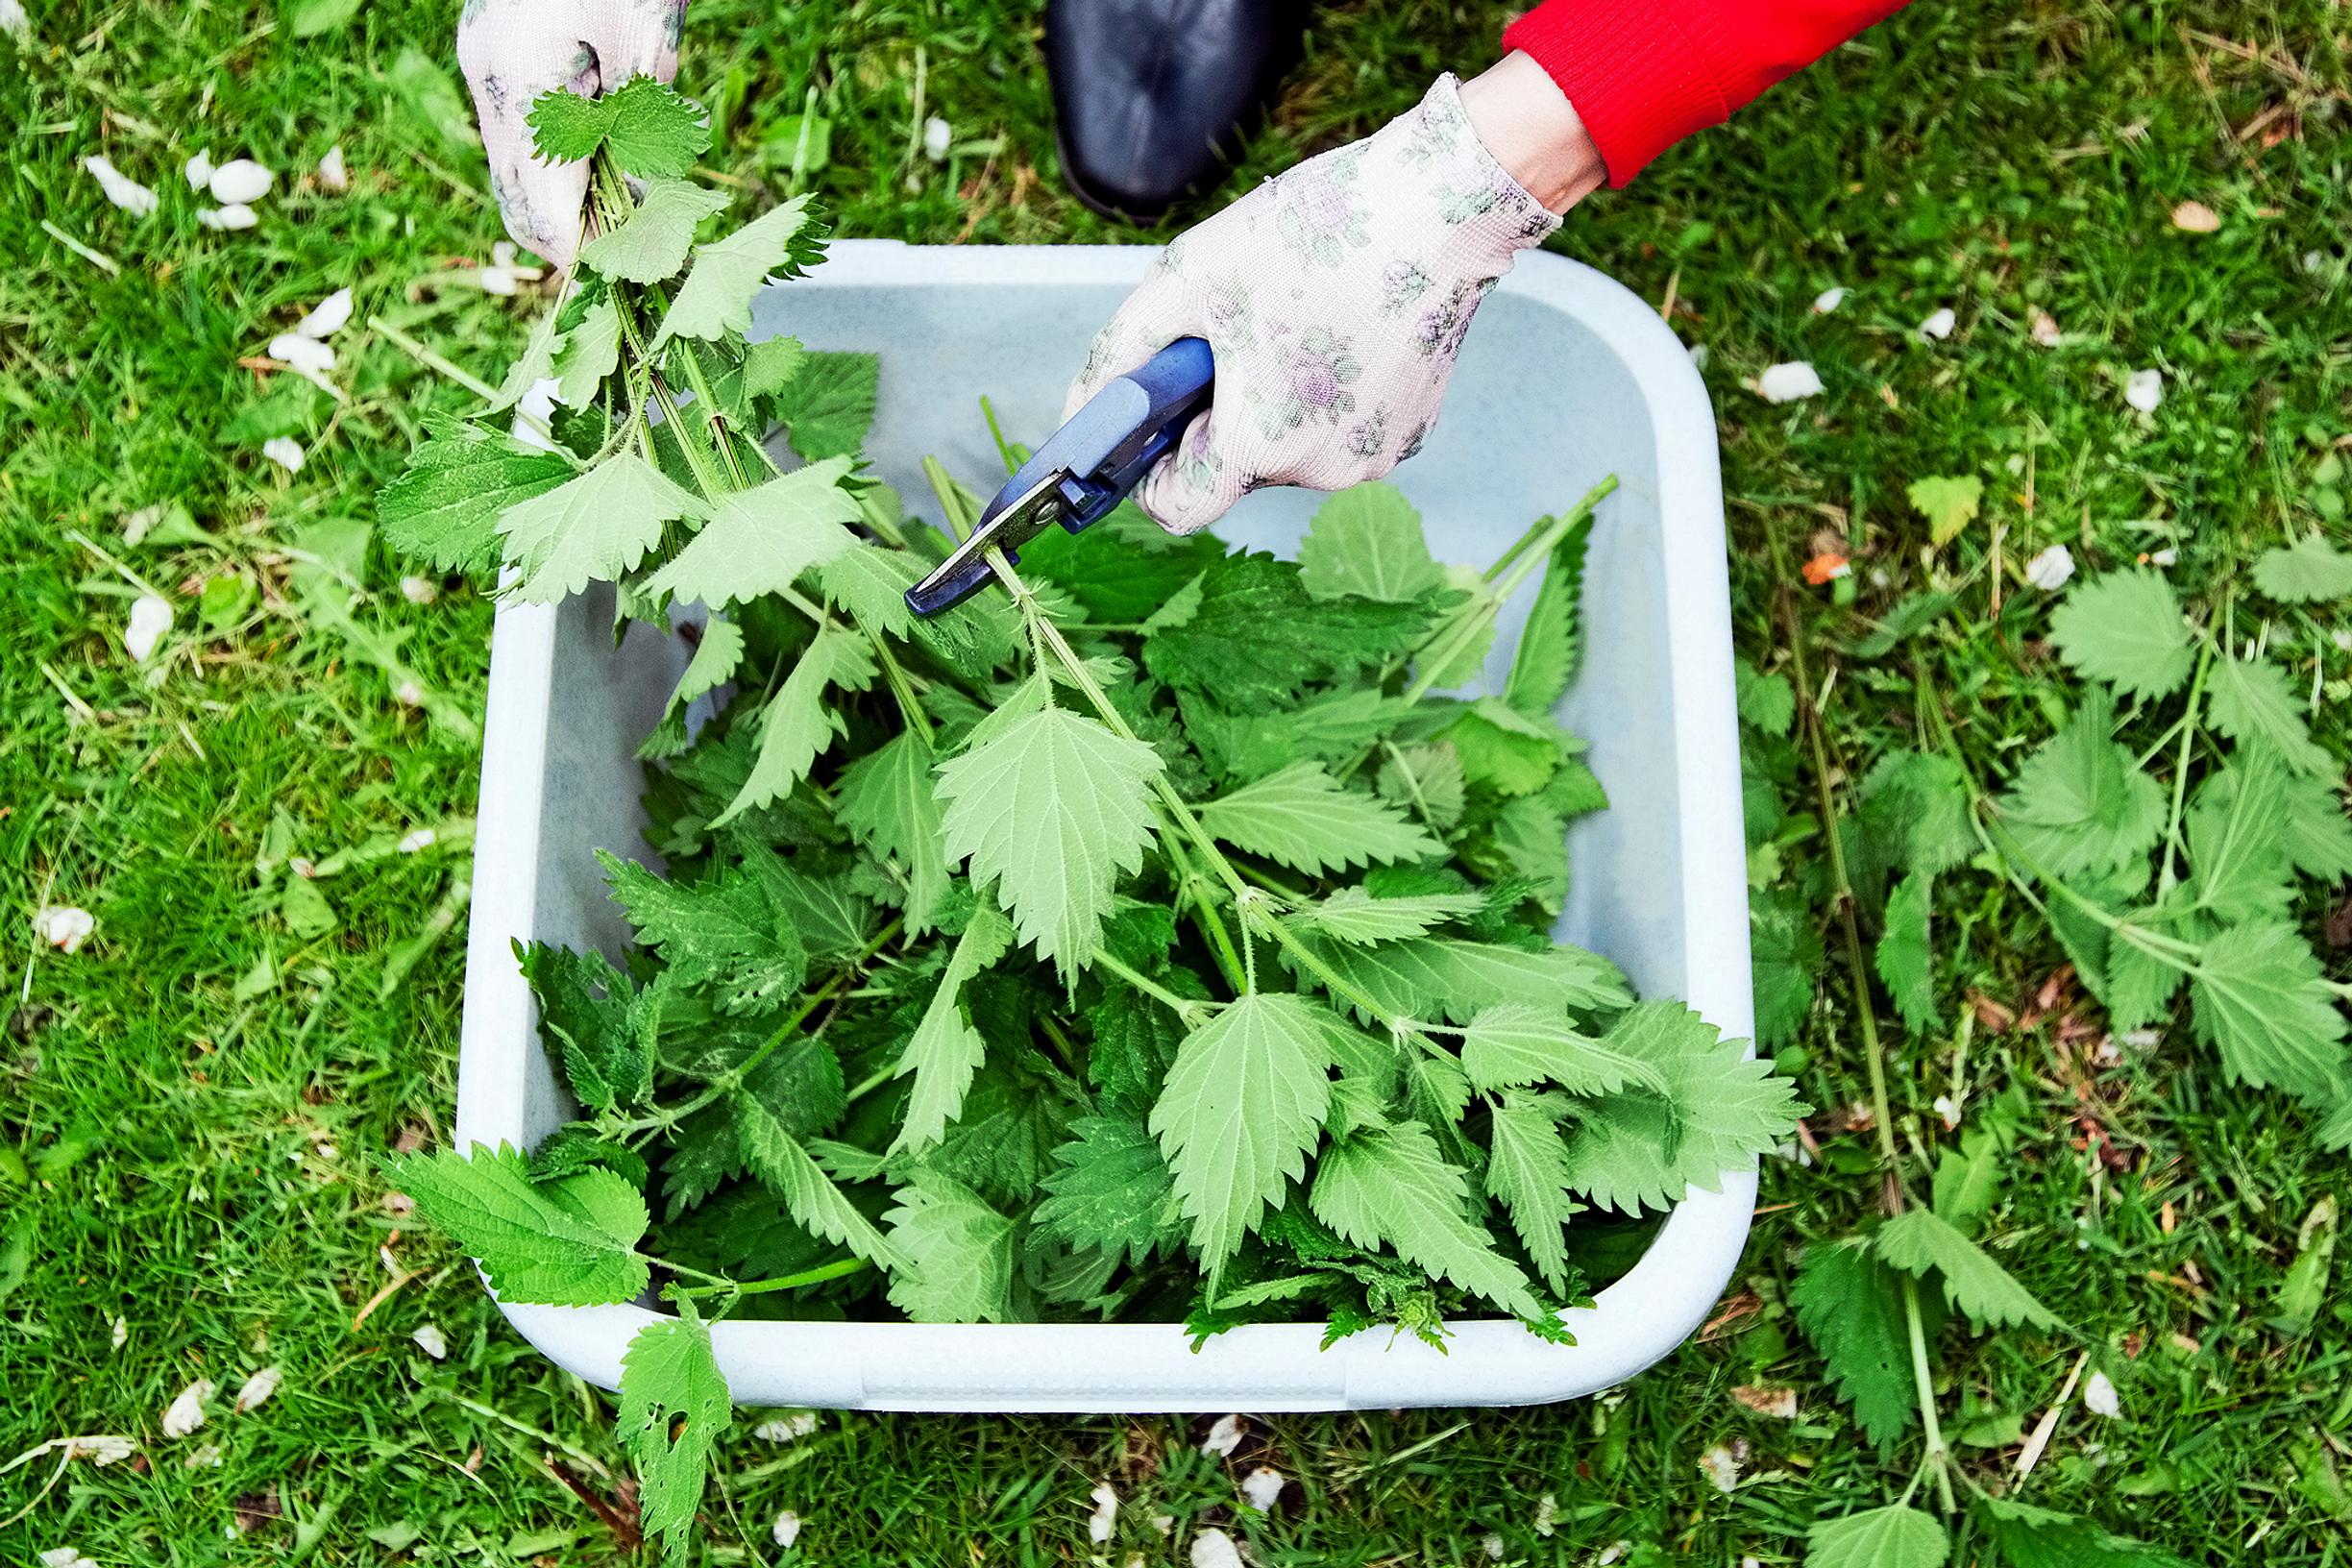
15. Forage for wild greens
Edible plants growing in nature, or wild greens, are crisp and non-woody at the start of their growth. Many species are at their best in May or June.
First, learn to identify a few wild greens with certainty. It's good to remember that some plants are poisonous. The same rule applies to picking wild greens as to picking mushrooms: don’t pick what you don’t recognize. And you can always learn more!

16. Prepare for foraging trips
To prepare for your wild greens excursion, bring a basket or other airy collection container, paper bags for each species you’re collecting, scissors, and protective gloves if you’re picking nettles.
17. Start experimenting with wild green moderately
At first, you can enrich ordinary salad ingredients with wild greens so that your enthusiasm won't wane because of a bitter tasting experience. A good salad dressing helps. By practicing moderation, you can genuinely enjoy the fresh and nutritious taste of wild greens.
18. Preserve your harvest
Home-grown vegetables, fruits, and berries can bring you joy all year round when you preserve the harvest. Making jams, fermenting, and other preservation methods take some effort, but it's definitely rewarding. Check out our tips for making jam, juice, and nectar, freezing vegetables and fermenting. You can also preserve herbs can be preserved in many ways.

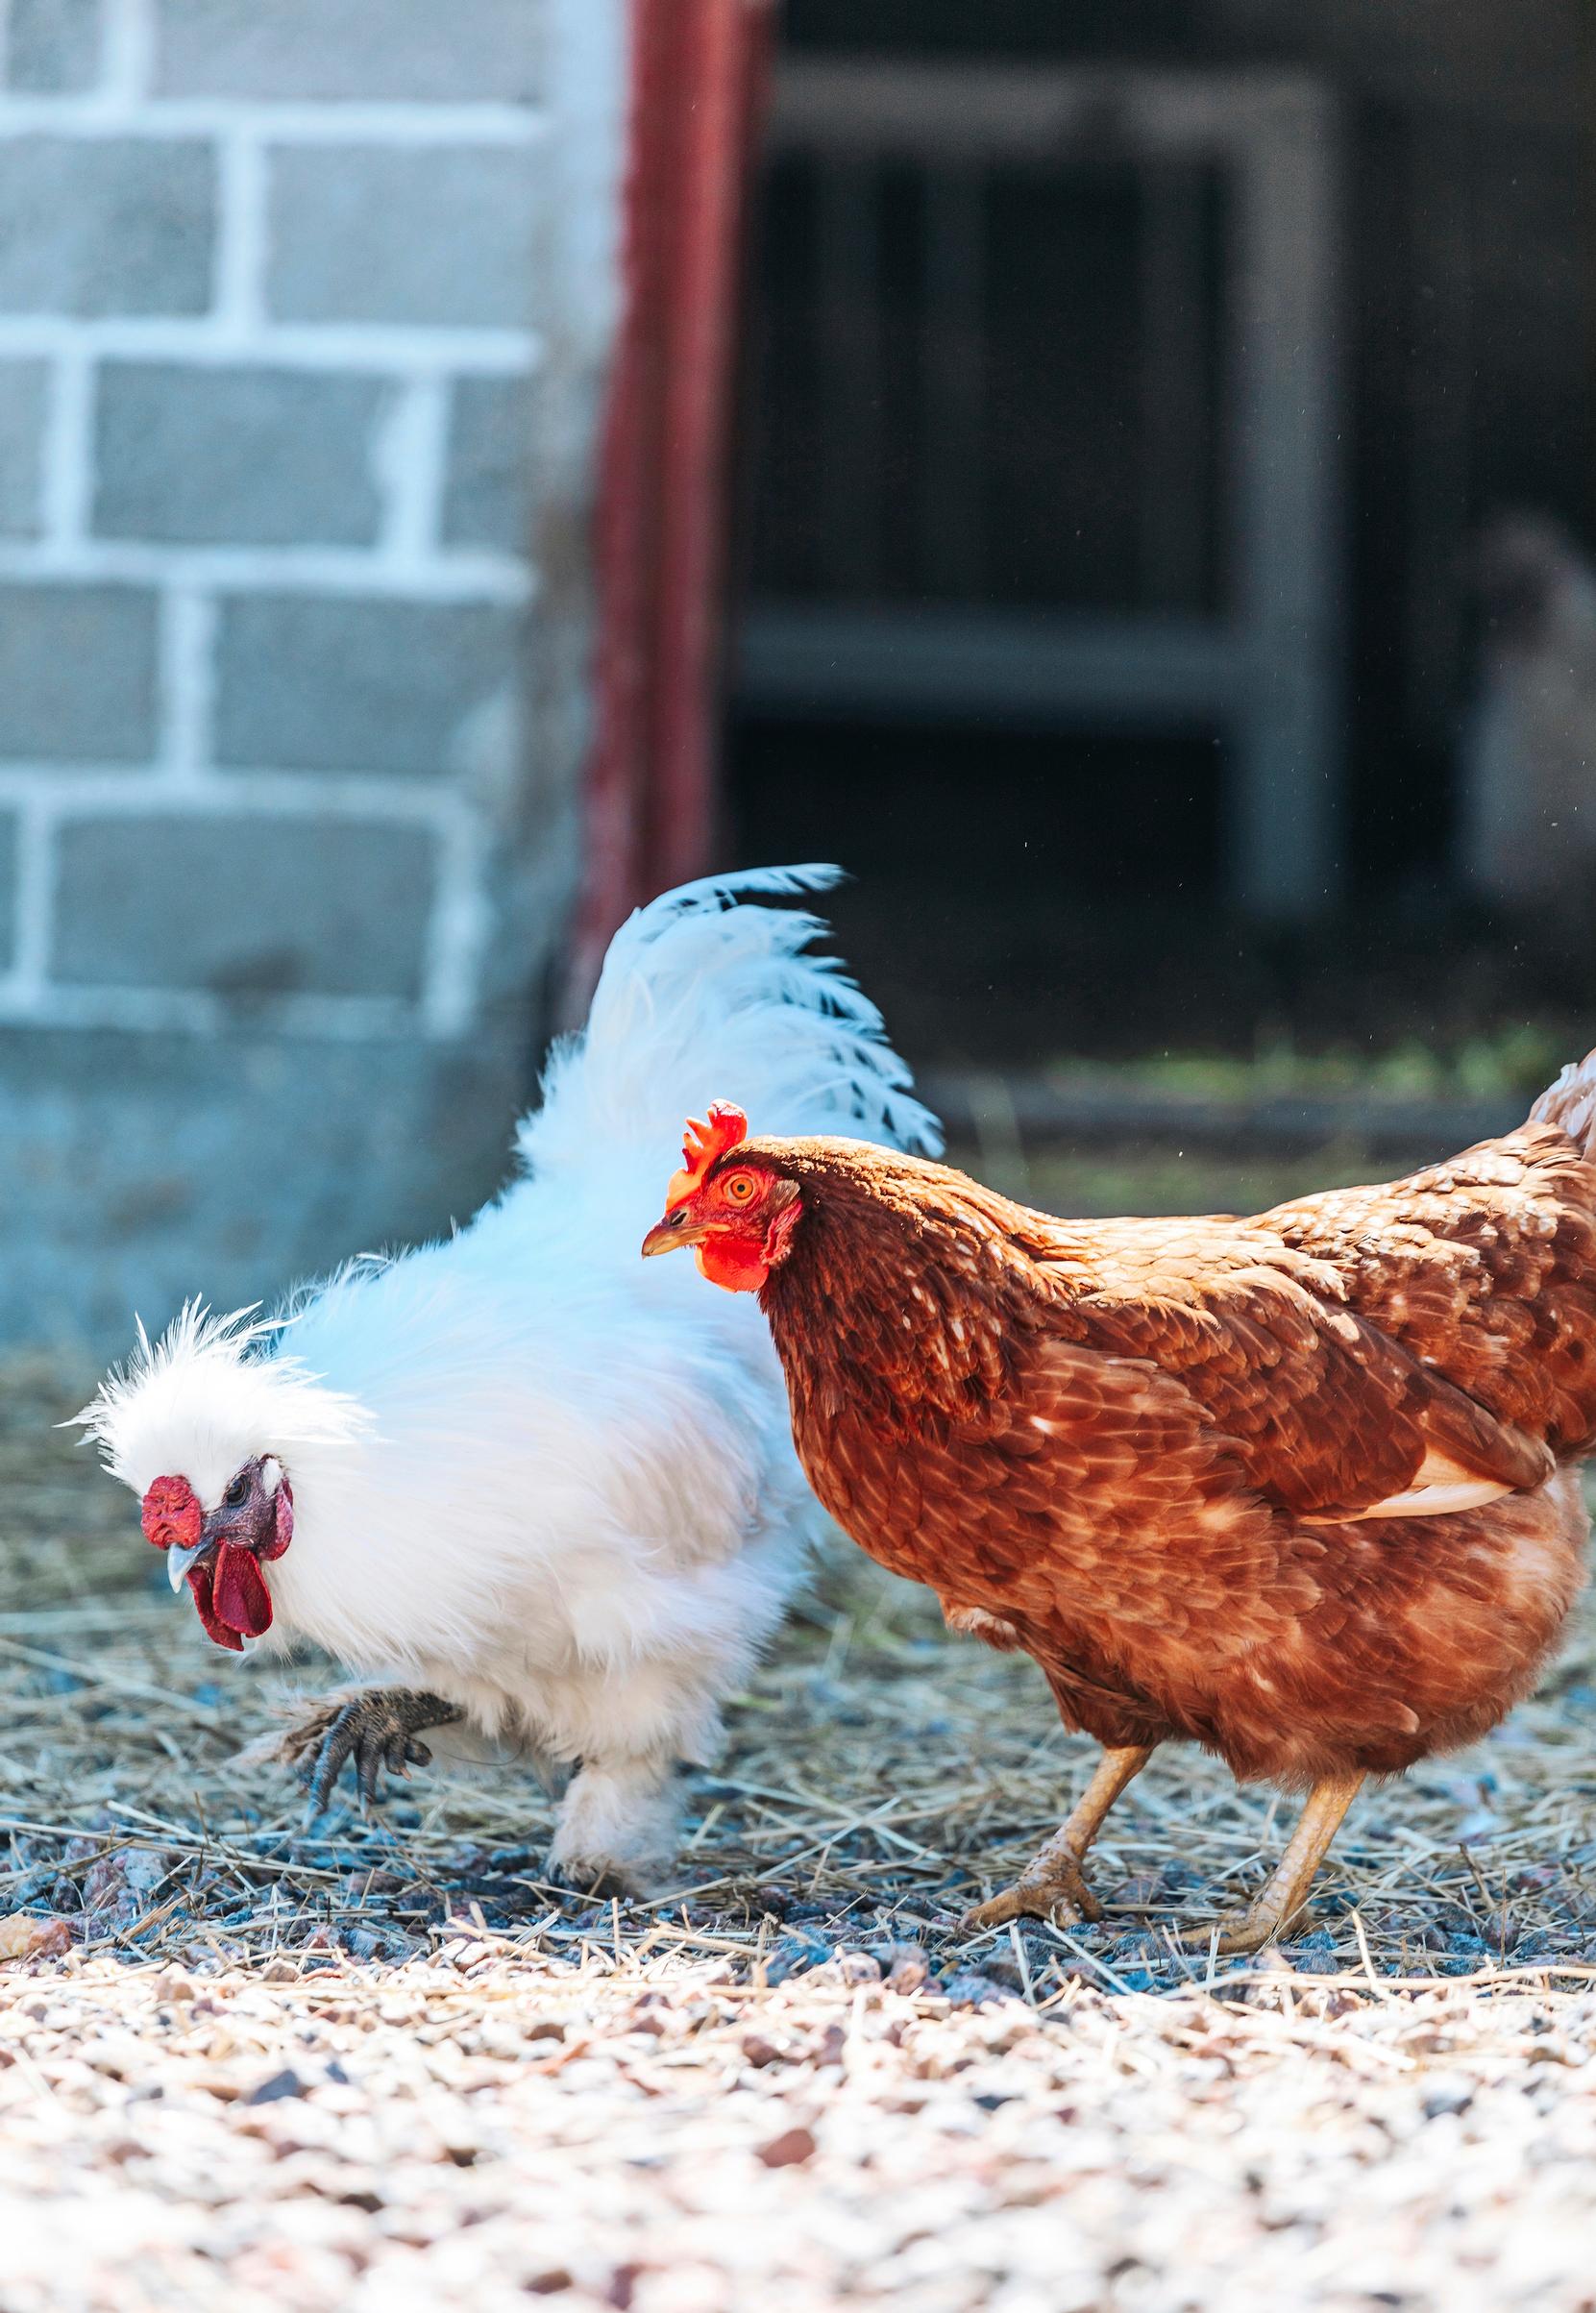
19. Start a chicken coop
By establishing a hobby chicken coop, you can become self-sufficient in eggs. A retired production chicken, a pedigreed chicken, or a native hen are great options for your own chicken.
Remember to check your local guidelines and rules for keeping chickens. You might need to notify the local authorities about your chicken coop and register it because of potential spreading diseases. It’s also polite to inform your neighbors about the chickens and especially crowing roosters.

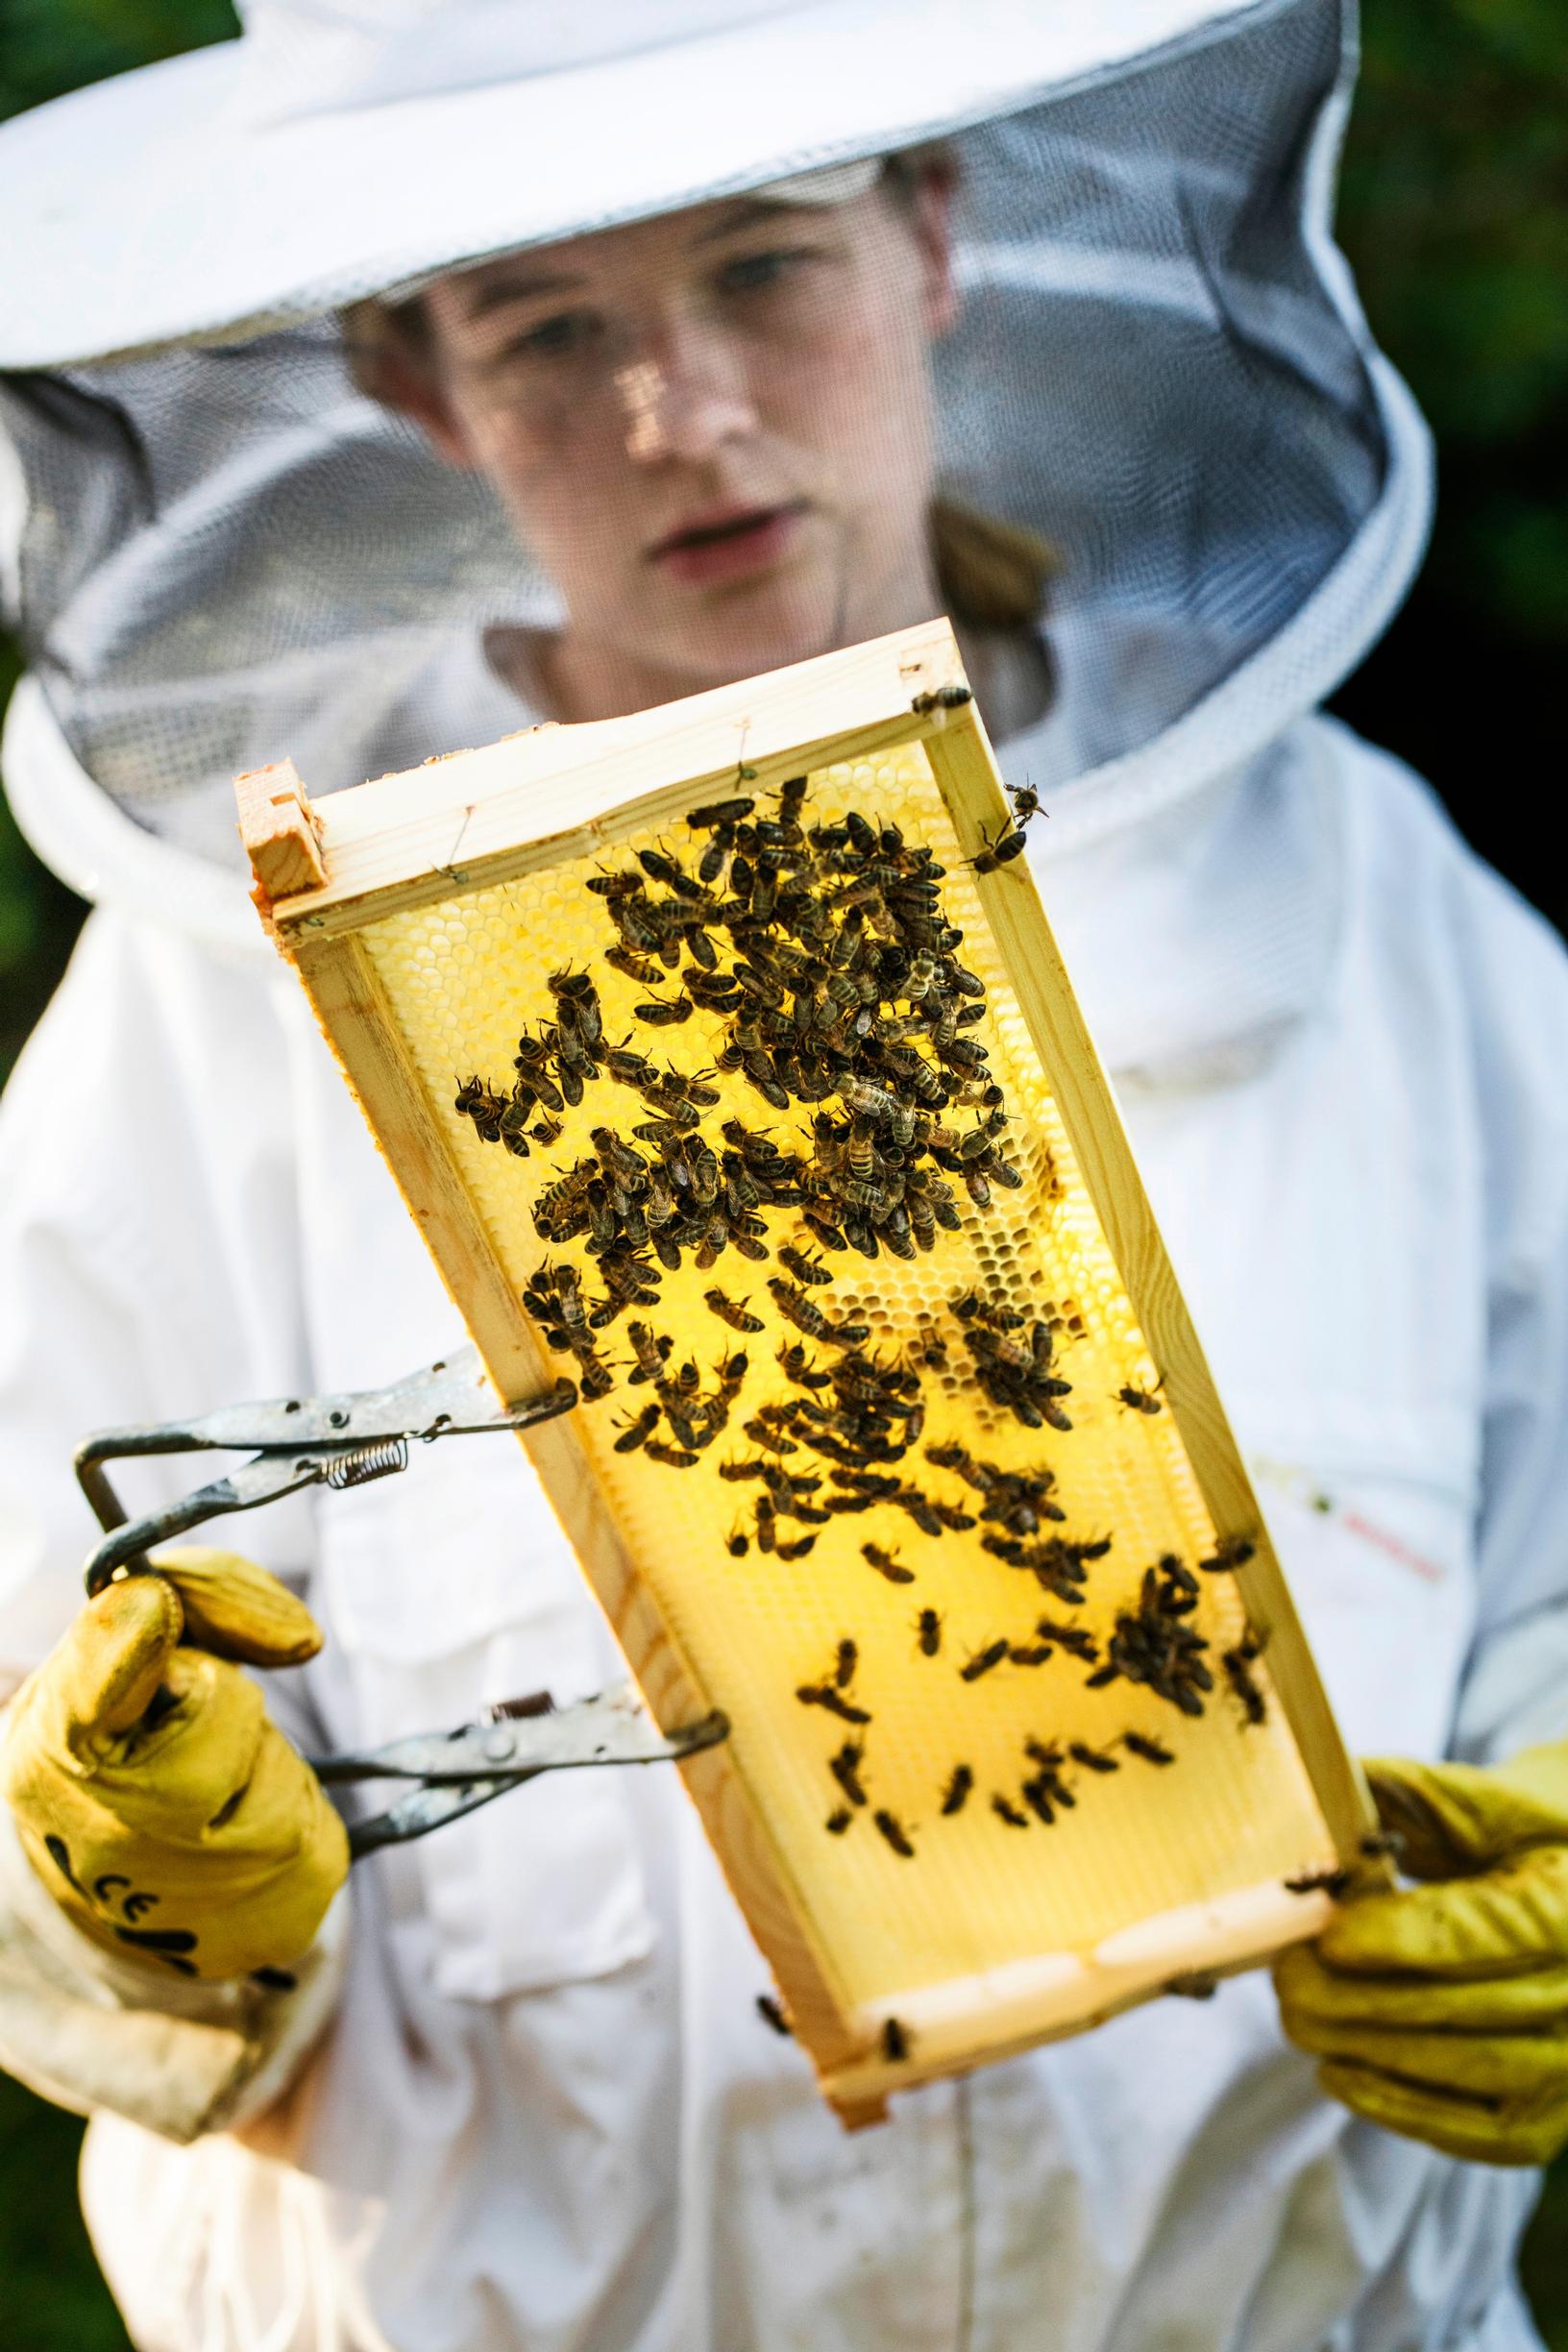
20. Become a beekeeper
You can put a beehive in your own garden. Contrary to popular belief, bees are not aggressive. However, before setting up a hive, it's advisable to get training, seek information, and obtain consent from neighbors. You can look for courses organized by local beekeeping associations or adult education centers.

Sources: Luontoportti, Ympäristöhallinto, Kaupunkiviljely.fi, Evira, Finnish Beekeepers’ Association