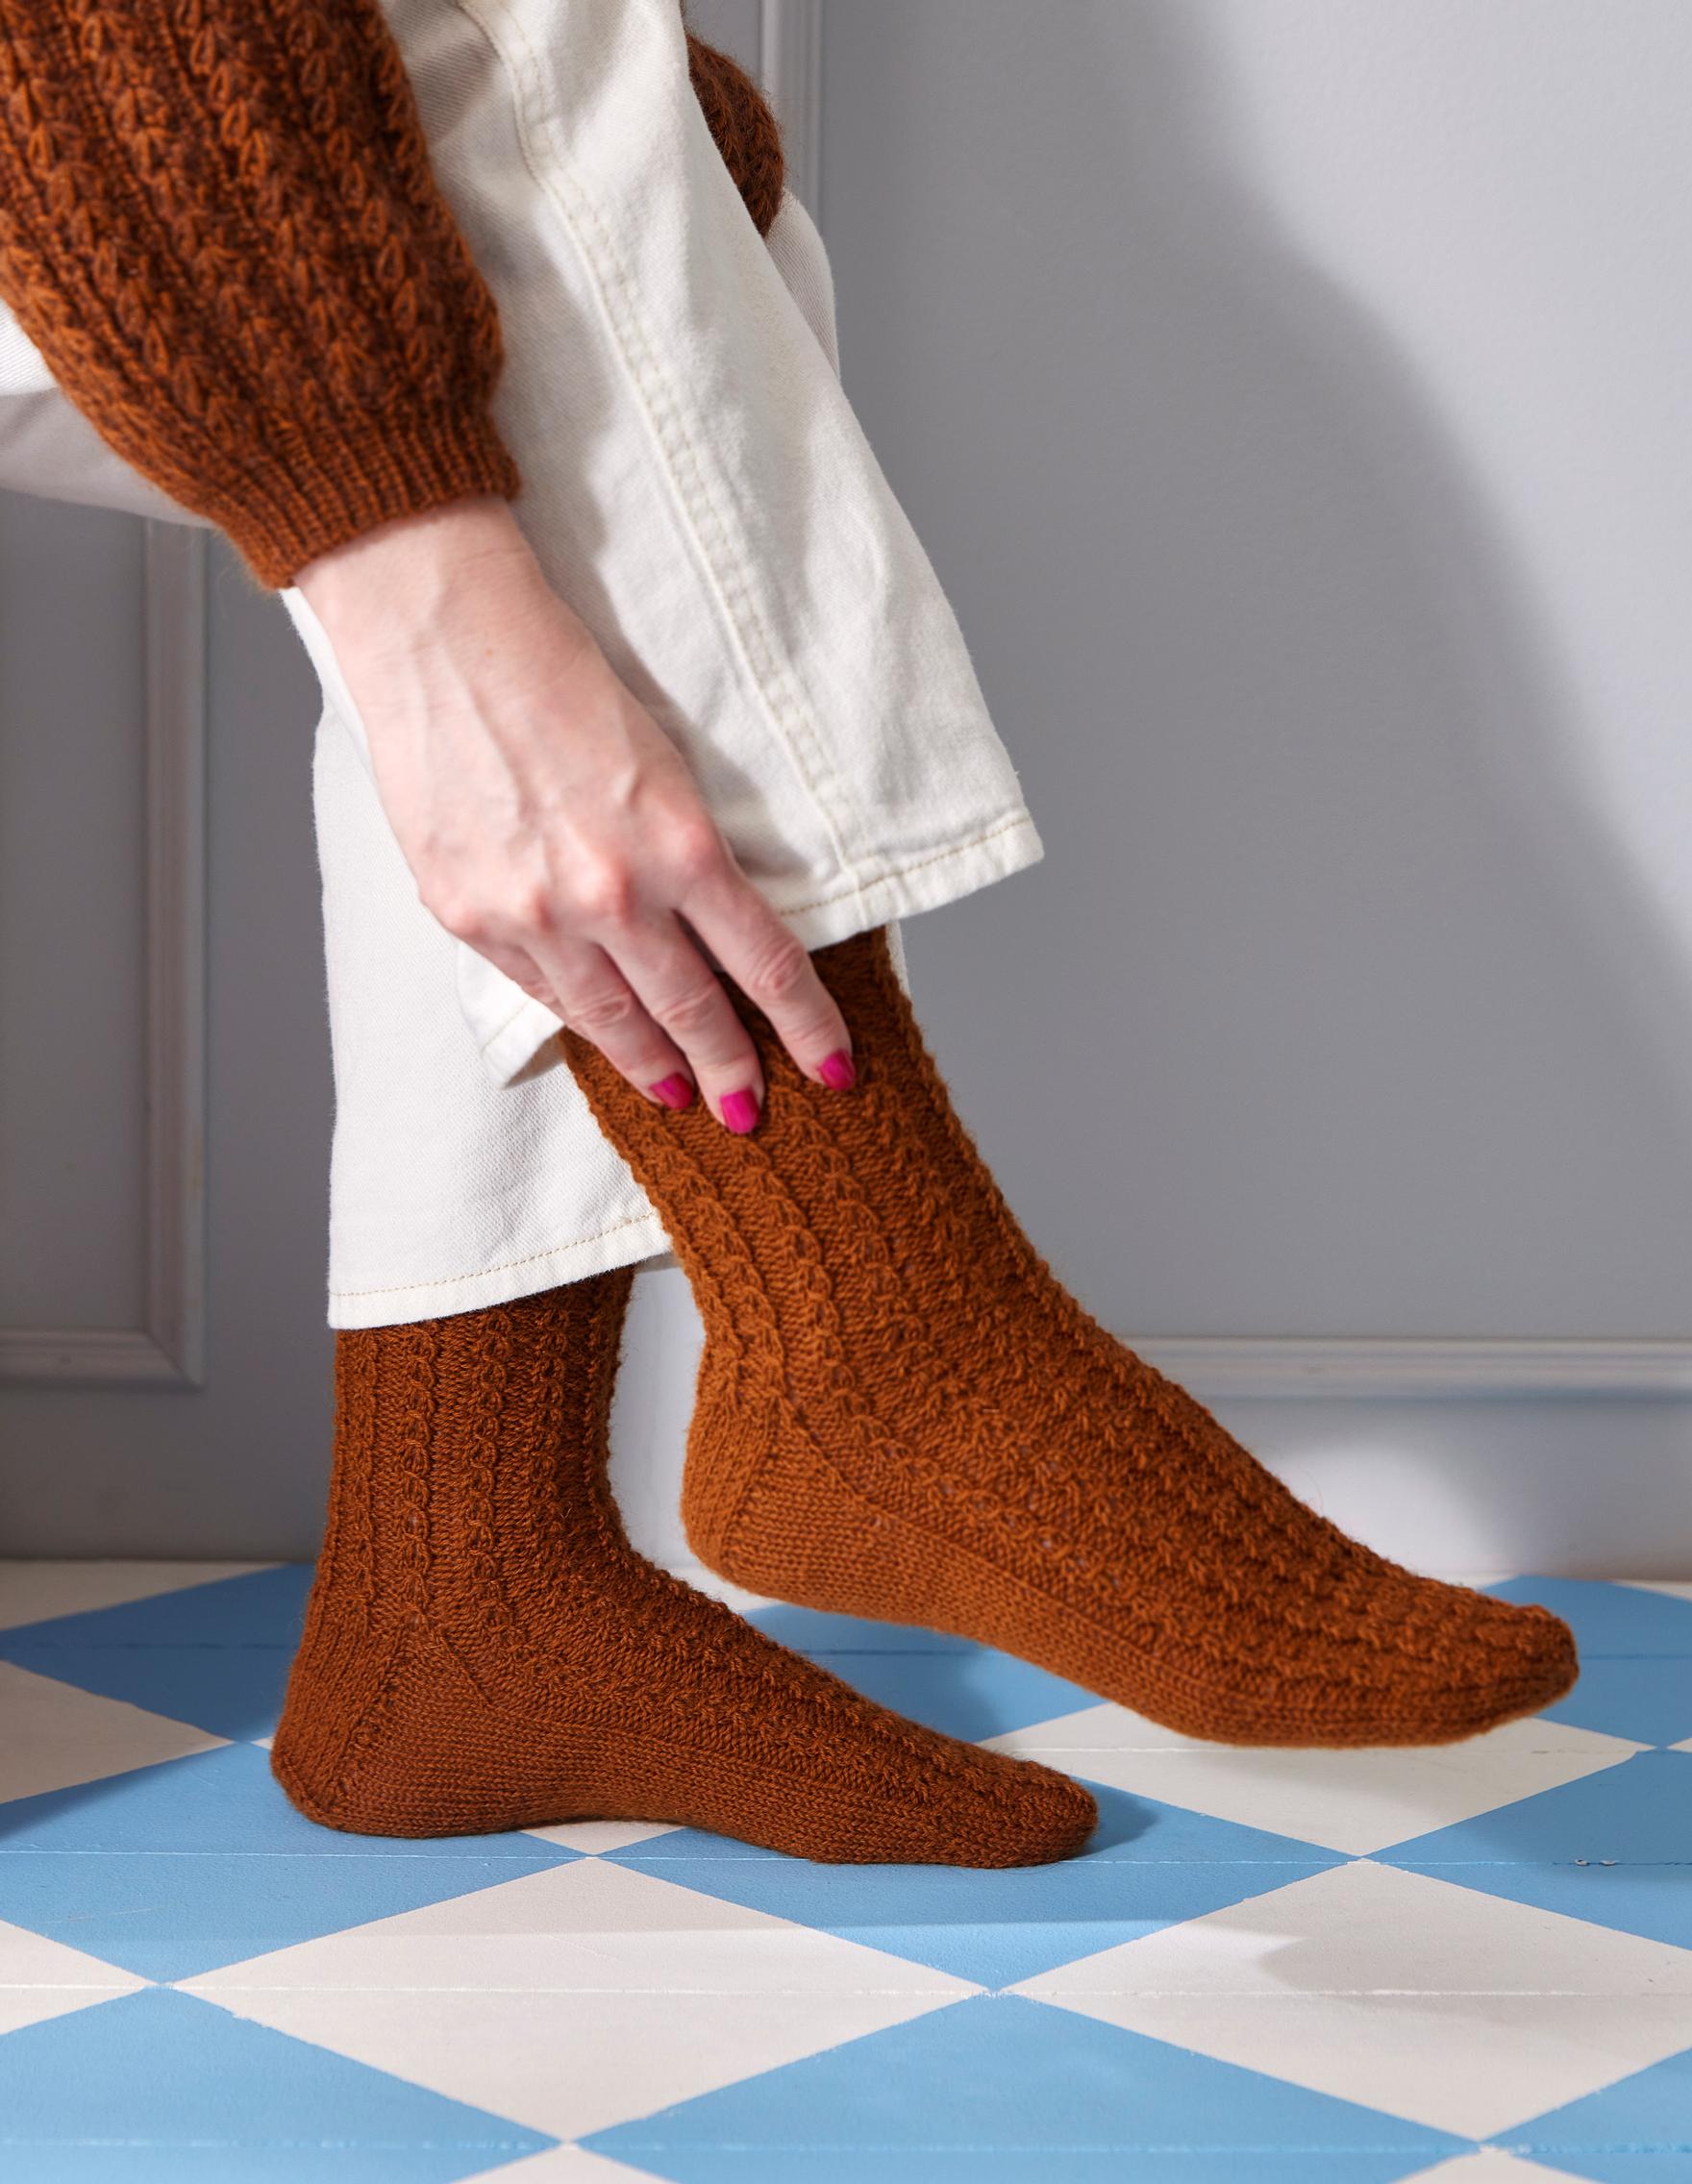
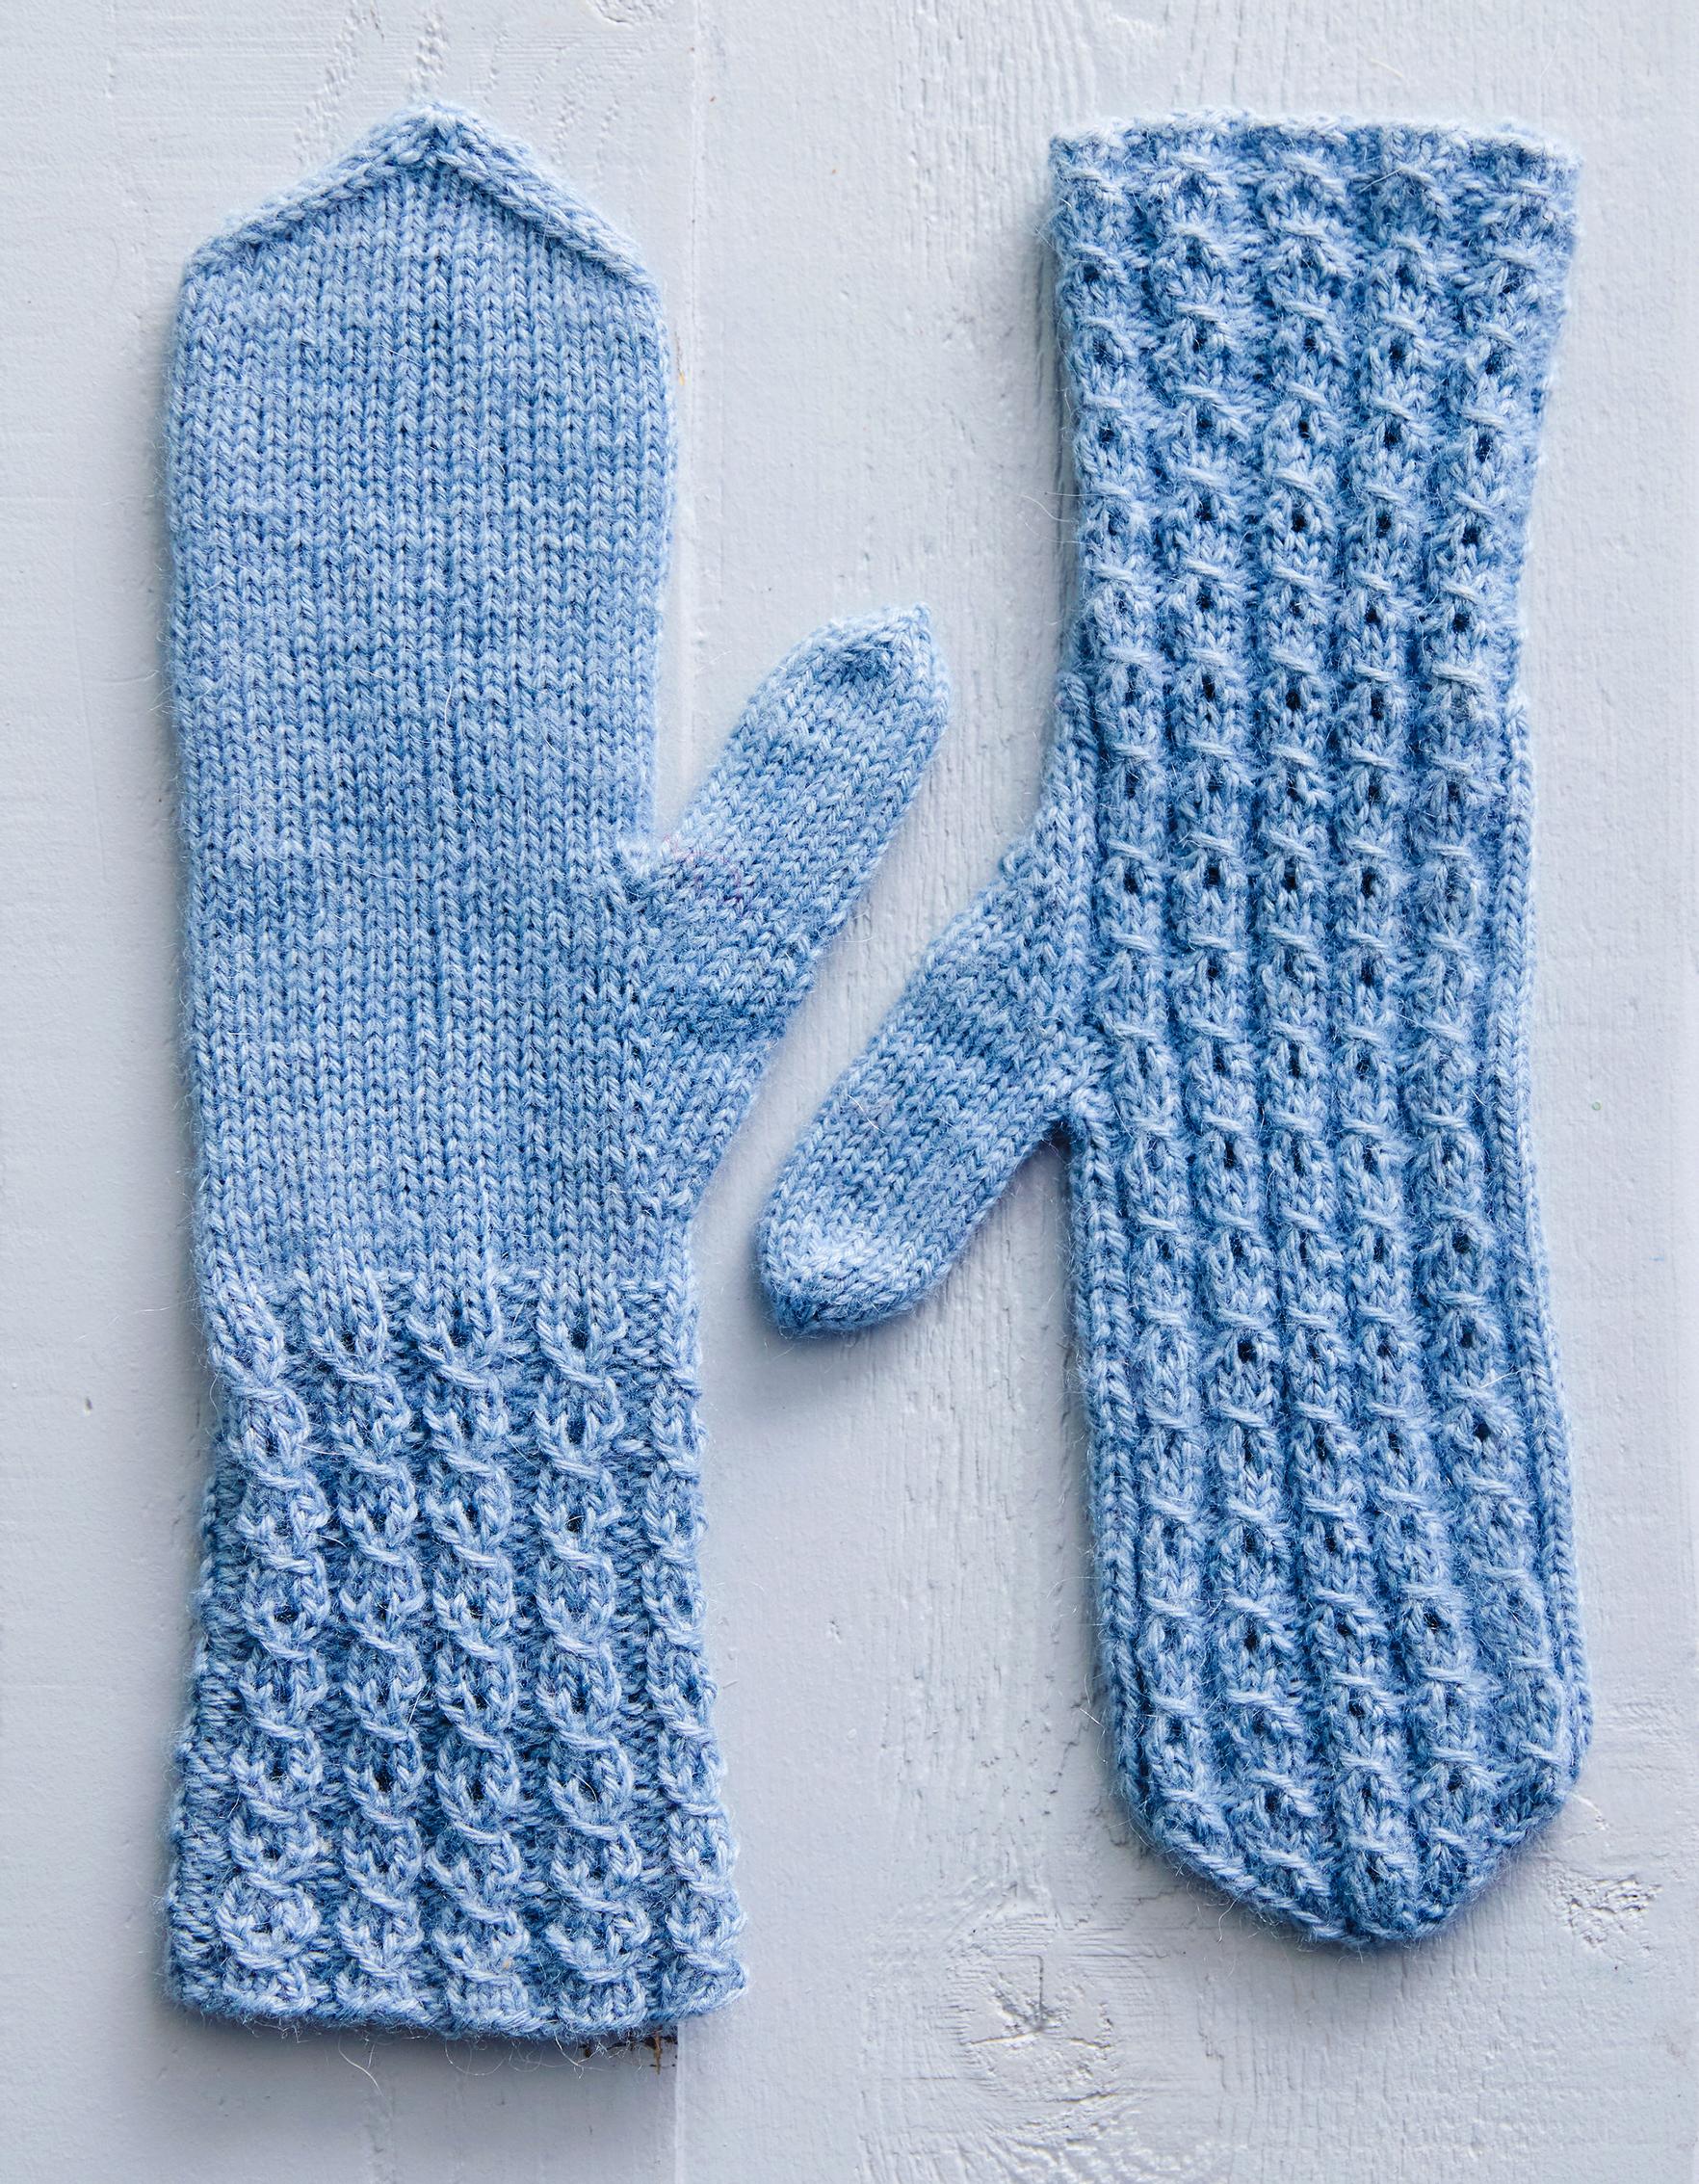
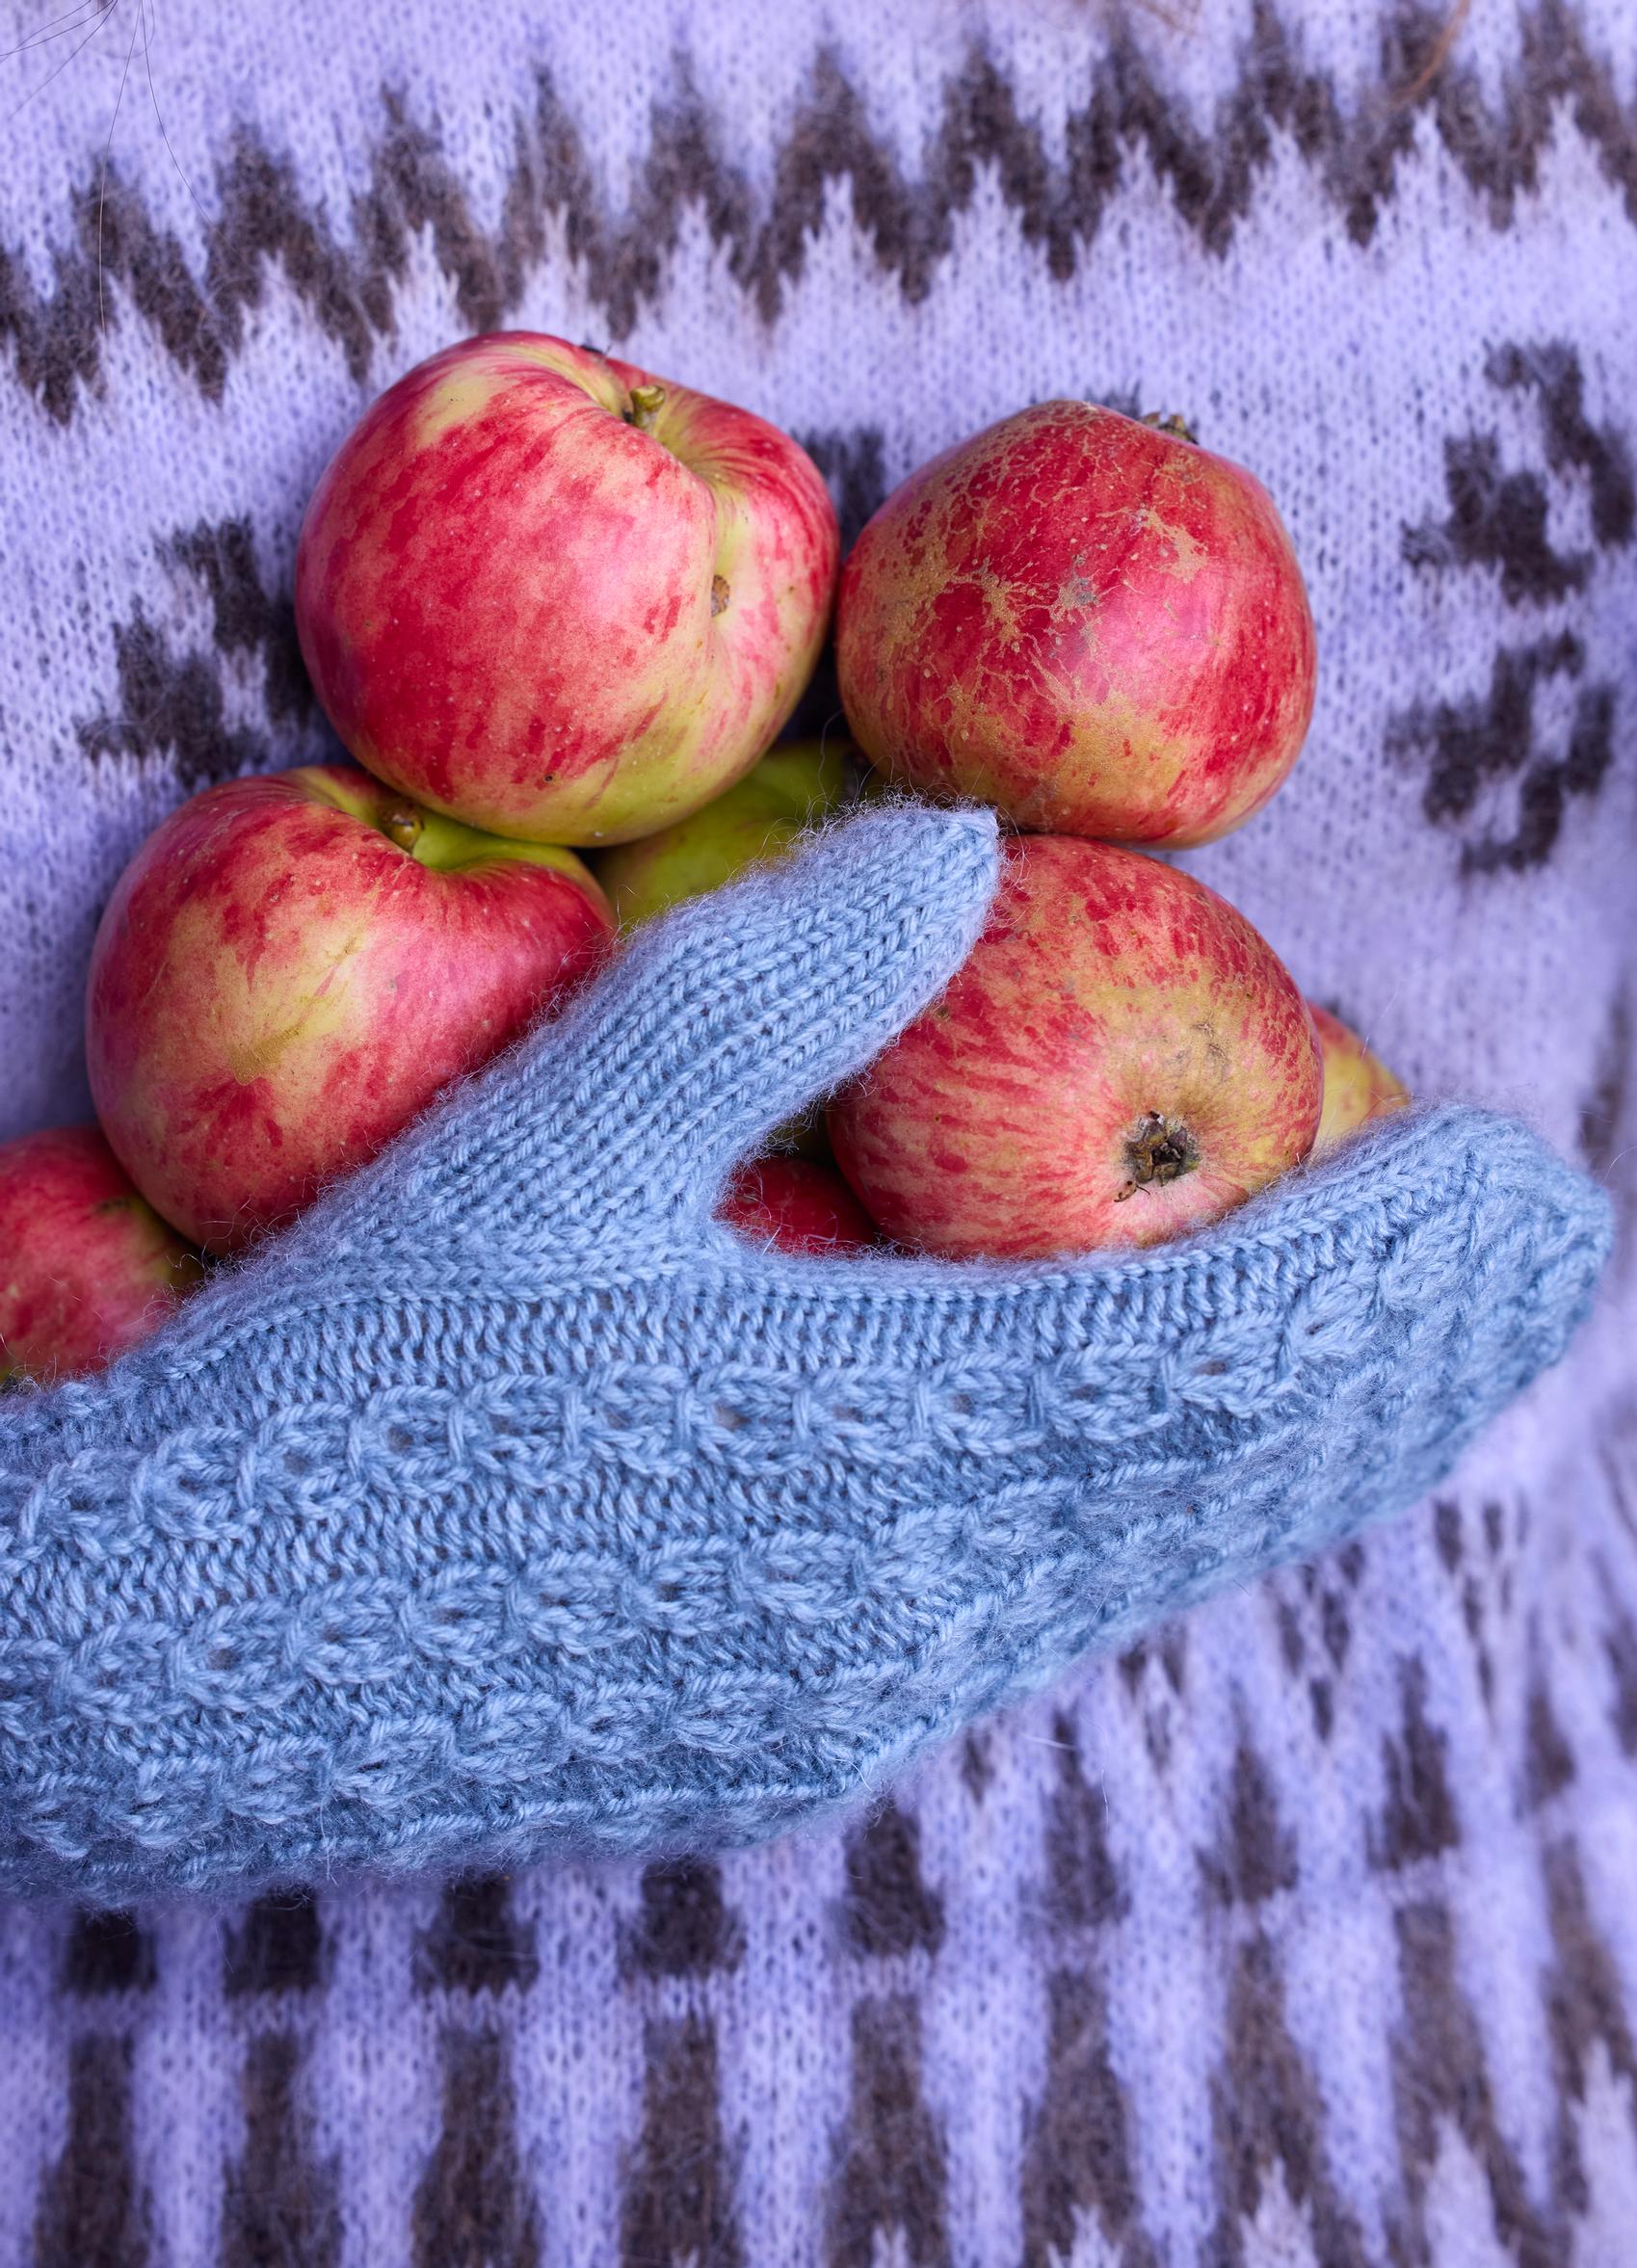
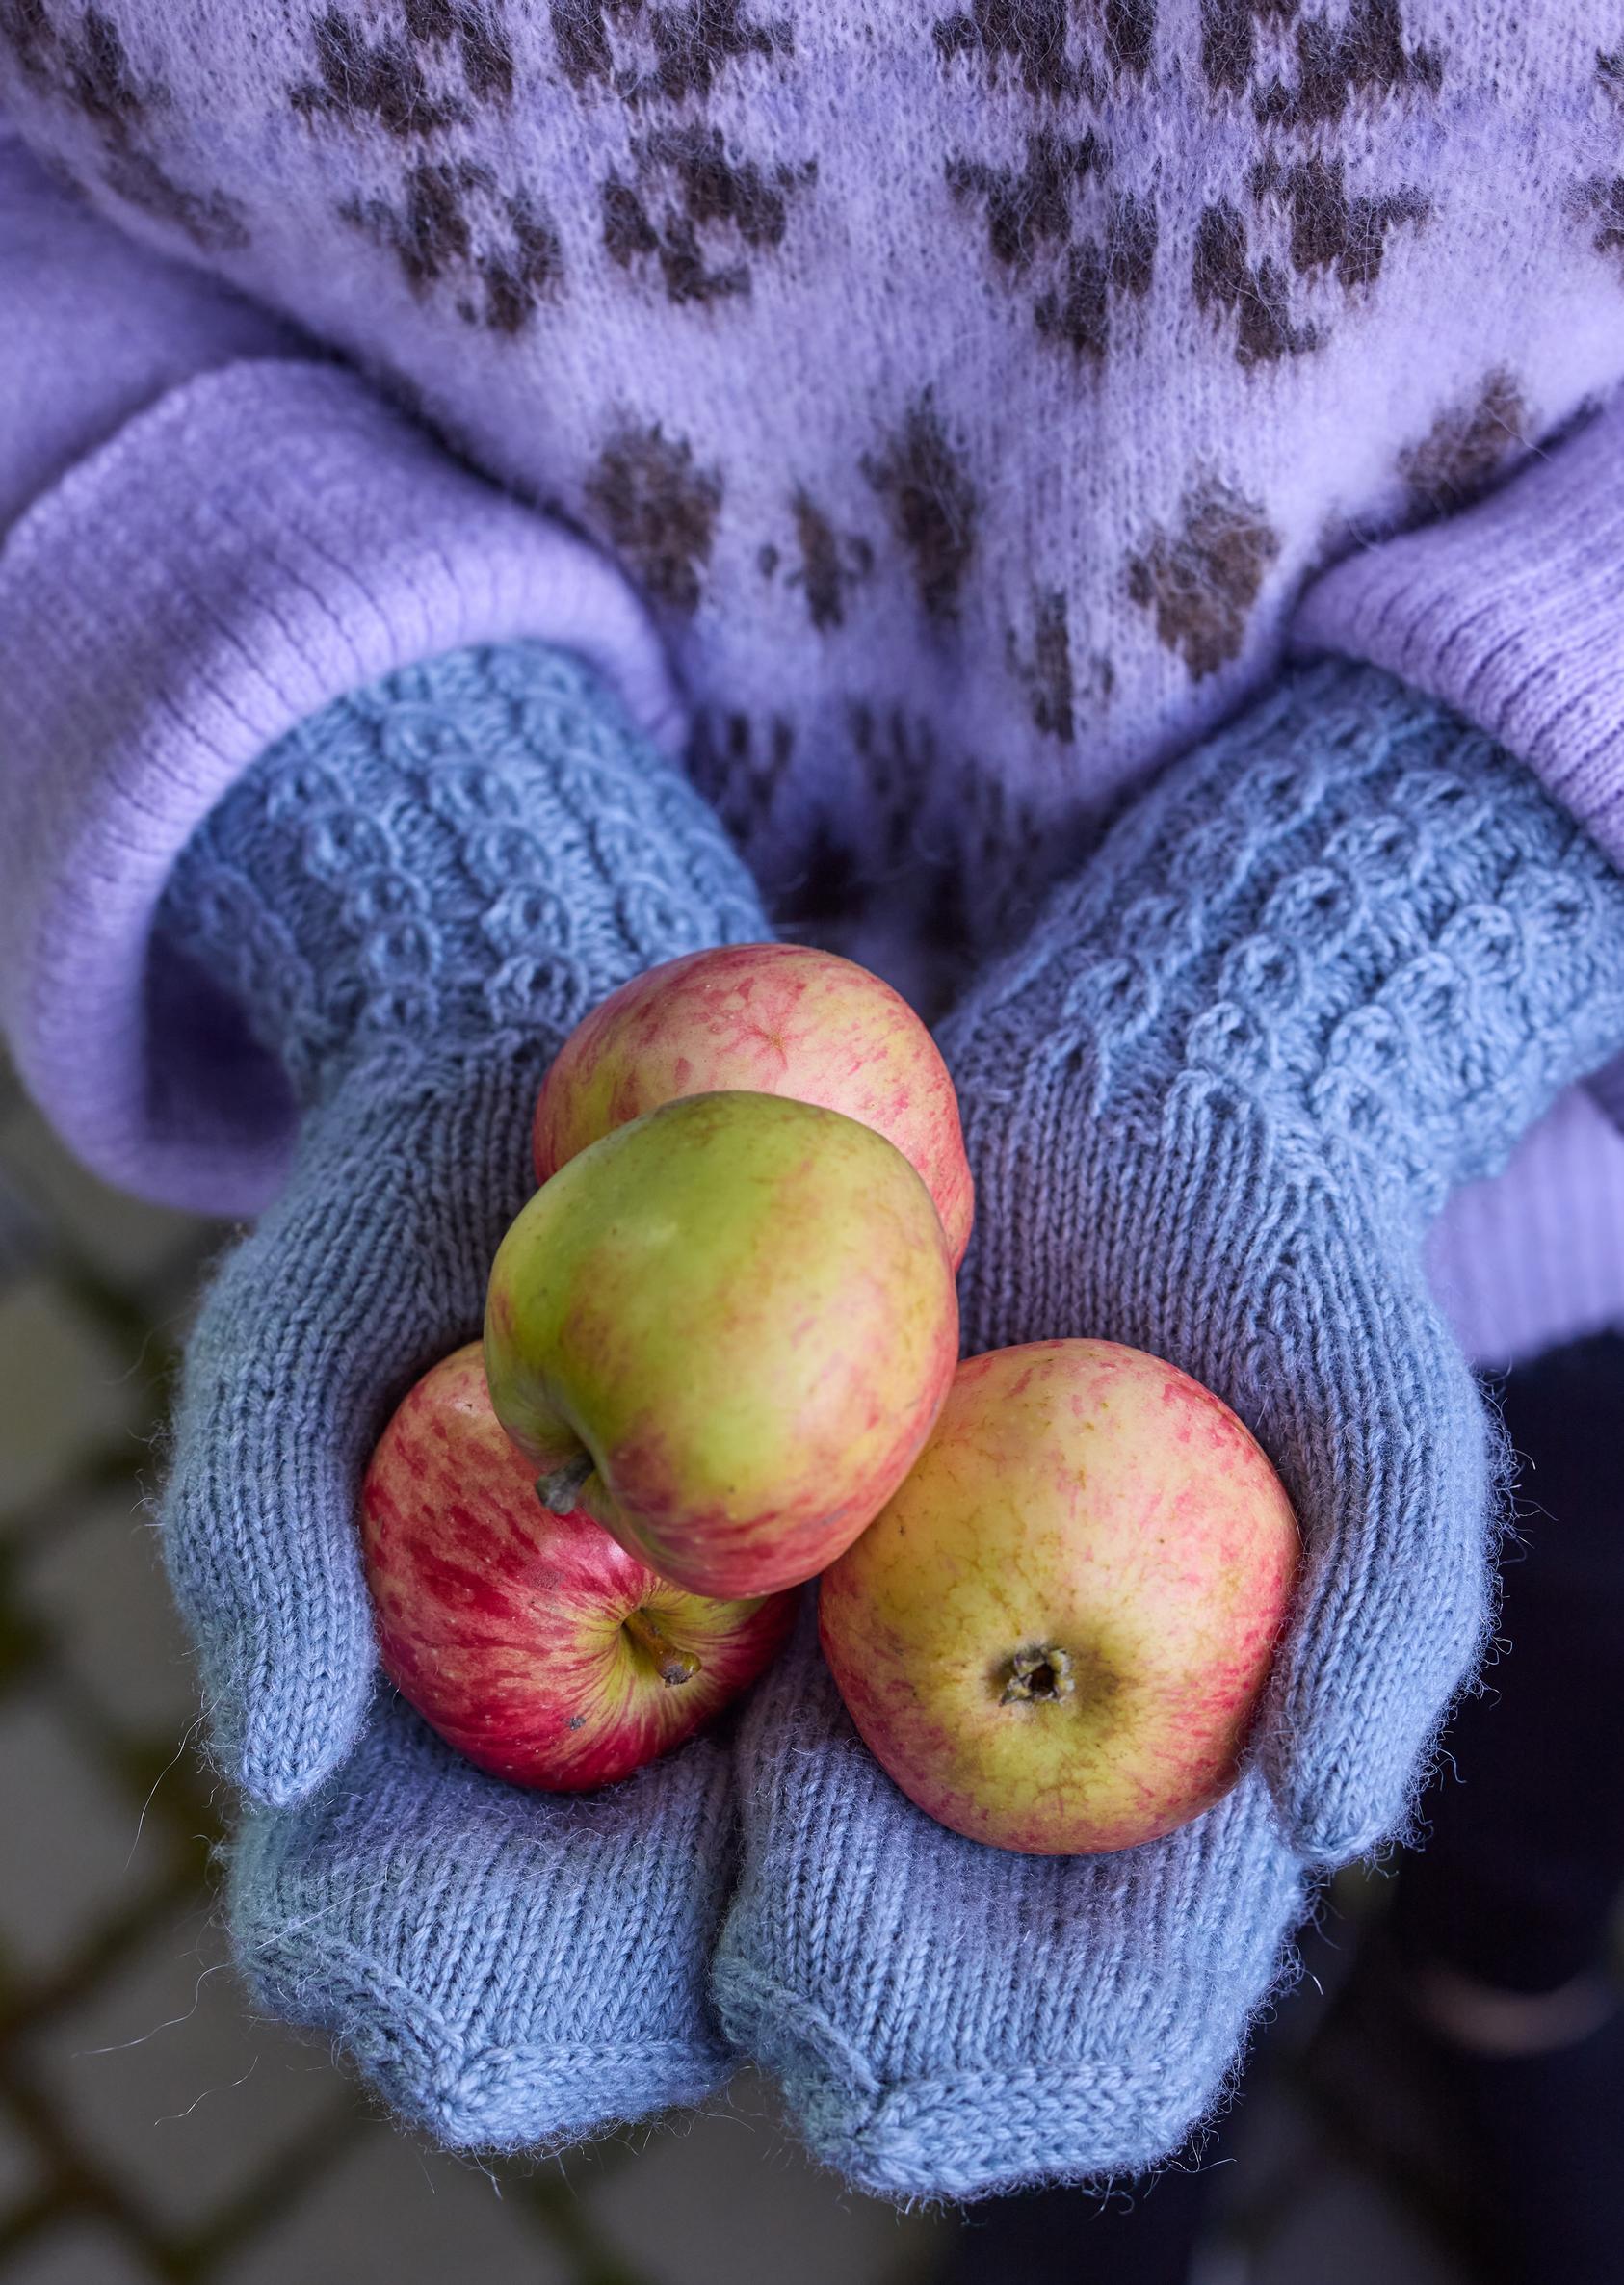
Mock cable mittens: this winter’s favorite mittens are surprisingly easy to make
These mock cable mittens may look intricate, but the decorative braided pattern is made without a cable needle. The stretchy faux cable continues all the way to the fingertips, while the palm side is knit in stockinette.
Size: for women.
Finished mitten measurements: Length from the cuff to the tip is about 27 cm, width across the palm (unstretched) is about 7.5 cm, and thumb length from the base of the gusset is about 9 cm. The mittens fit snugly, but the mock cable pattern is stretchy.
Mock cable mittens: supplies
- 1 ball of Novita Helene yarn (60% merino wool, 30% silk, 10% mohair, 50 g = 200 m) in shade 1151 Horizon (you will need about 40 g for these mittens)
- double-pointed needles 3.5 mm (US 4) or size needed to meet gauge
- tapestry needle
Gauge: 34 sts and 38 rnds in mock cable and 25 sts and 40 rnds in stockinette = 10 × 10 cm.
Abbreviations
- k: knit, knit stitch
- p: purl, purl stitch
- st: stitch
- rnd: round
- M1: make 1 stitch


How to knit the Mock cable mittens
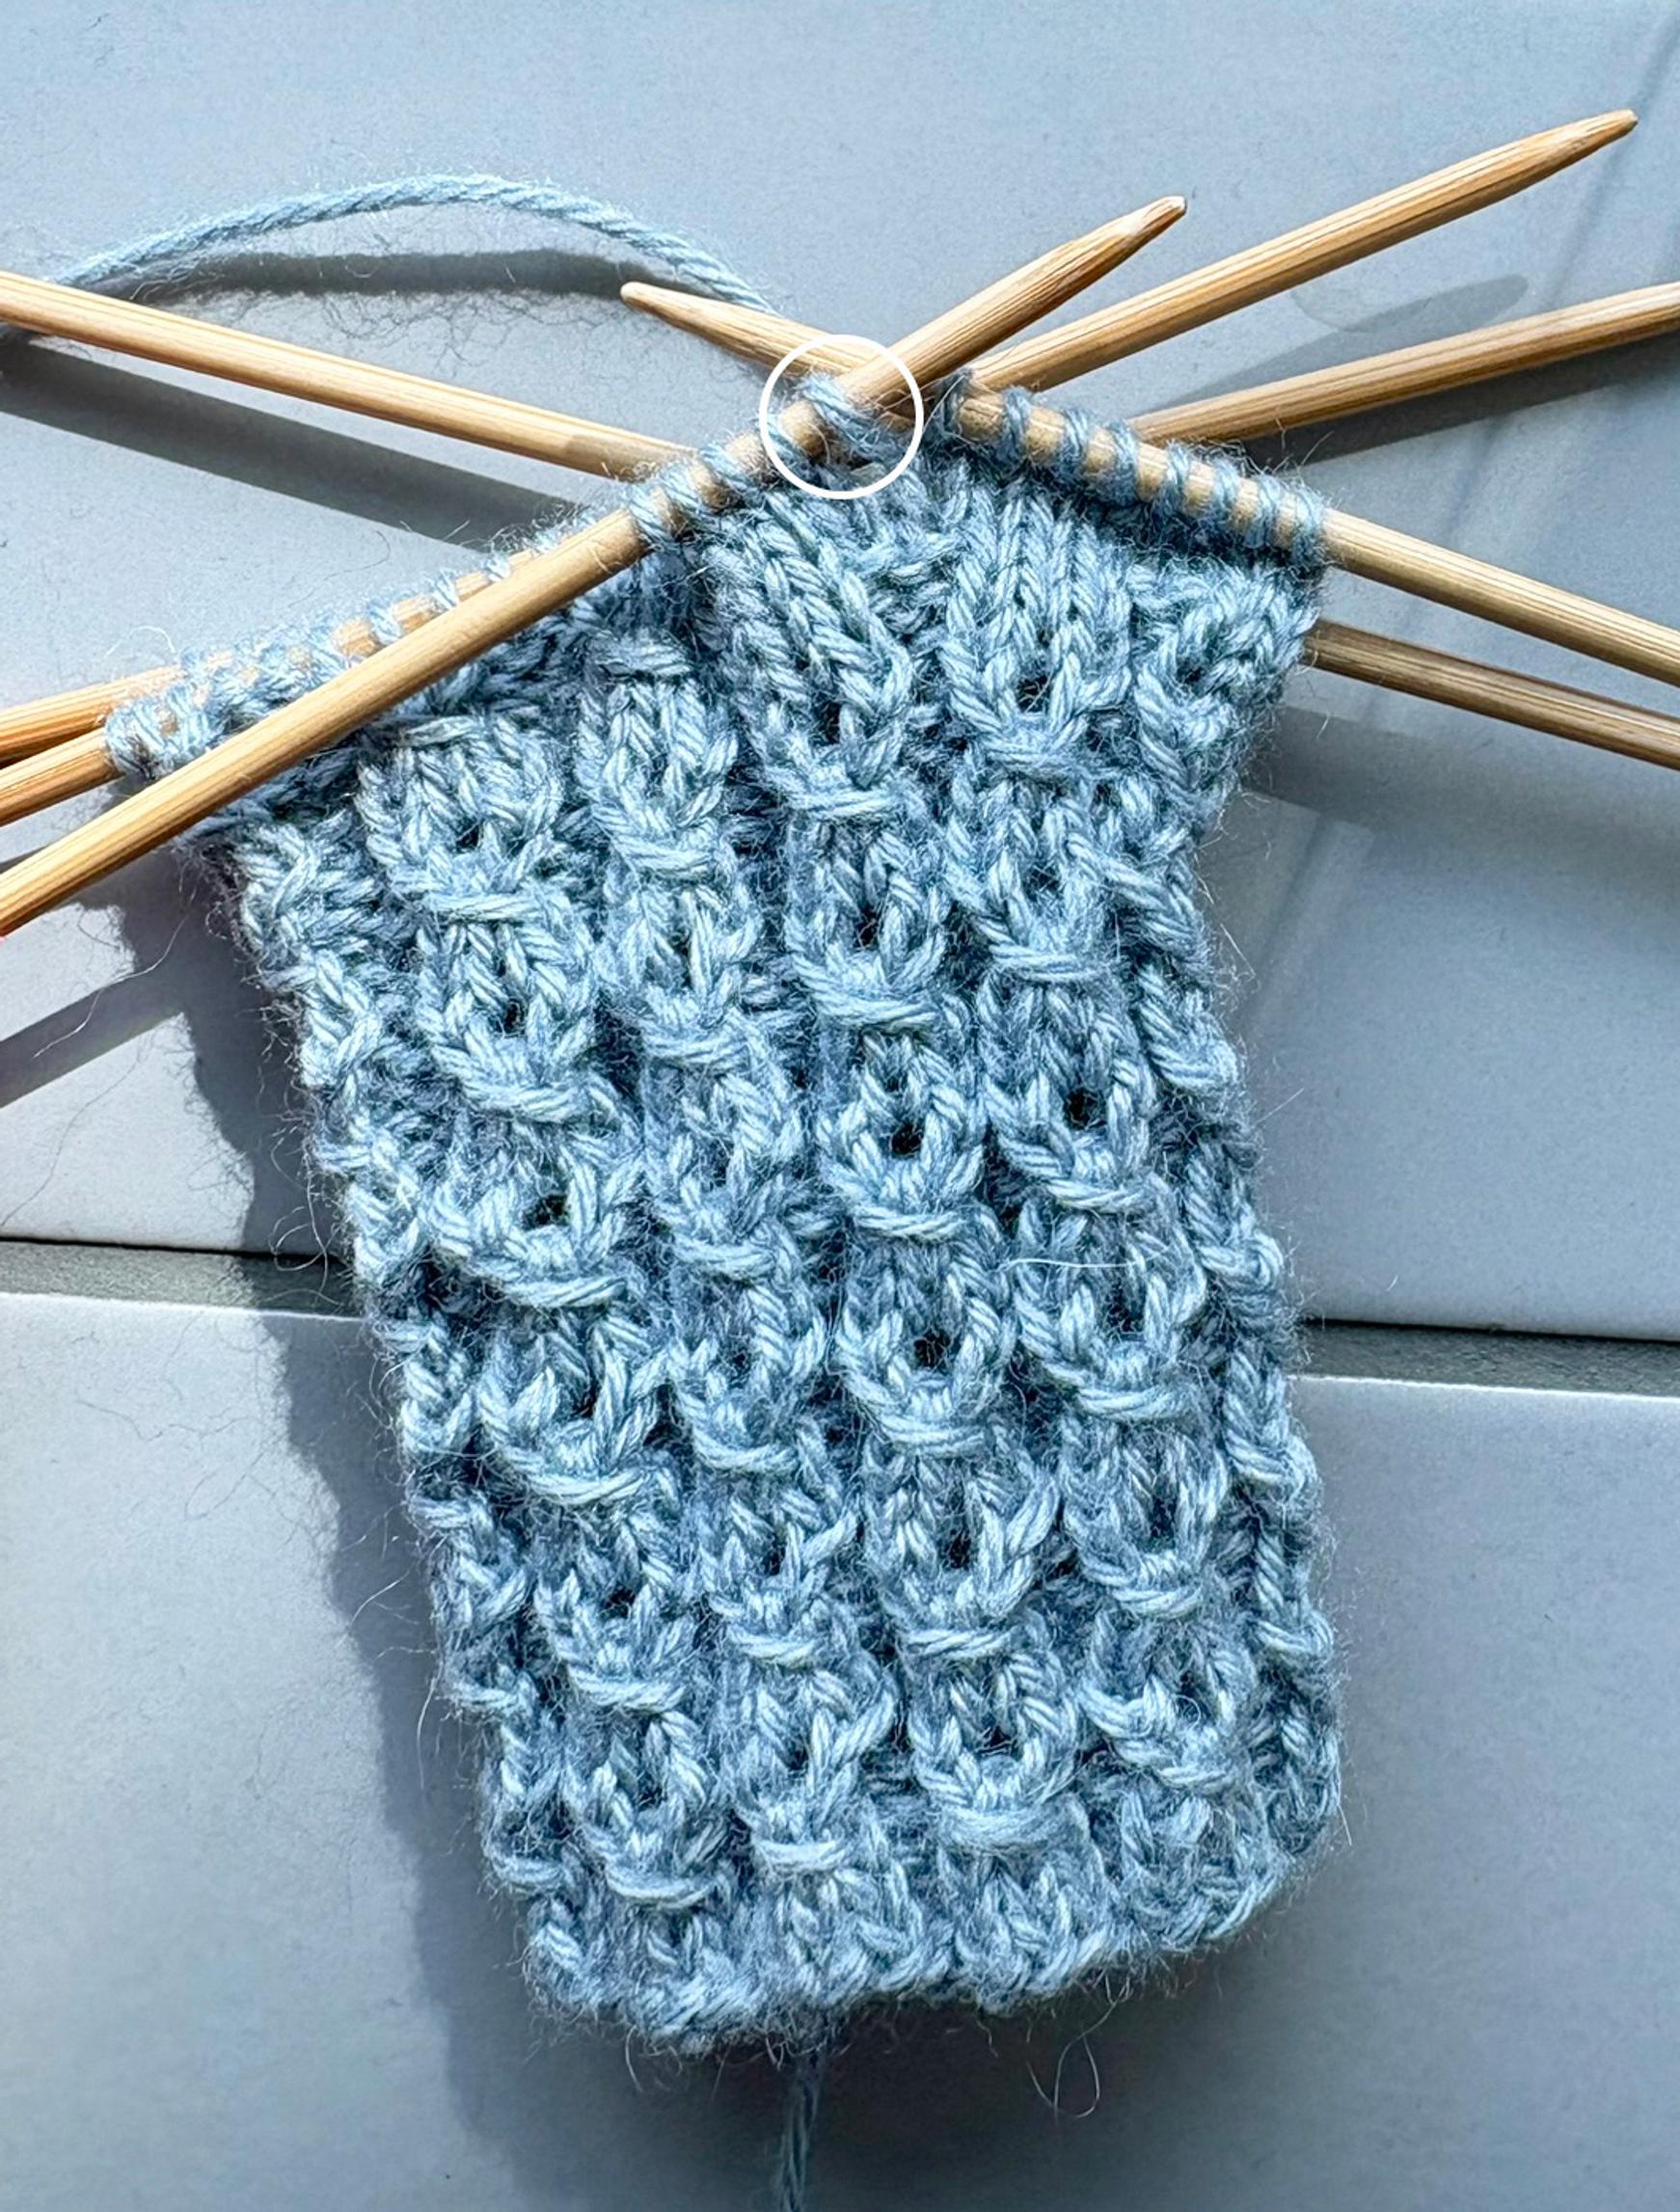
Begin with the left-hand mitten. Cast on 50 sts. Distribute the sts on four needles as 13-12-13-12 sts. Join to work in the round. The beginning of the rnd is always between needles 1 and 4.
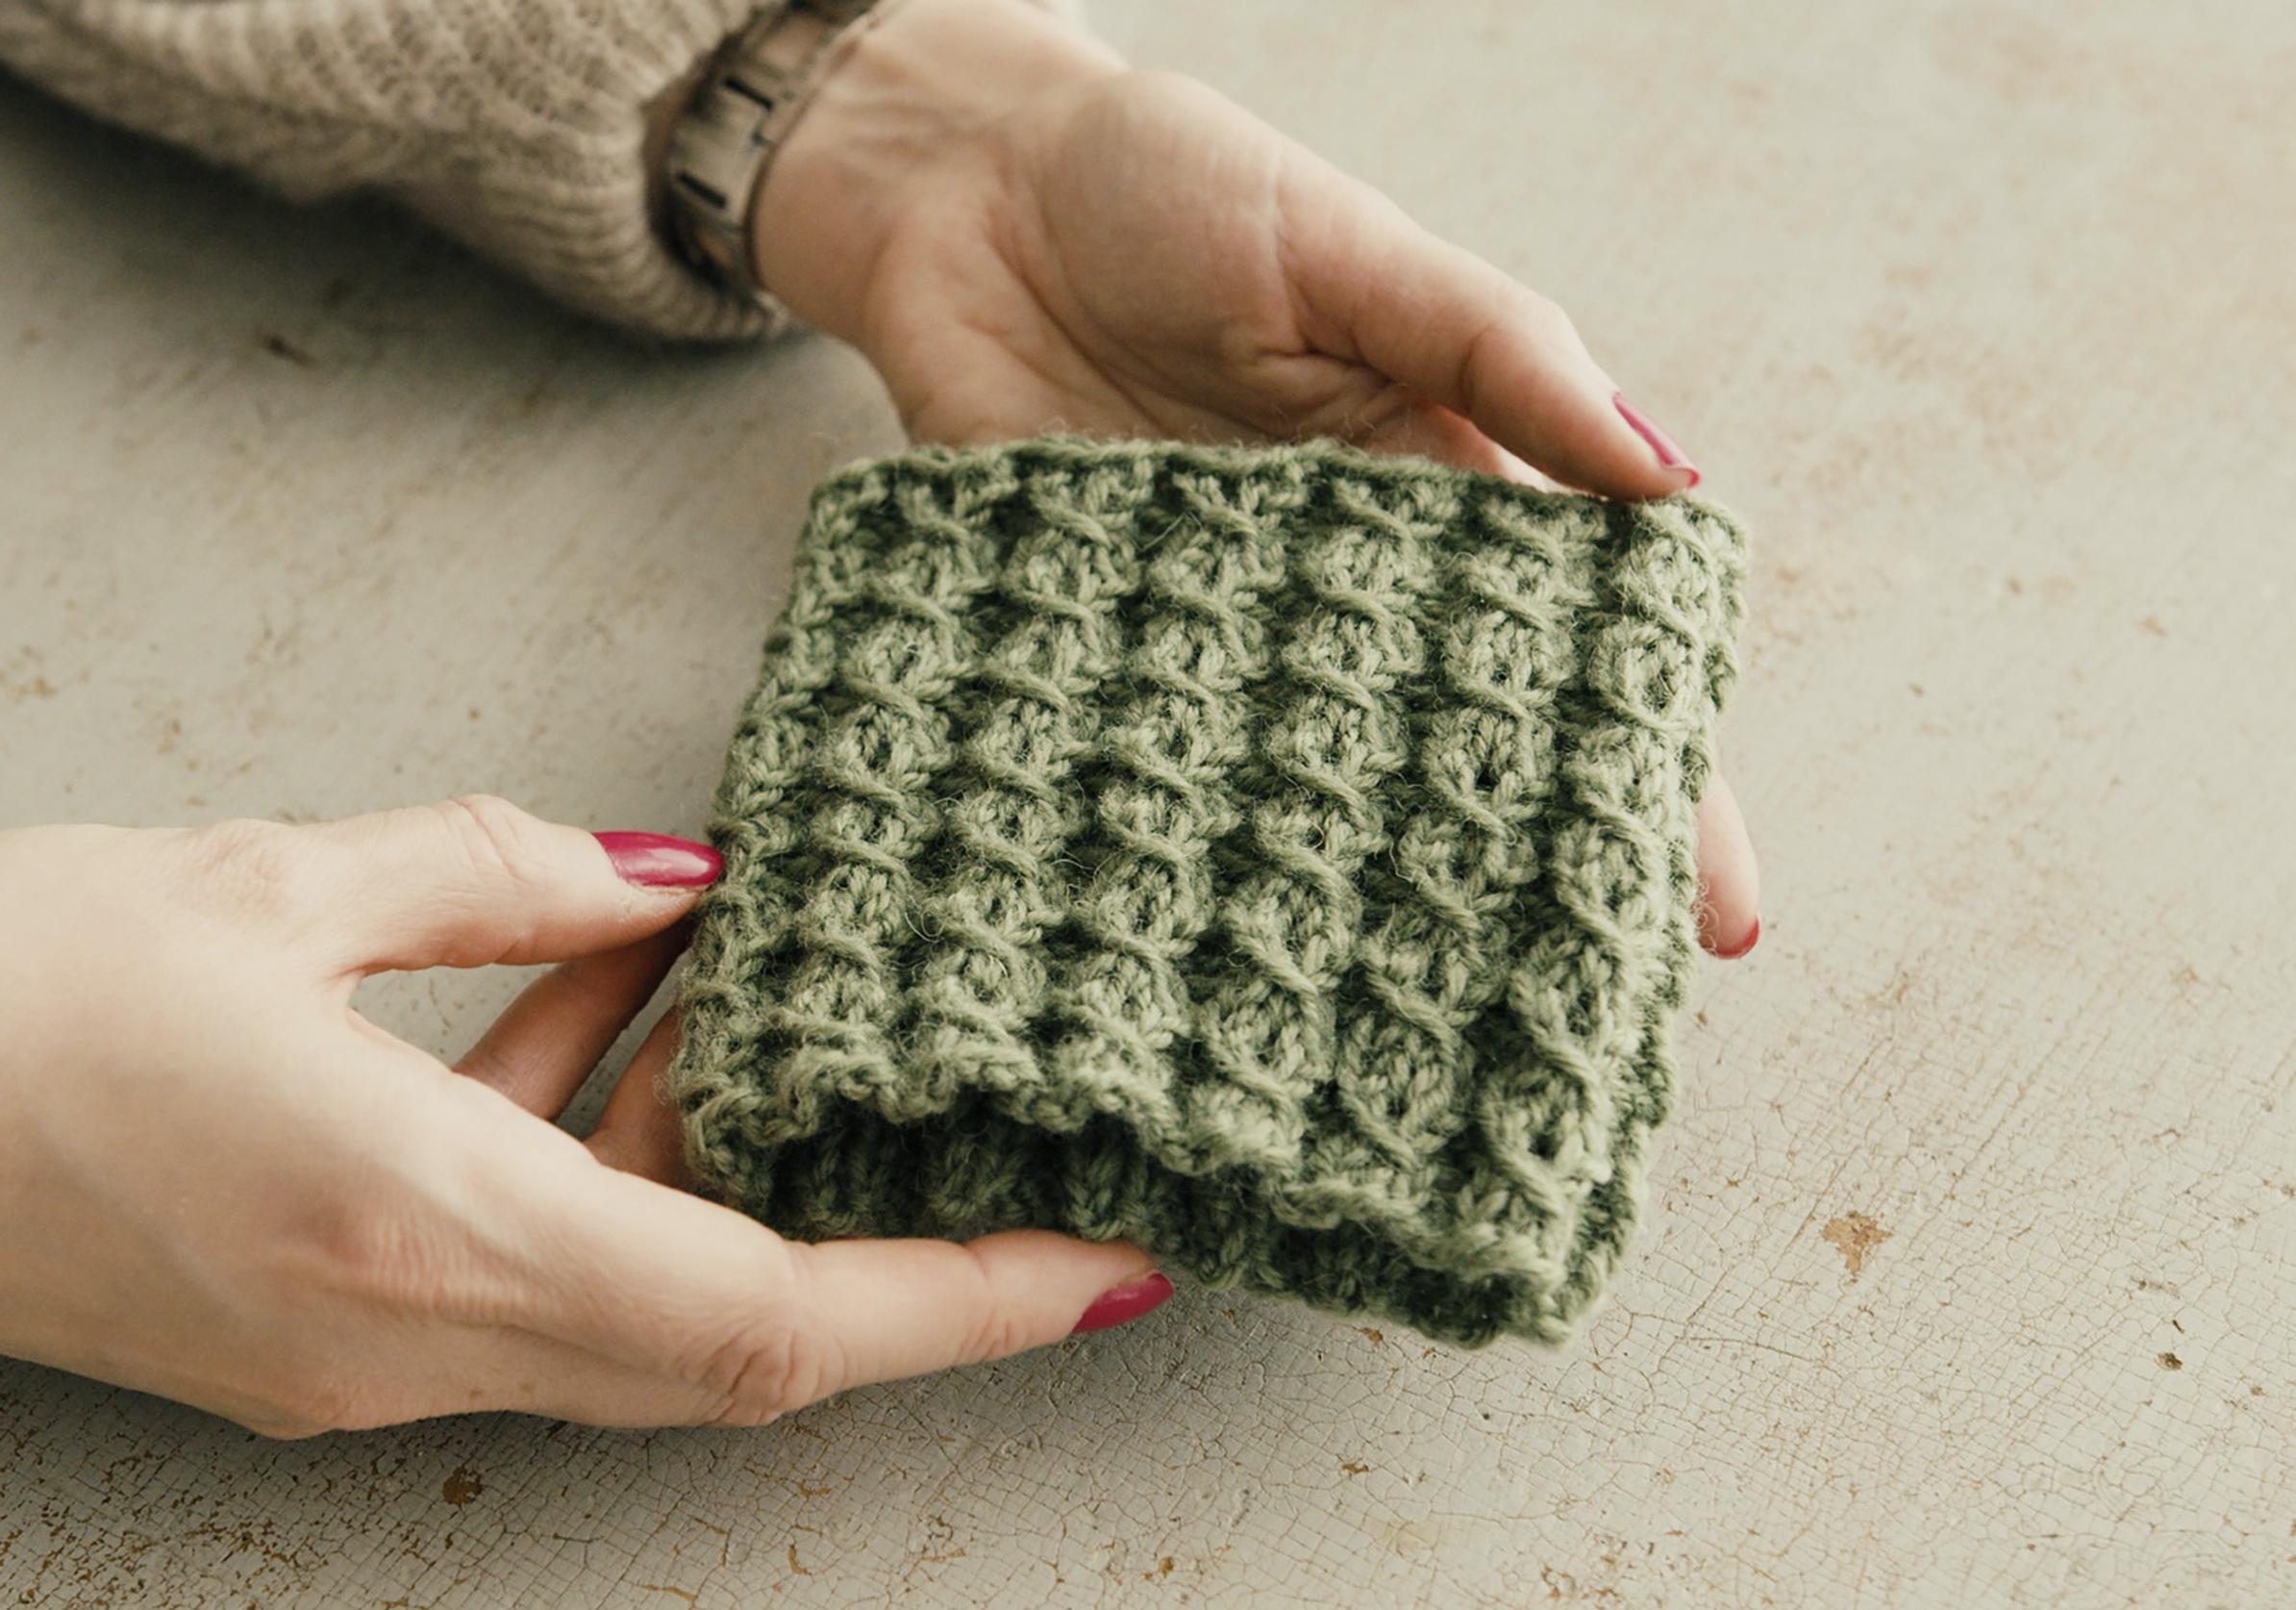
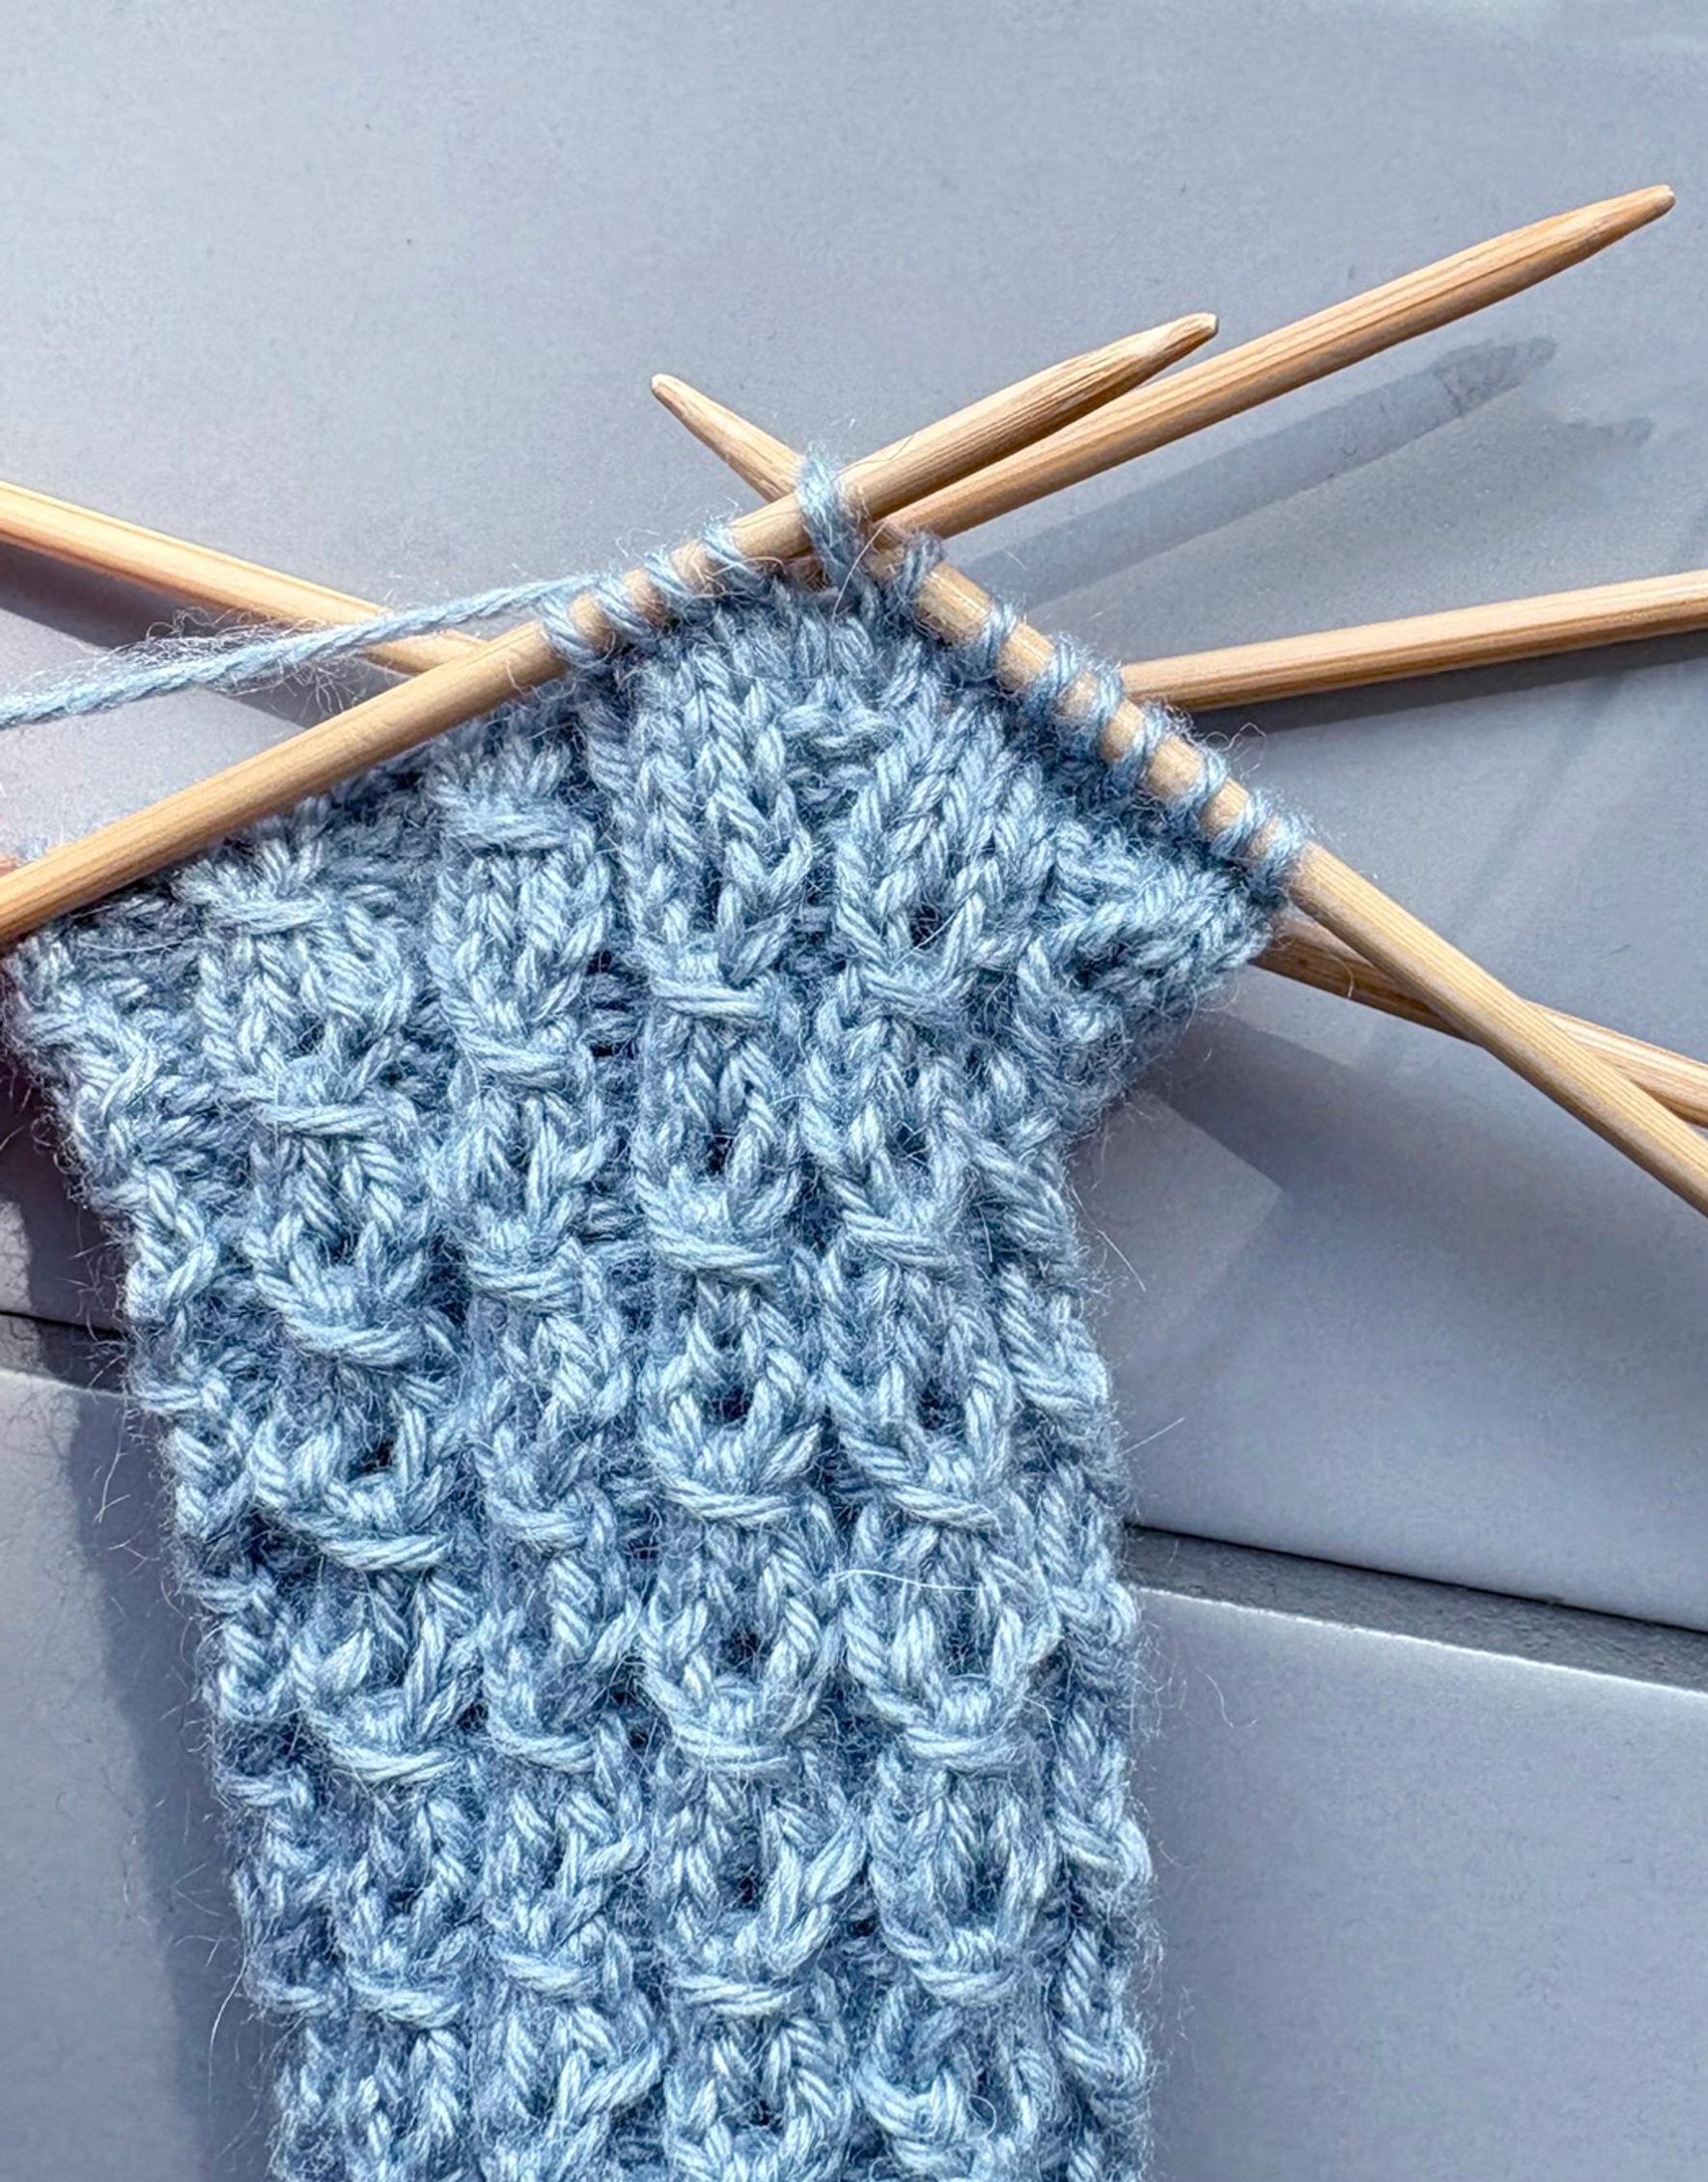
Work 3 rnds of [k3, p2] ribbing, then begin the mock cable pattern:
- Rnd 1: *Slip 1 st, k2, pass the slipped st over the 2 knitted sts, p2.* Repeat from * to * until the end of rnd.
- Rnd 2: *K1, yo, k1, p2.* Repeat from * to * until the end of rnd.
- Rnds 3–5: *K3, p2.* Repeat from * to * until the end of rnd.
Repeat rnds 1–5 until the cuff measures about 10 cm (or your desired length), ending with rnd 5. Then redistribute the sts so that needles 1 and 2 hold a total of 23 sts, and needles 3 and 4 hold a total of 27 sts. Move two purl sts from the end of needle 2 to needle 3.
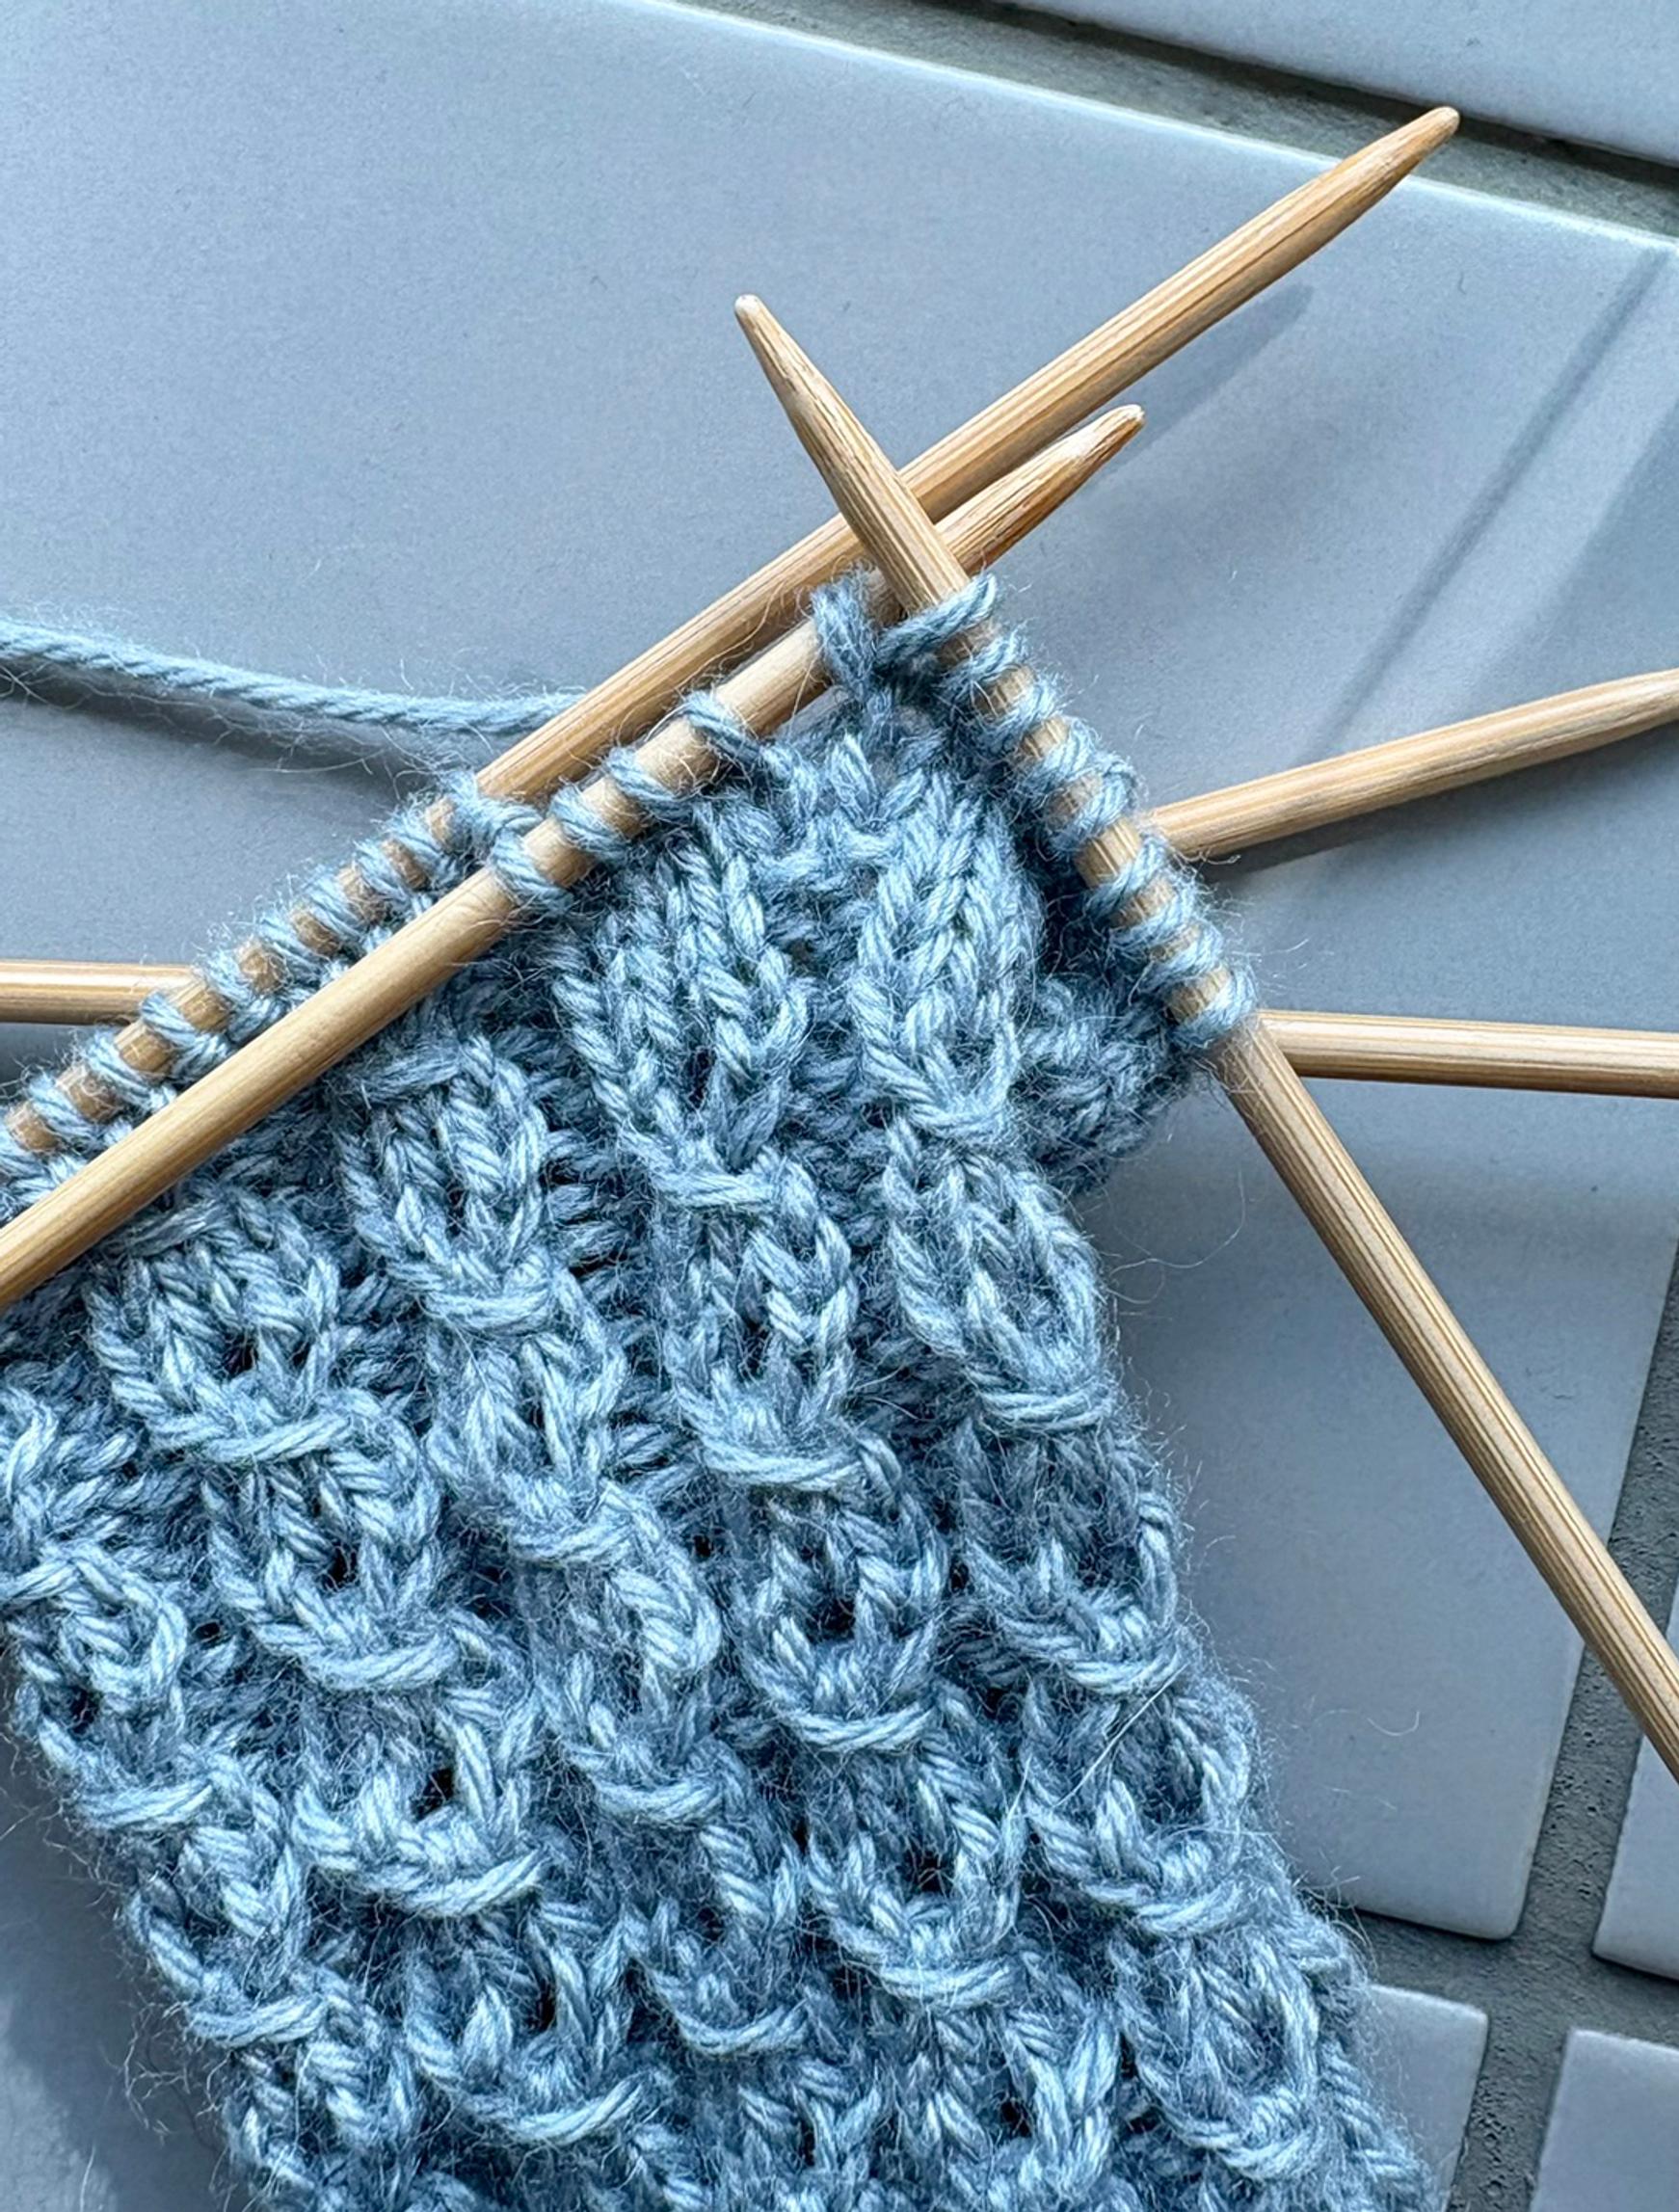
Knit 5 rnds of stockinette on needles 1 and 2 (the palm side) and continue the mock cable pattern on needles 3 and 4 (the back of the hand). From now on, p2 at the beginning of needle 3 before continuing the mock cable pattern to the end of the rnd.
Then begin thumb gusset increases: knit the sts on needles 1 and 2, until 4 sts remain on needle 2. *M1, k2, M1, k2.* Repeat from * to * every 3rd rnd, a total of 6 times. Each increase rnd adds two sts between the increases. The finished thumb gusset has 14 sts.
The thumb gusset increase step by step


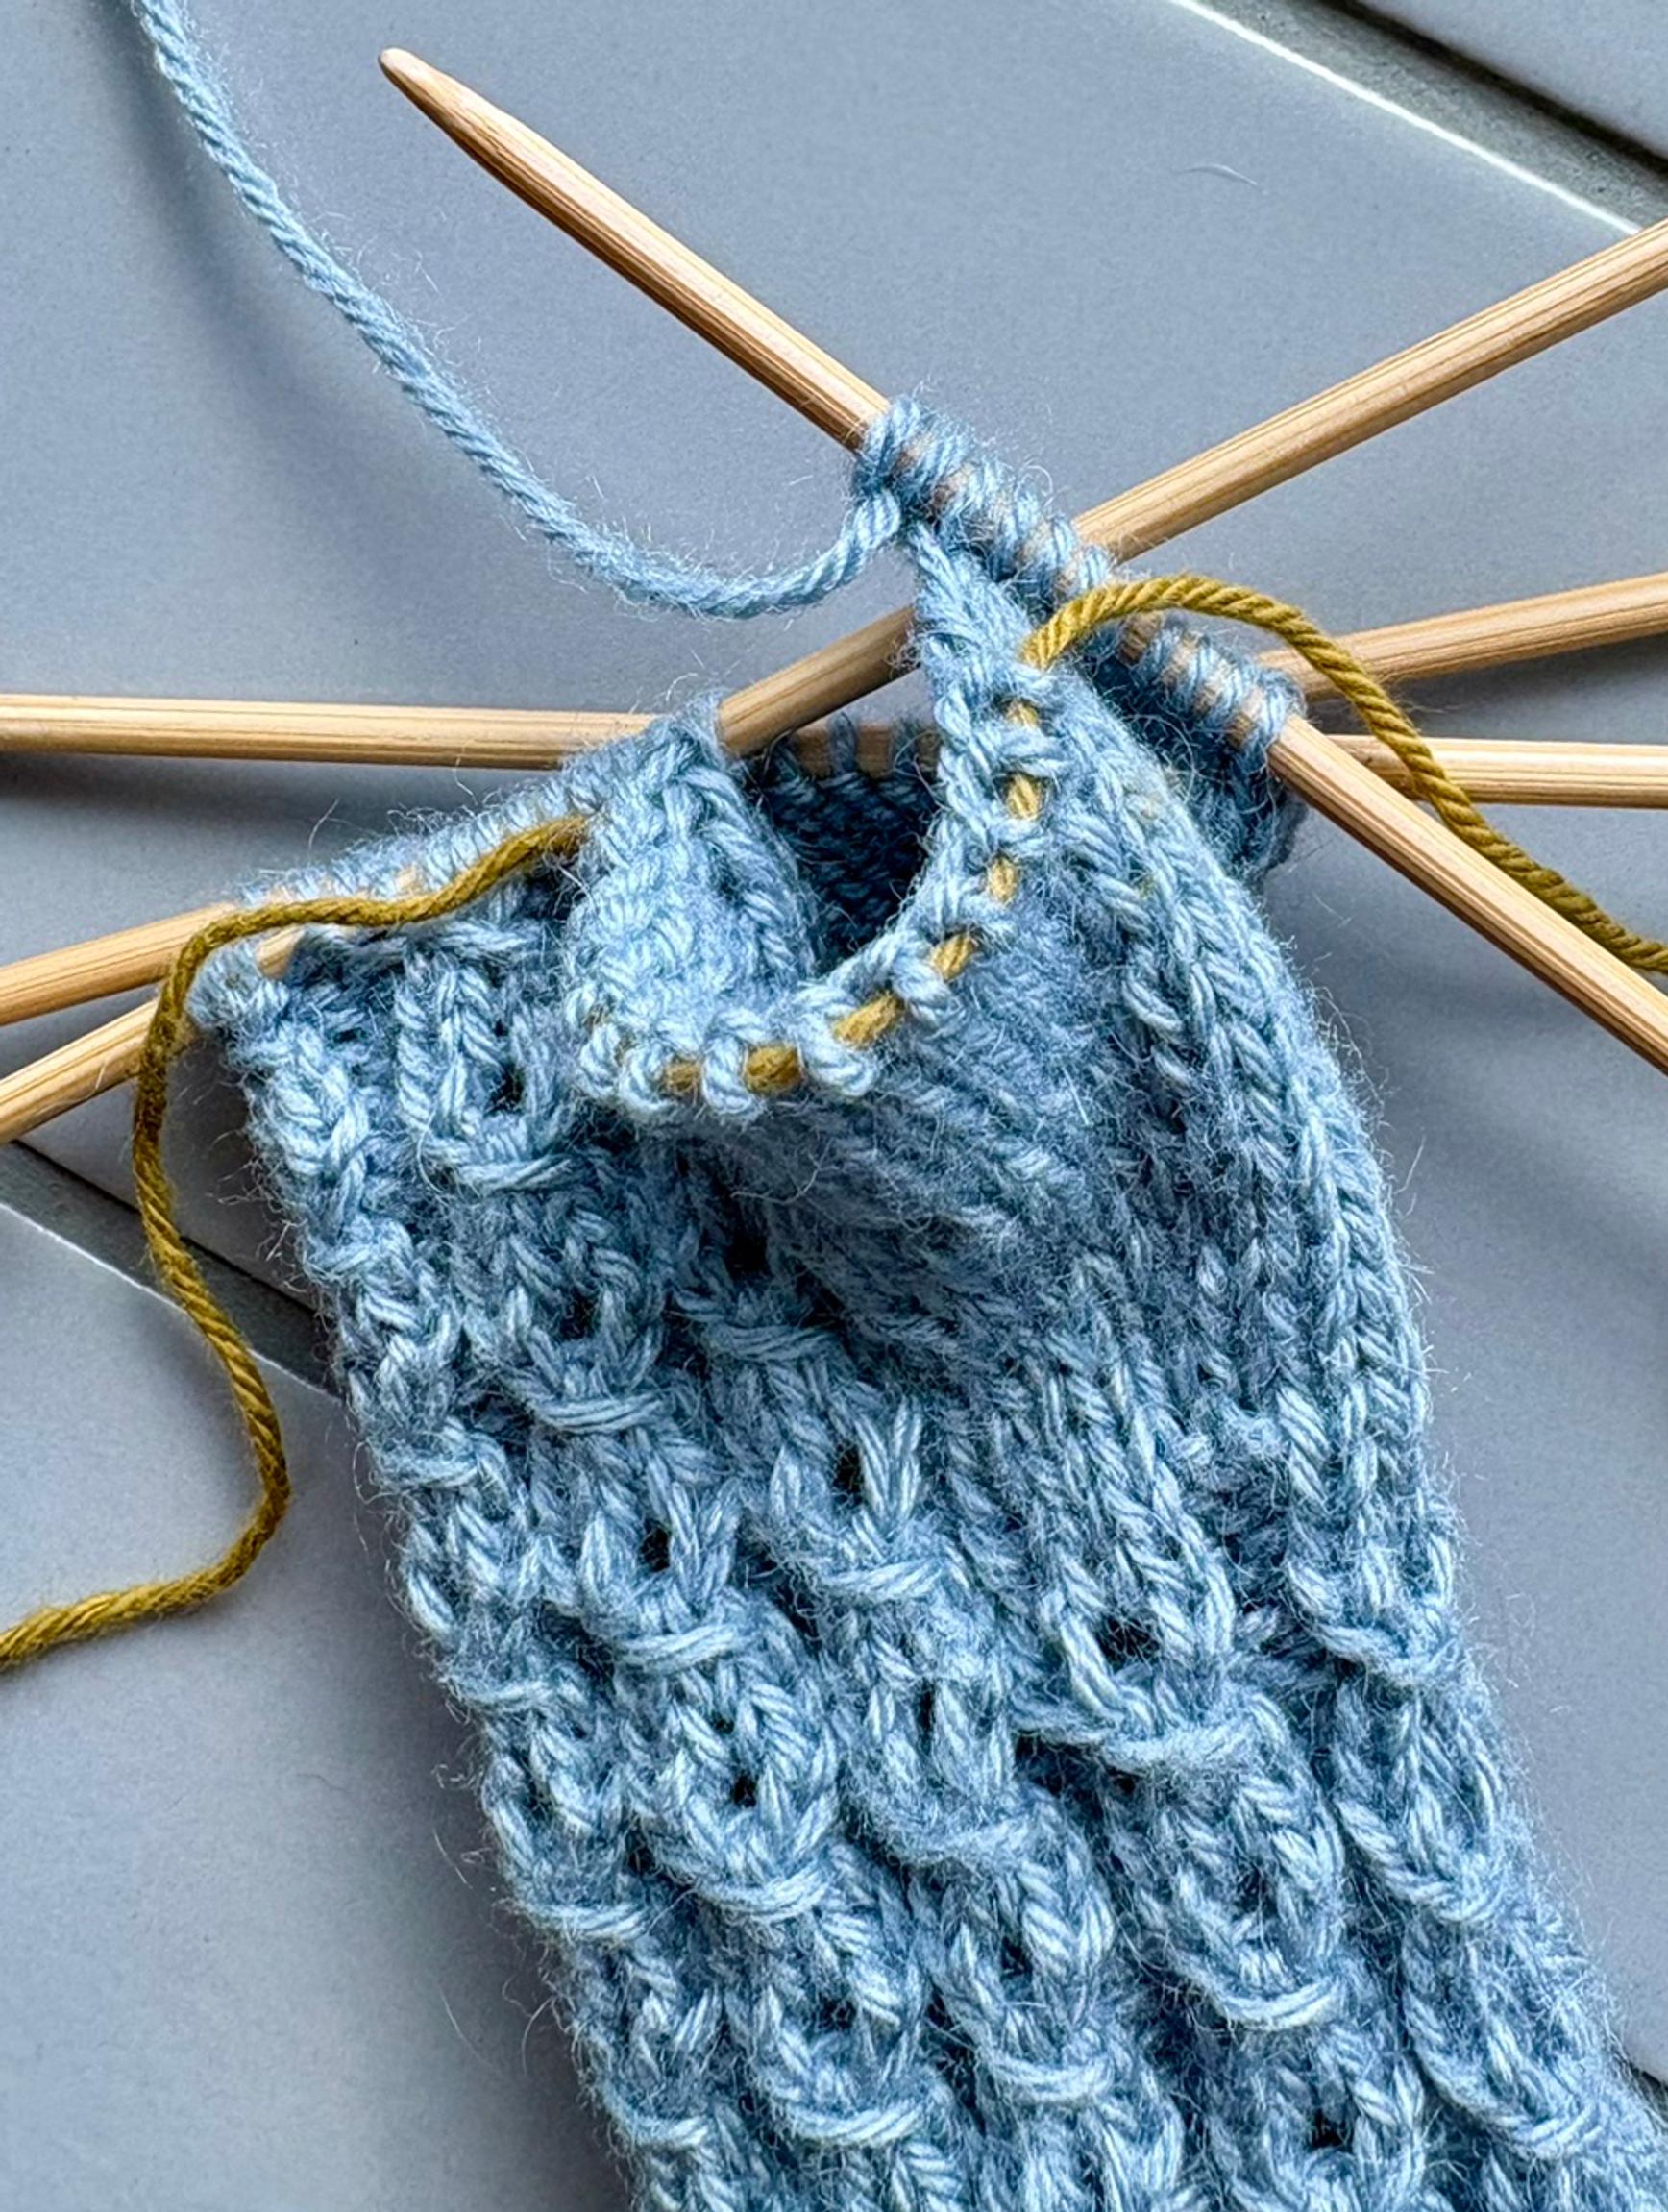
When all the increases are done, place the 14 thumb gusset sts on a hold on scrap yarn. Cast on 4 new sts at the gusset gap for the palm. Knit the remaining 2 sts on needle 2.
Continue stockinette on needles 1 and 2, and mock cable on needles 3 and 4, until the palm section of the mitten reaches the tip of your index finger. End with rnd 2 of the mock cable pattern and begin the tip decreases on the next rnd:
Wedge decreases are worked on each needle: at the beginning of needles 1 and 3, and at the end of needles 2 and 4.
- Needle 1: At the beginning of the needle, k1, then work an skp decrease (= slip 1 knitwise, k1 and pass slipped st over knit st). Knit the remaining sts on the needle.
- Needle 2: Knit until 3 sts remain on the needle. K2tog, then k1.
- Needle 3: At the beginning of the needle, k1, then make an skp decrease. Work the remaining sts in the mock cable pattern.
- Needle 4: Continue the mock cable pattern until 3 sts remain on the needle. K2tog, then k1.
Work these decreases on every rnd until needles 1 and 2 have a total of 5 sts and needles 3 and 4 have a total of 9 sts. On the next rnd, decrease 1 st total on needles 1 and 2 (leaving 4 sts) and decrease as usual on needles 3 and 4. On the following rnd, knit the sts on needles 1 and 2 with no decreases, and continue the usual decreases on needles 3 and 4. You now have 9 sts left. Break the yarn, thread it through the remaining sts, and weave in securely on the wrong side.

Thumb
Transfer the sts you left on hold back to the needles, and pick up 3 additional sts at the base of the thumb. Distribute these 17 sts across three needles and work in stockinette in the rnd. After about 5.5 cm, or when half of the thumbnail is visible, work the tip decreases: k2tog at the end of each needle until 5 sts remain. Knit 1 st and pass the other sts over it from left to right. Break the yarn.

Right-hand mitten
Knit the same way as the left-hand mitten, but place the thumb gusset on needle 1 as follows: *k2, M1, k2, M1, knit to the end of the needle.* Repeat from * to * every 3rd rnd, a total of 6 times.
Finishing
Weave in the ends on the wrong side. Finish the mittens by lightly steaming or soaking them. Gently squeeze out the excess water without wringing. Gently shape the mittens and let them dry flat.