The wedge decrease is a versatile way to finish sock toes and mitten tips—learn the technique with this guide
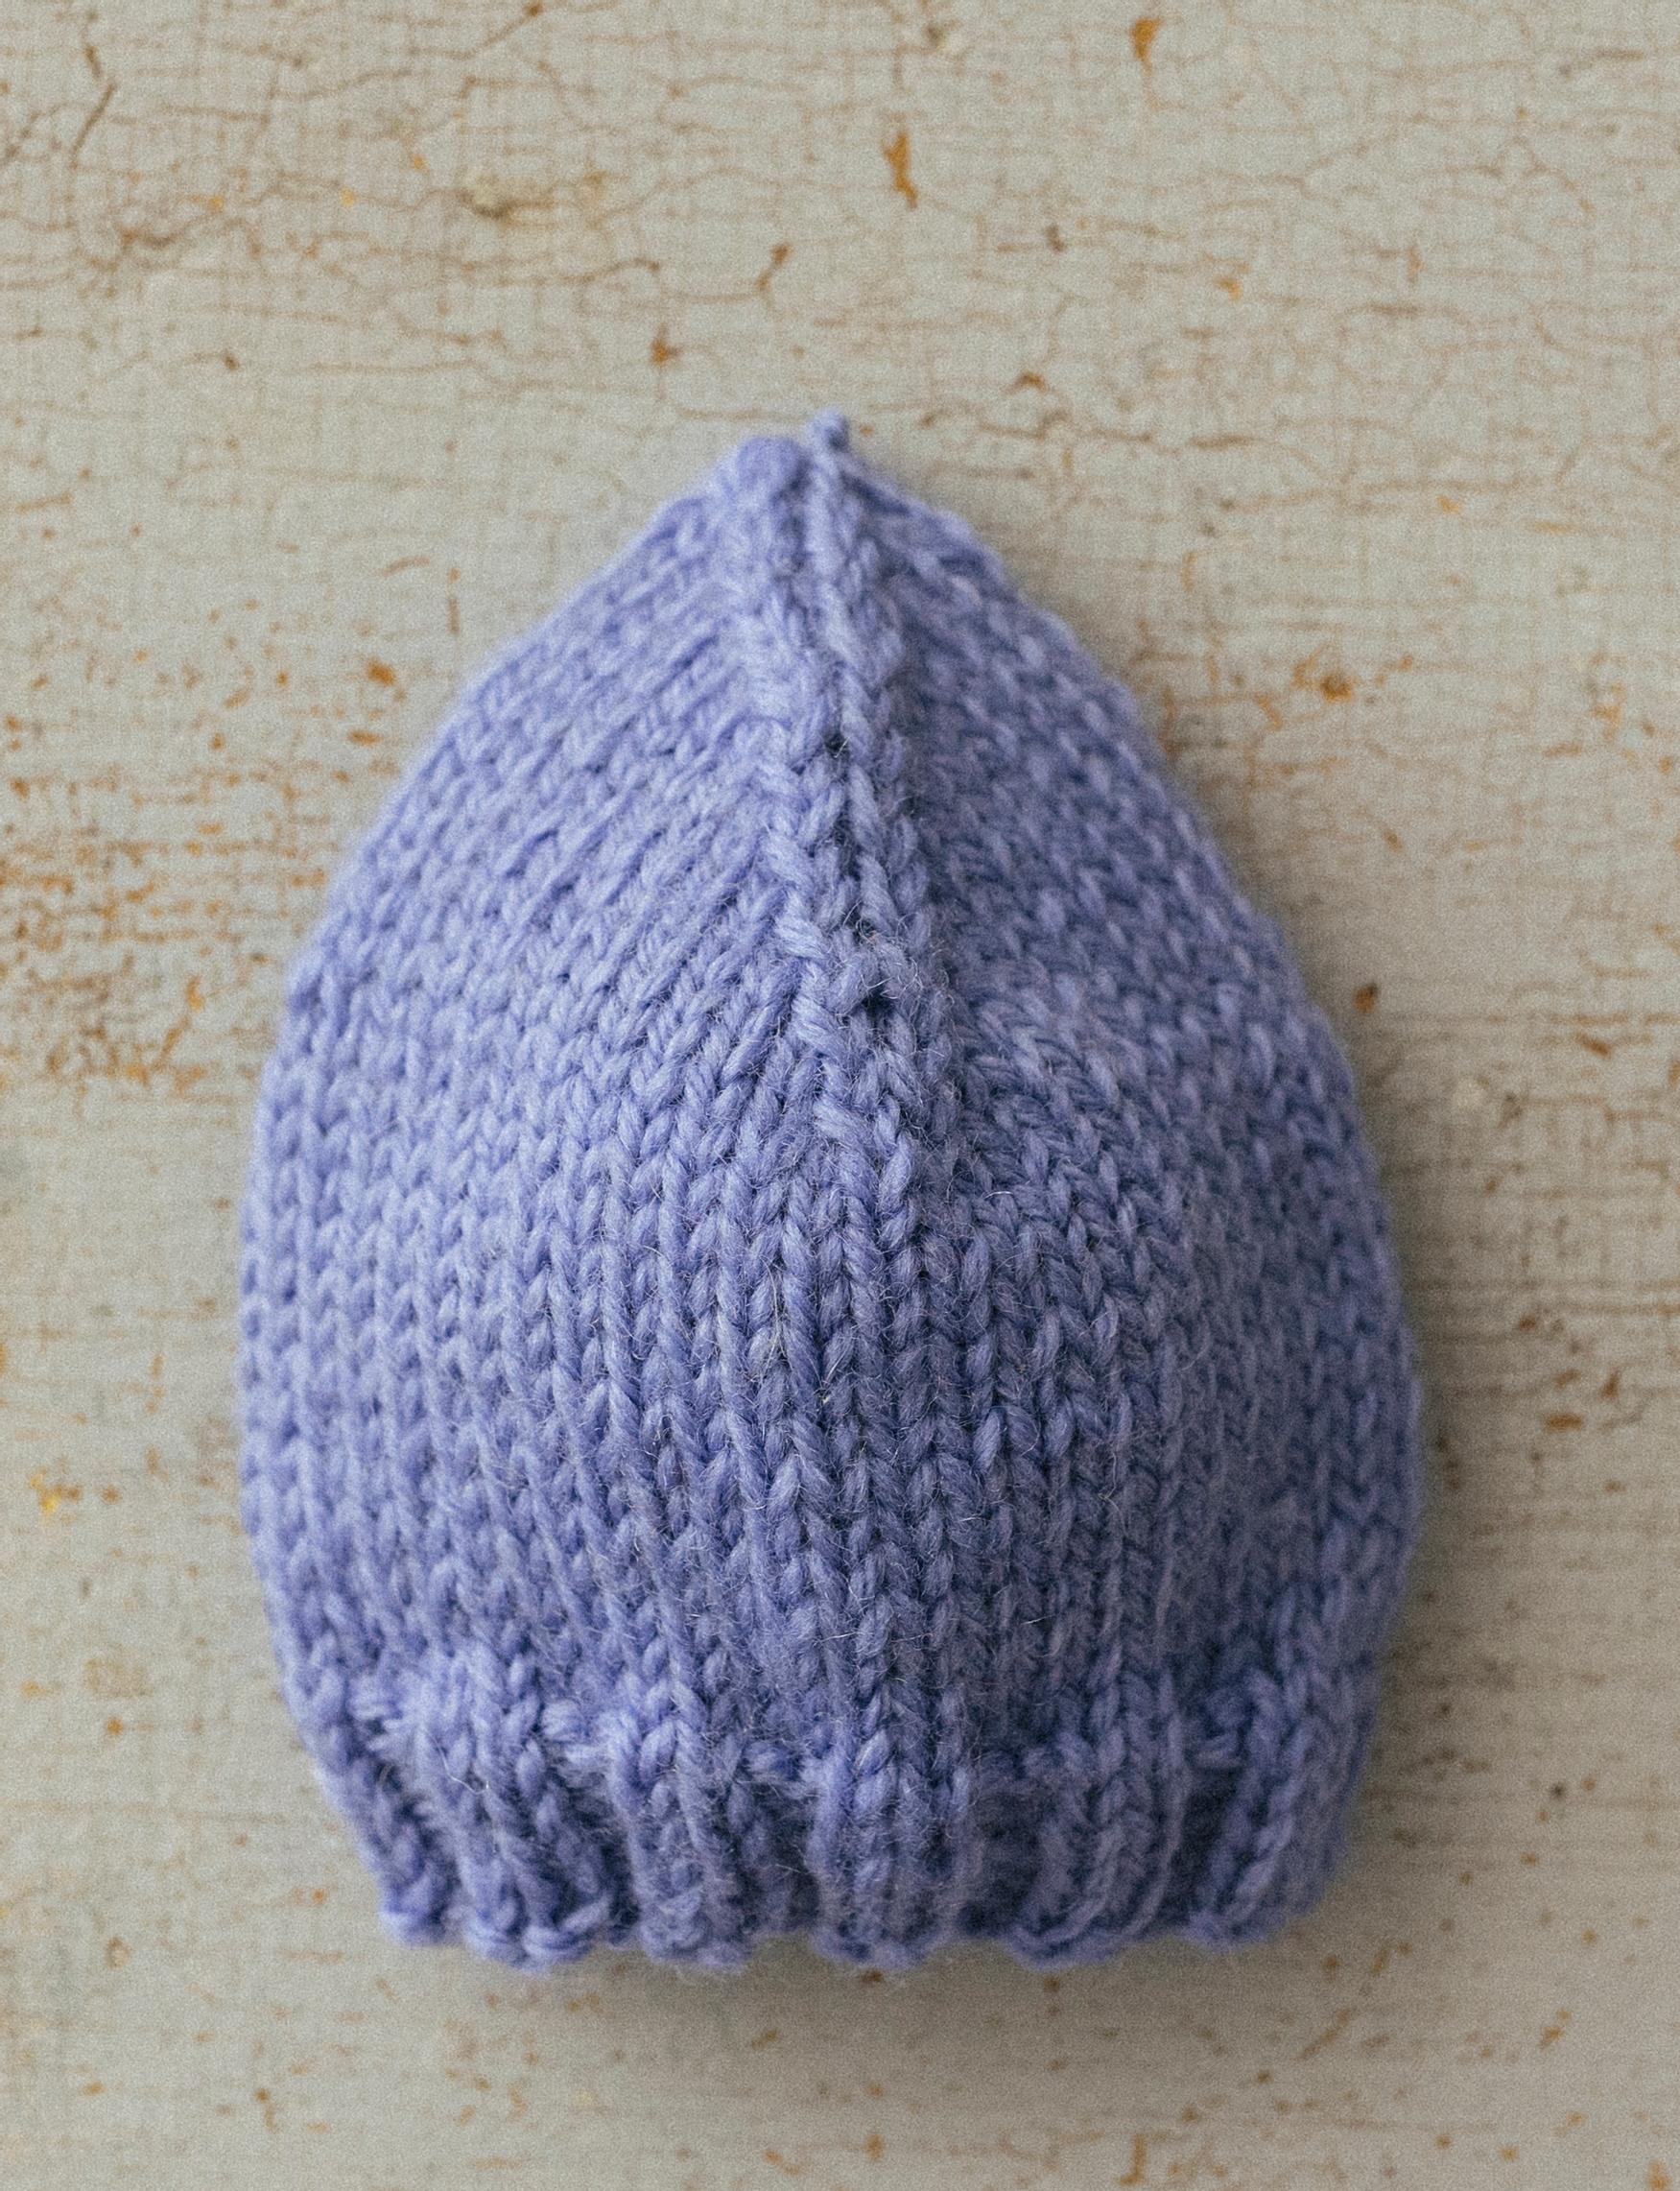
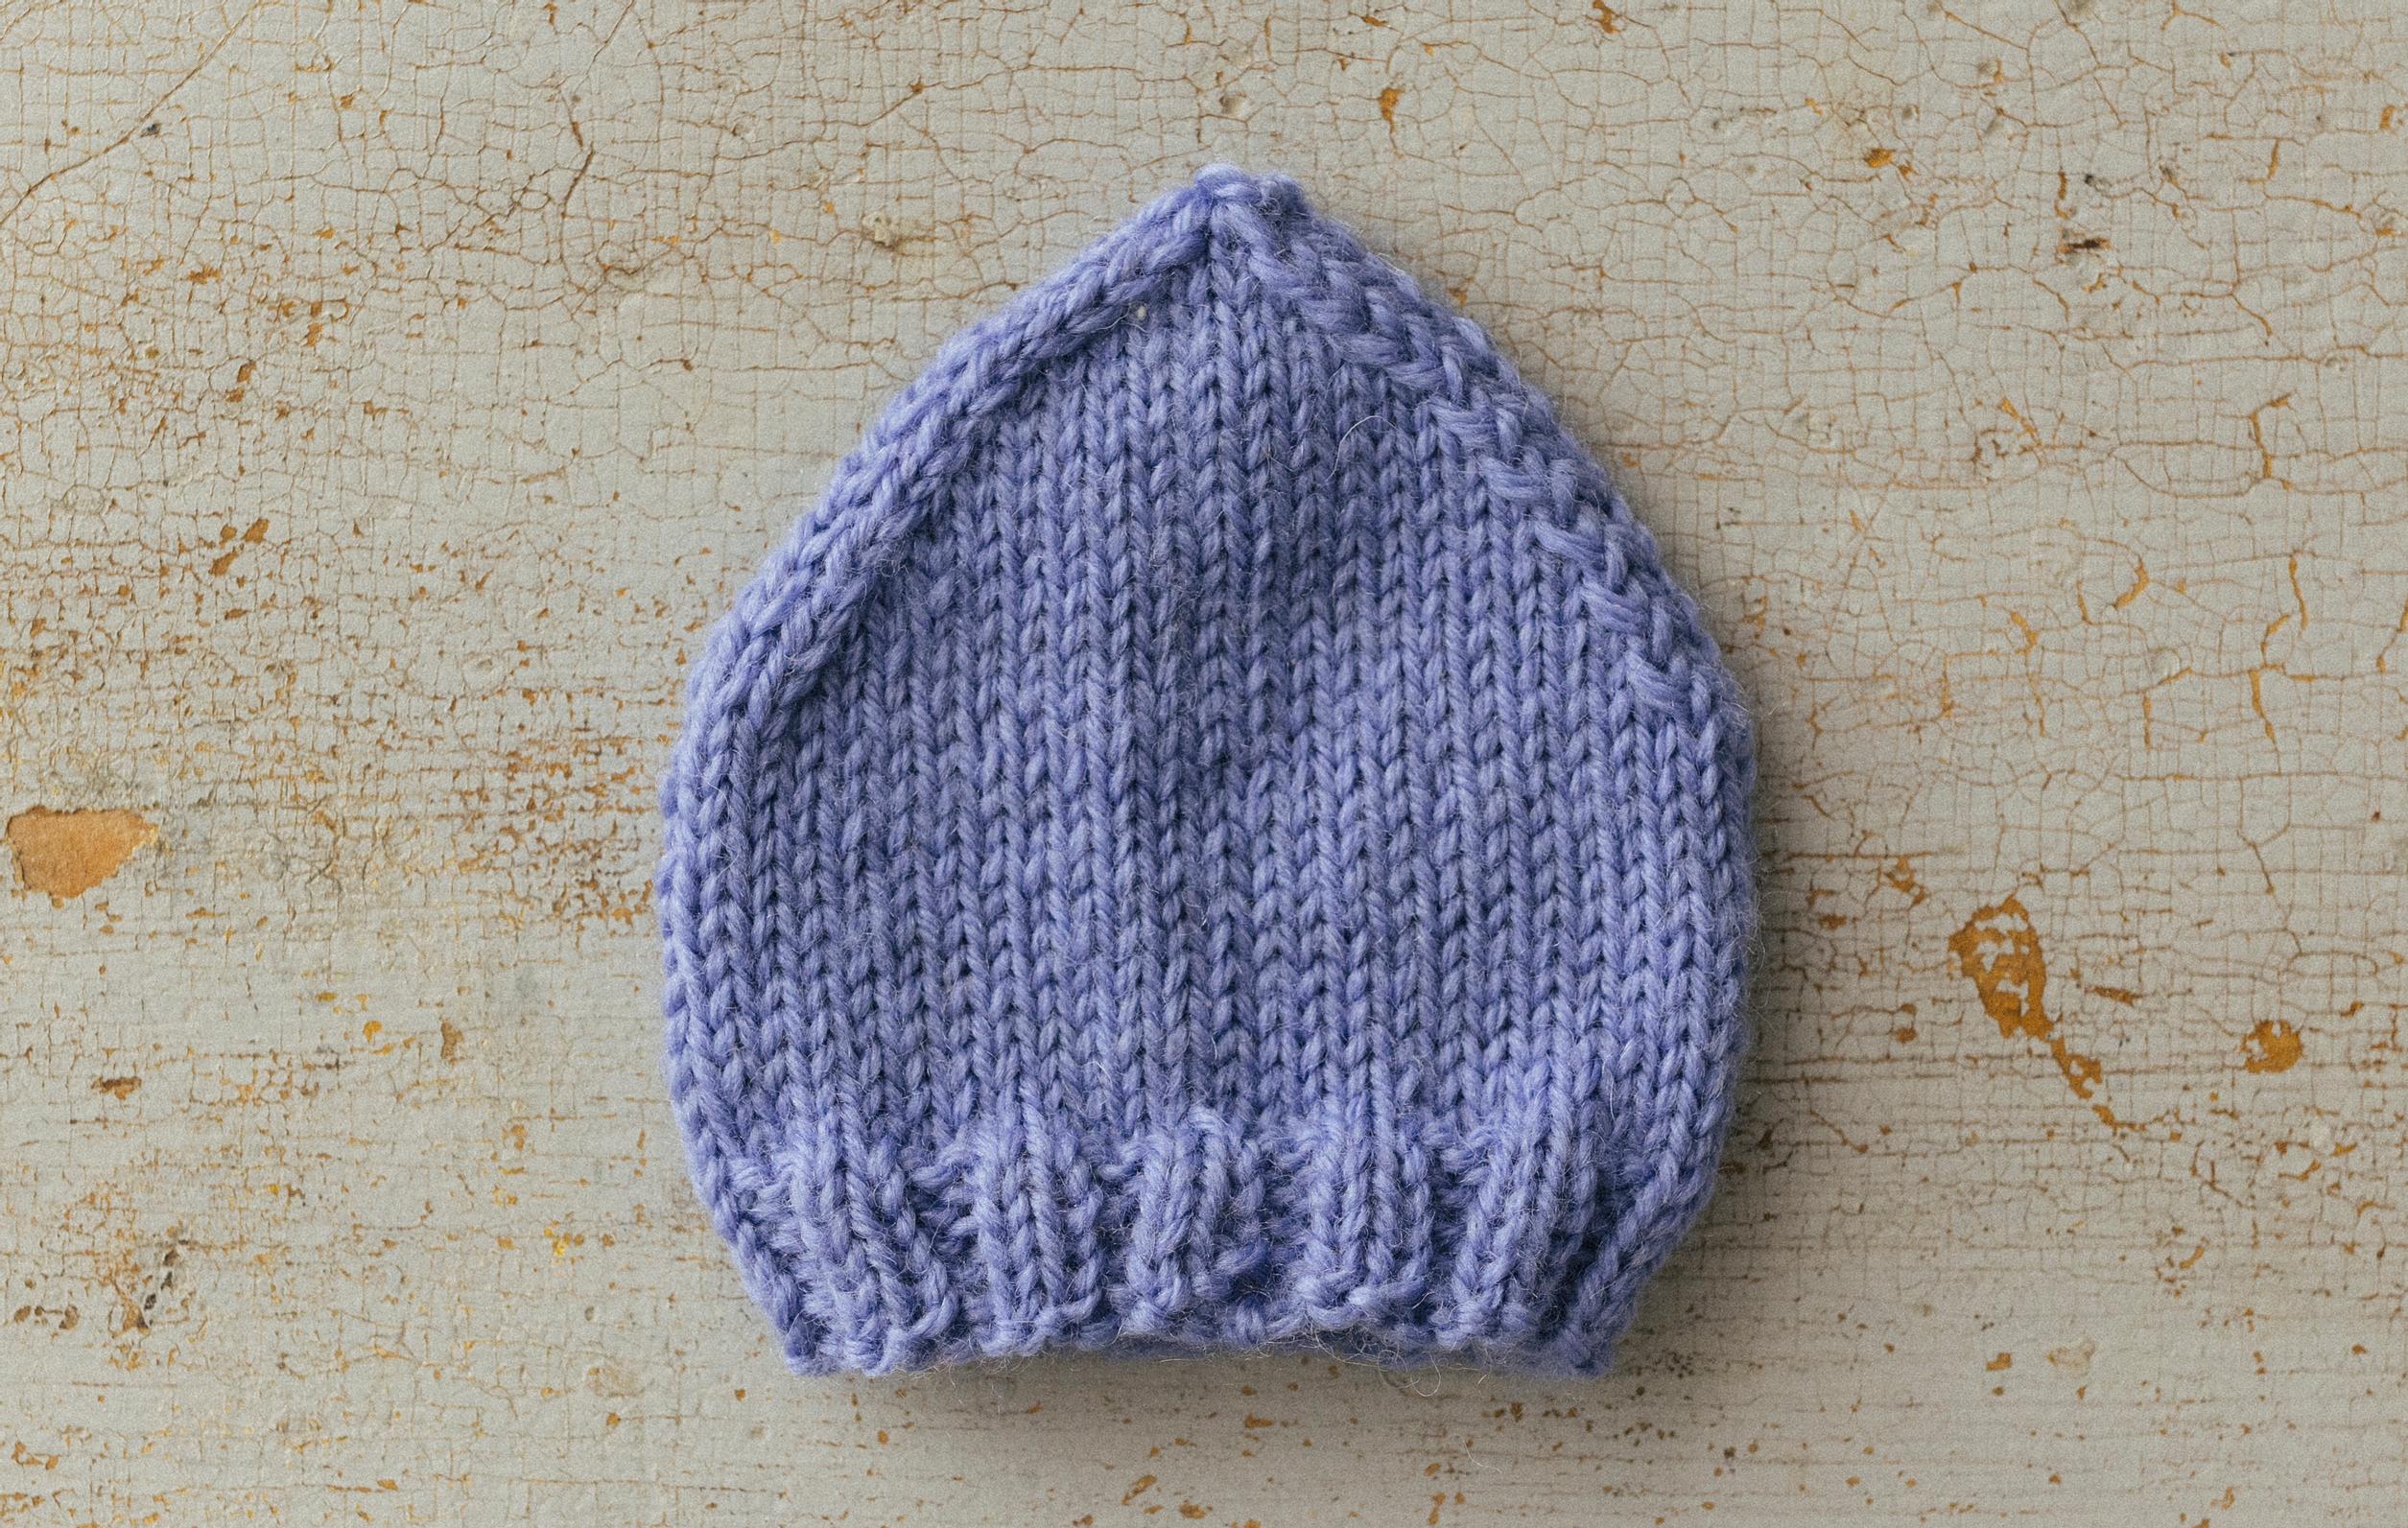
The wedge decrease is an easy way to shape the toe of a sock or the tip of a mitten. You work decreases on both sides of the piece, always in the same spot. True to its name, the finished decrease looks like a wedge.
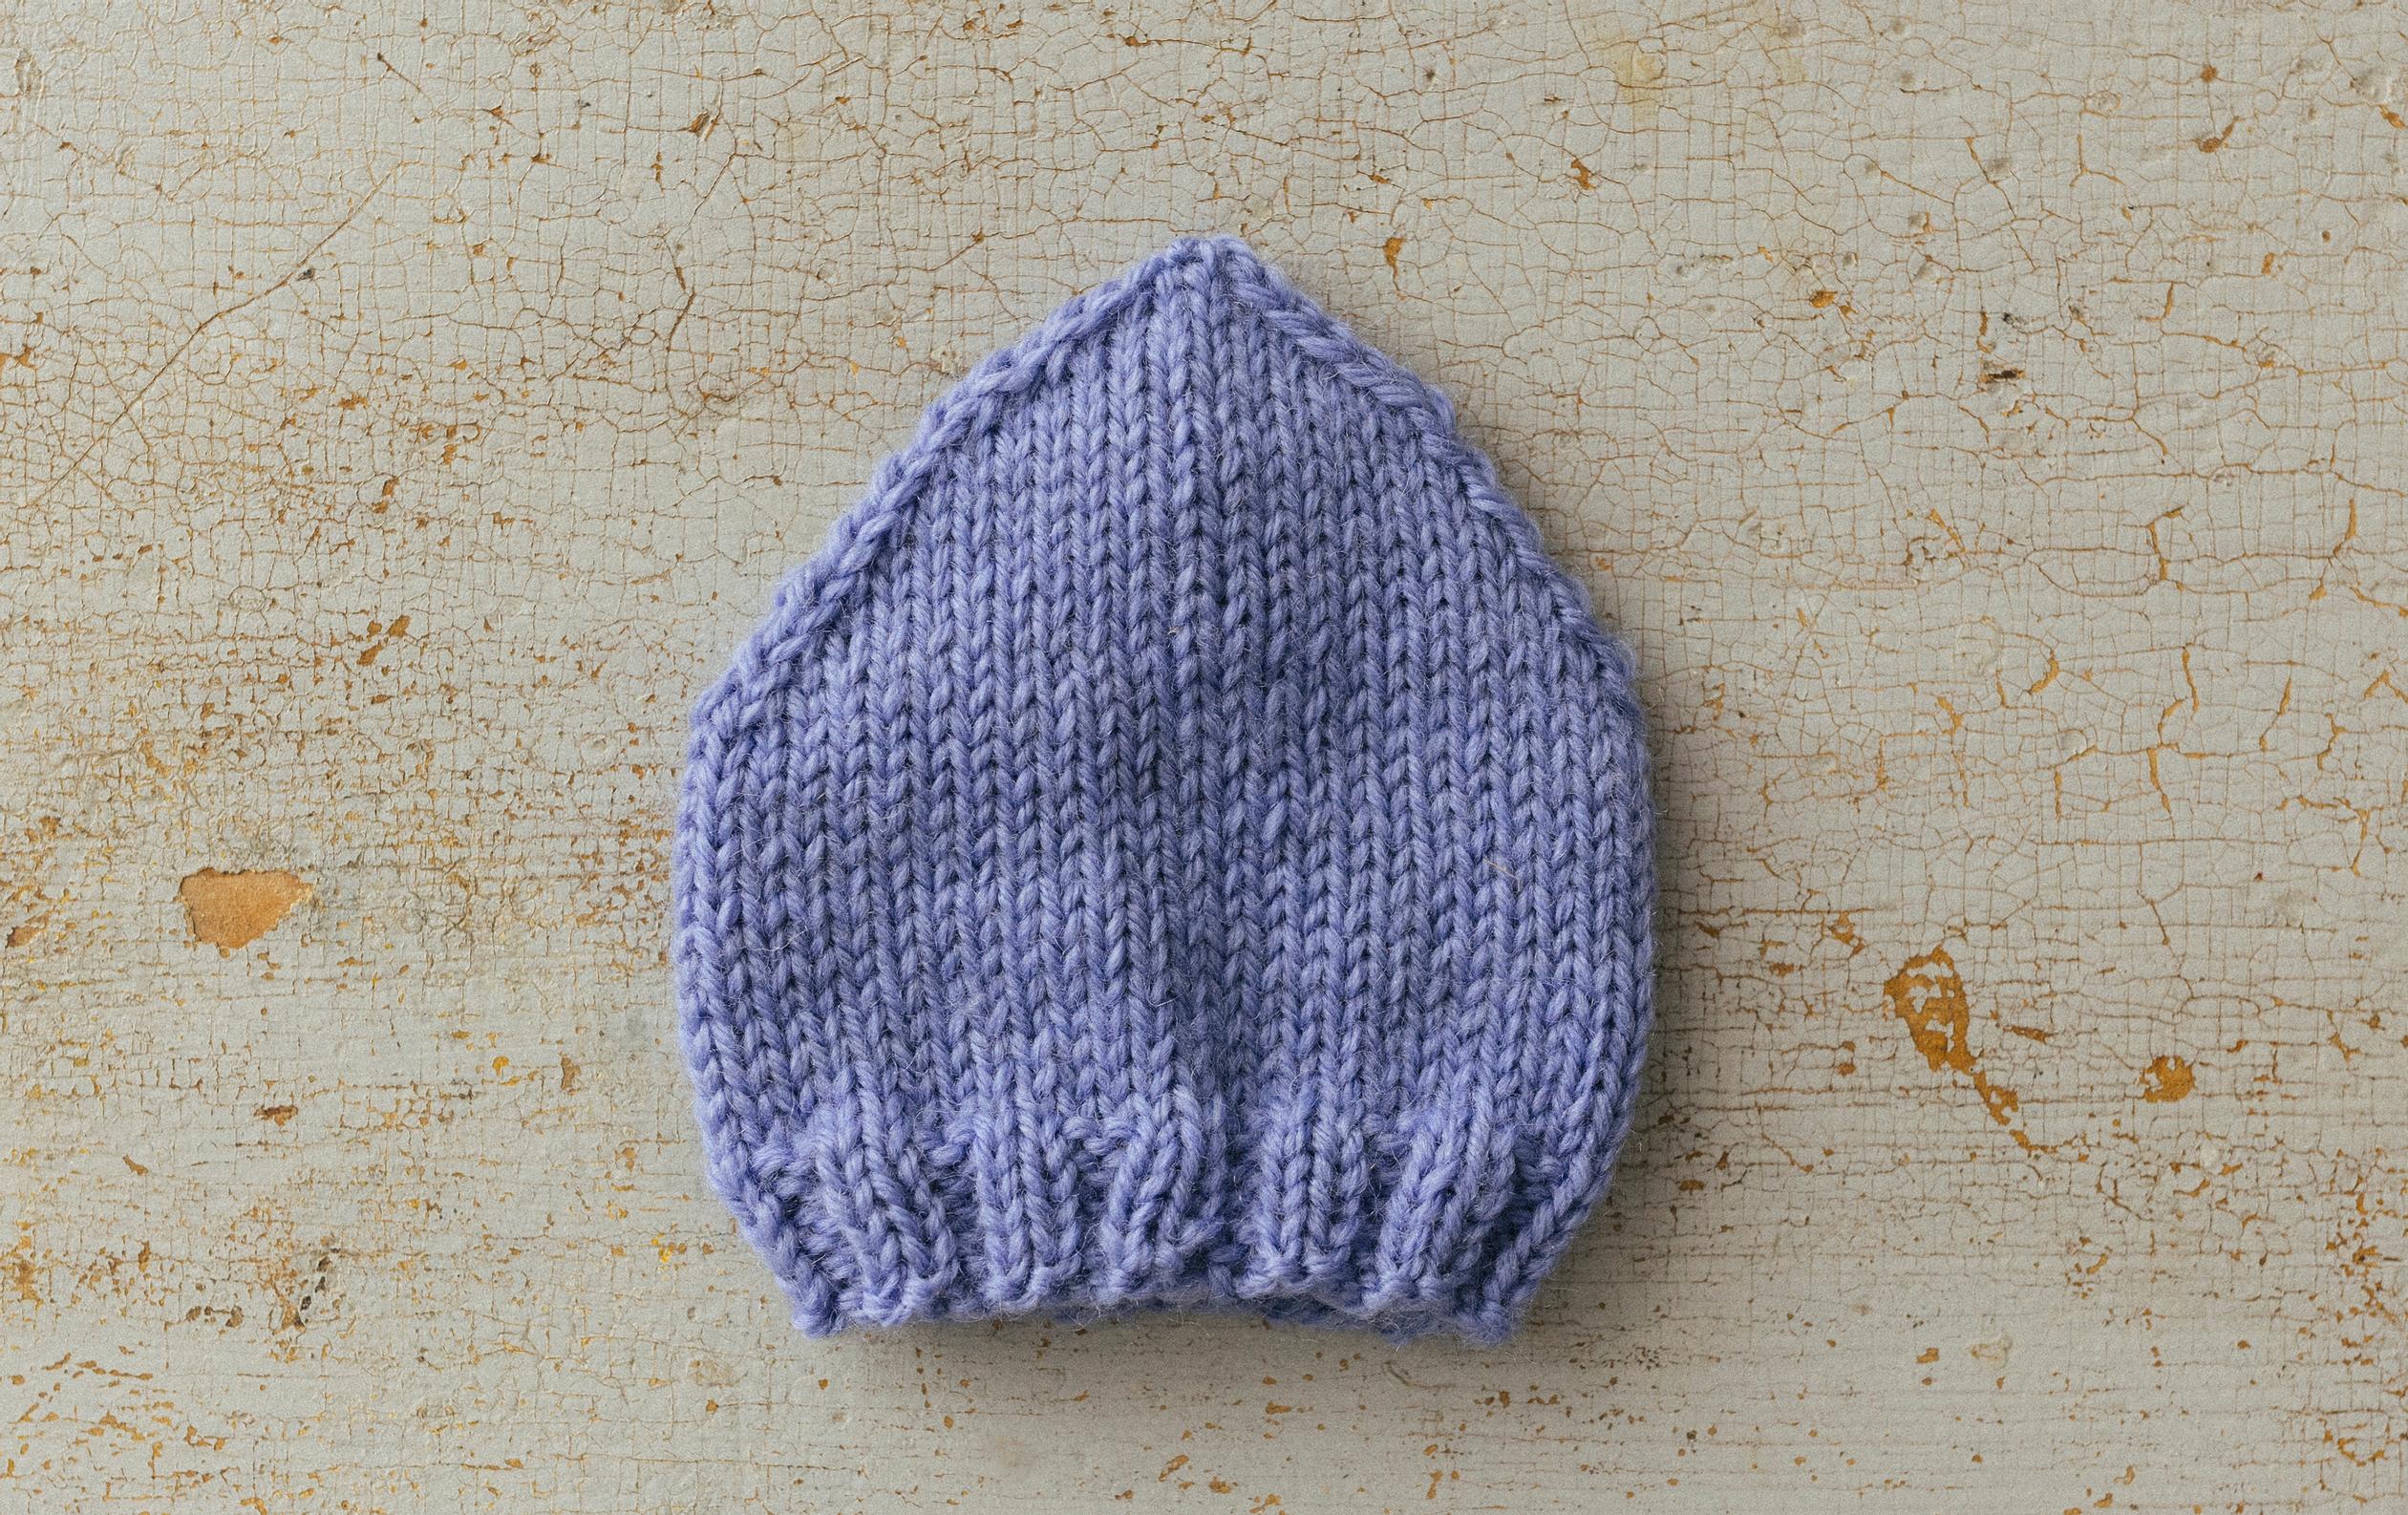
The wedge decrease is a classic way to shape a sock’s toe or a mitten’s tip. With this method, stitches are decreased on both sides so they meet neatly at the tip.
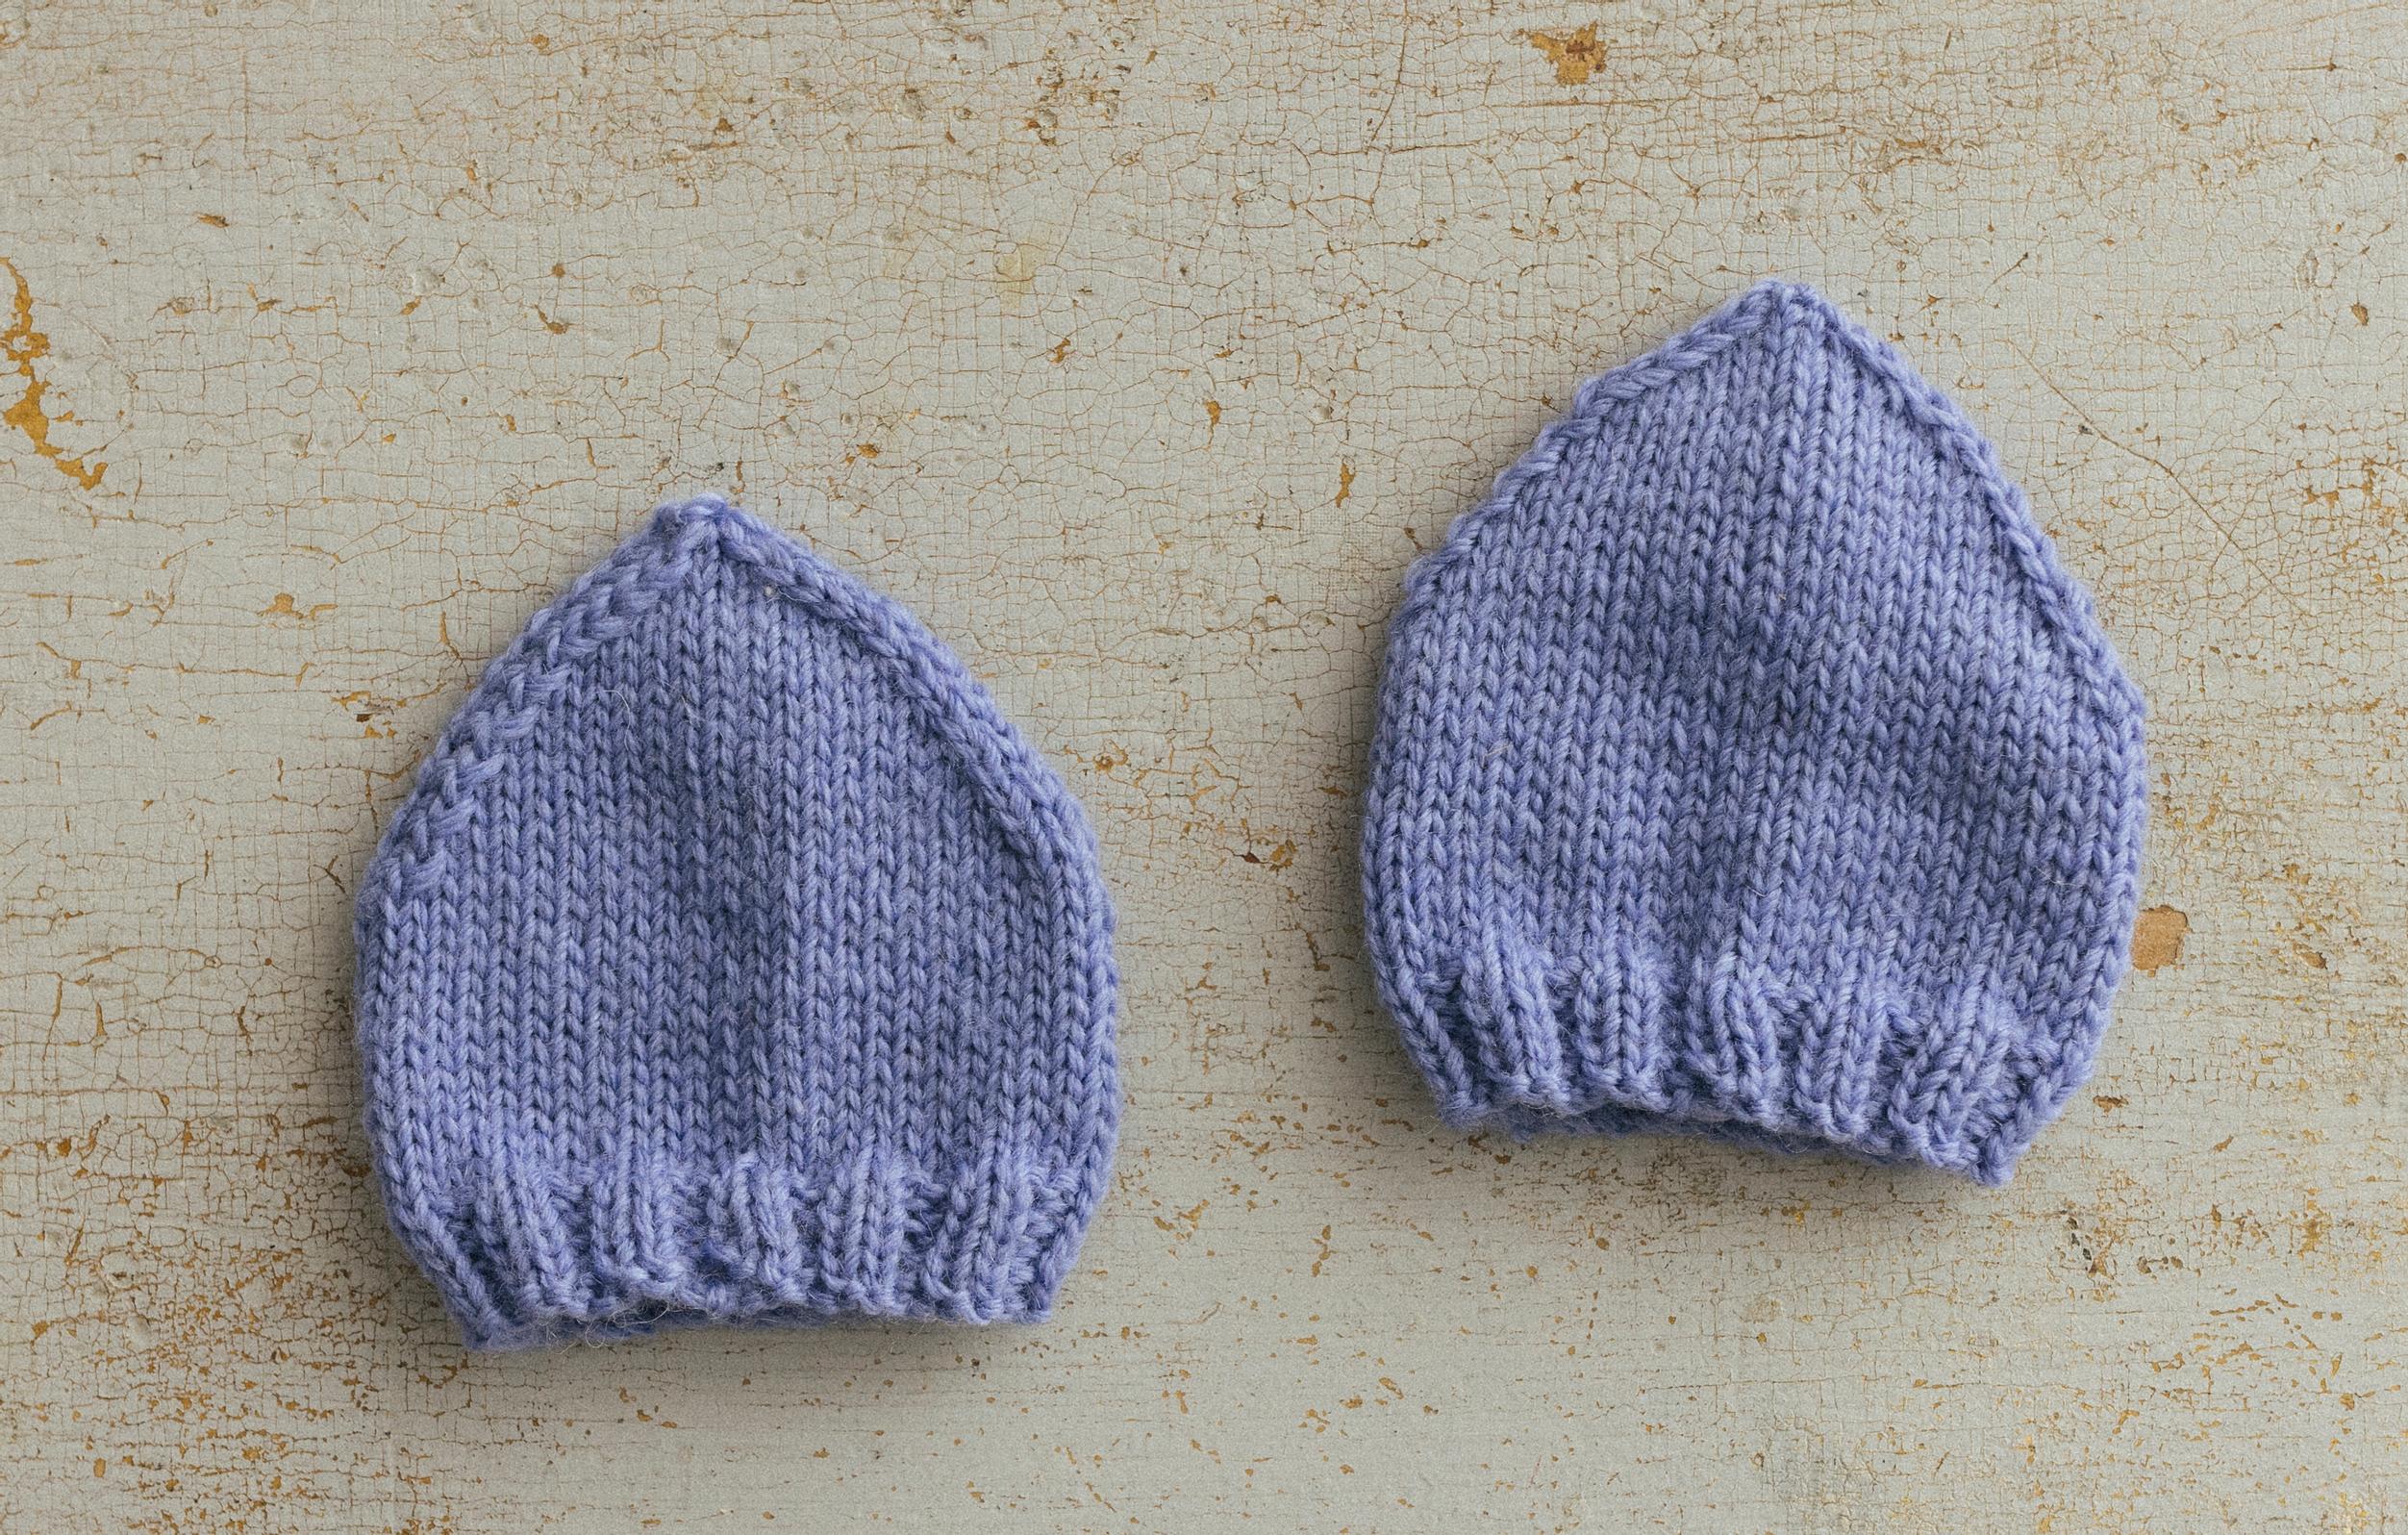
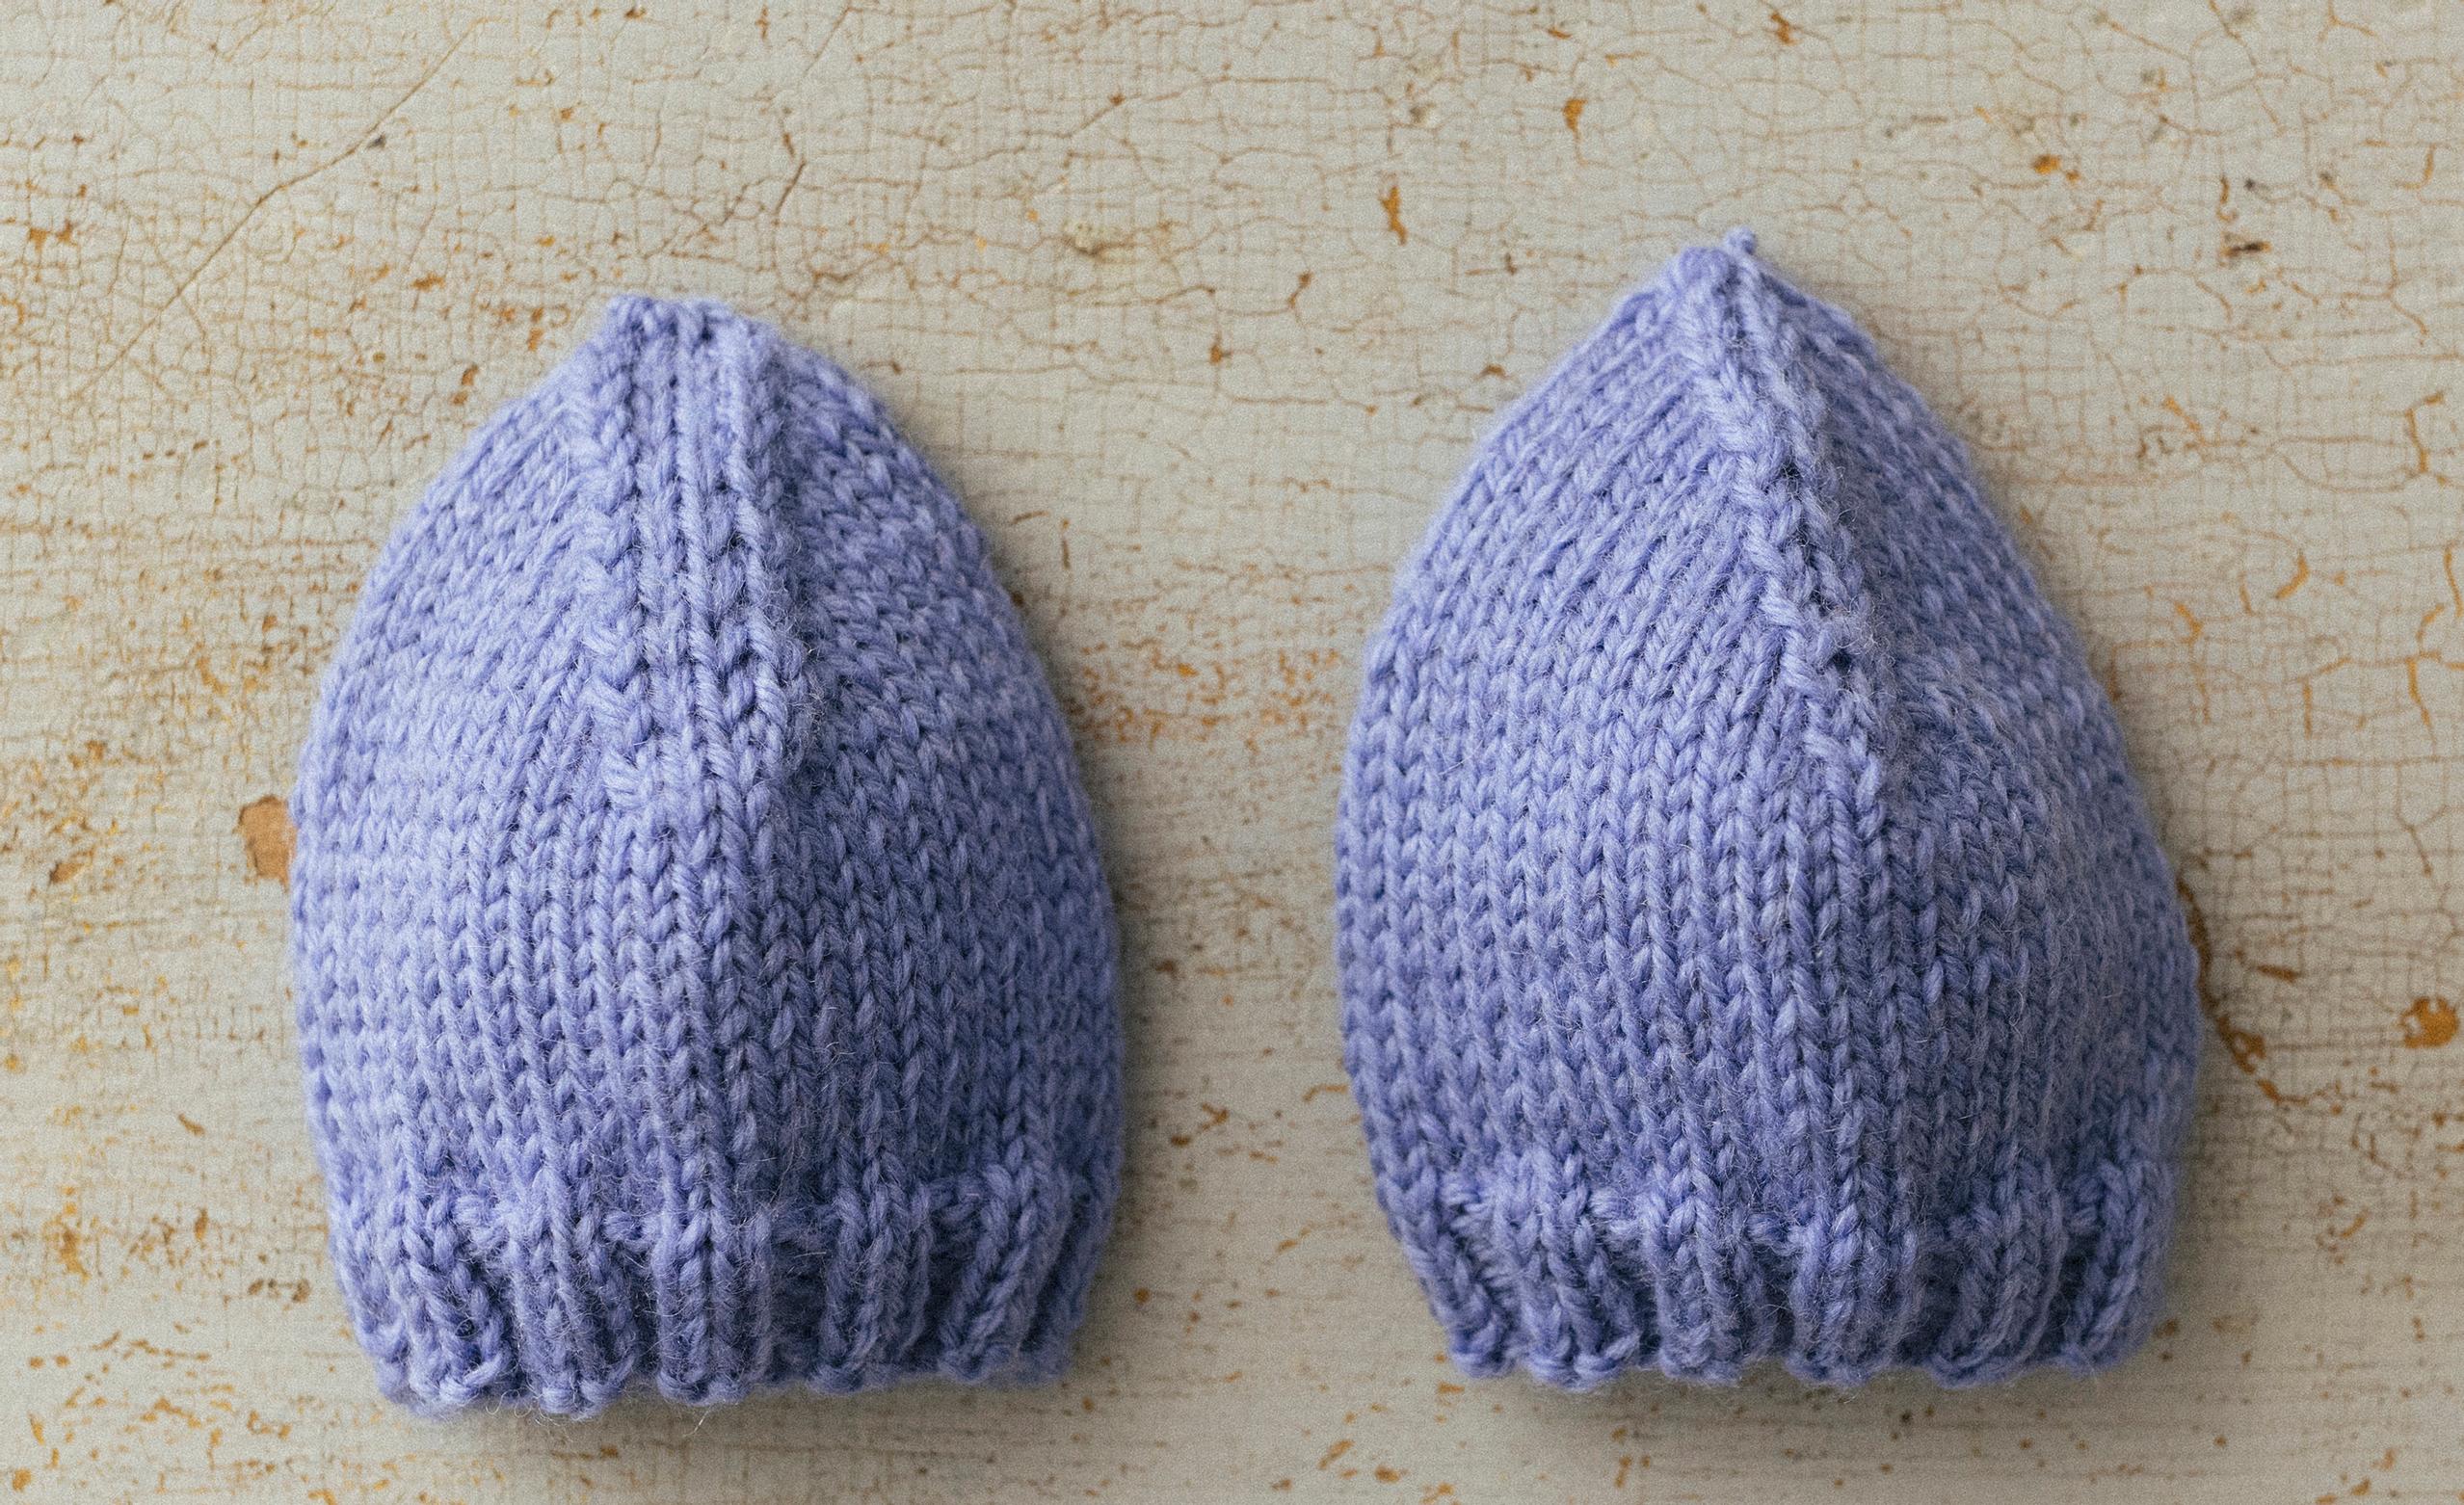
You can make the wedge decrease in a wide or narrow style. For the wide style, the decreases are placed at the edges with two knit stitches in between. For the narrow style, those two in-between stitches are left out.
Because the decreases are at the sides, the wedge decrease is especially useful for colorwork and lace. It lets you continue your pattern right to the tip of the sock or mitten.


How to work the wedge decrease:
Follow your sock or mitten pattern until you reach the point where the tip decreases start. Begin decreasing once the sock covers your little toe or the mitten covers your pinky. Make sure each needle has the same number of stitches.
Work the wedge decreases on every needle: at the end of needles 1 and 3, and at the beginning of needles 2 and 4.
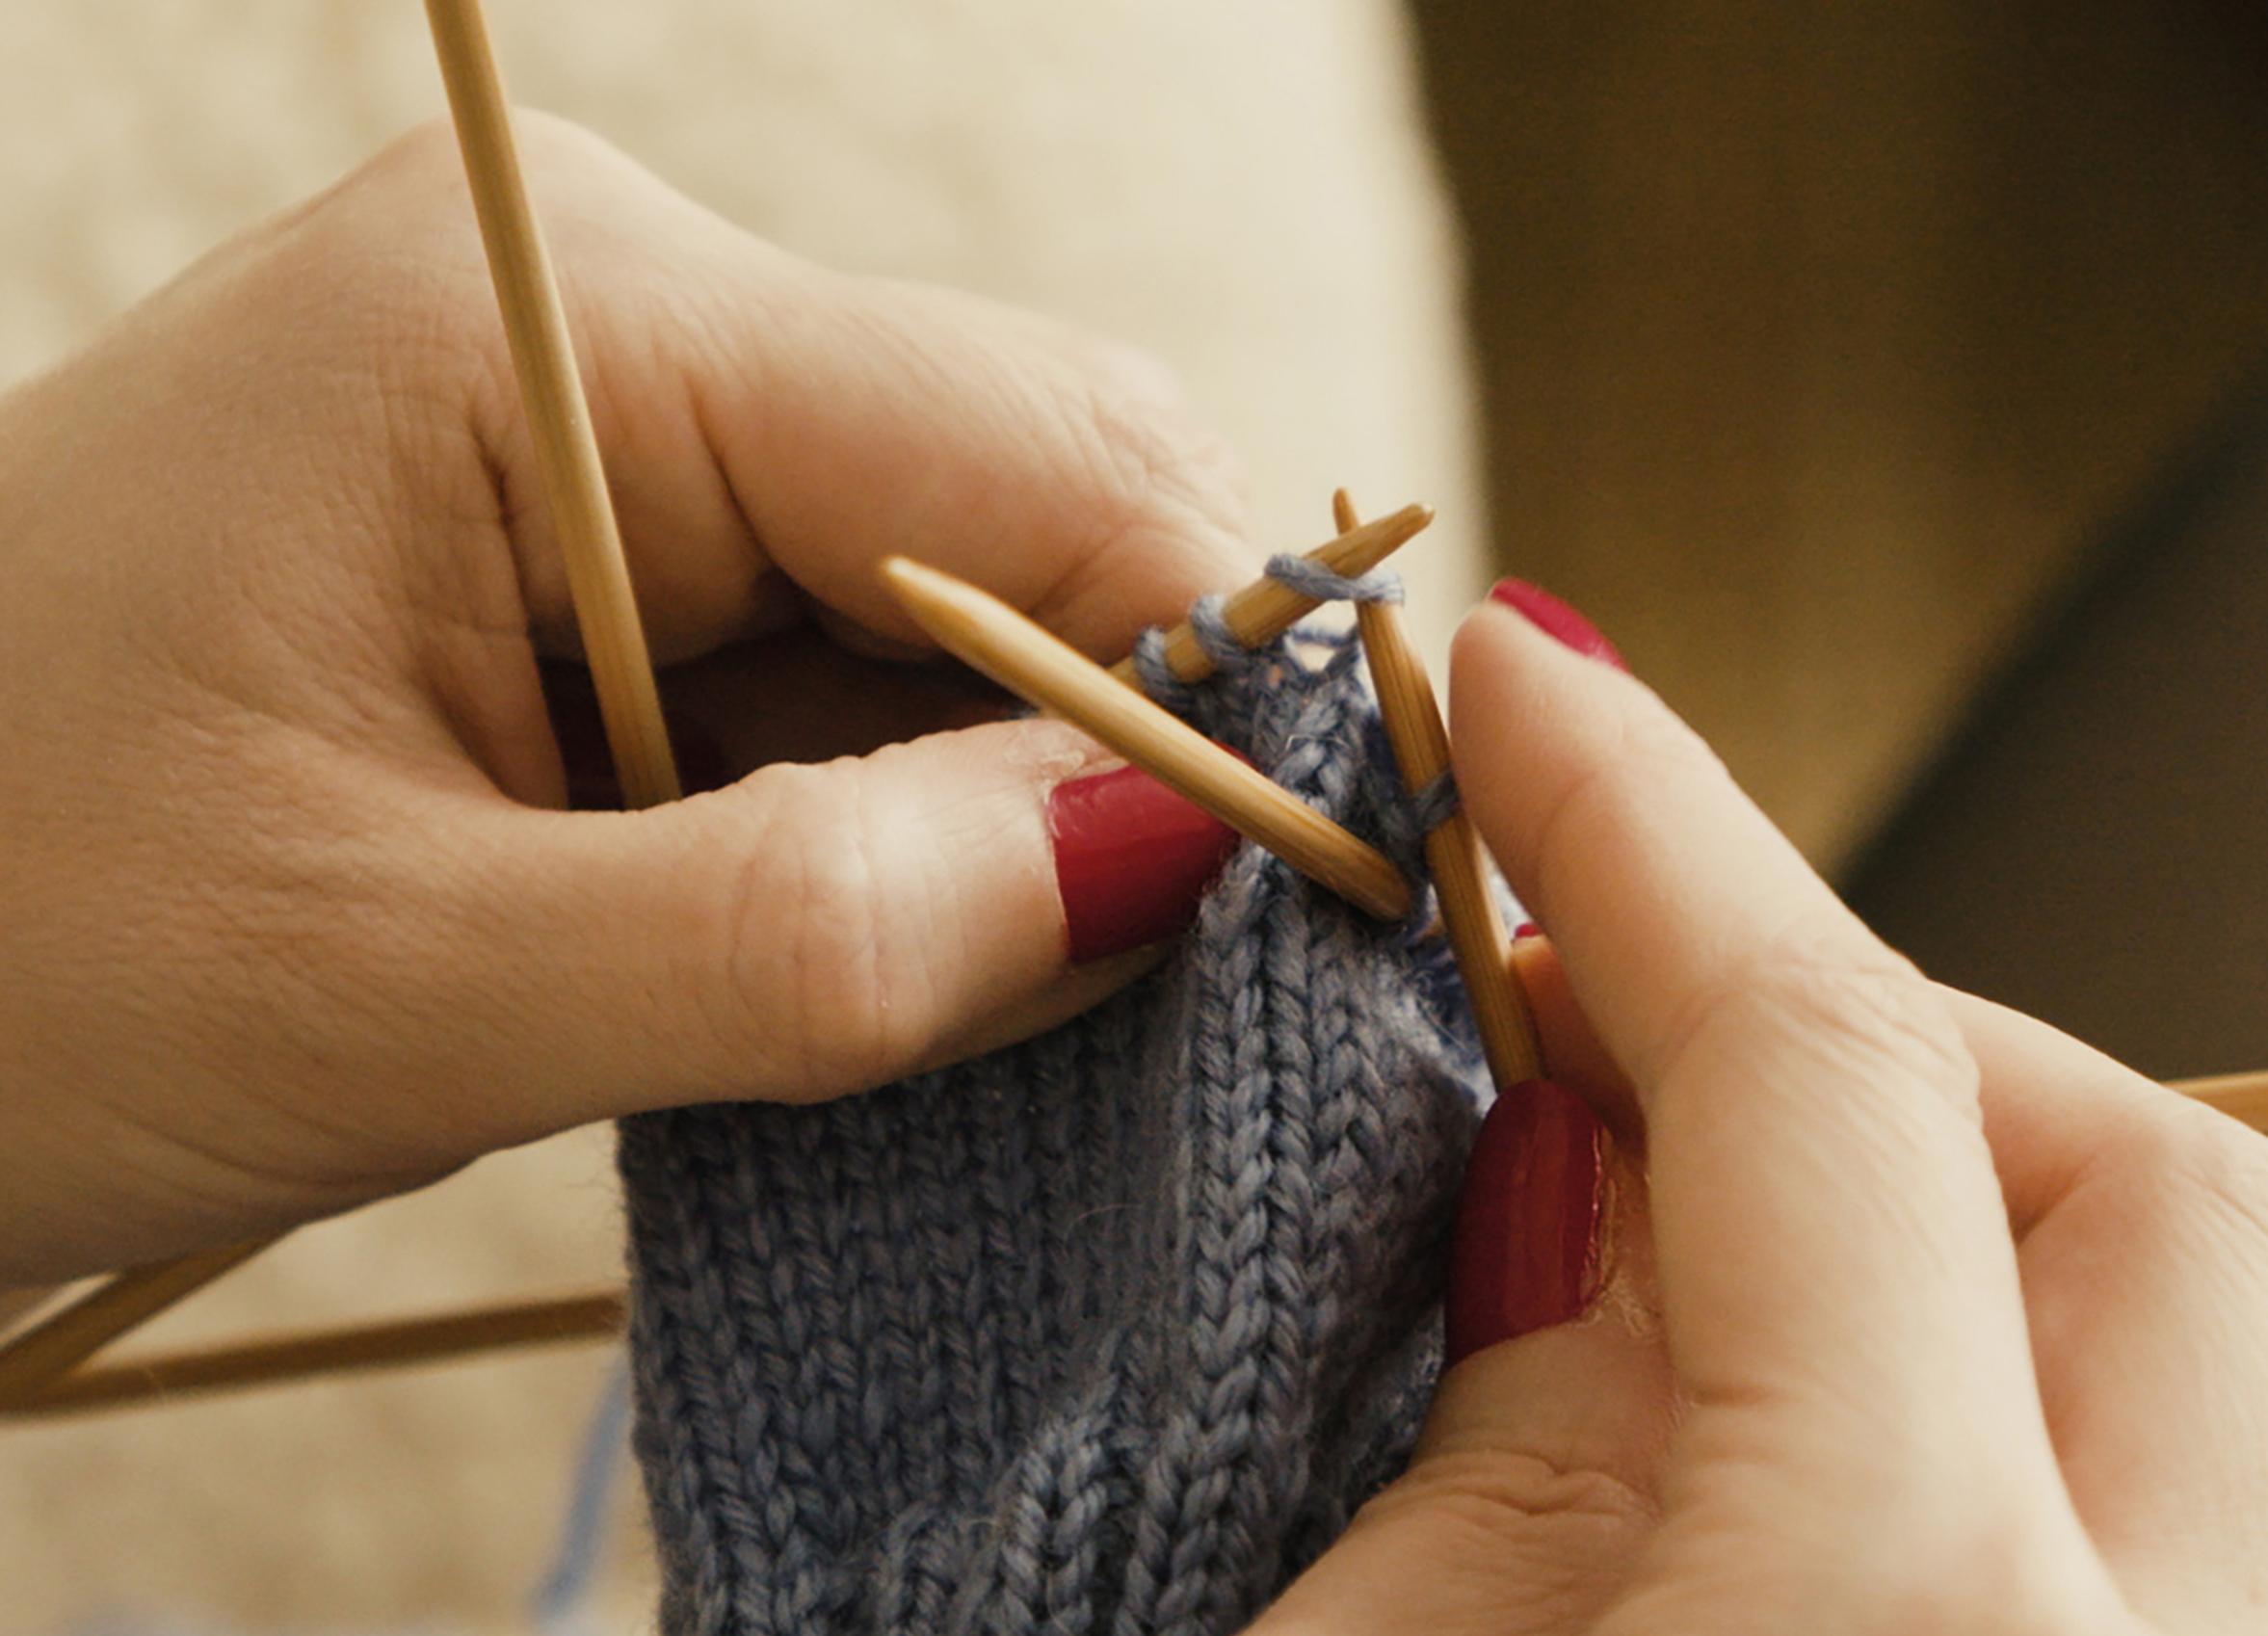
Needle 1: Knit until 3 stitches remain on the needle. Knit 2 stitches together, then knit the last stitch.
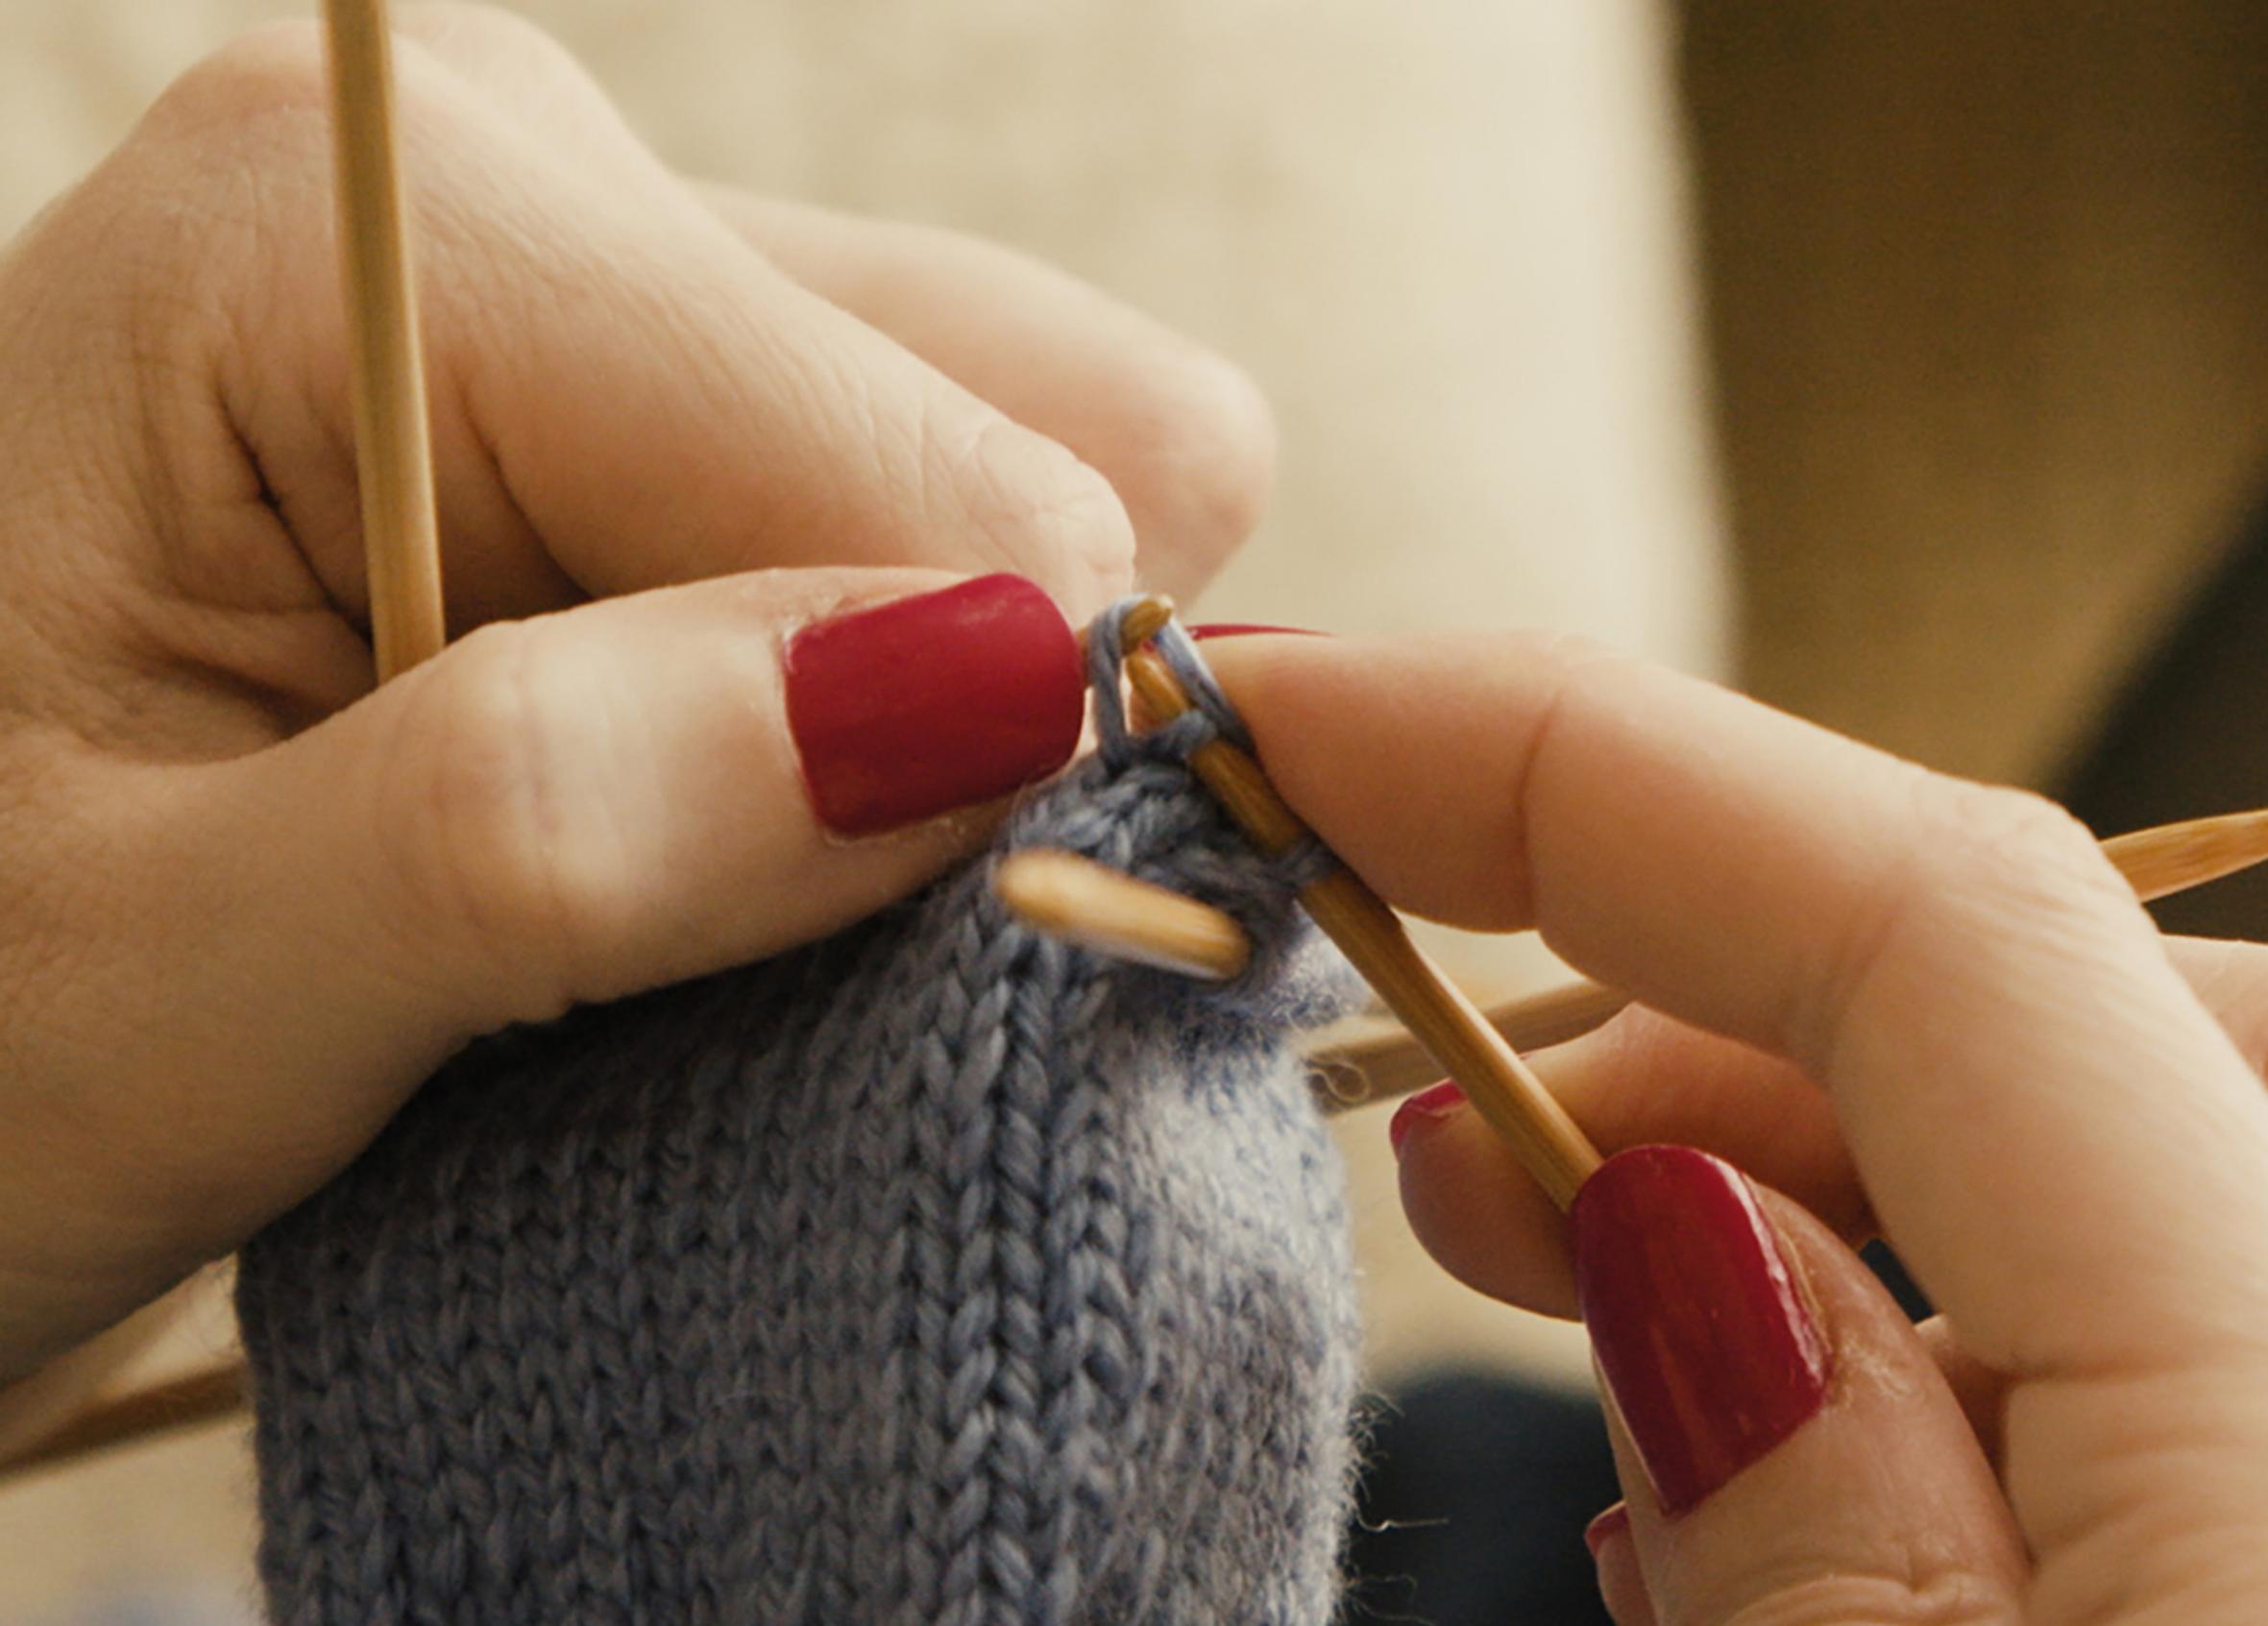
Needle 2: Knit 1 stitch at the beginning of the needle and work an skp decrease (= slip 1 knitwise, knit 1 and pass the slipped st over). Knit the remaining stitches on the needle.
Needle 3: Knit until 3 stitches remain on the needle. Knit 2 stitches together, then knit the last stitch.
Needle 4: Knit 1 stitch at the beginning of the needle and work an skp decrease. Knit the remaining stitches on the needle.
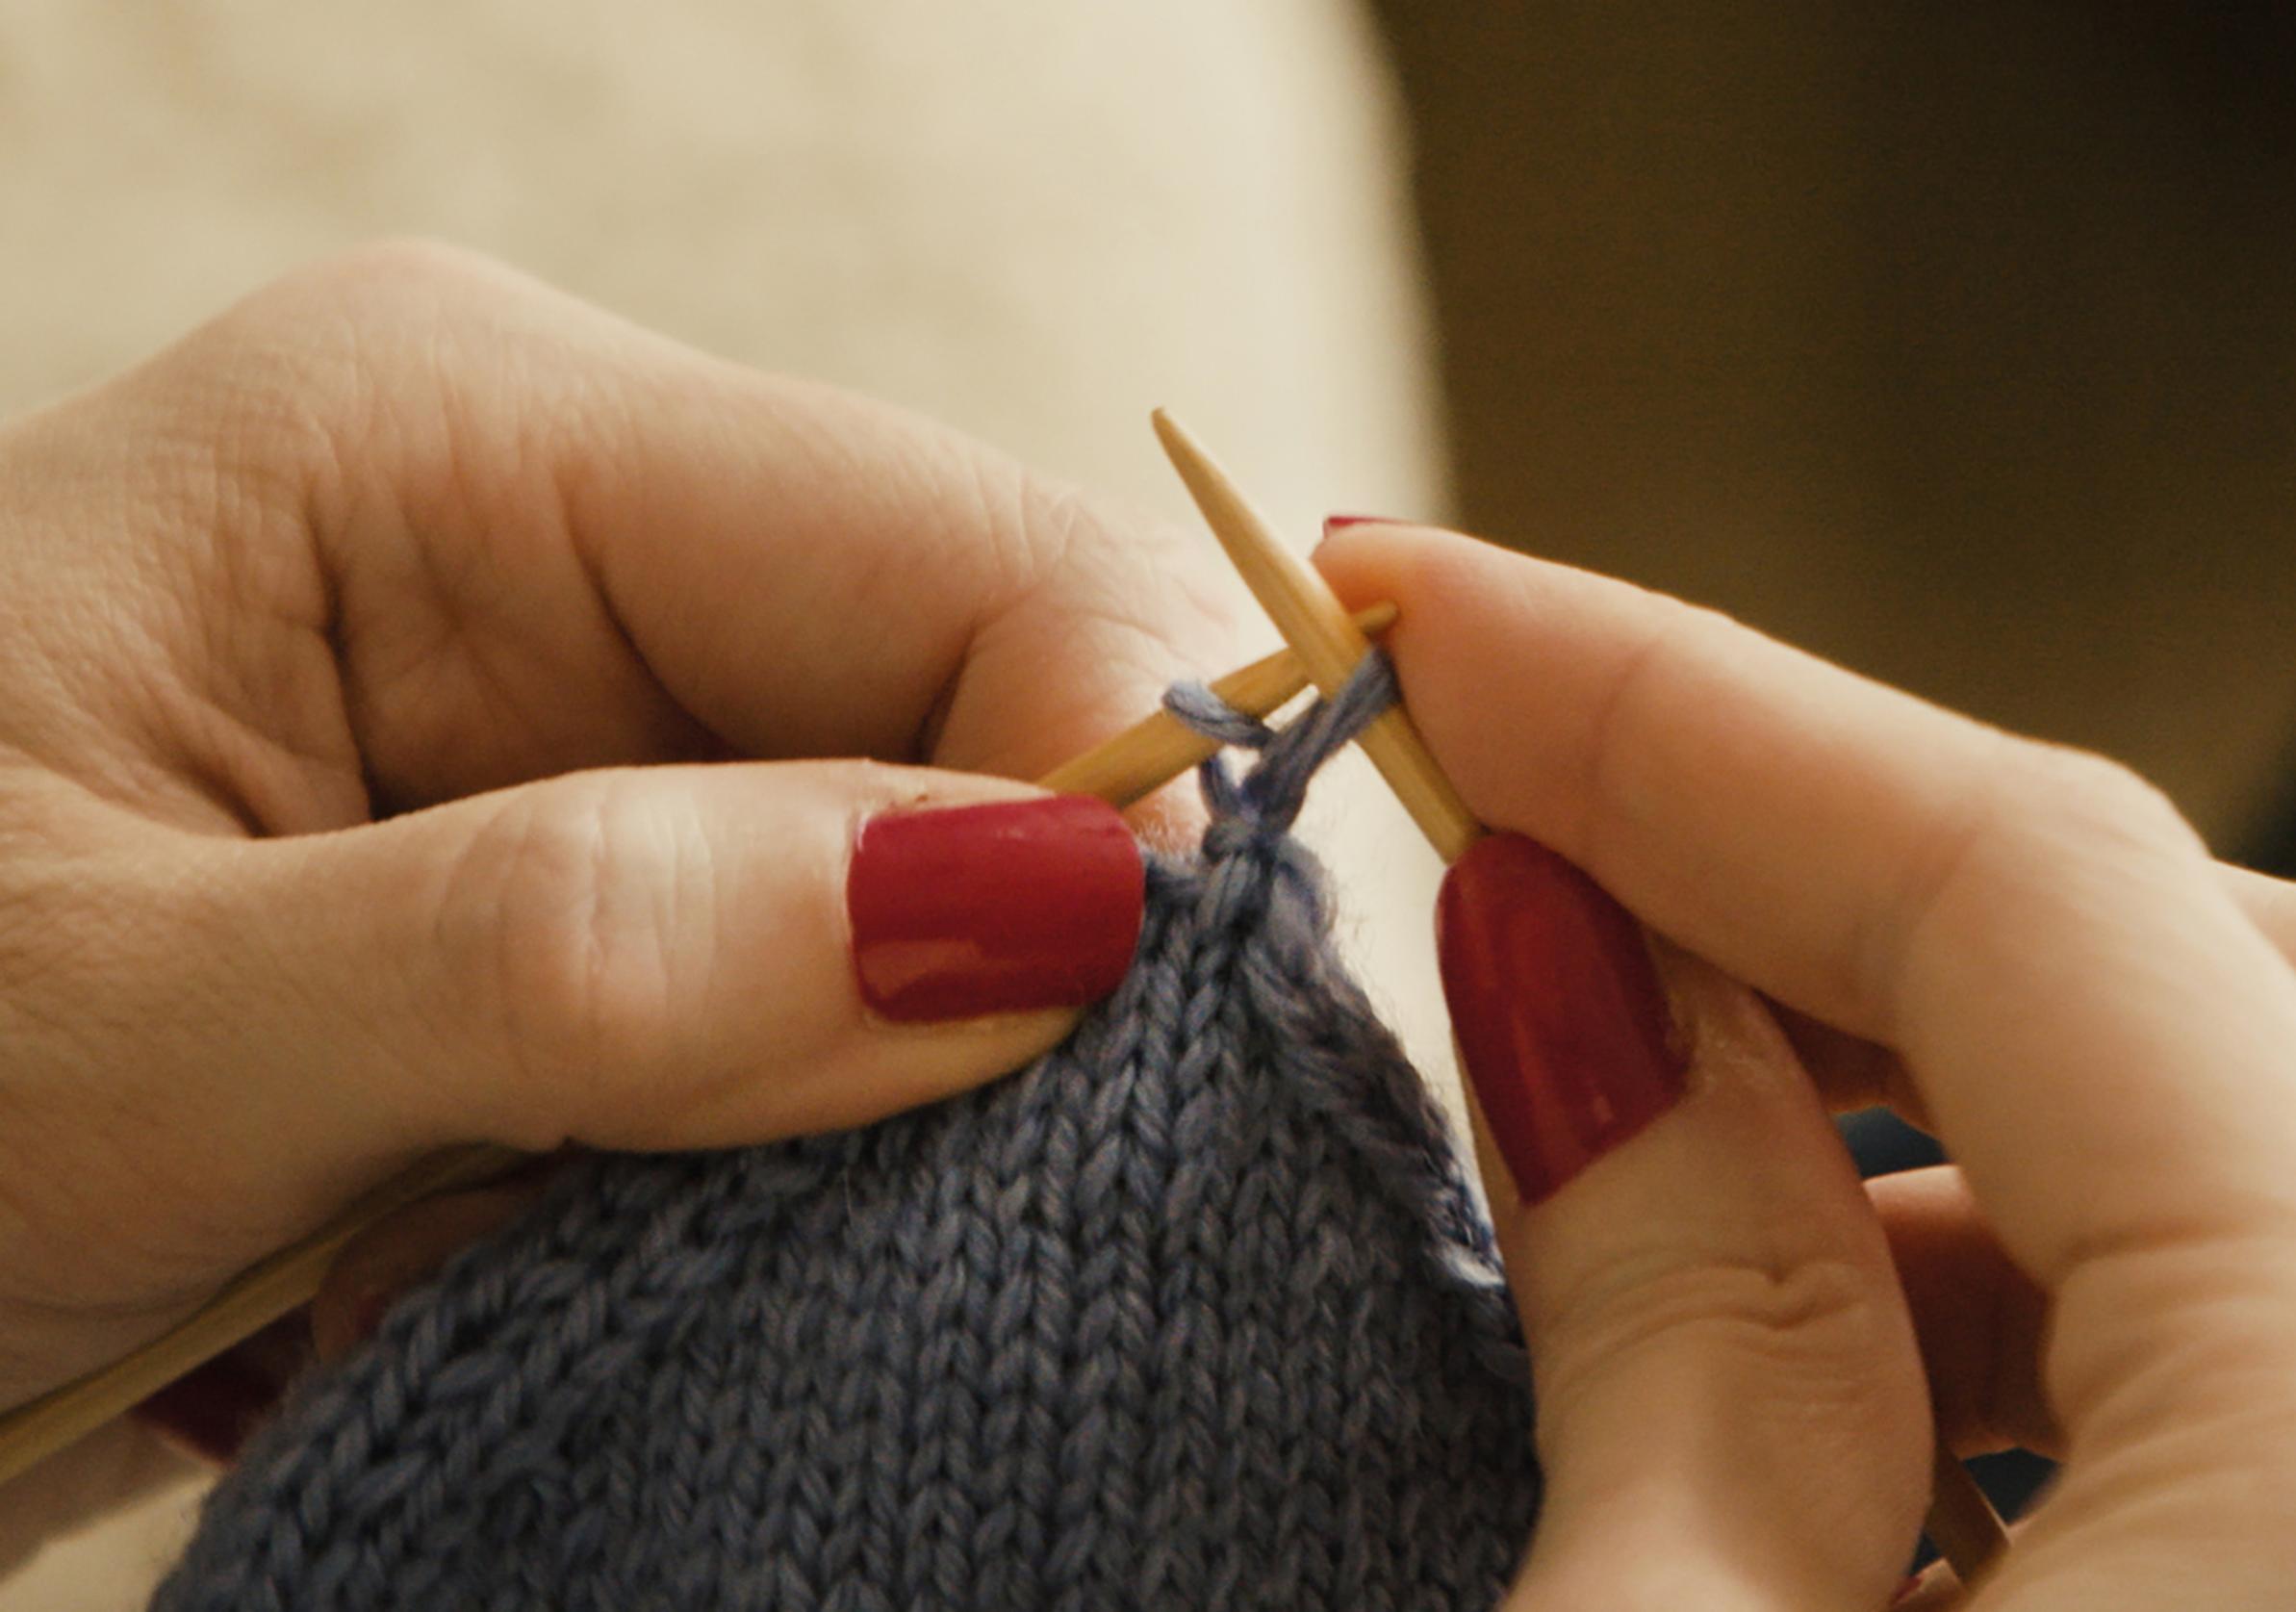
Working an skp decrease


Knit one plain round after each decrease round.
Continue working the decreases every other round until you have about half your original stitch count left on each needle. For example, if you started with 12 stitches on a needle, repeat the decreases every other round until 6 stitches remain. Similarly, if you started with 13, continue until there are 6 or 7 left on each needle.
Then work the decreases on every round until there are 8 stitches total left—2 stitches on each needle.
Cut the yarn, pull it through the remaining stitches, and tighten. Weave in ends securely.


Tip!
When knitting mittens, you can work the wedge decreases on every round if you prefer. Start the decreases once the mitten covers your index finger, and then keep decreasing on every round as described above.
Narrow wedge decrease
You can make the wedge decrease narrower by skipping the two knit stitches in between the decreases. In this version, you work the decreases on the first and last stitches of each needle.
Needles 1 and 3: Knit until 2 stitches remain on the needle. Knit those 2 stitches together.
Needles 2 and 4: Slip 1 stitch knitwise, knit 1, and pass the slipped stitch over the stitch you just knit. Knit the remaining stitches on the needle.