Kitchen makeover
Budget kitchen renovation with paint! Katja transformed an ’80s kitchen from dark to dreamy for under 1,500 euros
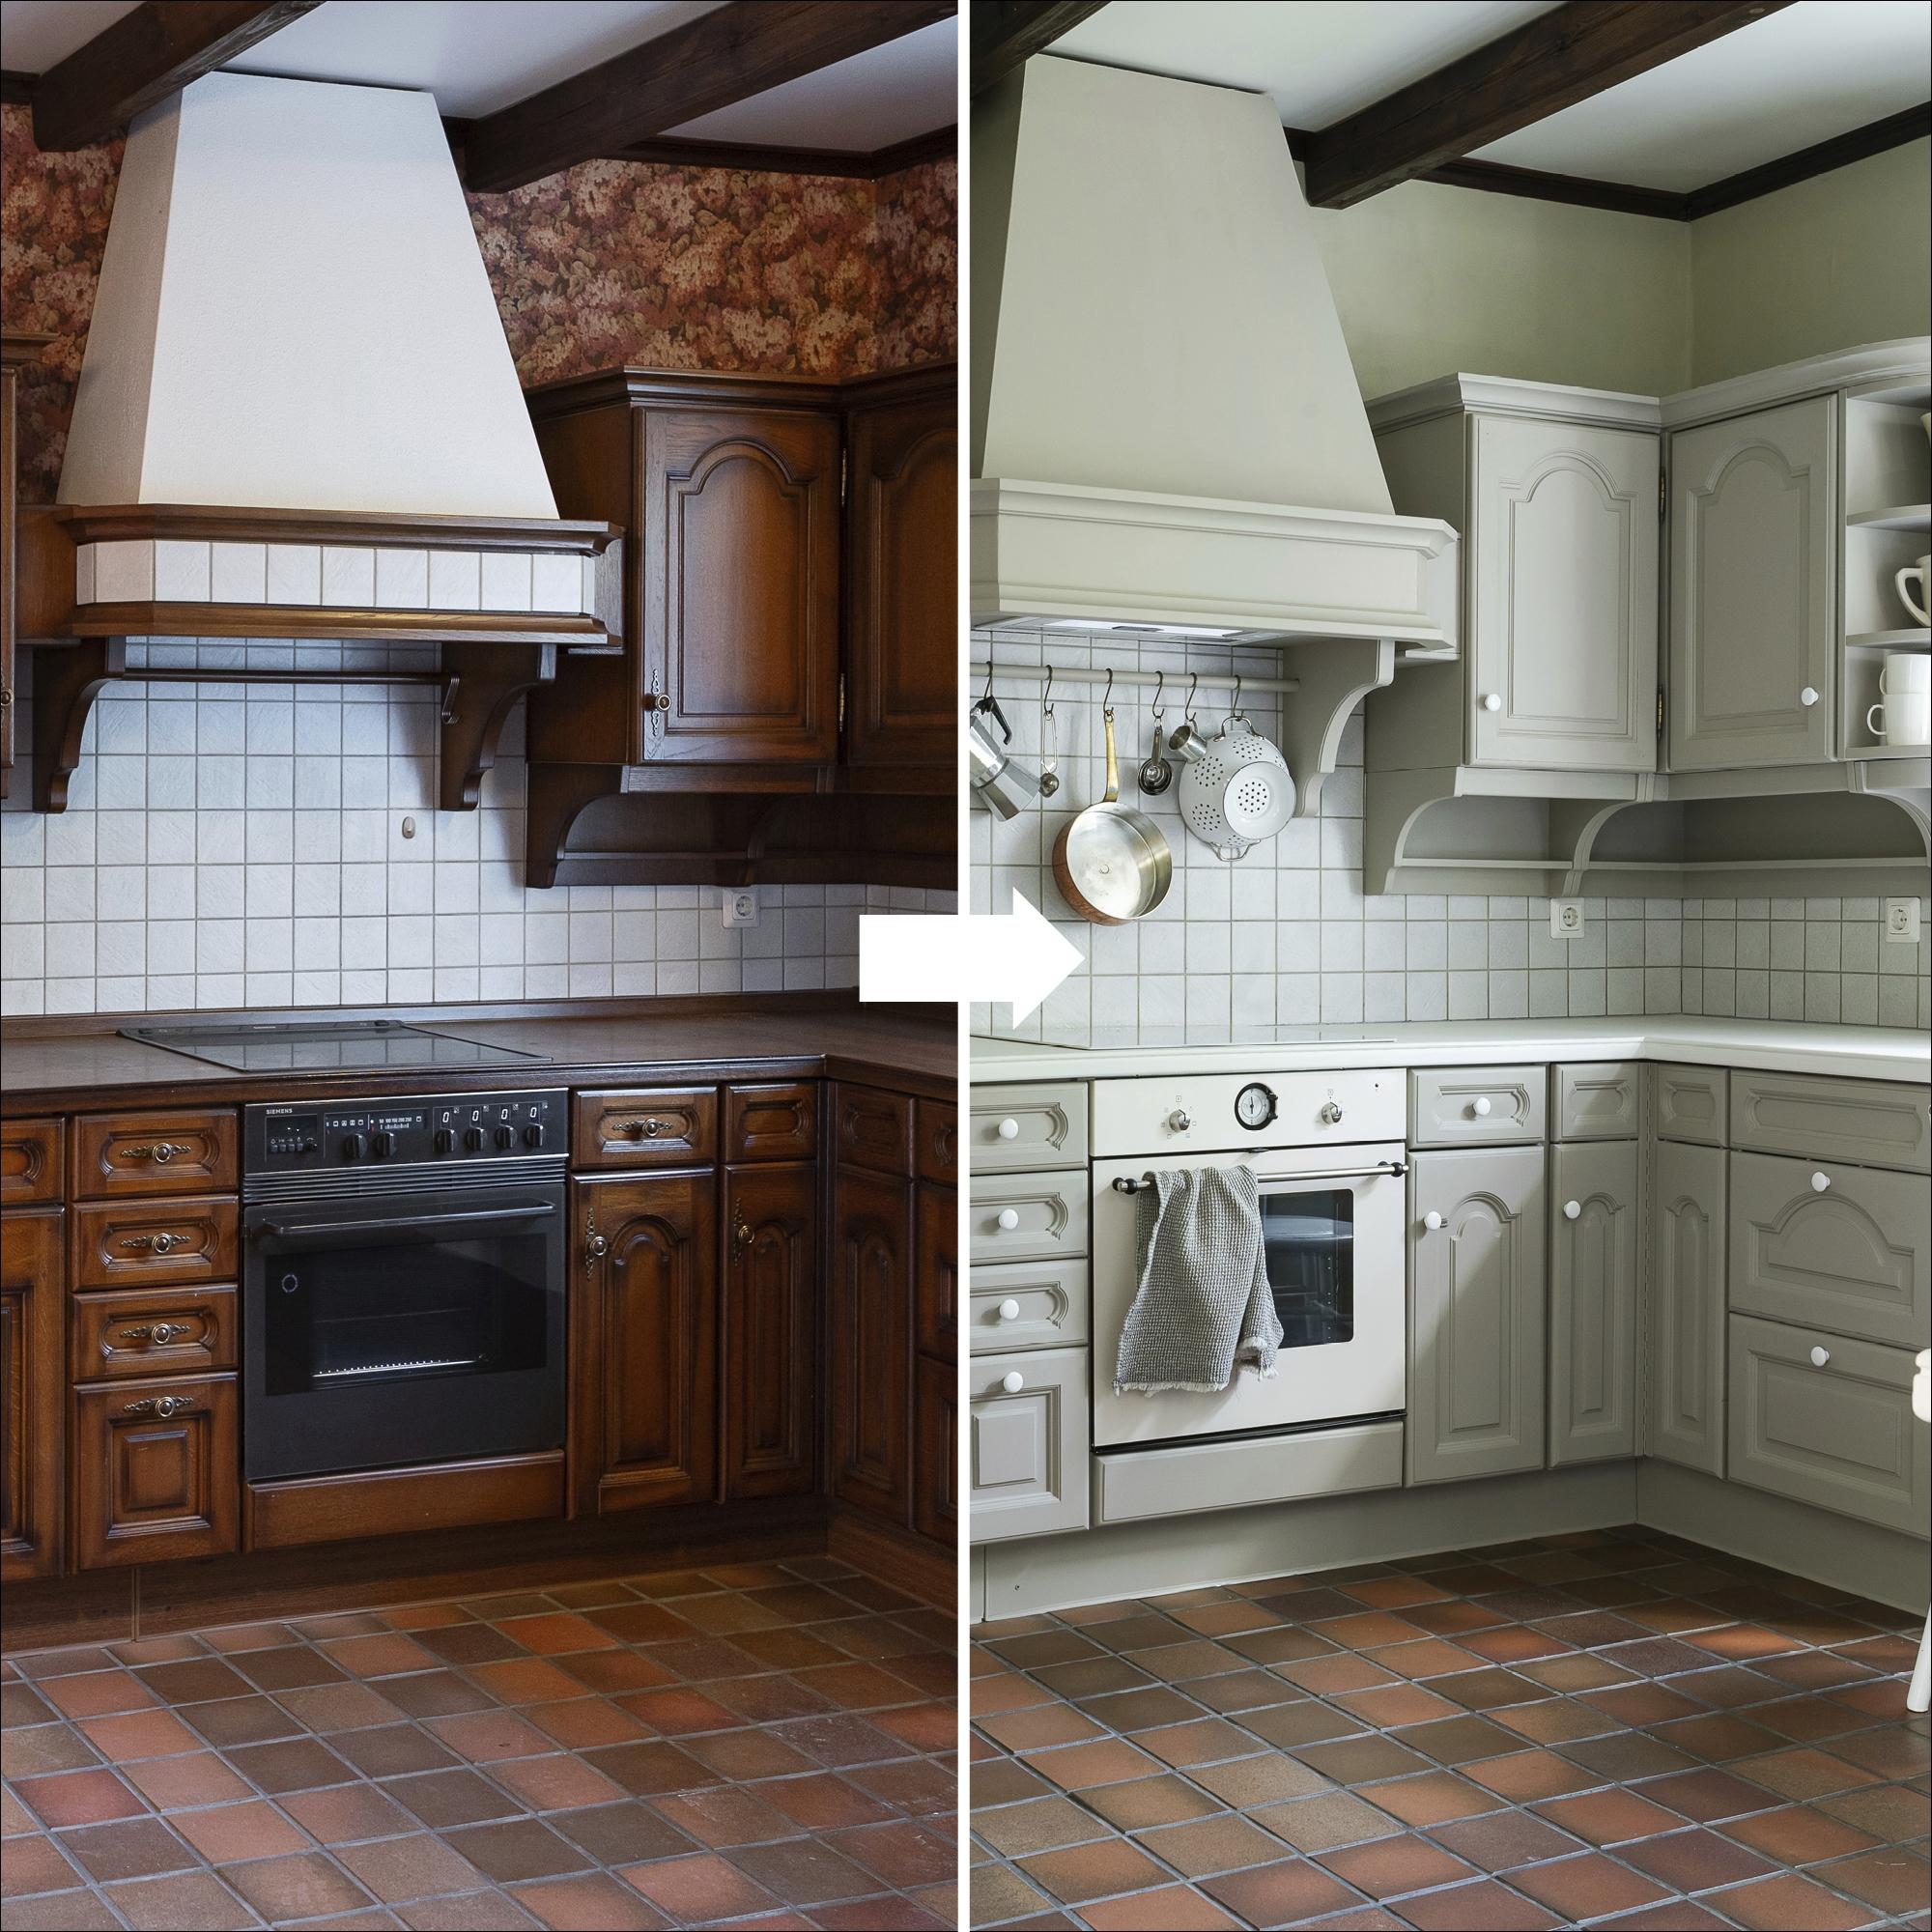
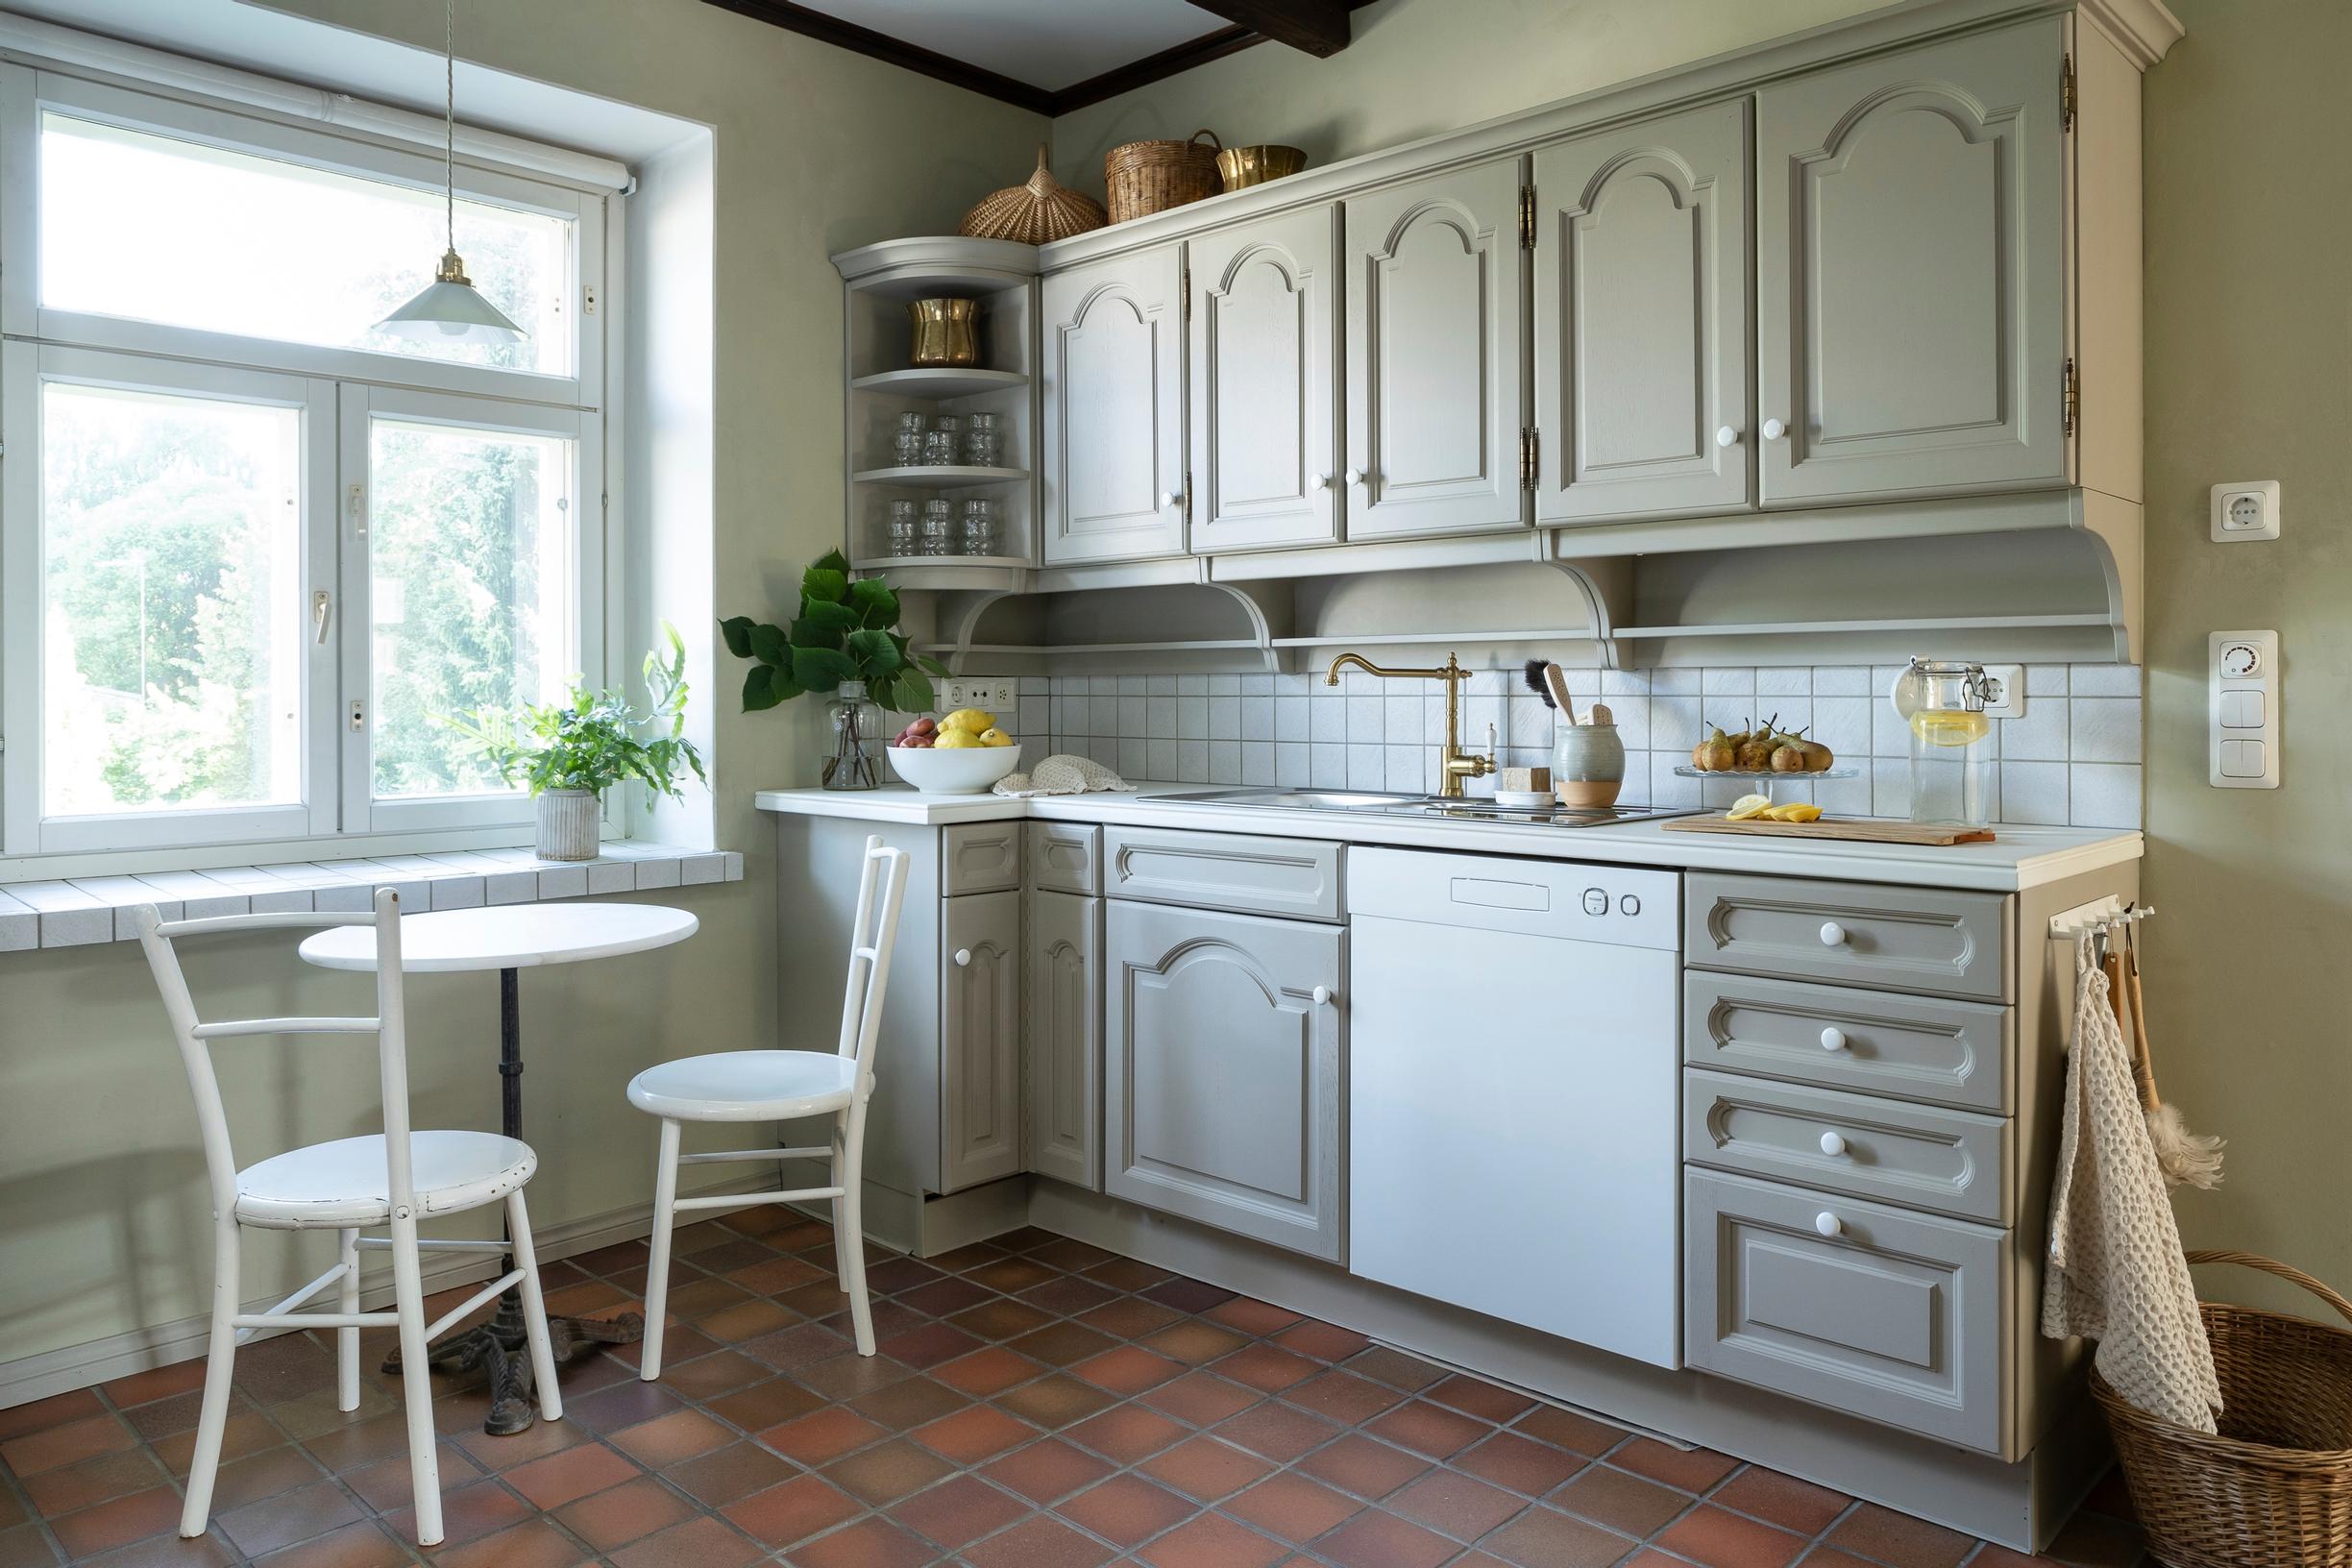
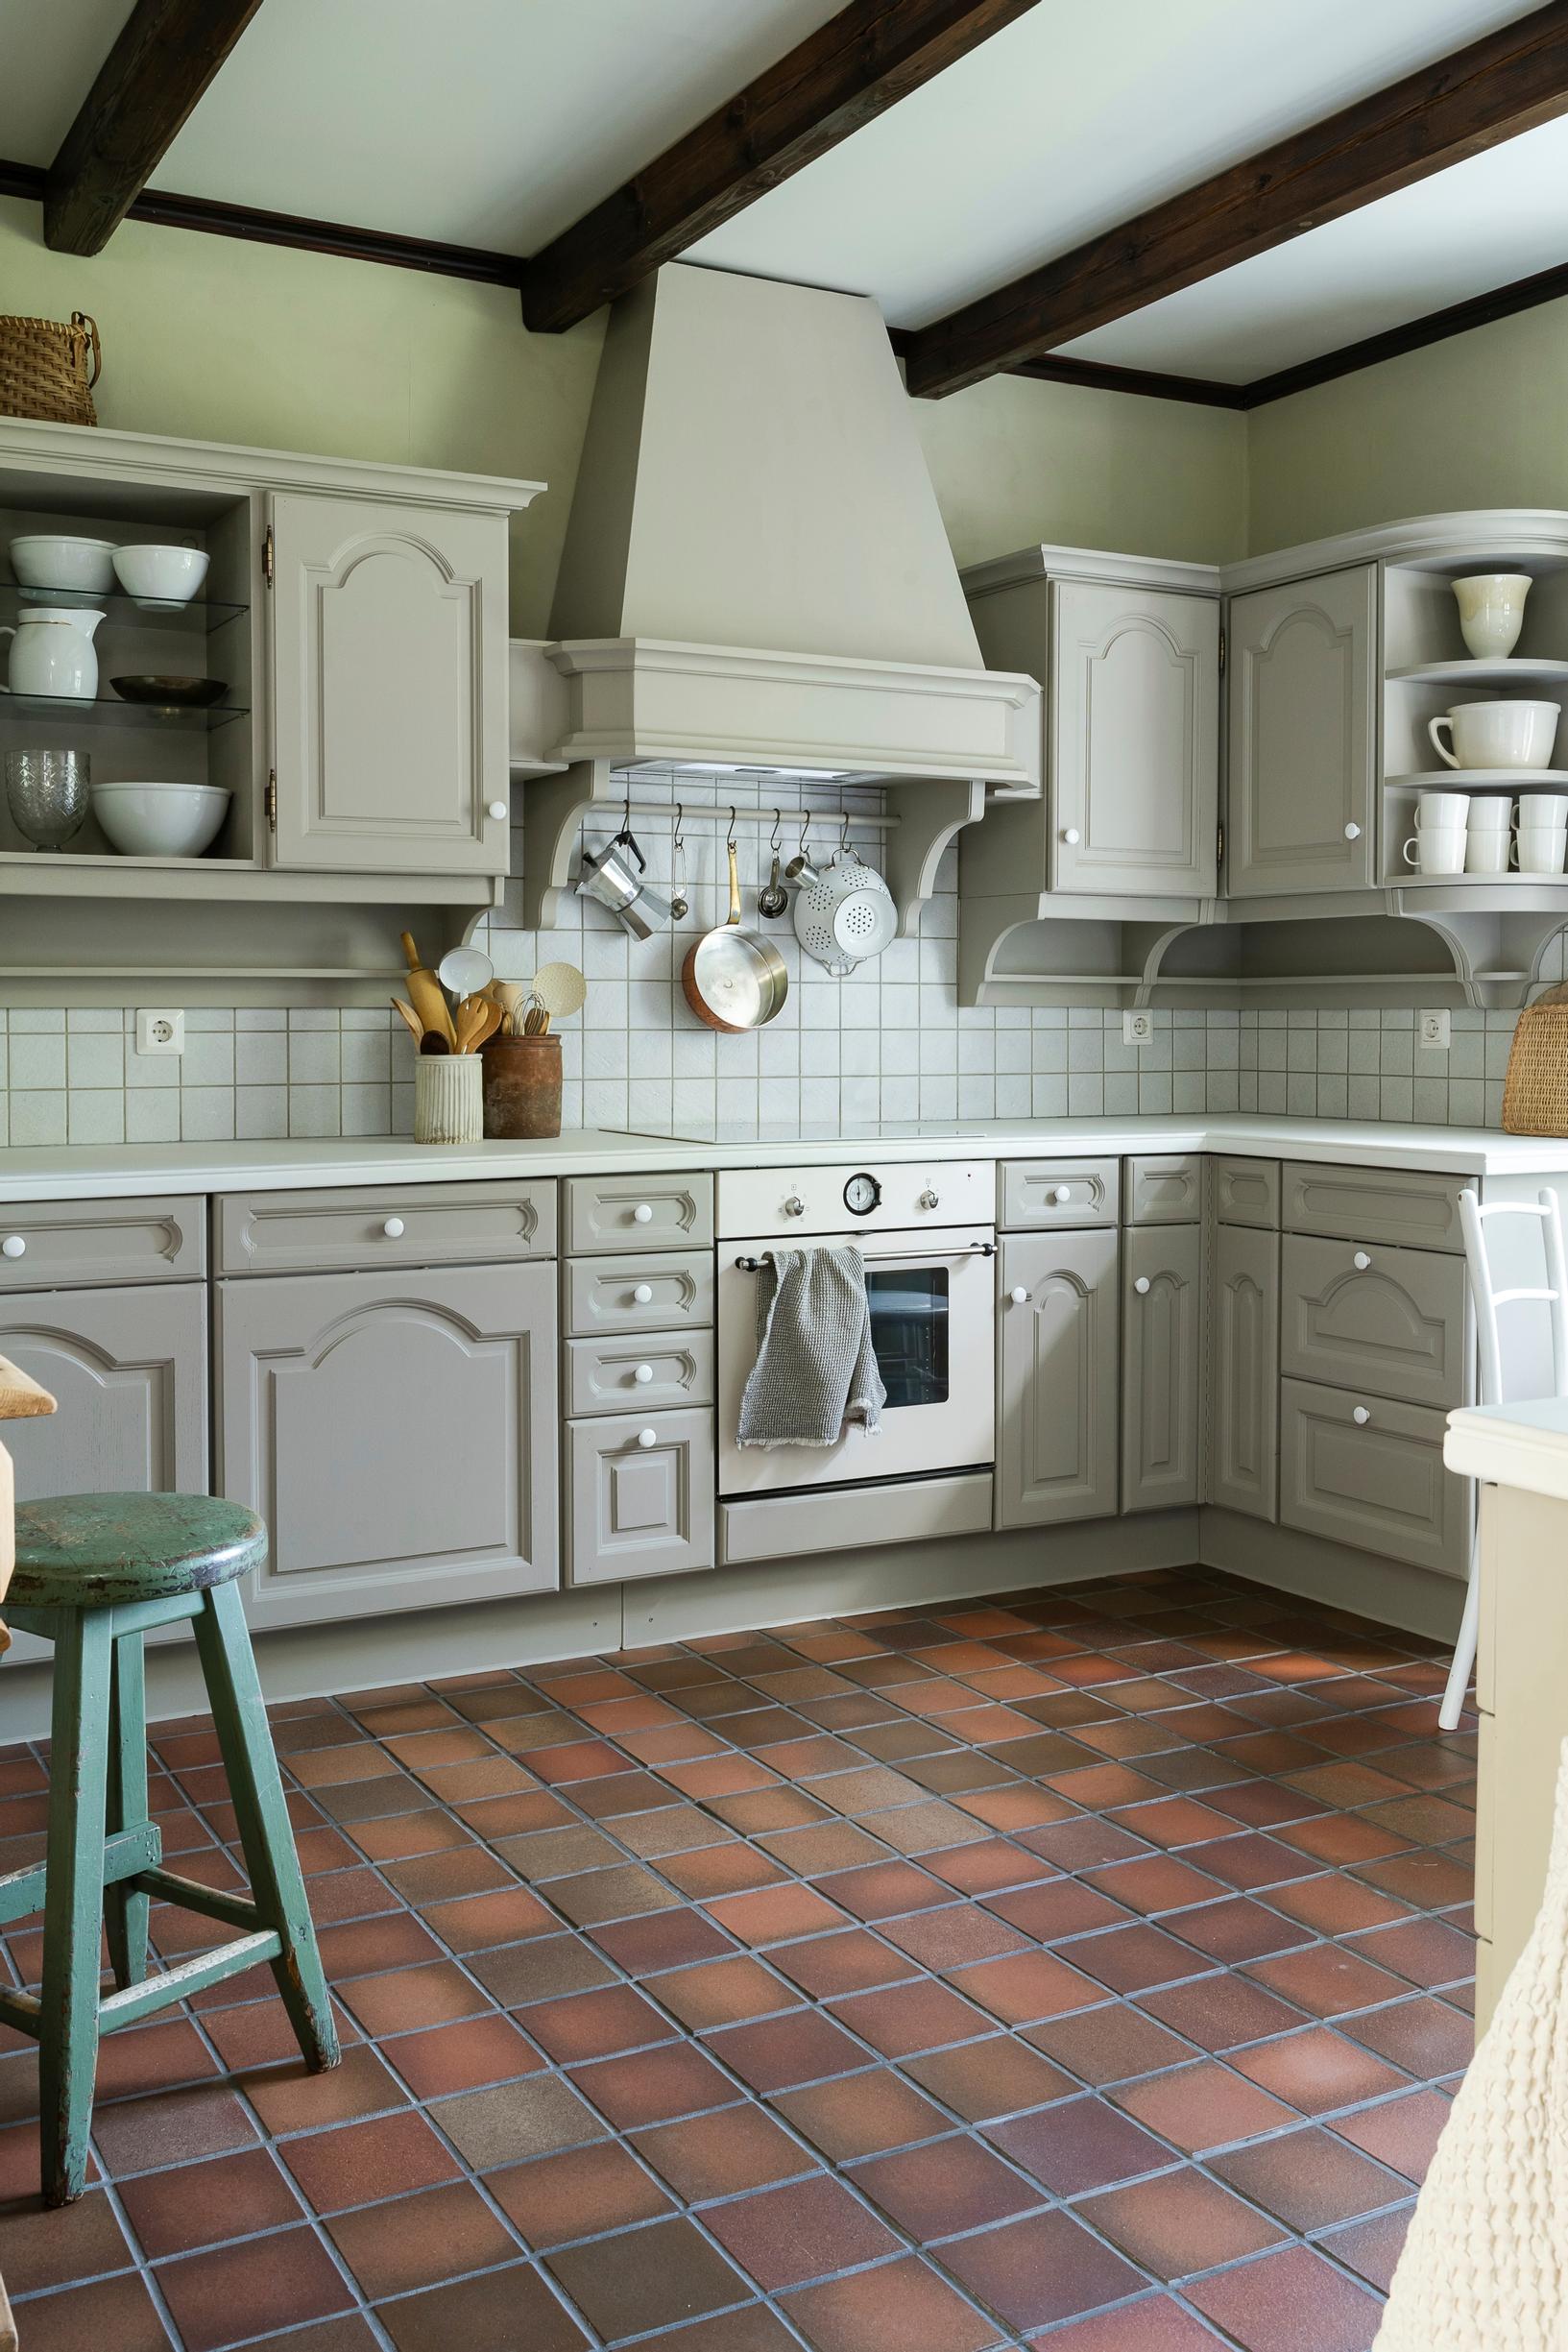
Finnish blogger Katja Rinkinen painted her 1980s kitchen in soft tones as part of her budget kitchen renovation. The paint cost under 400 euros, and the entire update, appliances included, cost less than 1,500 euros. Read on to see how she did it!
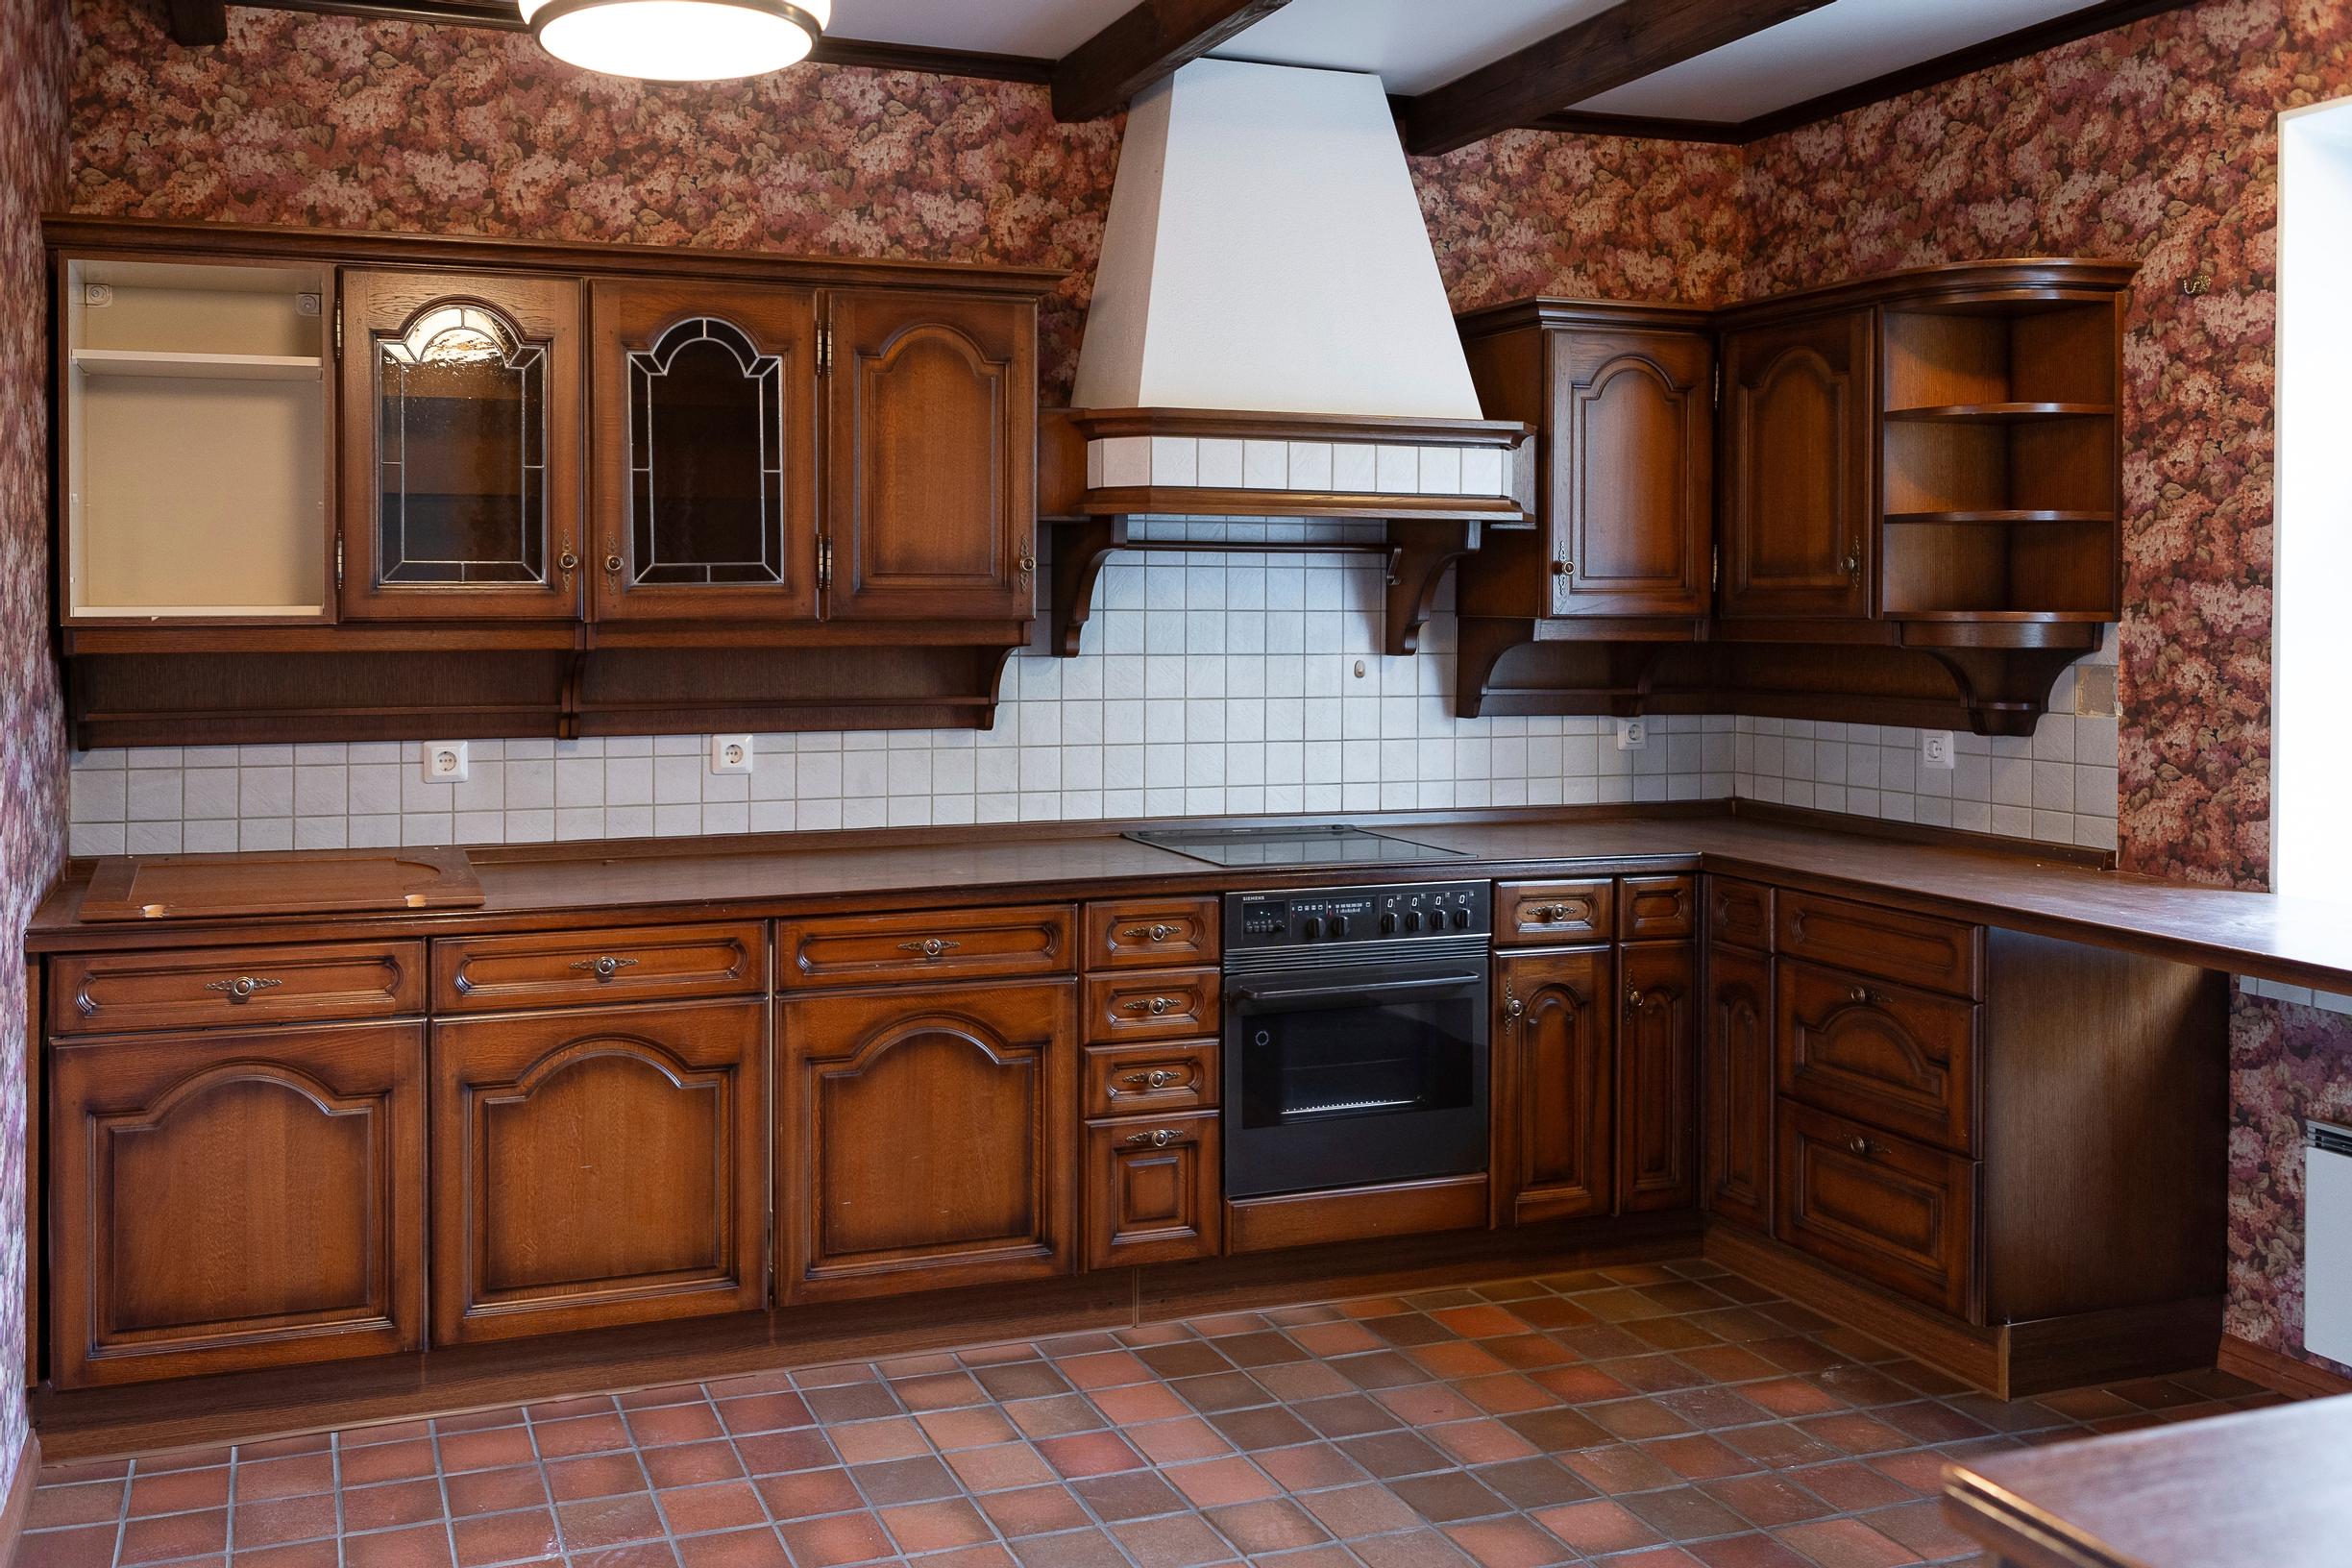
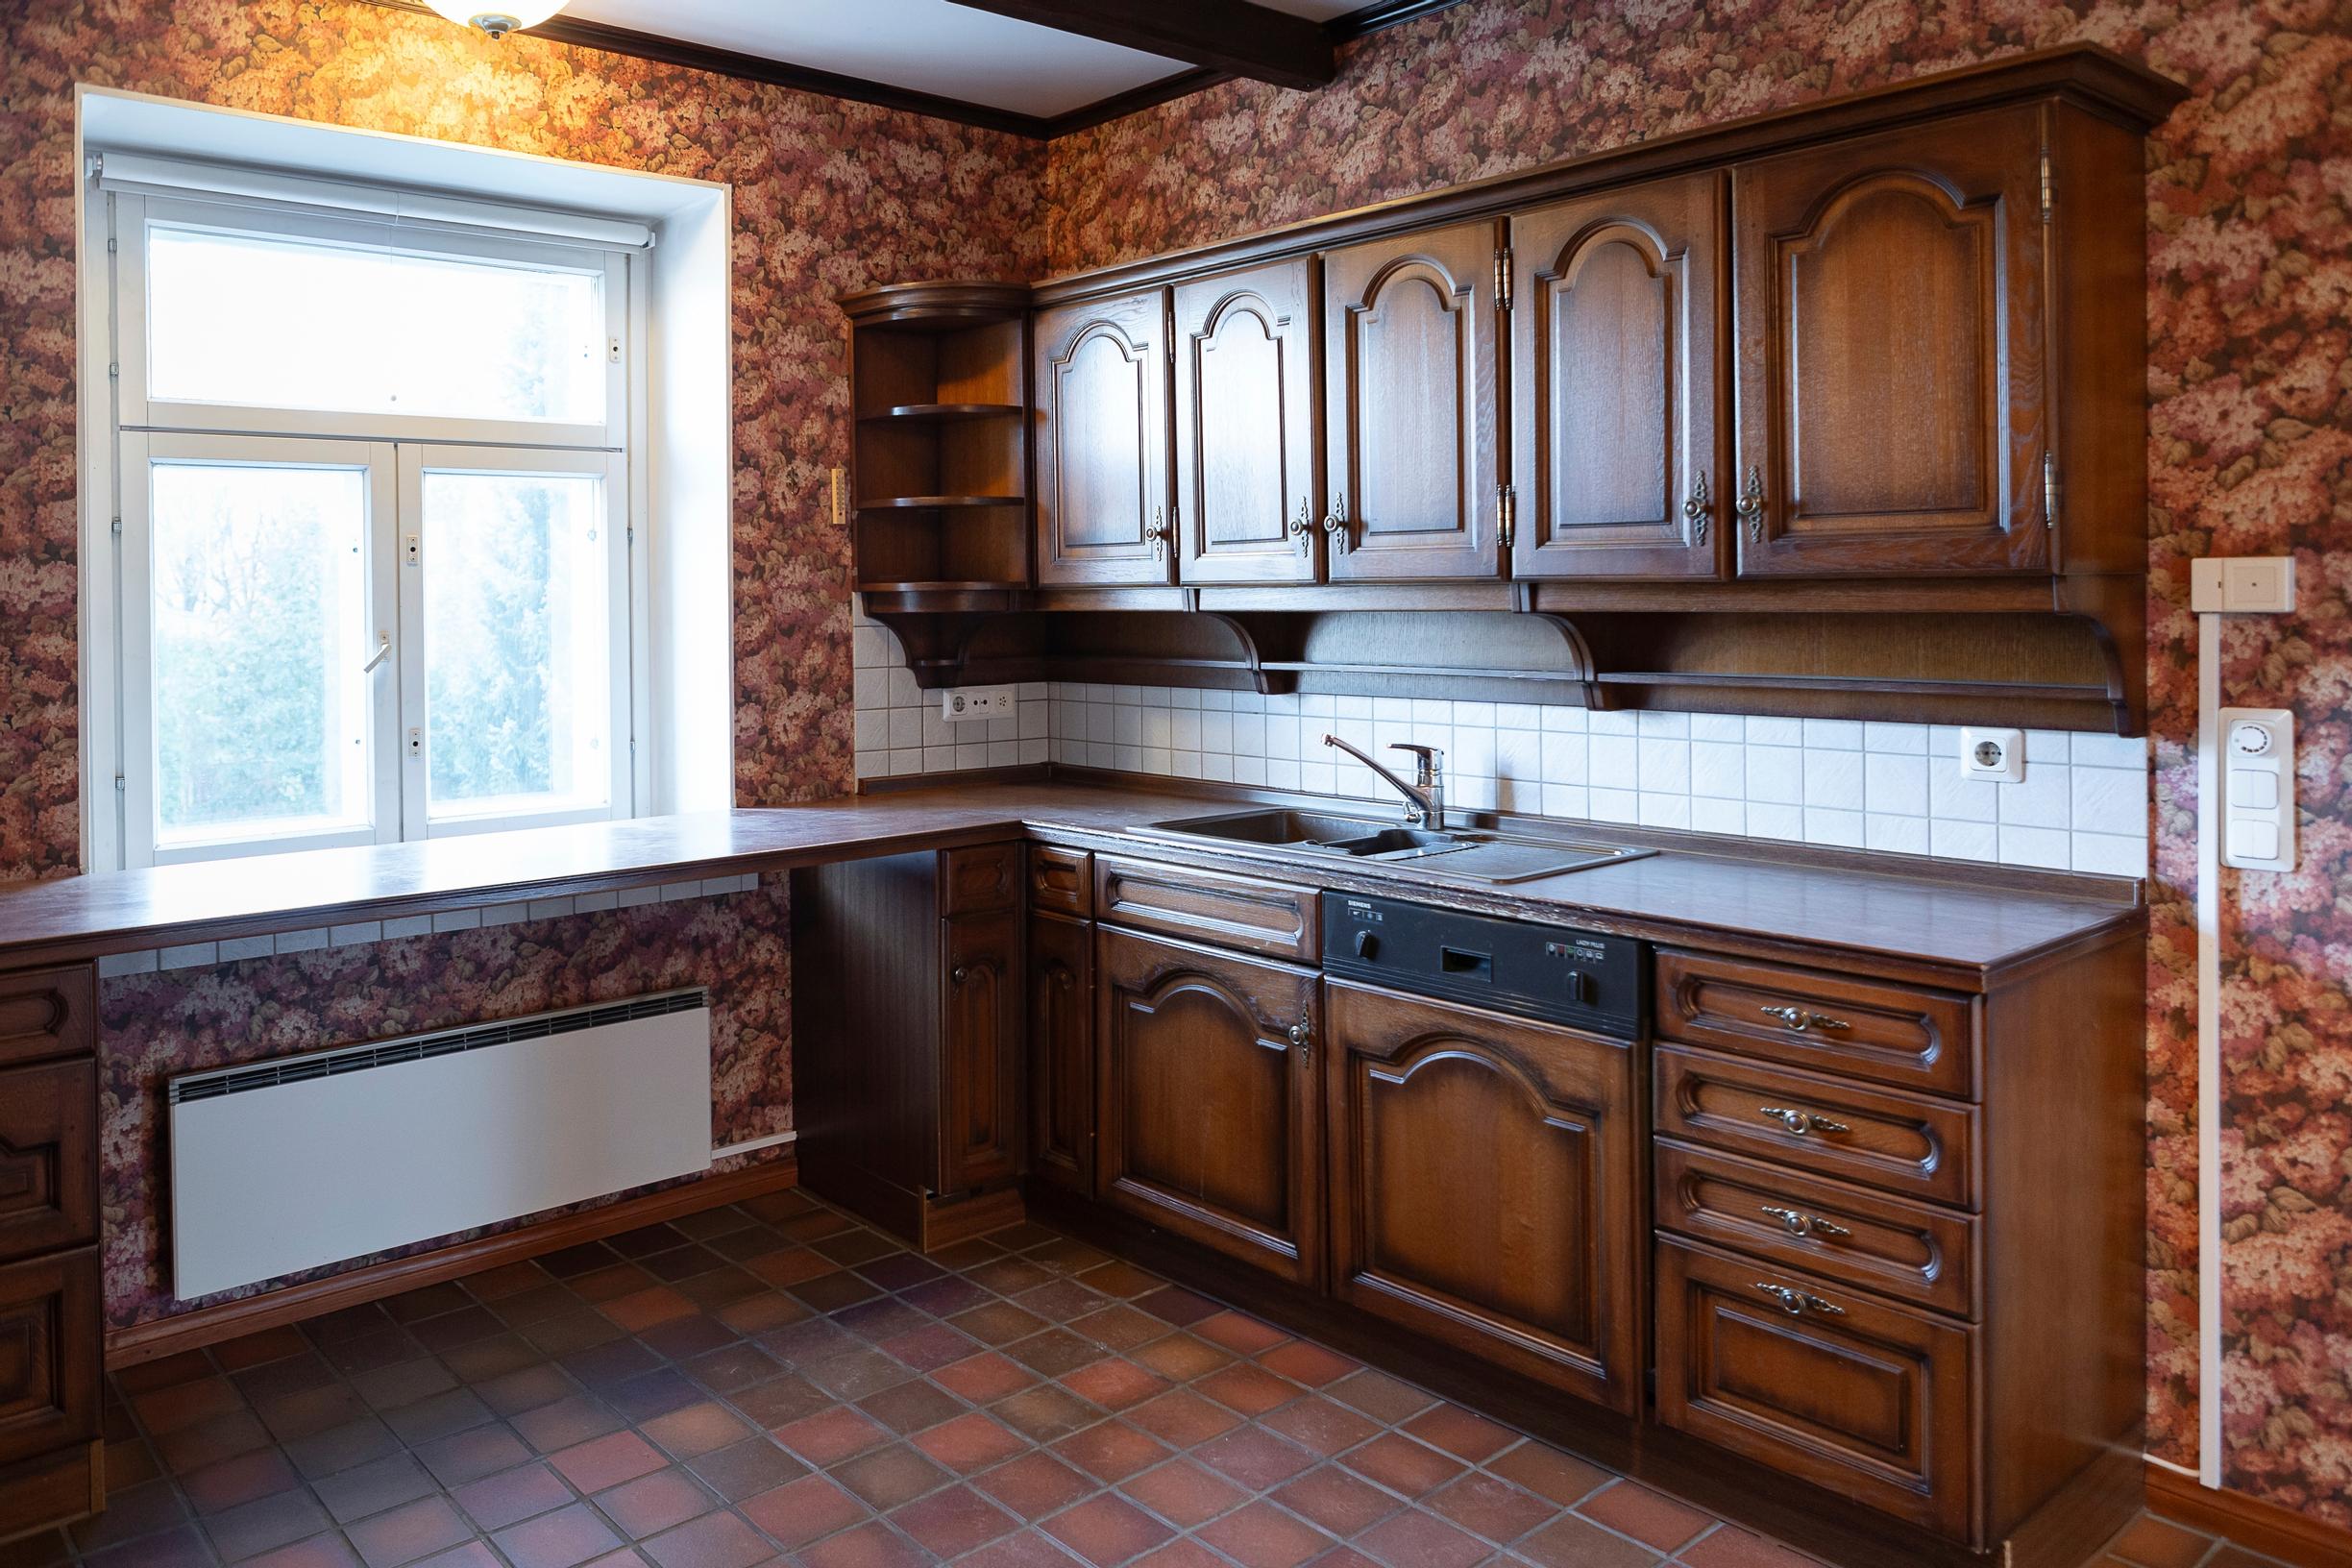
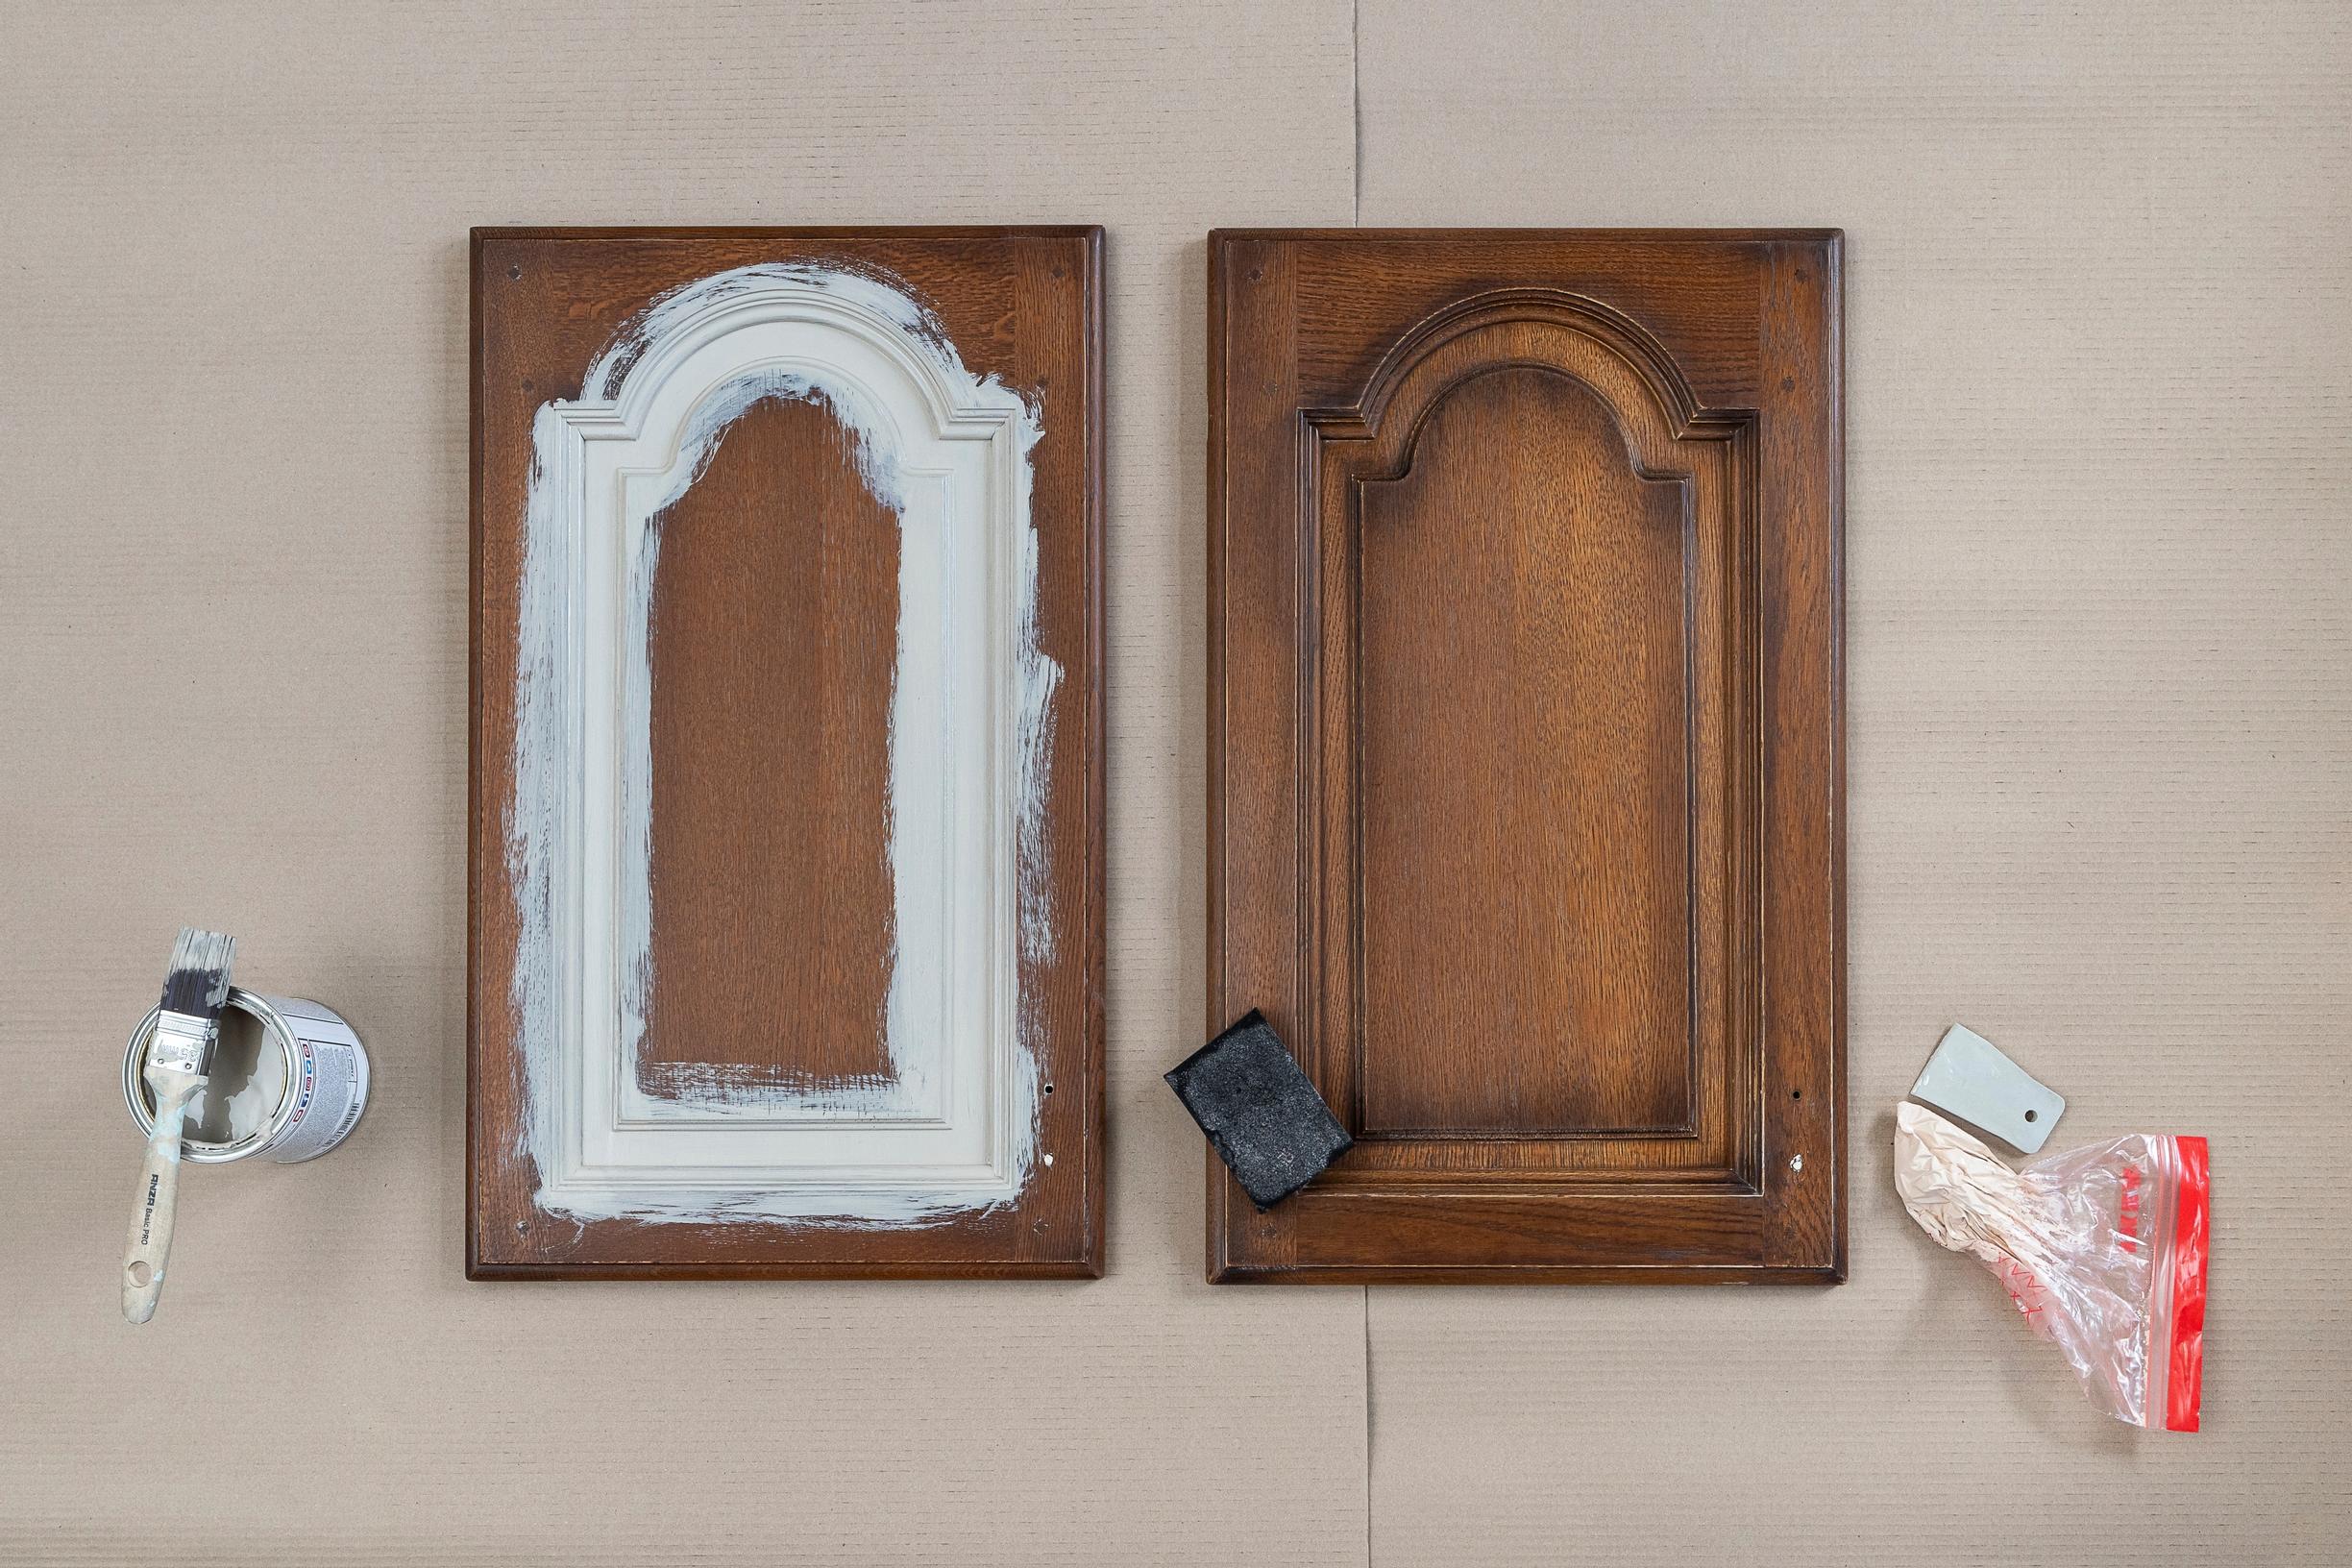
Here’s what the kitchen looked like before the budget kitchen renovation:


Painting the kitchen cabinets and countertop—supplies:
- Frenchic Sugar Soap cleanser
- rags and buckets
- paint, e.g., Frenchic Lazy Range in the shade Salt of the Earth for the cabinets and Frenchic Al Fresco in the shade Wedding Cake for the countertop
- Frenchic Tuff Top Coat finishing layer
- synthetic brushes in various sizes
- foam brush
- 120-grit sandpaper or sanding sponges
- Rubinol wood filler and a filling knife


Painting the kitchen cabinets and countertop—instructions:
- Remove the doors and drawer fronts if possible. Wash all surfaces with a sugar soap solution, then rinse with water. This ensures any grease stains are completely gone. Fill in any holes with wood filler if needed. Lightly roughen door and shelf surfaces with sandpaper, then wipe away any dust with a damp rag. Surfaces subject to minimal wear, such as decorative trim, may not need roughening.
- Paint the surfaces of the cabinets, doors, and toe-kicks twice. Let dry for at least an hour between coats. Have brushes in different sizes on hand. Narrow brushes are best for edges, while wide ones work well for smooth surfaces. Start with any curved shapes first, move on to straight surfaces, and tidy up the edges last. Soaking brushes in water helps with cleanup.
- The kitchen’s laminate countertop was washed and sanded just like the cabinets. The white shade gradually covered the dark surface and required a total of six coats. Finally, the heavily used countertop was sealed twice with a finishing product applied with a foam brush. Painting laminate countertops is an easy way to give them many more years of use.


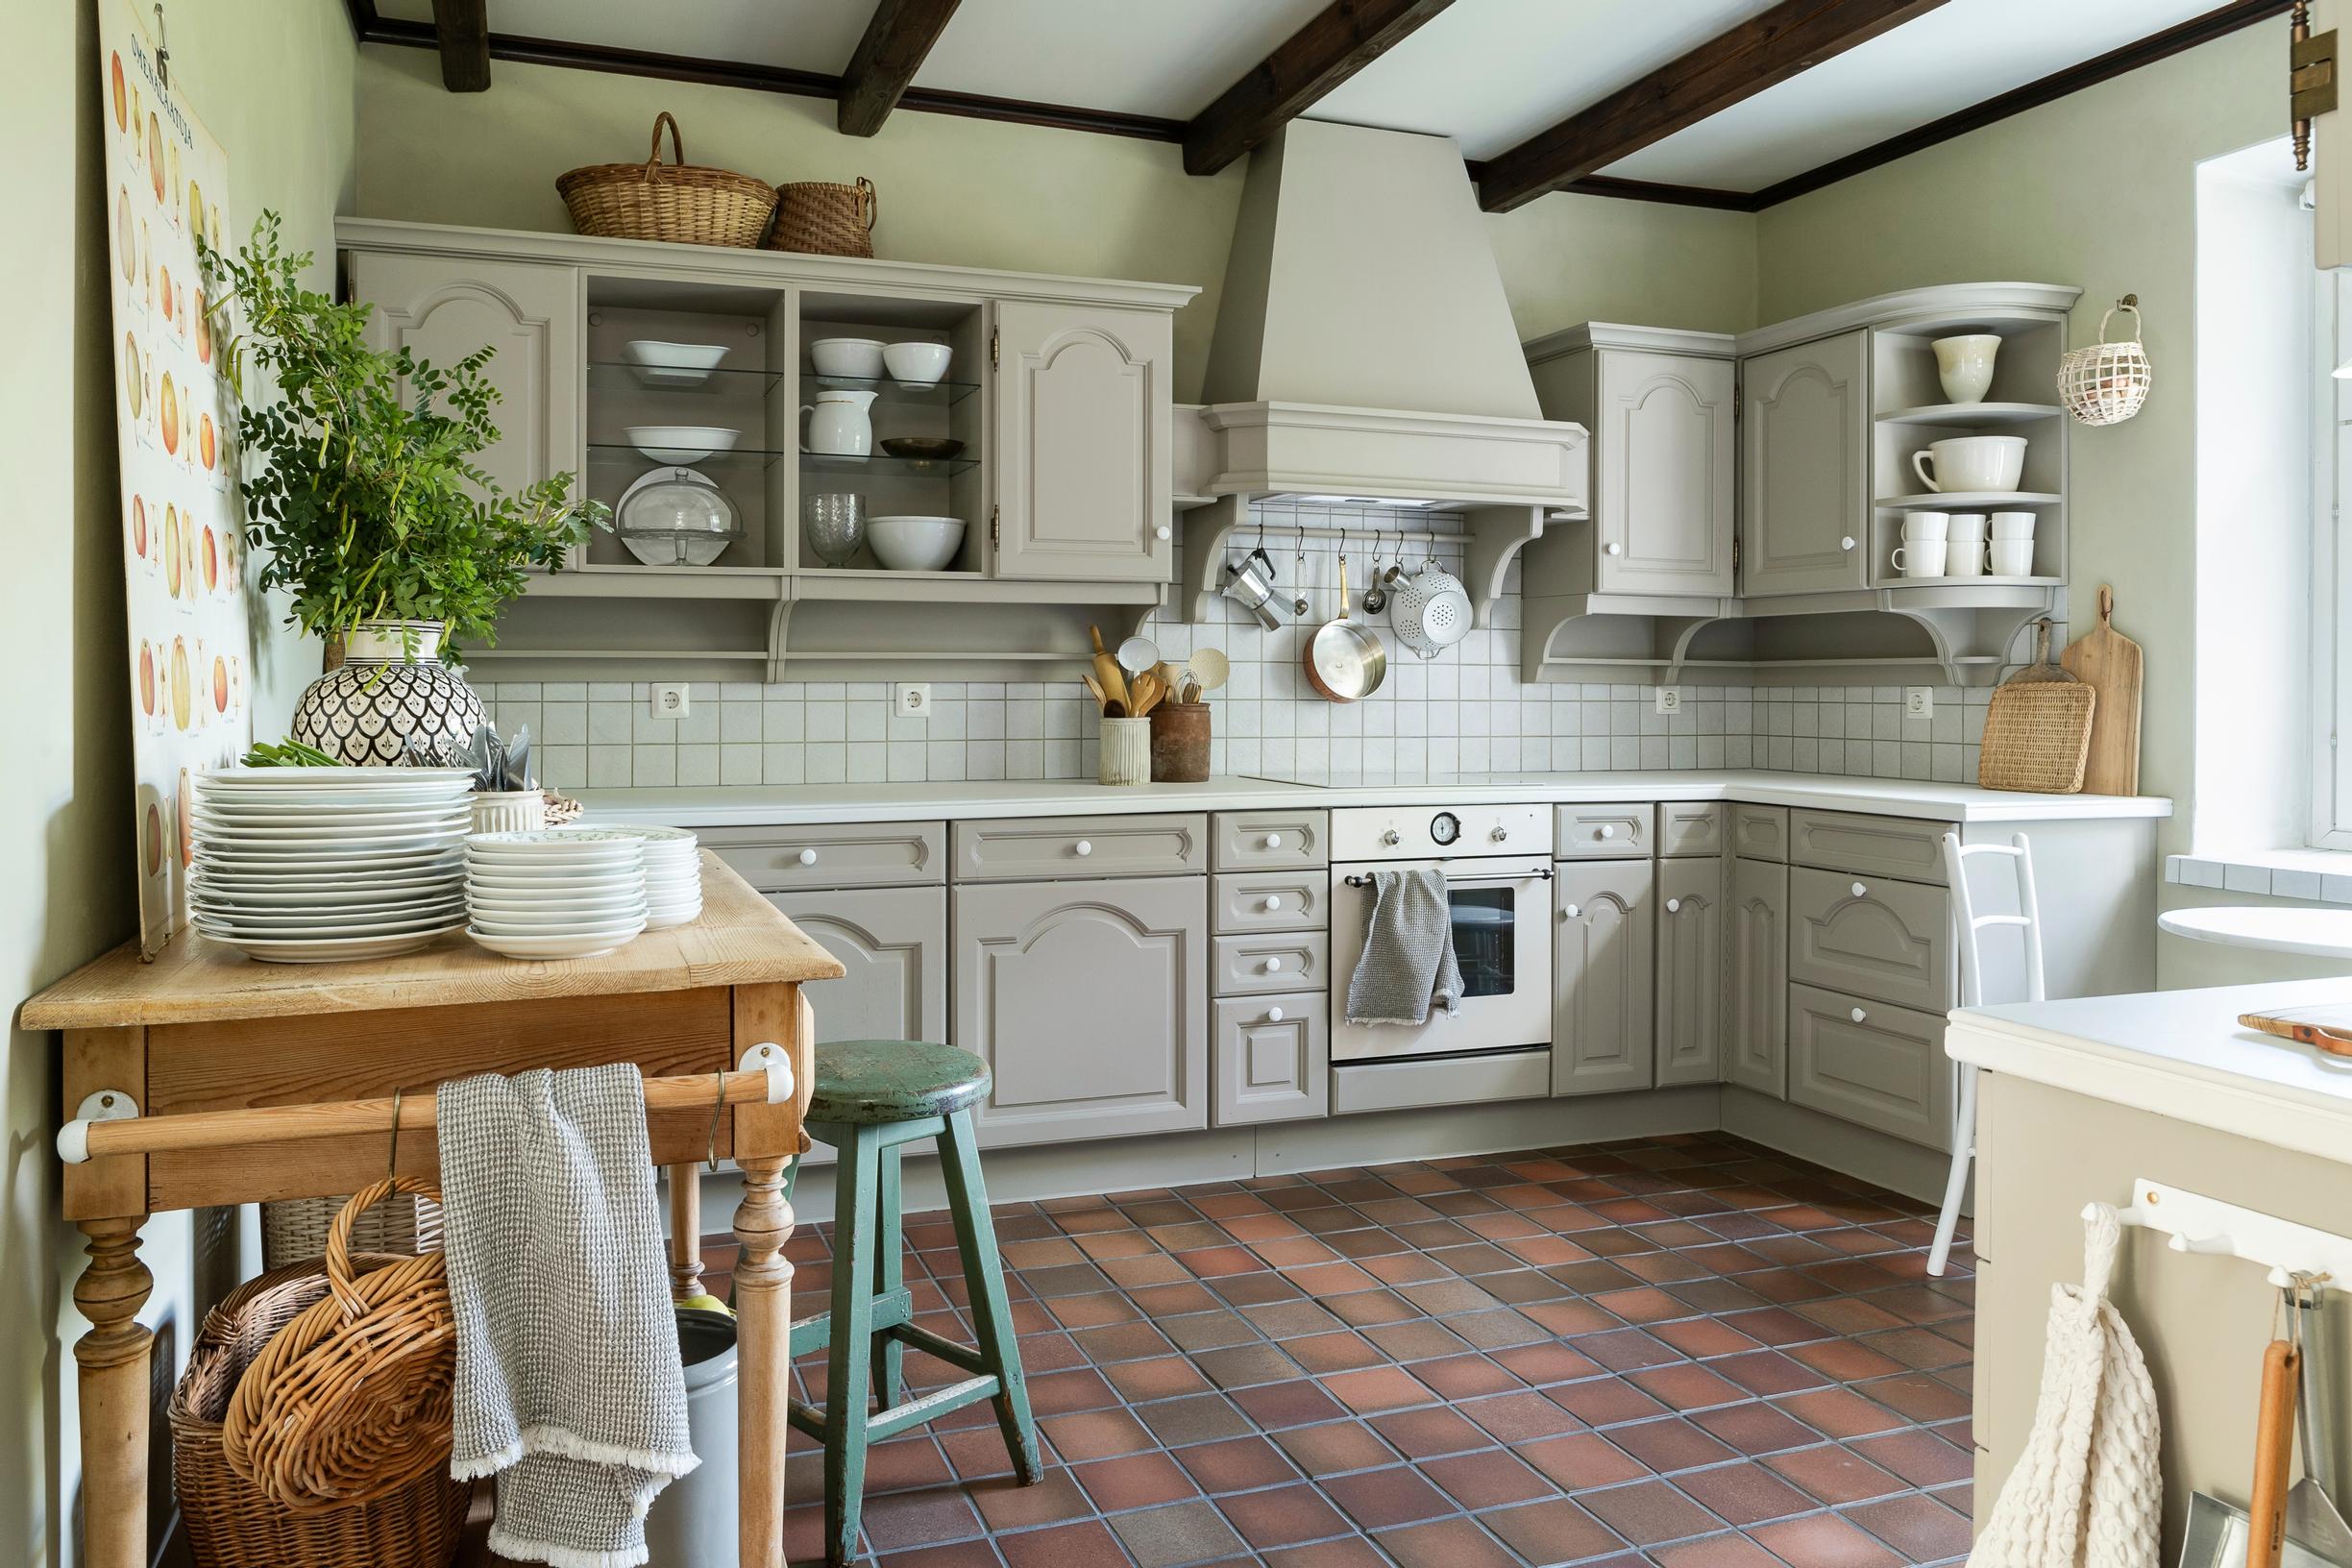
The island was made from an old table!

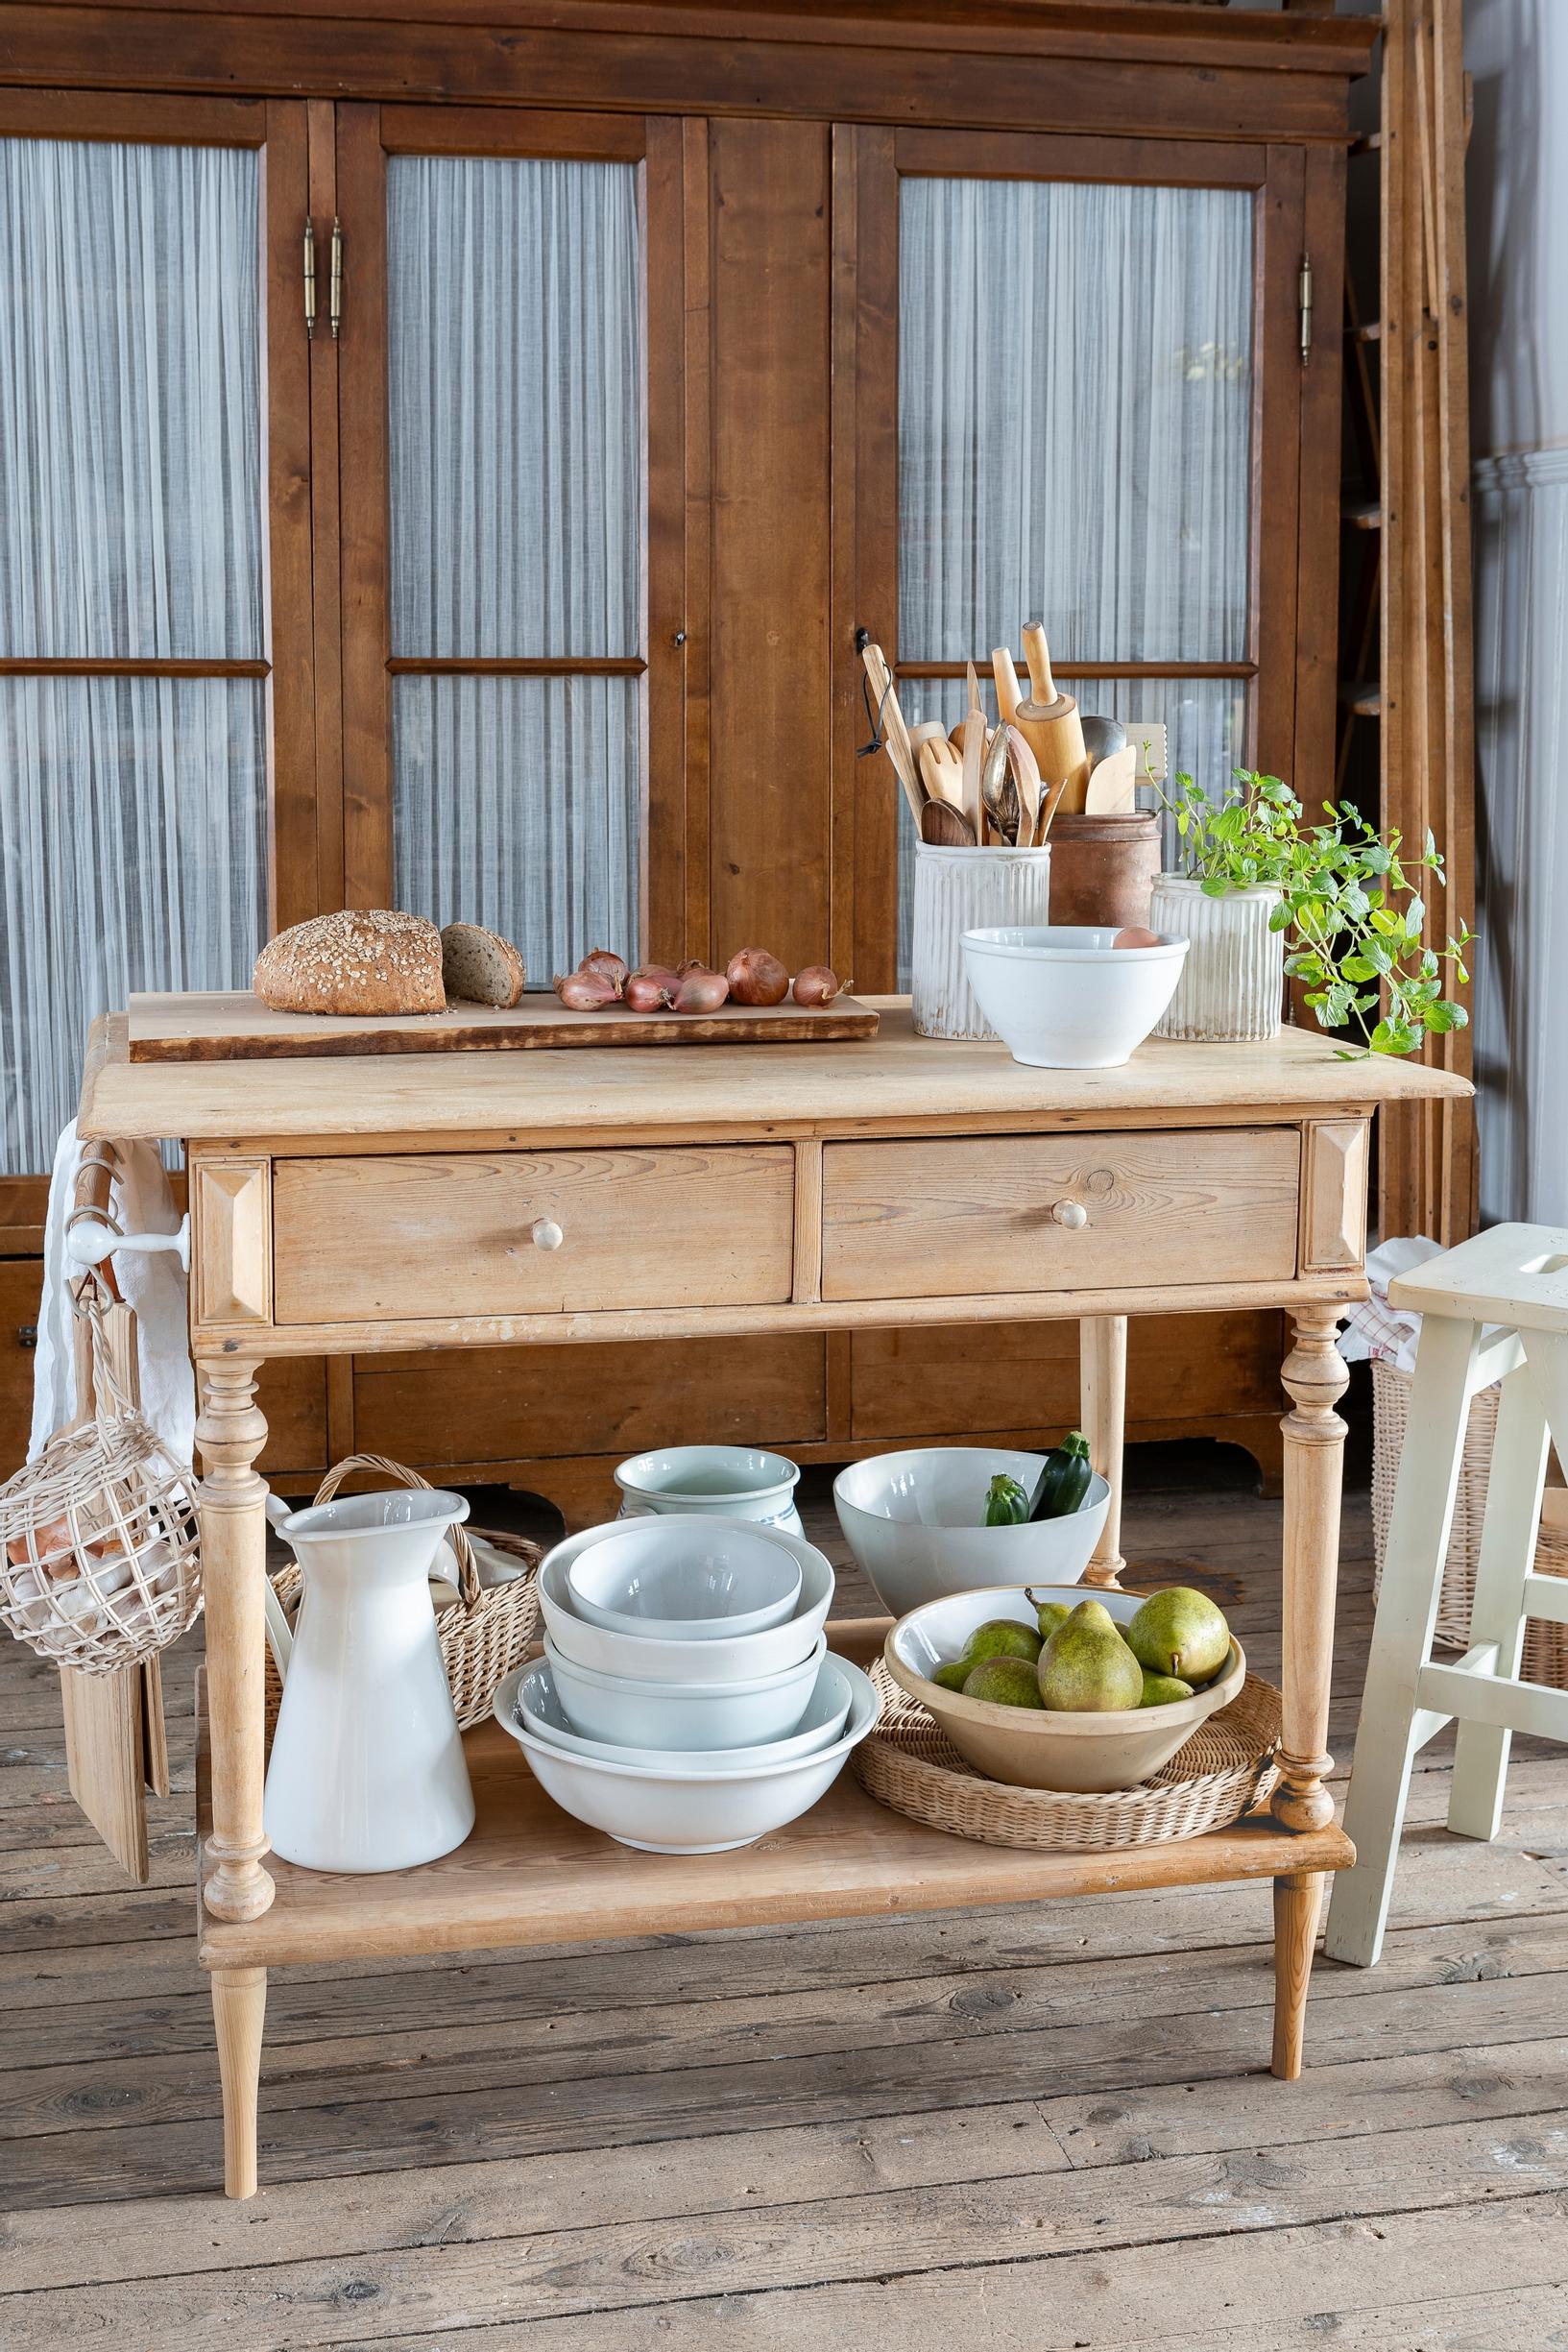
A low, old table can be turned into a conveniently tall island or side table by adding a countertop and furniture legs. See Katja Rinkinen’s instructions here.