
Old becomes new
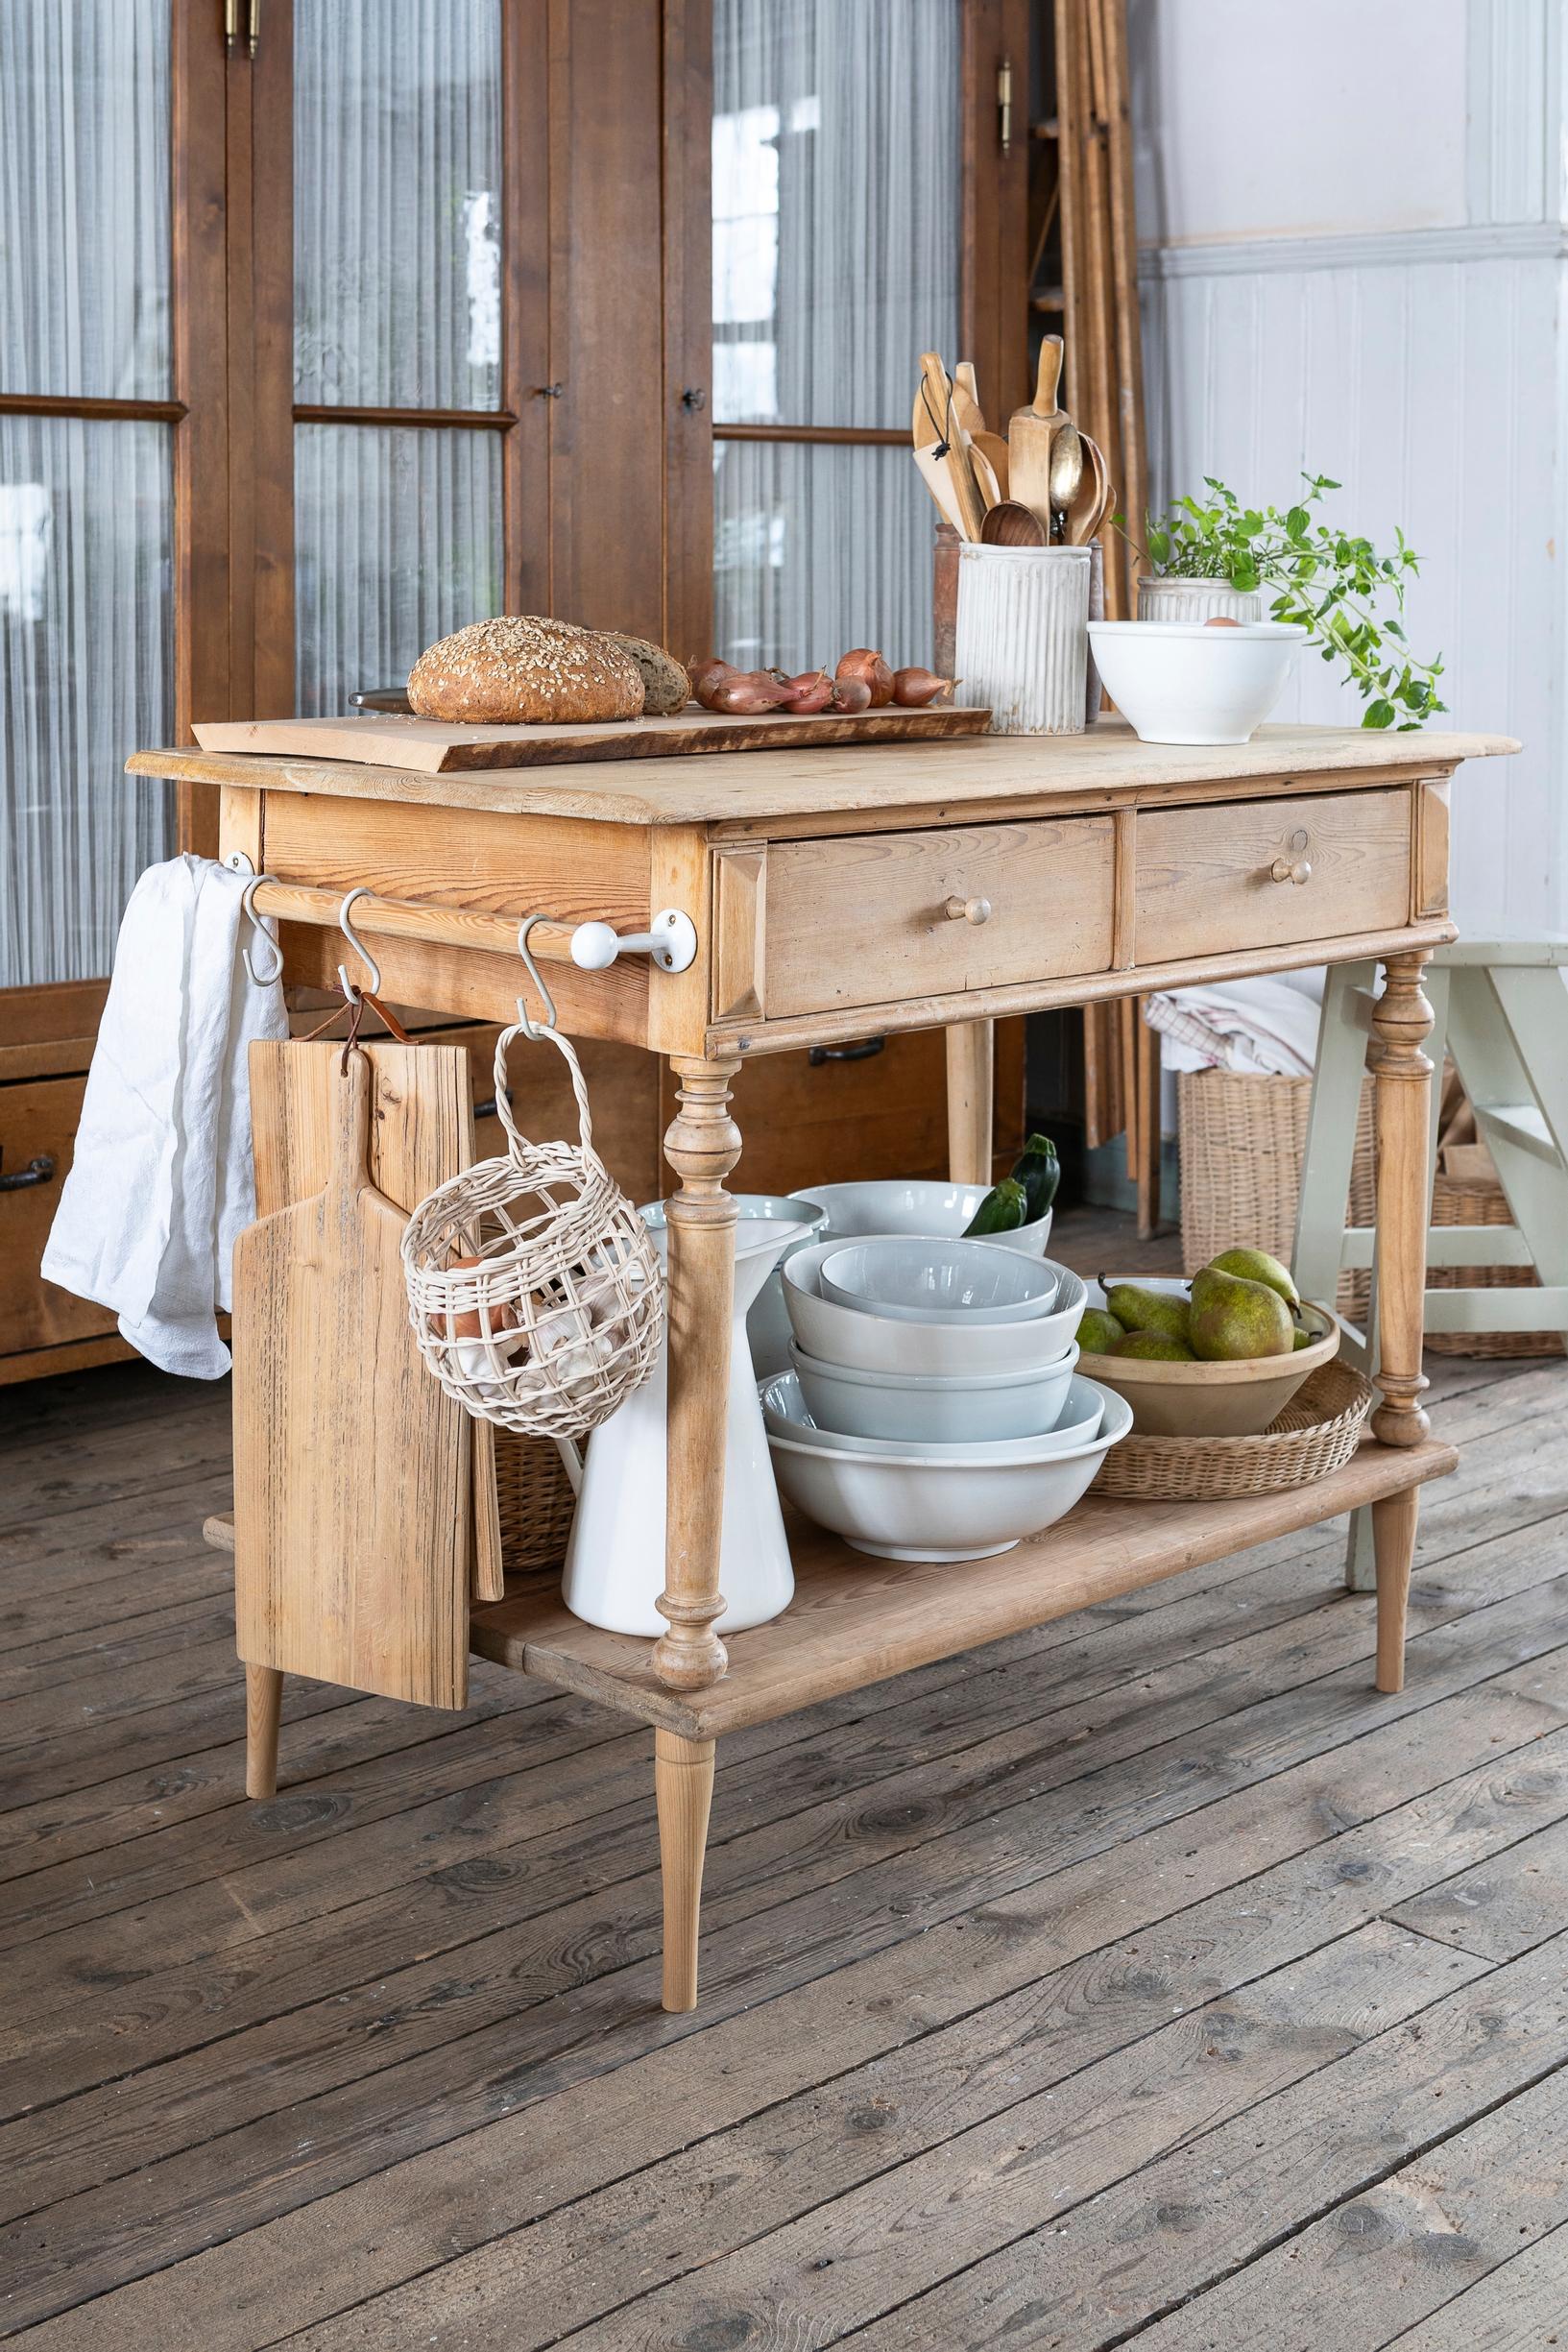
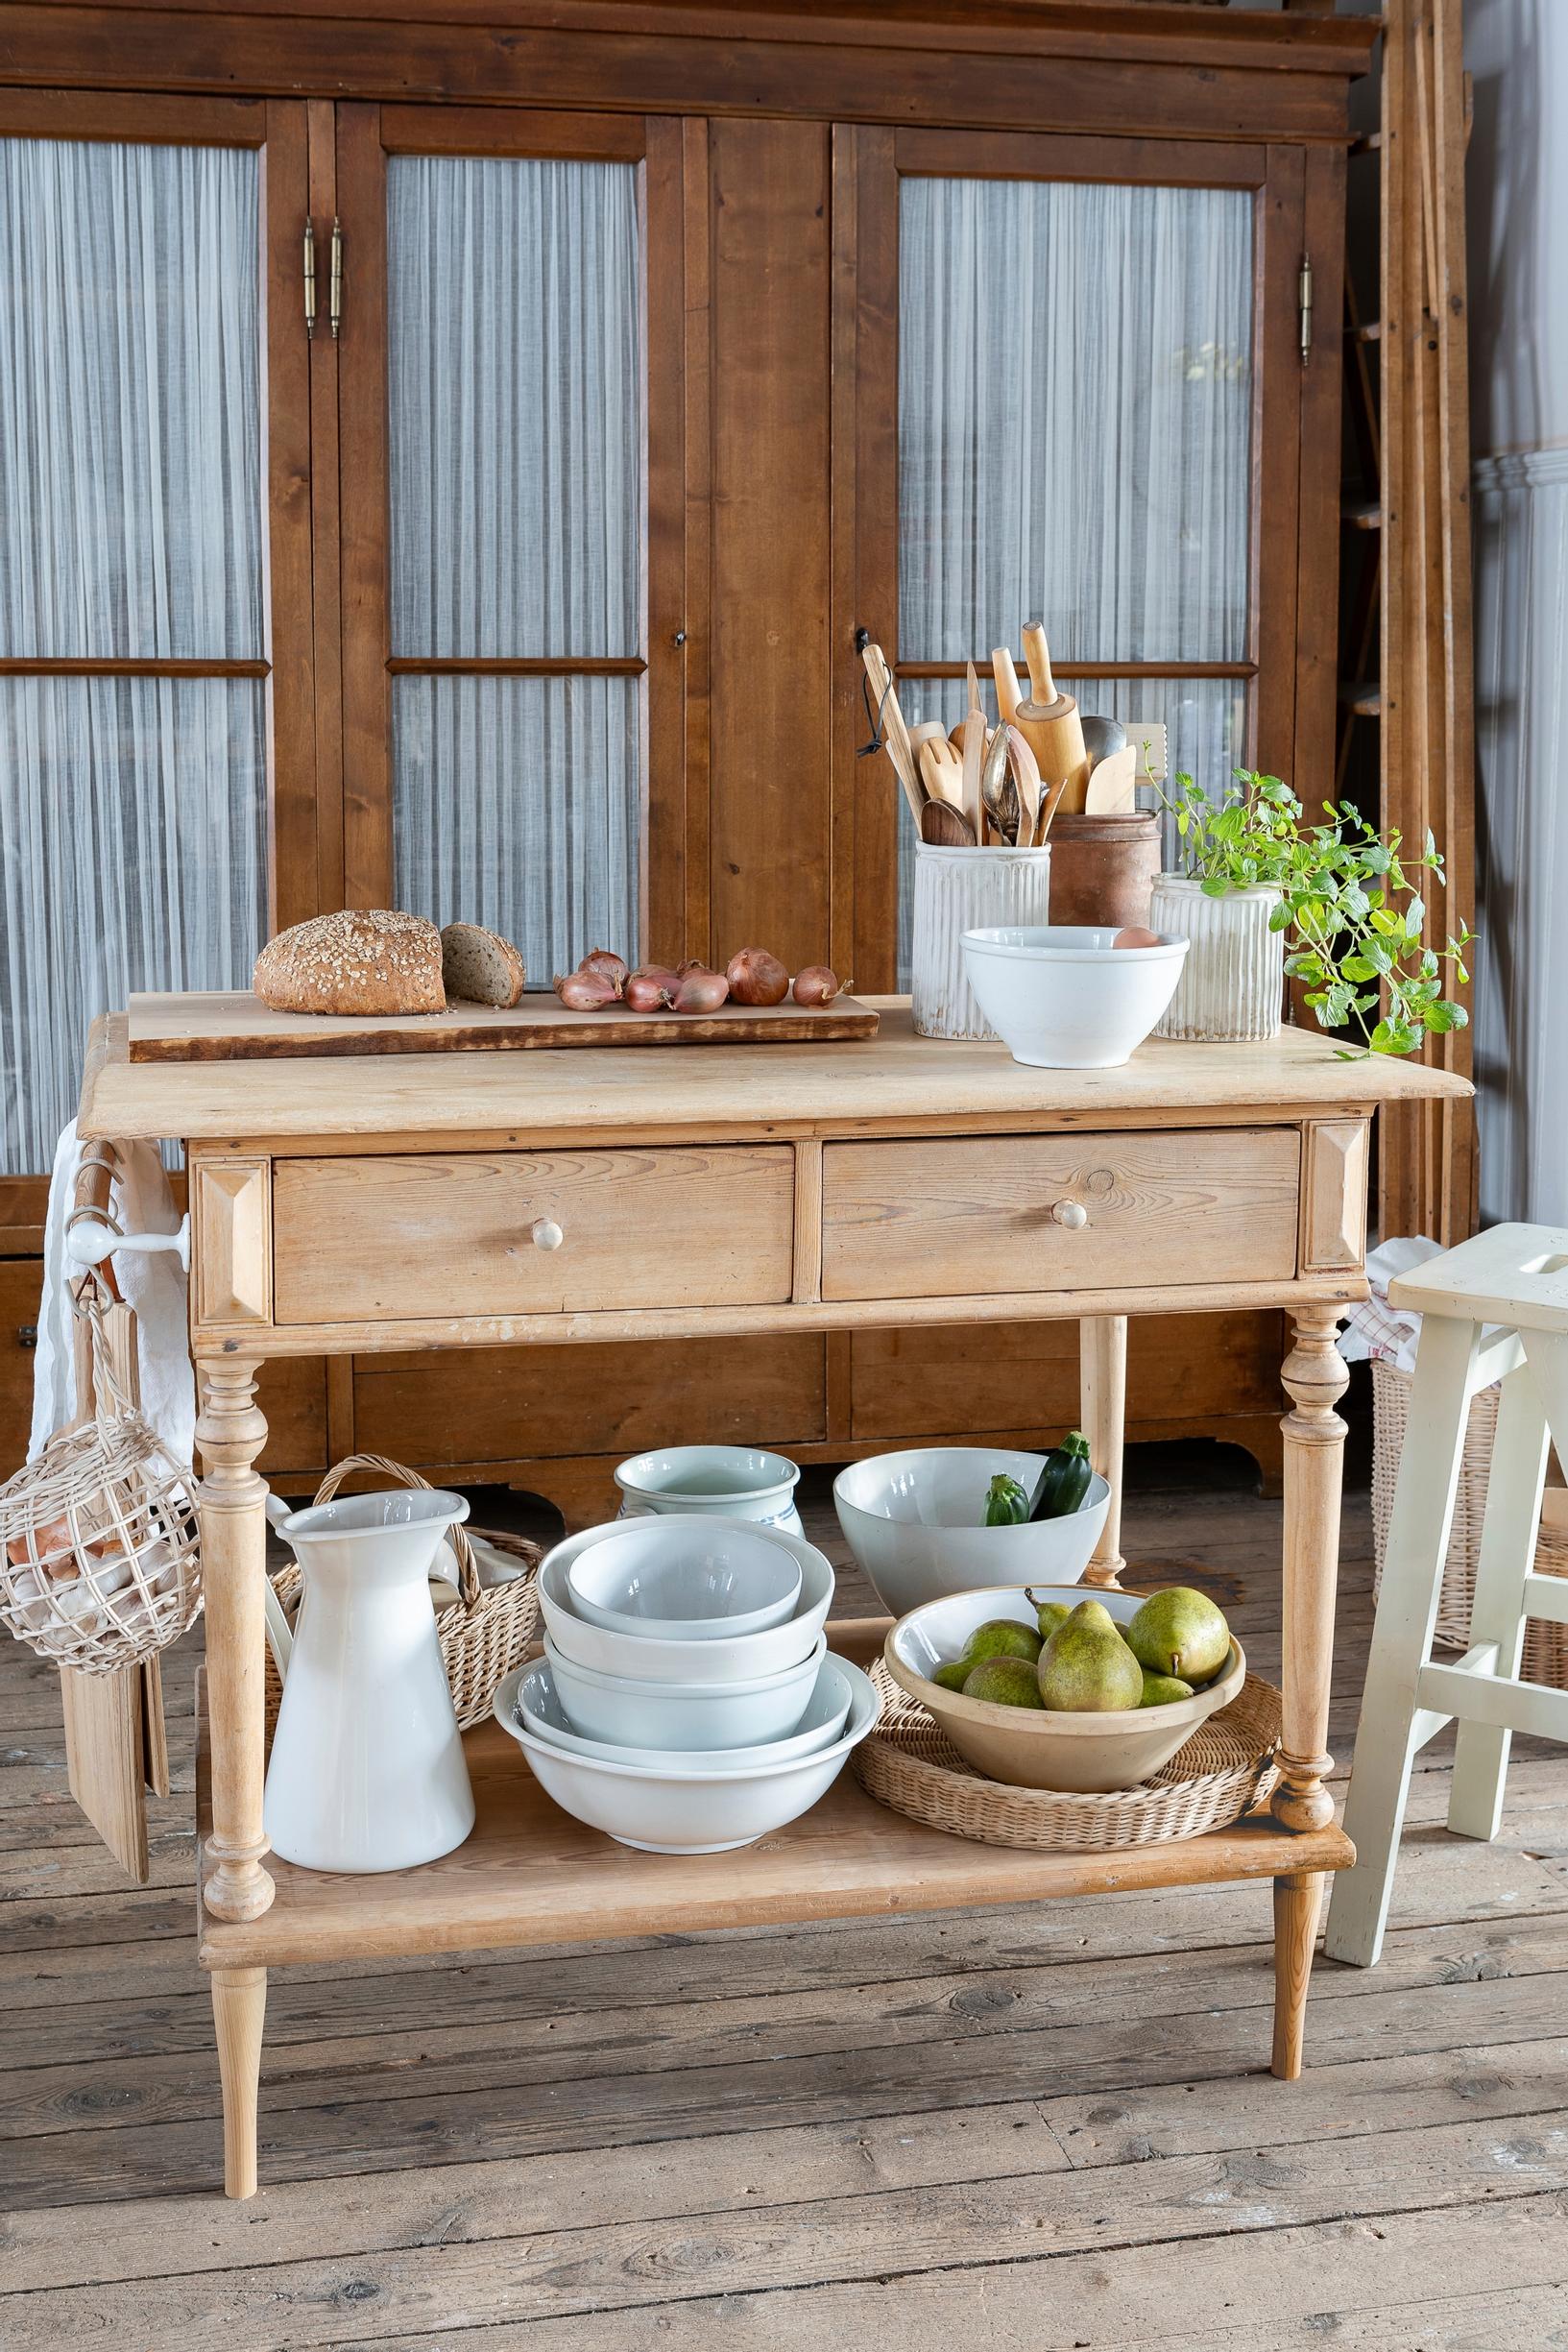
Kitchen island from an old table! See instructions for the handy side table made from recycled parts
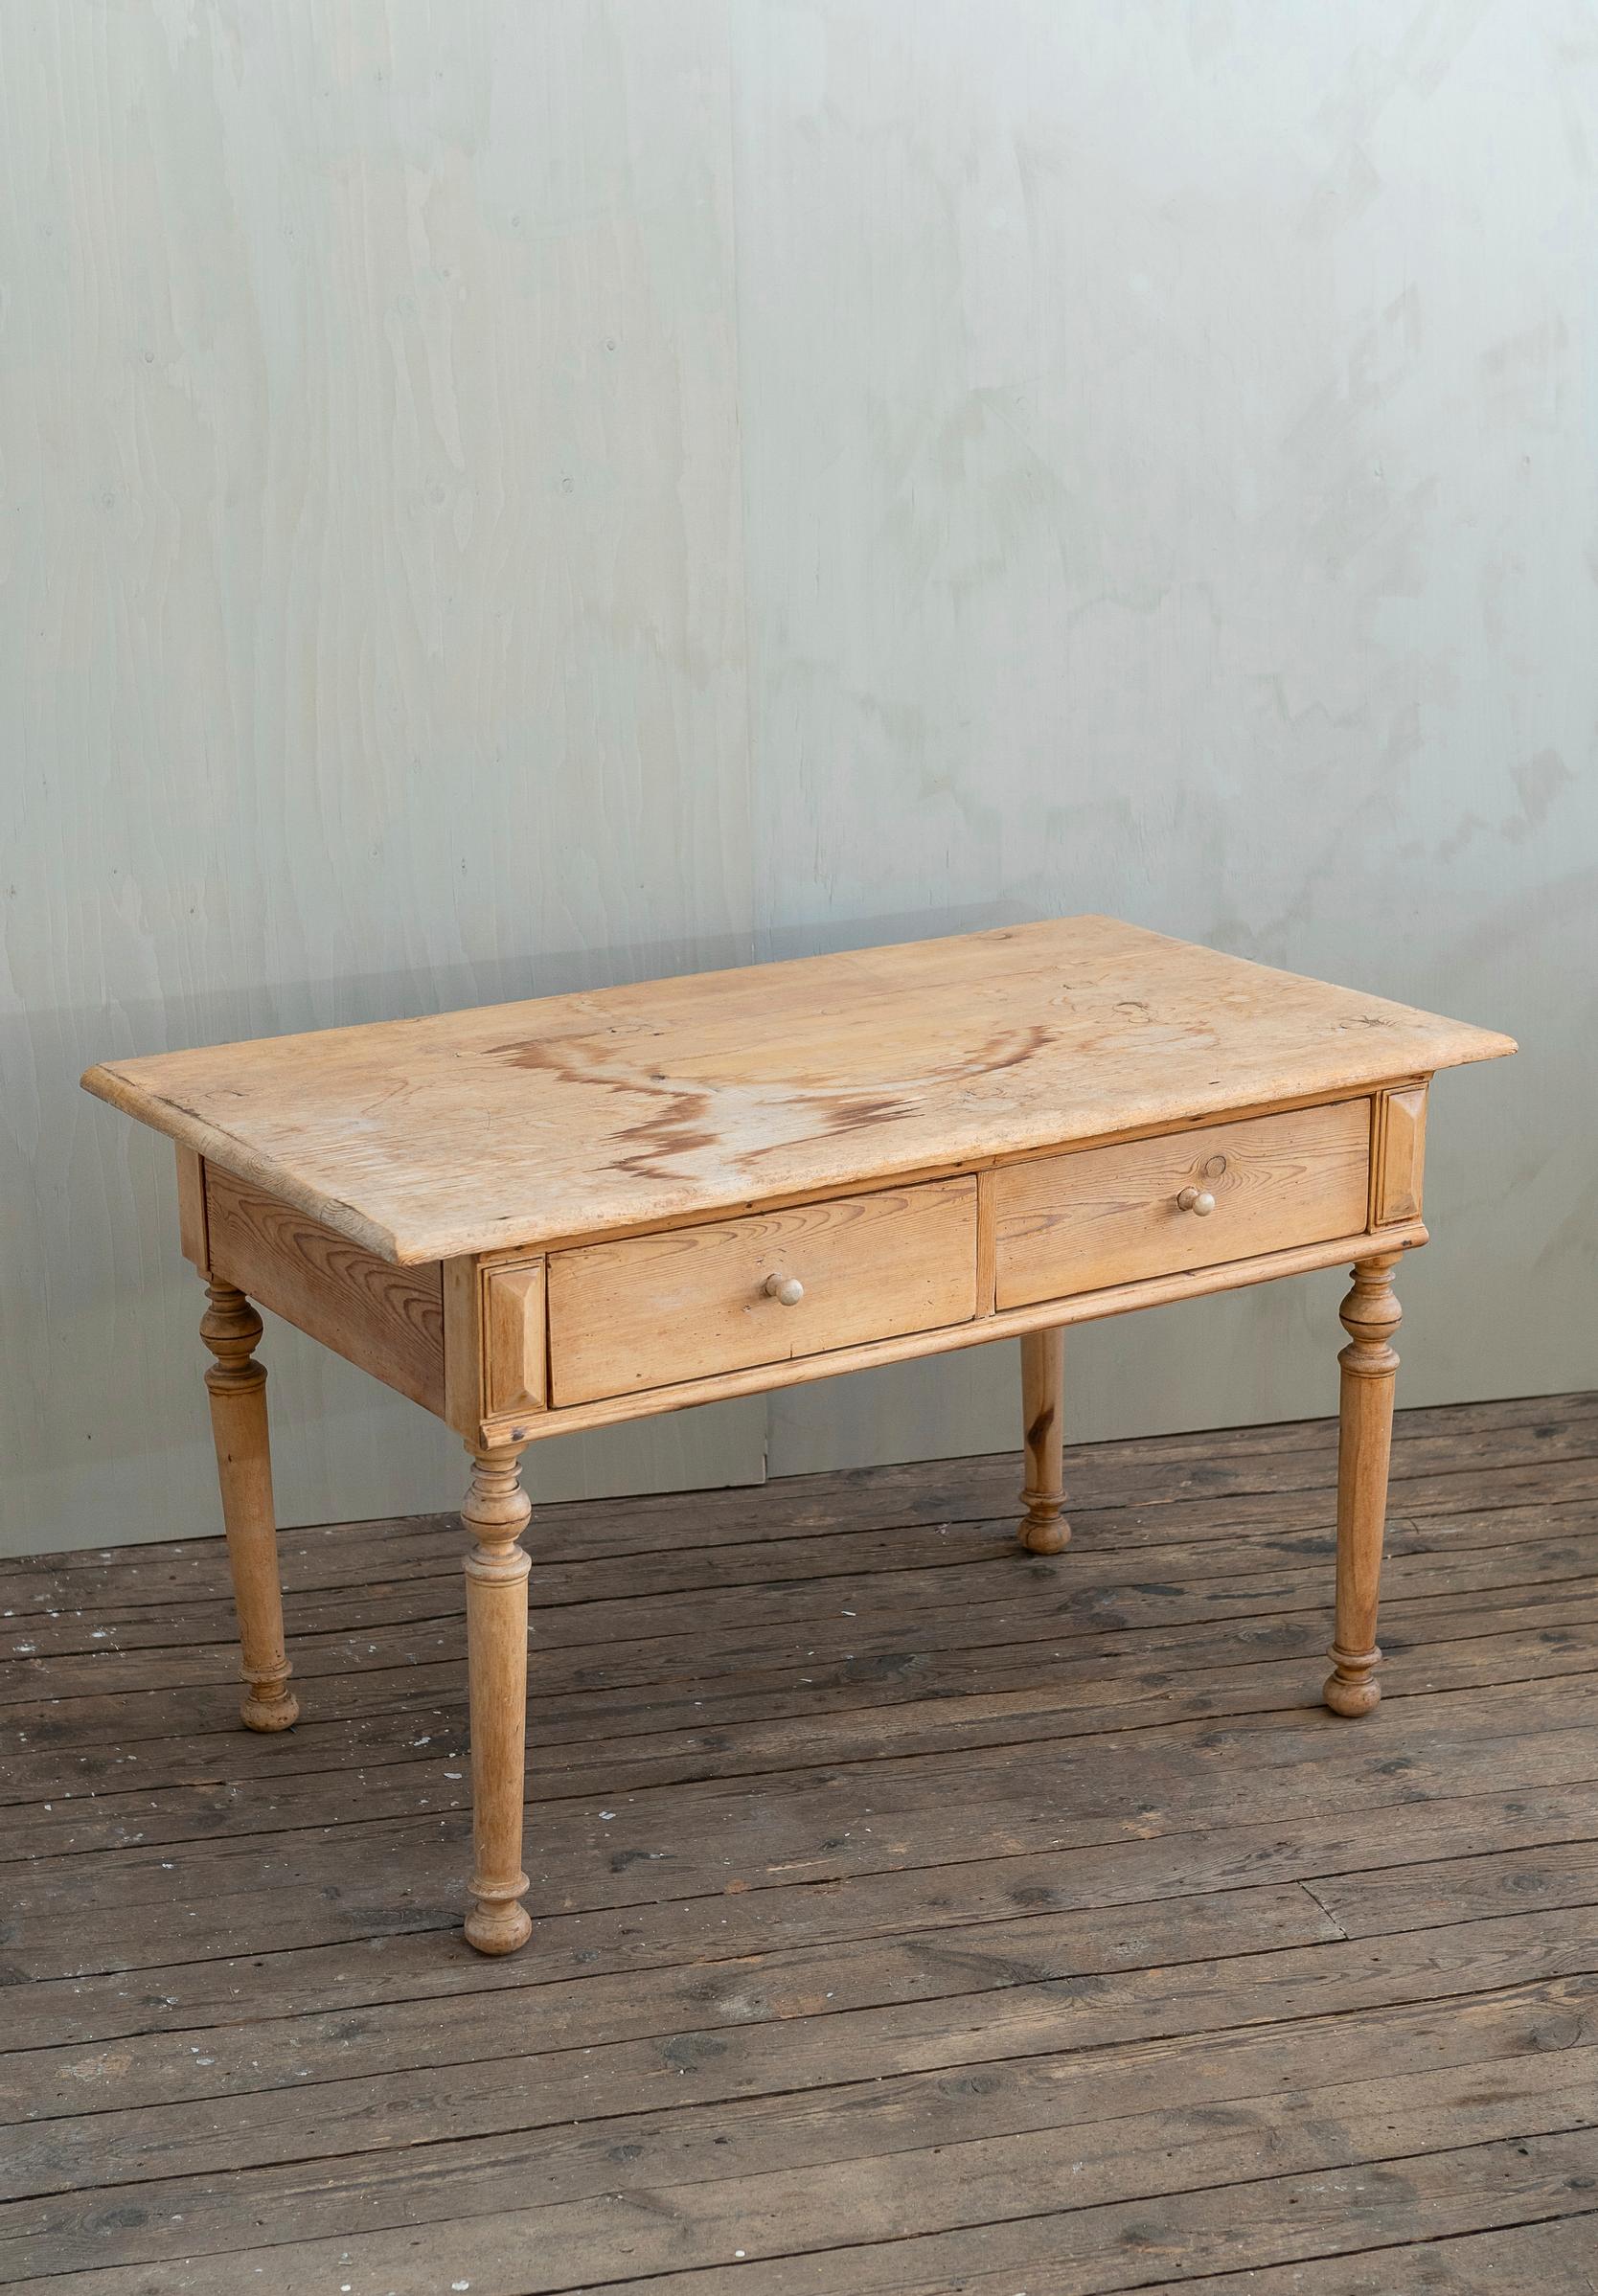
An old, low table becomes a handy, taller island or side table when you add a top and furniture legs. Check out the instructions from Finnish DIY and renovation blogger Katja Rinkinen!
Island from an old table—materials:
- table
- wooden board, for example an old tabletop
- furniture legs from a sofa or bed, or banister posts
- linseed soap and a sturdy brush
- drill and wood drill bits
- countersunk wood screws
- tape measure, ruler, and pencil
- circular saw and sandpaper
- (for extension legs: M8 tee nuts and 8×60 mm furniture connector bolts)
- (water-based wood stain in an antique wood shade)

Turned legs from a bed or sofa, or banister posts, work well as extension legs.

Island from an old table—instructions:
- First, the old table was scrubbed to remove water stains. Mix 1:10 linseed soap and cold water. Use a stiff brush to apply the soapy water to the wood surface, then wipe it away with a rag and clean cold water. Change the washing and rinsing water often.
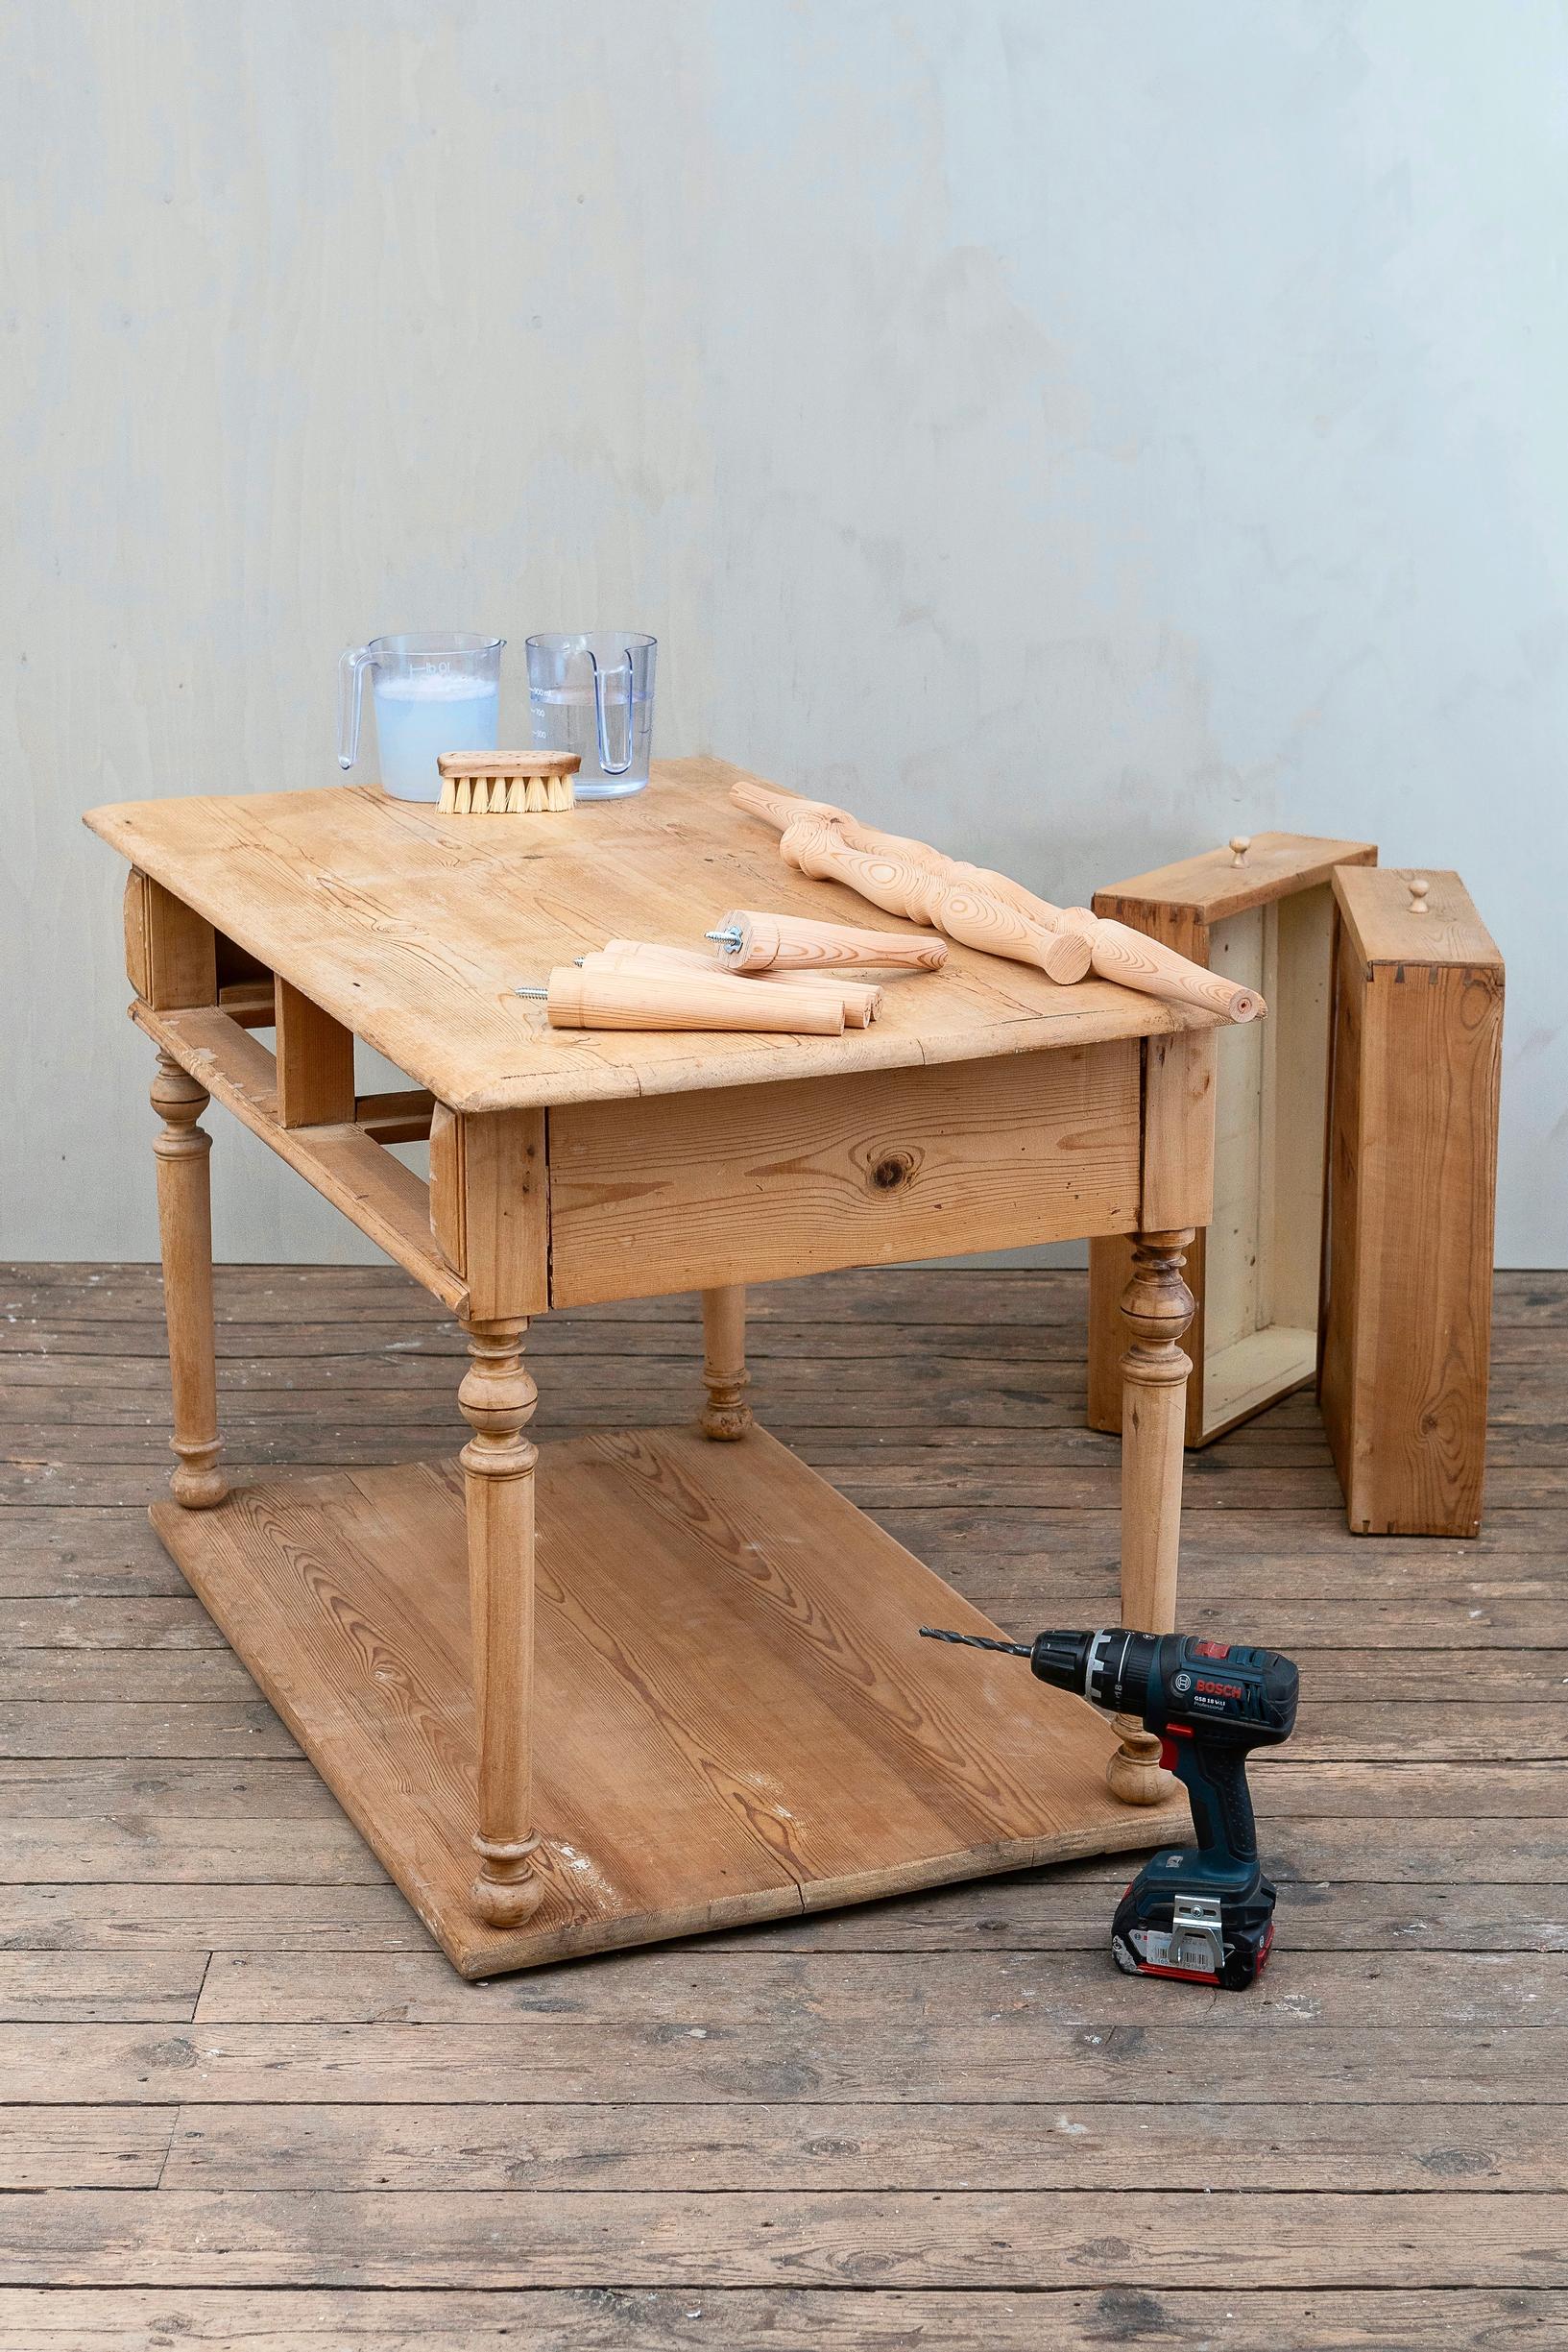
- Measure and cut the lower shelf from a tabletop or glued panel. A circular saw is the handiest tool for this. You can also have a hardware store cut the glued panel to size.
- Carefully mark where the table legs will go on the shelf. Drill a hole in the center of each mark for the extension leg. Then drill two holes on either side of that center hole for attaching the shelf. Screw the table legs to the lower shelf from underneath.
- Stain the bare wood extension legs to match the table or paint them as you like. Attach the legs with mounting plates, or install connector bolts in the legs. For this island, banister posts were used as legs. To add connector bolts, drill a hole in the center of each leg and tap tee nuts in place. Then screw in the bolts. Twist the legs into place on the shelf.


Materials purchased at: screws and water-based wood stain—Puuilo; linseed soap and banister posts—Domus Classica.