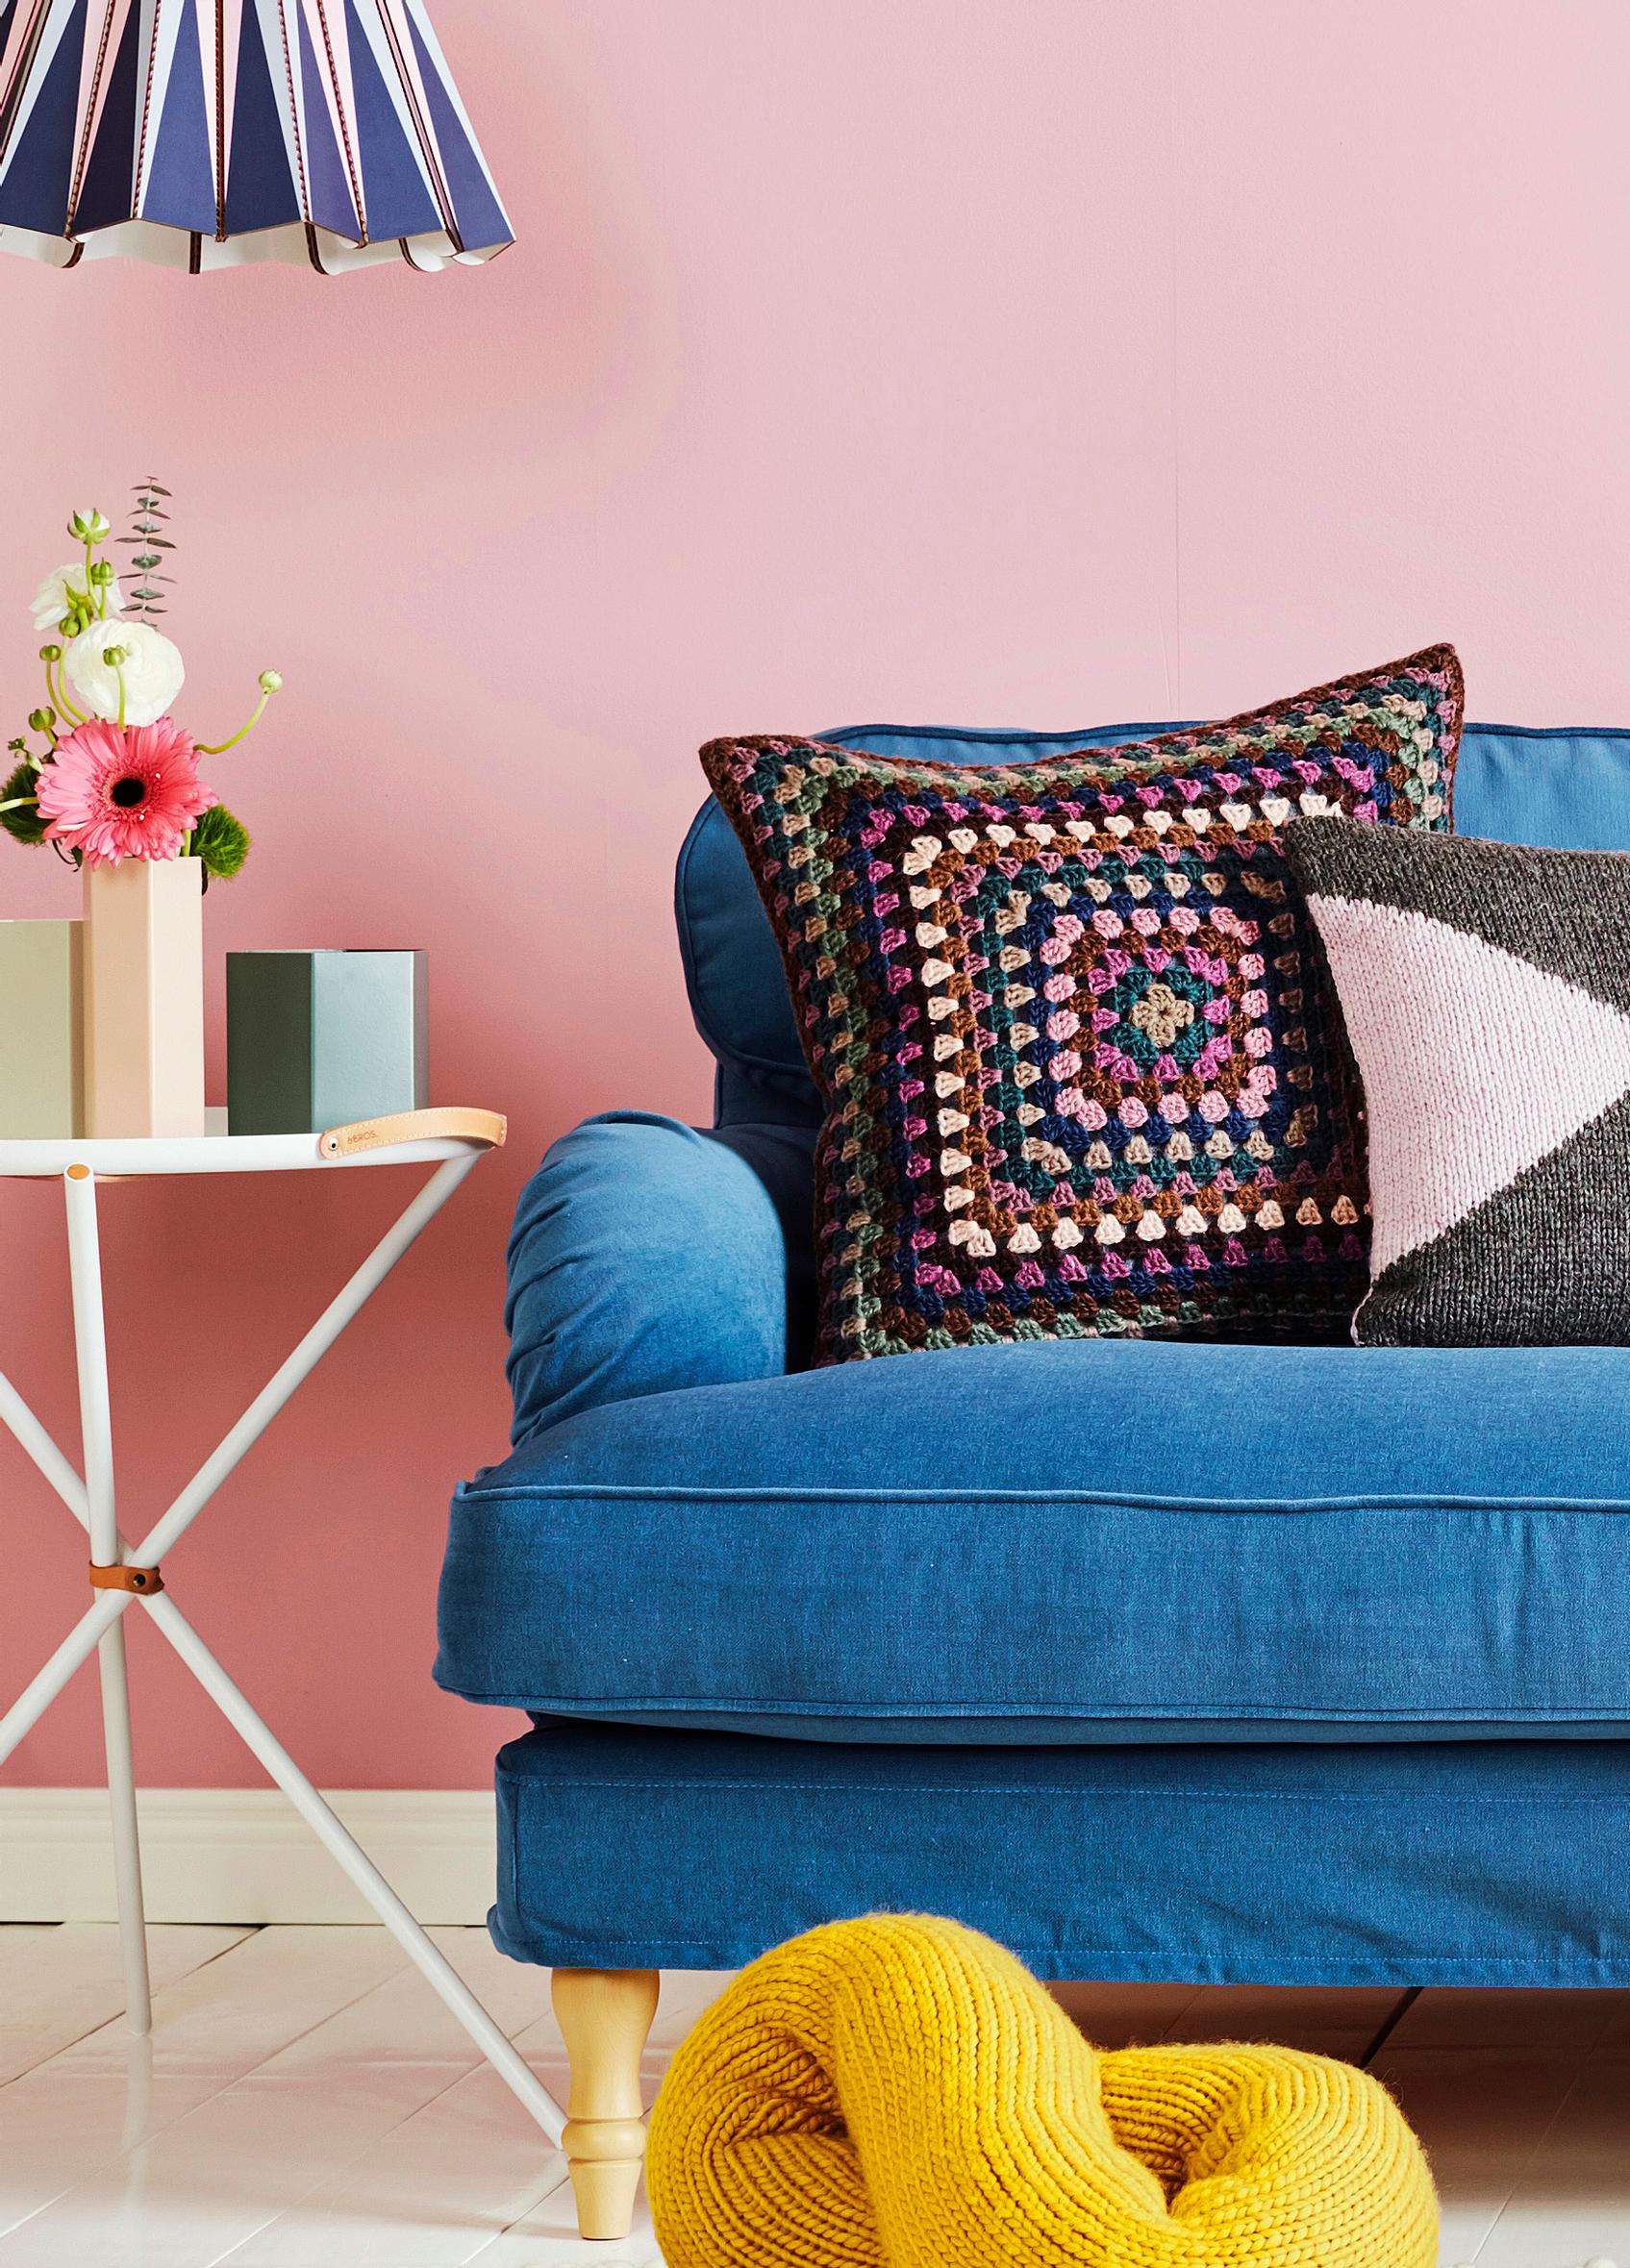
Pillow from leftover yarn
Granny square pillow—crochet a giant granny square from leftover yarn and sew it onto a ready-made pillow cover
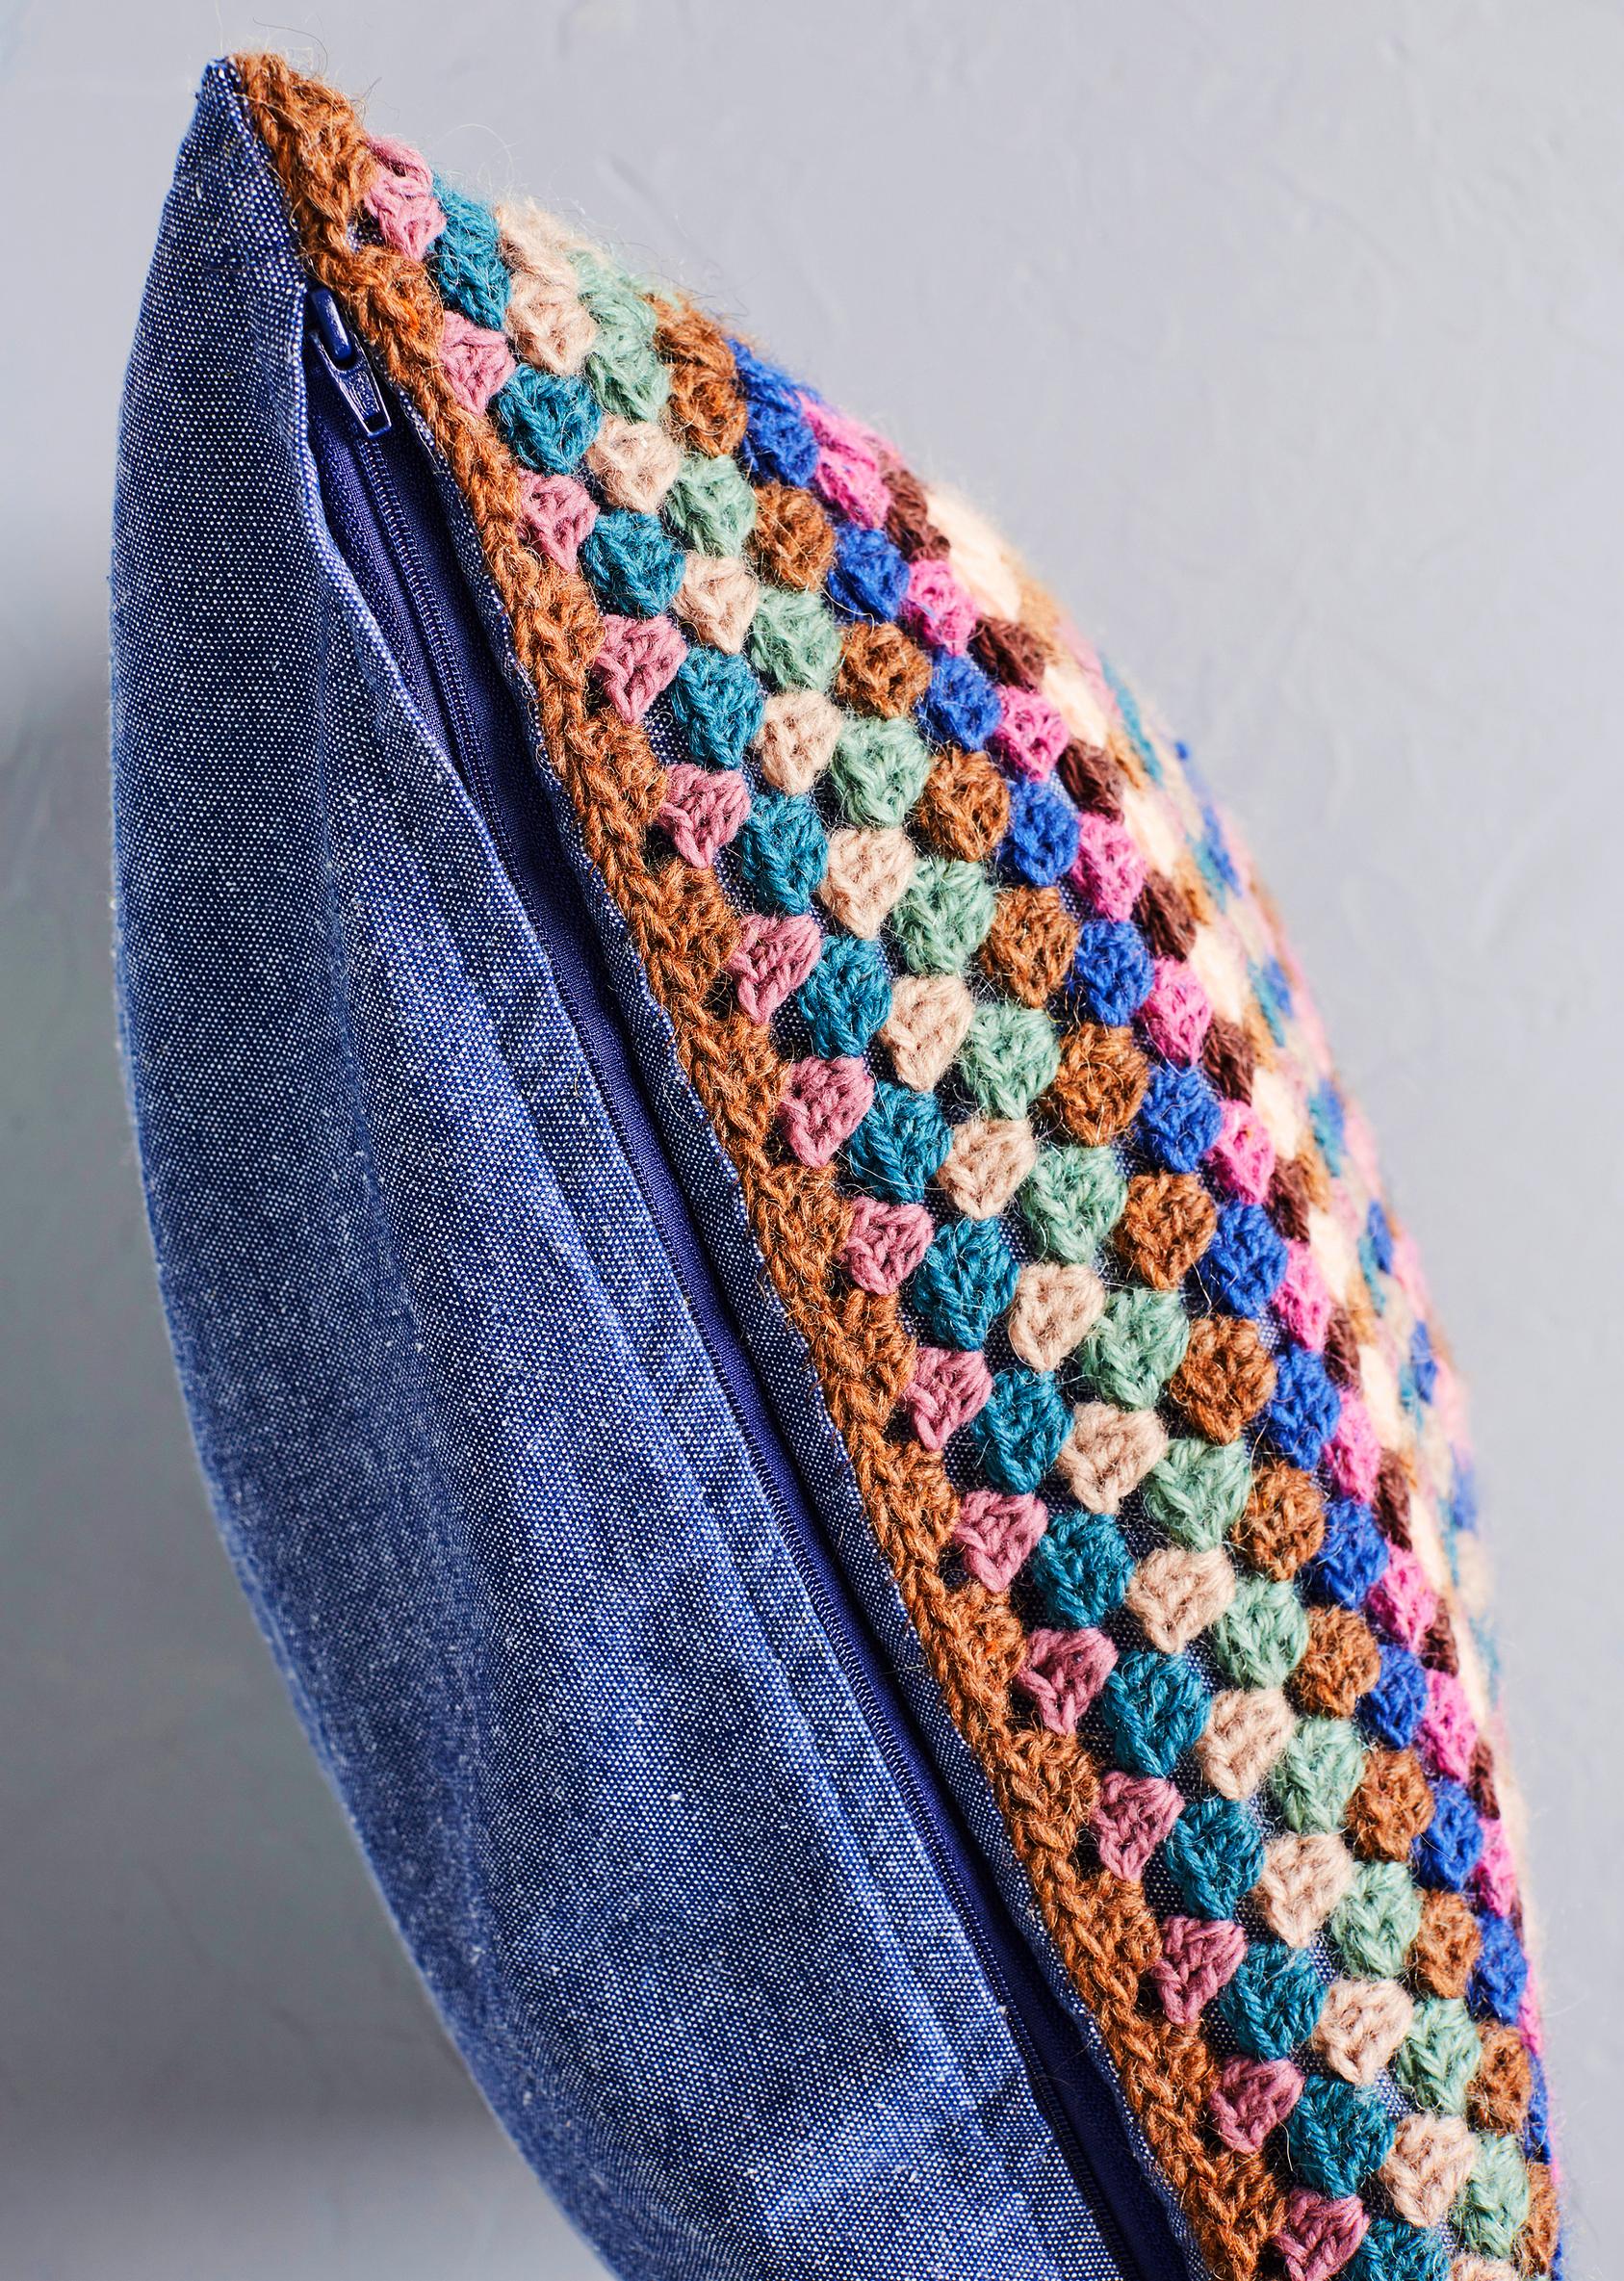
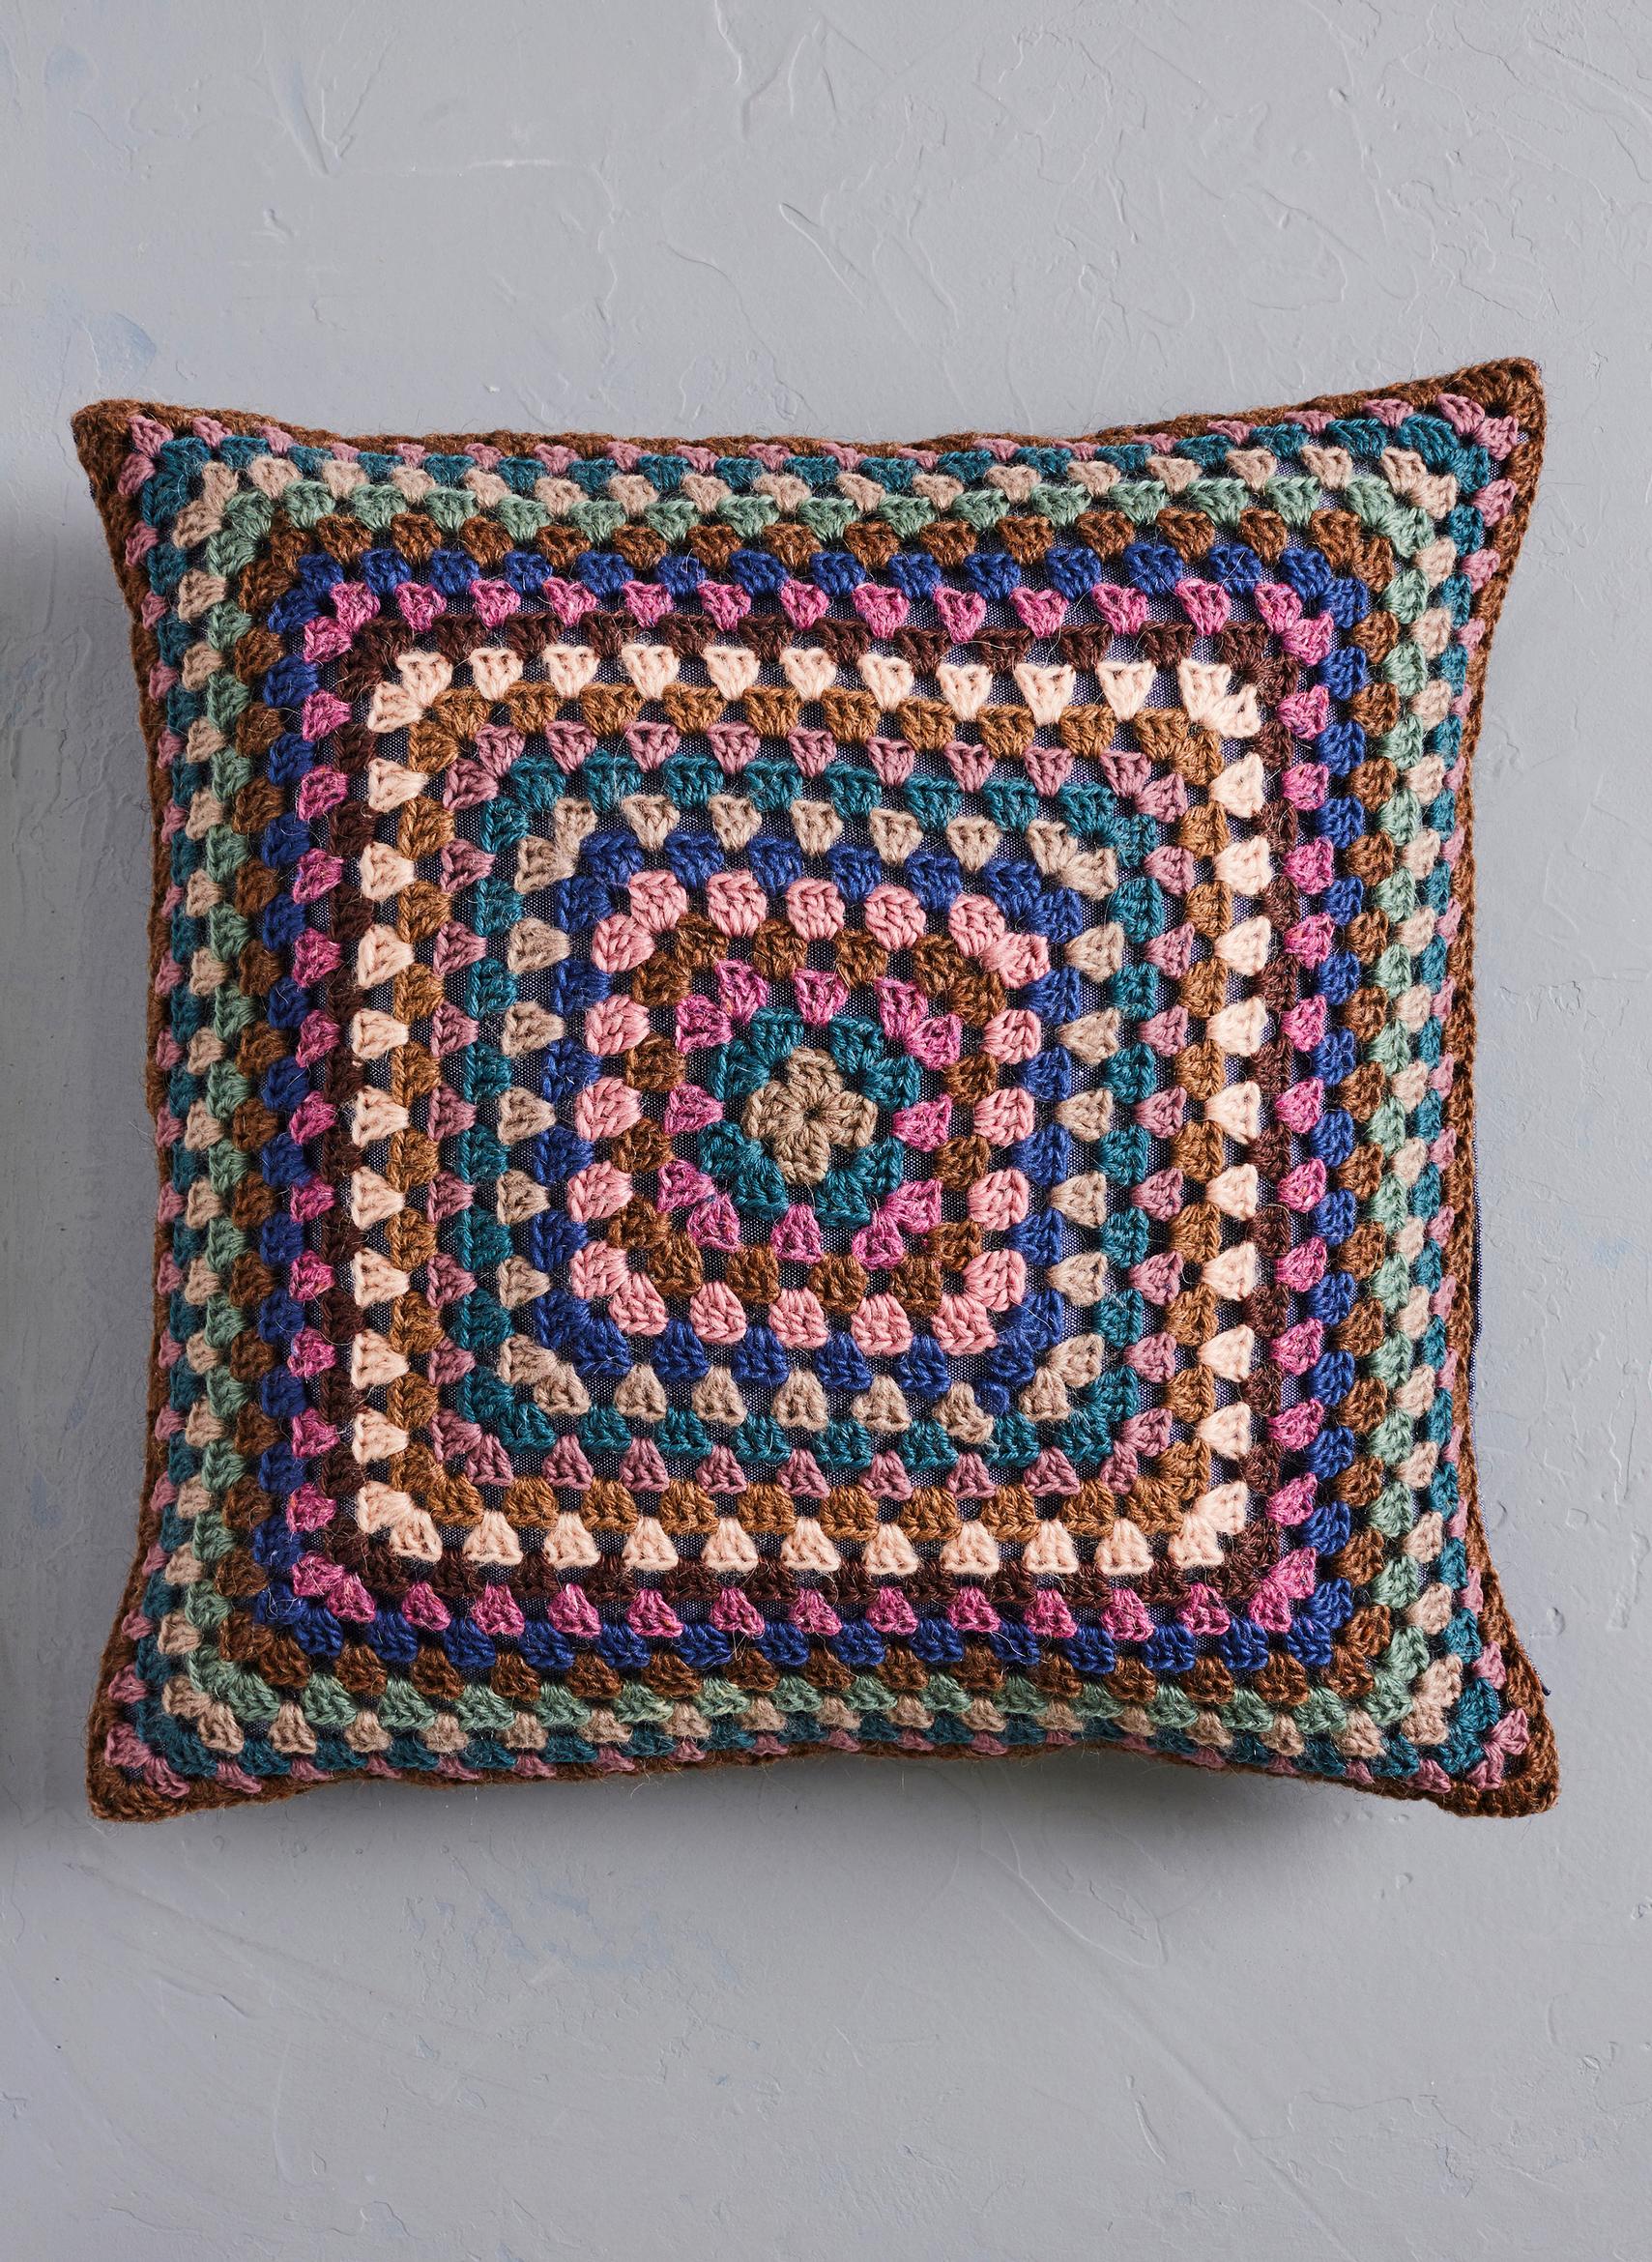
This granny square pillow is made from a giant square crocheted from leftover yarn in various colors, attached to a ready-made pillow cover. If you have enough yarn, you can also crochet another square for the other side!
Size: 50 × 50 cm.
Granny square pillow—what you’ll need:
- 8–12 small skeins of leftover yarn in coordinating colors and of similar weight
- 6 mm crochet hook or one that suits your gauge
- A ready-made pillow cover (50 × 50 cm),
- and a pillow insert (50 × 50 cm)
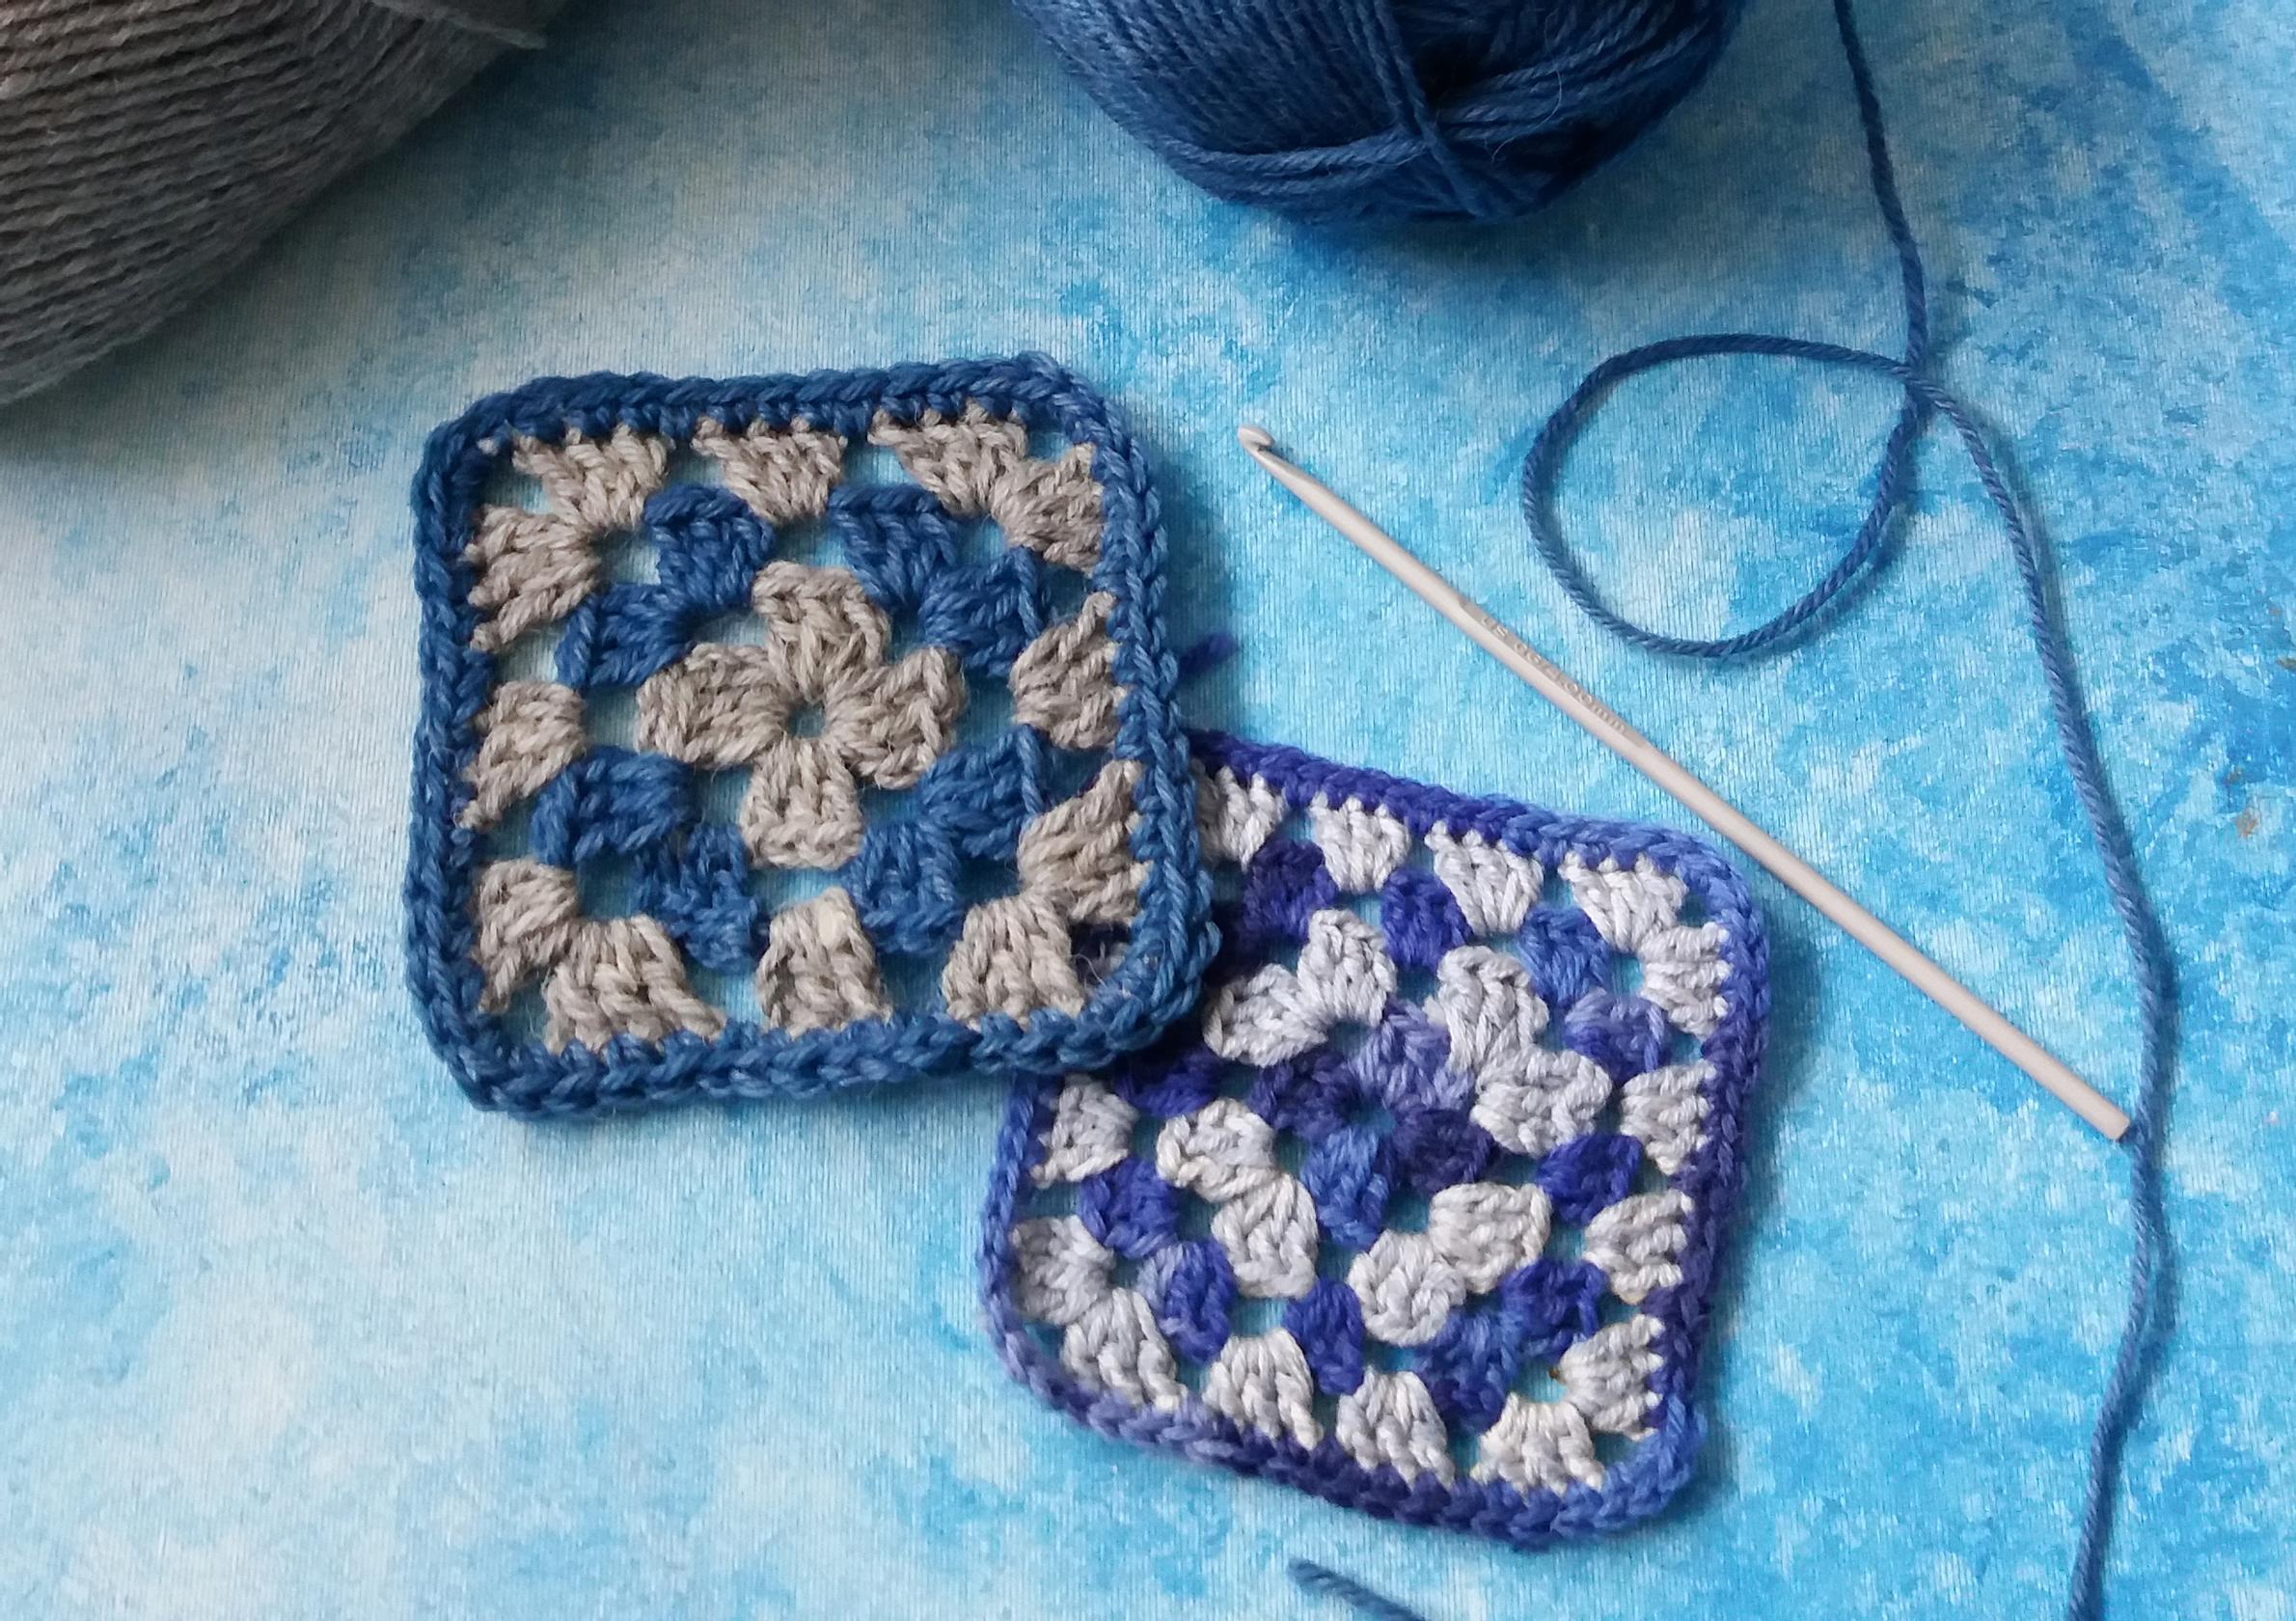
Gauge swatch:
Crochet the granny square according to our instructions.
Gauge: 17 sts = 10 cm.
Abbreviations:
- ch = chain stitch
- sl st = slip stitch
- dc = double crochet

Granny square pillow—how to do it:
1. Chain 4, then form a ring by joining with a sl st in the first chain.
2. Begin the granny square:
- Round 1: Chain 3 (this counts as your first dc), work 2 dc into the ring, *ch 3, then 3 dc*, repeat from * to * 2 more times, then ch 3. Close the round with a sl st in the 3rd ch from the start and change color. You now have 4 dc groups.
- Round 2: Chain 4. In the ch 3 space of the first corner, work *3 dc + ch 3 + 3 dc, ch 1*, repeat from * to * 2 more times, then in the final corner space make 3 dc + ch 3 + 2 dc. Close the round with a sl st as in Round 1 and change color.
- Round 3: Chain 3, work 2 dc in the side middle space, ch 1, then in the corner chain space work *3 dc + ch 3 + 3 dc, ch 1, 3 dc in the side middle space, ch 1*, repeat from * to * 2 more times. In the last corner space, work 3 dc + ch 3 + 3 dc, ch 1, then close with a sl st. Change color.
3. Continue like this until you have 20 rounds or until the square reaches the size of your pillow cover.
4. Weave in the ends and block your work. Hand-sew the square onto the pillow cover along its edges, then put the pillow insert inside.