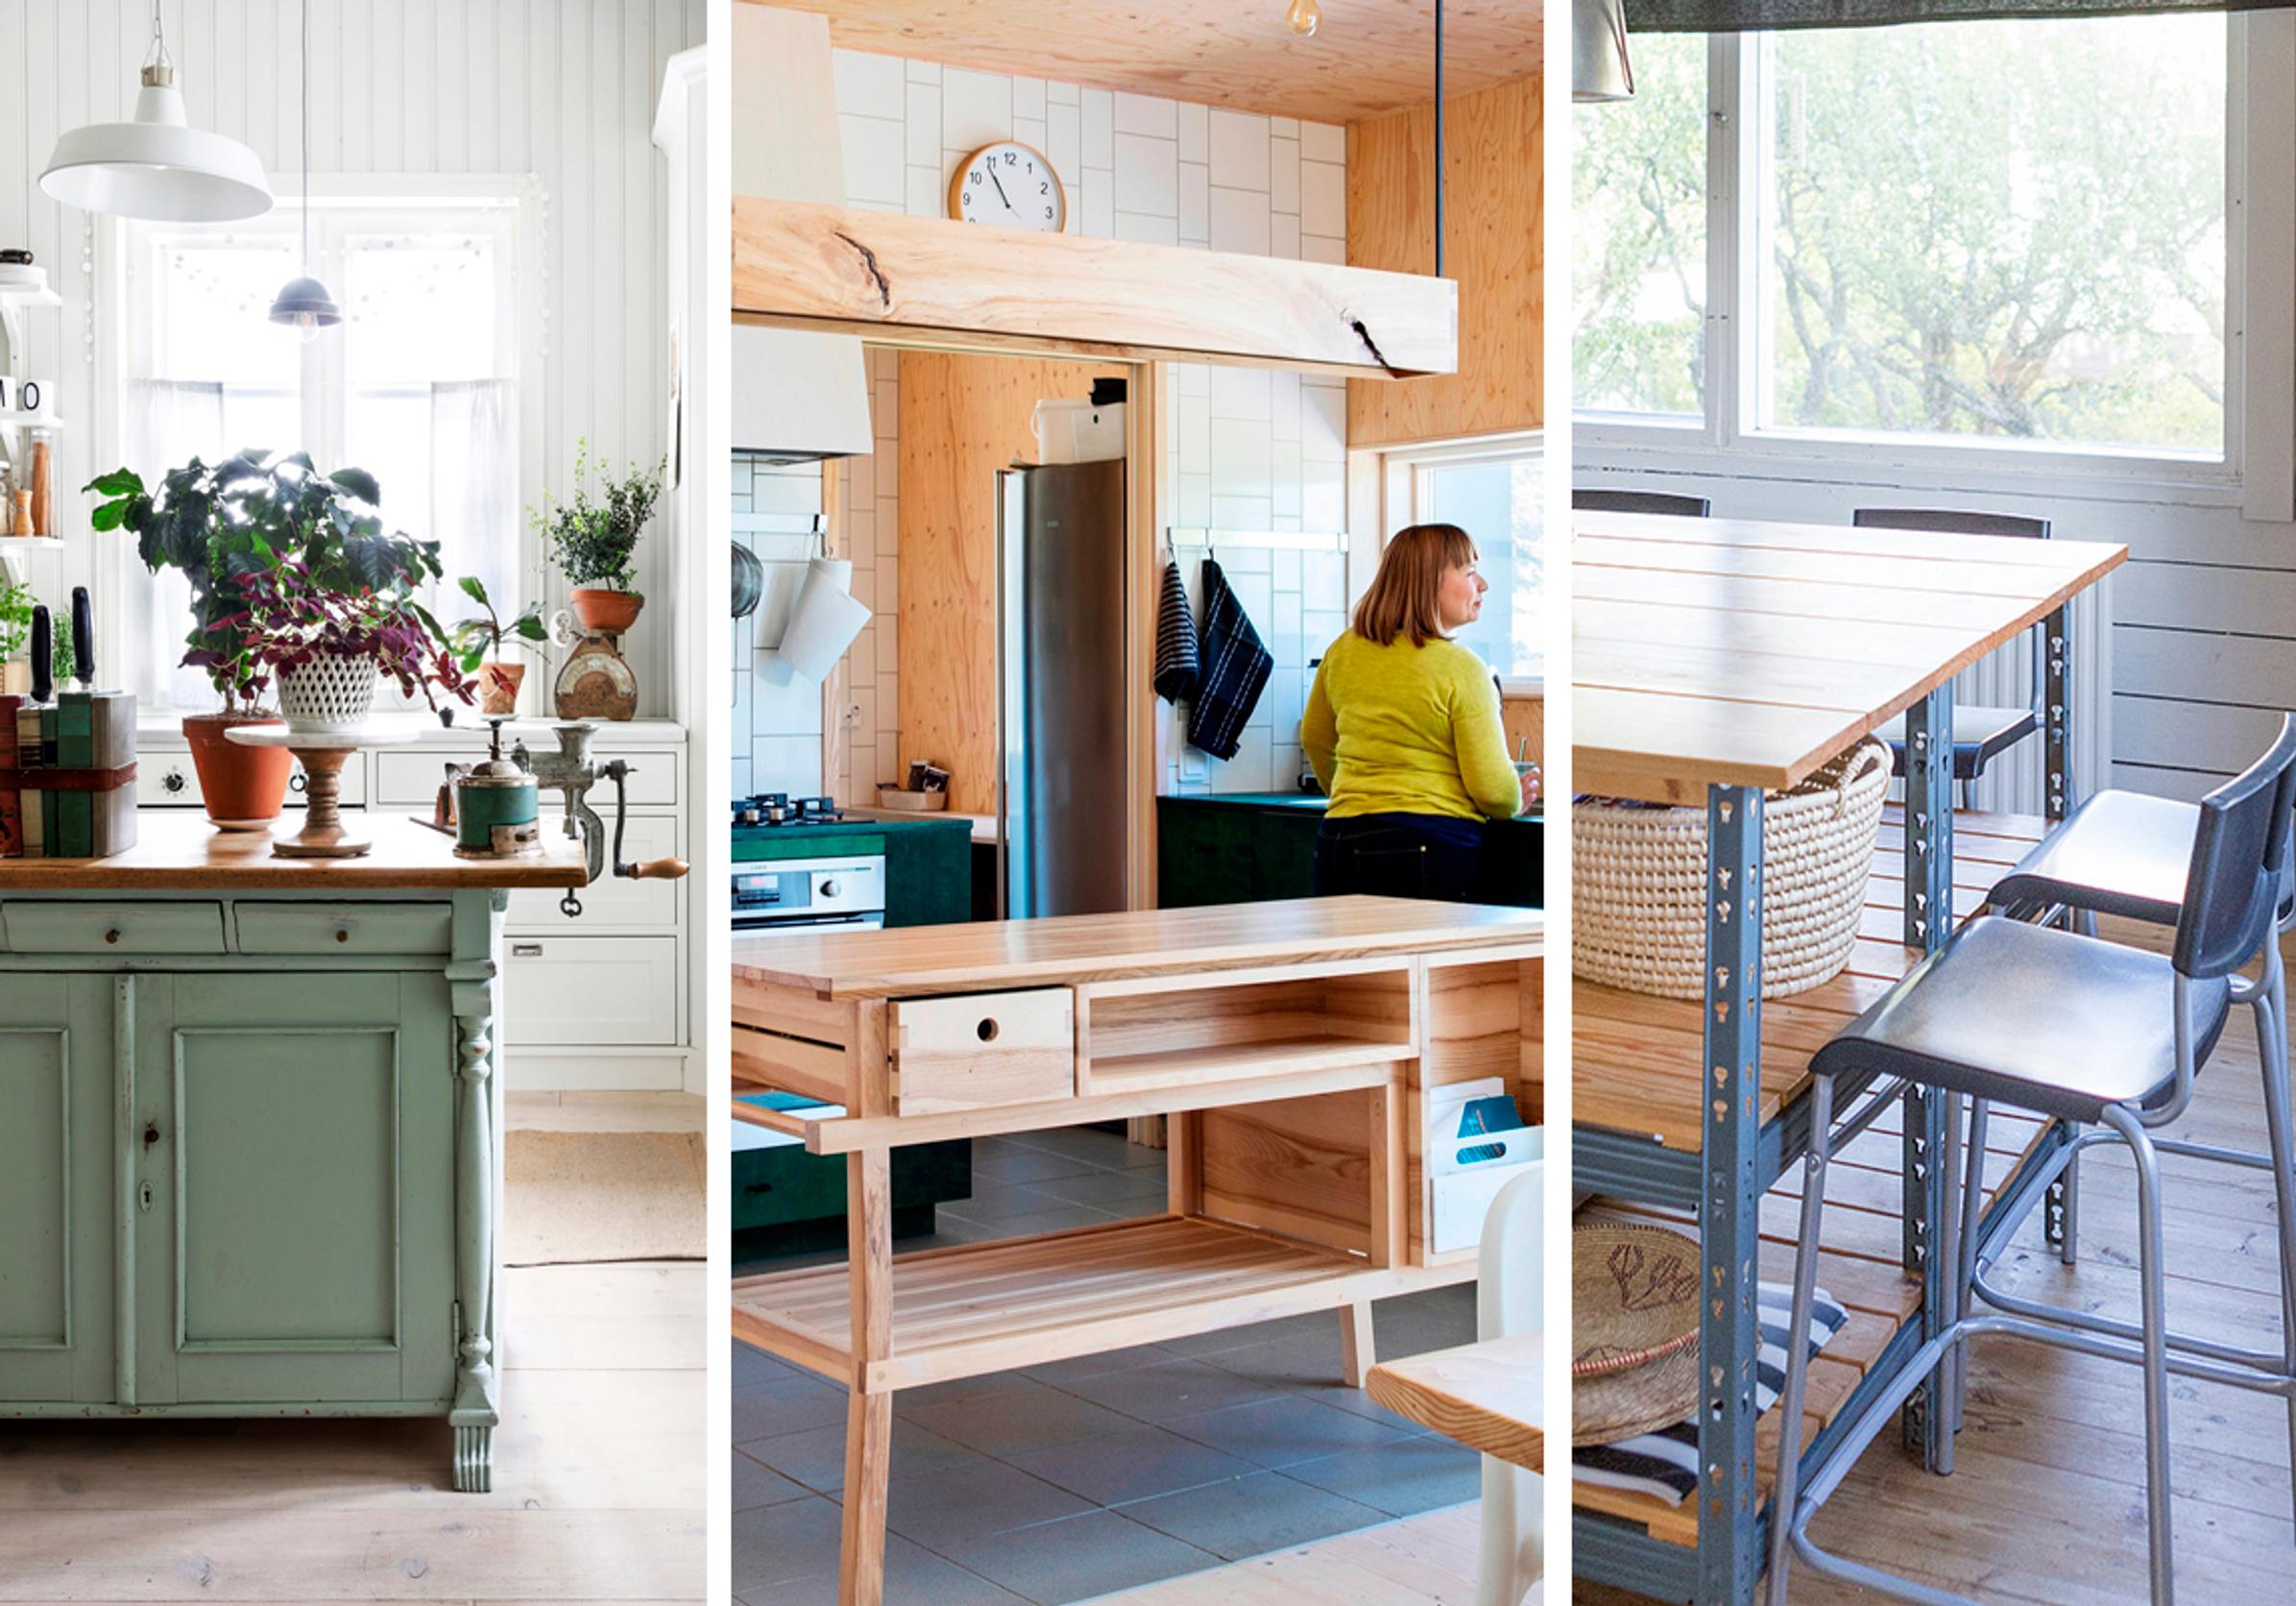
Worn-out display cabinets reborn: Riikka builds a stylish kitchen island on a budget
When the doors in her kitchen cabinets were nearing the end of their lifespan, 44-year-old Riikka Kimmel from Finland decided to repaint them herself. At the same time, she spent a weekend turning old display cabinets into a practical island.
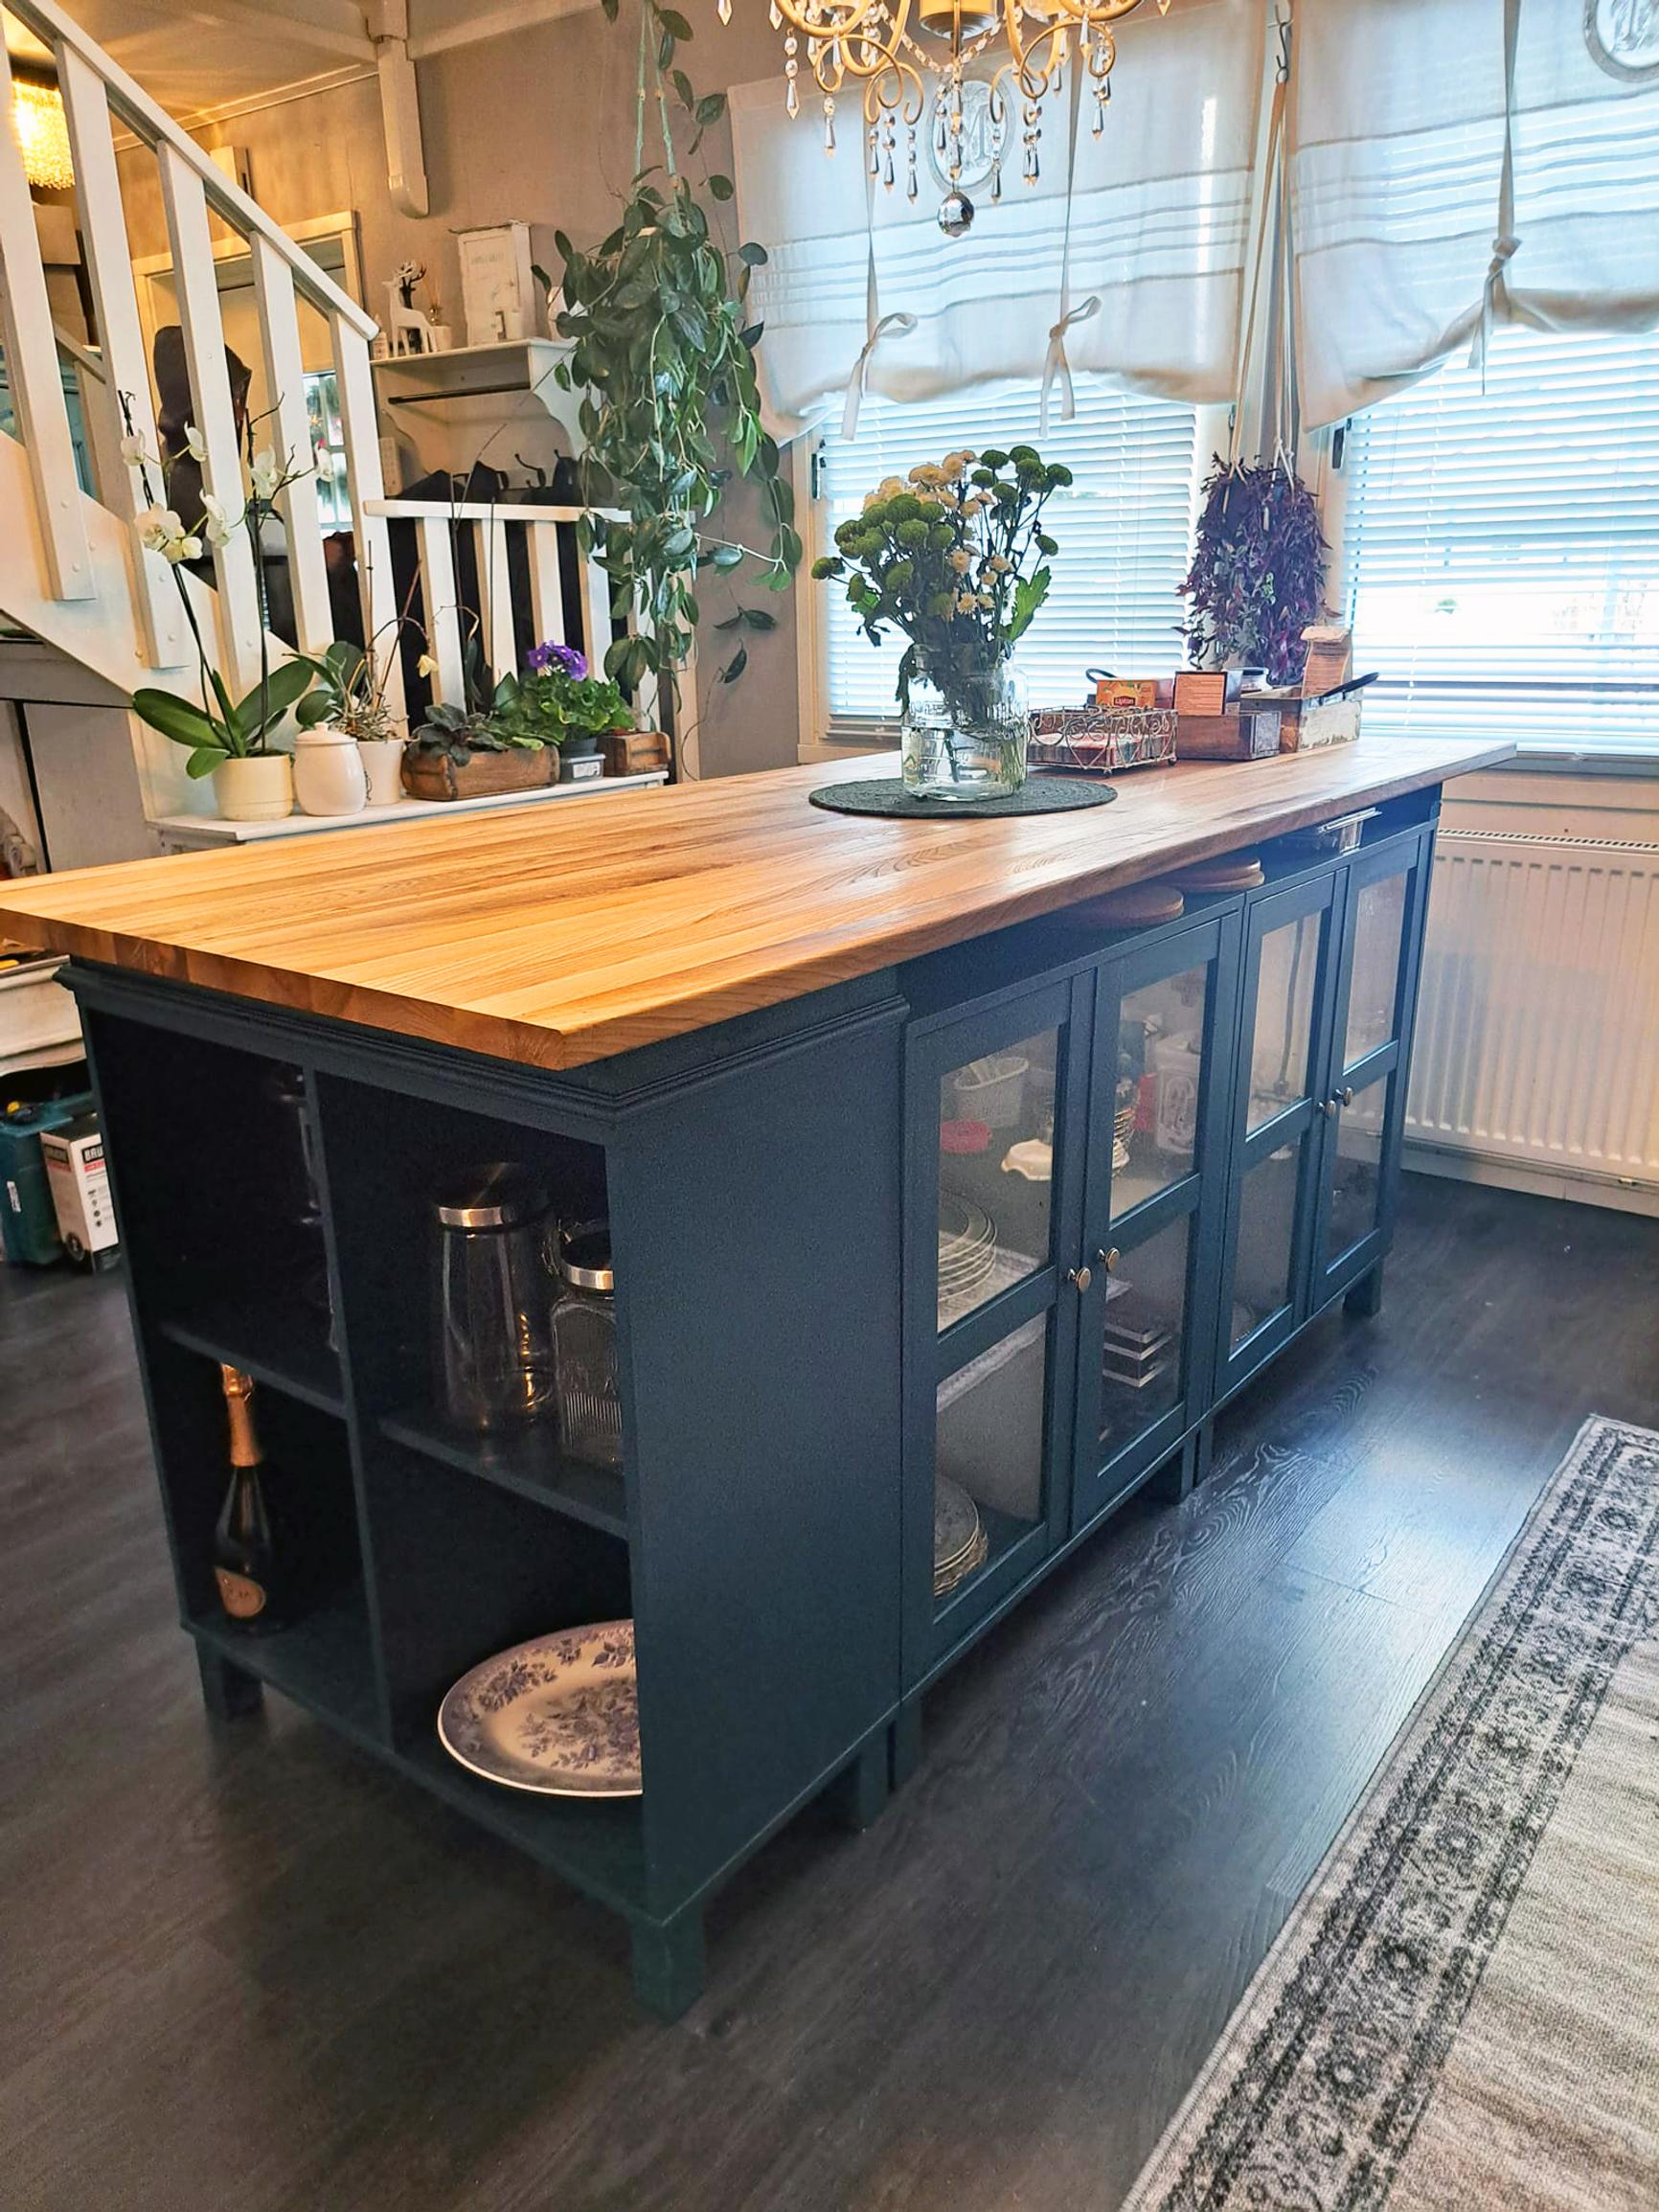
Wow, what an island! Riikka, how did you come up with the idea for a recycled island?
Last winter, the doors in our kitchen cabinets were on their last legs, and as an avid DIYer, I thought I could repaint the entire kitchen myself. I also wanted more workspace in the kitchen. We used to have a farmhouse rococo dining set where the island now stands, but the table was so low that it wasn’t really suitable as a work surface.
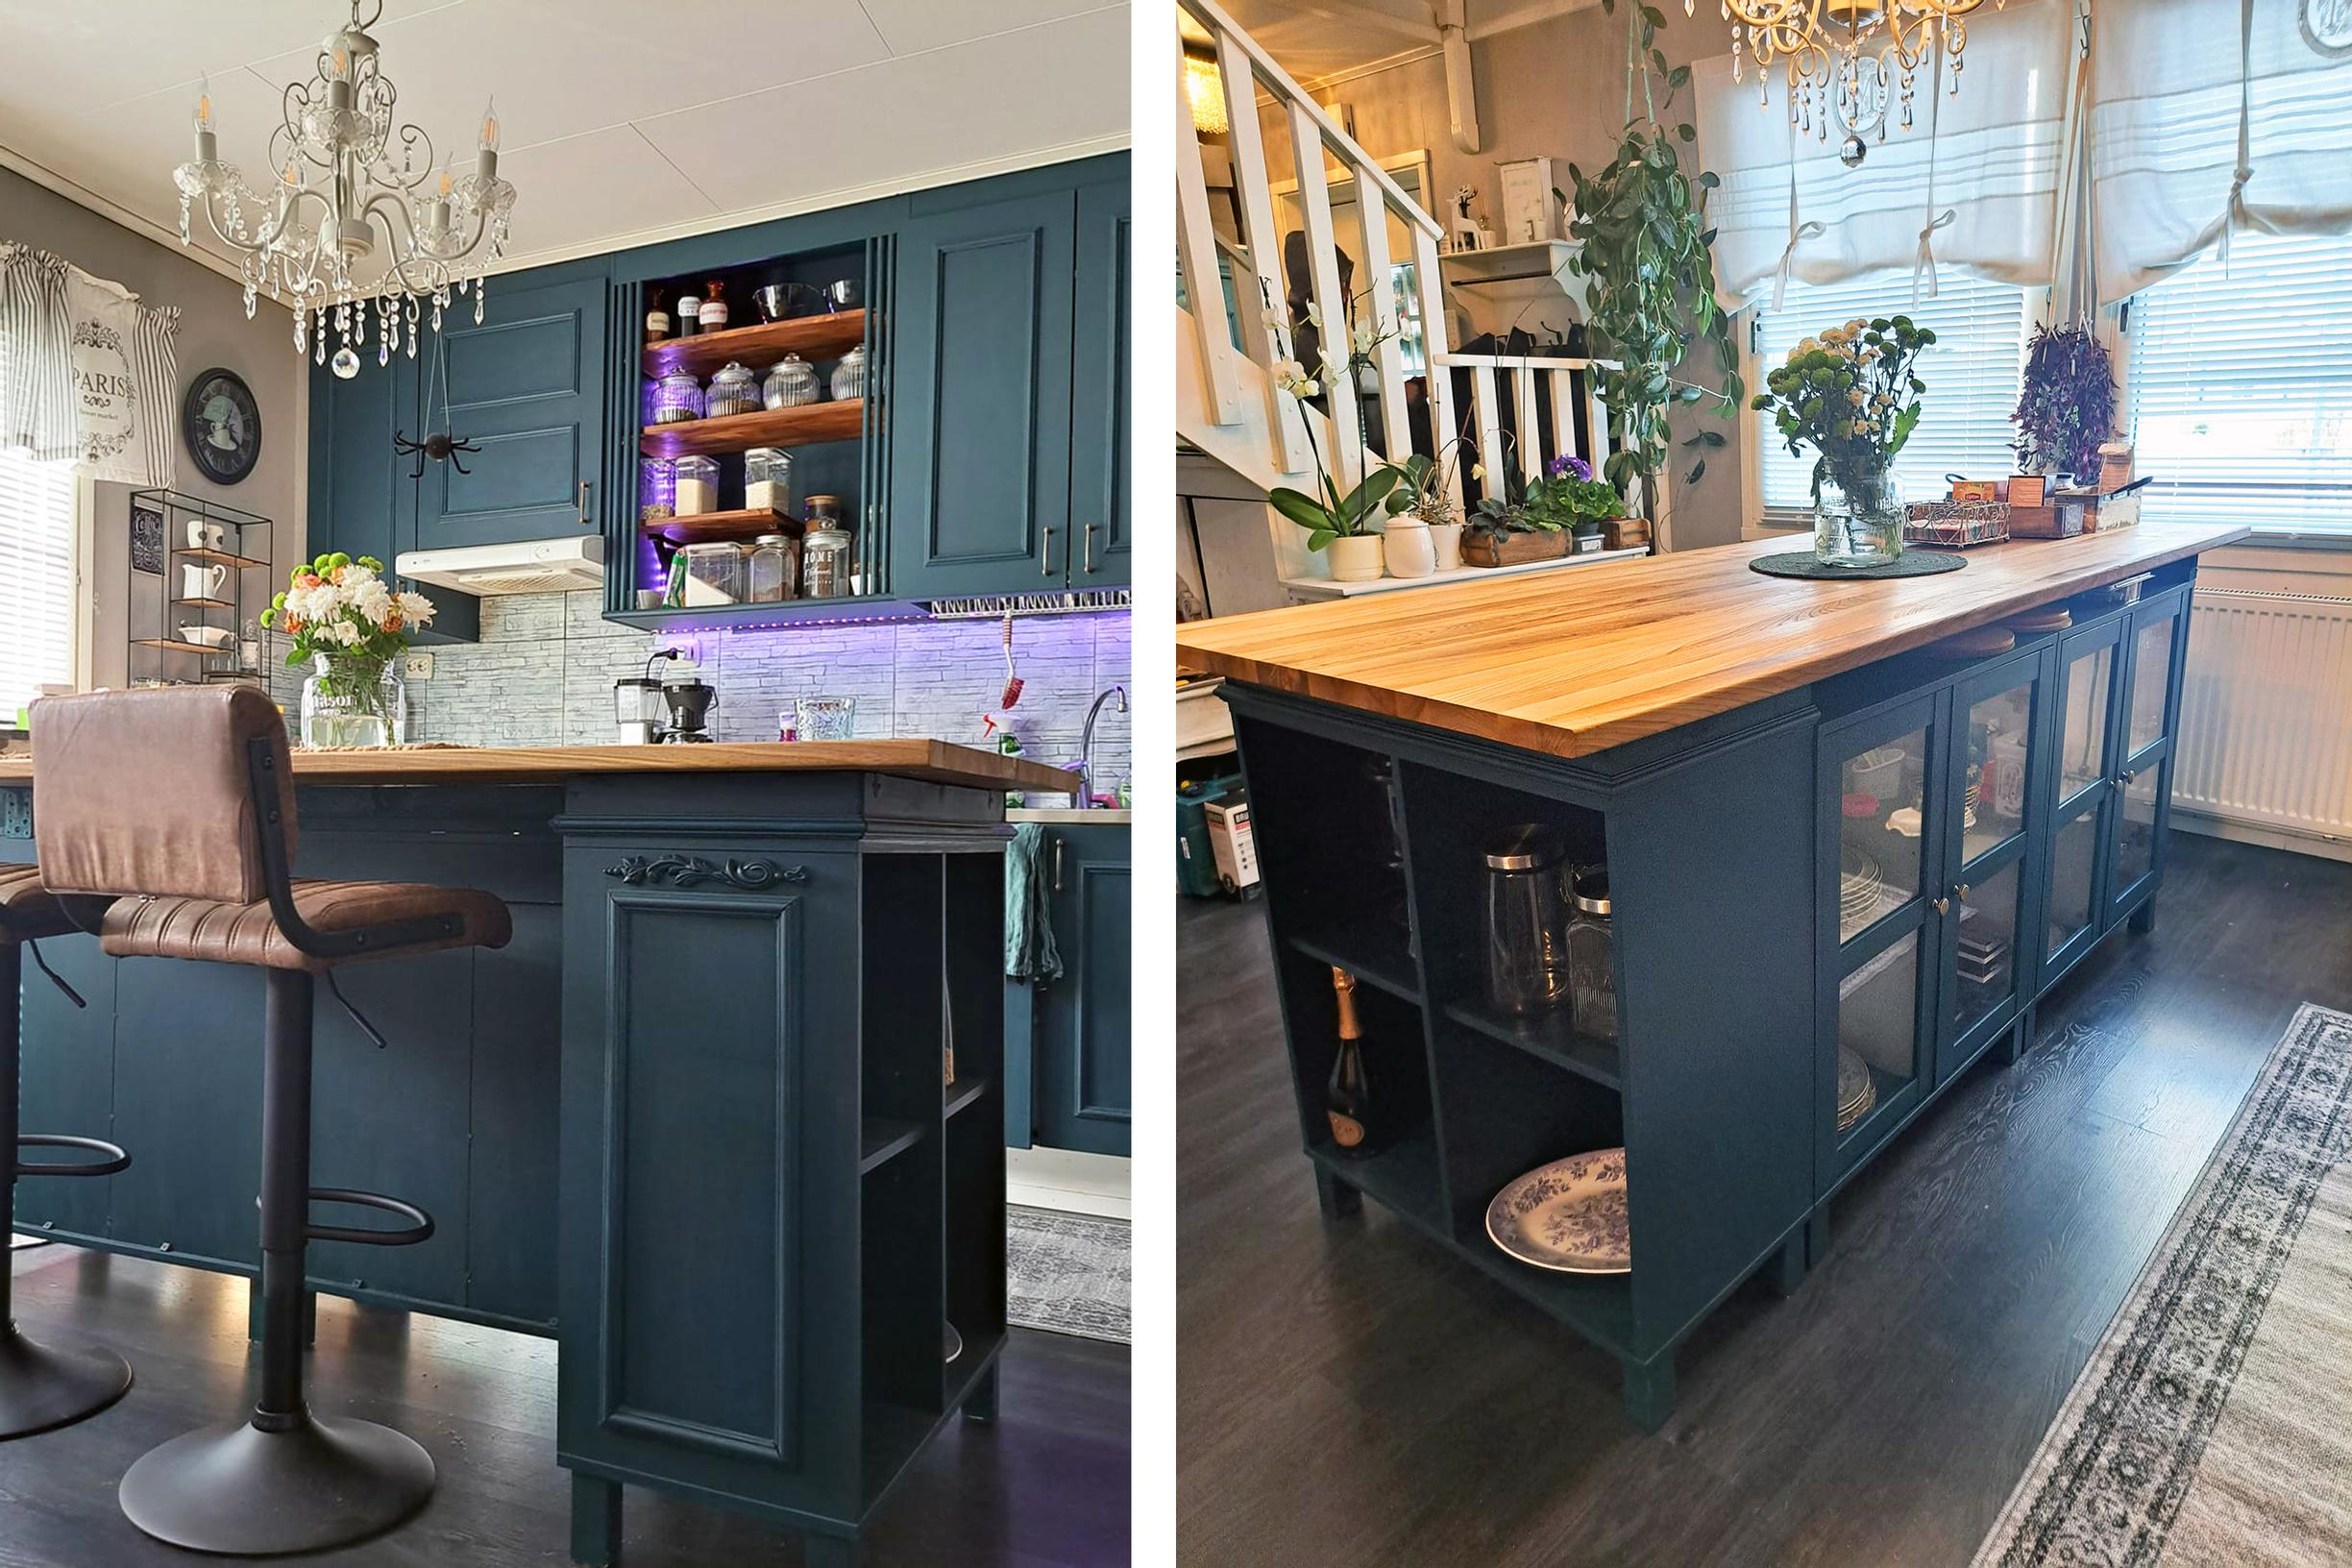
Along the window wall in our kitchen, we already had three white particleboard display cabinets to store dishes, but their surfaces were quite worn. I realized I could turn them into an island and move the dining set into the living room instead.

How did you actually build the island?
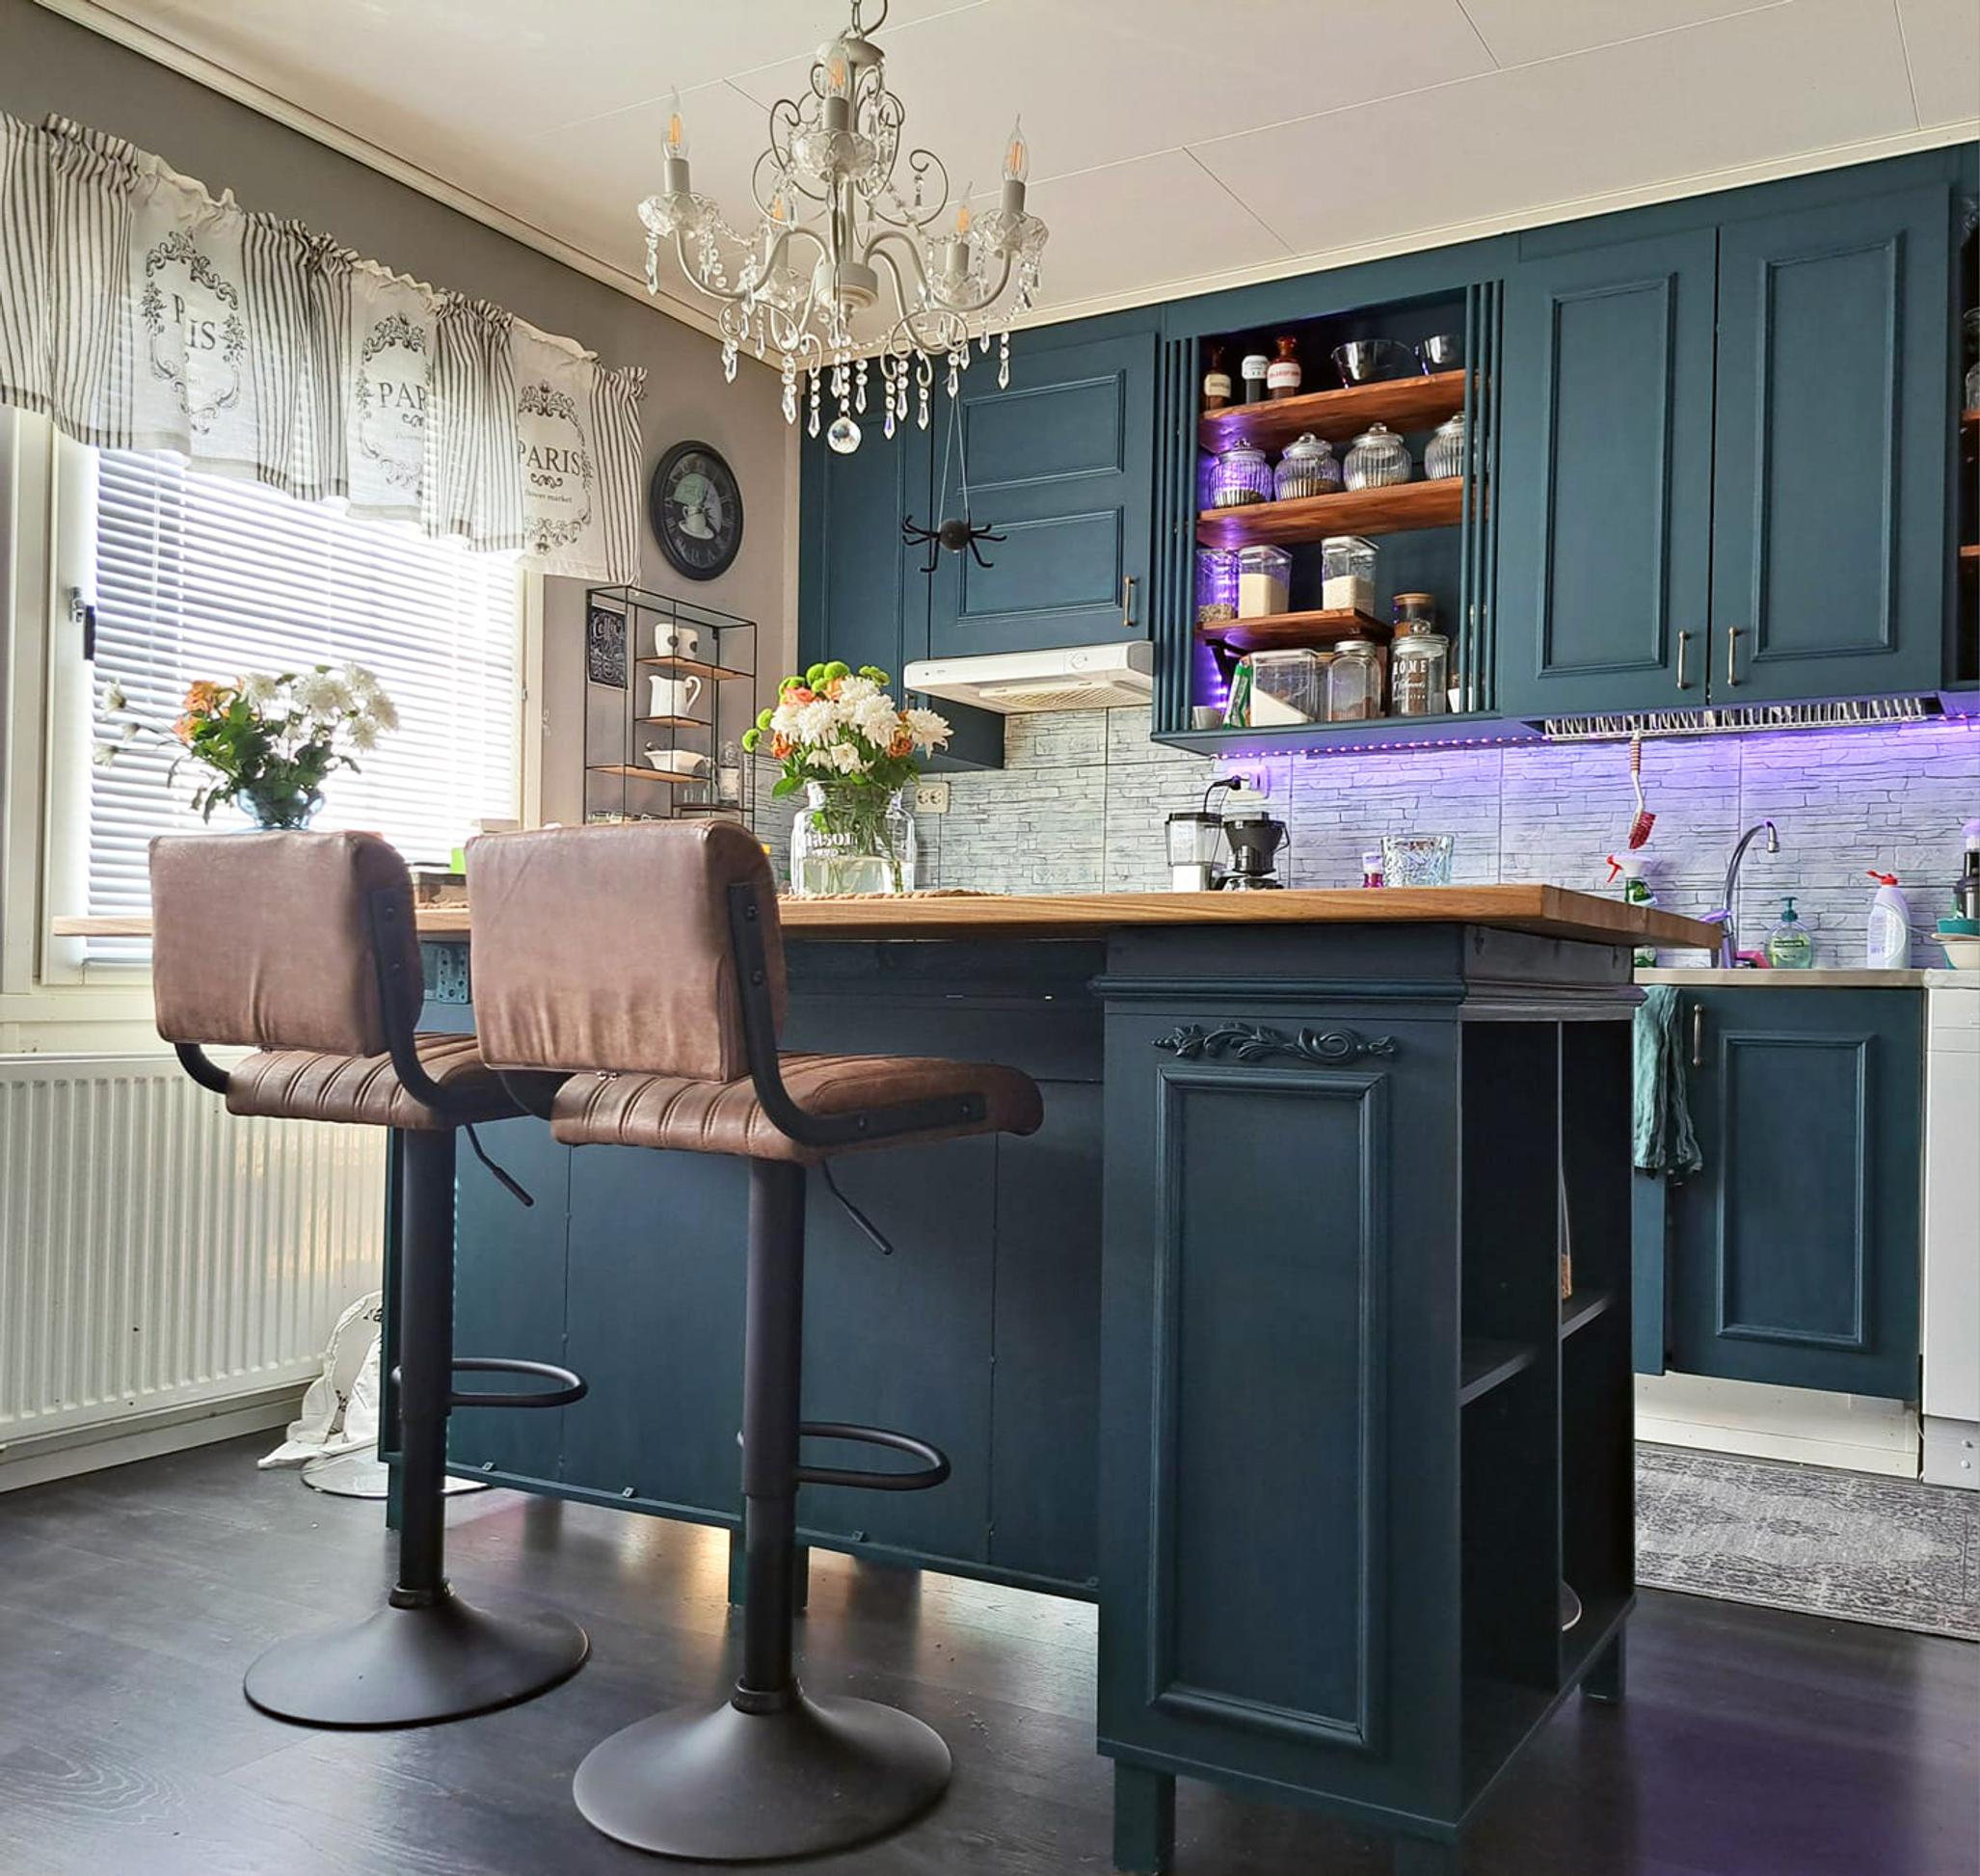
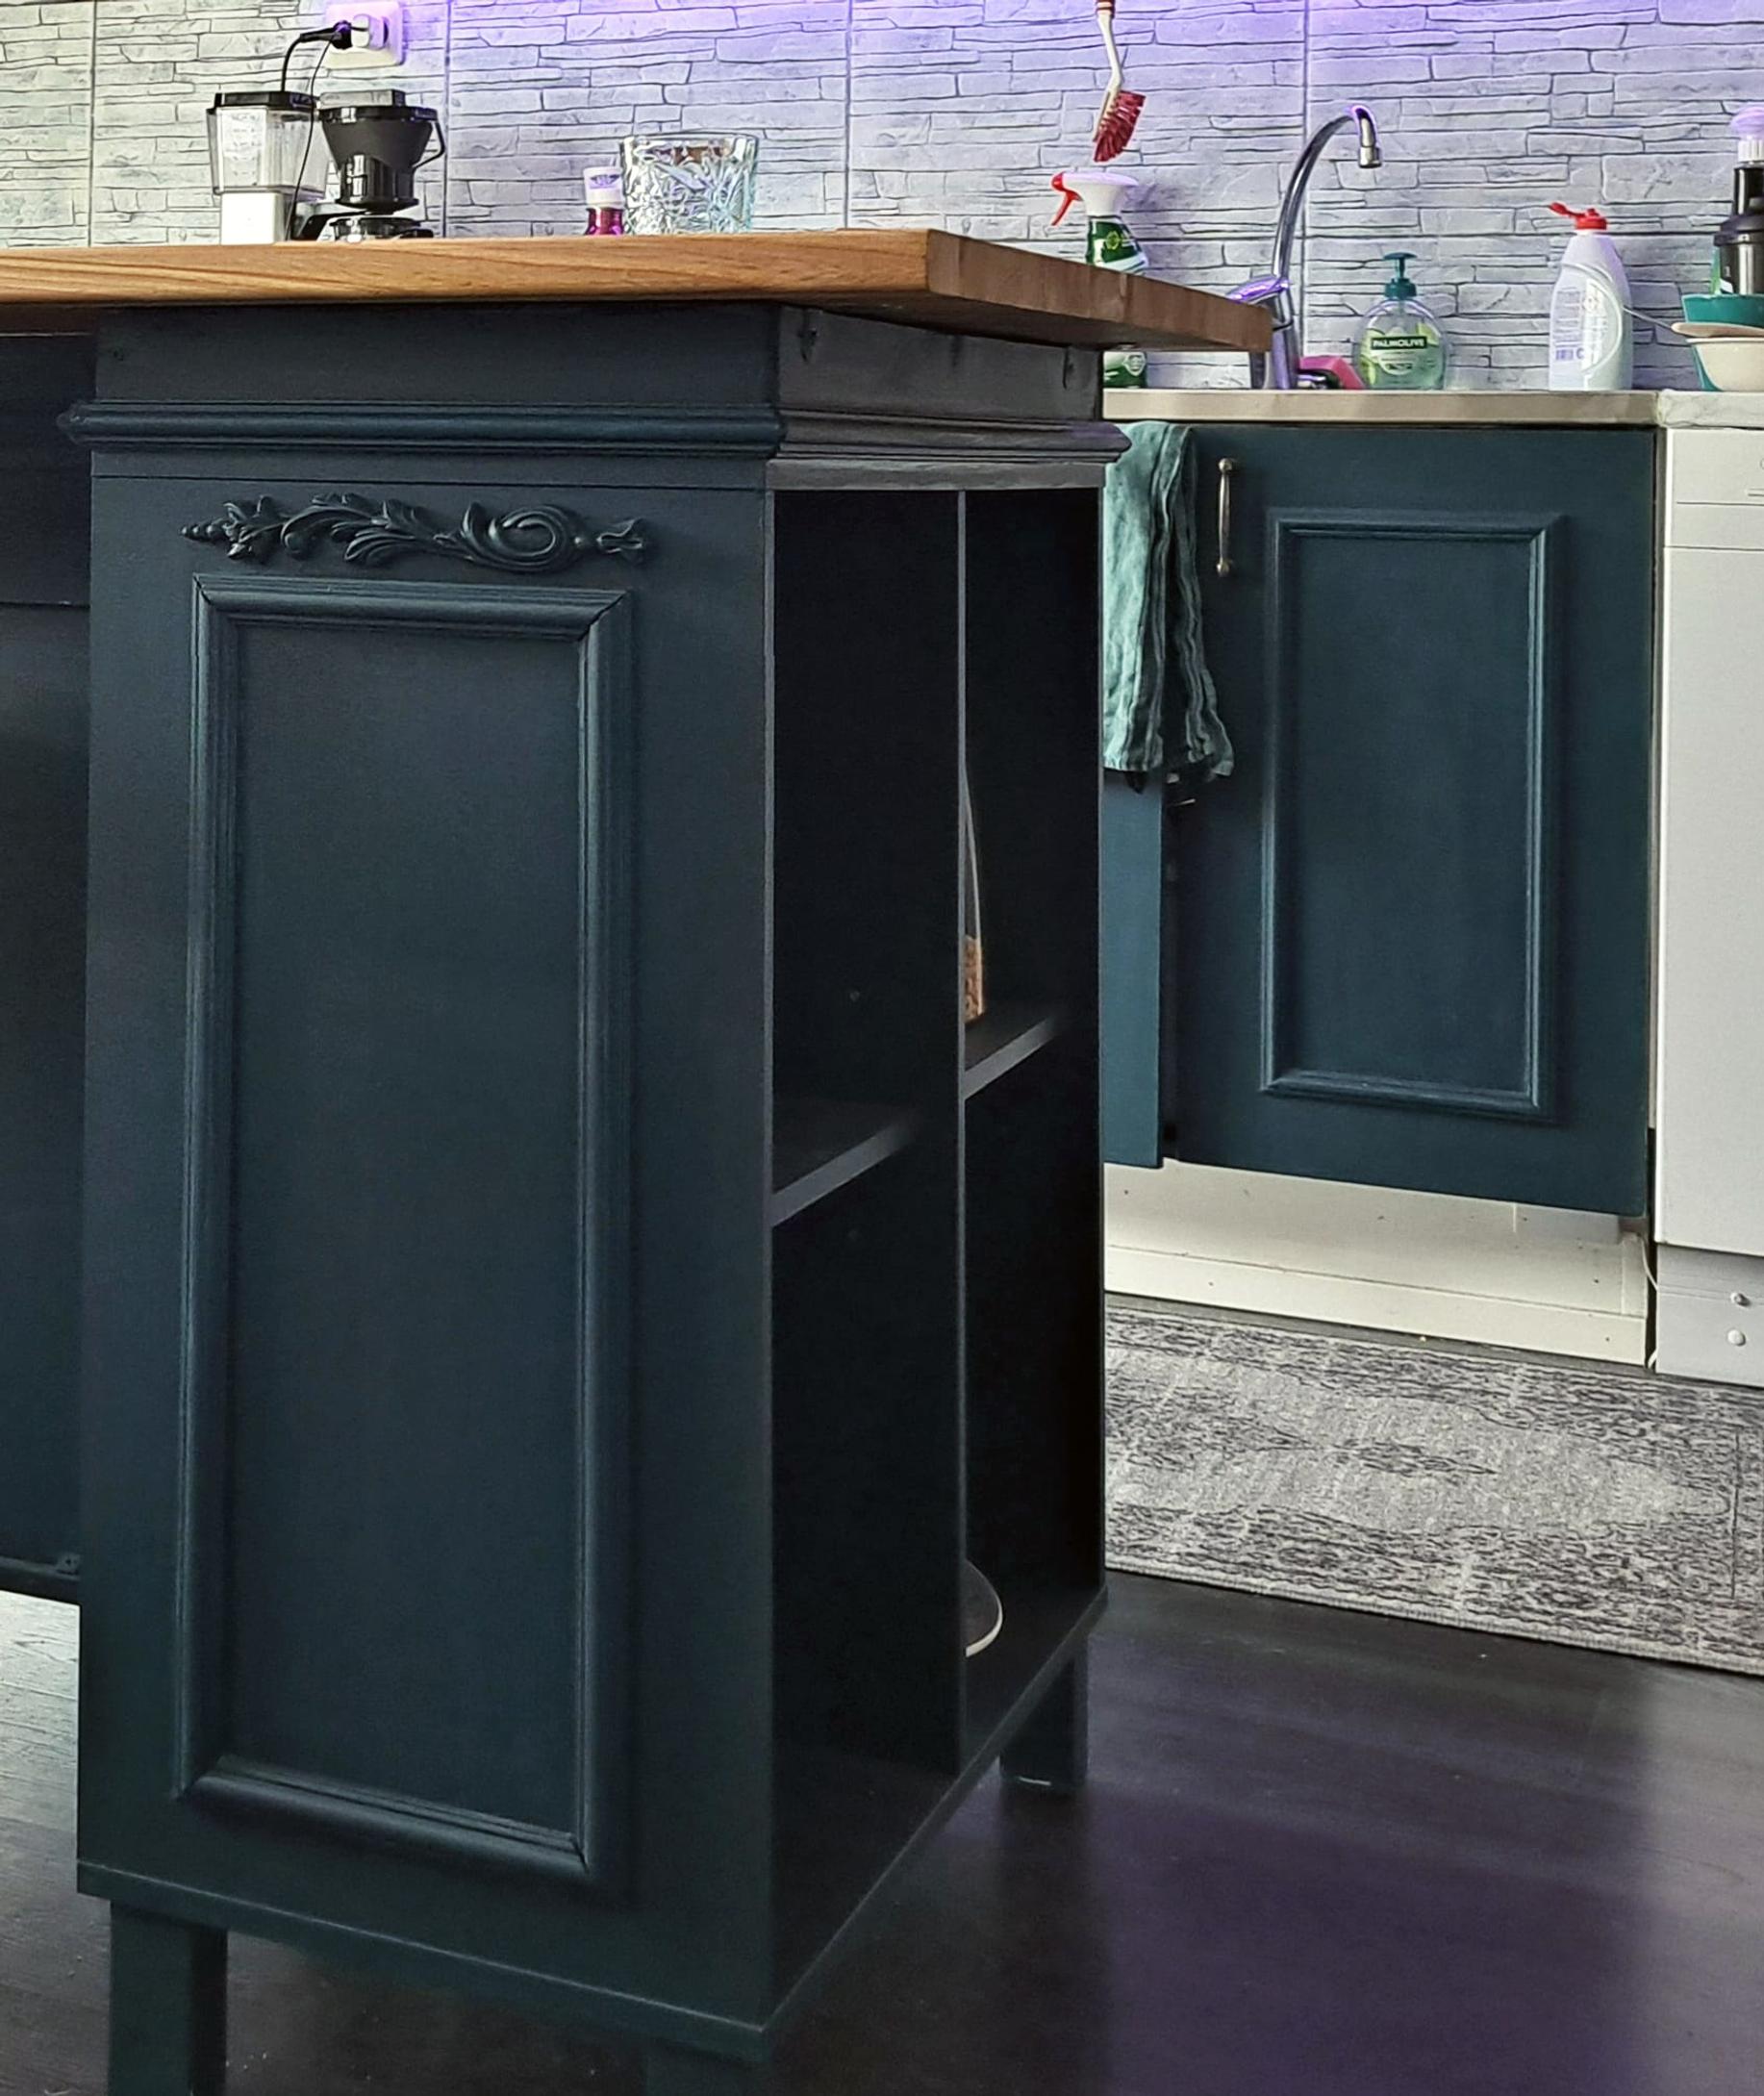
I placed two display cabinets side by side, then put the third one across the end. I fastened the cabinets together with screws and built a small, plinth-like frame on top. This frame ties the parts together and raises the work surface enough that there’s a small storage spot for trivets and potholders between the two side-by-side cabinets and the countertop.
Next, I glued decorative molding along the side of the perpendicular display cabinet and in the joint between the frame and the cabinet. I had added the same type of molding to our lower kitchen cabinets. On the end of the cabinet, on top of the molding, I also glued a small wooden ornament I had on hand. Then I sealed the gaps with acrylic caulk.
Then I washed the display cabinets with paint cleaner and lightly sanded their surface. I painted them three times with chalk paint. After that, I applied a finishing product that protects the chalk-painted surface so I can wipe it with a cloth. Finally, I attached the countertop to the display cabinets with corner brackets.
“We eat breakfast at the island, and I also set it up as a buffet table for my child’s birthday party.”

How much time did the project take?
I finished the island in one weekend. Chalk paint dries quickly, and you can add a new coat just a couple of hours after the previous one.
And how much did the project end up costing?
In total, the island cost about 260 euros. The priciest purchase was the 2-meter (about 79 inches) tabletop, which I had to buy new from a hardware store because I couldn’t find one large enough used. The can of paint was 29.90 euros, and the decorative molding was 3.9 euros per meter. I already had the lumber for the frame, but I needed to buy glue, screws, corner brackets, and acrylic caulk for the project.

How has the island worked out in your daily life?
The island has been in use for about three months. We eat breakfast there, and I also set it up as a buffet table for my child’s 6th birthday party. I’m pleased with how it turned out.
The only thing the island is still missing is a support leg under the free-floating corner of the countertop. The tabletop is firmly attached in multiple places, and the unit is so heavy that there’s no risk of tipping. I’ll add that support once I find a tall enough decorative spindle to use.