Use a worm compost to turn waste into soil, even in an apartment—Get our tips for vermicomposting!
For worm composting, all you need is a suitable container, a handful of compost earthworms, bedding, and soil. This compost will produce nutrient-rich soil whether you keep it indoors or outdoors. Check out gardener Kimmo Englund’s tips for setting up a worm compost.
1. Use a wide container
Choose a wide-based plastic bin or box as your worm compost container. In a narrow bucket, the compost mass can become too compacted. For a small family, about 40 liters (10.6 gallons) is enough. If you produce a lot of organic waste, pick one of about 60–80 liters (15.8–21.1 gallons). Make sure the lid isn’t airtight, because worms need oxygen.
2. Get your worms
Compost earthworms—also known as red wigglers (Eisenia fetida)—can be tricky to find. You might check a vermicomposting Facebook group or online marketplaces. A single handful of worms is a great start, but even fewer can work, since they will reproduce. The fewer the worms, the longer it takes for the compost to really get going.


3. Assemble your worm compost
Place some bedding—such as shredded egg cartons—at the bottom of the compost box to absorb excess moisture. Then add soil and worms on top. Let them settle for a week or two before you start feeding them.
4. Protect from light and rain
Cover the worm compost with leaves or newspaper to shield the worms from light, which they can’t cope with for long. Finally, place some garden fleece or an old sheet on top of the compost box. If the worm compost is outdoors, protect it from rain with plywood or a similar cover. If you’re composting kitchen scraps outside, also guard the bin from rodents with a fine-mesh wire.
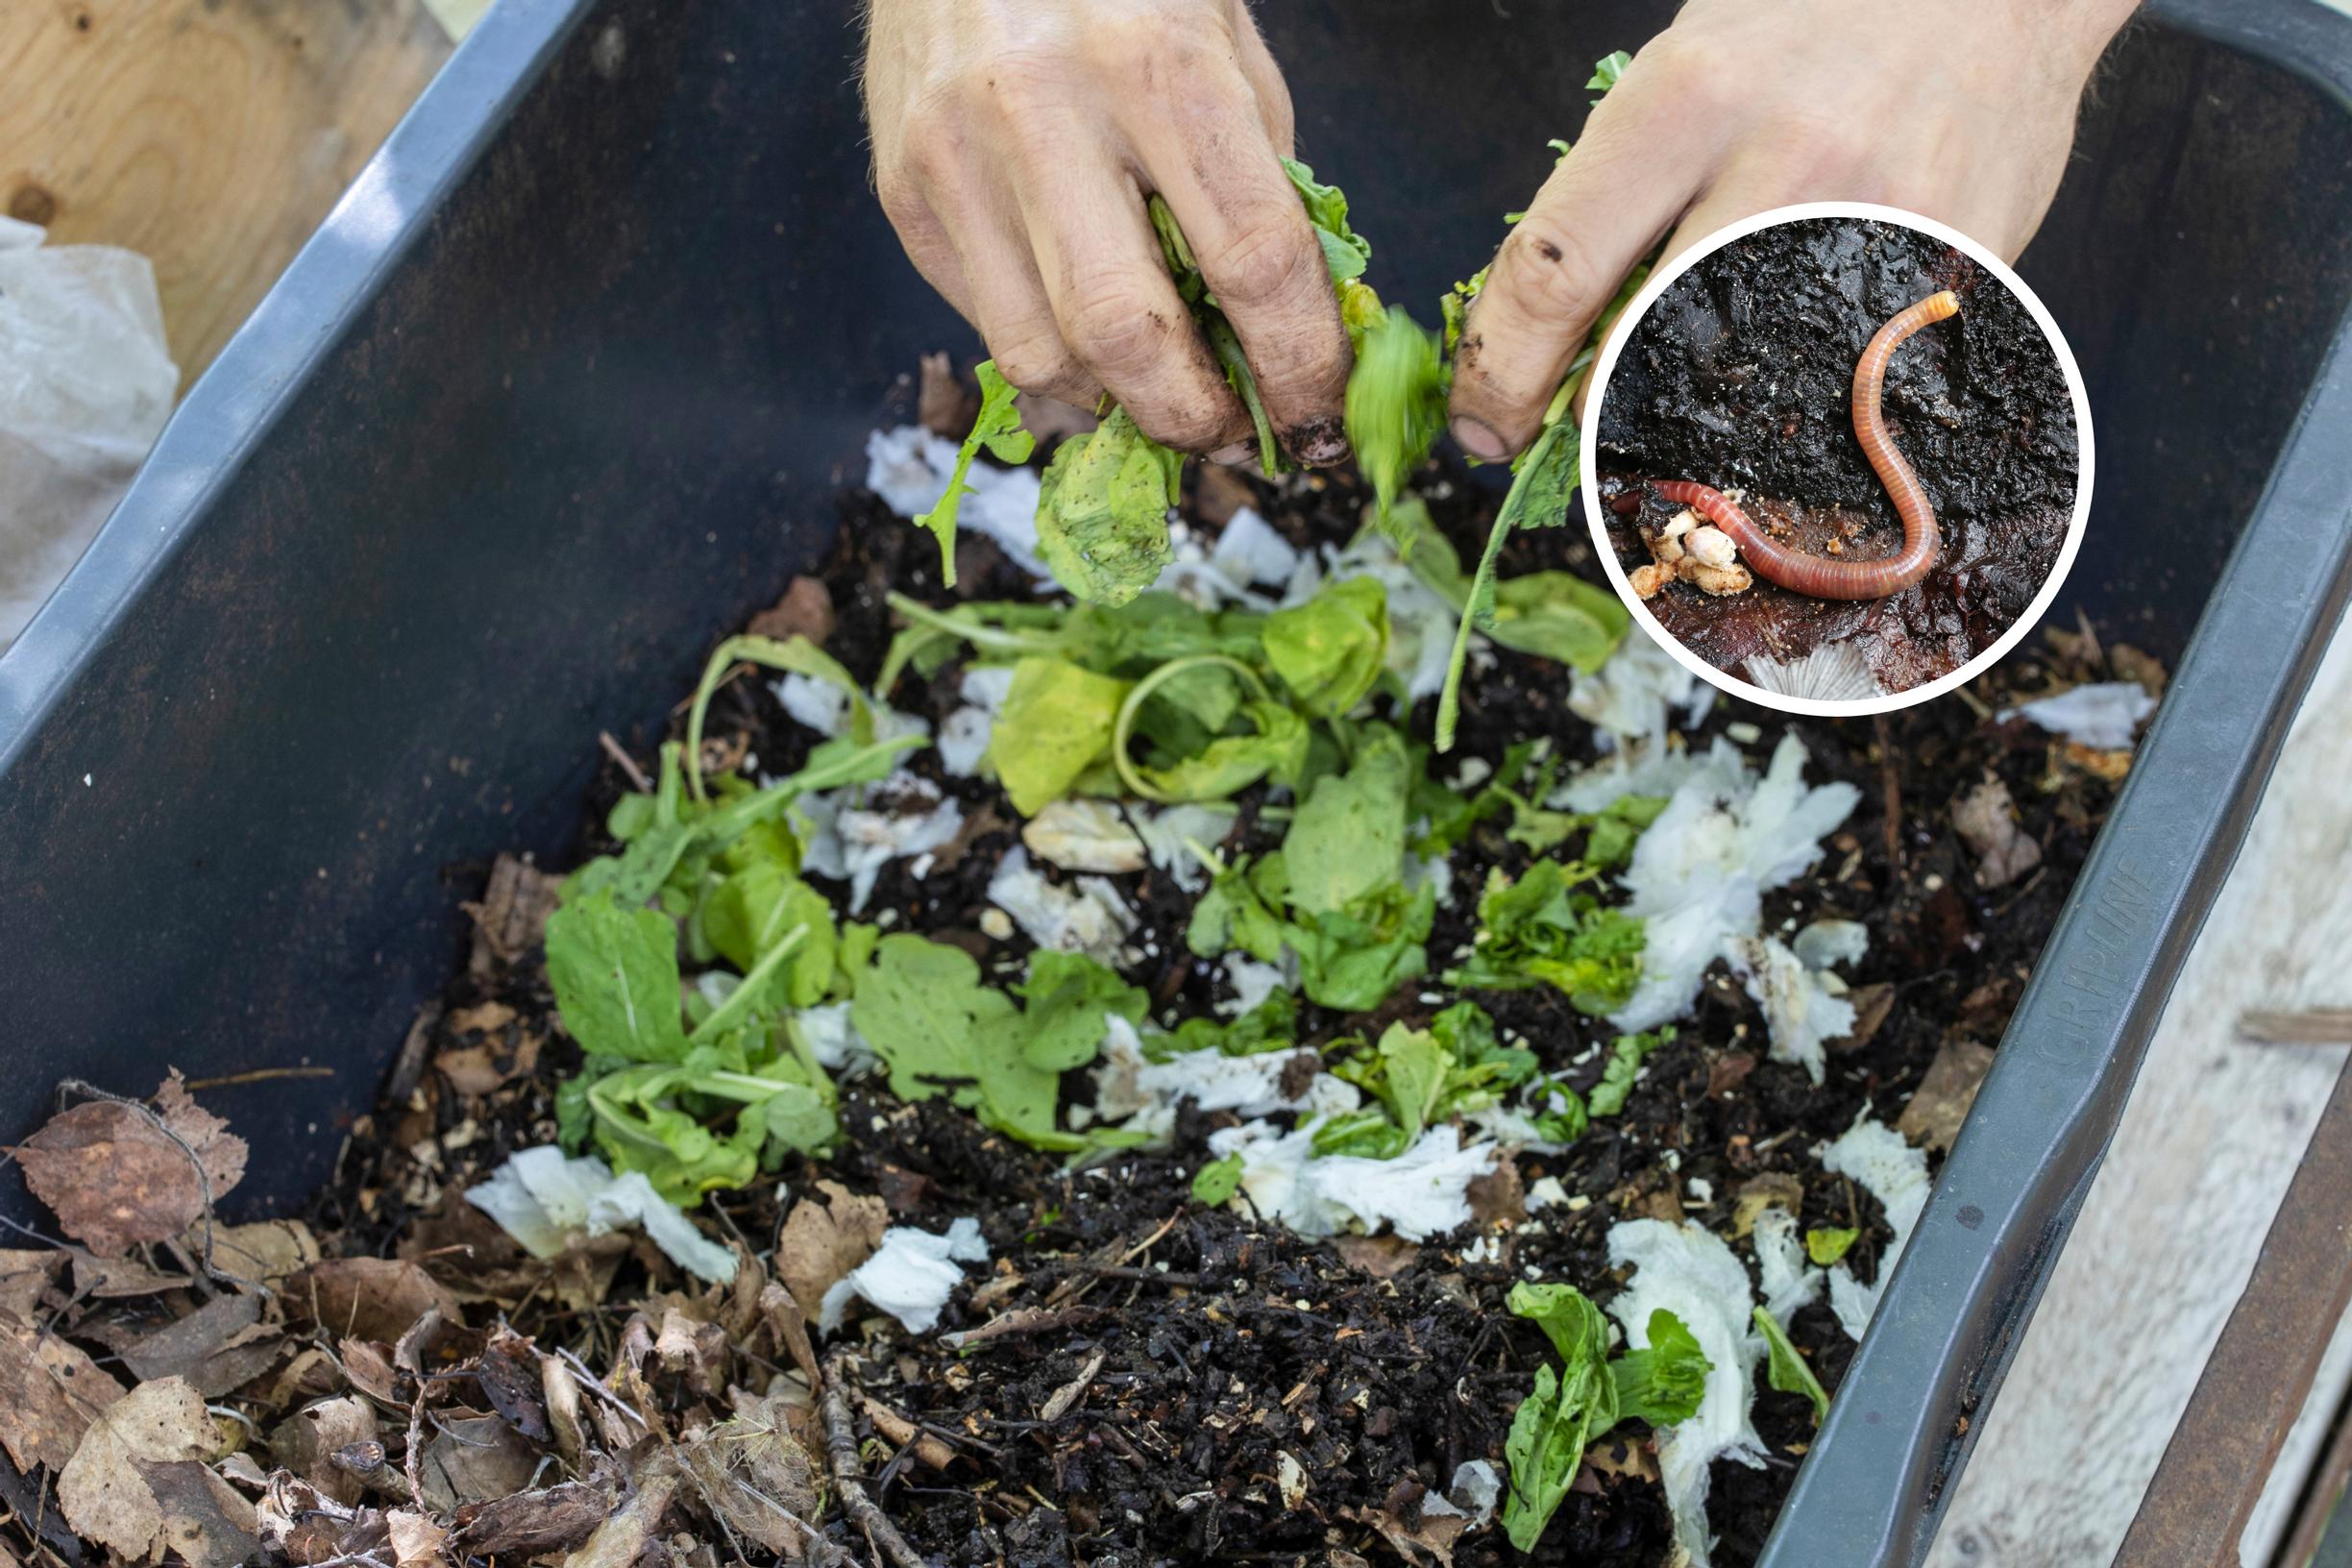
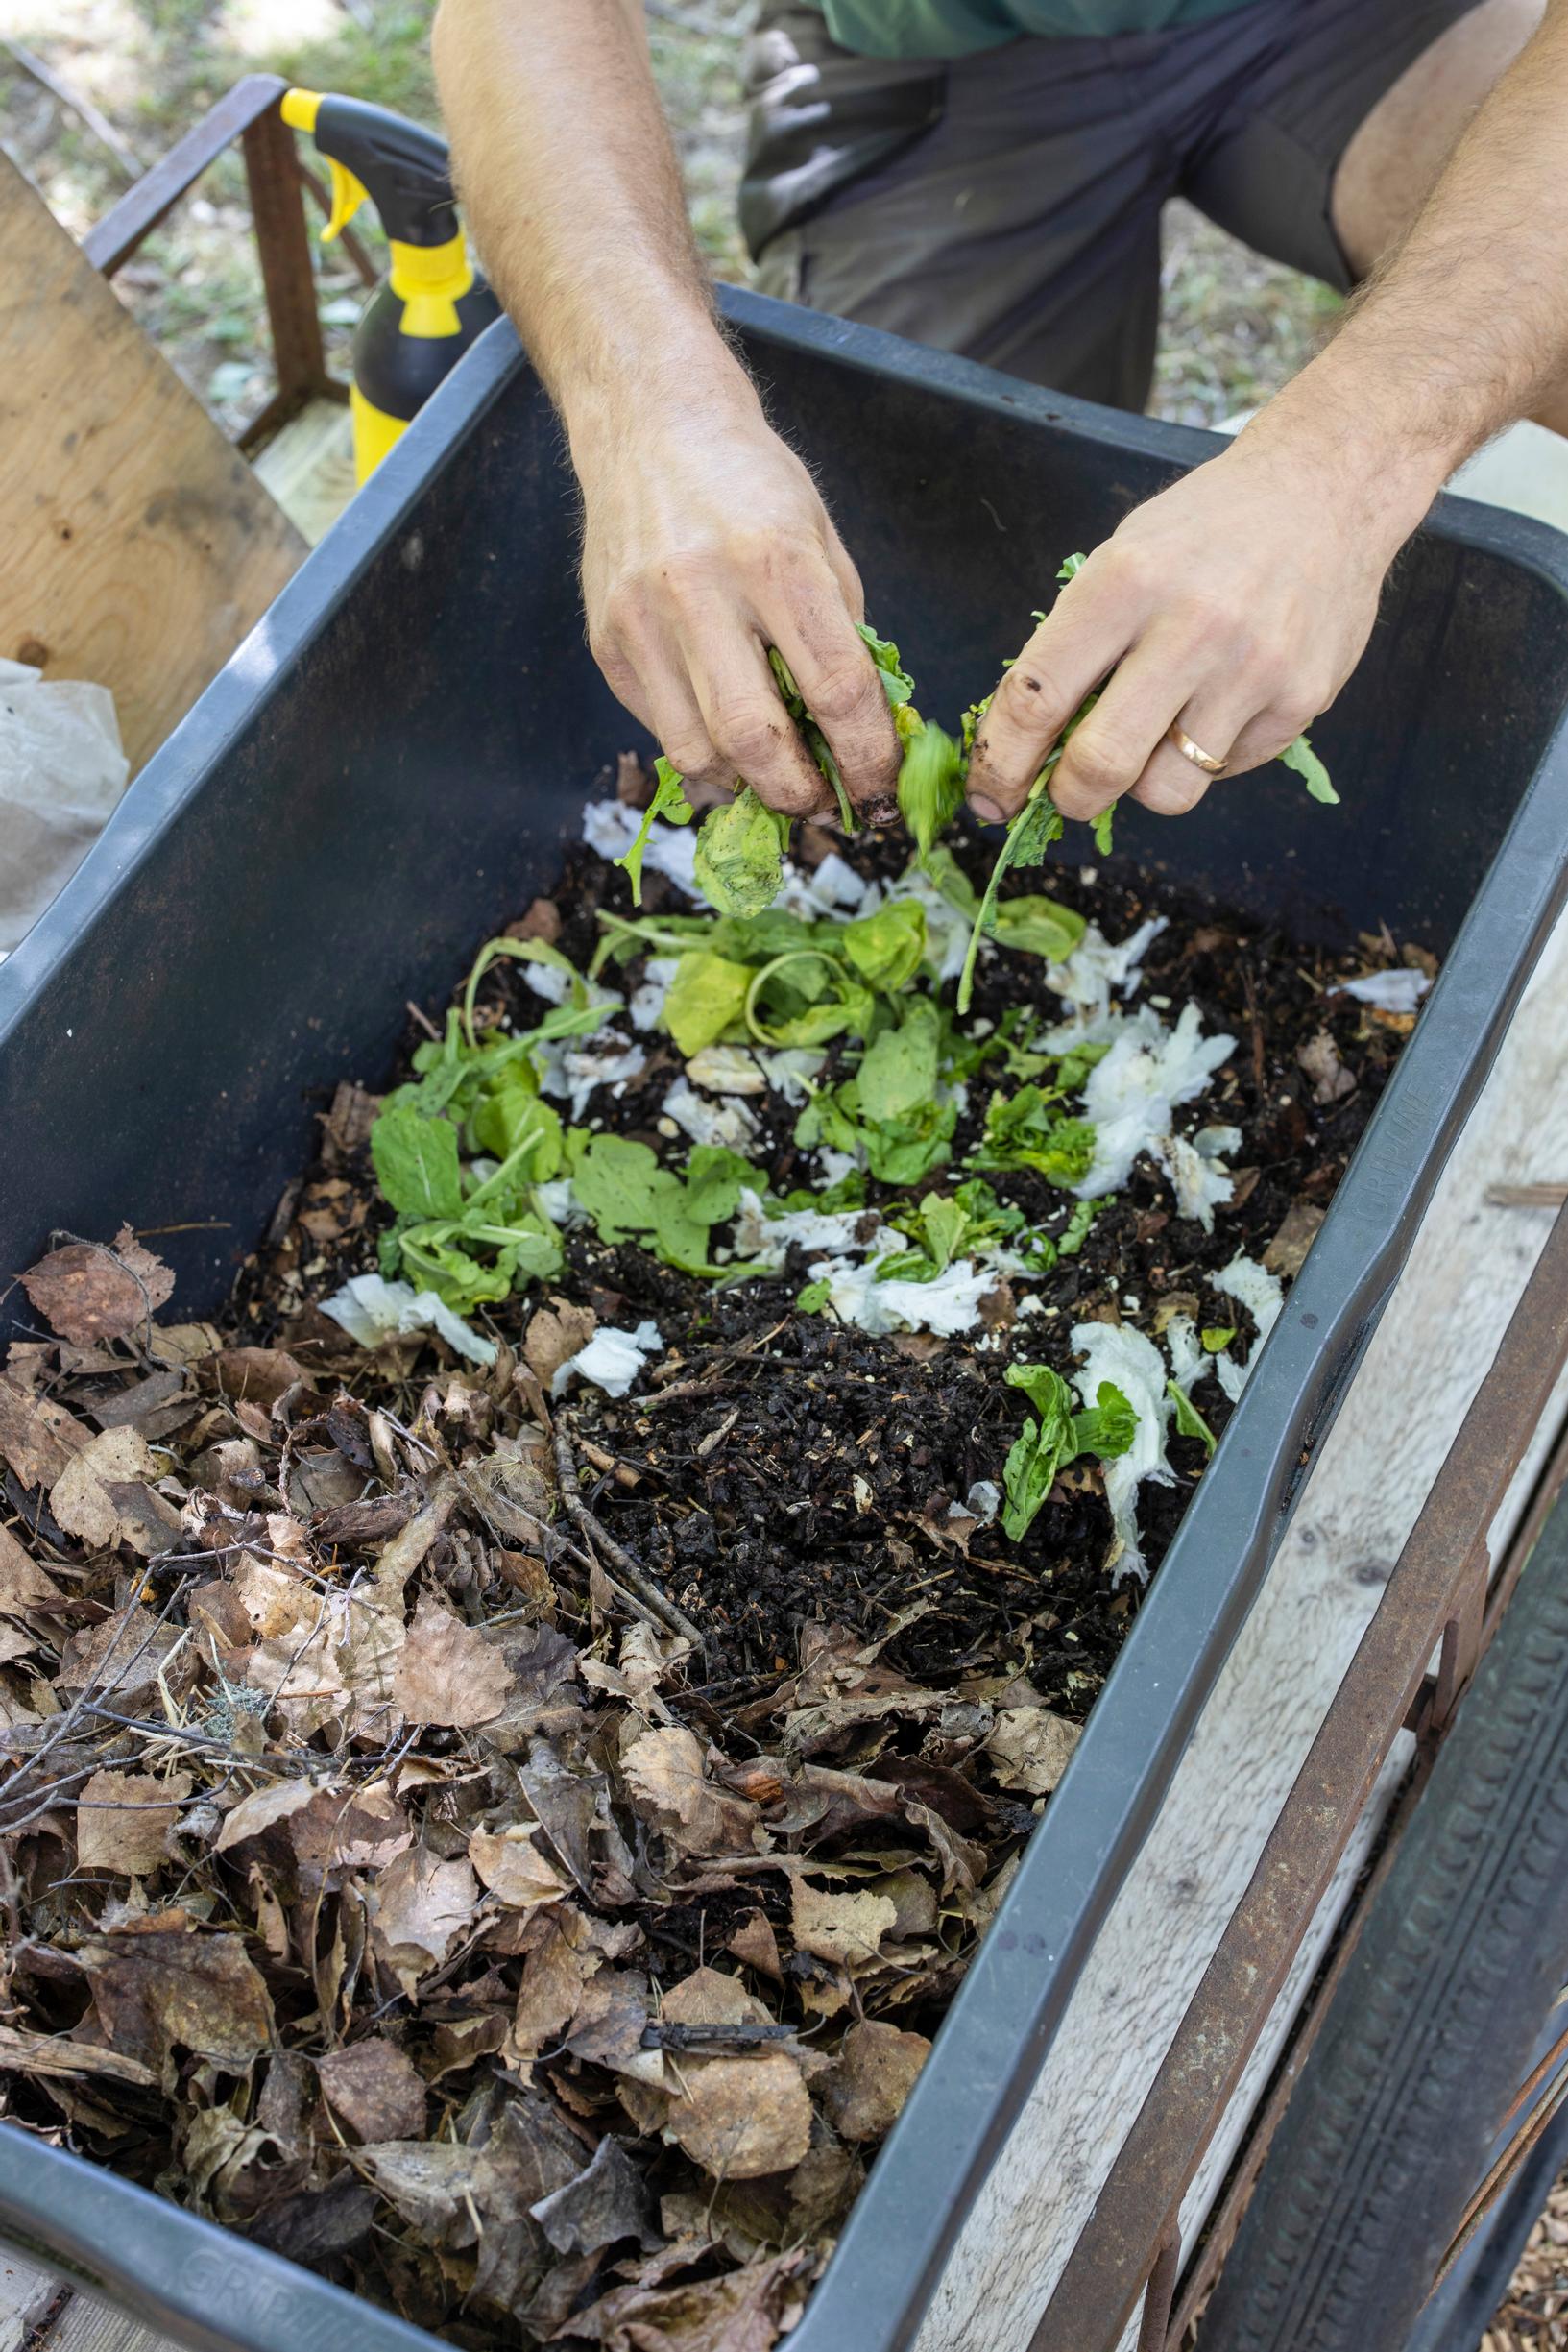
5. Add food
Feed the worms with finely chopped vegetable scraps. Move the leaves or newspaper aside and place their food in the soil layer. Avoid meat, dairy, and onions, which can start to smell or attract animals if the compost is outdoors. Add food as it’s consumed. Worms can go without feeding for a few weeks, but about once a week is a good schedule.

6. Maintain the worm compost’s moisture
Keep the worm compost moister than a typical garden waste compost, since worms breathe through their skin and need humidity. If the compost gets too wet or too dry, the worms may try to leave, but they won’t survive long in bright, dry conditions.
7. Collect the soil
Gather finished soil from the top layer of the compost. You’ll know it’s ready once there are no visible plant scraps. It usually takes a few months to finish.

