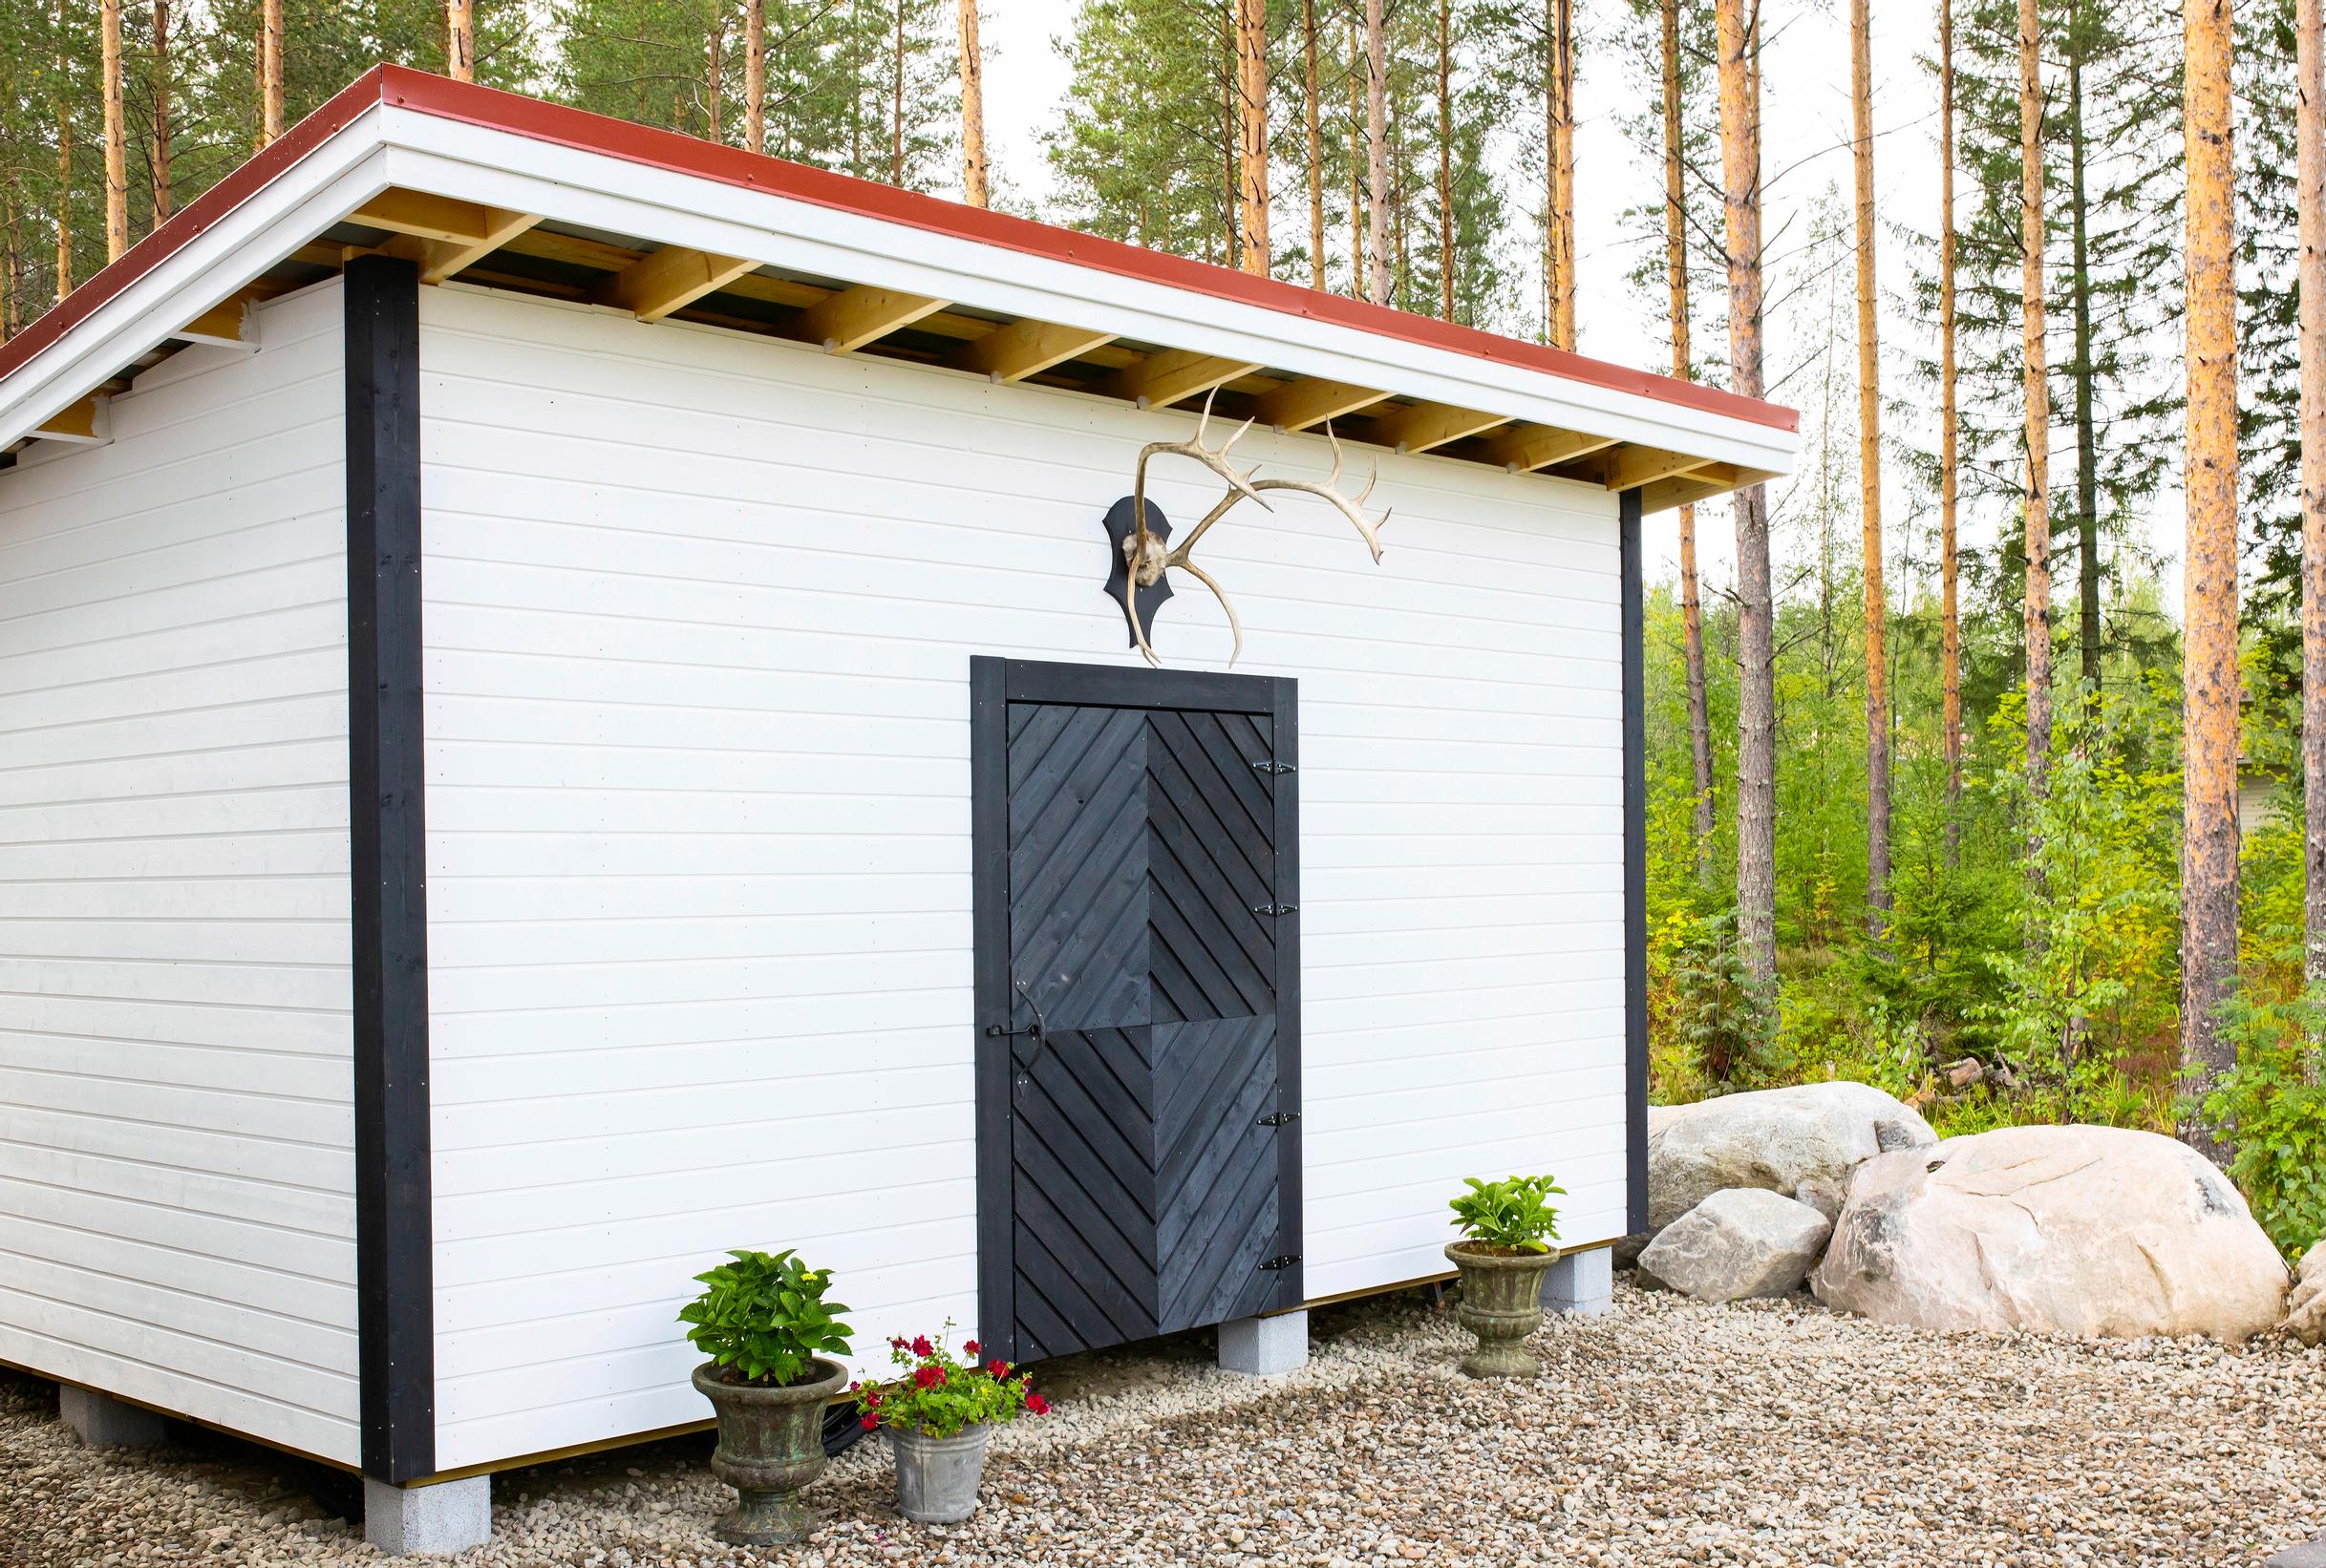
Need more storage space in your yard? Build your own woodshed to provide sturdy shelter for your outdoor items
Building a woodshed is like many other projects: good planning is half the work. Paying close attention to the foundation is key. Check out the illustrated step-by-step instructions for building a handy woodshed to save space year-round!
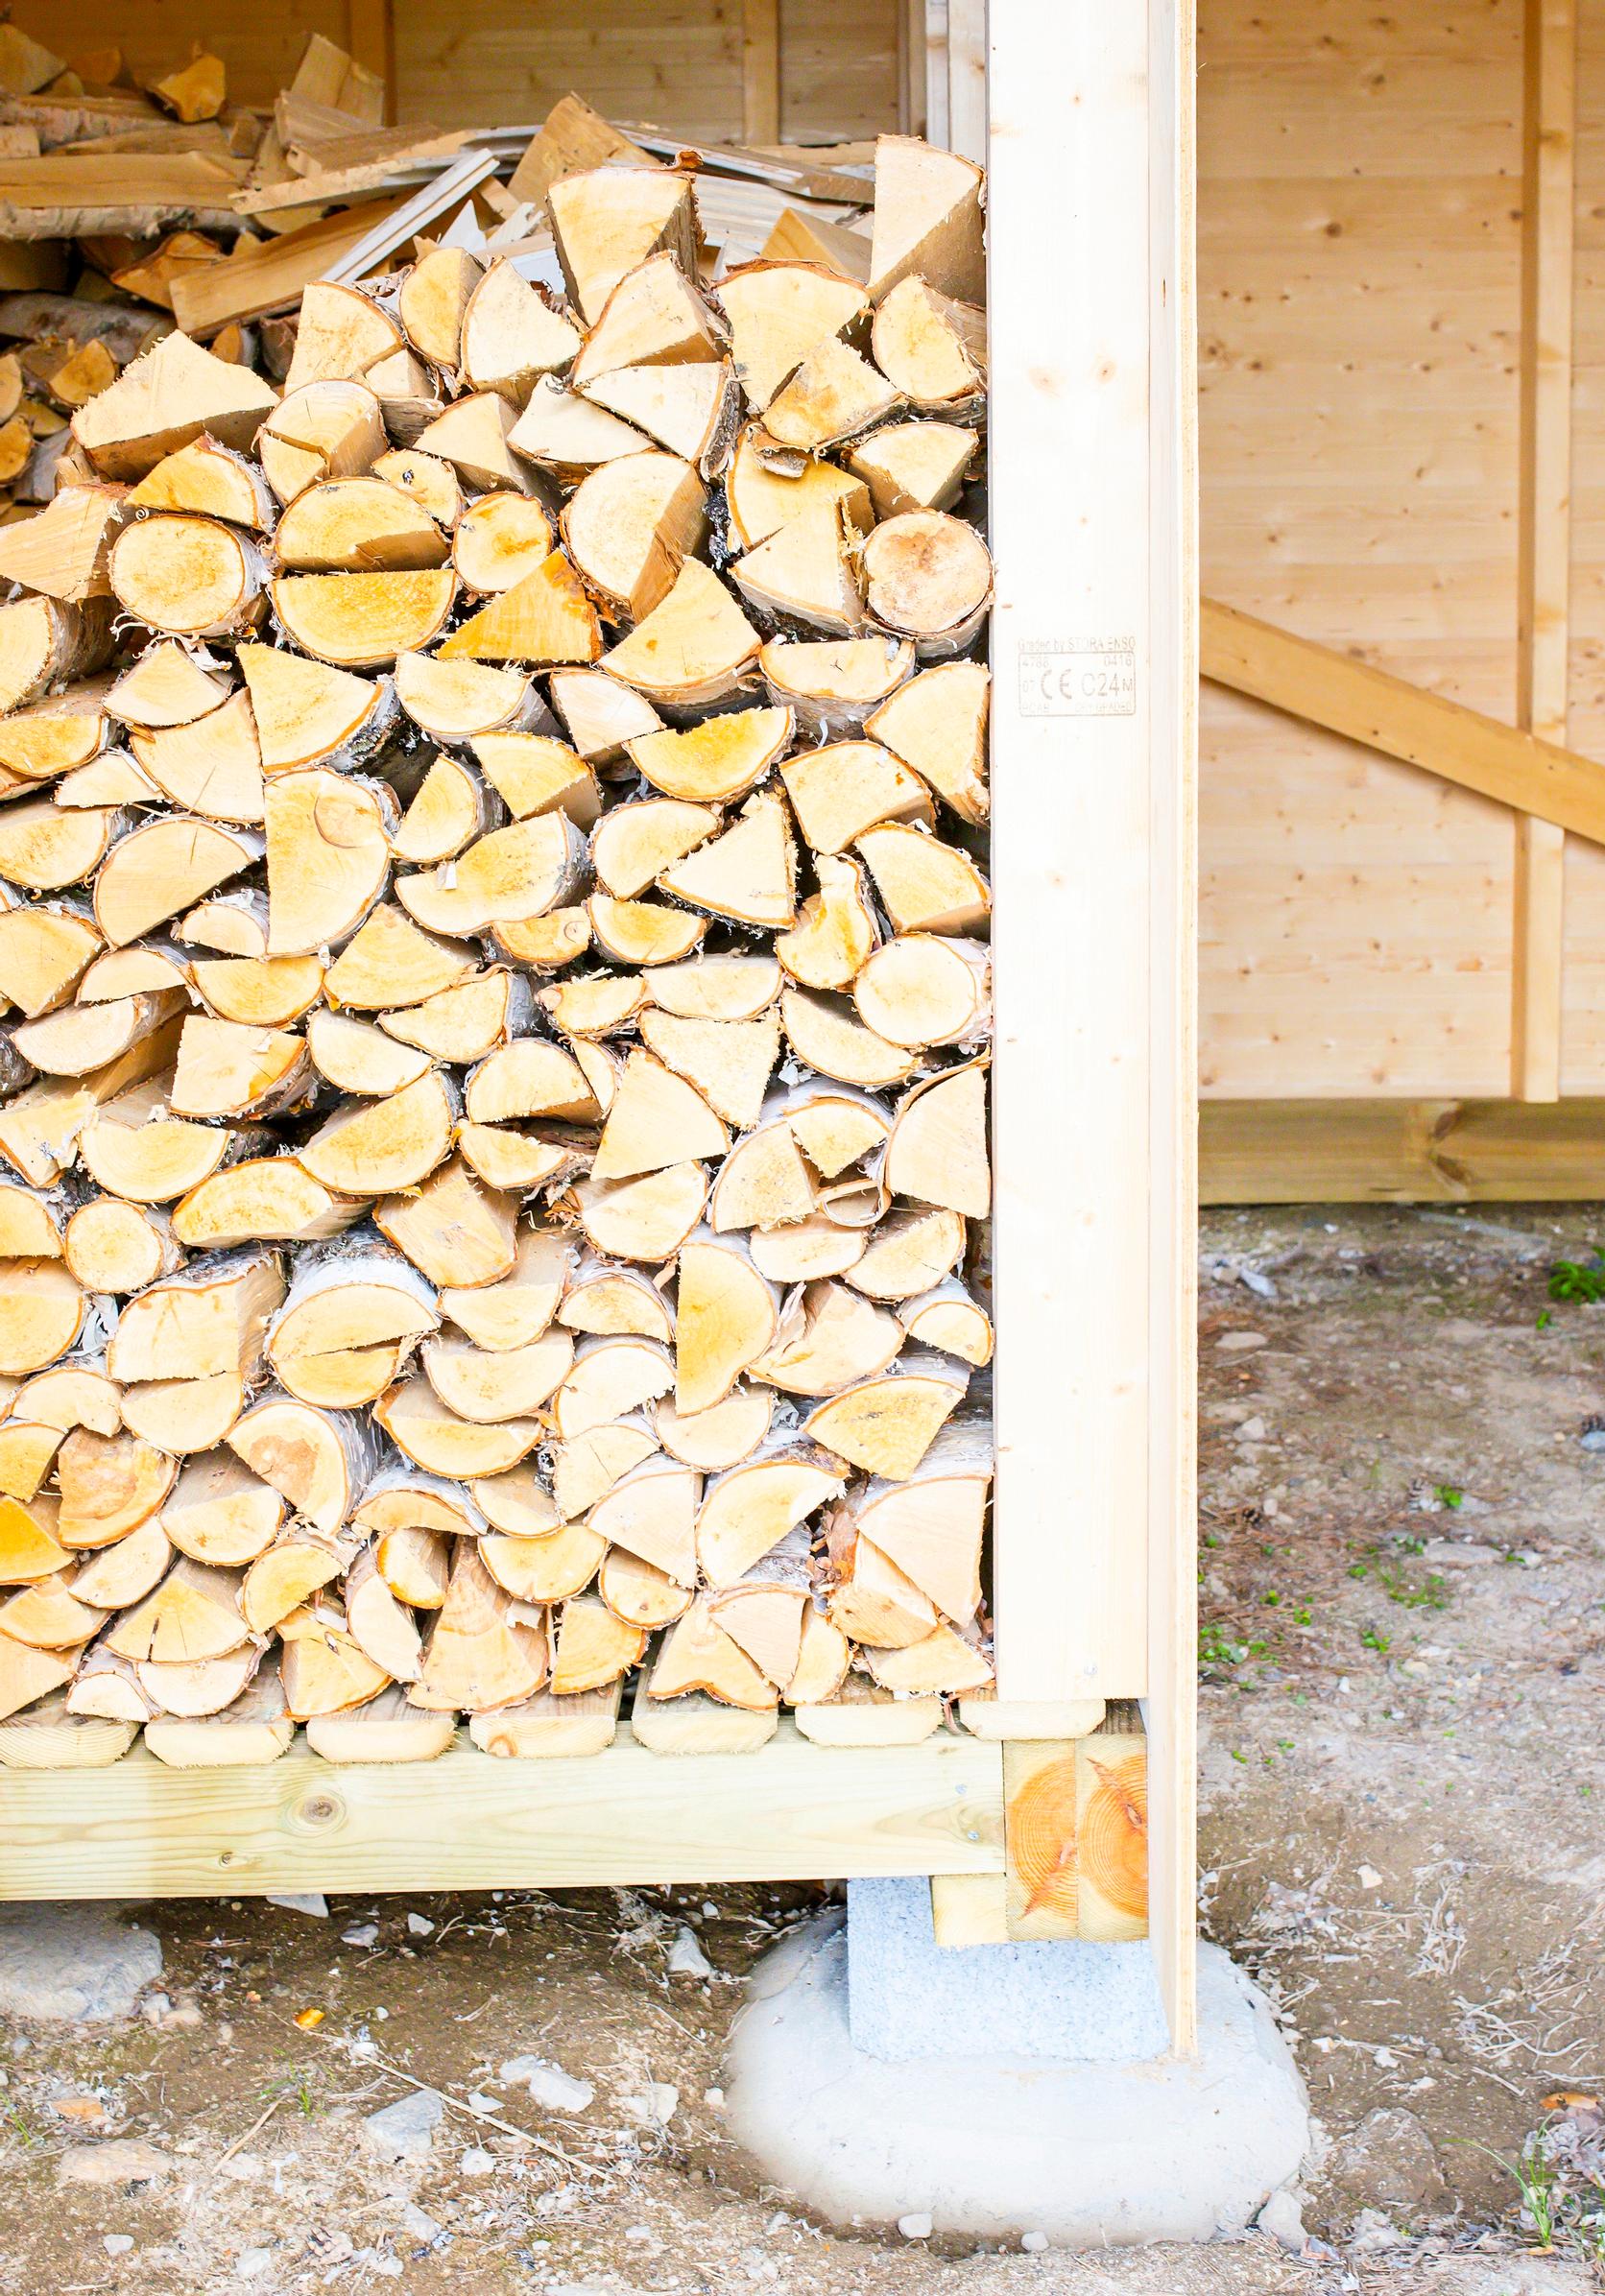
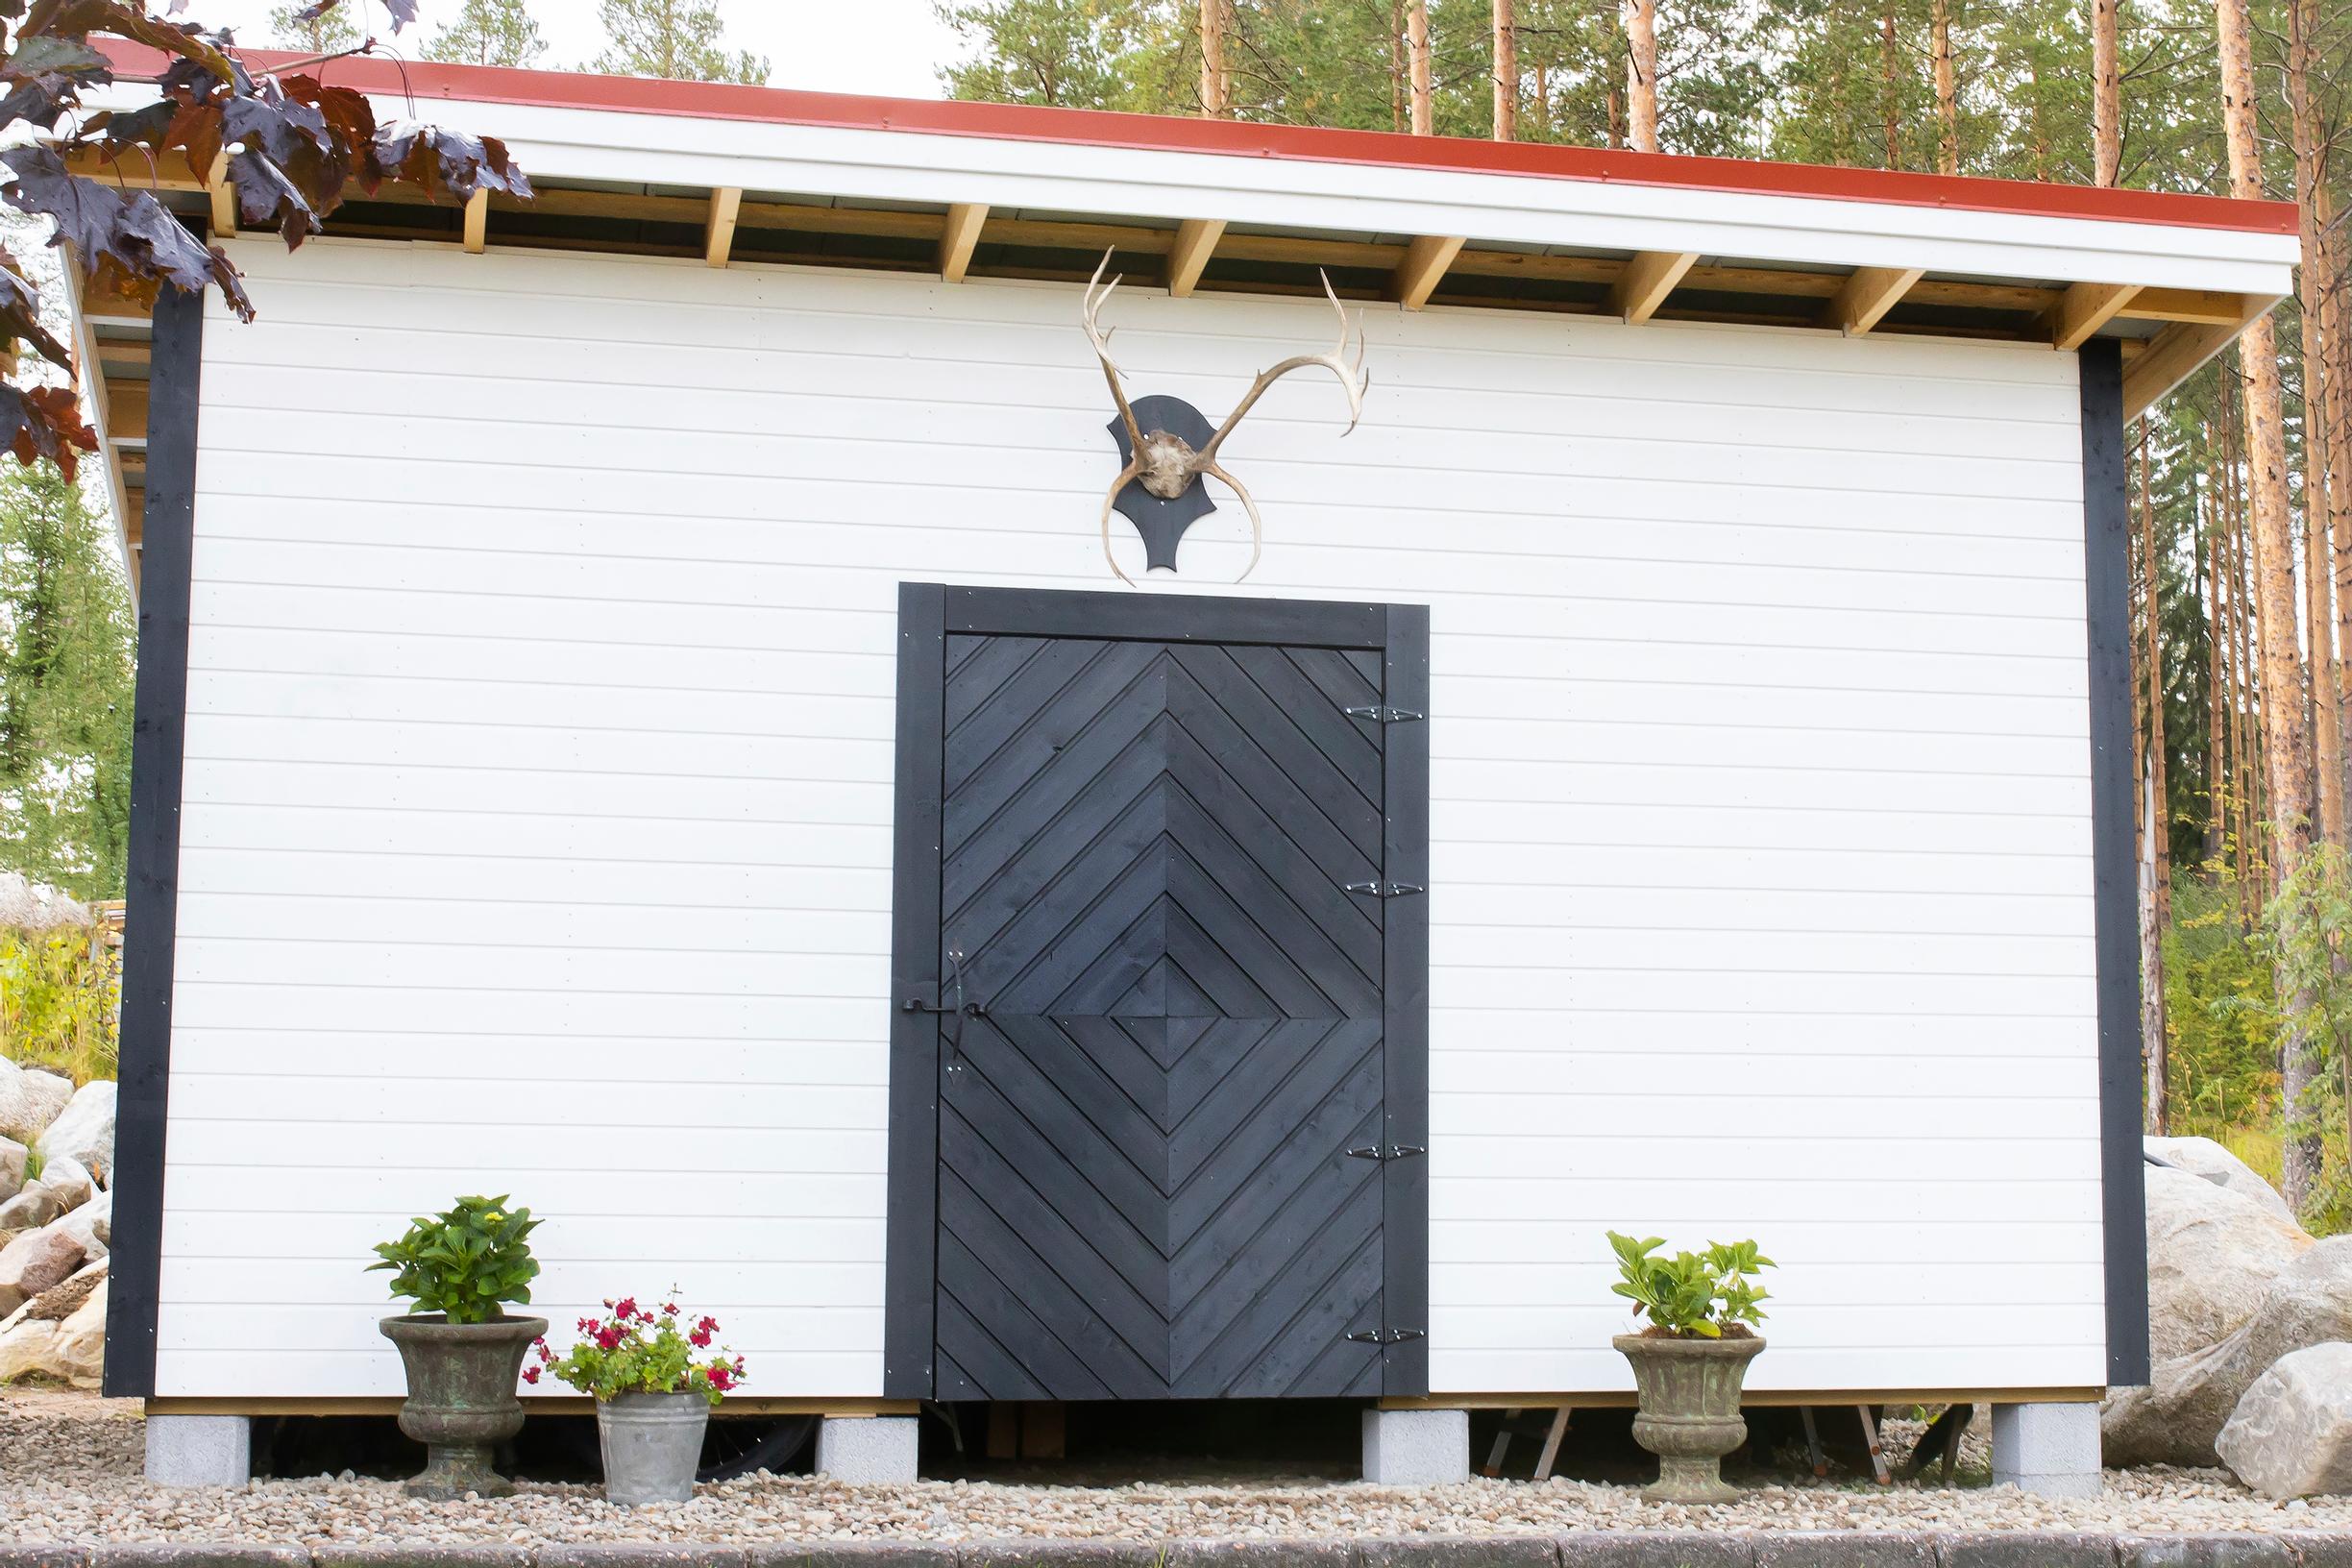
Building a woodshed is a great way to add more storage space to your yard. For example, outdoor furniture and garden tools that can handle weather changes stay protected in a woodshed all winter long. It’s also a good spot for firewood, because wood that’s raised off the ground and kept under shelter dries more effectively.

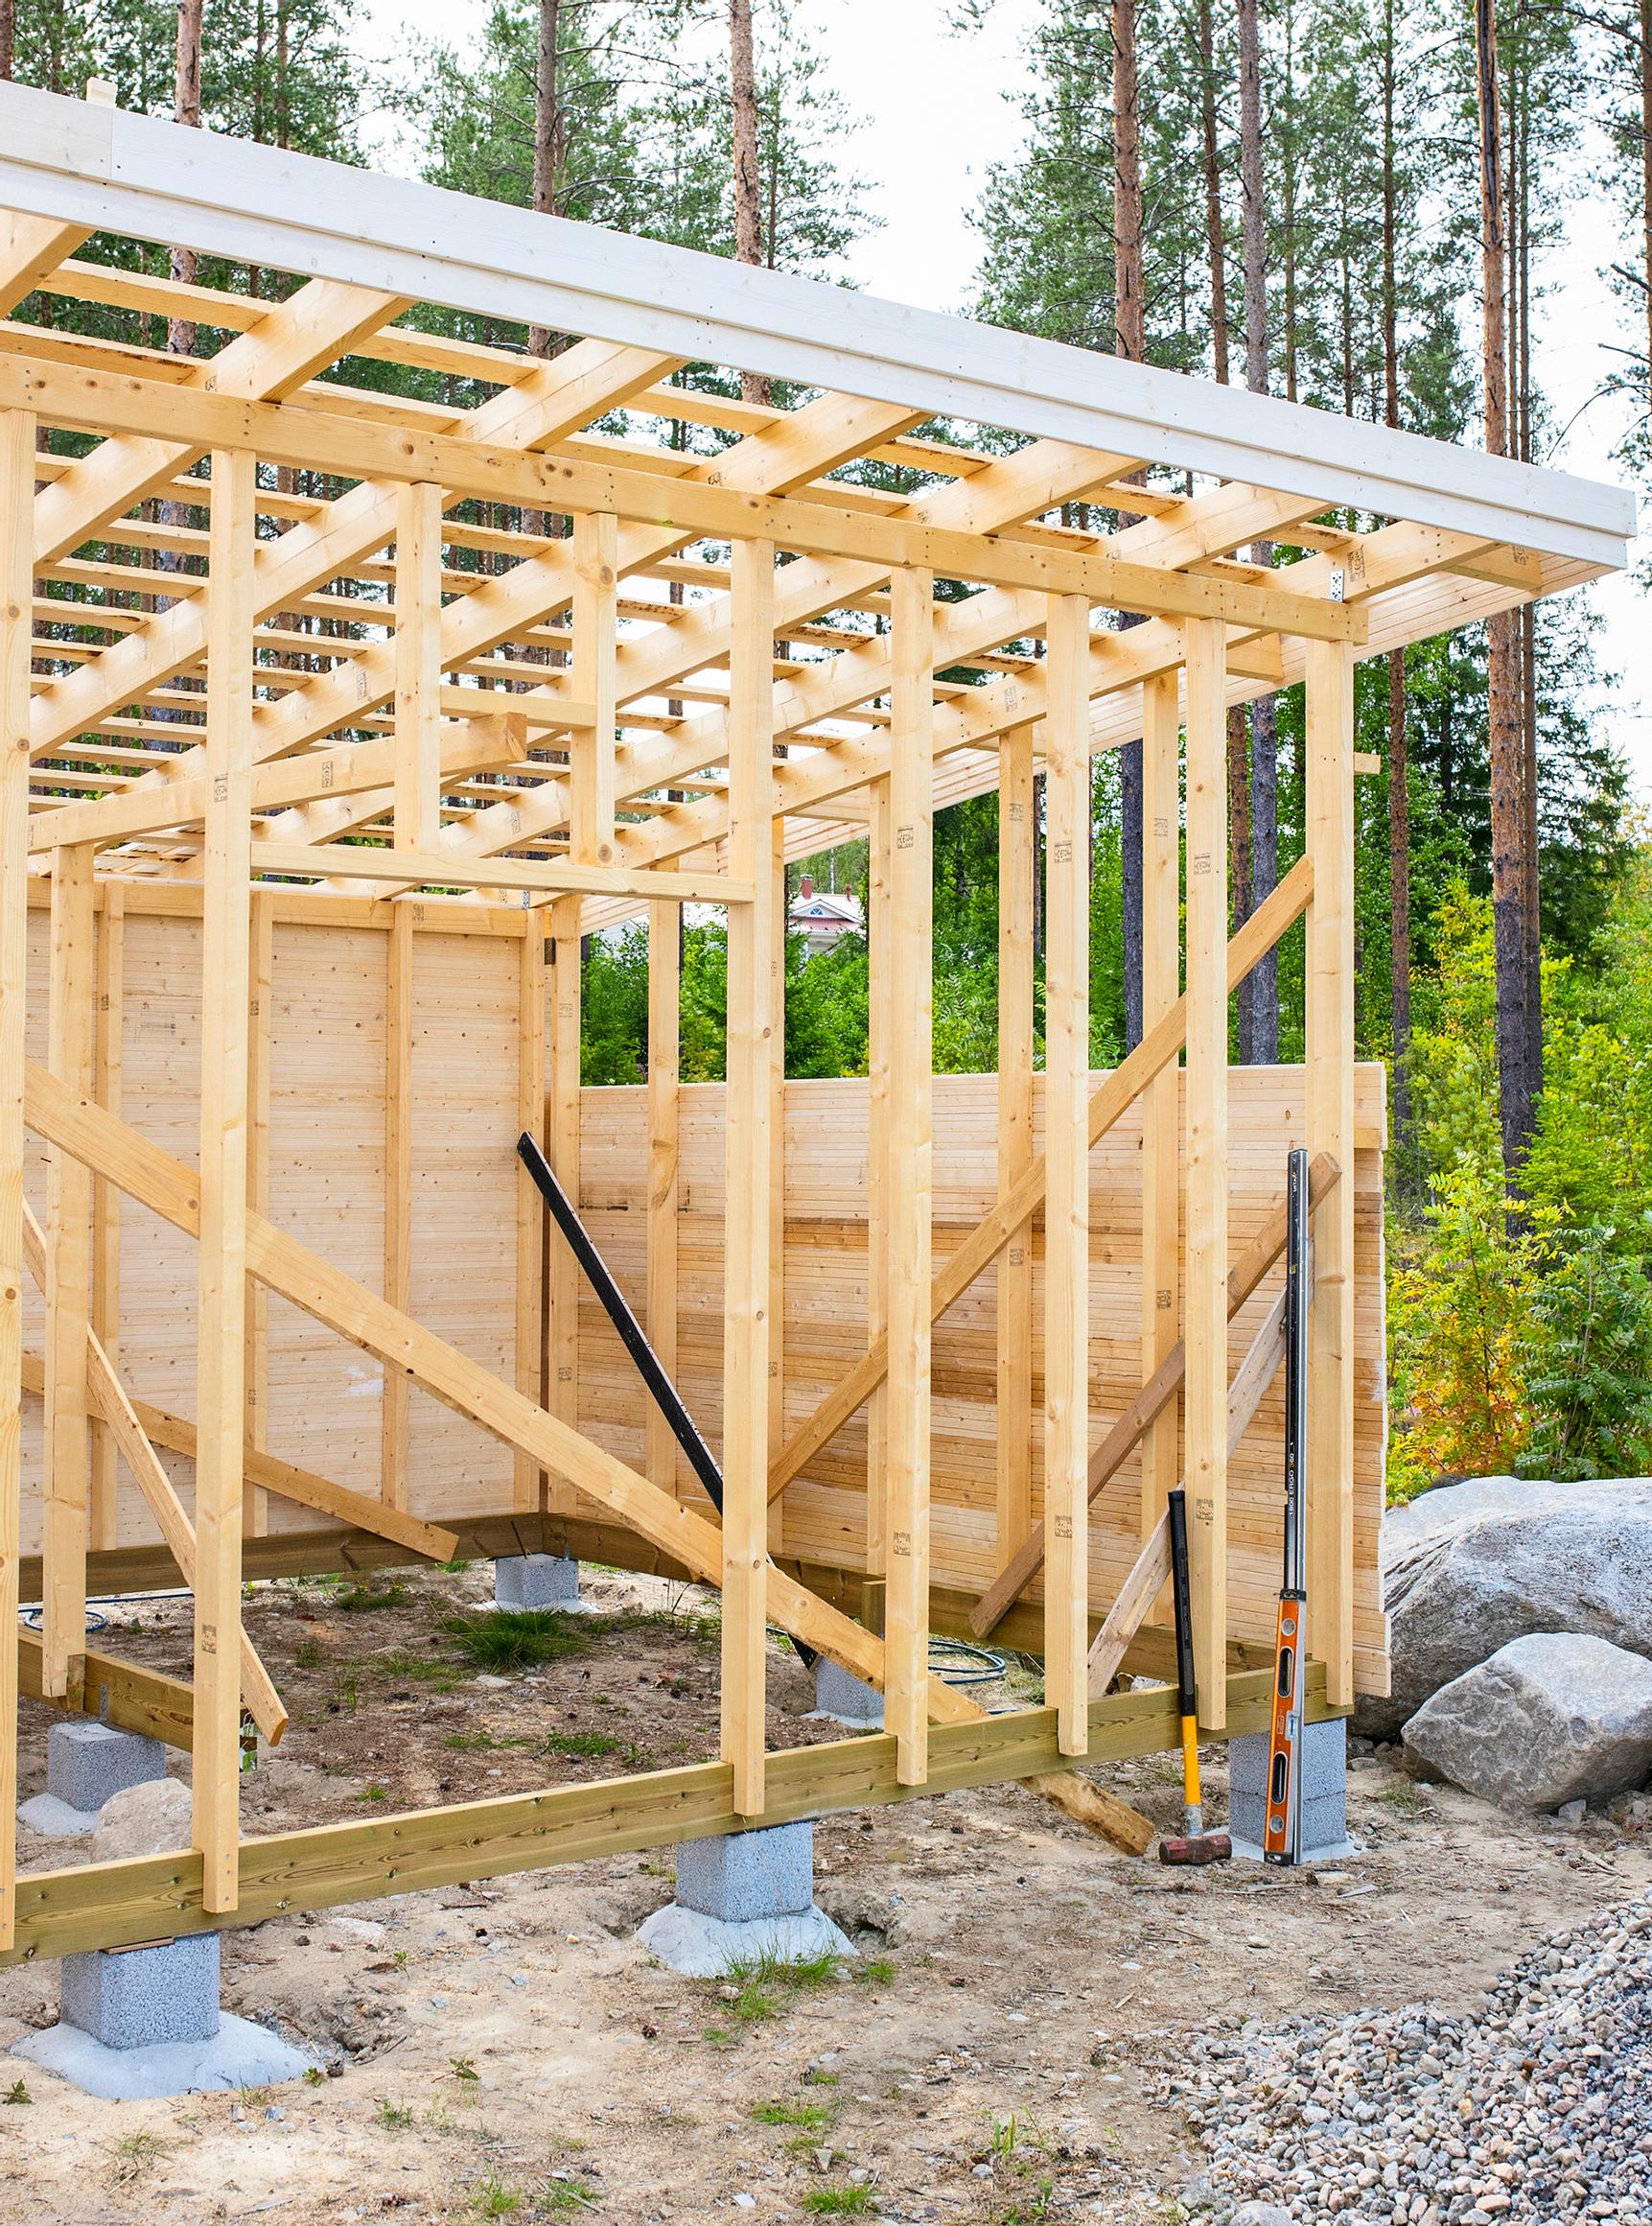
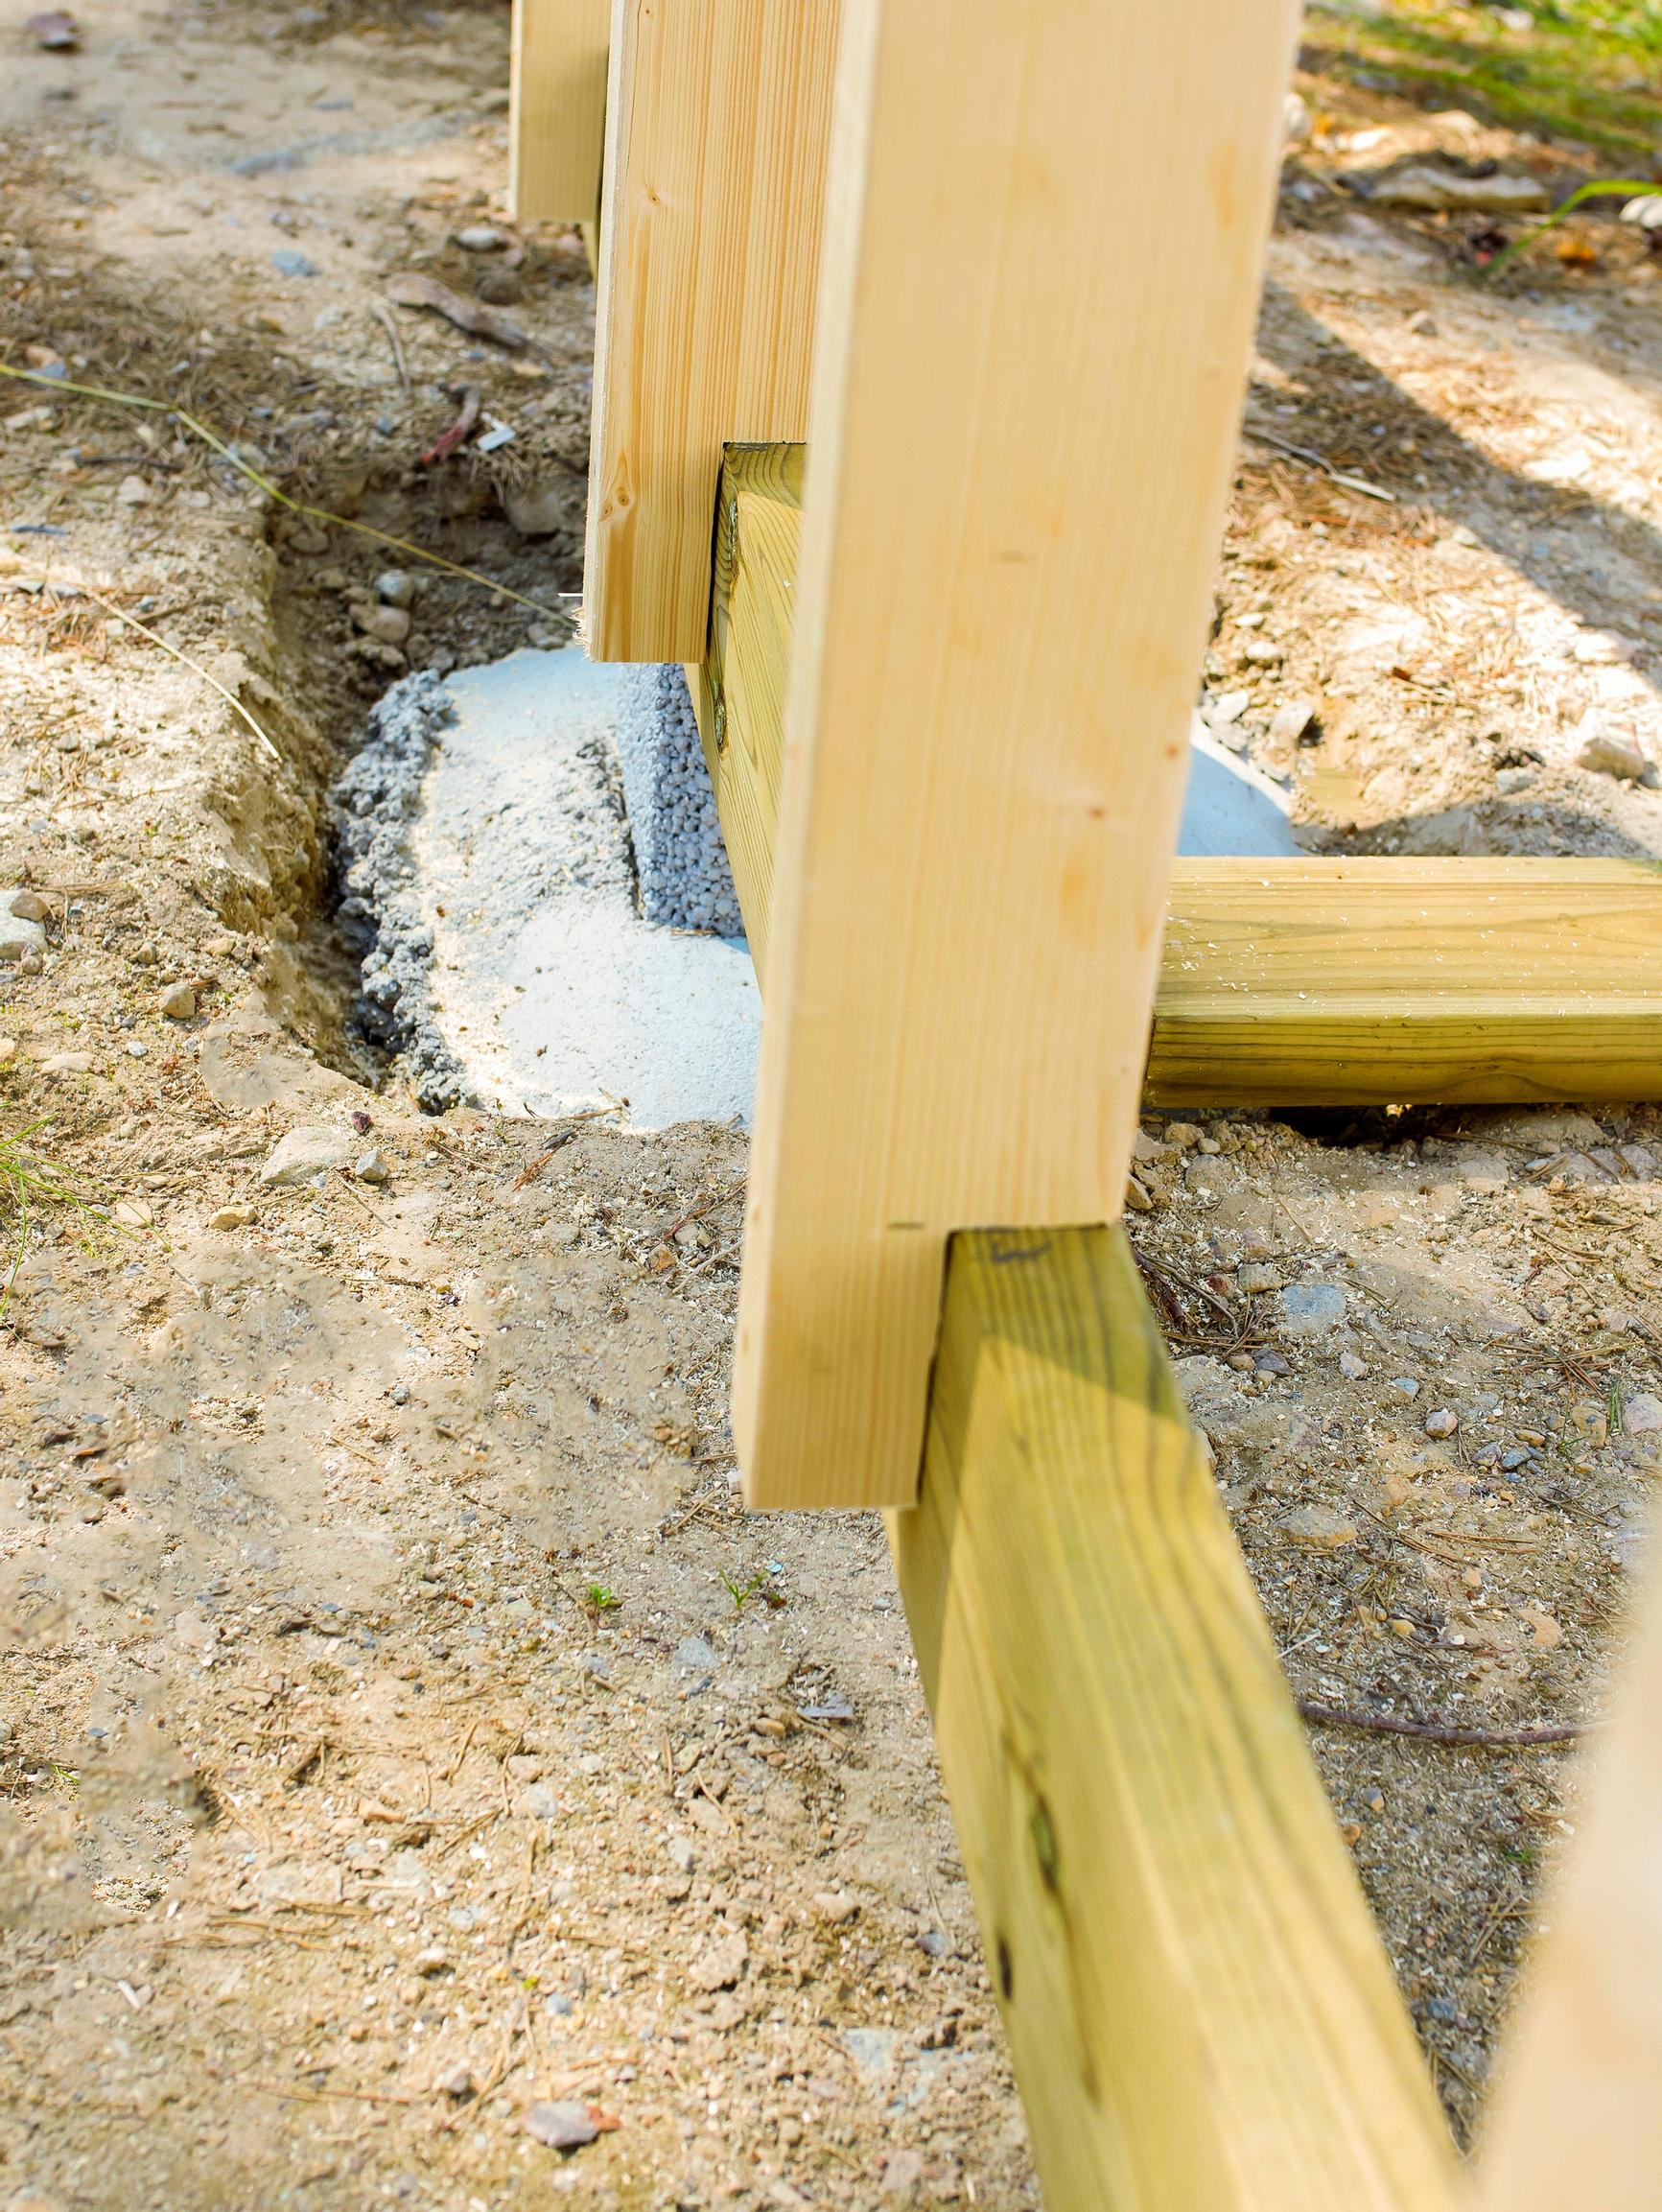
For this project, the groundwork for the woodshed is done by hand. Get shoveling and you can quickly create spots for the foundations, as detailed in the building plans. Each hole is roughly 40 x 40 cm, with a layer of gravel on the bottom. Some concrete is then poured over the gravel, and a block is set in place while the concrete is still wet. Two pieces of cut rebar are inserted through the center of the block into the wet concrete. Finally, the hole in the block is filled with concrete, and you wait two days for it to reach the necessary hardness.
Your choice of roofing material affects the construction. A metal roof calls for batten boards, while a felt roof requires a solid wooden substrate.
Finished woodshed dimensions: 5 x 3.8 m.
Woodshed—supplies:
- pillar block 200, 10 pcs
- concrete block screws
- dry concrete mix, 20 bags / 2 bags per pillar
- rebar 8 mm x 1 m, 20 pcs
- bottom plate, pressure-treated wood 48 x 148 mm: long sides 2 pcs x 5 m, short sides 2 pcs x 3.8 m
- framing timber, pine board 48 x 98 mm: front wall vertical frame 10 pcs x 2.9 m, back wall vertical frame 10 pcs x 2.3 m, side walls vertical frame 2 pcs x 2.9 m, 2 pcs x 2.8 m, 2 pcs x 2.7 m, 2 pcs x 2.6 m, 2 pcs x 2.5 m, 2 pcs x 2.4 m, 2 pcs x 2.3 m
- roof trusses 48 x 148 mm pine board: 9 pcs x 5.4 m
- batten boards 25 x 100 mm: 18 pcs x 5.6 m
- eave, corner, and trim boards: pine 20 x 120 mm, 64 m
- paneling 20 x 120 mm, 450 m
- exterior cladding nails 2.1 x 50 mm
- batten nails 2.9 x 75 mm
- corner braces 90 x 90 mm, 28 pcs—attach with anchor nails
- a white shade of matte paint for the wall paint
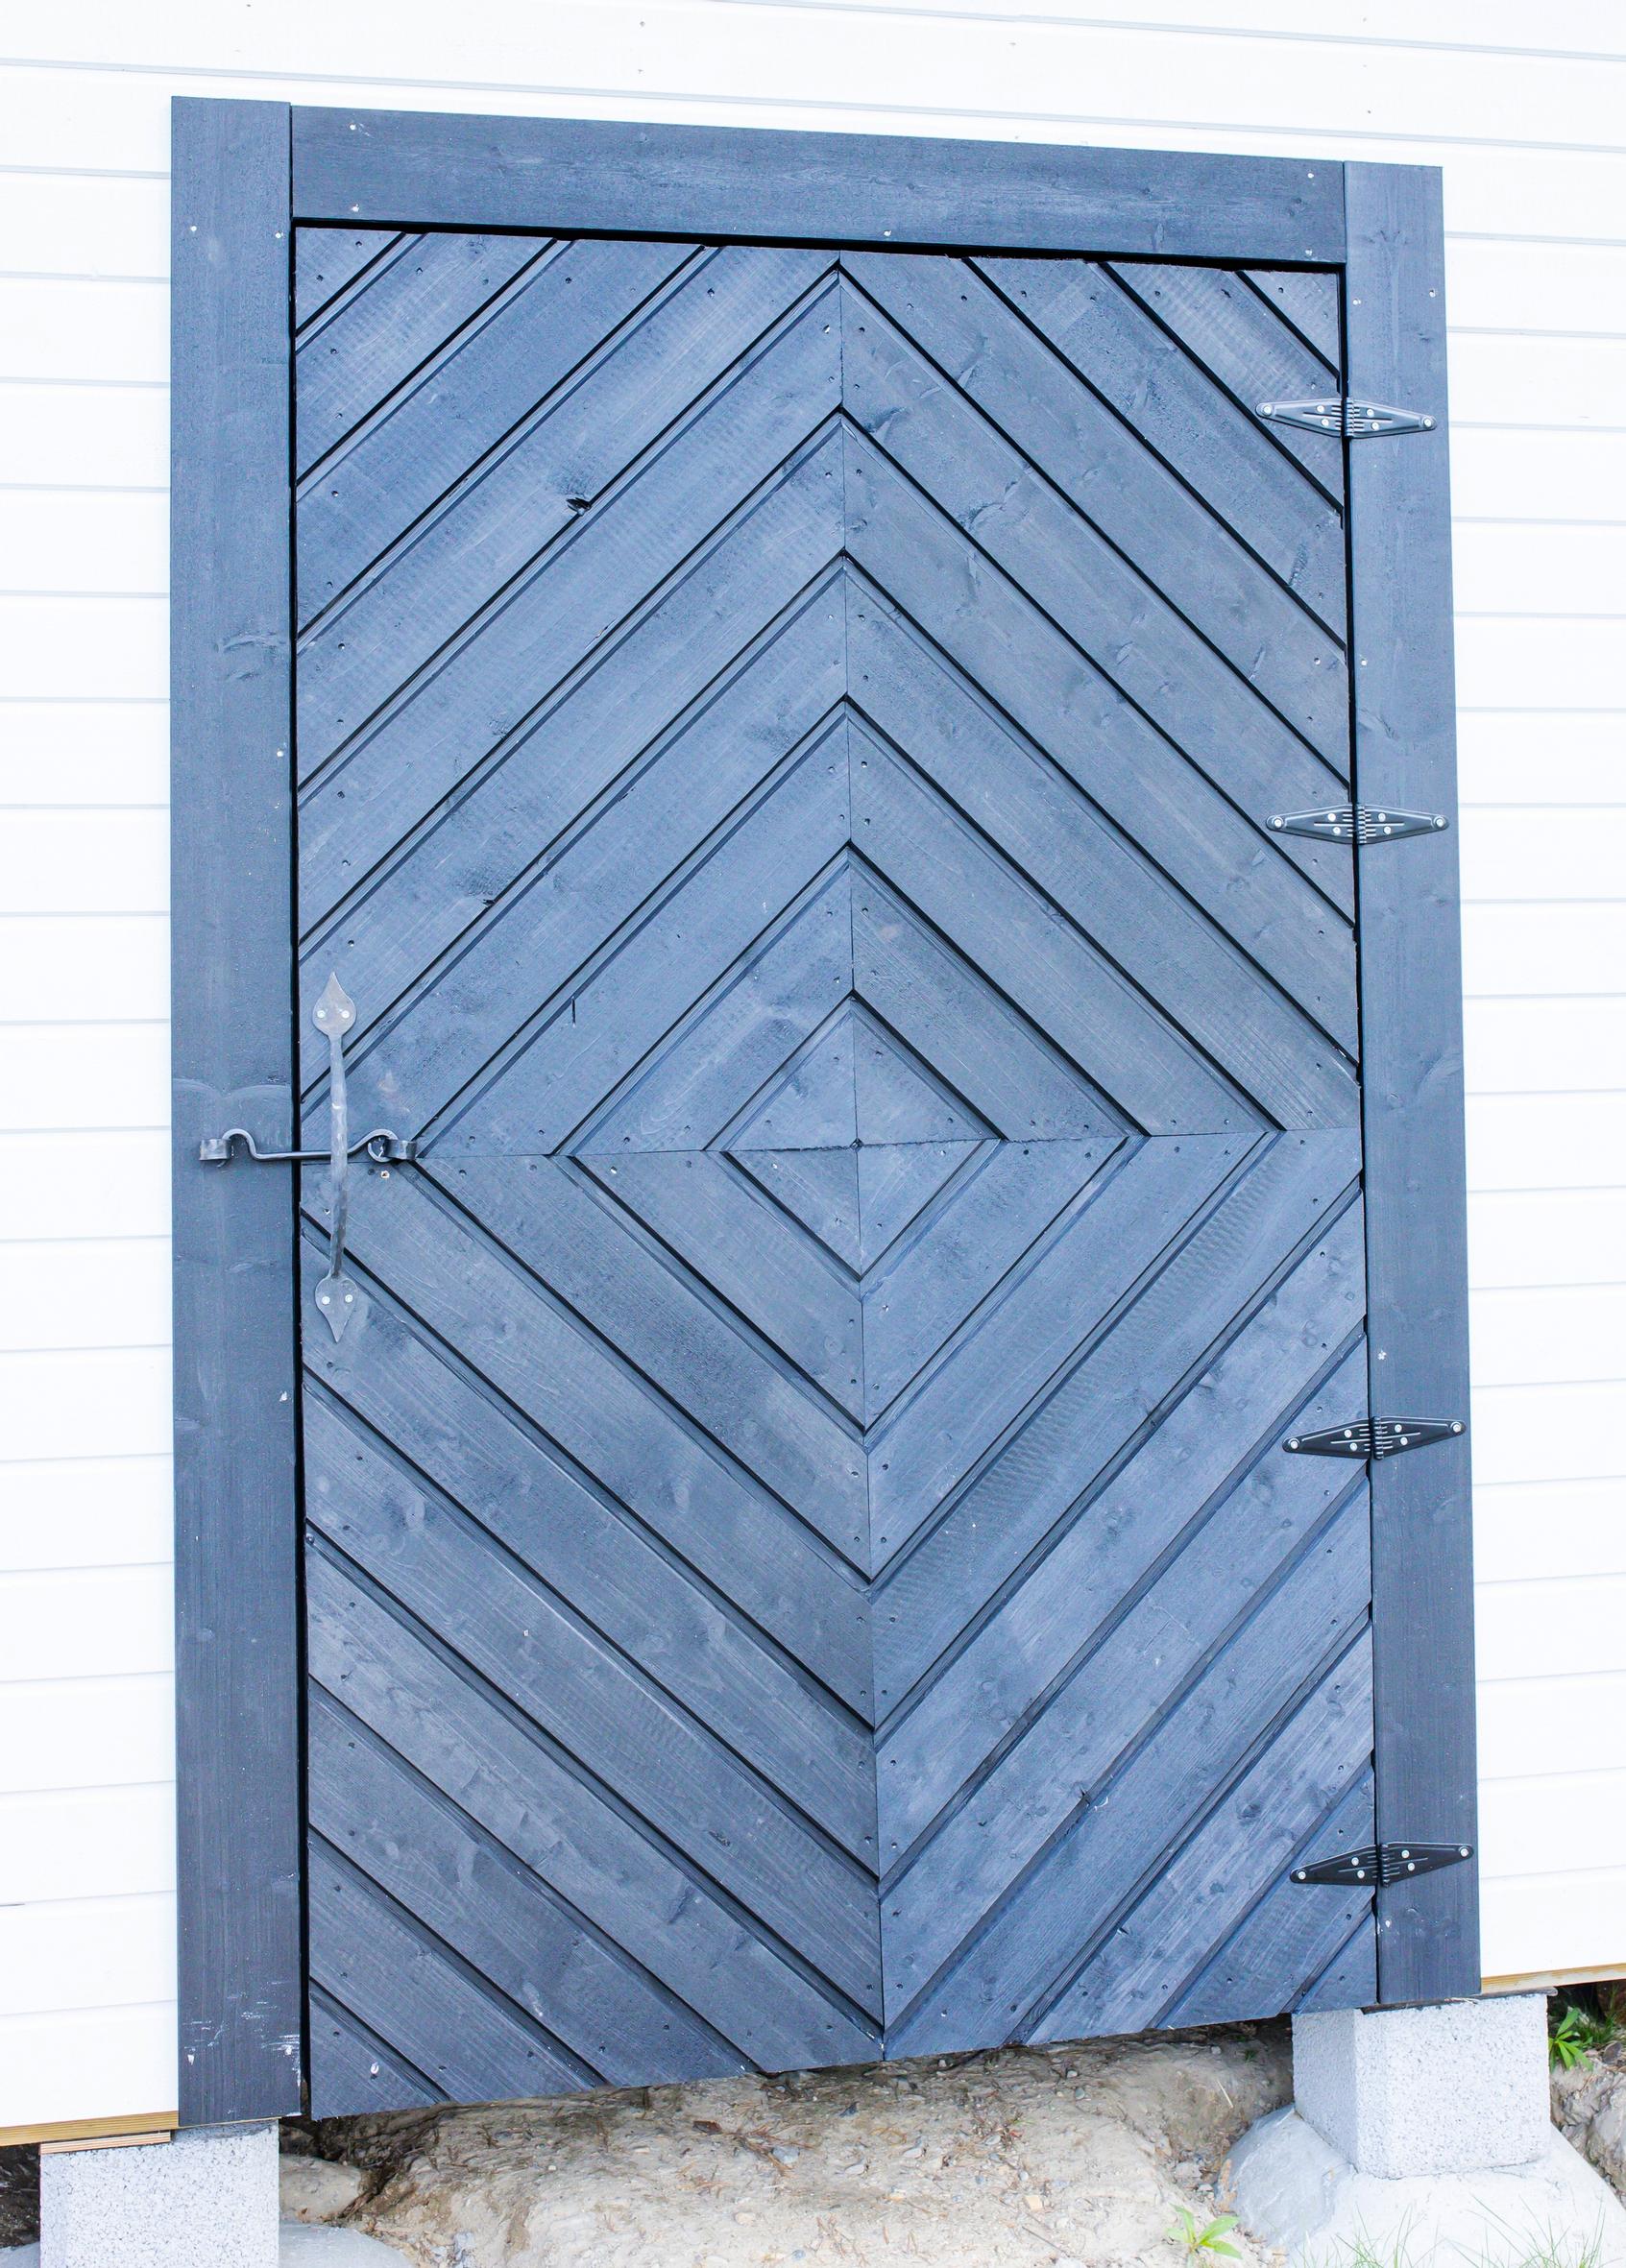
- door: frame pine board 48 x 98 mm, 11 m; paneling 20 x 120 mm, 17 m; hinges 4 pcs; handle; latch; a black shade of matte paint for the door
Tools:
- shovel
- wheelbarrow
- string line
- mixer, buckets, scoop
- cordless drill
- miter saw
- jigsaw
- hammer
- power driver
- nail gun
- try square
- pencil and measuring tape
- ladder.

A skilled builder typically spends this much time building a woodshed:
- Foundations: 2 days, 8 h/day (depends on the building site).
- Framework and paneling: 3 days, 8 h/day.
- Roof structures: 2 days, 8 h/day.
- Painting: 1 day, 8 h/day.
- Door, corner boards, possible finishing touches: 1 day, 8 h/day.
How to build the woodshed

1. Cut the pressure-treated boards for the bottom plates that sit on top of the foundation blocks. Fasten them to the blocks with angle brackets and secure them to each other at the joints.

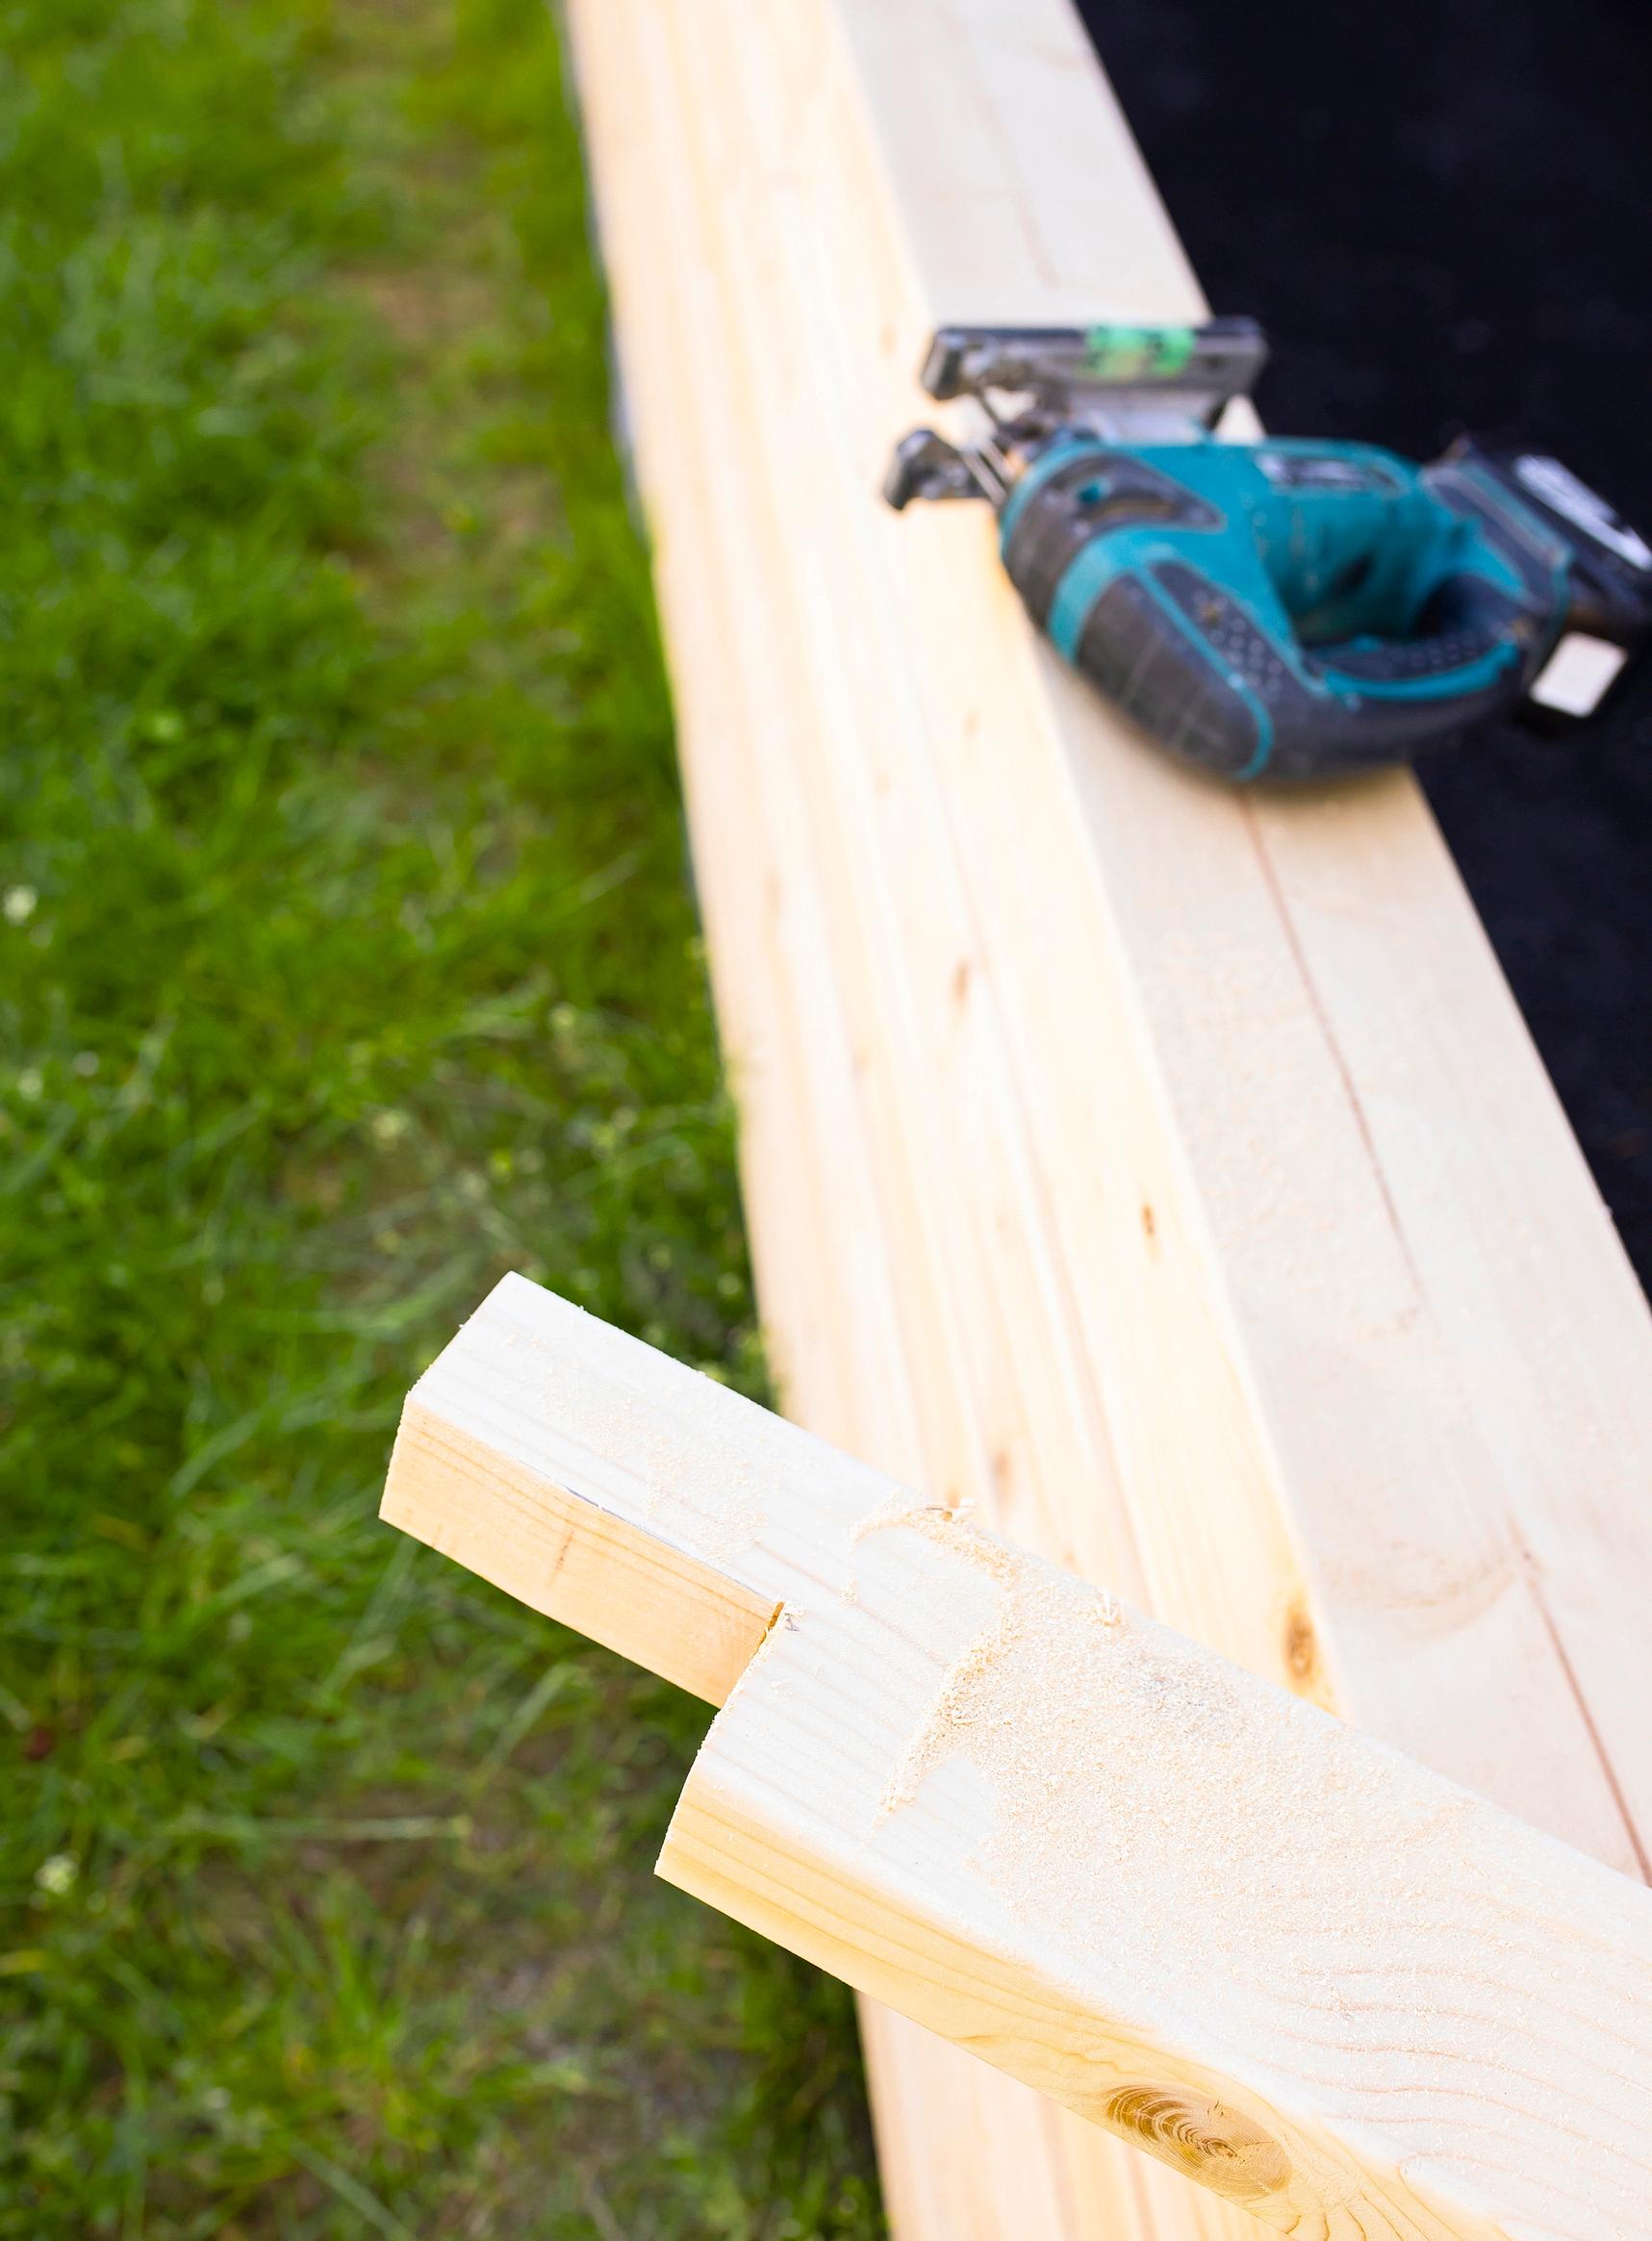
2. Notch the top and bottom of the vertical framing boards for attachment. Nail these boards to the bottom plates.

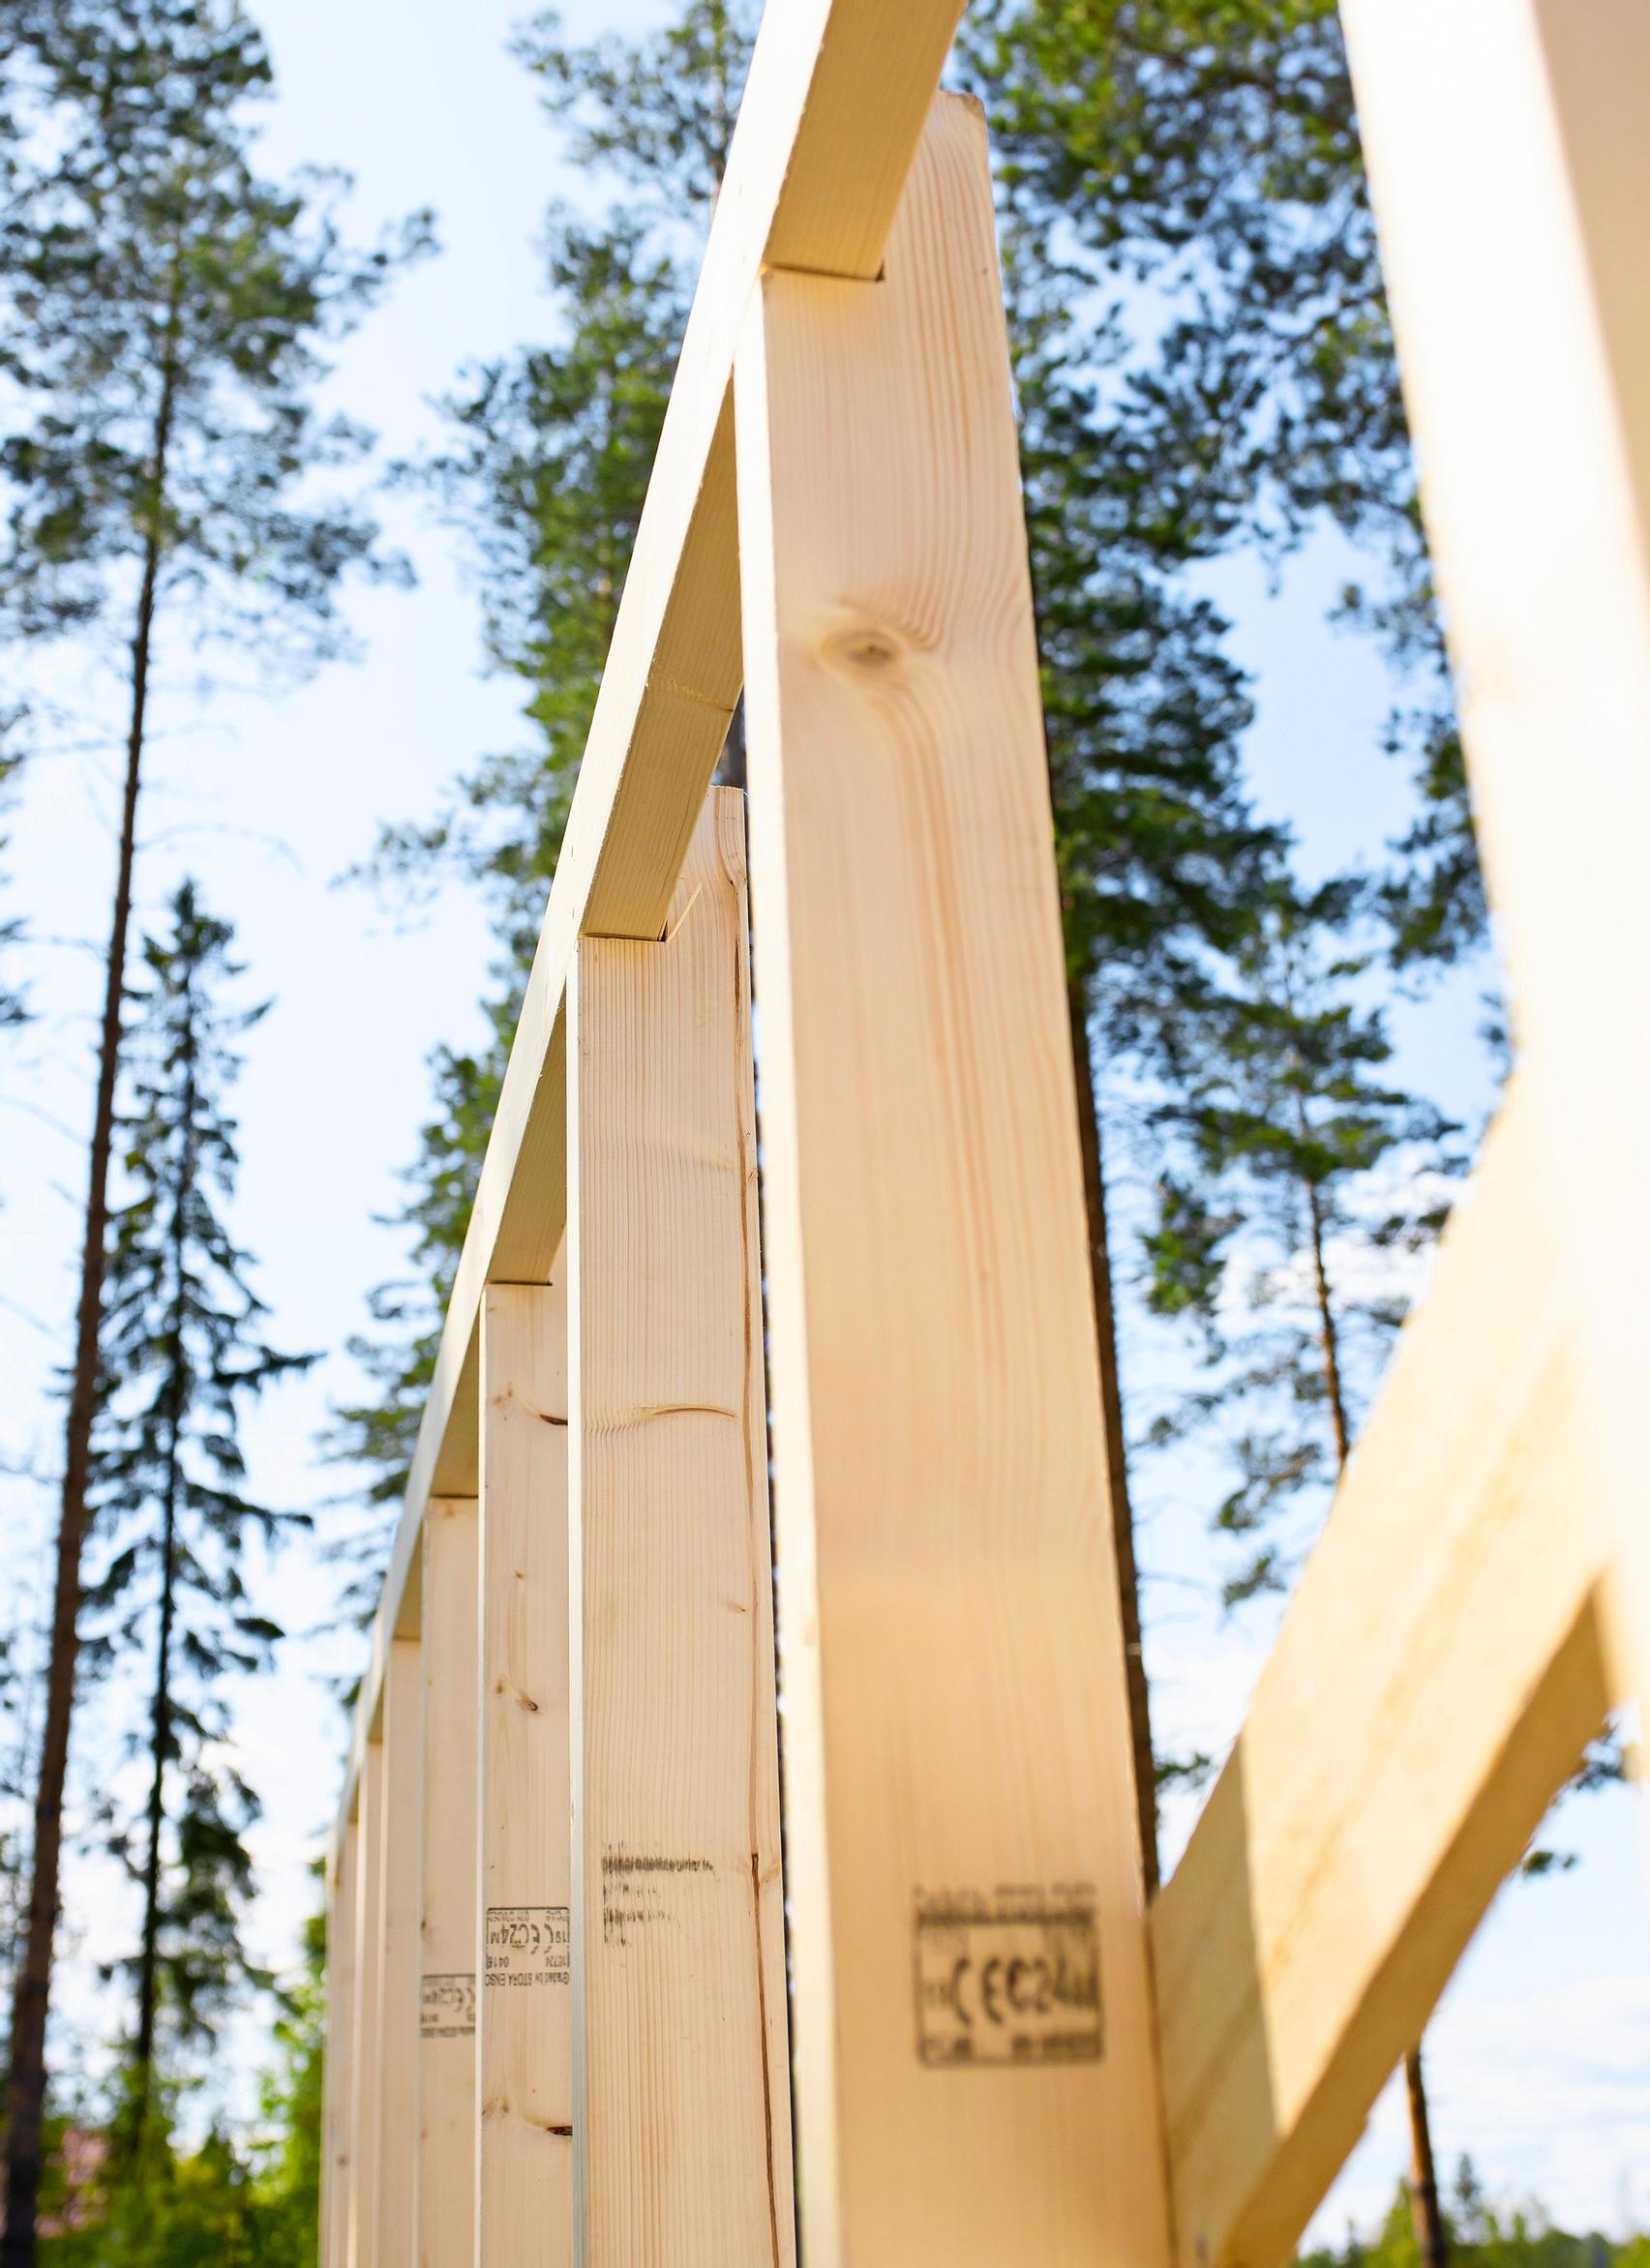
3. Secure the notched frame posts by nailing them to the top plates. Nail the roof trusses to the top plates with angle brackets.


4. Nail the battens according to the roofing manufacturer’s instructions. Cut the eave boards to size and install them.

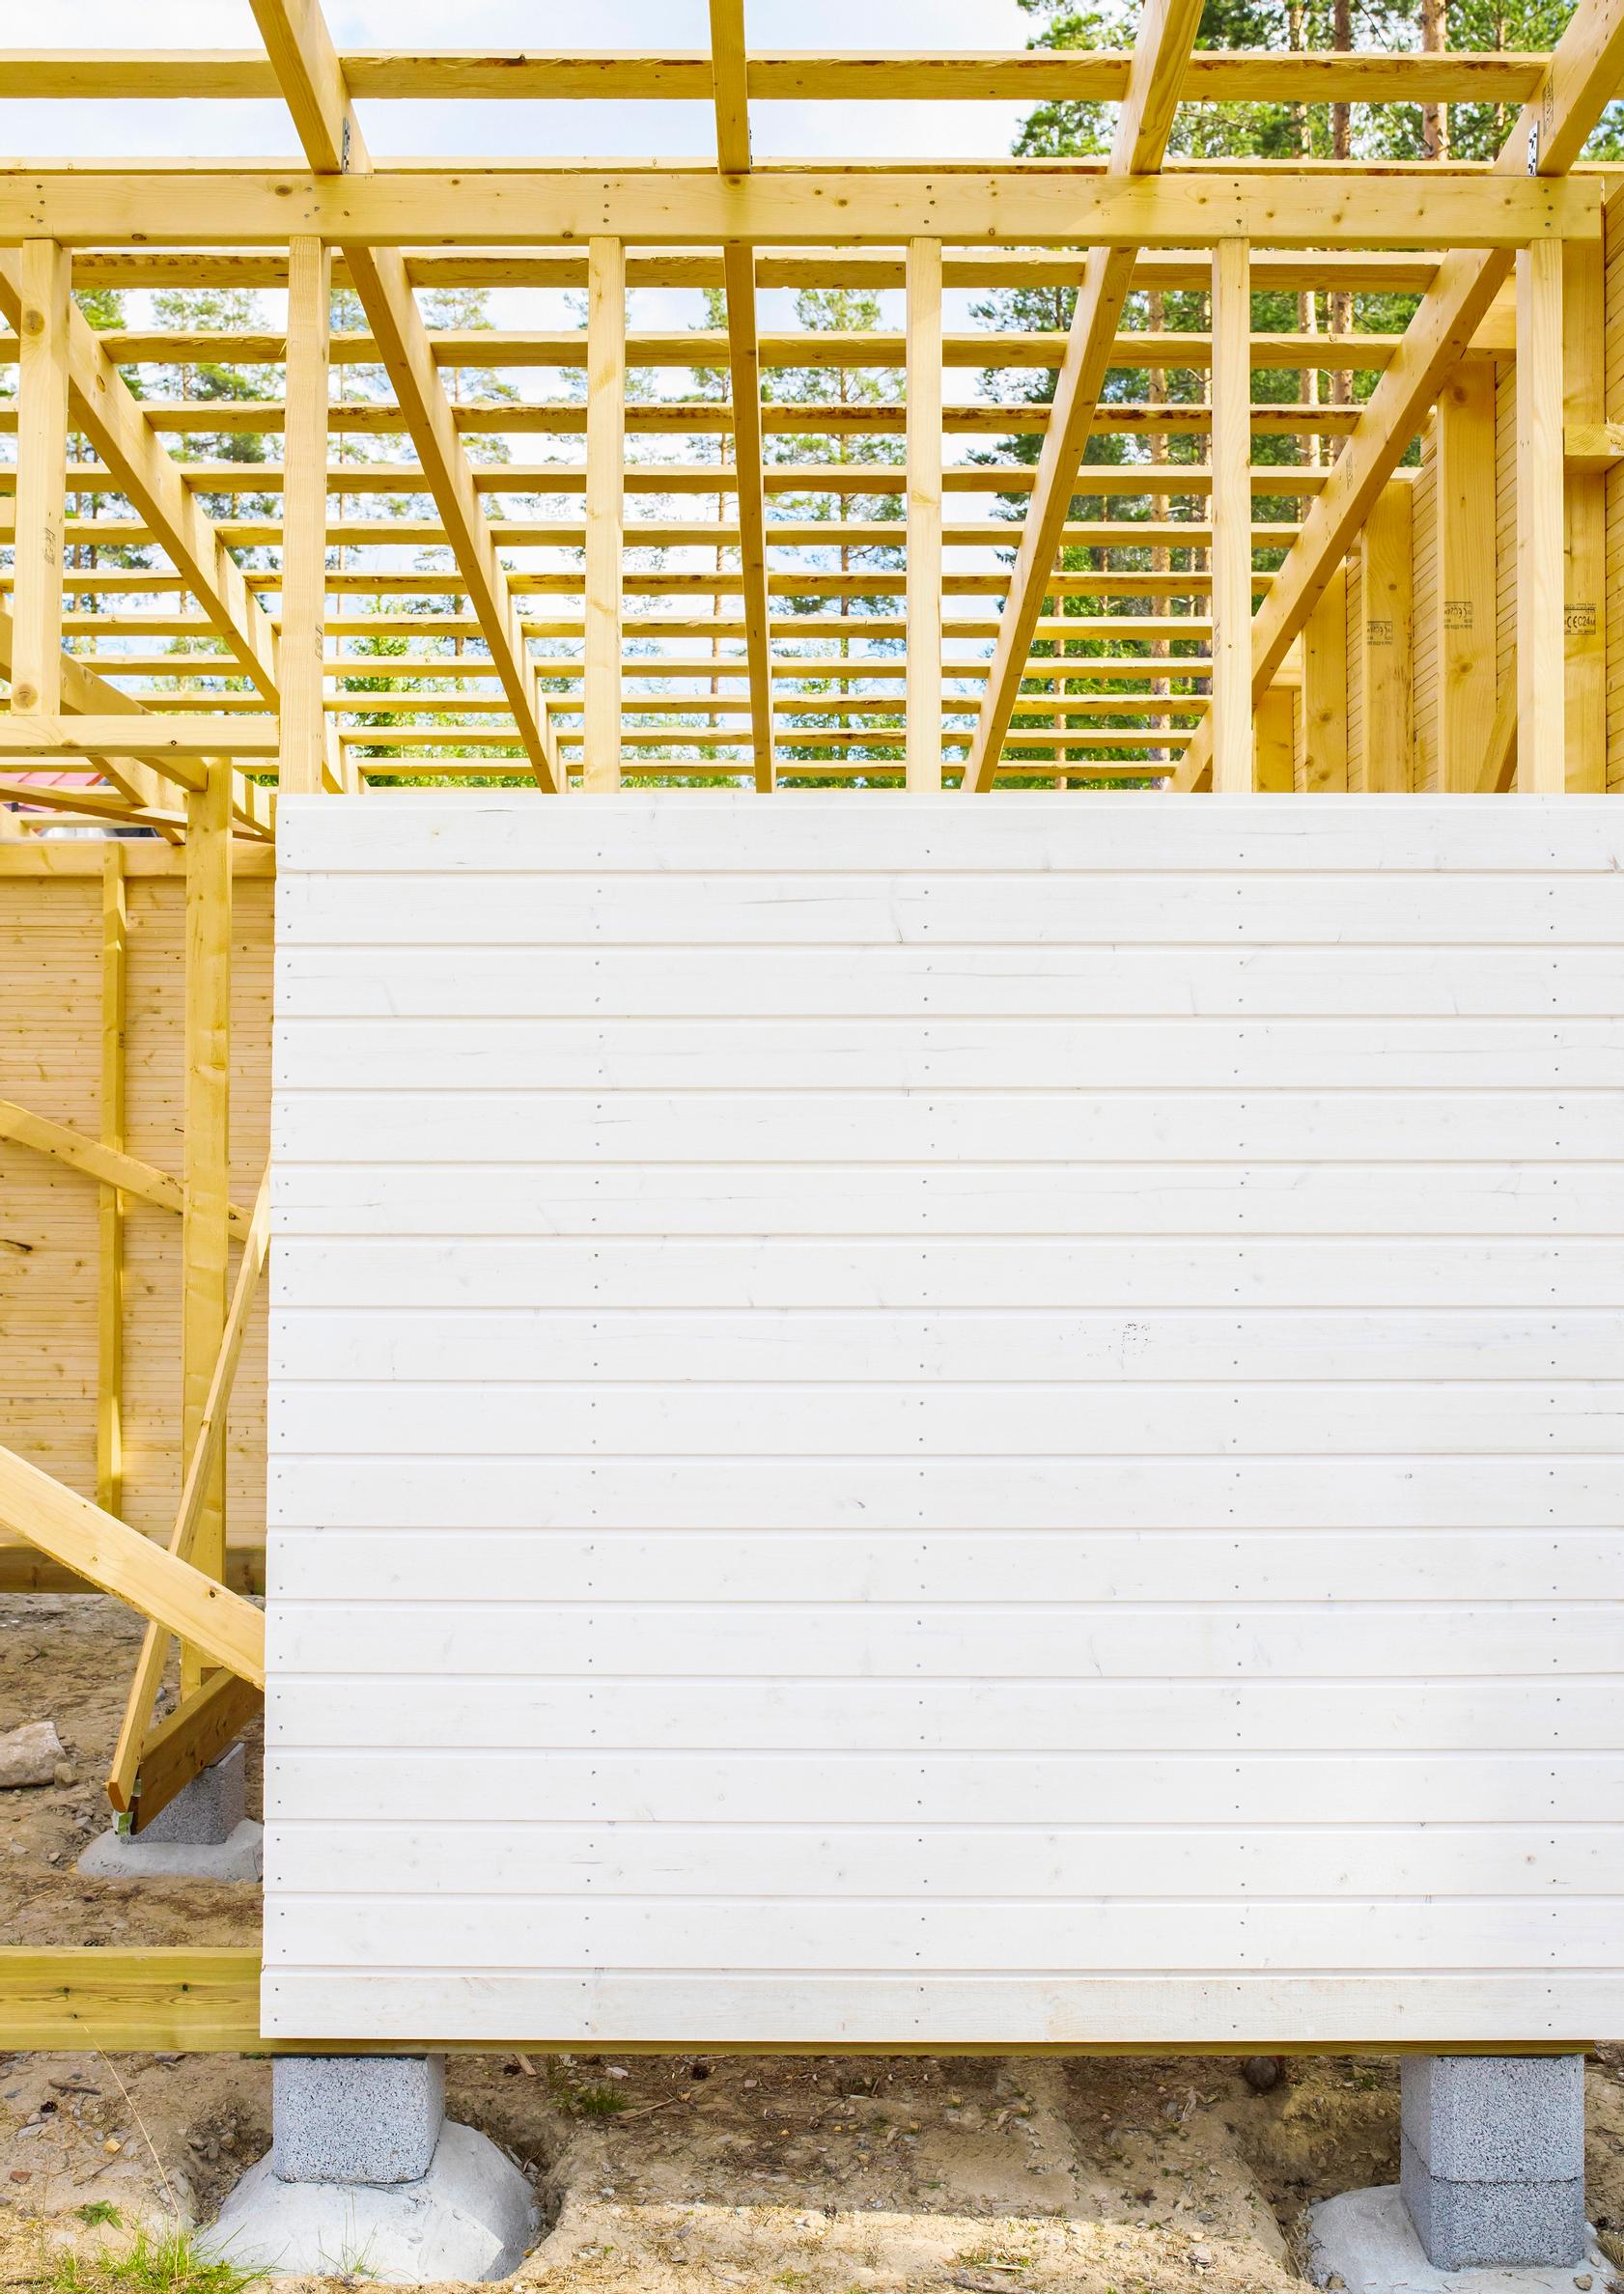
5. Cut the panels to the correct length. Start paneling from the bottom and work your way up. Finish the woodshed with corner boards.

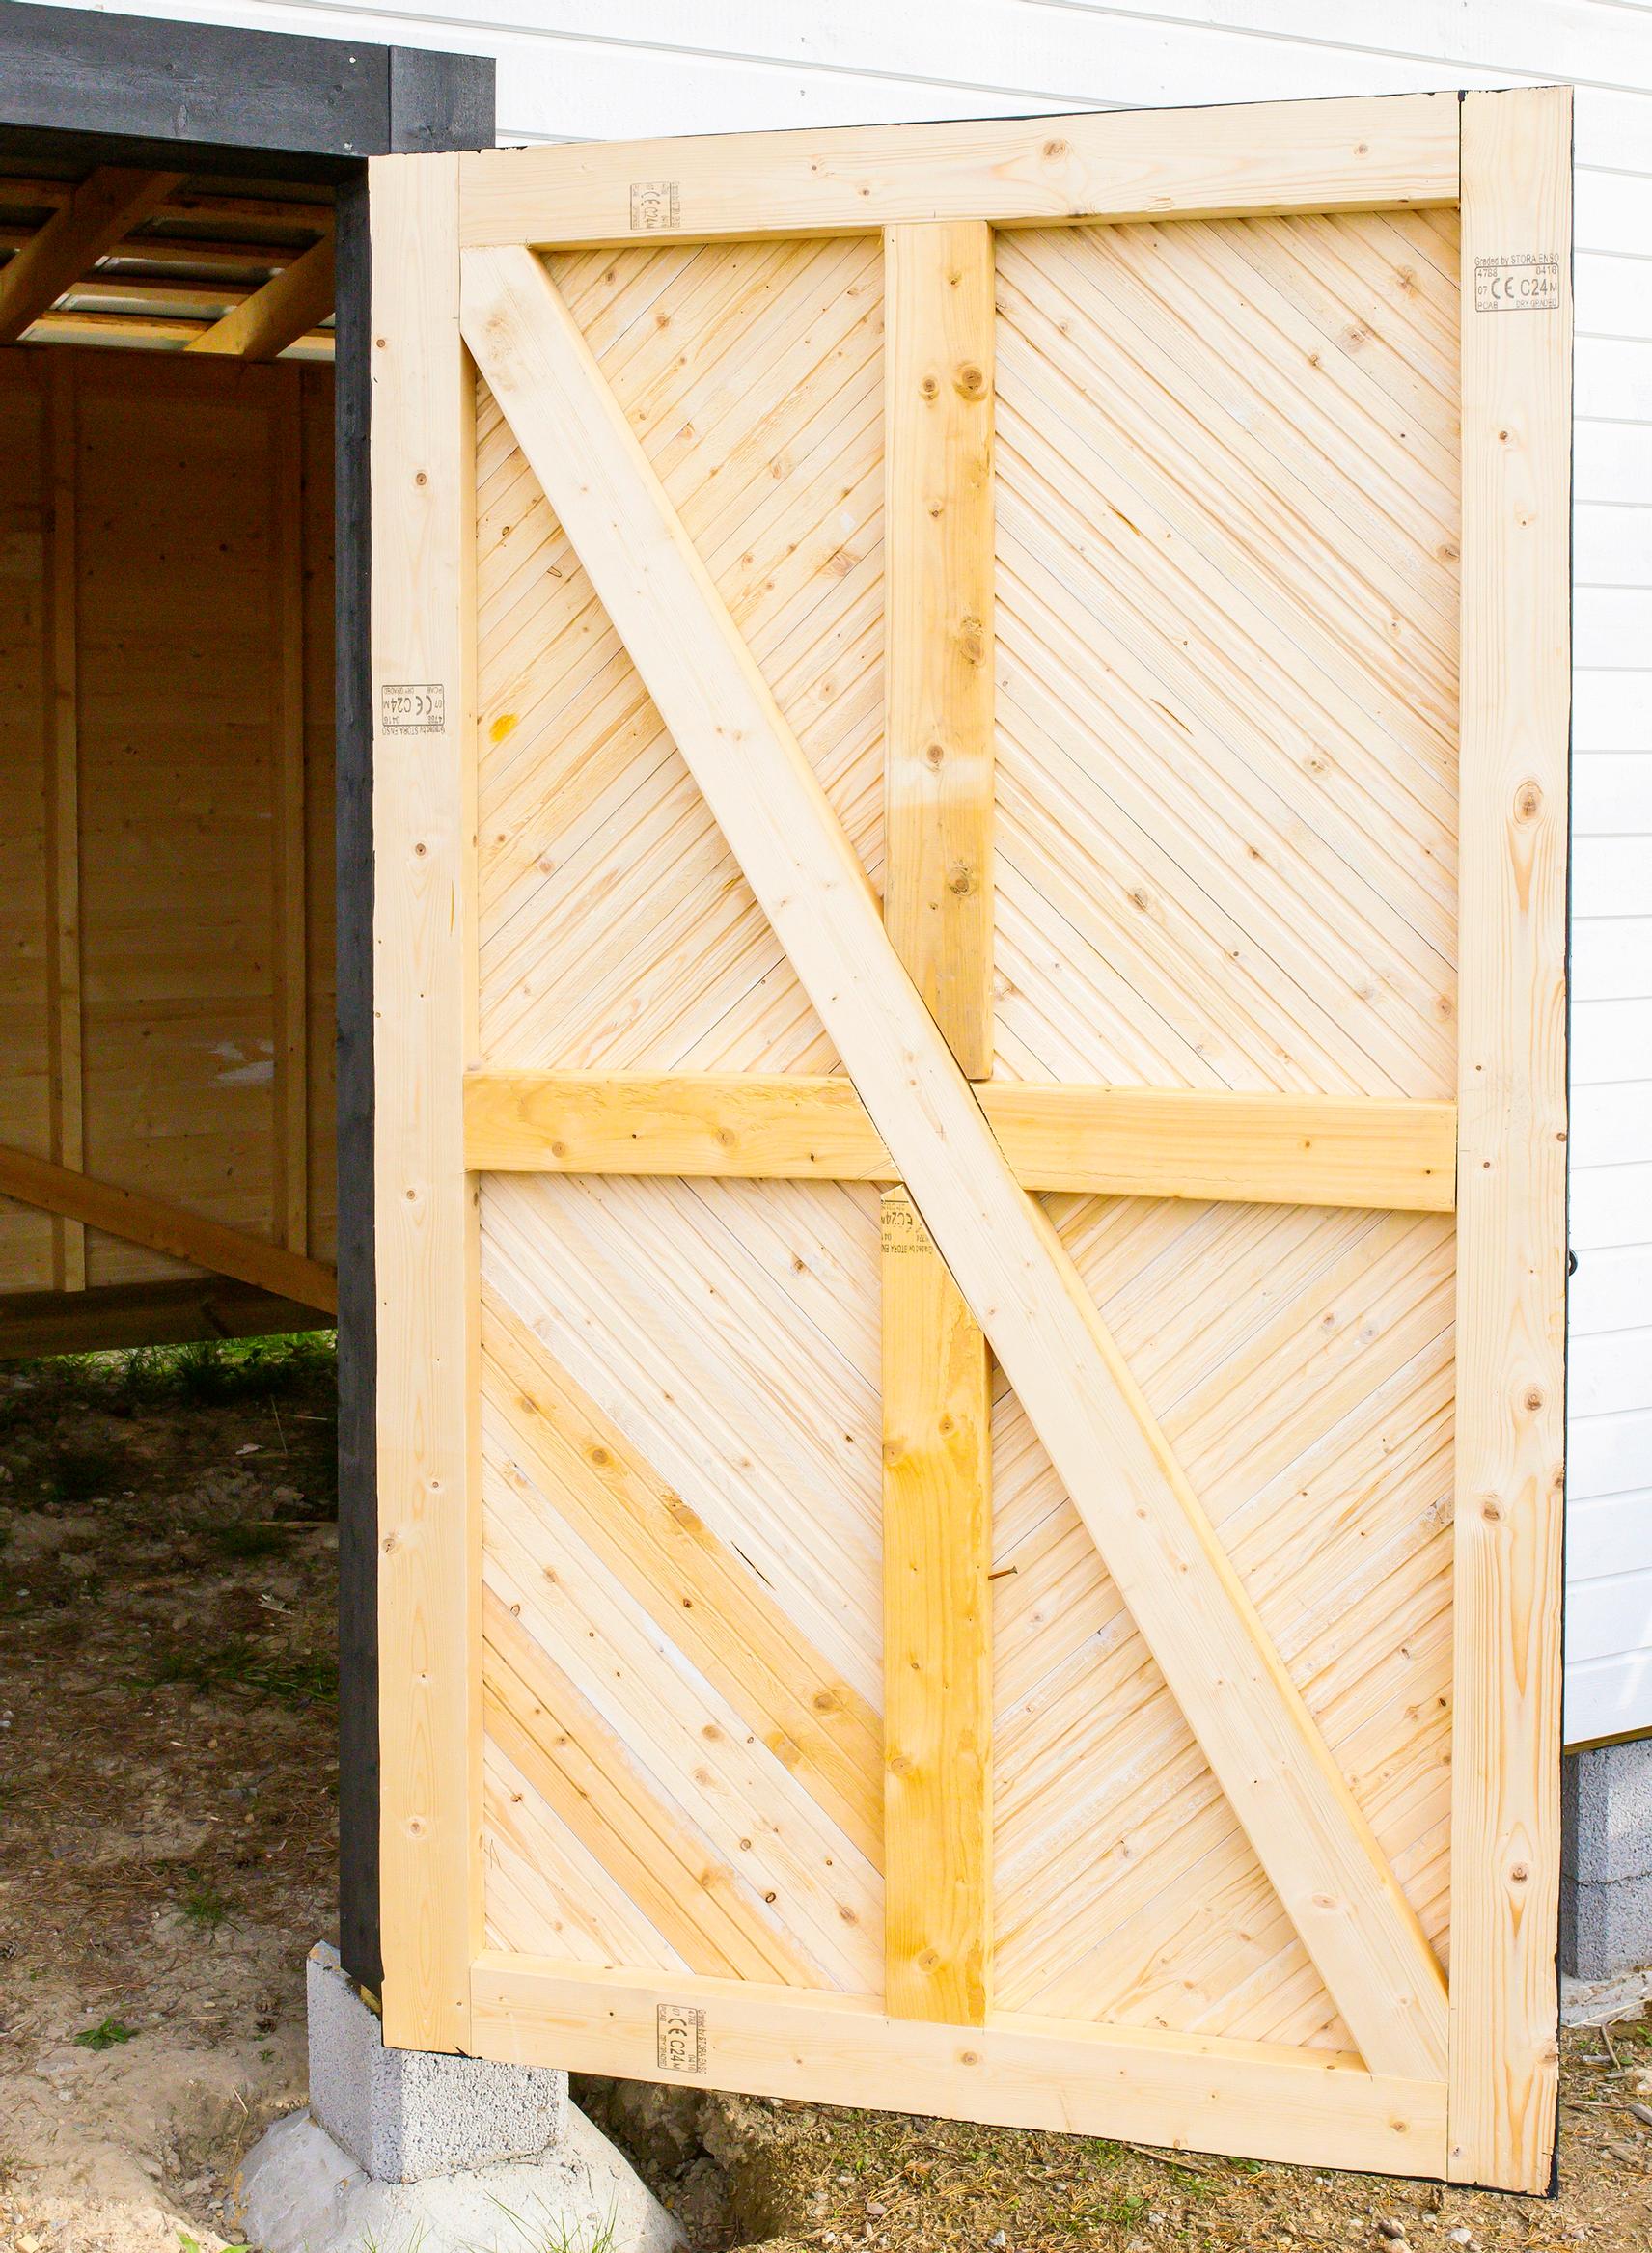
6. Build a frame for the door with 48 x 98 mm pine boards. Begin the diamond pattern paneling in the middle of the door and work evenly toward the edges.