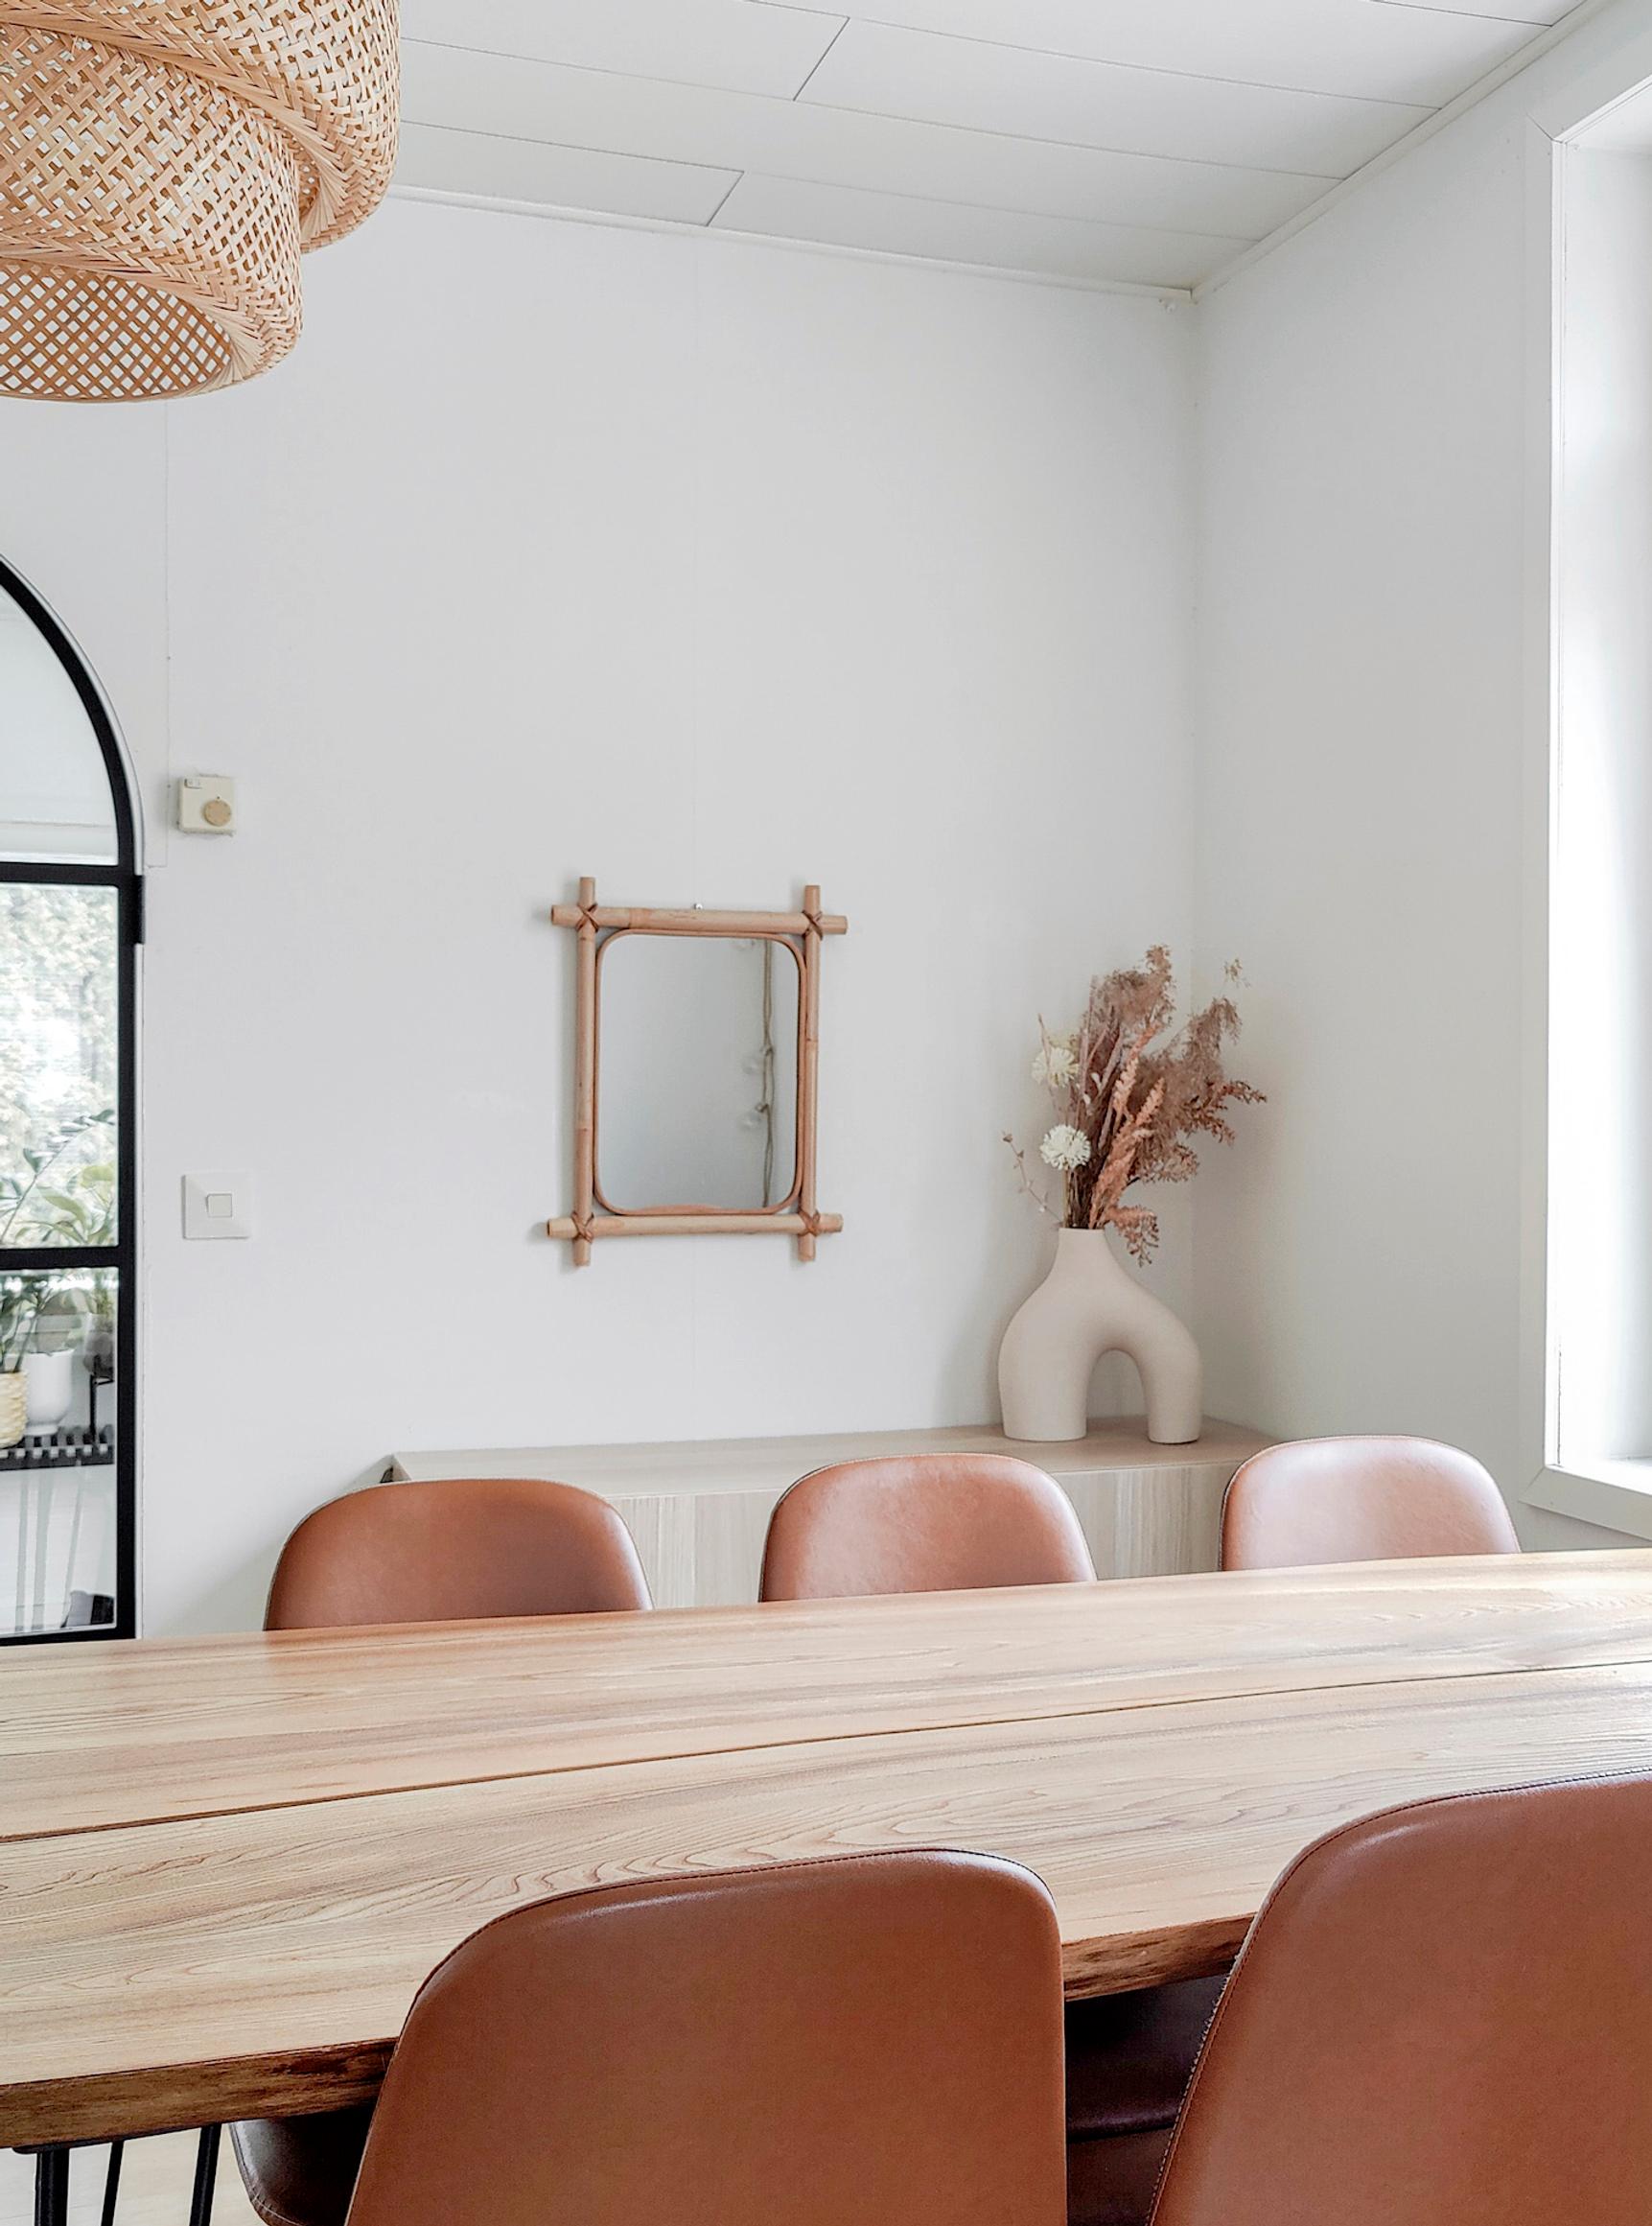
Make the most of your space with a stylish wall-mounted shelf—build it yourself with our guide!
A wall-mounted shelving unit is a practical and beautiful storage solution for various rooms in your home. You can build it as an open cubby shelf or equip it with doors or pull-out drawers. Sturdy solid wood boards are an excellent choice for the material.
Supplies for the wall-mounted shelving unit:
- Board material
- Osmo Color spruce wax
- Clear Osmo Color matte oil wax
- Lint-free application cloth
- P180 and P320 sandpaper
- Protective material and protective gloves
- Screws for mounting the shelf to the wall
- (If necessary, screws and butt hinges for the doors)
- Crosscut and miter saw
- Hearing protection
- Pencil
- Carpenter’s square
- Jigsaw
- Clamp
- Tape measure
- Cordless driver
Instructions for the wall-mounted shelving unit:

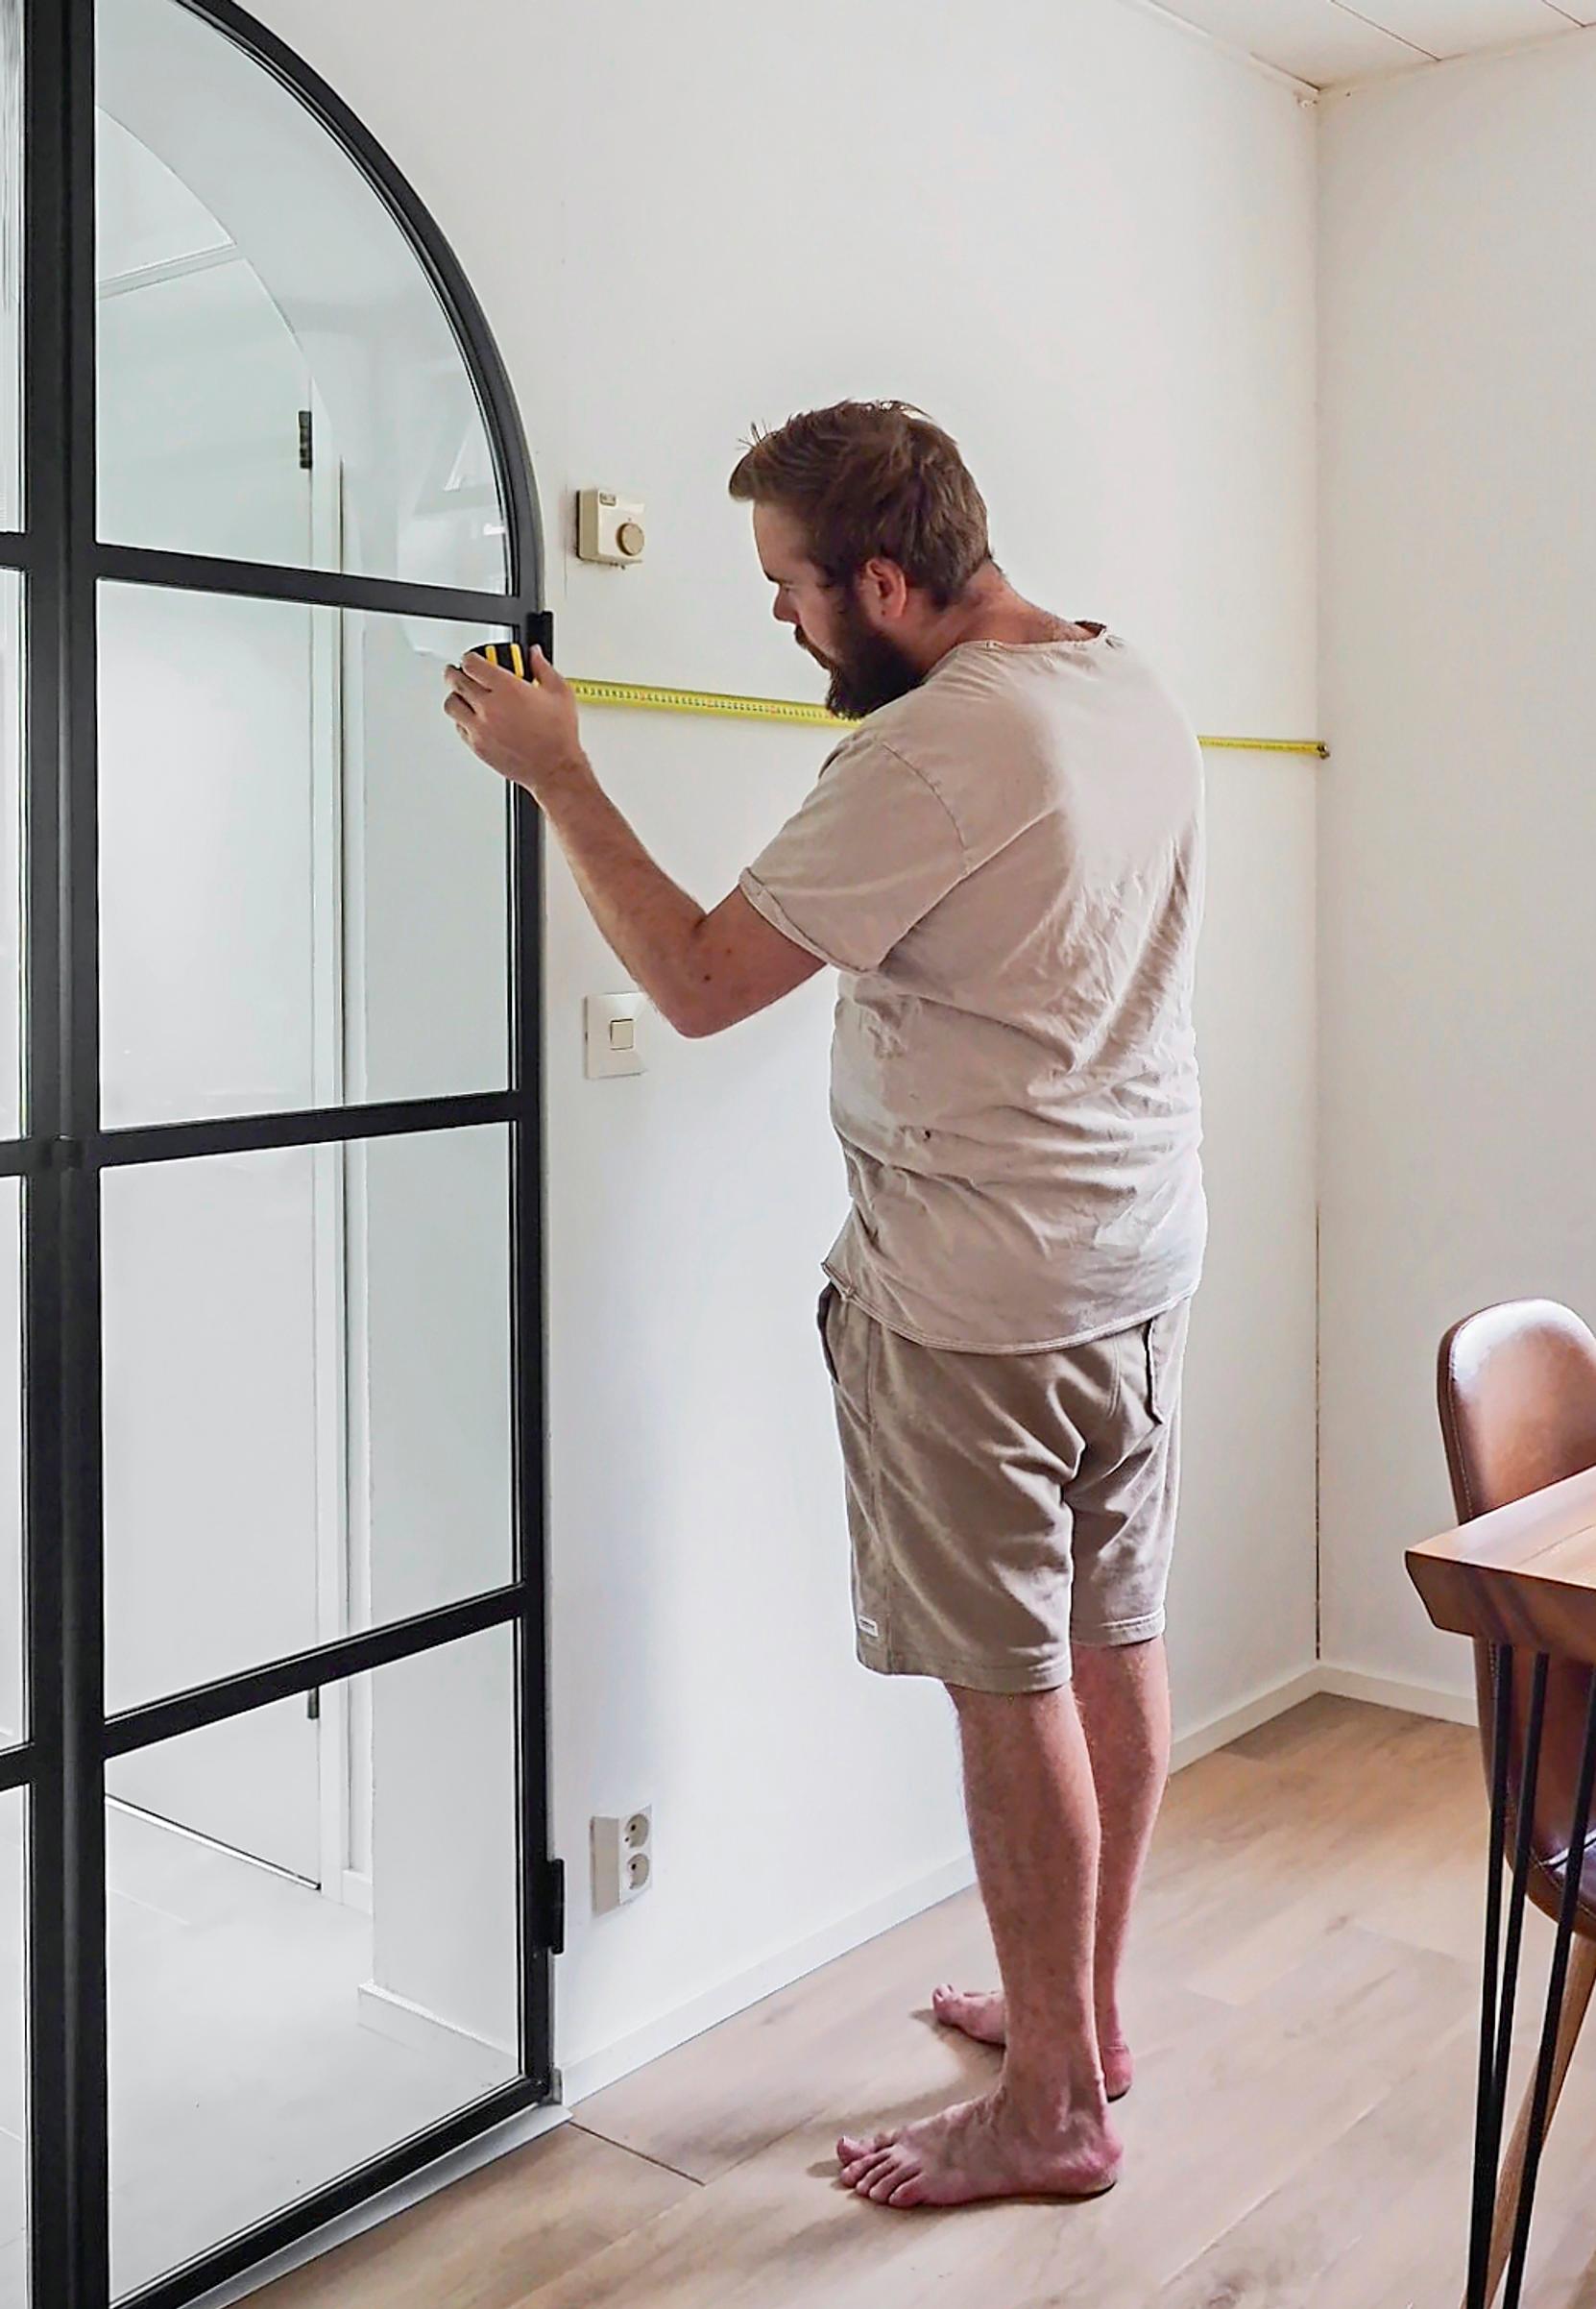
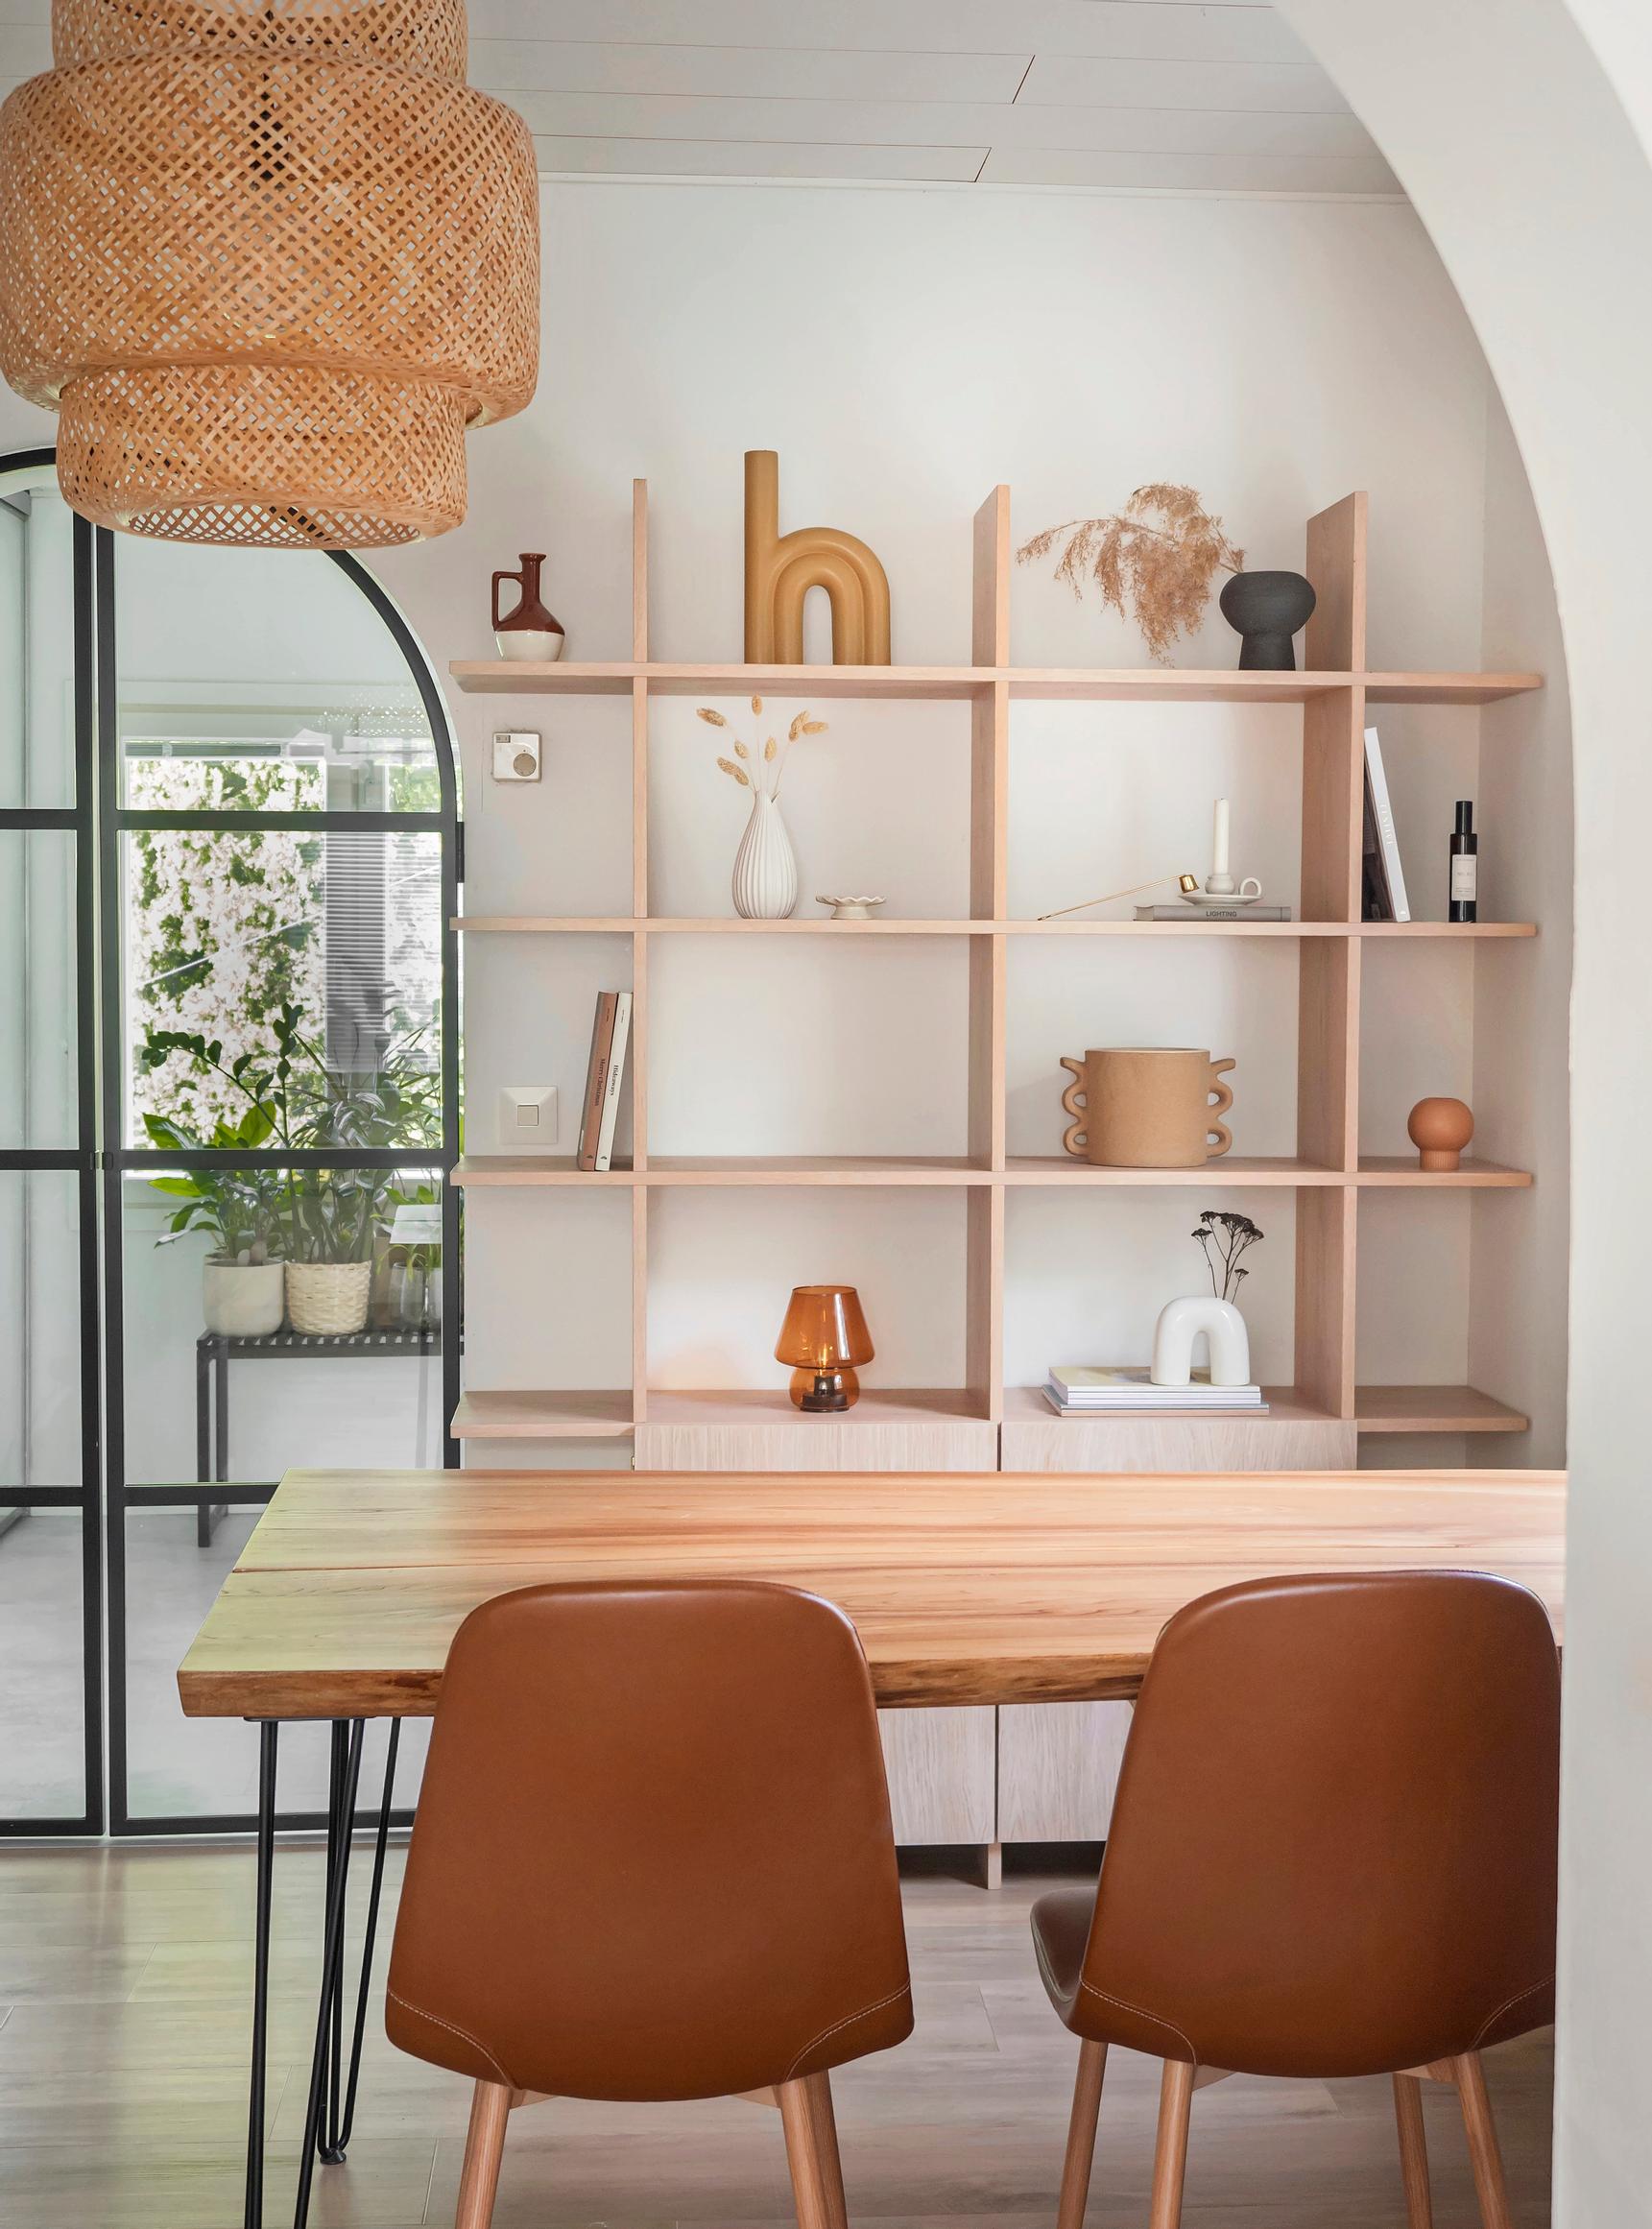
1. Start by measuring the area where you’ll install the shelf. Decide how many vertical and horizontal boards you want, and determine the spacing between them. Consider whether you prefer uniform openings or varied sizes.
Example shelving unit dimensions:
- Height 200 cm, width 153 cm, depth 30 cm, and 48 cm × 33 cm openings.
- The overhangs on the sides and top measure 25 cm, and the board thickness is 2 cm.


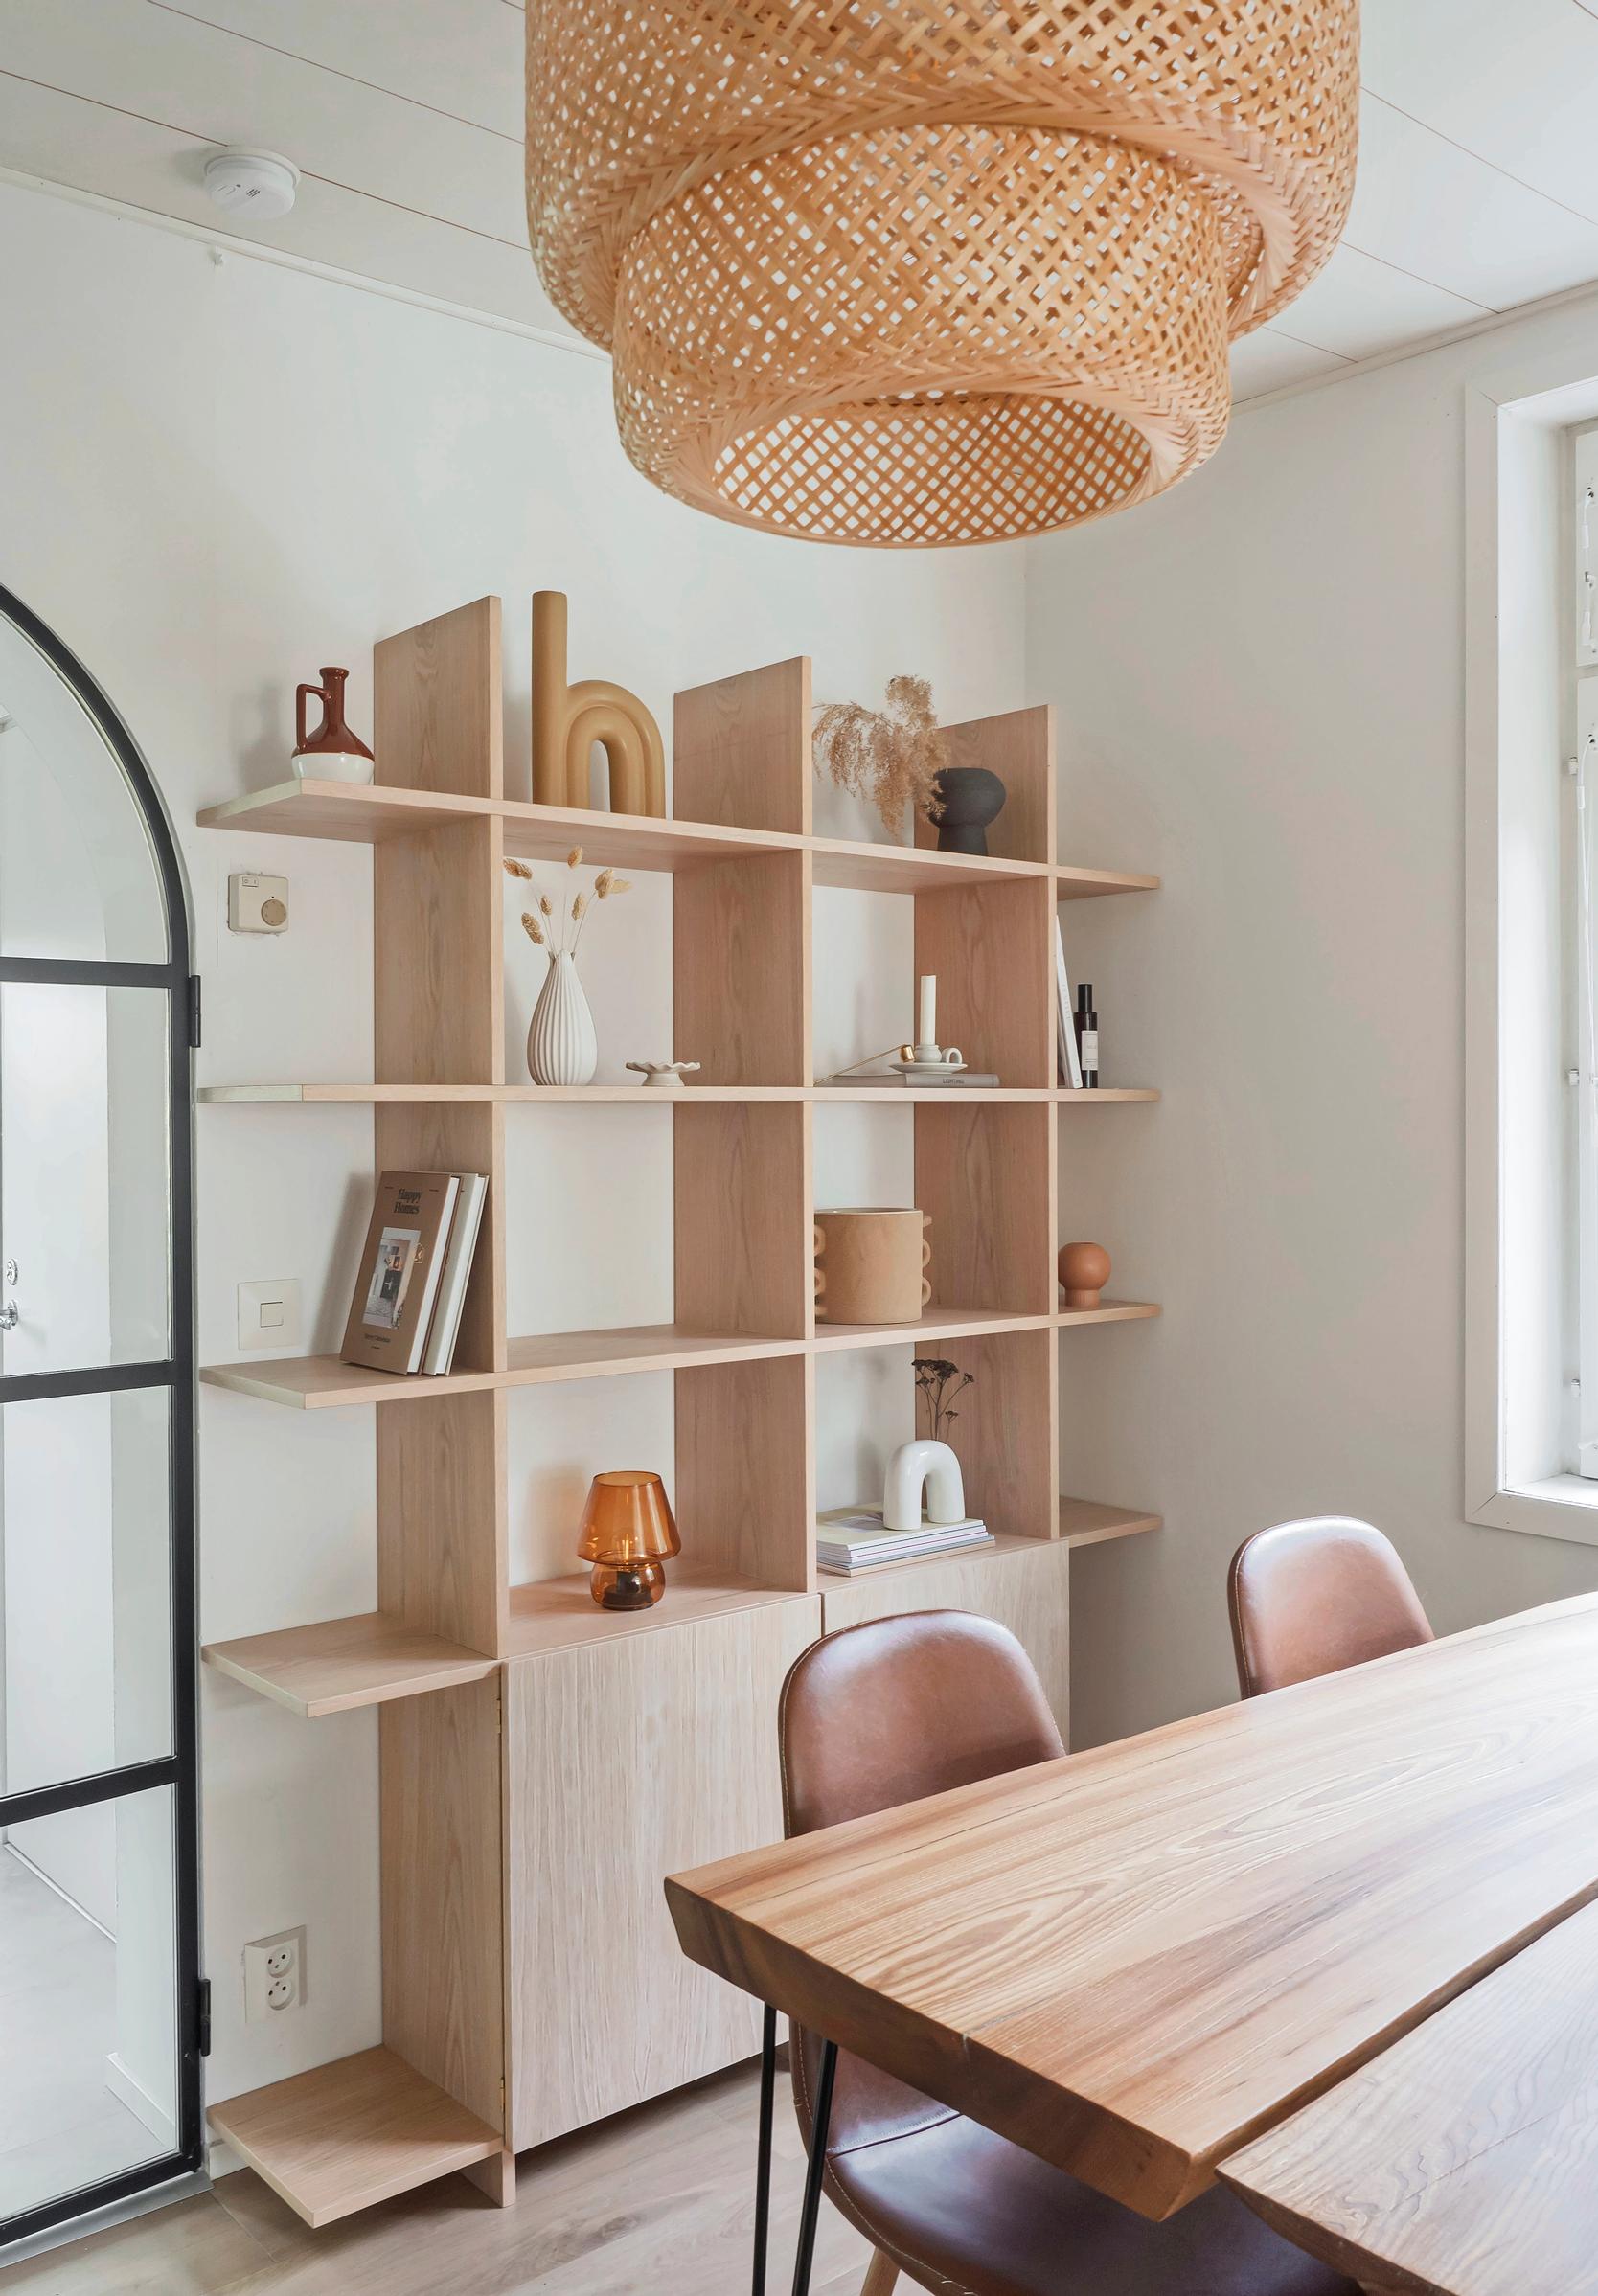
2. Purchase the materials and any other supplies after calculating how much you need. A solid wood board, such as an oak or pine glue-laminated board, is a good option for building the shelf. Particleboard isn’t durable enough for this project because it won’t hold at the joints. In our example, we used pine glue-laminated boards and added our own oak veneer.

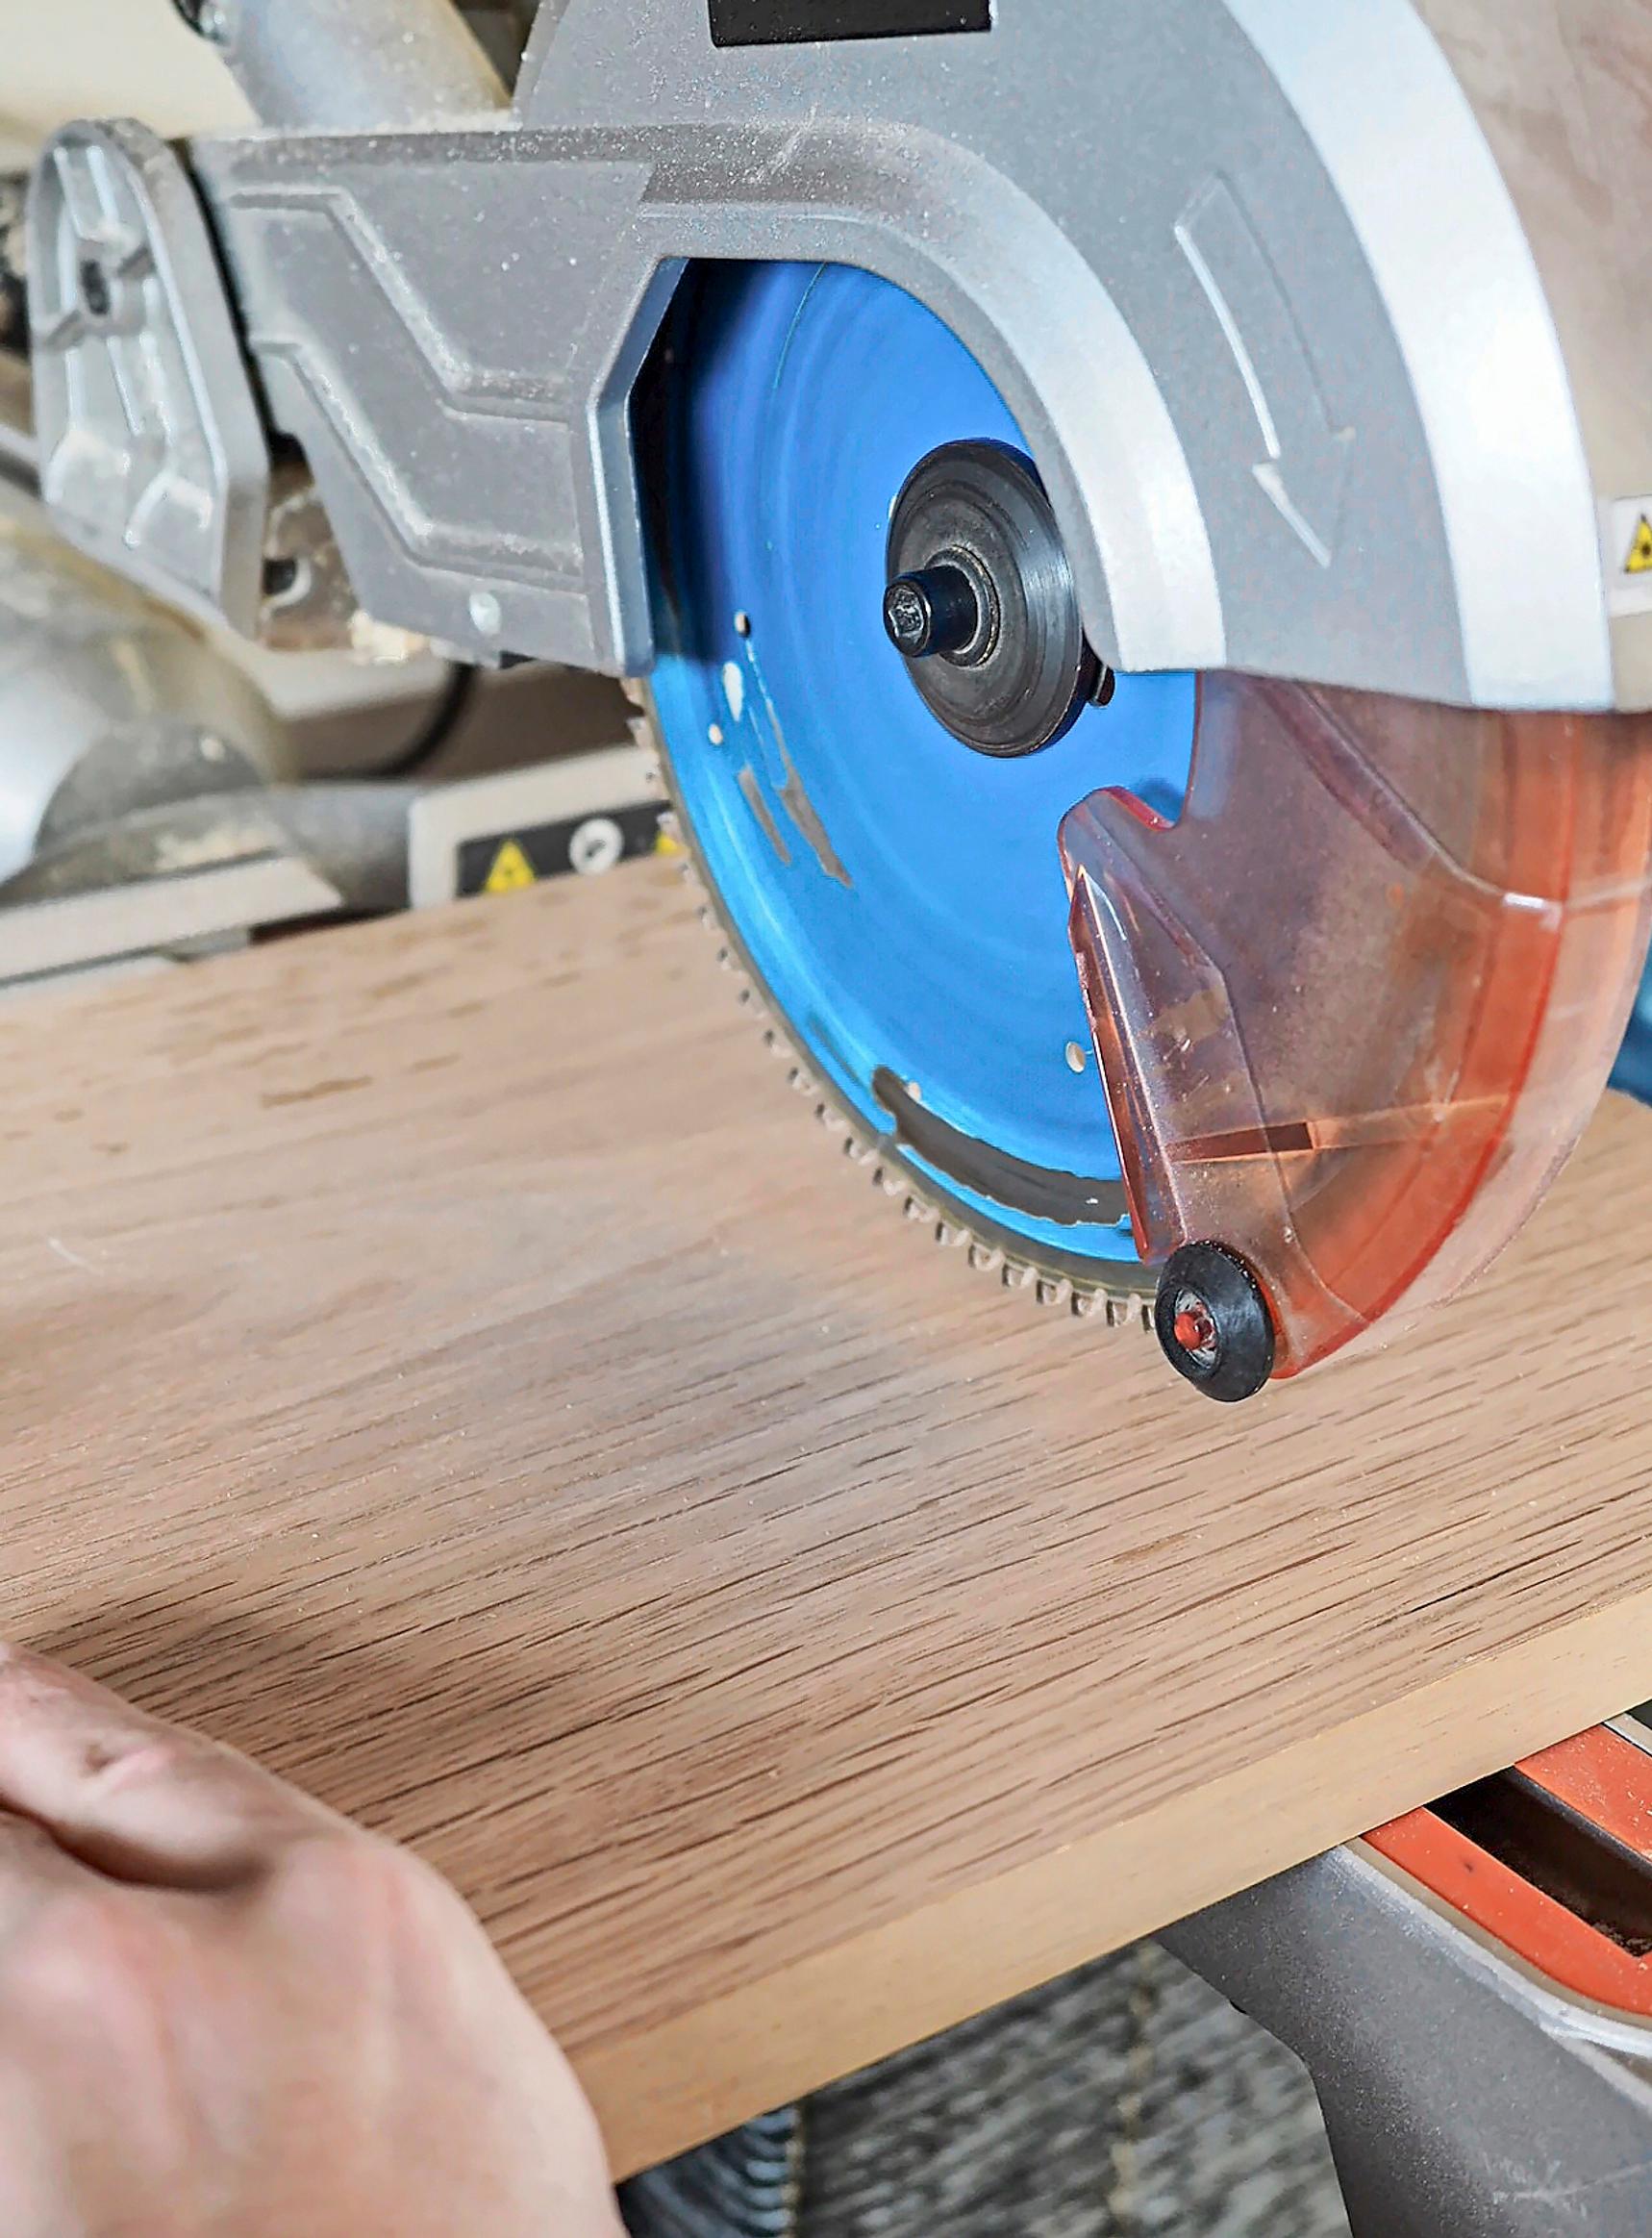
3. Cut the wood to the correct dimensions. Remember to use hearing protection. In our example, we used a board whose length matched the desired shelf height, so we only cut the horizontal boards to the correct width with a crosscut and miter saw. You can also use a jigsaw, but be sure to draw a straight guideline first.

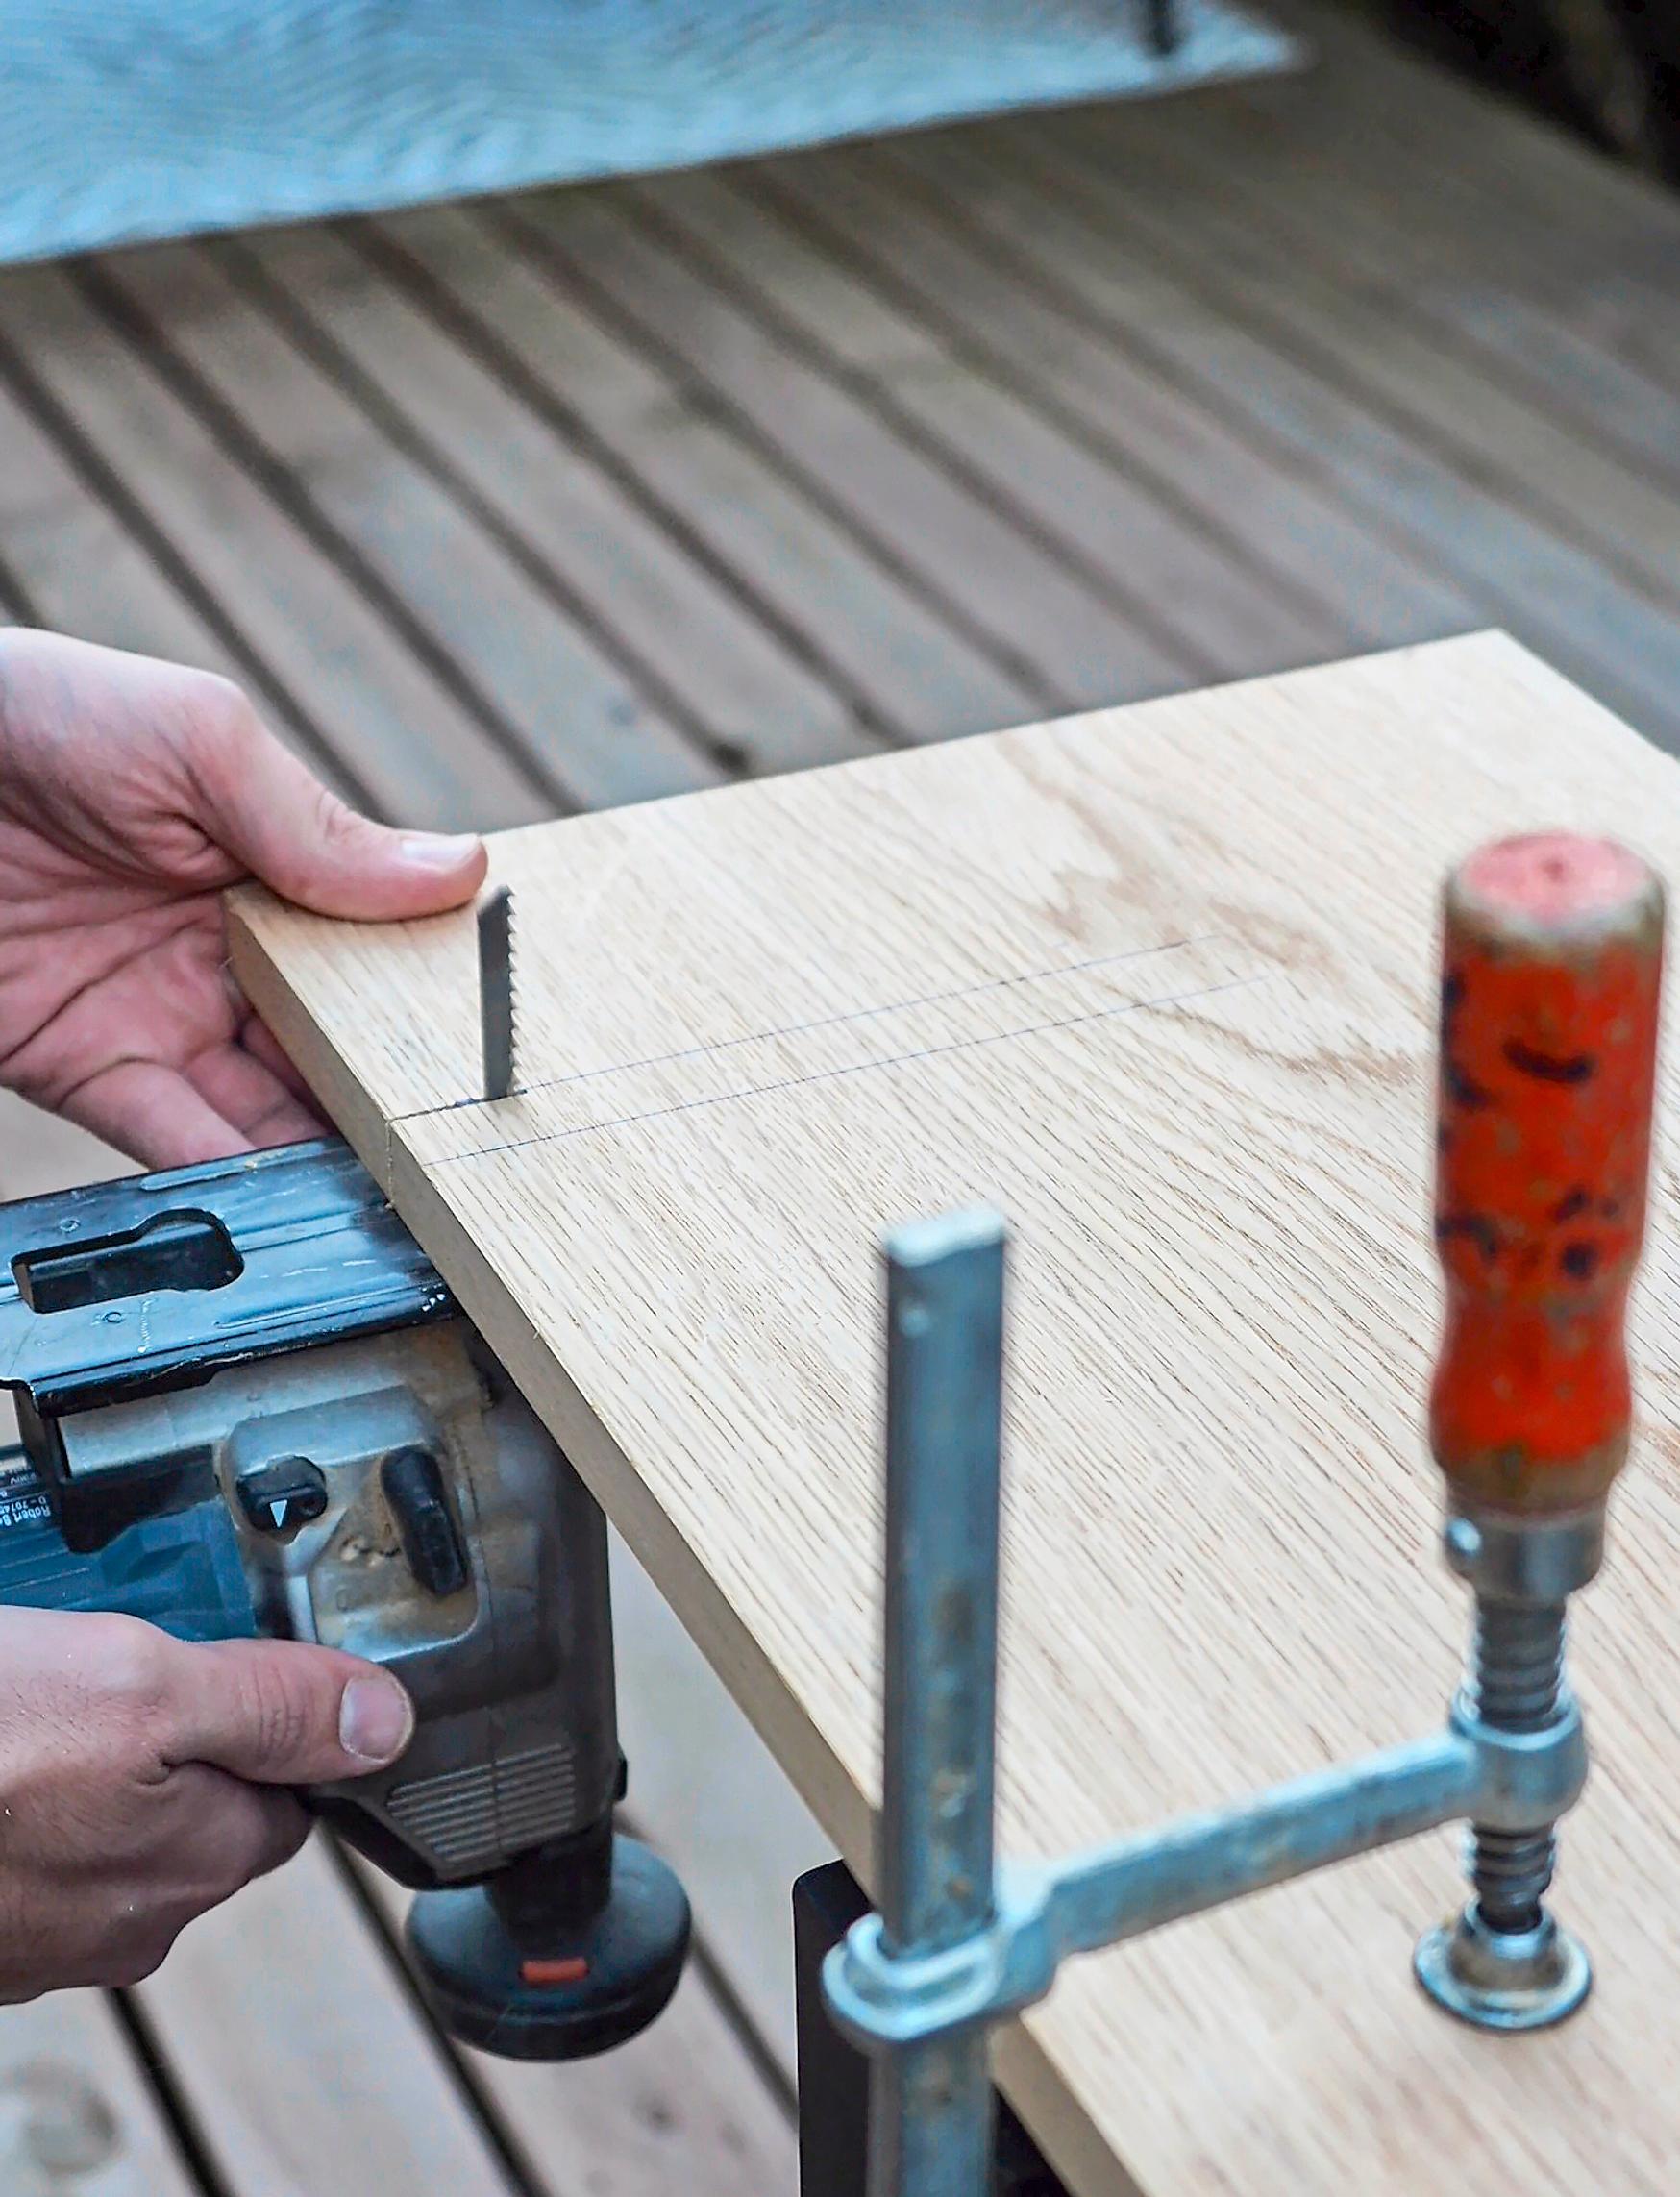
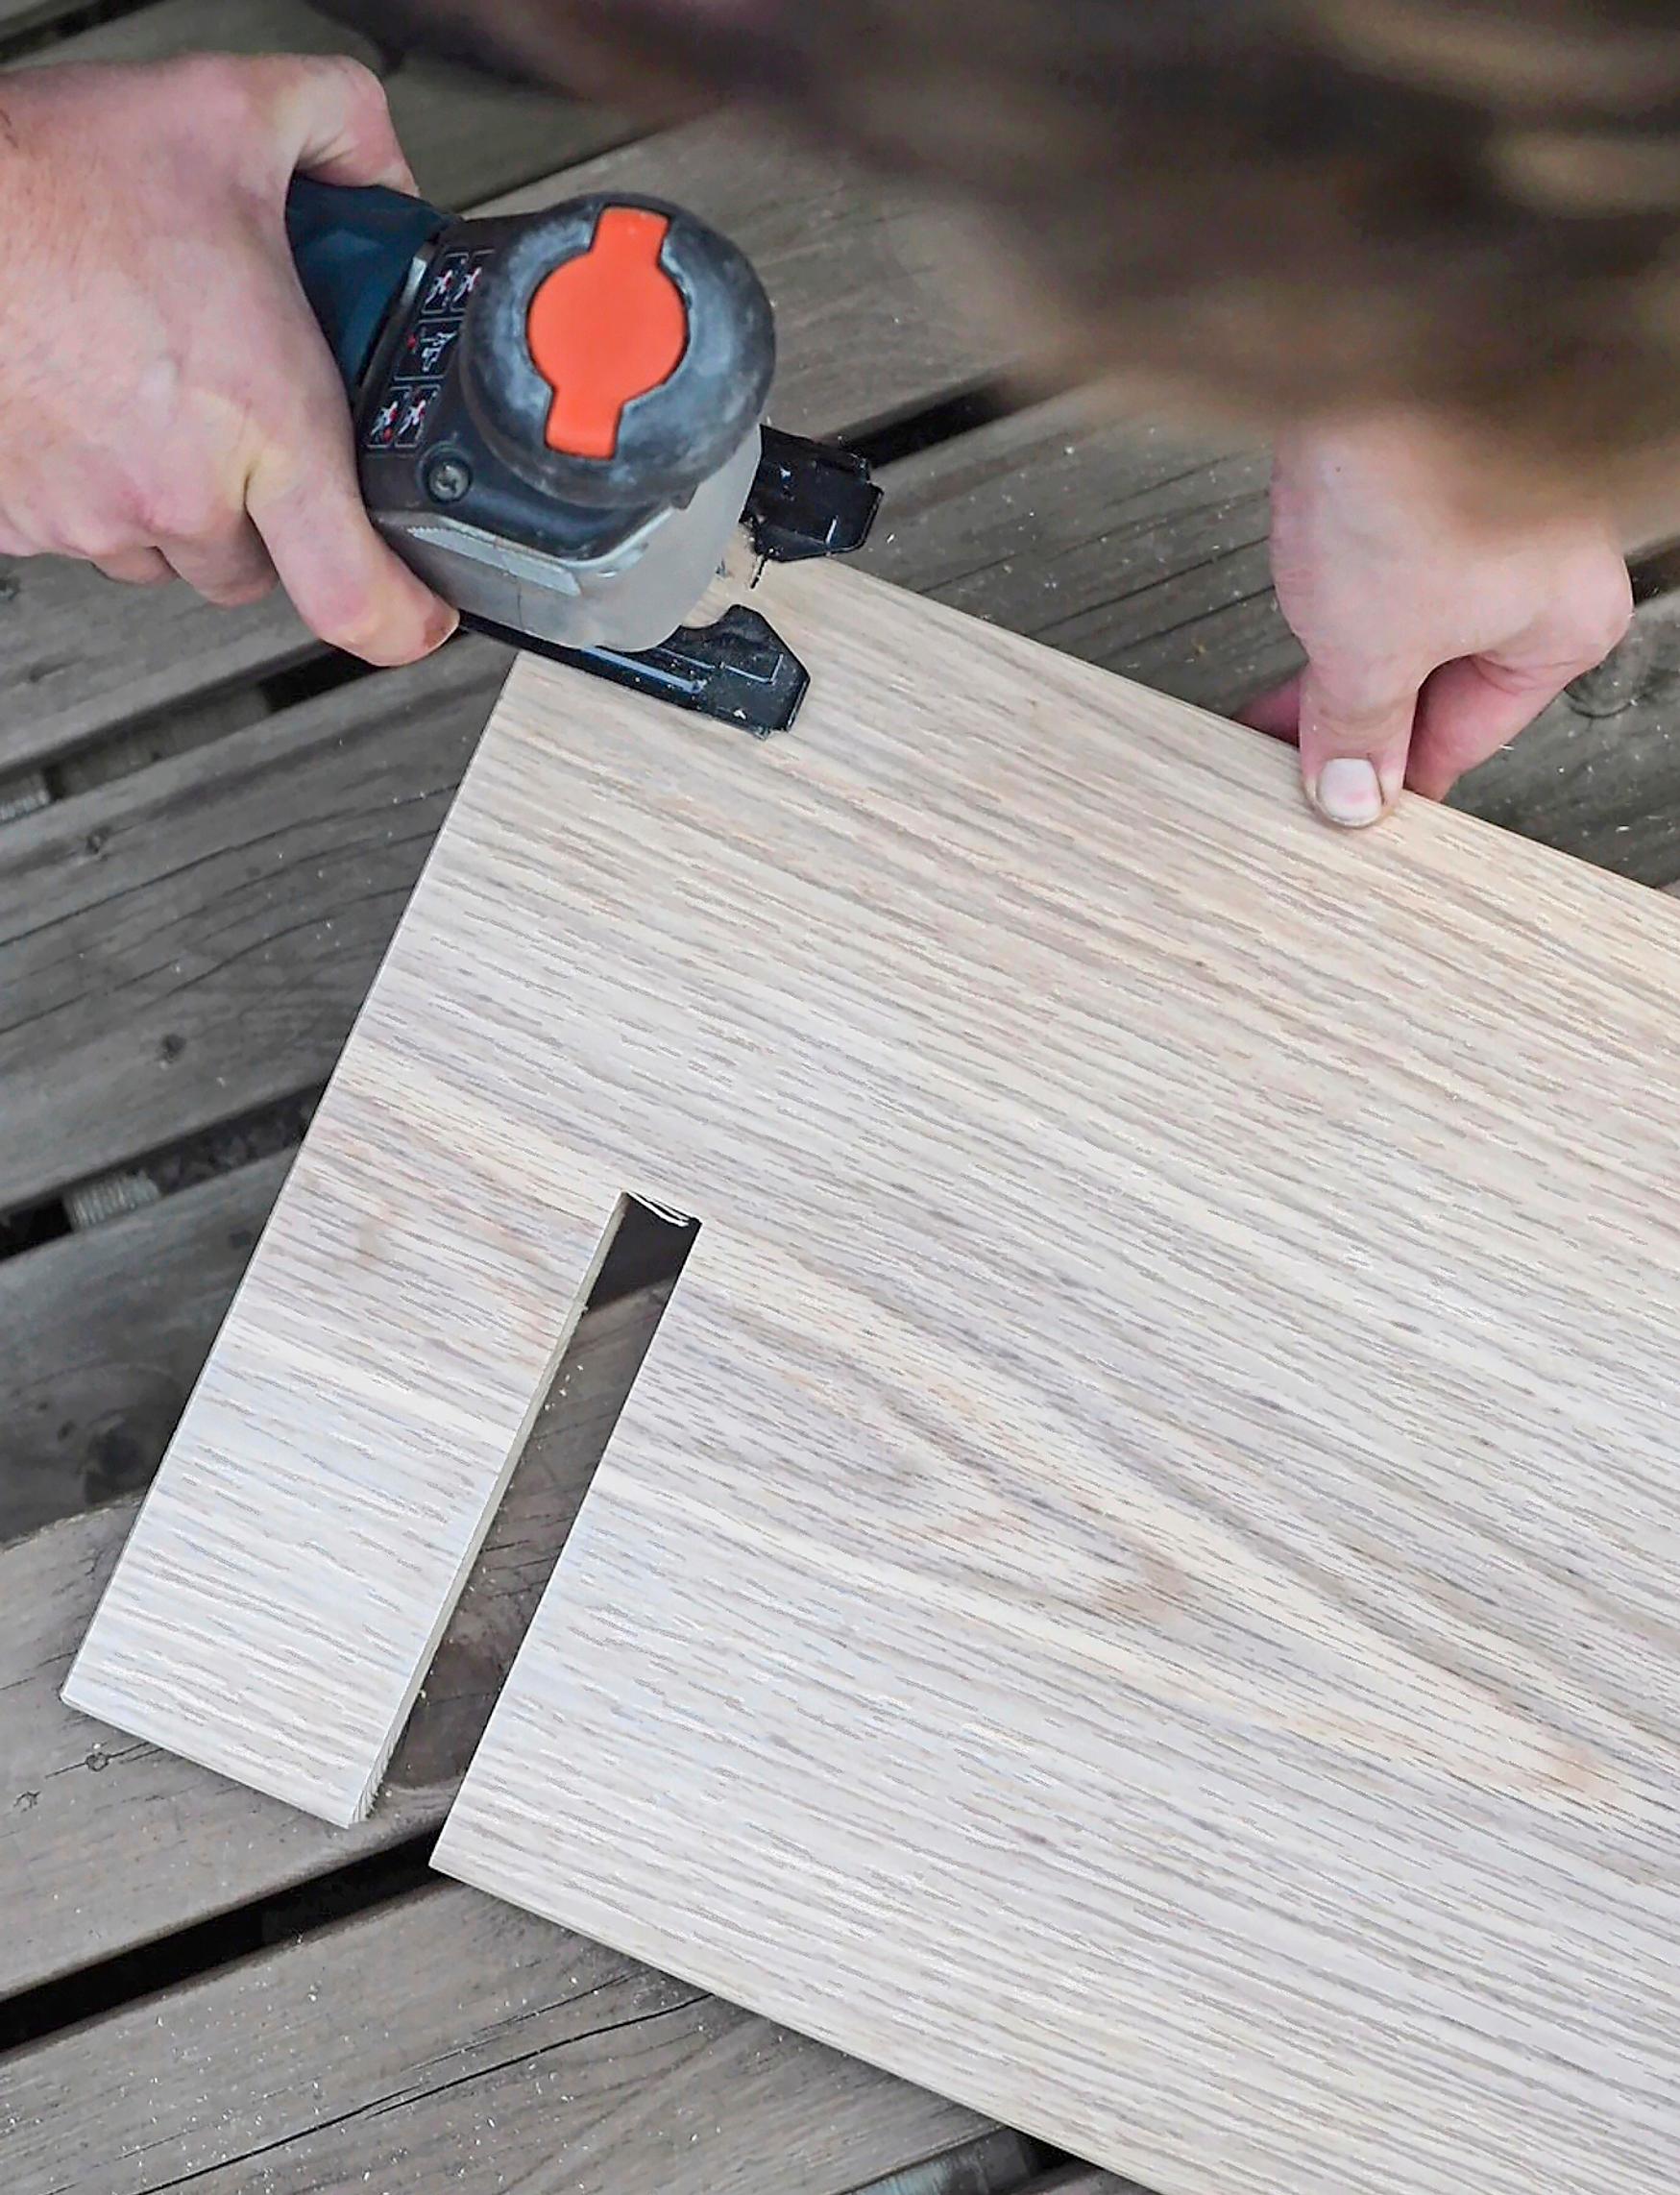
4. Plan and measure where the vertical boards will join. When deciding spacing, account for power outlets, light switches, and the heights of the items you want to store on the shelf. Notch the vertical boards with a jigsaw or a crosscut and miter saw. Be precise, because if the notches are too large, the boards won’t stay snug, and the finished shelf won’t be sturdy.

5. Plan and notch the horizontal boards. Draw guidelines for sawing, using a carpenter’s square to ensure accuracy. Each notch should be half the board’s thickness. Notch the horizontal boards in the same way as before.
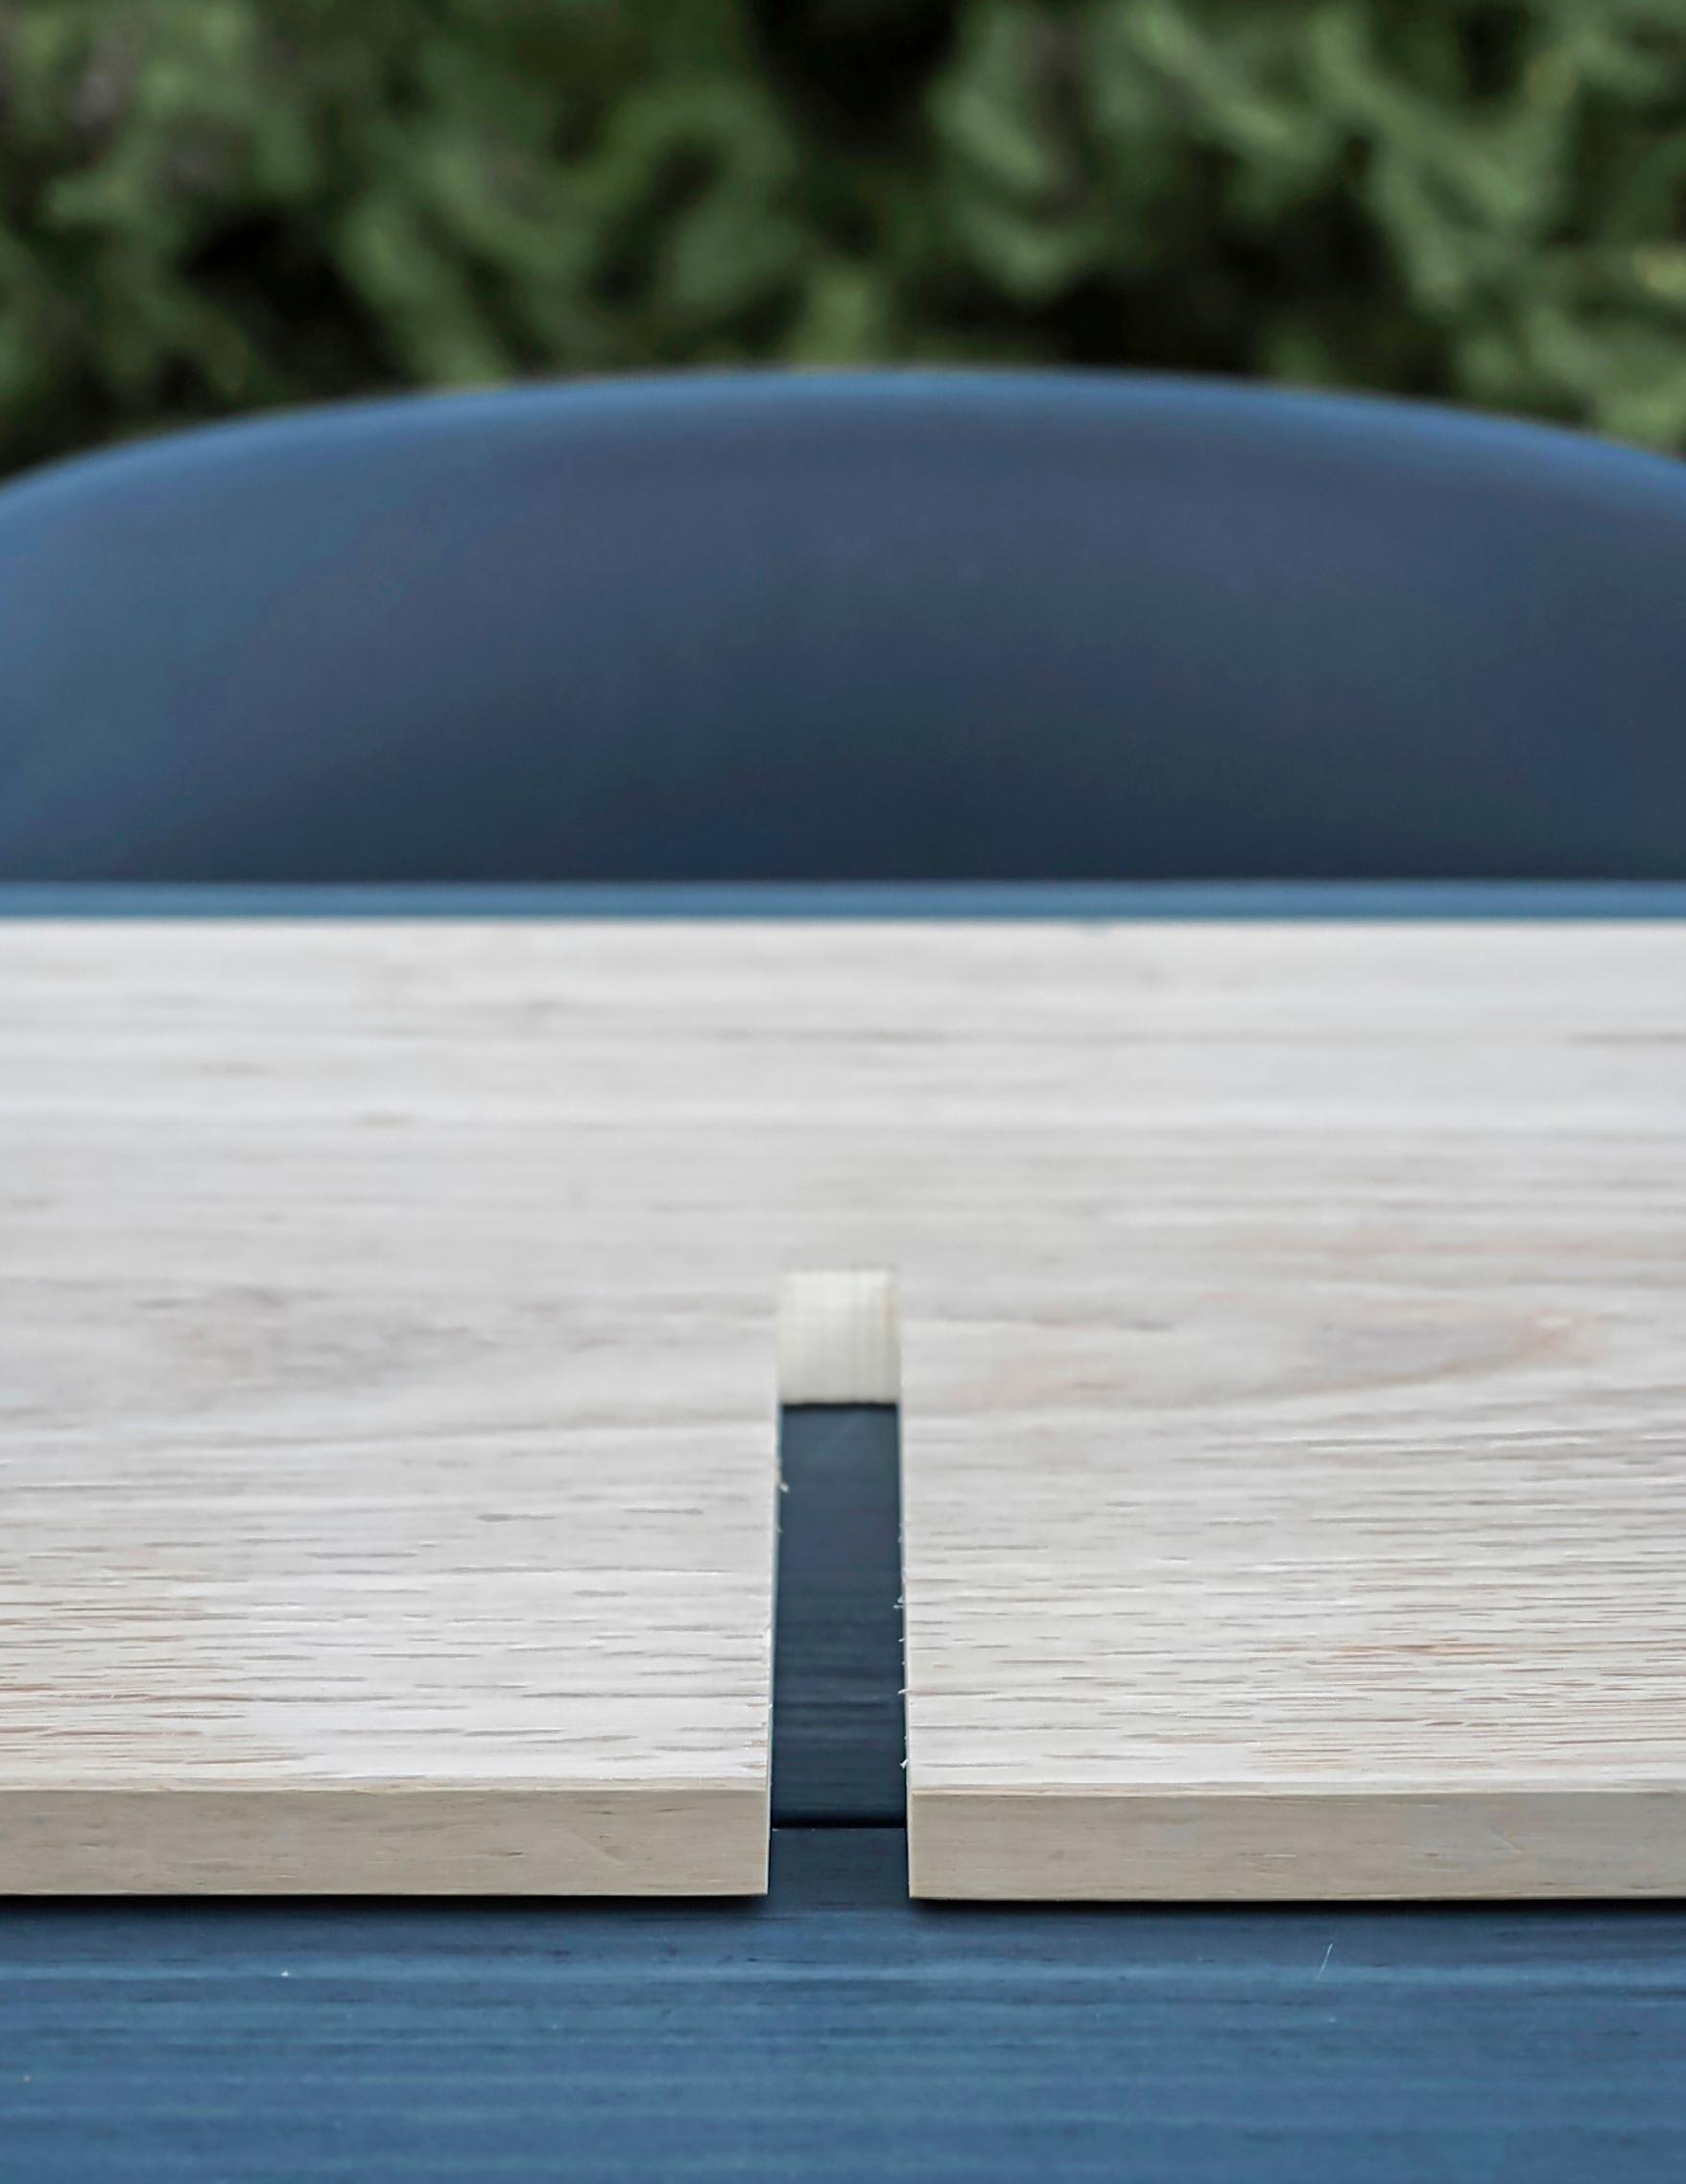
Tip!
The notched opening must match the board’s thickness exactly so that the boards fit together easily and the finished shelf is sturdy.

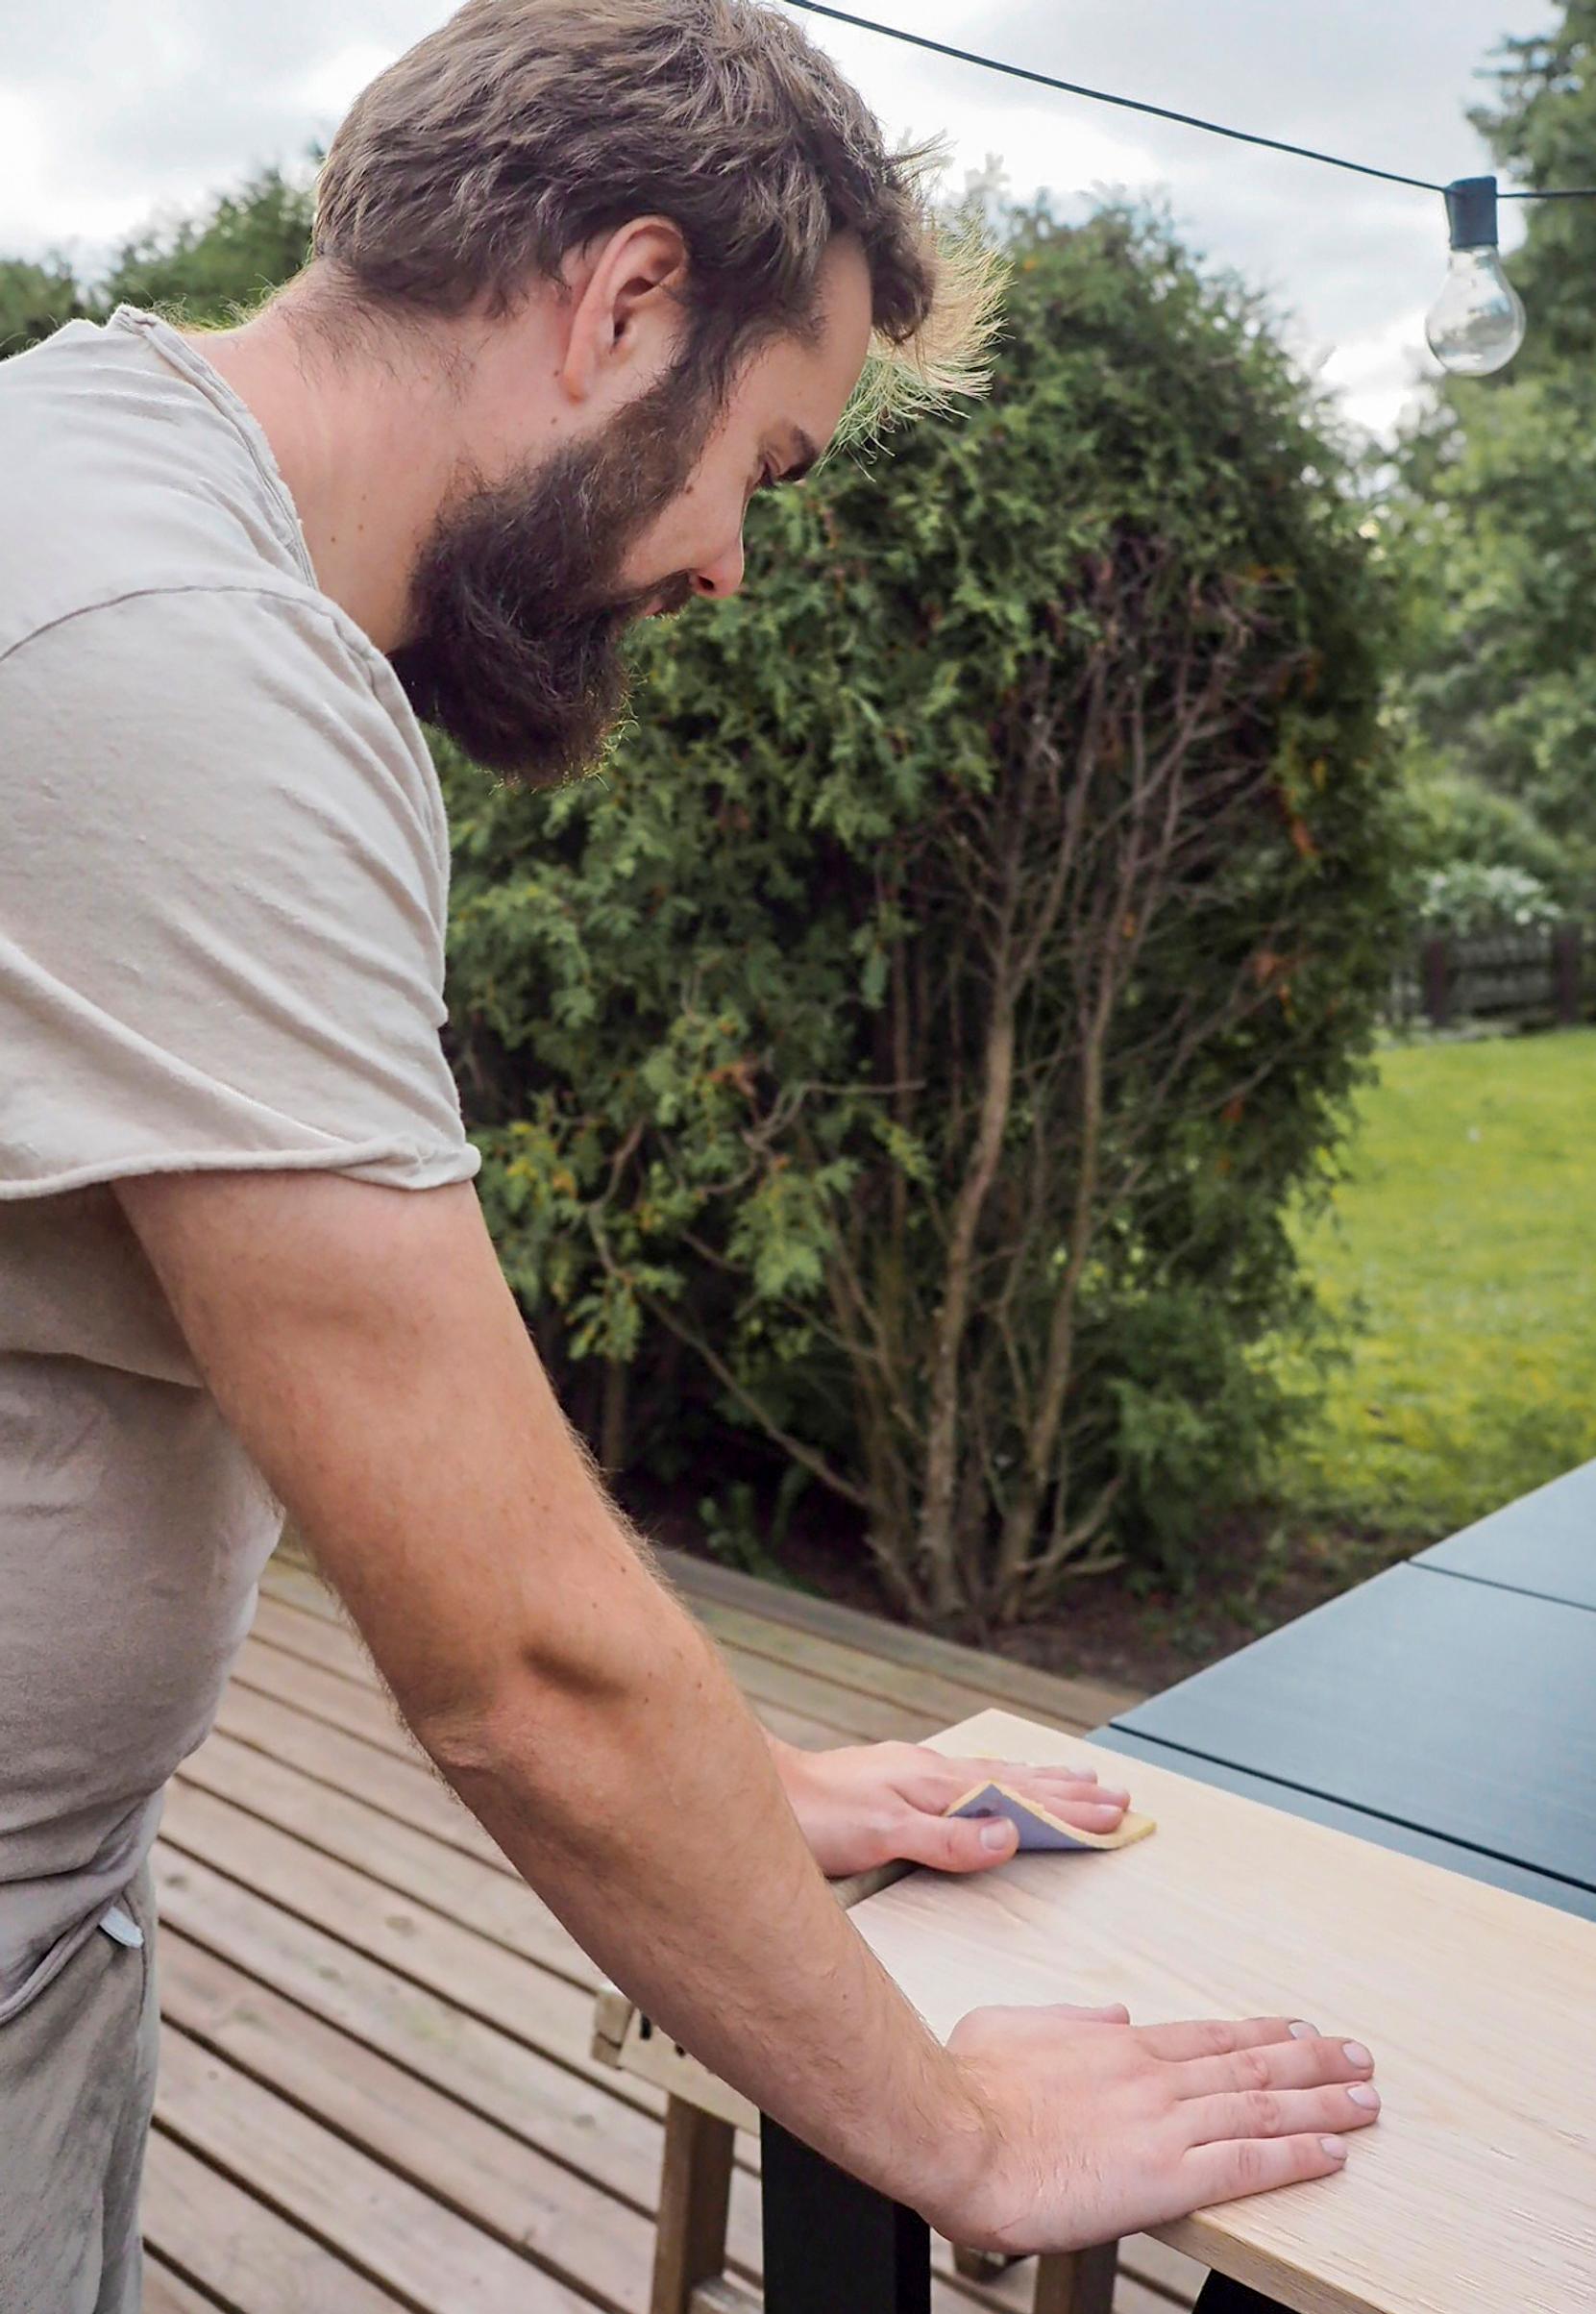
6. Sand the newly cut notches and the entire board until smooth. You can round off sharp corners slightly by sanding them. Use P180 sandpaper and, if you wish, a sanding block. Sand thoroughly to ensure the wood wax or other finishing product will absorb evenly.

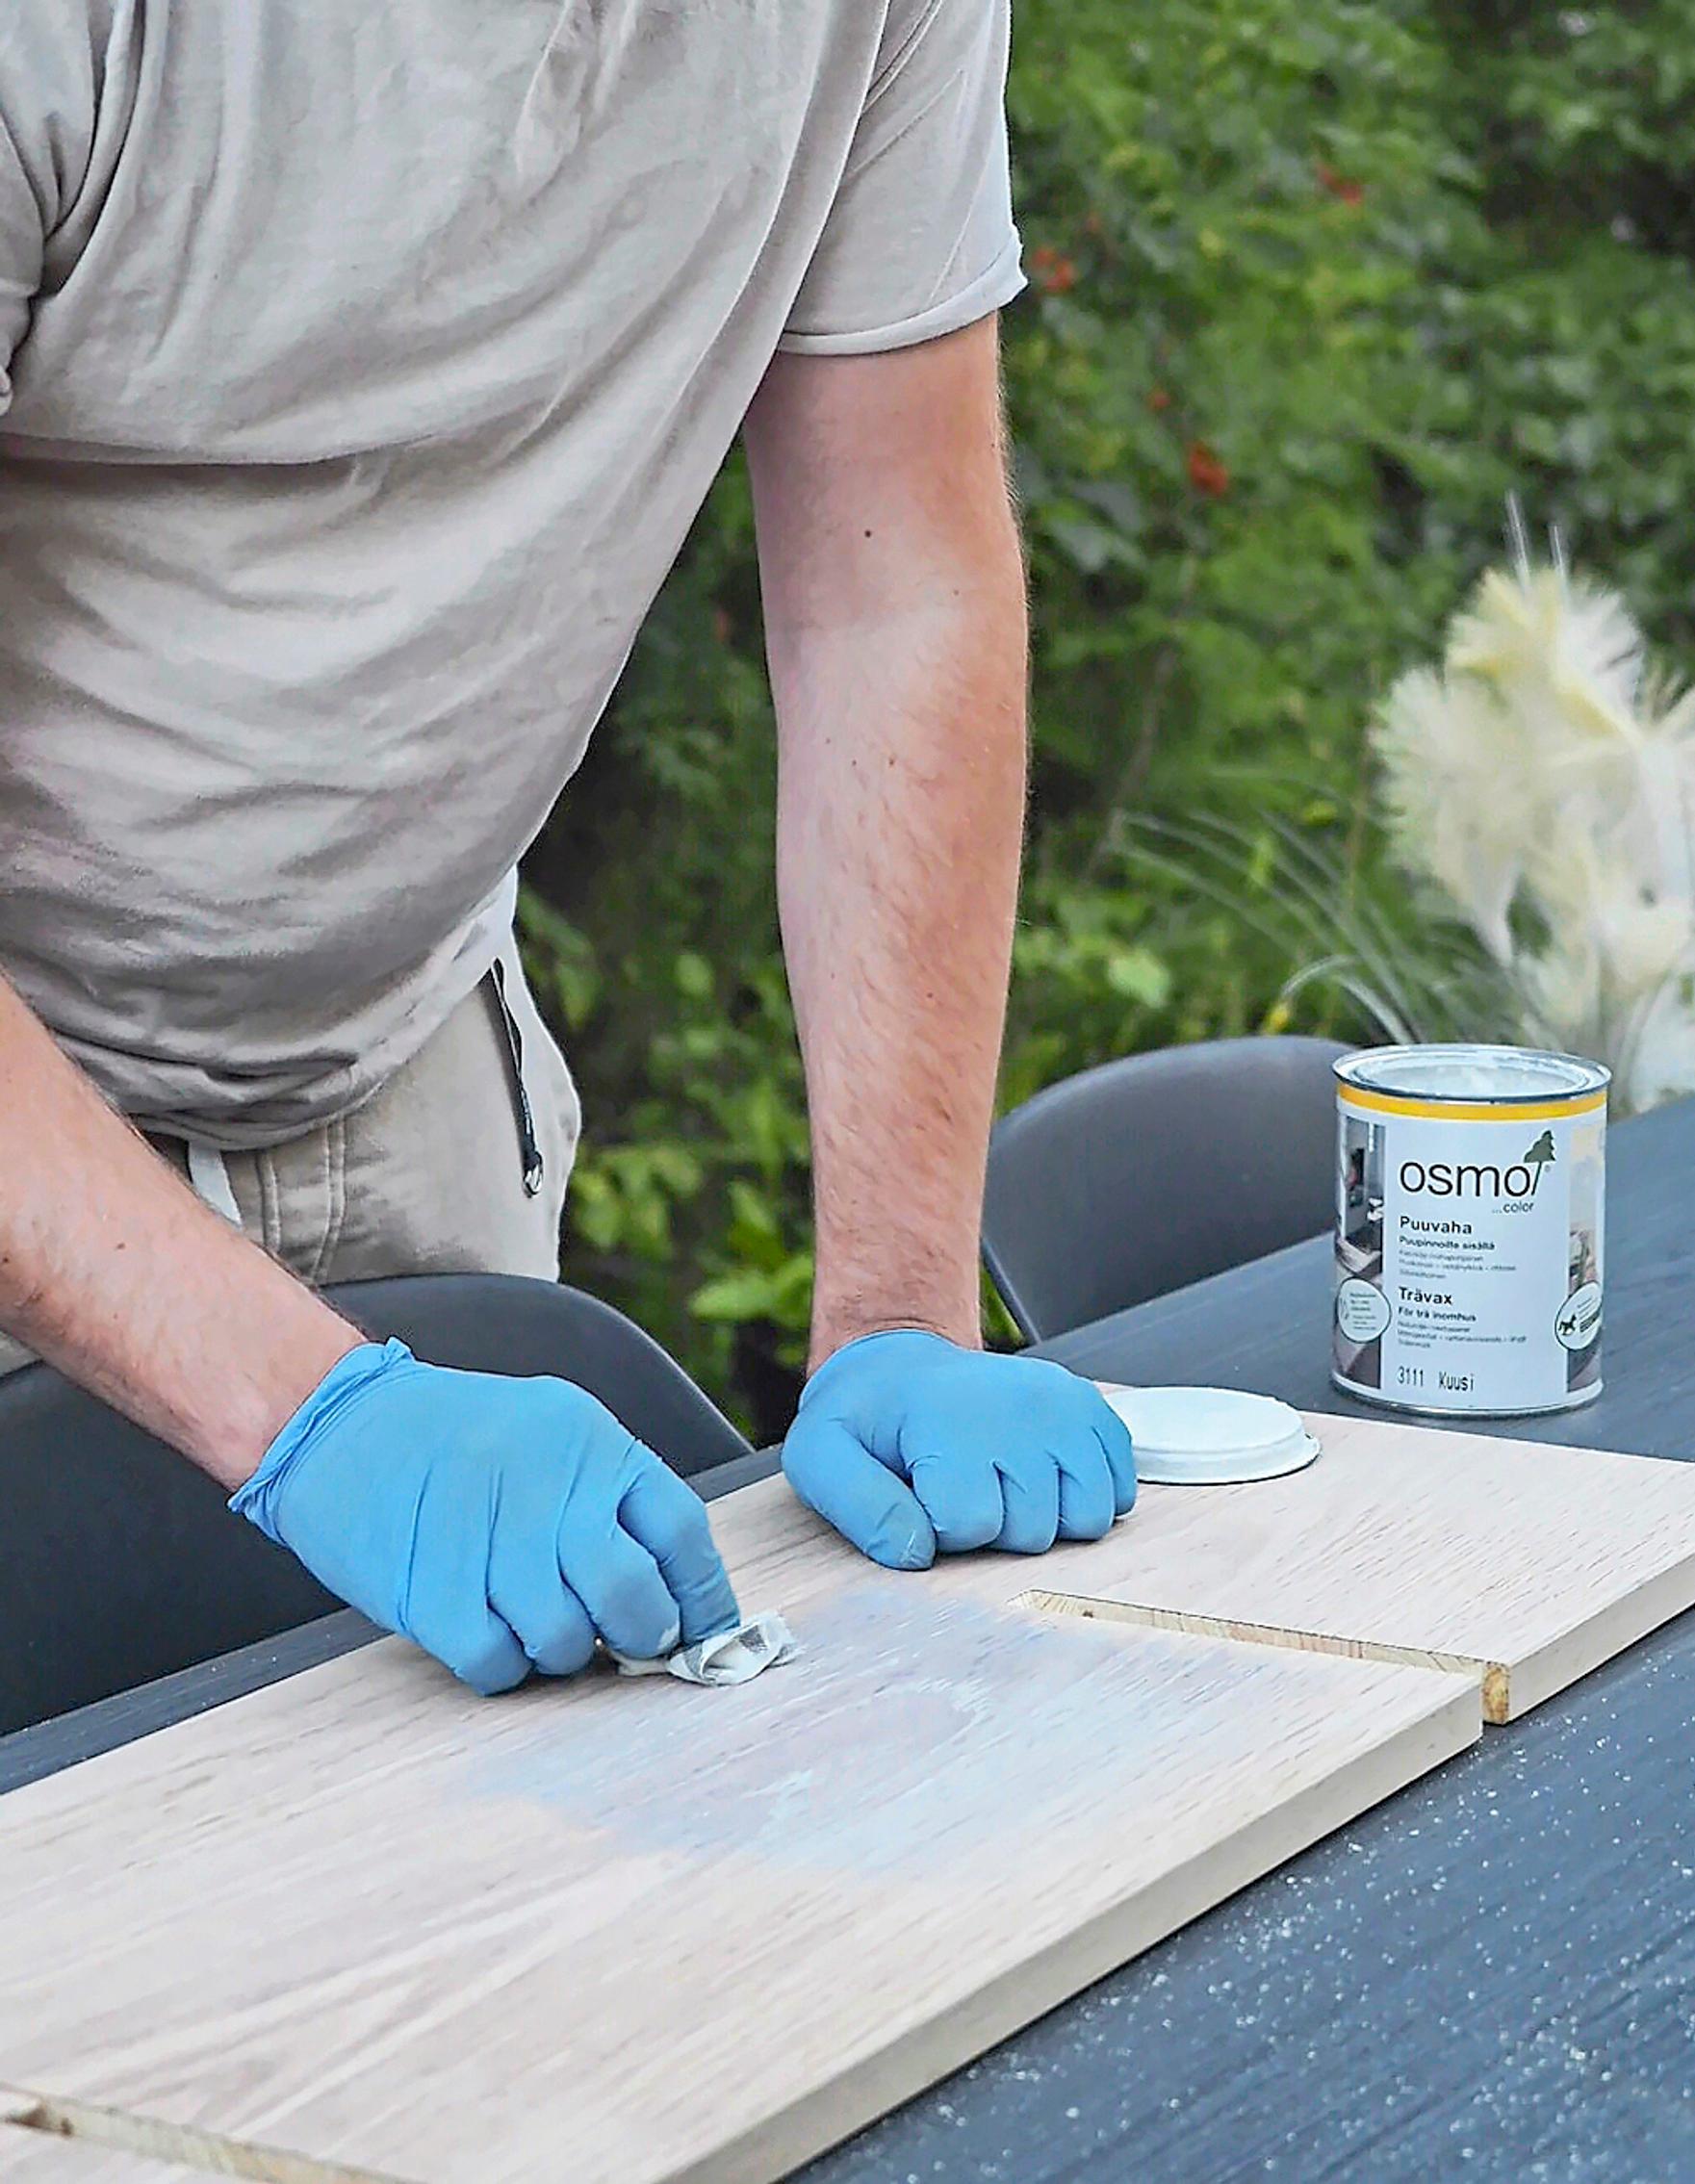
7. Remove the sanding dust with compressed air or a dry cloth. Next, apply the finish. In our example, we first applied Osmo Color spruce wax, followed by a light sanding with P320 sandpaper. After that, we applied Osmo Color clear matte oil wax.
Tip!
Set aside enough time for finishing. Pay attention to the drying times before turning the boards over or assembling the shelf.

8. Cut out sections at the bottom of the vertical boards to fit the dimensions of your baseboard. Measure the baseboard’s height and width, mark the area to be removed, and then cut with a jigsaw. This way, you can position the shelf flush against the wall. If you skip this step, the shelf will be offset by the baseboard’s thickness, so it won’t sit directly against the wall.
Note!
Make sure the notch is exactly the right size.

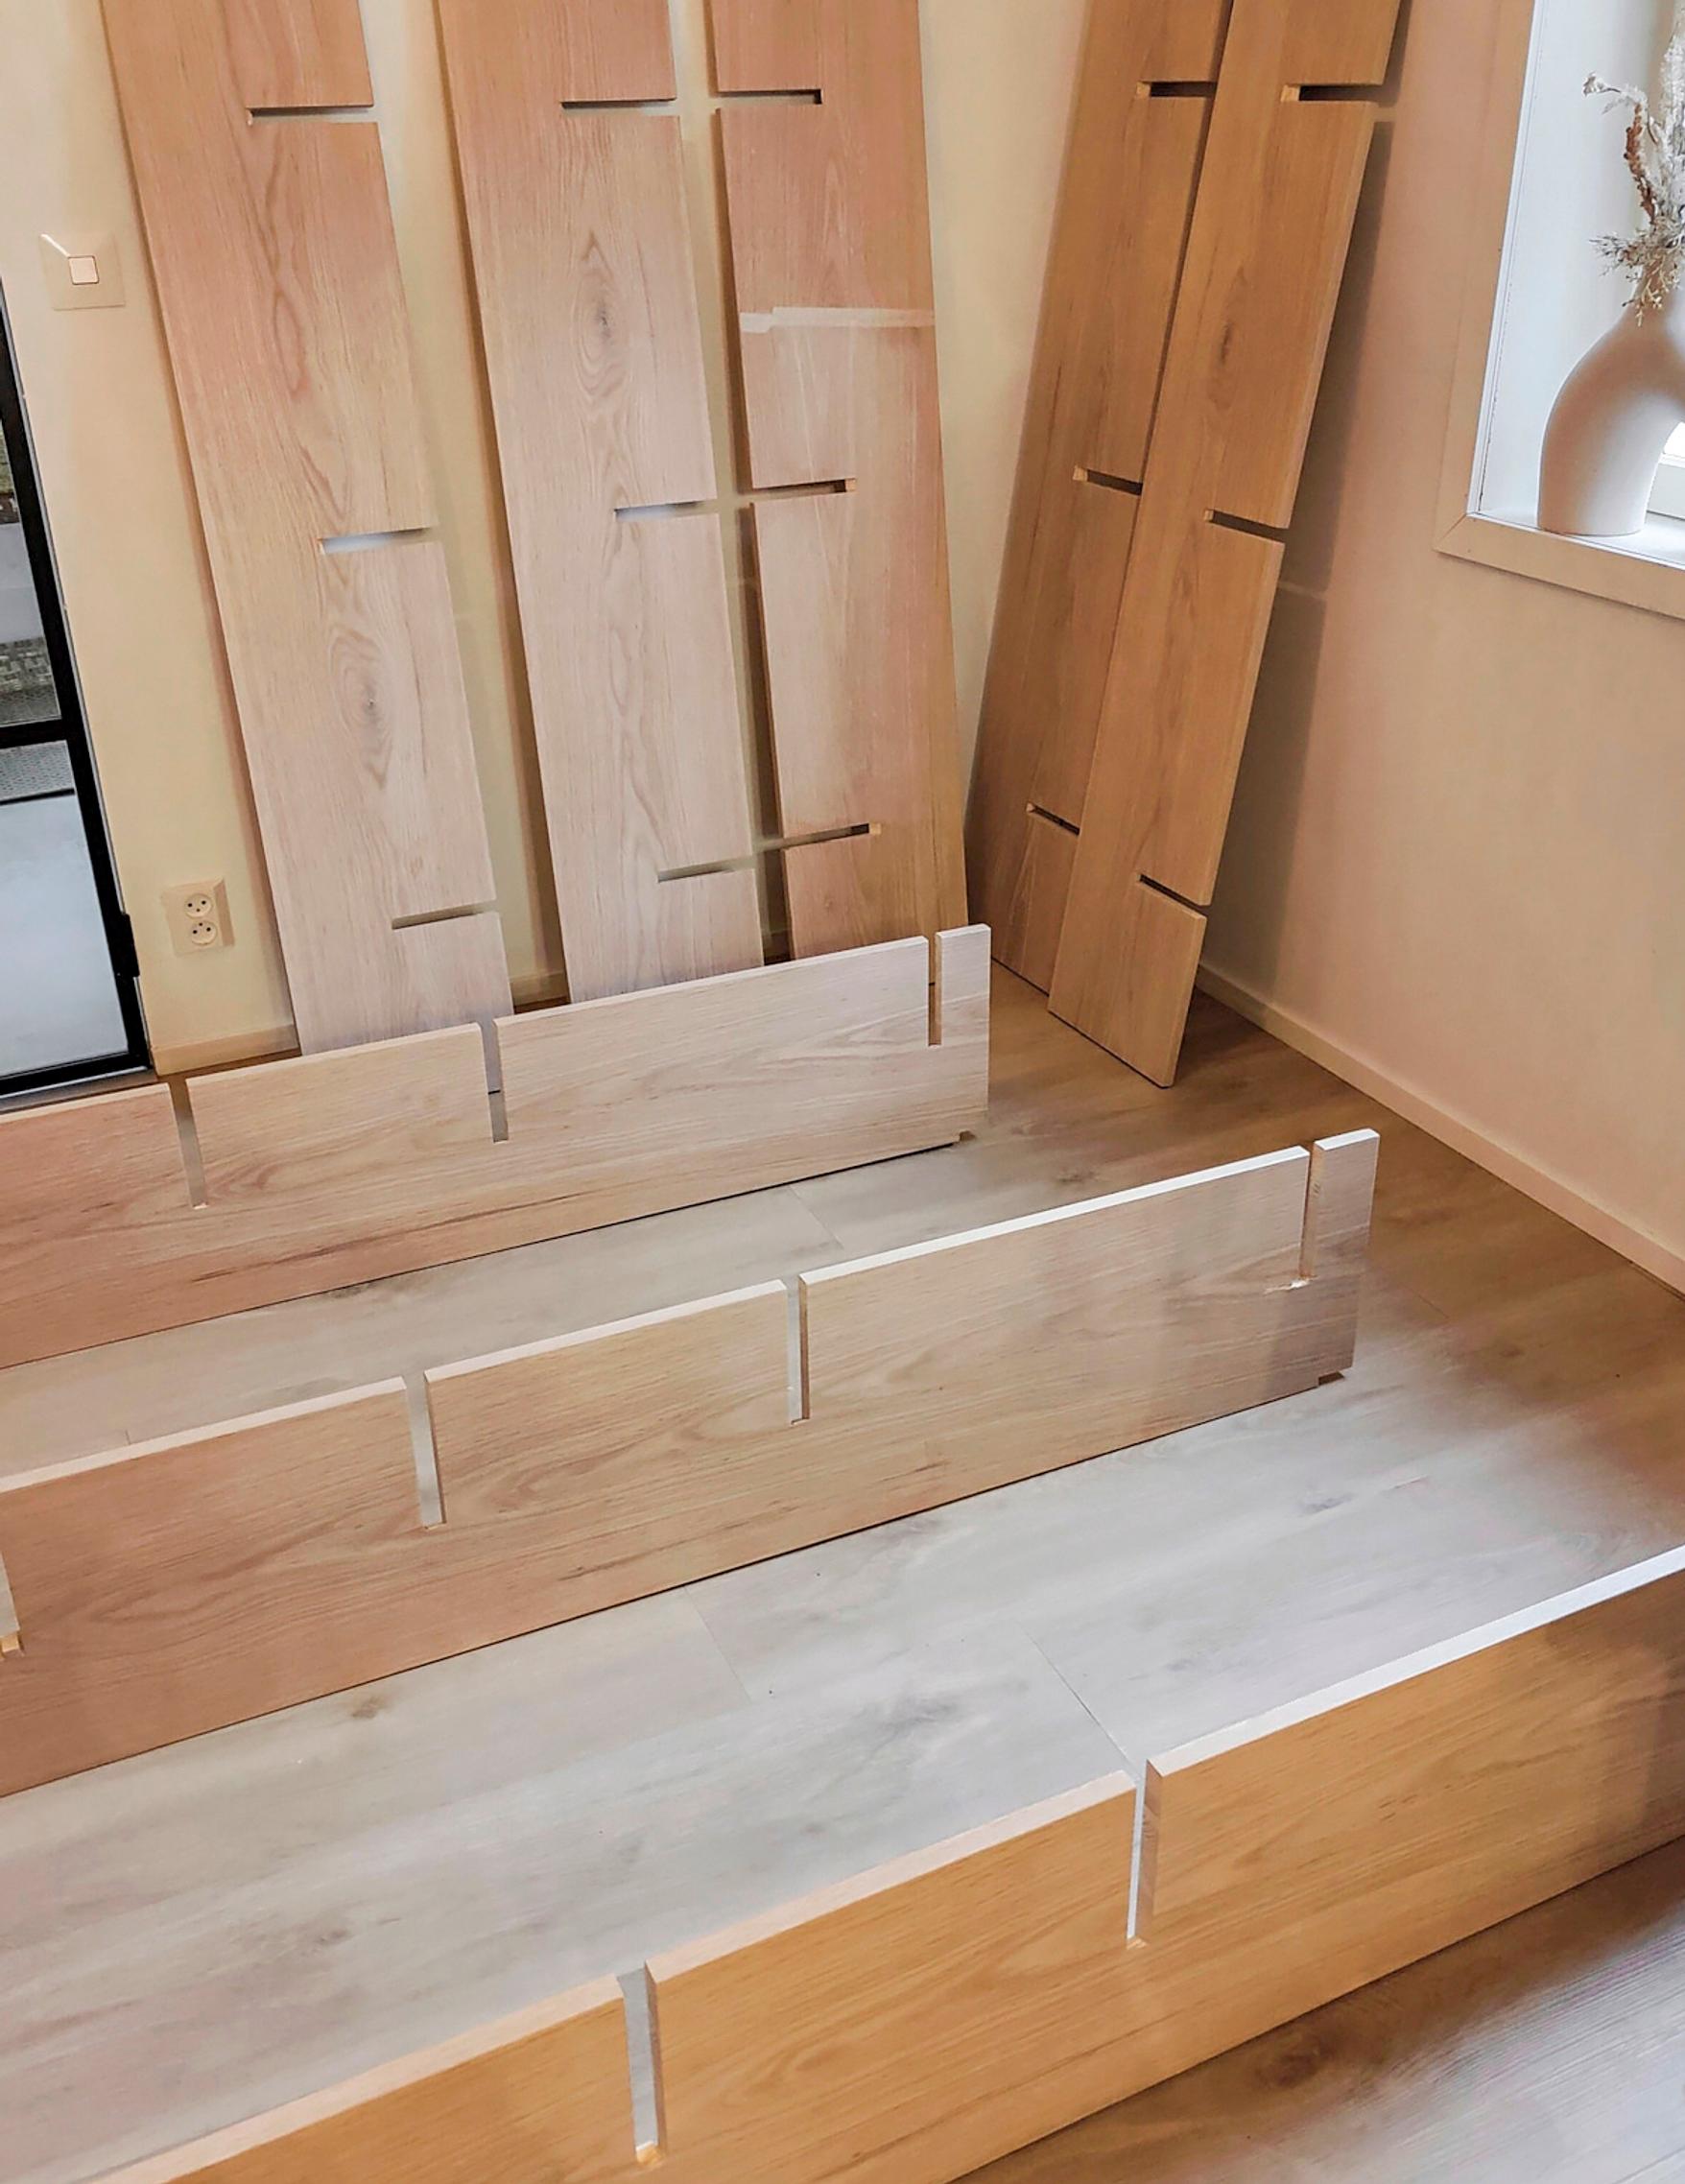
9. Place the vertical boards on the floor as shown. It is easiest to do this with two people because it can be challenging to keep the narrow boards upright while fitting in the horizontal boards. Aligning the joints is also more straightforward with two people.

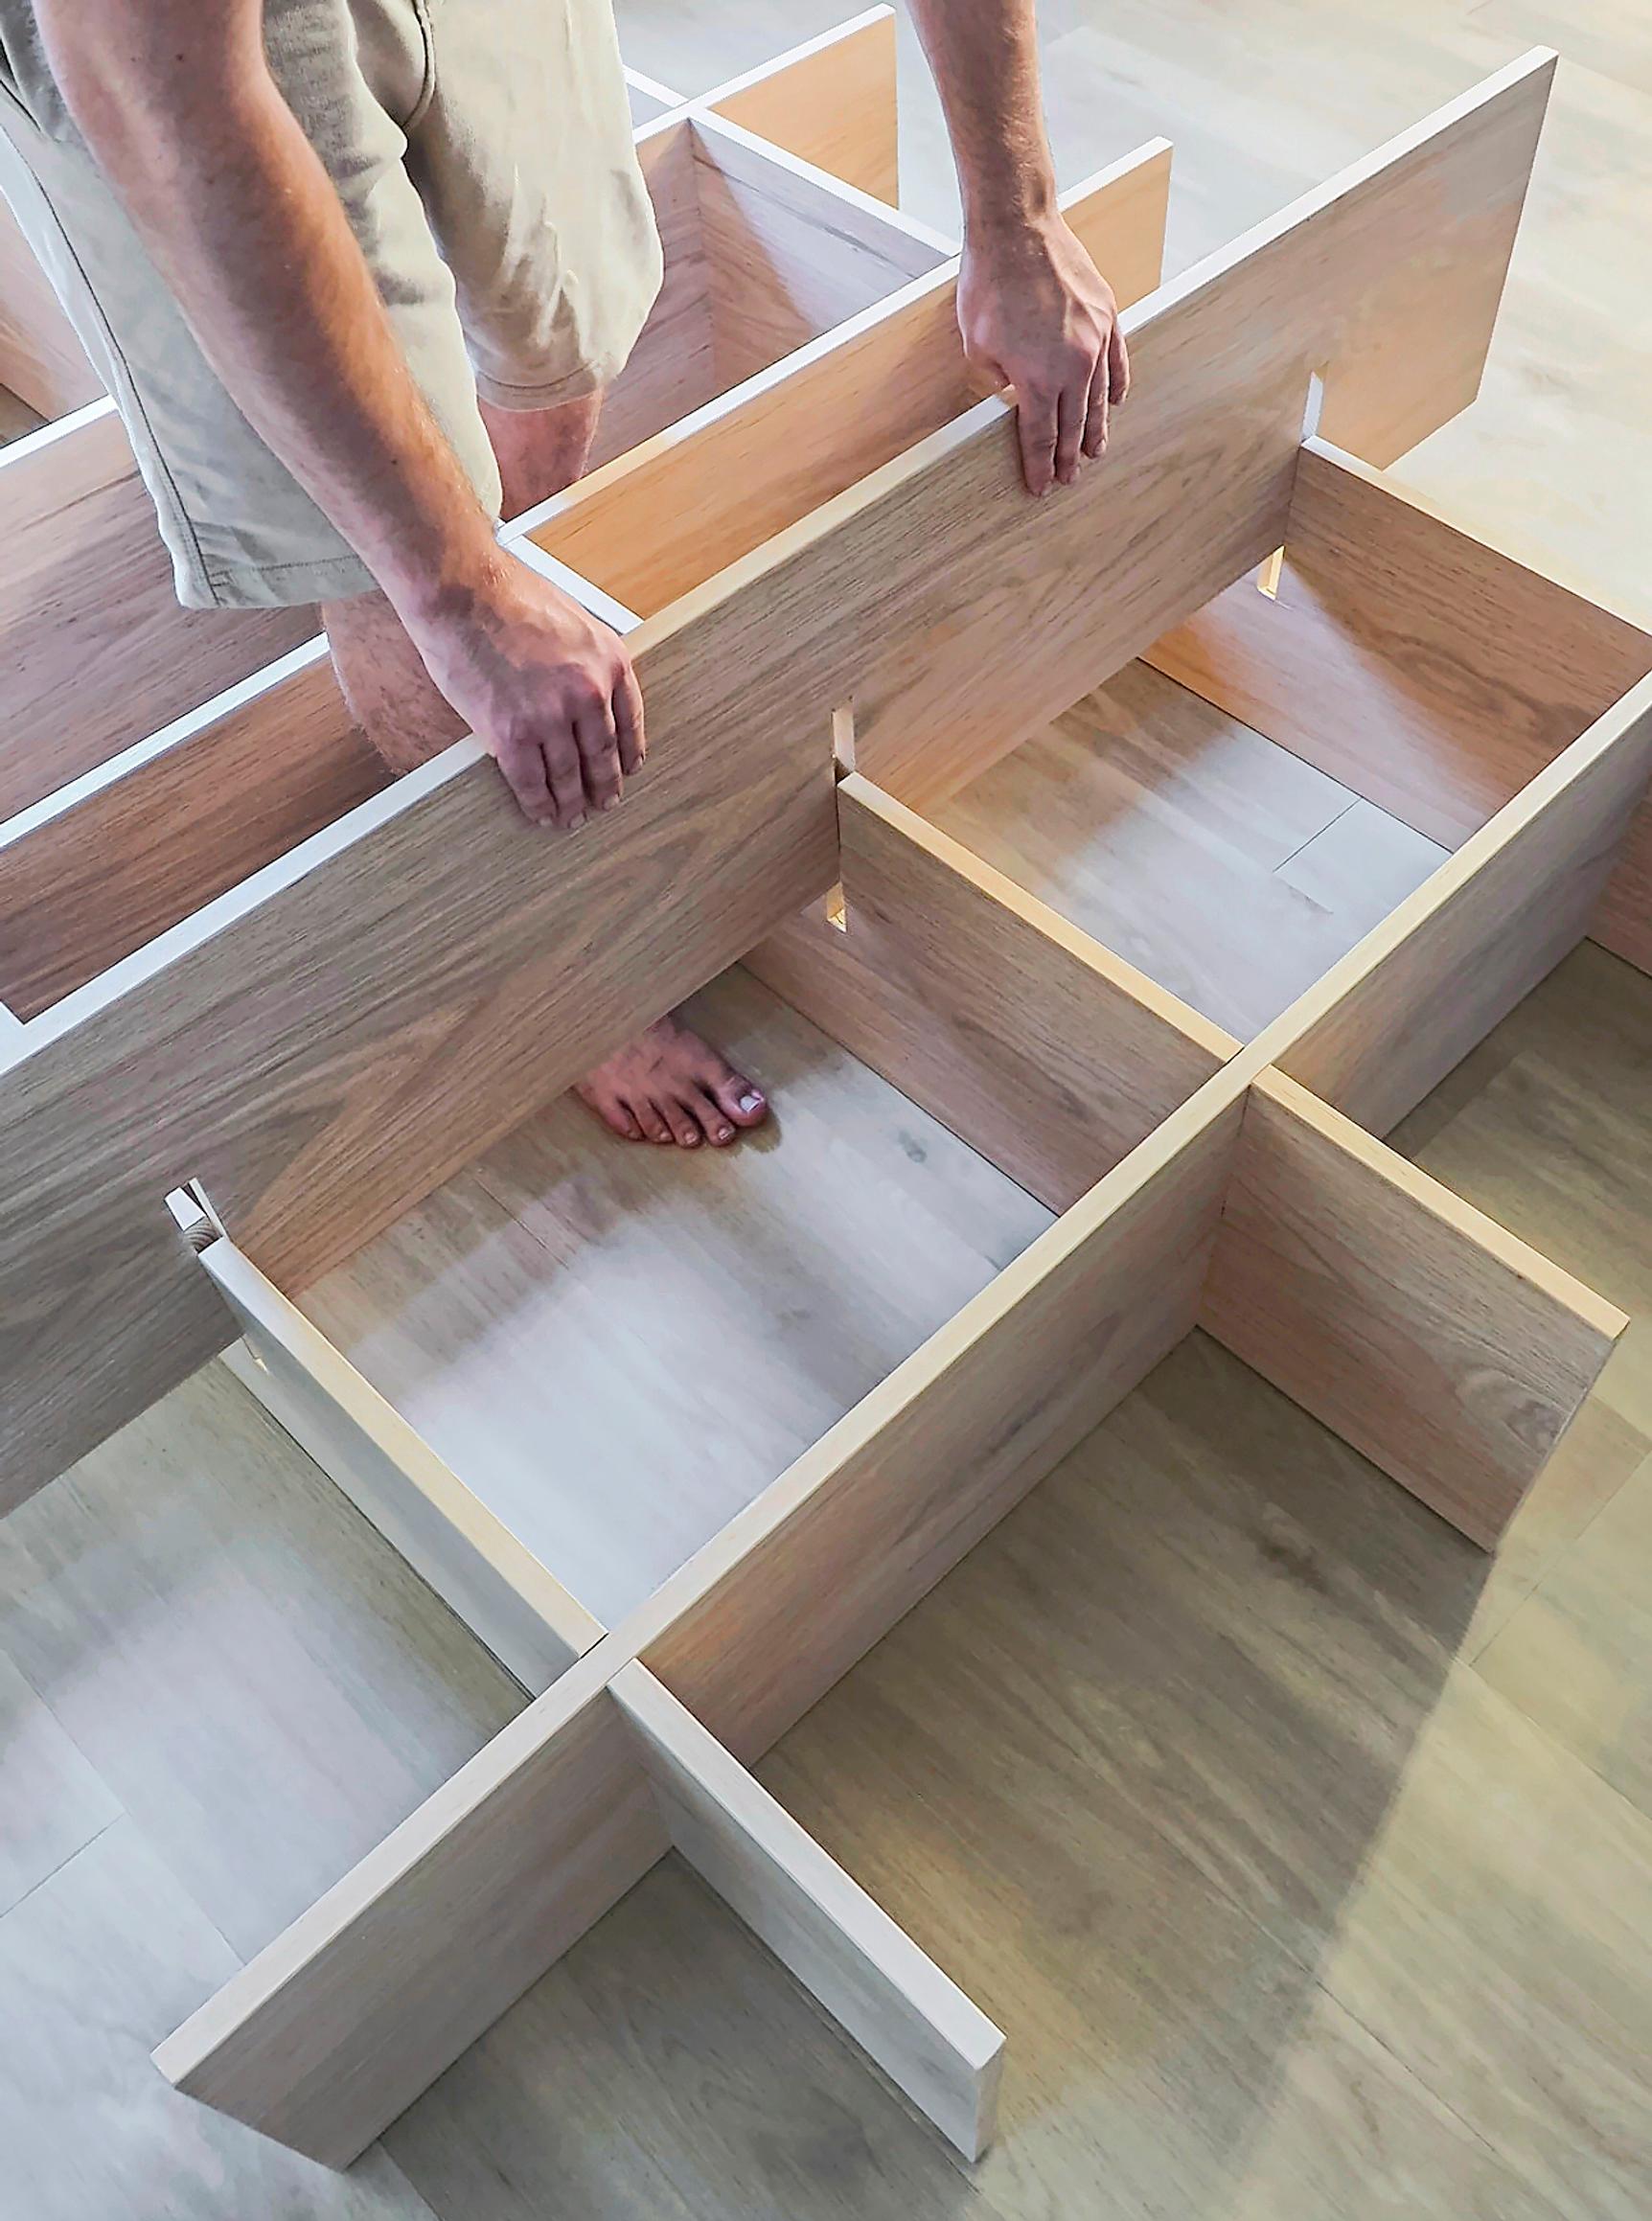
10. Next, fit the horizontal boards into the vertical notches. Start with both ends, then proceed to the boards in the middle. This way, the shelf will become stable right away, making it easier to install the remaining boards.

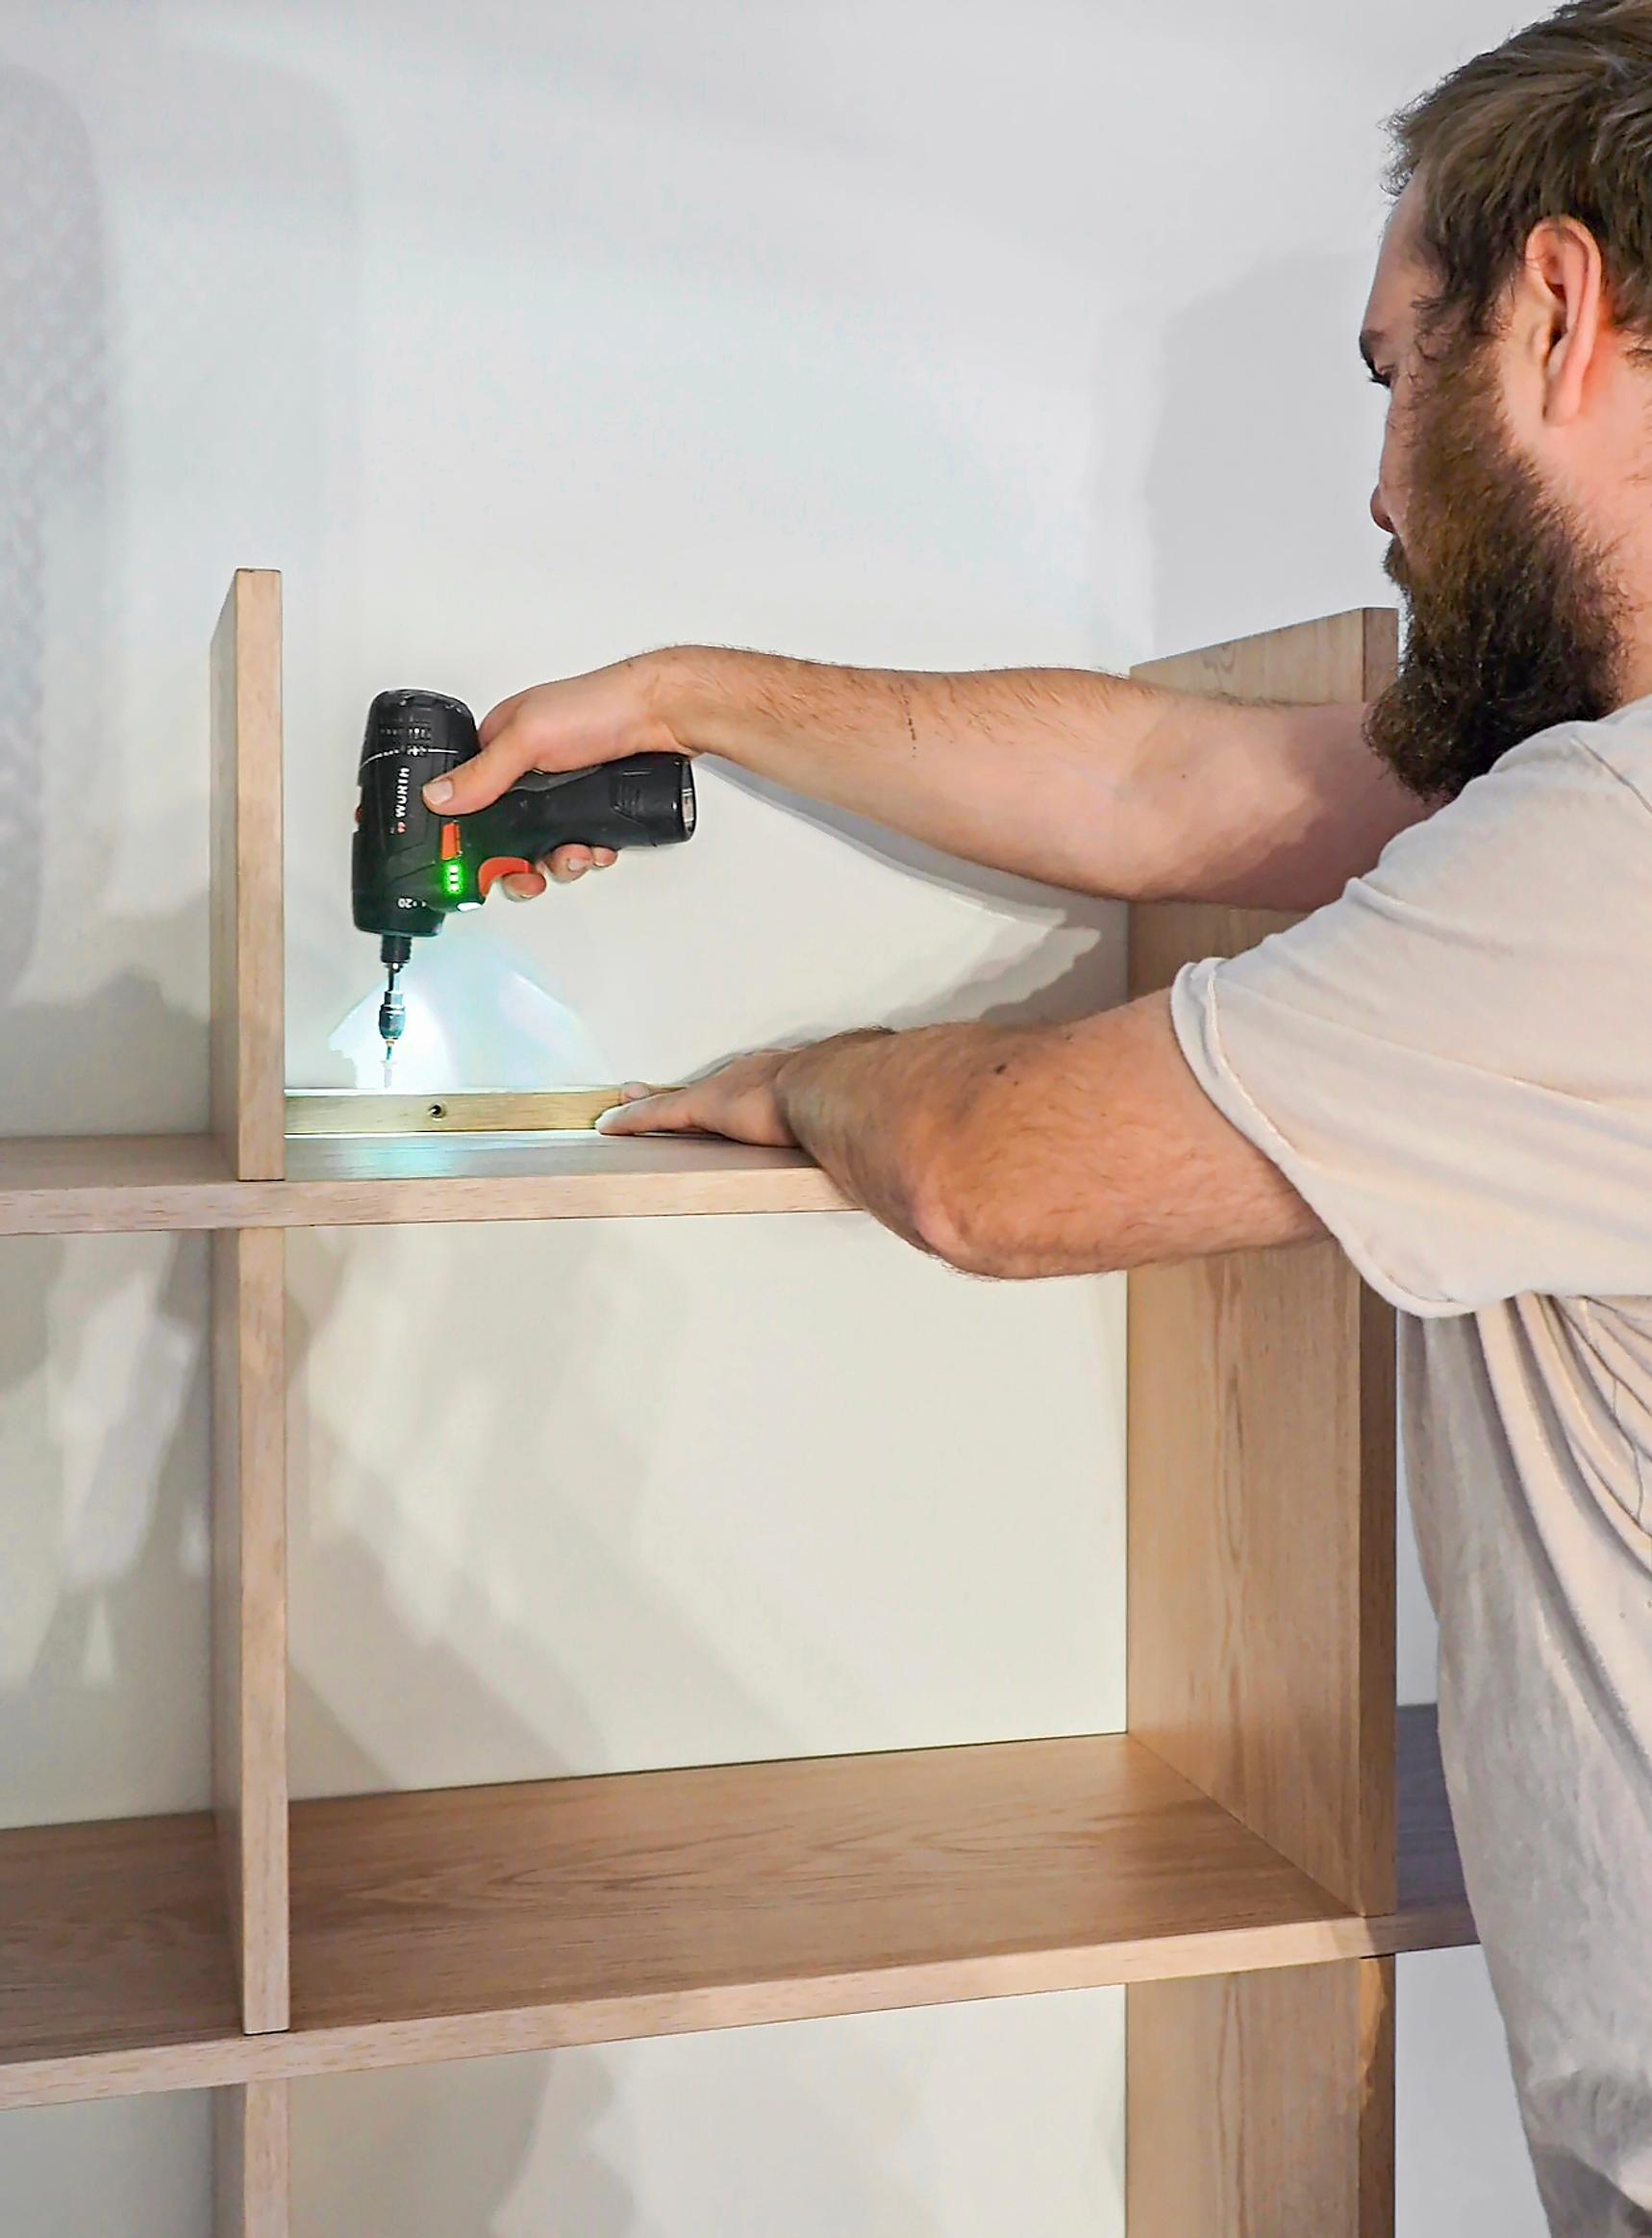
11. If the joints are too tight, you can gently tap the boards into place with a rubber mallet. With the help of another person, lift the shelf from the floor to an upright position against the wall. Secure it firmly to the wall, for example with corner braces at the top and bottom.
Tip!
You can also use a regular hammer. Just place a scrap piece of wood between the hammer and the shelf board.


12. If you want doors on your shelf, you can buy them ready-made or build your own to fit your measurements. Ready-made doors can be found at Ikea or kitchen retailers. You’ll need butt hinges, a cordless driver, and screws to attach them to the shelf. Keep in mind that the hinges will remain visible even when the doors are closed. In our example, we also installed pull-out drawers.
Pro tips:
- With the right finish, you can significantly change the look of the wall-mounted shelving unit.
- A shelf assembled with joints is easy to disassemble if needed, for example when moving.
- You can also install pull-out drawers to the shelf for convenient storage of small items.
- Keep in mind that if the base of the shelf is too low, you won’t be able to vacuum under it.