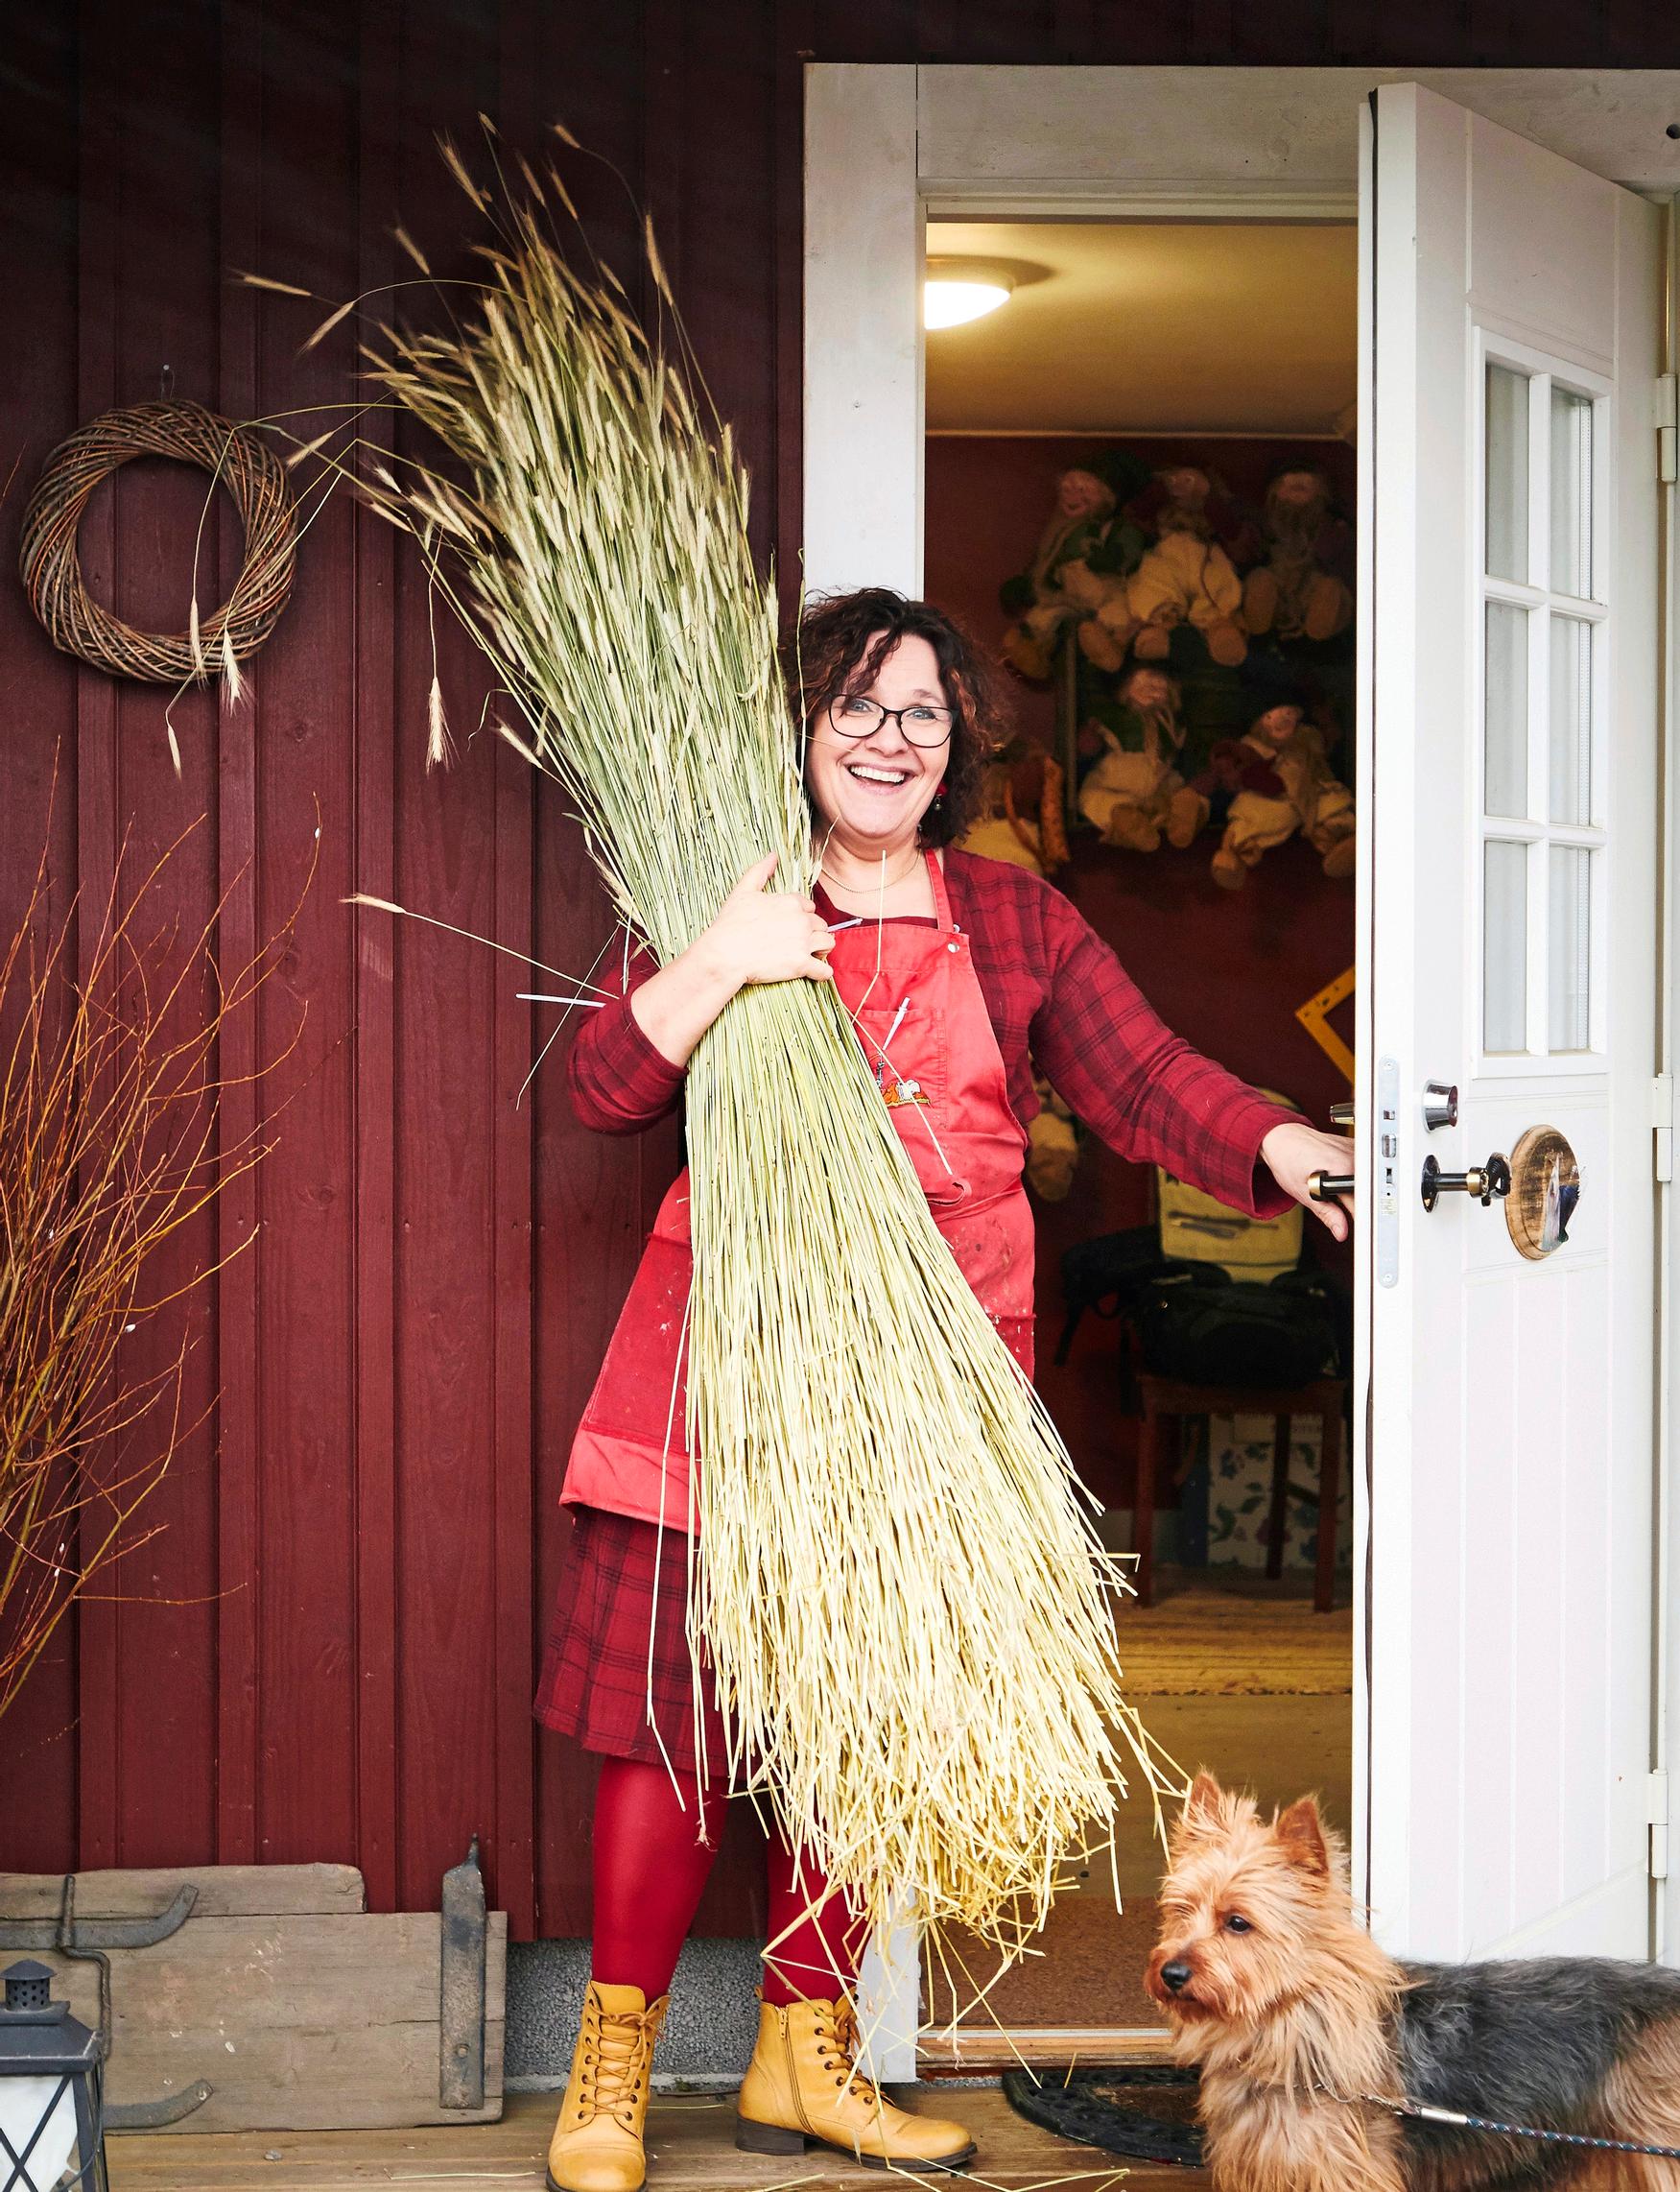
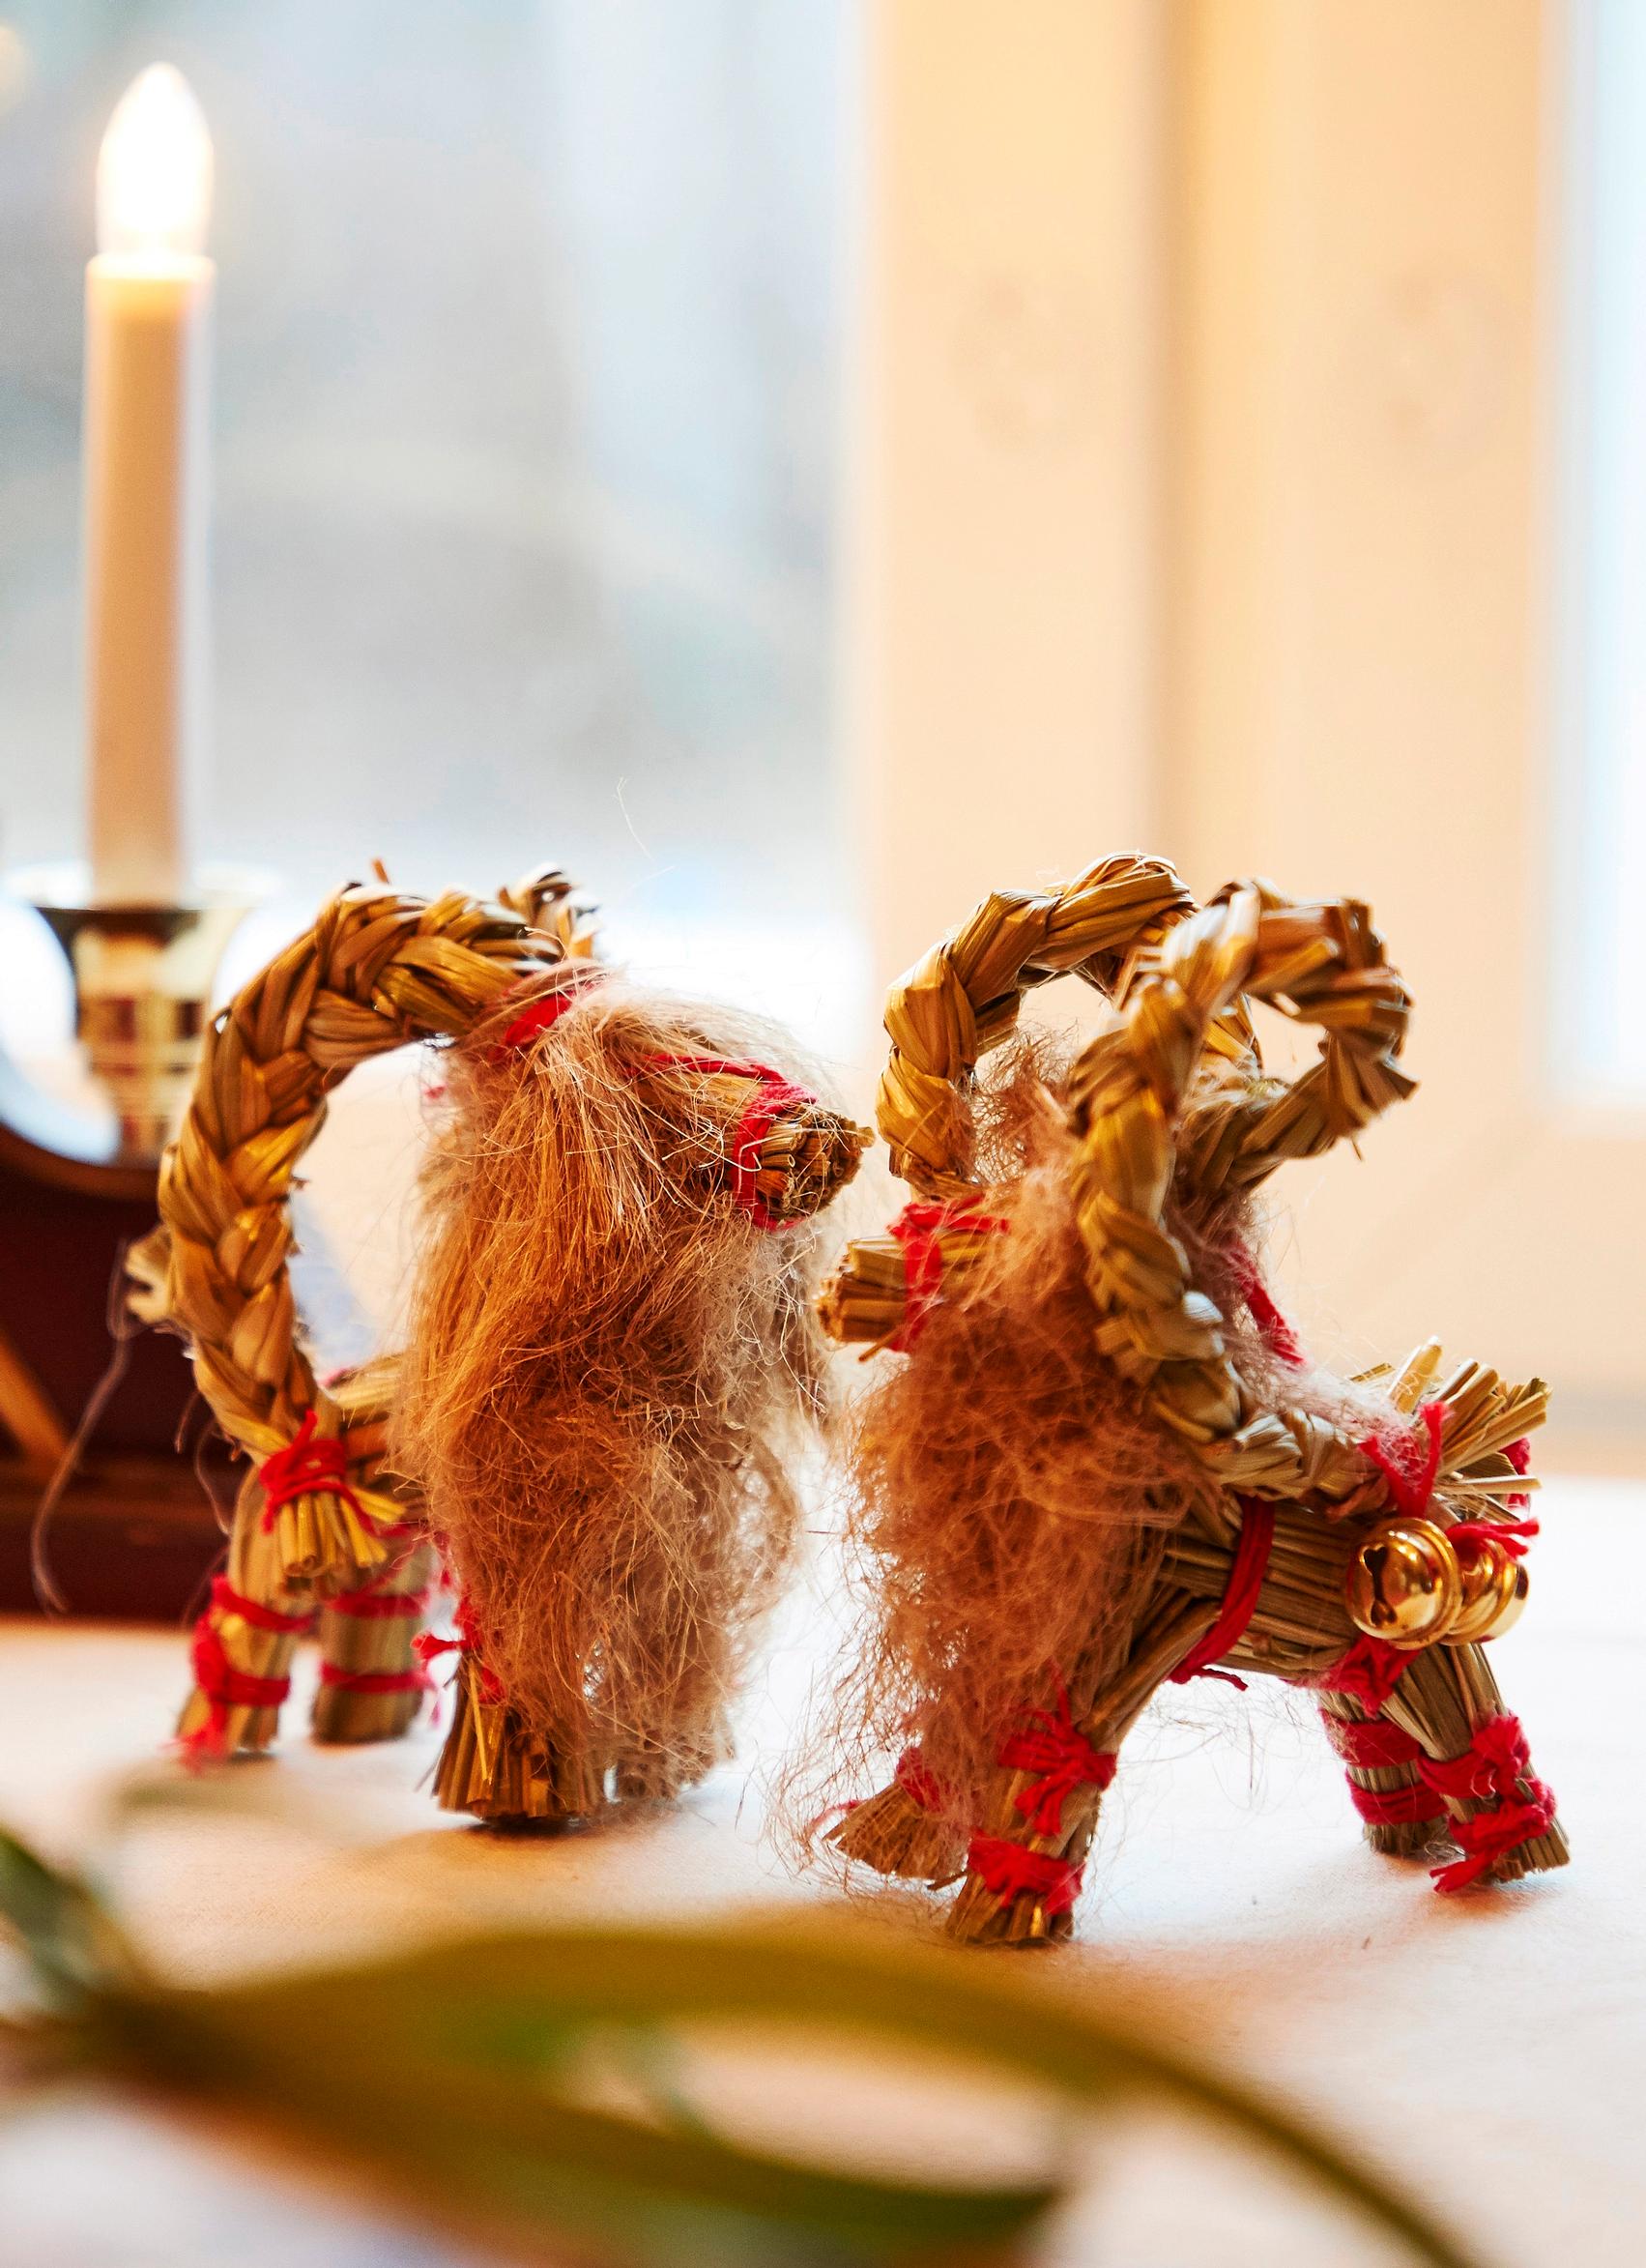
Meet Maria, one of the few traditional straw goat makers: “This technique must be kept alive”
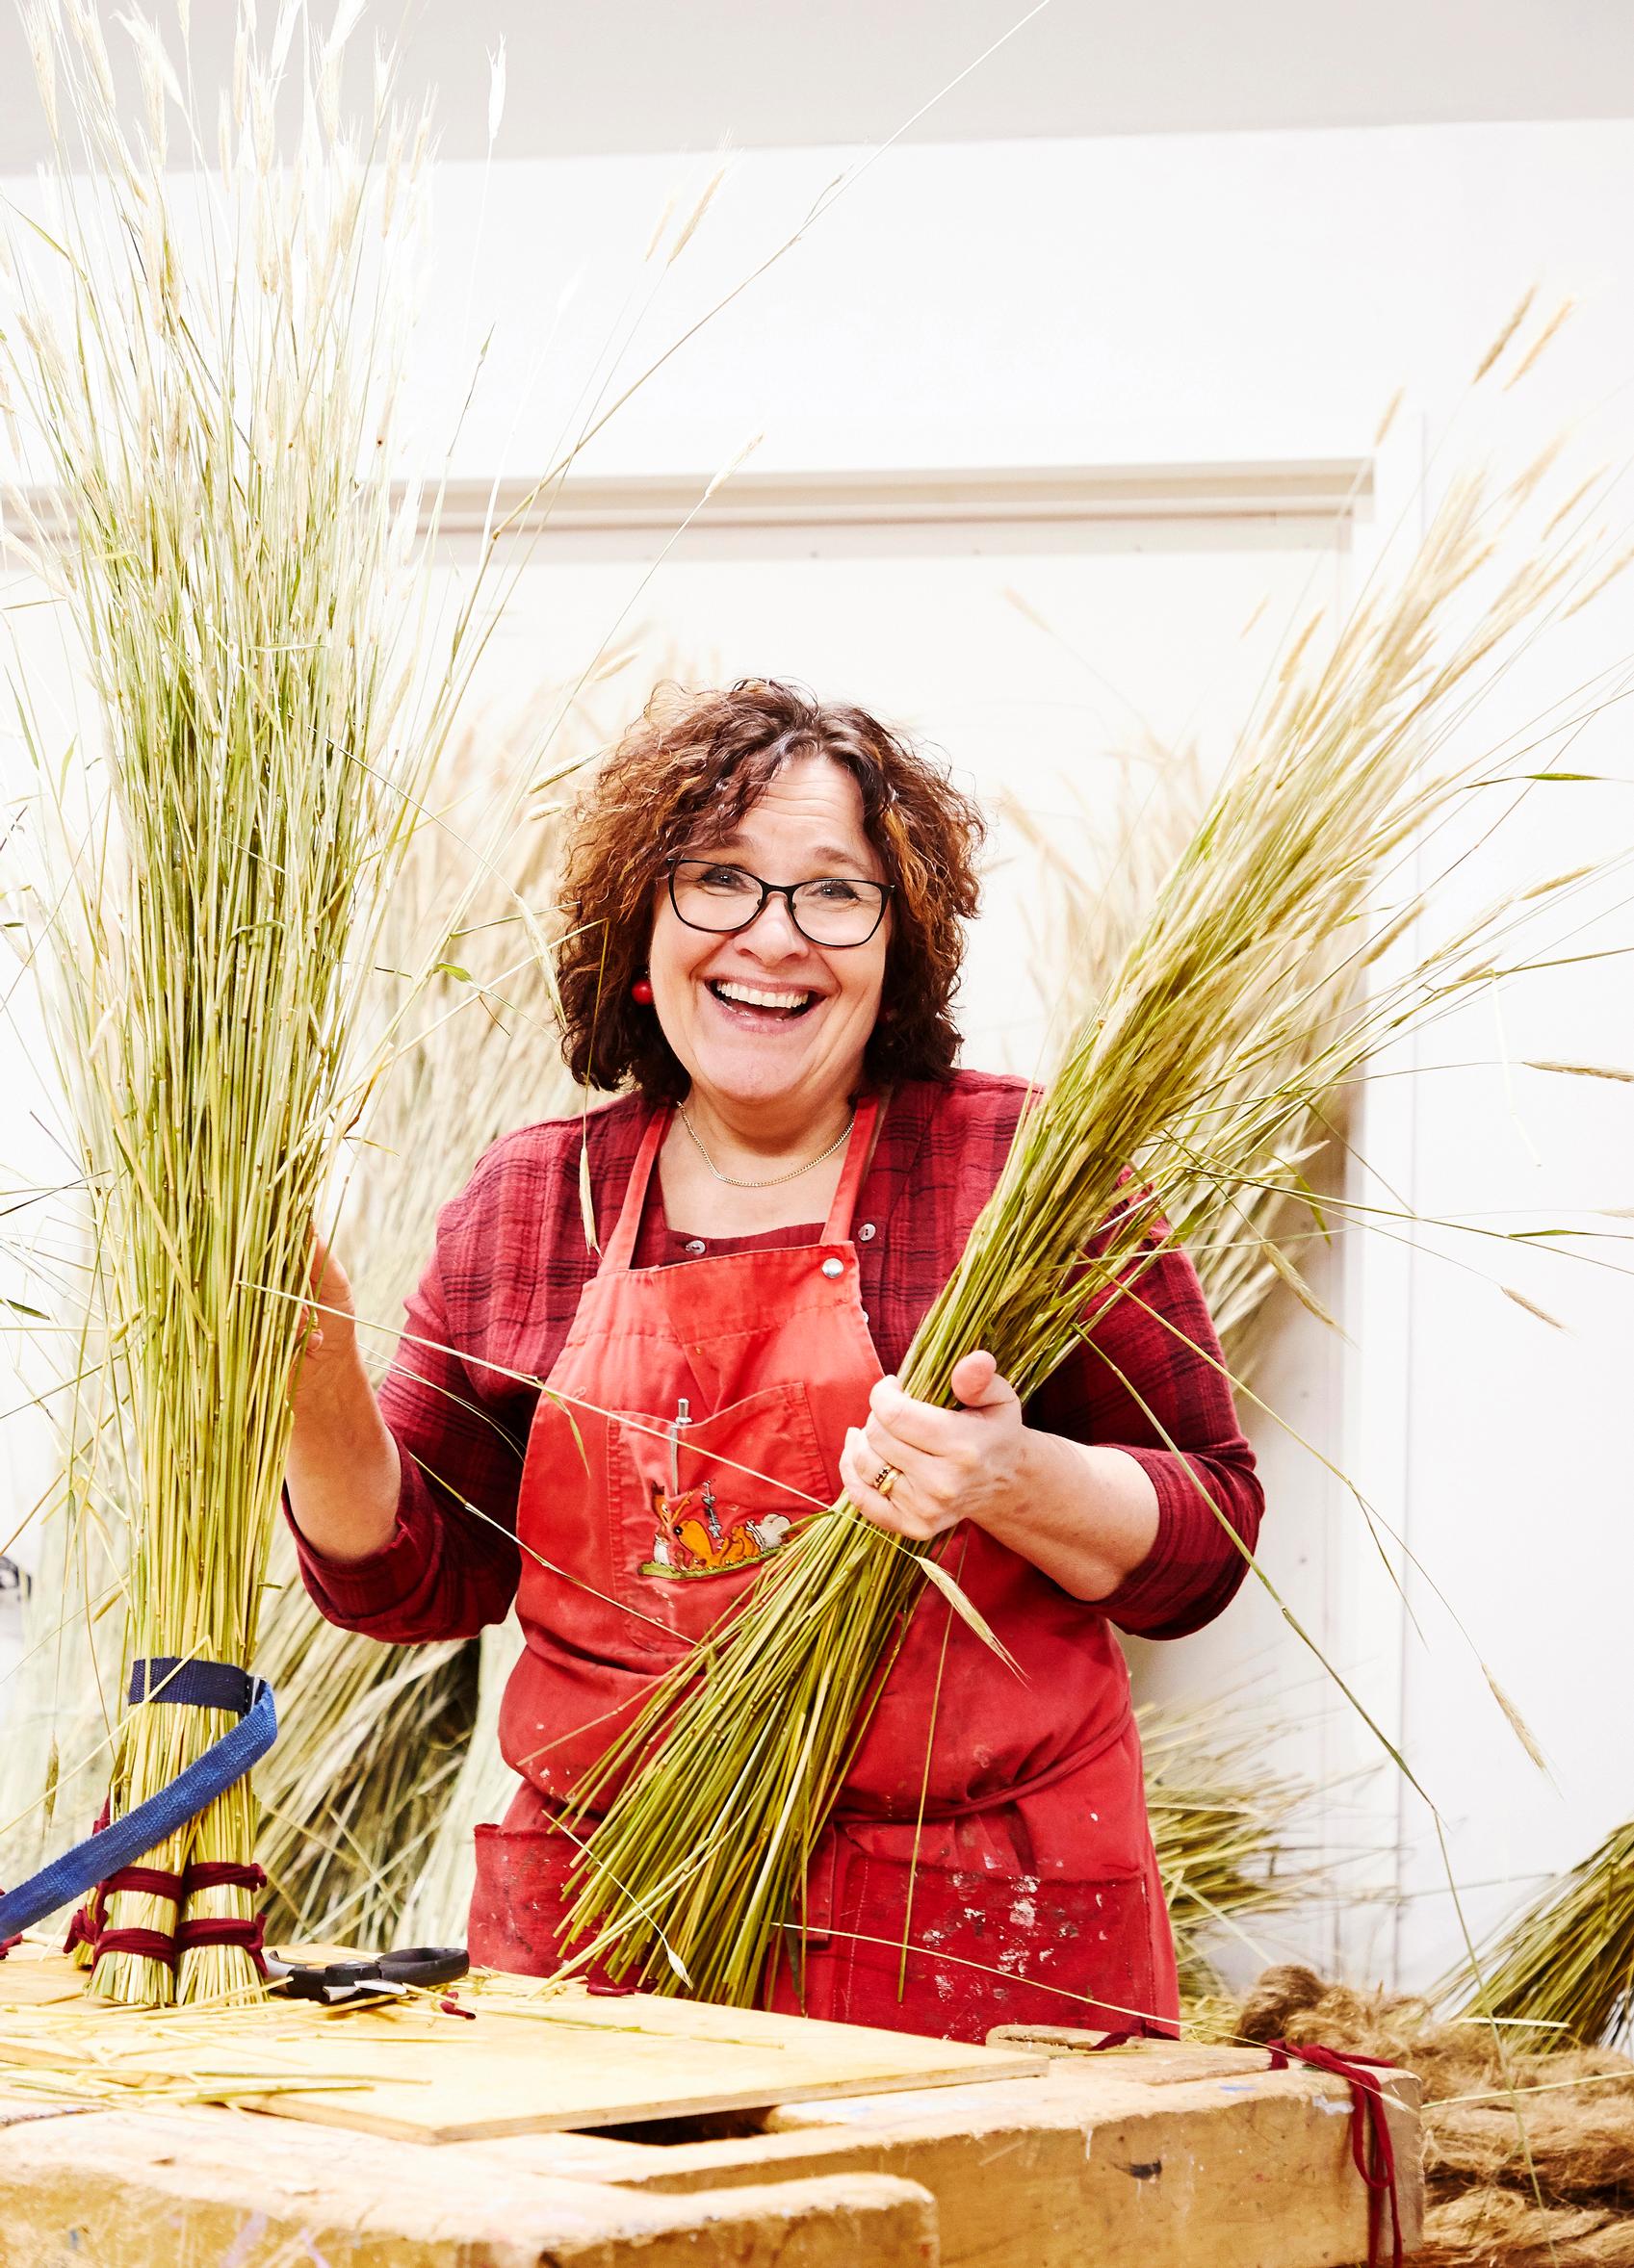
Maria Viitala has a skill that is growing increasingly rare: she crafts traditional straw goats. She happily shares her expertise to help keep this heritage alive. Her straw goats are made from straw as tall as she is, grown in her own field.

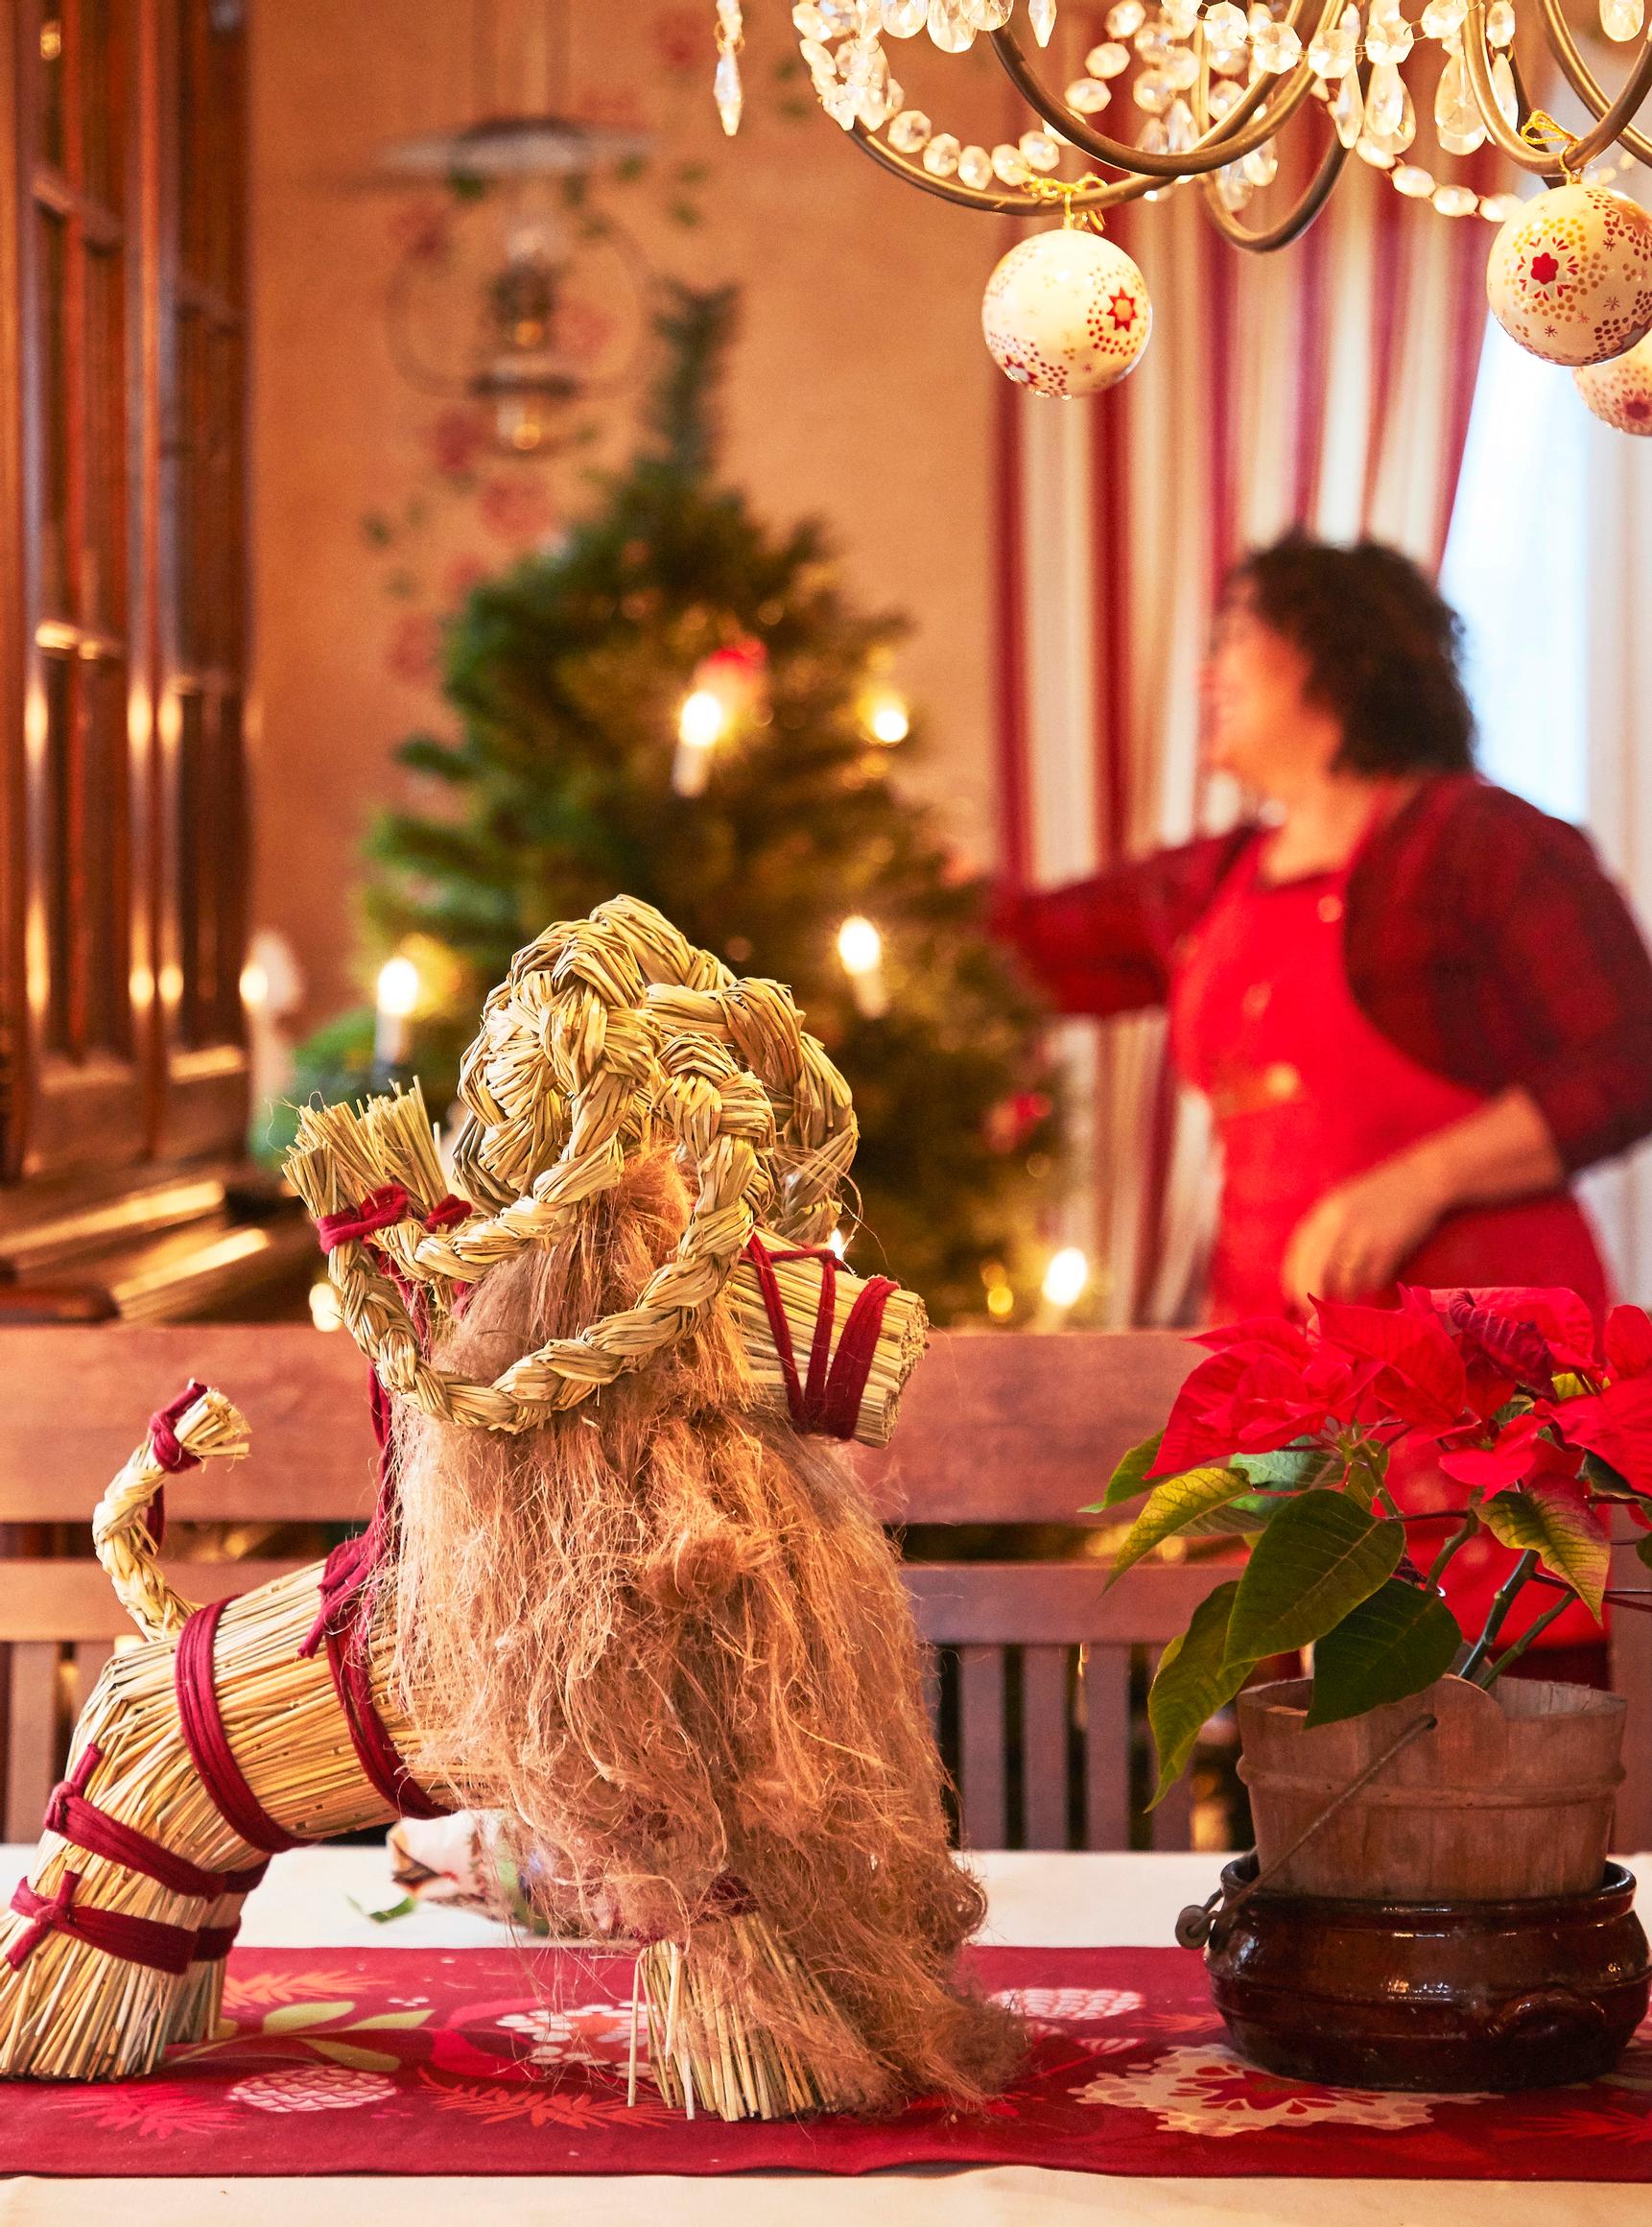
“When people ask why straw goats are so important to me, I talk about emotions. About how, when I was a little girl, Christmas only truly began after my mother placed a big goat on the table. Or how there are only a handful of traditional straw goat makers left, and we must keep this technique alive. Finnish ornaments made from natural materials easily outshine cheap plastic from China. The grain that grows in this rugged land is authentic and ours.
Talent is about two percent. Everything else is about carrying on, even if you stumble.
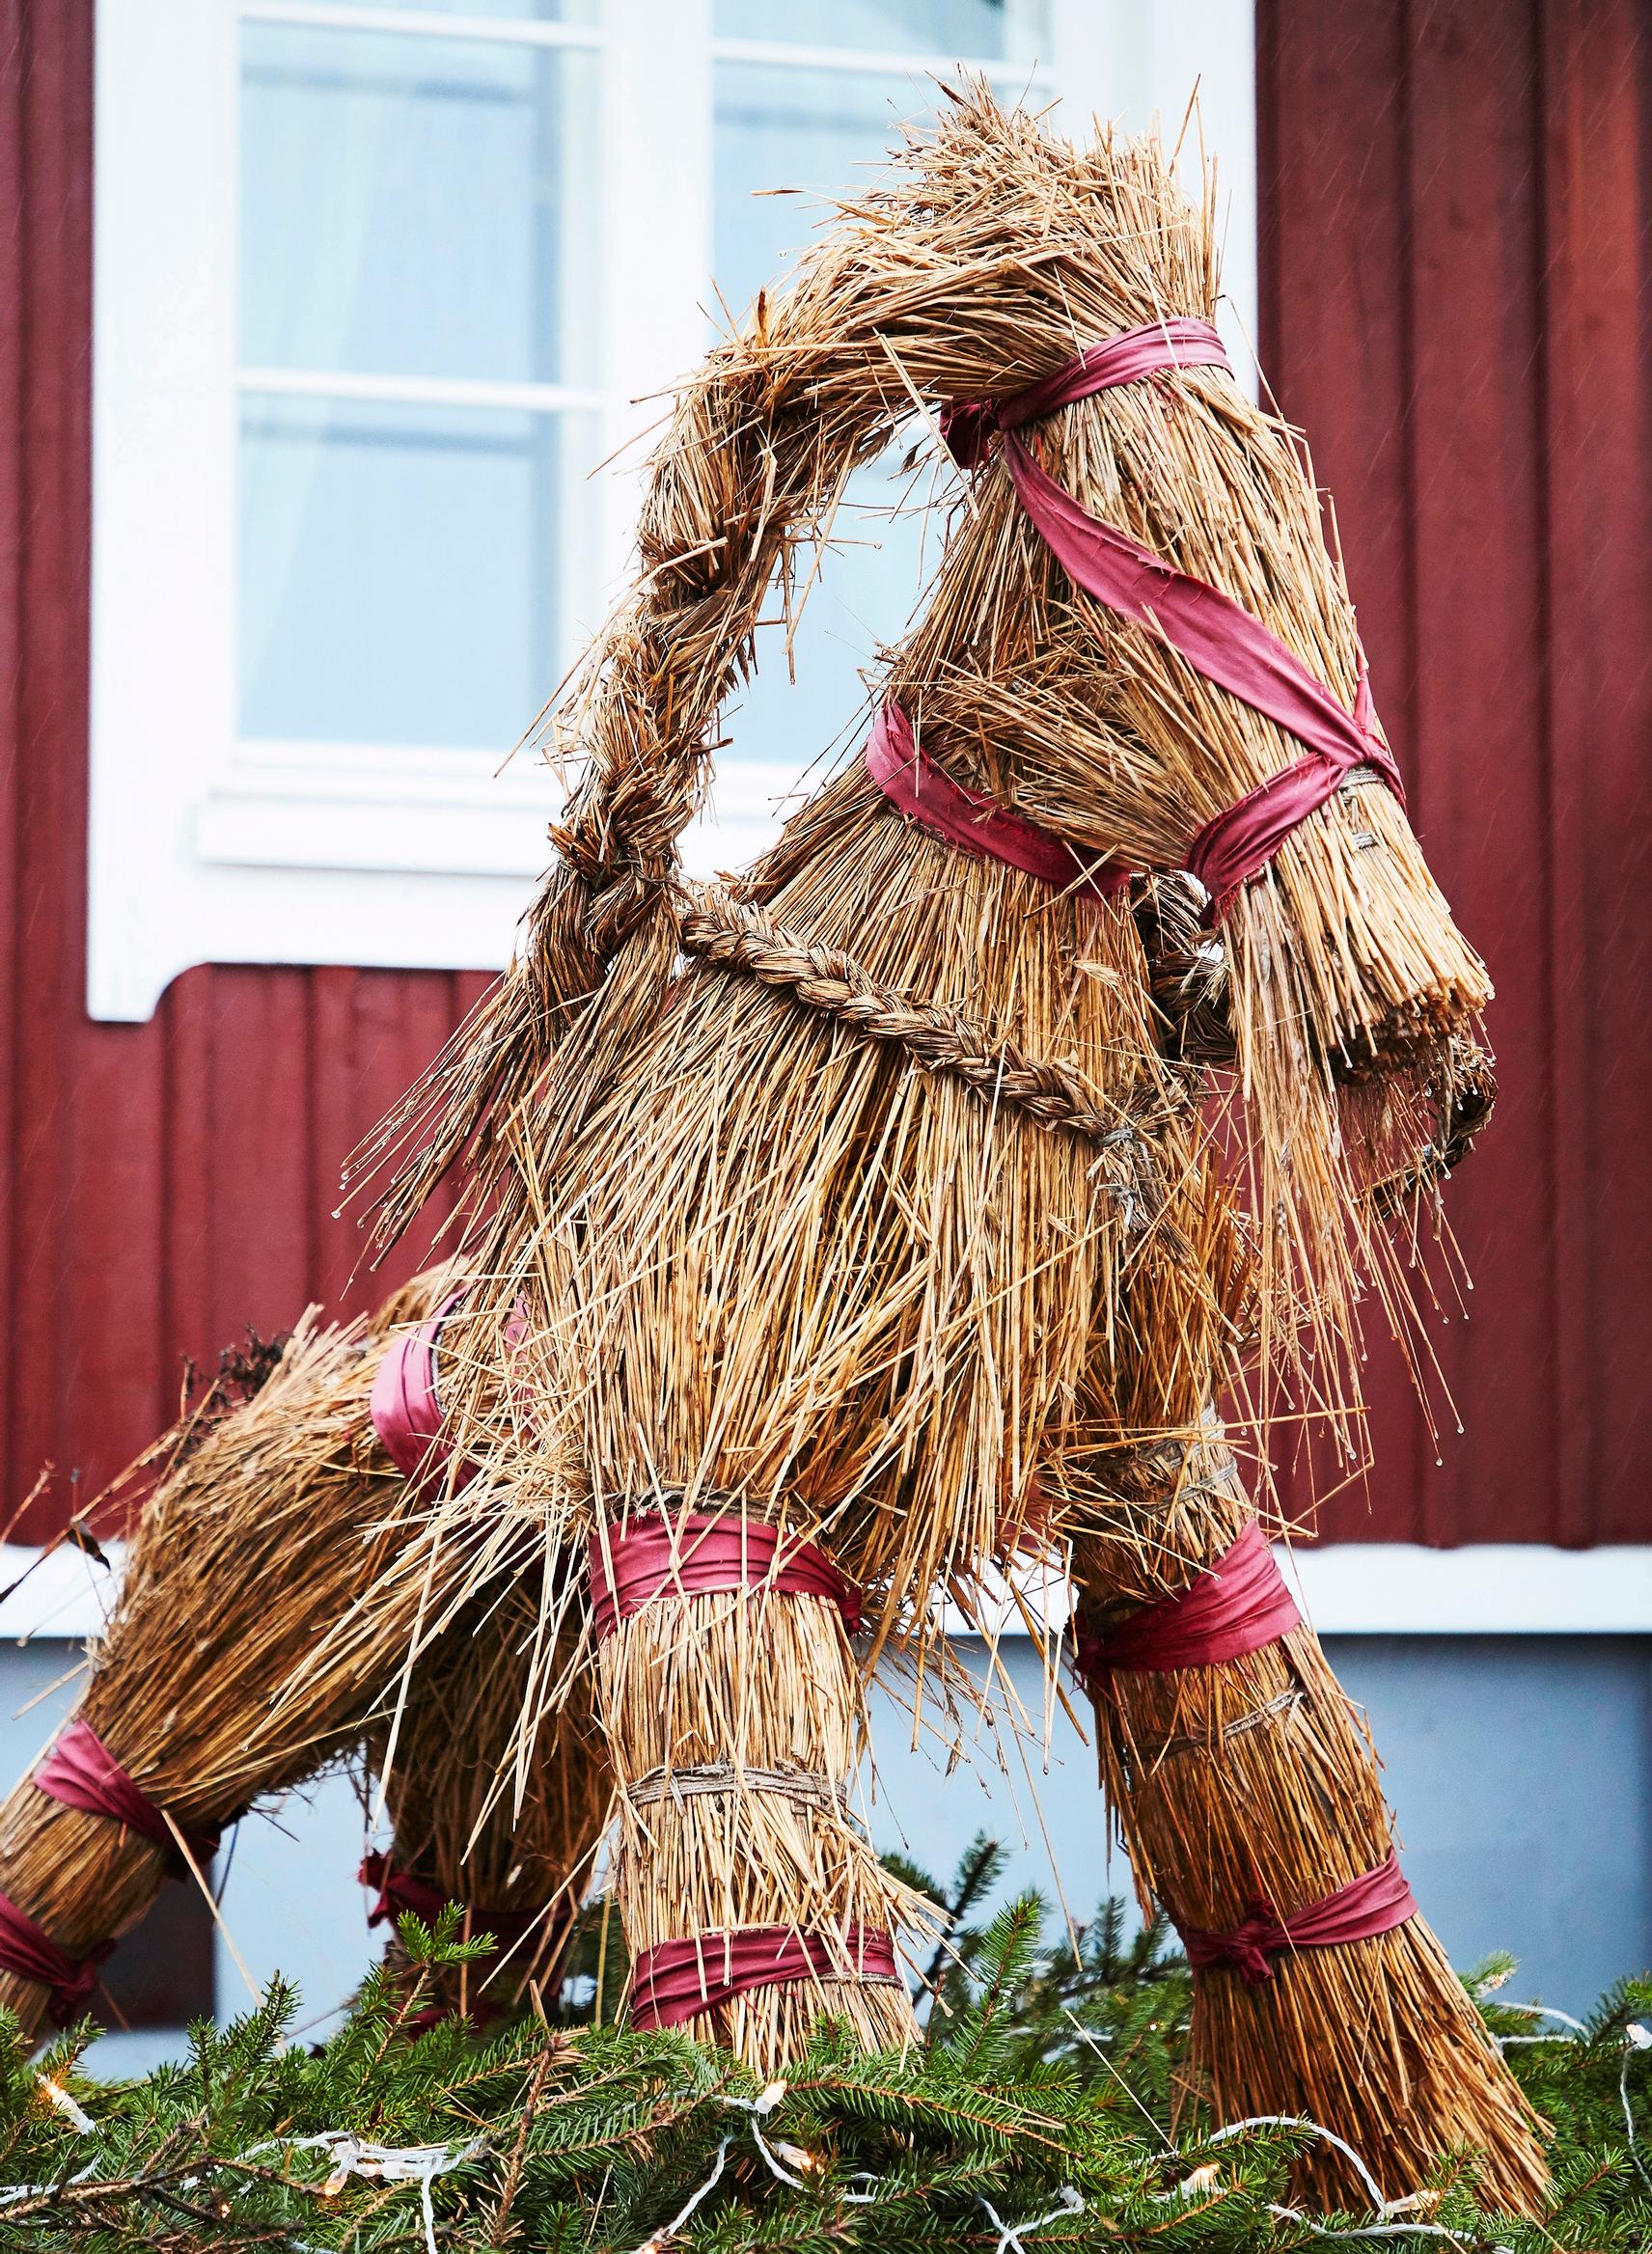
My first straw goat took plenty of trial and error. I still have it, but it’s quite loose and saggy. My technique is much better now, and I know how to make a straw goat that will stand tall for decades.


I owe my skills to the seasoned experts and colleagues in this field. By sharing knowledge, we keep the tradition alive. This secret needs to be passed on.
I start working on a new straw goat family as early as May. I sow specific rye seeds, which grow to about my height. It’s an excellent material, offering plenty of length even for big goats.
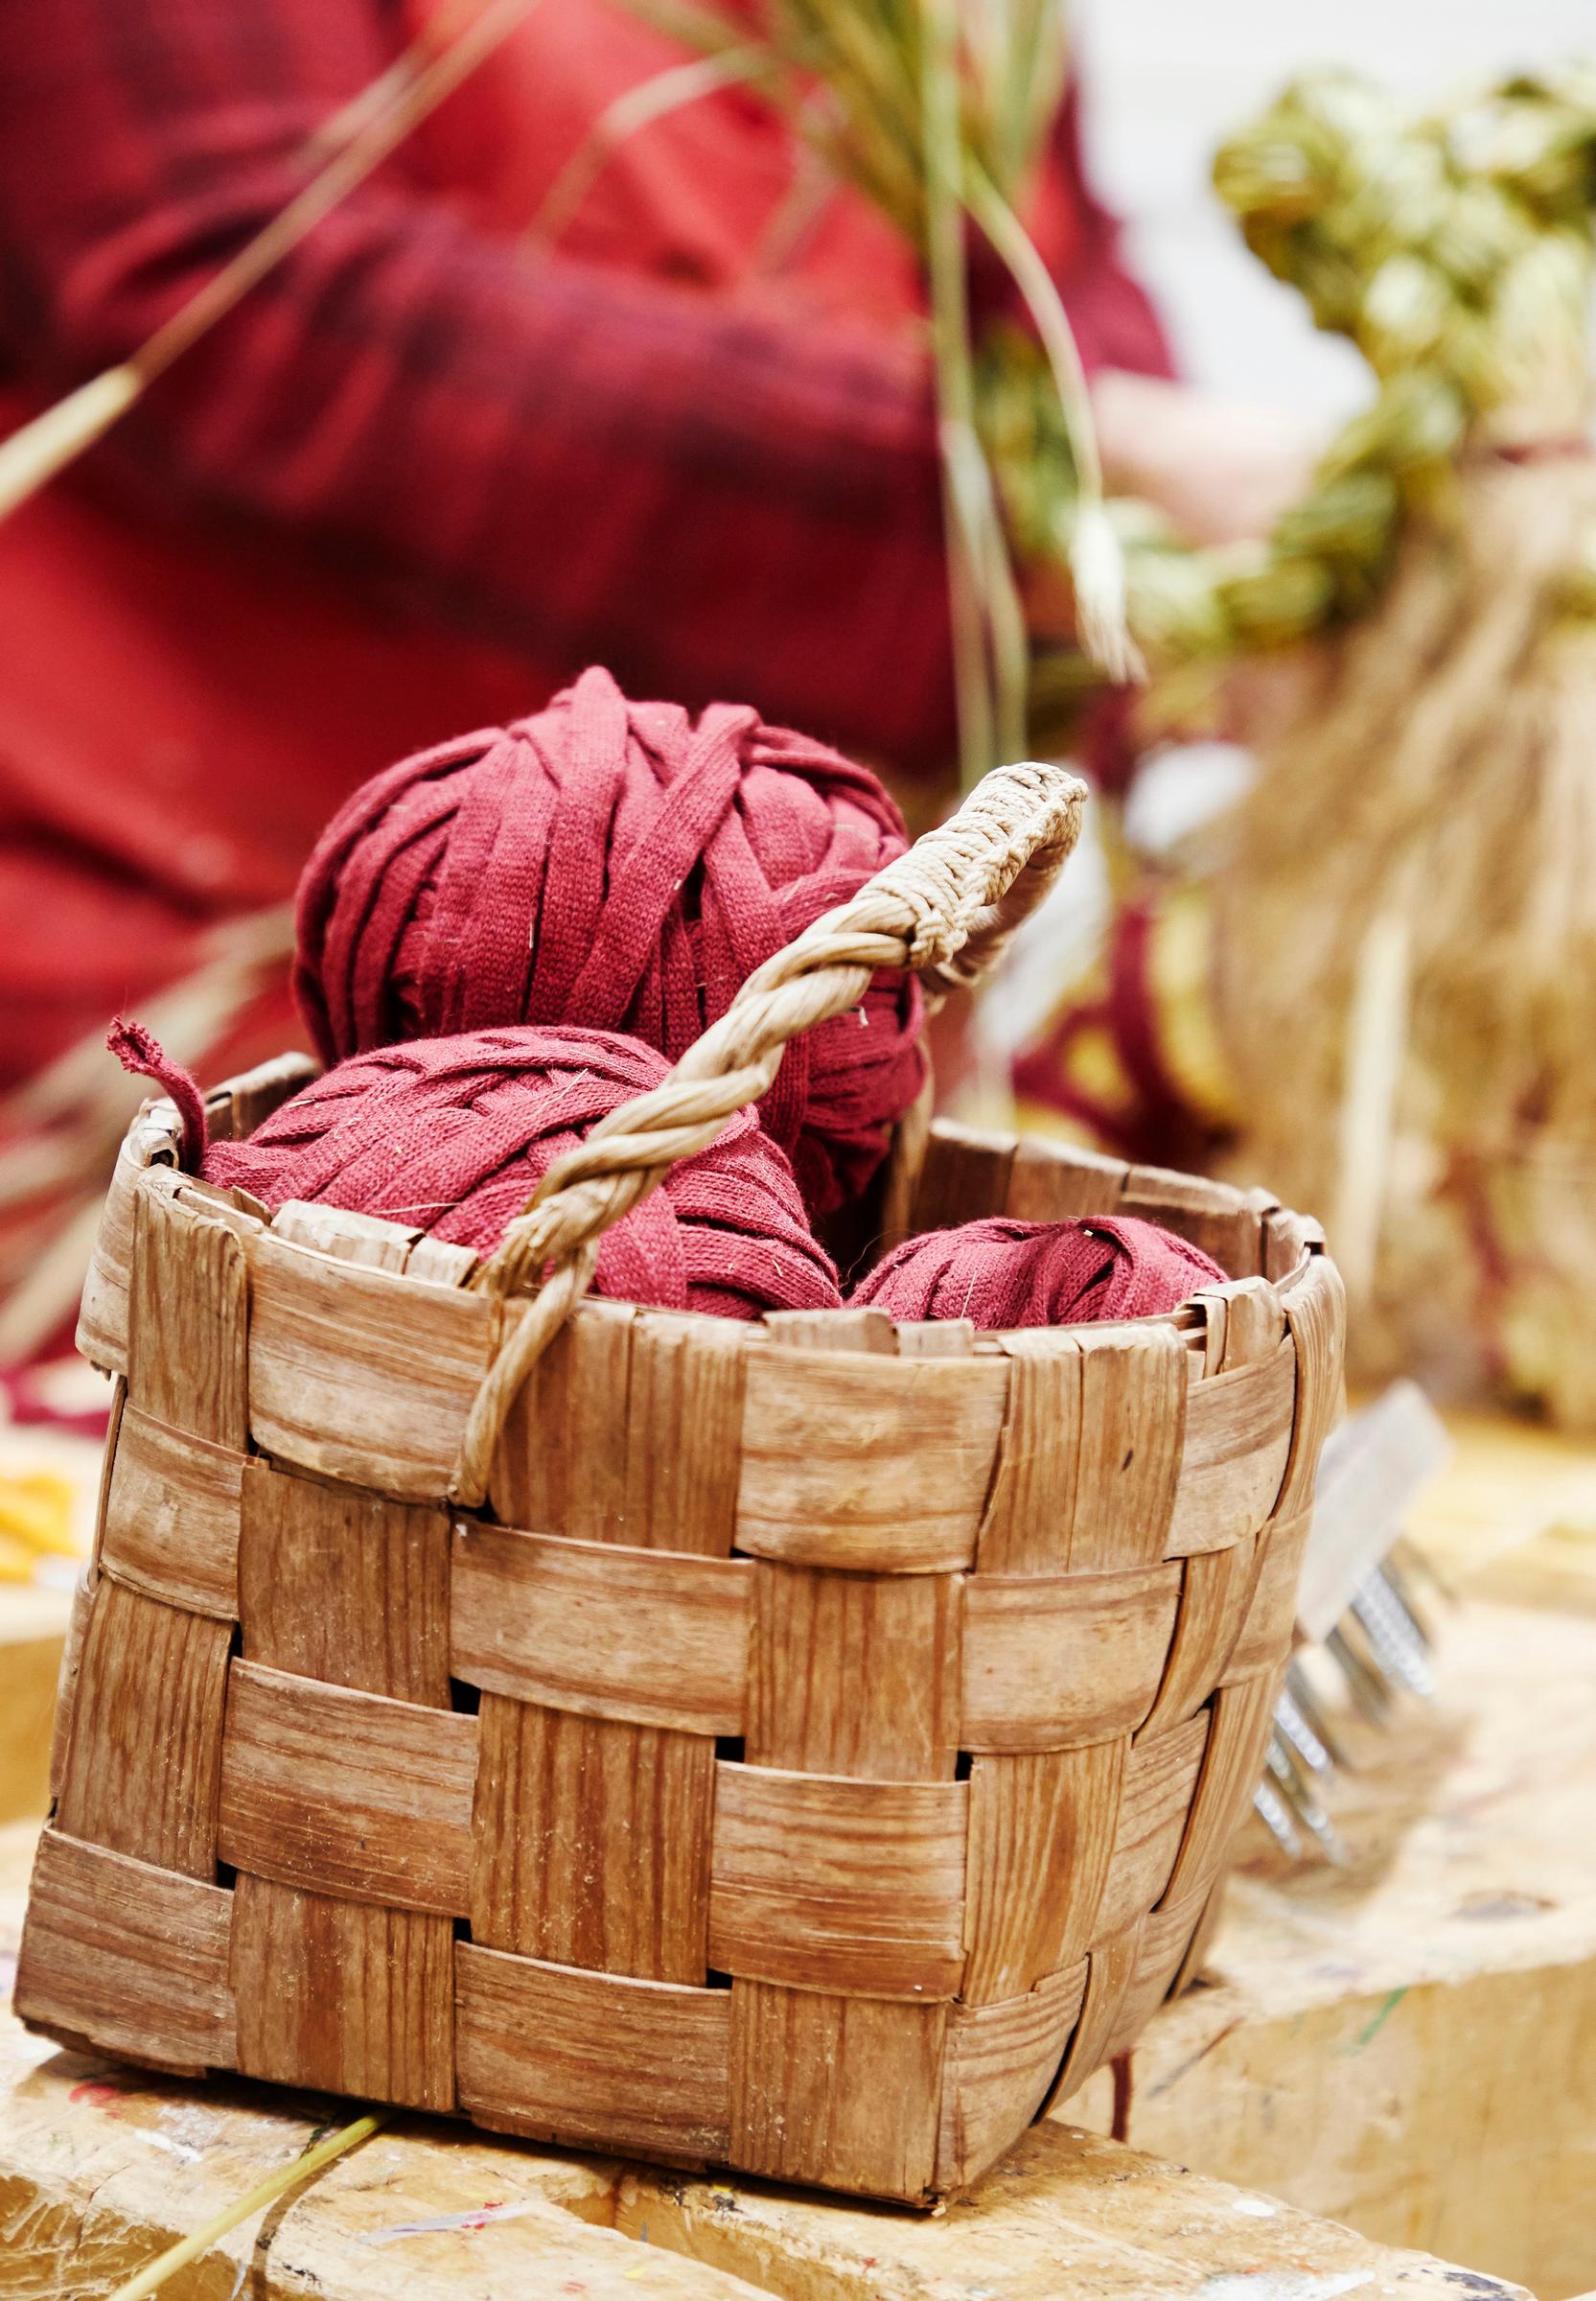
I no longer sow seeds by hand from a seed basket, because my husband gave me a seeder as a gift. The device was found second hand for just 80 euros. Now I can sow in style. Since I’m left-handed, I need my own tools. I ordered a sickle from a blacksmith, custom-made to fit my hand so I can harvest with ease.


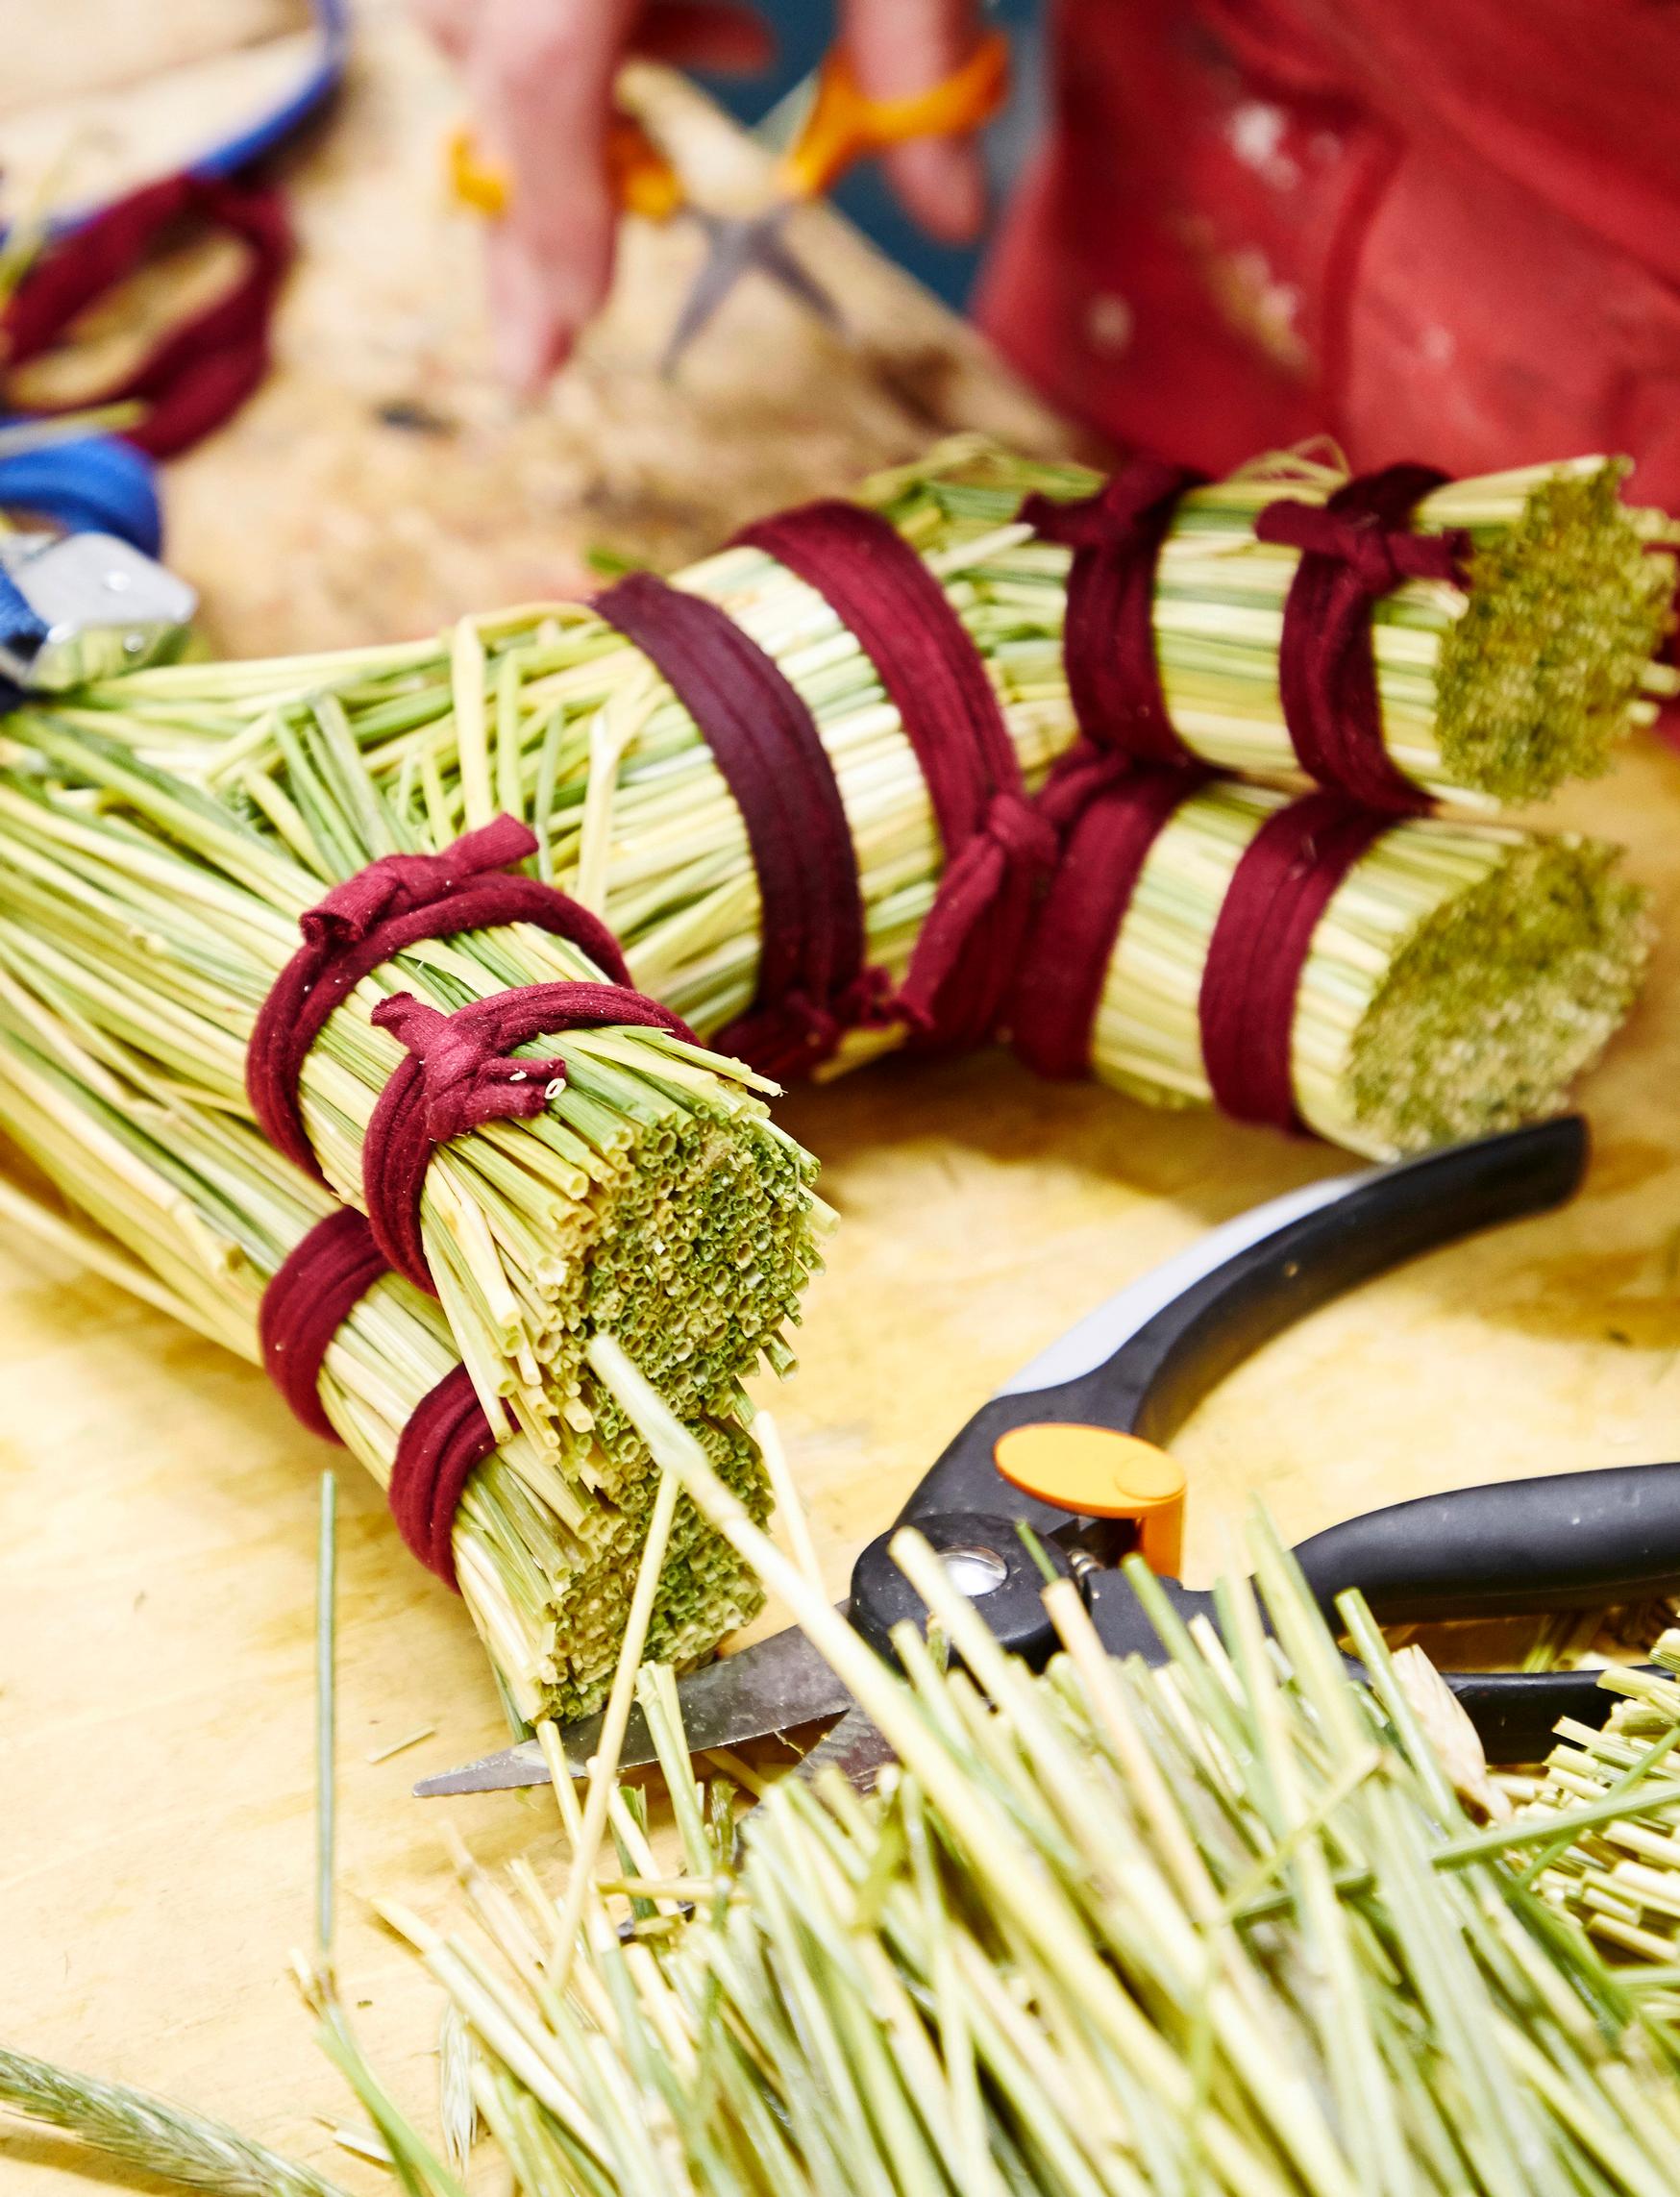
My field is in locted in another town. I harvest the grain while it’s still green, before the ears fully develop.
Depending on the size, making a straw goat can take anywhere from half an hour to an hour or more. Before I can start bending the straw, it has to soak. After a few hours in water, the straw becomes pliable and easy to shape.
The most important tools are fish shears, a wool knife, and a tightening strap. First, I tighten the spot to be tied with the strap, then I wrap red rug yarn three times around both sides. I finish with two simple knots placed on top of each other.
I know how to keep a goat’s posture intact for decades.
Maria’s tips for making a traditional straw goat

Make the first ties around the goat’s belly. Then separate and braid a small bundle of rear straw into a tail. Divide the remaining rear straw into two parts, fold them down, and tie them for the legs.

The front straw is divided between the head and the front legs. Fold the head straw upward and the leg straw downward. Add more straw to the neck.

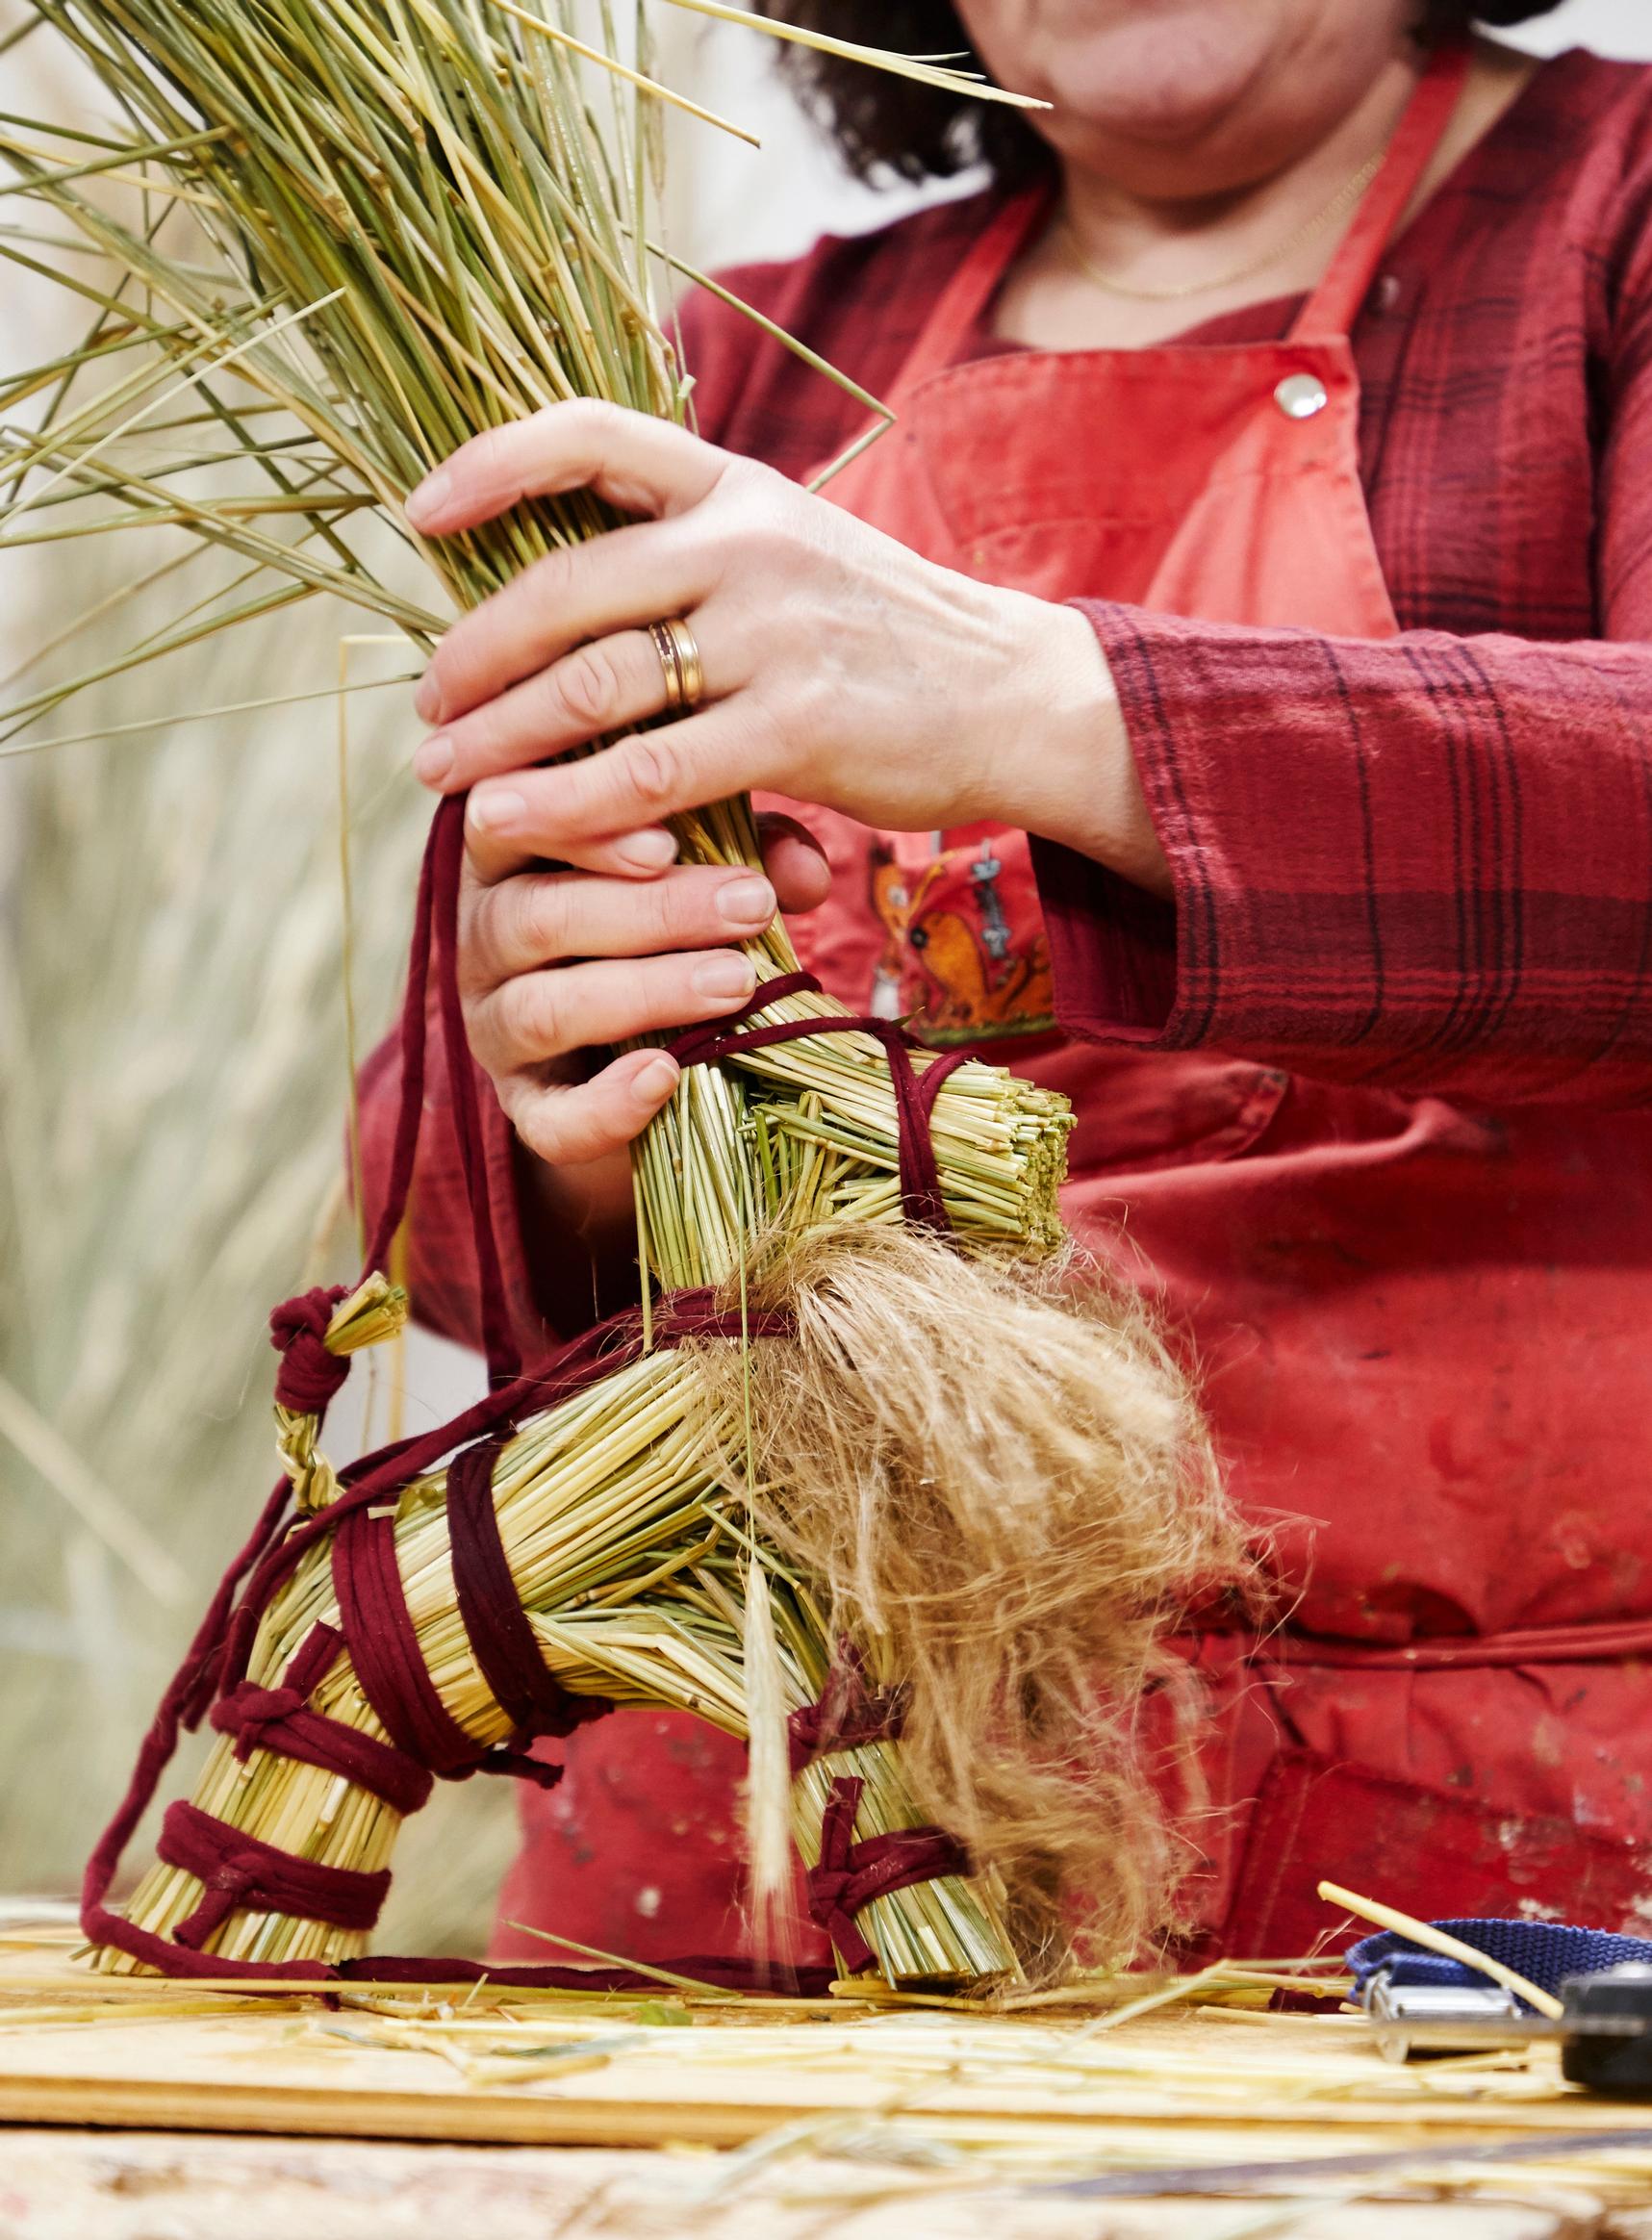
The straw at the front of the goat is also divided between the head and the front legs. Separate the front legs into bundles, tighten, and tie. Cut the legs evenly with the wool knife. Be precise so your goat stands straight and steady. Tighten and tie the goat’s neck. Add the beard and tie again.

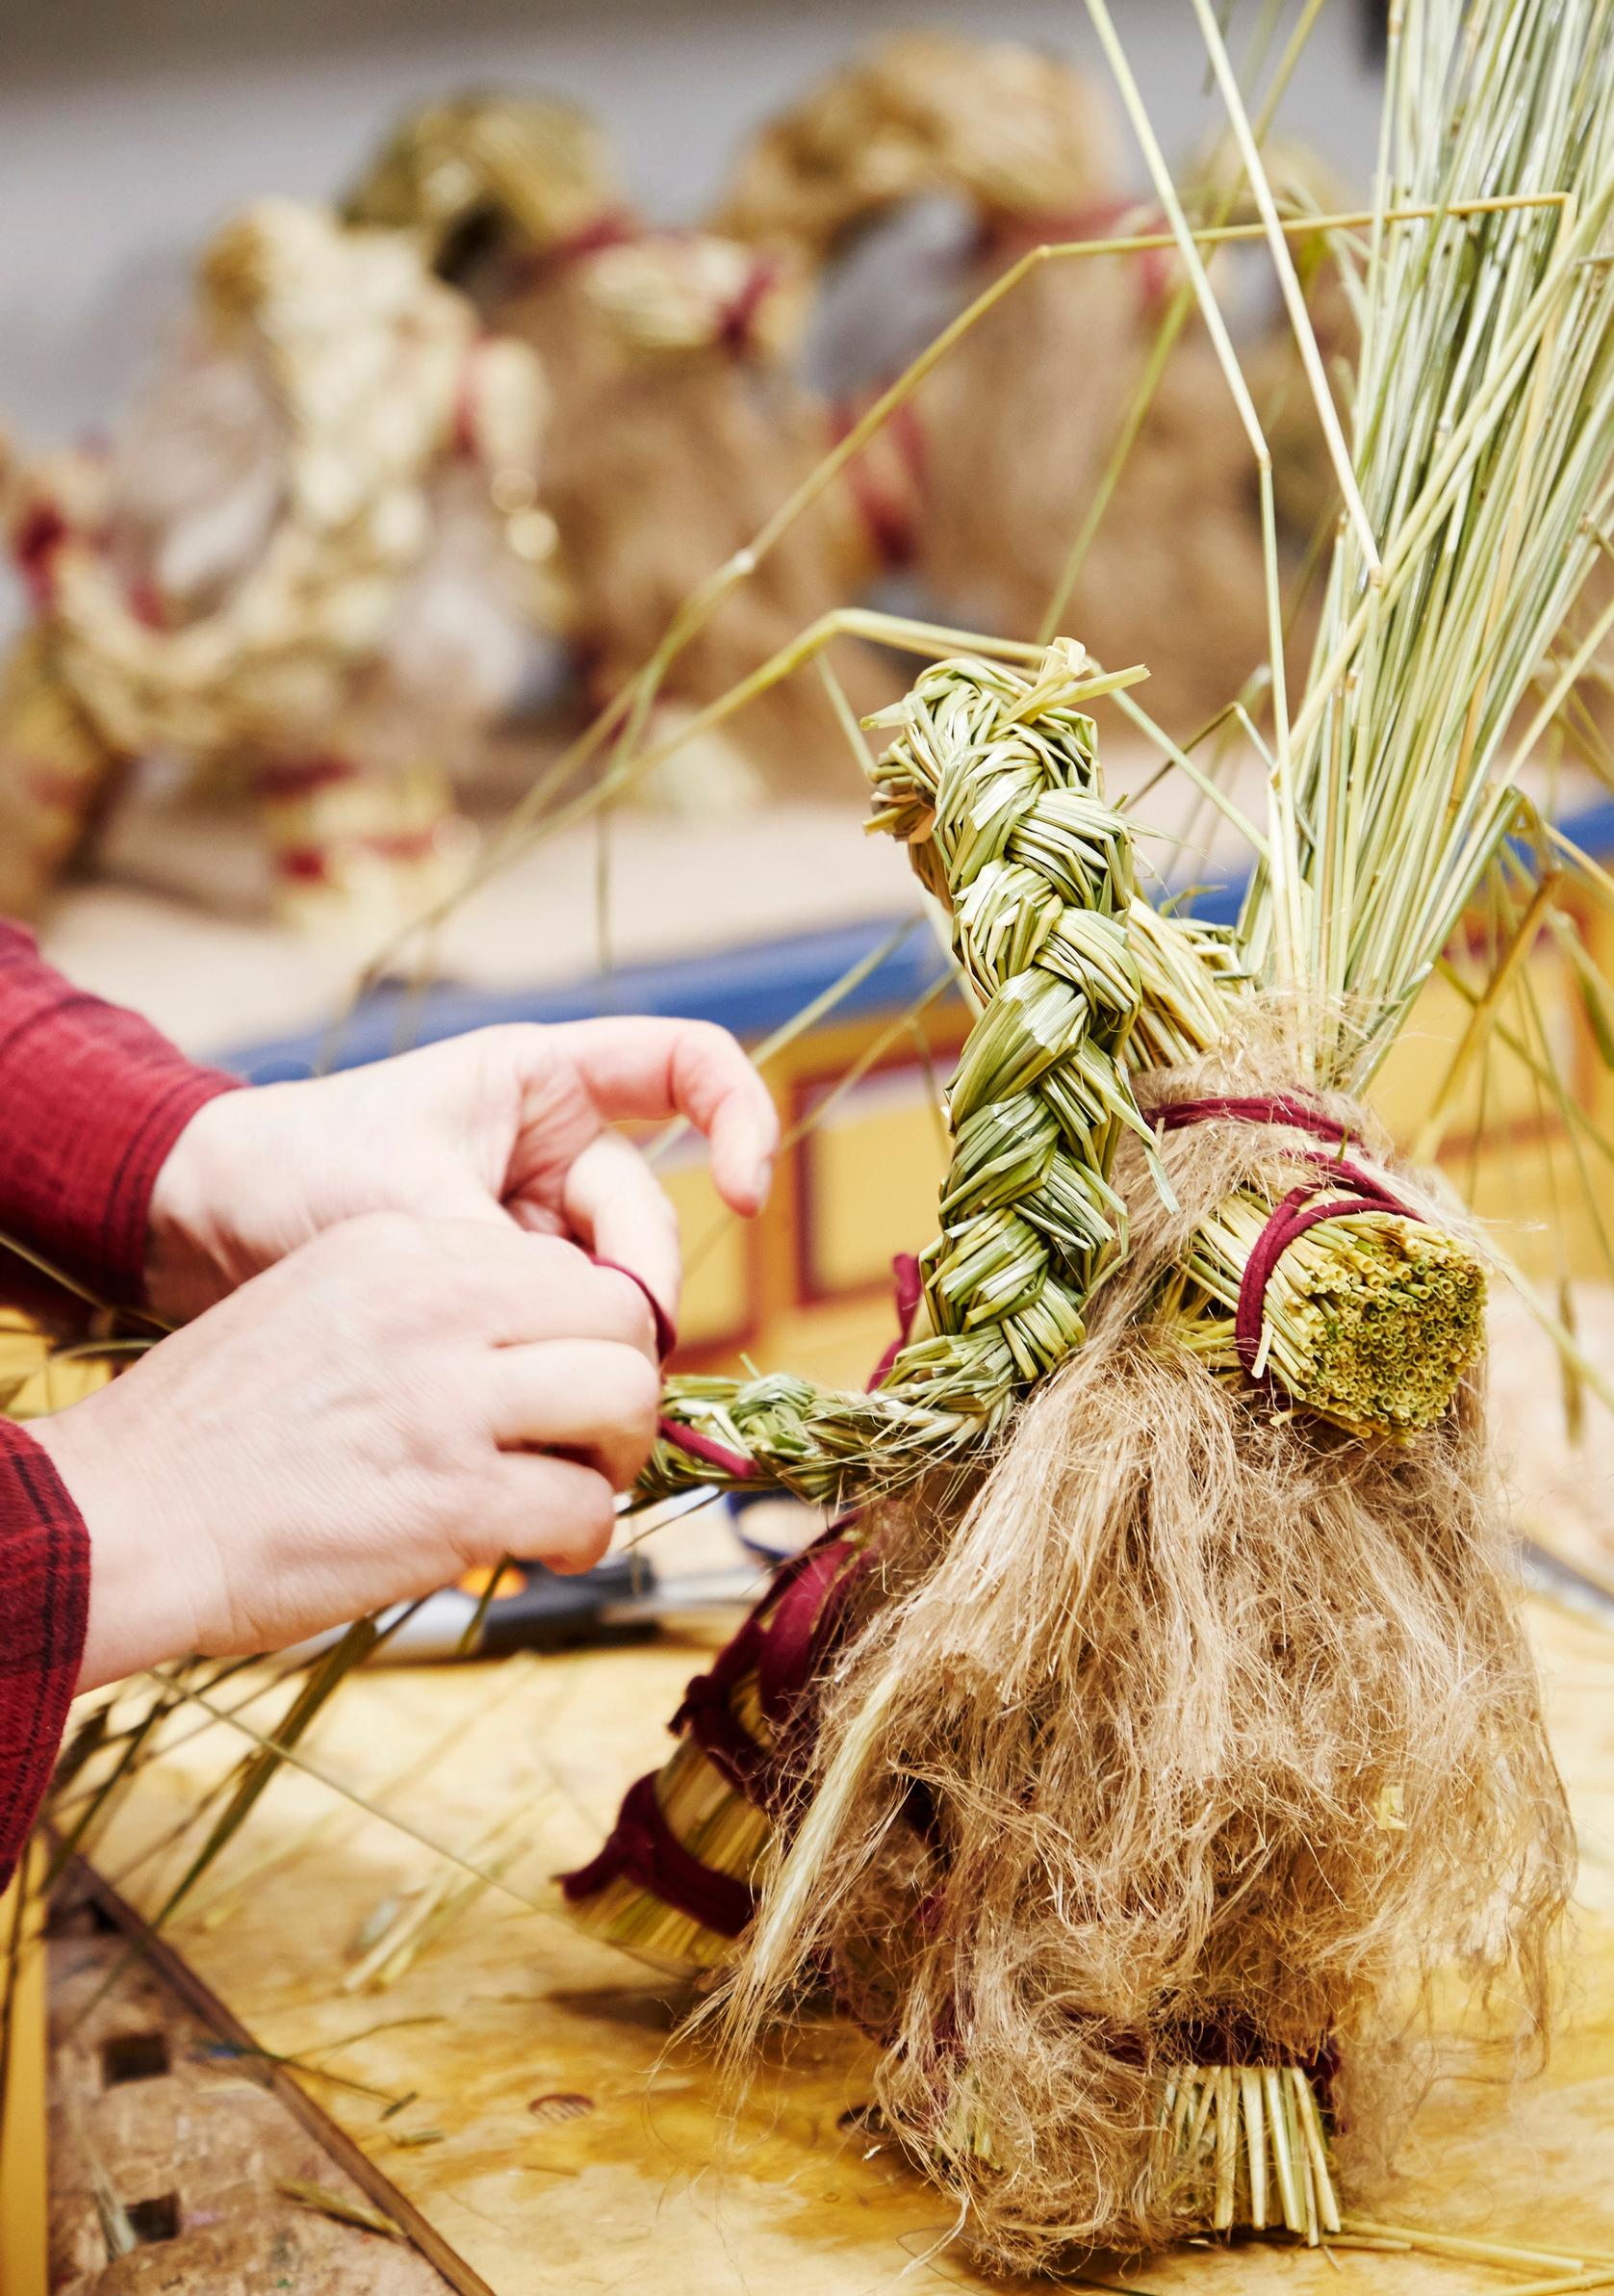
Divide the head into the snout and horns by folding the straw in different directions. Add more straw at the fold. Add flax for the side whiskers. Tie the snout. Split the horn straw in half. Begin braiding, keeping in mind from the start the horn shape you want. If you want them curved, braid in a curve.