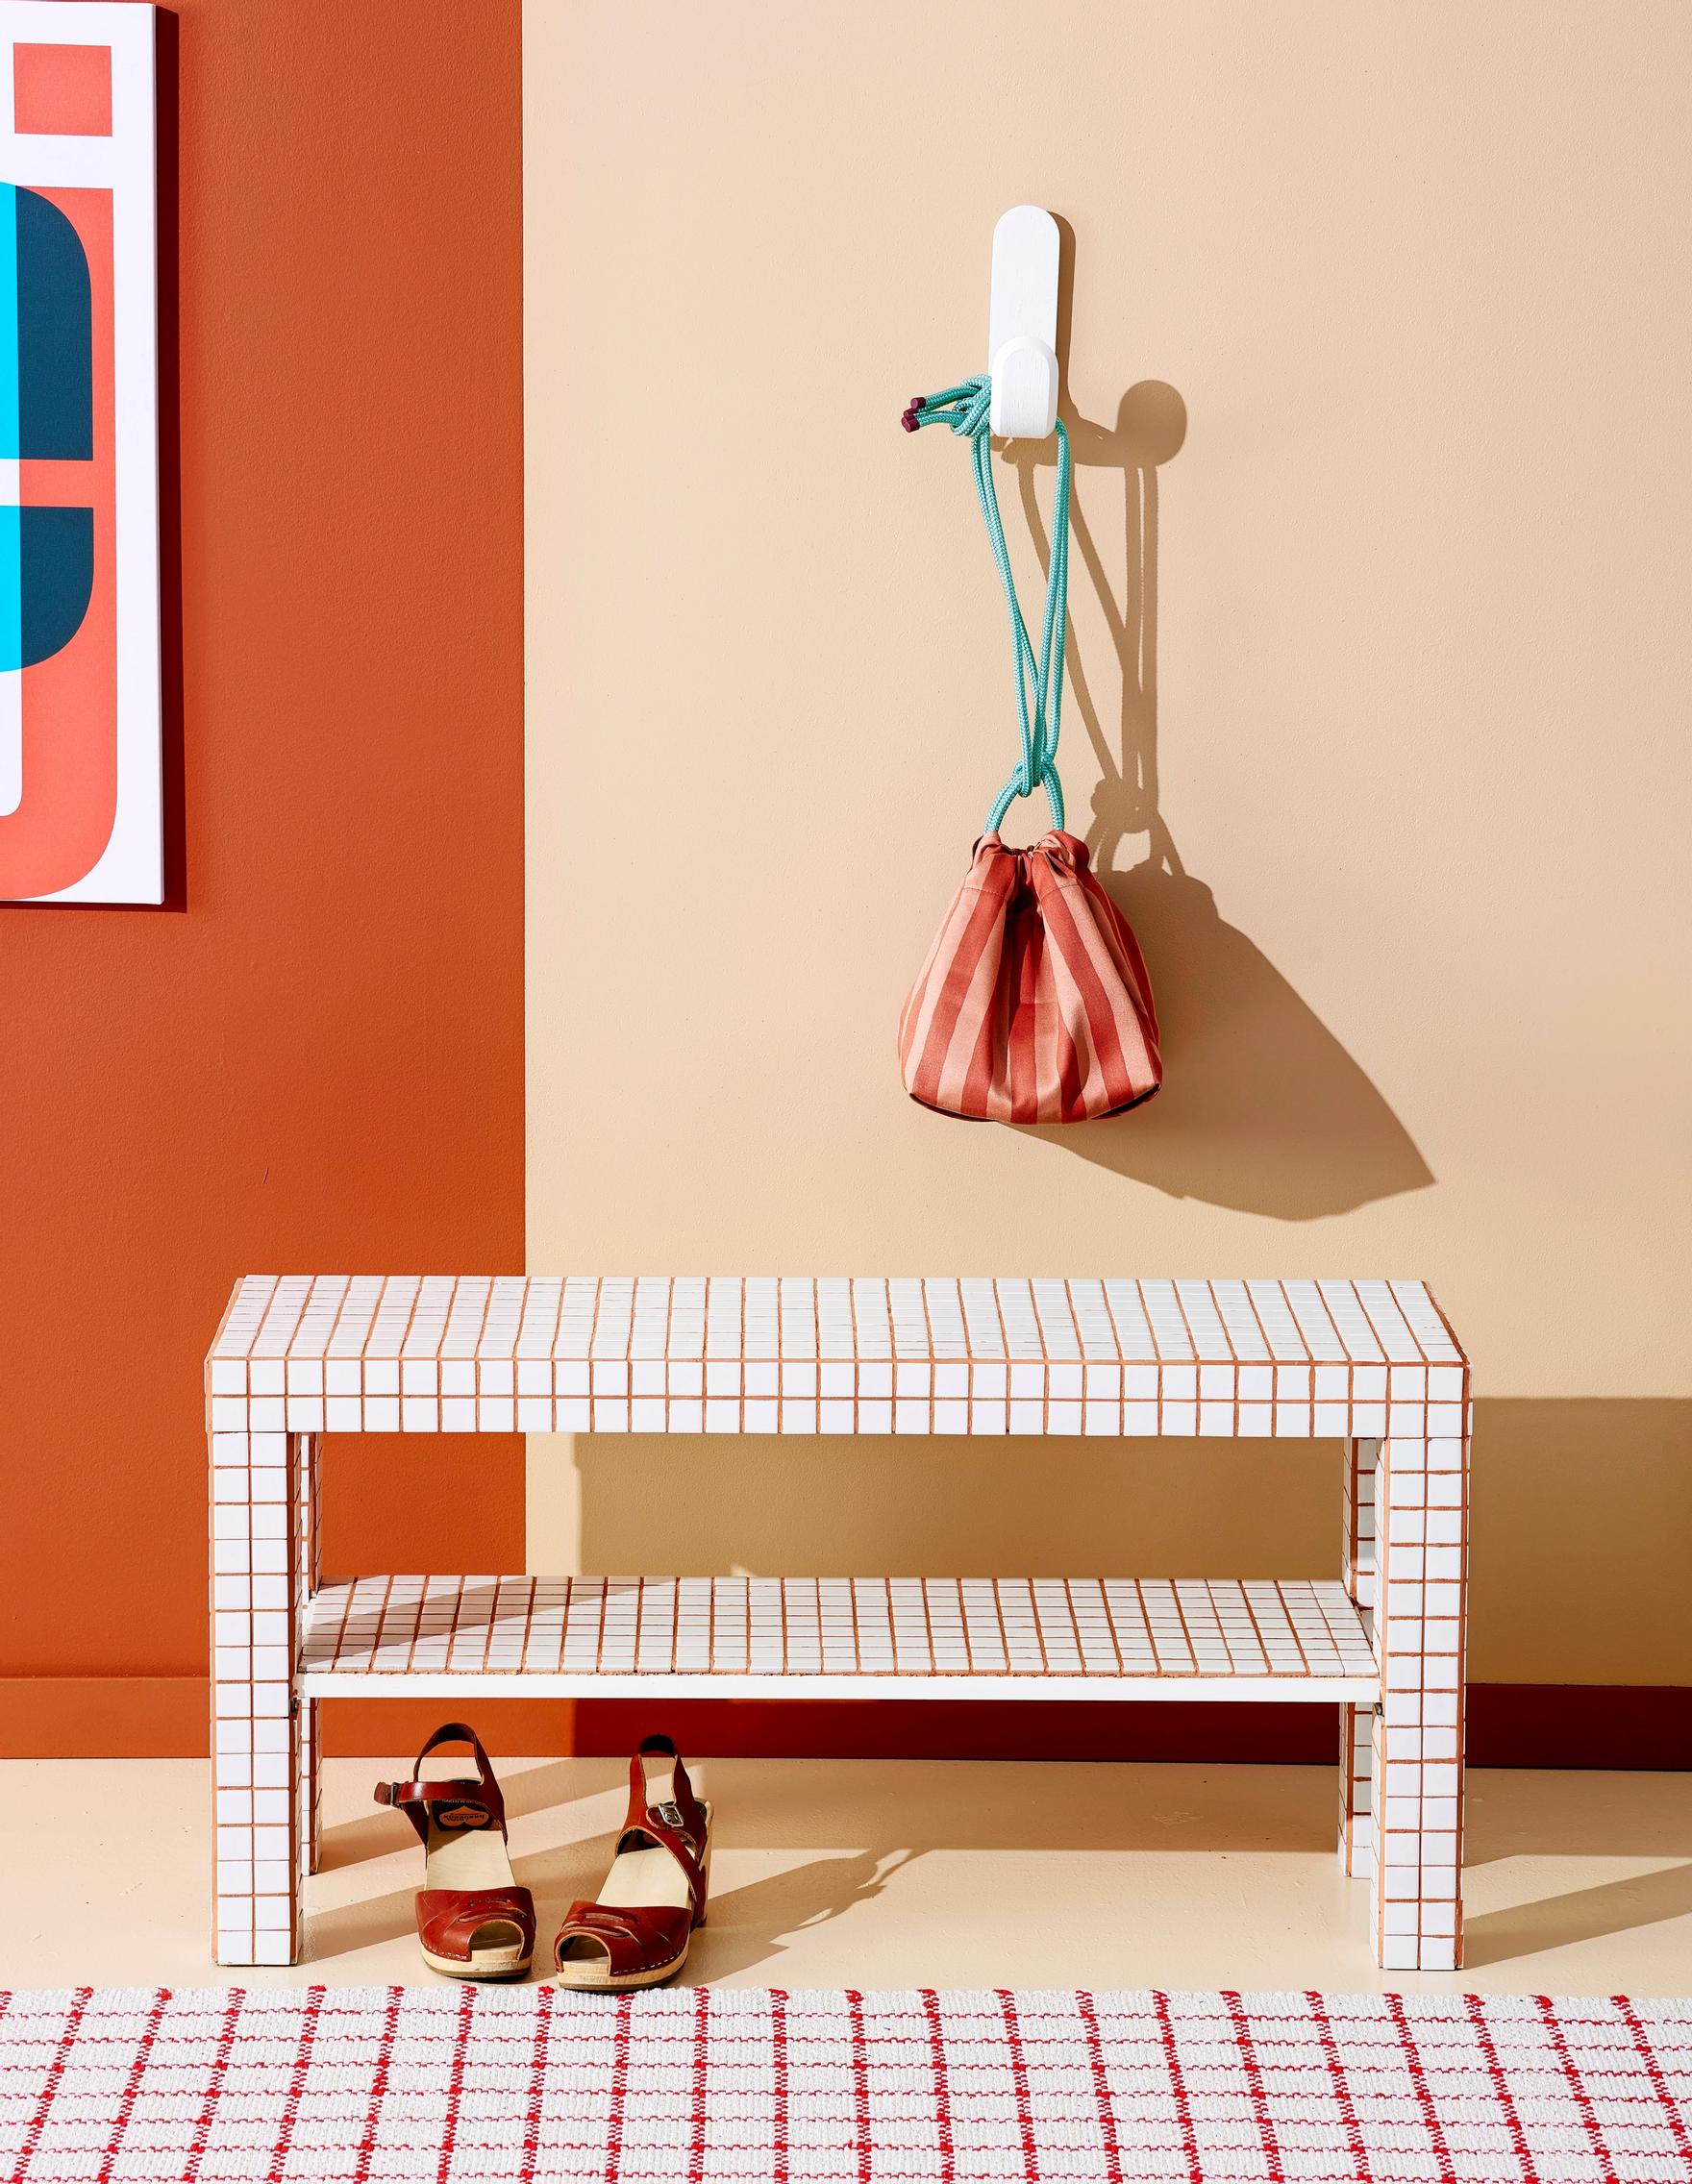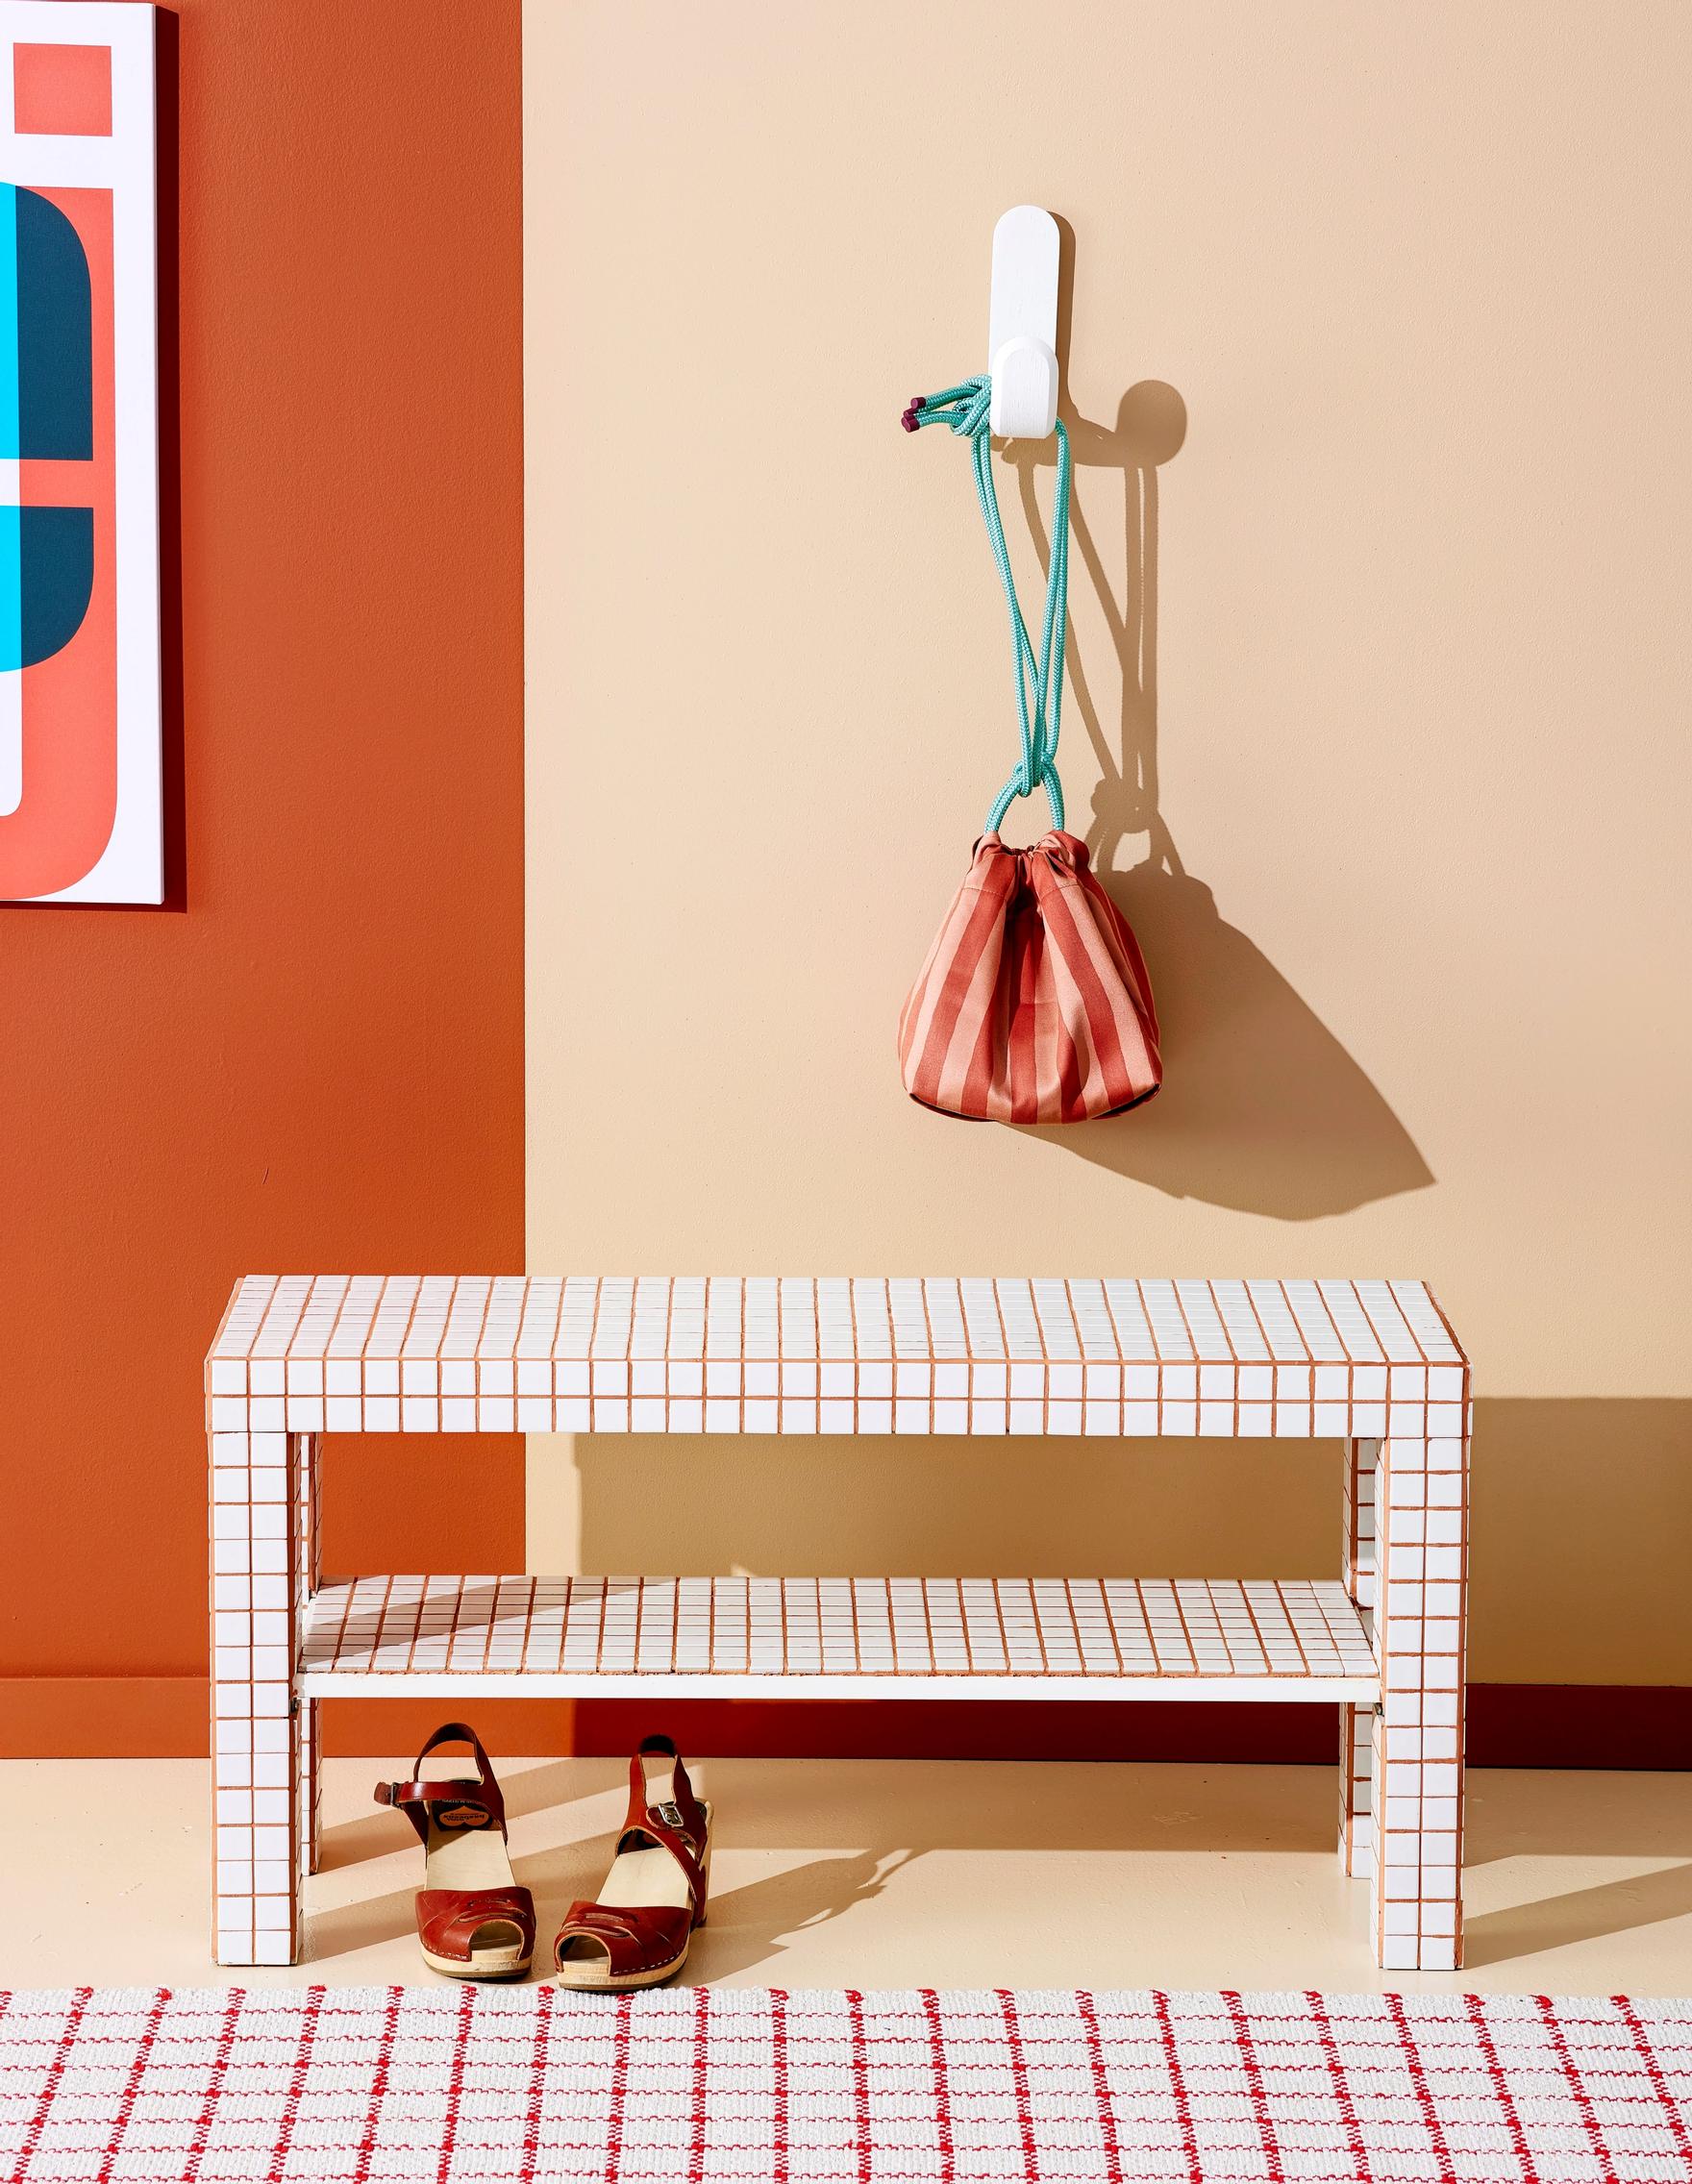
A good-as-new checkered bench
Fresh and easy tile makeover: transform your old bench into a personal piece
An old bench looks brand-new when you cover its surface with mosaic tiles and finish it with grout. You can match the grout color to the tiles or pick a contrasting shade.
Tiled bench—supplies:
a bench to upcycle
mosaic tiles
scissors
tile adhesive
grout
a bucket or large bowl
a mixer attachment and cordless drill or a mixing stick
rubber float
a sponge and water.


Tiled bench—instructions:
- Start by arranging the tiles on the furniture surface. If you’re using mosaic tiles on a mesh backing, cut the mesh into suitable pieces. You can create curves or patterns by placing individual mosaic pieces.
- Spread the tile adhesive onto the furniture surface with a spatula, then press the tiles lightly into place. Let the adhesive dry according to the manufacturer’s instructions.
- Mix the grout in a bowl or bucket with a mixer attachment or stir stick according to the manufacturer’s instructions. Stir well and let it sit for a moment. The grout is usable for only a few hours once mixed.
- Spread the grout diagonally across the seams with a rubber float so the joints are filled. Let it dry for about half an hour, until the grout no longer sticks to your fingers. Wipe the tiles clean with water using a sponge.


