Summer holiday activity package: 10 simple and delightful craft ideas
Time off in the summer is perfect for fun DIY projects. These ideas come together quickly, and supplies are easy to find. Adapt our simple instructions to fit your home!
Turn nature photos into wall art

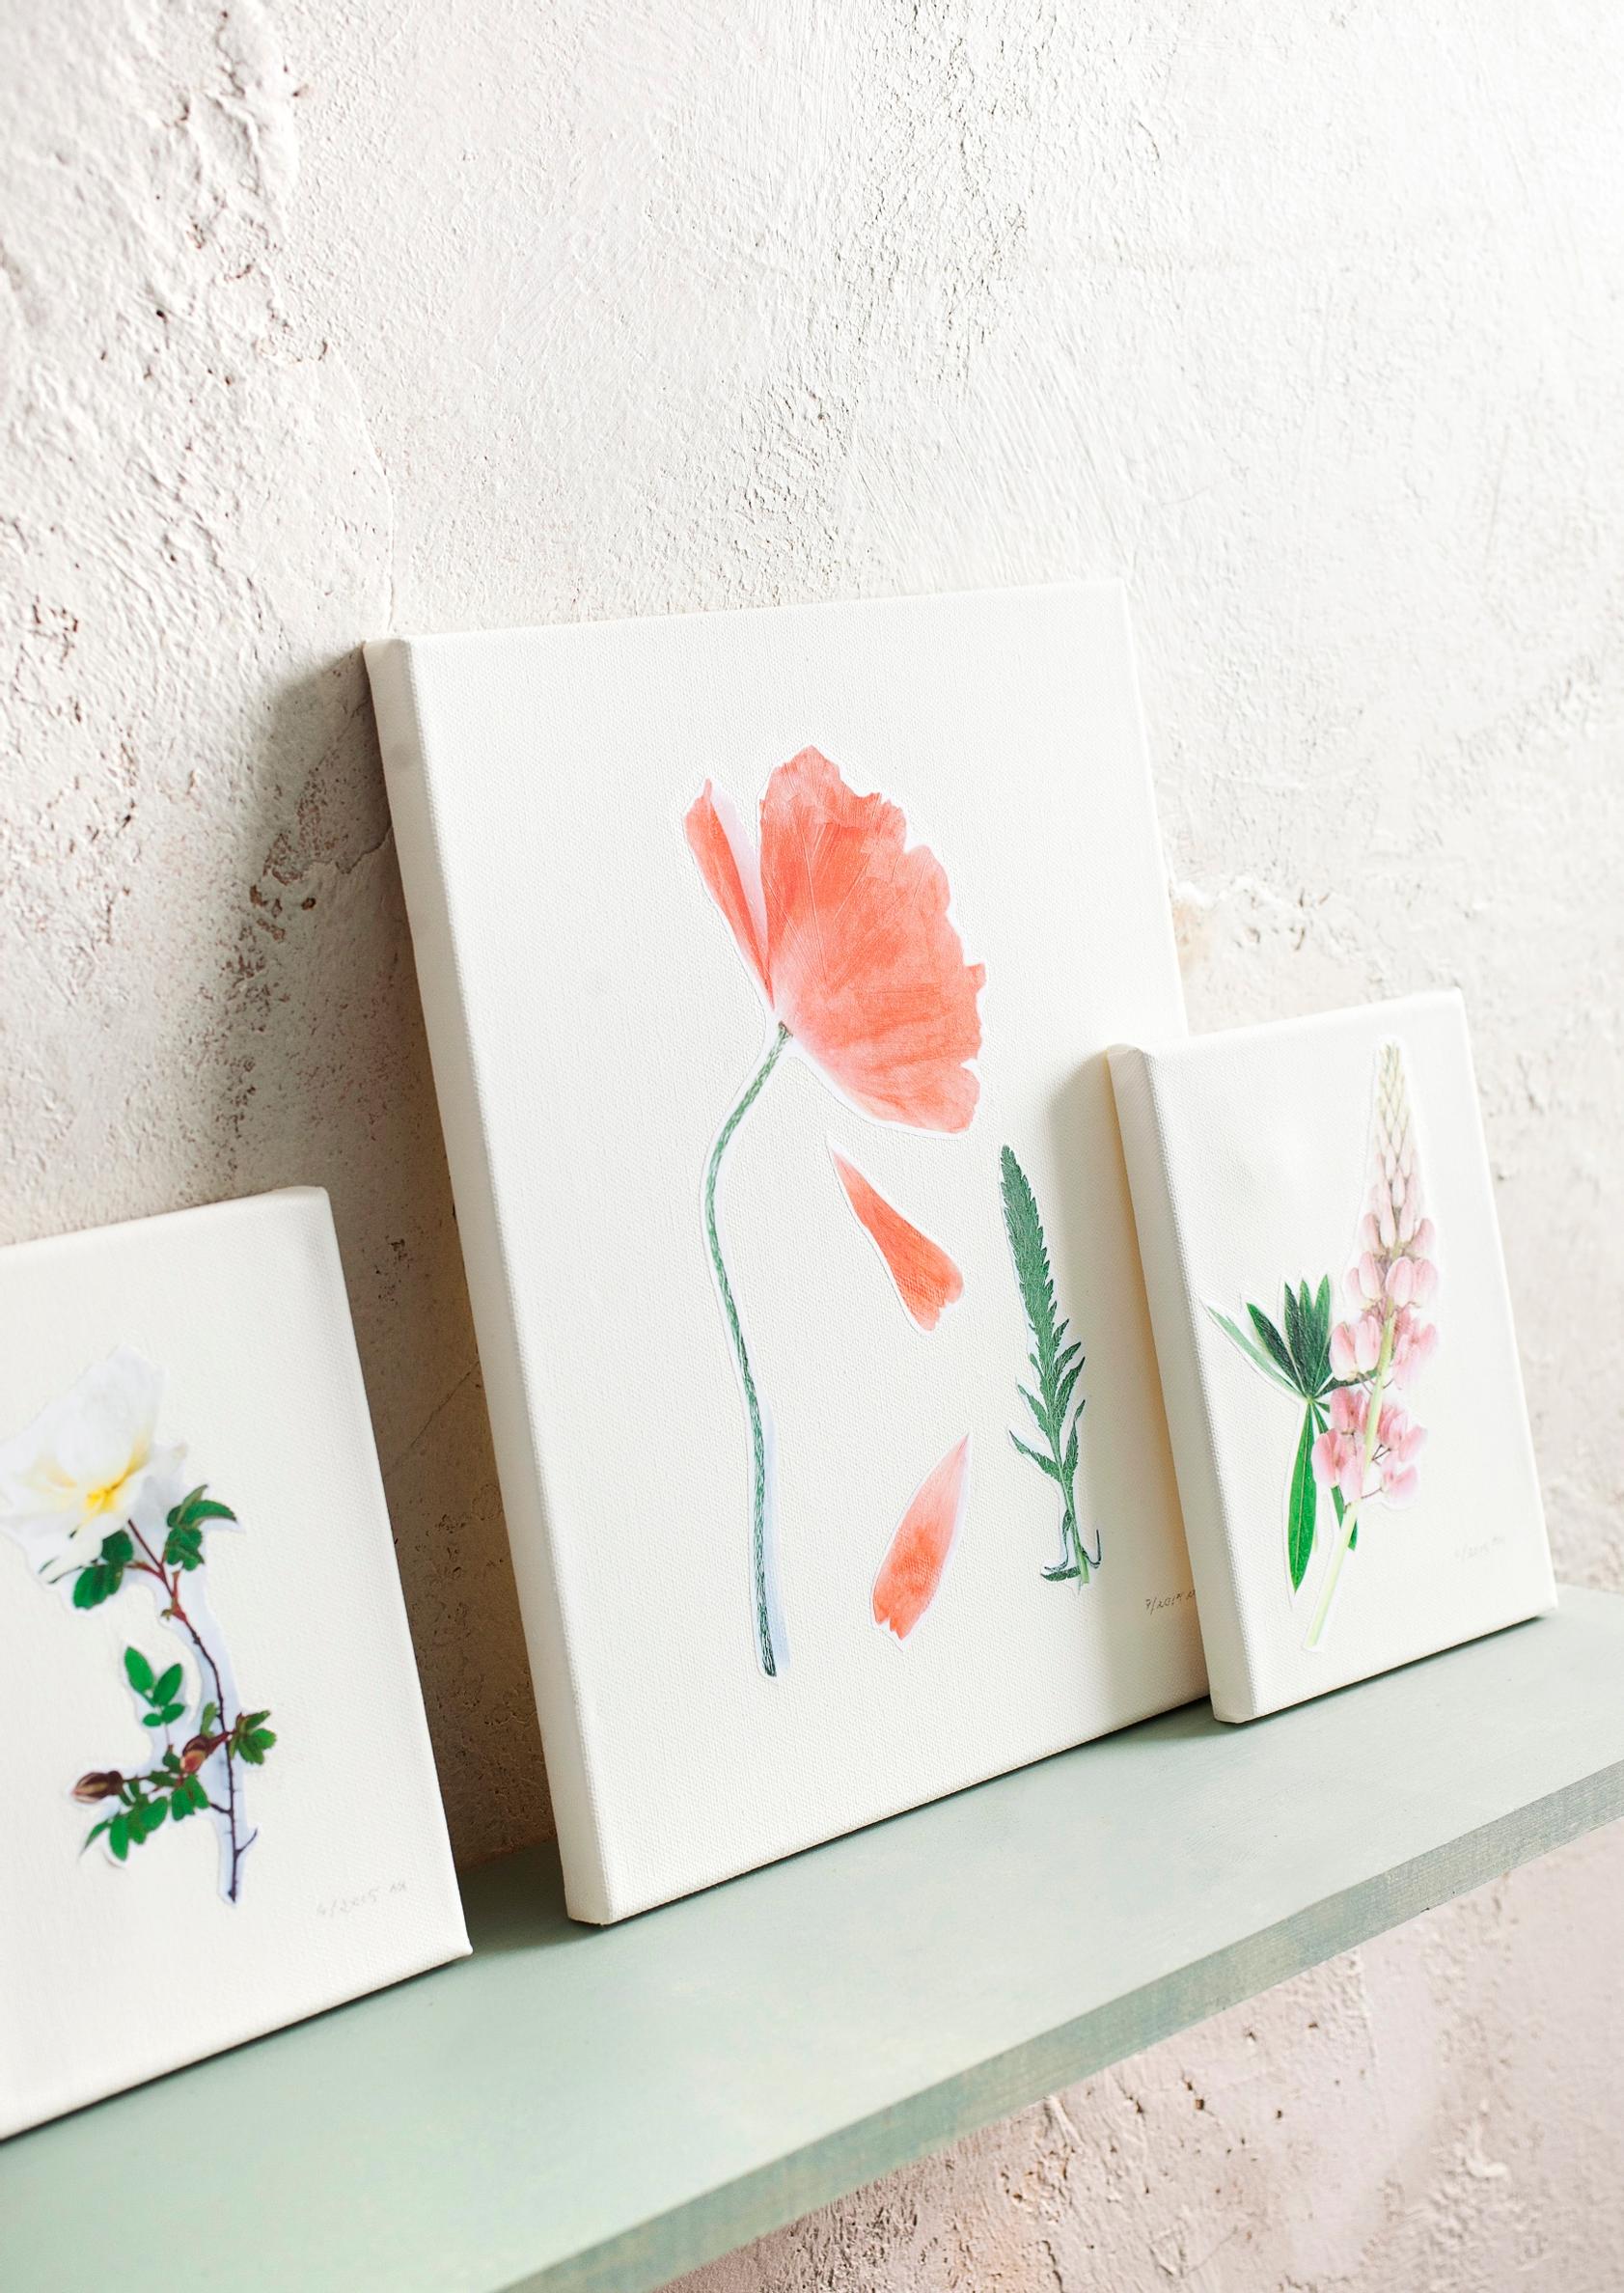
Summer is the perfect season for exploring nature! Bring along a camera and become a nature photographer. You can easily turn flower photos into stunning botanical art.
You will need: canvas panels, flower photos taken against a white background (the canvas panel can also serve as your photo backdrop), and clear glue.
Print the flower photos at your desired size. Cut out the flowers, staying close to the edges. Spread glue on the back of each photo and press it onto the canvas panel. Then brush a mixture of glue and water over the photo and along the edges.
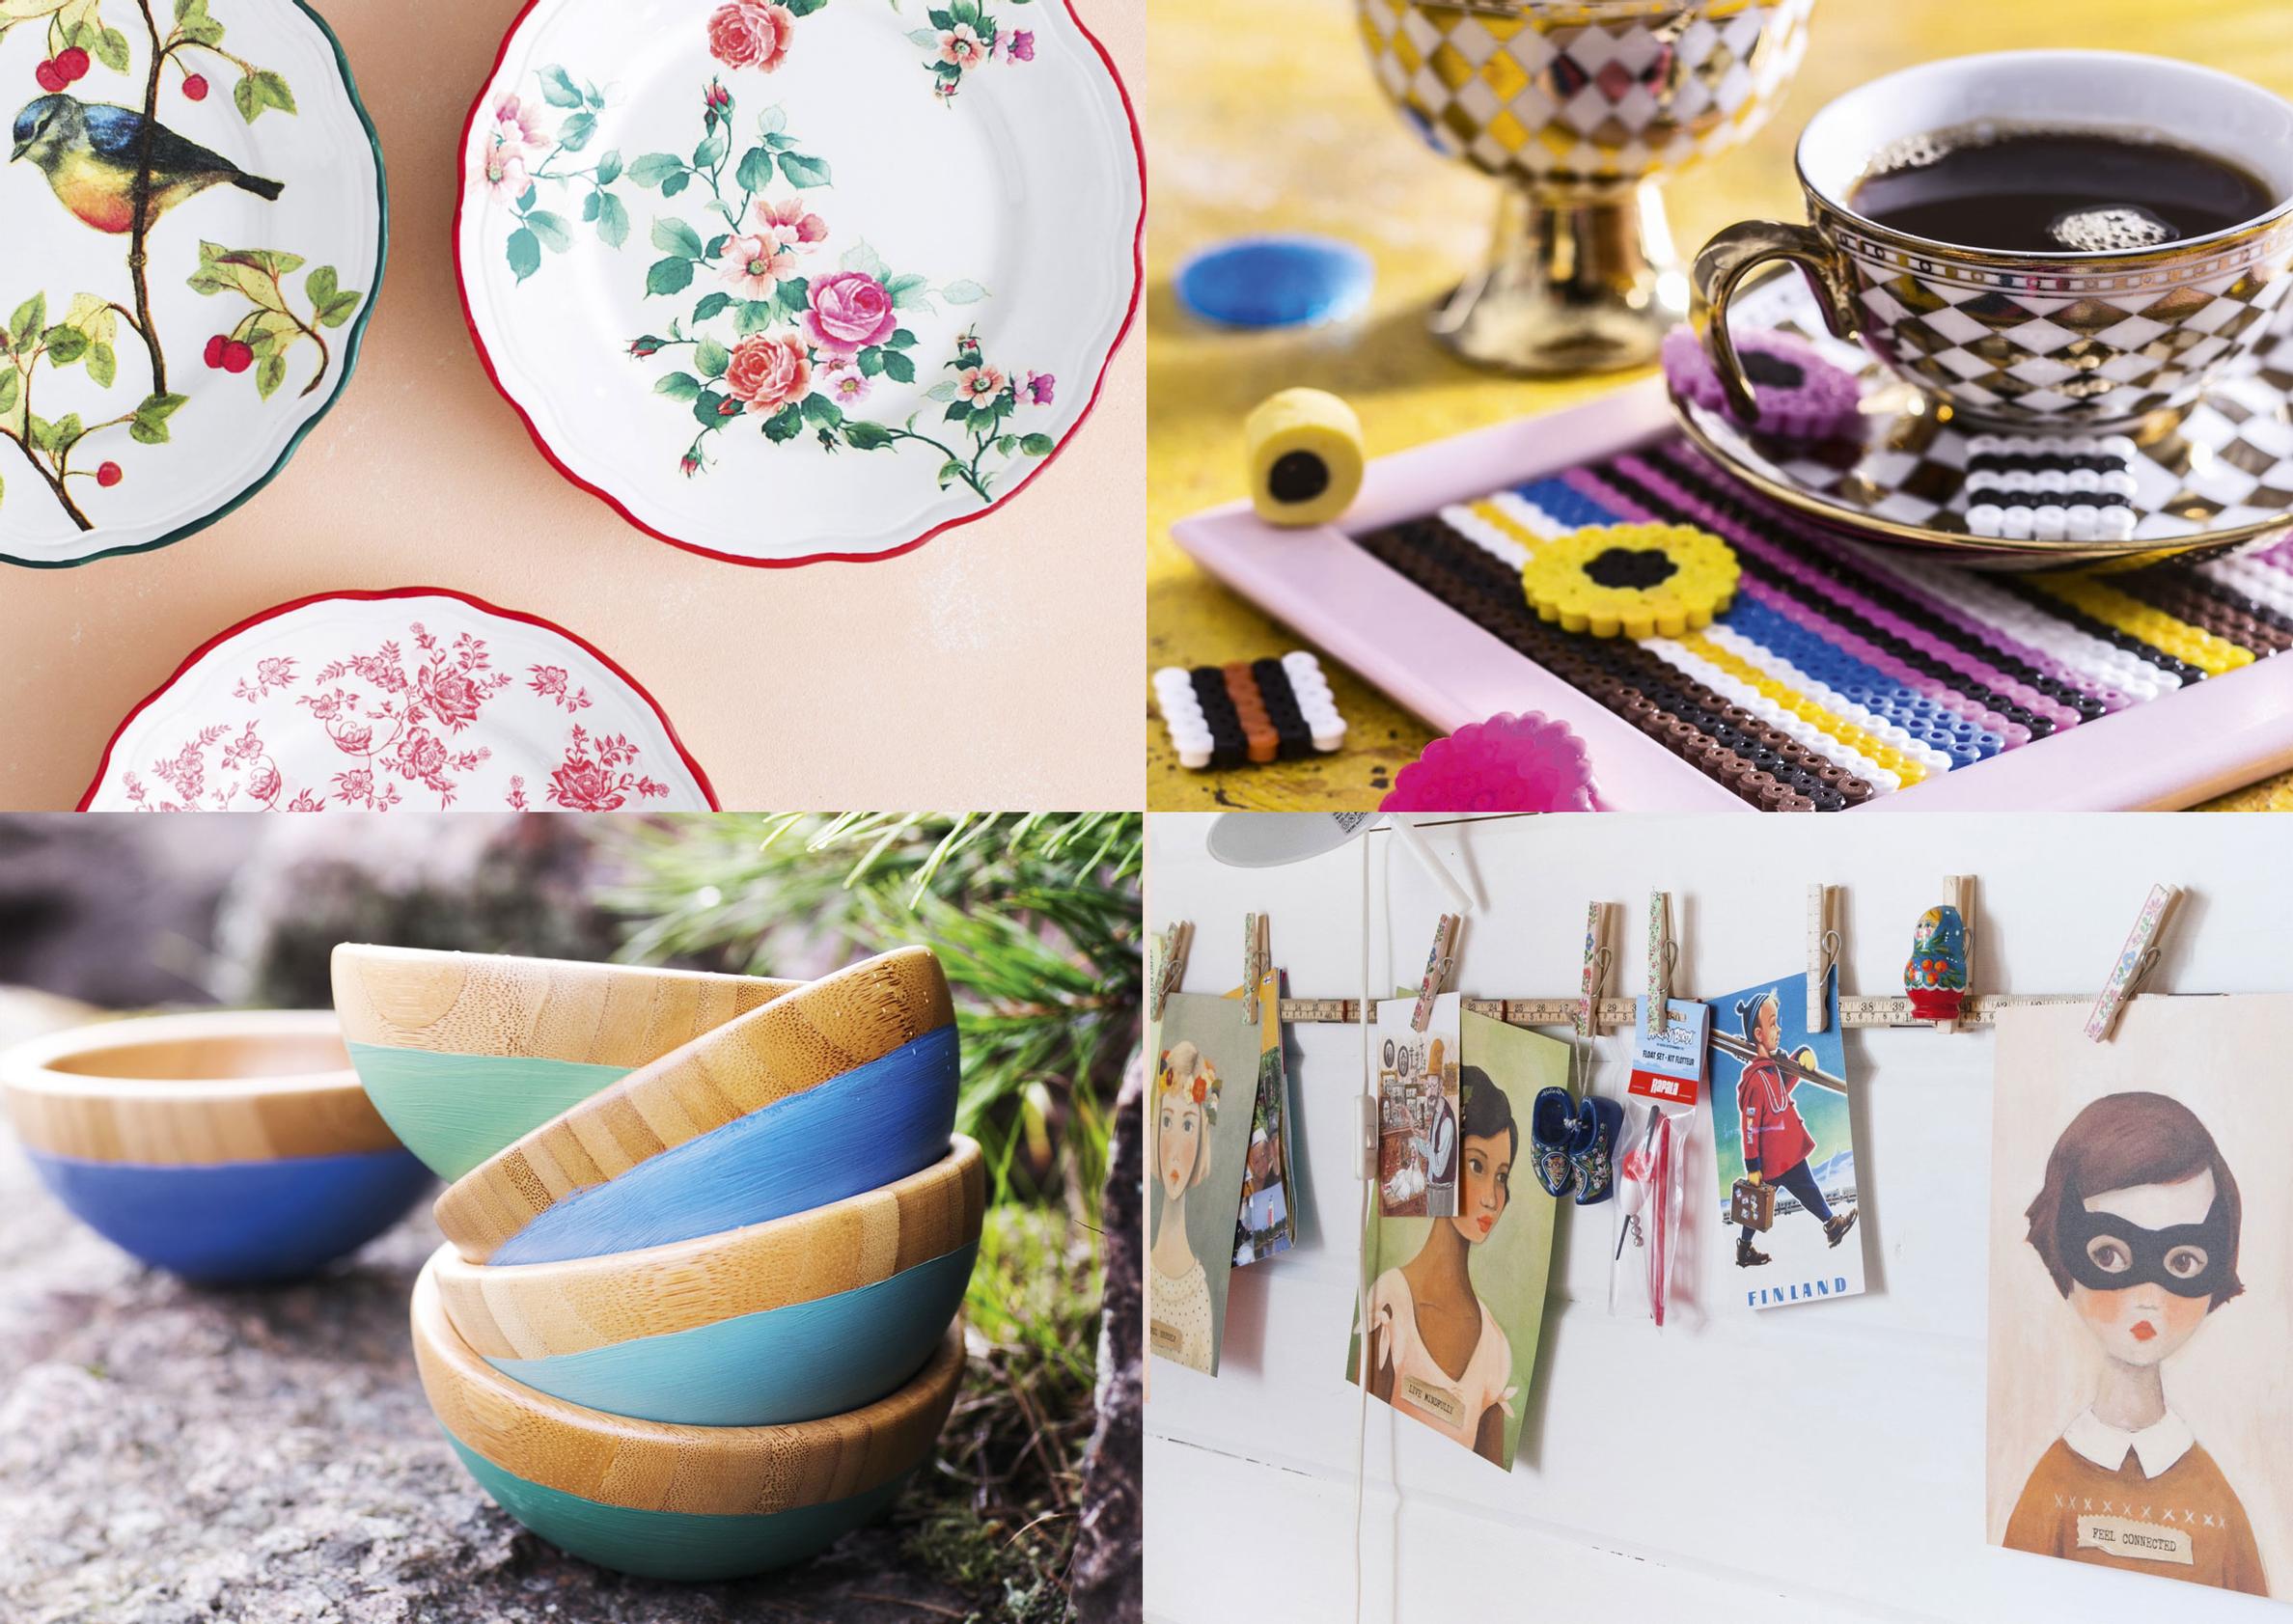
A place for memories and reminders

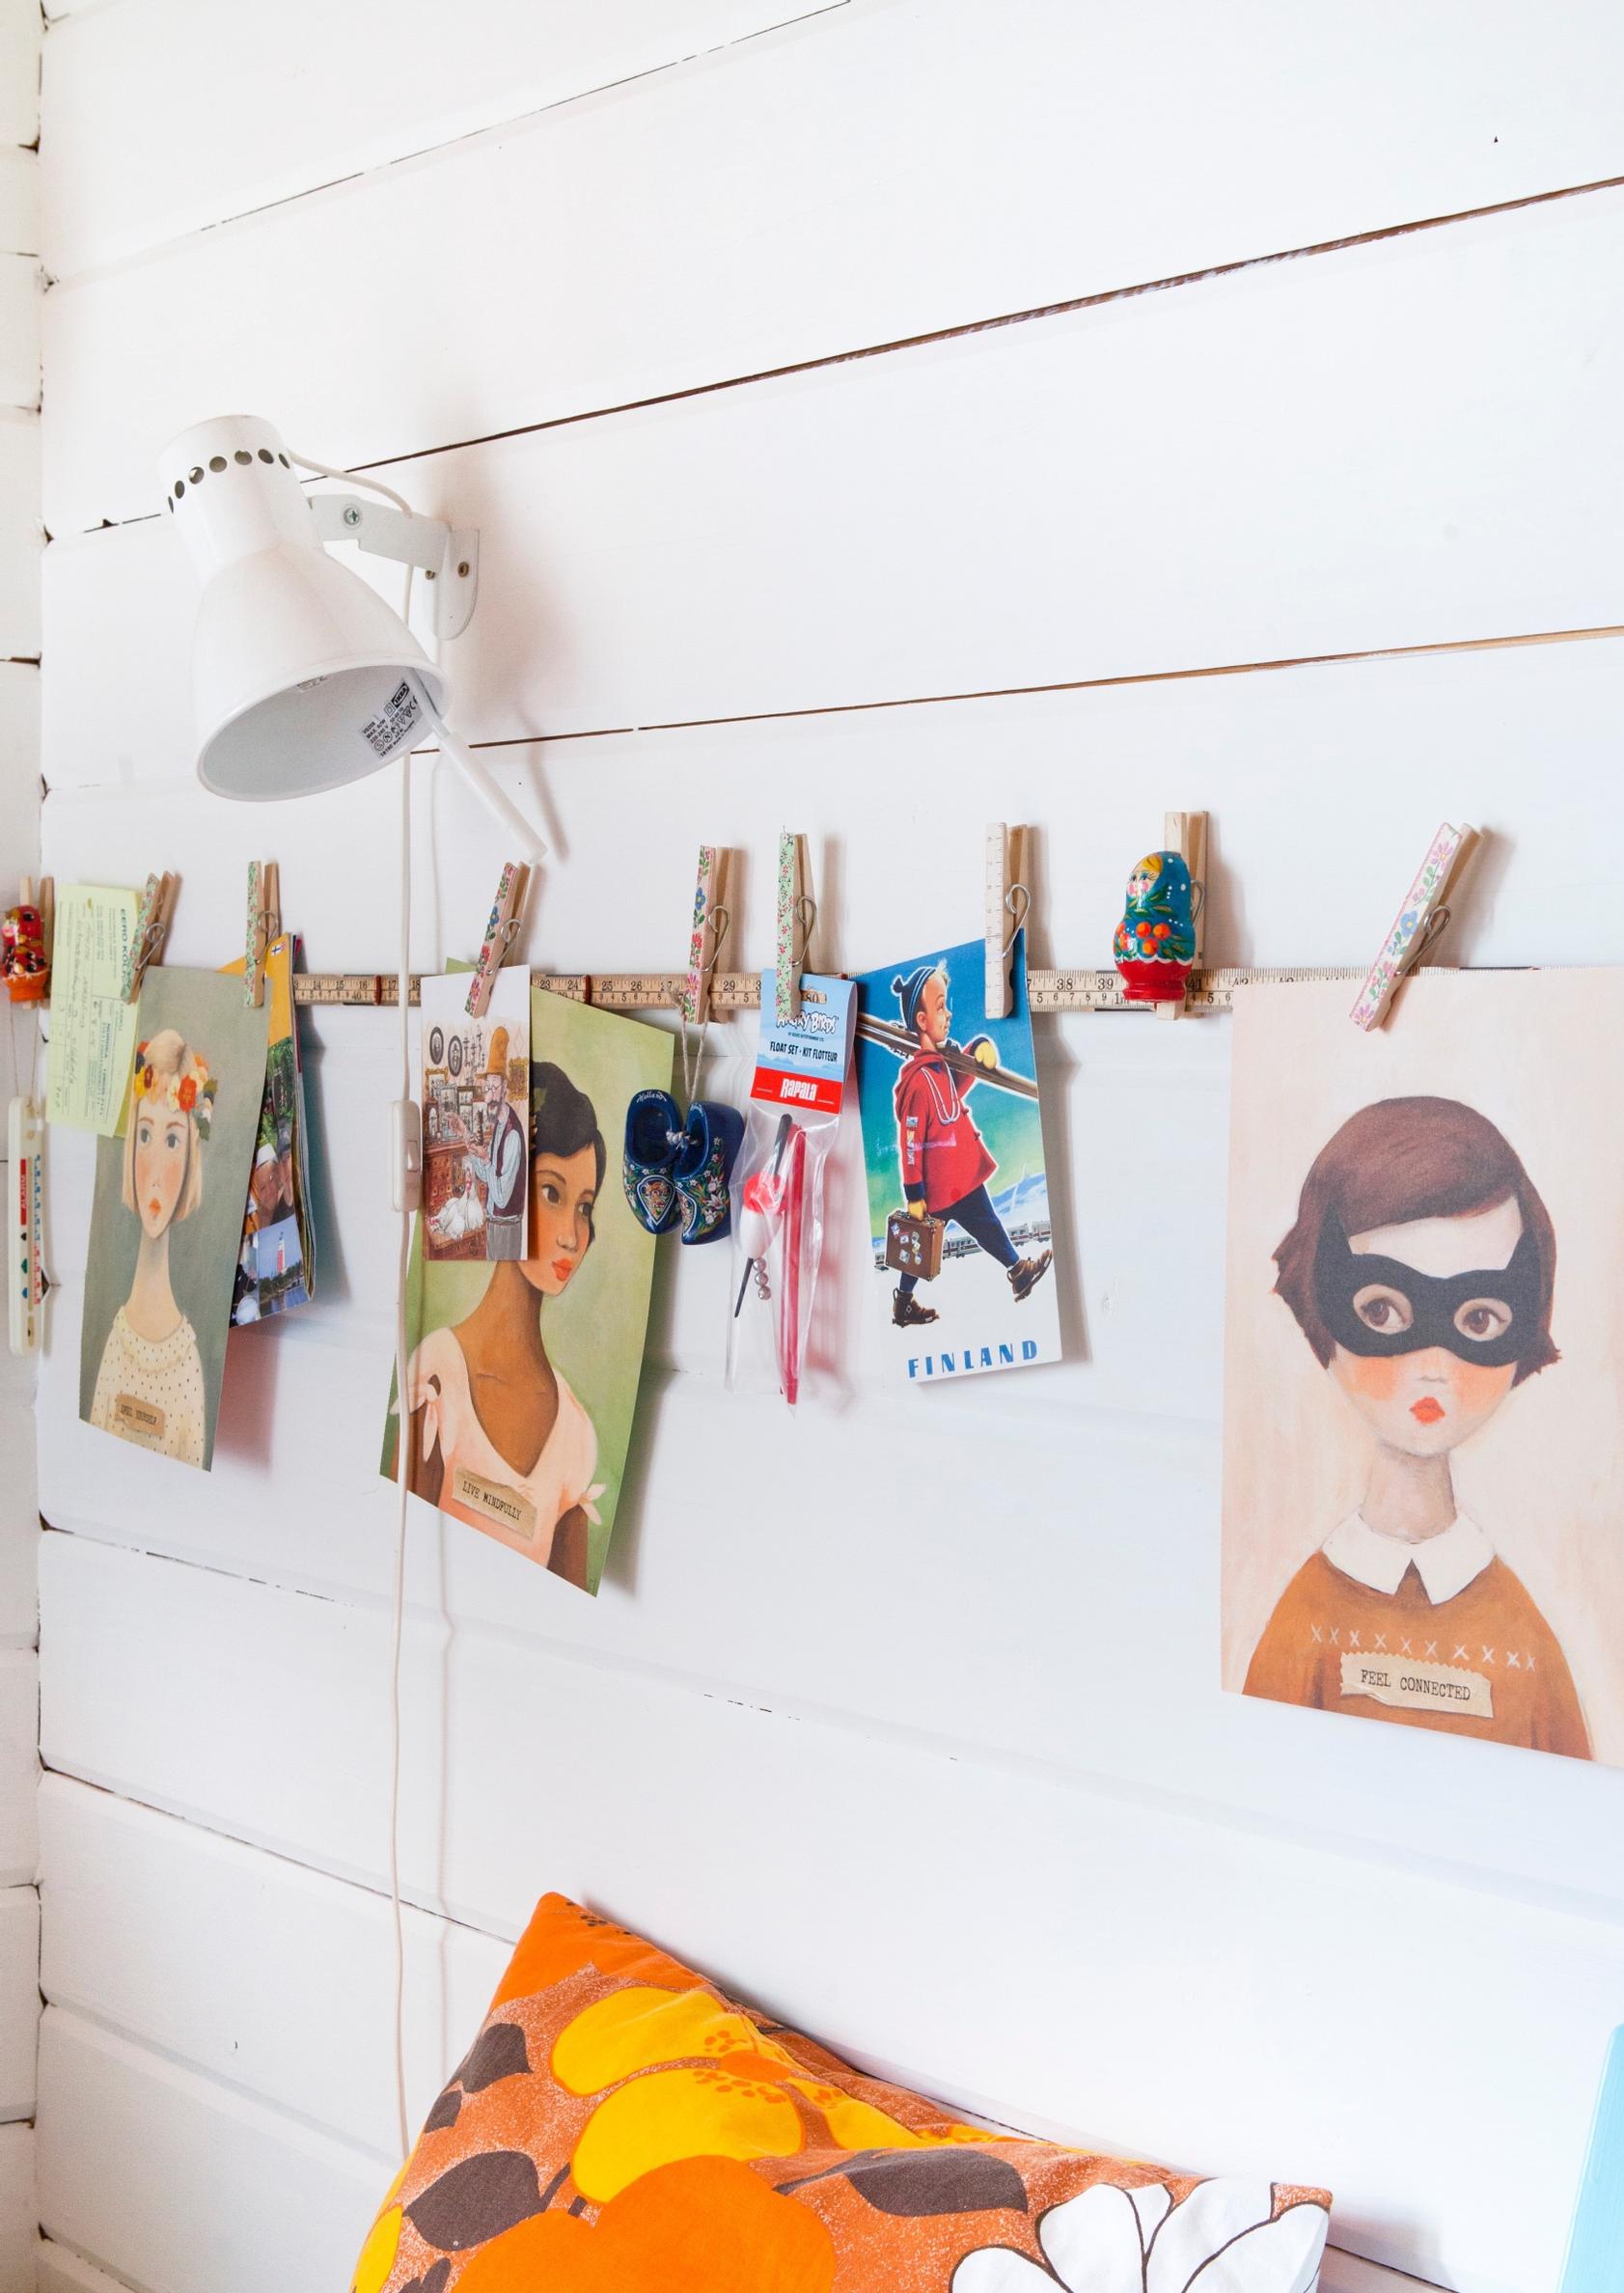
Display your treasured greeting cards and important notes on a folding ruler stand in a prime spot!
You will need: a folding ruler, clothespins, 4–5 screws, and washi tape.
Attach 4–5 clothespins to the ruler: one on each end and the rest spaced evenly. Screw the ruler onto the wall through these points. Add as many clothespins as needed. If you love color, decorate them with washi tape.
The finishing touch

These dotted paintings get top marks! Anyone can paint dots, but only you can choose colors exactly to your liking.
You will need: craft or furniture paint, small round foam applicators. Cotton swabs and pencil ends of different sizes also work well for stamping dots.
Start by stamping the largest dots. Wait until they are completely dry before adding new layers. Alternate among different sized dots or small clusters.
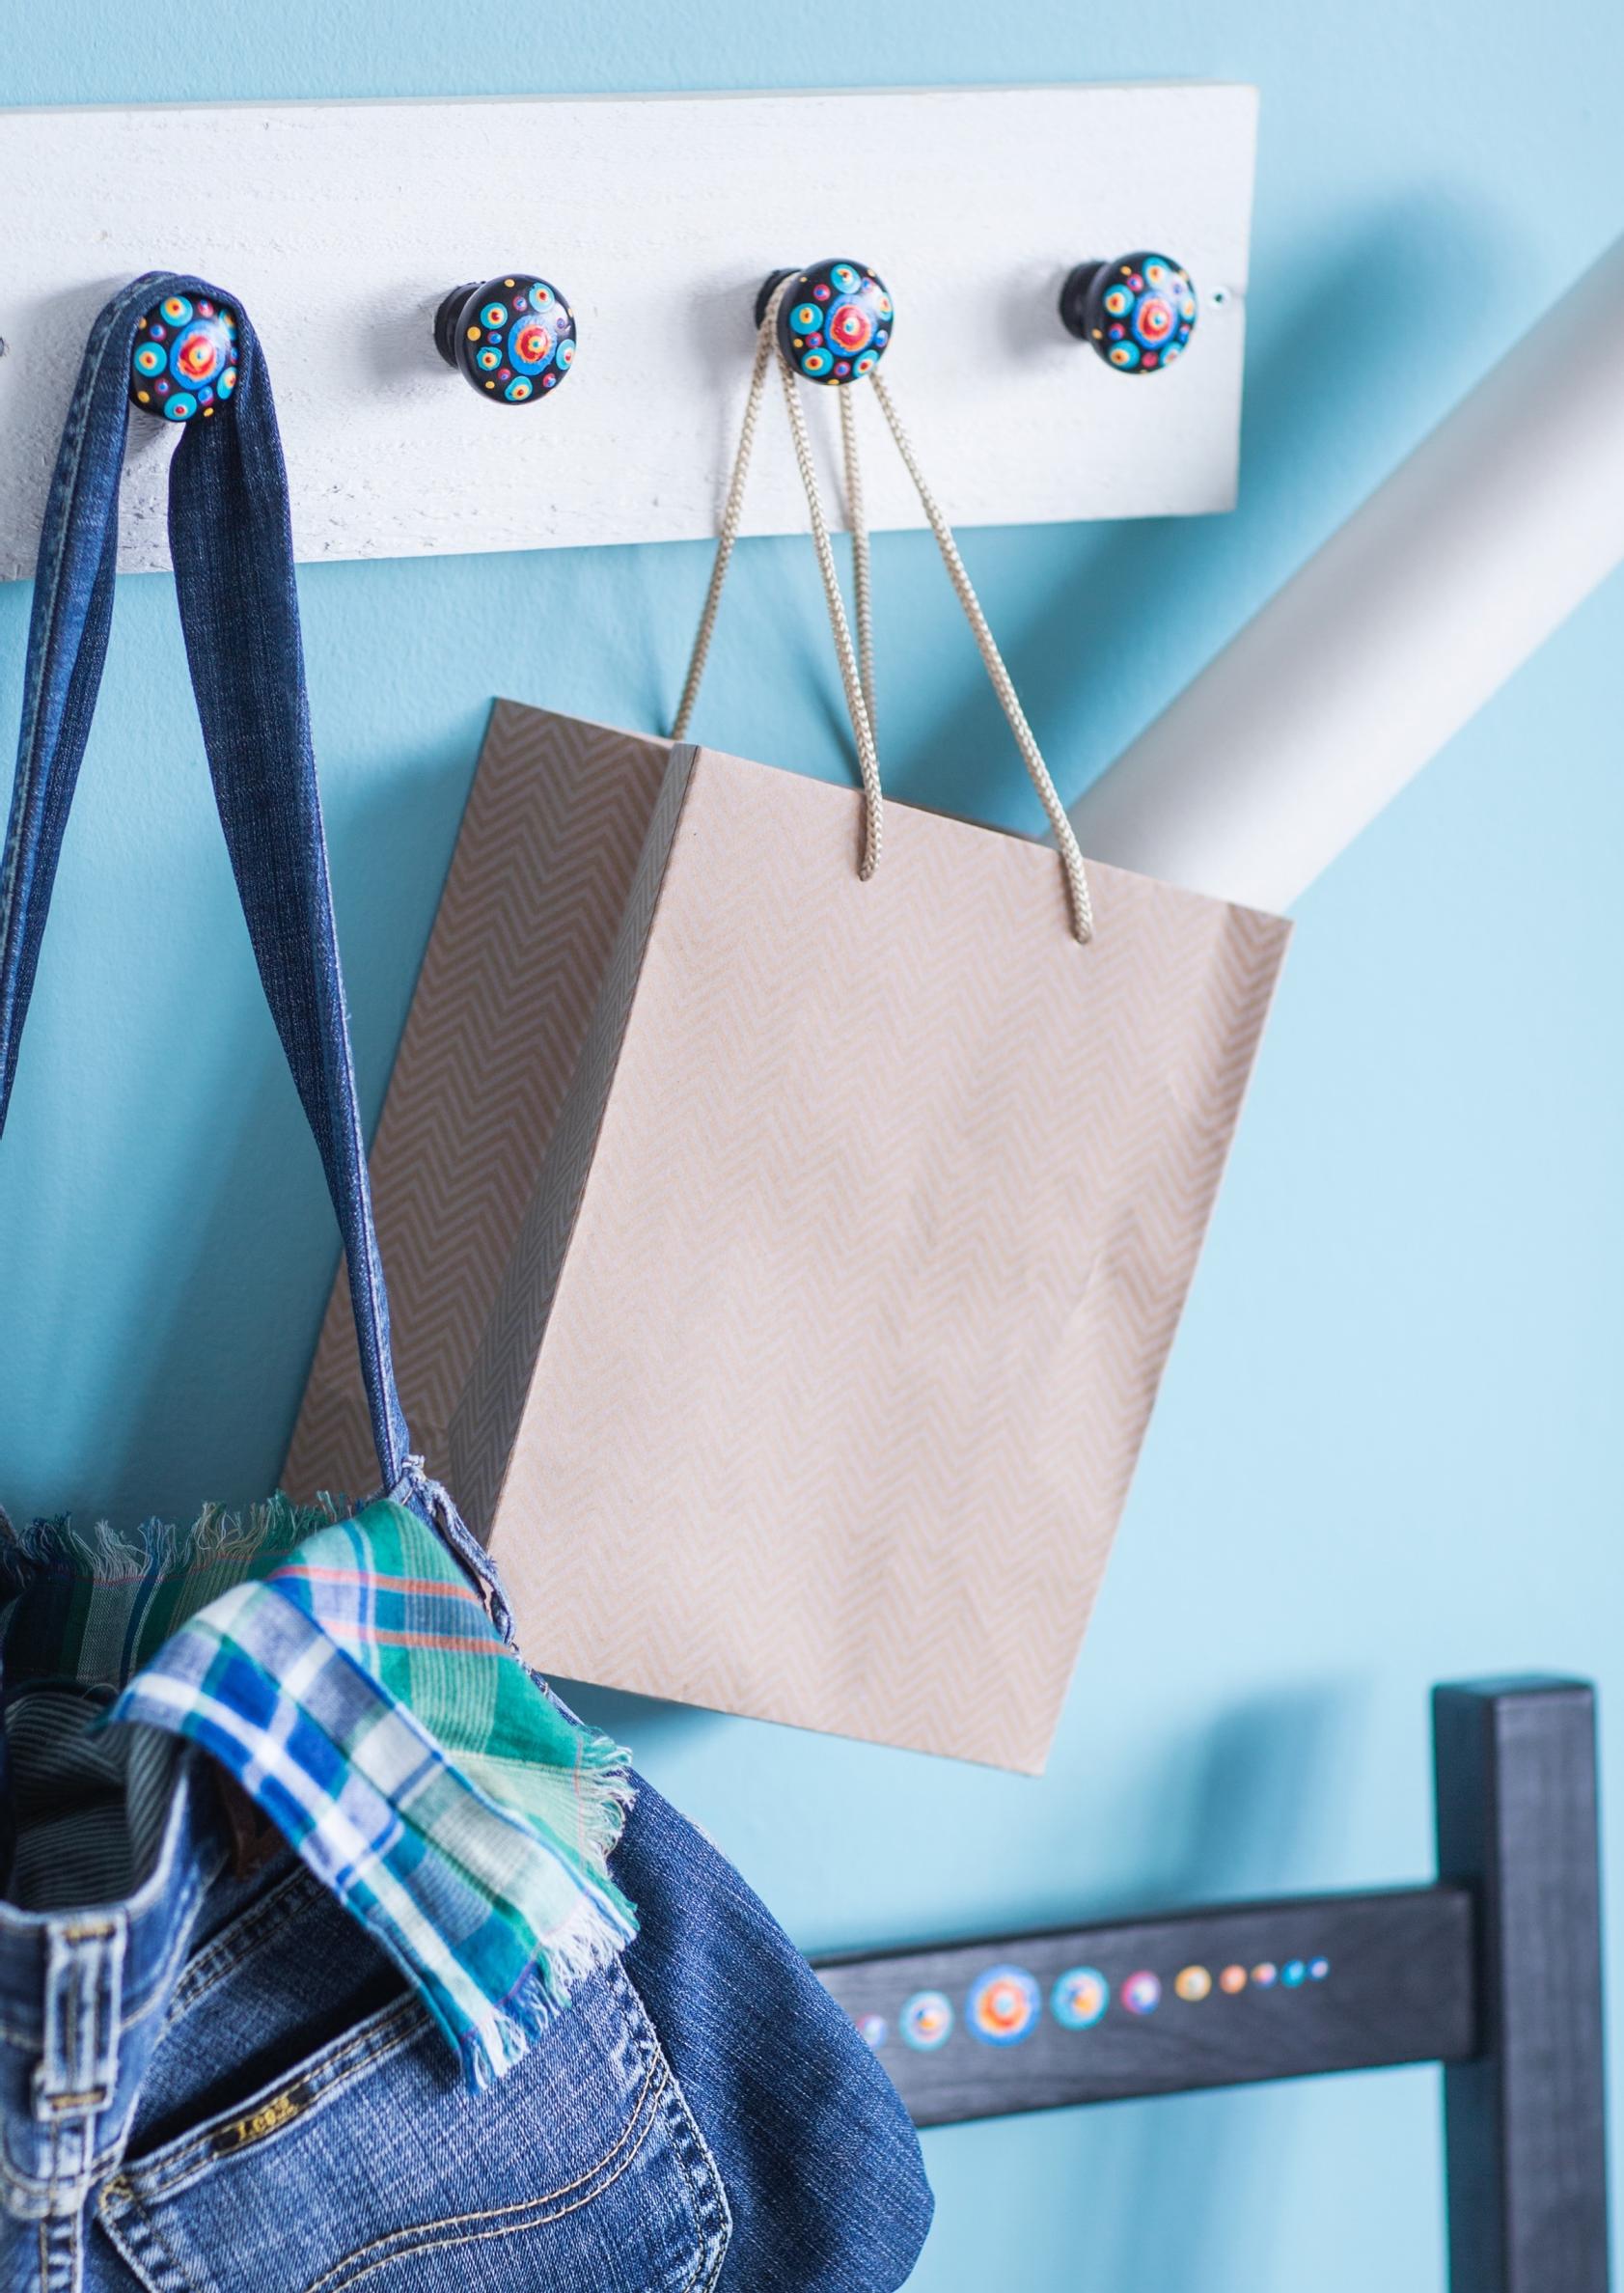
Charming pull knobs for your favorite dresser

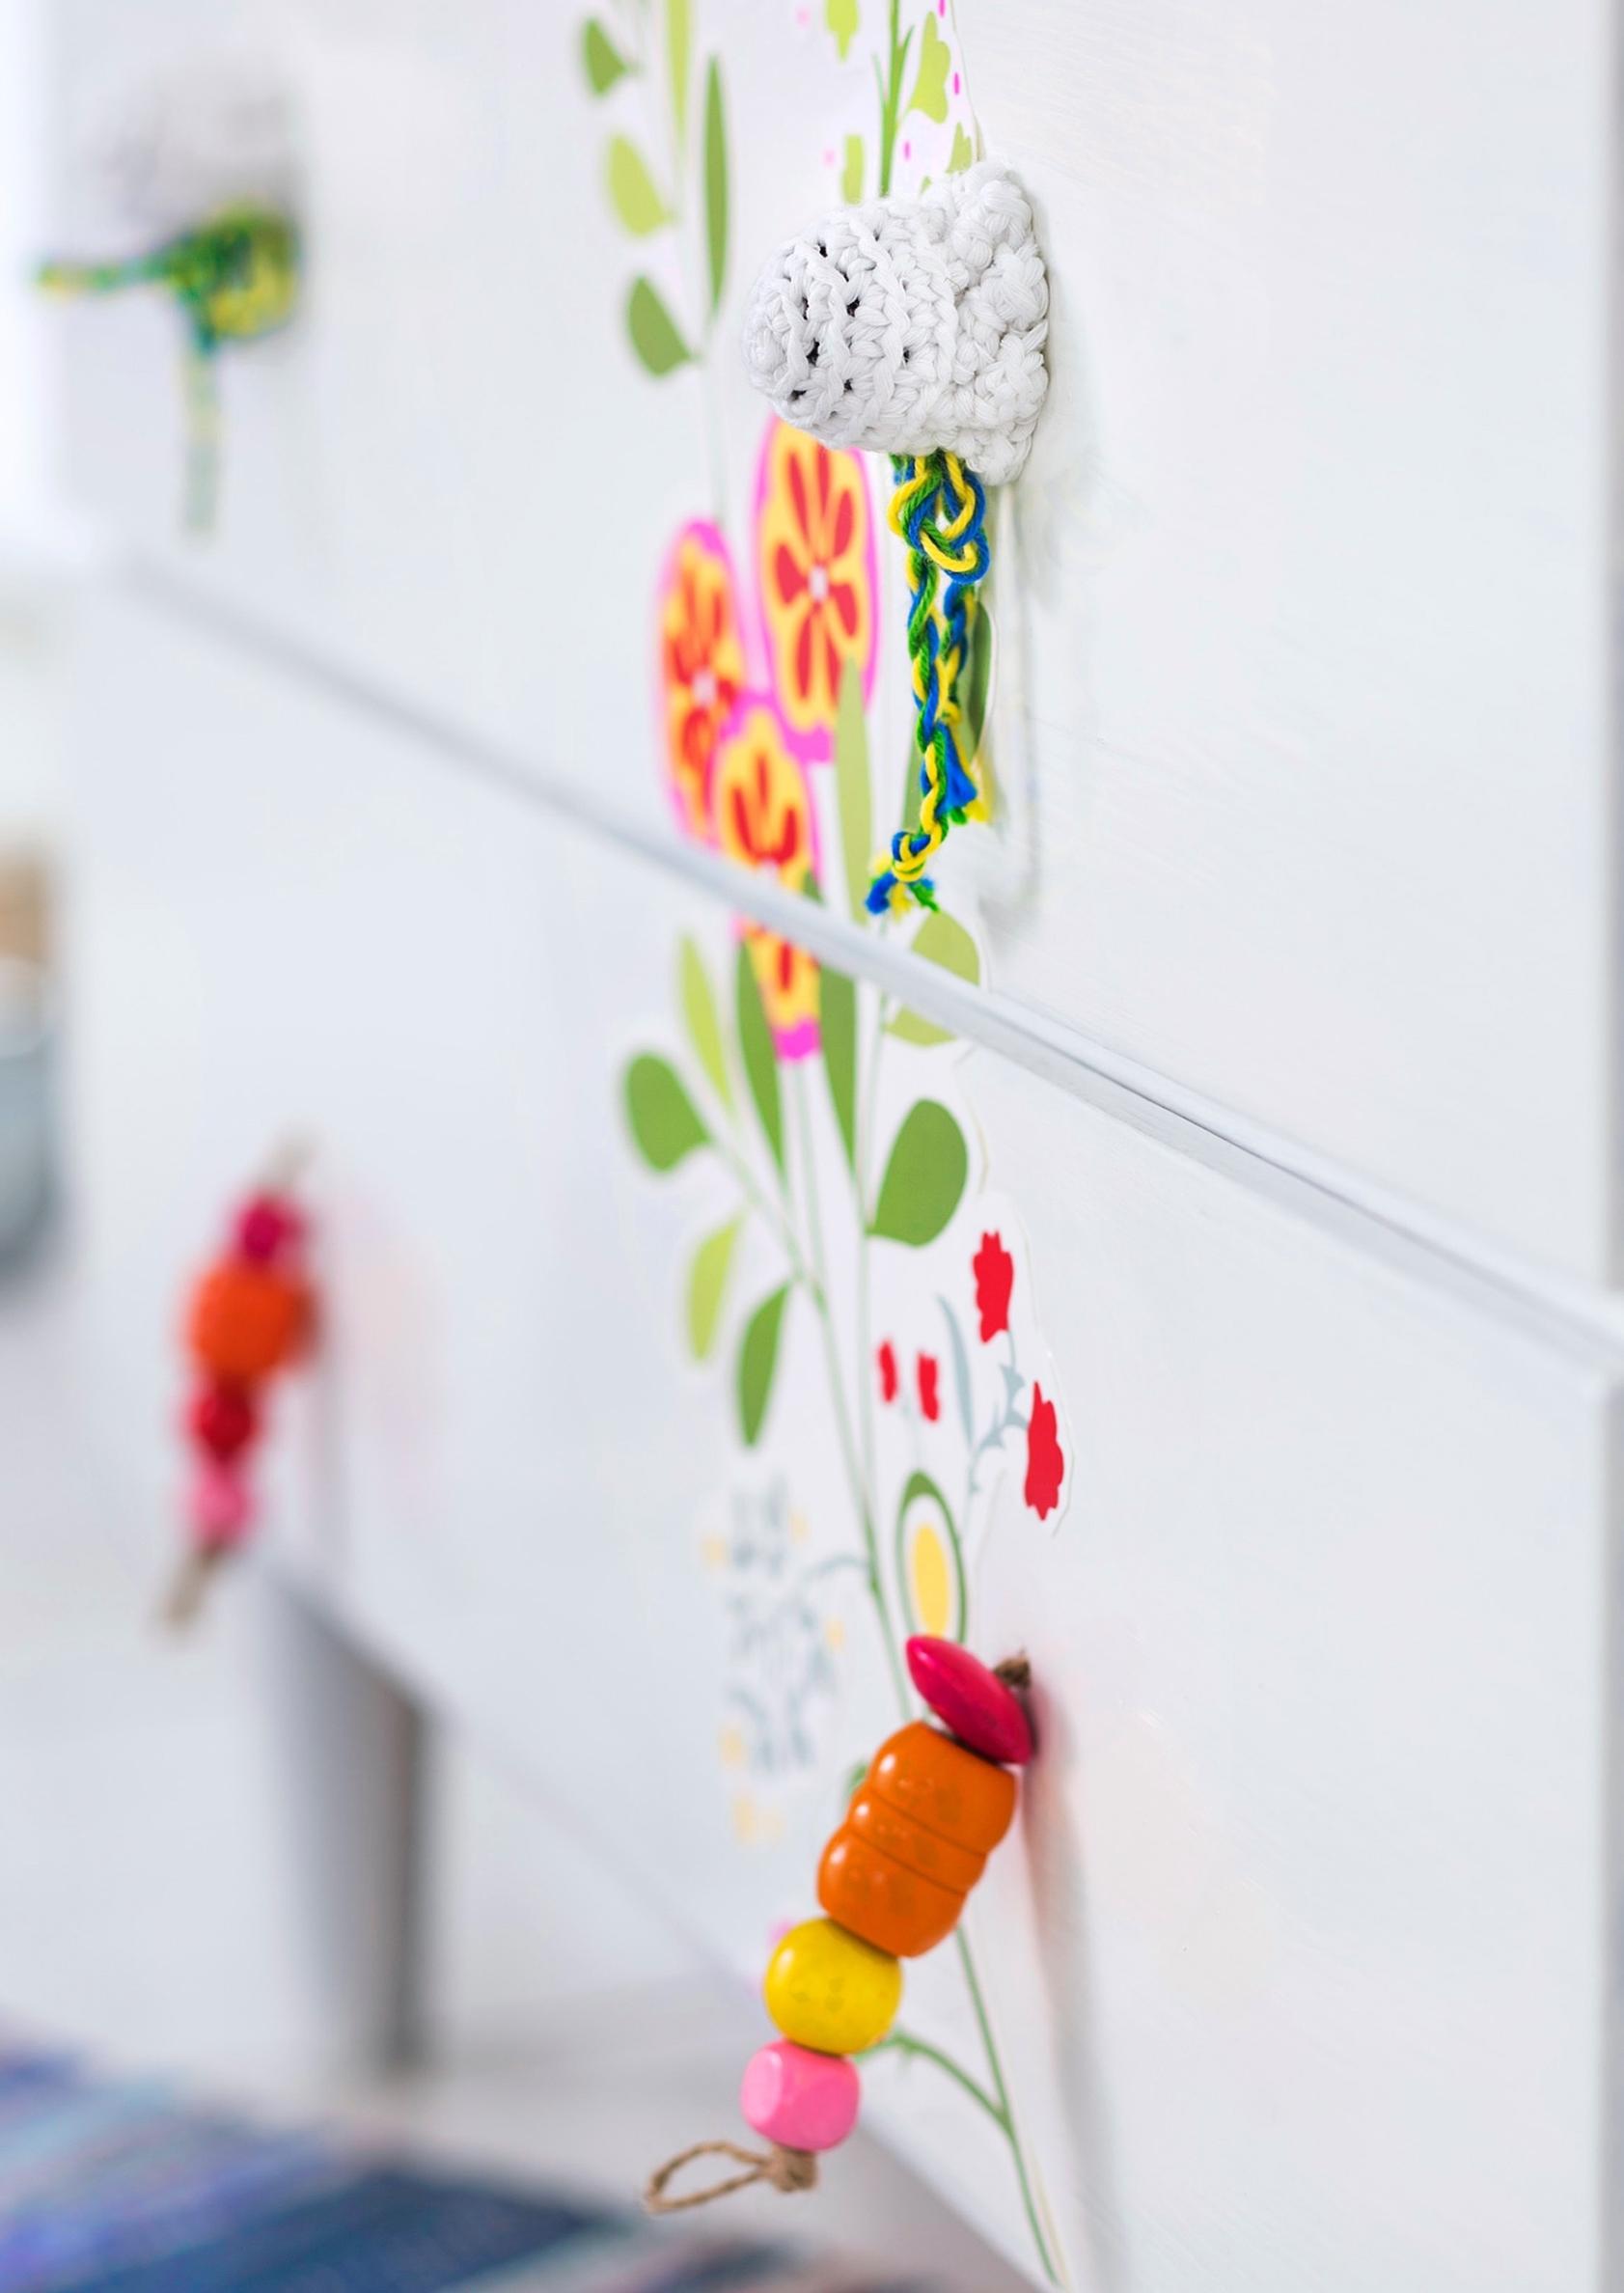
The bigger the dresser, the more drawers it has—and the more knobs. Make your own pulls for the refurb and save money.
You will need: cotton yarn for the cap, a different color yarn for the drawstring, and old knobs. For the pull, you will need wooden beads and sturdy cord.
Crochet a flat circle using single crochet stitches. In the first round, increase one stitch in every stitch; in the second round, in every other stitch, and so on. Continue until the circle covers the knob. In the last round, crochet chain stitch loops and thread them with a drawstring.
Bowls for the breakfast table

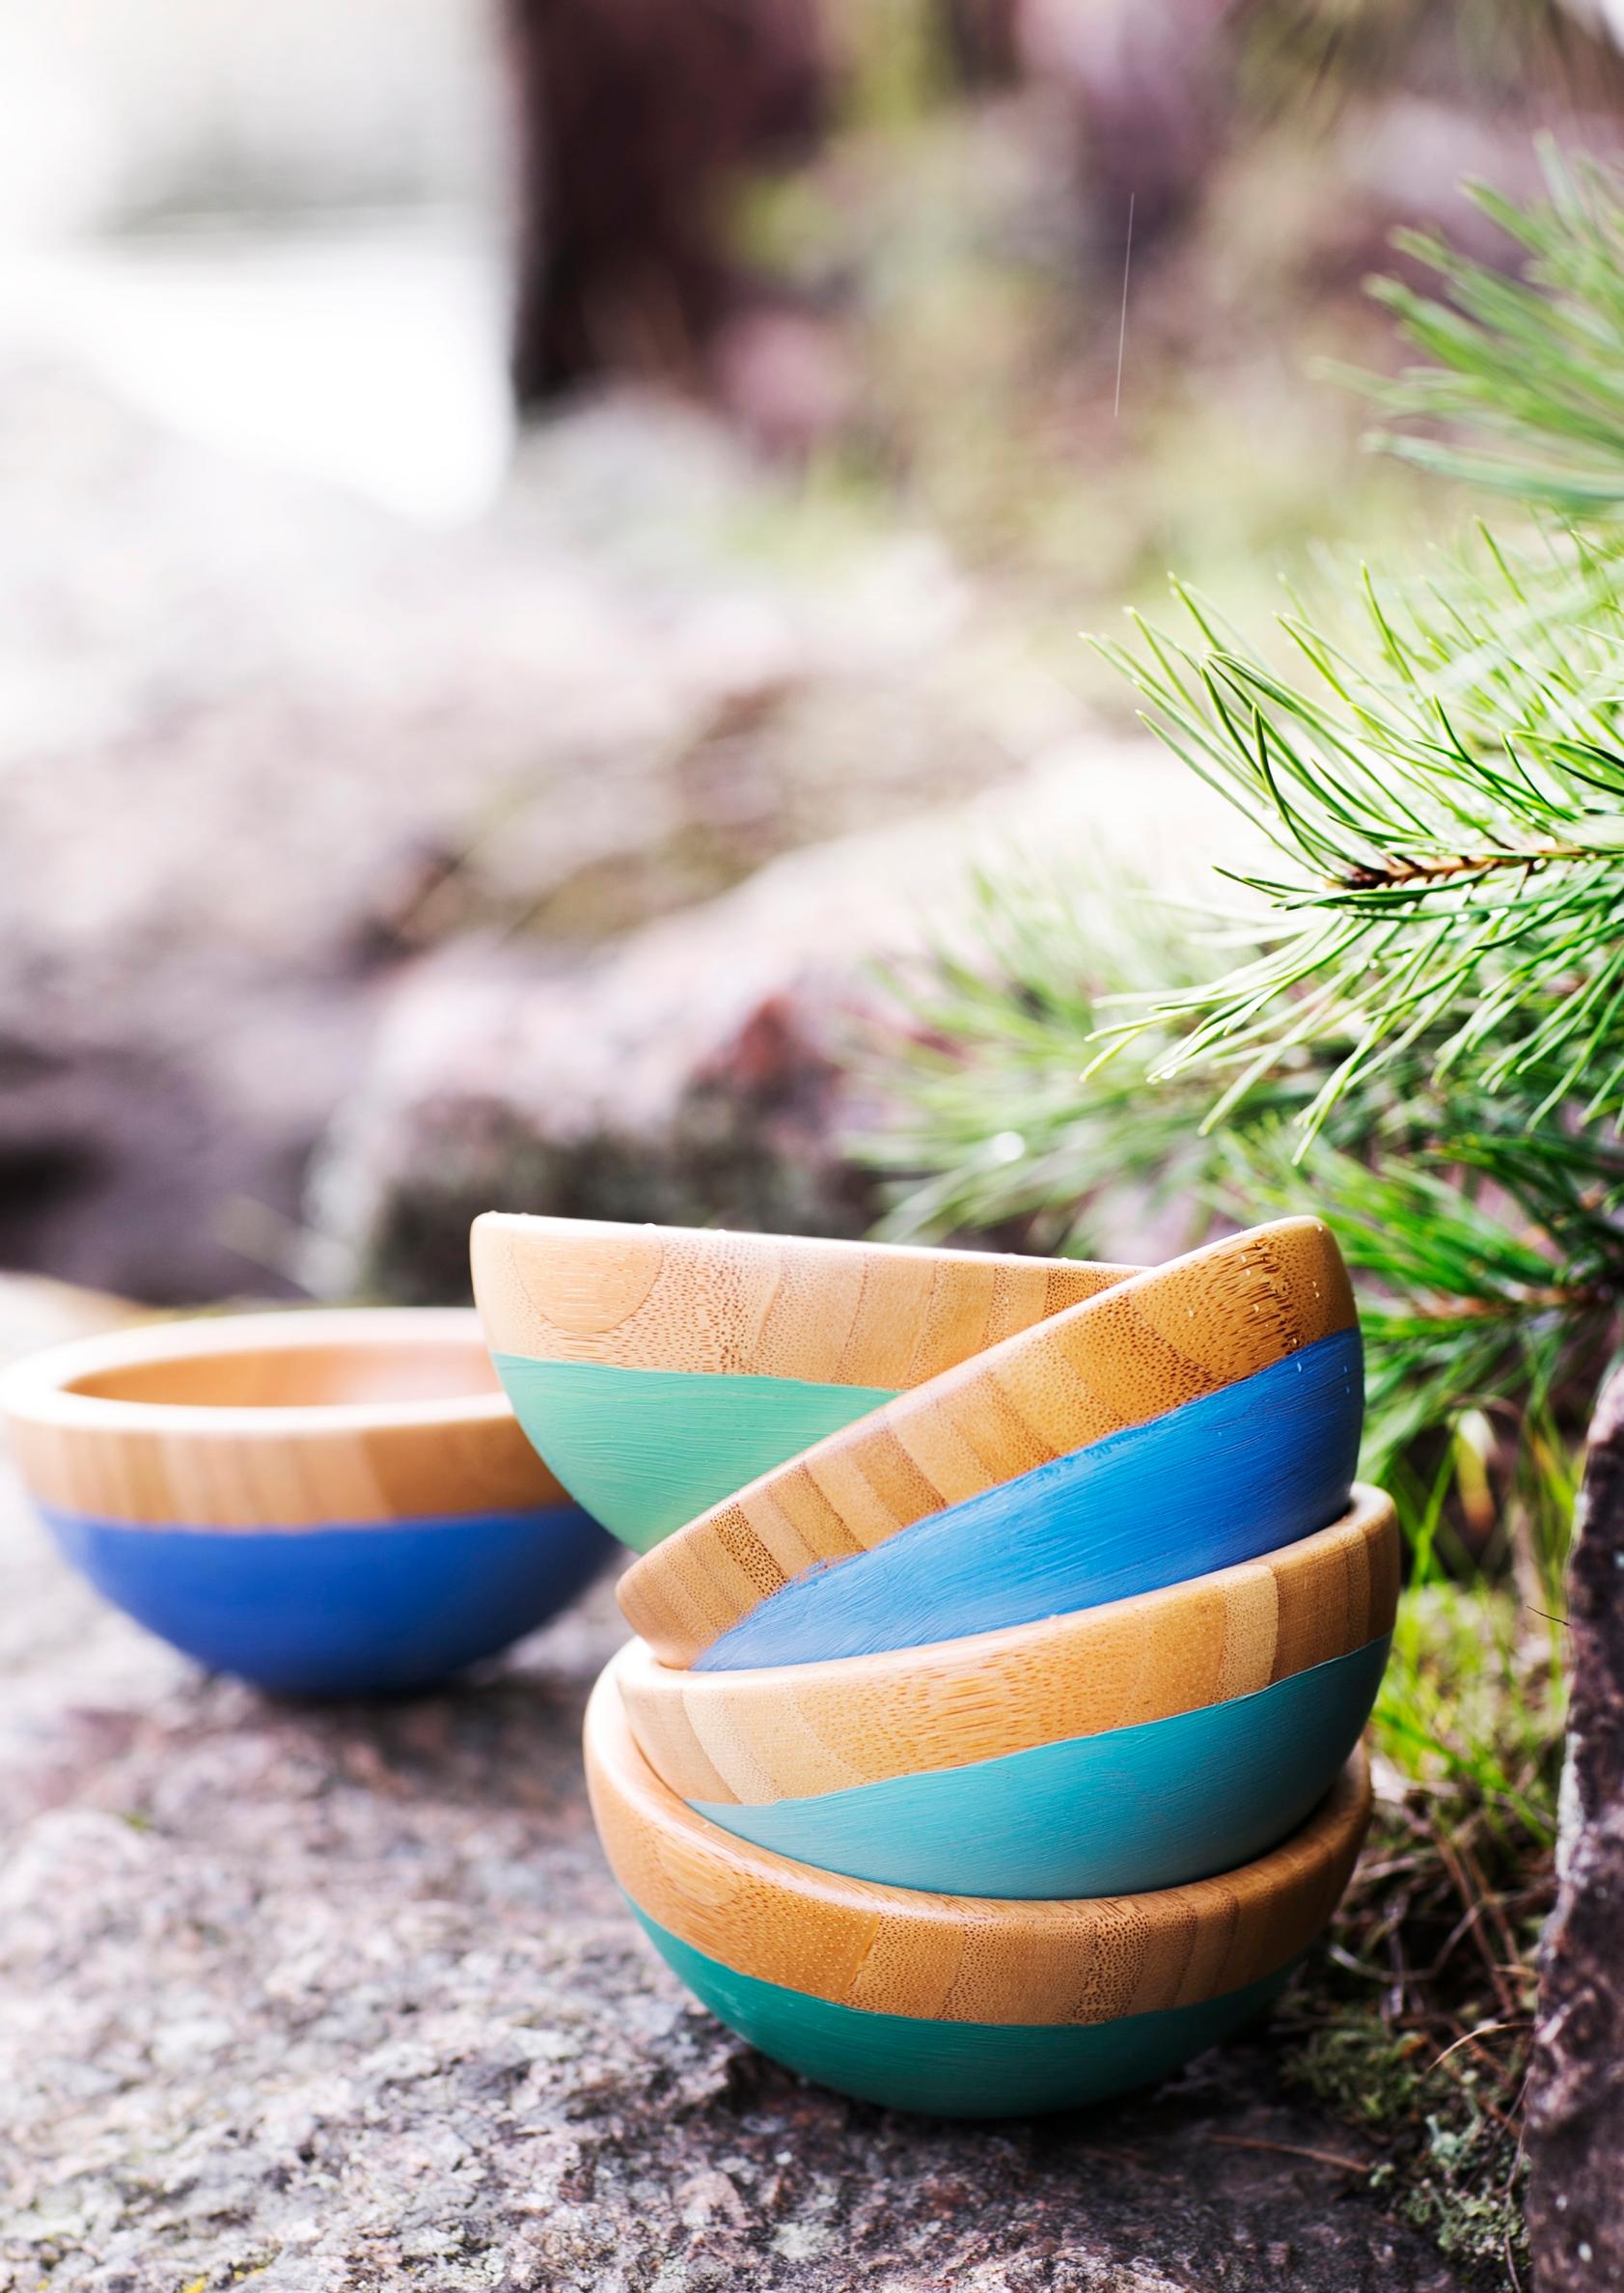
Make a unique set of dishes for your summer cottage with wooden bowls and a little craft paint.
You will need: wooden bowls and craft paints. Try colors like blue, green, or white.
Paint the bottoms of the bowls and let them dry. You can use some paint colors straight from the jar and mix others to create new shades. If you plan to use the bowls for serving, wash them quickly by hand or use them to store small items.
Accents for a summer table setting

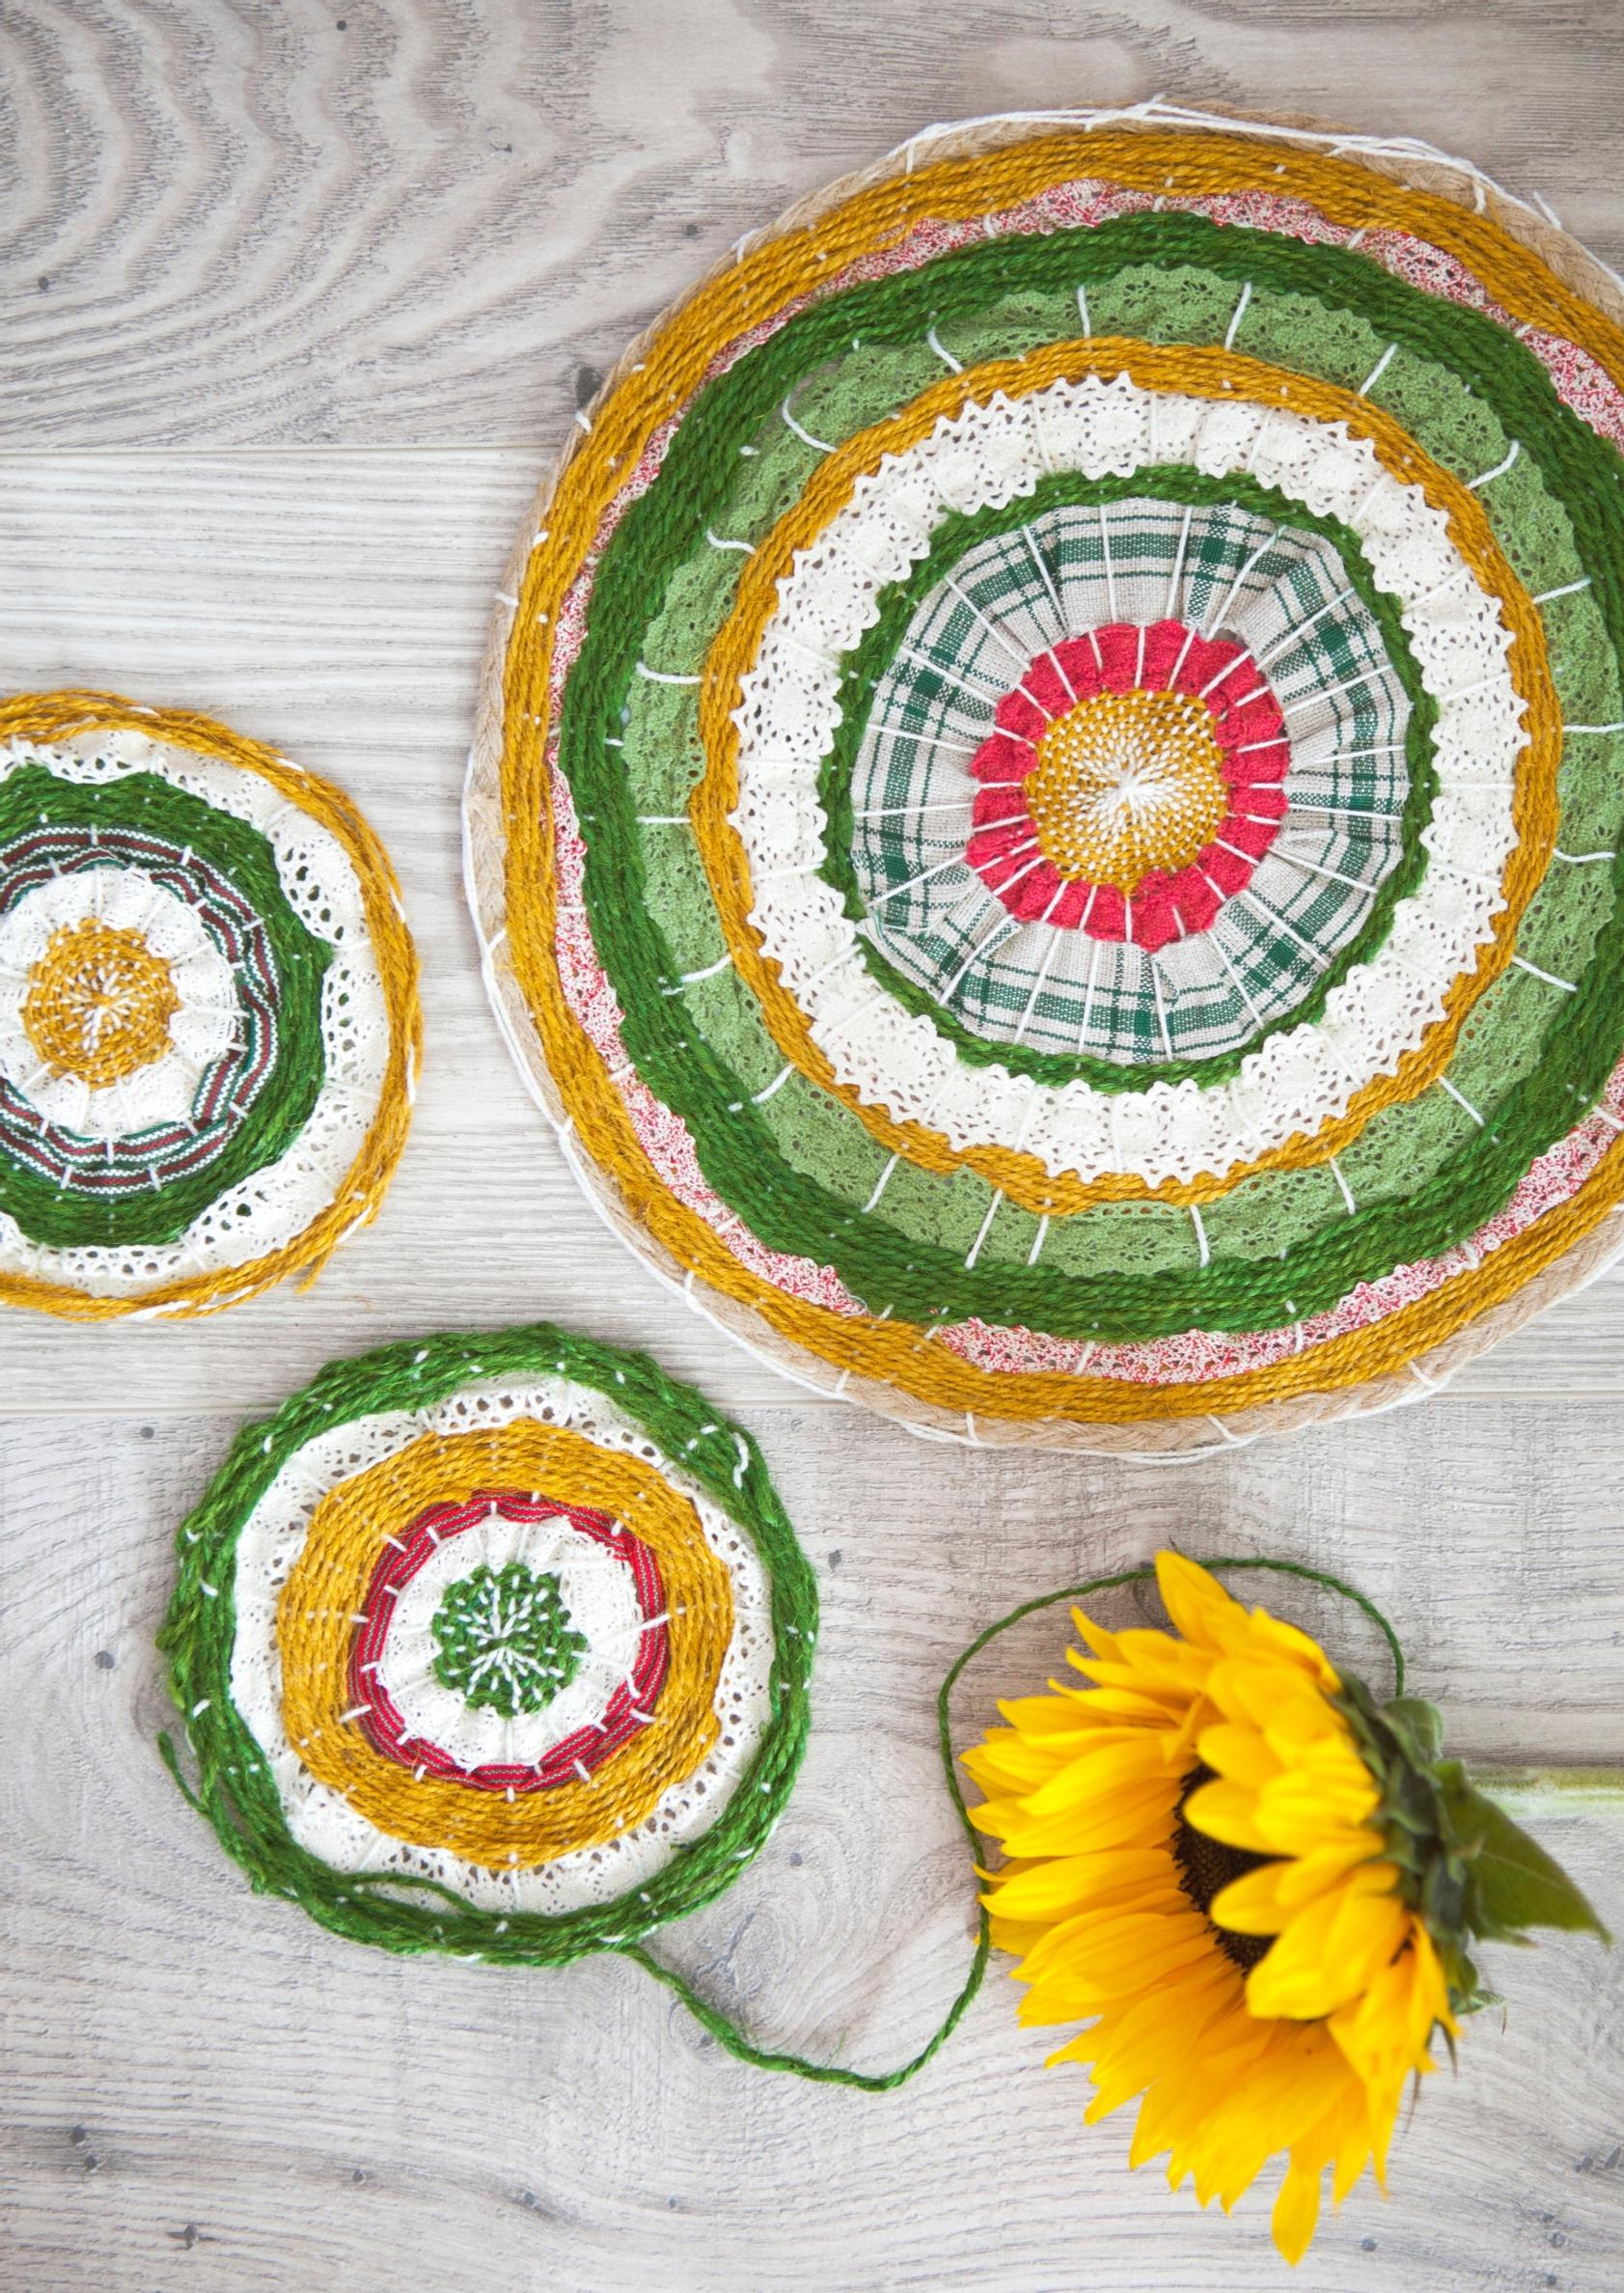
Weave coasters for place settings and glasses. This way, you protect the table surface and create a distinctive theme.
You will need: circles cut from sturdy cardboard, different types of string and ribbon, and glue.
Cut a circle from cardboard to use as a coaster base. Make an odd number of small notches (about one centimeter) around the edge. Thread your warp yarn between opposite notches, always passing through the center. Start weaving at the center, going under and over the warp threads. Secure the ends with glue. Finally, remove the coaster from the cardboard. If it needs extra support, glue a thin layer of cardboard underneath.
Homemaker’s crafts

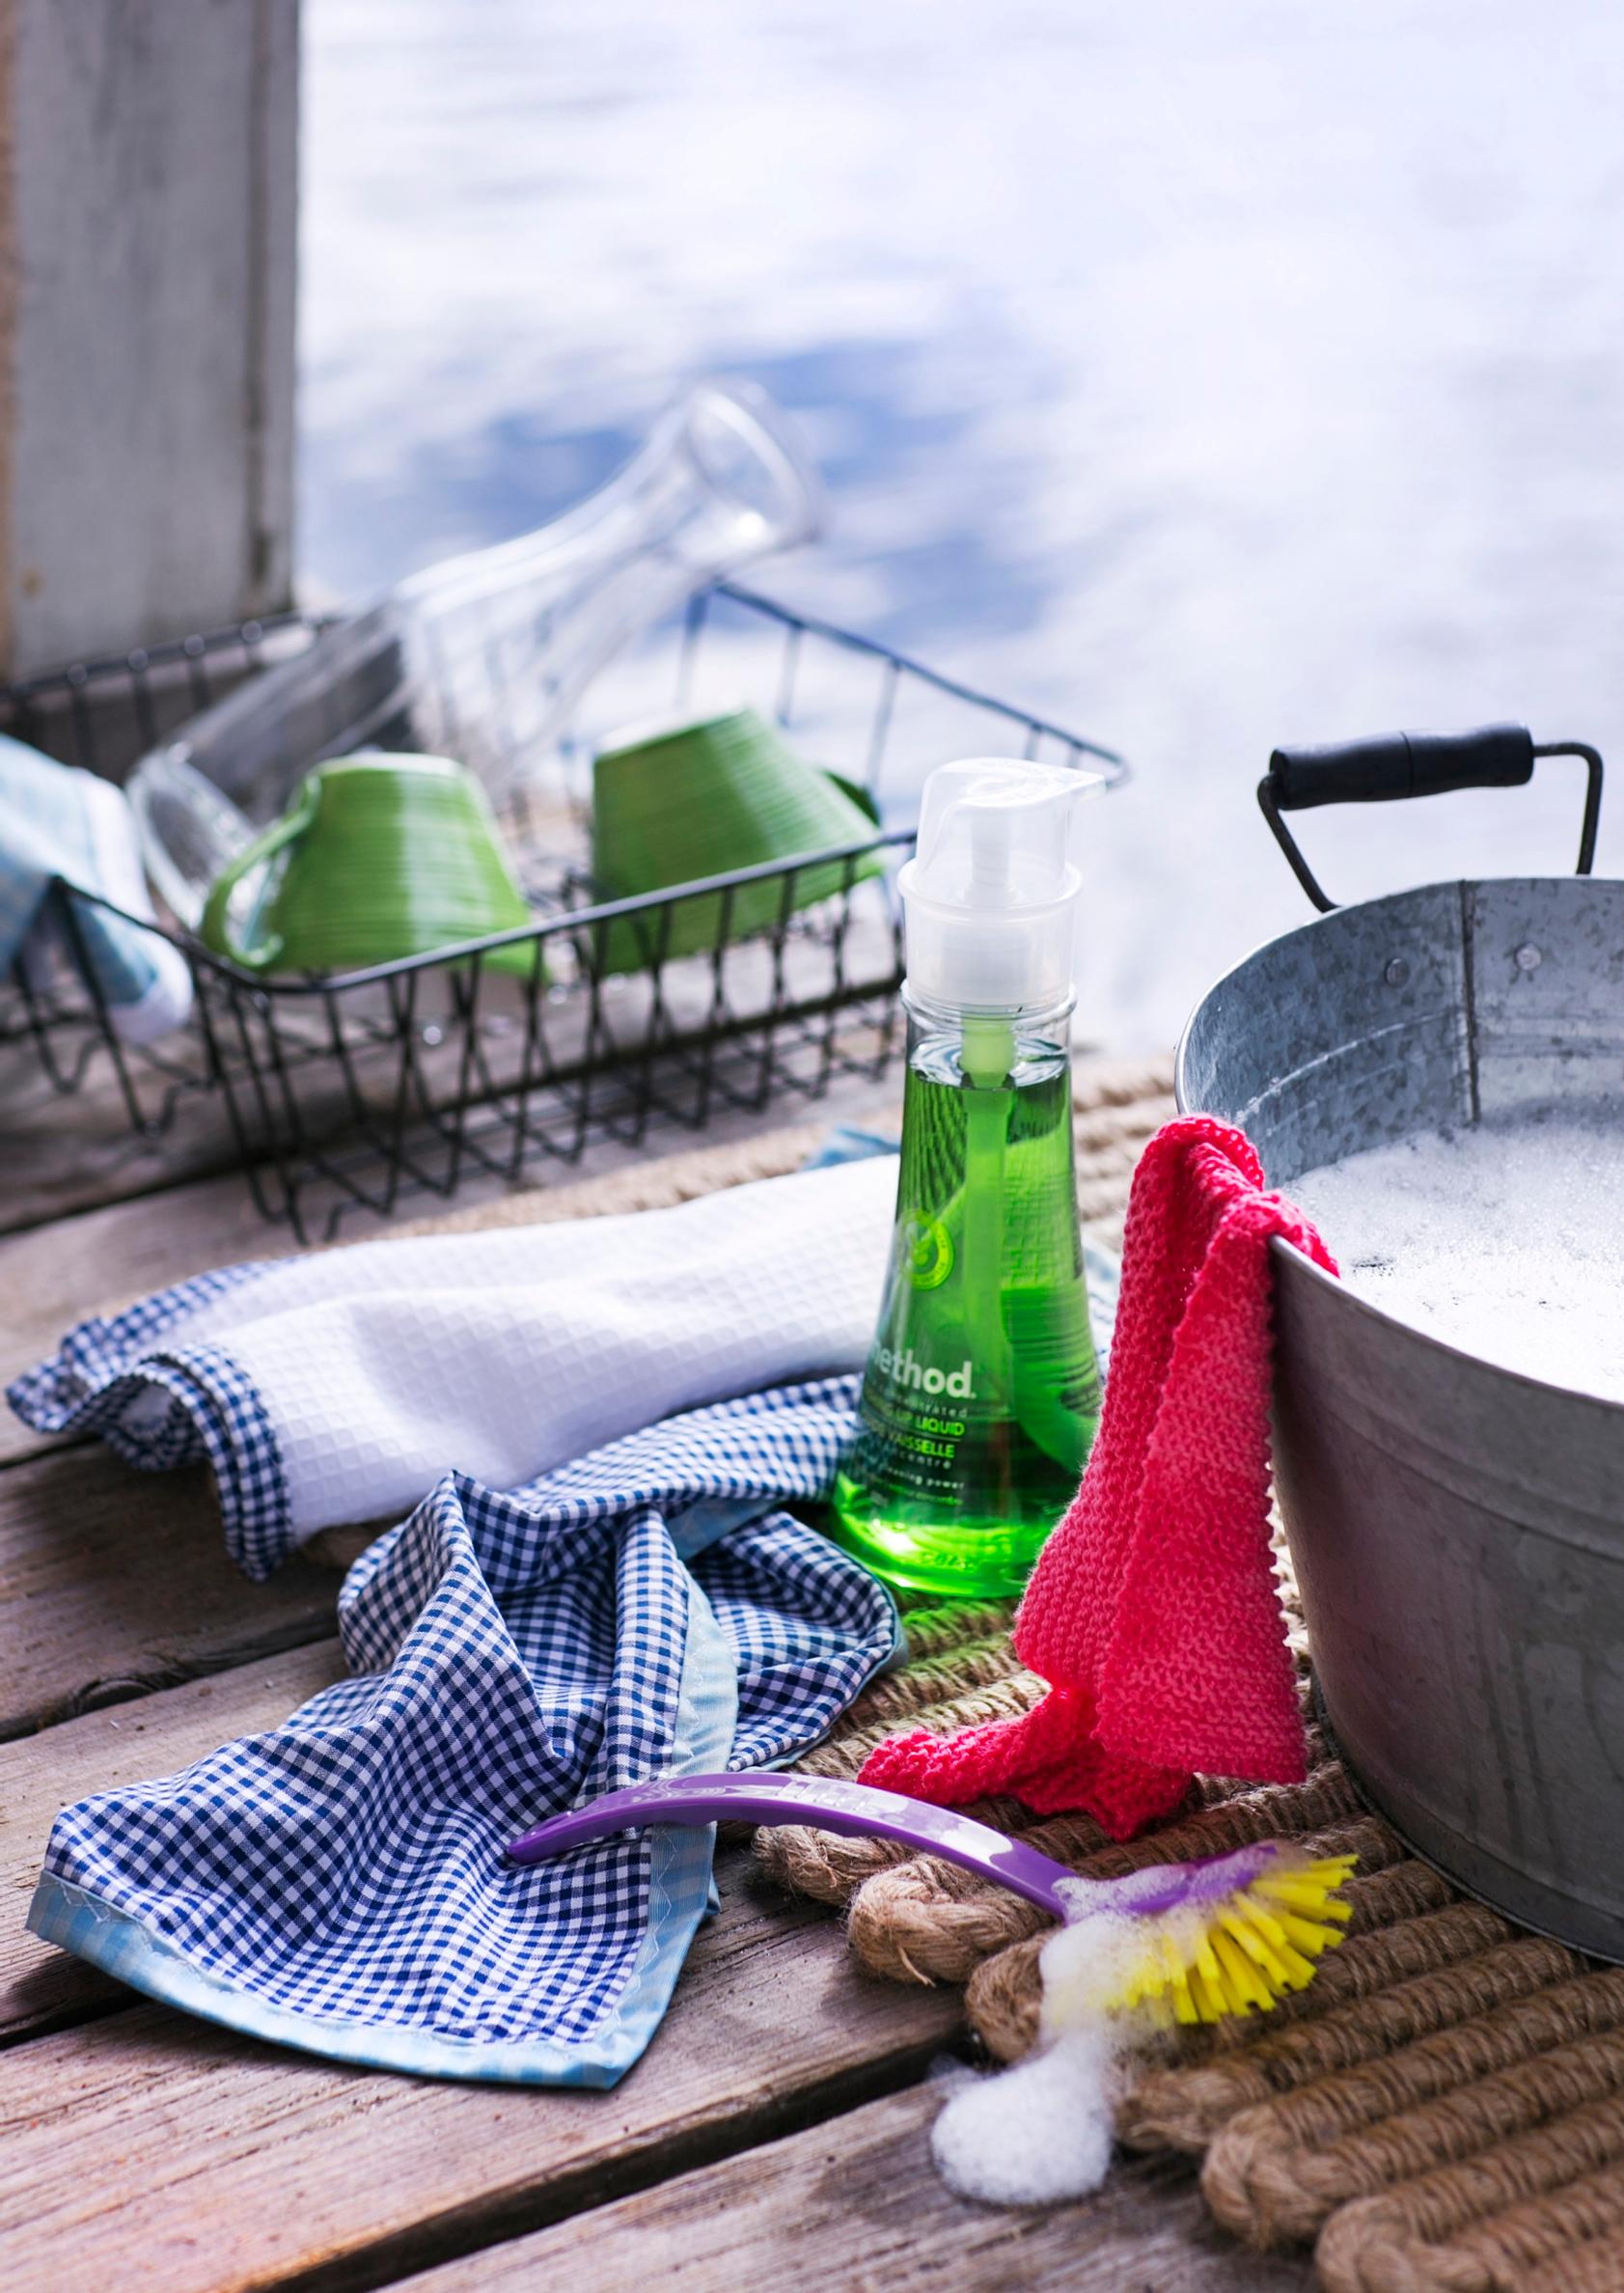
The summer dishwasher crafts right on the dock, toes dangling in the water, sewing waffle-weave cloths by hand and knitting a dishcloth, too.
You will need: waffle weave and cotton fabric.
First, cut the cloth pieces. Use a second fabric for binding. Cut a strip about three centimeters wide, long enough to wrap around the entire towel. Fold the strip in half, then fold about half a centimeter in from each long edge. Press the folds before sewing the strip onto the towel. Hand-sew with invisible stitches on both sides.
Tasty treats made with Hama beads

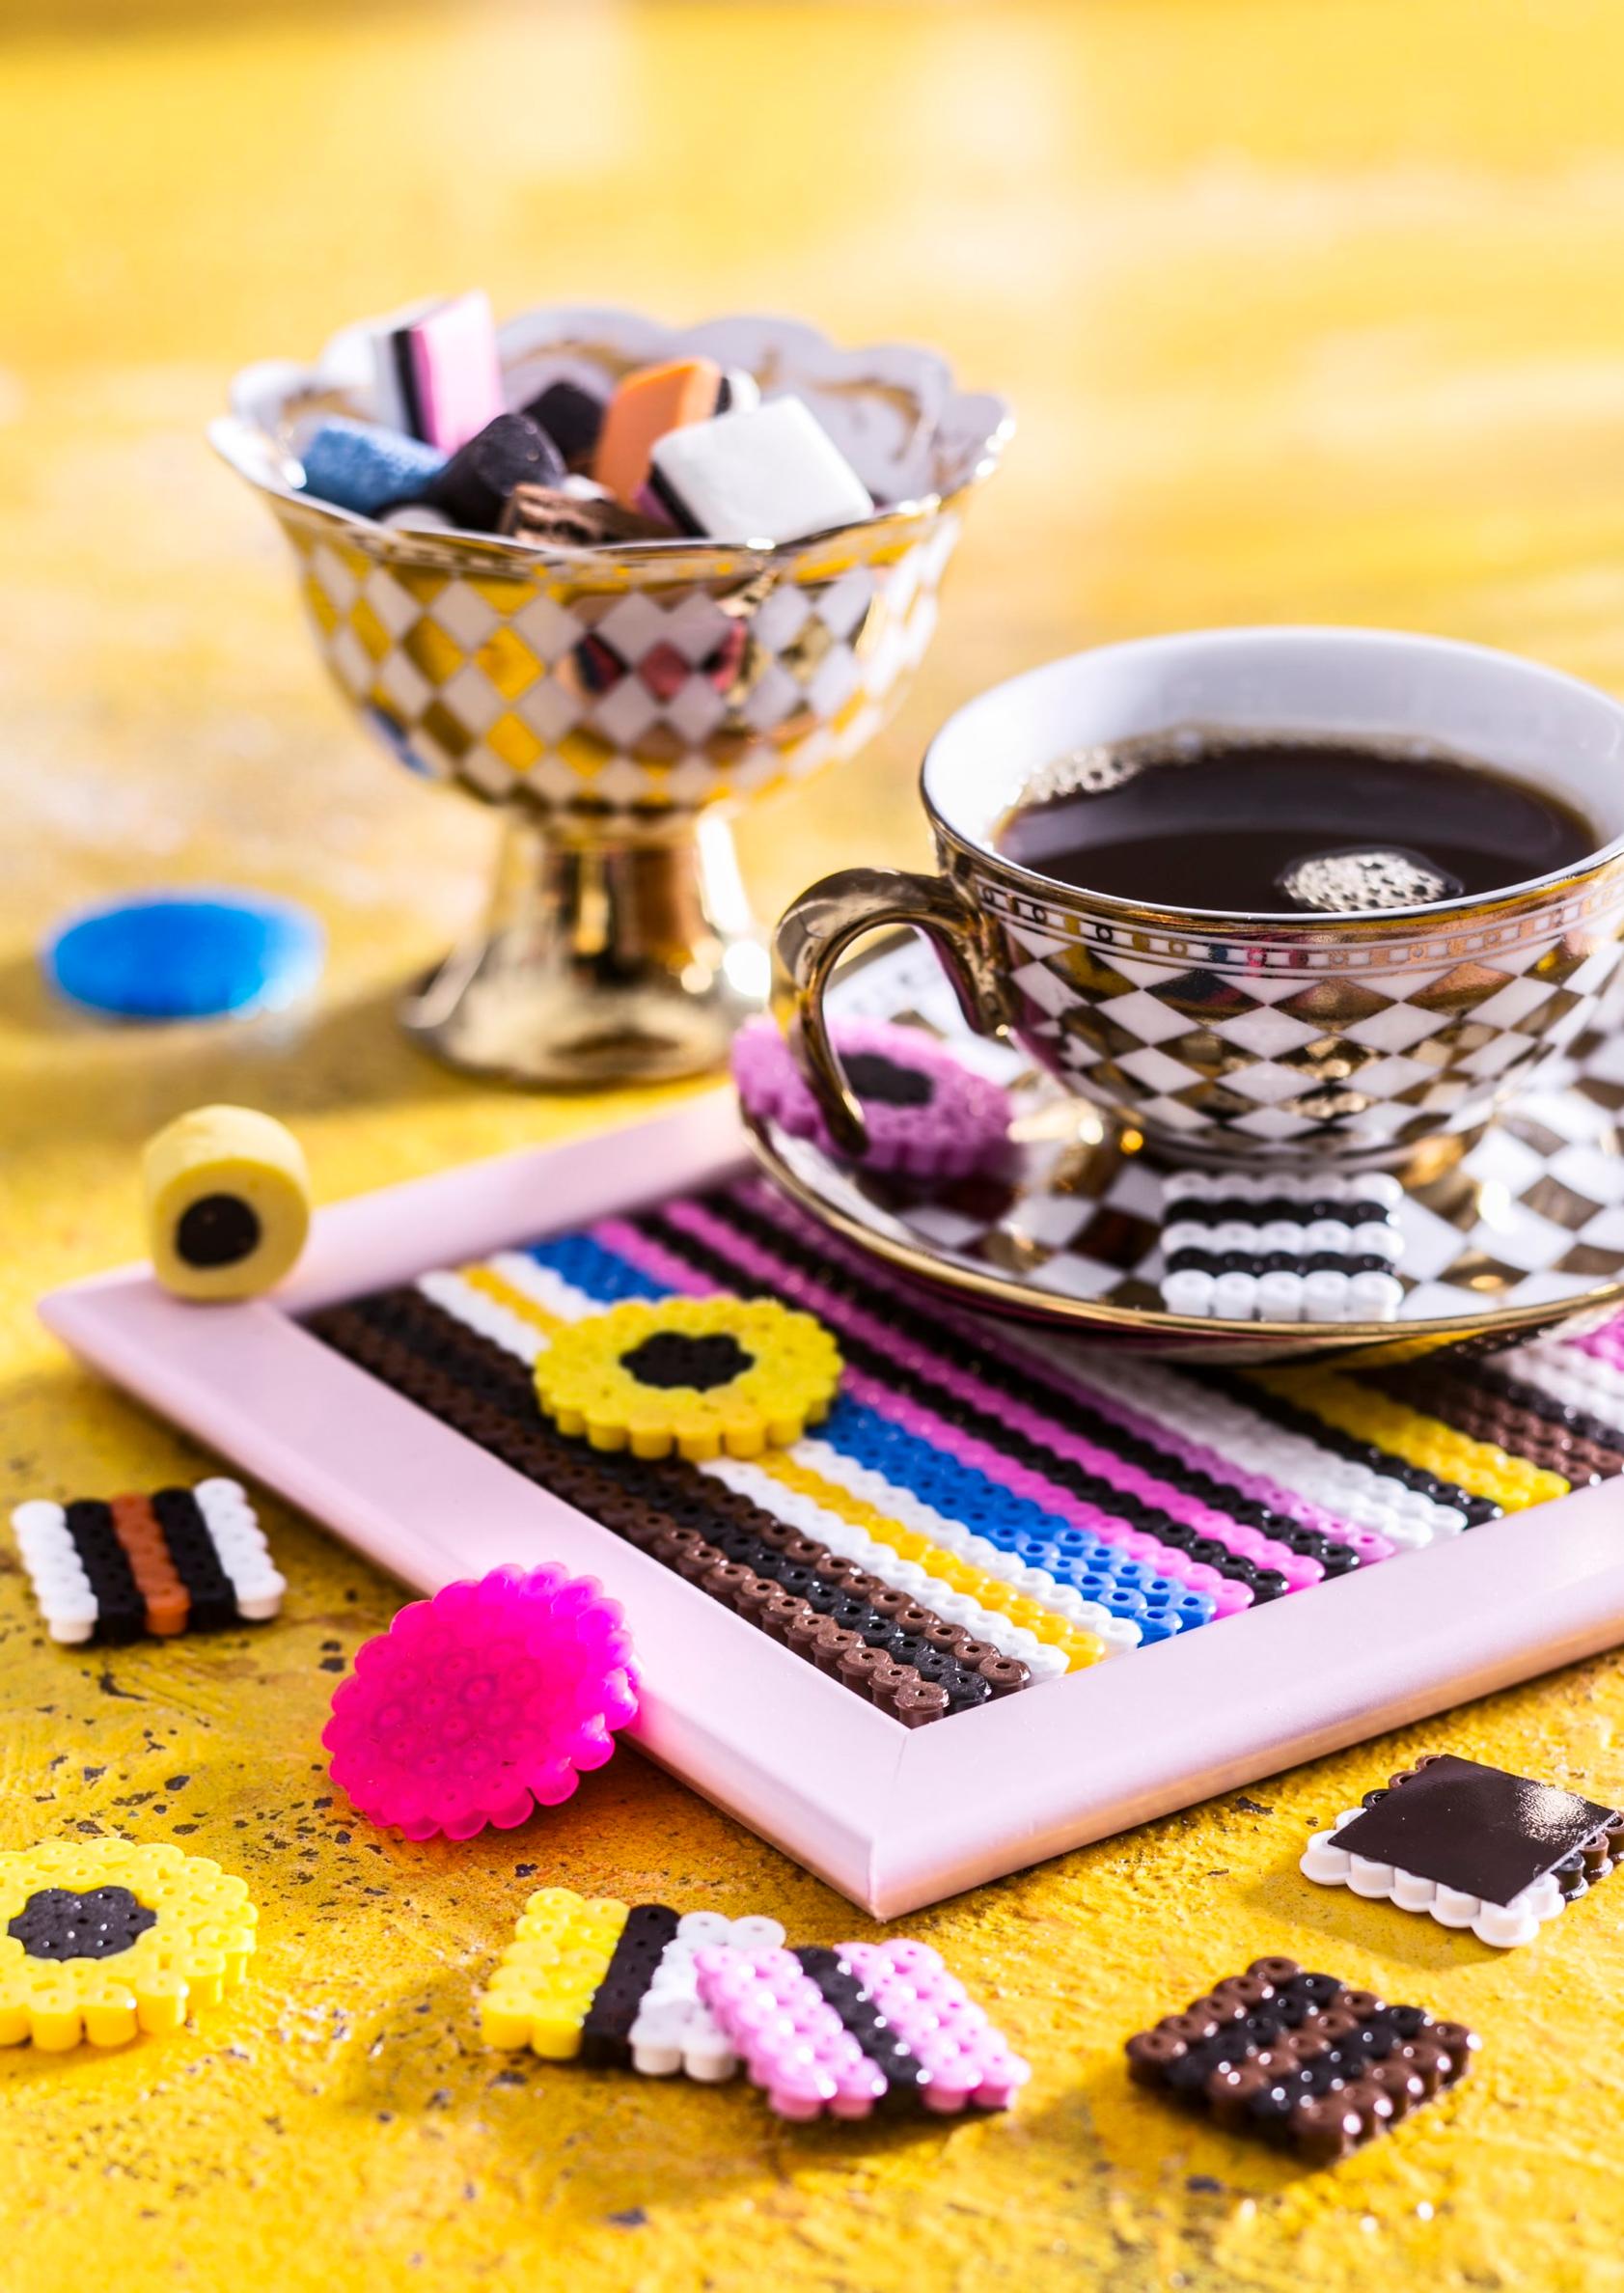
Remember Hama beads? Make sweet magnets inspired by English licorice and decorate your fridge door with these whimsical candy pieces!
You will need: Hama beads in licorice candy colors, a bead board, magnetic adhesive sheet, and baking paper.
Arrange your designs on the bead board and fuse them in place with an iron through baking paper. Attach a piece of magnetic backing to each shape. You can also make a matching candy-inspired tray by placing small fused pieces into frames and gluing them onto the tray’s backing.
Wall collage of “heirloom plates”

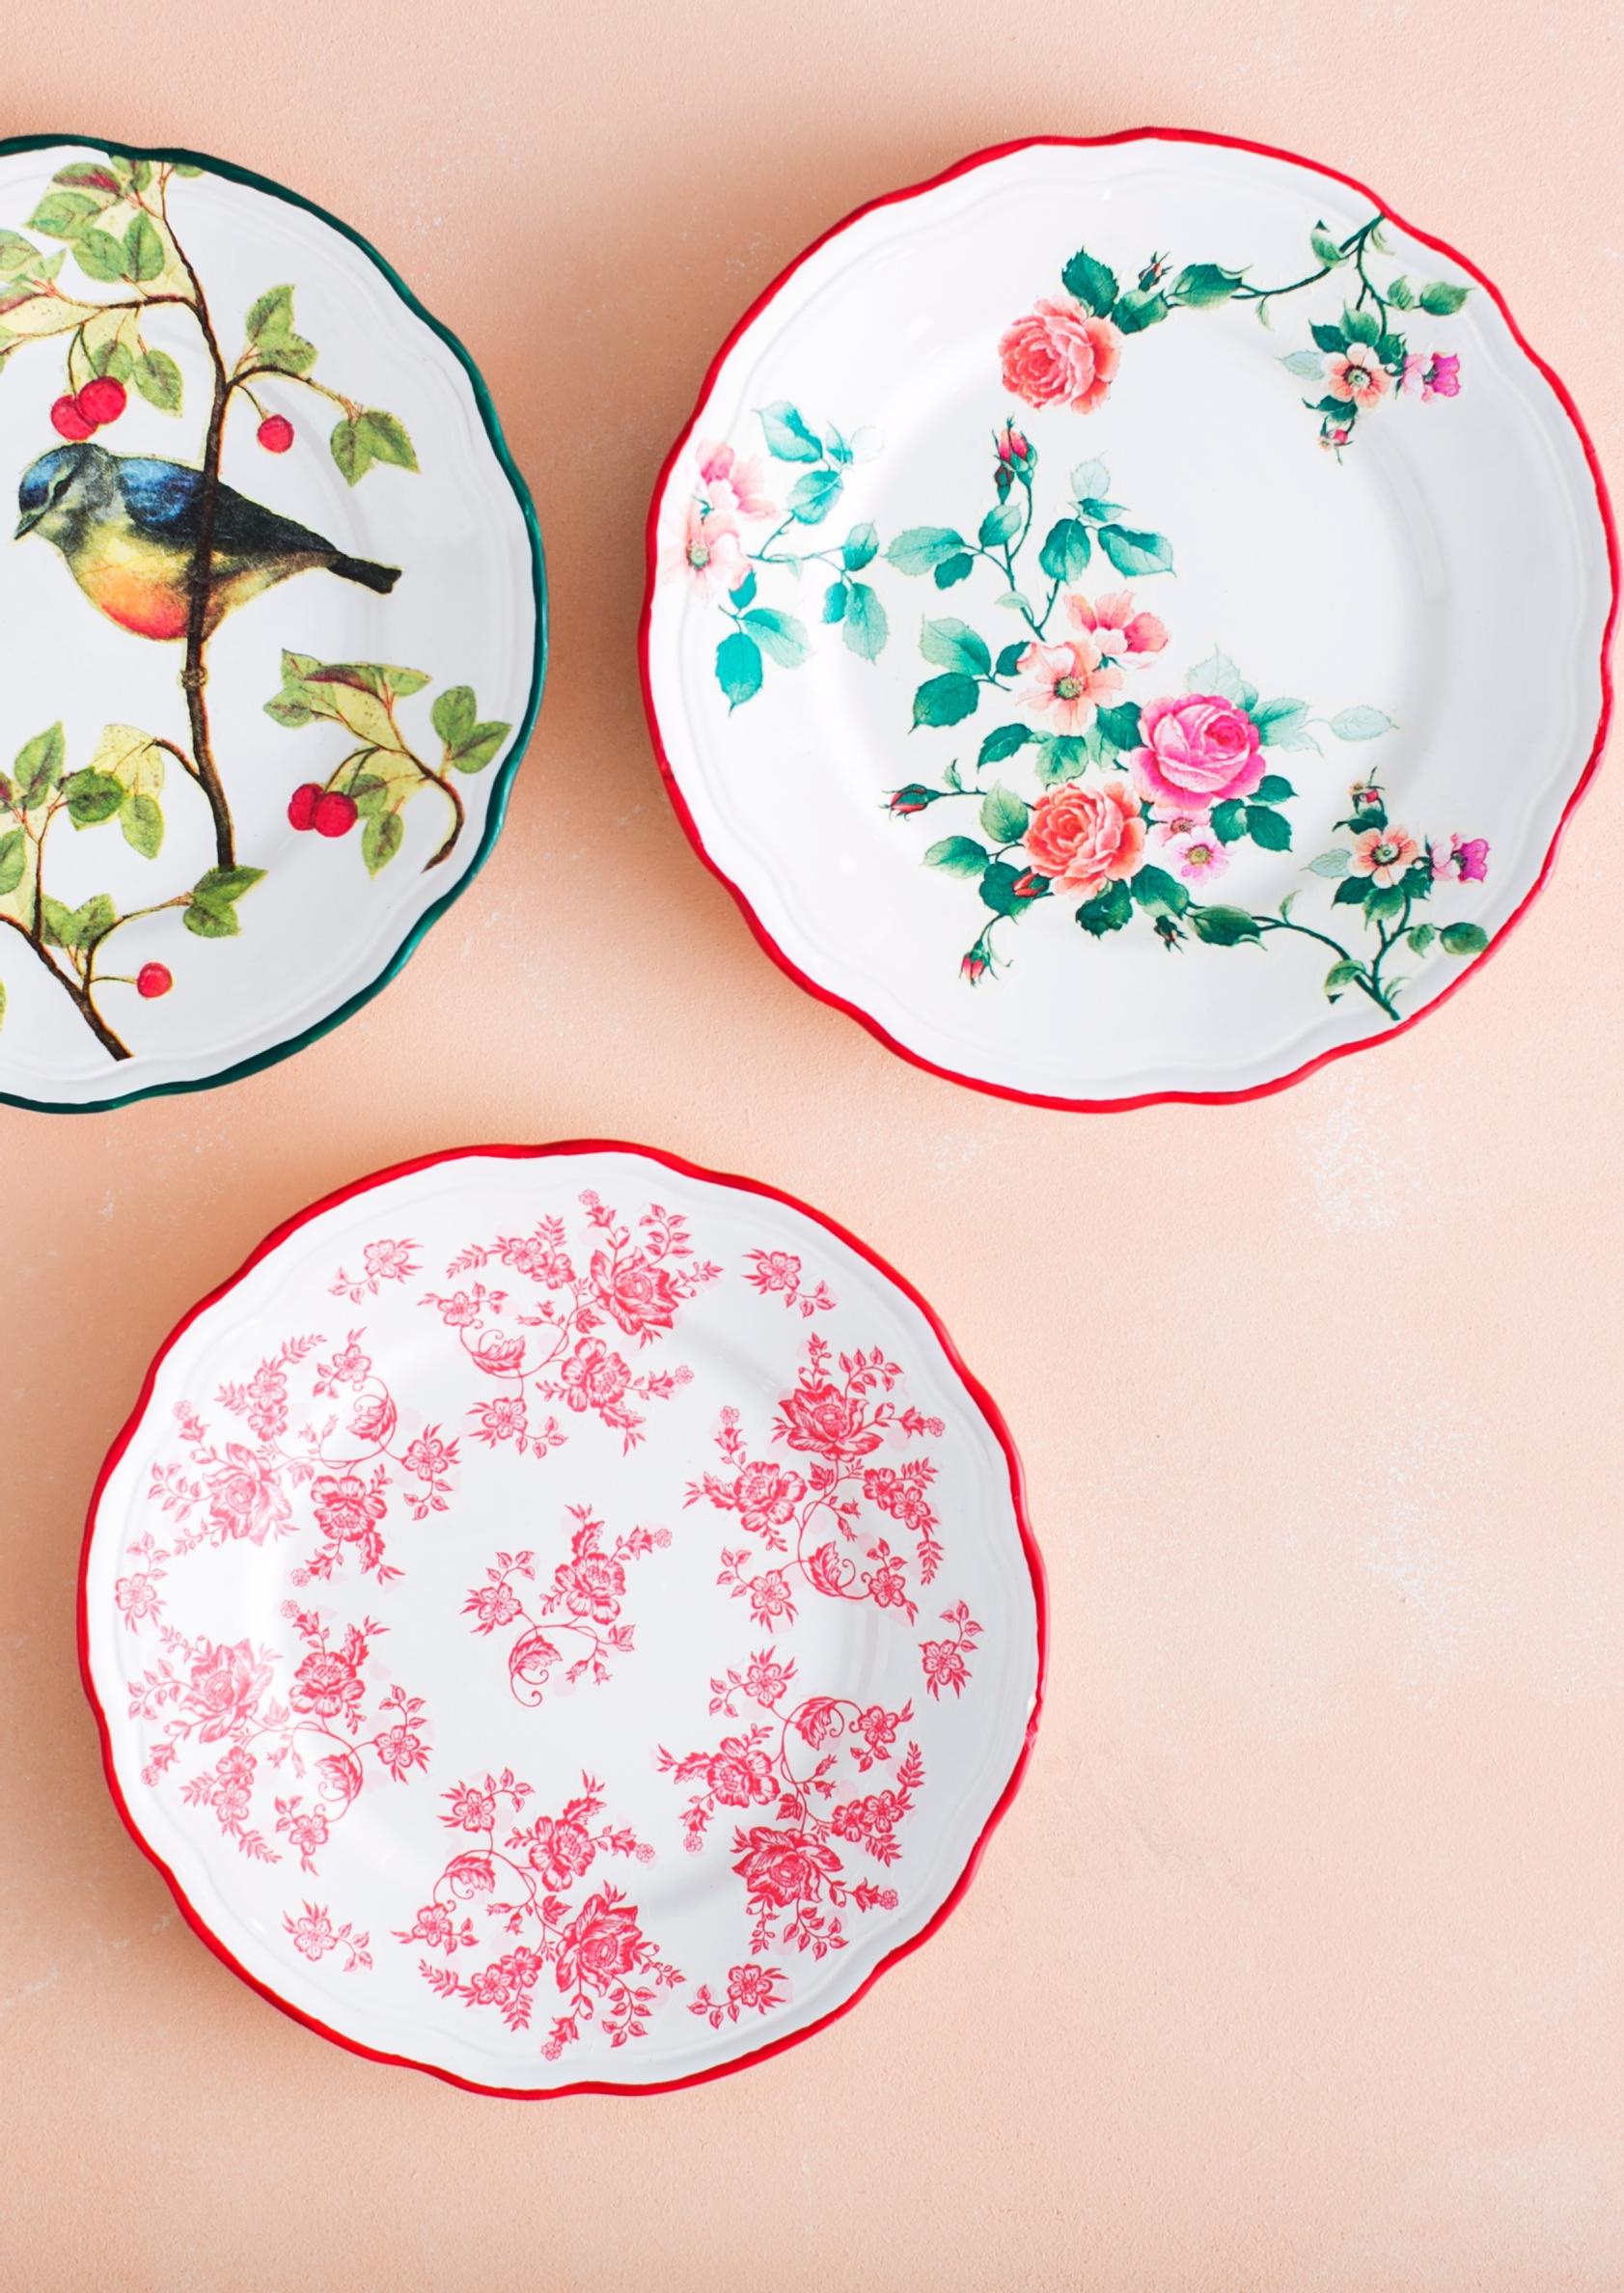
If the heirloom plates you’ve dreamed of aren’t in your future, this DIY is the answer. You can have as large a collection as you like.
You will need: white plates, paper napkins, decoupage glue, and craft paints.
Cut out shapes from paper napkins and arrange them on the plate. Glue them on with decoupage glue according to the manufacturer’s instructions. Finish by painting a border on the plate with craft paints.
A tangible work of art

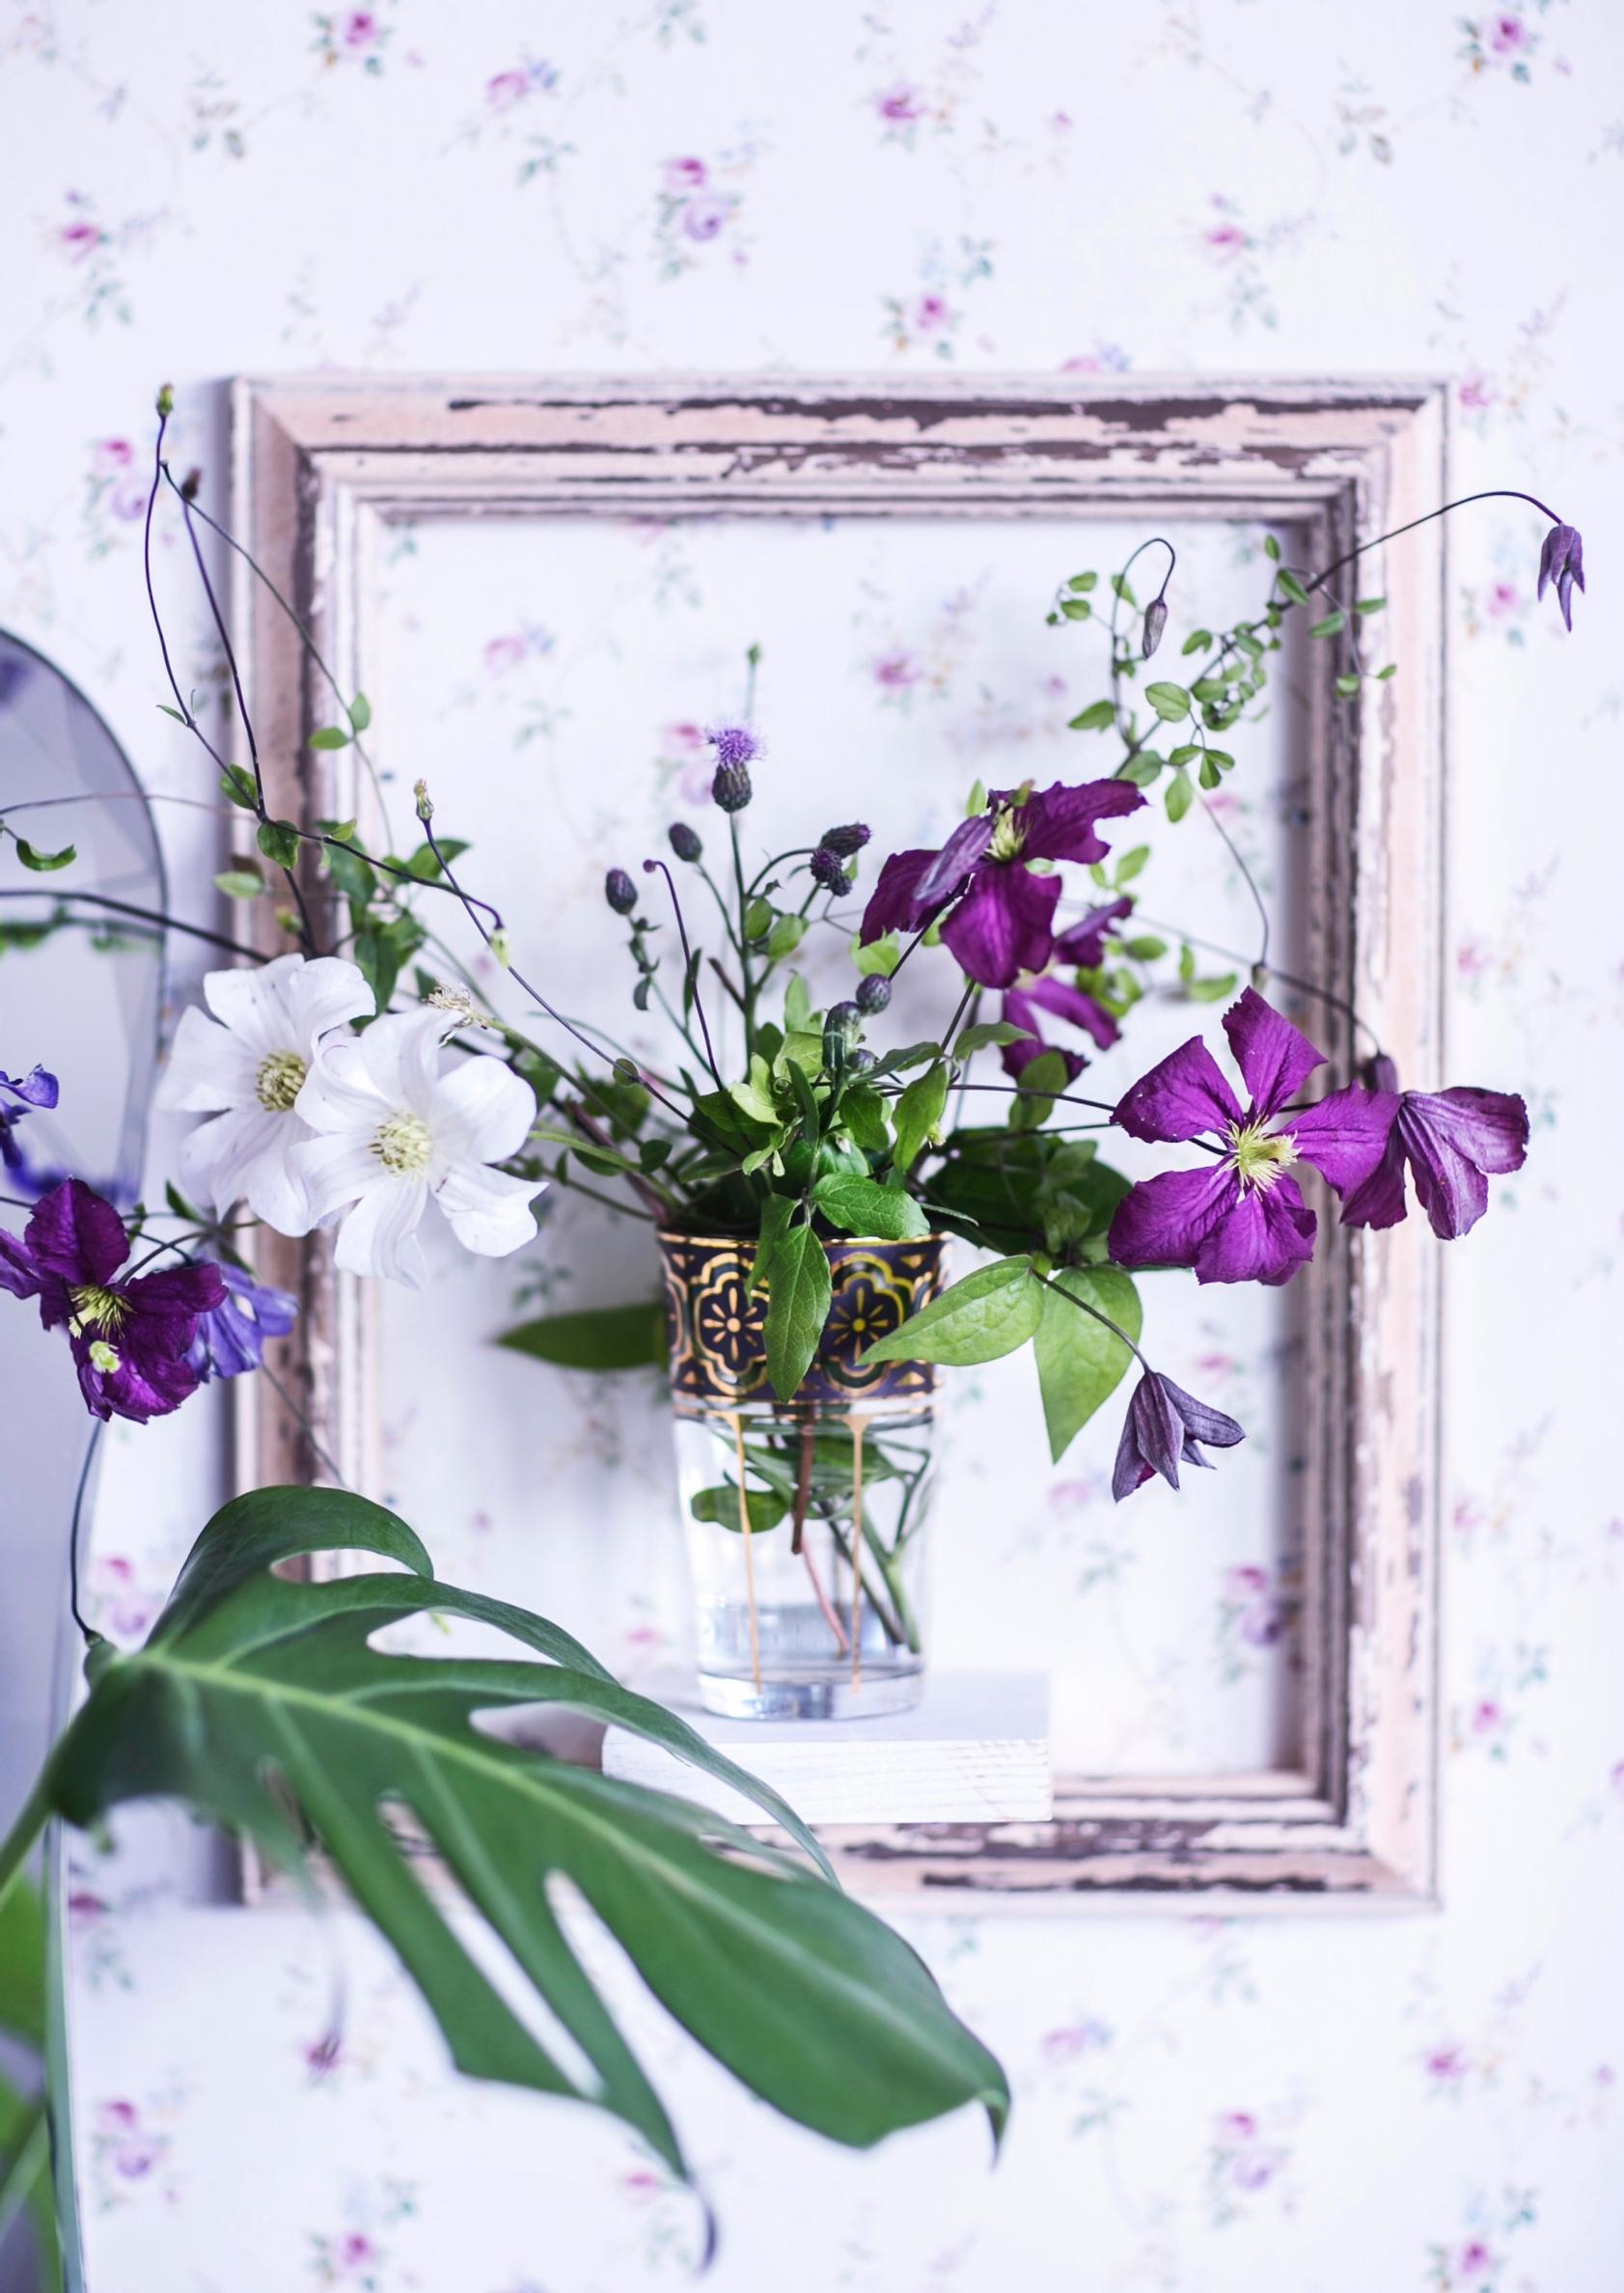
For a 3D painting, you don’t need special glasses the way you do at the movies. These clematis vines are within reach.
You will need: old frames, a small L-bracket, and a piece of board.
Sand, paint, or clean the frames. Attach the L-bracket to the bottom of the board and to the center of the frame’s lower edge. Make sure the bracket and frame thickness are compatible so the bracket doesn’t show.
Compiled by Anette Nässling