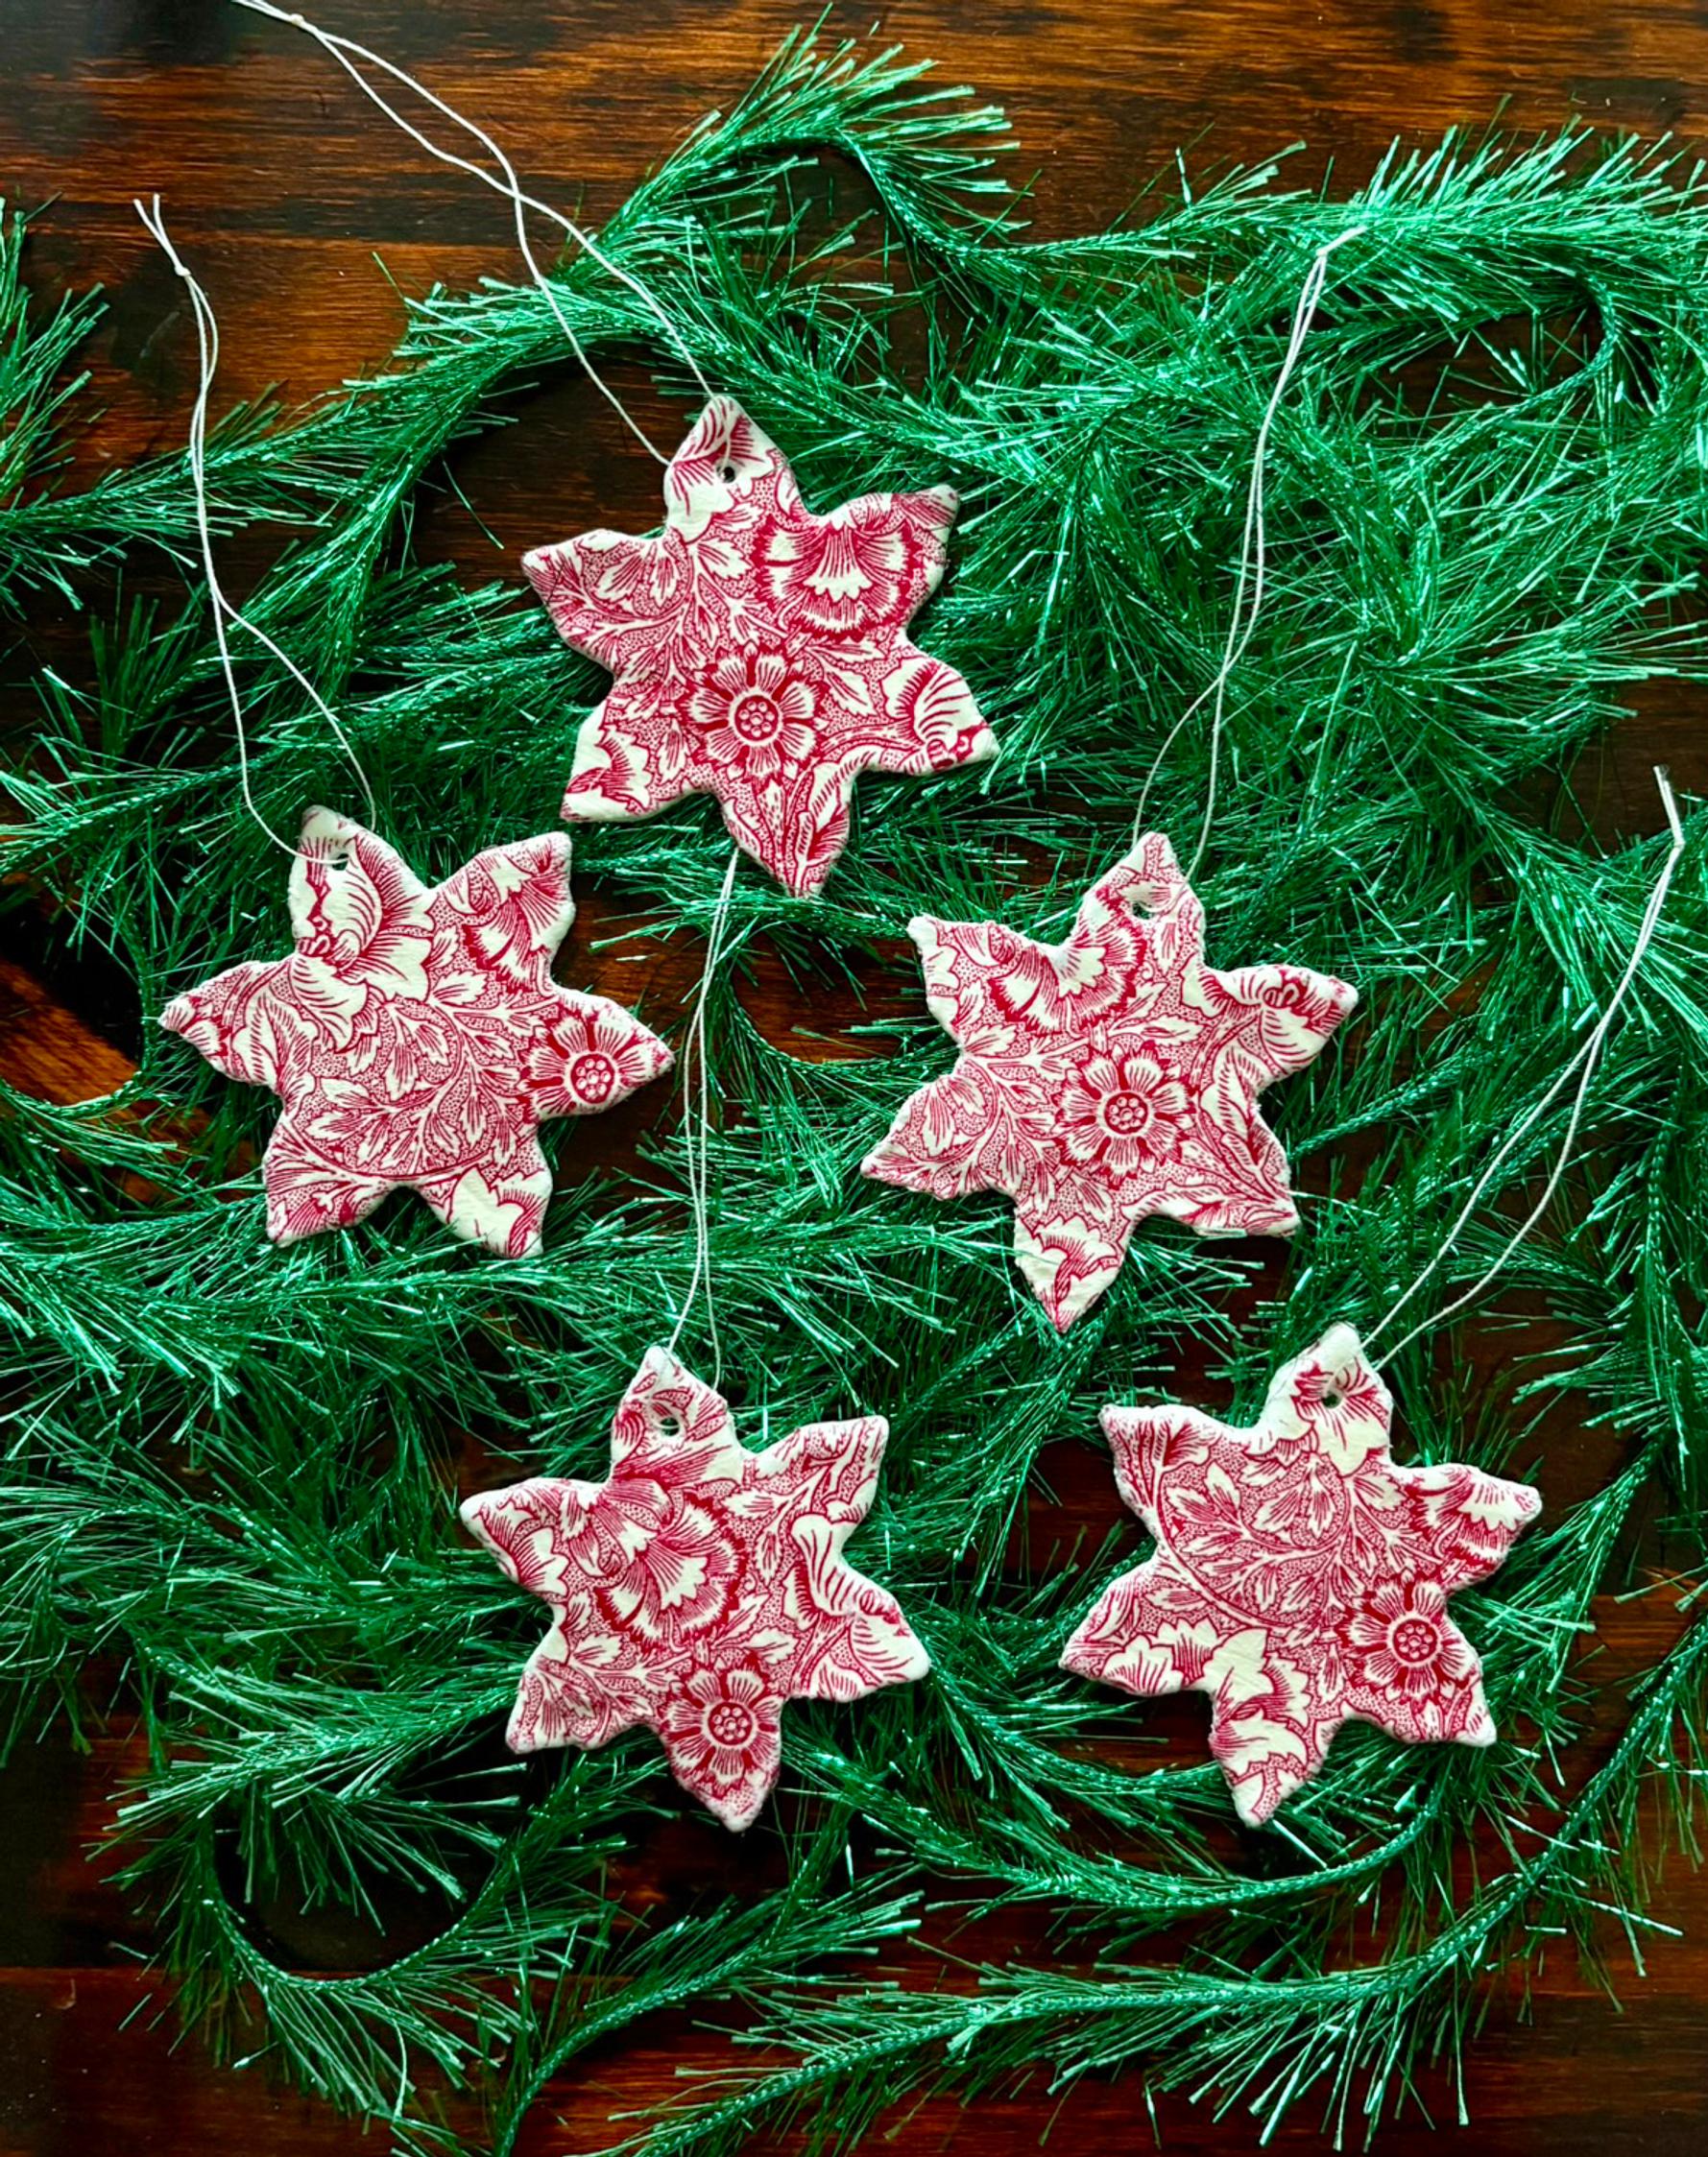
Make air-dry clay star ornaments—a napkin prints the pattern, a cookie cutter shapes them
Charming star ornaments come to life from air-dry clay with the help of napkins and a cookie cutter. Use the stars to decorate the Christmas tree, a wreath, or gift packages.
Star ornament supplies
- air-dry clay
- rolling pin
- work surface (parchment paper, cutting board, etc.)
- paper napkins
- star-shaped cookie cutter
- liquid glue
- toothpick or skewer
- clear gloss varnish (e.g., Mont Marte Gloss Clay Varnish) and a brush
- string or yarn for hanging


Star ornament instructions:


1. Cut a piece of clay about 5 cm (2″) wide and roll it out on your work surface into a sheet under 5 mm thick (around 3/16″).


2. Separate the top layer of the paper napkin. Fold the napkin in half.


3. Brush glue over the clay sheet. Place the patterned layer of the napkin on top and press it into place. Gently smooth out any lumps.


4. Use a cookie cutter to cut out star shapes from the sheet.


5. Carefully lift out the stars. If needed, neaten the edges with a toothpick.


6. Use a toothpick or skewer to poke holes for the hanging string.


7. Let the ornaments dry on a flat surface for about a day. You can monitor the drying from the back side: as it dries, the untreated surface turns completely white.


8. Brush a coat of gloss varnish over the surface of the star ornament. Let it dry for at least a few hours.


9. Attach string or yarn. Hang the star ornaments on the Christmas tree, use them to decorate gift packages, or tuck them into Christmas wreaths.