
Put a stop to chilly drafts: how to seal your windows for a cozier home and save money
Sealing your windows can bring welcome relief to a drafty home. Once you've sealed your windows and doors, you can lower your home's temperature, saving energy and money. Follow our guide to ensure success!
How to seal windows:

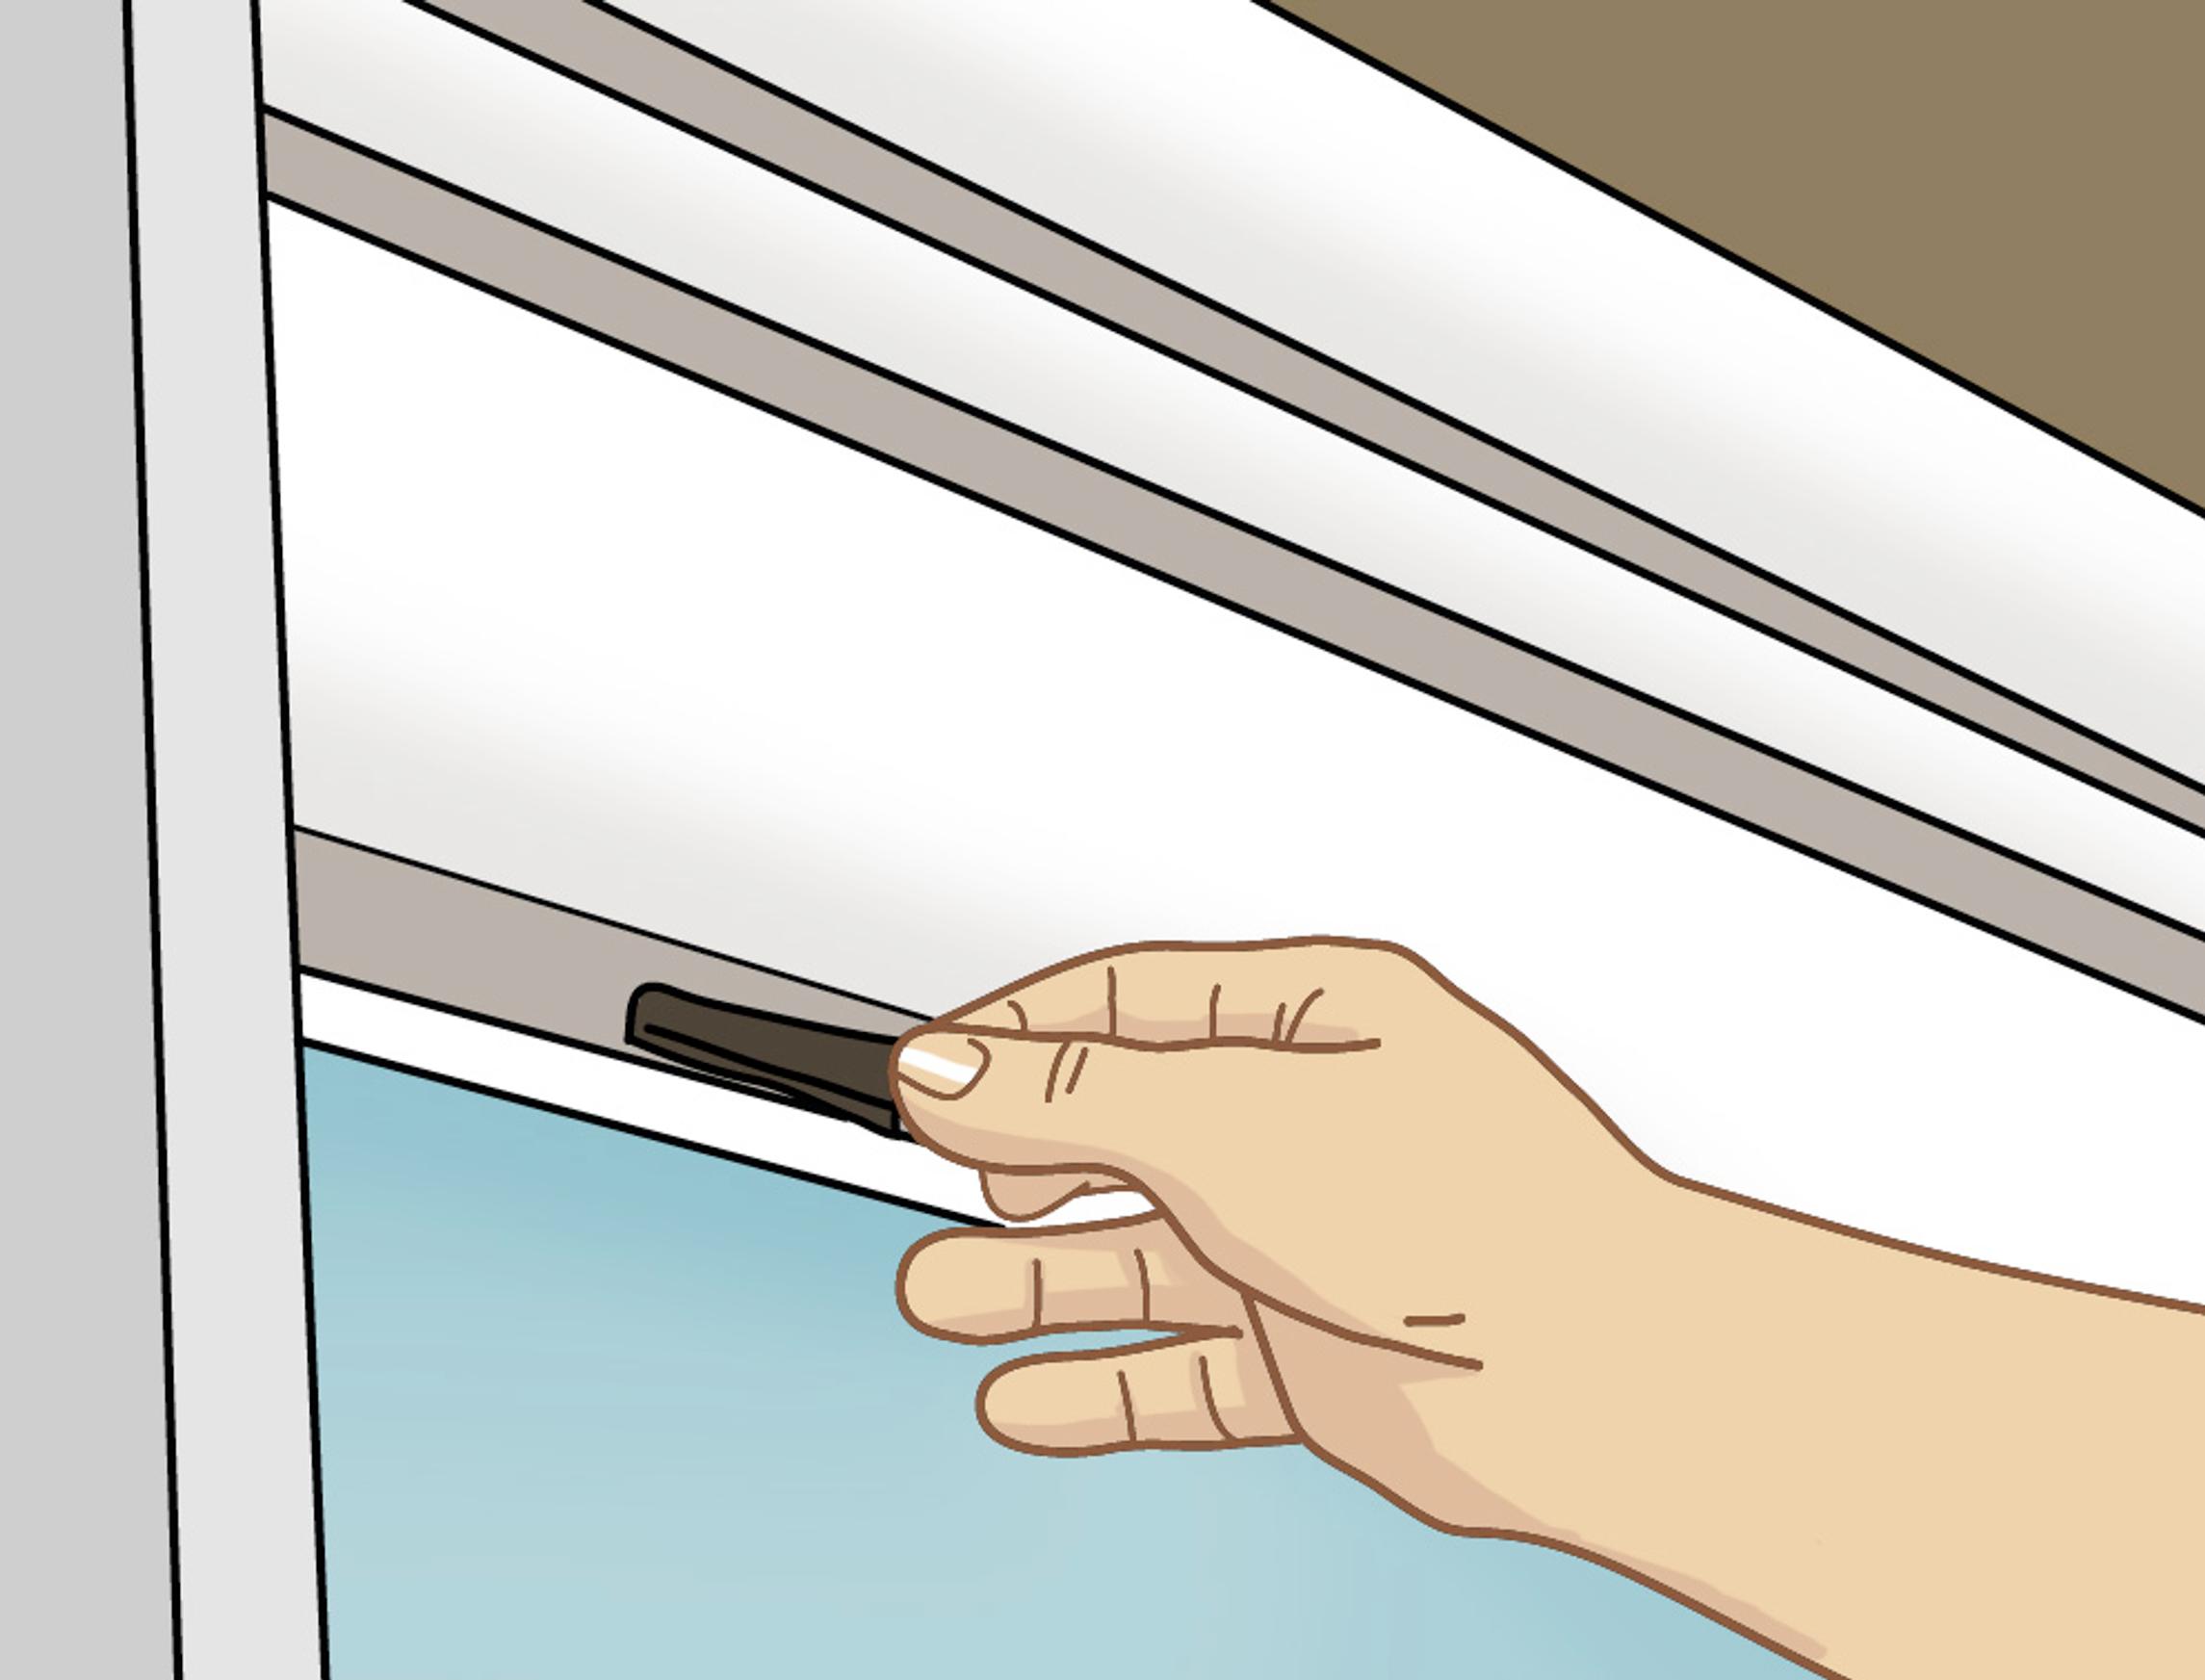
1. Check the seals on your windows and doors each year, ideally before winter. Remove damaged or worn seals that have lost their elasticity. An old seal might be too thin to work effectively. In urban areas especially, darker spots often show where outdoor air has seeped in. Keep in mind that seal profiles vary, and some need to be installed in a groove. Often, the interior window sash has two separate sealing lines.

2. Figure out how thick the seal should be. You can easily measure the gap with tack putty or modeling clay. Place two small balls of putty on each of the four sides where the seal sits, then close and lock the window before reopening it. The correct seal is a few millimeters (about 0.08 in) thicker than the compressed putty between the frames. In older windows, each side may require a different thickness.

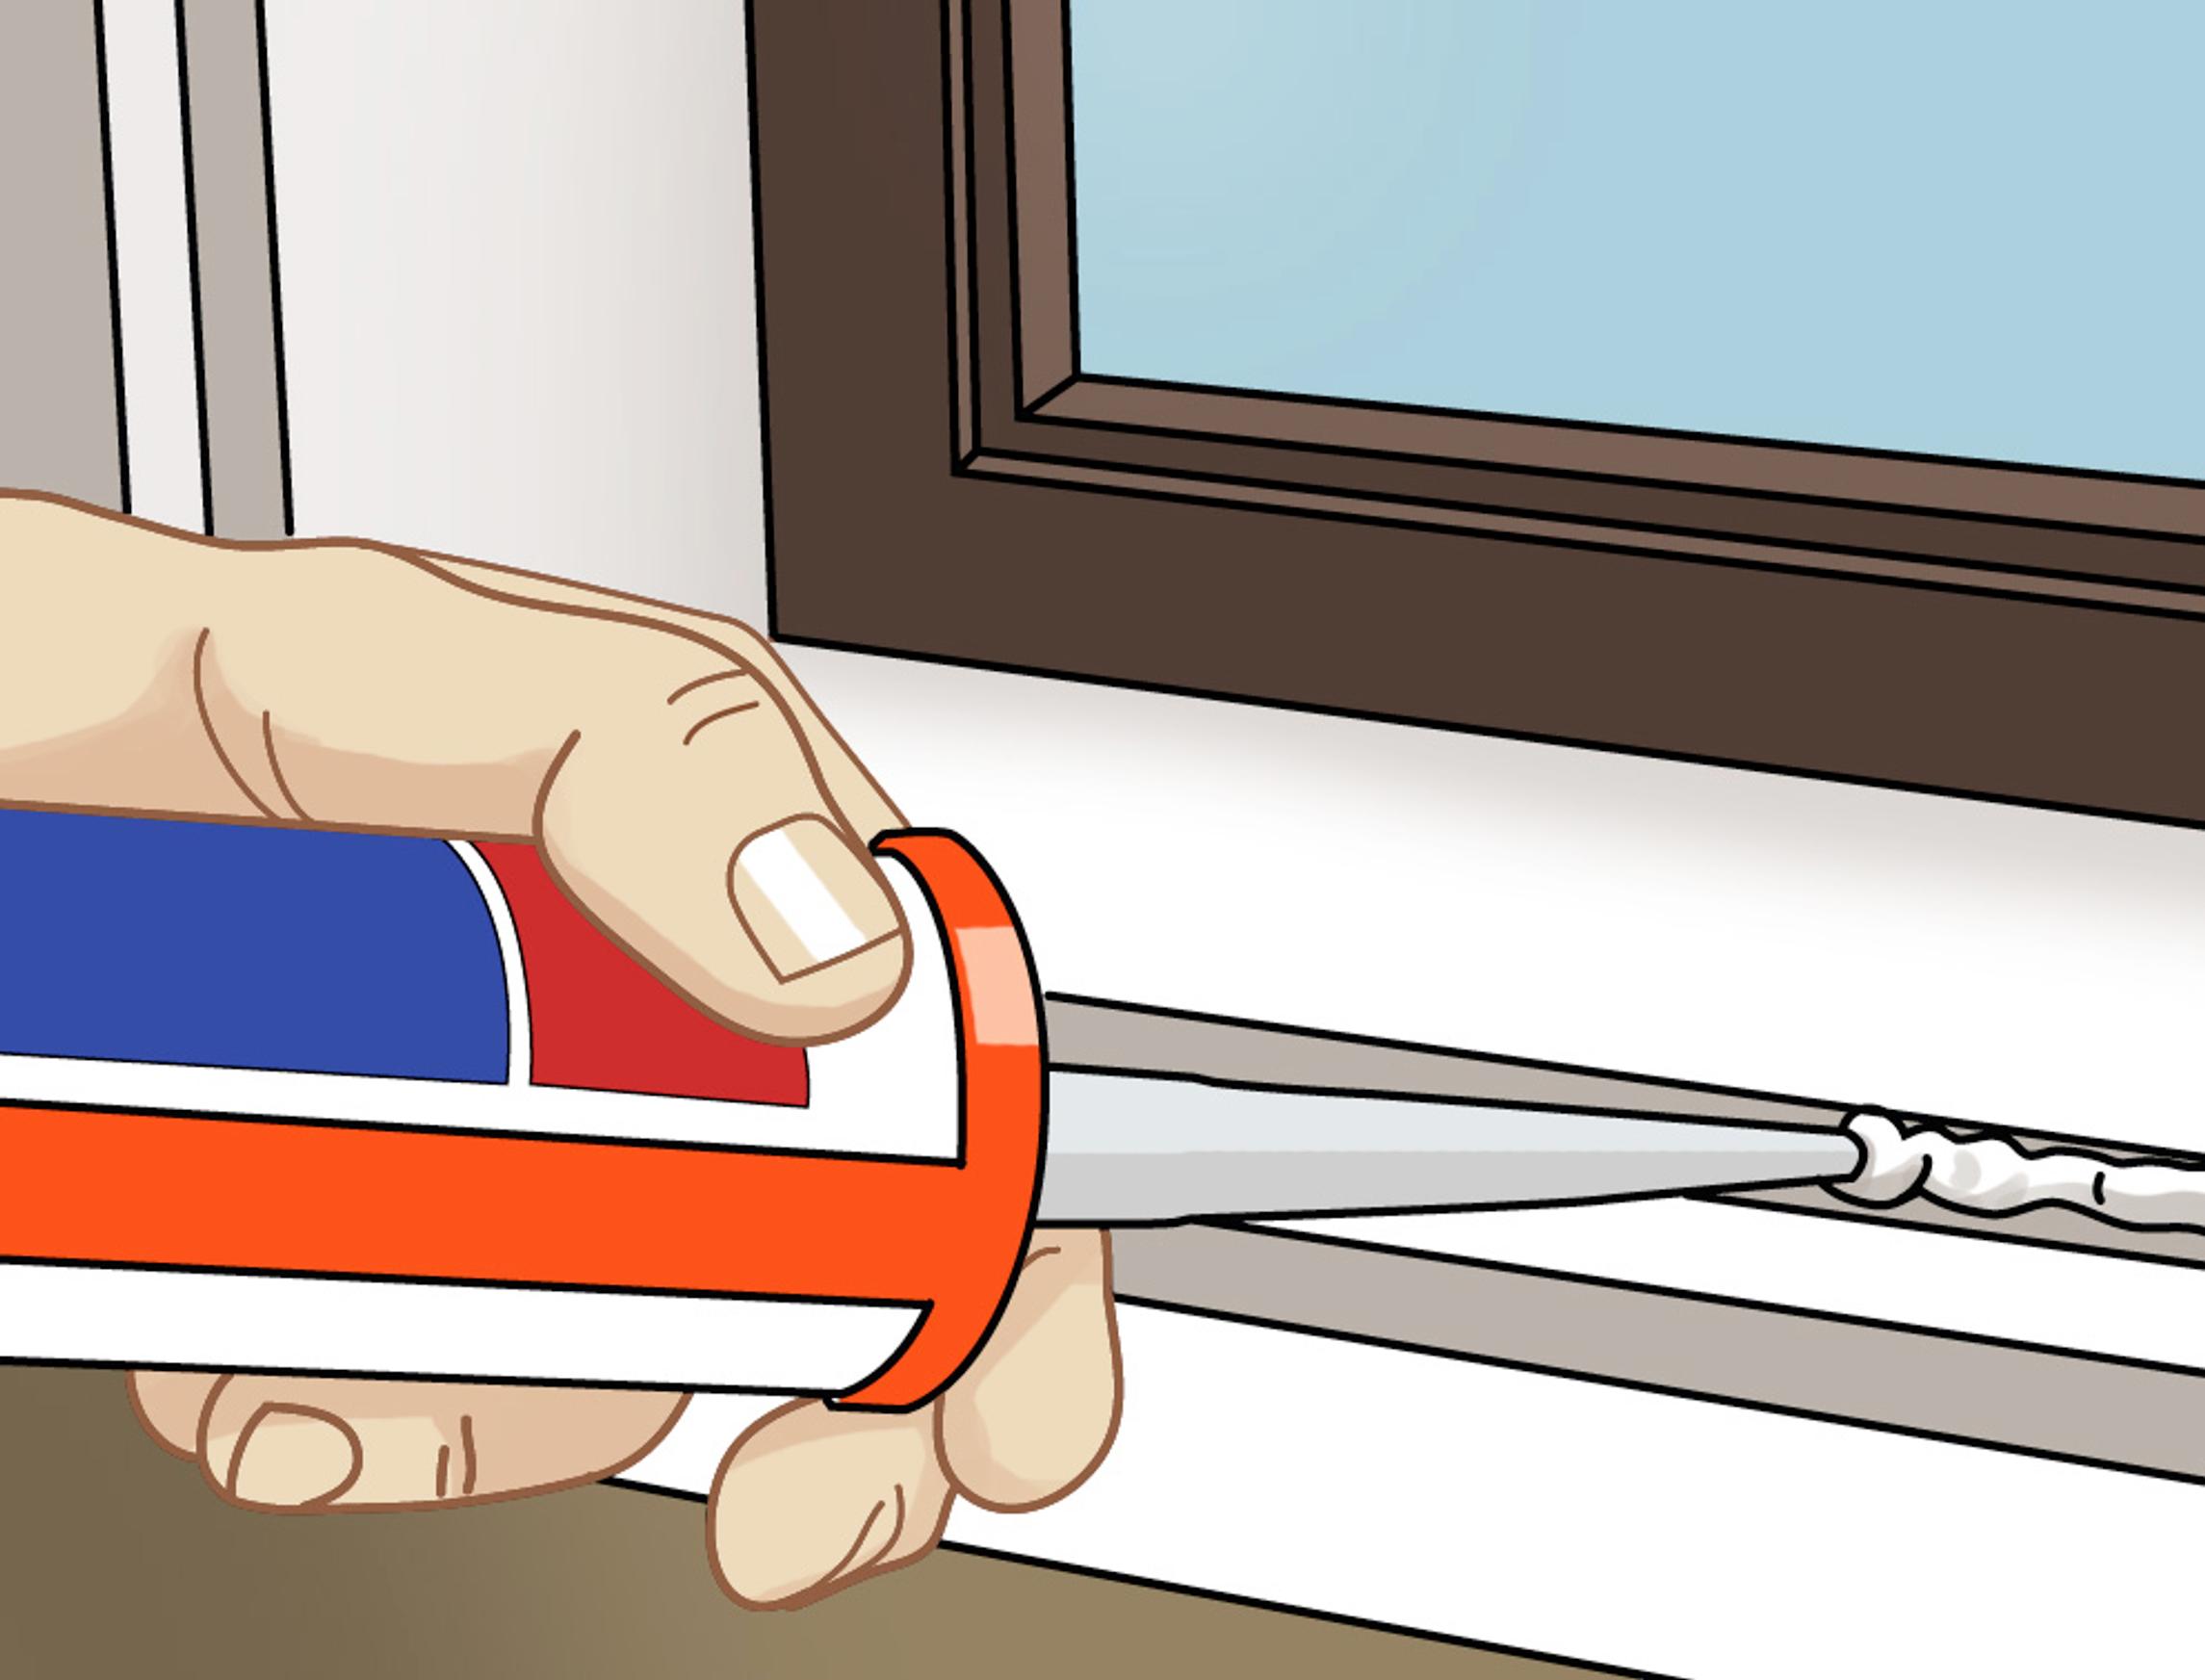
3. Silicone and TPE seals are especially durable in changing weather conditions. Most seals are self-adhesive, but some silicone seals come without an adhesive backing. In that case, attach them using a silicone sealant. Thoroughly clean the surface to remove dust and any old adhesive. Be sure to follow the manufacturer's guidelines for installation temperature so the seal adheres properly.

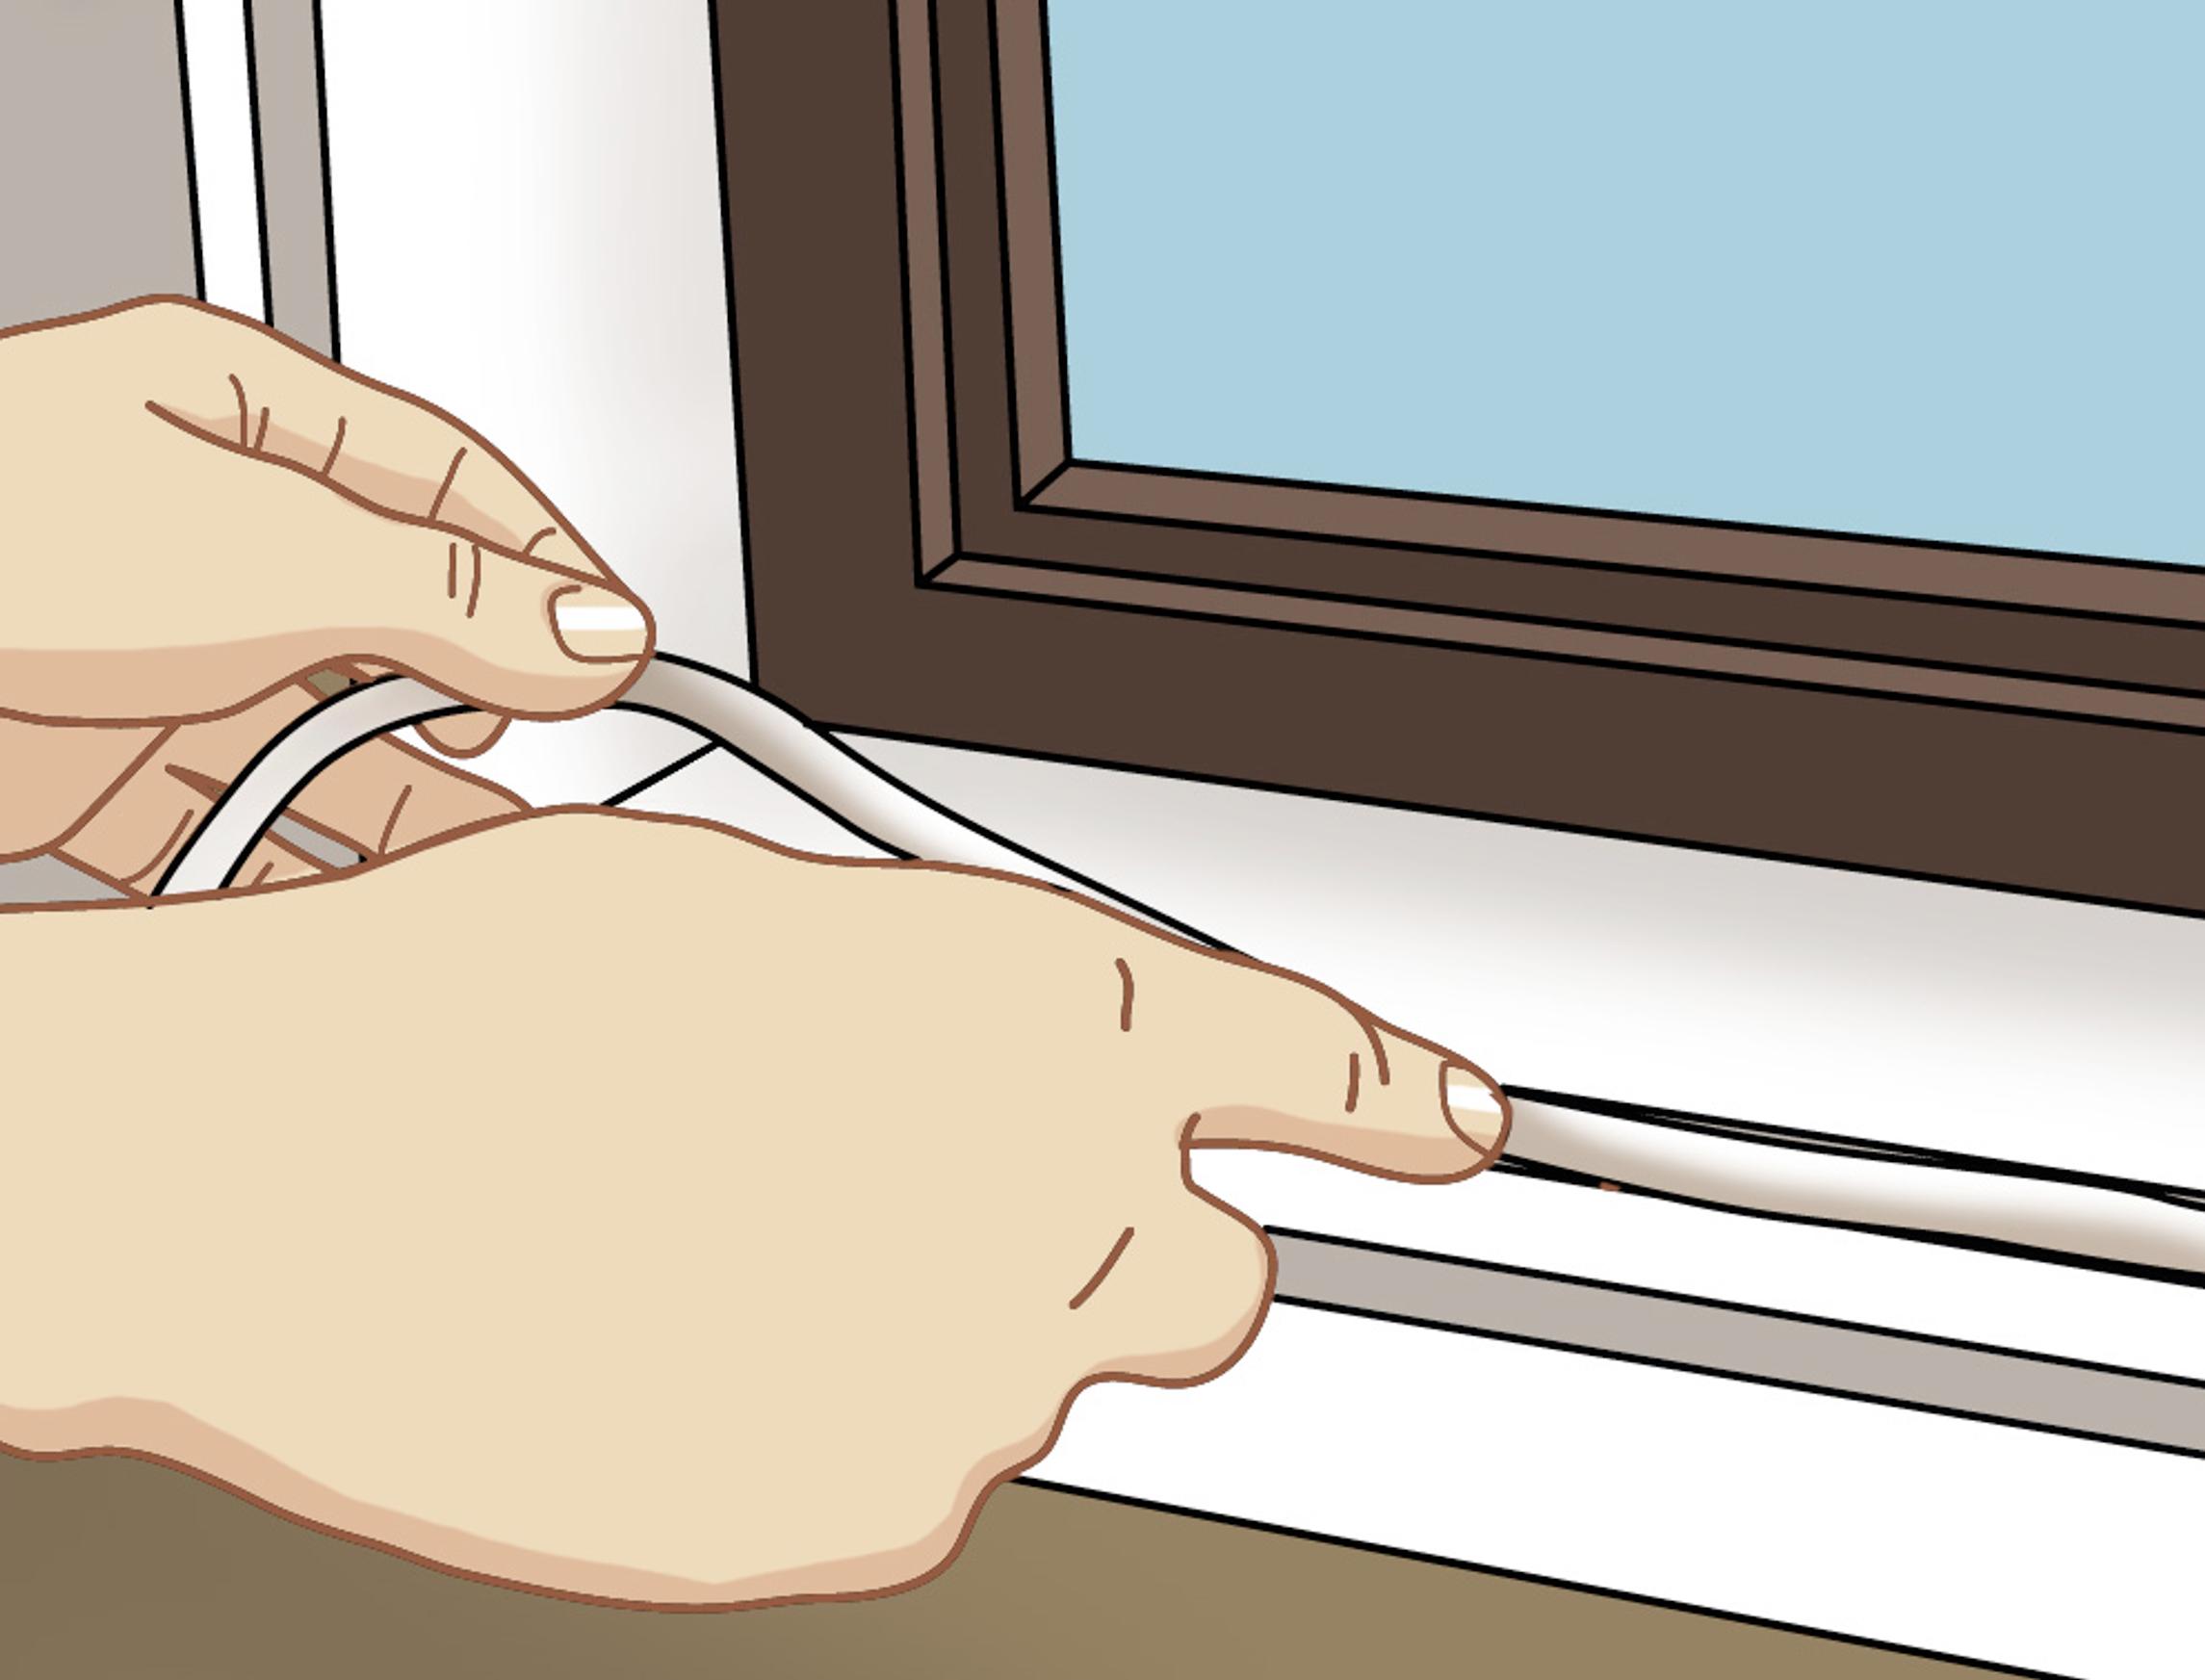
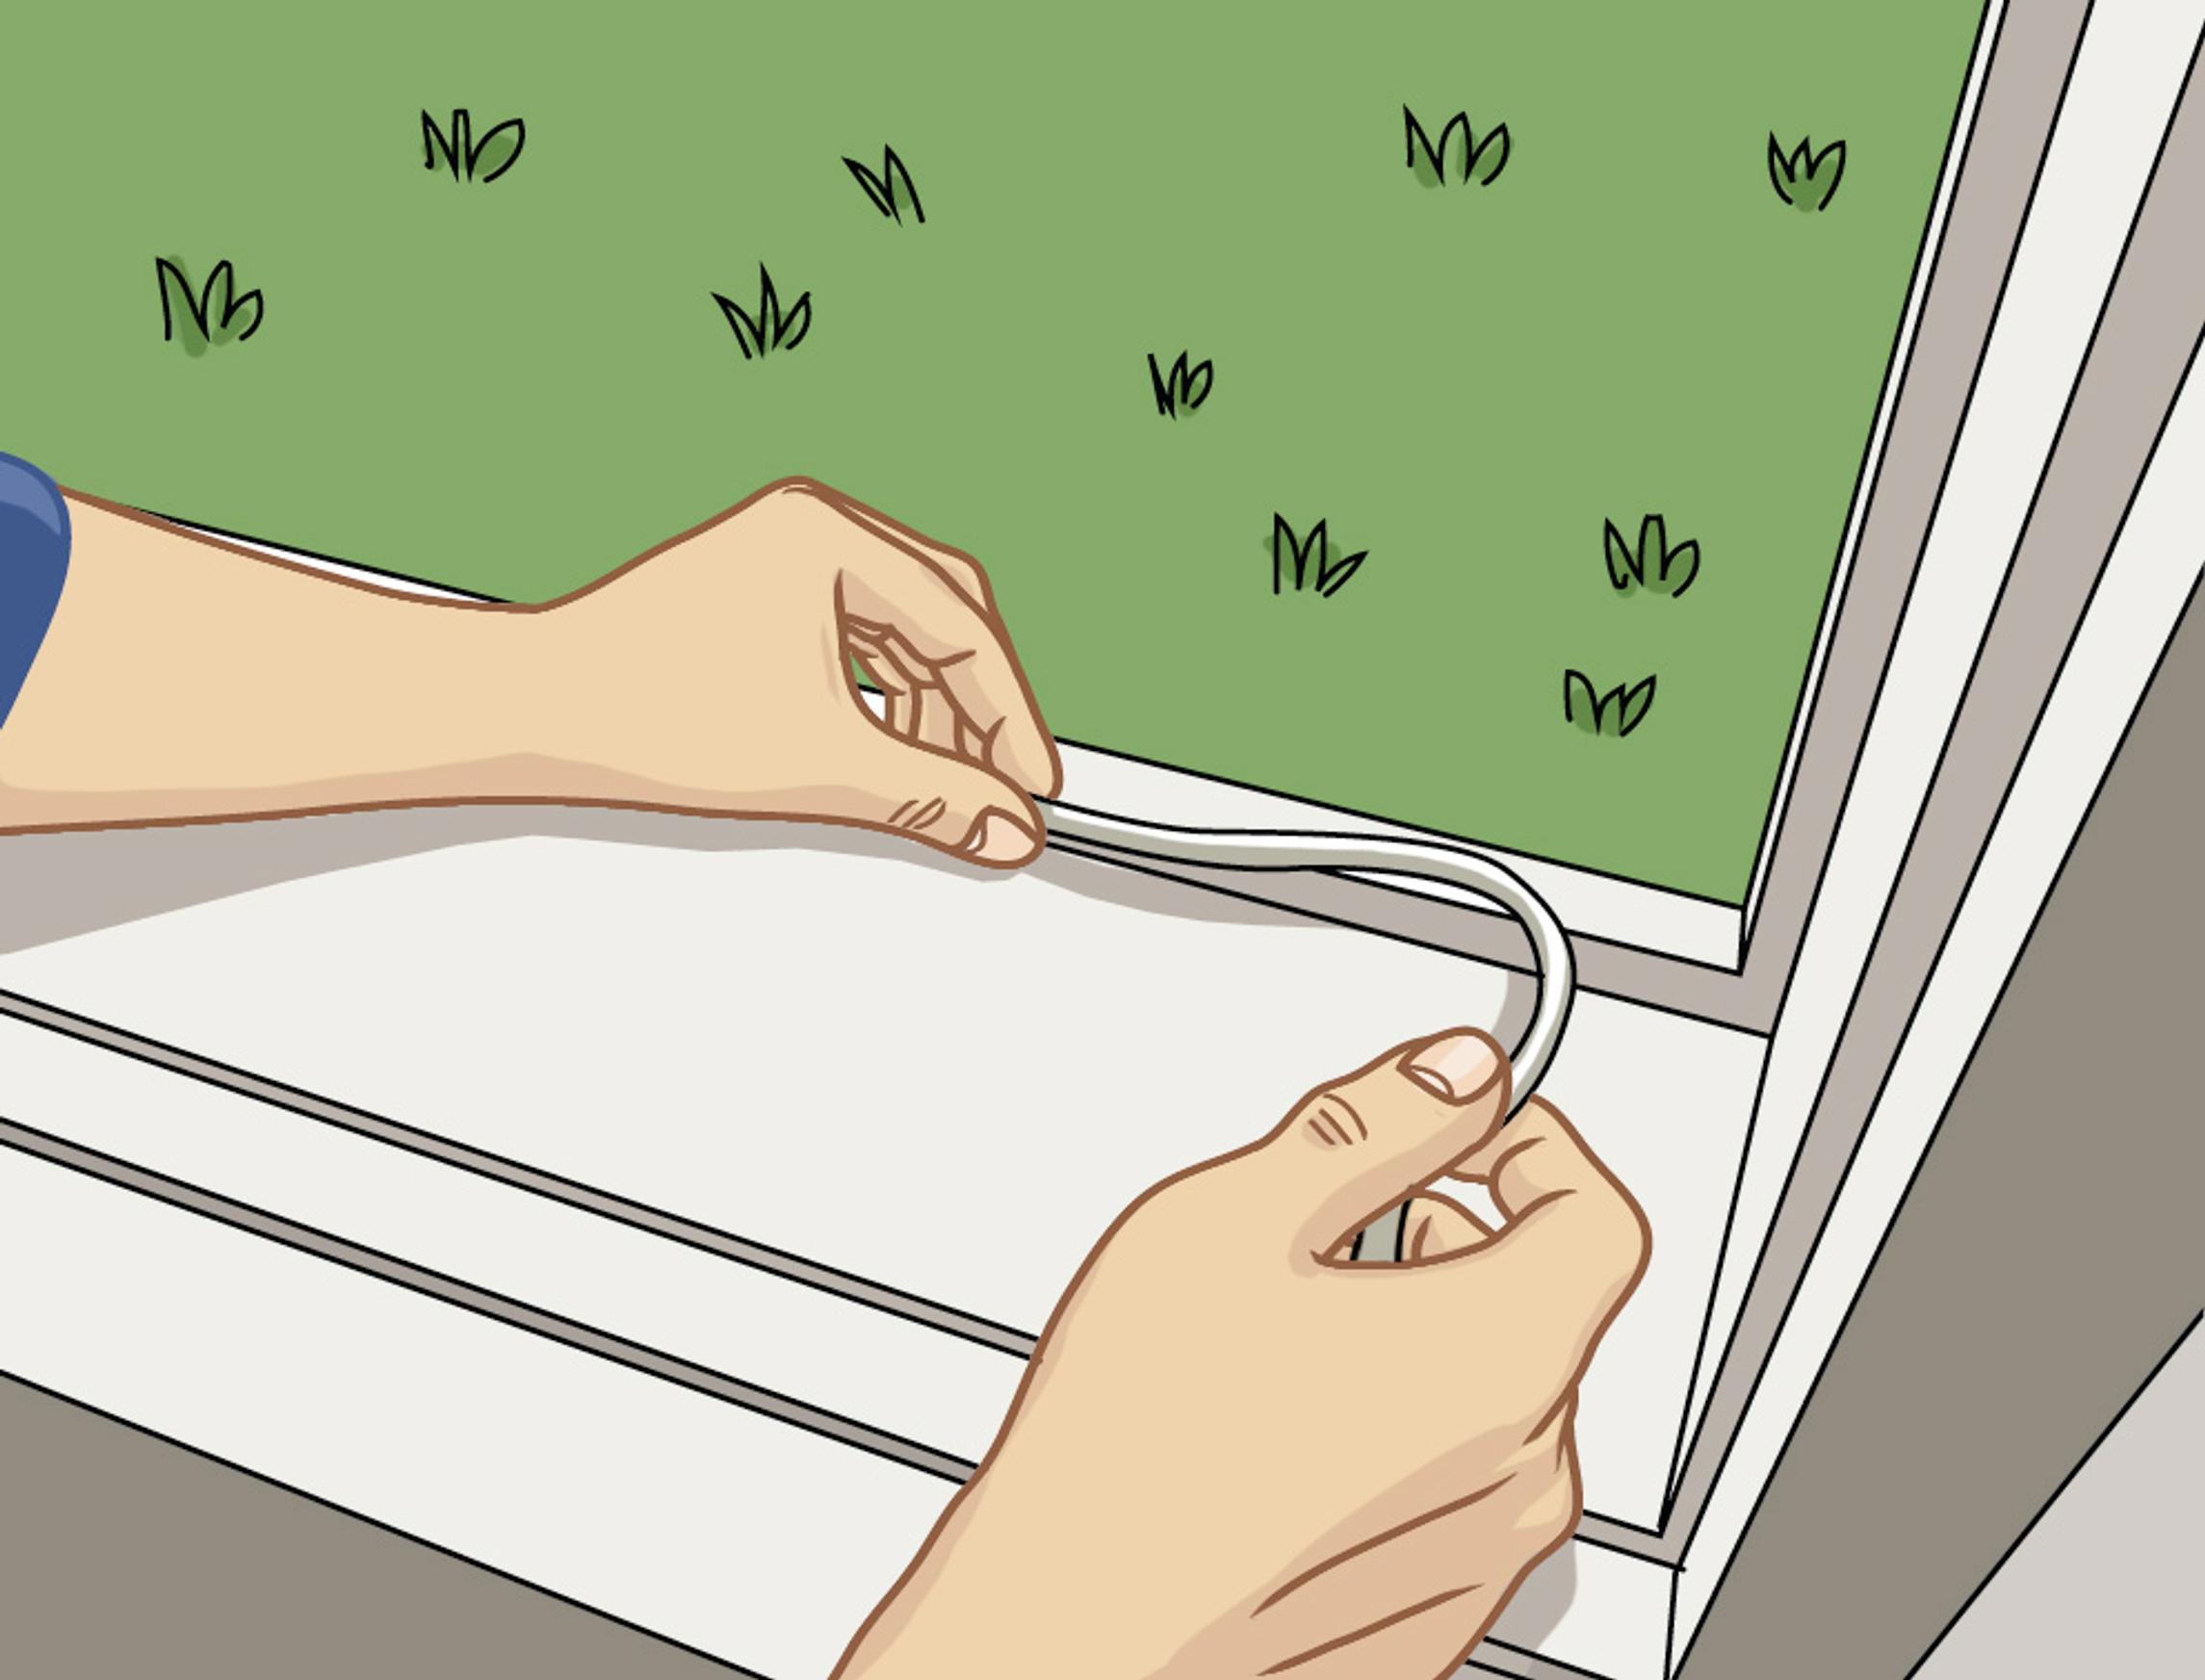
4. Seal the interior window thoroughly to eliminate any gaps, ensuring the interior sash is fully vapor-tight. Avoid stretching the seal, as it can retract later and create openings. Cut the seal at the corners, and snugly align each new piece against the previous one.

5. Modern wood-aluminum windows have grooves on the exterior sash where specialized seals snap into place. In older wooden windows without a groove, the seal is typically glued in the traditional way. Leave a few centimeters (about 1 in) of ventilation gap at both ends of the top and bottom sections of the exterior sash. If the lower portion of the exterior sash already has ventilation holes, there is no need to leave additional gaps in the bottom seal.

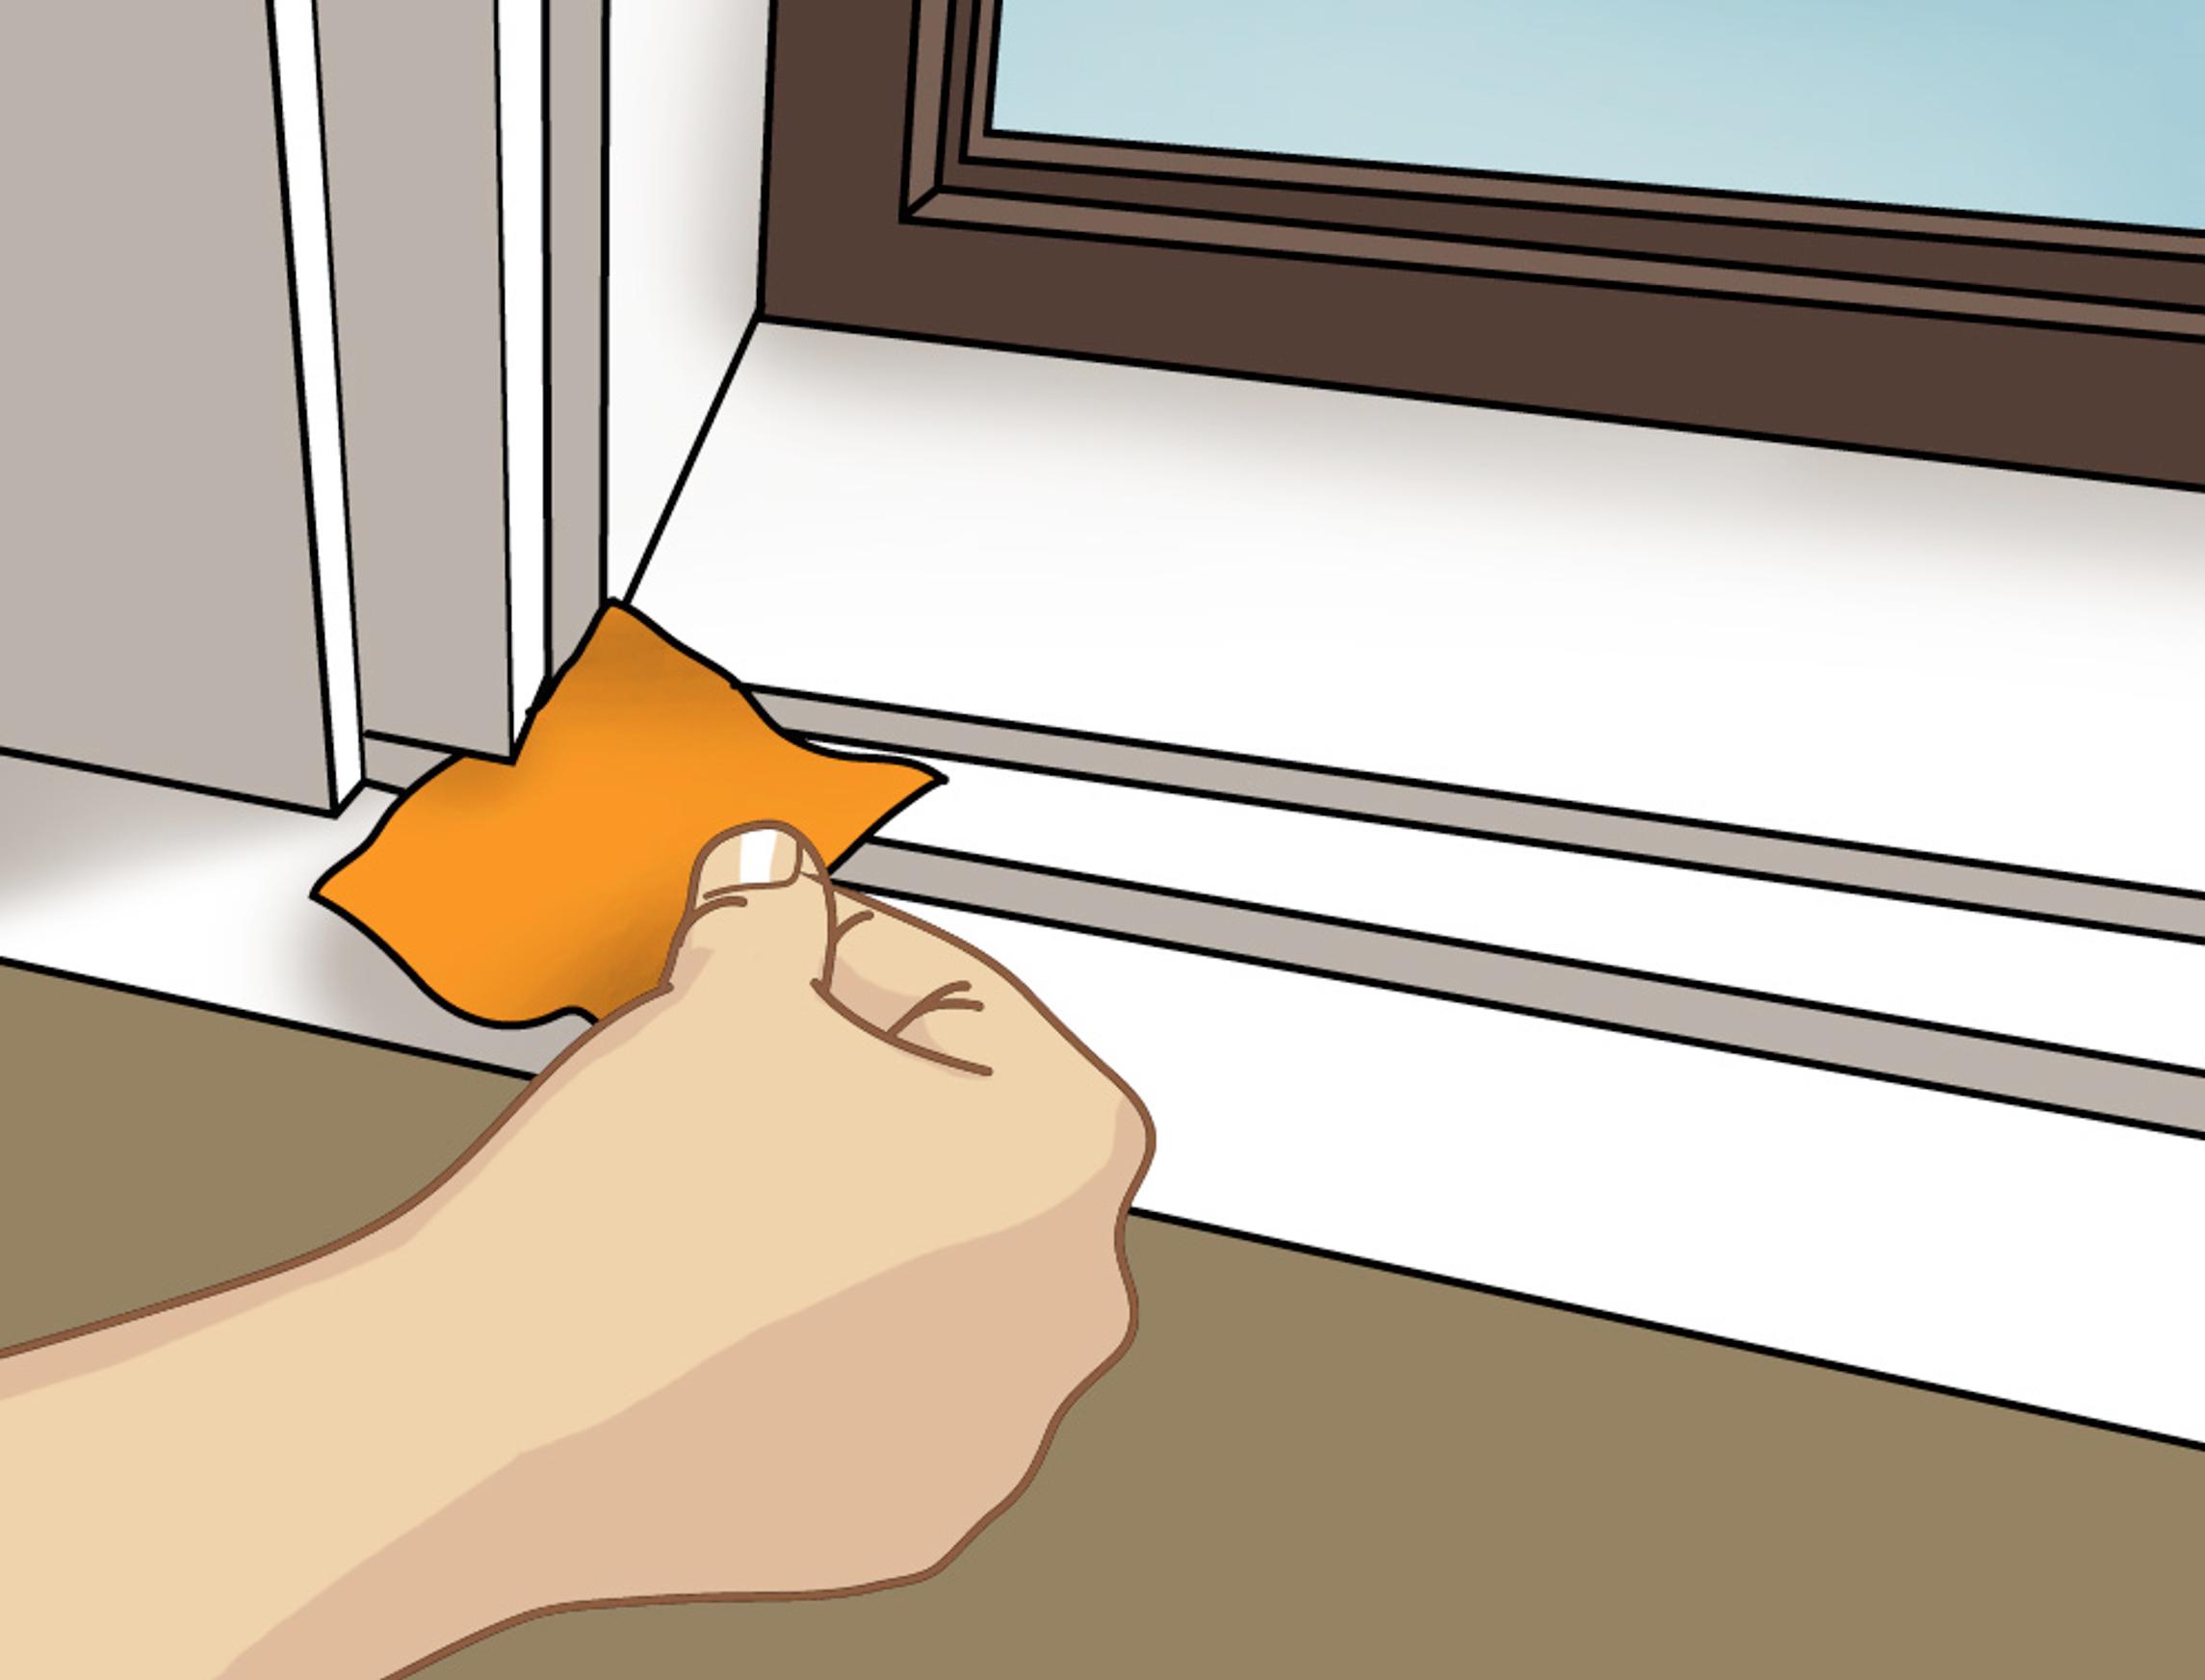
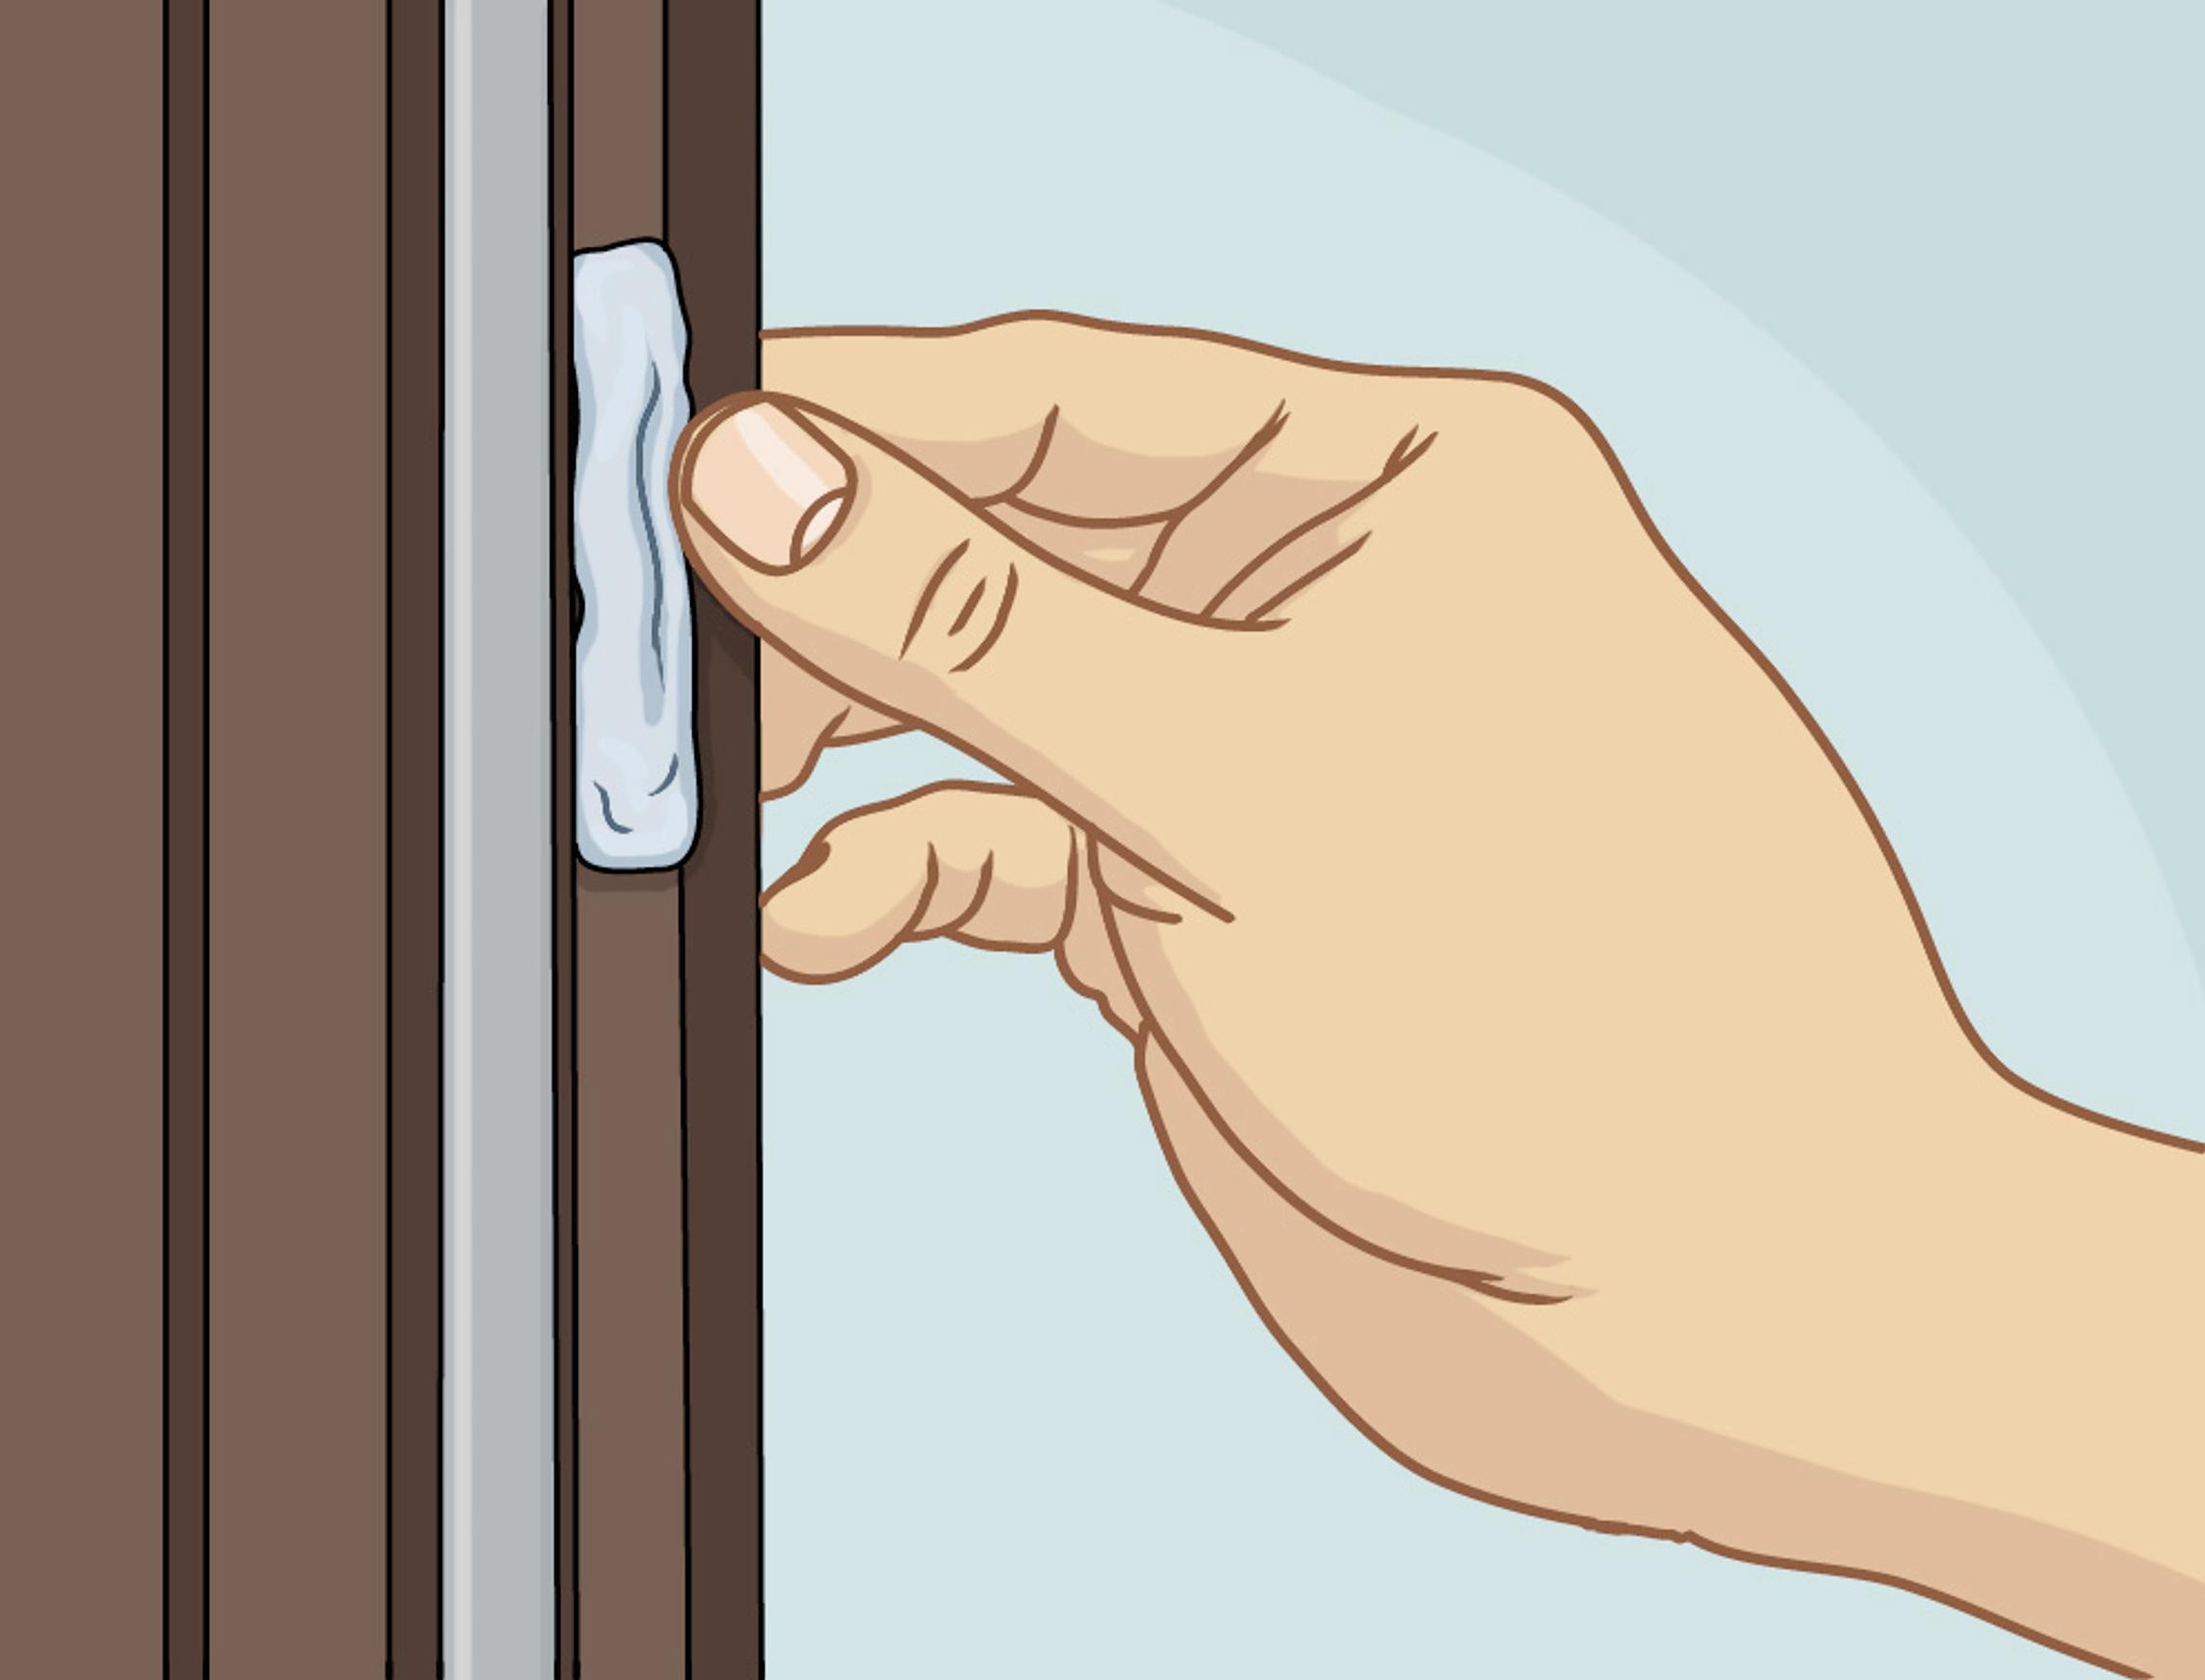
6. Complete the project by sealing any gaps in the frame or sashes. Darker patches often indicate air or water leaks. You can use a sheet of paper to test: if it slides between wooden parts, air can also pass through. An elastic sealant works well to fill these gaps. If the plastic piece under the sash is worn or broken, replace it.