“Even thorough planning can't prevent every surprise”—This is what Sanna learned from her DIY kitchen renovation
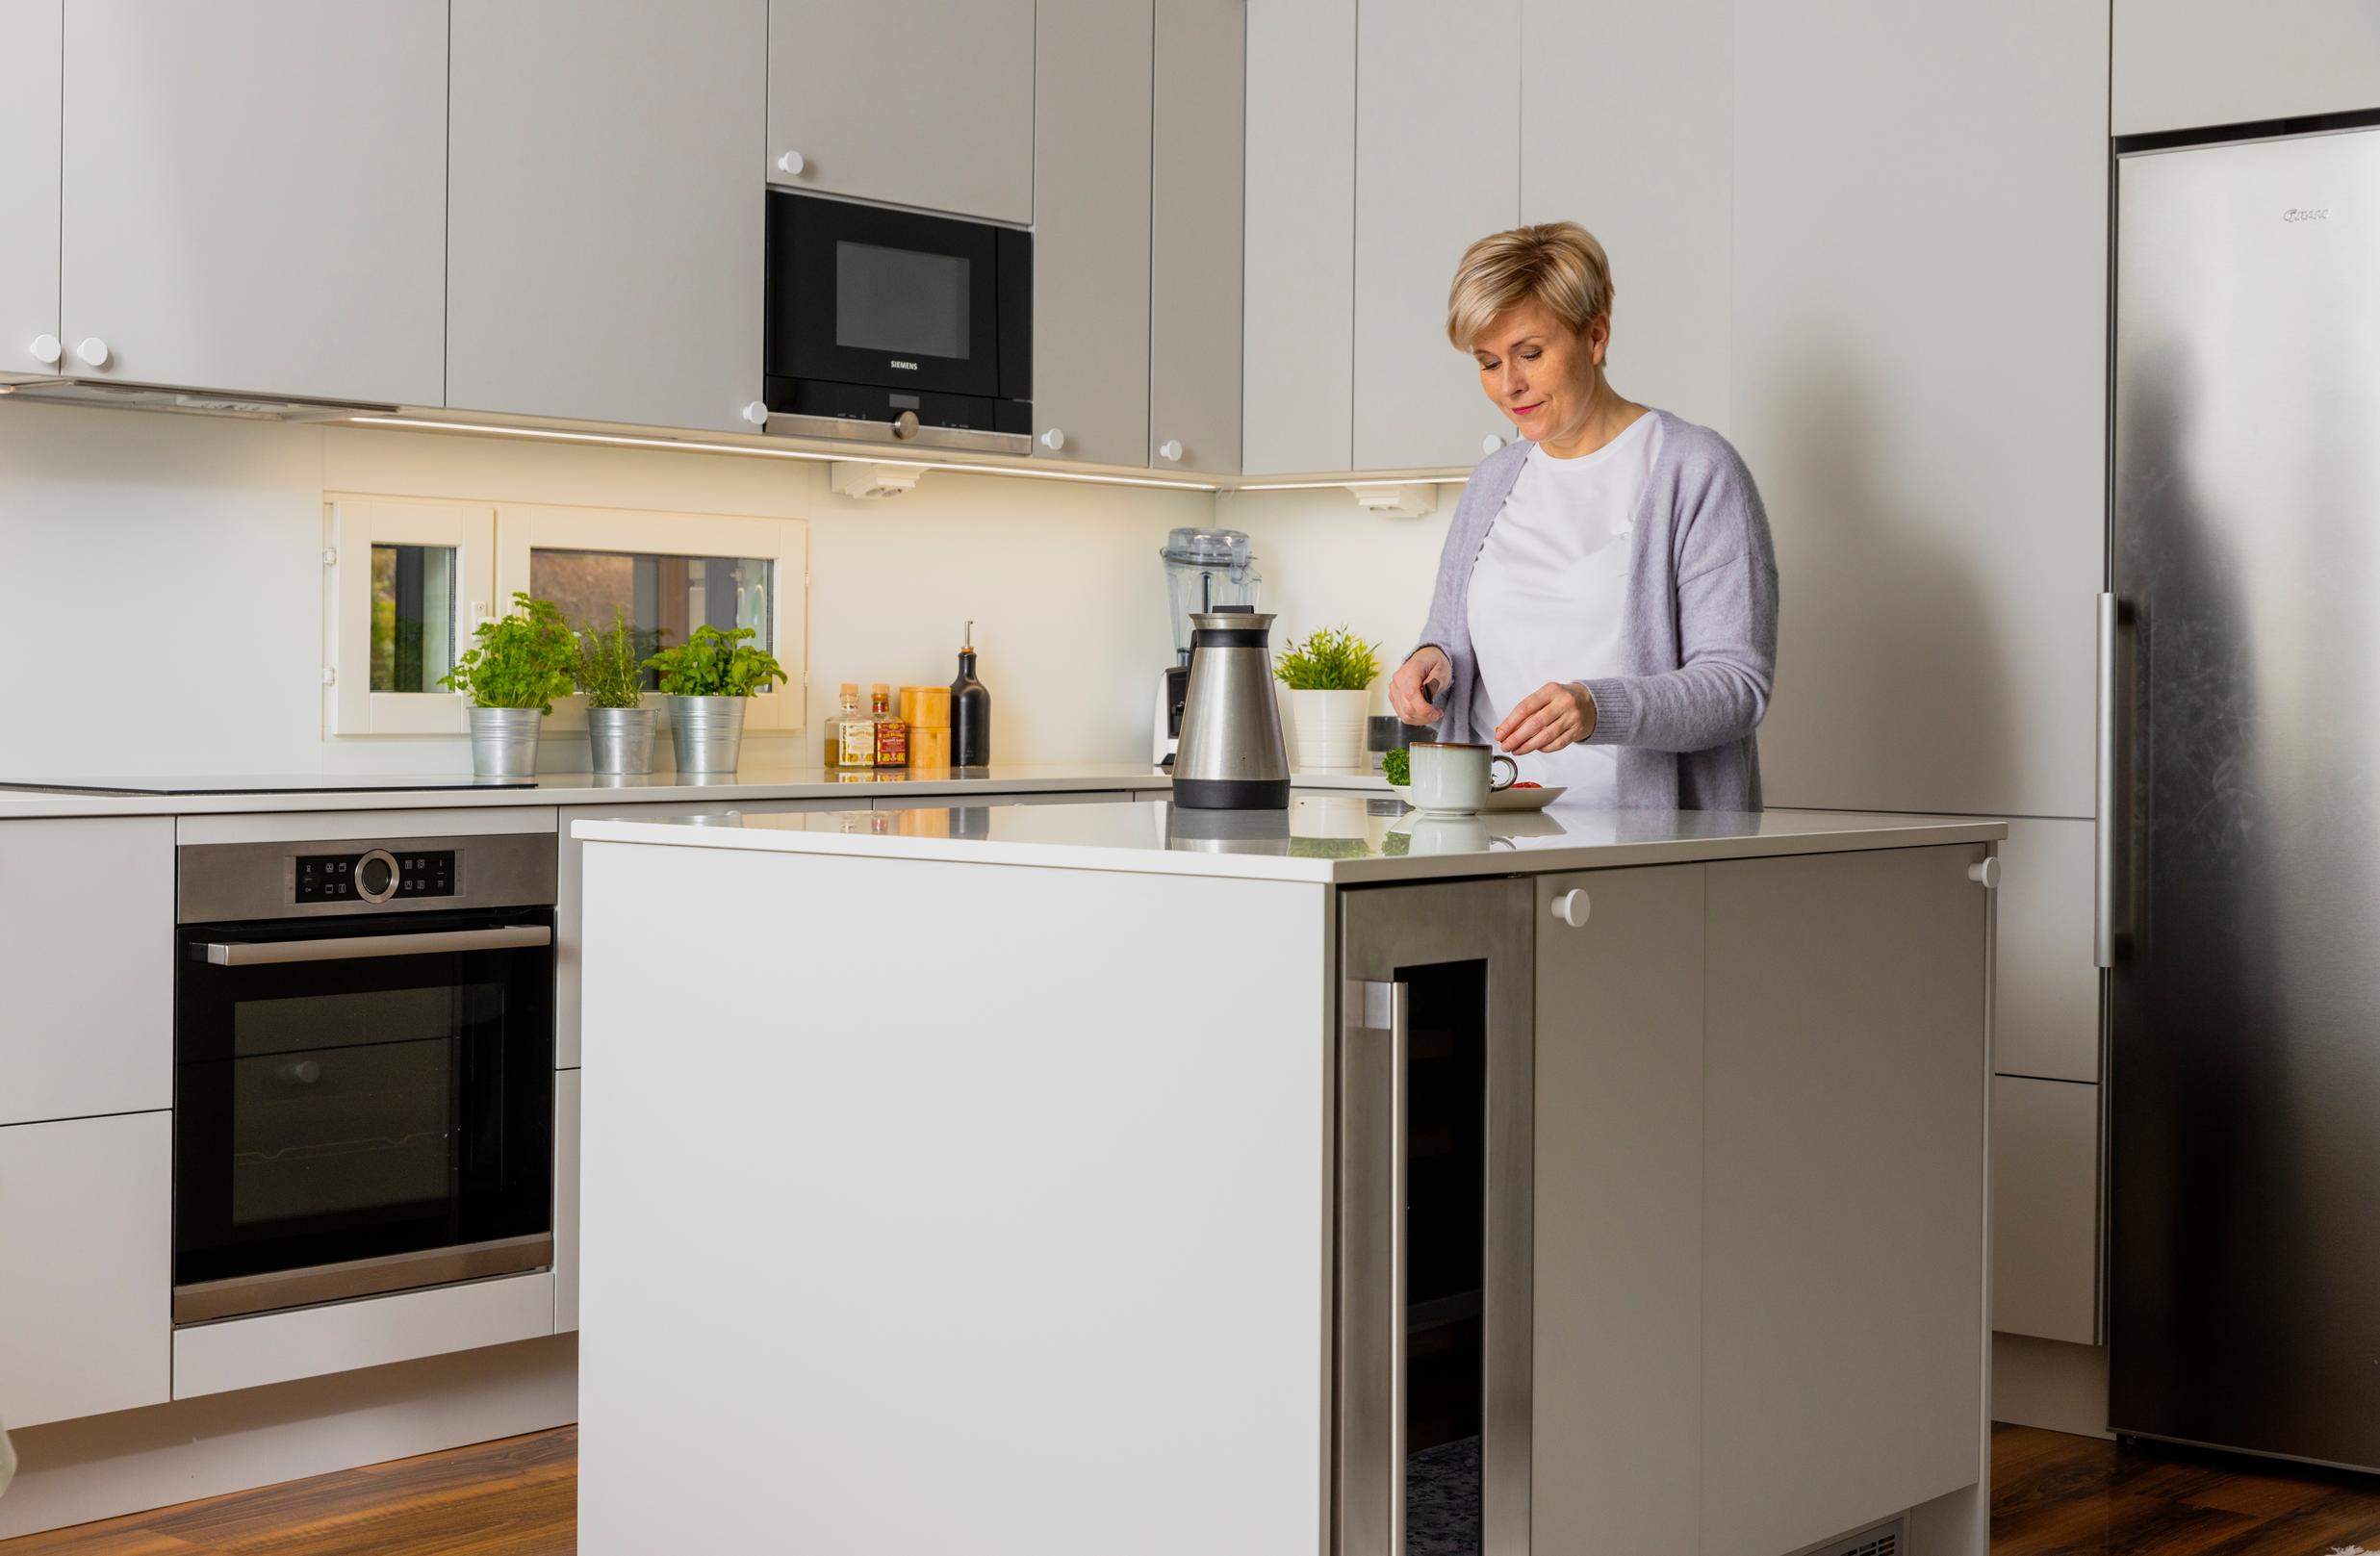
When Sanna Wallenius’s family of four decided to give their kitchen a makeover, they started with planning and comparing quotations. Their DIY renovation brought plenty of surprises and moments of fatigue, but the result made everything worth it.
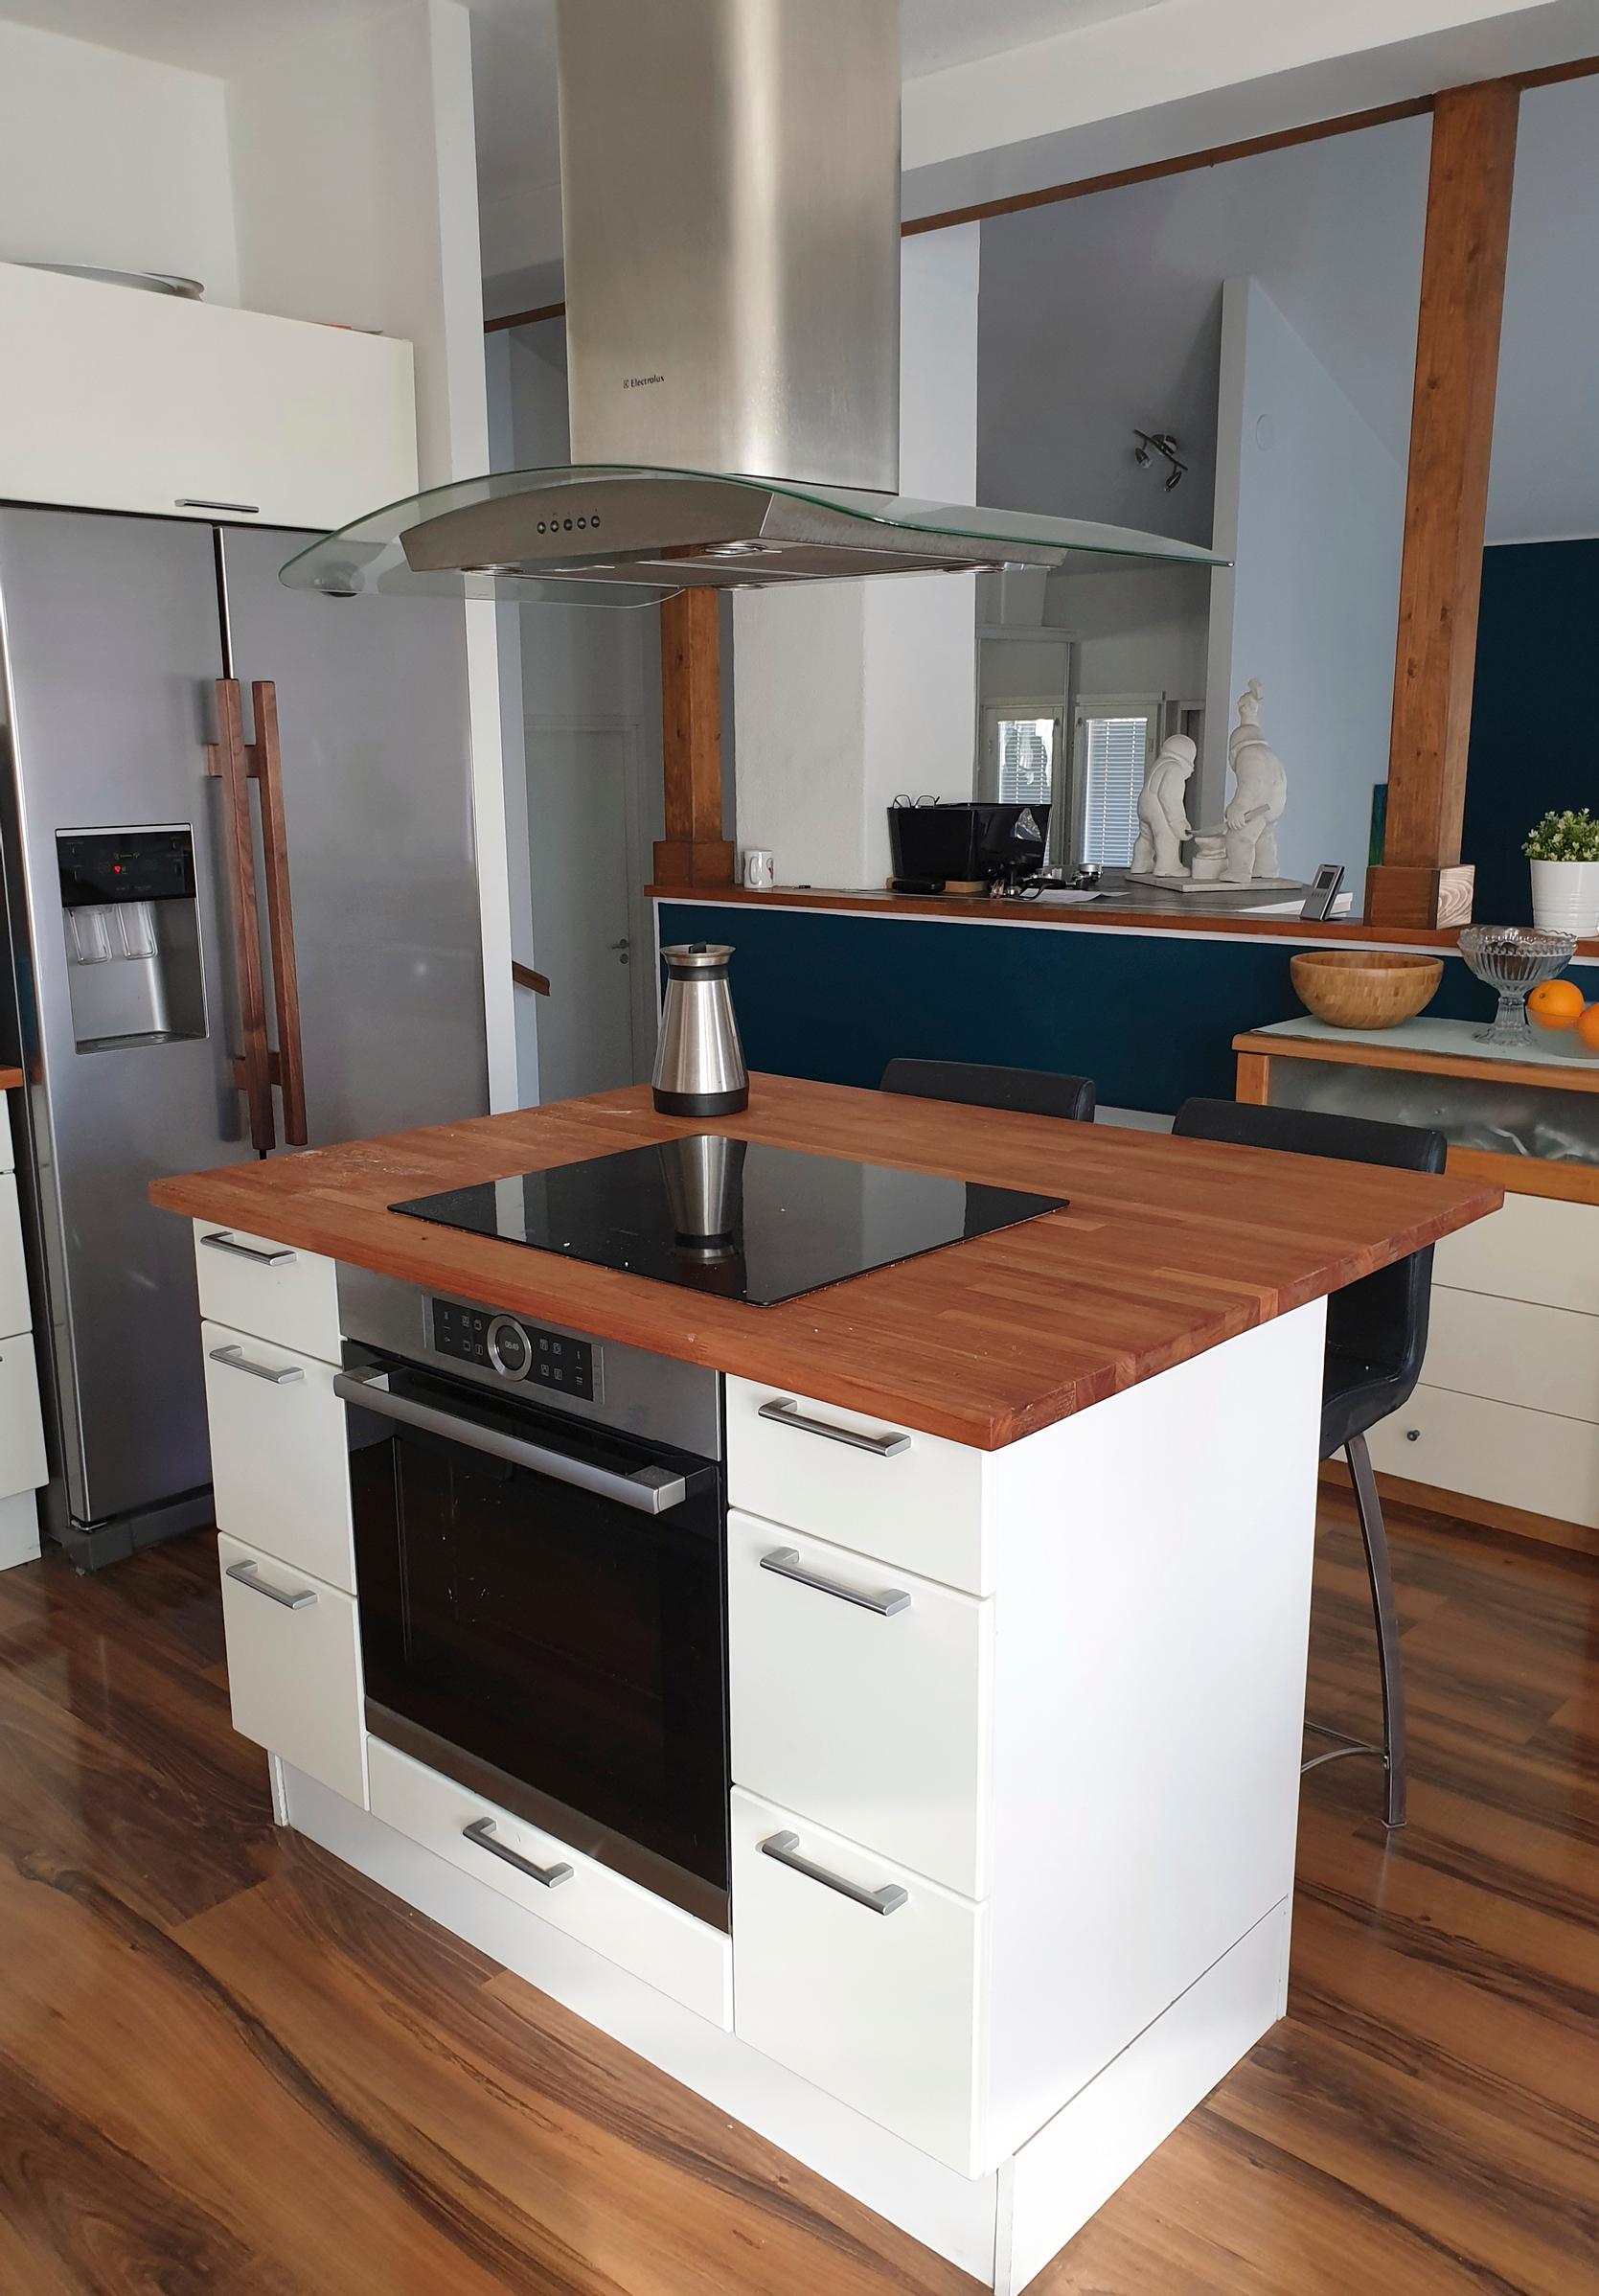
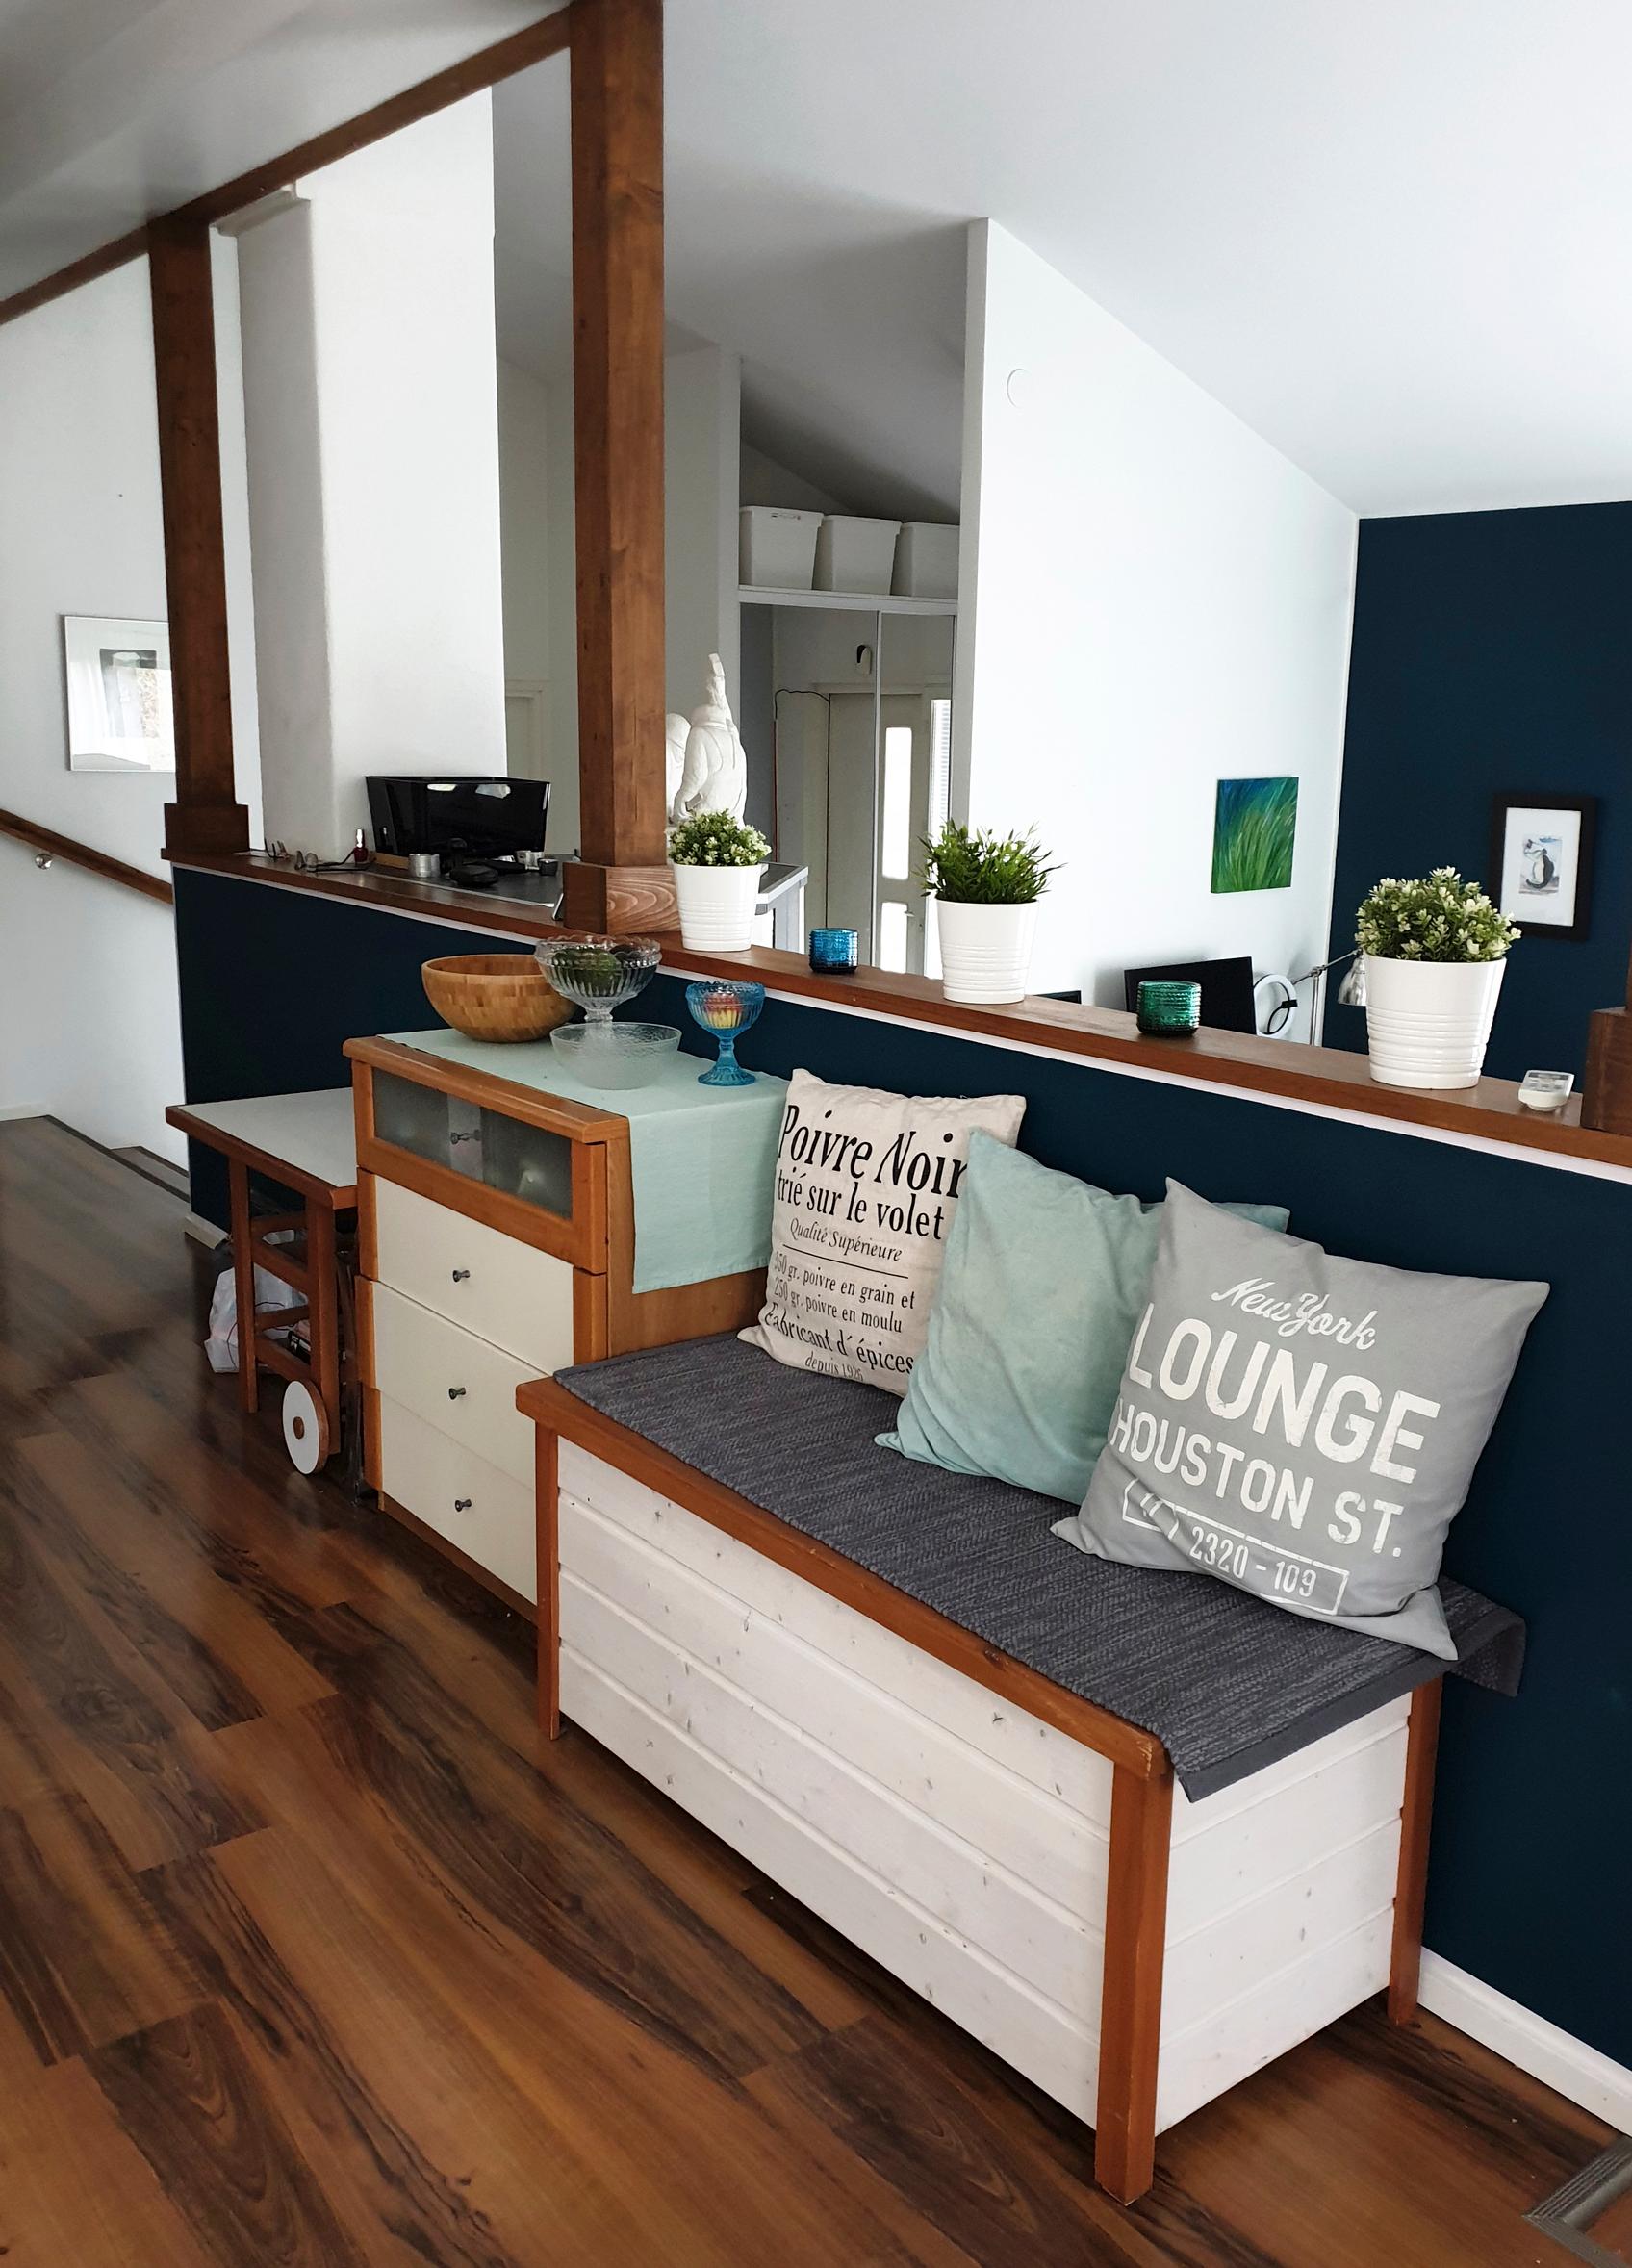
The range hood is working hard above the island but can’t quite capture all the fumes. Cooking produces grease that drifts around and creates a sticky film on top of the kitchen cabinets and floors.
This is what sparked the idea for a kitchen renovation. Our 2000s-built house's 14-year-old open concept kitchen has held up fairly well, but daily life has shown it’s impracticalities.


We make a rough guess that our renovation budget could be around €10,000. The figure had stuck in our minds from the kitchen remodel in our previous home, done around twenty years ago. A quick Google search reveals we’re off track, both in terms of price and the range of options—now there are far more kitchen companies, and costs have nearly doubled.
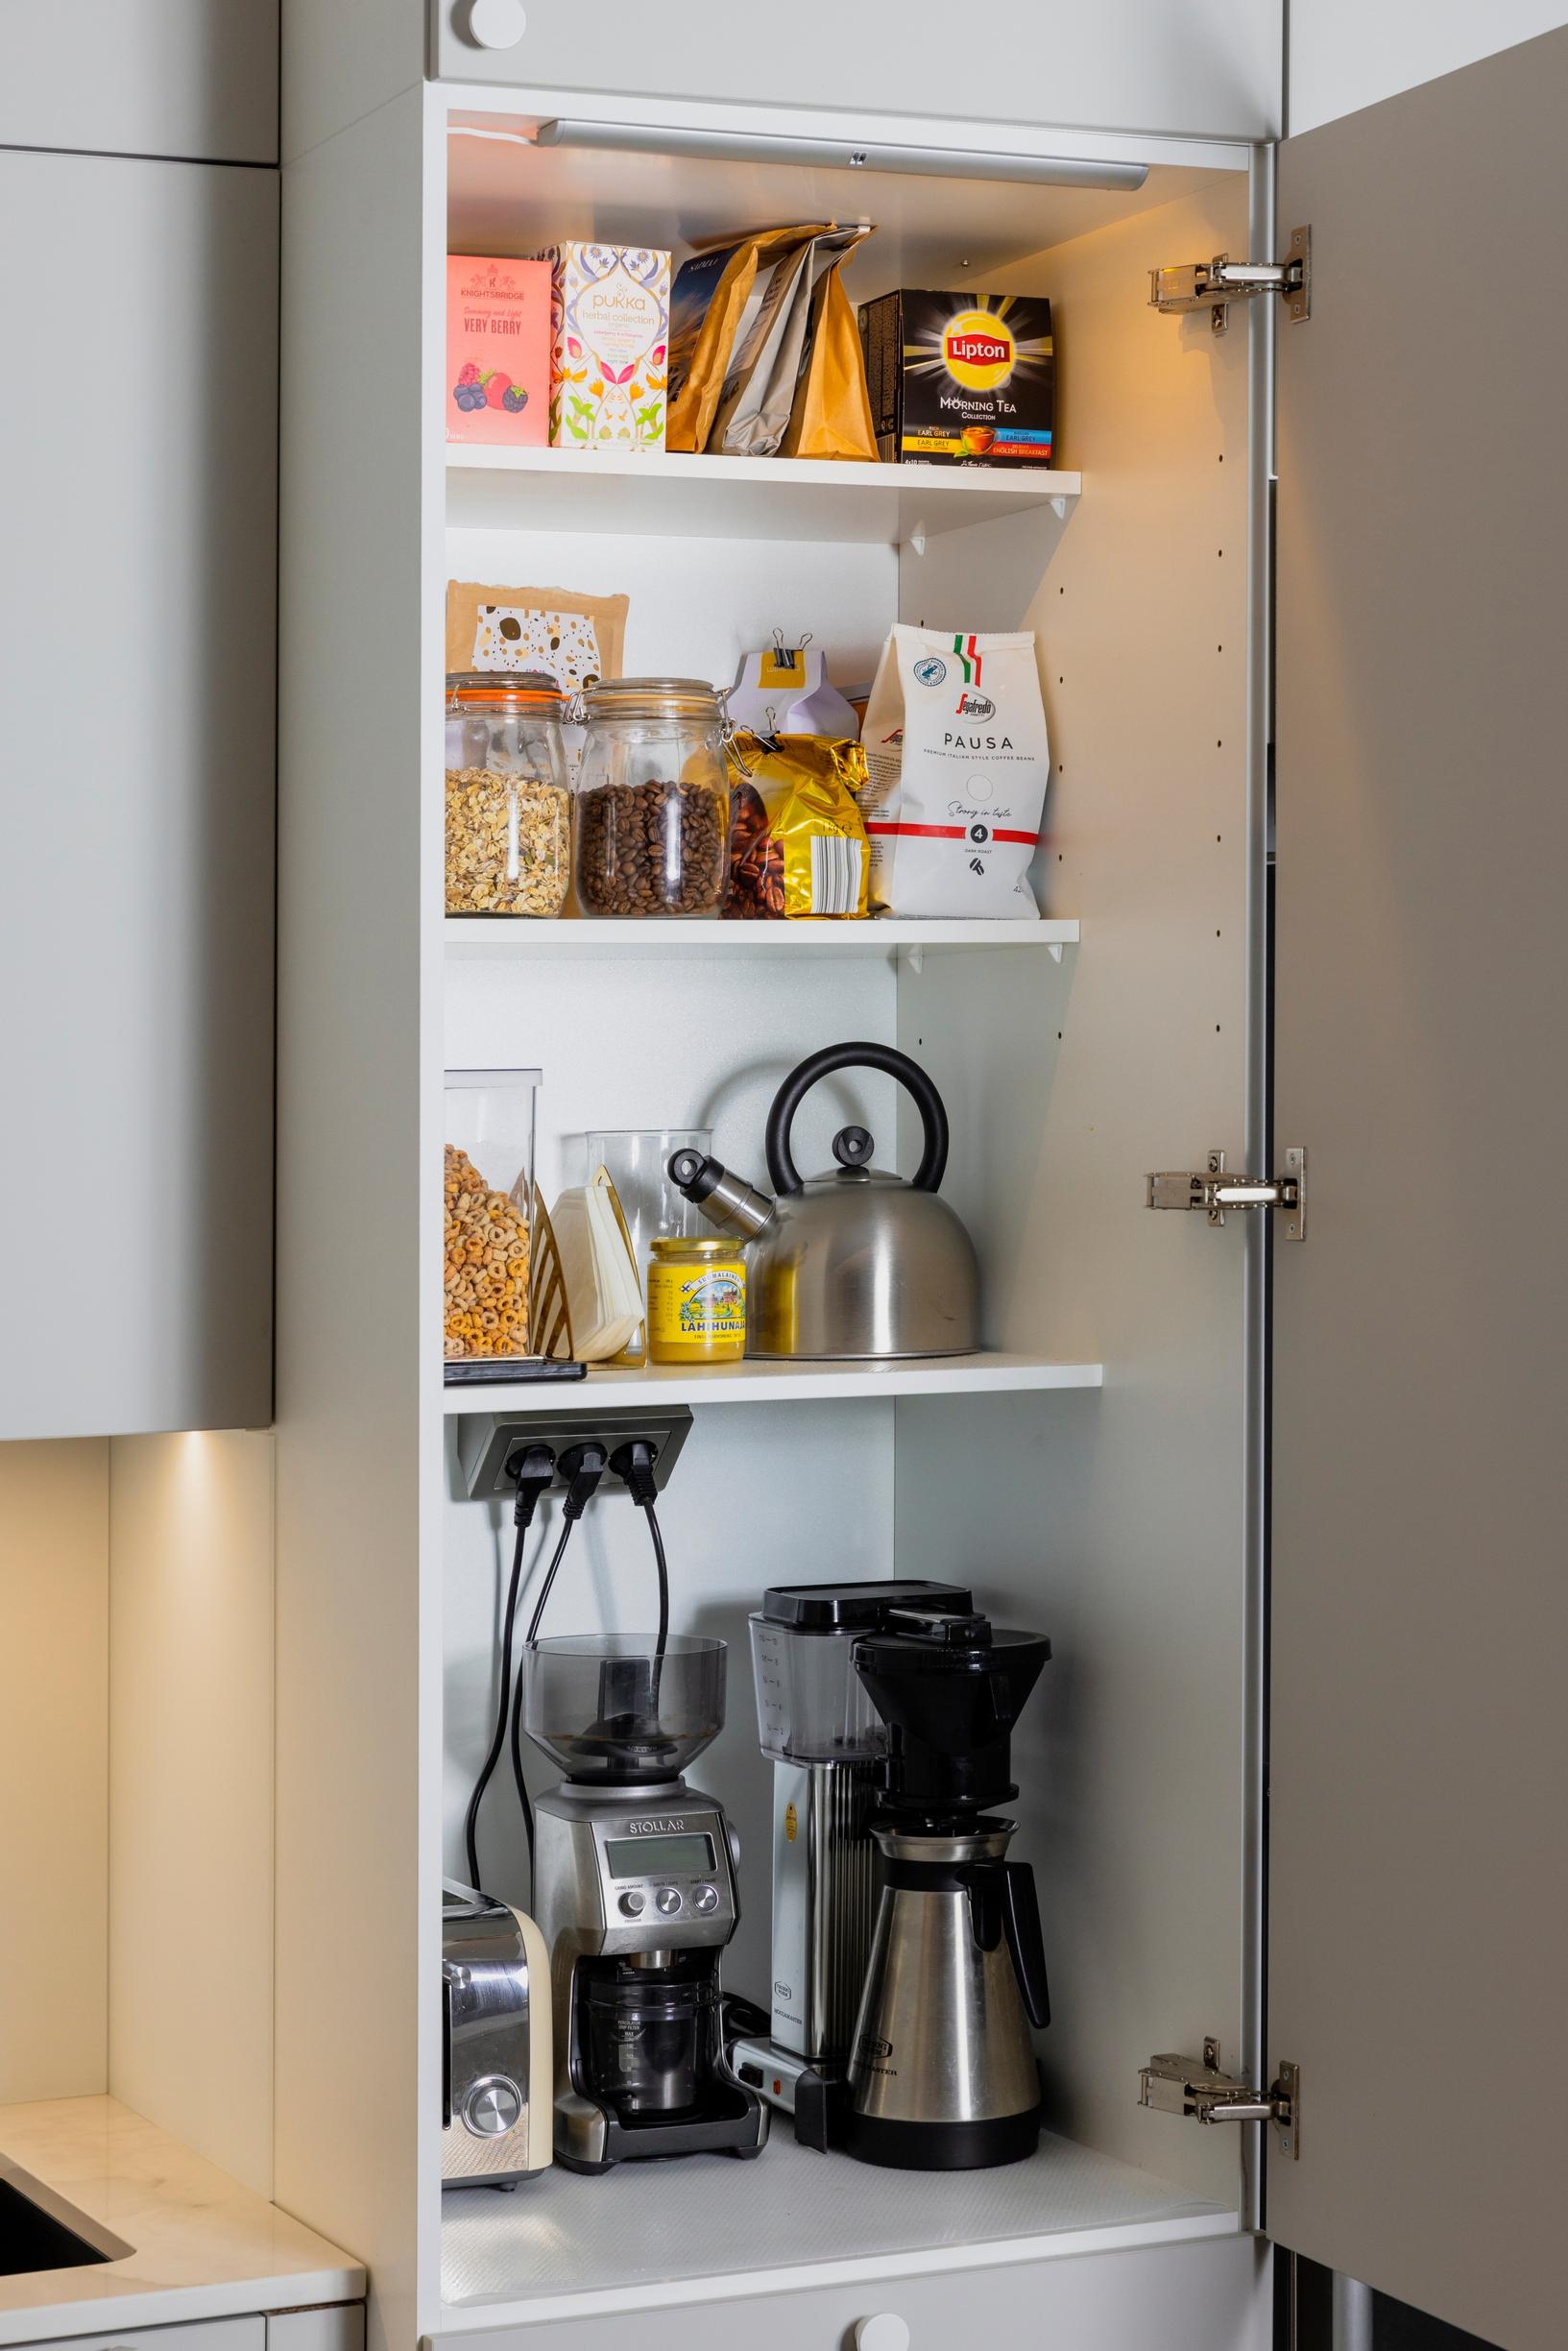
Browsing interior design magazines and catalogs shows that kitchen color palettes now range from pink to green and blue. Long handles have turned into brass- and gold-toned knobs, and many kitchens have phased out upper cabinets. A breakfast pantry, on the other hand, appears in every product line—and we dream of having one too.
Over the next few weeks, we go from one kitchen showroom to another, where designers use computer software to turn our wishes into striking 3D images. In those renderings, the tidy countertops gleam, the drawers have handy dividers, and the cabinet doors close softly.
While bold colors and Portuguese tiles look appealing in Southern European vacation homes, we want a kitchen that’ll stand the test of time and everyday use. We lean toward subdued shades and compare materials, finding that laminated MDF doors are the most durable. Painted doors offer more color options but are more prone to dents.
Because we need more storage, we can’t even consider a kitchen without upper cabinets.


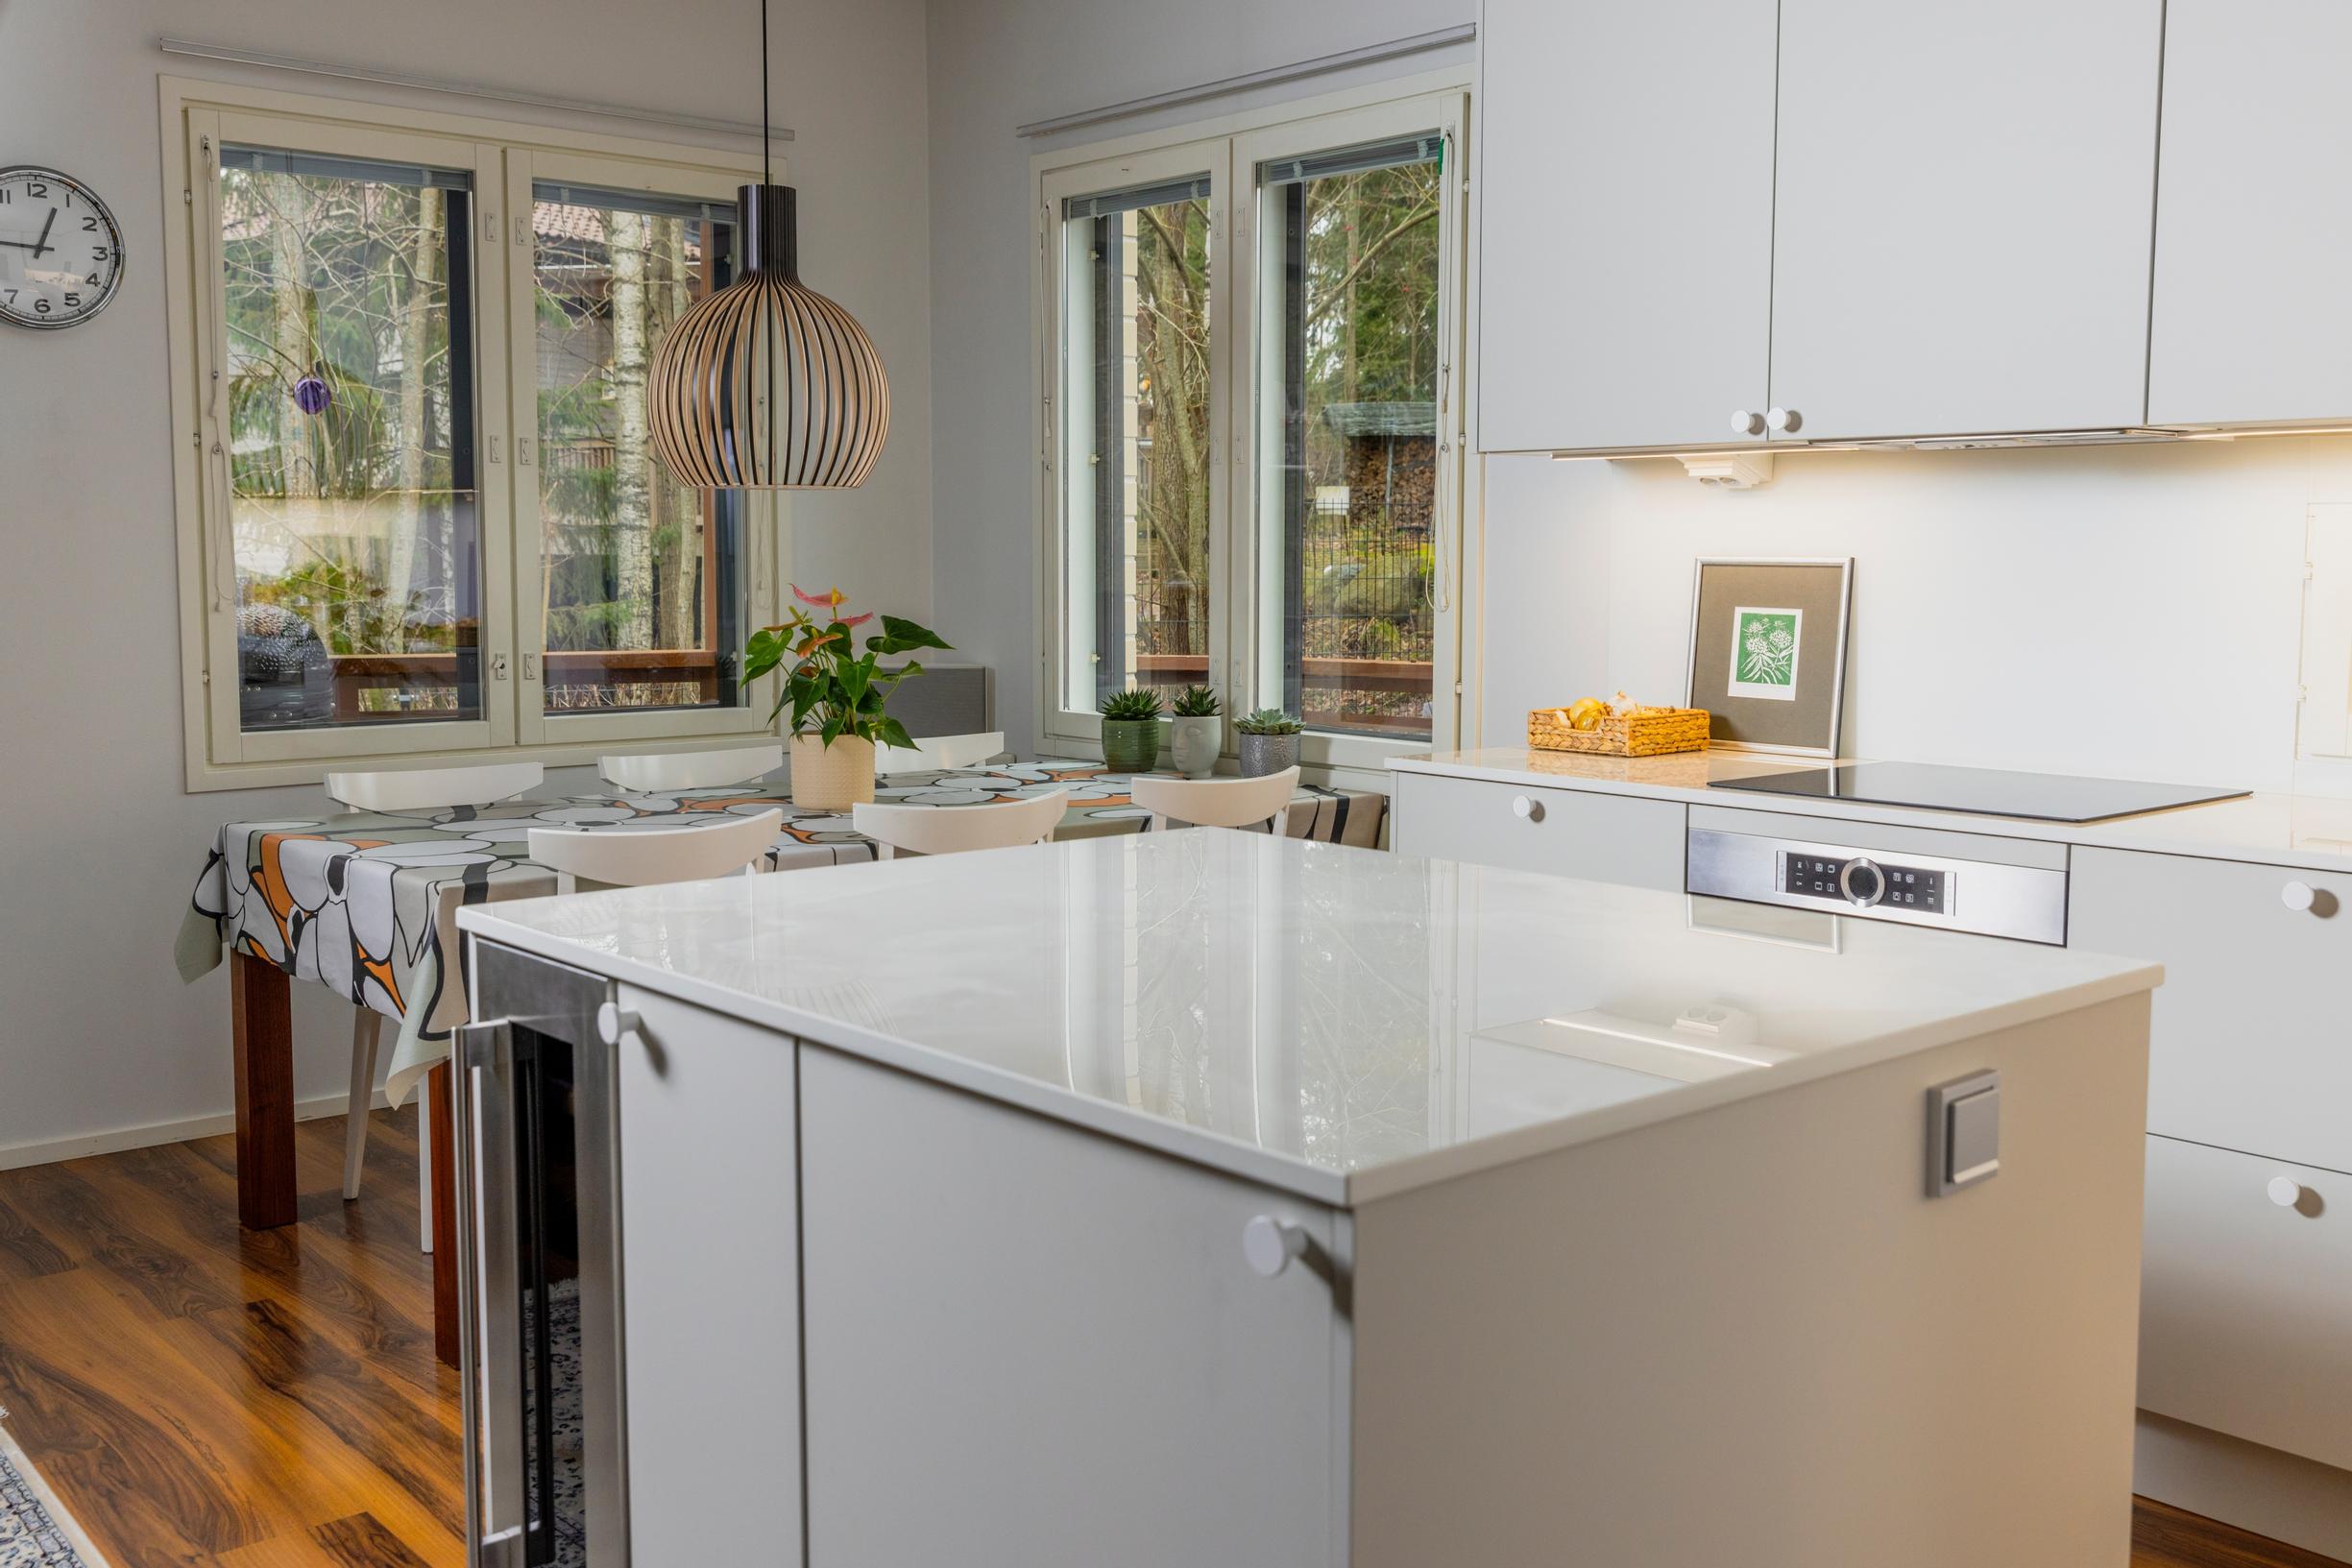
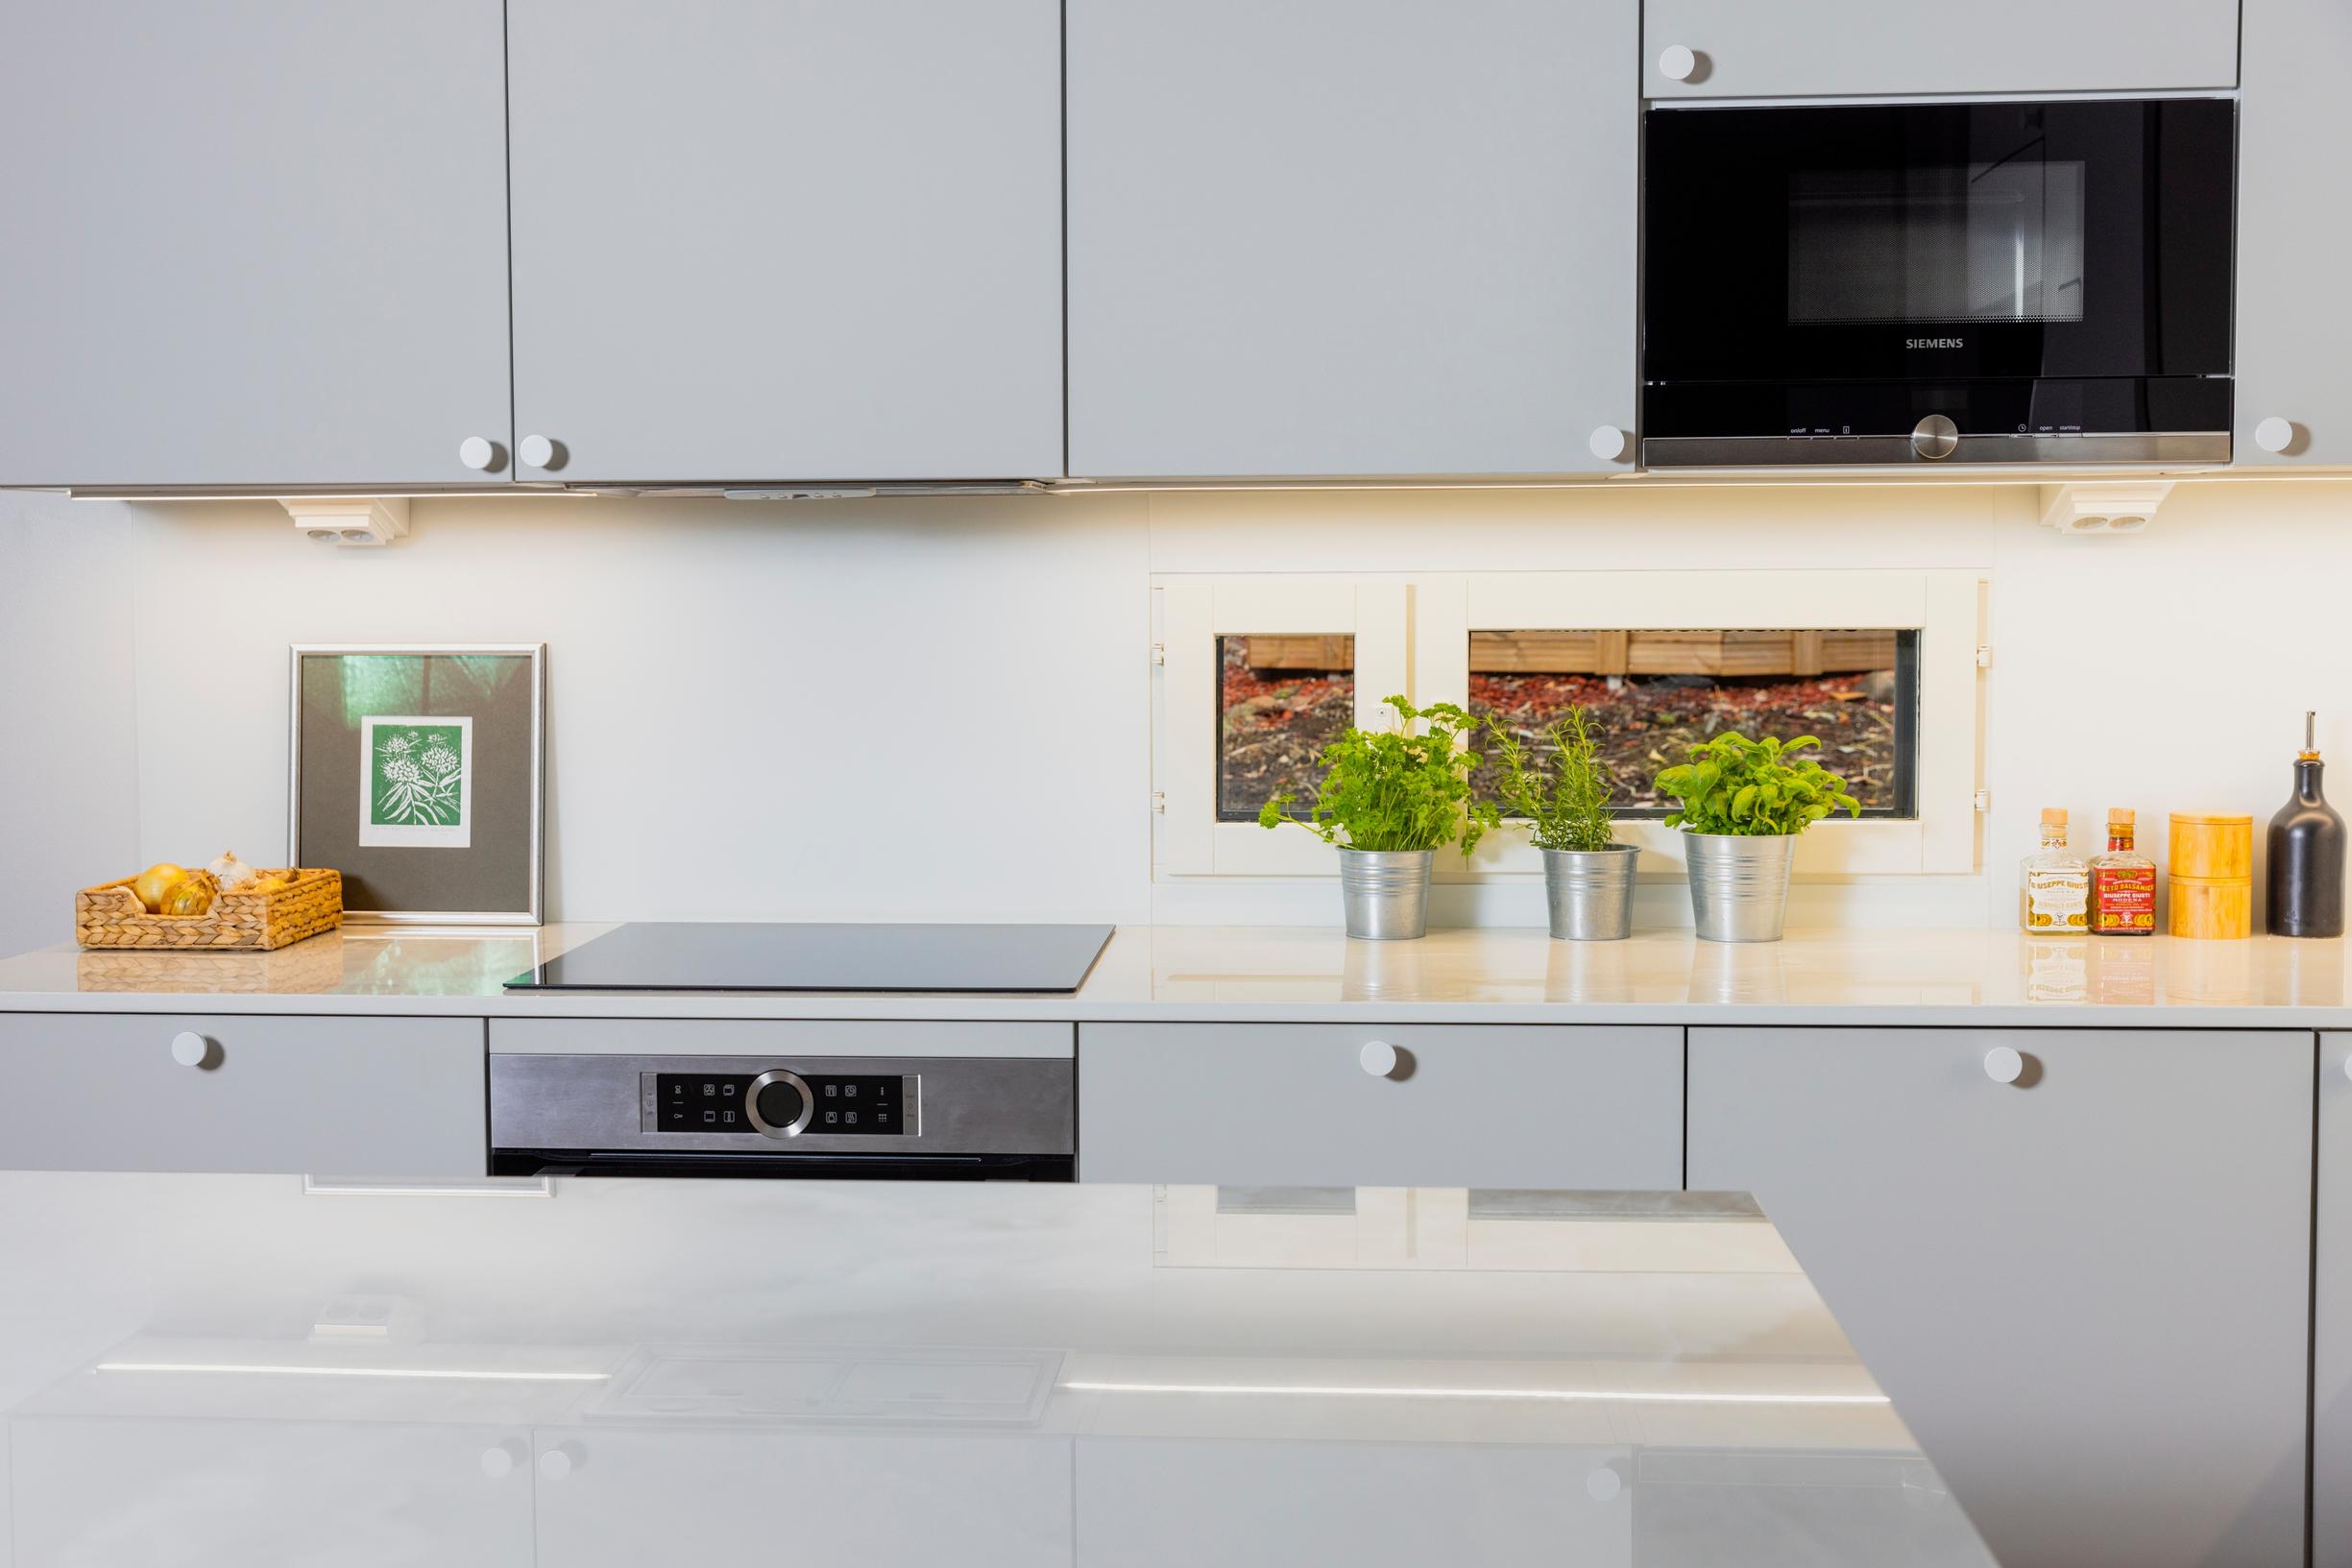
Because we need more storage, we can't even consider a kitchen without cabinets. In our new design, the cabinets extend to the ceiling. Moving the stove and oven from the island to the wall is the biggest change. Many salespeople recommend a cooktop with an integrated range hood, which circulates air through a charcoal filter and returns it to the kitchen.
However, we plan to keep using the old rooftop ventilation fan, which is also quieter. That means extra work because we have to move the air duct and replace the fan motor.
We want to be done with wooden countertops. We’ve sanded and oiled them multiple times, but they only look good briefly. A low-maintenance stone surface would solve that problem.
It’s hard to decide because the materials and their costs vary. Eventually, we rule out granite, marble, and quartz, and choose a ceramic countertop instead, even though it takes up a large part of our budget. Dekton, a blend of porcelain, glass, and quartz, is said to resist heat, cold, wear, stains, and acids. Could it even last forever?
Once the major decisions are settled, finalizing the purchase is easy.
We request quotations from twelve kitchen companies and one carpenter. The price range is huge: at the low end, we could get a kitchen without appliances for just over €11,000, while the highest quote goes up to €34,000, sent by the carpenter. Appliance costs between the vendors also vary to a surprising degree, between €3,000 and €5,000.
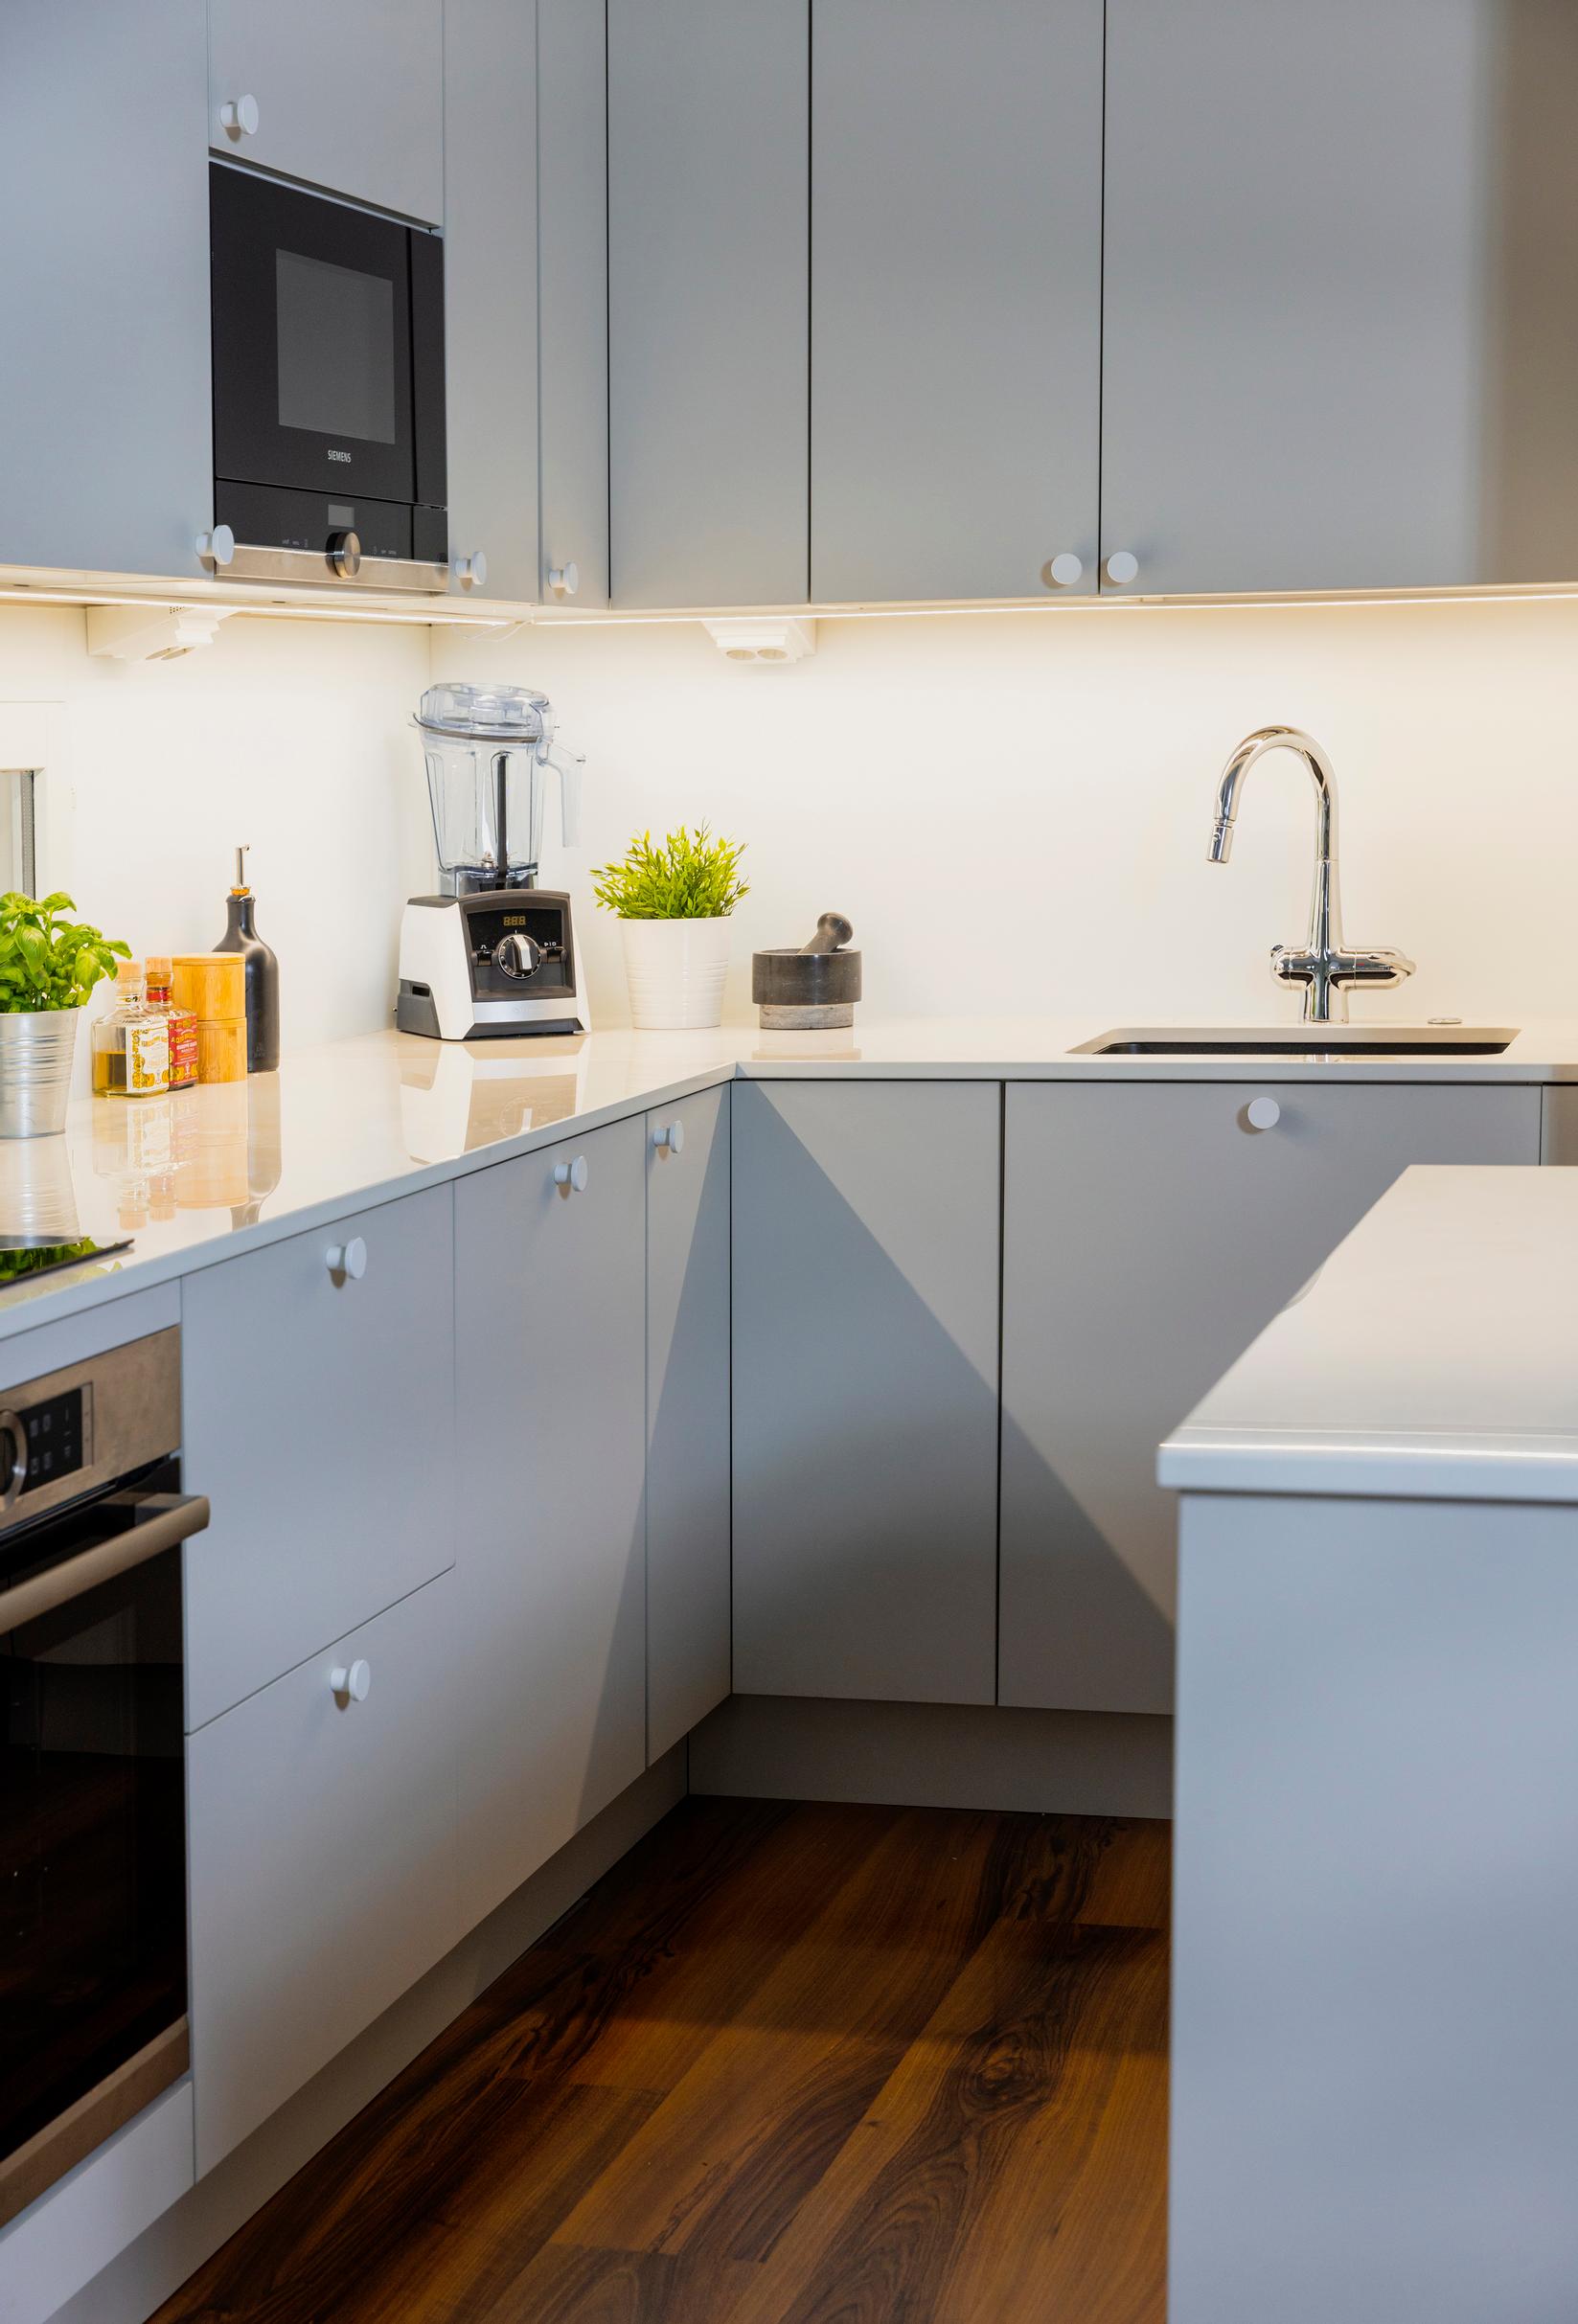
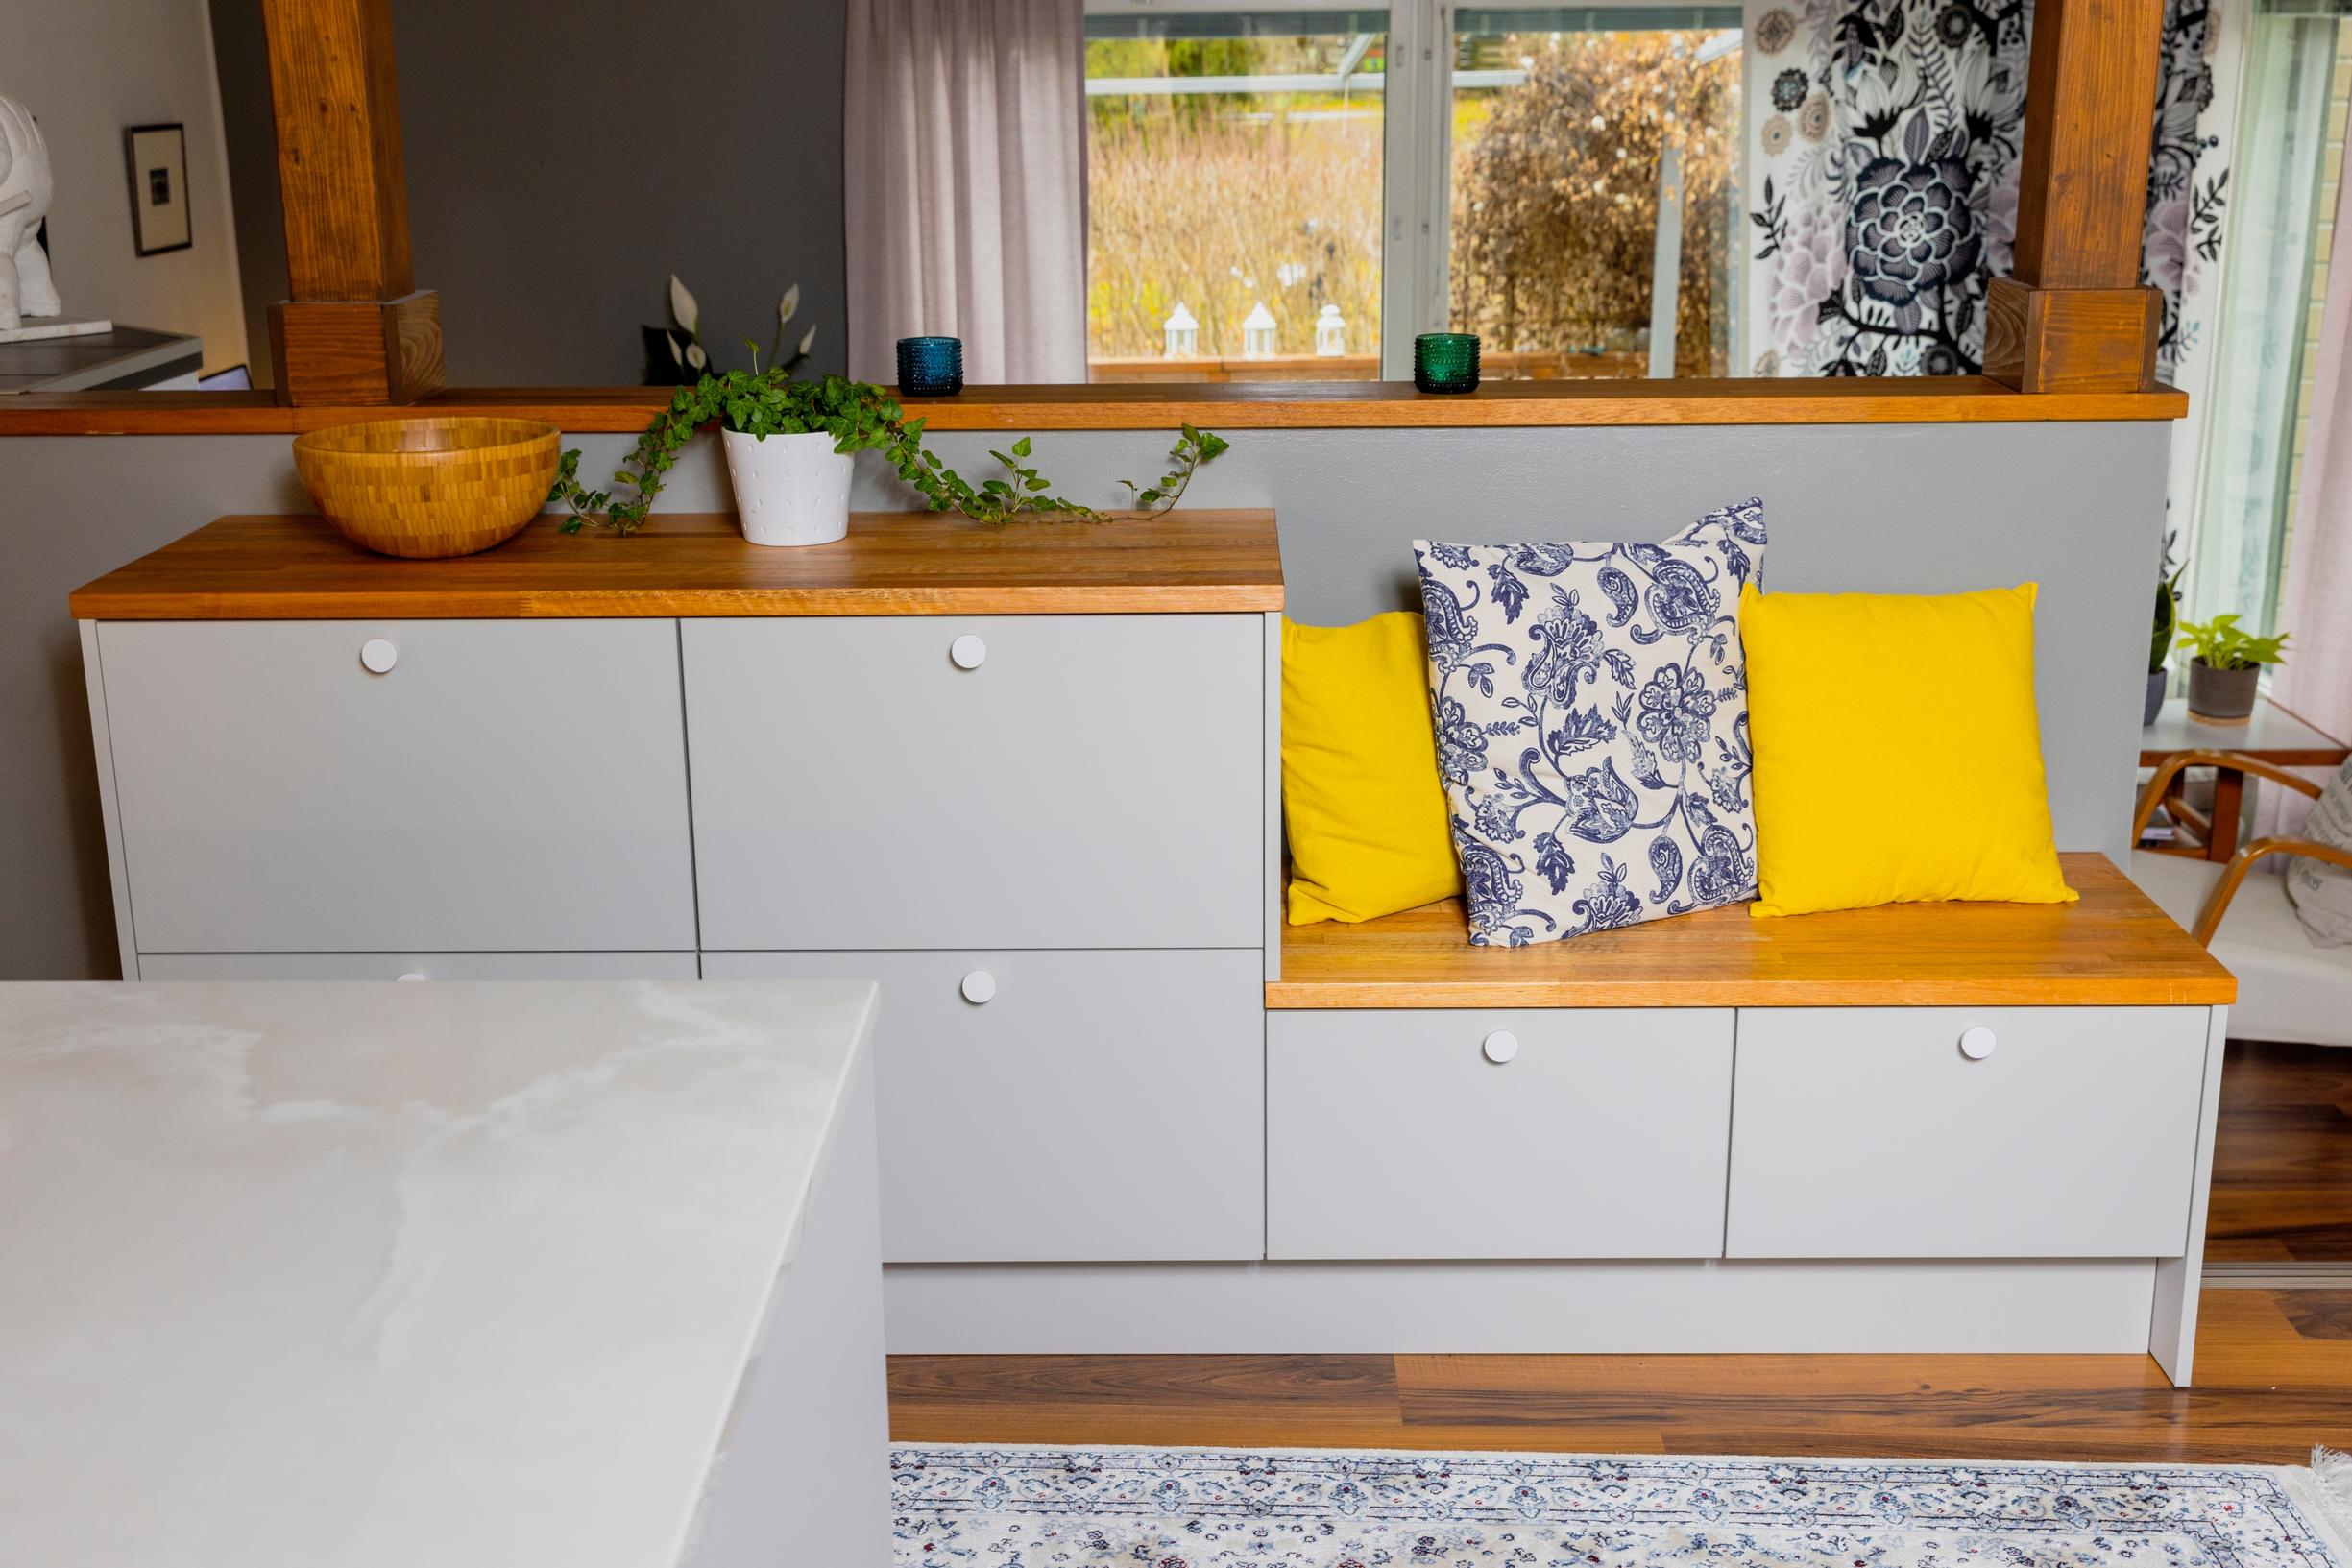
Once the major decisions are settled, finalizing the purchase is easy. We choose Finnish manufacturer Temal’s cabinets because the laminate-coated MDF resists both moisture and wear. Our favorite shade is greige—a cross between gray and beige. The frames are pre-assembled at Temal’s factory, so we don’t have to put them together ourselves.
We decide to install the cabinets ourselves, even though many people suggest hiring a professional. The delivery time for cabinets and appliances is two months. Before that, we have to remove the old kitchen, open a new vent for the range hood, and have an electrician estimate the wiring changes and costs. We’ll also need a plumber later for the water connections.
Fortunately, we quickly sell our old kitchen online. It doesn’t bring in much, but it’s nice to know the kitchen will live on in a new home.


Prep work calls for more thought and organization than we expected. We dig through the house’s blueprints, looking in vain for information on power lines and ventilation channels in the kitchen. In the end, we just tear out the cabinets, peek into the walls, and hope for the best.
Our laundry room becomes our temporary kitchen. Dishes and pots go on the sauna benches, and the fridge ends up in the living room. We cook on the outdoor grill or use the microwave. After a couple of weeks of convenience foods, takeout starts to seem pretty tempting.
A week before the cabinets arrive, our home is in total chaos. Removing the wall tiles damages the drywall behind them, forcing us to remove the entire sheet. Thankfully, the new kitchen will have a glass backsplash, so our tile troubles are almost over.
For the rooftop ventilation duct, we tear up part of the upstairs closet floor and wall to move the range hood downstairs into its new position. This nerve-racking job works out in the end, and we find a new motor for the old fan from its importer for just over a hundred euros.
The cabinets and appliances arrive as scheduled, which is a relief because many manufacturers have faced delays due to the pandemic. Suddenly, our downstairs is filled with big cardboard boxes bearing numeric codes that we have to match to each cabinet. The manufacturer emailed us step-by-step installation instructions.
First, we need to straighten the crooked walls with furring strips so the cabinets will sit properly. Our kitchen designer assures us that some “movement” in the walls is normal. After that, we start installing from the top corner, cabinet by cabinet.


Altogether, installing the cabinets and appliances takes just under two weeks. The electrician hooks things up as the kitchen takes shape. Luckily, we found a local electrician through a Facebook group, so getting professional help is quick and spares us extra travel costs.
Even though the renovation is on track, we’re starting to feel worn out. At times, the entire project stalls while we race to the hardware store for the right screws or tools. Even thorough planning can't prevent every surprise.
The highlight is when the countertops are finally installed. The subtly patterned Helena XGloss Dekton pairs perfectly with our cabinets.
From demolition and preparation to the finishing touches, the renovation takes just over a month. In the end, we spend around €22,500. Early on, that price would have stunned us, but we’ve learned to accept it.


We’ve been enjoying our new kitchen for half a year. Even though it took many hours, we’re glad we did the work ourselves. We remember every phase of the renovation and know it was done carefully. Hearing a friend’s horror story about a kitchen renovation delayed by months due to an unskilled installer only reinforces our satisfaction.
On the other hand, a DIY renovation has its risks: if we’d made any mistakes during installation, getting compensation could be difficult. The items we purchased have a ten-year warranty, which requires following the installation and care instructions.
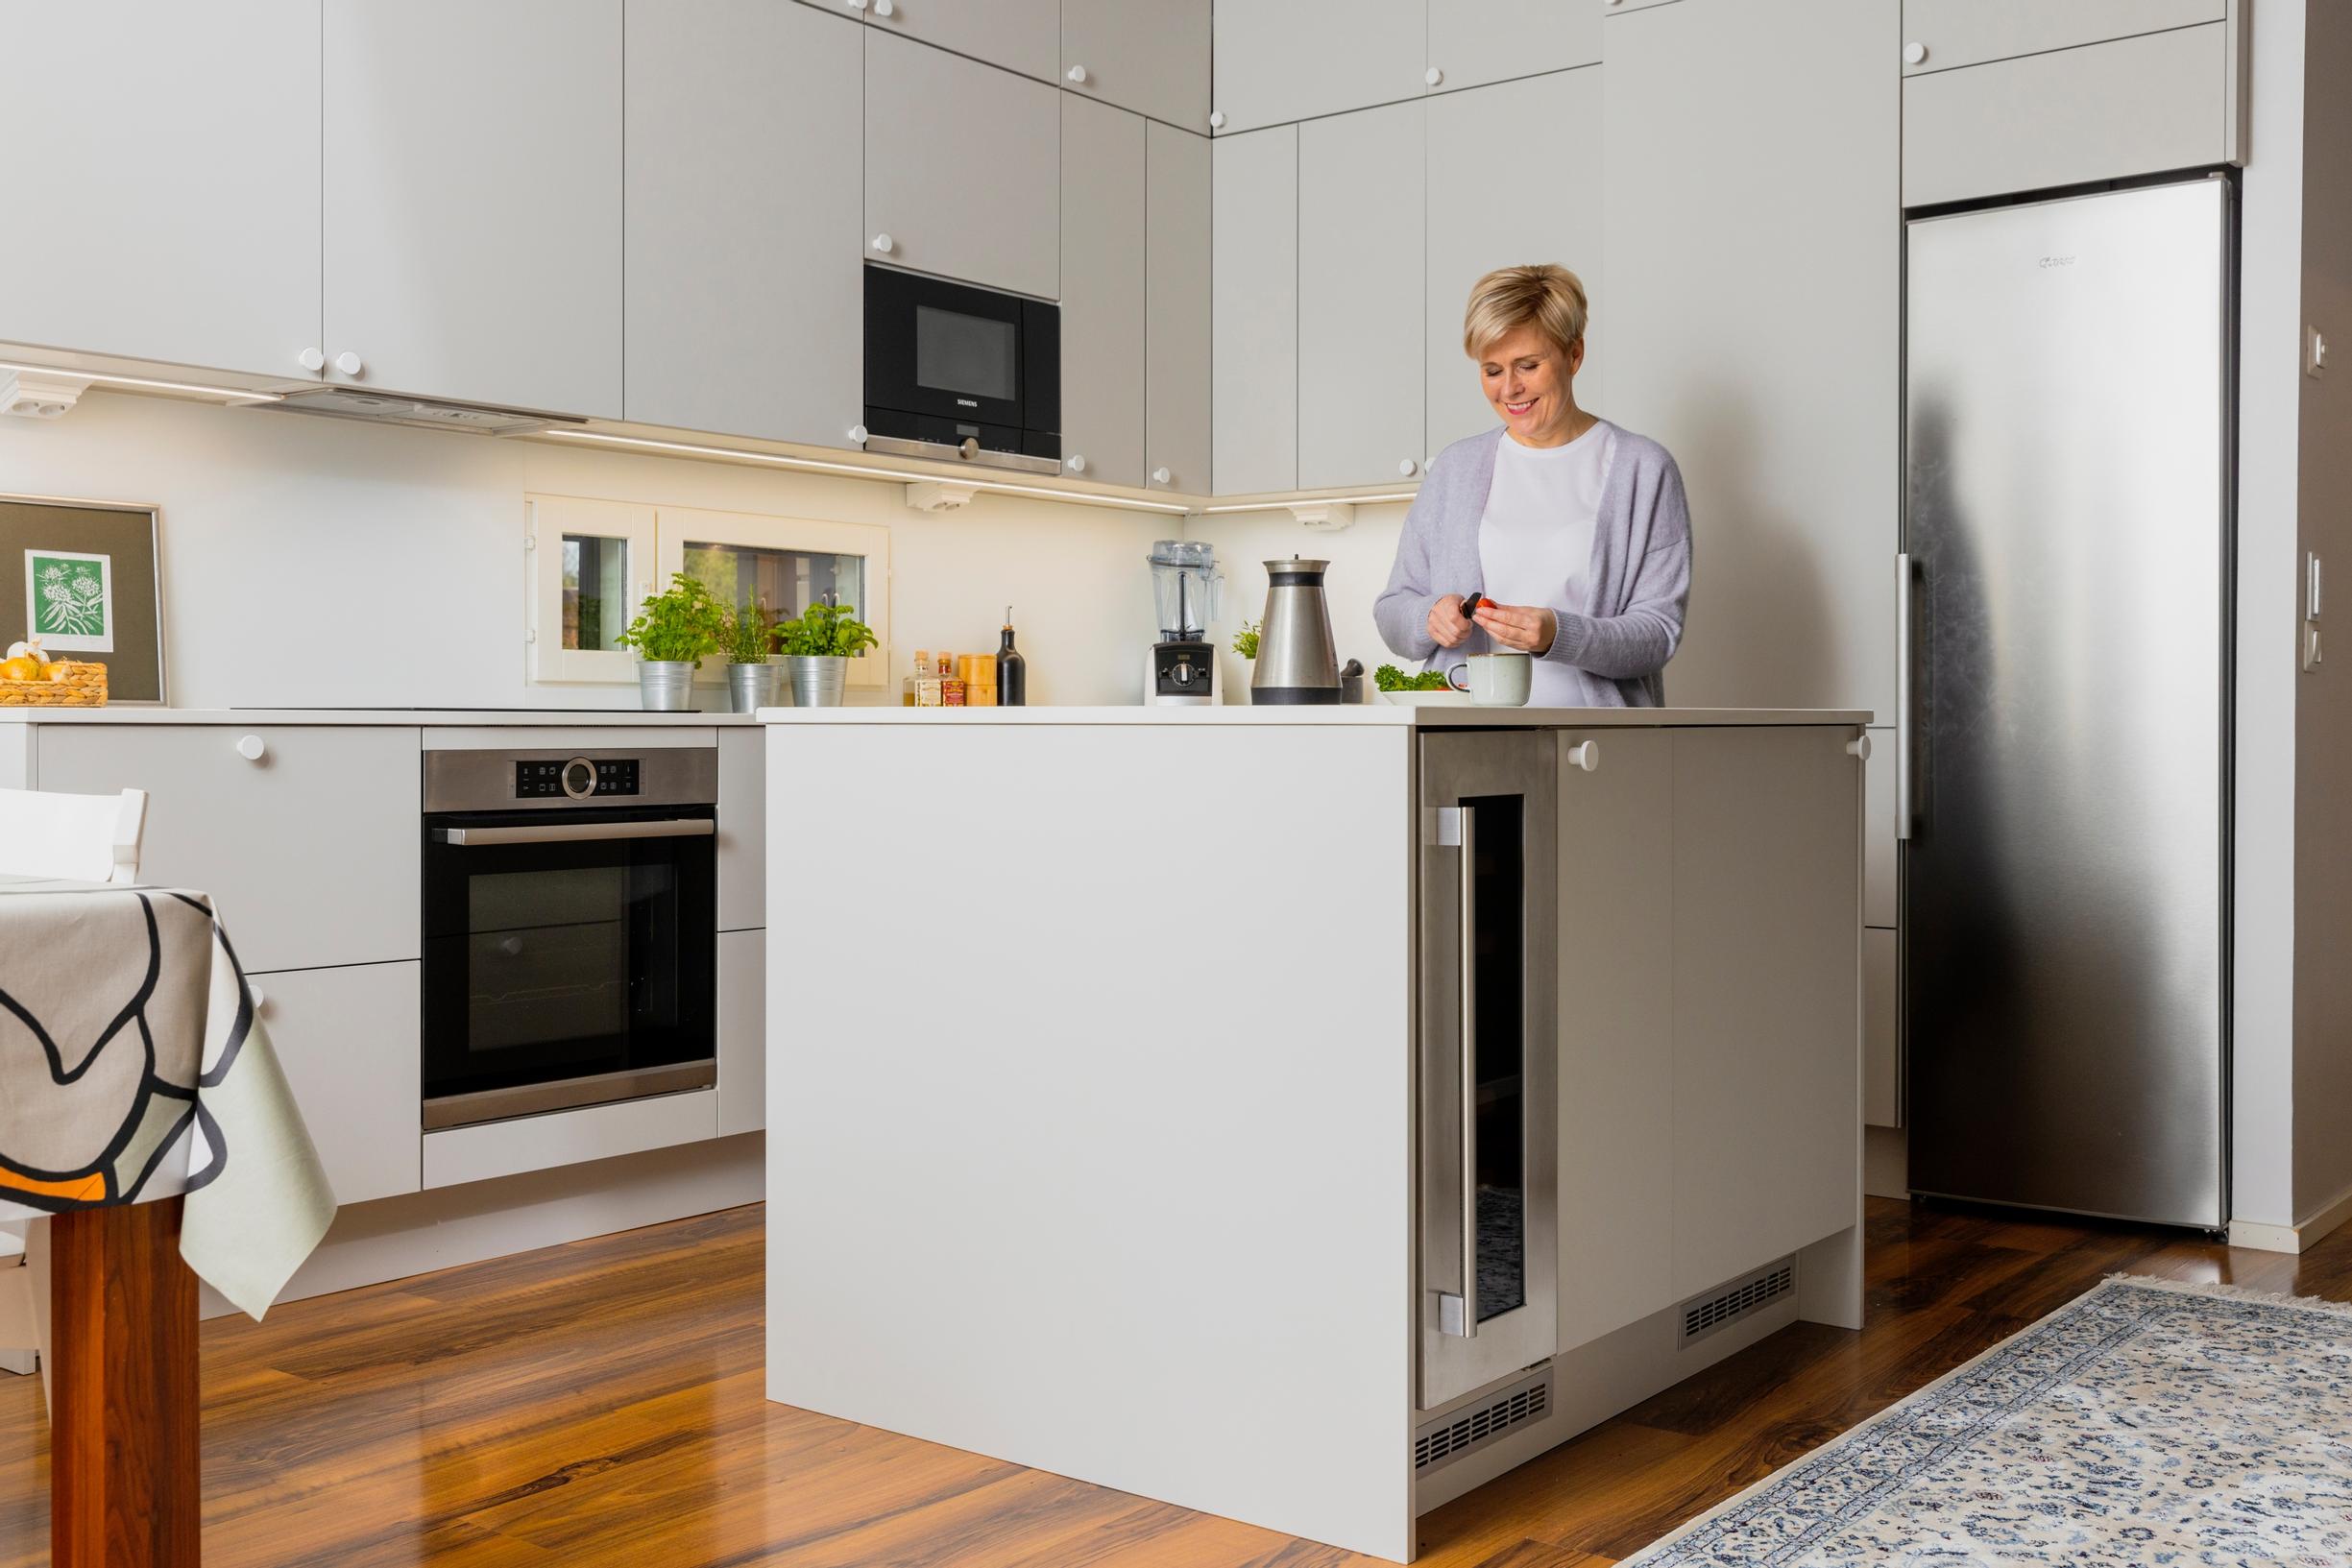
As for our original problem, the new kitchen has fixed it. We now have far more storage and counter space, plus proper lighting above the work areas. The room feels more open, even with cabinets up to the ceiling, because the range hood no longer blocks the view over the island.
Kitchen remodel—10 things to remember
- Think about what you really want from your kitchen. What works? What doesn’t? Would a small style update be enough?
- Meet with multiple kitchen designers. Learn about different materials, warranties, delivery times, and spare parts. The total cost also depends on whether you assemble the kitchen yourself or if the frames are pre-built at the factory.
- Gather information about your home through your housing association or local building authority.
- Always add 10–15% to your kitchen renovation budget for unexpected costs—they happen. Compare multiple companies and look into promotions and financing options.
- Assess your skills, time, and tools honestly. If you’re unsure, hire the installer recommended by the supplier or a known professional.
- Look at trends with a critical eye. Kitchens without upper cabinets can look great in photos, but will they work in your daily life? A fashionable breakfast pantry might take too much space in a smaller kitchen.
- Think about reusing your old kitchen. If it doesn’t fit your plans, photograph the cabinets and appliances and list them online.
- Book an electrician well in advance for a planning visit. Call a plumber early on. Ask for recommendations!
- If you plan to renovate yourself, map out the work carefully. Take out your old kitchen at least a week before the new one arrives so you have time for any surprises.
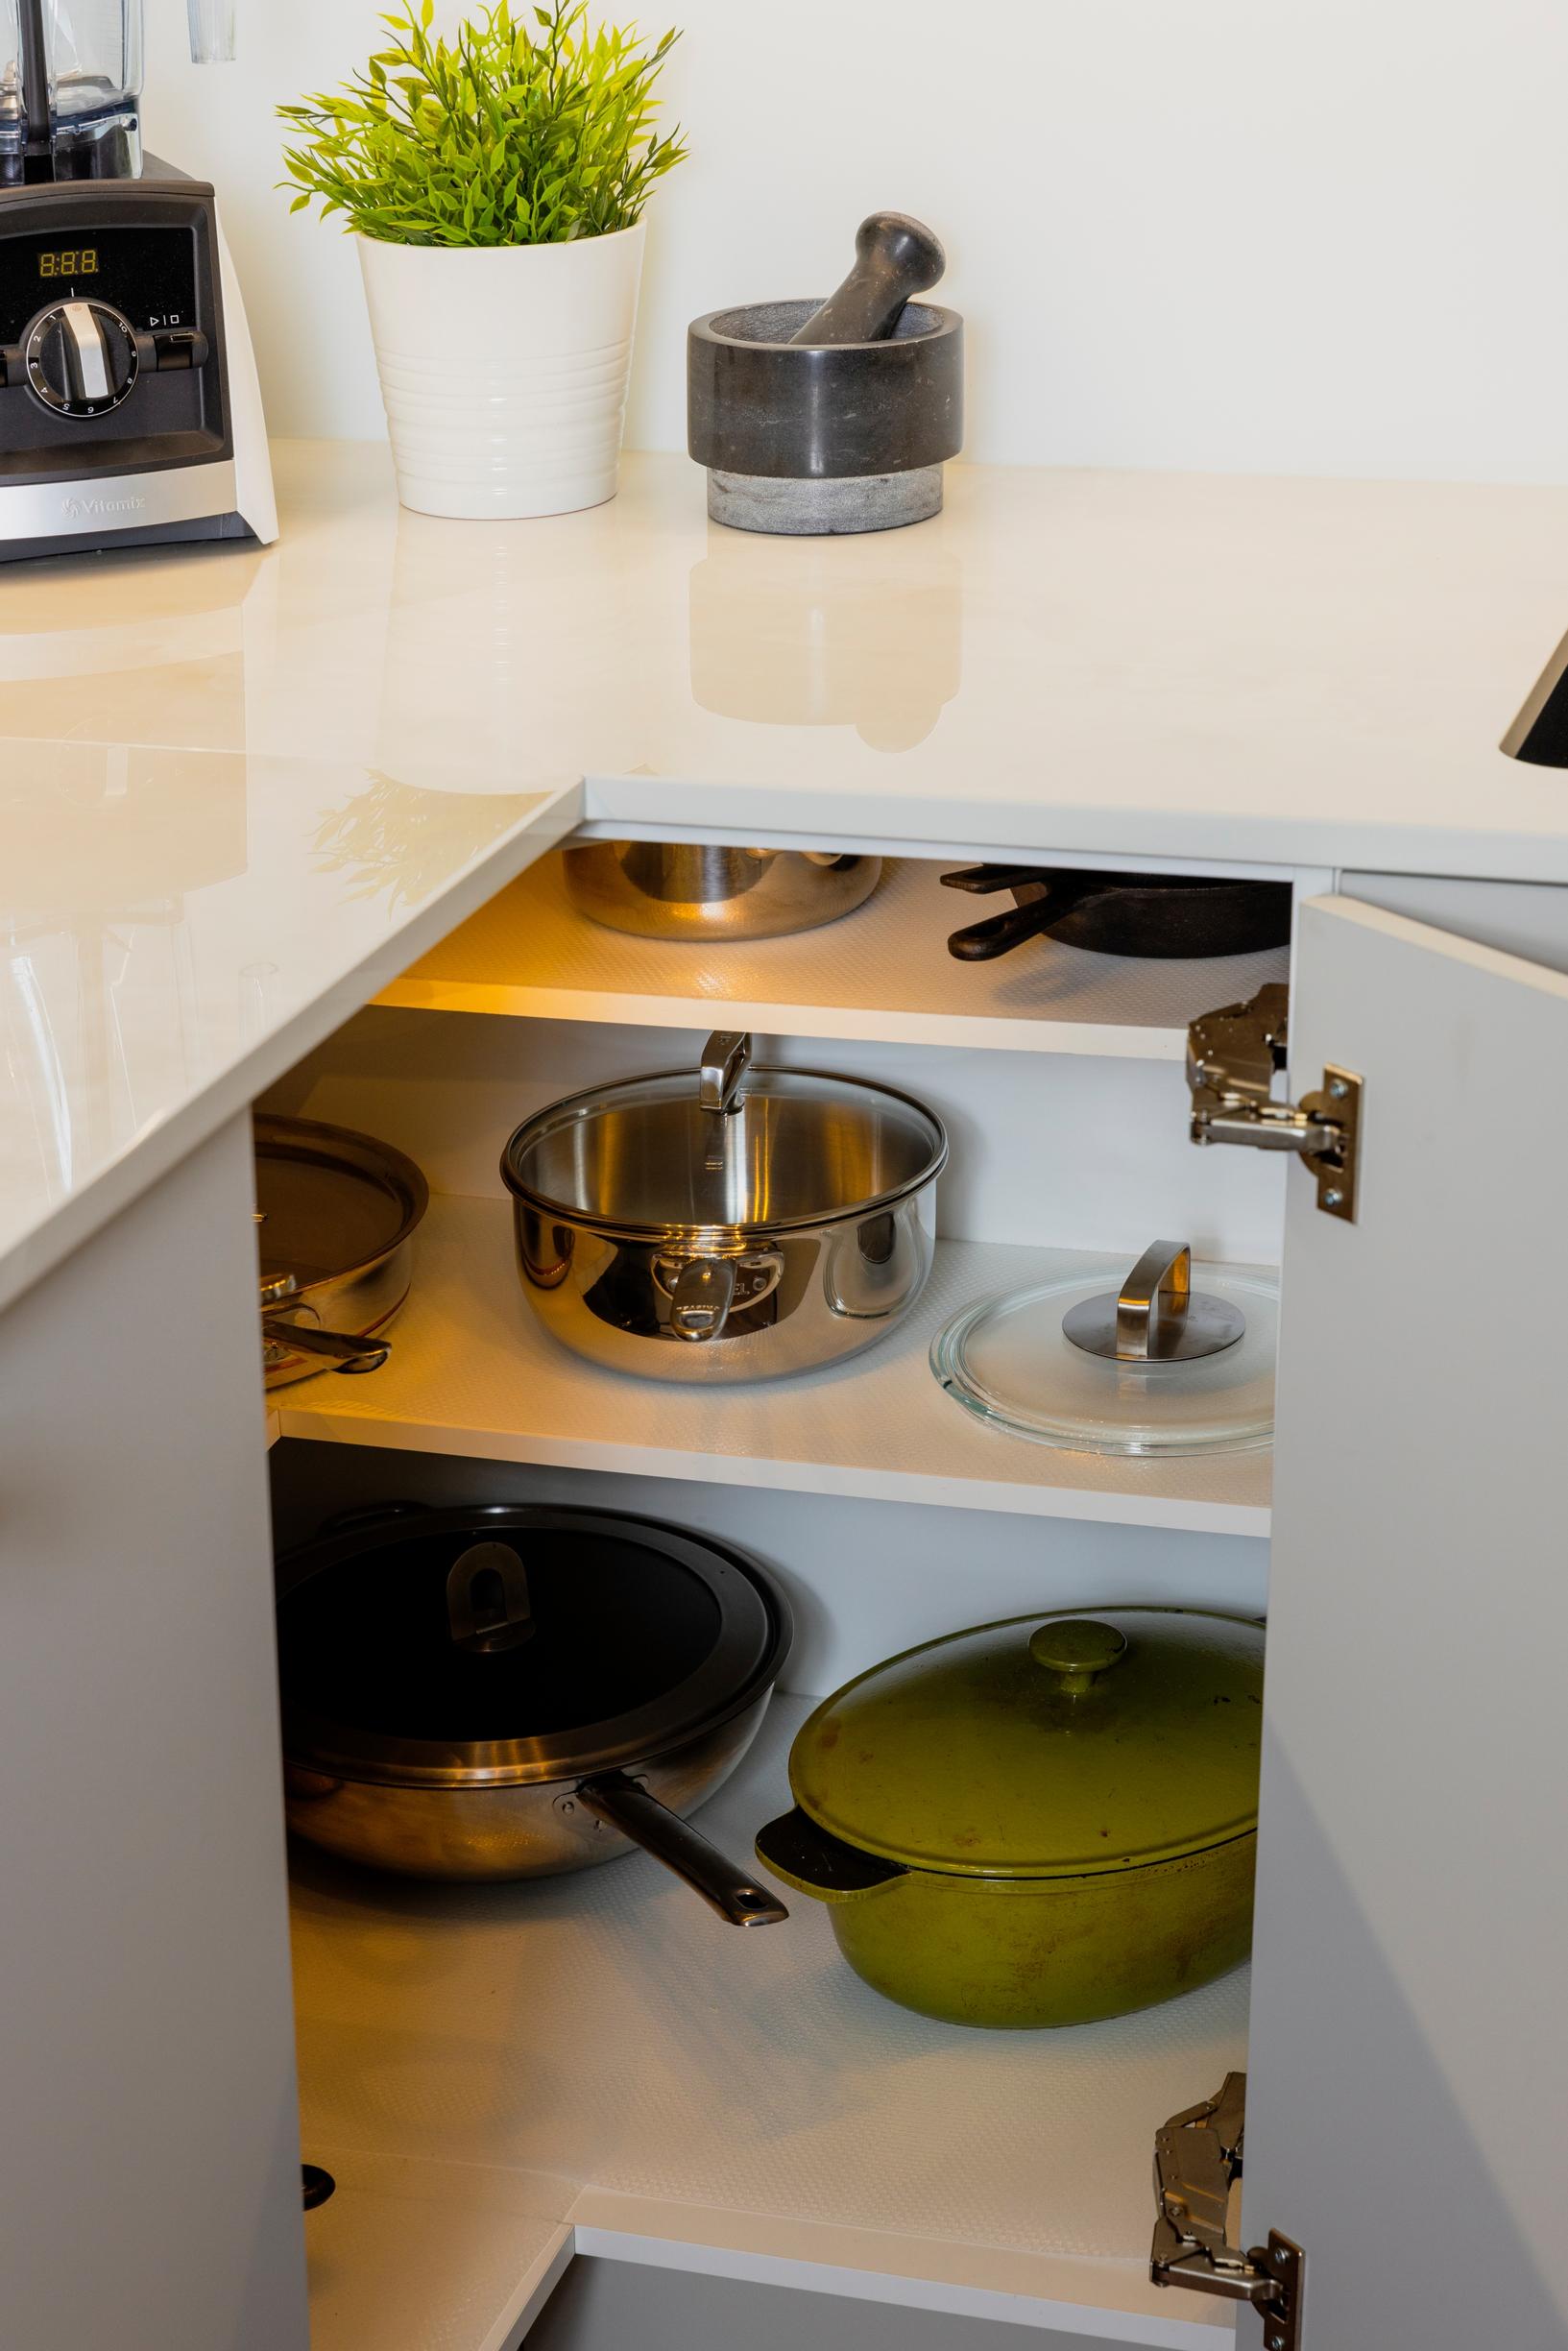
- Don’t finalize all your storage solutions right away—often, you discover the best spots for groceries and dishes only when you start cooking in the new space.