Brighten up your log walls with a translucent finish
A white translucent finish quickly brightens wooden log walls. Kirsi Laamanen shows you how to properly treat your cabin’s surfaces.
Many log cabins are built from spruce or pine. While untreated pine logs can look beautiful, softwood surfaces darken quickly under the sun’s UV rays. Even if you originally liked the look of the logs, they may soon need a refresh.
Spruce doesn’t darken as much over time as pine. If your cabin’s log walls are untreated pine and the ceiling panels are spruce, you’ll quickly notice this after just a few years.
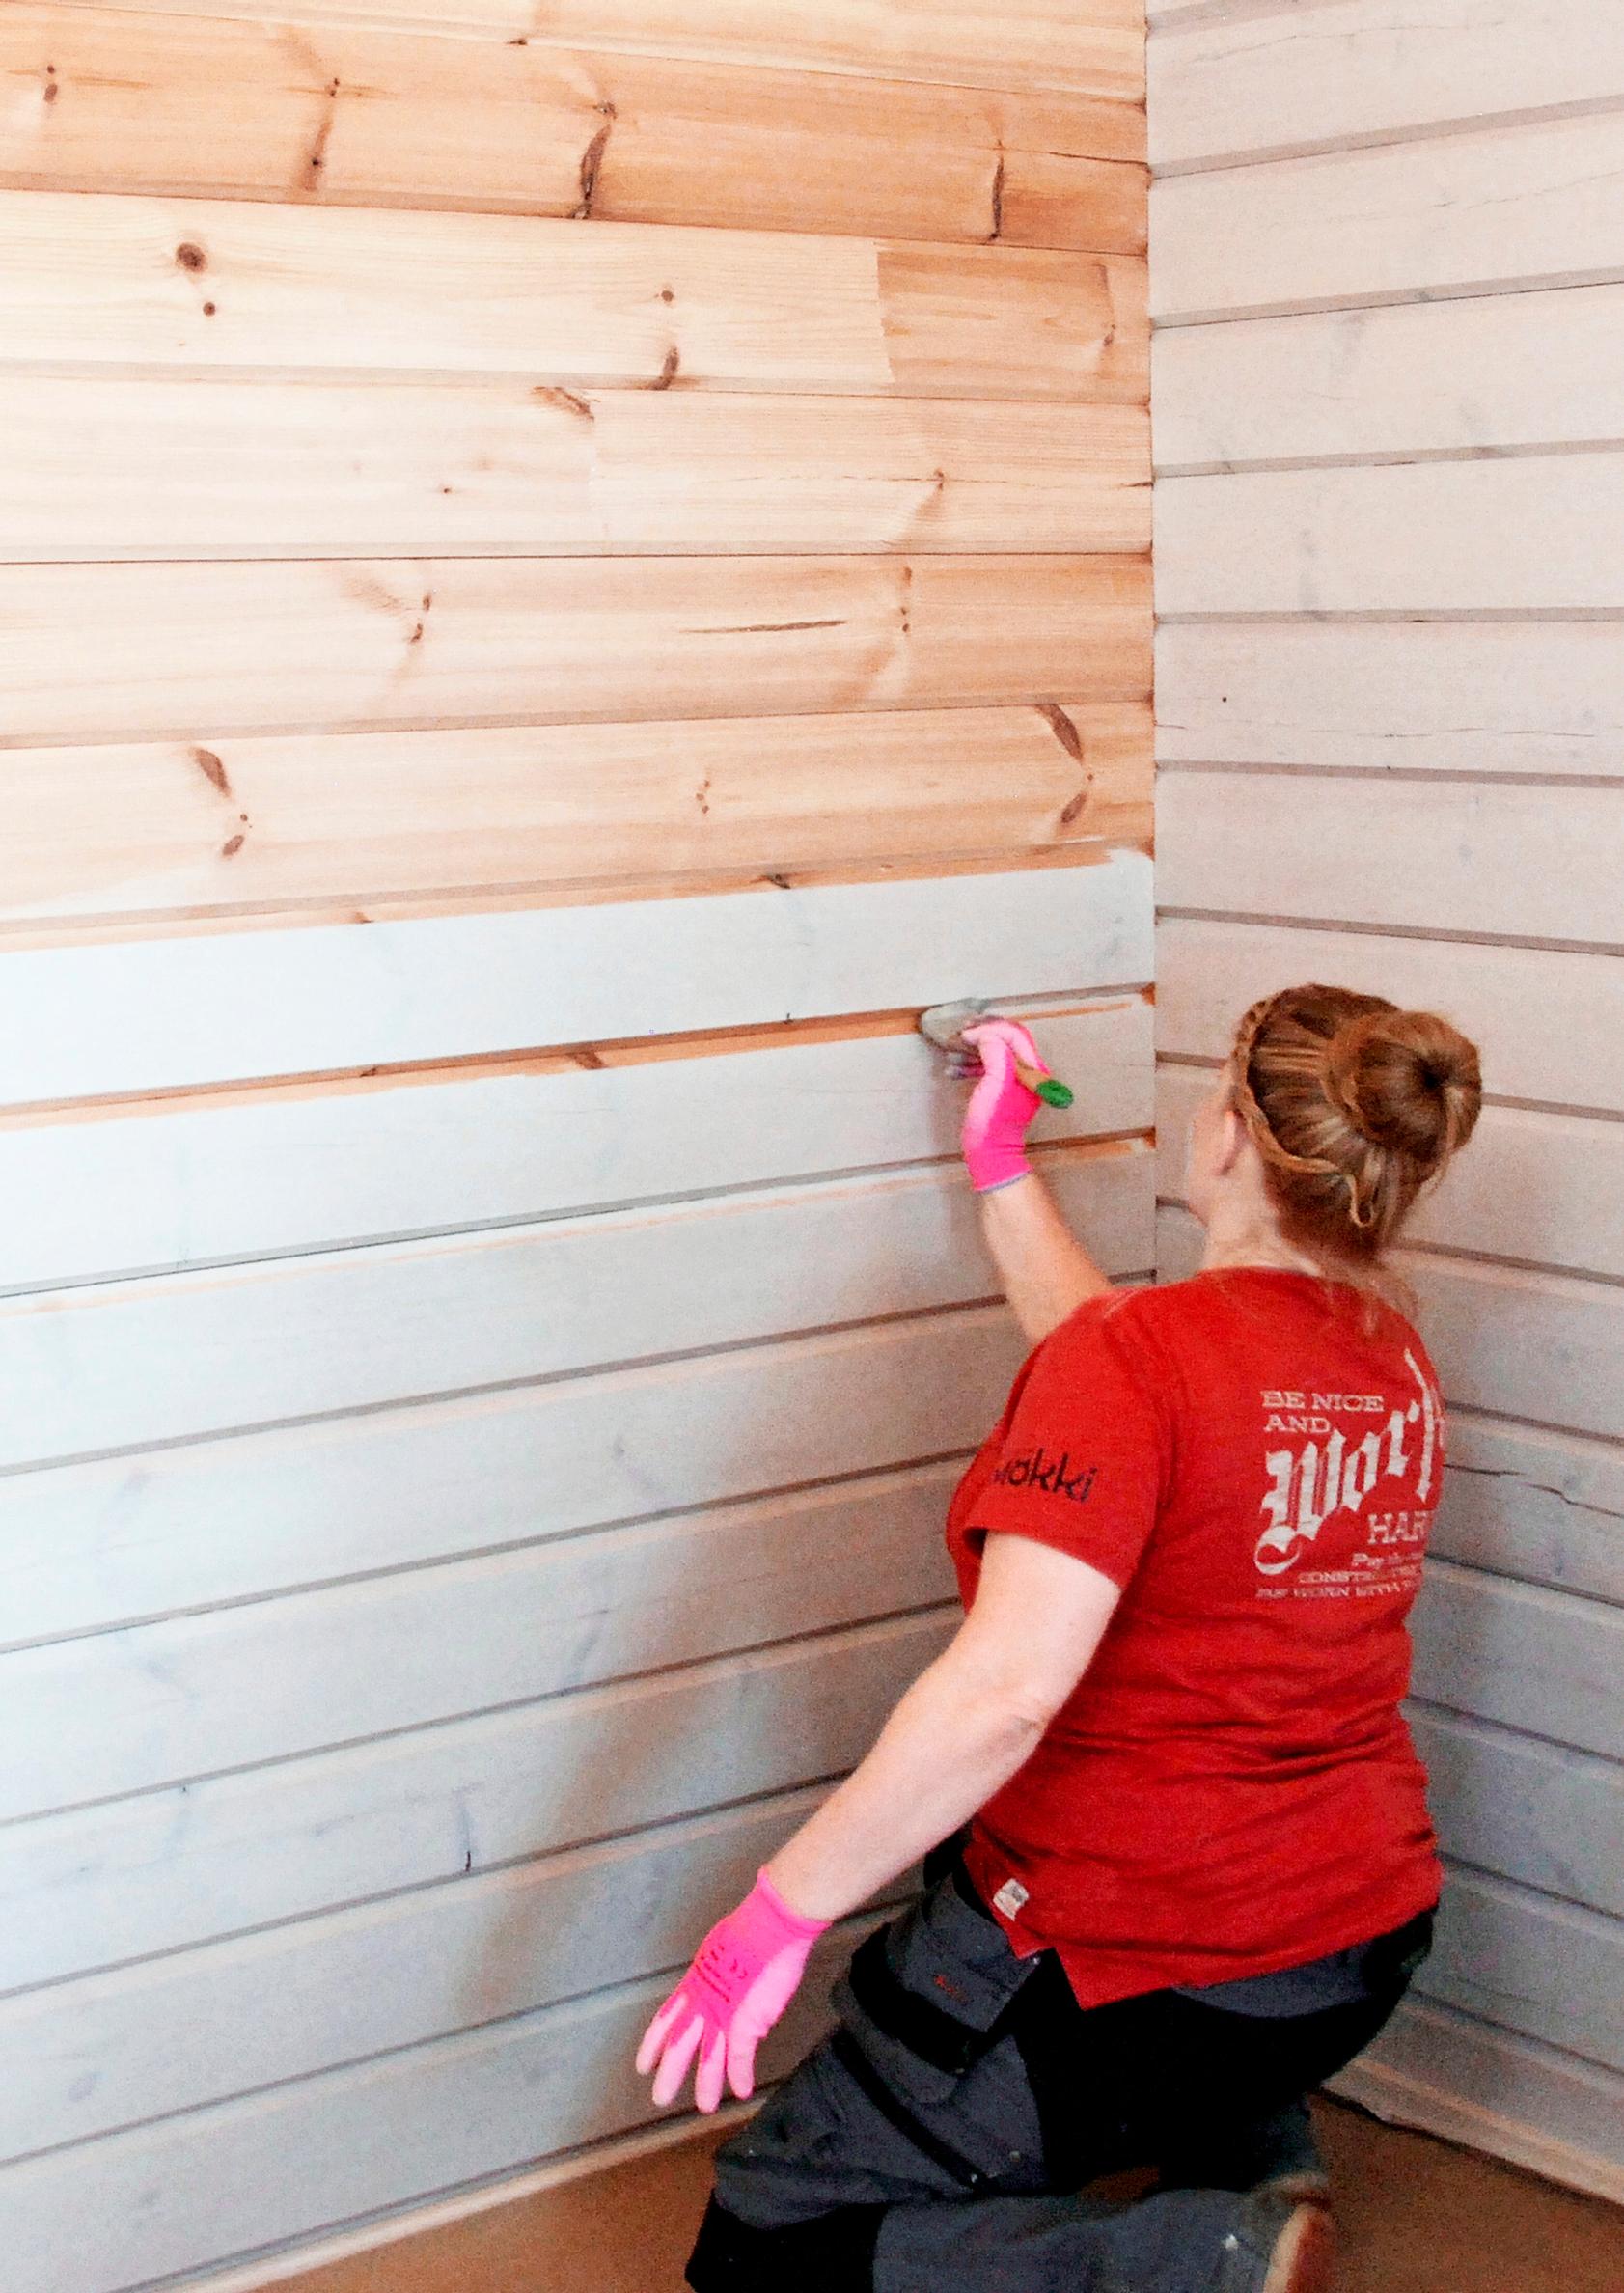
Applying a white lacquer to the surfaces quickly brightens your cabin. Whether you treat all large surfaces at once or just the walls or ceiling is a matter of preference. There are plenty of options, especially if the floor is painted or finished with tinted wax.
As a general rule, it’s best to apply a light translucent finish within a few years of building your cabin. If the logs stay untreated for too long, lighter shades may not provide the fresh look you want, and the result can appear slightly dull.
If your log walls have darkened over many years, become dirty, or have been previously treated, it’s best to sand them down to bare wood if you want a light, translucent finish. Be aware that sanding a large area is no small task. If you want pale walls on an already darkened surface, consider using a light opaque color instead of a translucent finish.
Choosing the right treatment product
- Logs are porous and absorb moisture, then gradually release it back into the indoor air. Many who fall in love with log structures praise the excellent indoor air quality.
- You need to use a breathable product on the log’s interior surface. Check how many coats can be applied without reducing breathability.
- Wood treated with colorless products will darken over time. If you want your surfaces to stay light for longer, always choose a pigmented product.
- Lightly pigmented products offer limited UV protection. The more pigment a product has, the better it protects against sunlight. Pigment content varies by shade and product.
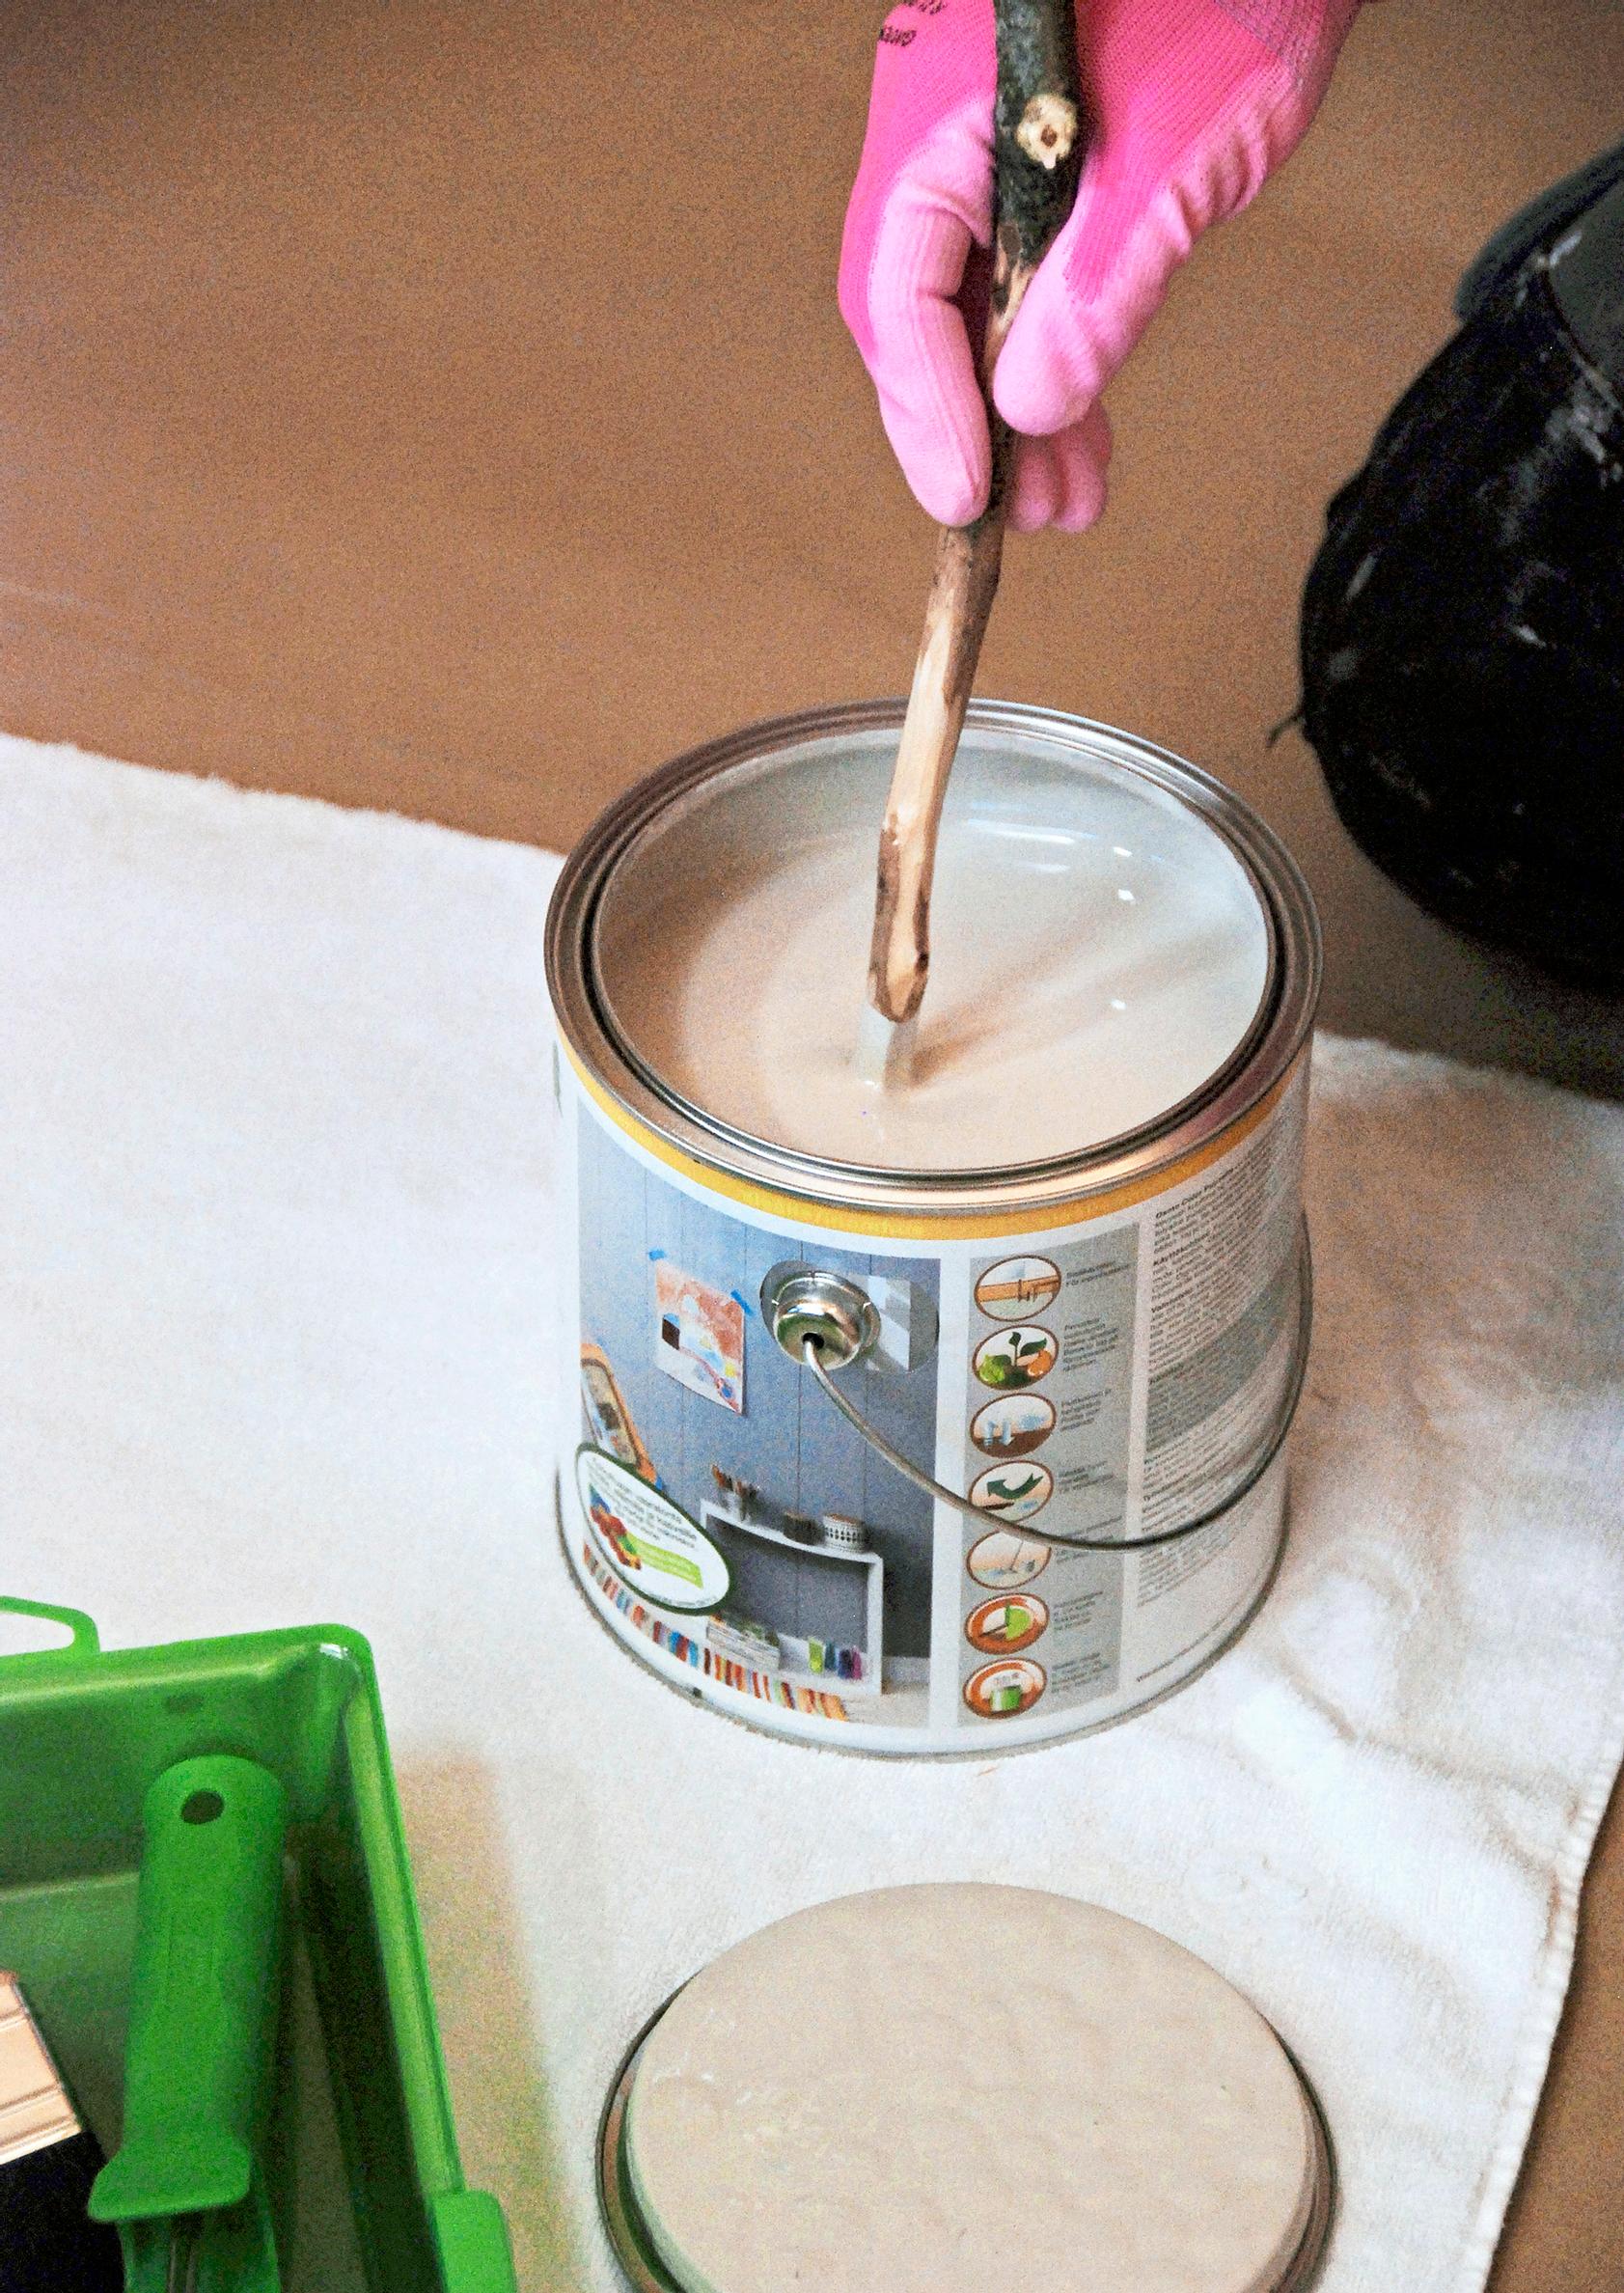
- A single coat often suffices, but sometimes two coats are needed for the shade you want. With some translucent products, a second coat may become nearly opaque. Always test on the same type of wood you plan to treat so you don’t get caught off guard.
- You can lighten surfaces with white tones or various shades of gray. In this project, the walls were treated with a breathable, plant oil-based wood wax that has a slight gray hue.
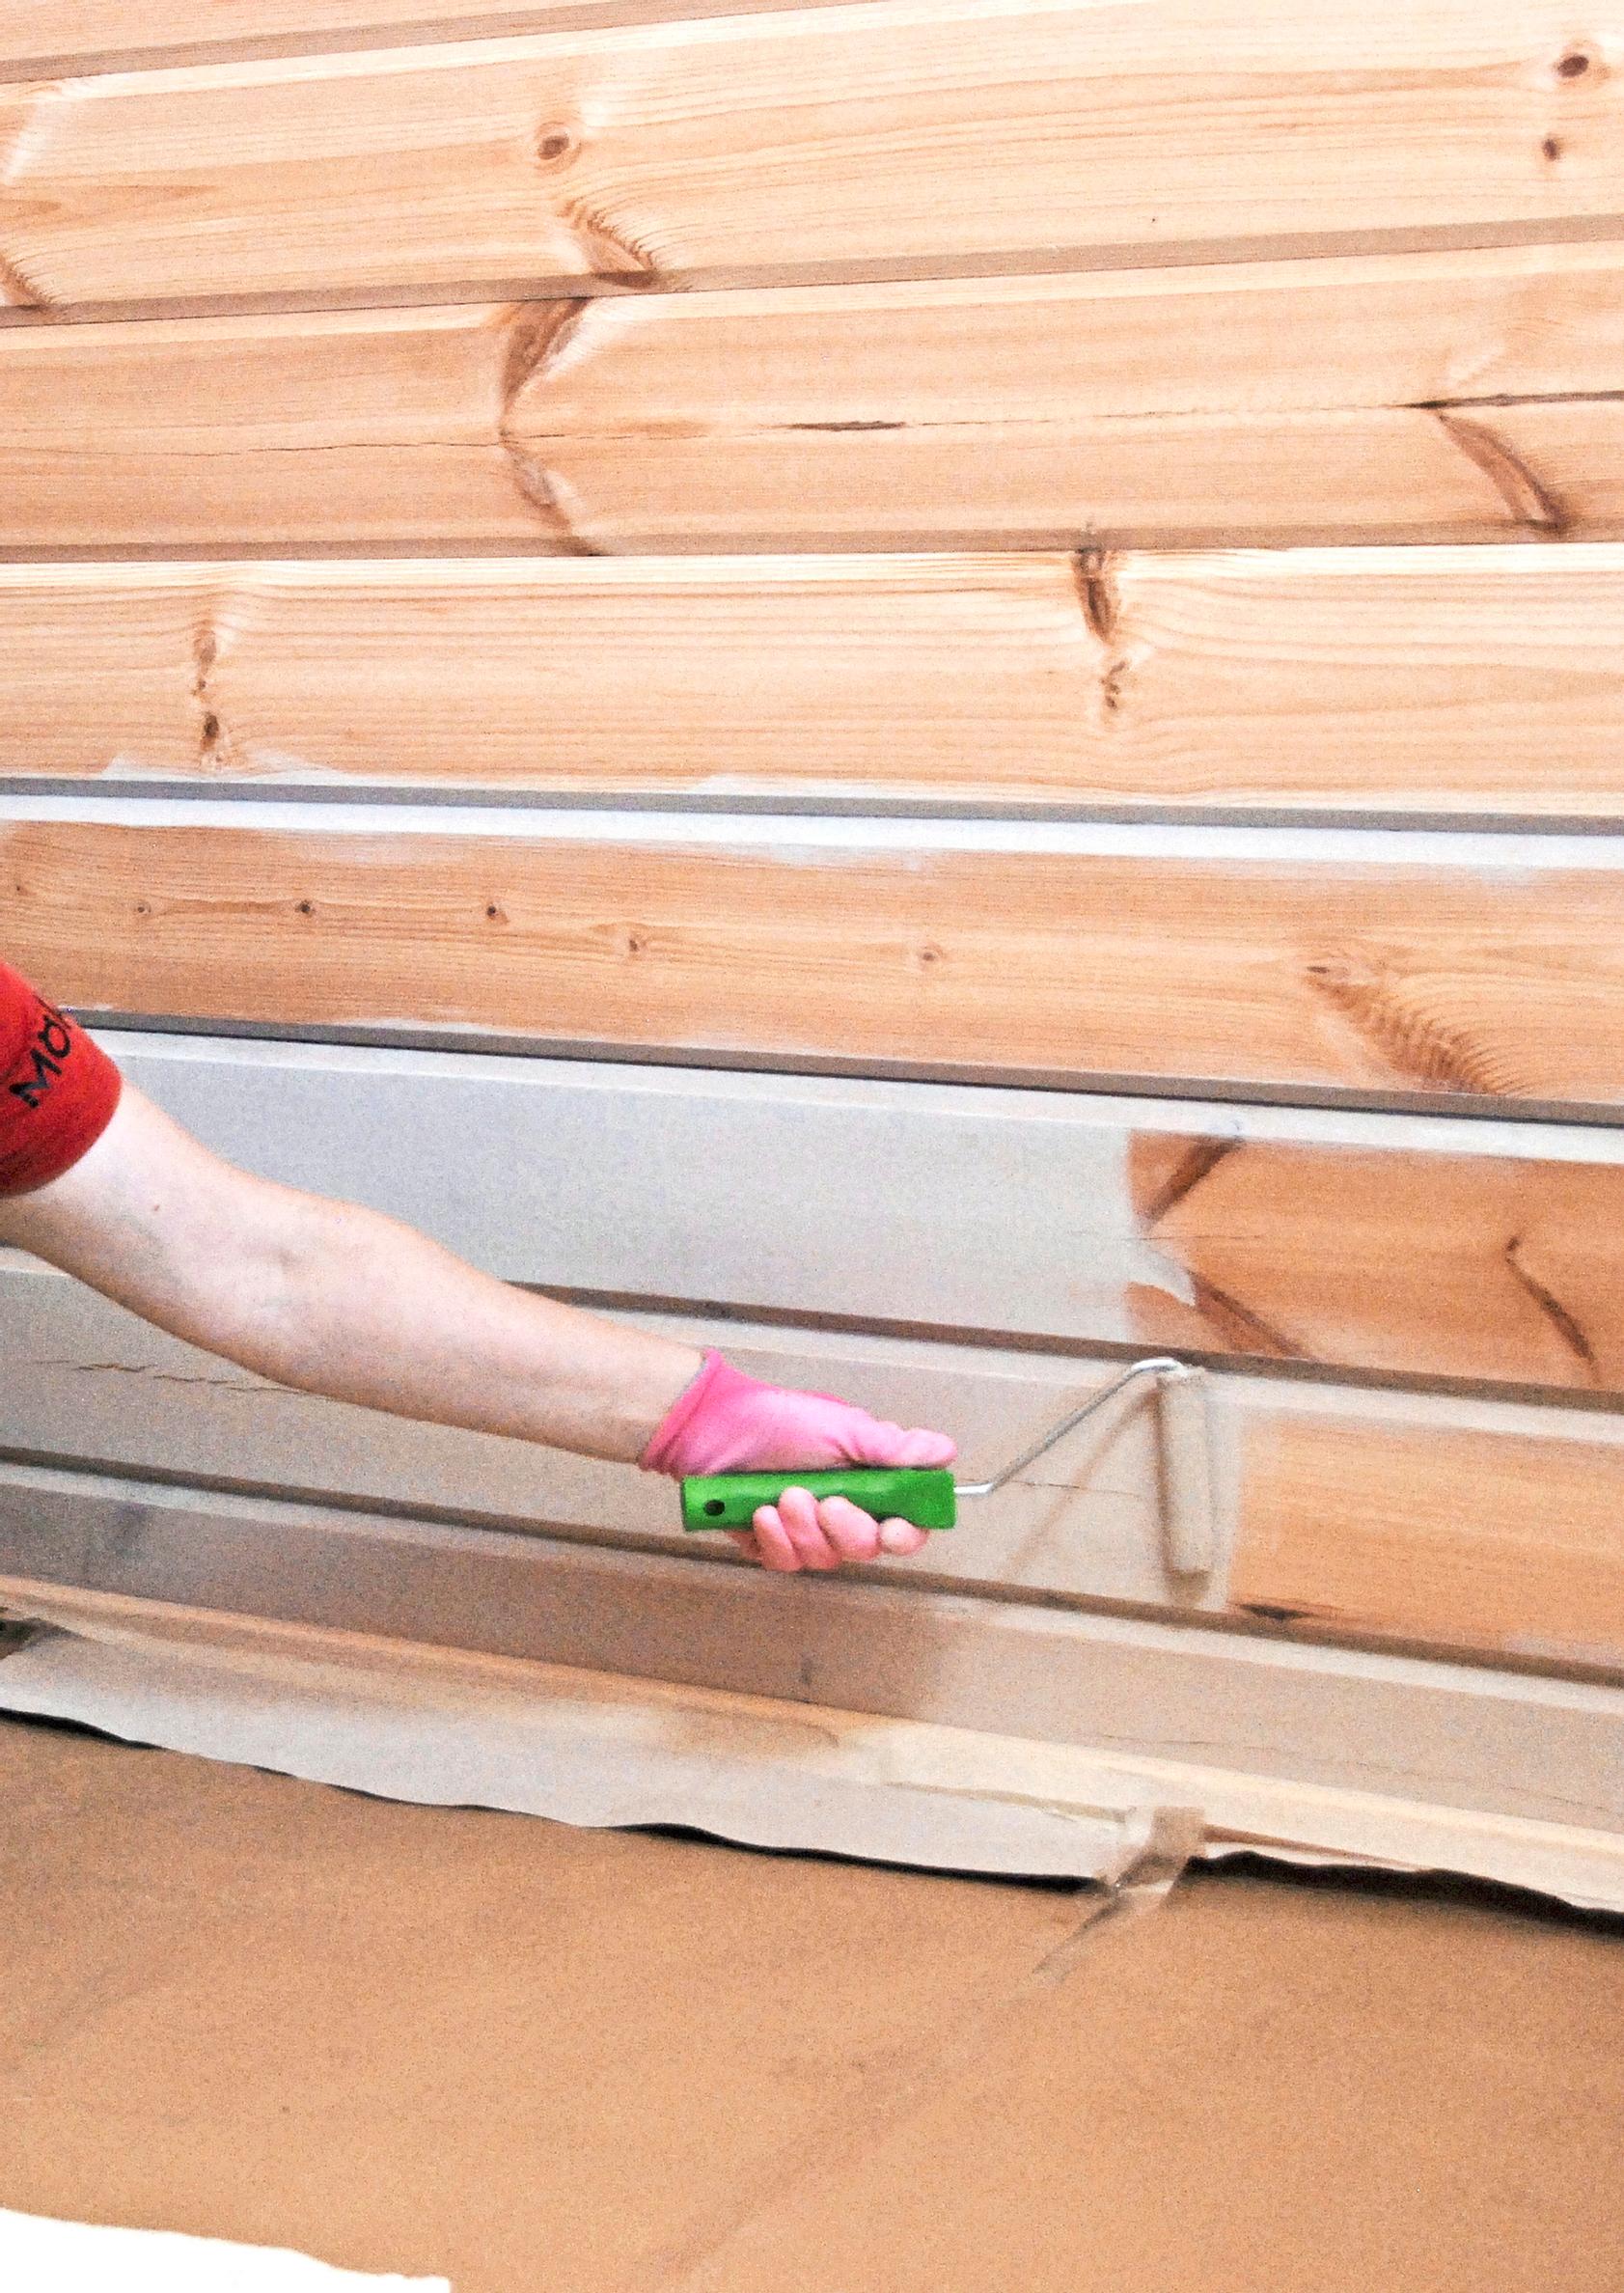
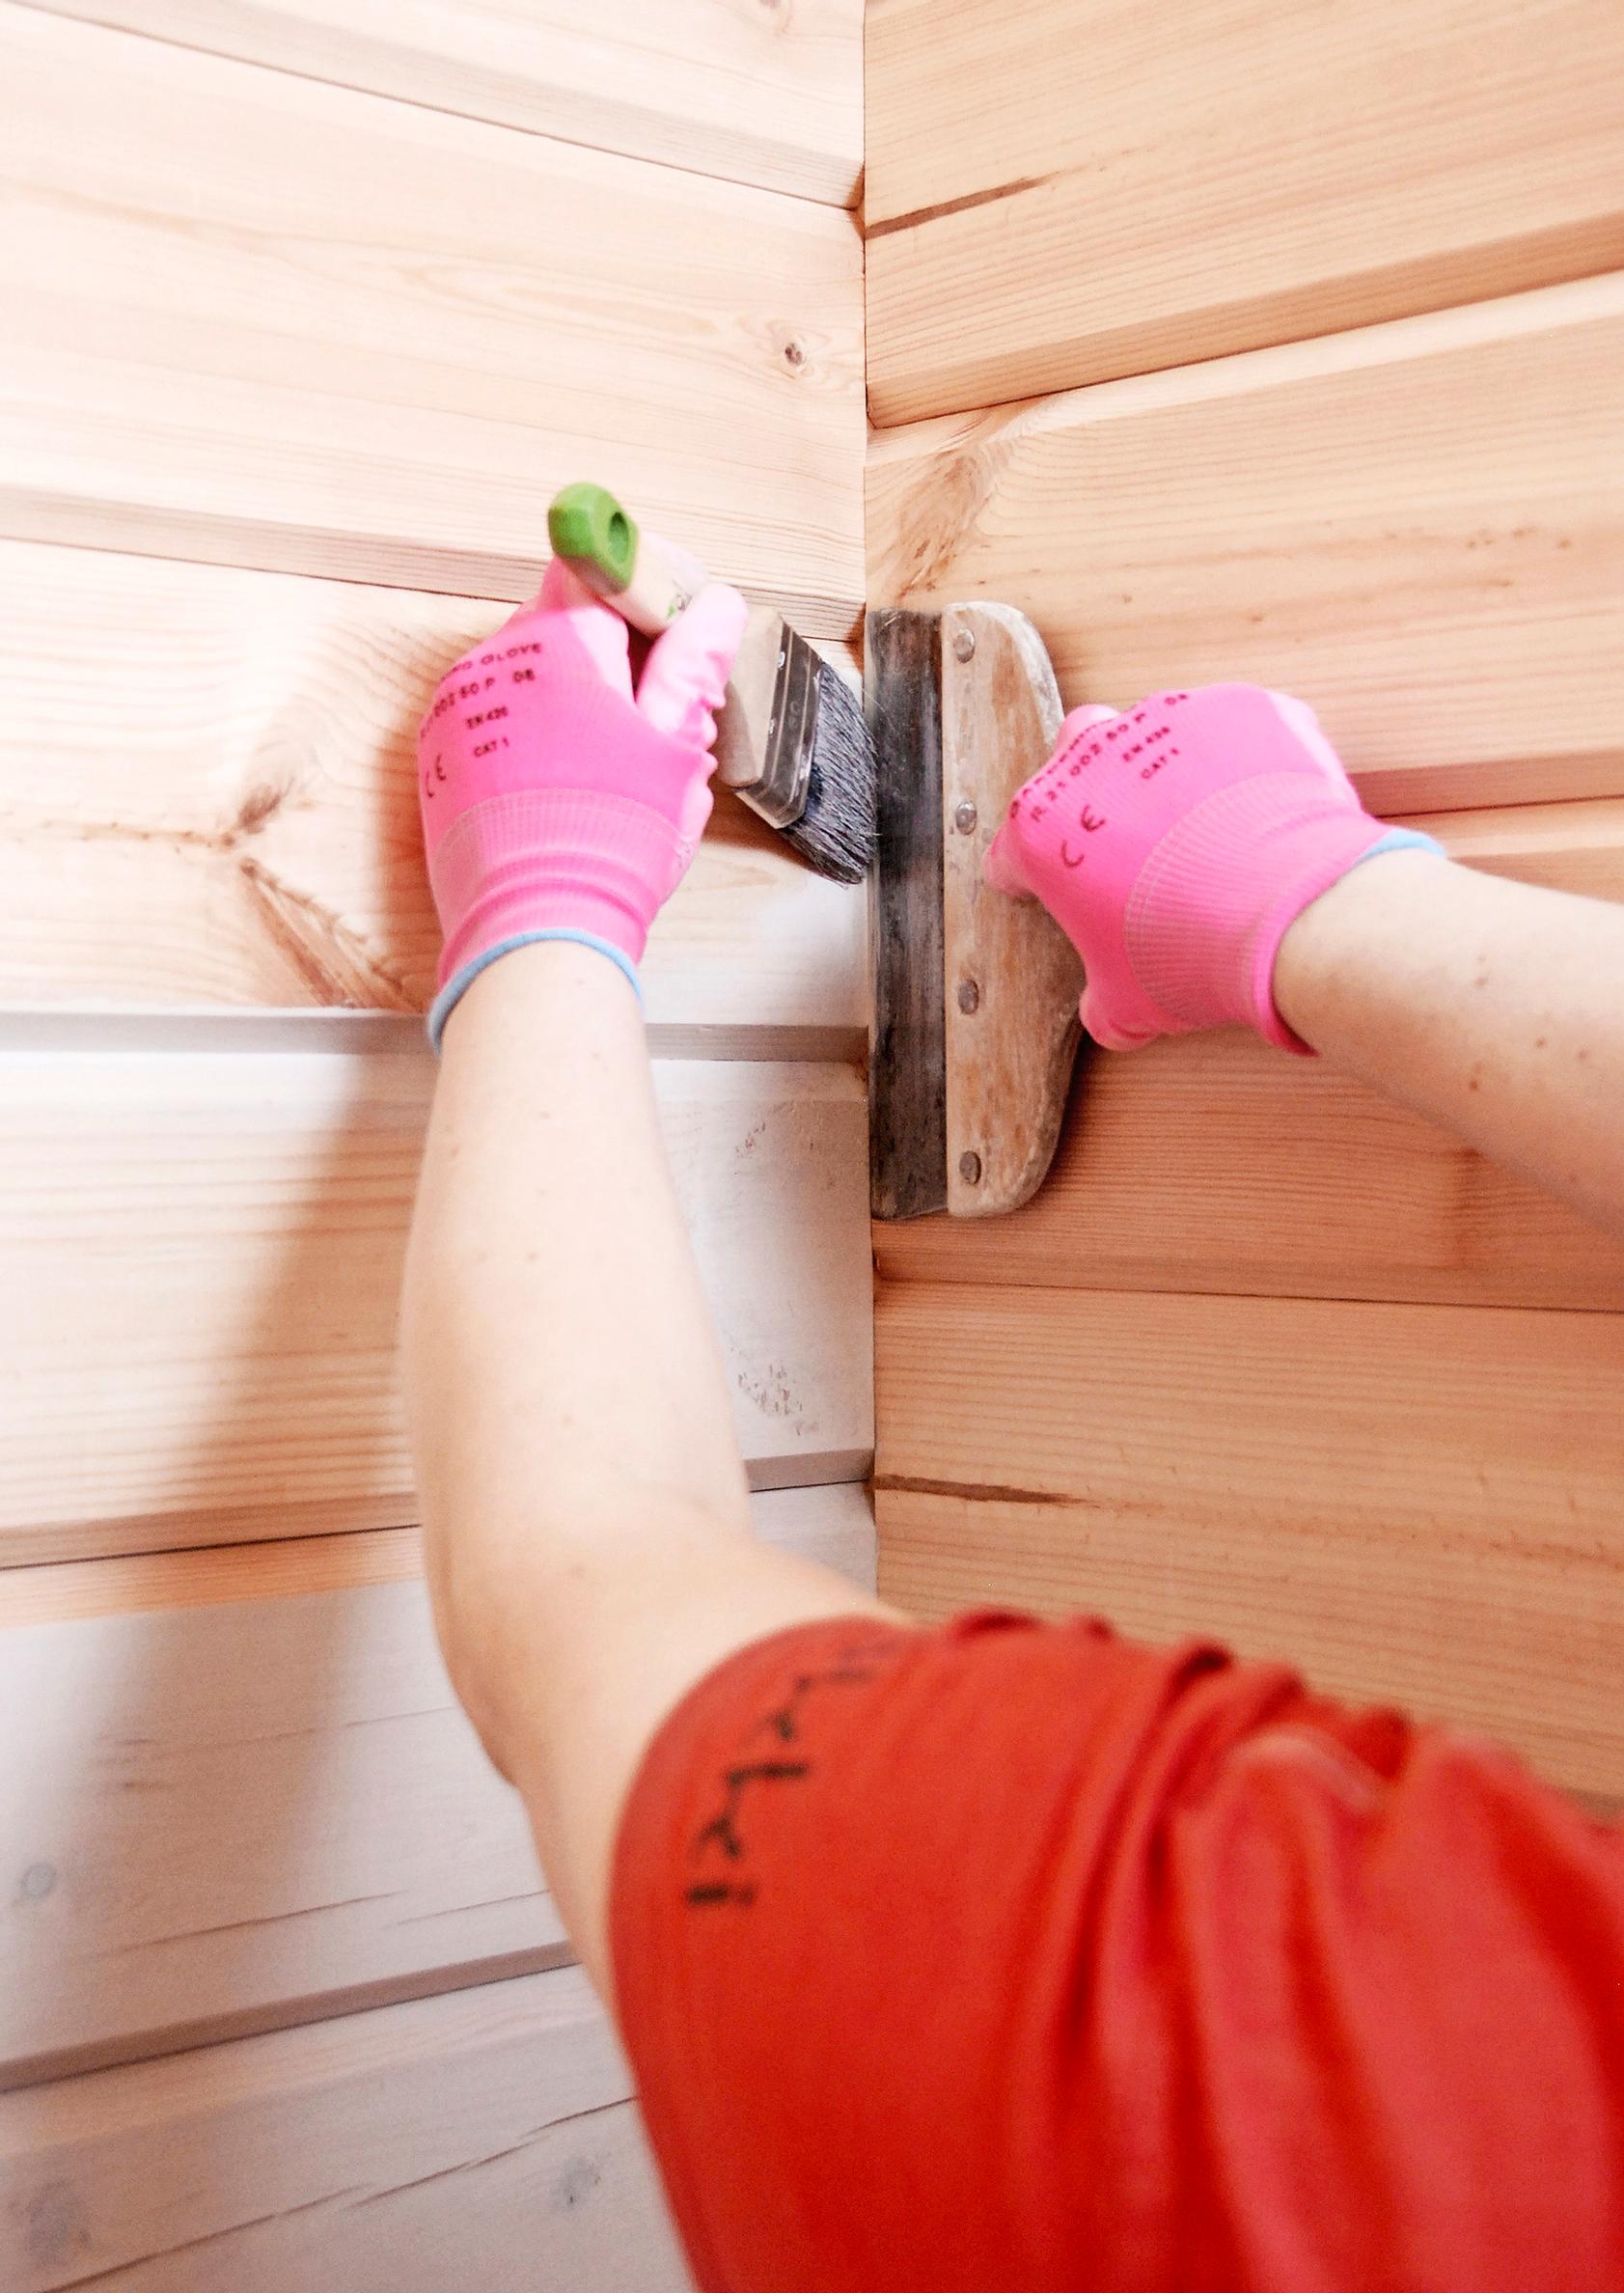
Translucent finishing for log walls—instructions

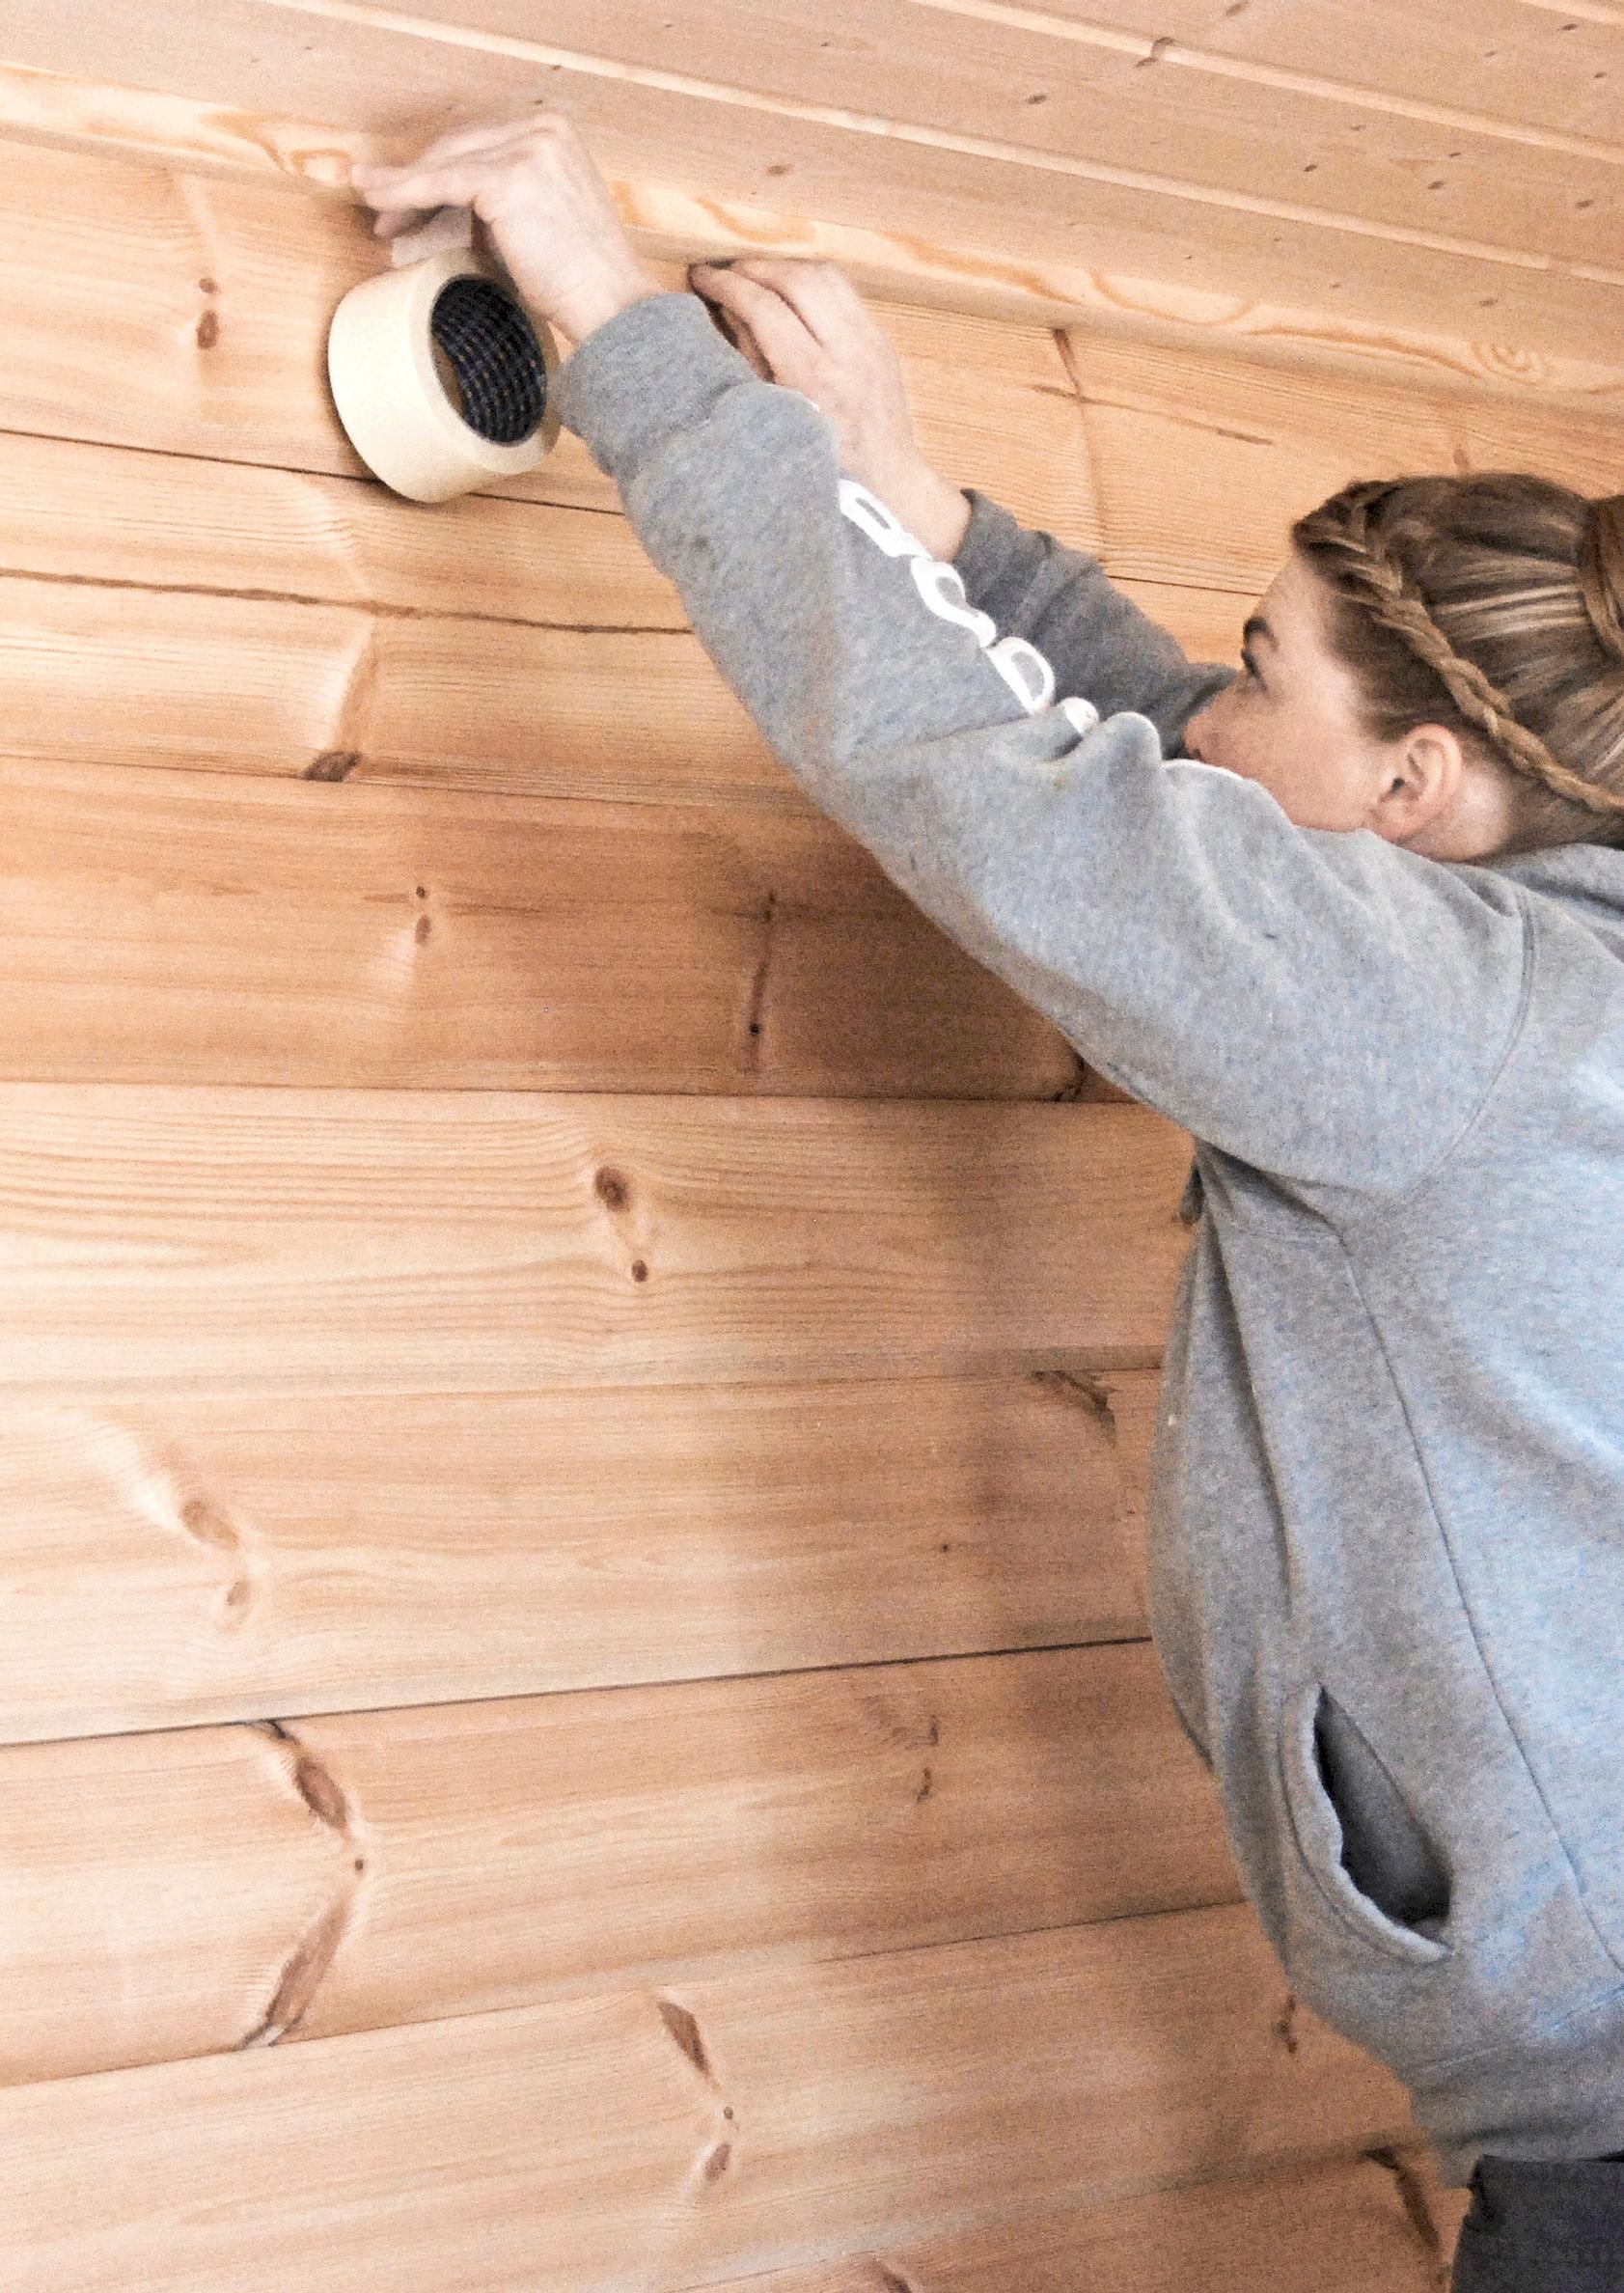

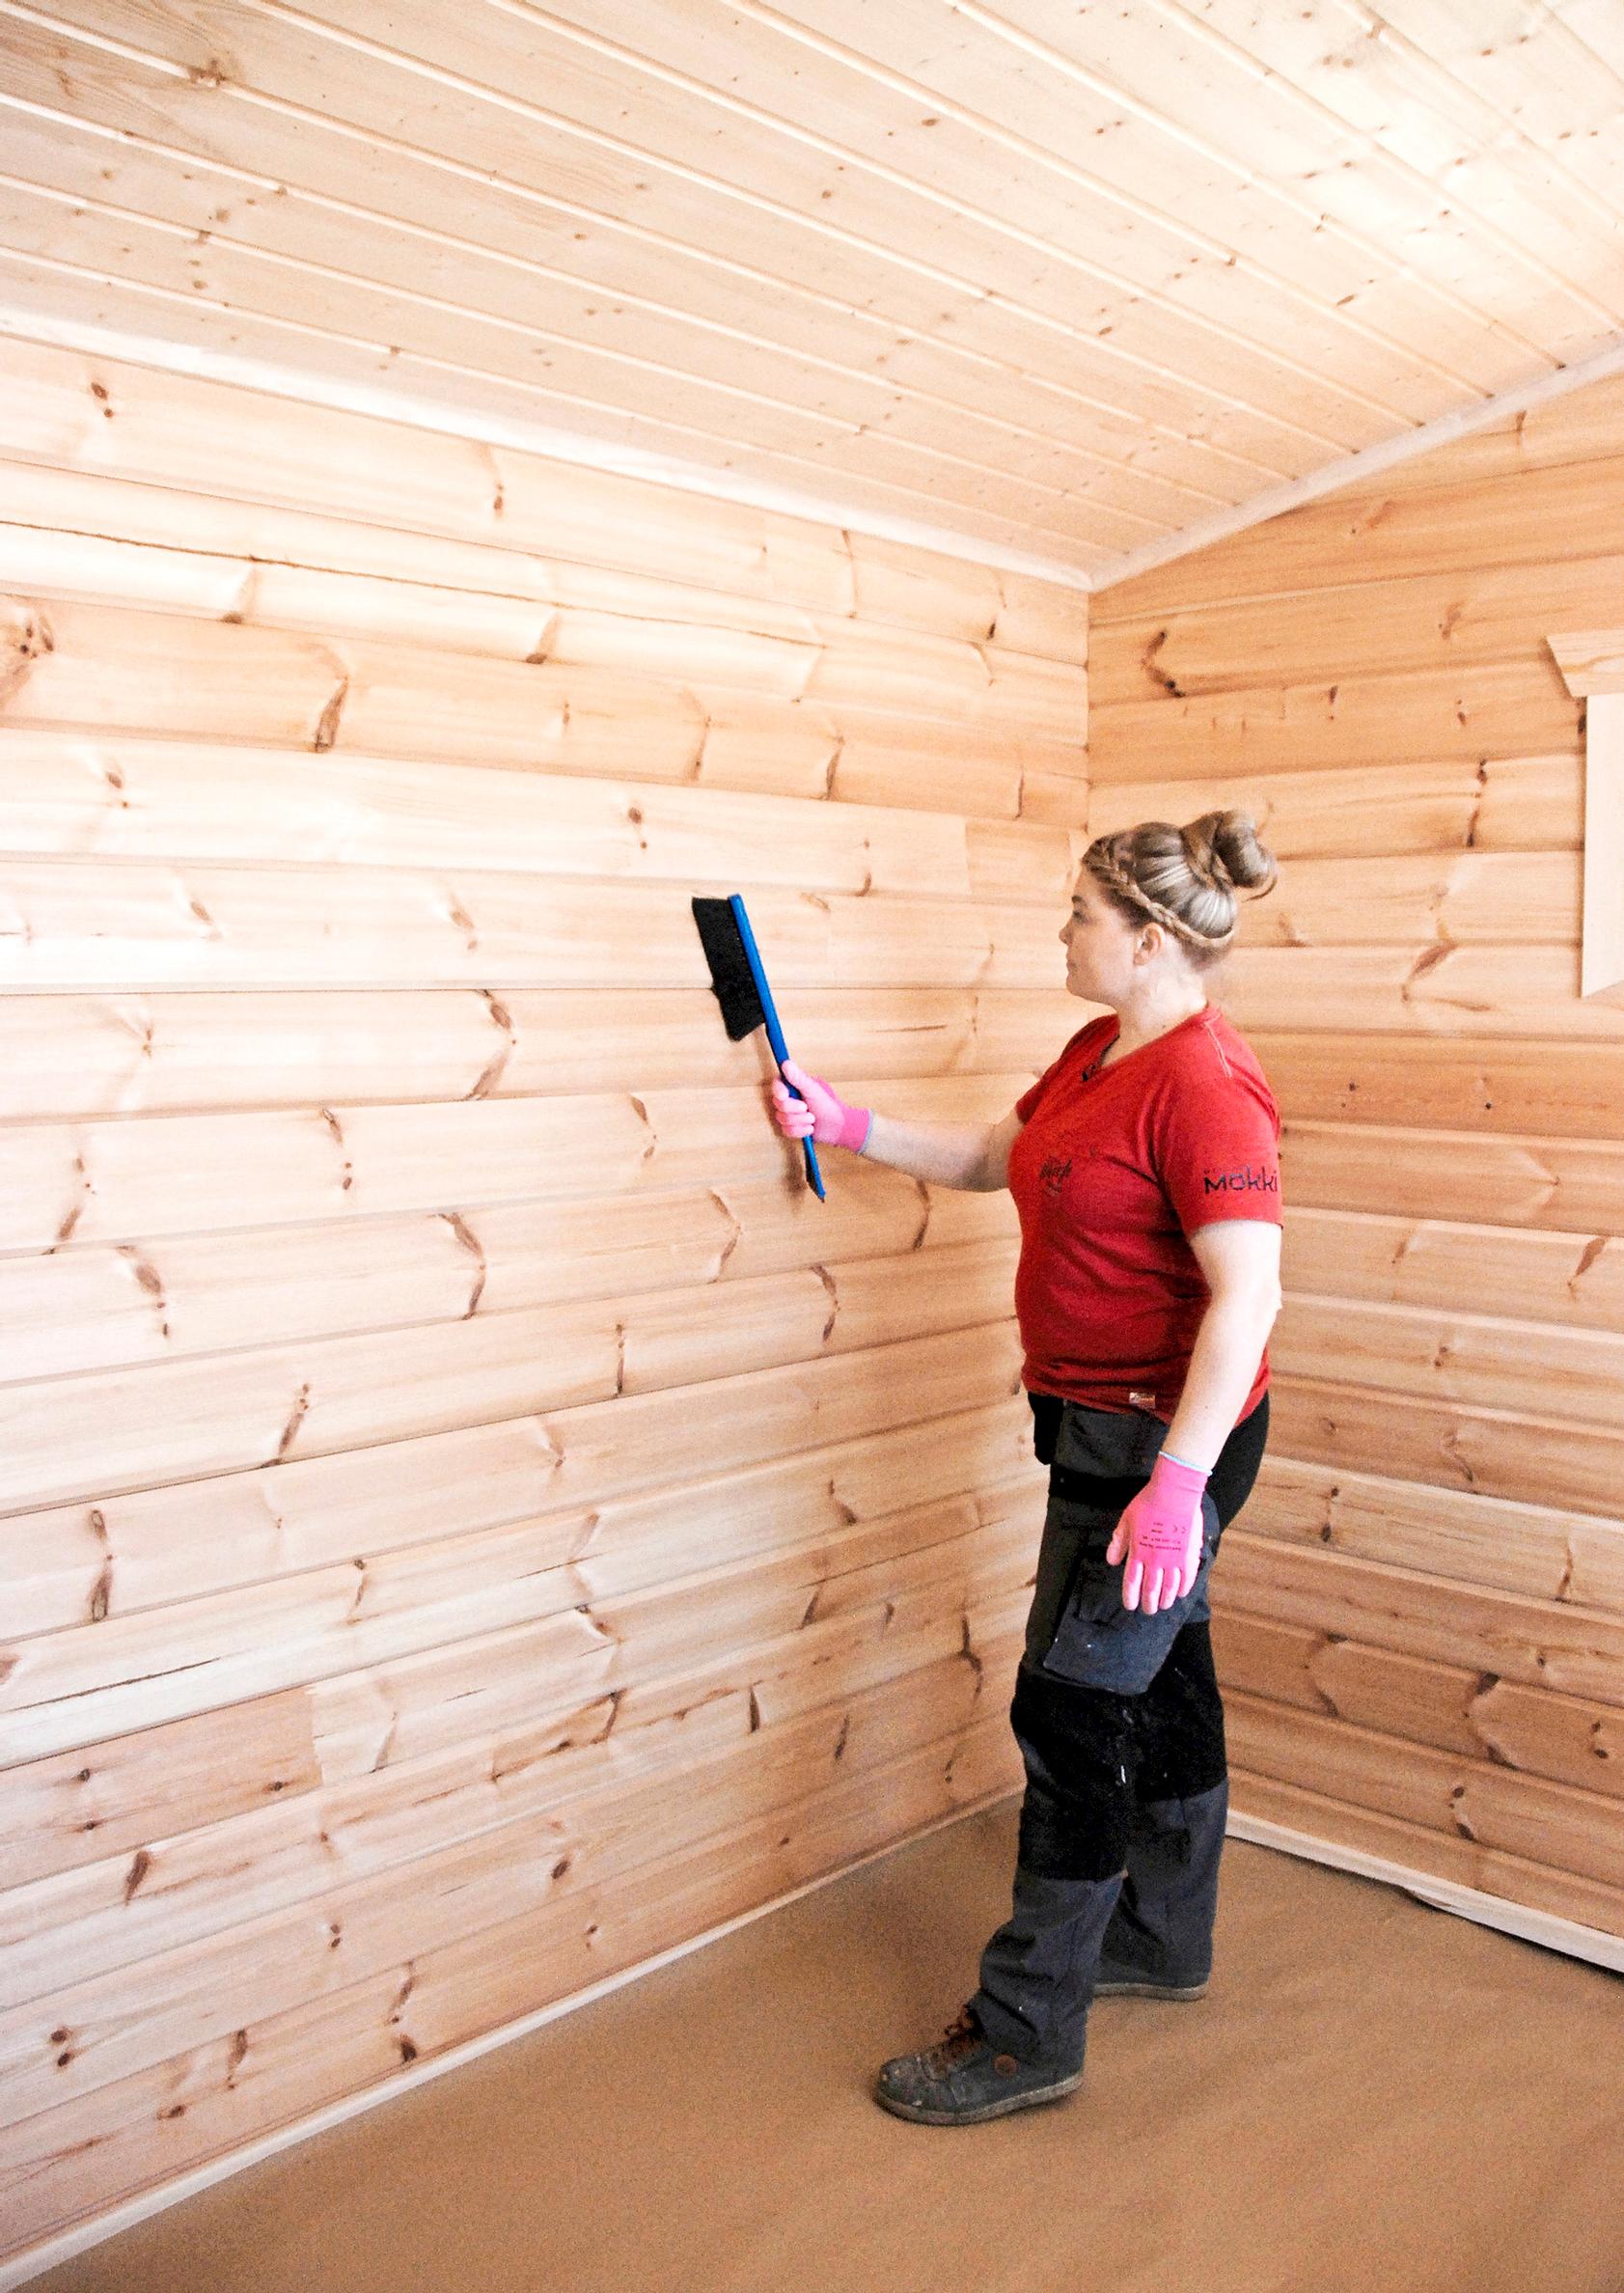

Clean dust from between the logs before applying the finish.