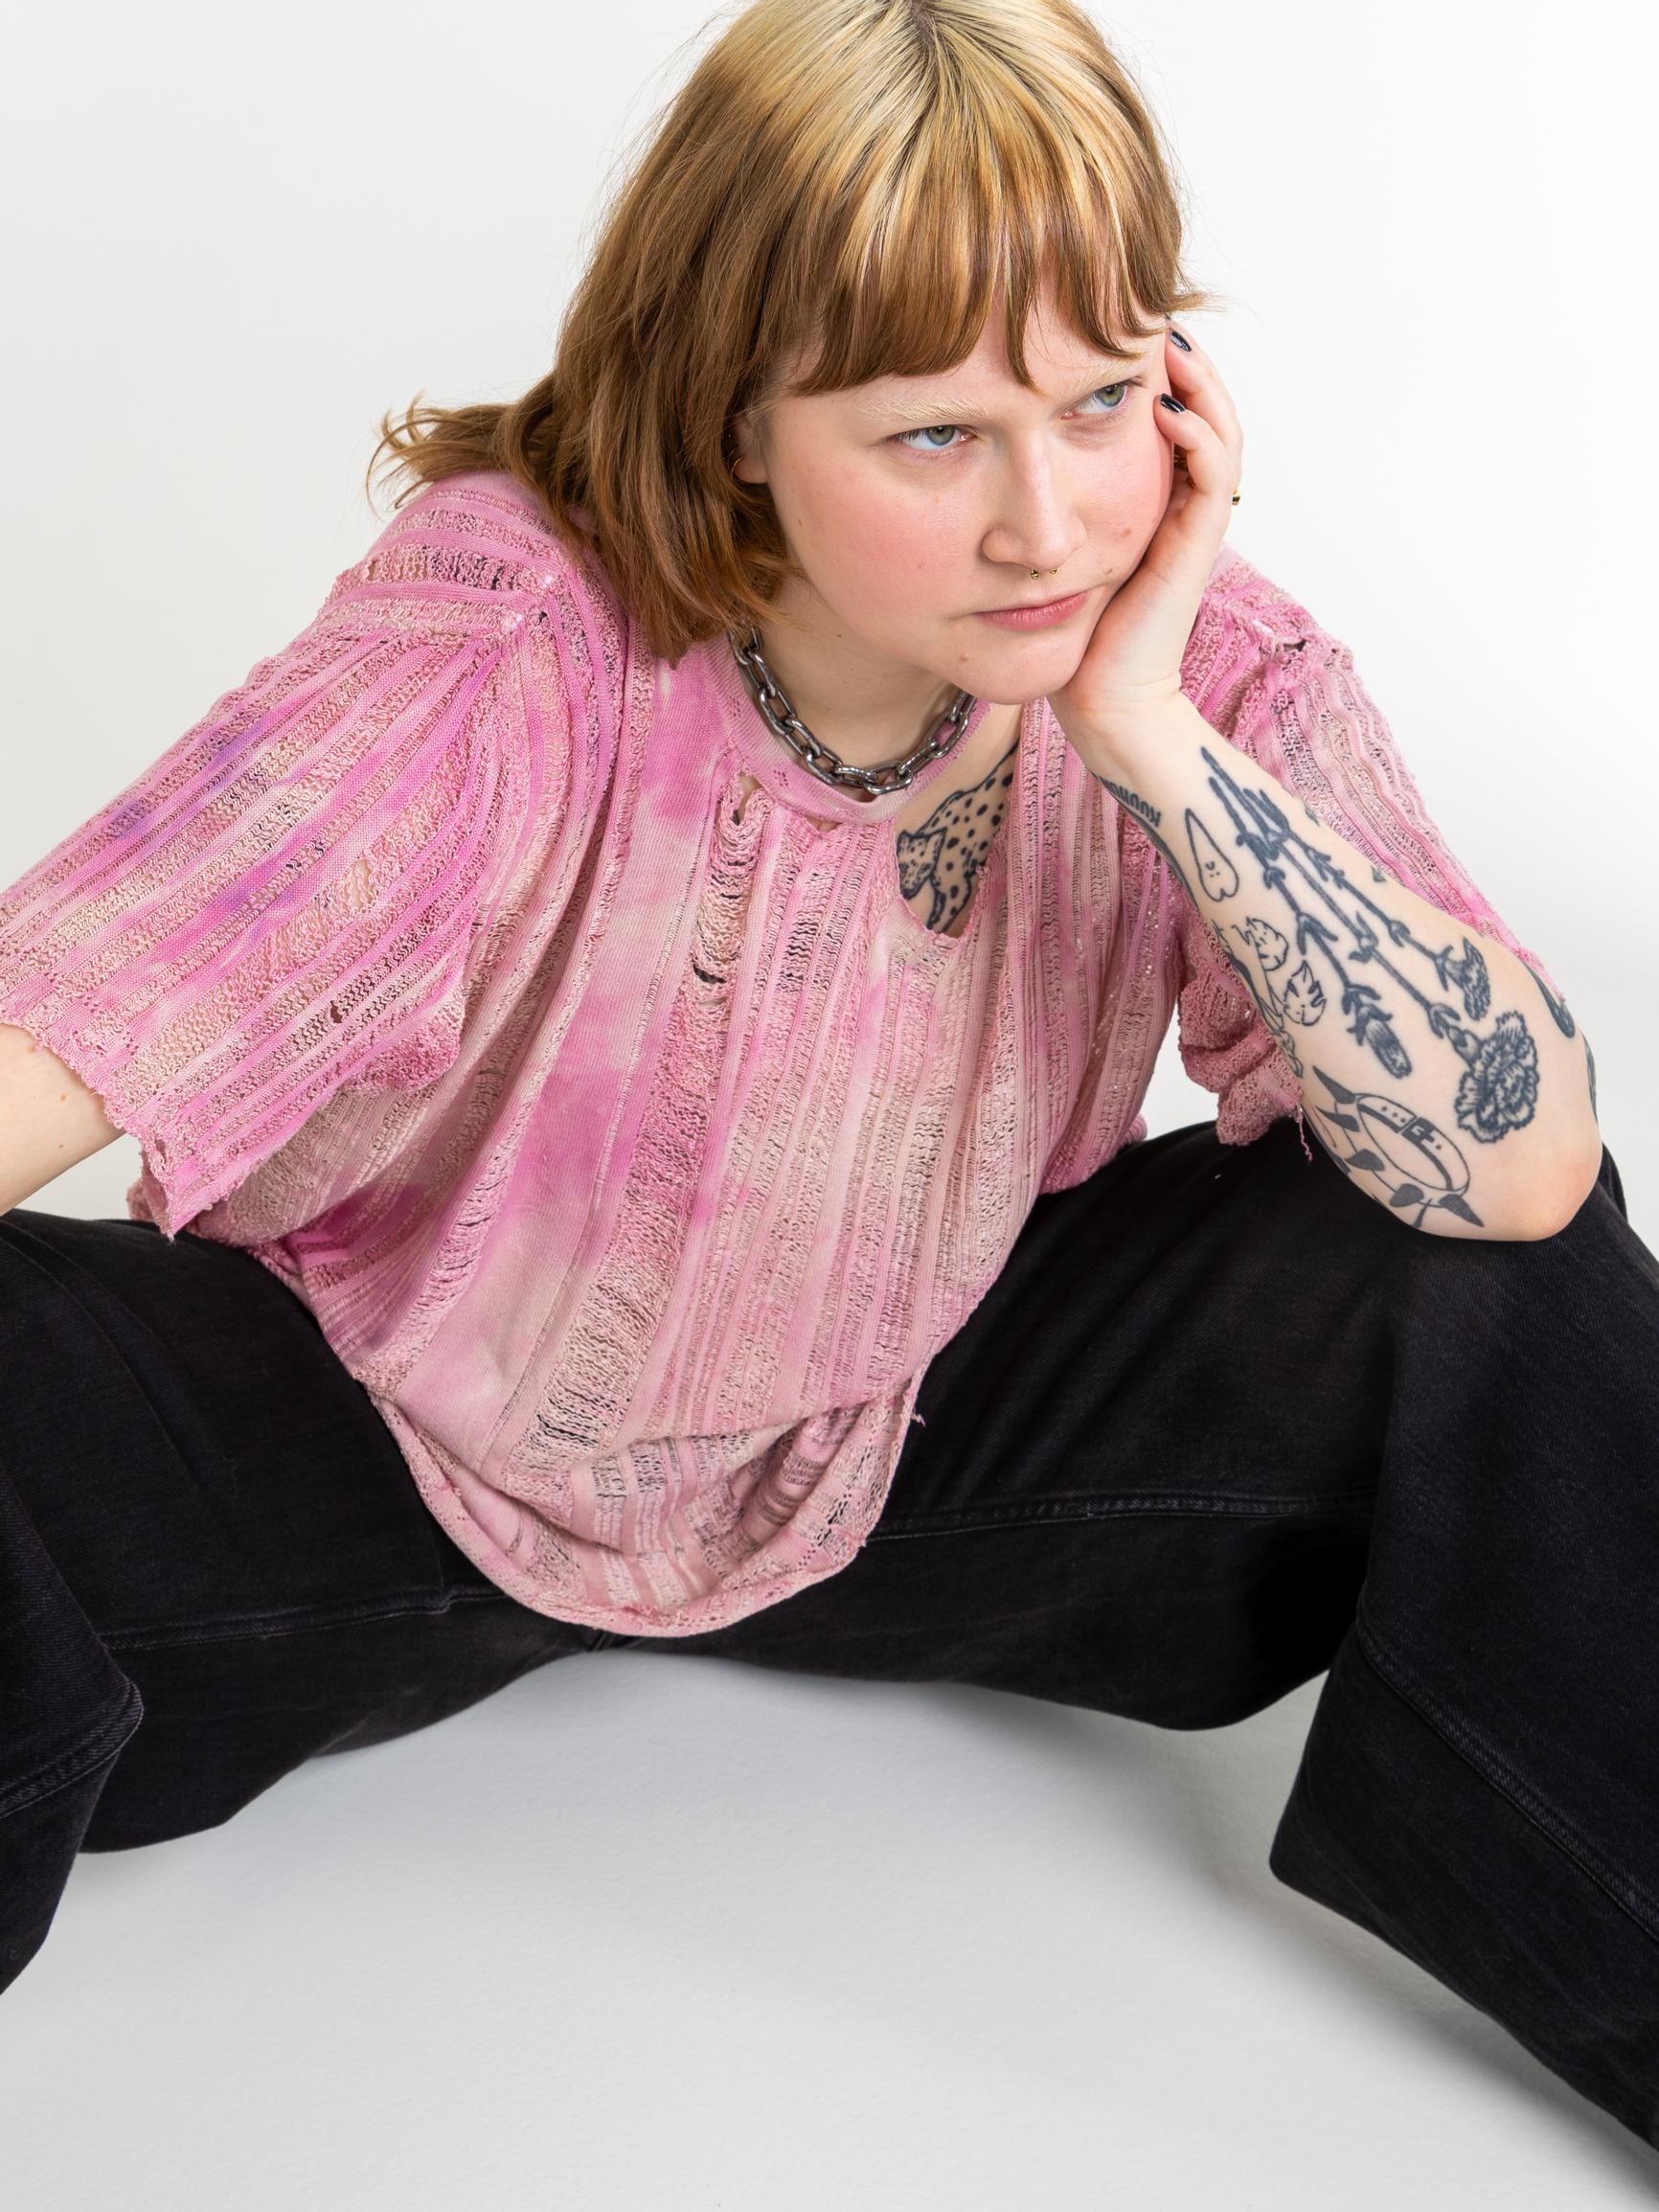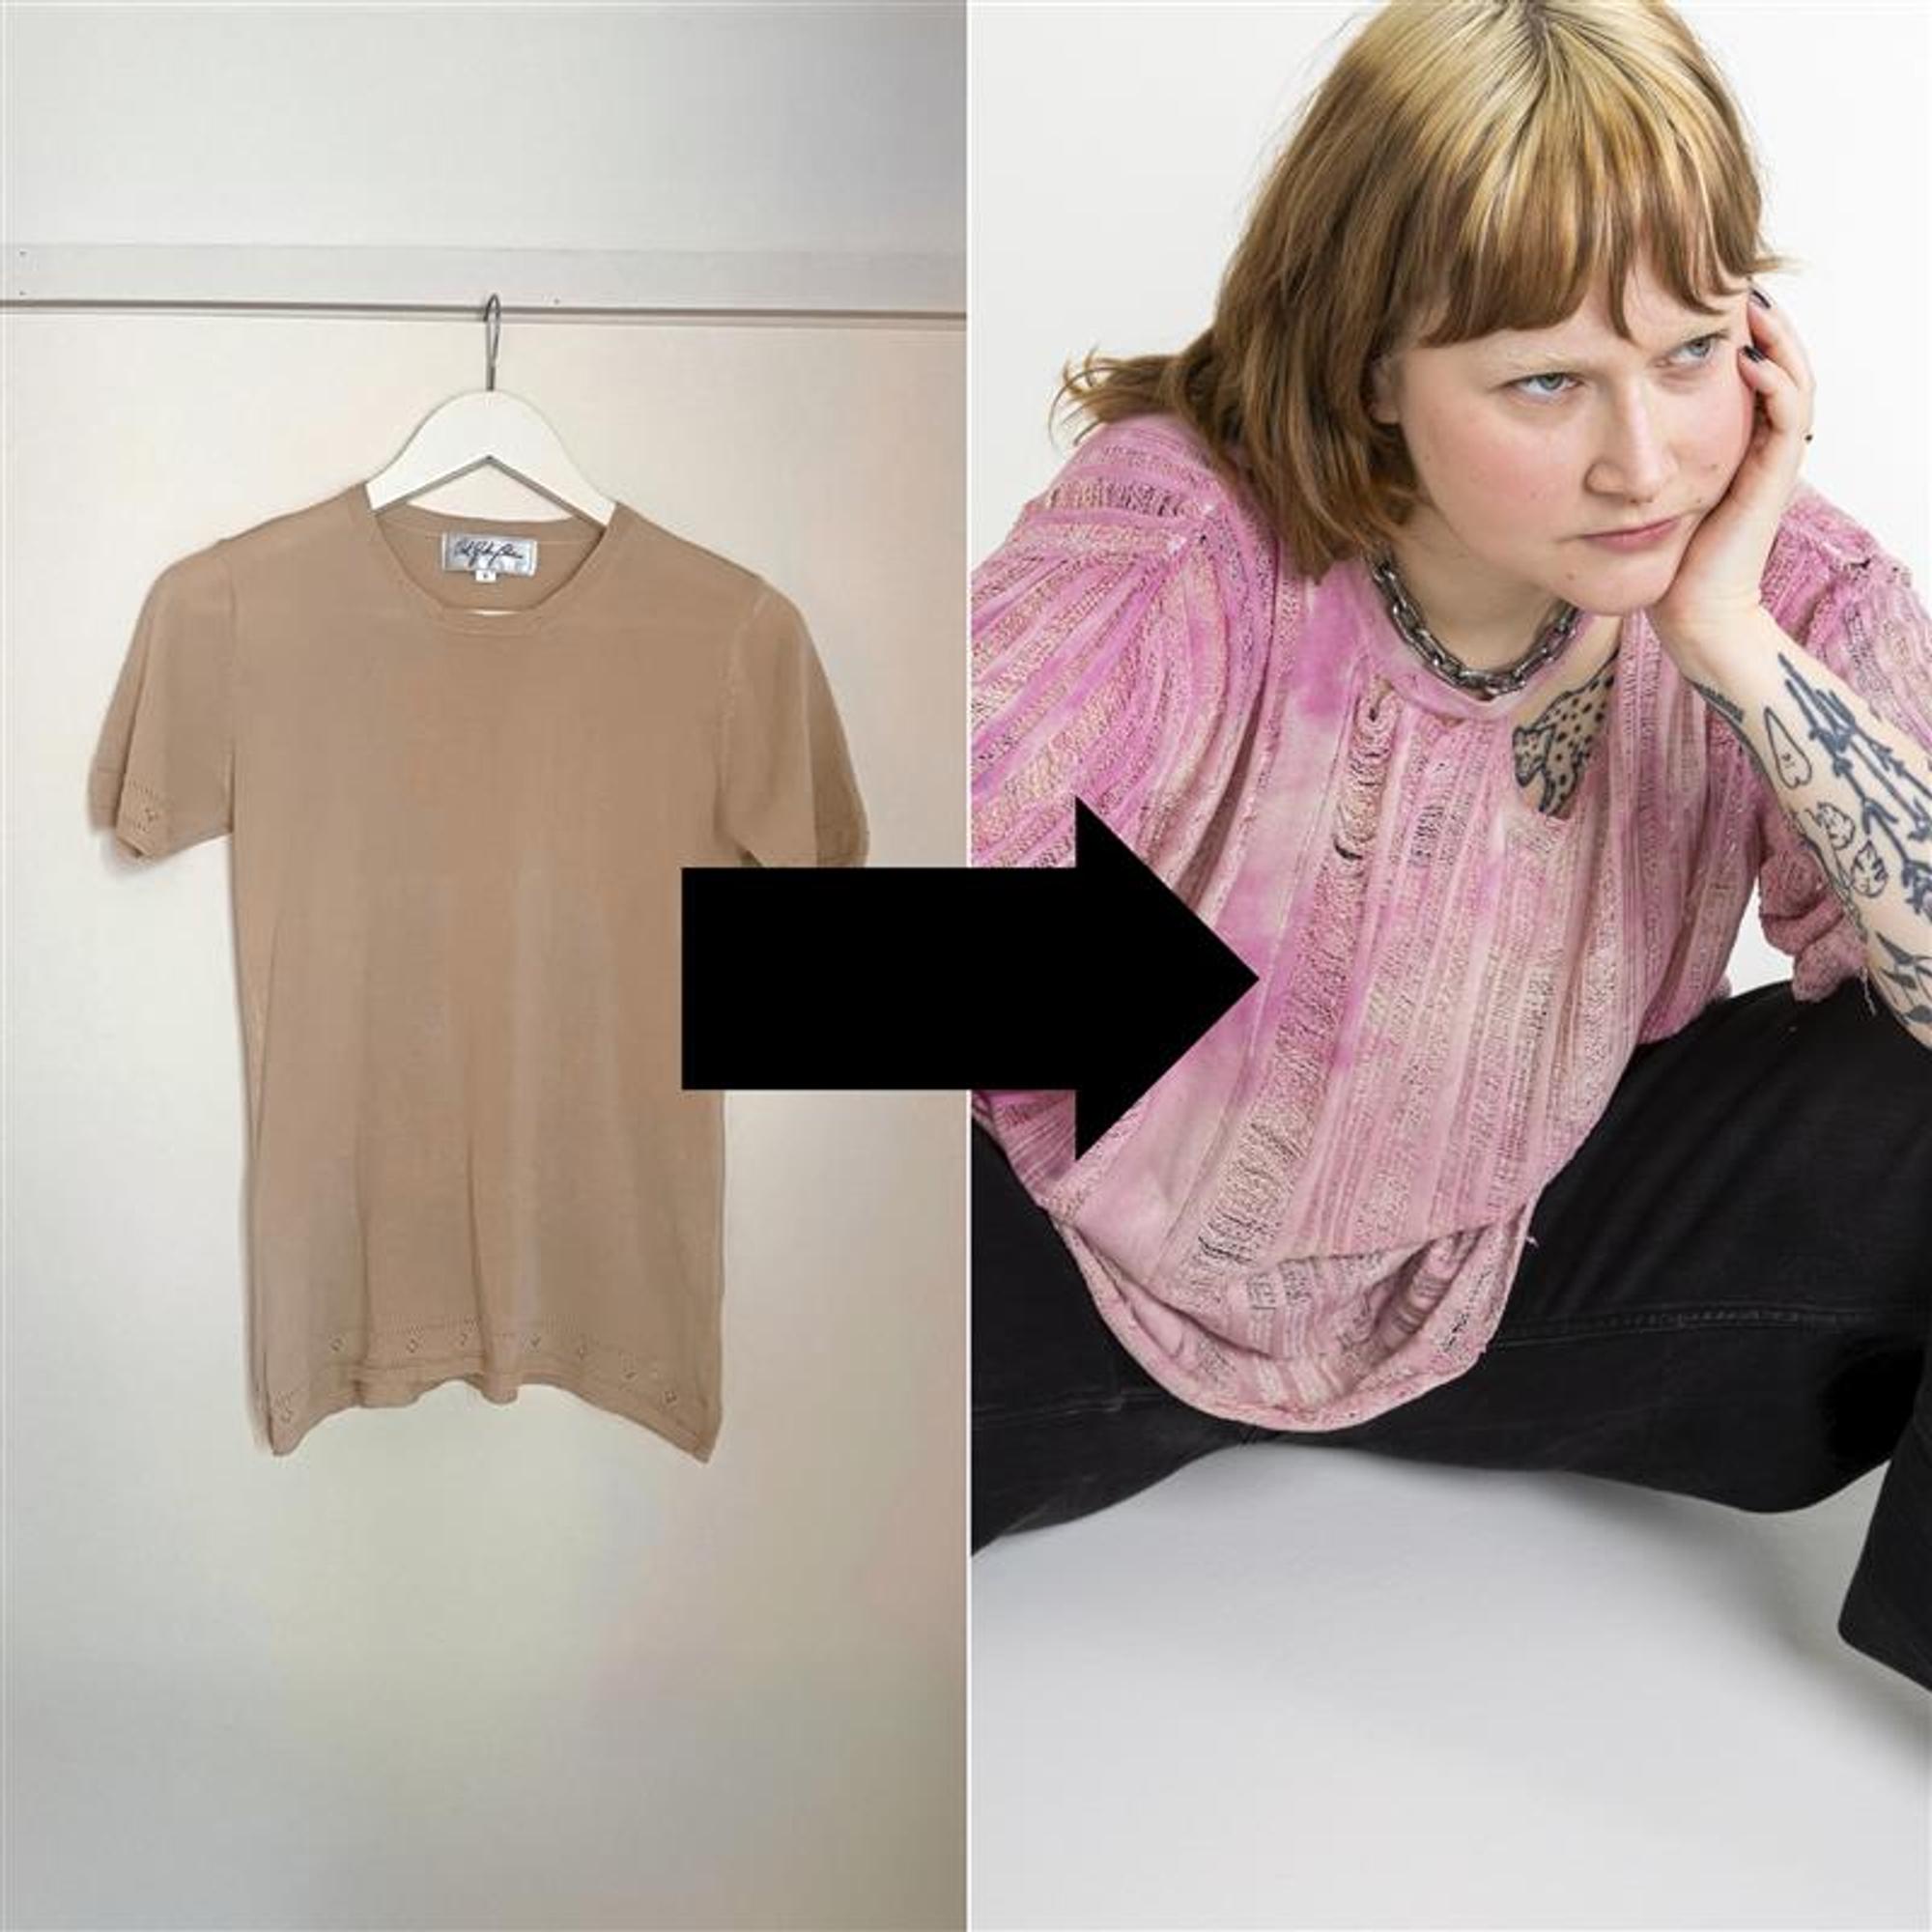
Unravel your old sweater: airy new look and lace-like stripes
Textile designer Saimi Parikka found a way to revive a forgotten sweater by unraveling sections without opening the seams. Check out the instructions and step-by-step photos to see how this transformation was done! This technique works on all kinds of sweaters, and you can also do it just partially.
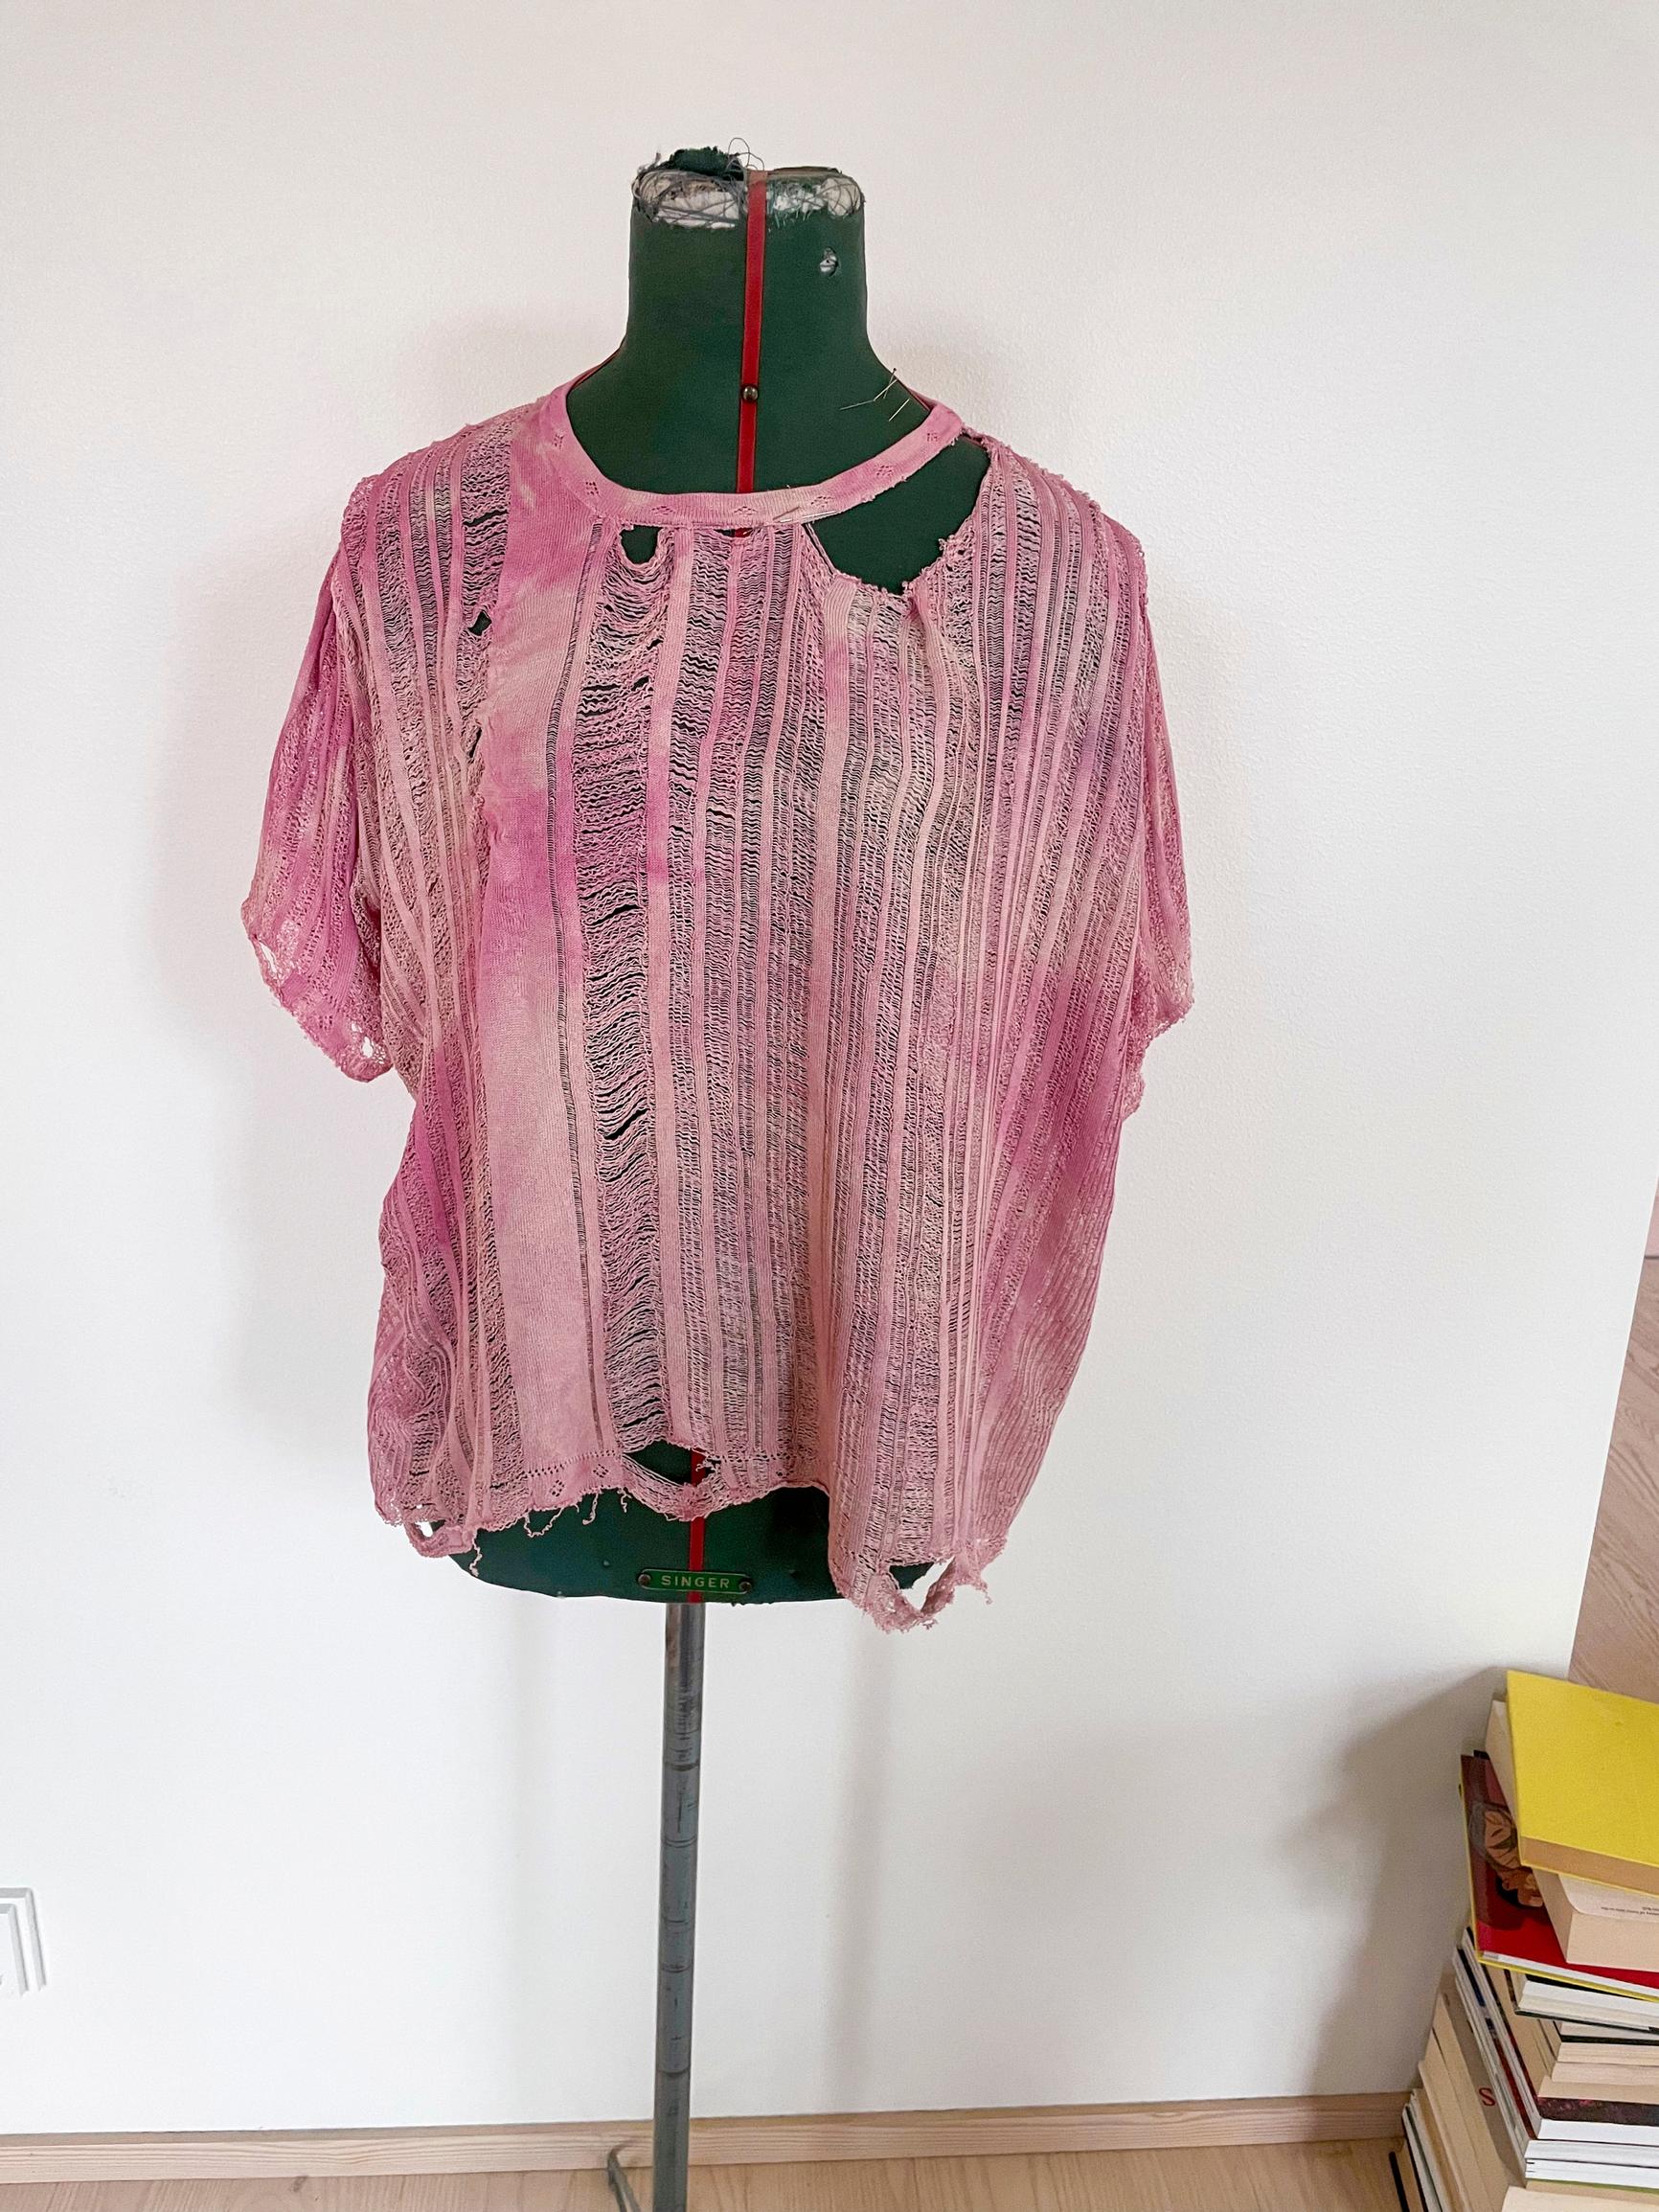
Refresh a discarded knit by unraveling it! Textile designer Saimi Parikka created these customization instructions as part of a collaboration between the second-hand store Emmy and Aalto University, which aimed to find new uses for unsold recycled textiles.
Saimi describes the Knit For Desert Island design like this:
“In these instructions, you’ll learn how to unravel a garment directly without having to open any seams. With this method, the seams remain their original size and don’t expand, even though the unraveled area becomes wider and longer. I also dyed the sweater to cover stains and faded color. You need to know how to stitch a straight seam on a sewing machine and recognize a stitch in knitting.”
Revamping a knit by unraveling—supplies needed:
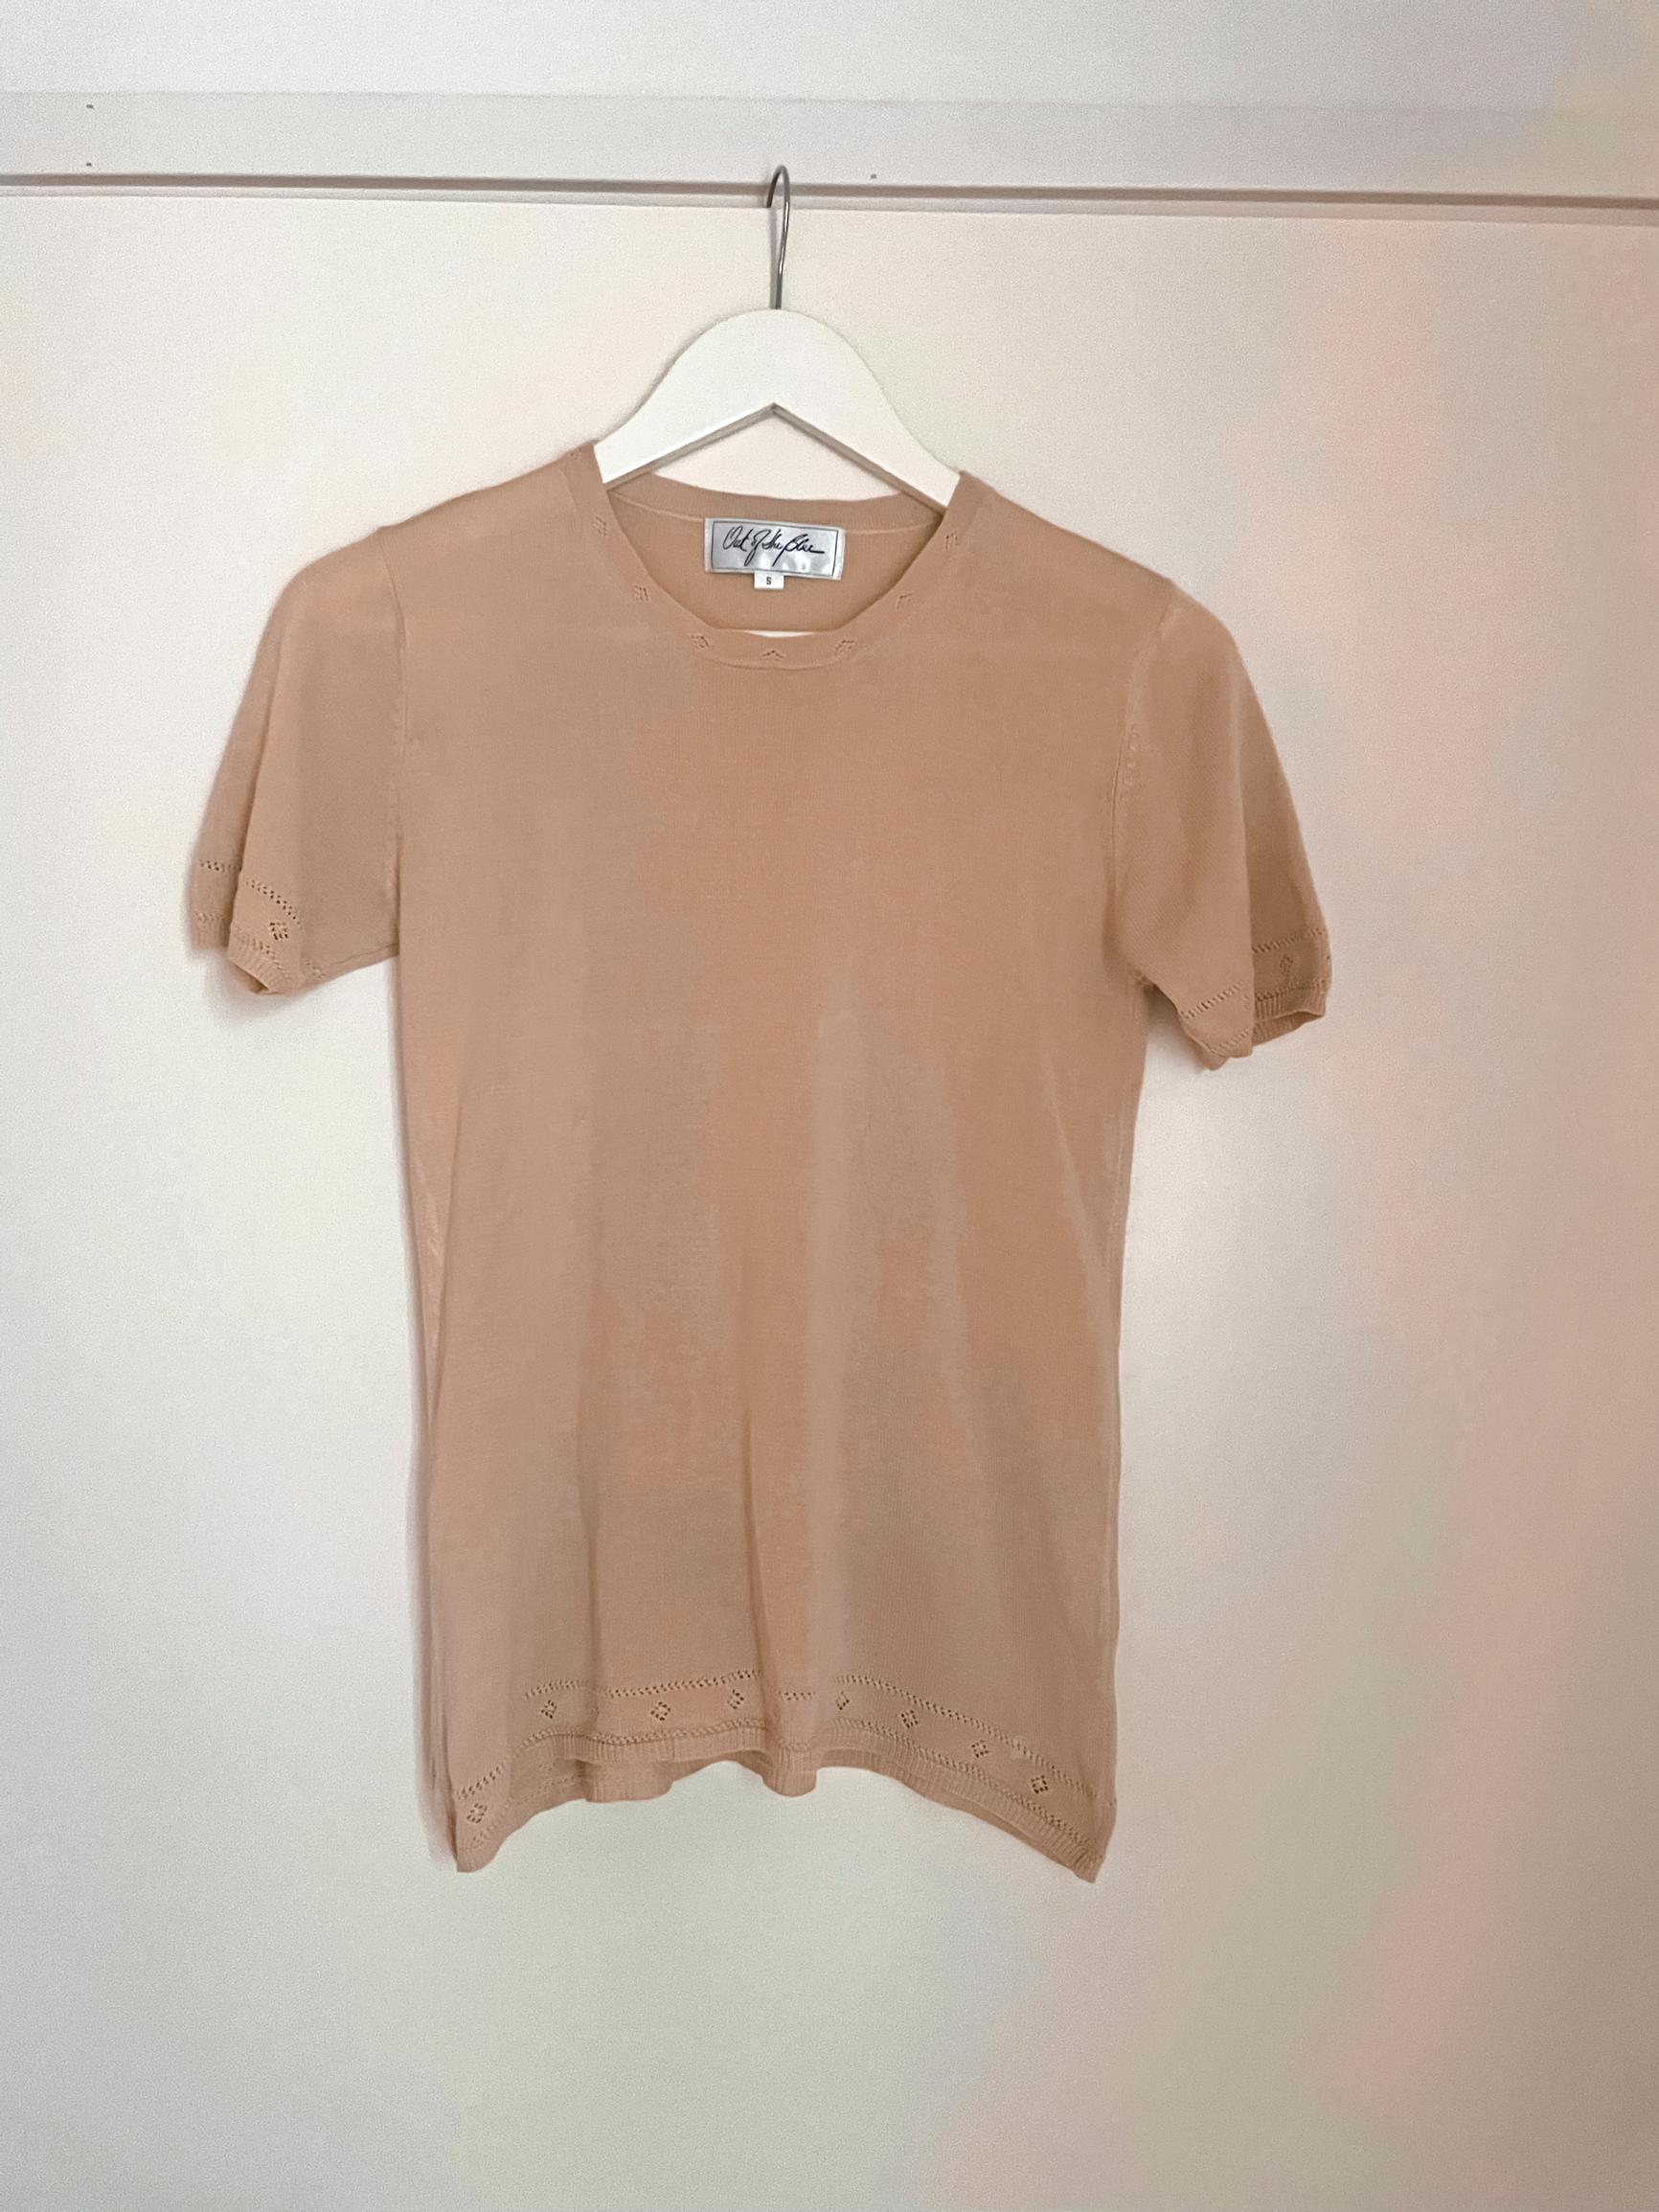
- the knit you want to work on
- sewing thread that matches the knit
- a seam ripper and scissors
- (fabric dye and dyeing materials)

Revamping a knit by unraveling—instructions:

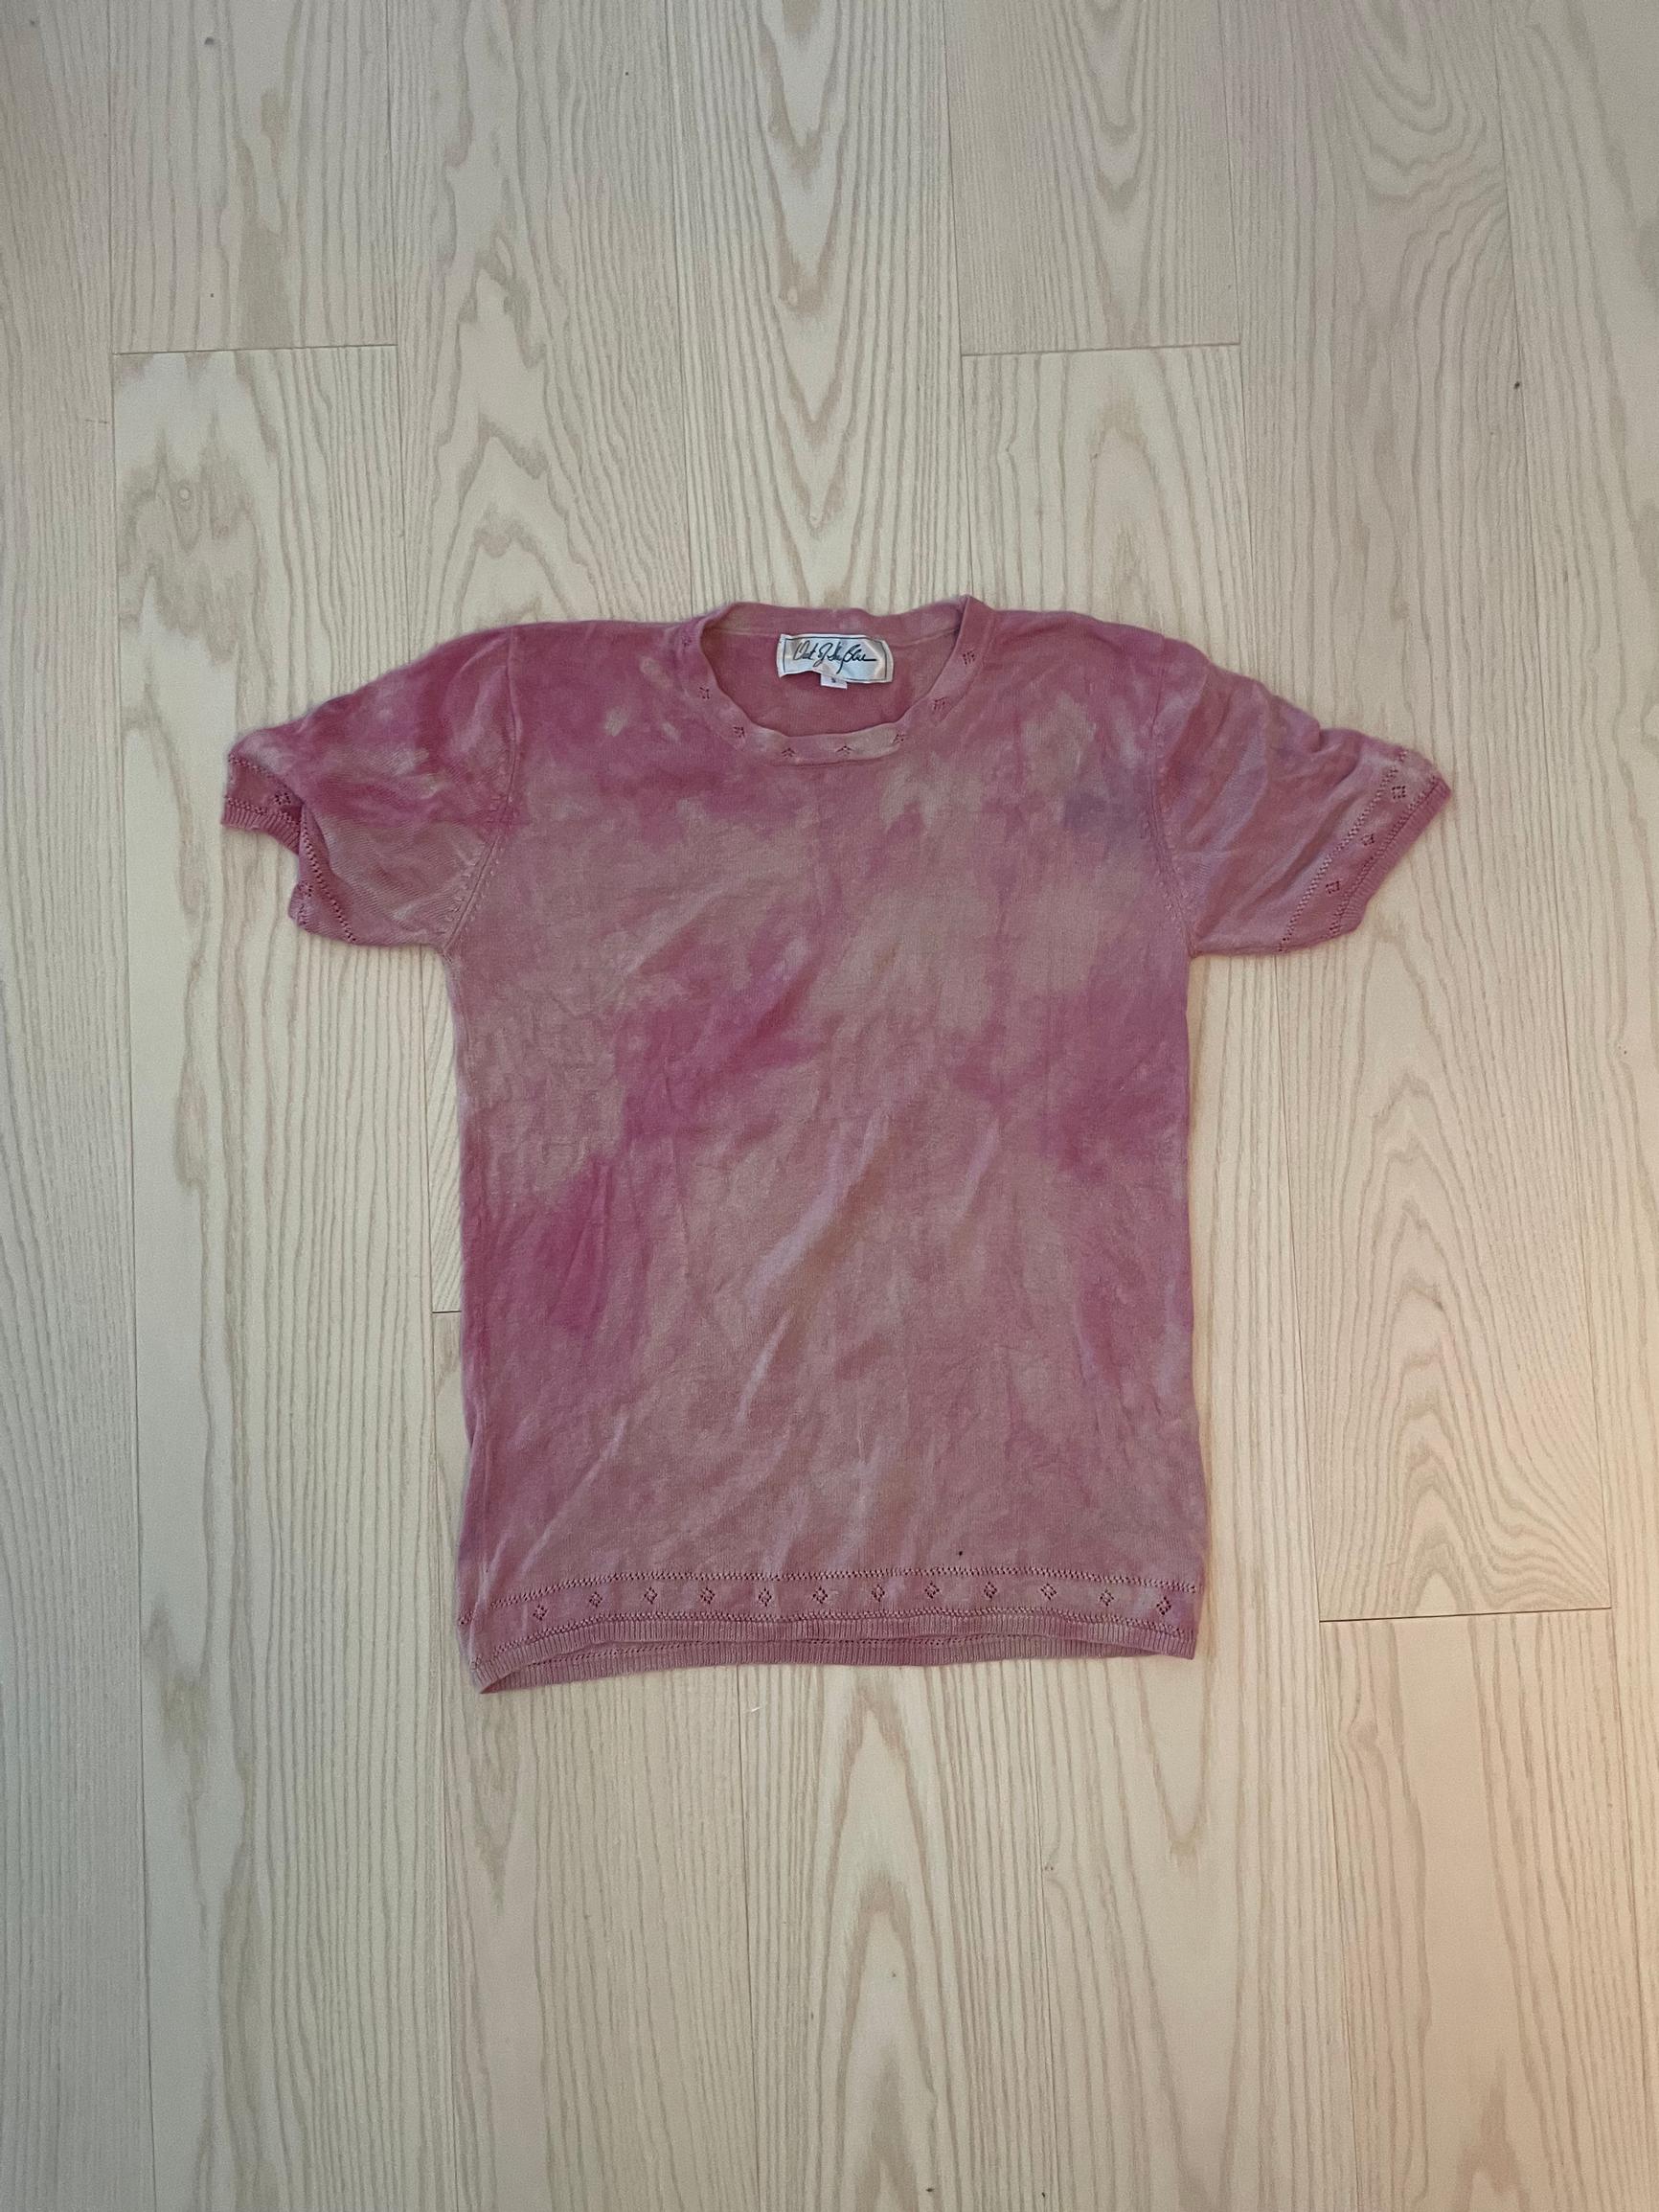
- Tie-dyeing helps hide stains and makes the color more vibrant. If you’re satisfied with the sweater’s original shade, you can skip this step. Even if the sweater has tough stains, unraveling breaks up the surface so they’re less noticeable than on a fully intact surface.
- You’ll need a fabric dye suitable for your material, plus salt, soda, and a pot for dyeing. Measure all ingredients per the fabric dye instructions. Tie the garment loosely with thread, but tight enough to keep it from coming undone in the dye bath. Thoroughly wet the knit beforehand—ideally, soak it a bit. Dye according to the instructions on the dye packaging. Finally, wash the knit.
Unraveling

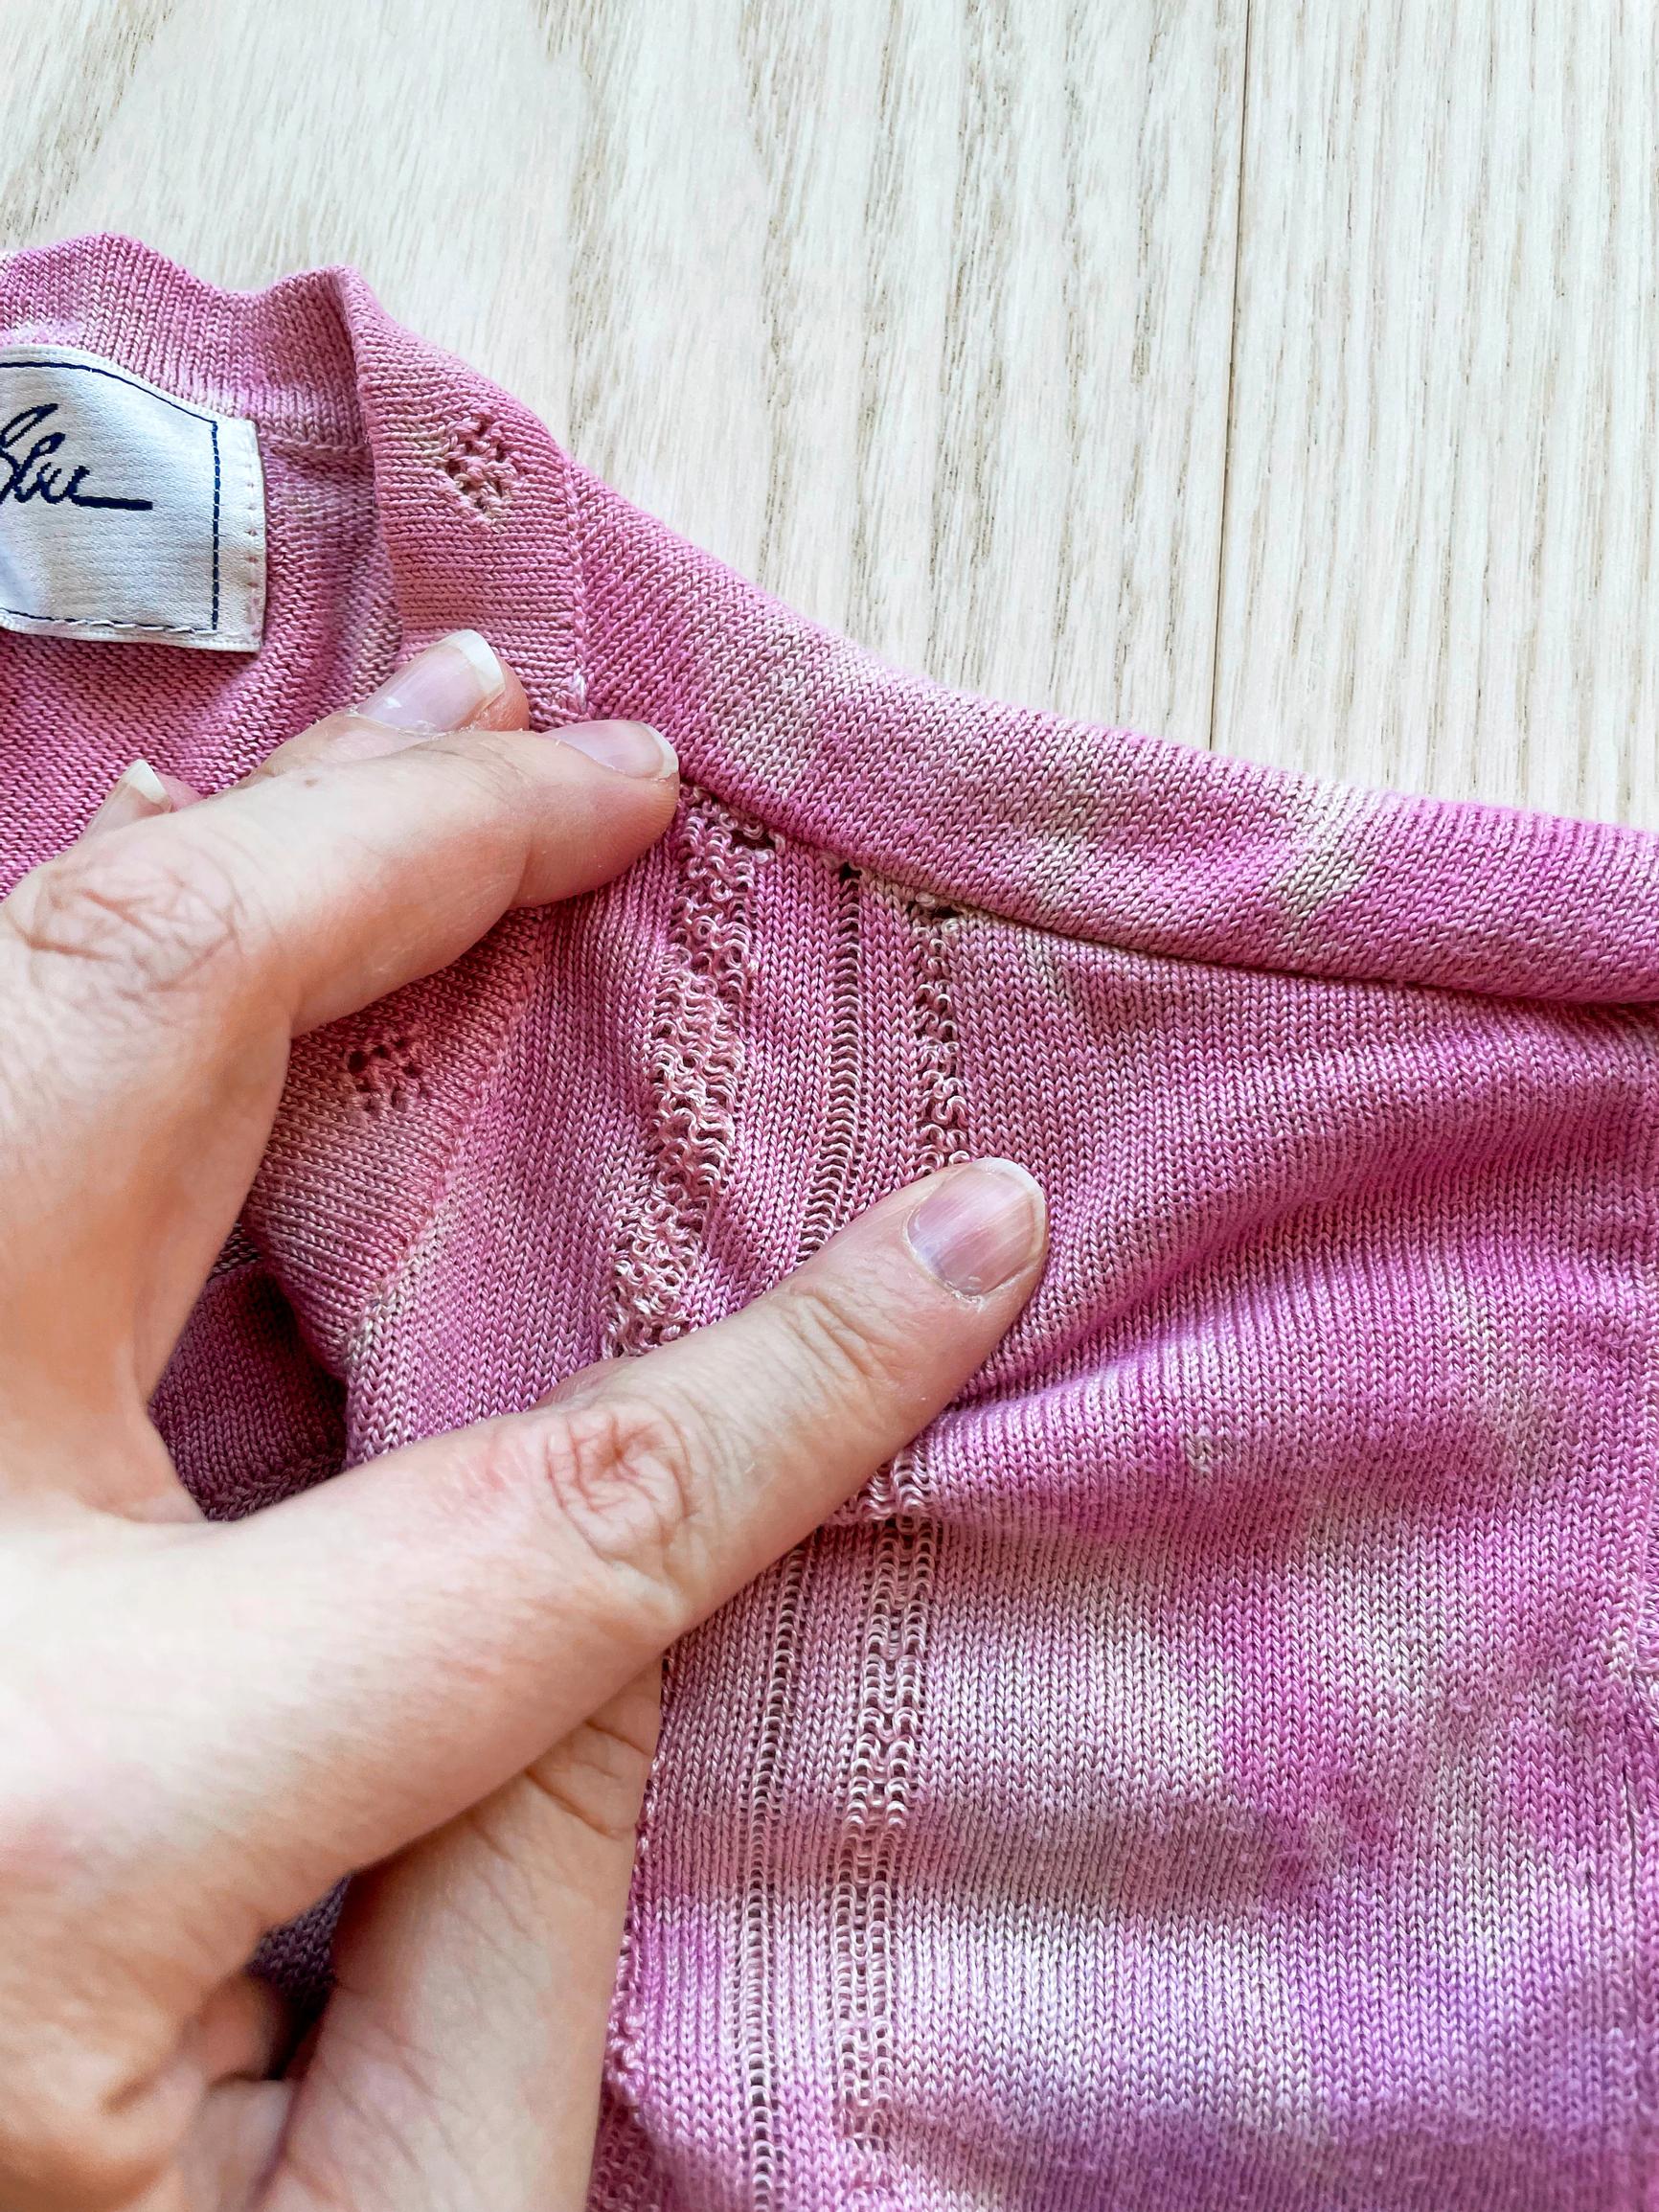

- Start by cutting 1–4 adjacent stitches by the sweater’s top edge, near the seam. For thin knits, a seam ripper is ideal for grabbing a few stitches at a time, while small sewing scissors work best for thicker knits.
- Make the hole right beside the seam. Use the seam ripper to isolate the stitches, then drop them one by one. They’ll unravel easily when you stretch the knit widthwise. You can help by gently picking at the yarn with your fingernails. Drop the stitches all the way down to the hem.
- Be cautious that stitches don’t unravel where the yarn was cut at the top. If the material is slippery and the stitches threaten to run, secure cut threads on the sewing machine as you go. In a fine knit, always leave at least three adjacent intact stitches between the cuts.
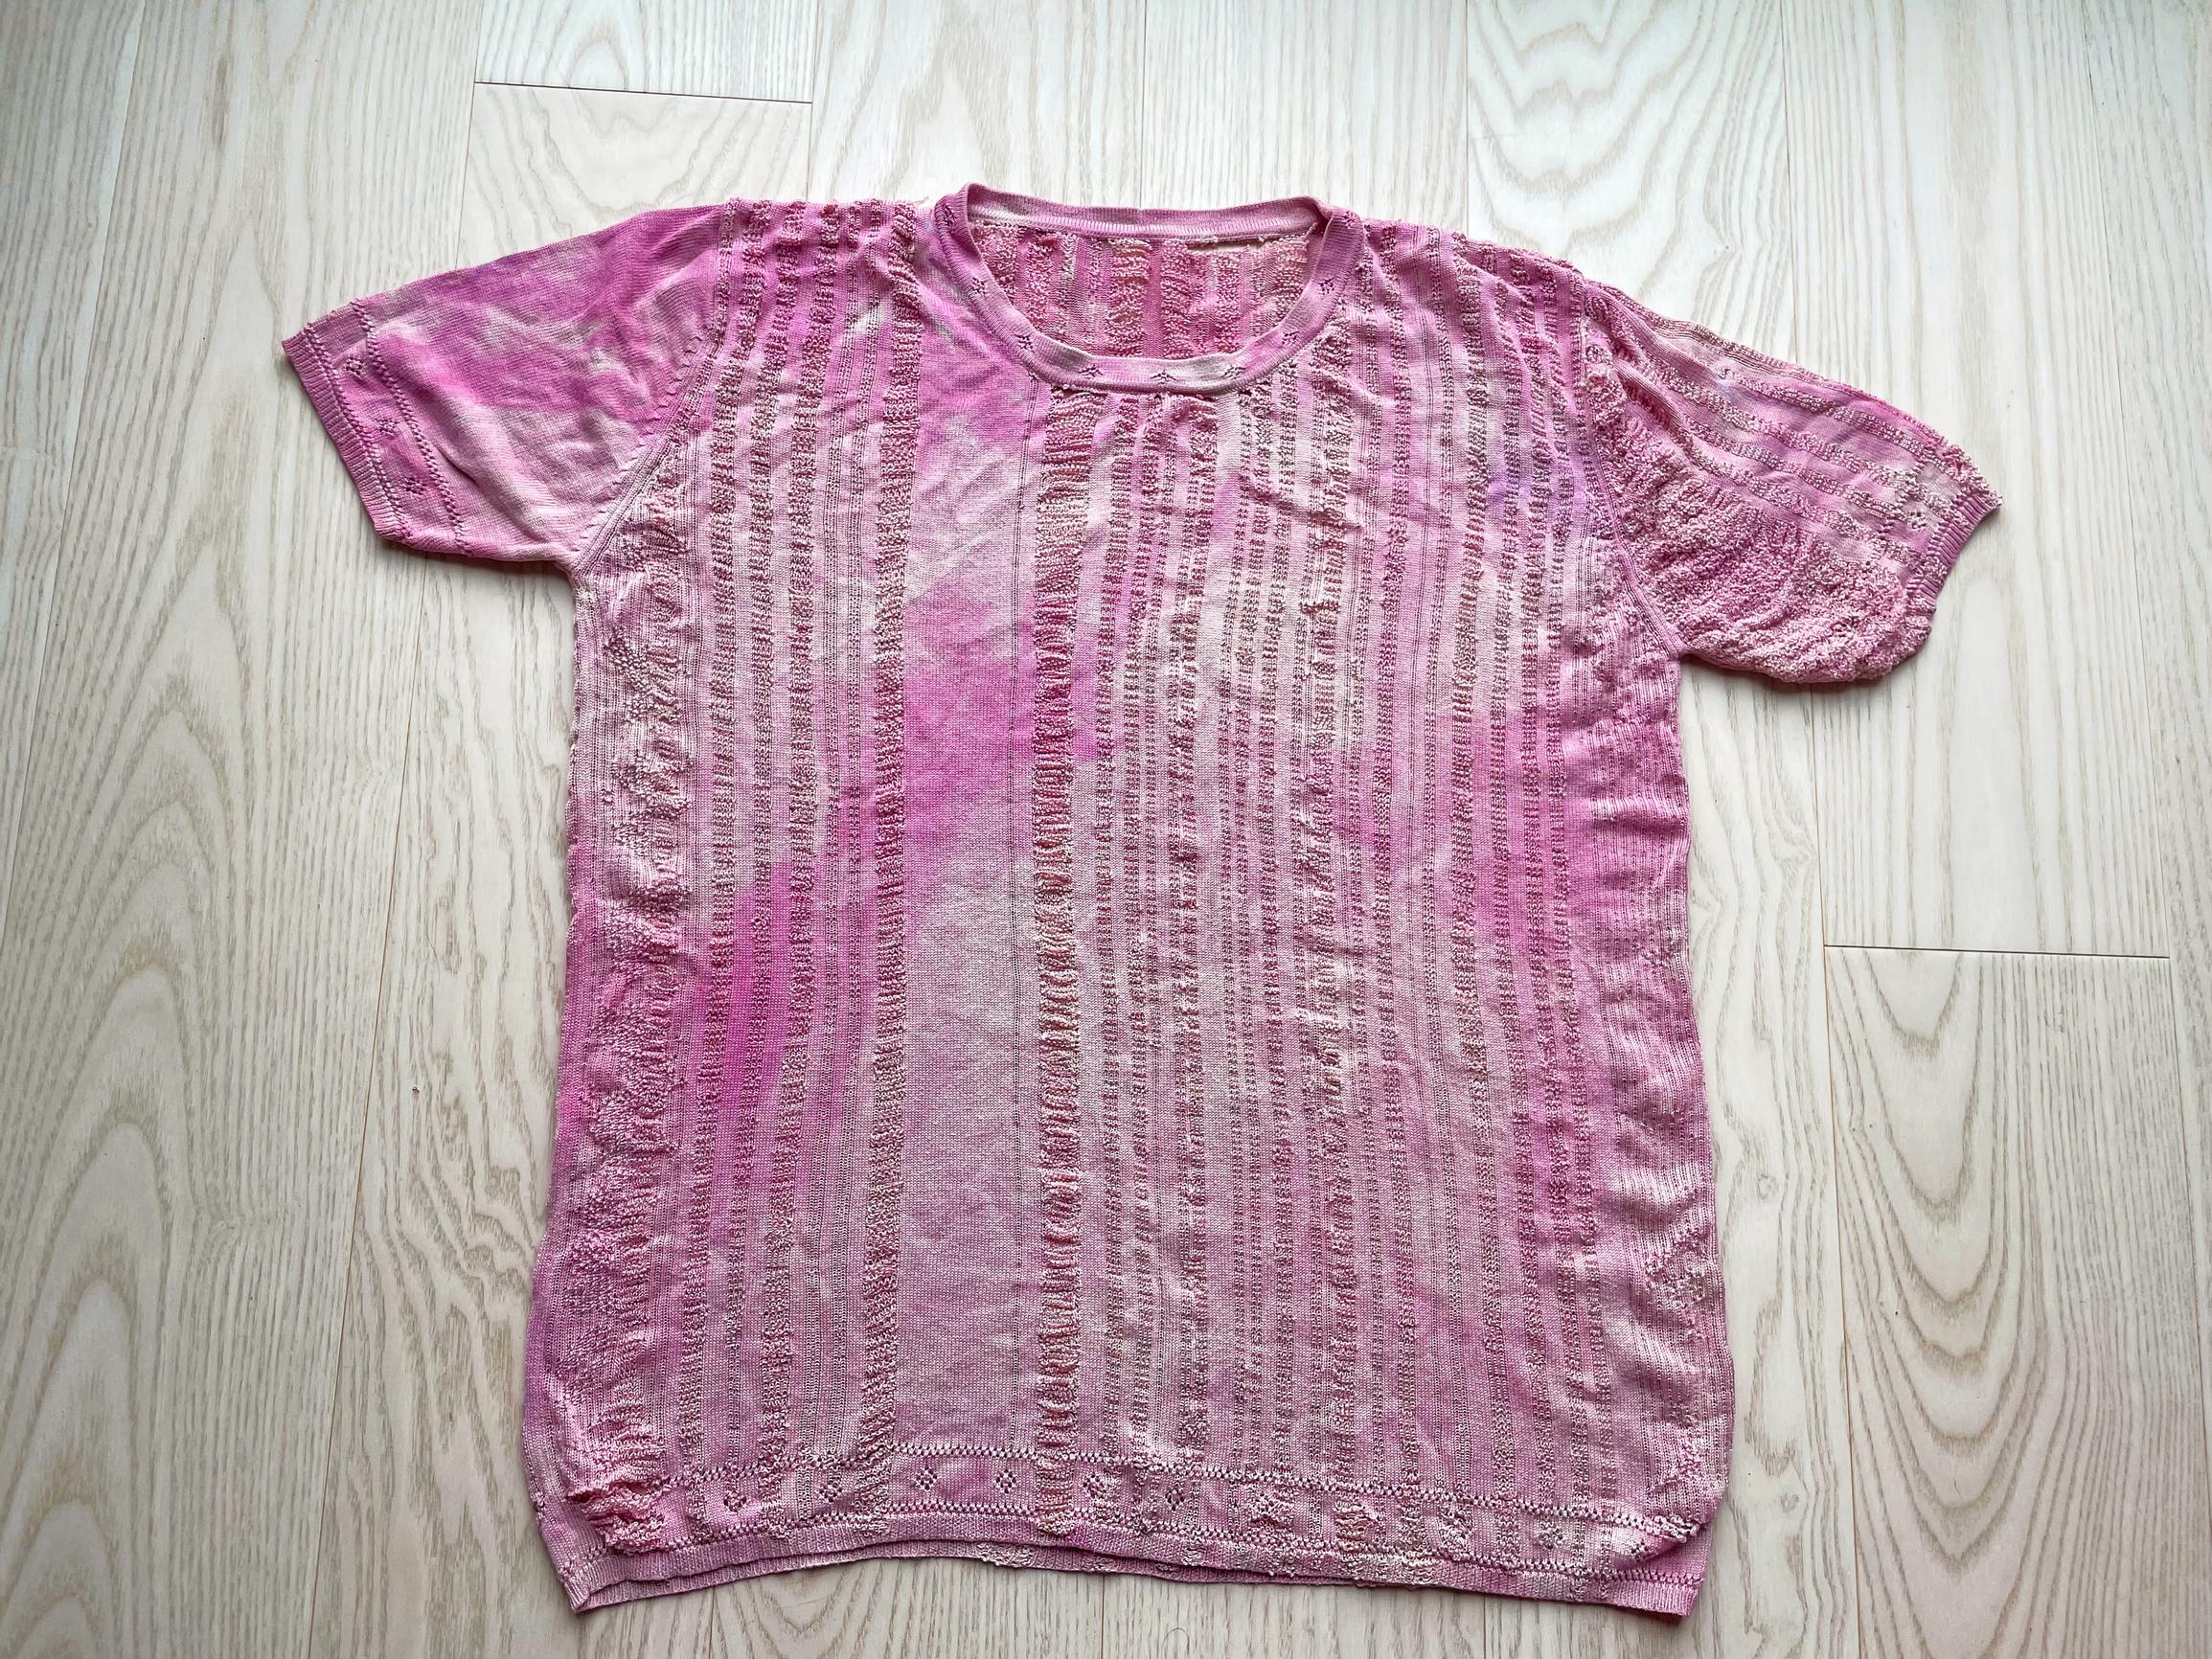
- In this example, stitches were unraveled randomly—from 1 to 8 at a time—leaving 3 to 10 intact stitches in between.
Finishing the neckline and shoulders

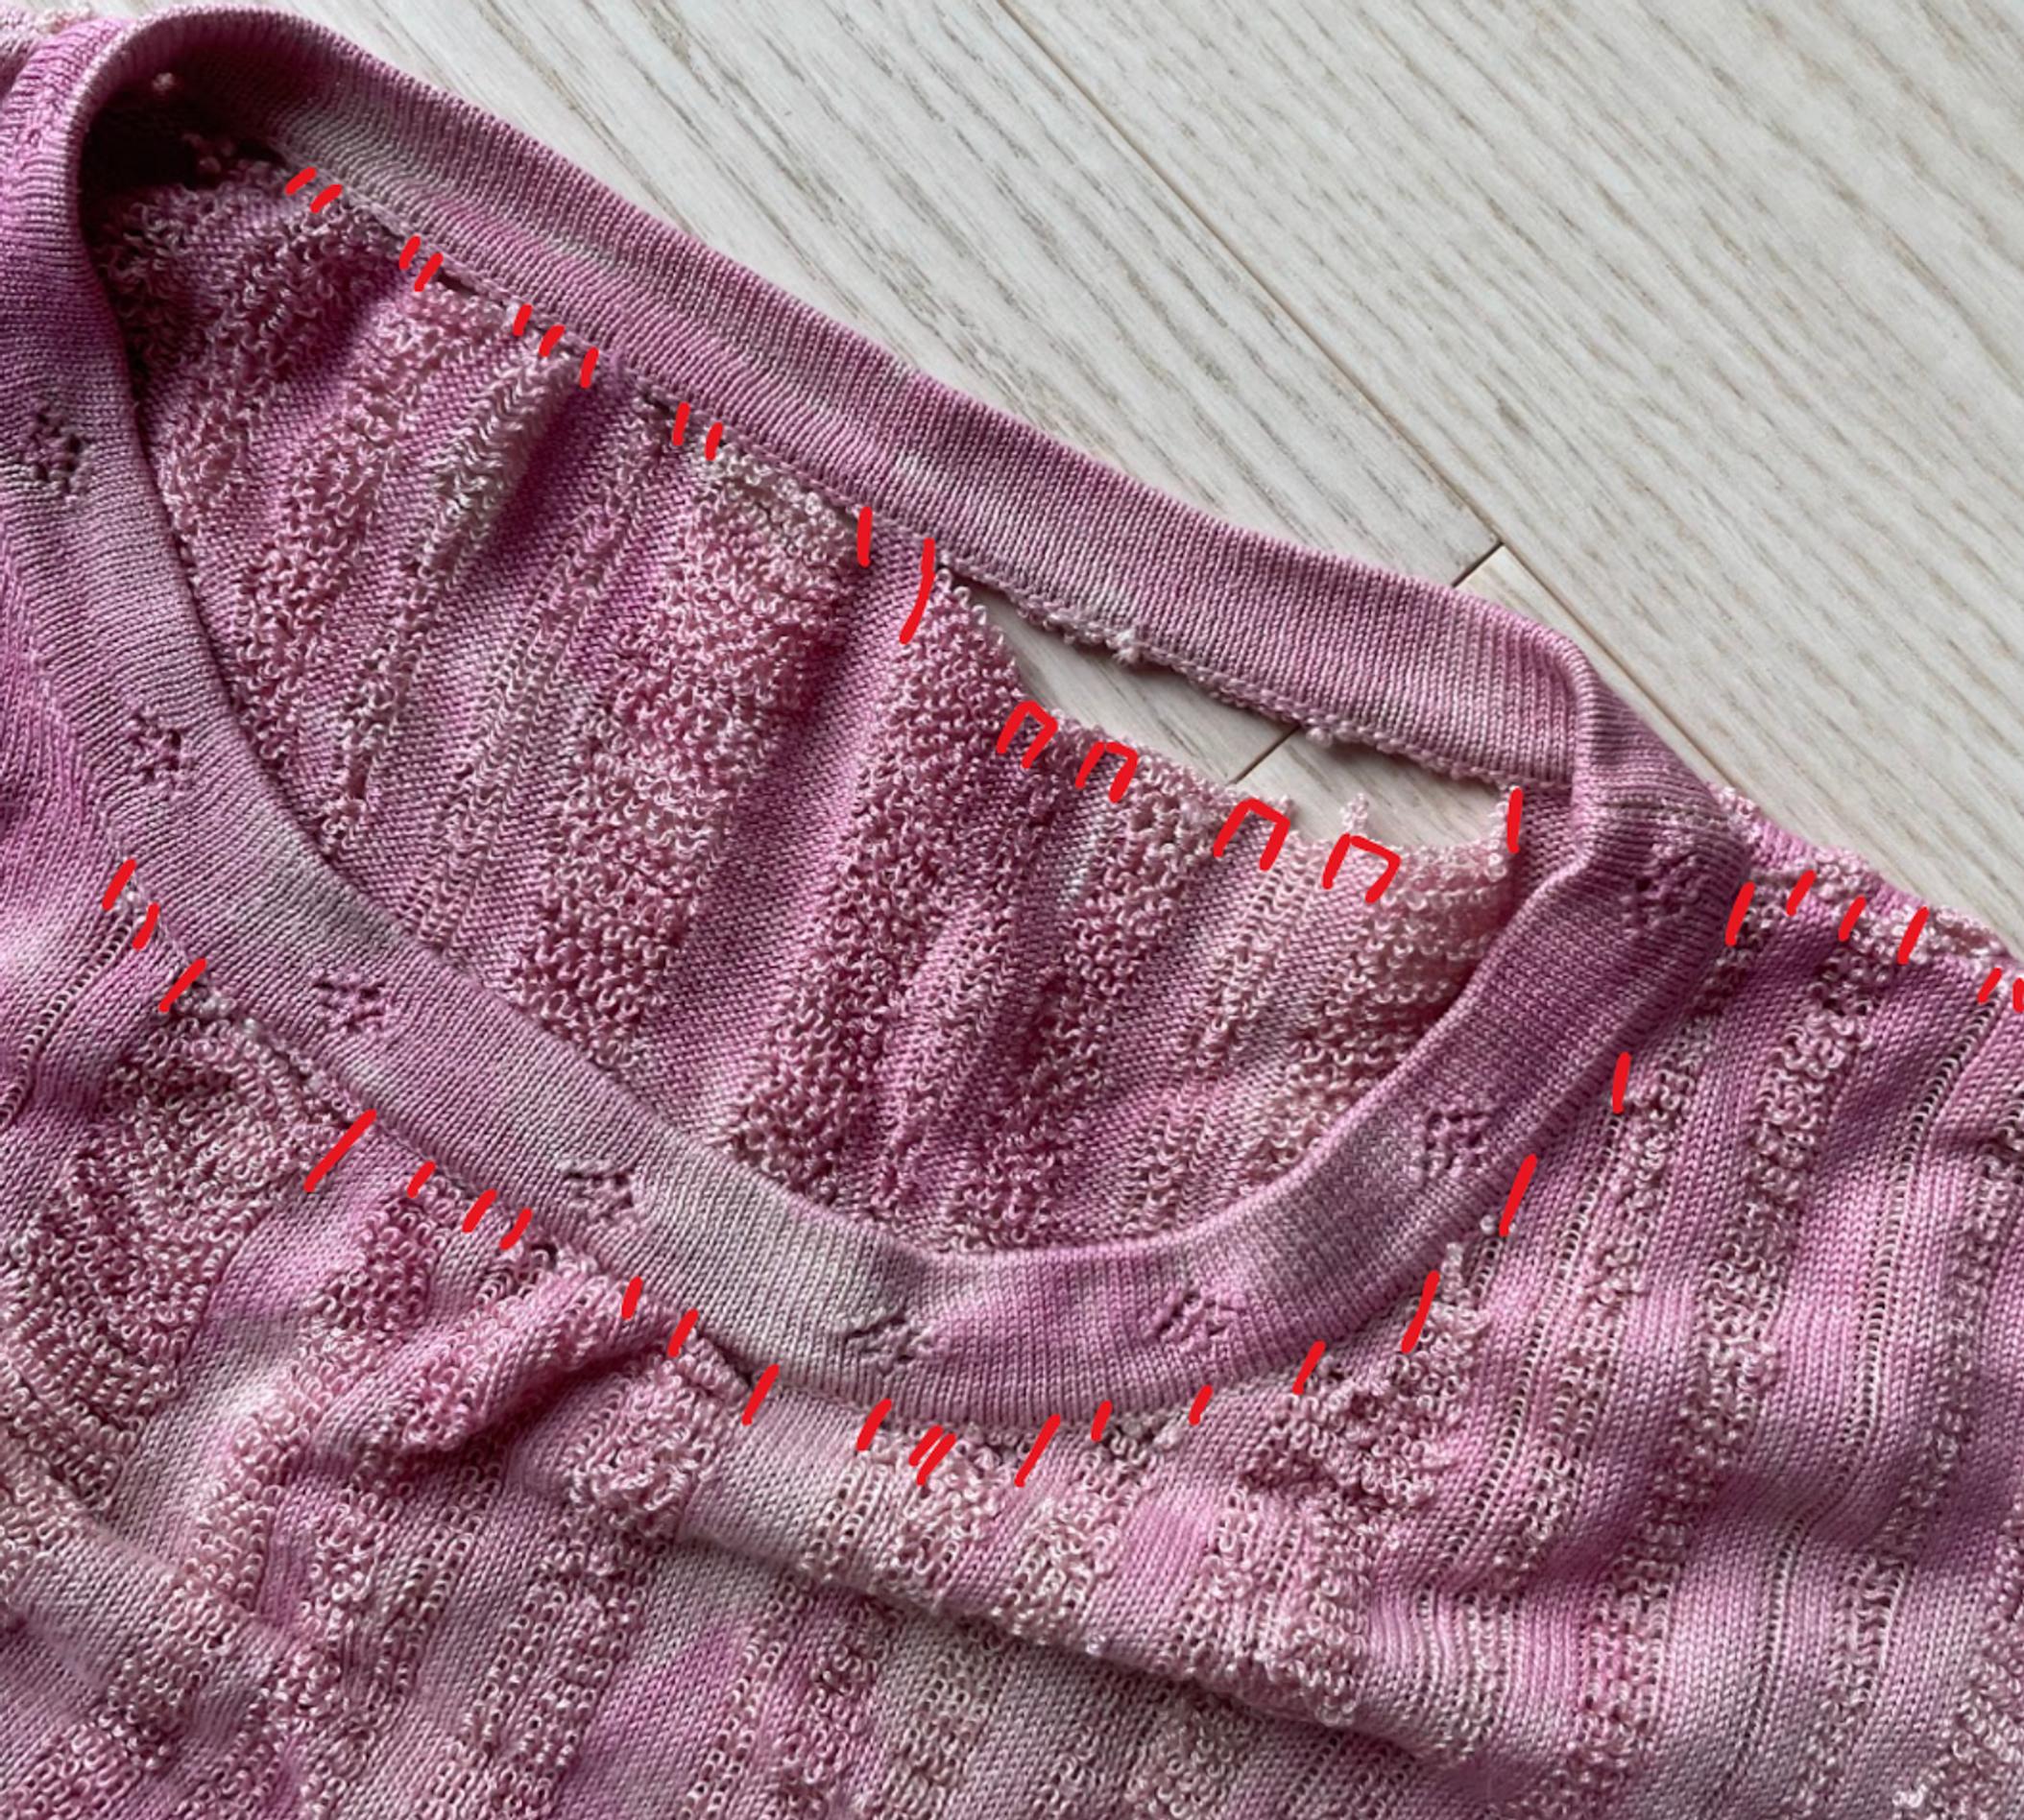
- Secure all cut yarn by sewing back and forth with a straight stitch on the machine. Choose a thread that closely matches the sweater color so it’s nearly invisible.
- Stitch a bit beyond the seam where you began unraveling. This keeps the sweater attached at the seam and prevents further unraveling, as happened in the example photo. If stitches do come loose, it can become an interesting detail.
Finishing the hem and cuffs

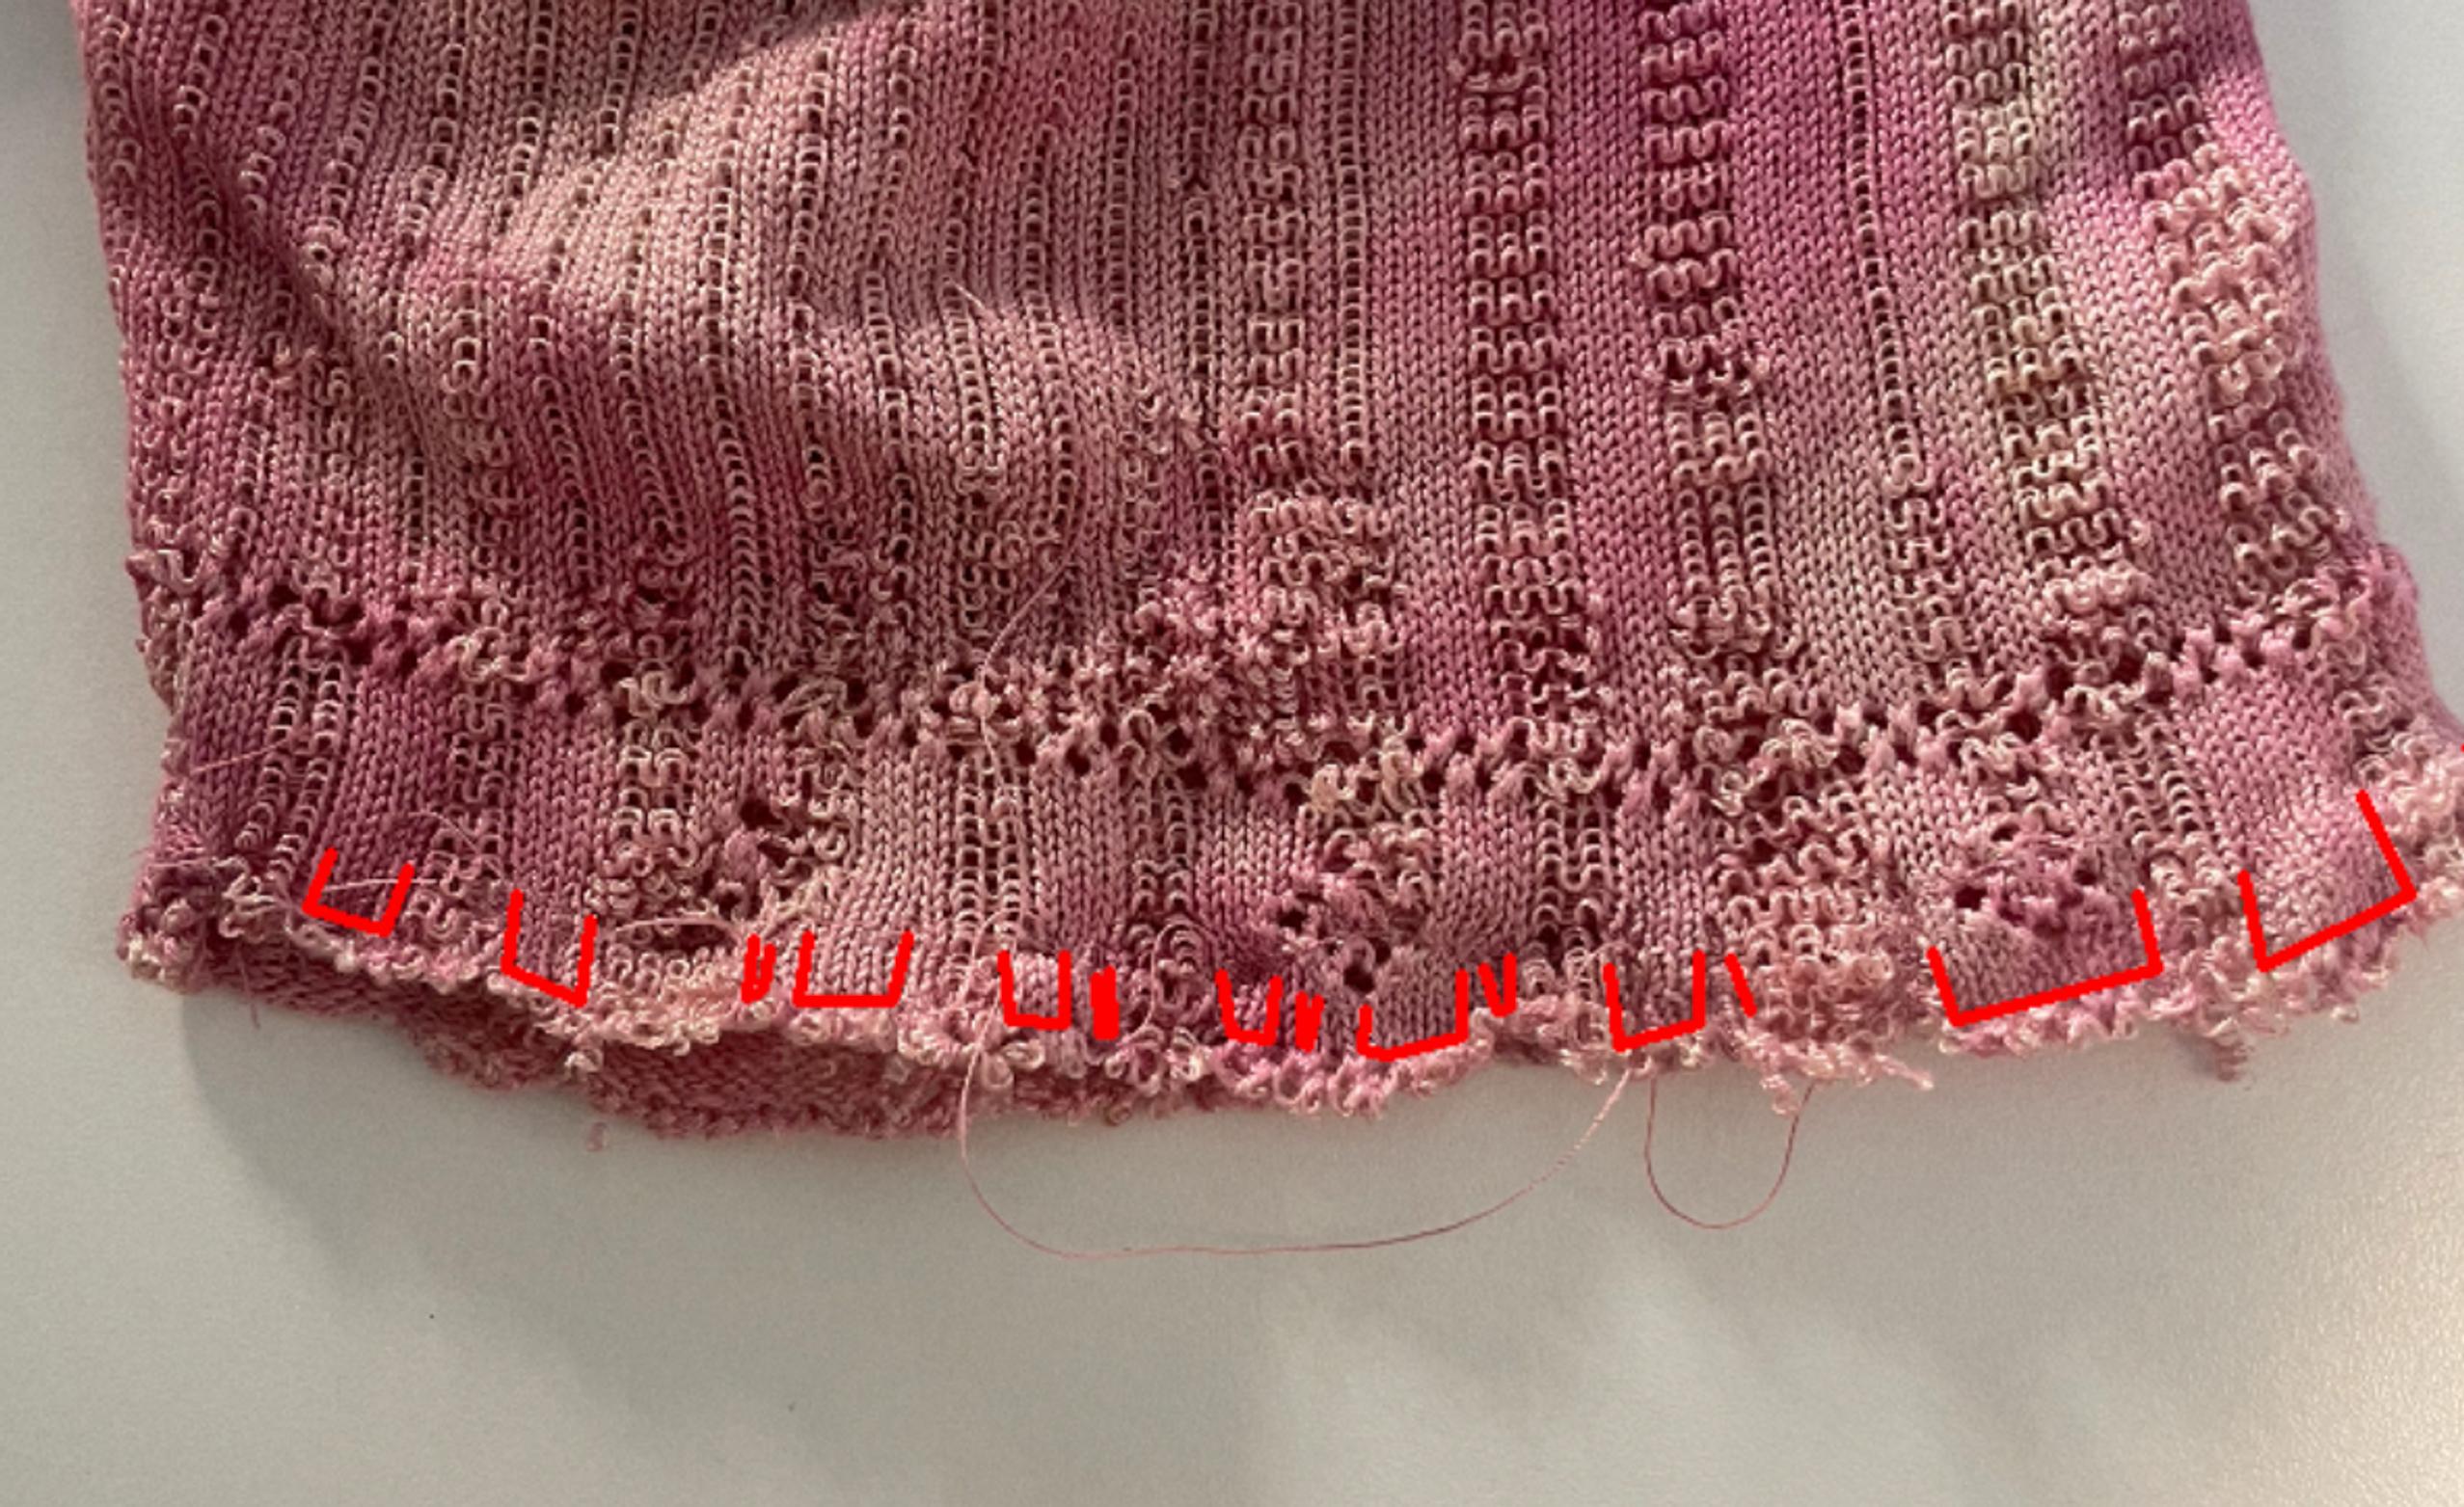
- You can finish the hem and cuffs the same way you finished the neckline and shoulder seams. The photo above shows where to stitch. Alternatively, you can play up the unraveled look by trimming off the hem ribbing. If your sweater doesn’t have ribbed edges, you can shorten the hem a little.
- After sewing, gently “pick” at the edge so any loose stitches fully unravel. This makes sure no unwanted stitches come loose later.
Finishing touches
Soak the sweater, dry it, and steam it. This eliminates most of the “noodle curl” from the unraveled yarn. Your sweater is now ready!

Tip! Experiment with different designs
Try pushing your limits with larger holes and more unraveling—maybe around the hem or neckline. Asymmetrical details add personality to your garment. It can be fun to move beyond a tidy, uniform finish.