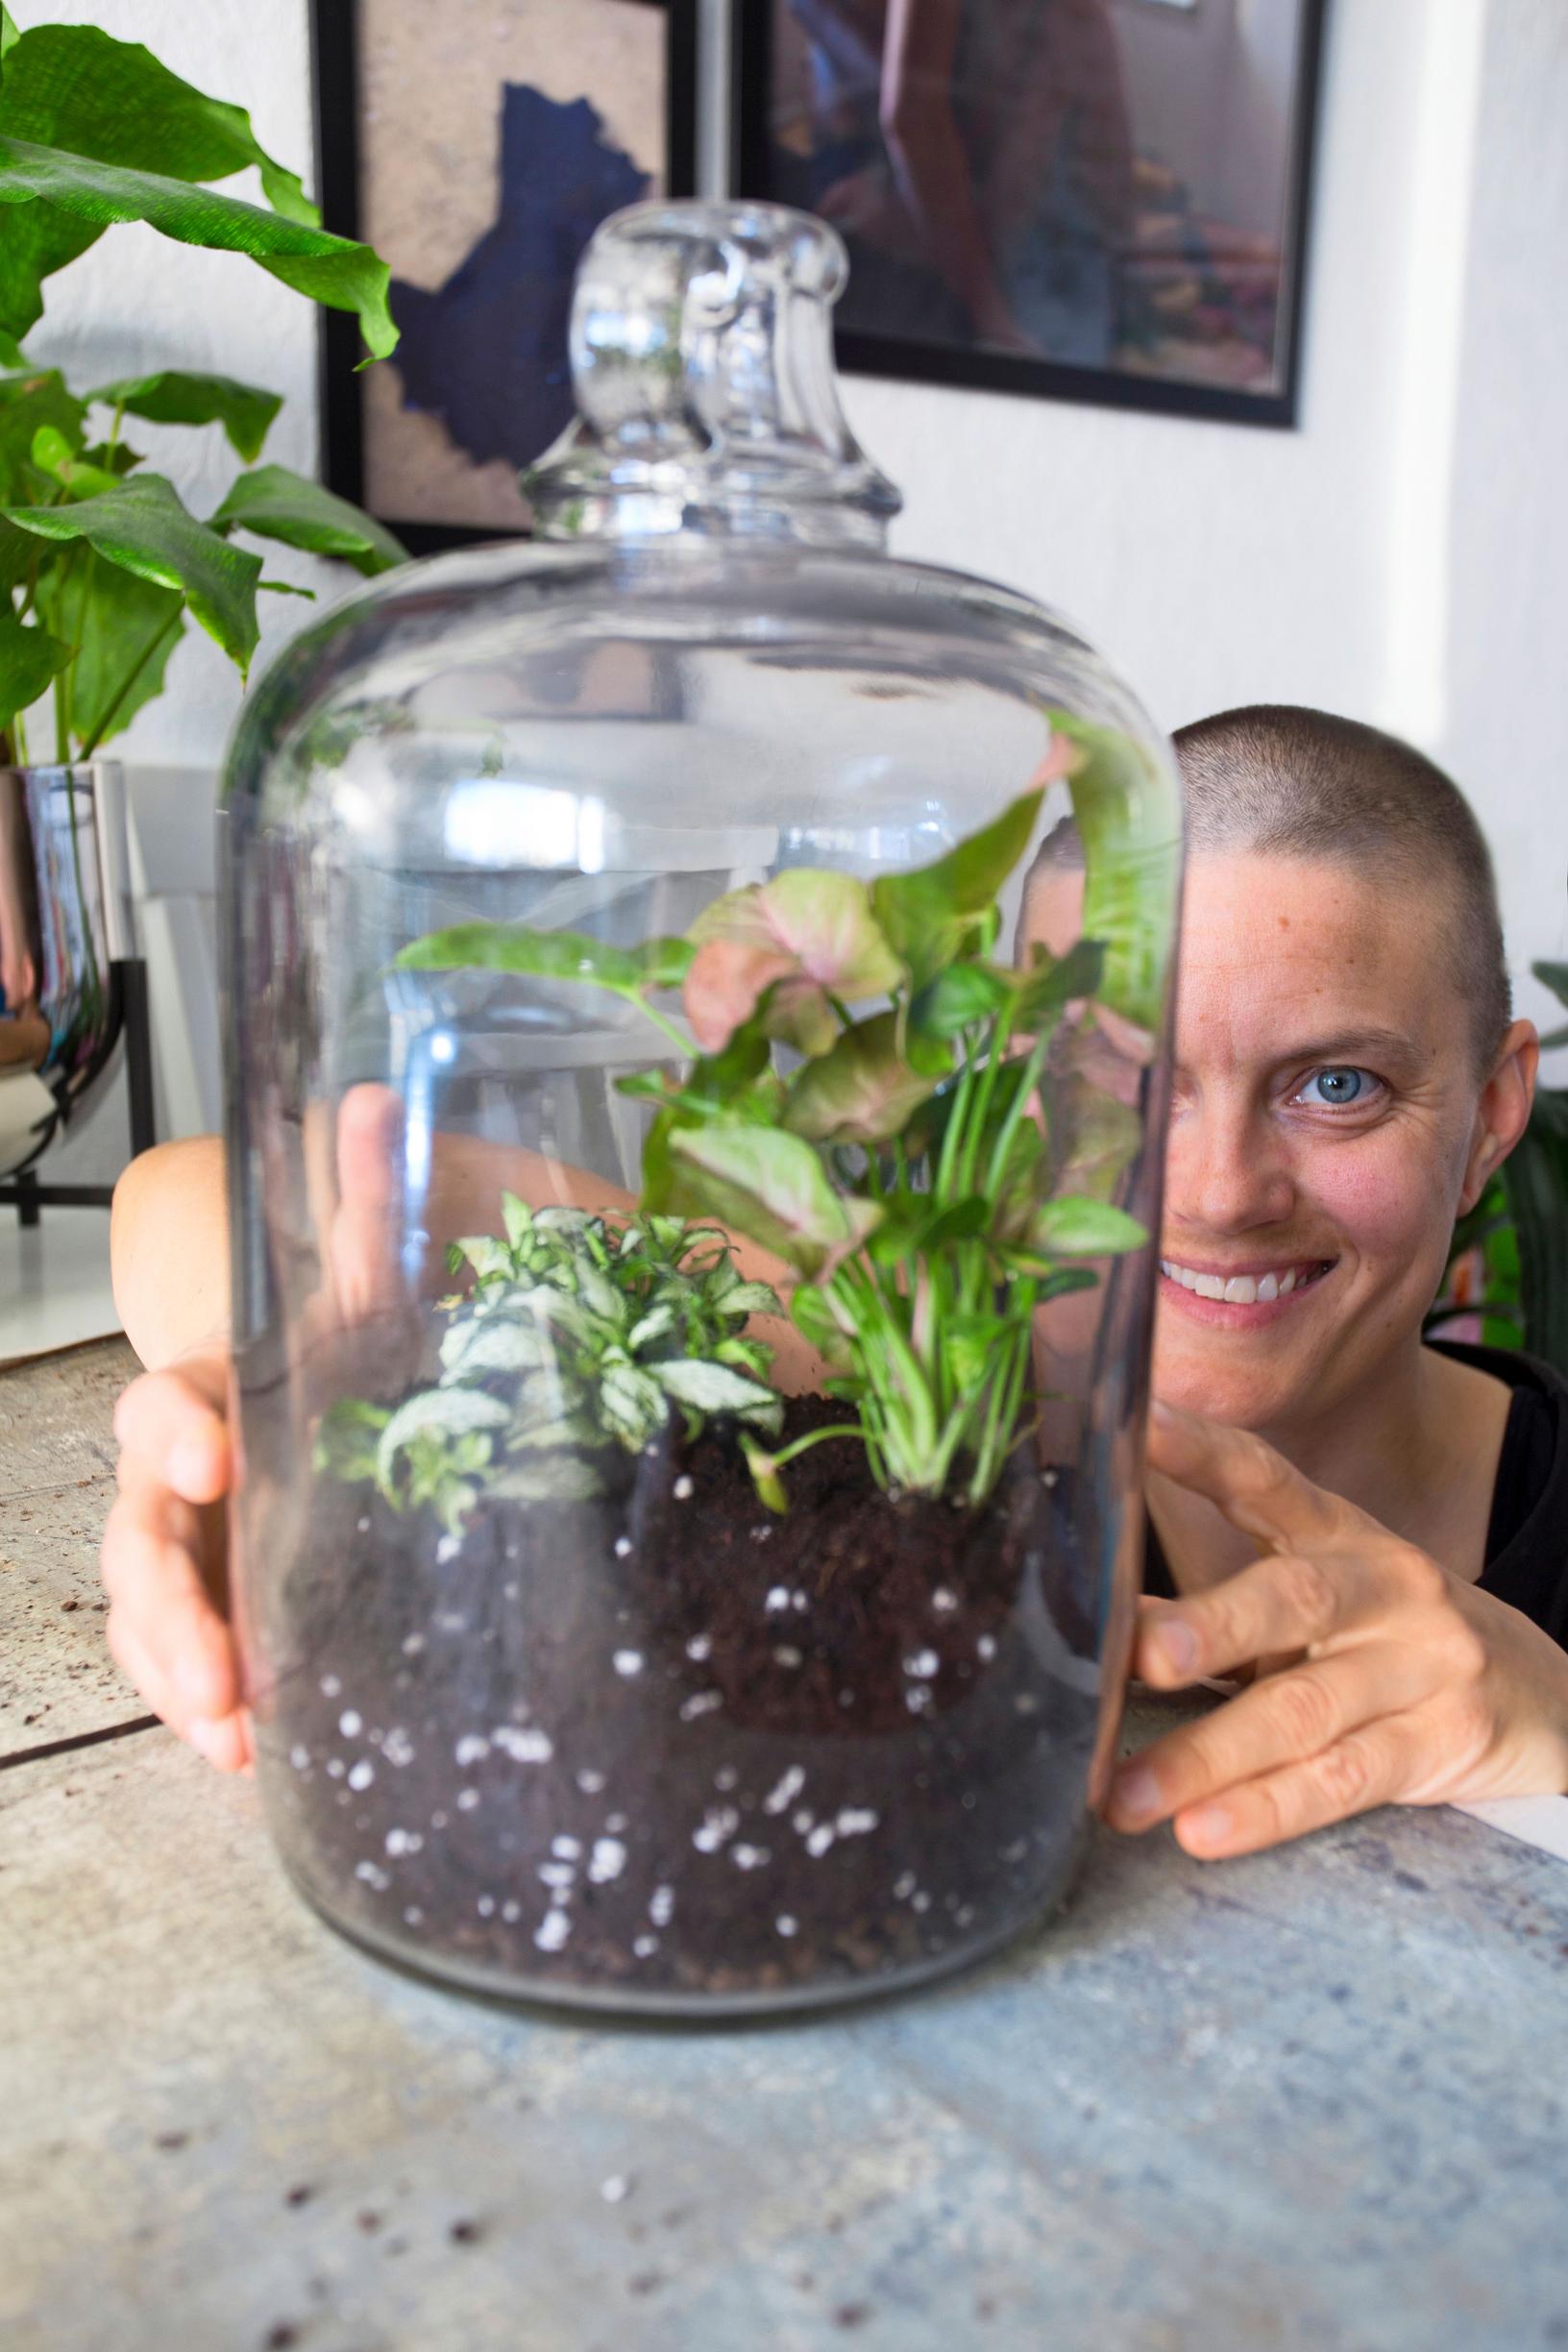
Plant bottle: How to create a magical mini world for the friend who always kills off ordinary potted plants
Plant-bottle enthusiast Kaija Papu shows you how to build a self-sustaining plant bottle. Although assembling it demands patience, the result is truly rewarding because the bottle won’t need further care!
Here’s how to make a plant bottle
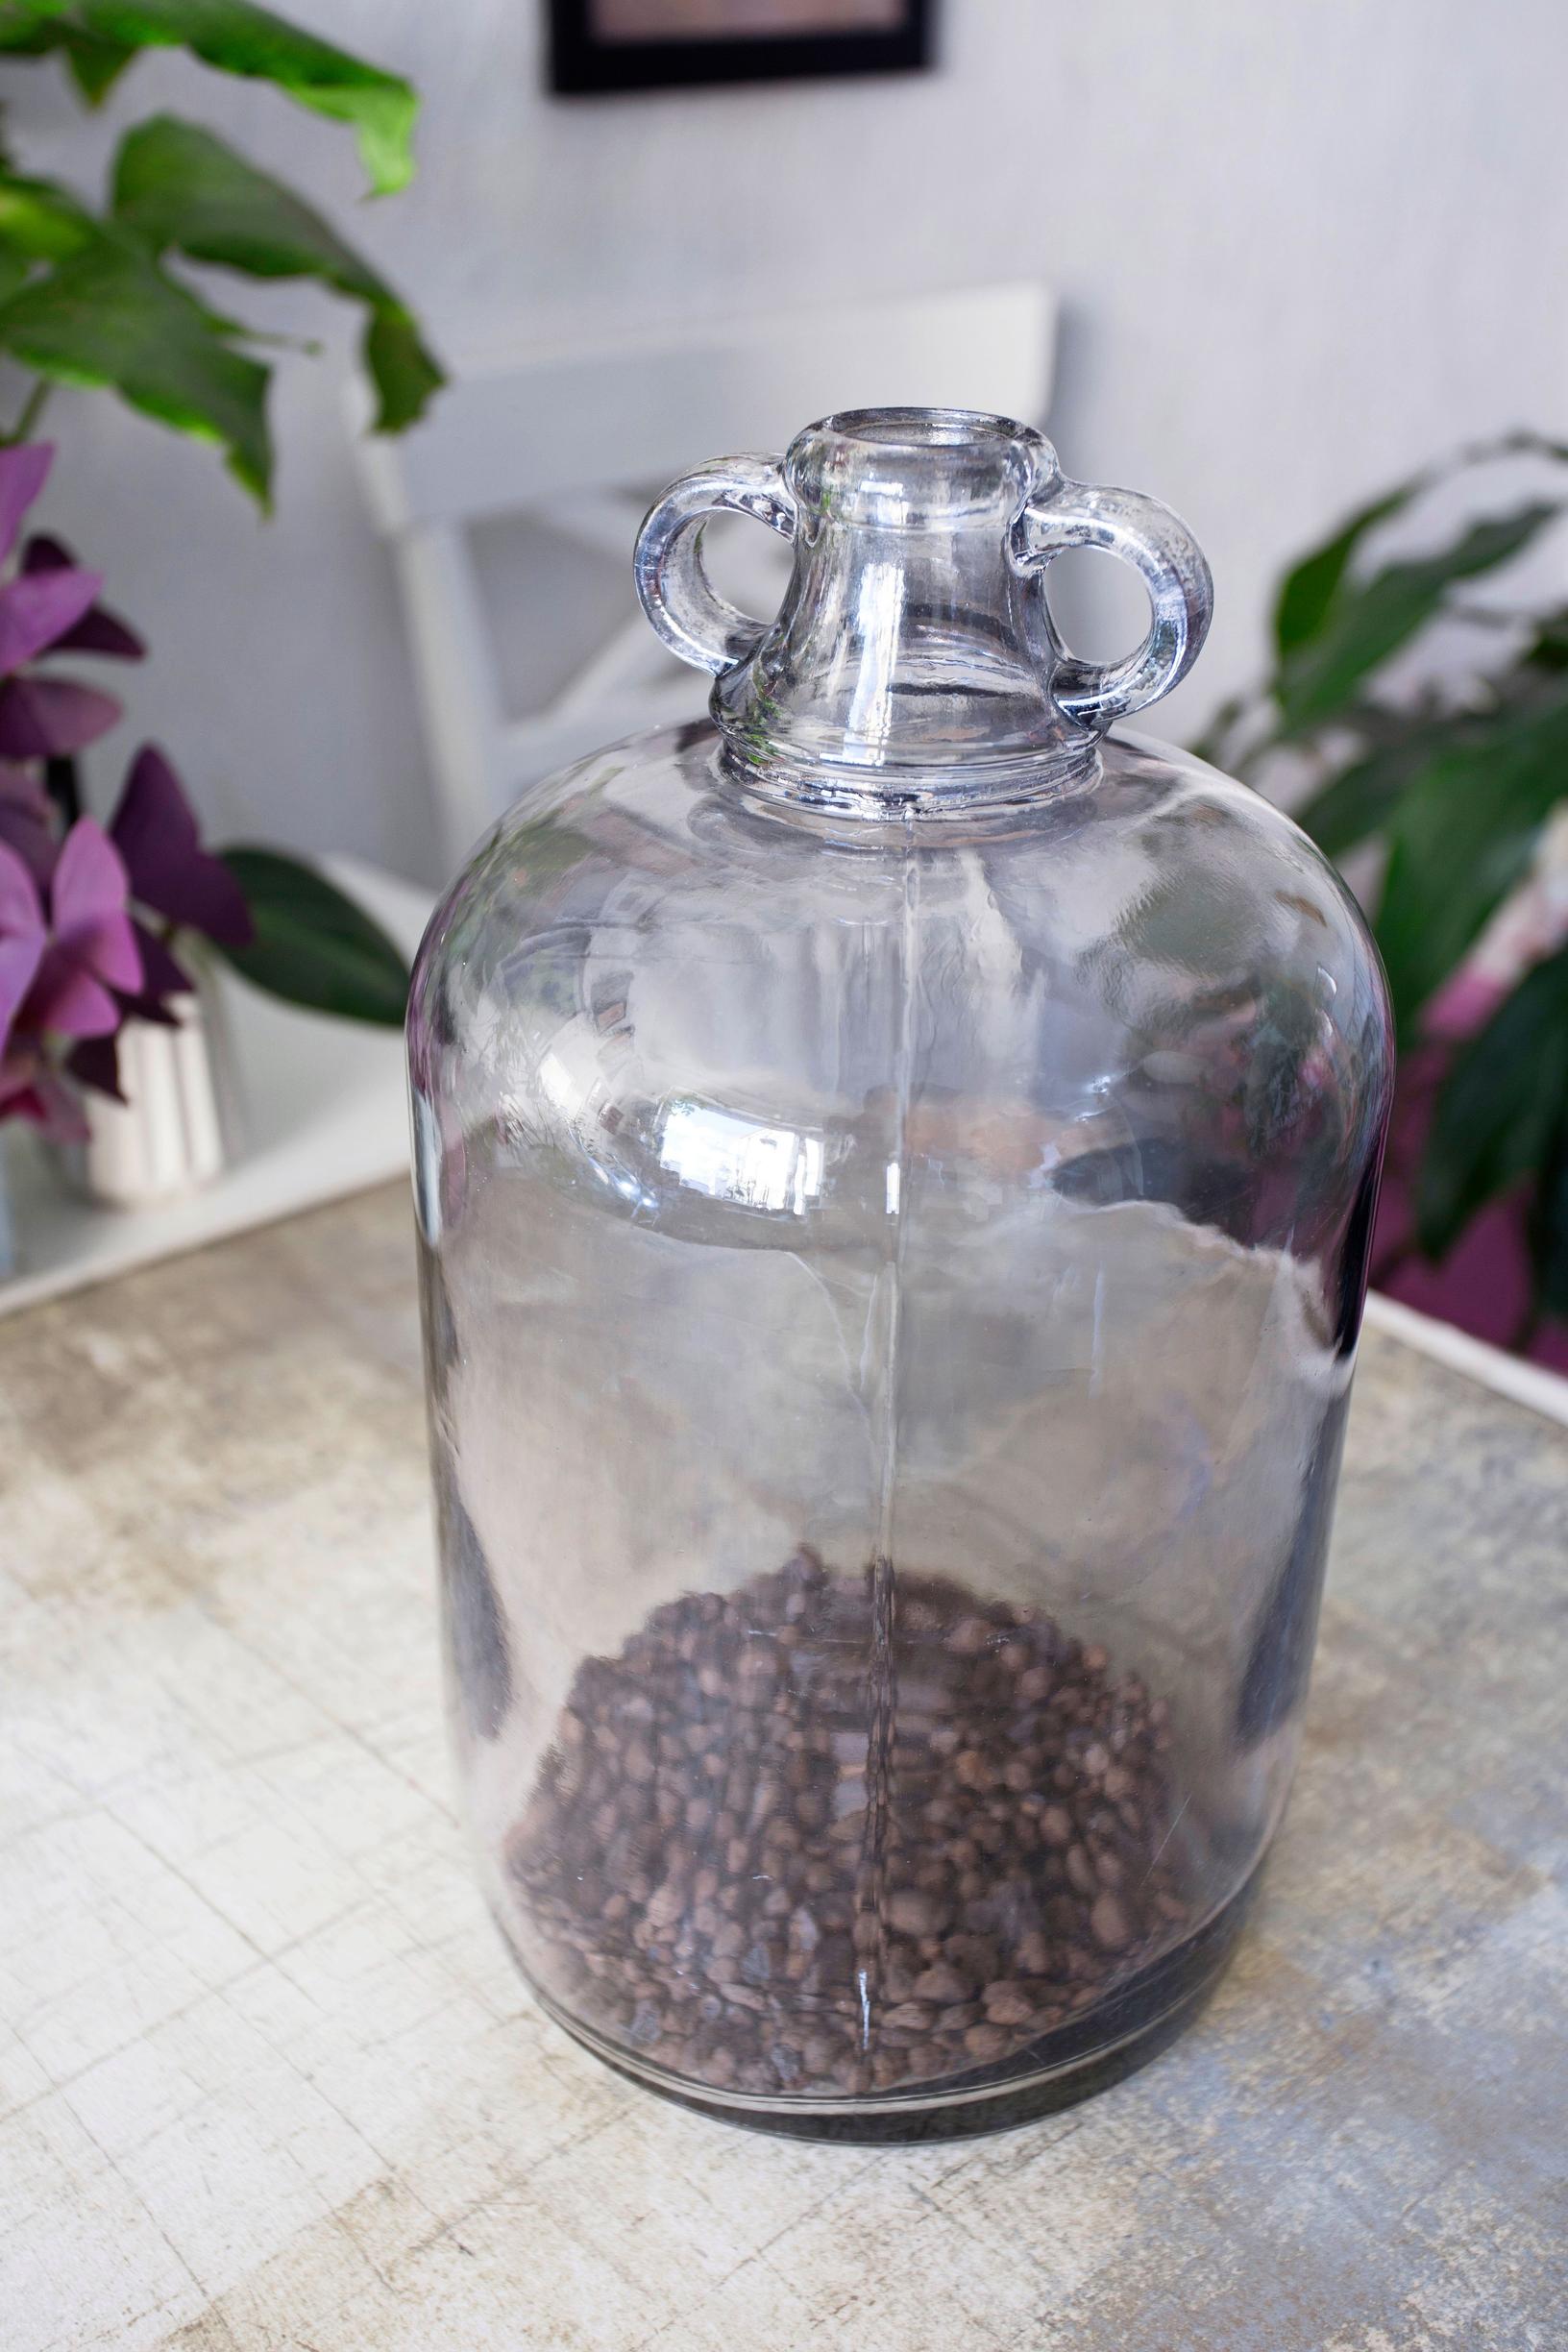
1. Wash the bottle. Dry the inside thoroughly after washing, because the soil will smear and make the bottle look messy if it's damp. Cover the bottom of the bottle with potting gravel.

2. Mix the substrate using equal proportions of soil meant for self-watering containers that contains mycorrhiza, black soil, coconut fiber mix, and perlite. Add enough of this mixture to the bottle to cover the roots of the plants. Carefully funnel the mixture into the bottle with the help of something like a cardboard cone.


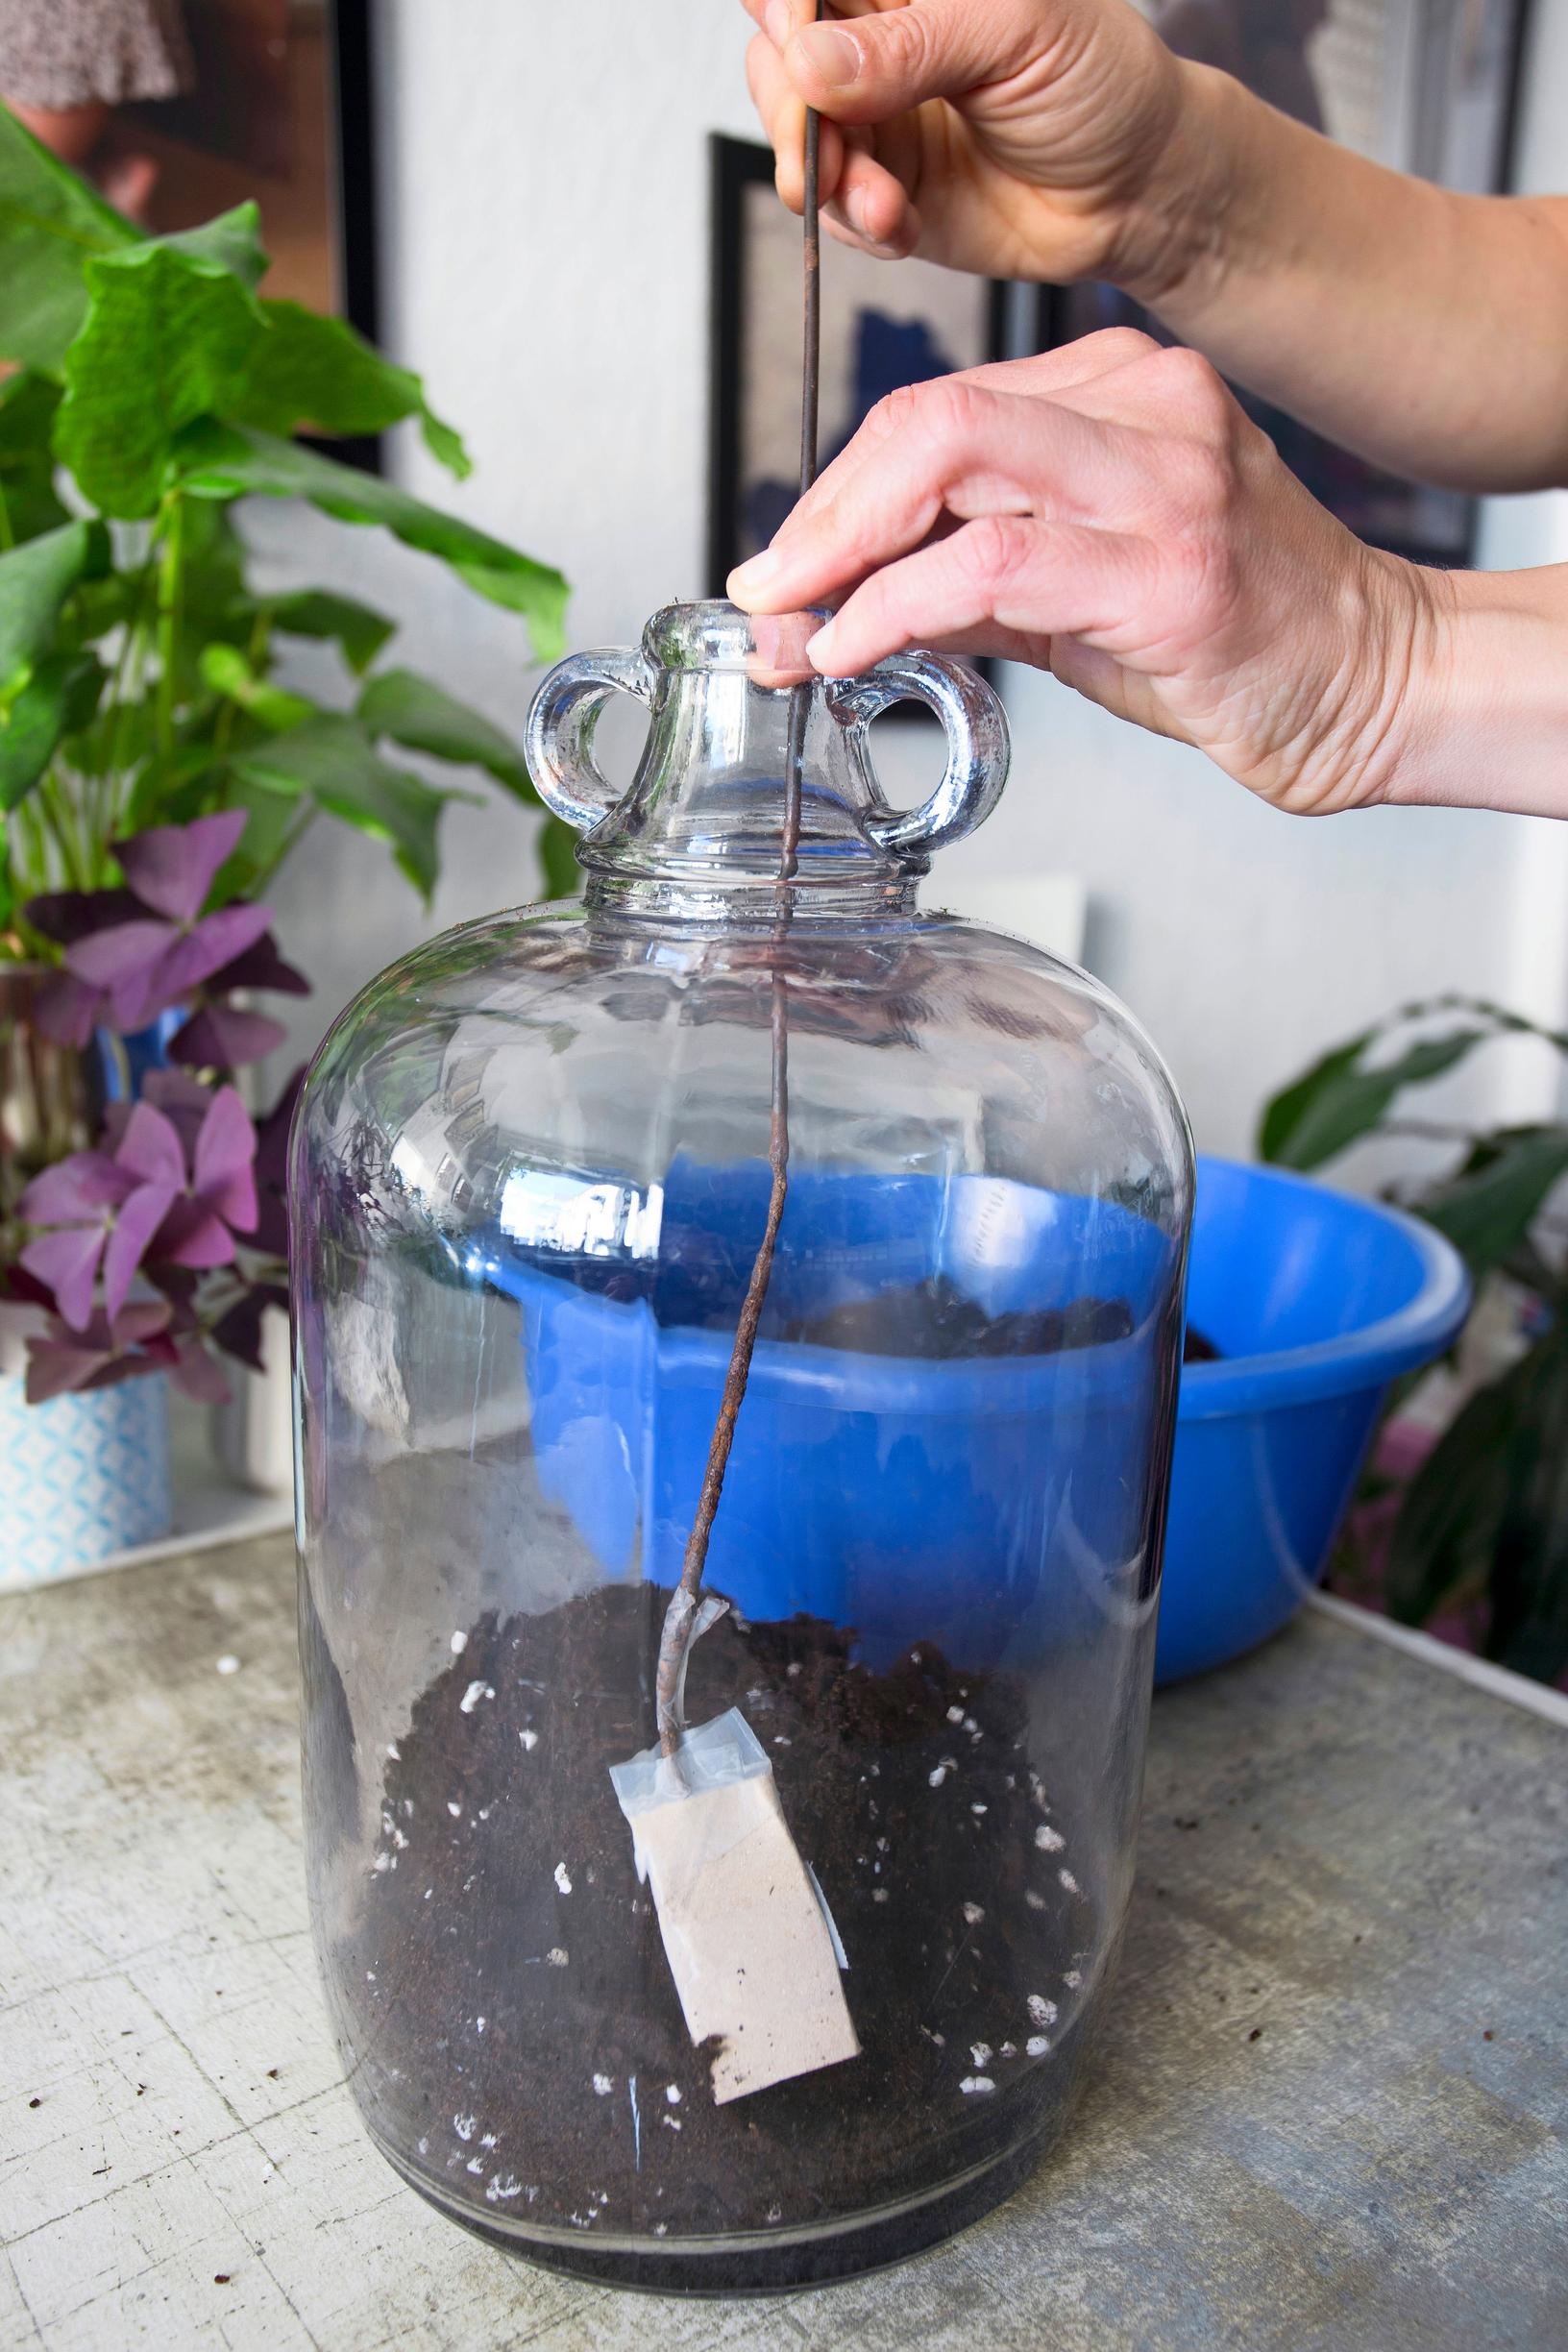
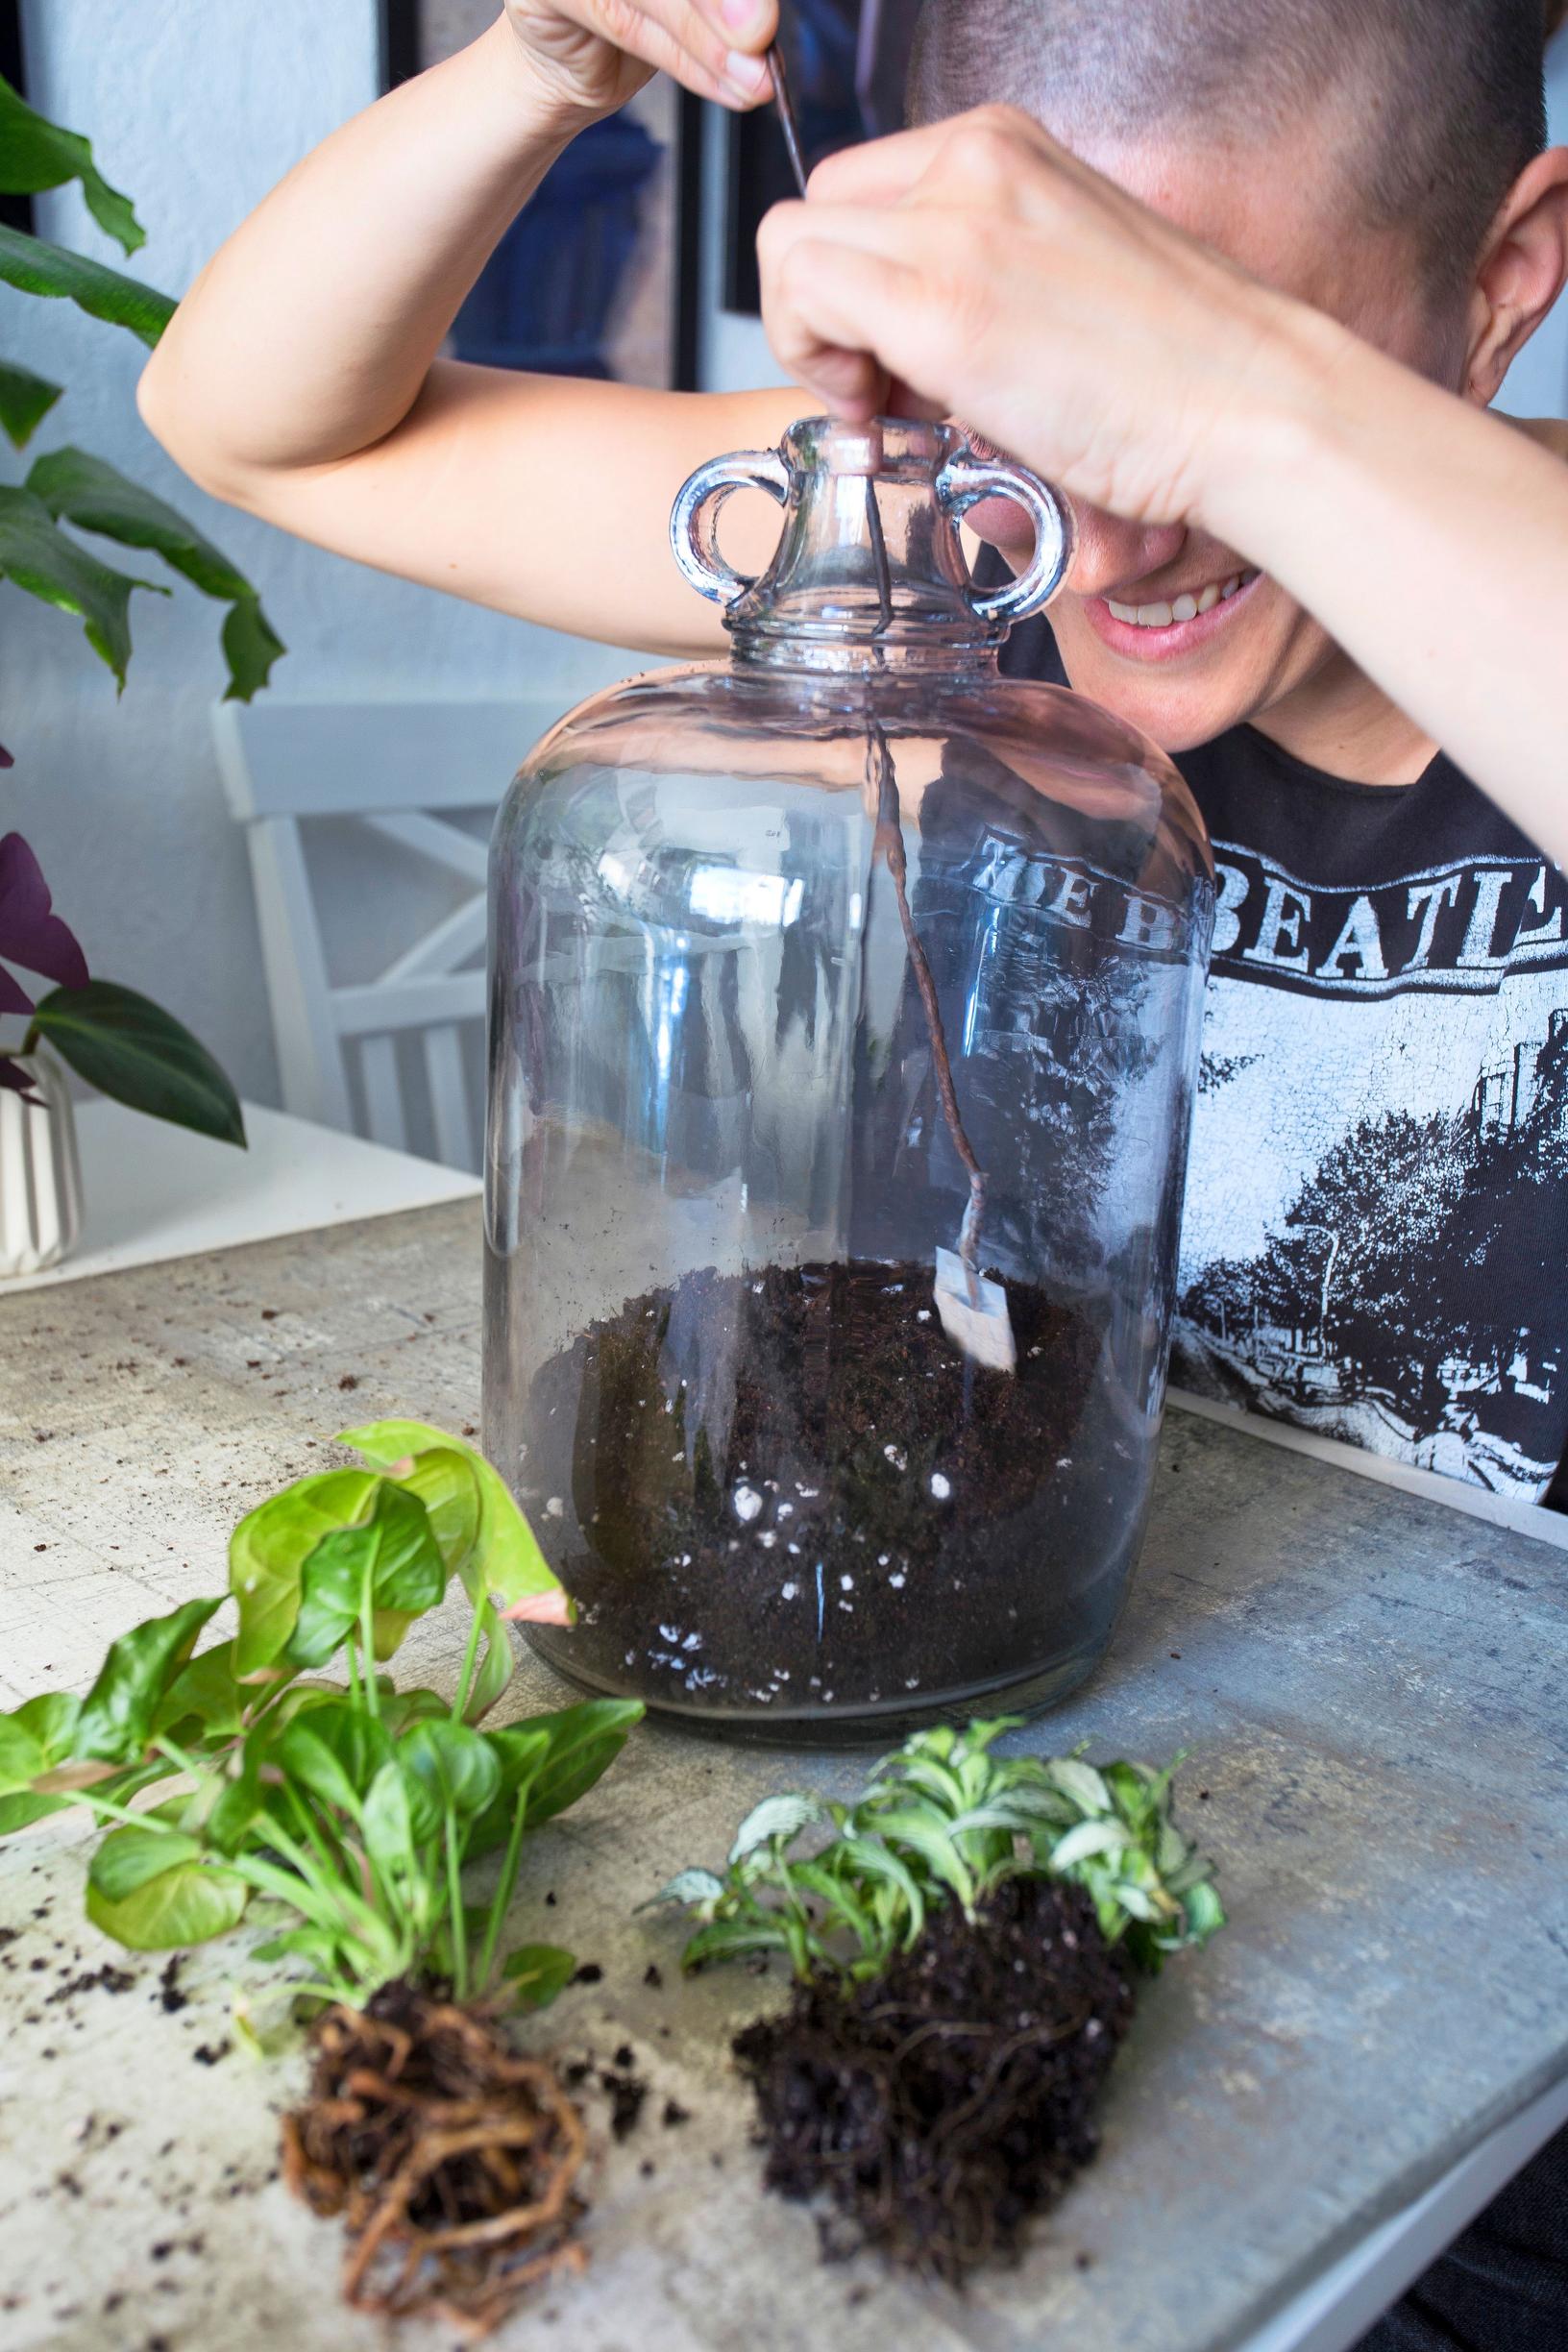
3. Make a planting tool from a long enough piece of wire. Tape a piece of cardboard to one end to form a mini shovel, and bend the other end into a hook.

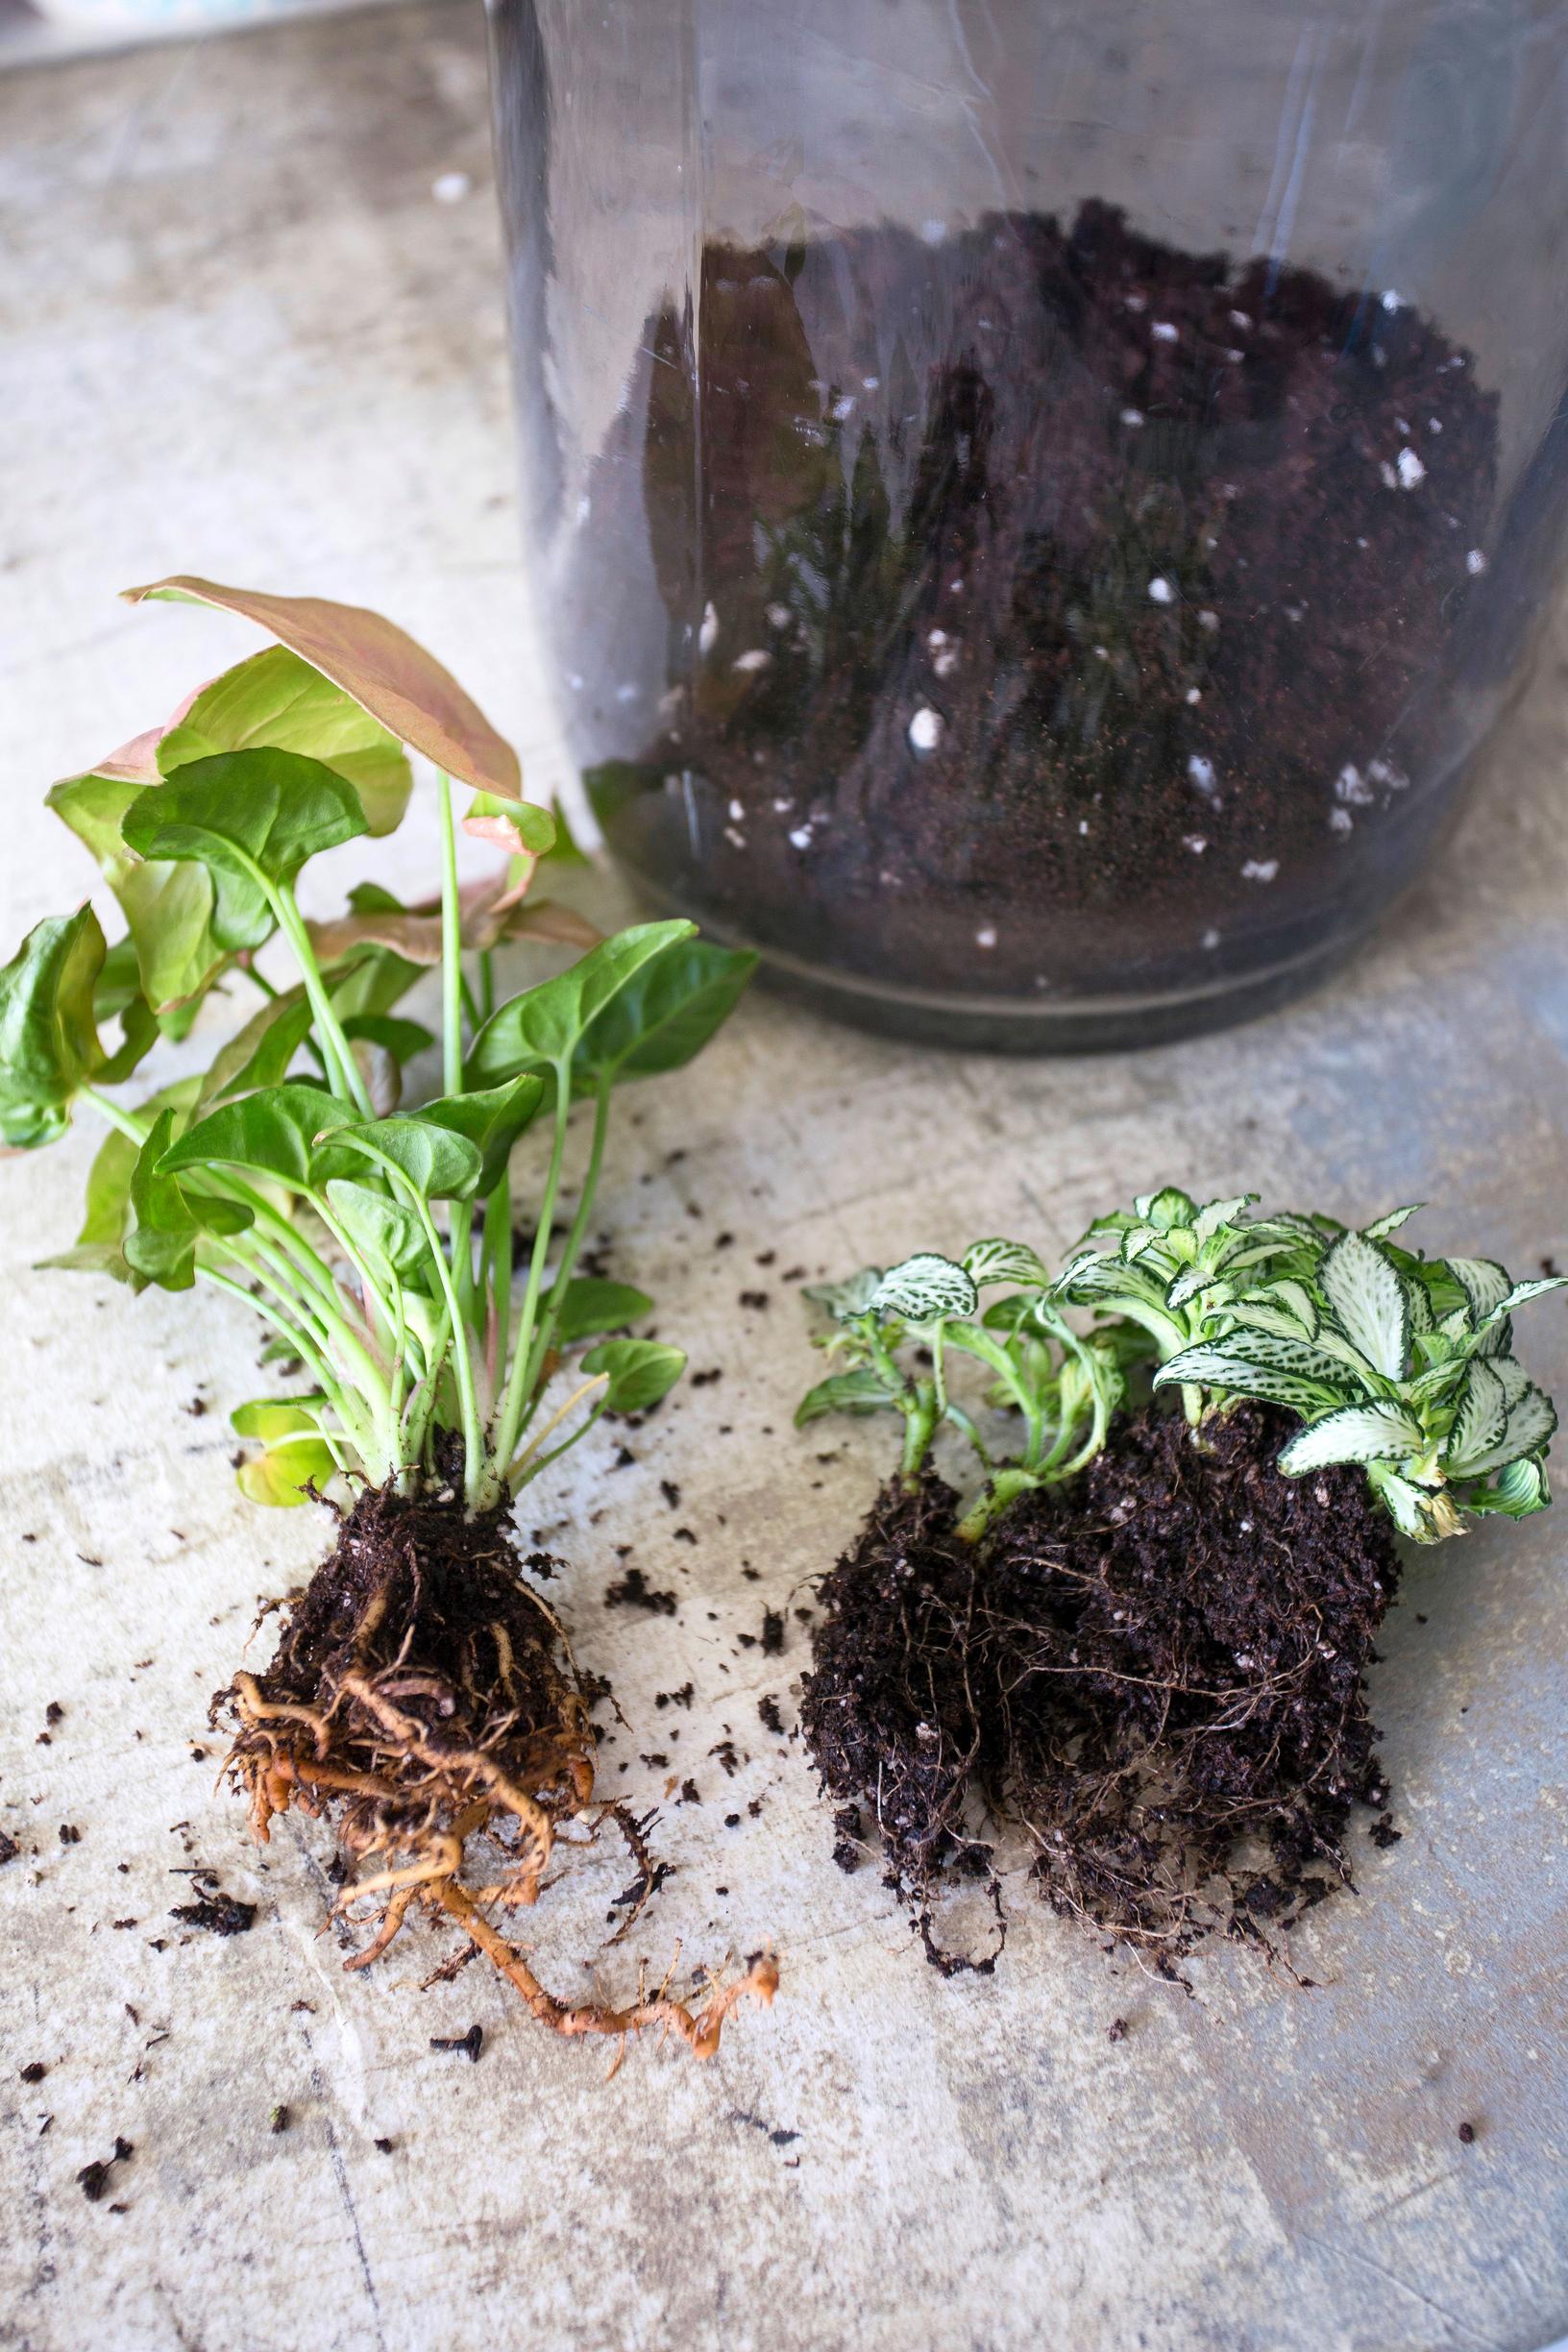
4. Remove most of the soil from the roots of the plants.

5. Use the tool to carve out planting holes in the soil mixture. Start planting with low-growing plants and then move on to higher-growing ones.


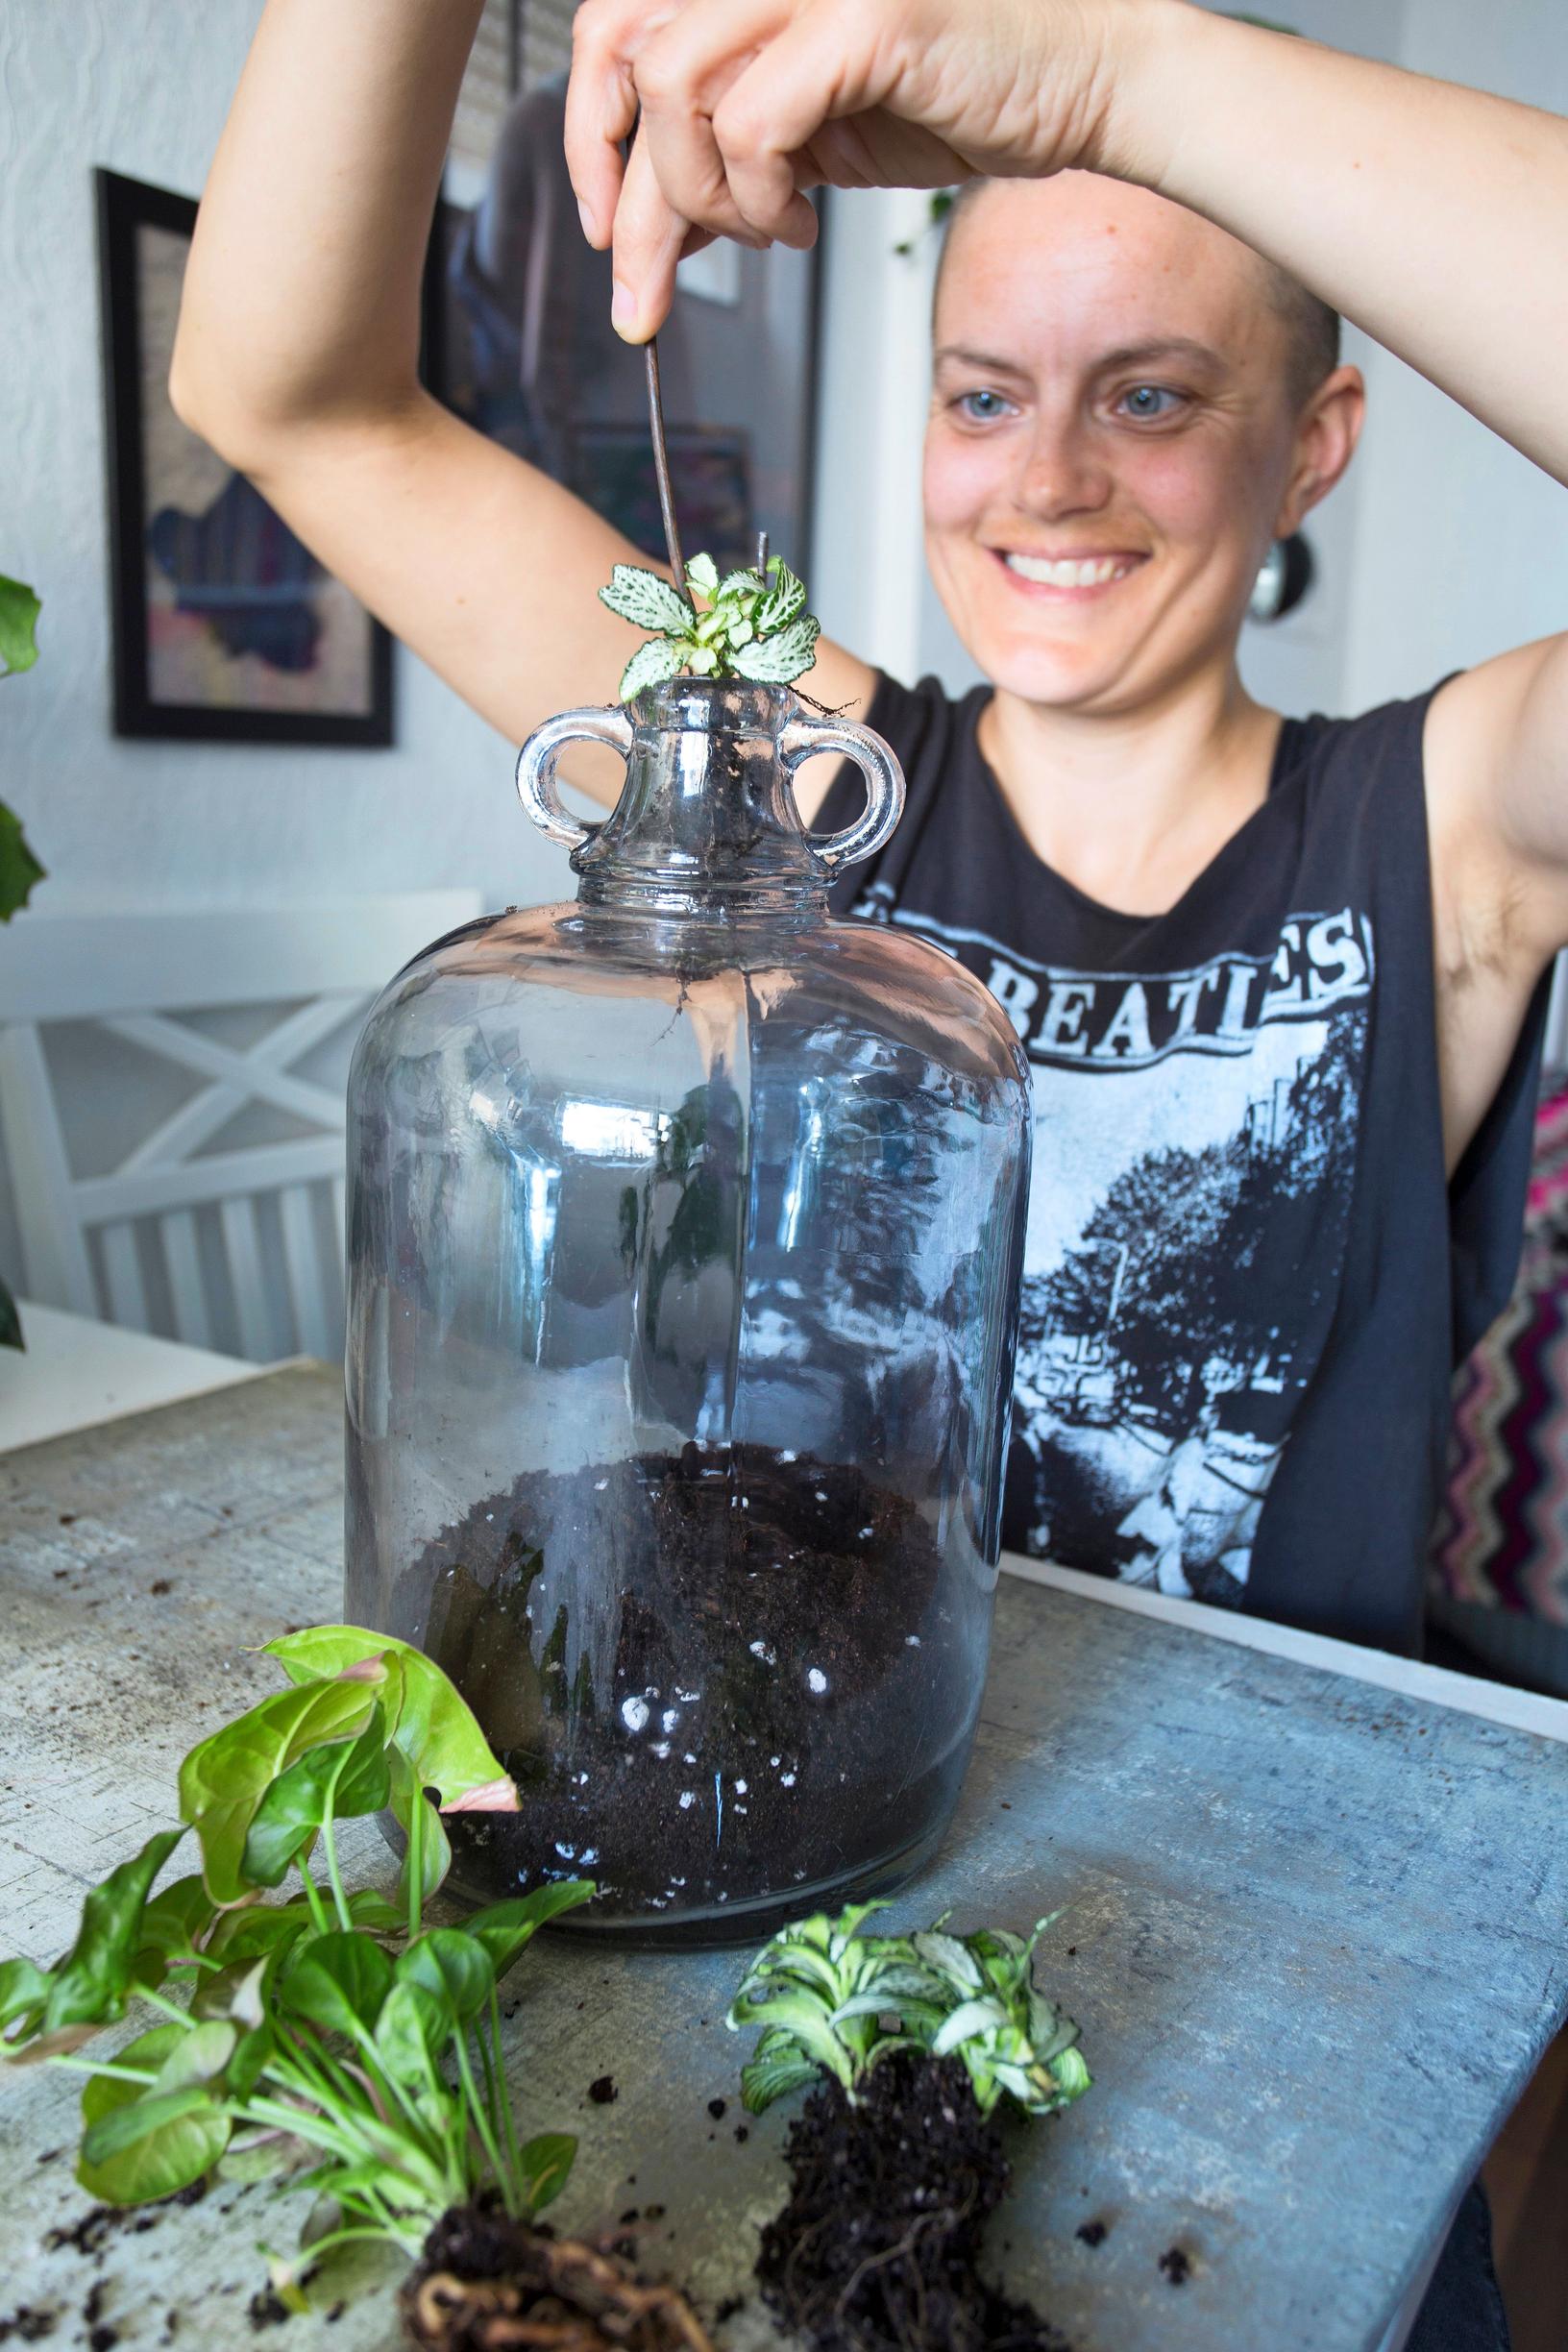
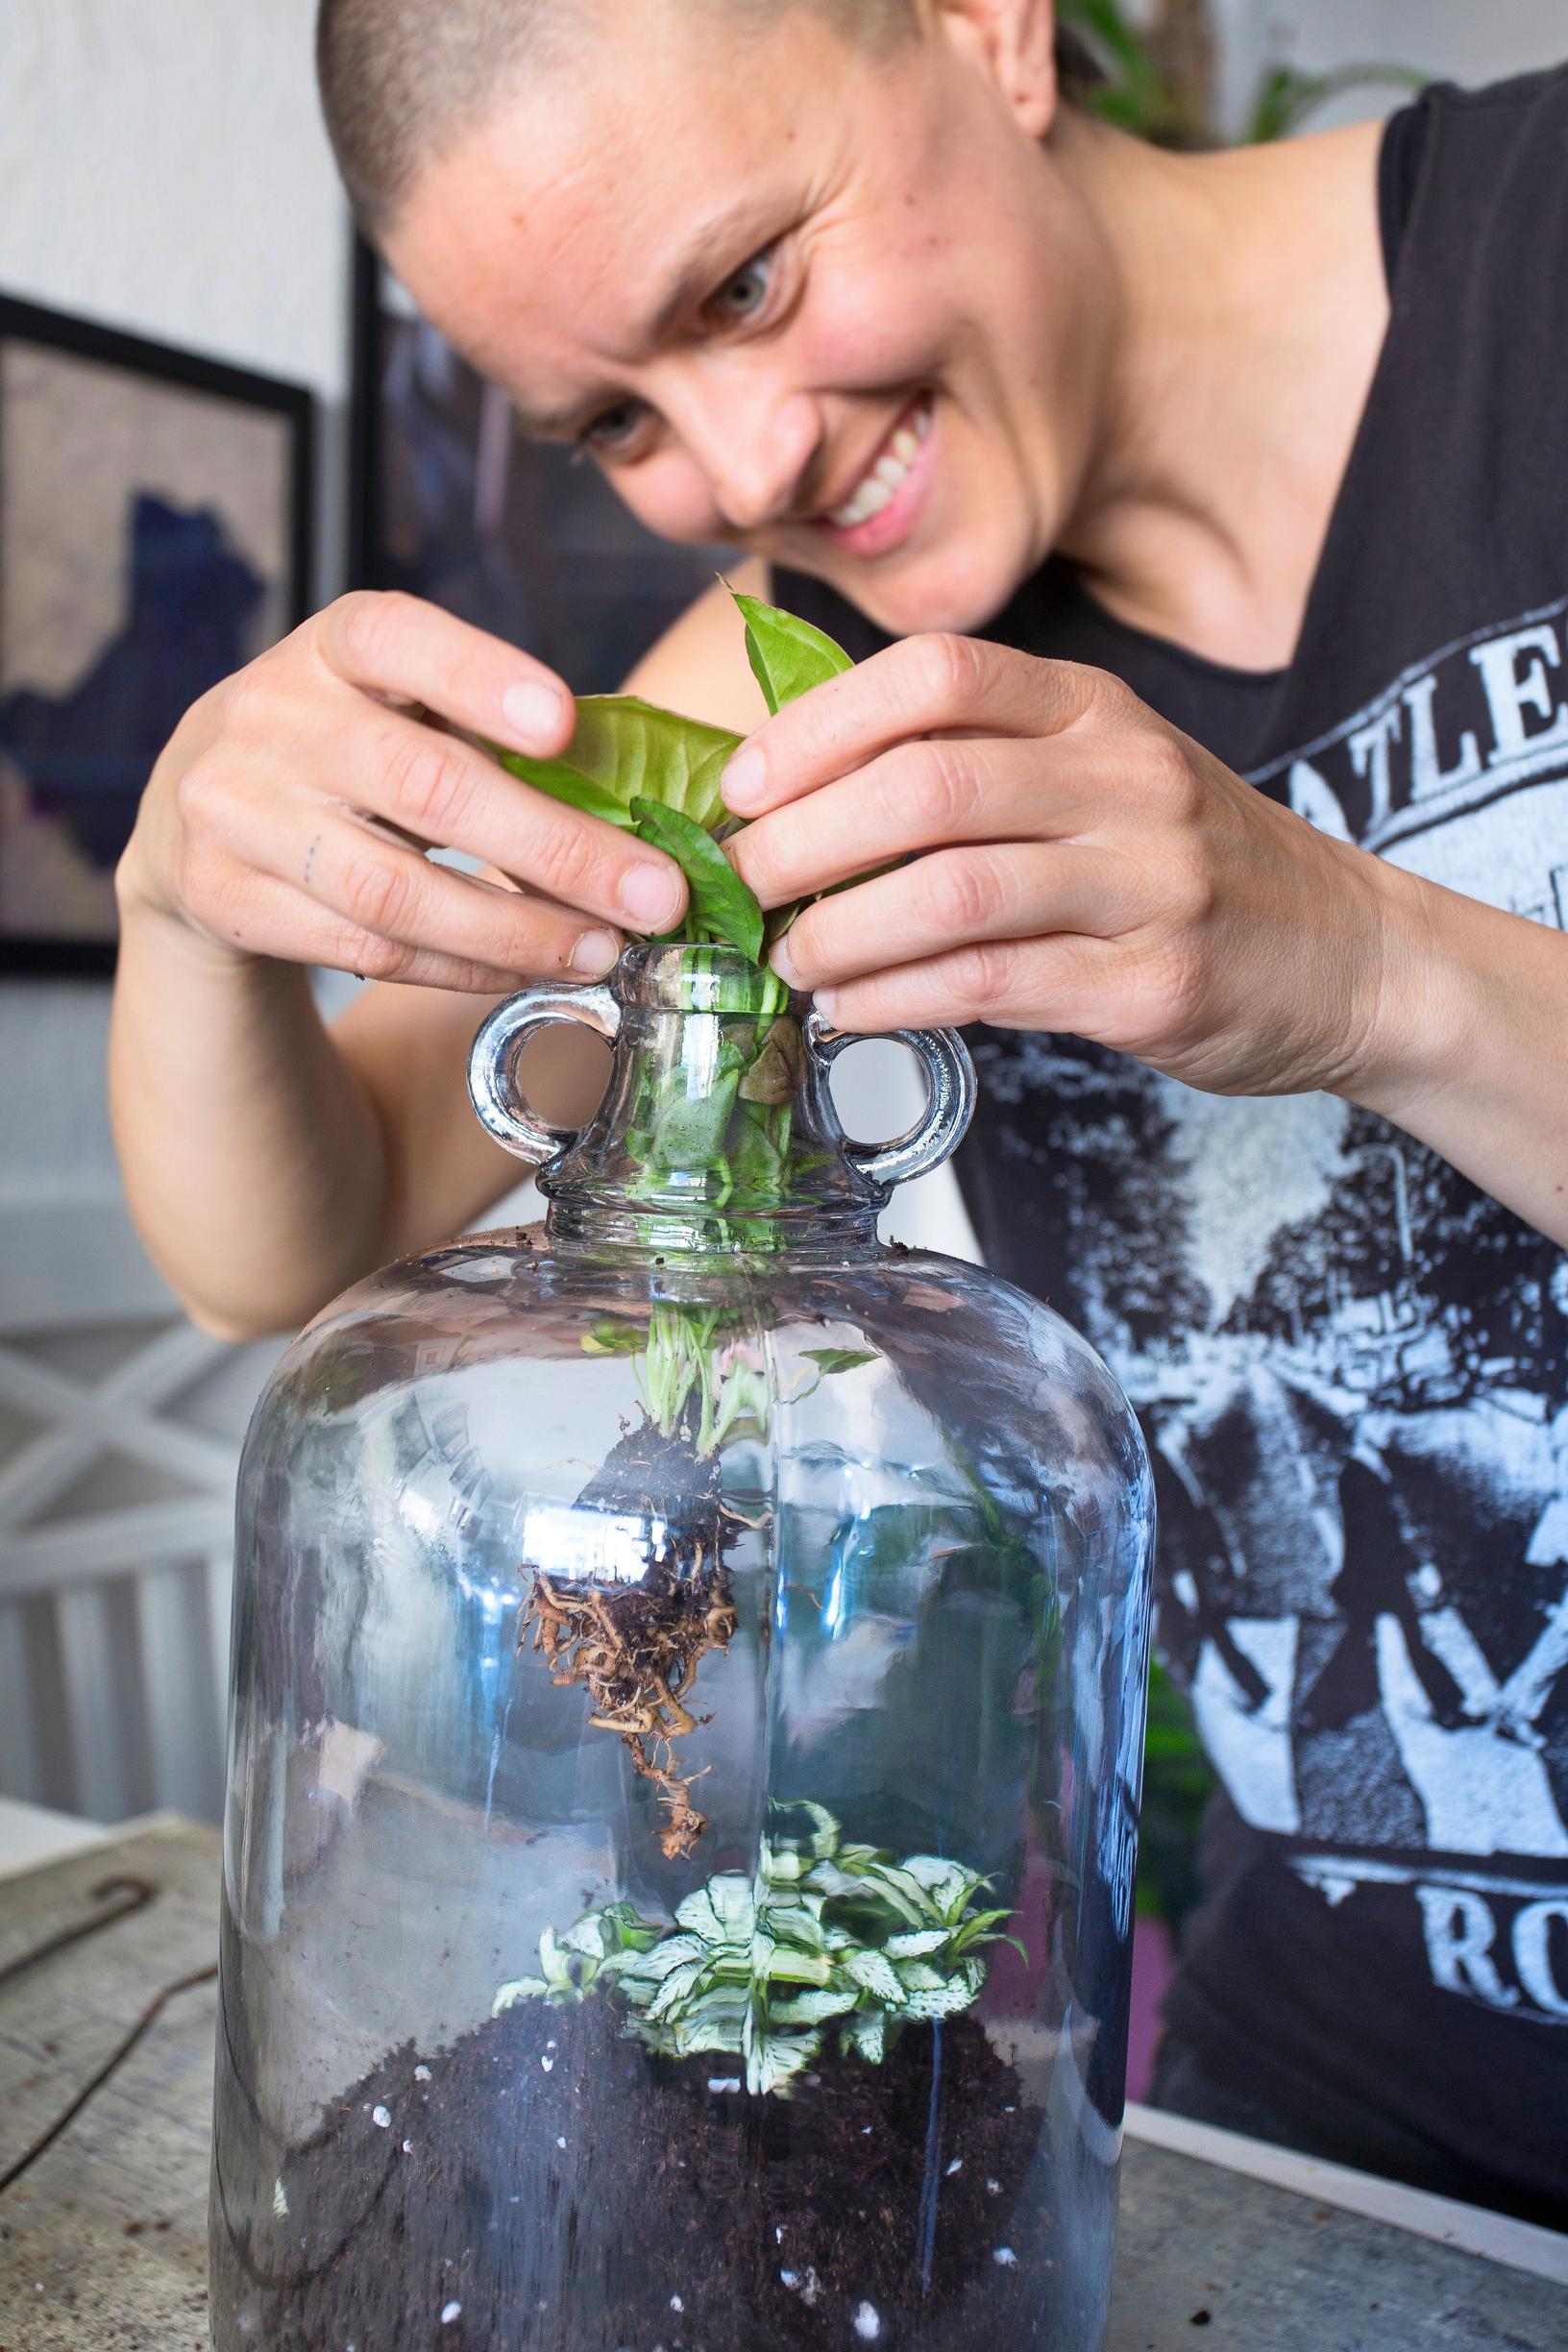
6–7. Hook a plant onto the tool, then ease it into a planting hole. Carefully roll any large leaves into a cone shape before threading them into the bottle. Use the shovel end of your tool to pack the soil as firmly as possible around the plant’s roots.


8. If the walls of your plant bottle become dirty during planting, just wipe them with a piece of paper towel attached to the tool. At the same time, you can gently tap off any soil from the leaves of the plants.

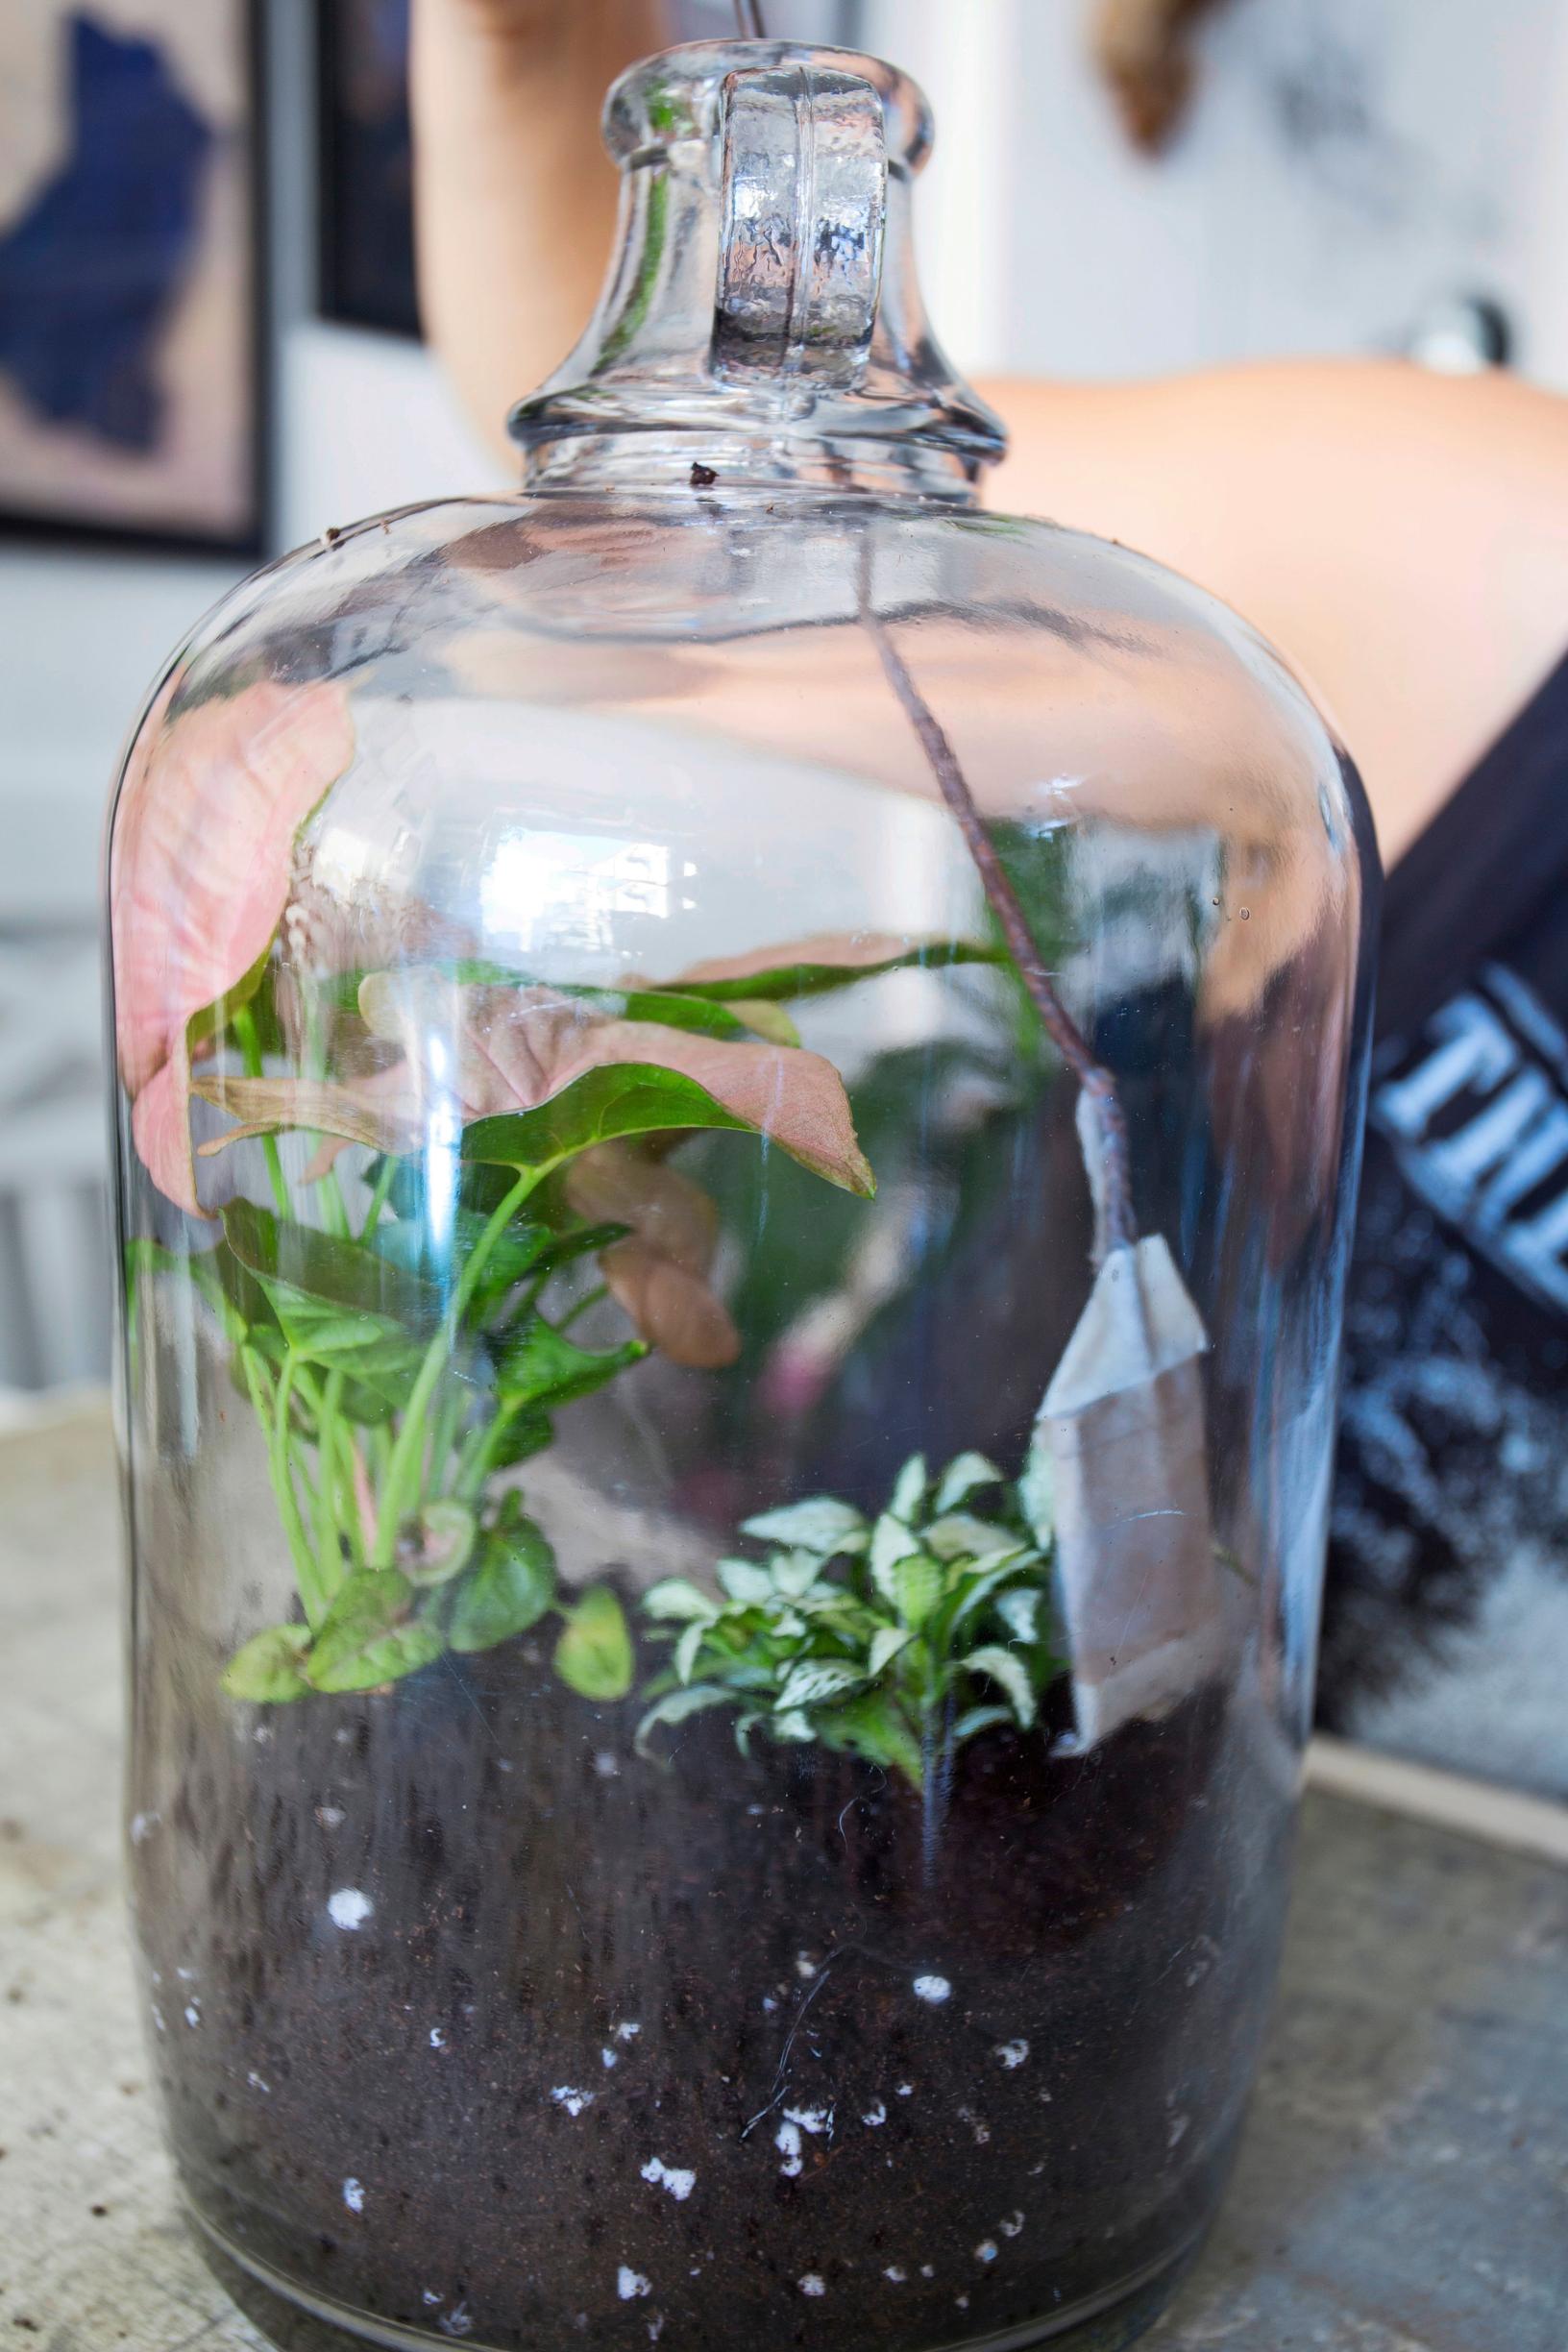
9. Mist the bottle three times with a spray bottle and set it on a bright windowsill. A south-facing window is too harsh for the plant bottle; east-, west-, or north-facing windows are better.