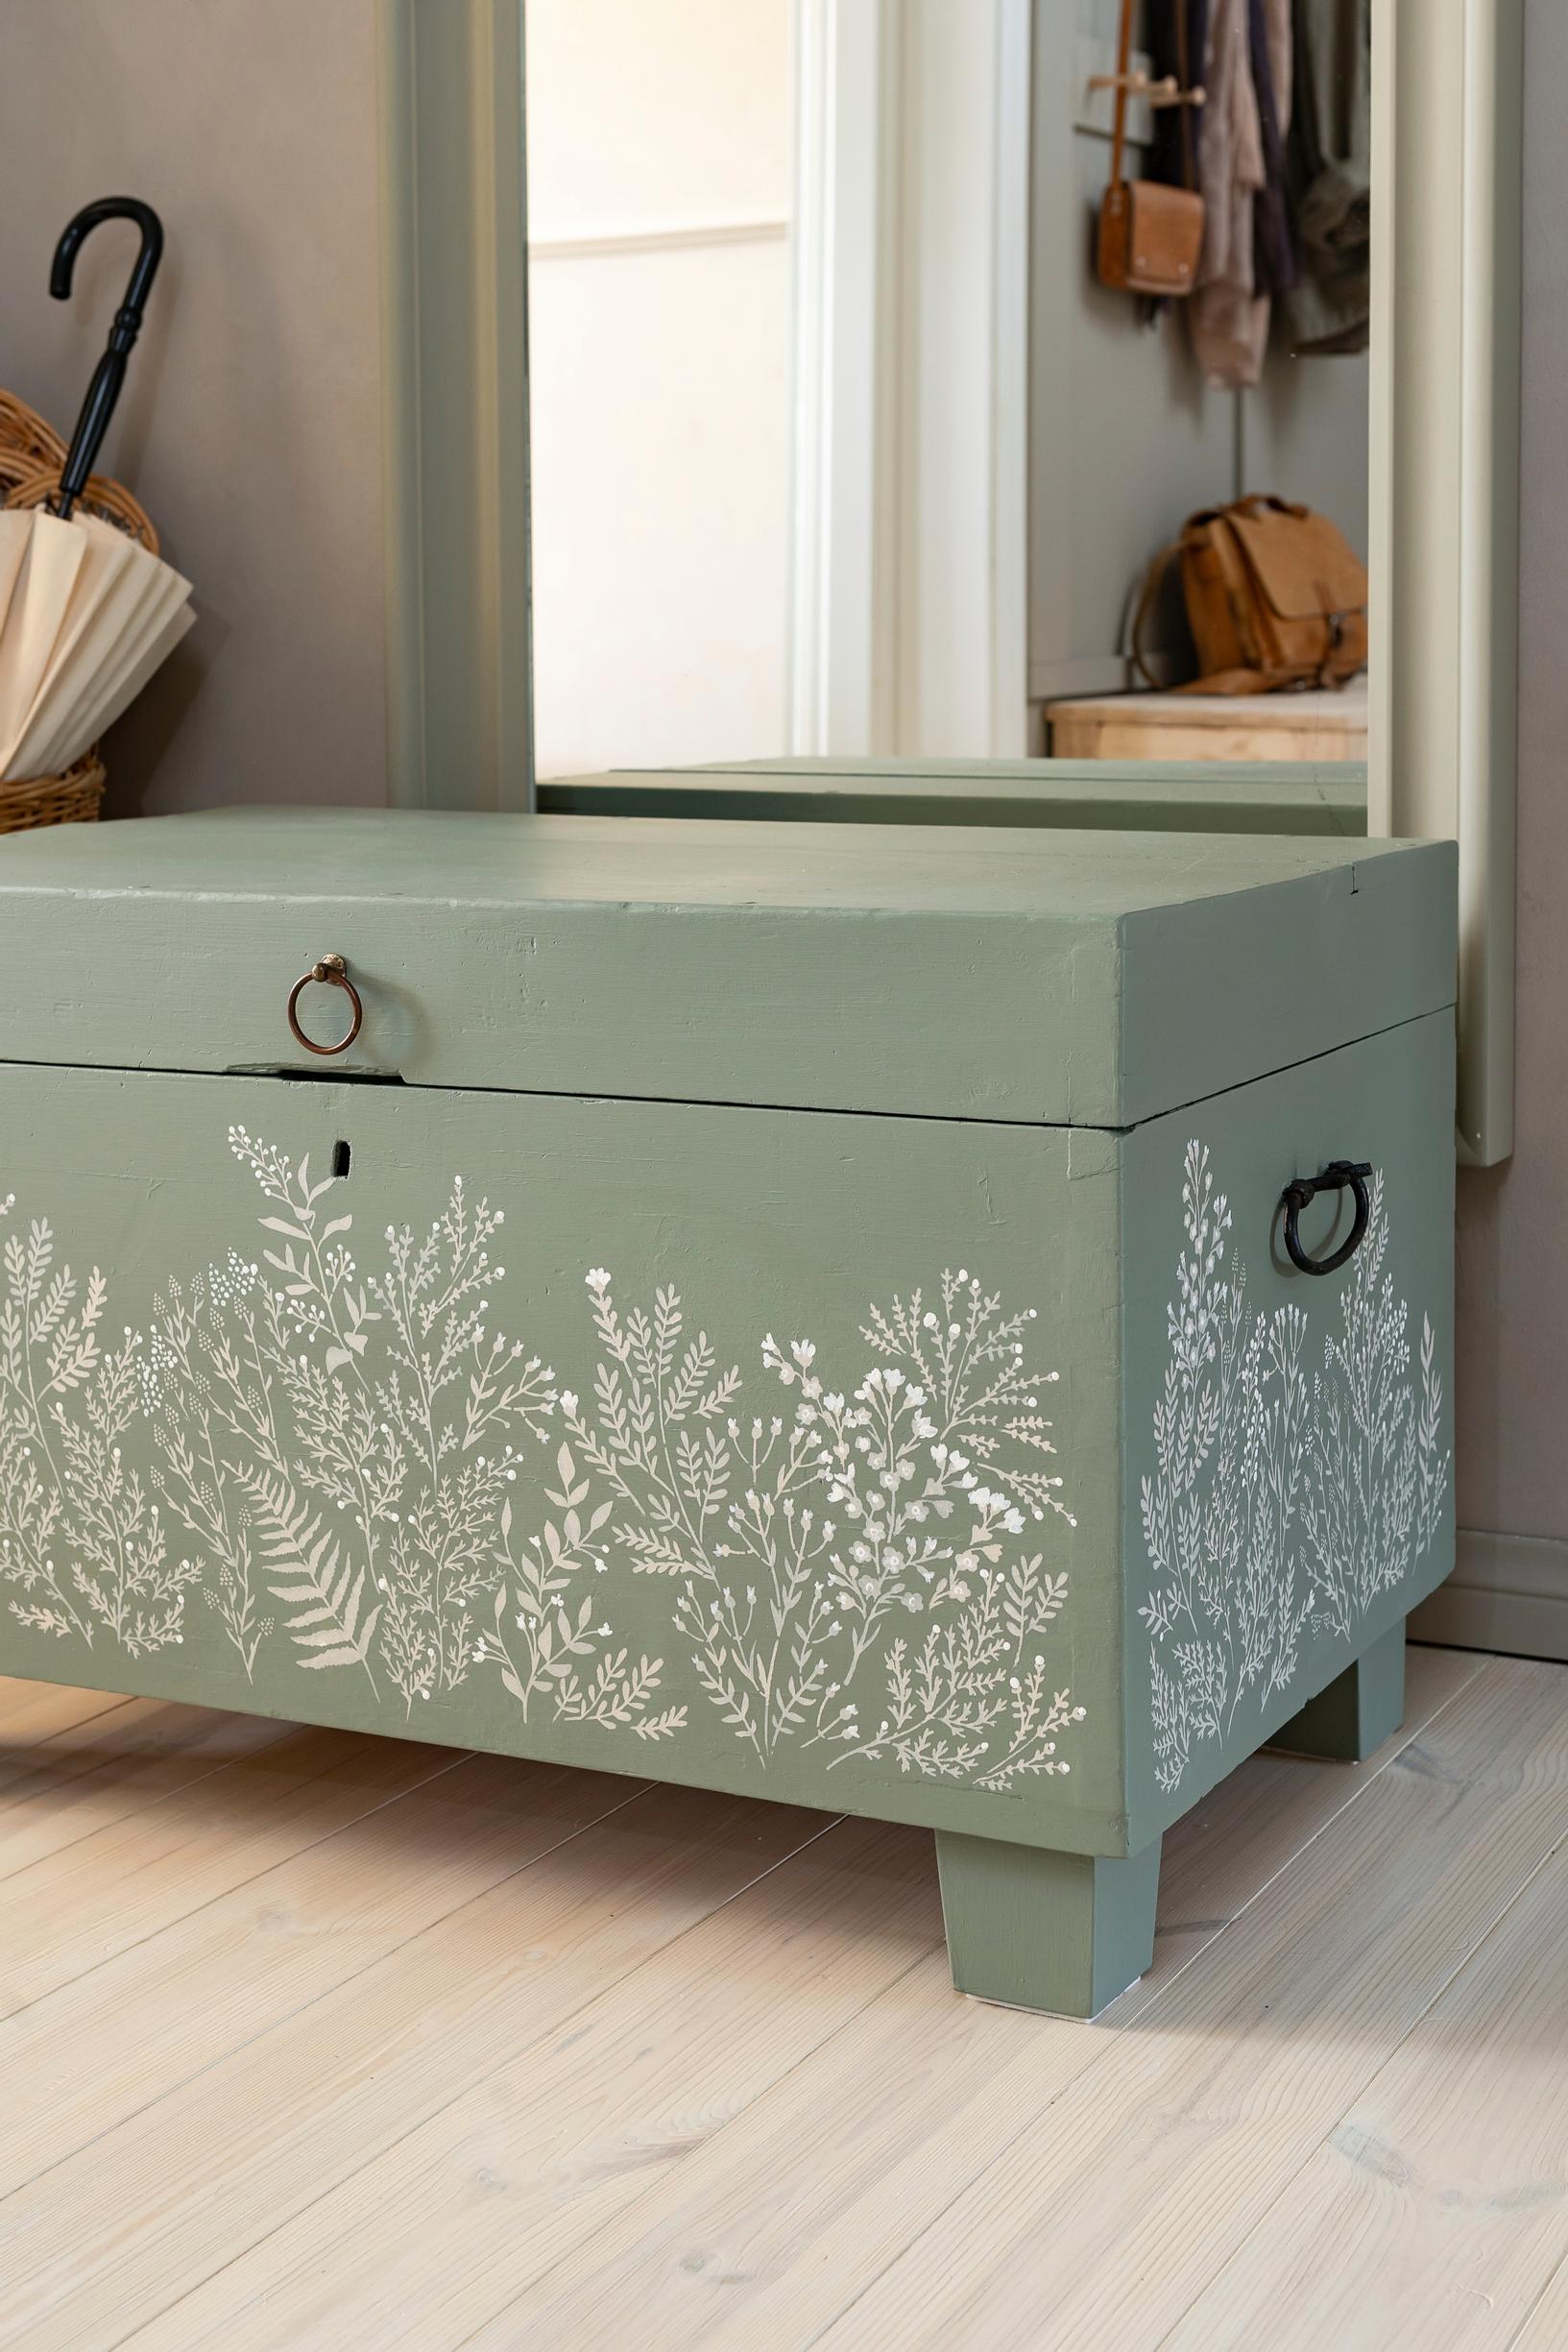
A painter’s flair on display
Worn pine chest? Transform it with paint and stencils—try blogger Katja Rinkinen’s easy method
Stencils let you create a gorgeous decorative paint job with astonishing ease. This wooden chest now evokes an everlasting summer with plant motifs. Check out instructions from Finnish blogger Katja Rinkinen.
Stenciling a wooden chest: supplies you’ll need
- A chest, trunk, or wooden box
- 120-grit sandpaper
- Wood filler (e.g., Rubinol)
- Stencils
- A palette, for example the lid of a plastic container
- A small stiff brush and a watercolor brush or a wooden stick
- A large brush for the base coat
- Washi tape or blue painter’s tape
- Chalk paint (e.g., Frenchic Paint Al Fresco) in shades for the base coat and pattern
- Linseed oil soap for cleaning tools


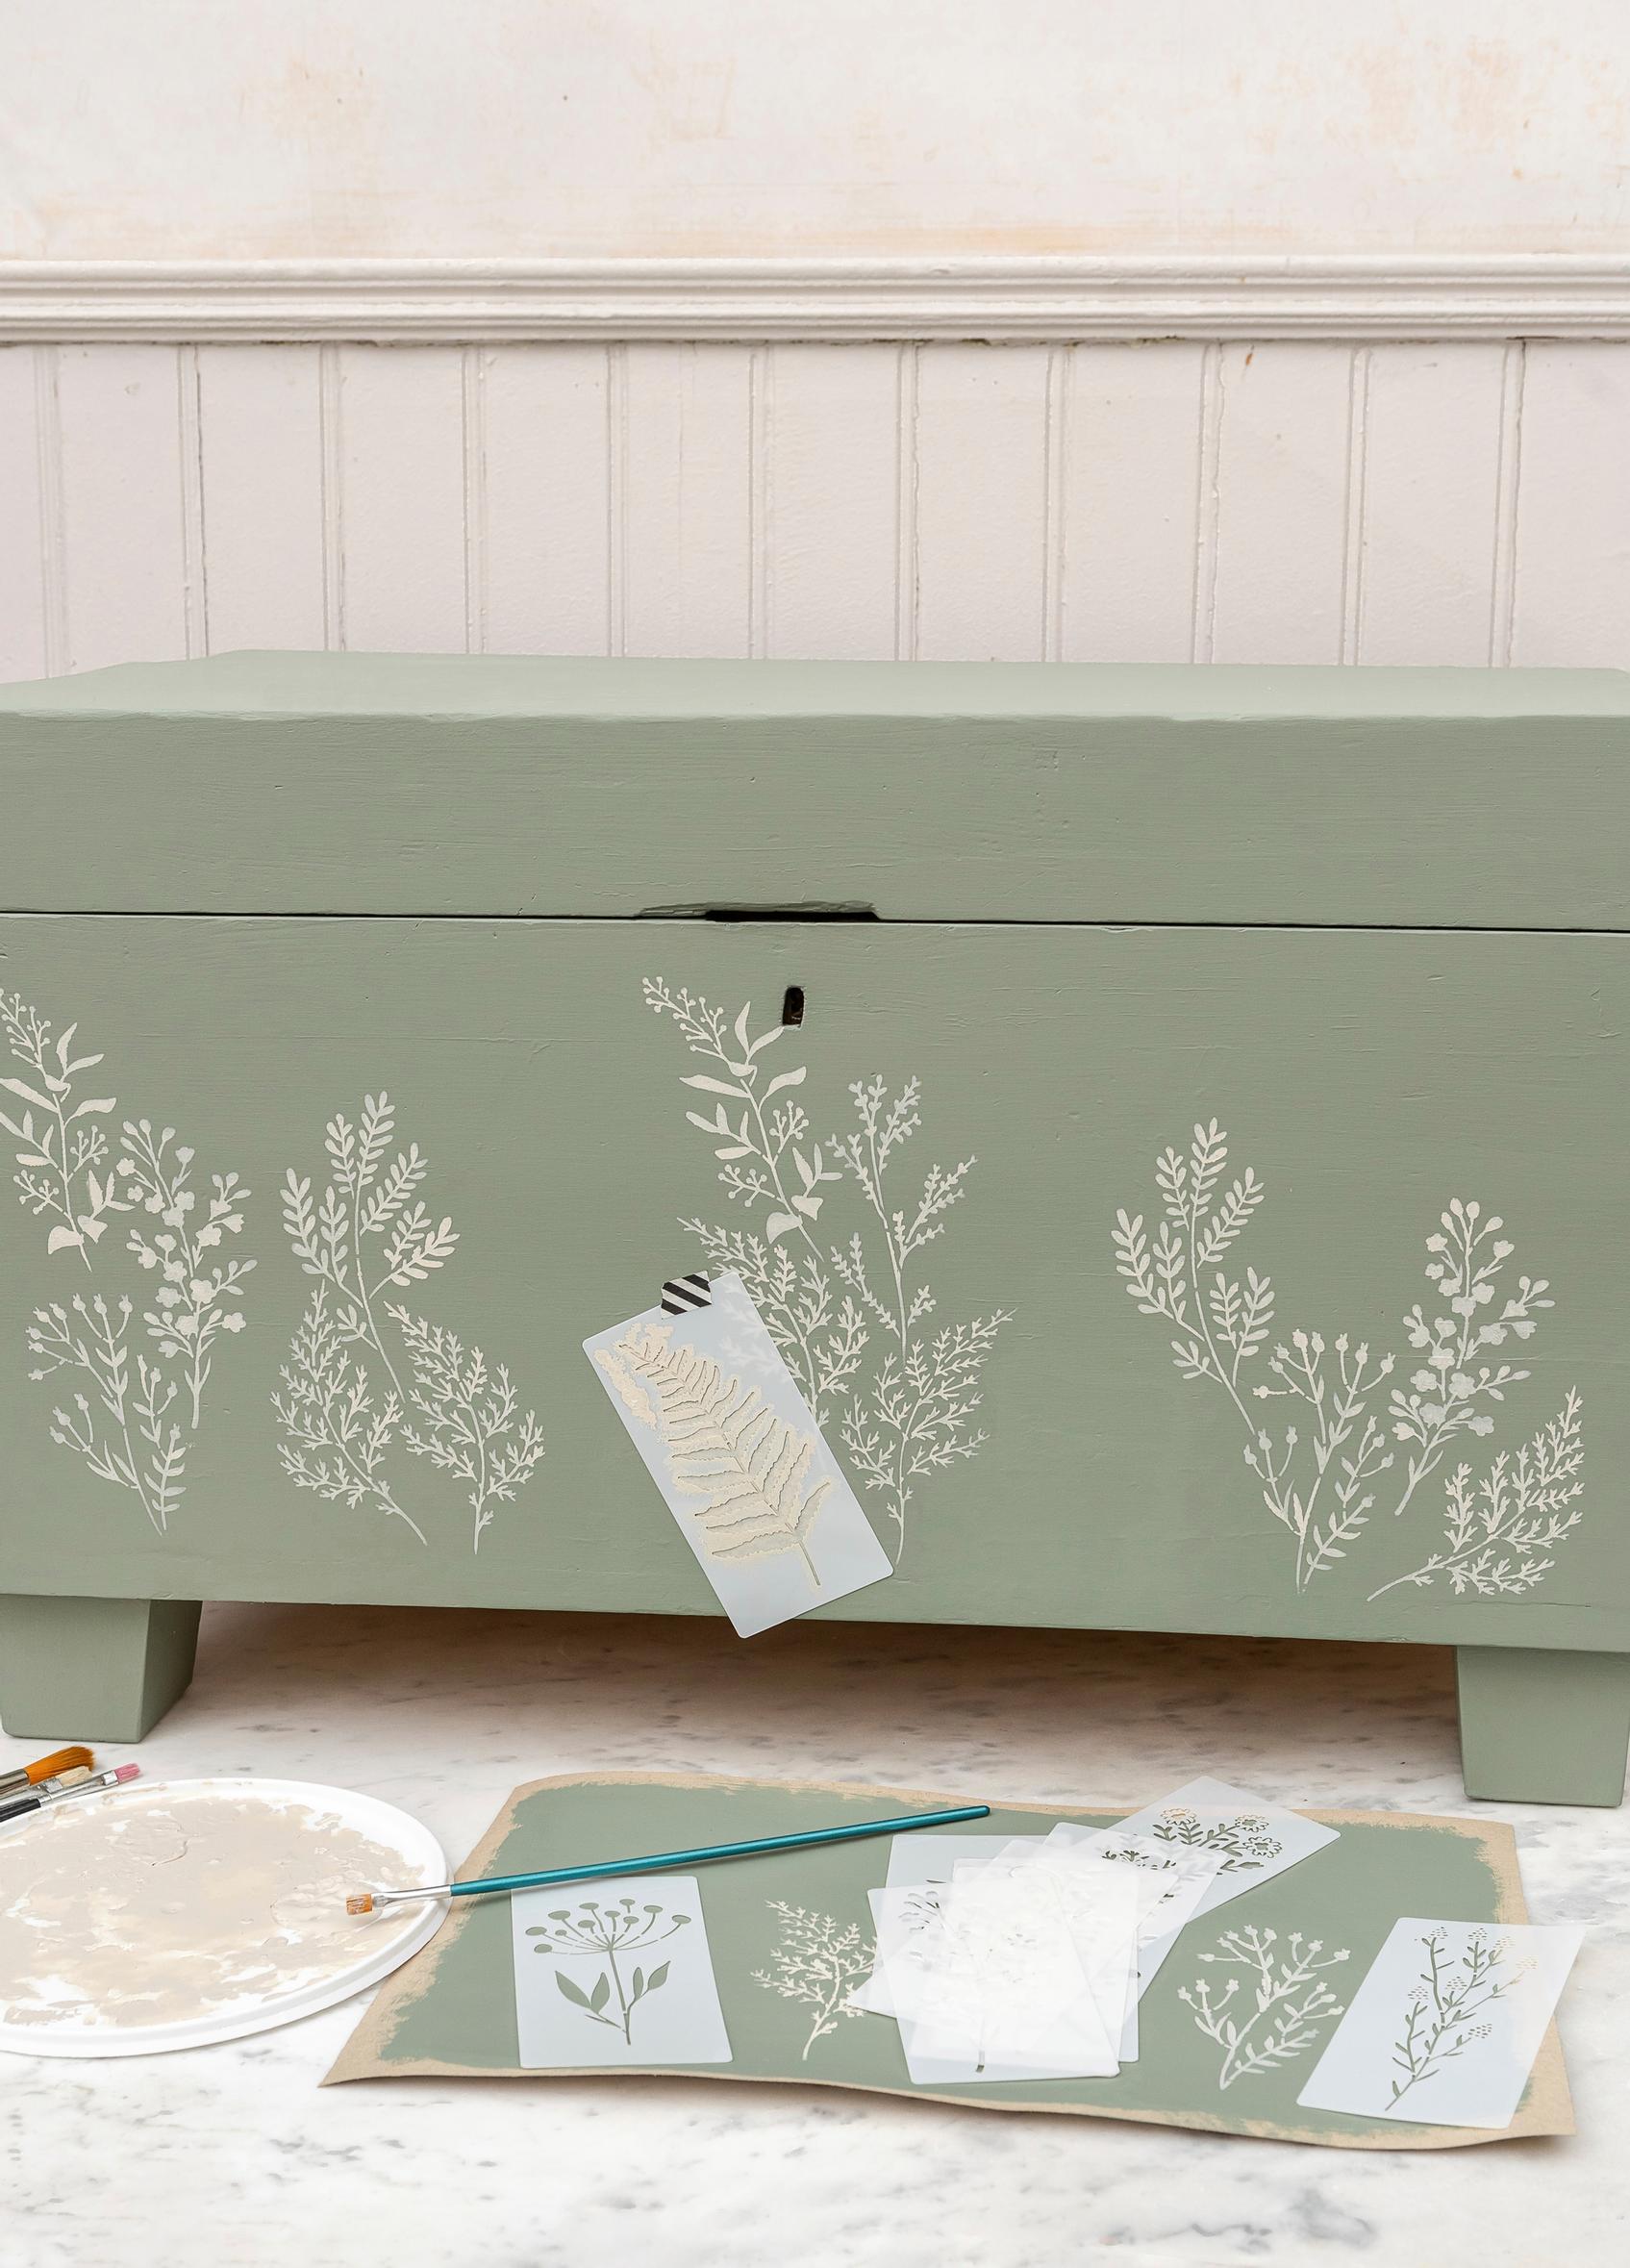
Painting a wooden chest: step-by-step instructions
- Fill any dents in the wood with wood filler. Remove loose paint, and roughen the old paint or varnish with sandpaper so the new paint will adhere better. Paint the chest with a base coat twice and let it dry.
- Position the stencil with a small piece of tape. Pour some pattern paint onto a plastic lid, for example, and dab it through the stencil using a small stiff brush. Practice on paper first to find the right amount of paint—you’ll need only a tiny bit, and the brush should be almost dry. Place stencils at different angles to form repeating patterns.
- Clean your tools and stencils periodically to remove dried paint. The paint comes off easily if you soak everything in strong linseed oil soap water (1:5–1:10) for 30–60 minutes.
- After you’ve stenciled enough designs, do any needed touch-ups with the base coat. Finally, add small color dots, which you can paint with the wooden tip of a brush, a wooden stick, or a watercolor brush.

Tip!
The sample chest gained extra height with simple wooden legs. They were attached from inside the chest using screws and a drill.


Sources for materials: flower stencils from Amazon.de