
Pelargonium care and propagation: how to easily nurture and propagate from cuttings
Pelargoniums thrive and bloom abundantly in summer when given proper care. Follow these pelargonium care tips and learn how to root pelargonium cuttings. Overwintering pelargoniums is easy—they need little space.
Pelargoniums are among the easiest potted plants to grow. They bloom and grow even with minimal attention but will flourish even more abundantly if you care for them properly by watering and fertilizing them regularly.
Pelargonium care
Location
Regular potting soil or soil designed for summer flowers is great for pelargoniums. Sandy potting soil is also suitable, as it provides better drainage. Pelargoniums tolerate drought better than overwatering. However, ‘Angel Eyes’ and Pelargonium x grandiflorus prefer consistent moisture.
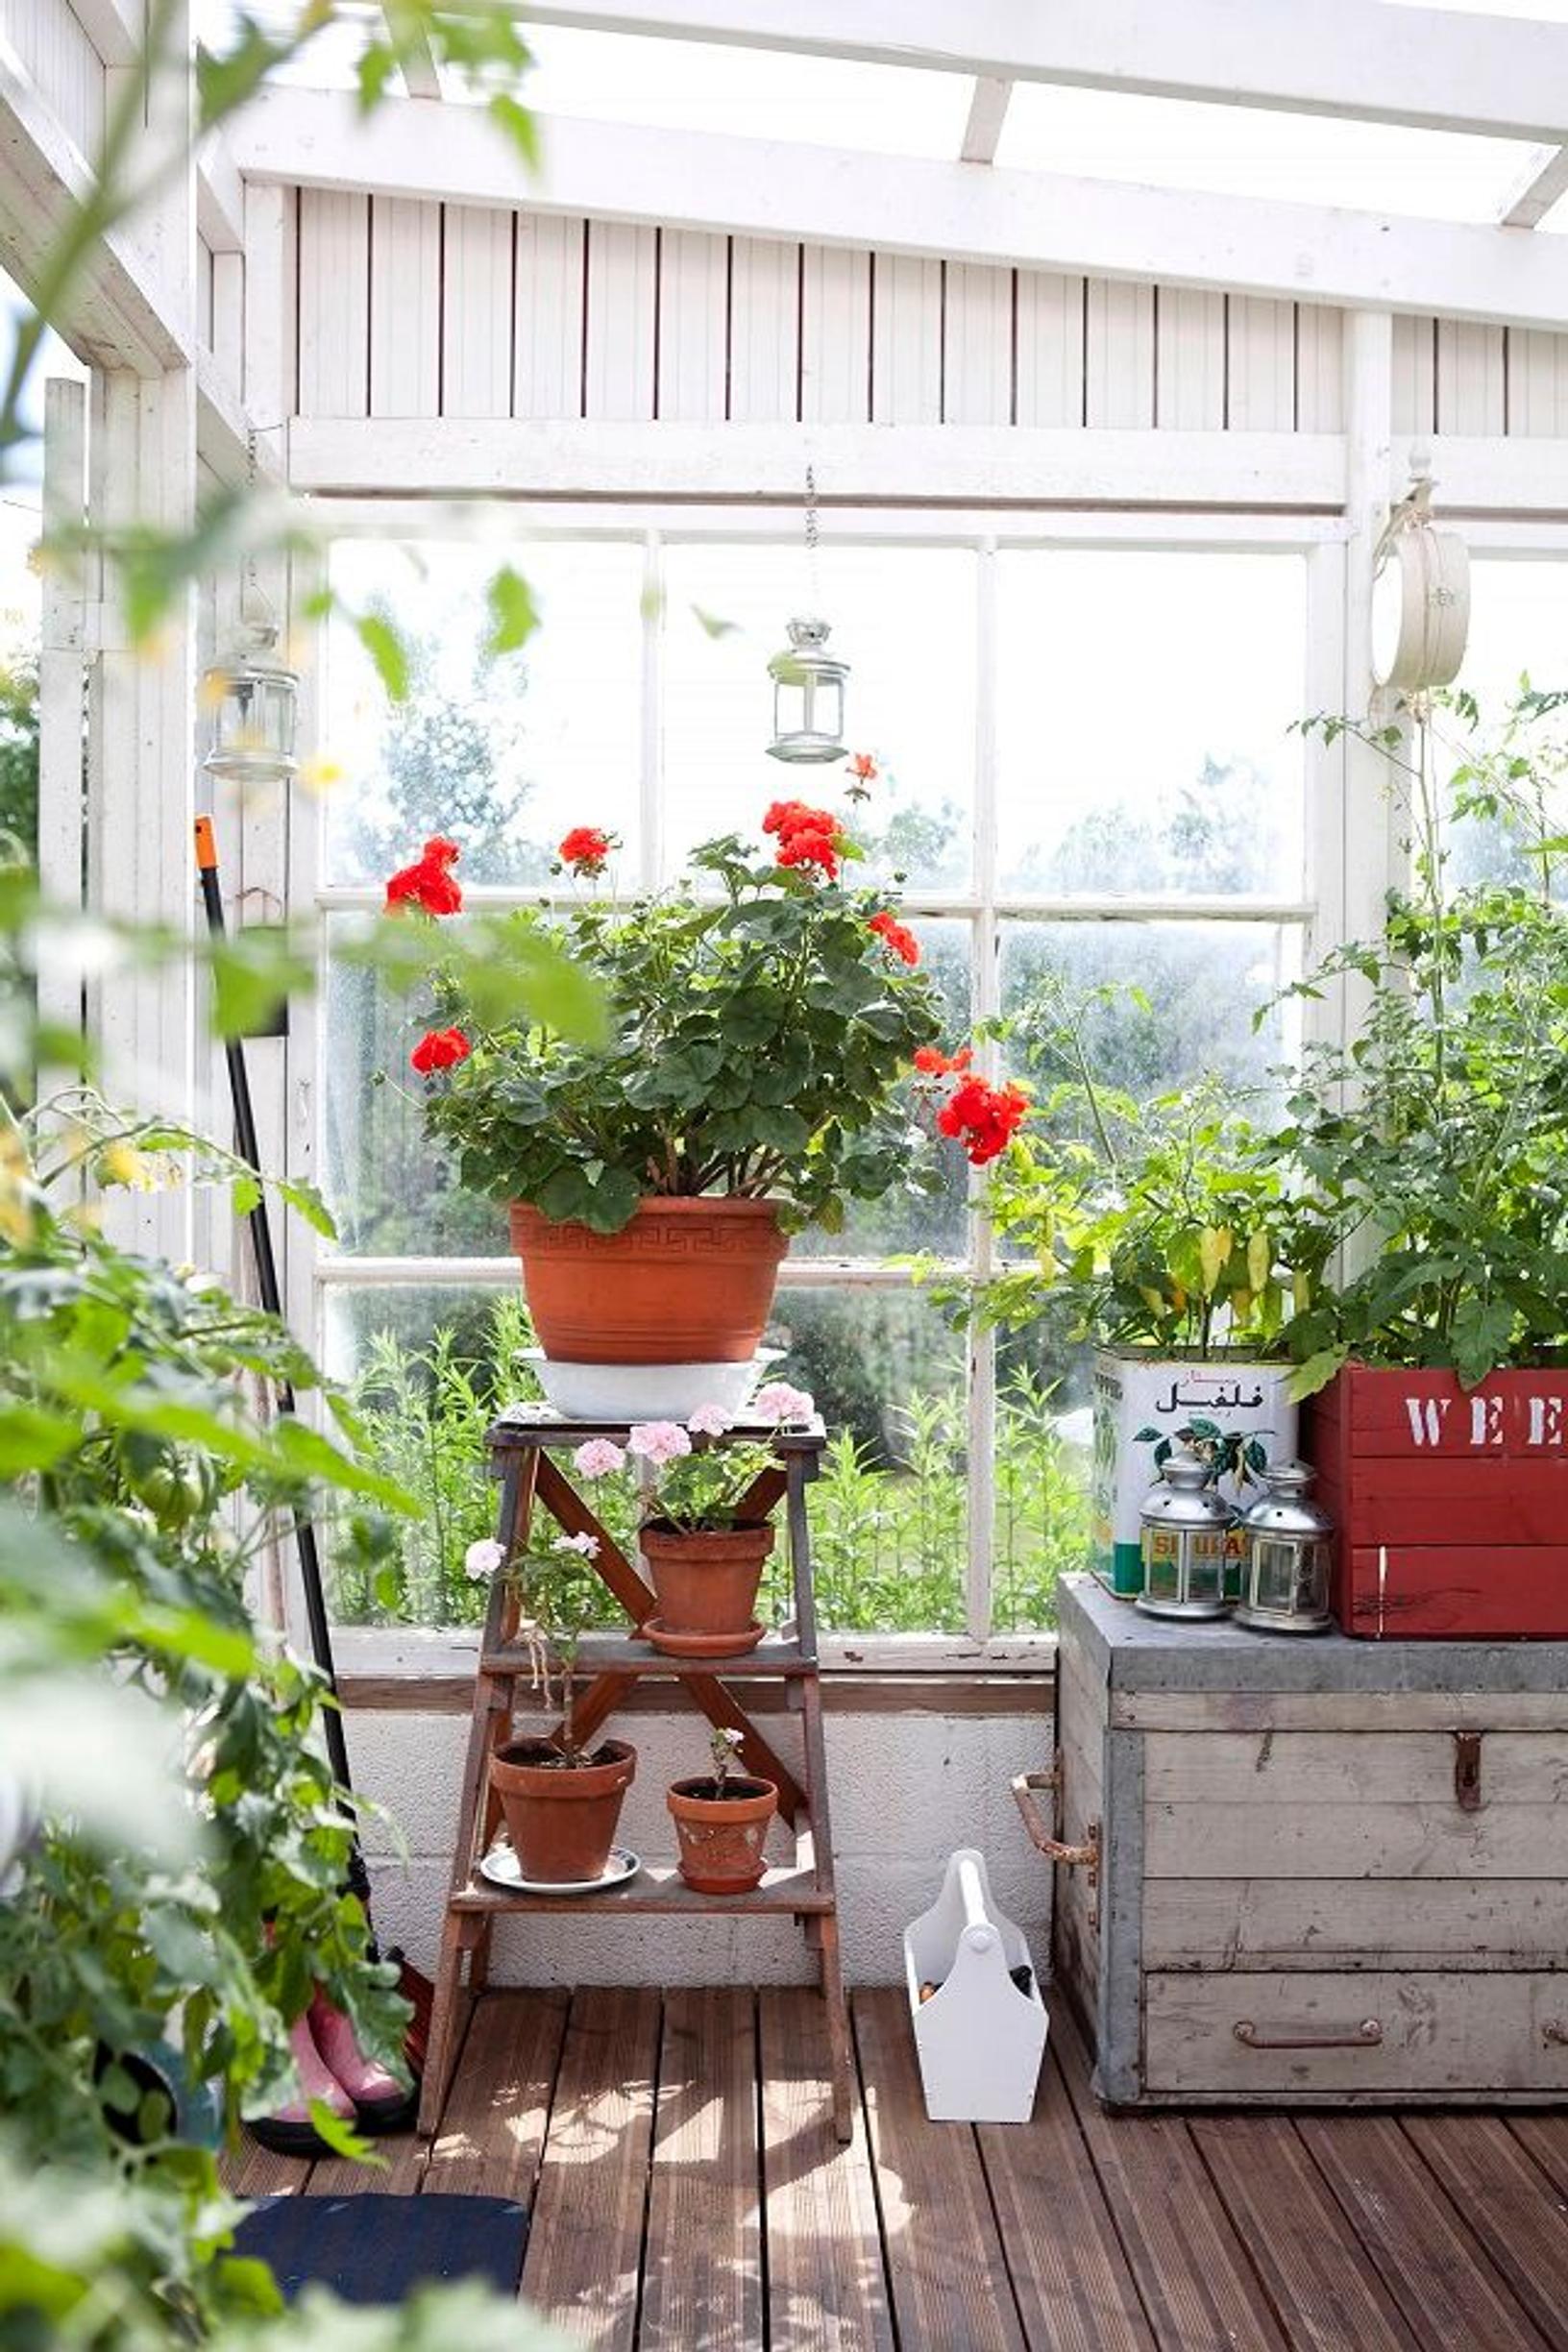
Plant pelargoniums in pots with drainage holes, or ensure efficient drainage by using lightweight expanded clay aggregate. Pelargonium roots dislike standing water. Clay pots dry out faster than plastic ones, so if you tend to forget watering, choose a plastic pot for your plant.
Place your pelargonium in a sunny location. It will also bloom reasonably well in partial shade.
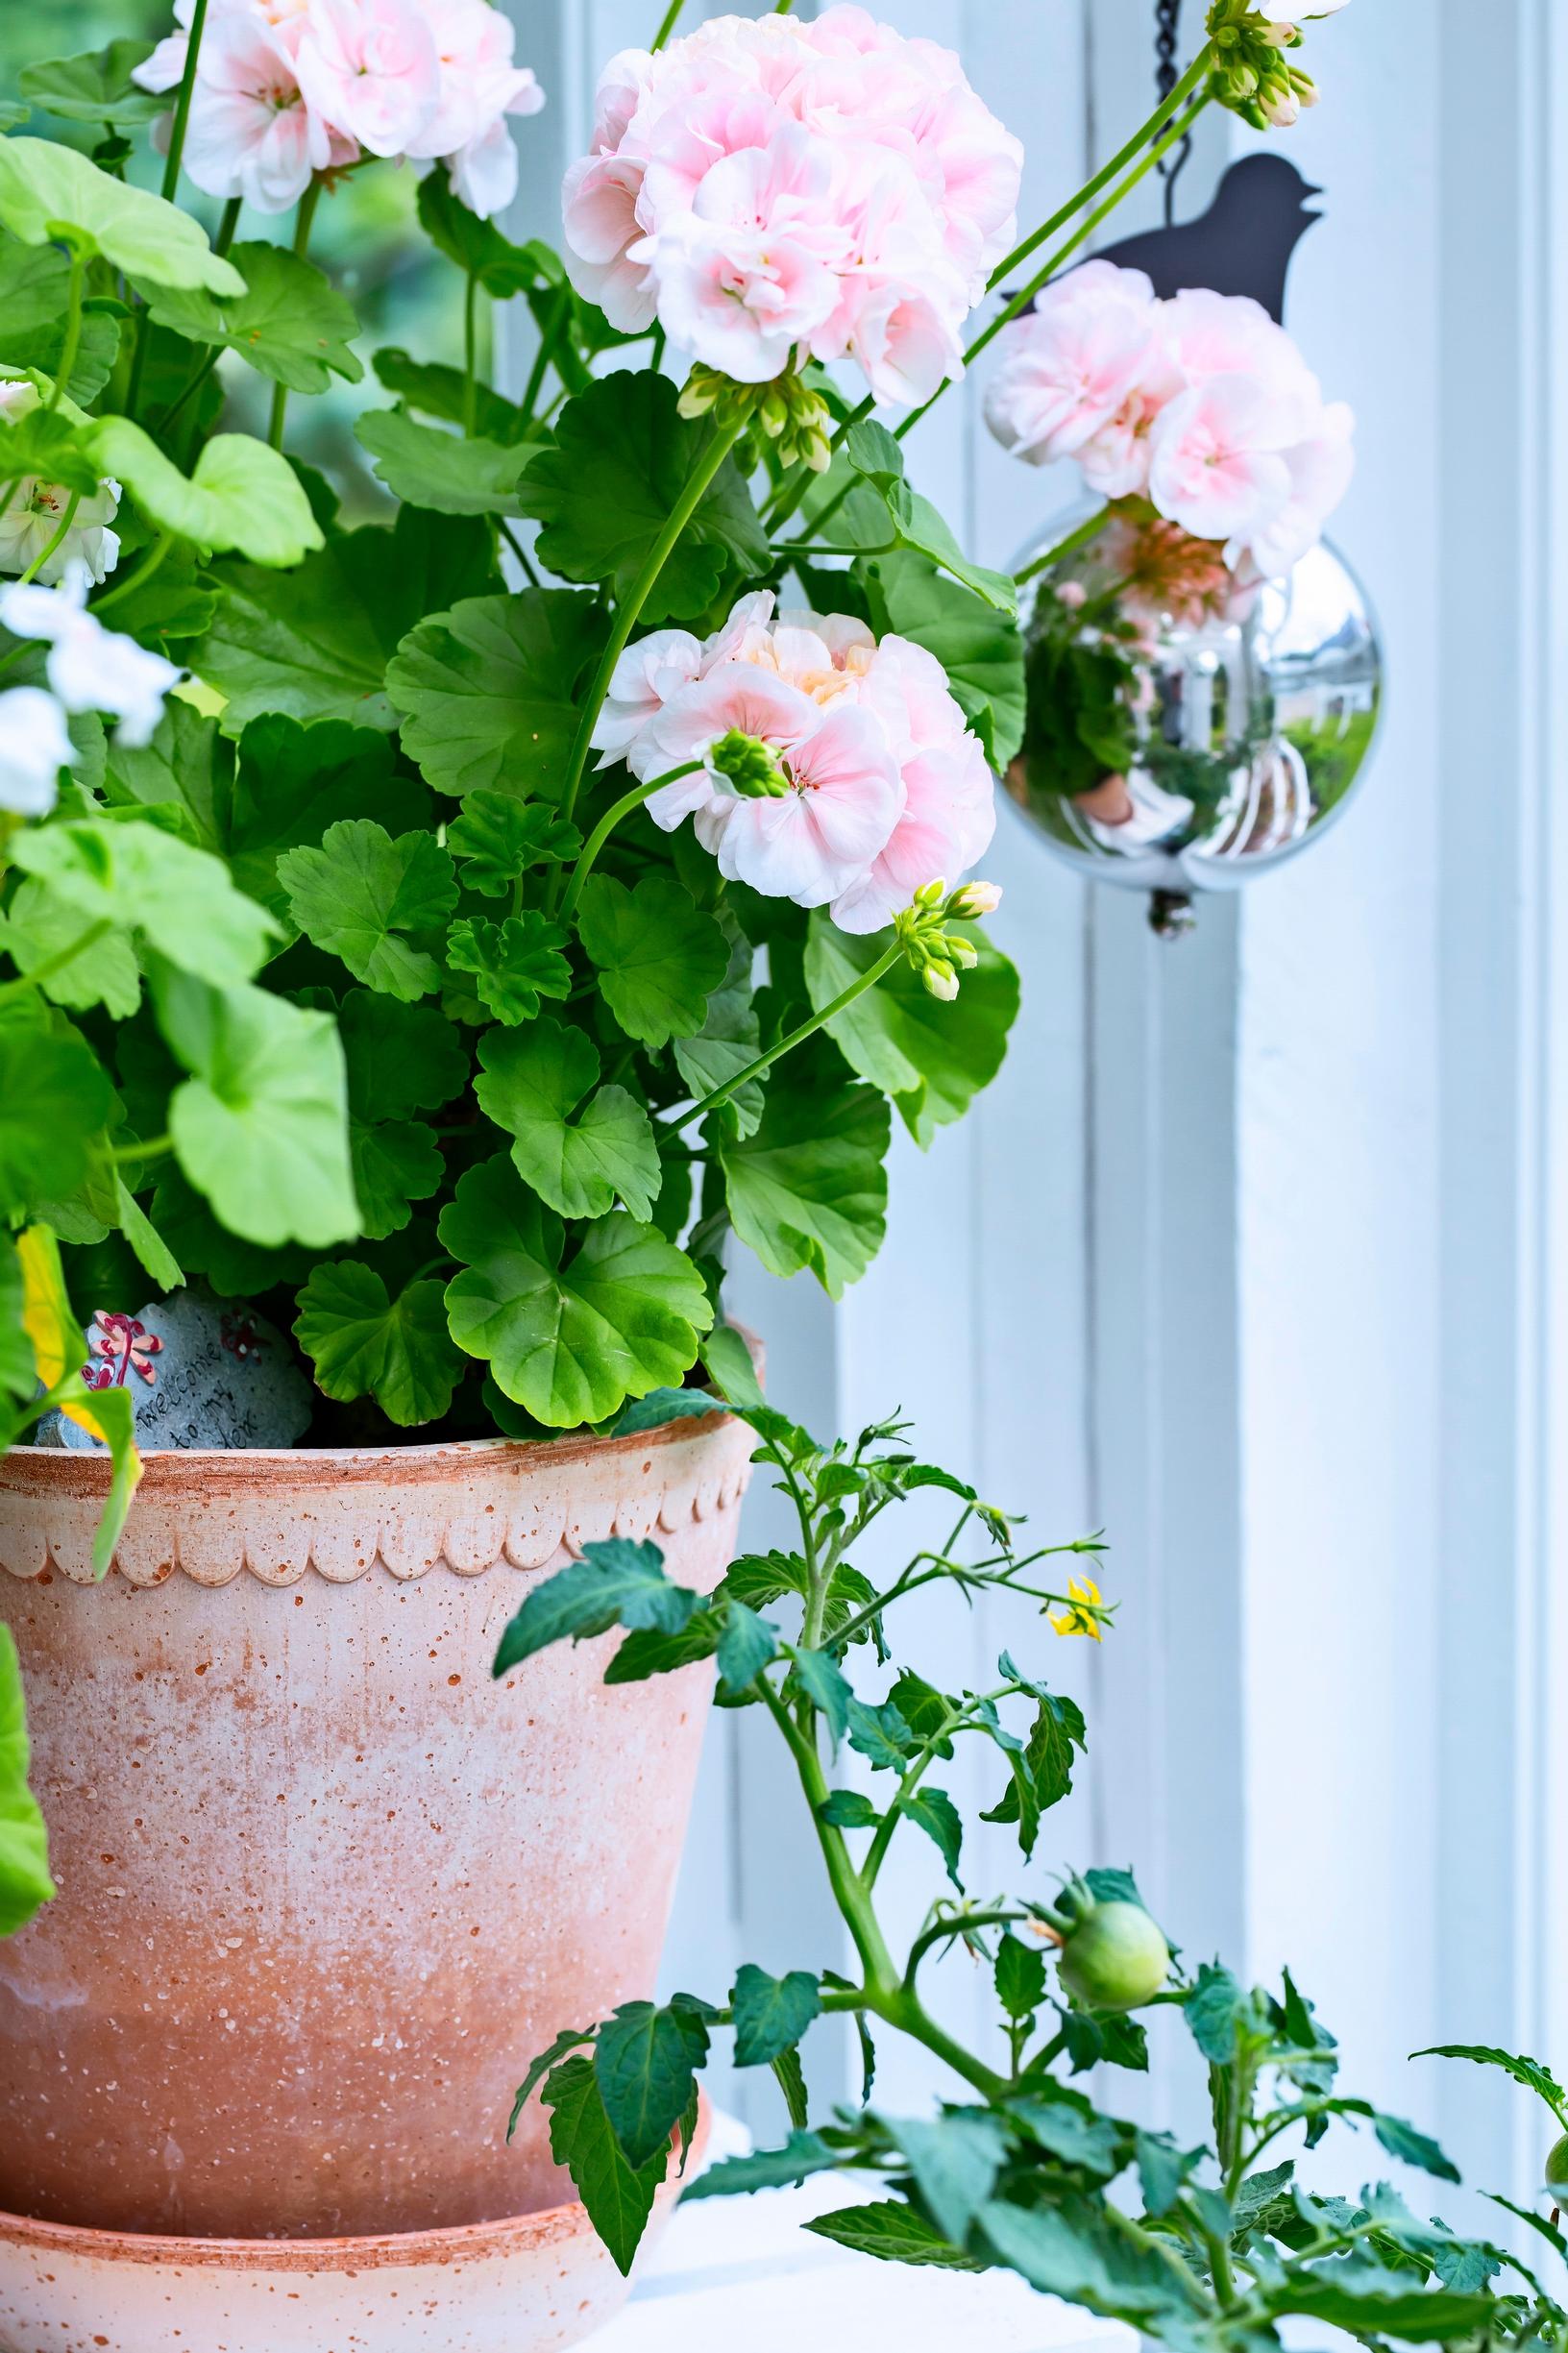
Keep double-flowered pelargoniums under a canopy to protect them from rain, as rainwater can get trapped in the abundant layers of petals and cause the flowers to brown.

Watering
Water thoroughly each time, then allow the soil to dry out slightly before watering again. However, don’t let the plant become completely dry. The frequency of watering depends on the temperature, sunlight, and wind conditions of the location. Also, consider the amount of rainfall if your pelargoniums are outdoors.
Fertilizing
Pelargoniums need plenty of nutrients to bloom. Mix a potassium-rich fertilizer designed for flowering plants into your watering can, following the package instructions. You can also add fertilizer cones or chicken manure pellets to the pot when planting. You can also fertilize with fertilizer sticks.
Other care
Remove the spent flowers from your pelargonium. You can snap off the entire flower stem once the whole bloom has faded. Also, remove any yellowing leaves.
Pelargoniums are generally healthy plants and are not the primary target of pests.

Pelargonium propagation
Does your nutmeg pelargonium need some shaping? Does your stunning zonal pelargonium attract admiration? Trim the overgrown stems into cuttings and delight a friend with a new pelargonium plant.
It’s a good idea to root cuttings from your cherished pelargoniums anyway. If the mother plant doesn’t survive the winter darkness, a small summer cutting might well make it through. Cuttings taken in early August have enough time to root before the daylight diminishes.
August or early September is a good time to take cuttings from pelargoniums.

How to propagate pelargoniums from cuttings
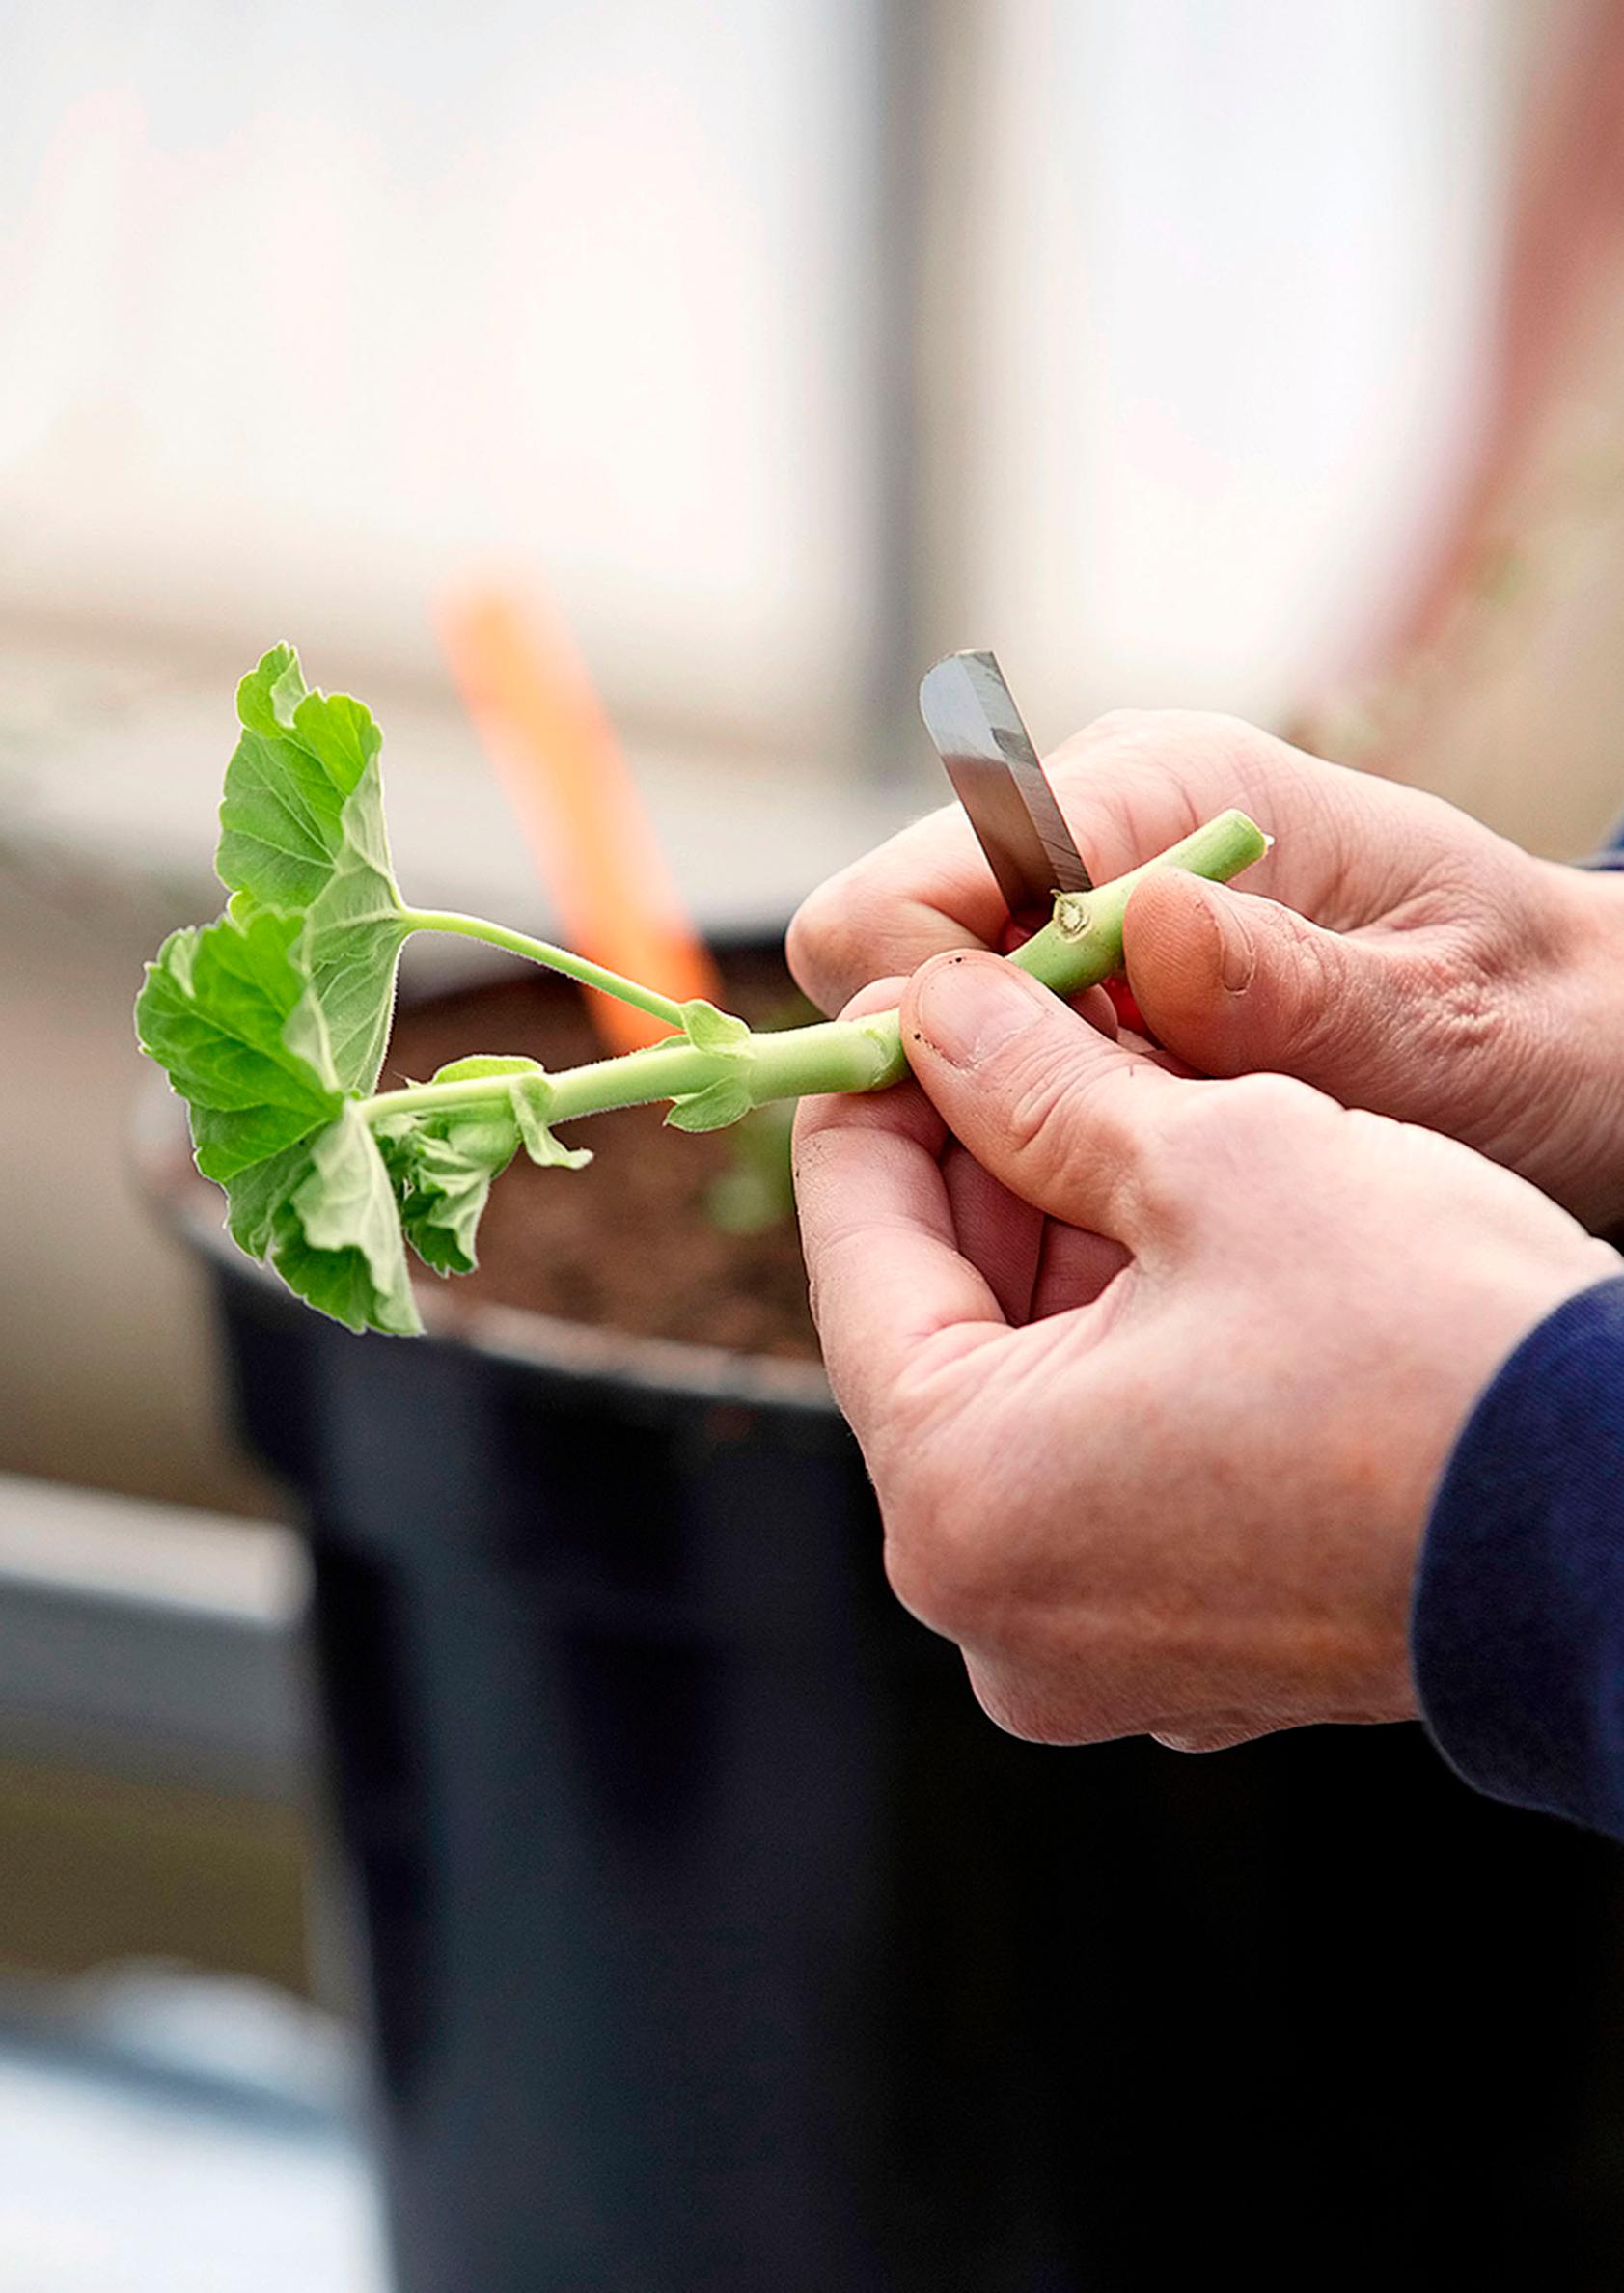
1. Cut a shoot from a well-hydrated mother plant. Remove any buds and flowers so the plant can focus on growing roots. A good cutting is non-woody, about 10 cm long, with 3–4 pairs of leaves. Take pelargonium cuttings in August or early September.

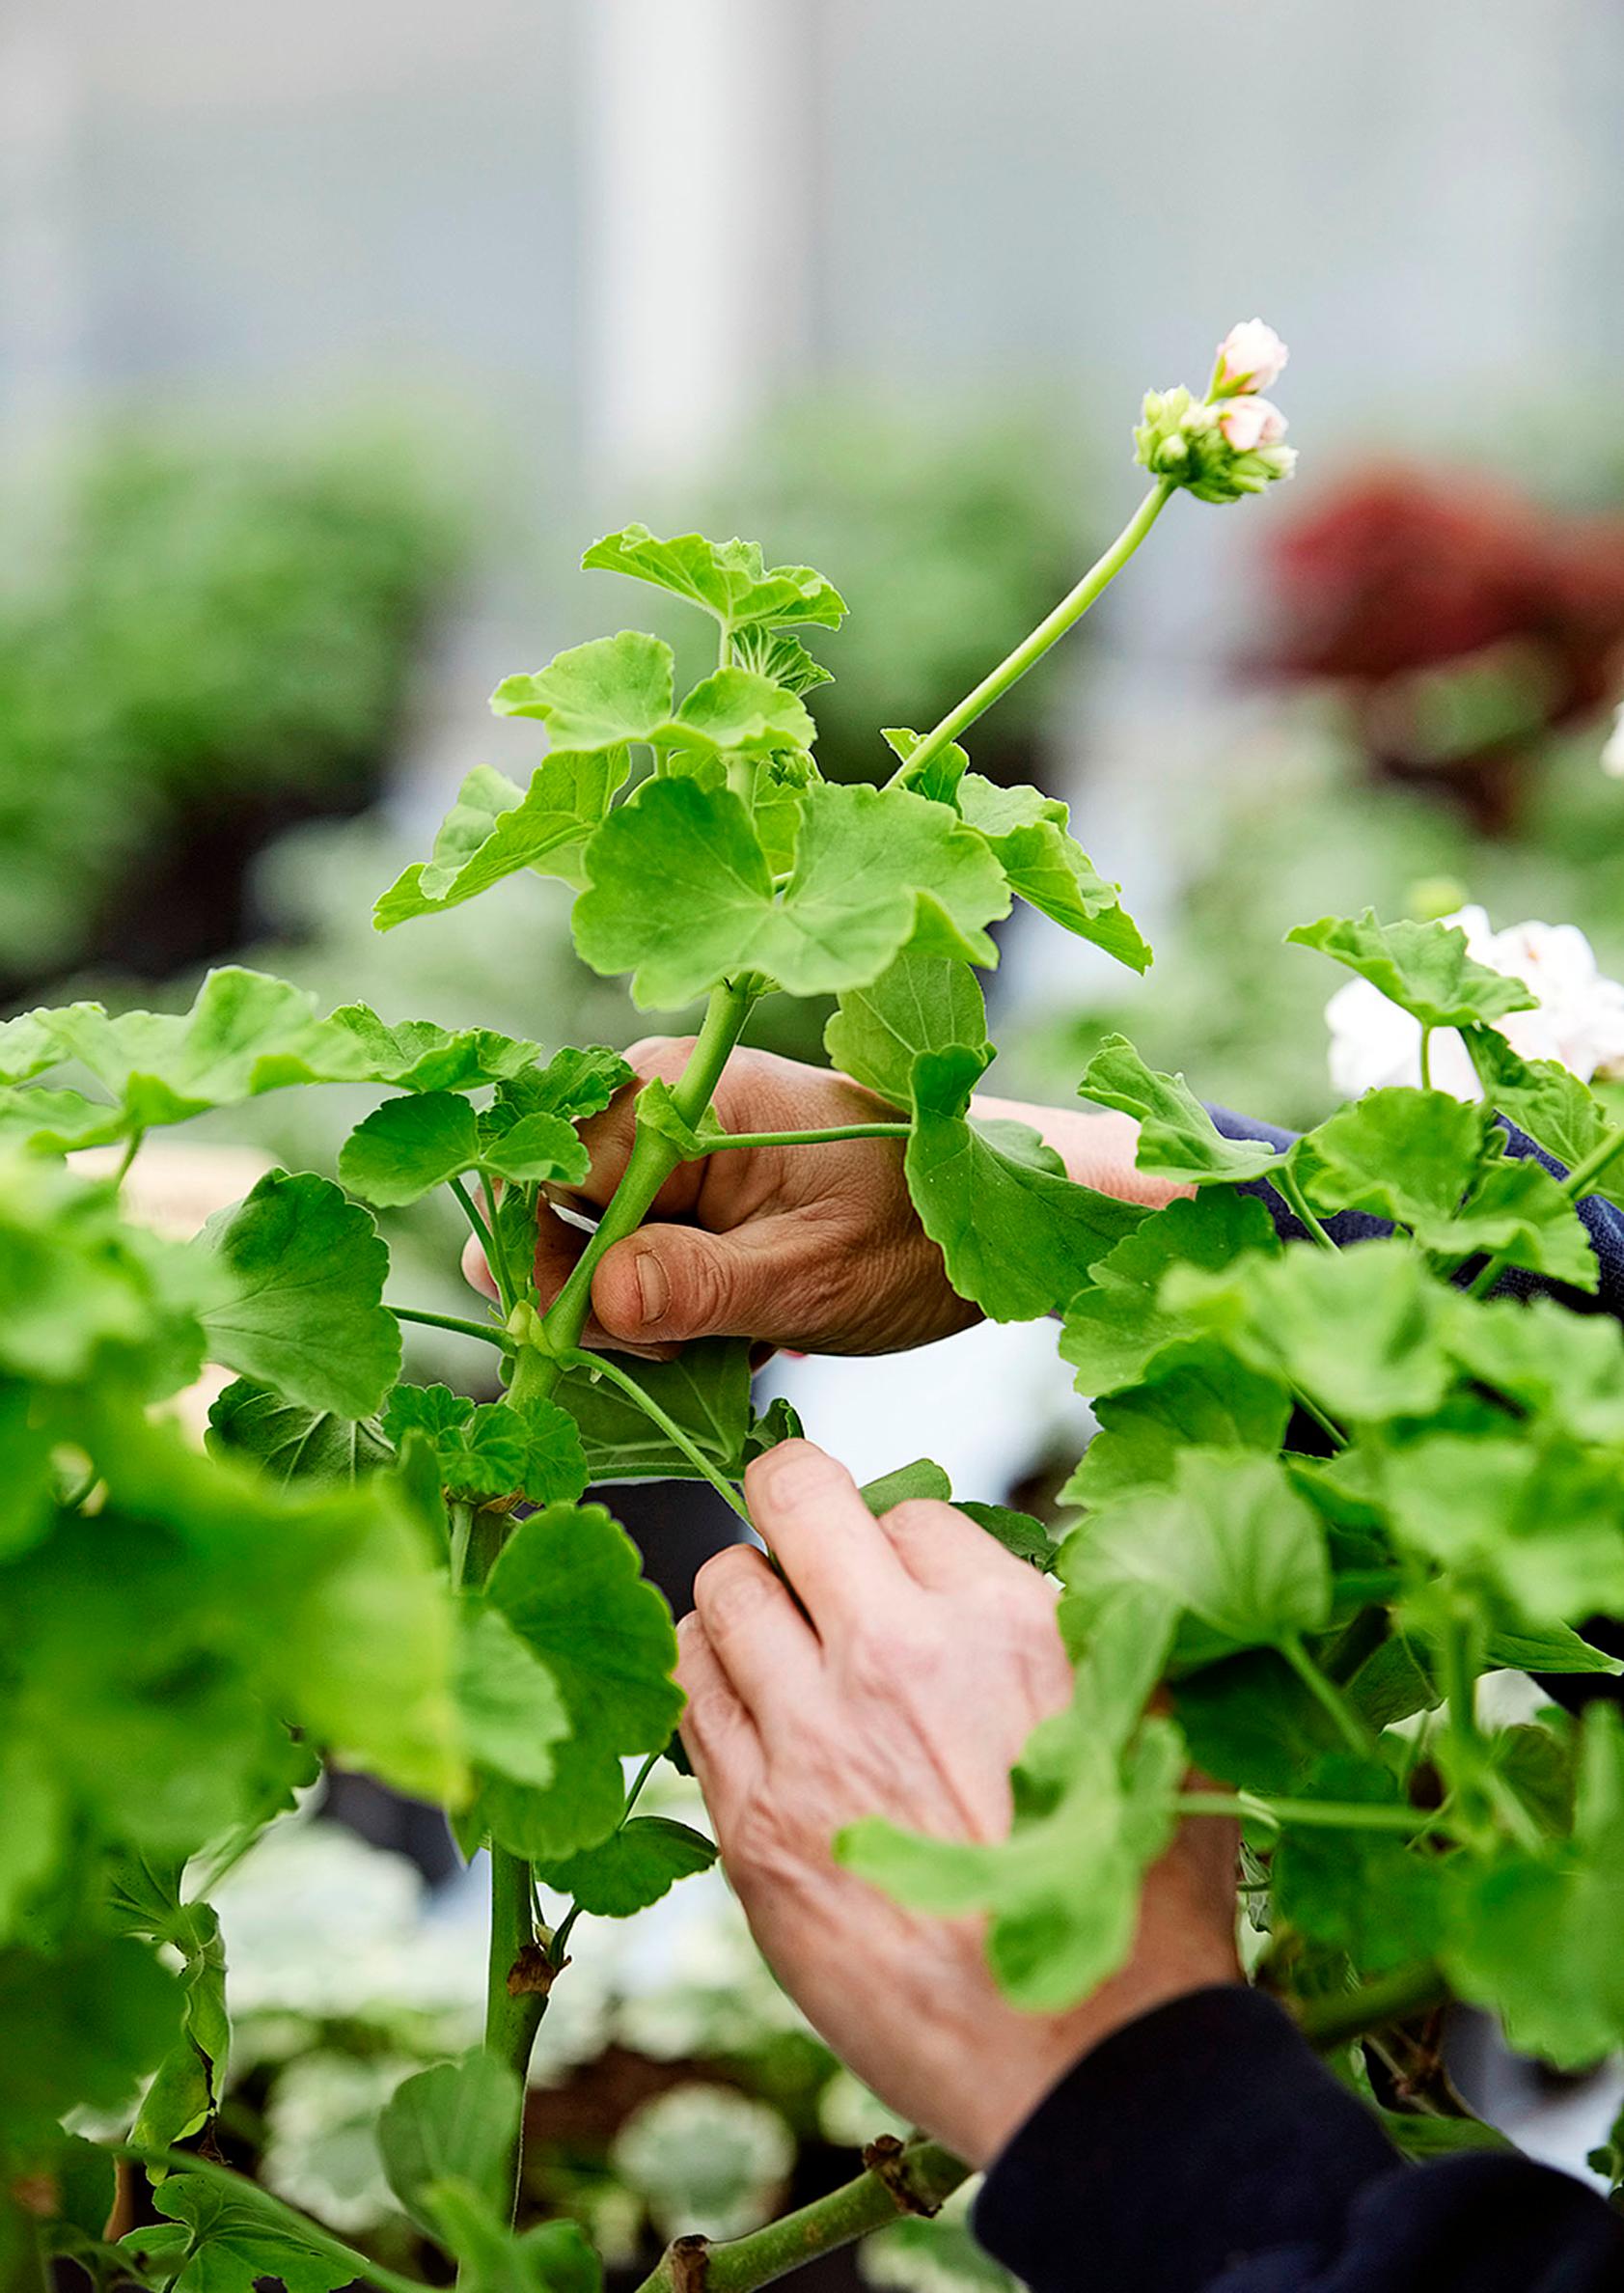
2. Cut the cutting a few millimeters below a leaf node. Remove the lowest leaves along with any stipules, leaving a bare stem with 2–3 leaves at the top. The best tool is a sharp, thin-bladed, and clean knife.

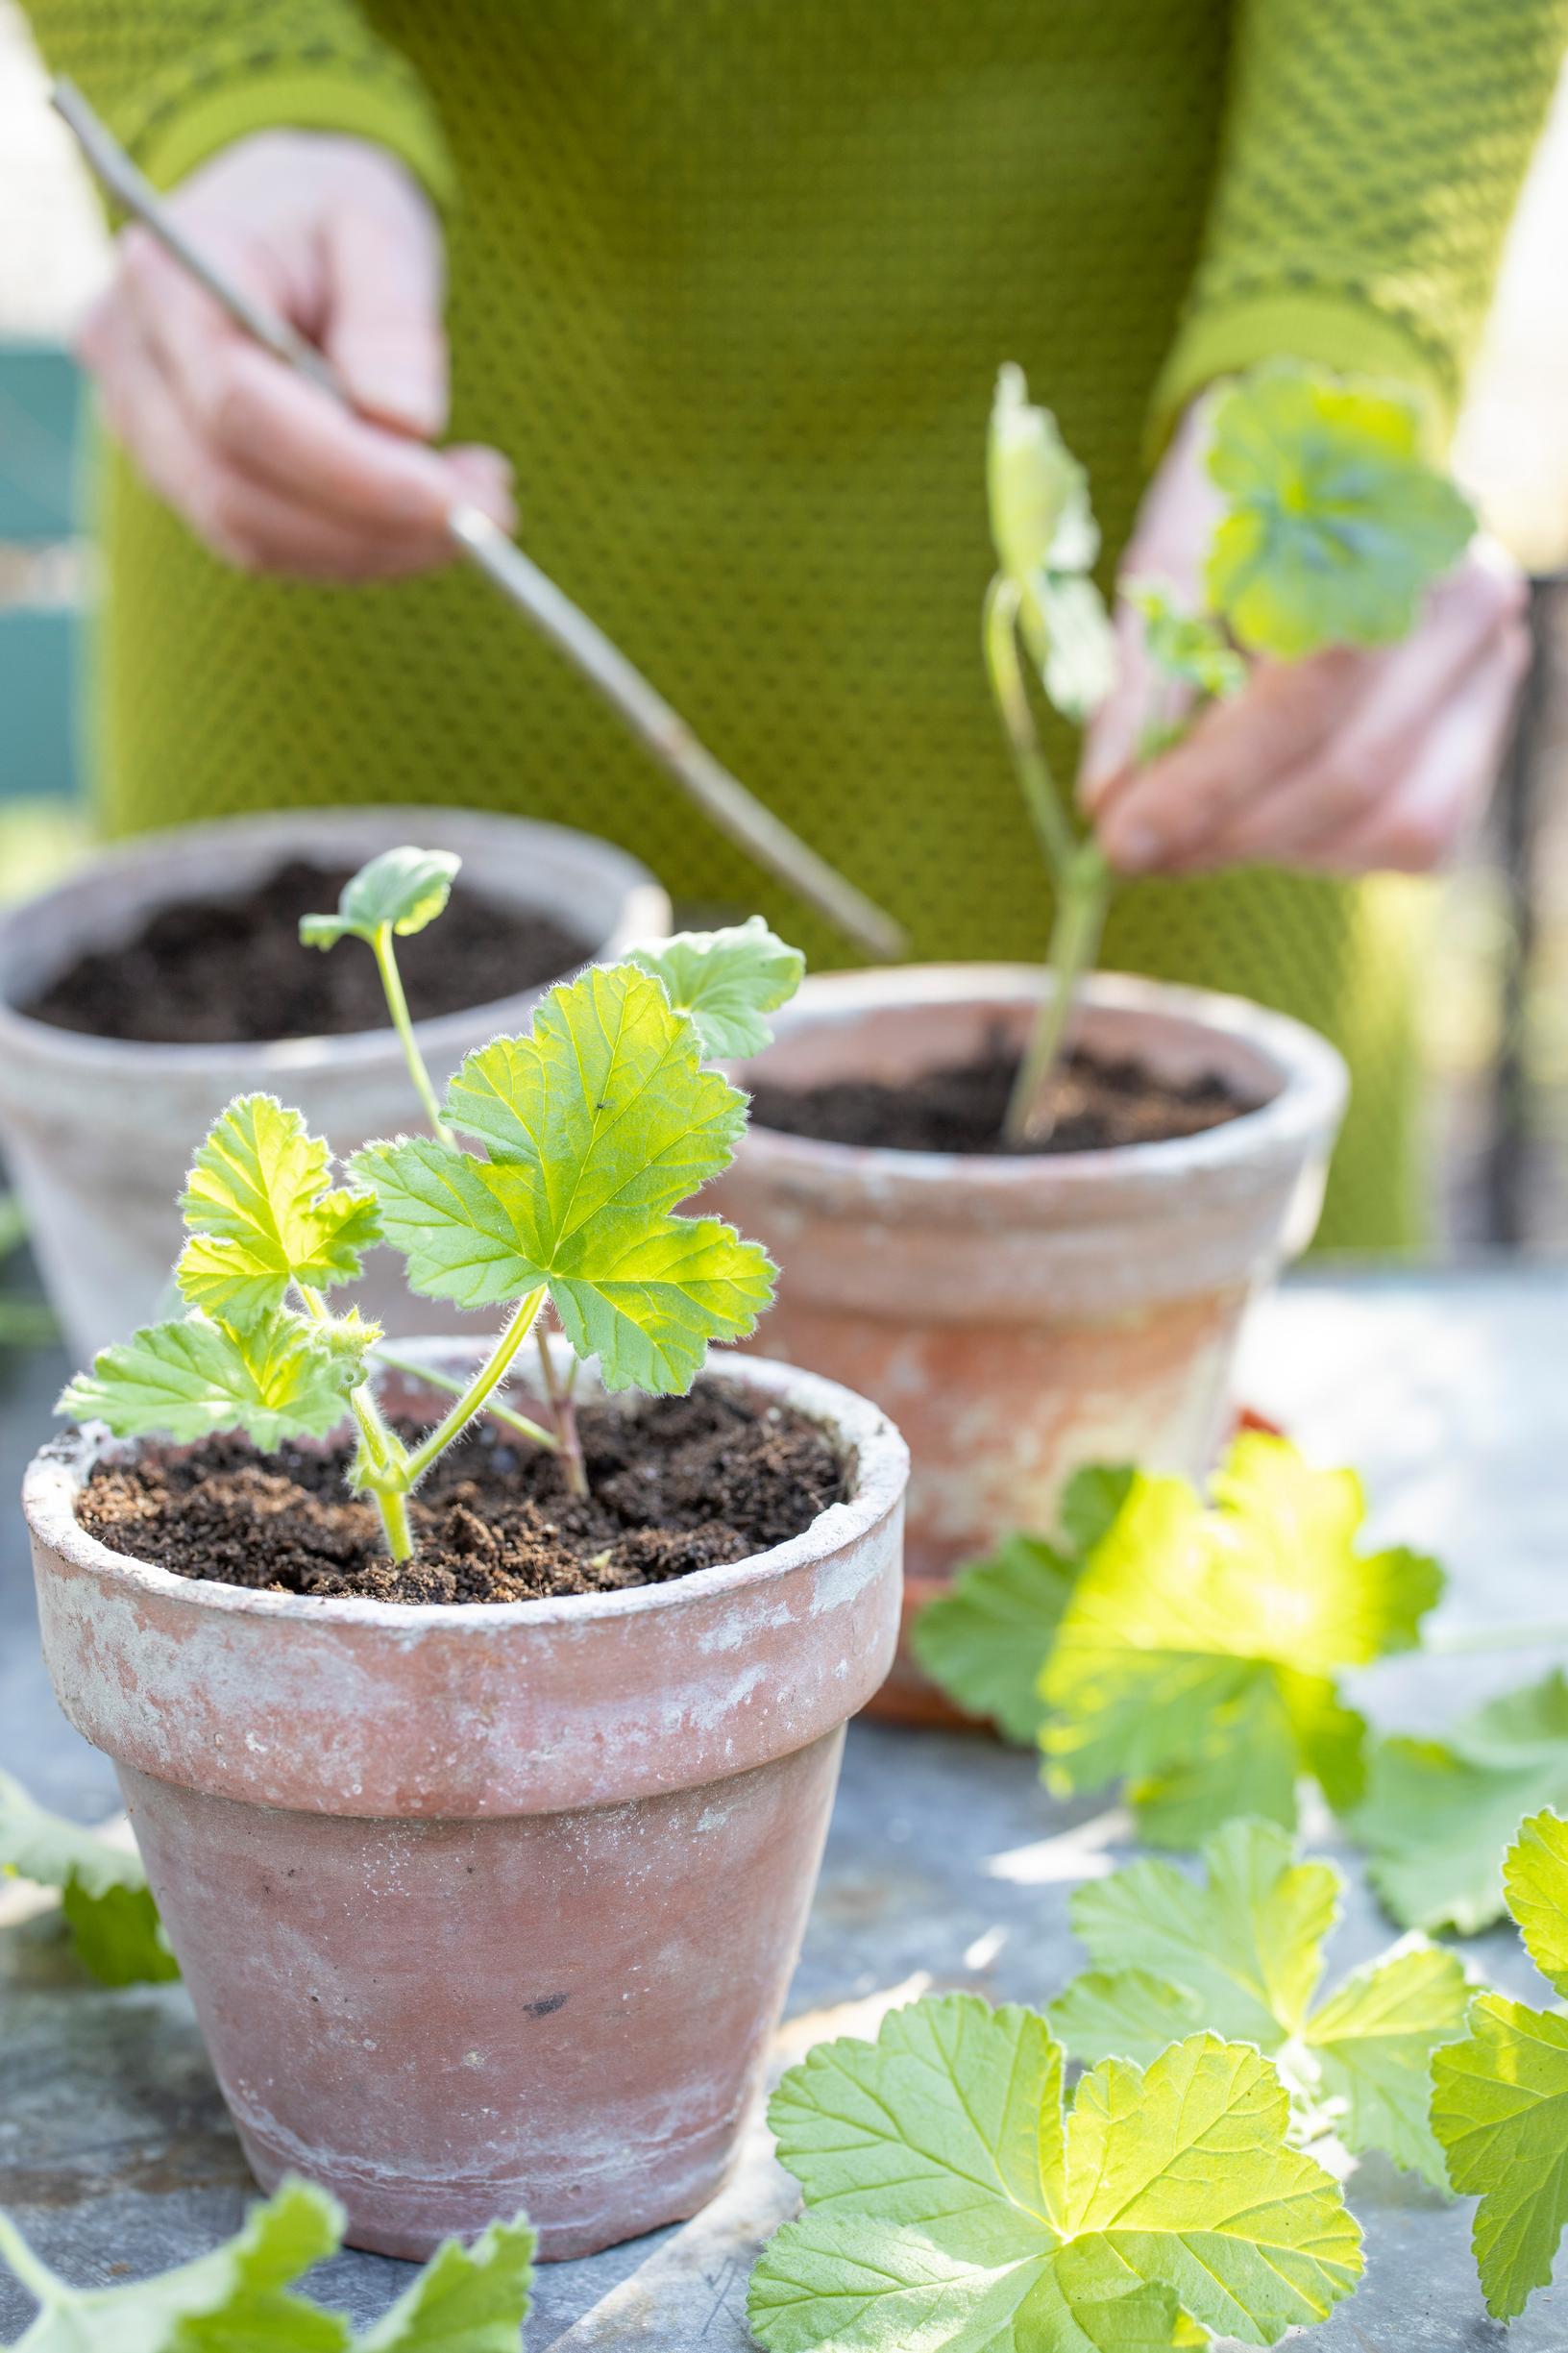
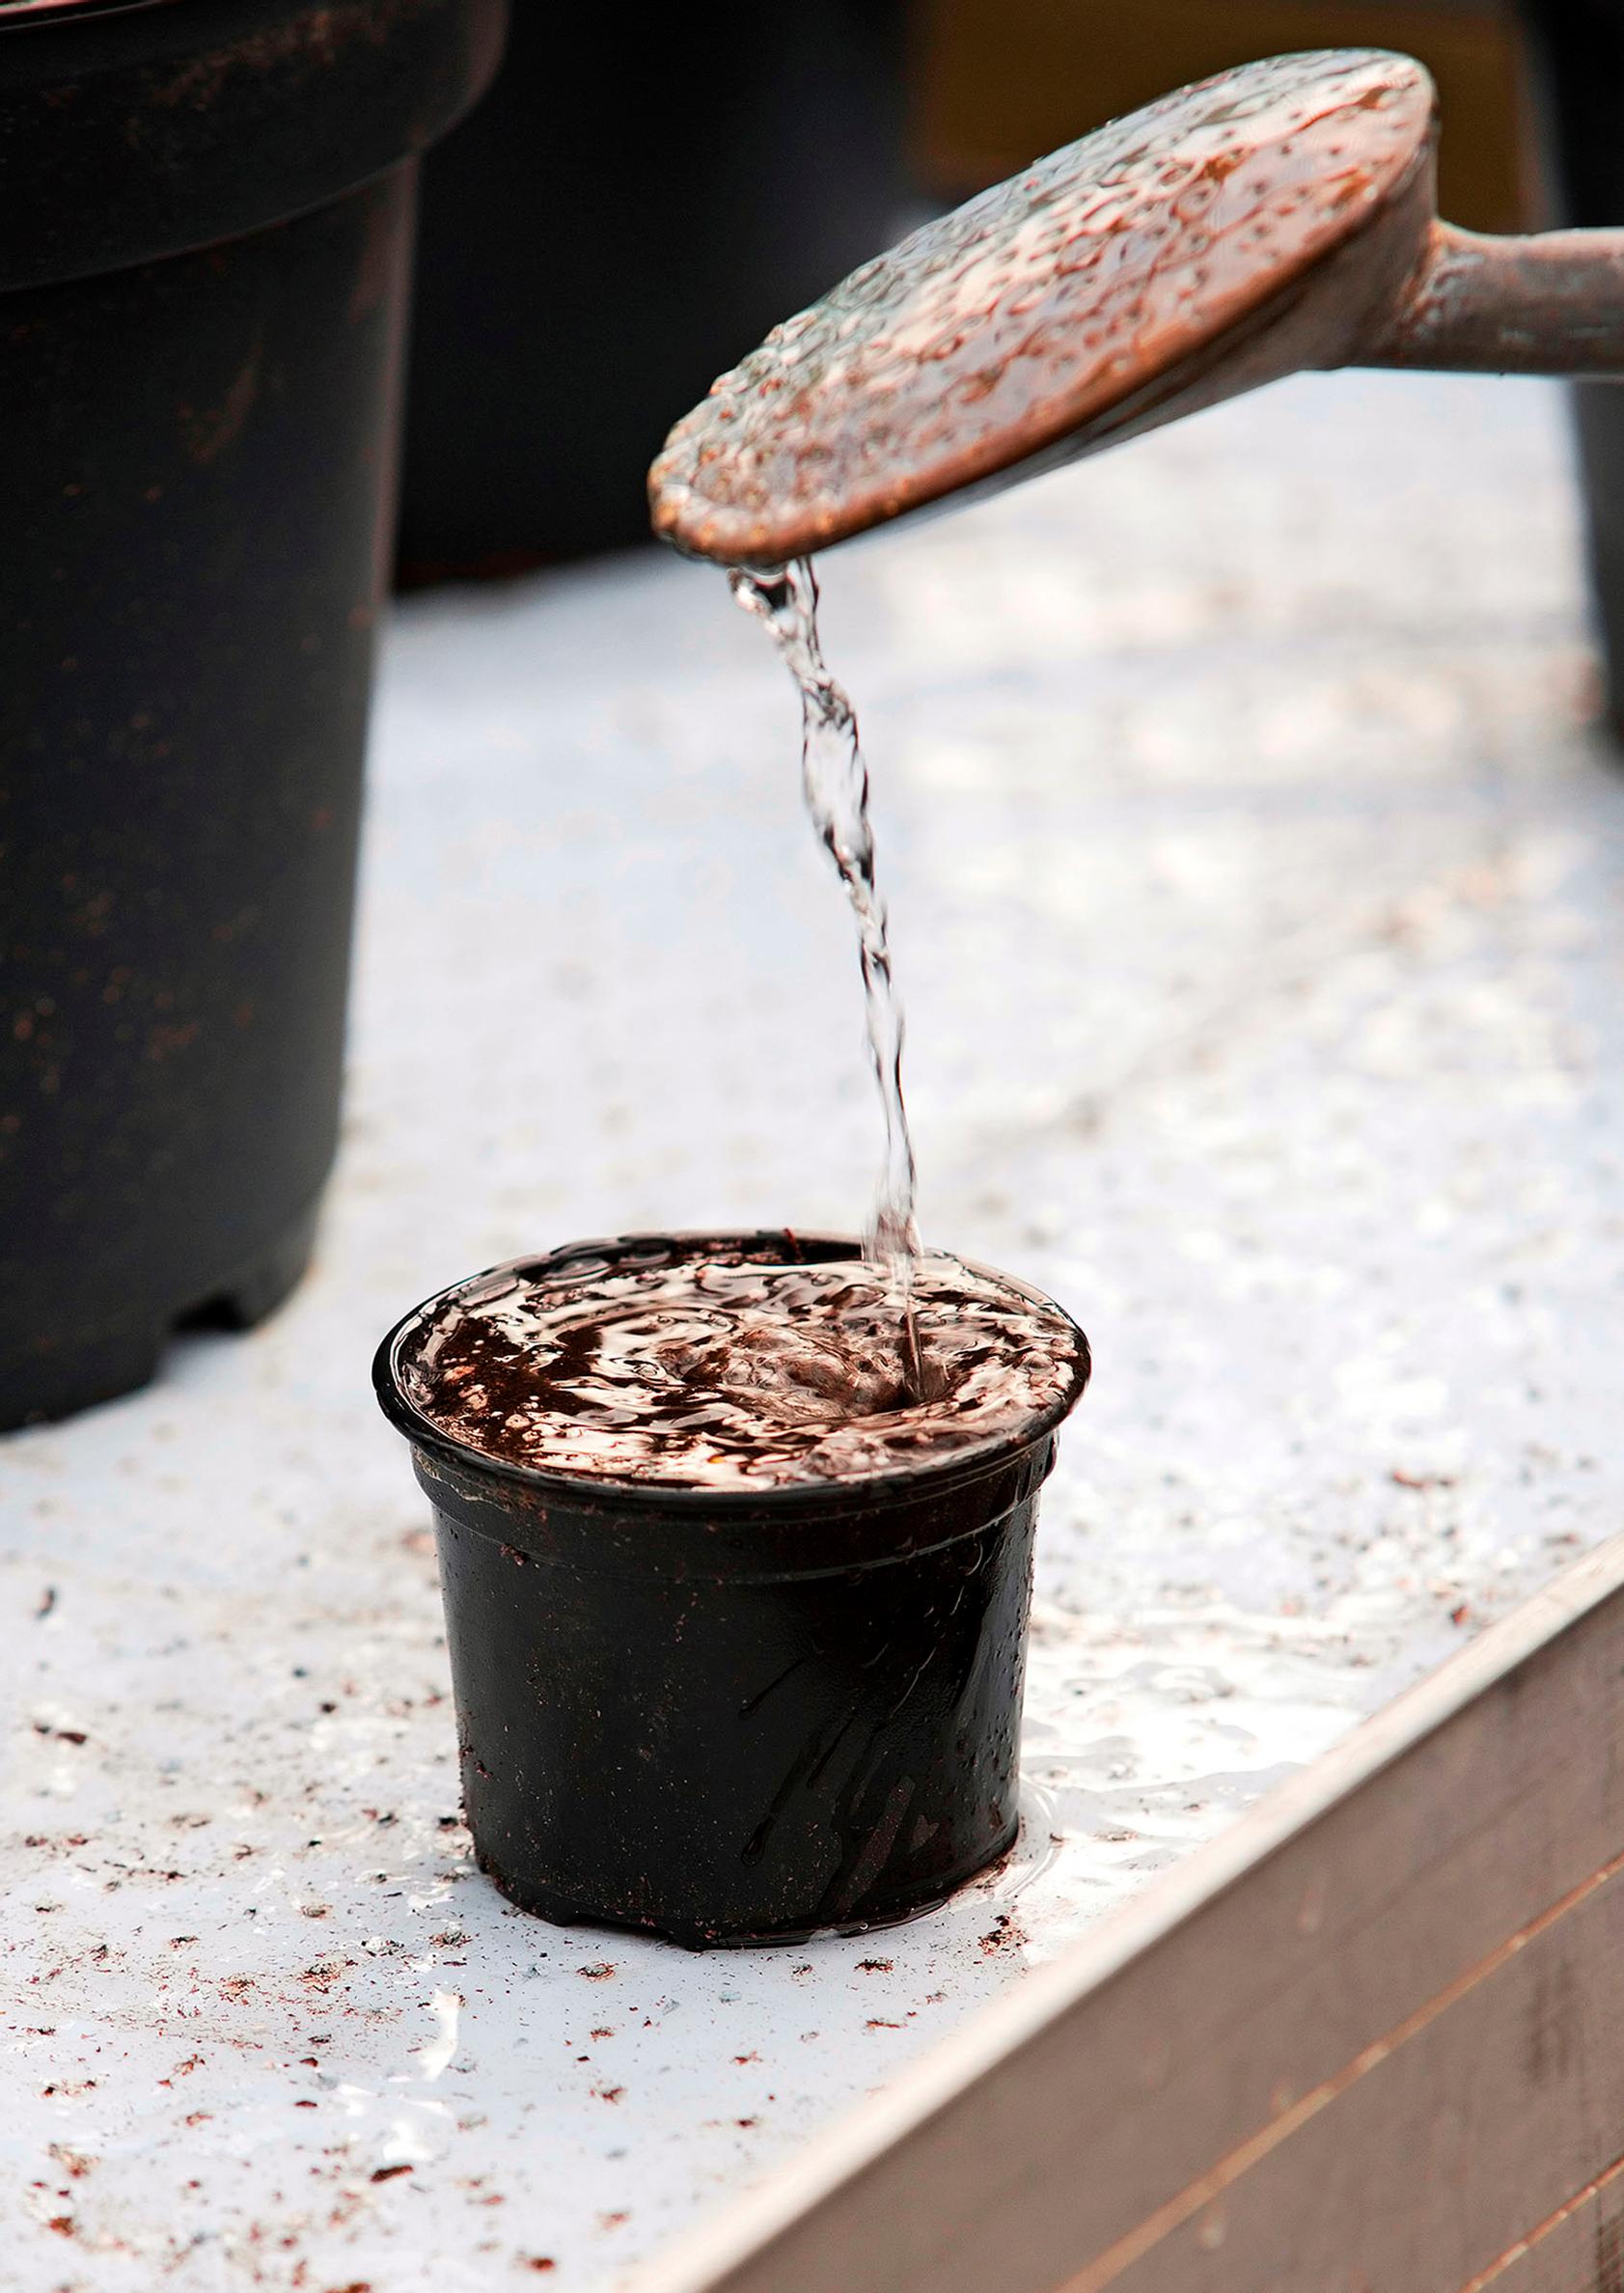
3. For rooting, use a clean, airy growing medium like seed-starting mix. Mixing in perlite will loosen the soil and promote rooting. Root the cutting in a small pot, such as a 9-cm pot. Water the soil and make a planting hole with a stick.

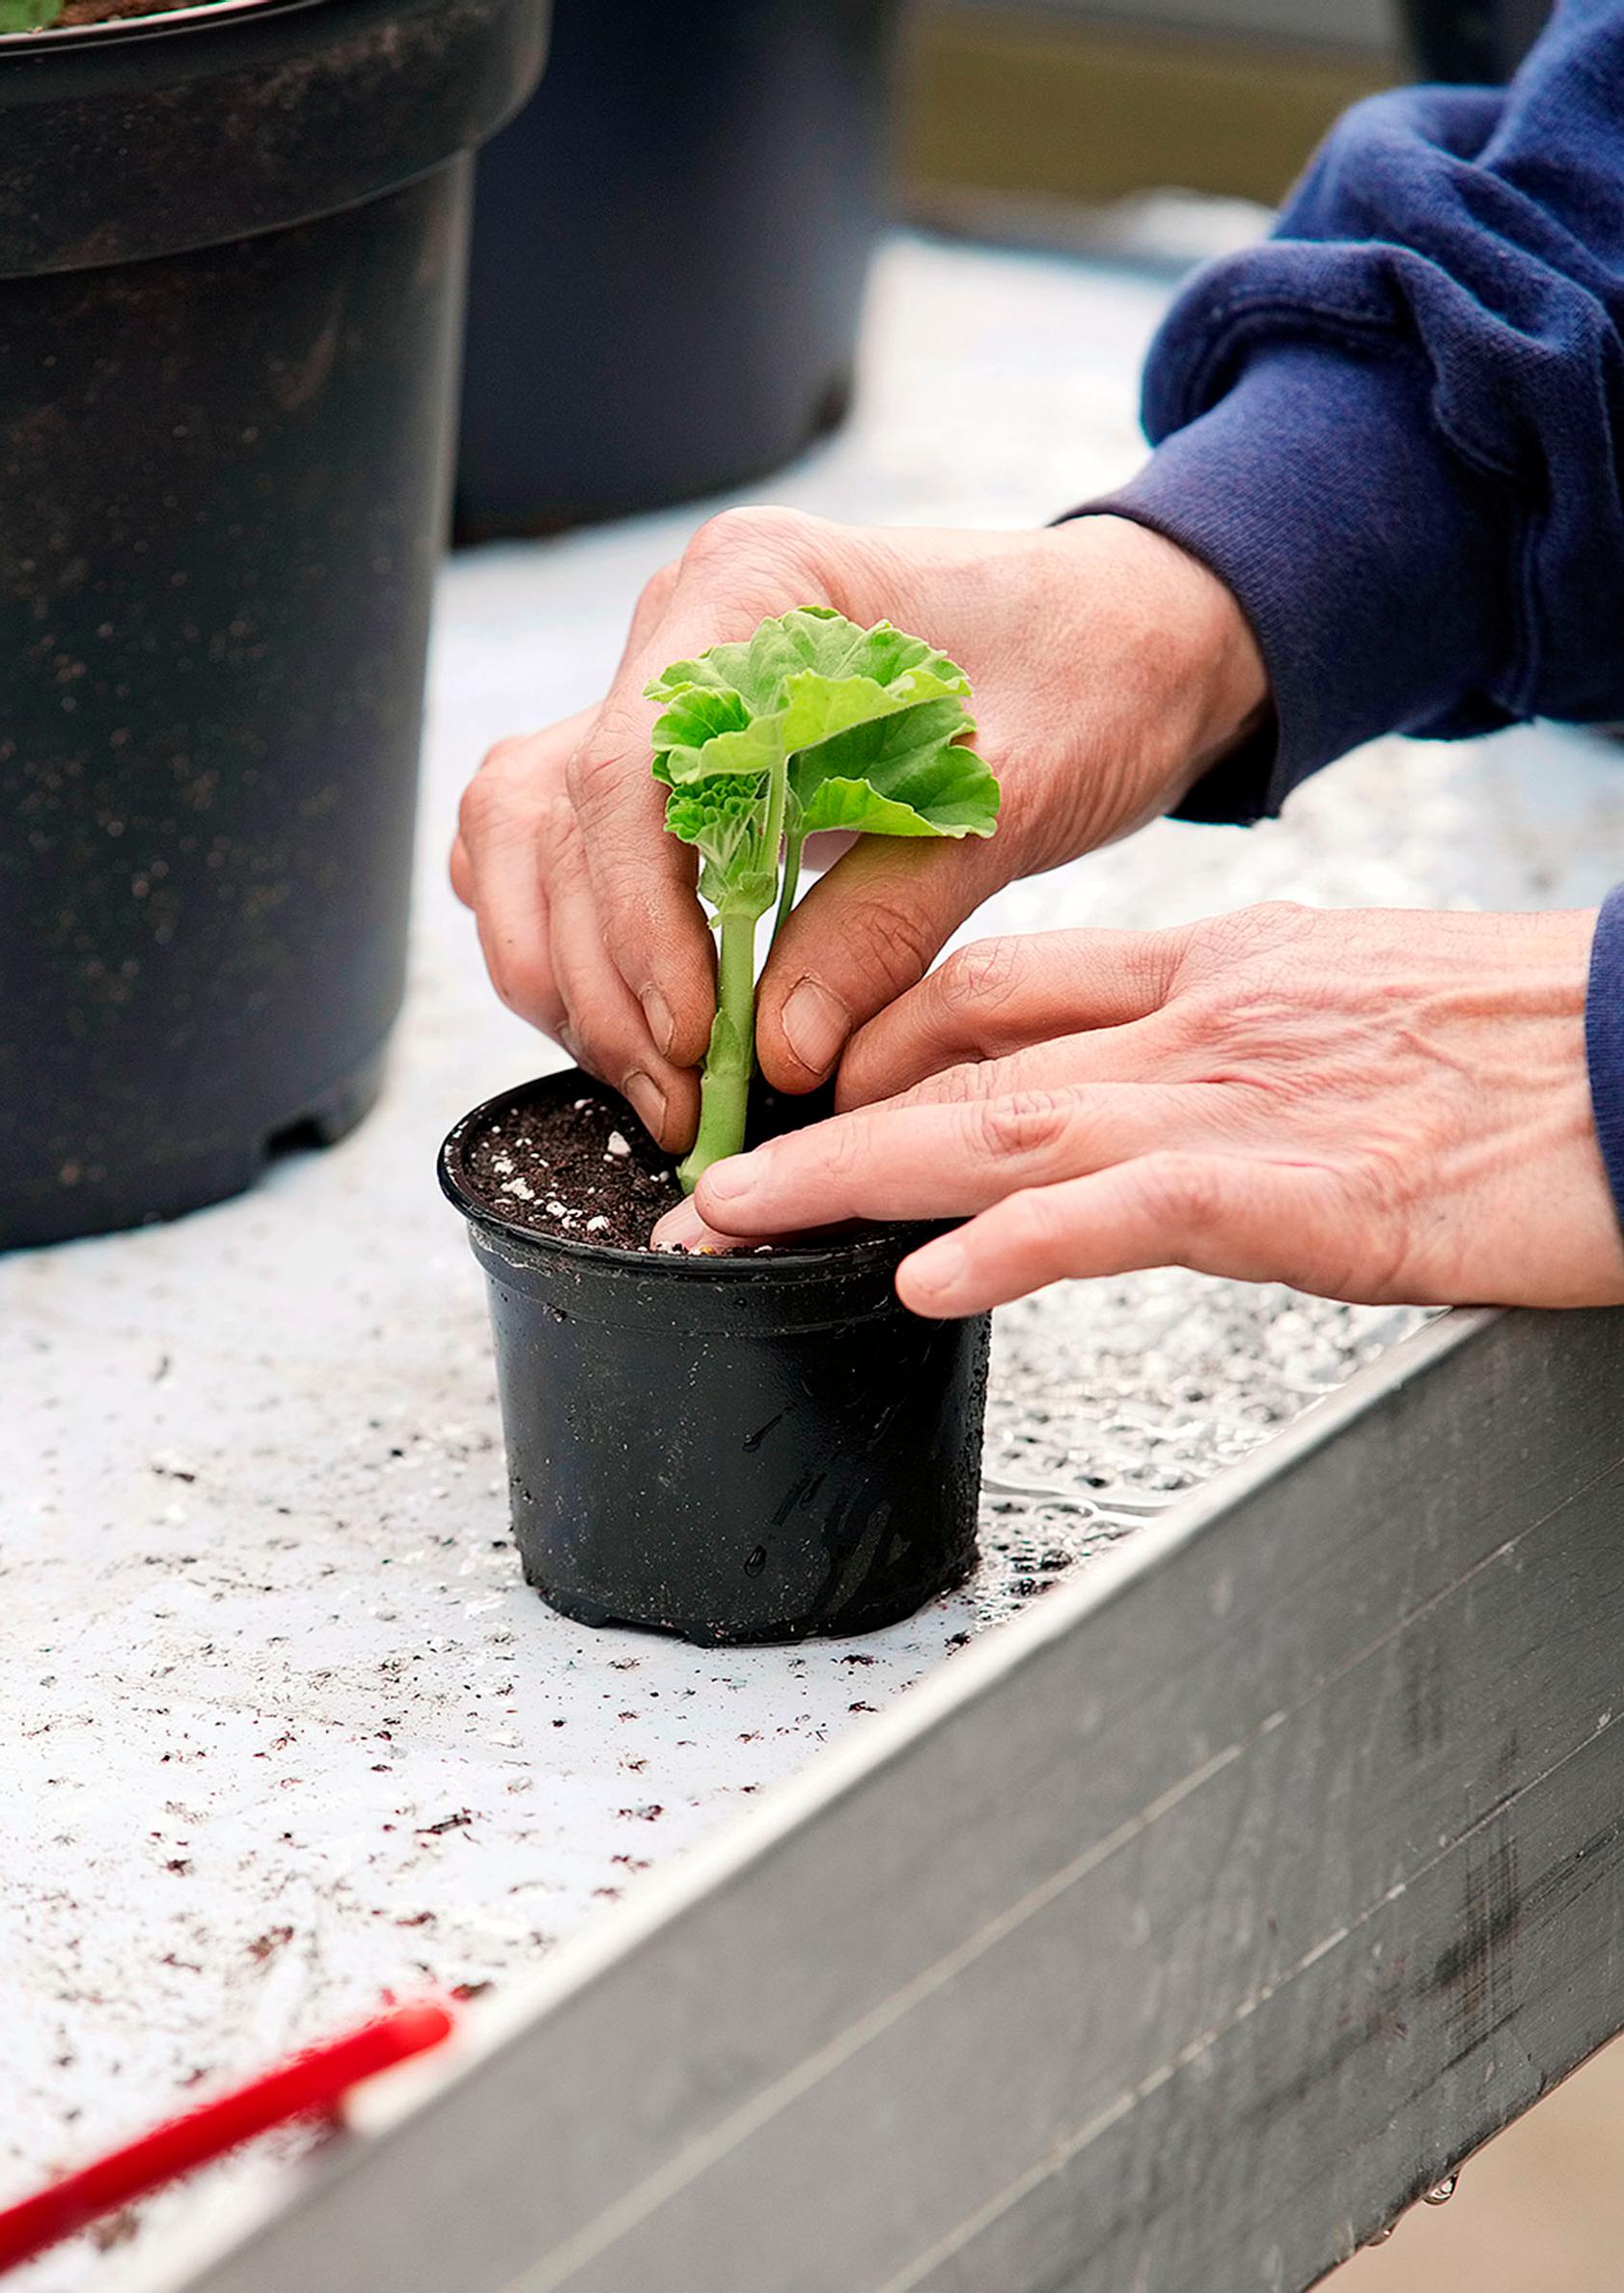
4. Insert the cutting deep enough so it stands upright. Avoid burying the leaves or stipules in the soil. Gently firm the soil around the cutting.

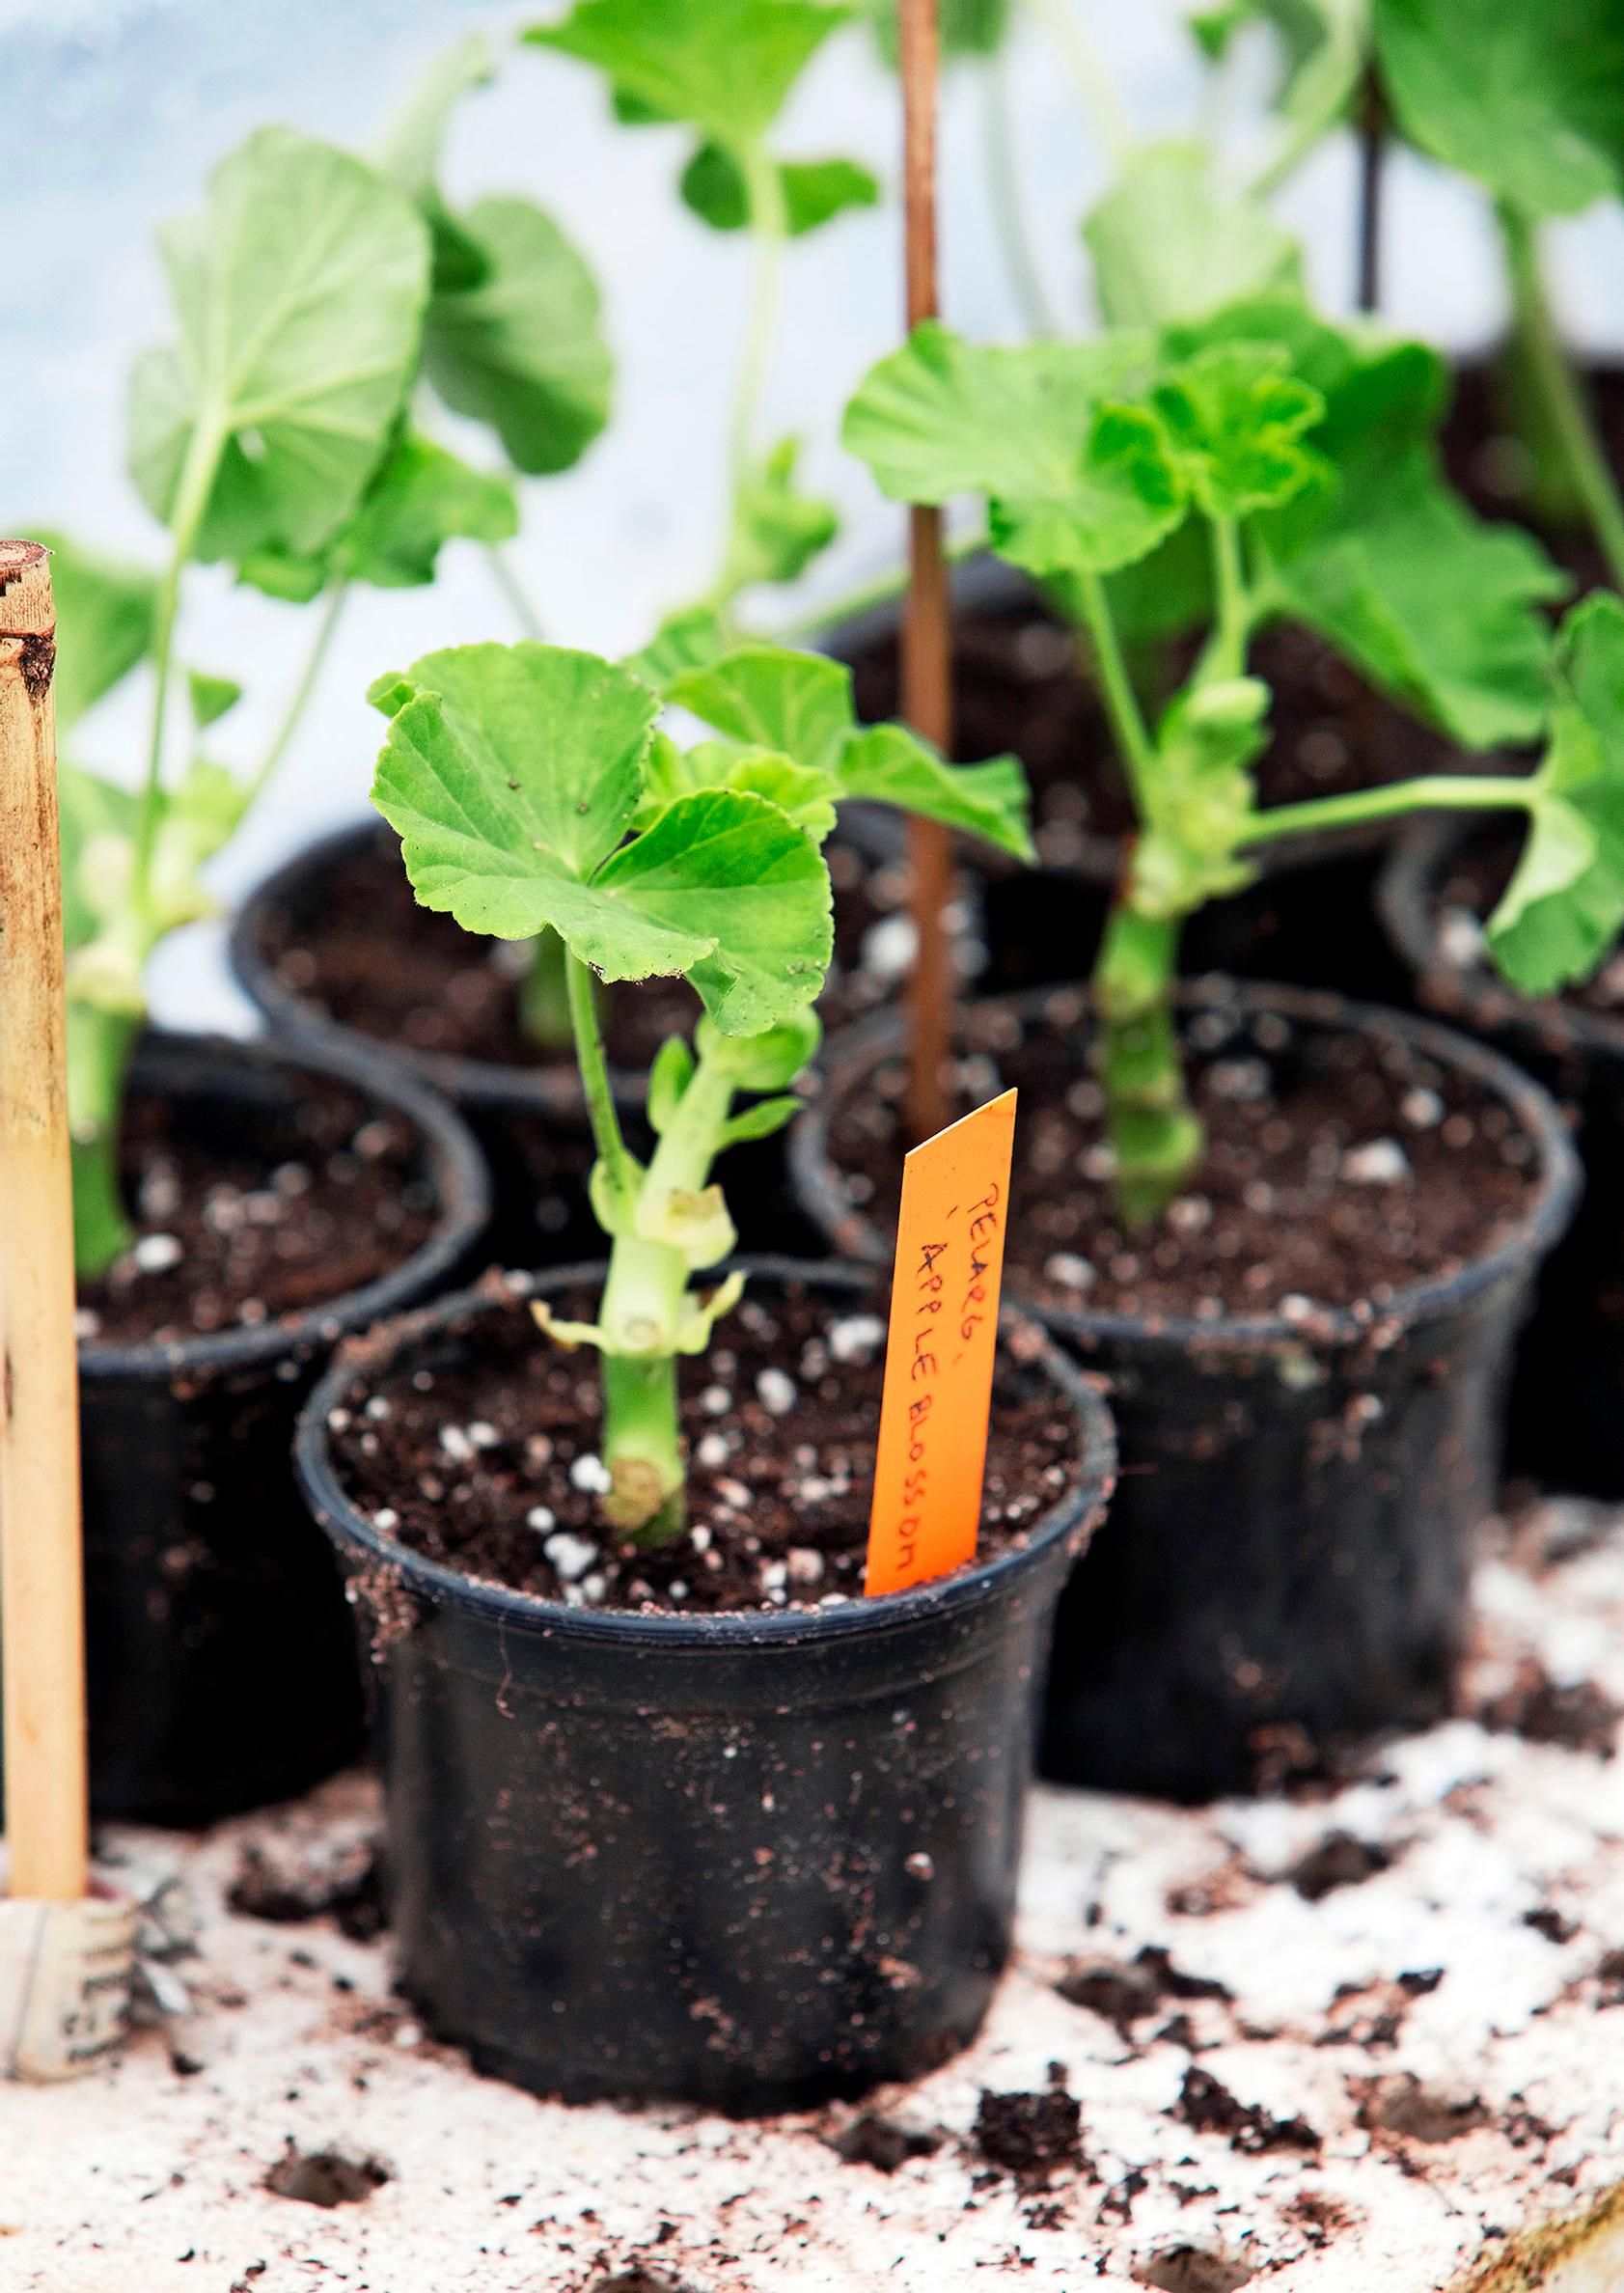
5. Place the pot in a warm, bright spot. Excessive heat and direct sunlight can wilt the seedlings. Anticipate some losses and root extra cuttings. Rooting hormones can slightly increase your success rate.

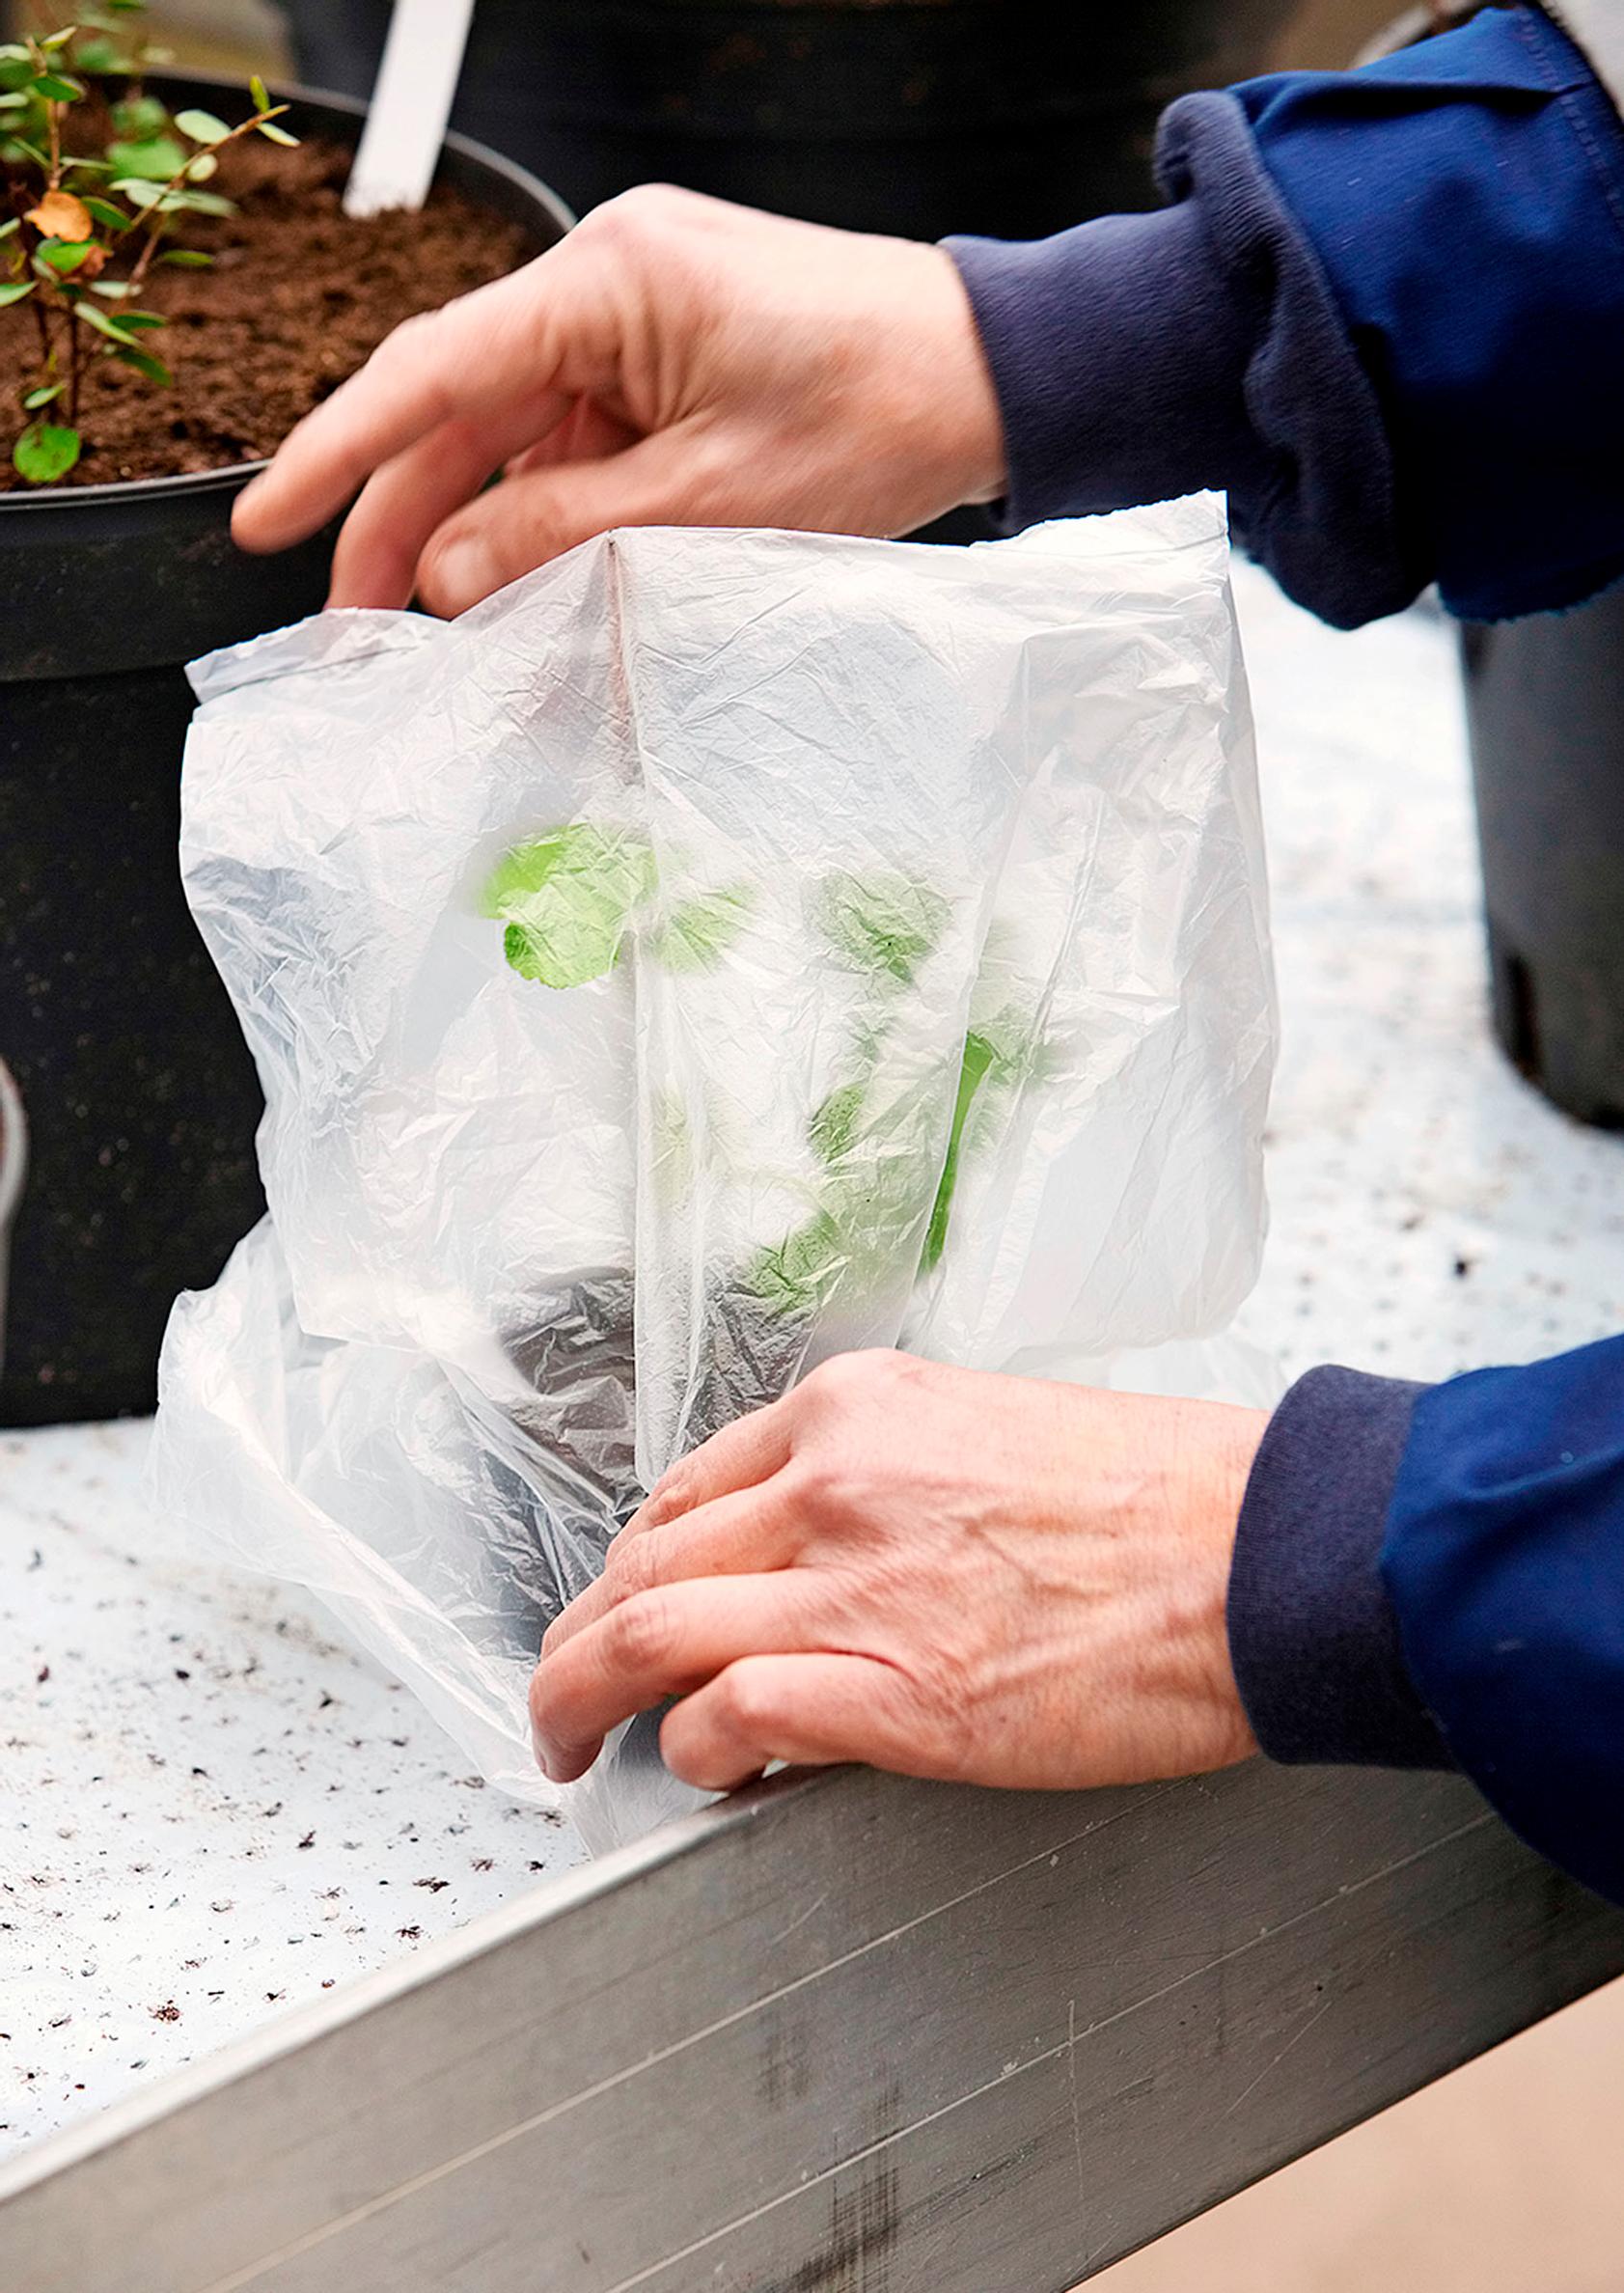
6. Cover the plant loosely with a perforated plastic bag. After about a week, start gradually ventilating the seedling. Water and mist as needed, but avoid soaking the soil. Pelargonium cuttings are prone to mold. Dispose of any blackened or wilted seedlings immediately.

When roots begin to appear through the drainage holes, ventilate the seedling as long as it stays healthy, then remove the plastic completely. Transfer the rooted cutting to a slightly larger pot. After two weeks, you can give it a mild fertilizer solution. Reduce watering and fertilizing as winter approaches.
Overwintering pelargoniums
Overwinter the rooted cutting in a bright place, preferably at +5–10 degrees Celsius. Keep the soil slightly dry, but be cautious of a heating element below, which can dehydrate the pelargonium over winter. In March, transplant the plant into a larger pot and trim the stems. The plant will bush out, and you’ll get new cuttings.
Expert: Gardener Aija Nieminen from Helsinki City Garden, Stara