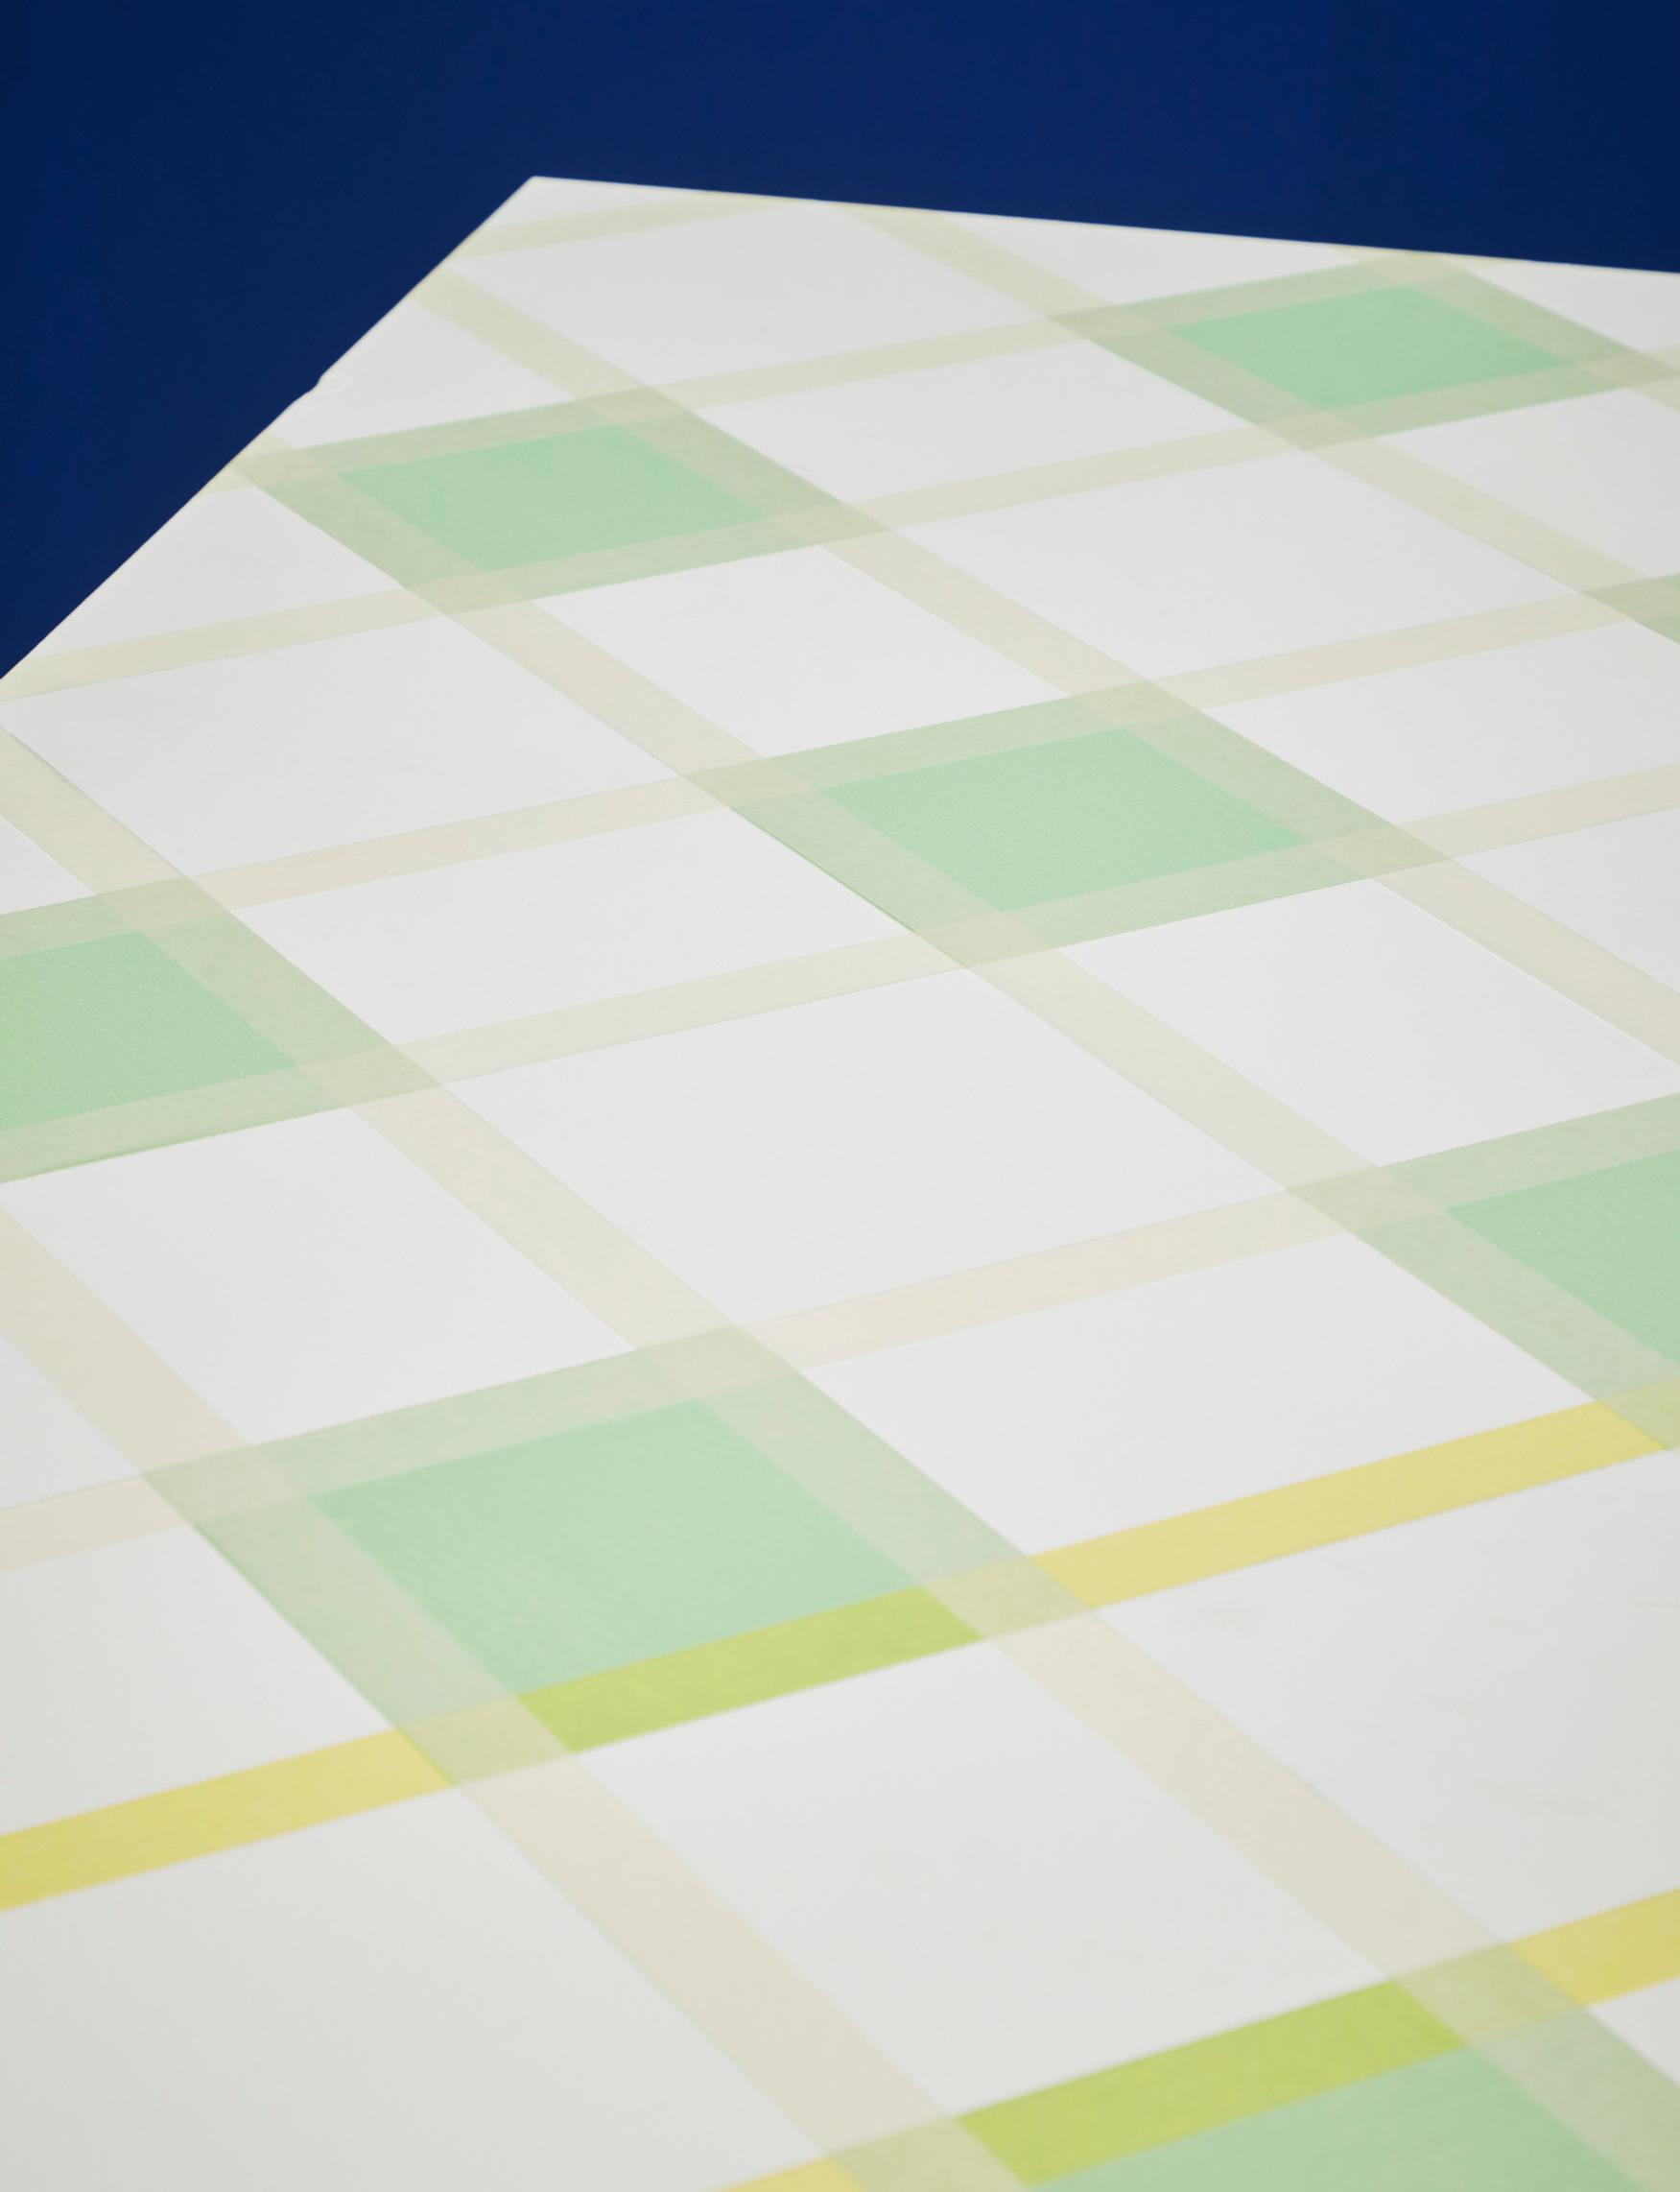
The checkerboard pattern is a timeless classic—here’s how to paint a checkered floor, table, or cabinet
A check pattern adds flair to any surface, but painting it can be tricky. With these step-by-step instructions, you’re sure to succeed, whether you’re updating a floor, table, or cabinet.
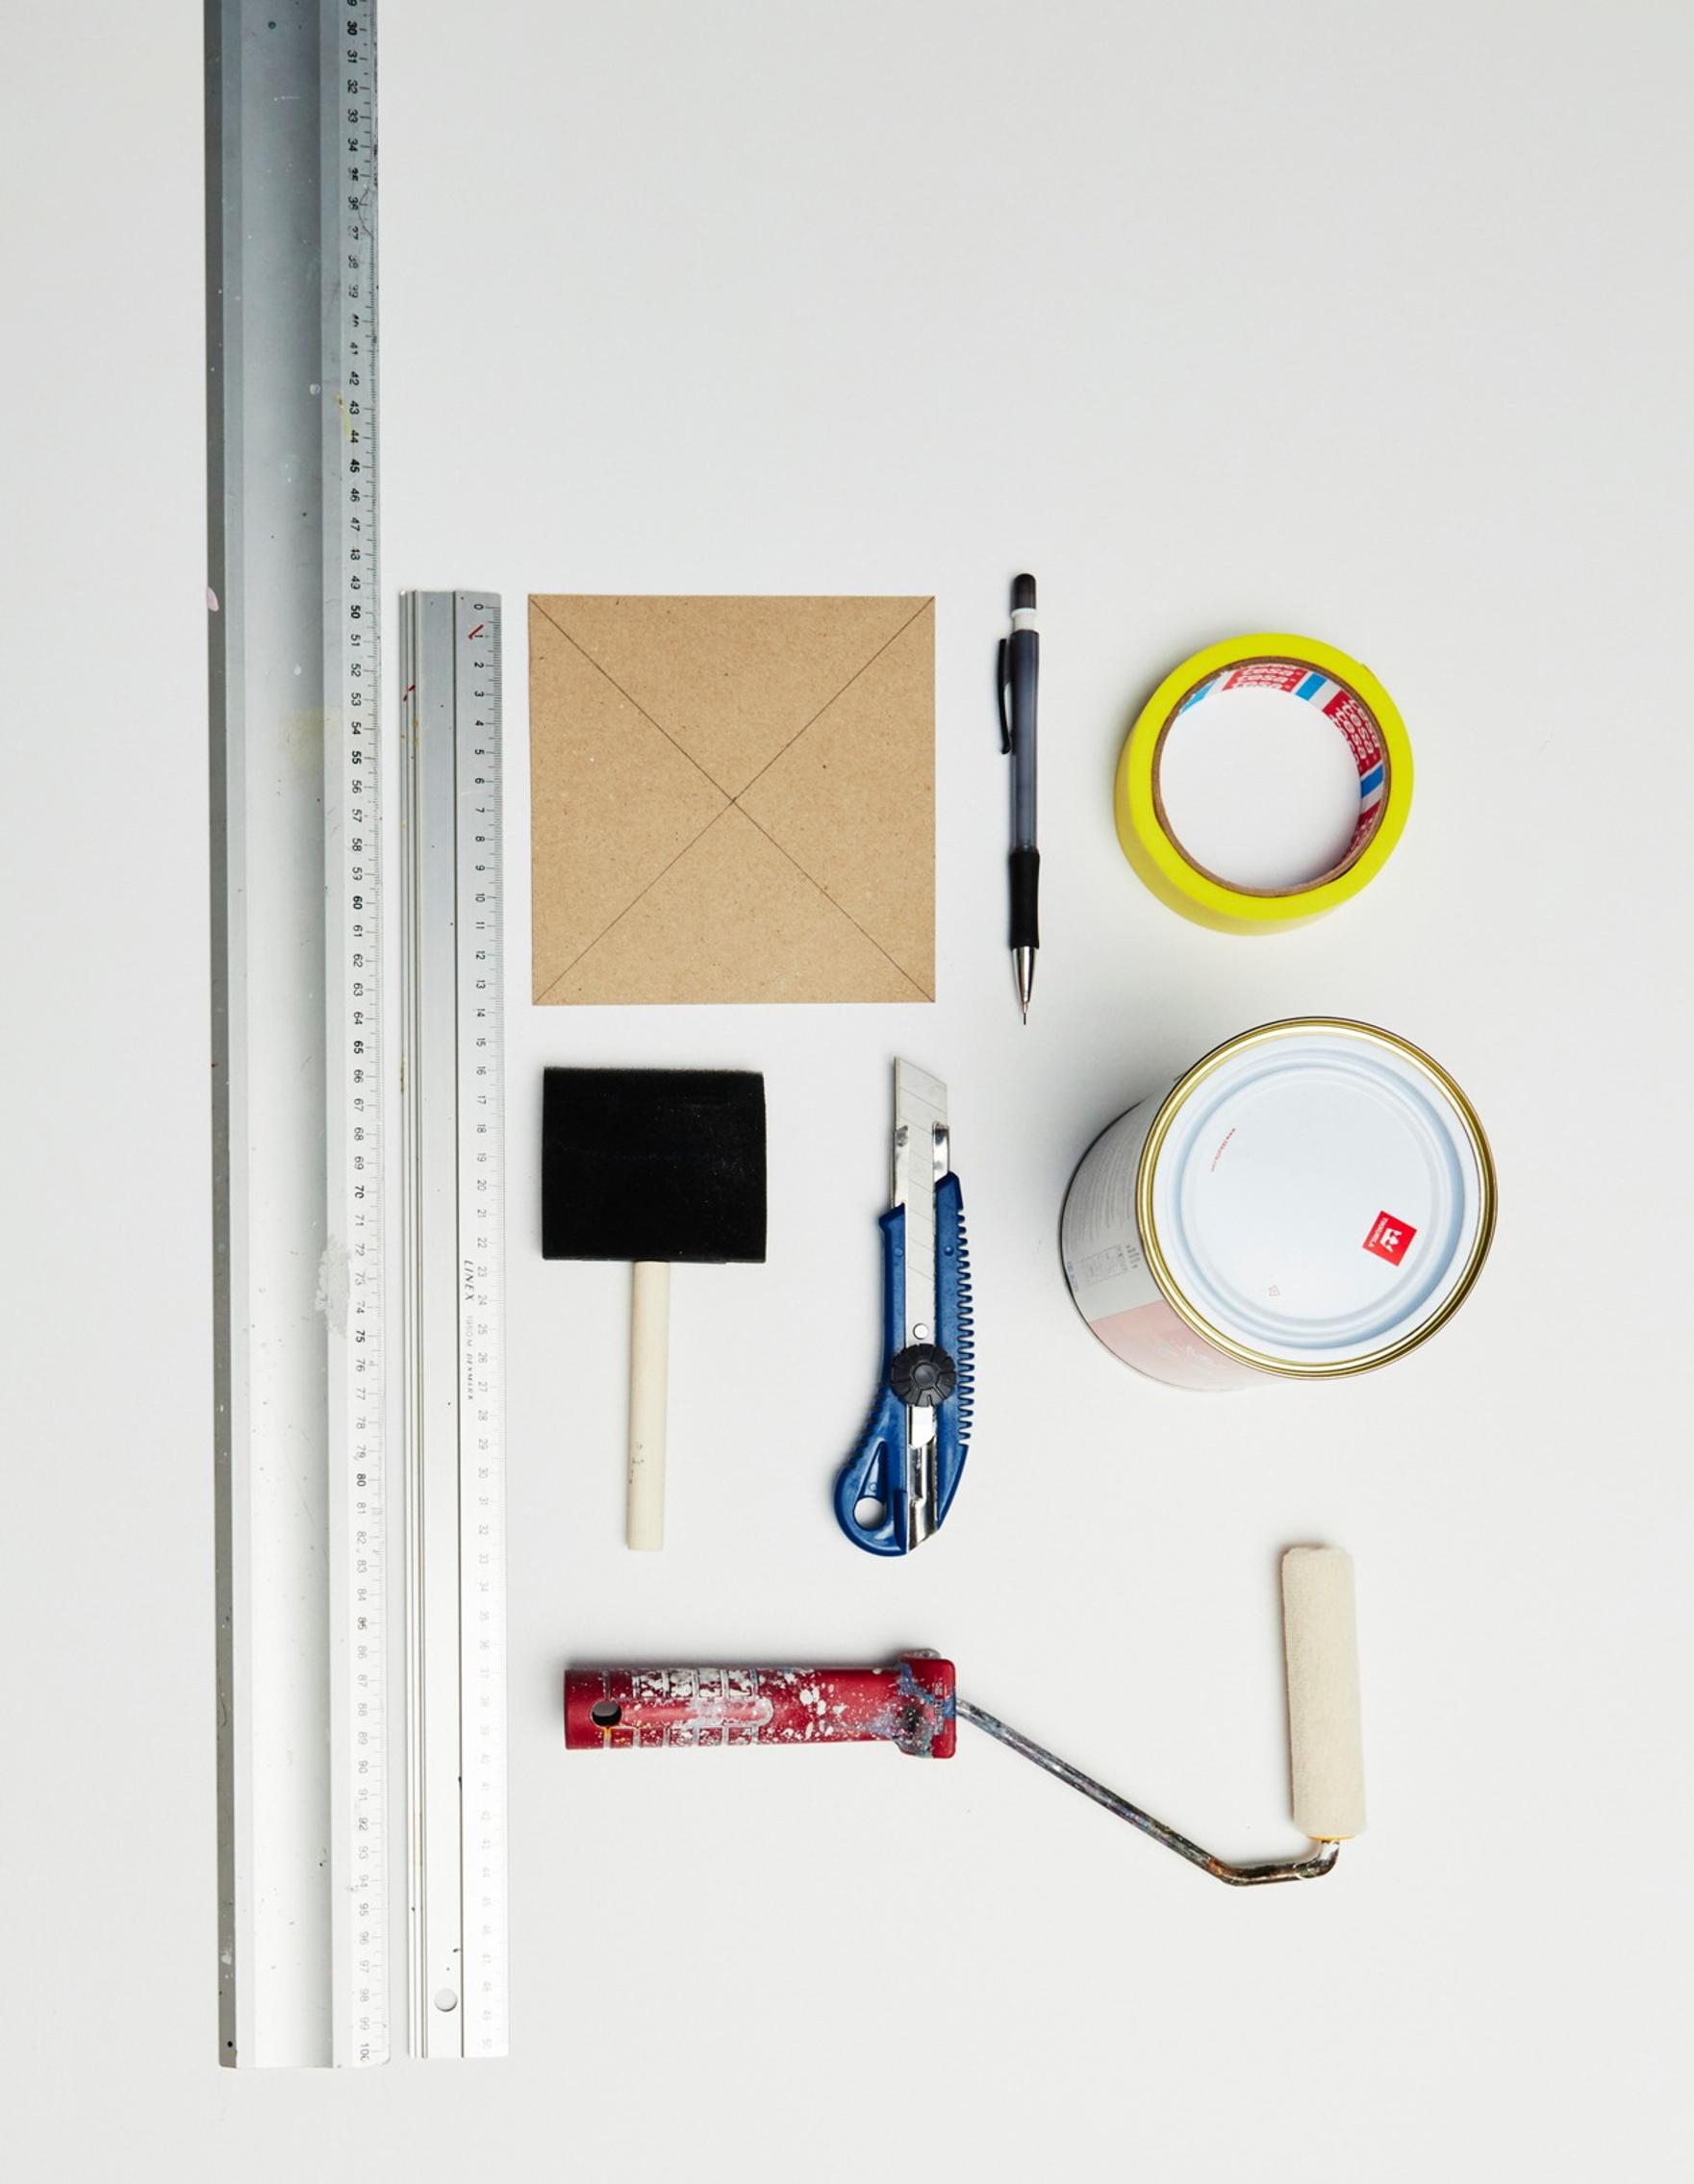
Check pattern—supplies:
- pencil
- tape
- utility knife
- straightedge (square)
- paint
- small paint roller
- brush

Check pattern—instructions:

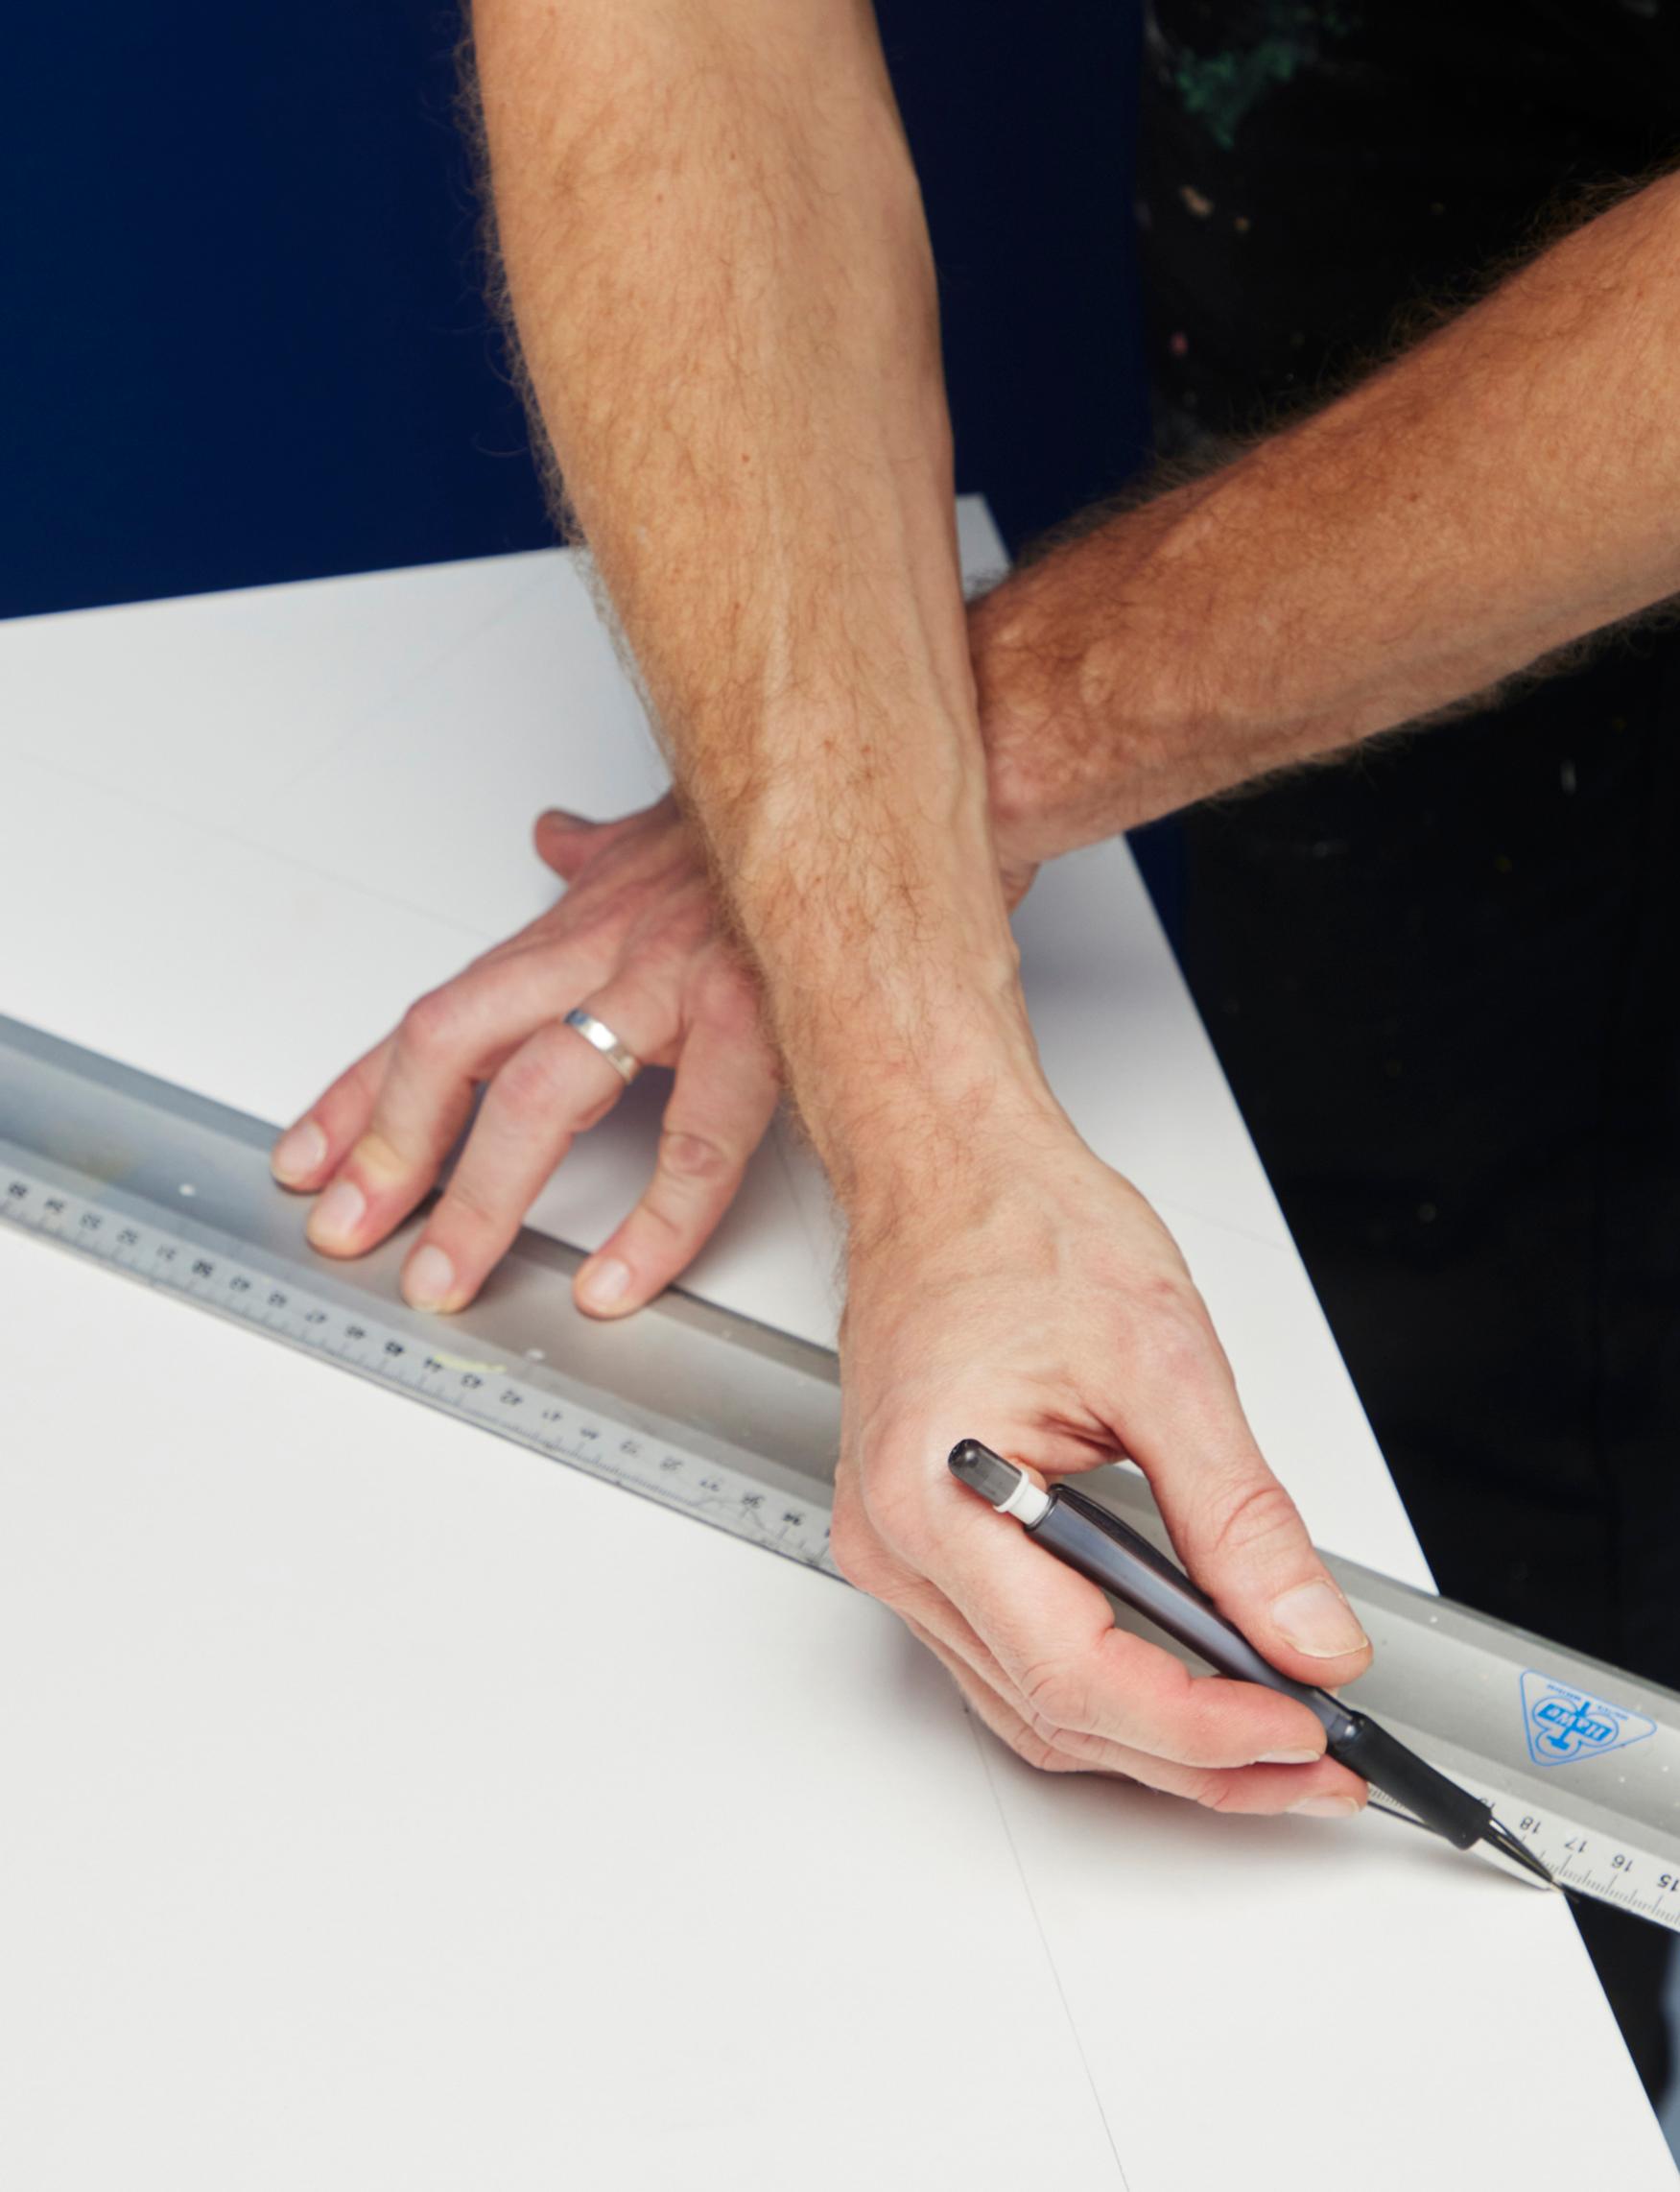
1. Measure and decide on the square size that suits the surface you’re painting.

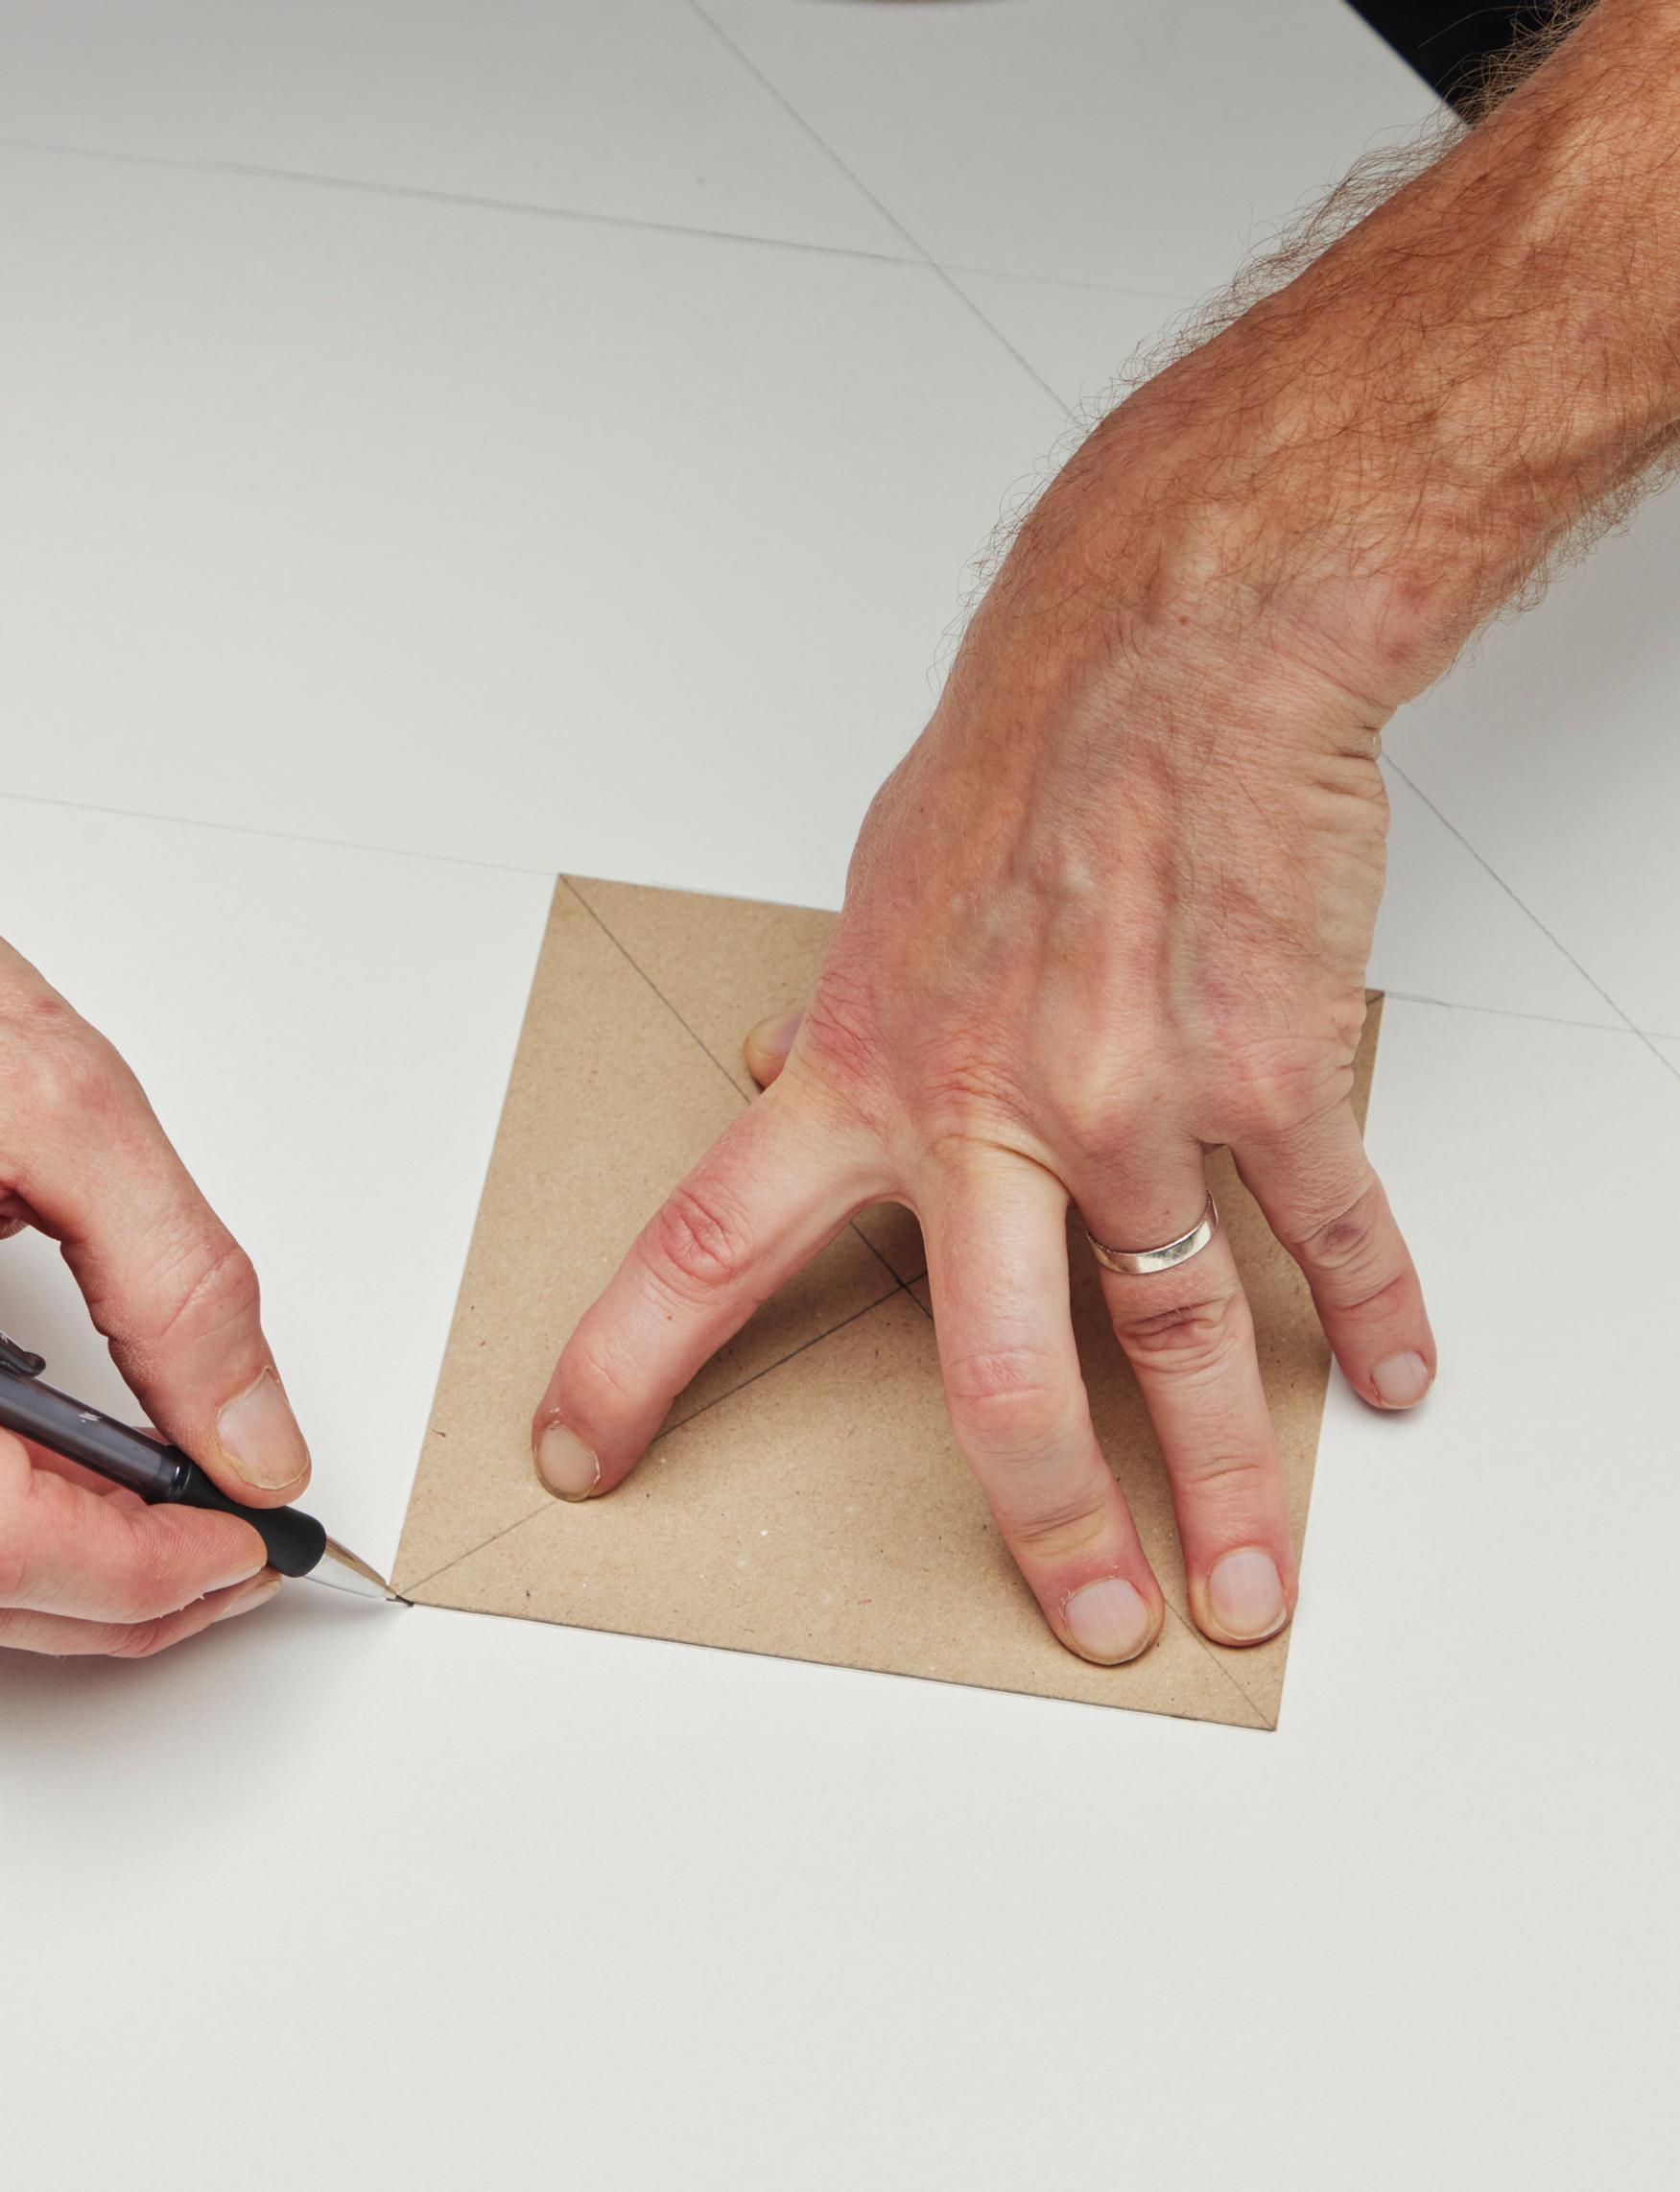
2. Make a cardboard template for a single square.

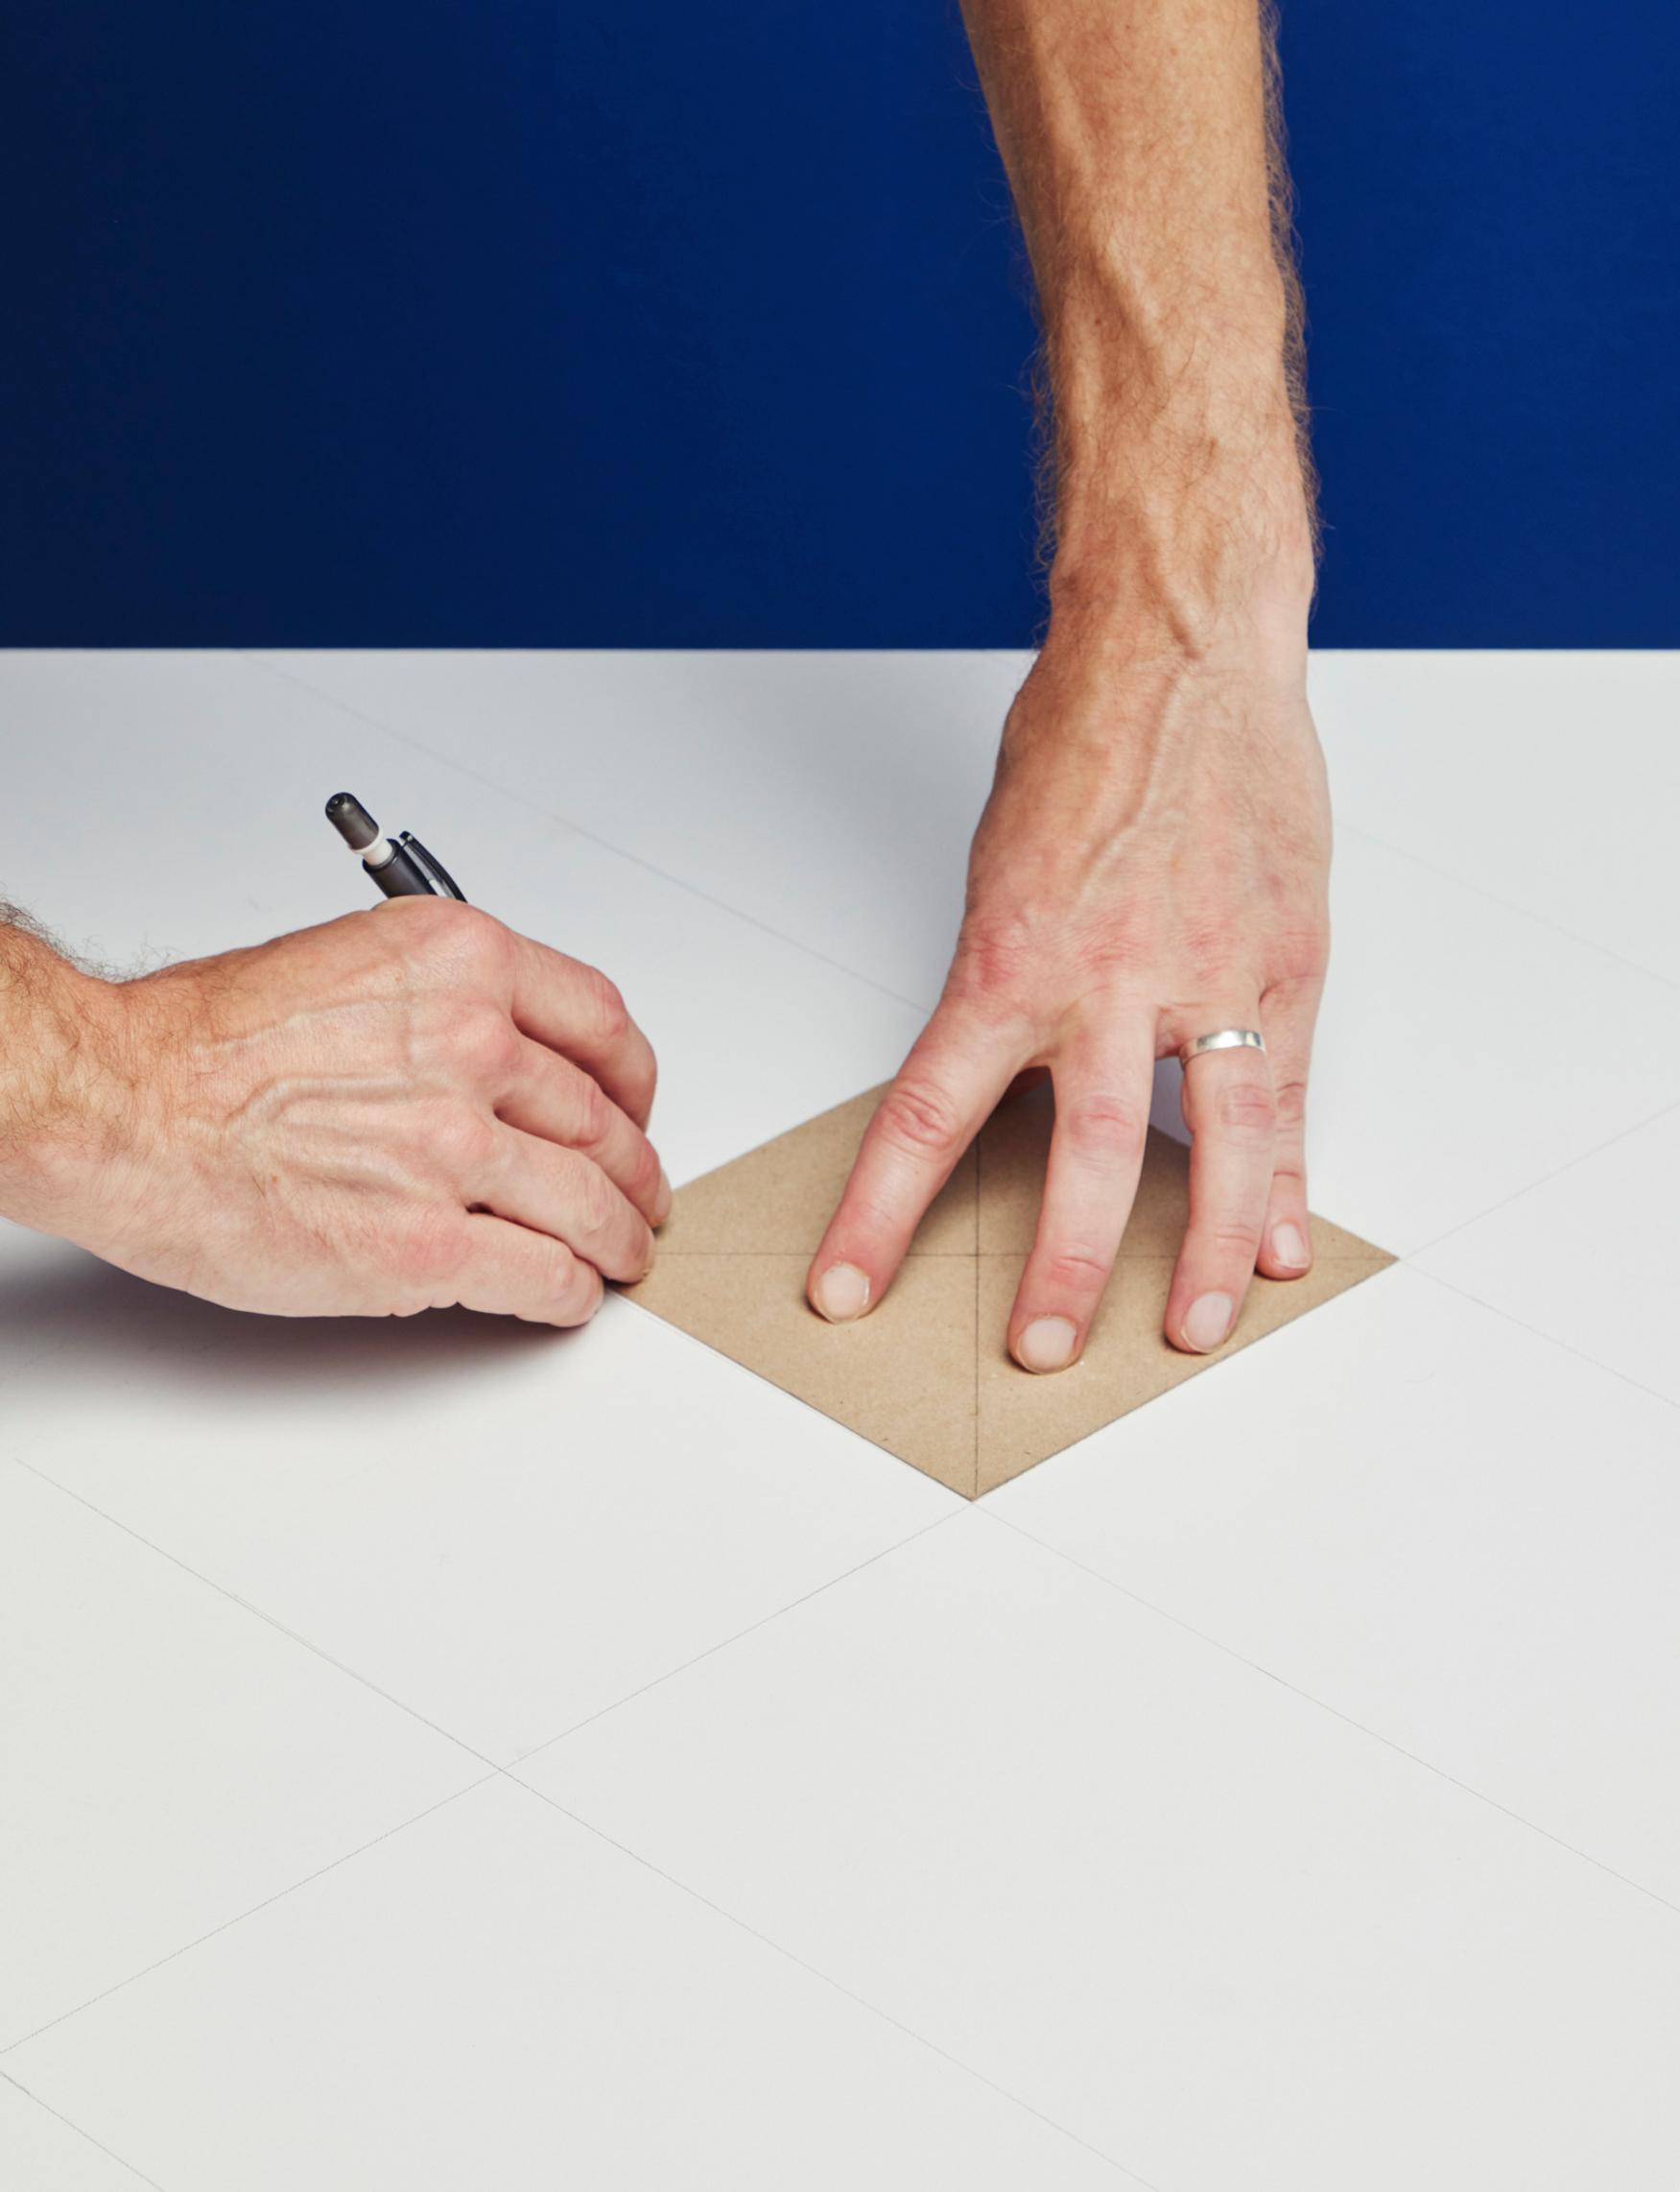
3. Draw a grid on the surface using a pencil and the cardboard template.

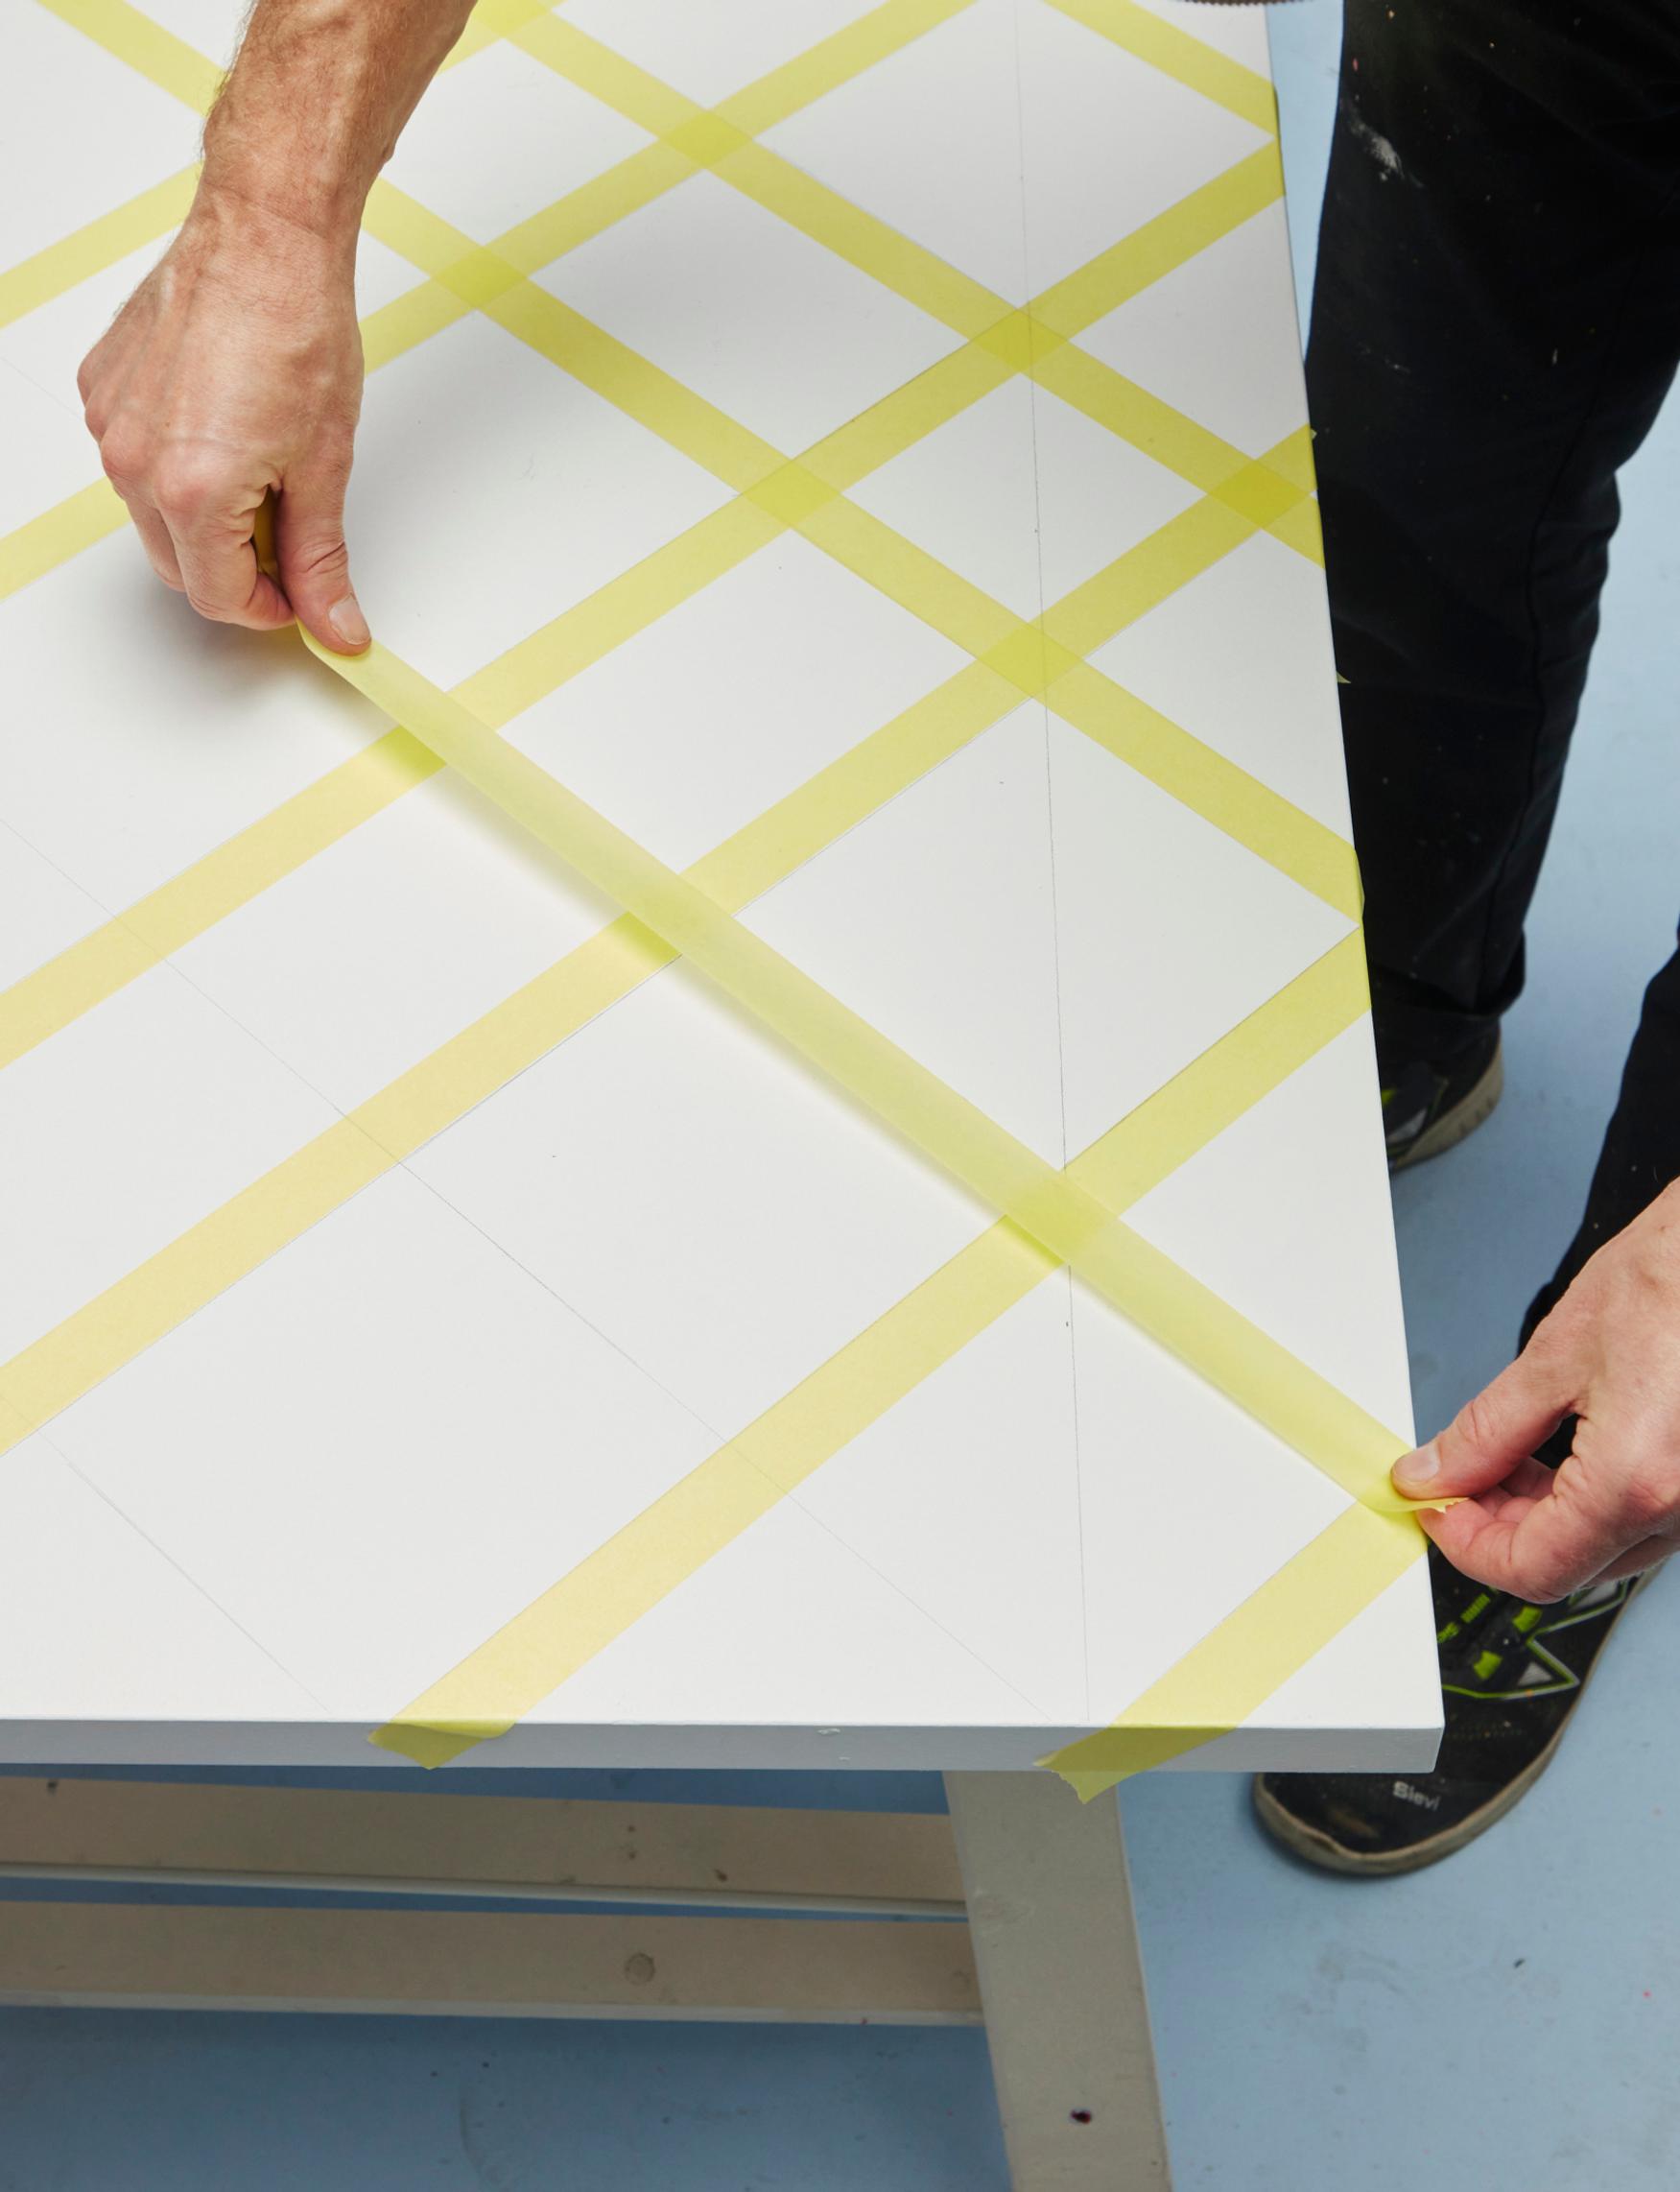

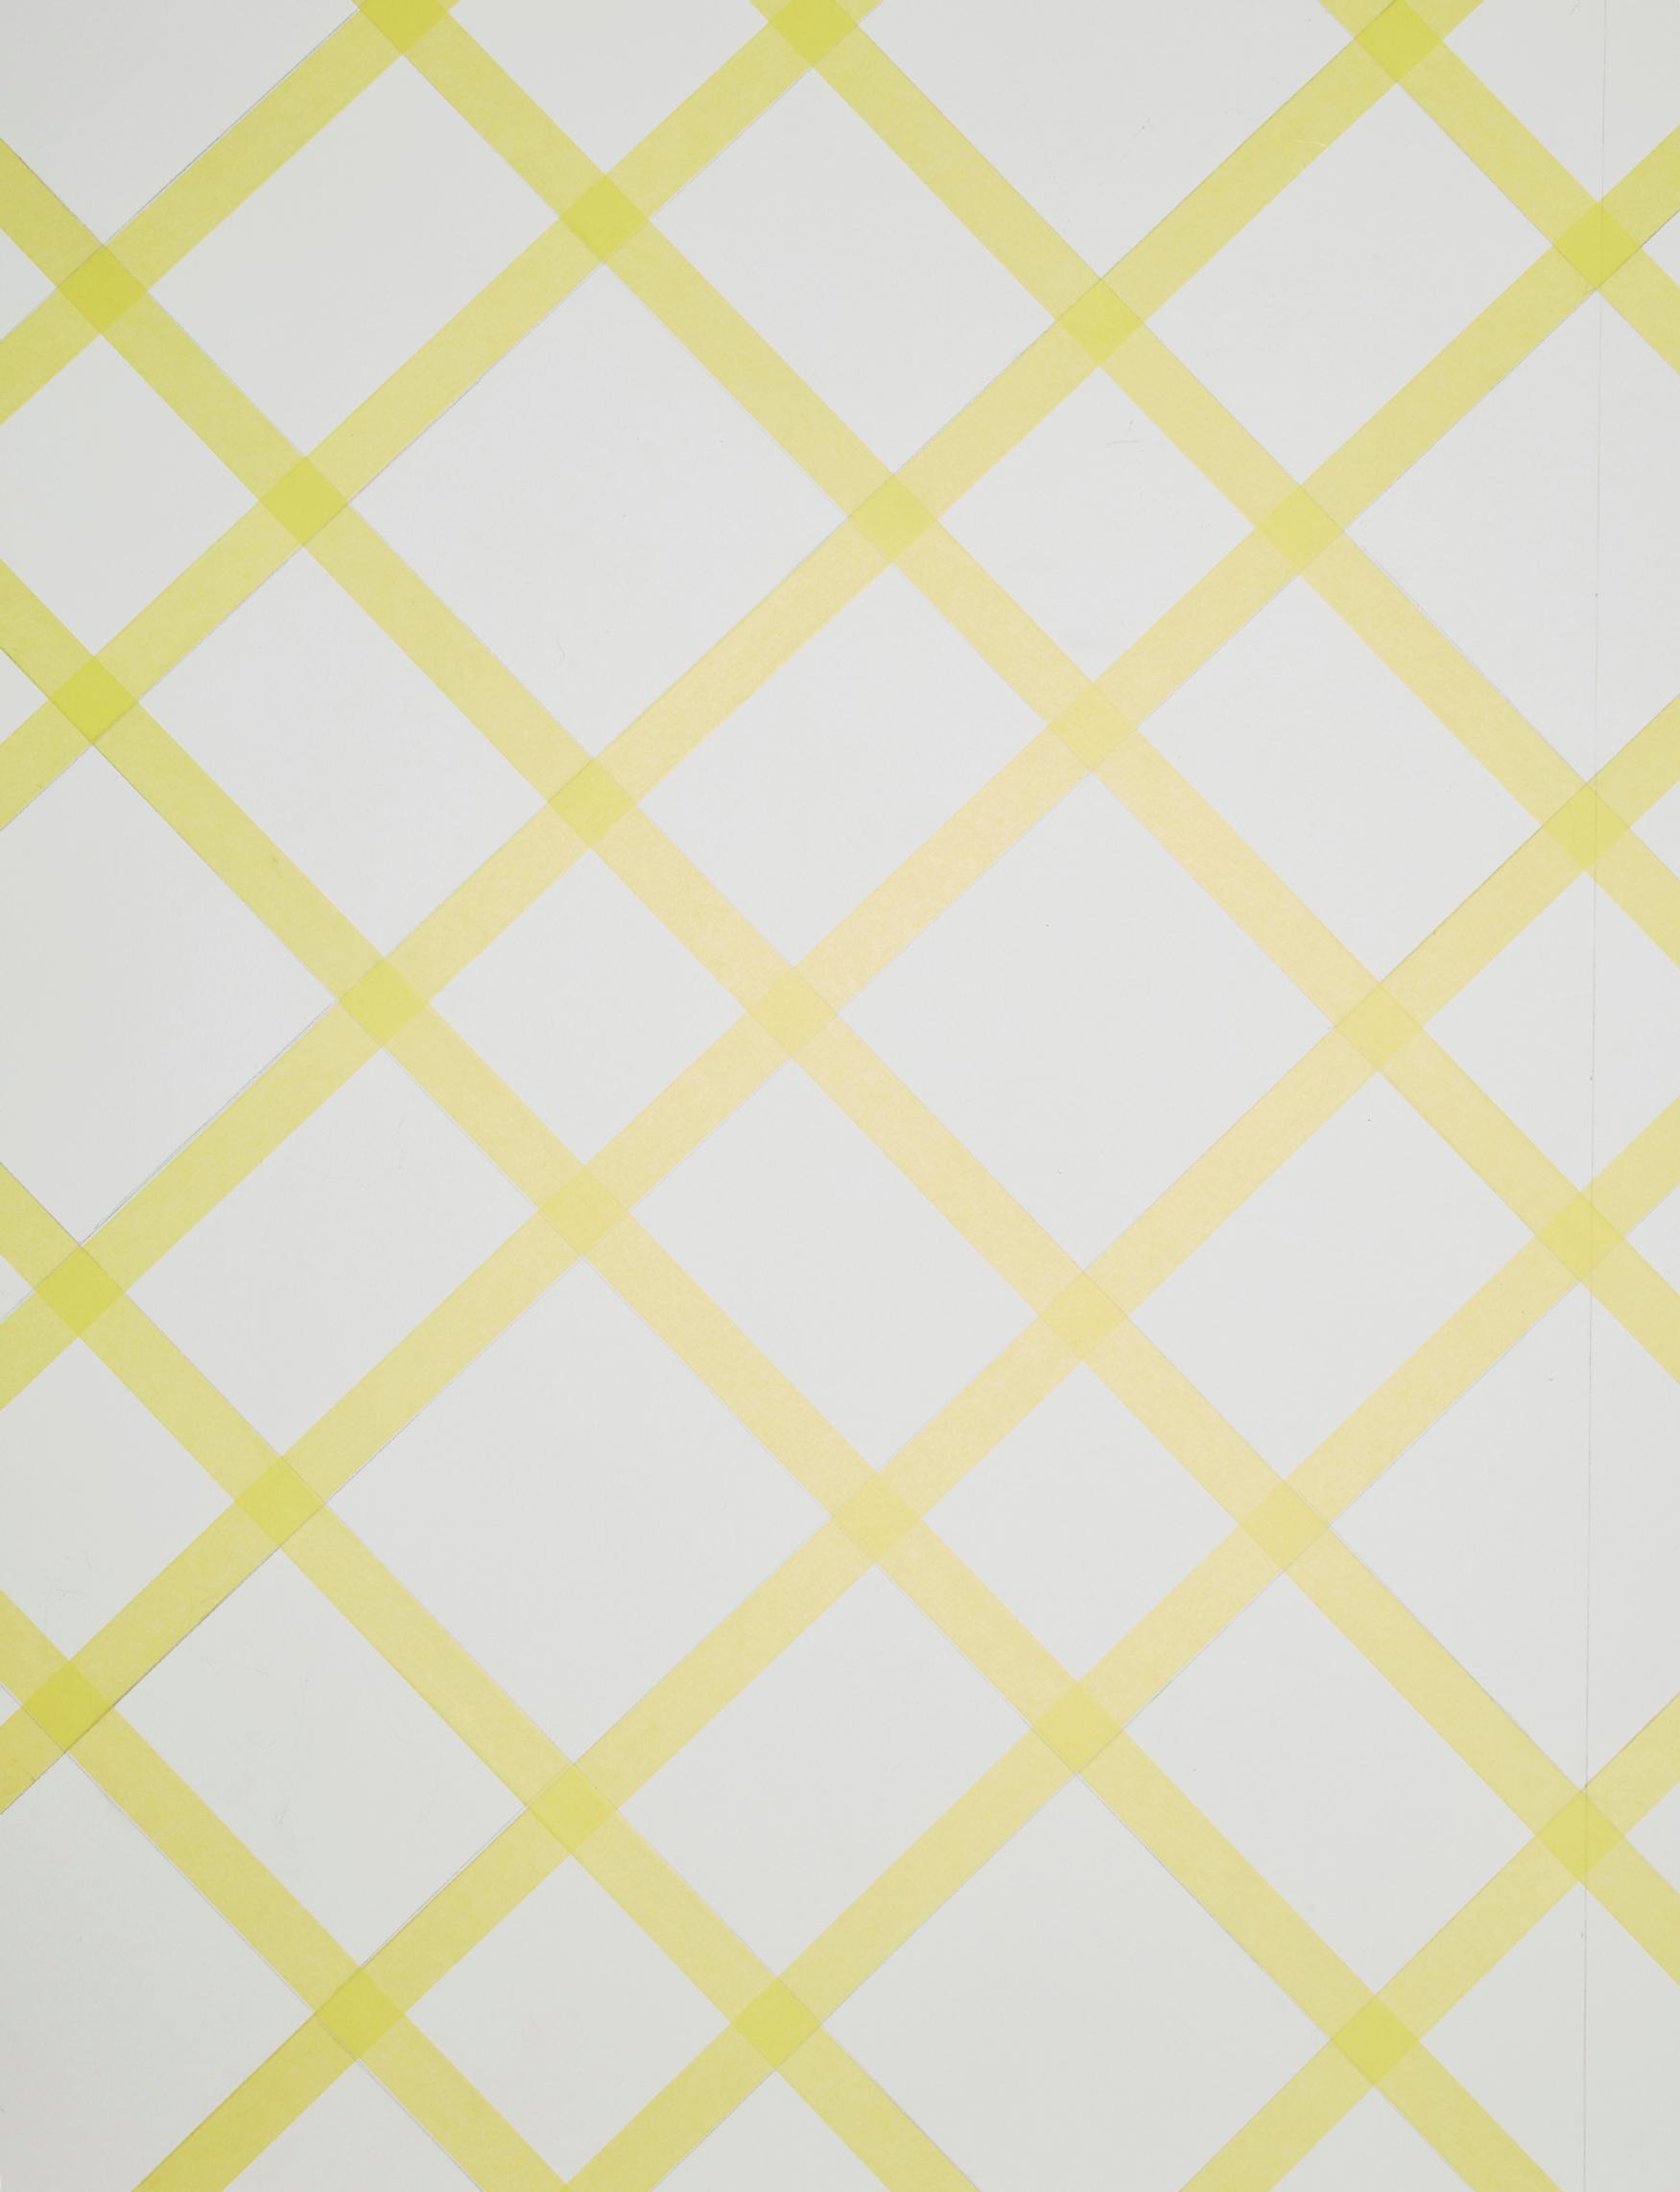
4. Tape off every other square so the areas to be painted are enclosed by the drawn lines and tape edges.

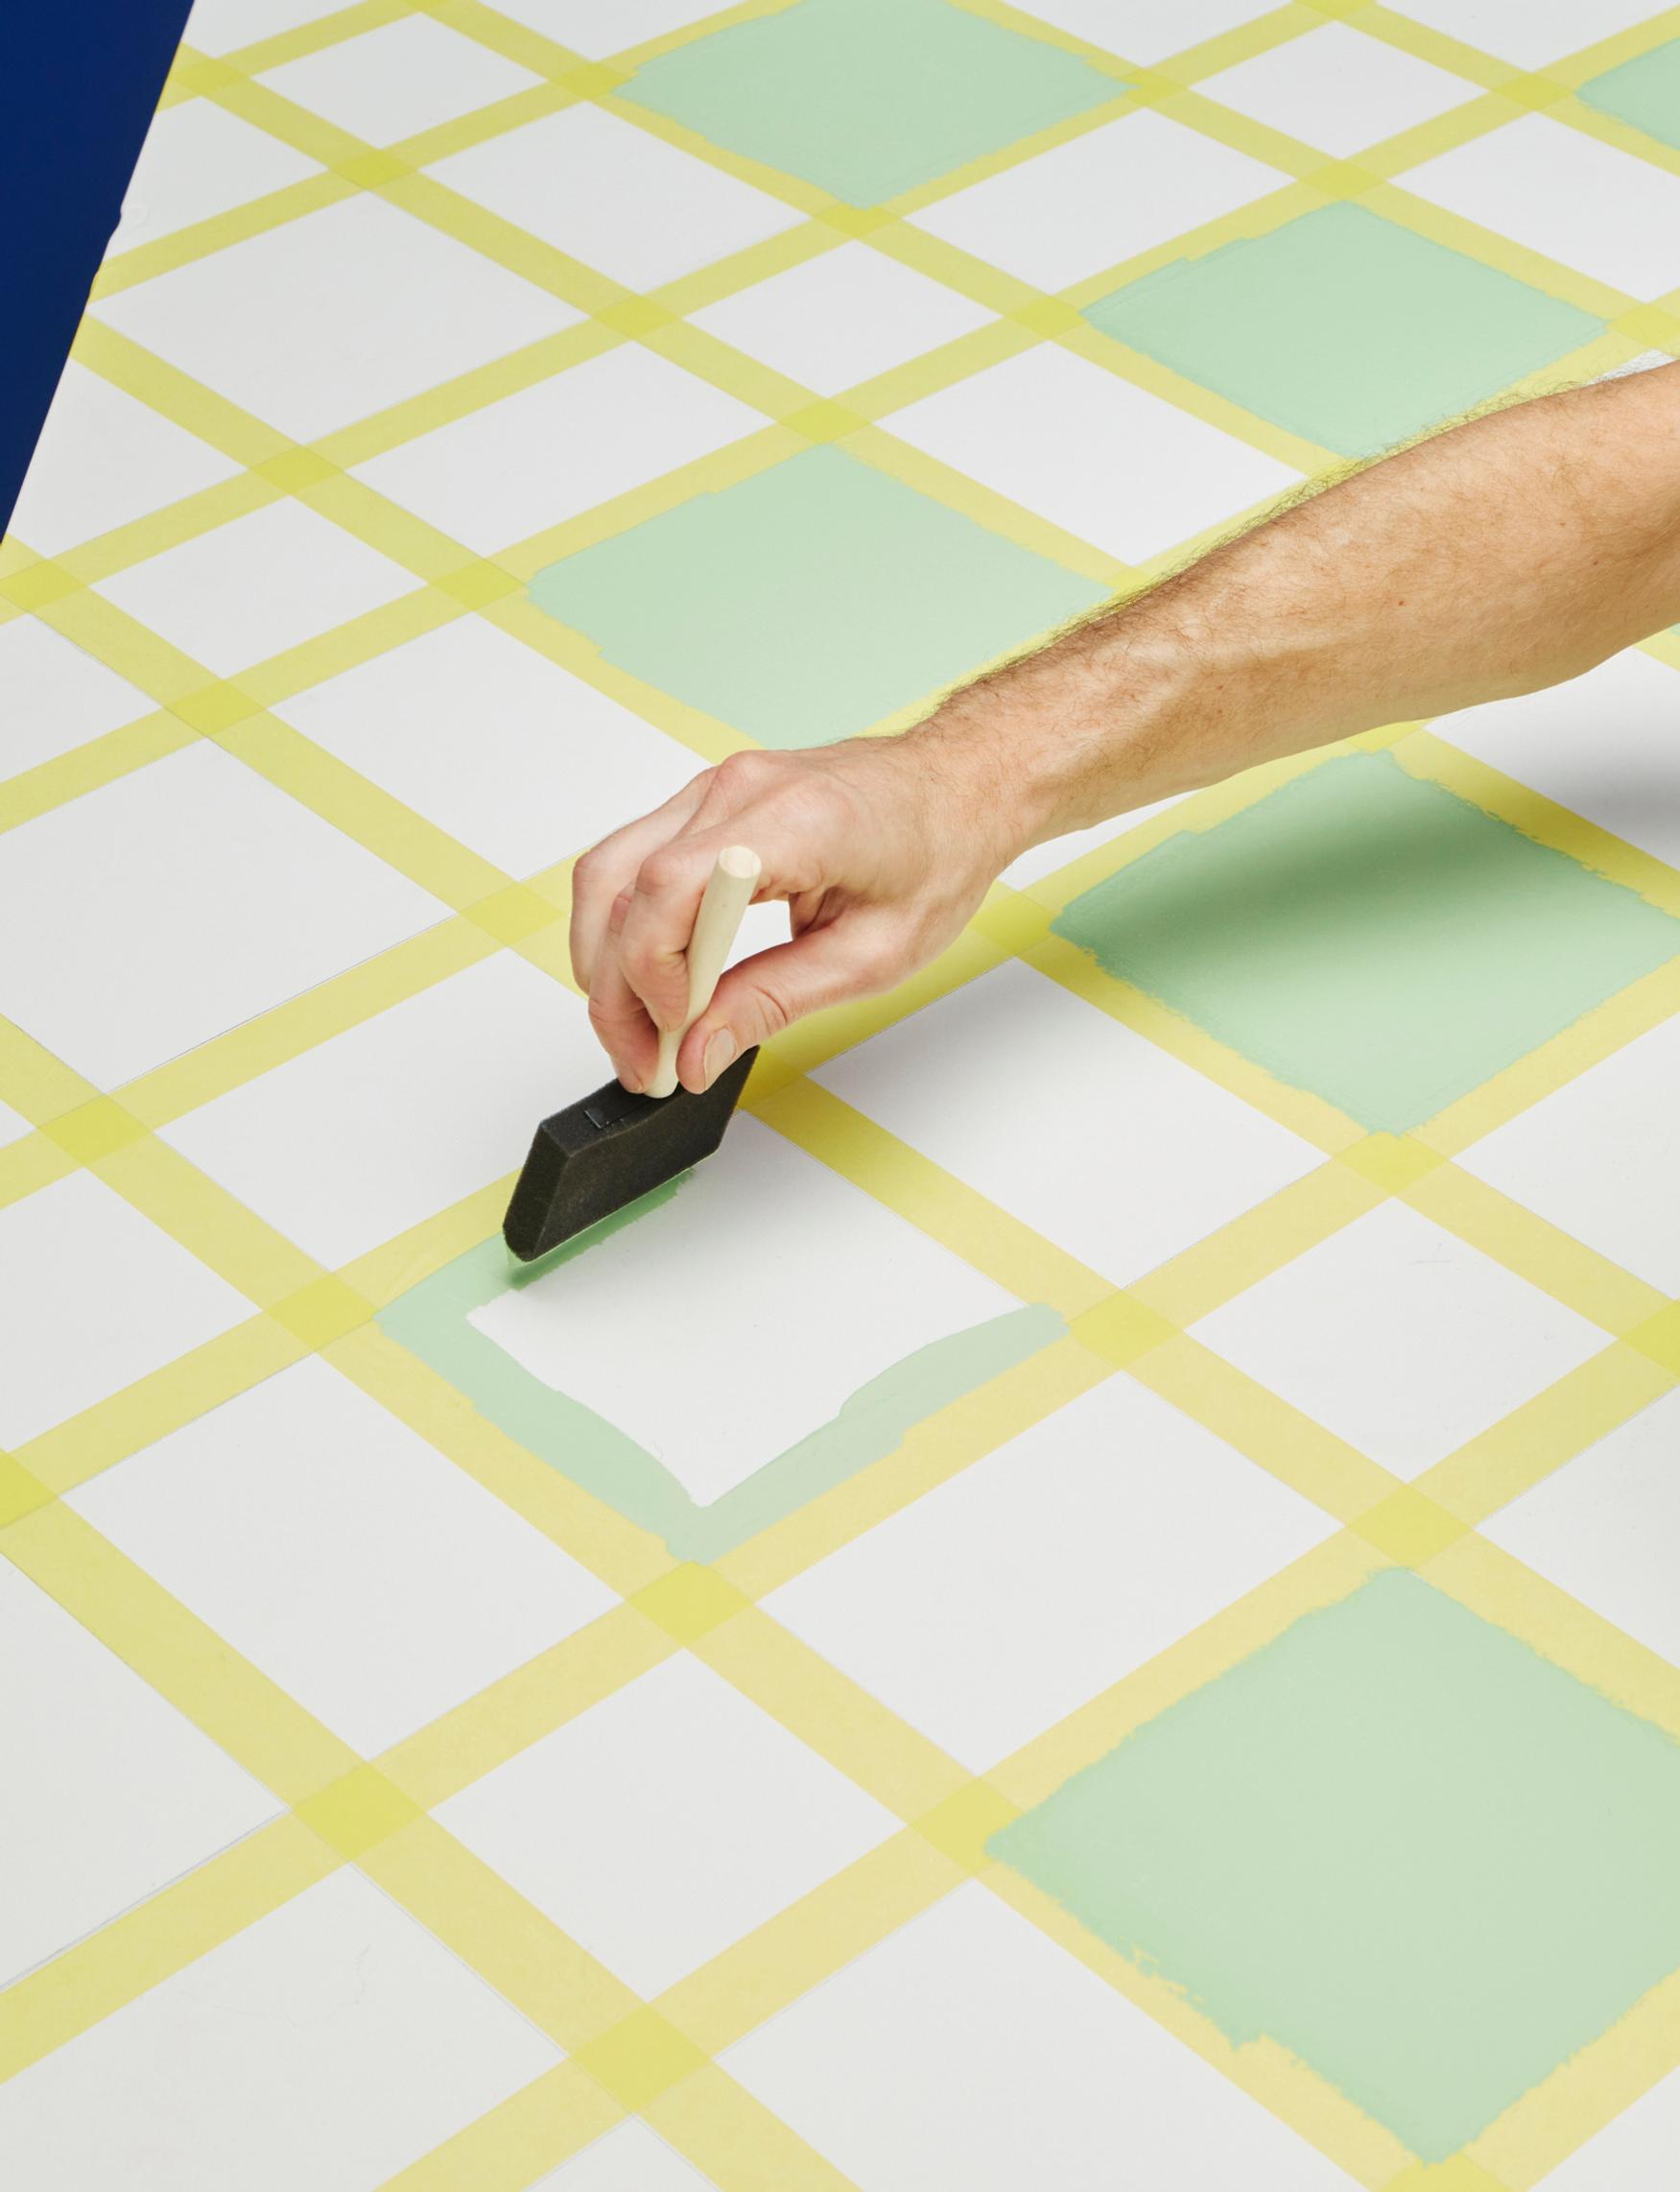

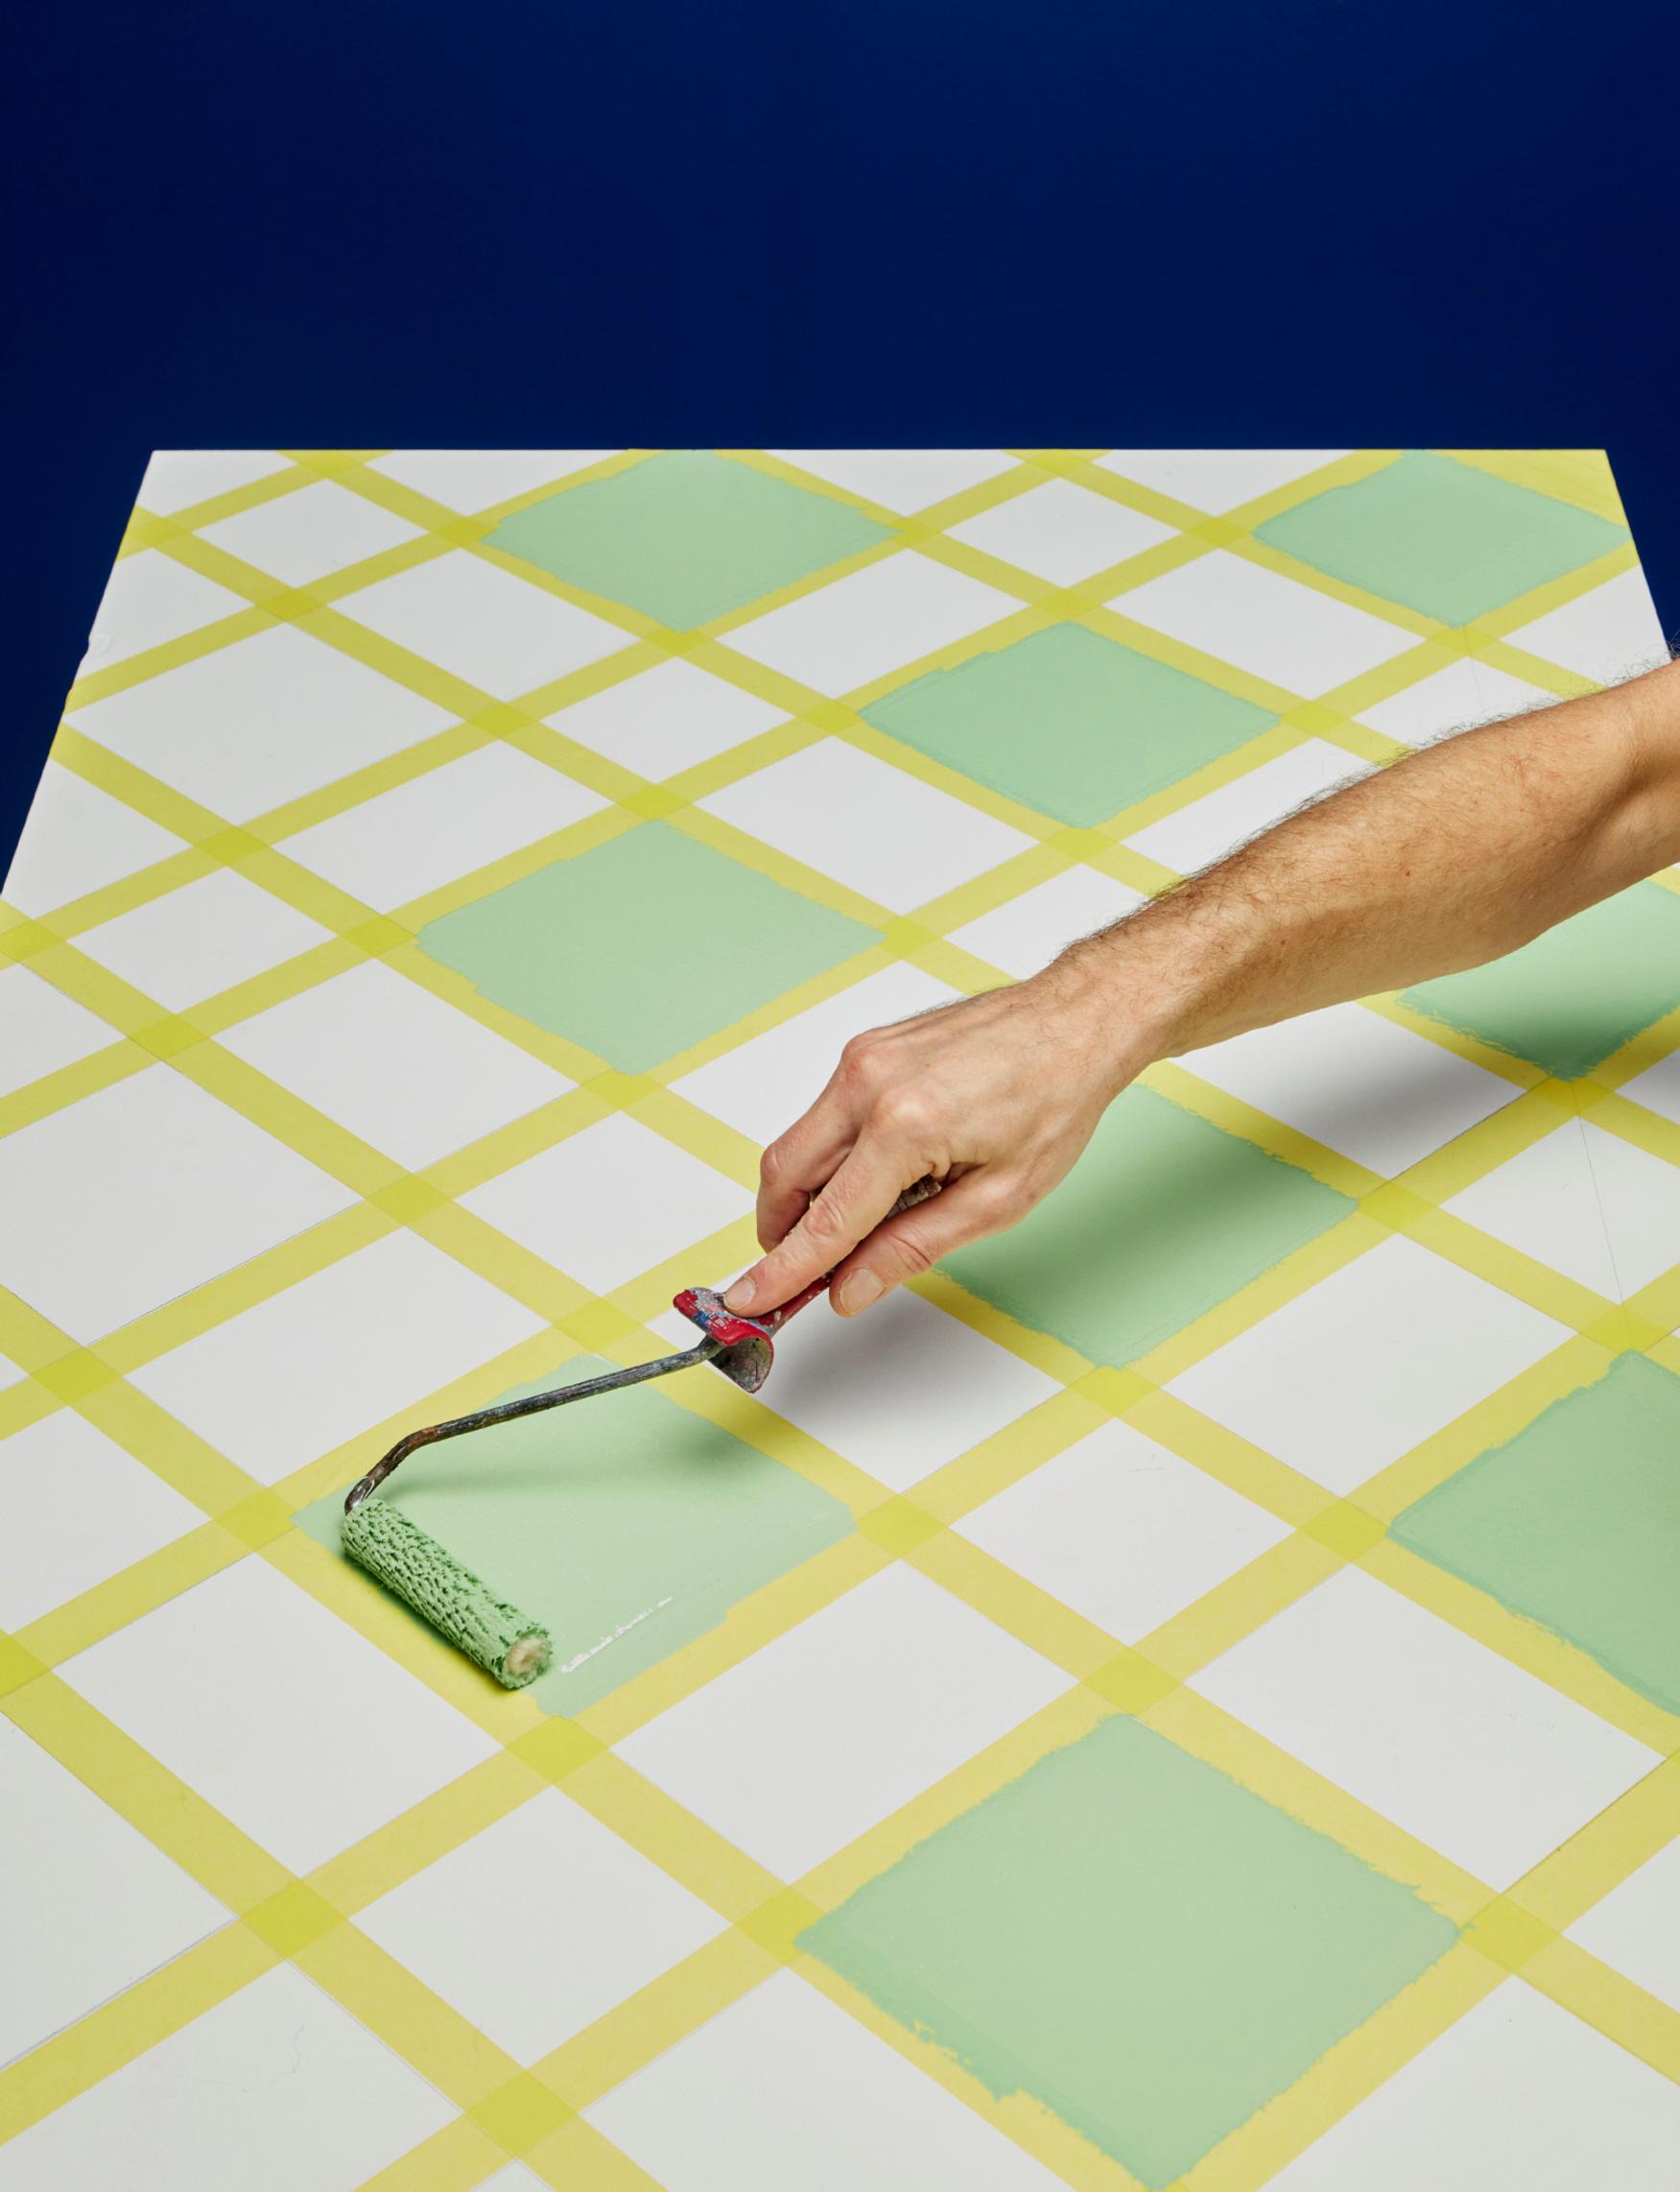
5. Paint each square twice: first with a brush, then with a small roller.

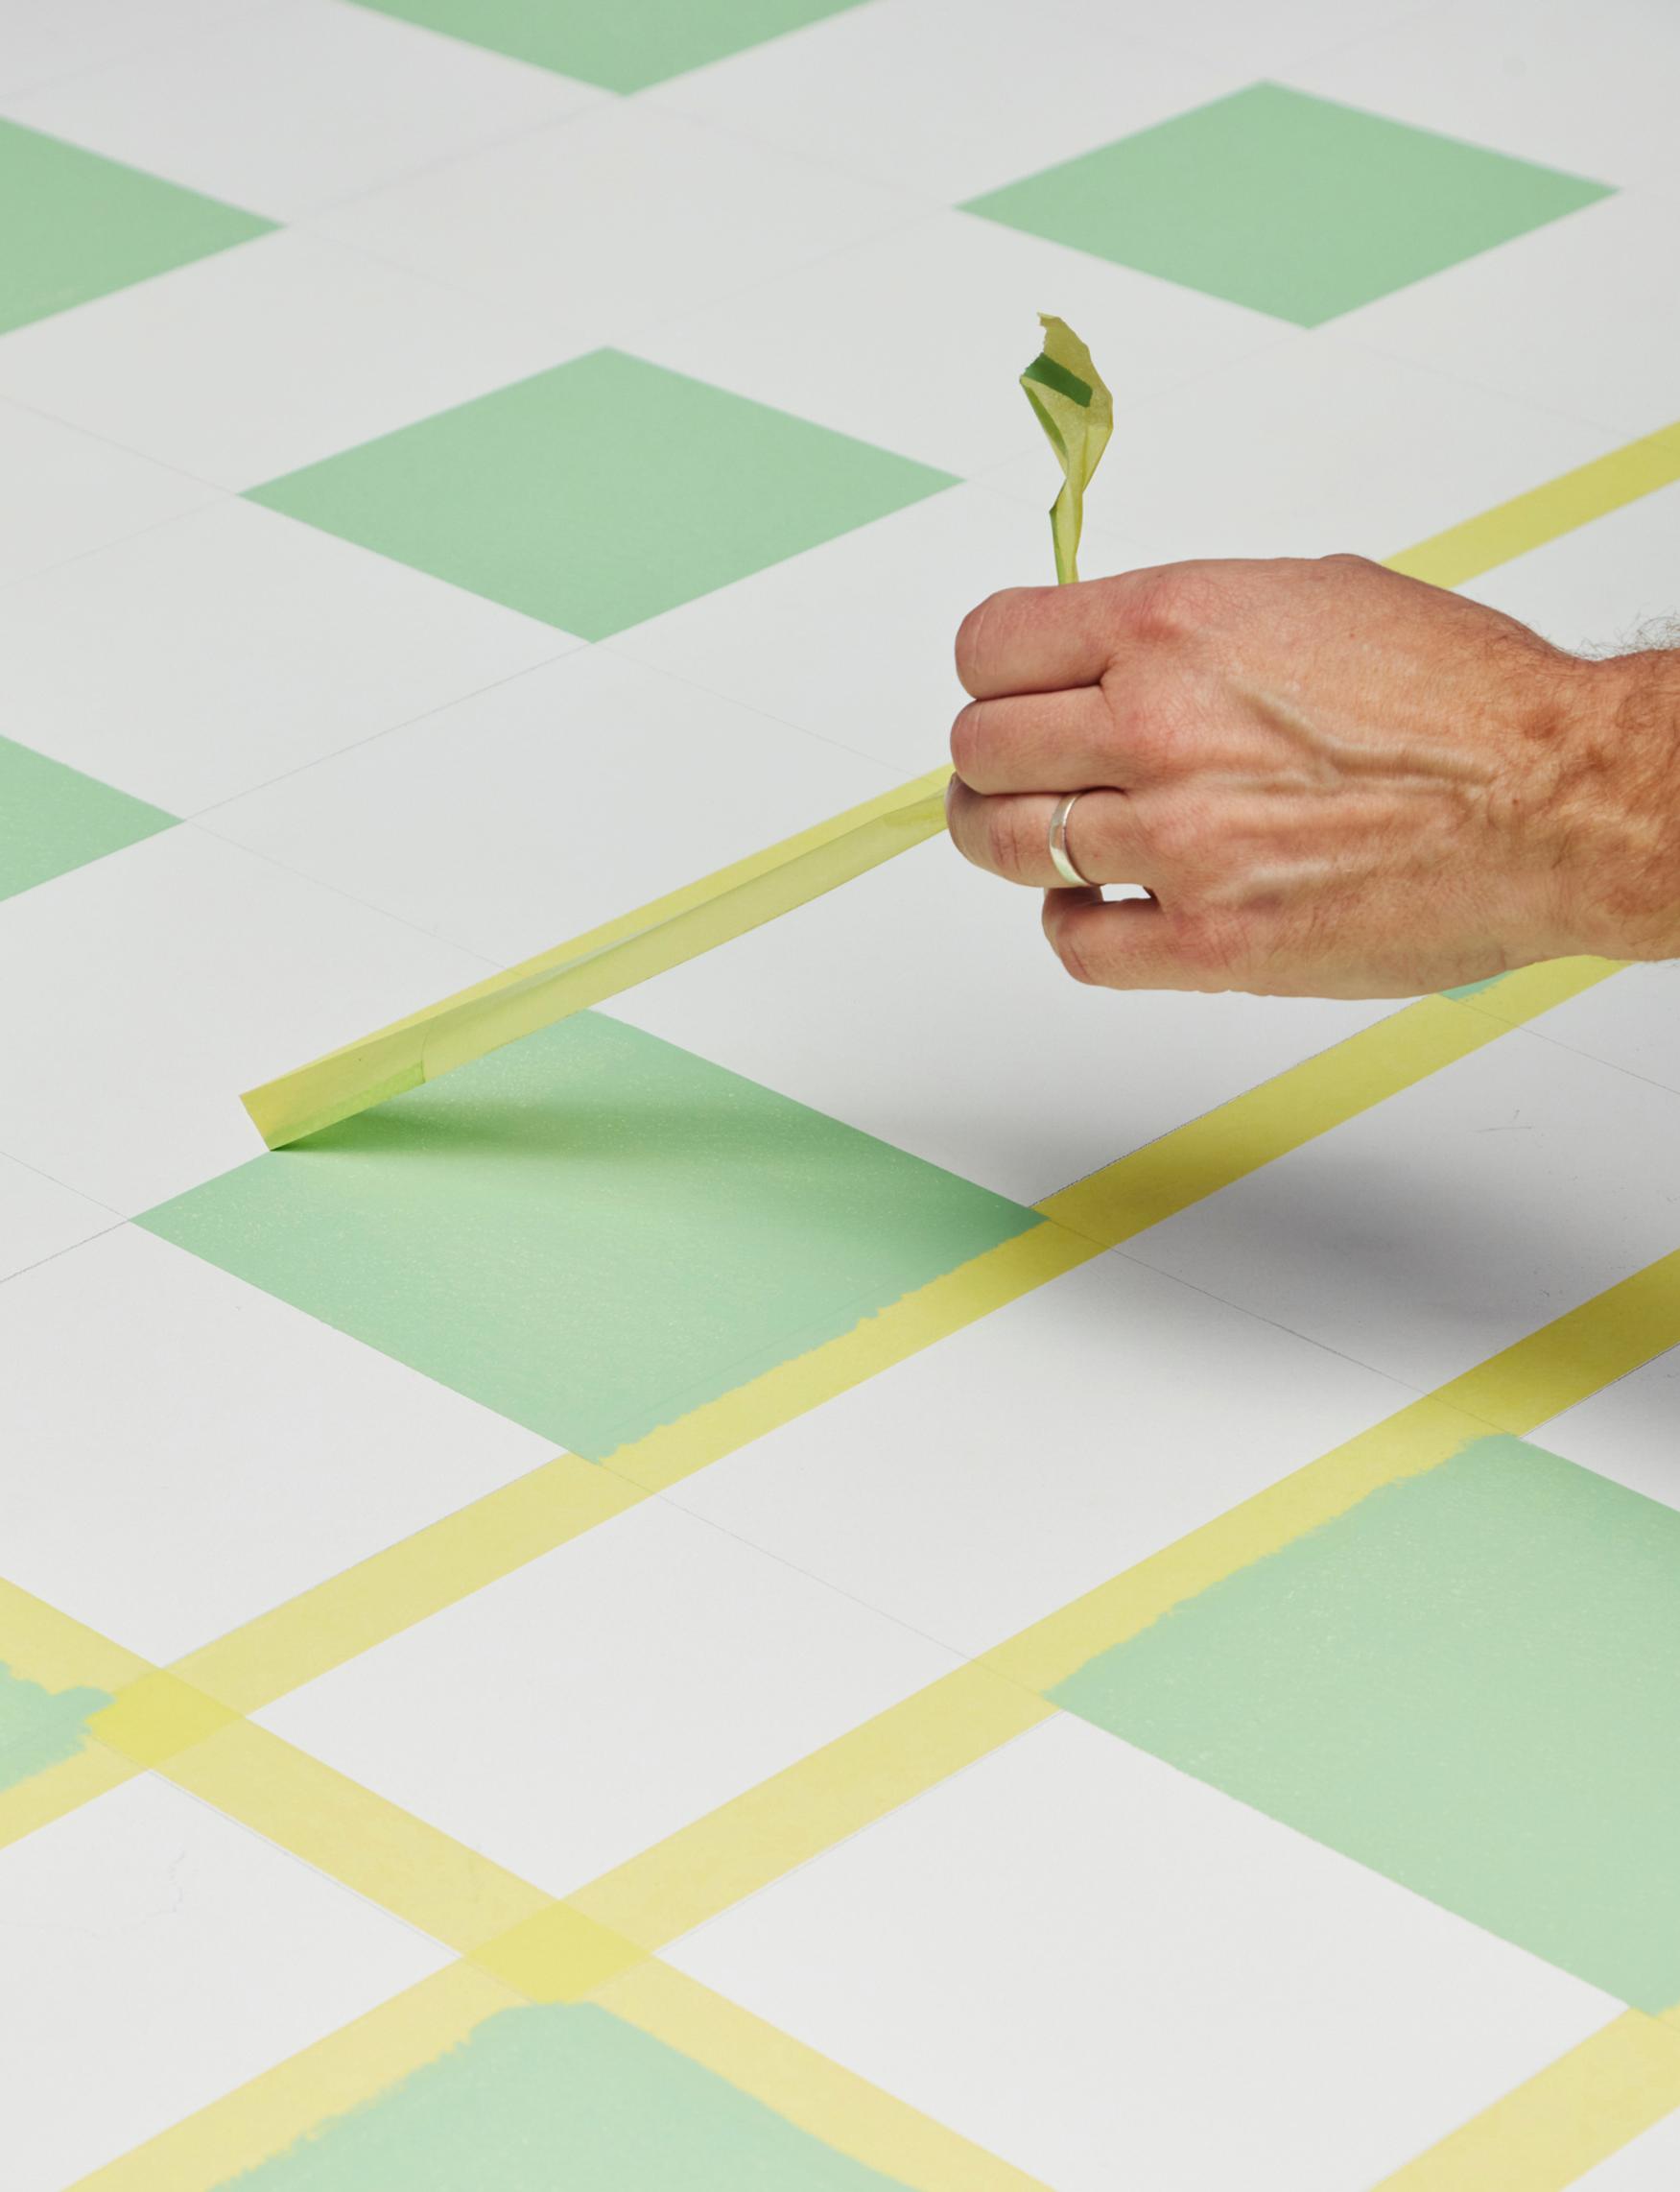
6. Remove the tape once the paint is dry enough not to stick to your fingers. Gently peel it off toward the painted surface.

7. Repeat steps 4–6 for any remaining squares you plan to paint.