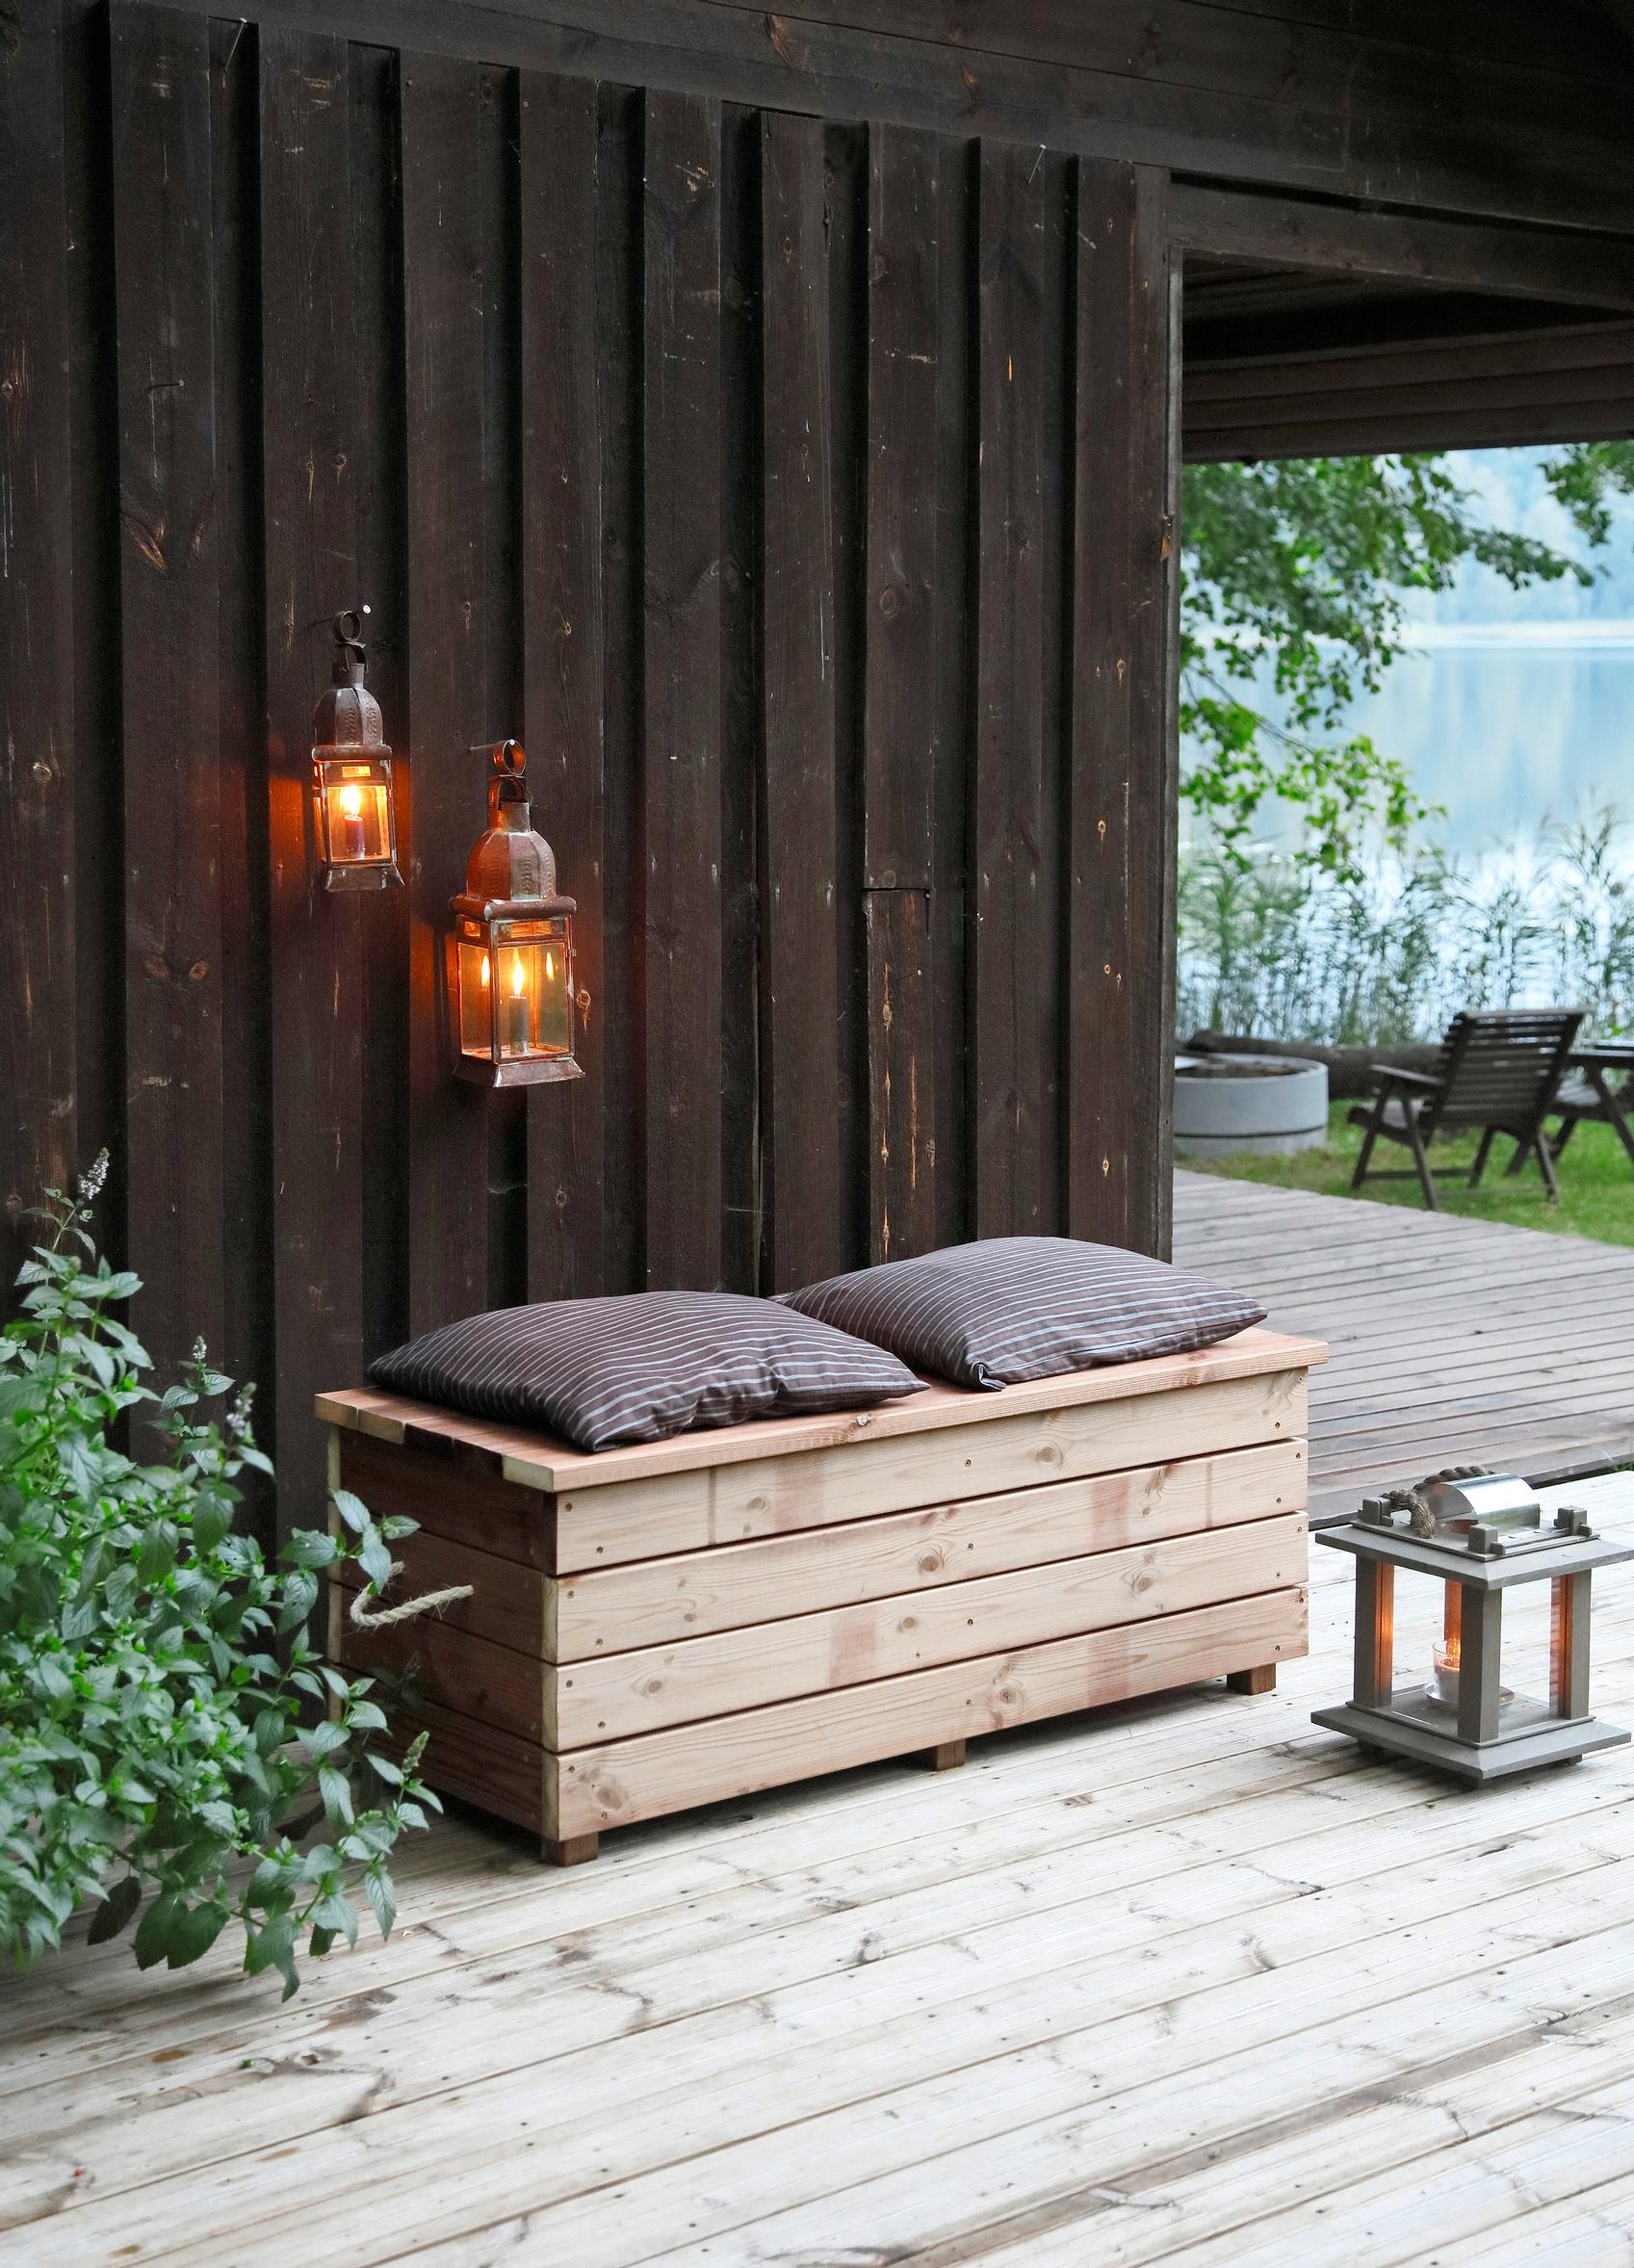
Outdoor storage bench—store your blankets and garden games in style
A storage bench is a versatile outdoor furniture piece that doubles as a handy seat and a storage box. Made from decking boards, this bench is just over a meter long and fits perfectly by the dining table, for example.
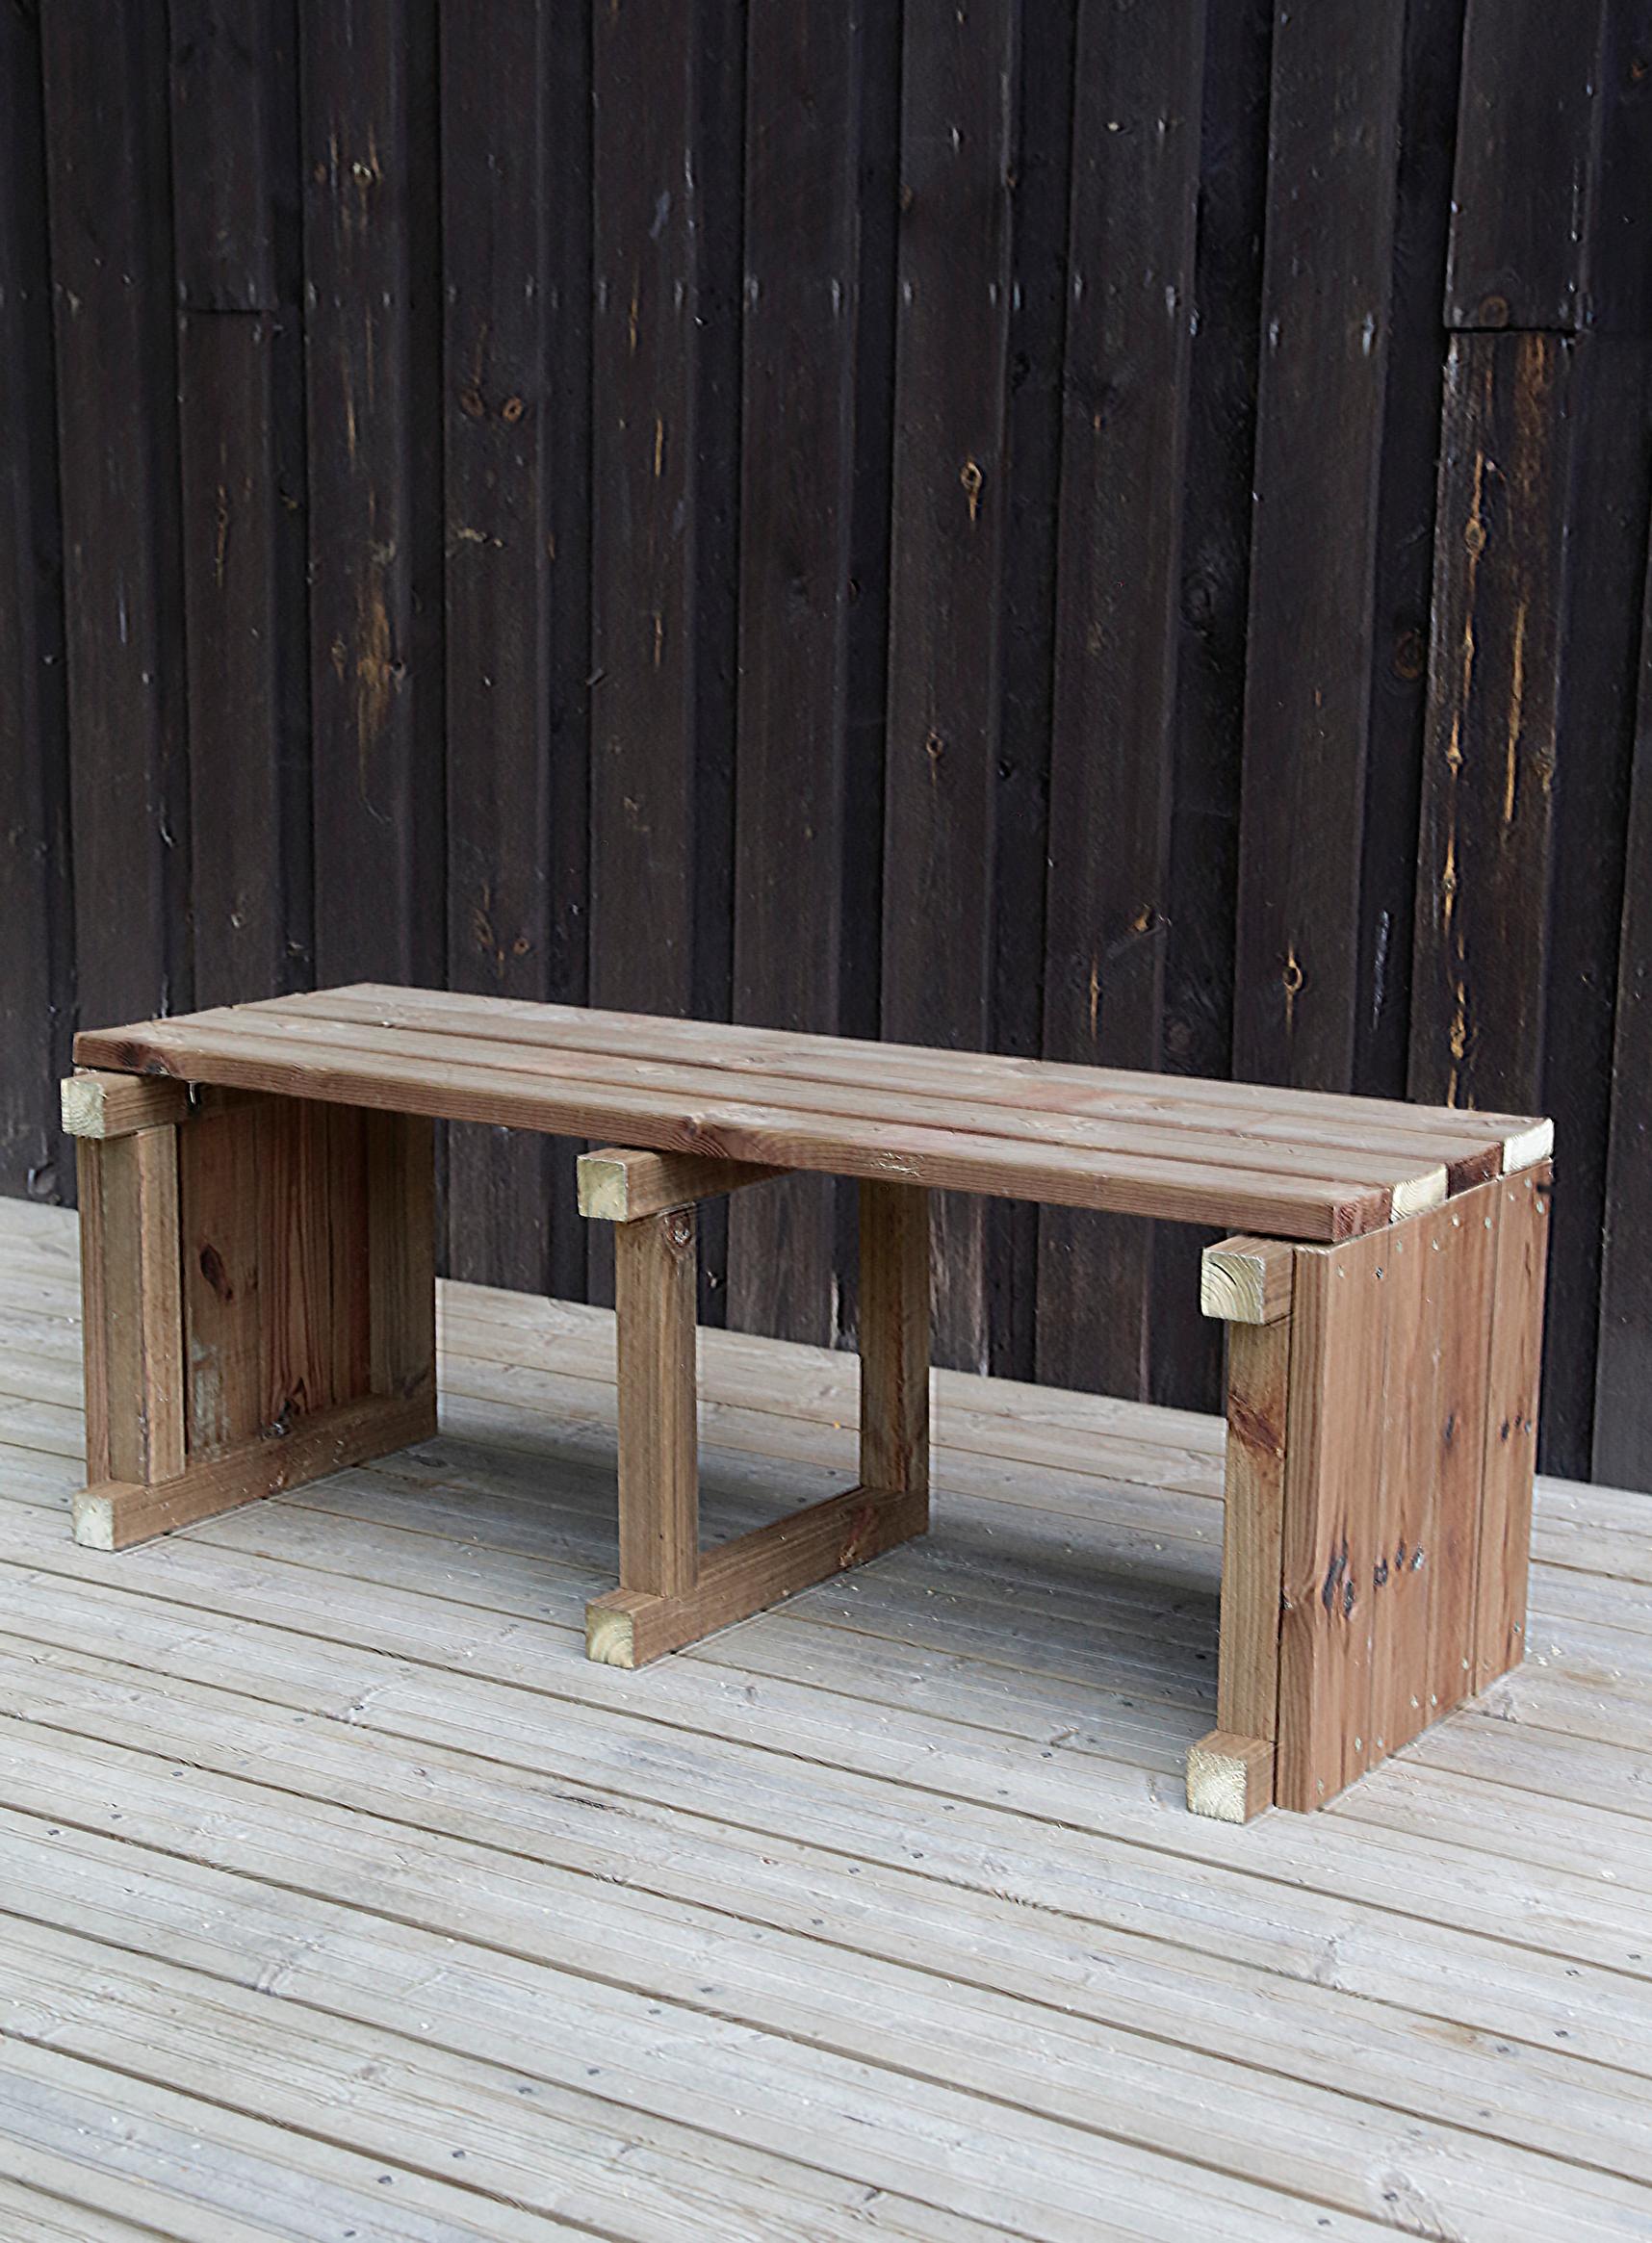
Size: 49 × 125 × 47 cm.
Outdoor storage bench—materials:
- 26 m of 28×95 mm brown pressure-treated wood
- 2 m of 48×48 mm pressure-treated wood
- 2 m of 21×45 mm pressure-treated wooden slat
- Stainless steel or deck screws in 45 mm, 55 mm, and 70 mm lengths
- 2 hinges
- 1 m of rope
- Saw, drill, and screwdriver
- Chisel, hammer, and knife
- Forstner bit (10 mm) and countersink bit
- Sandpaper
- Square, measuring tape, pencil, and eraser
- Work gloves, respirator, and safety glasses.
Outdoor storage bench—instructions:


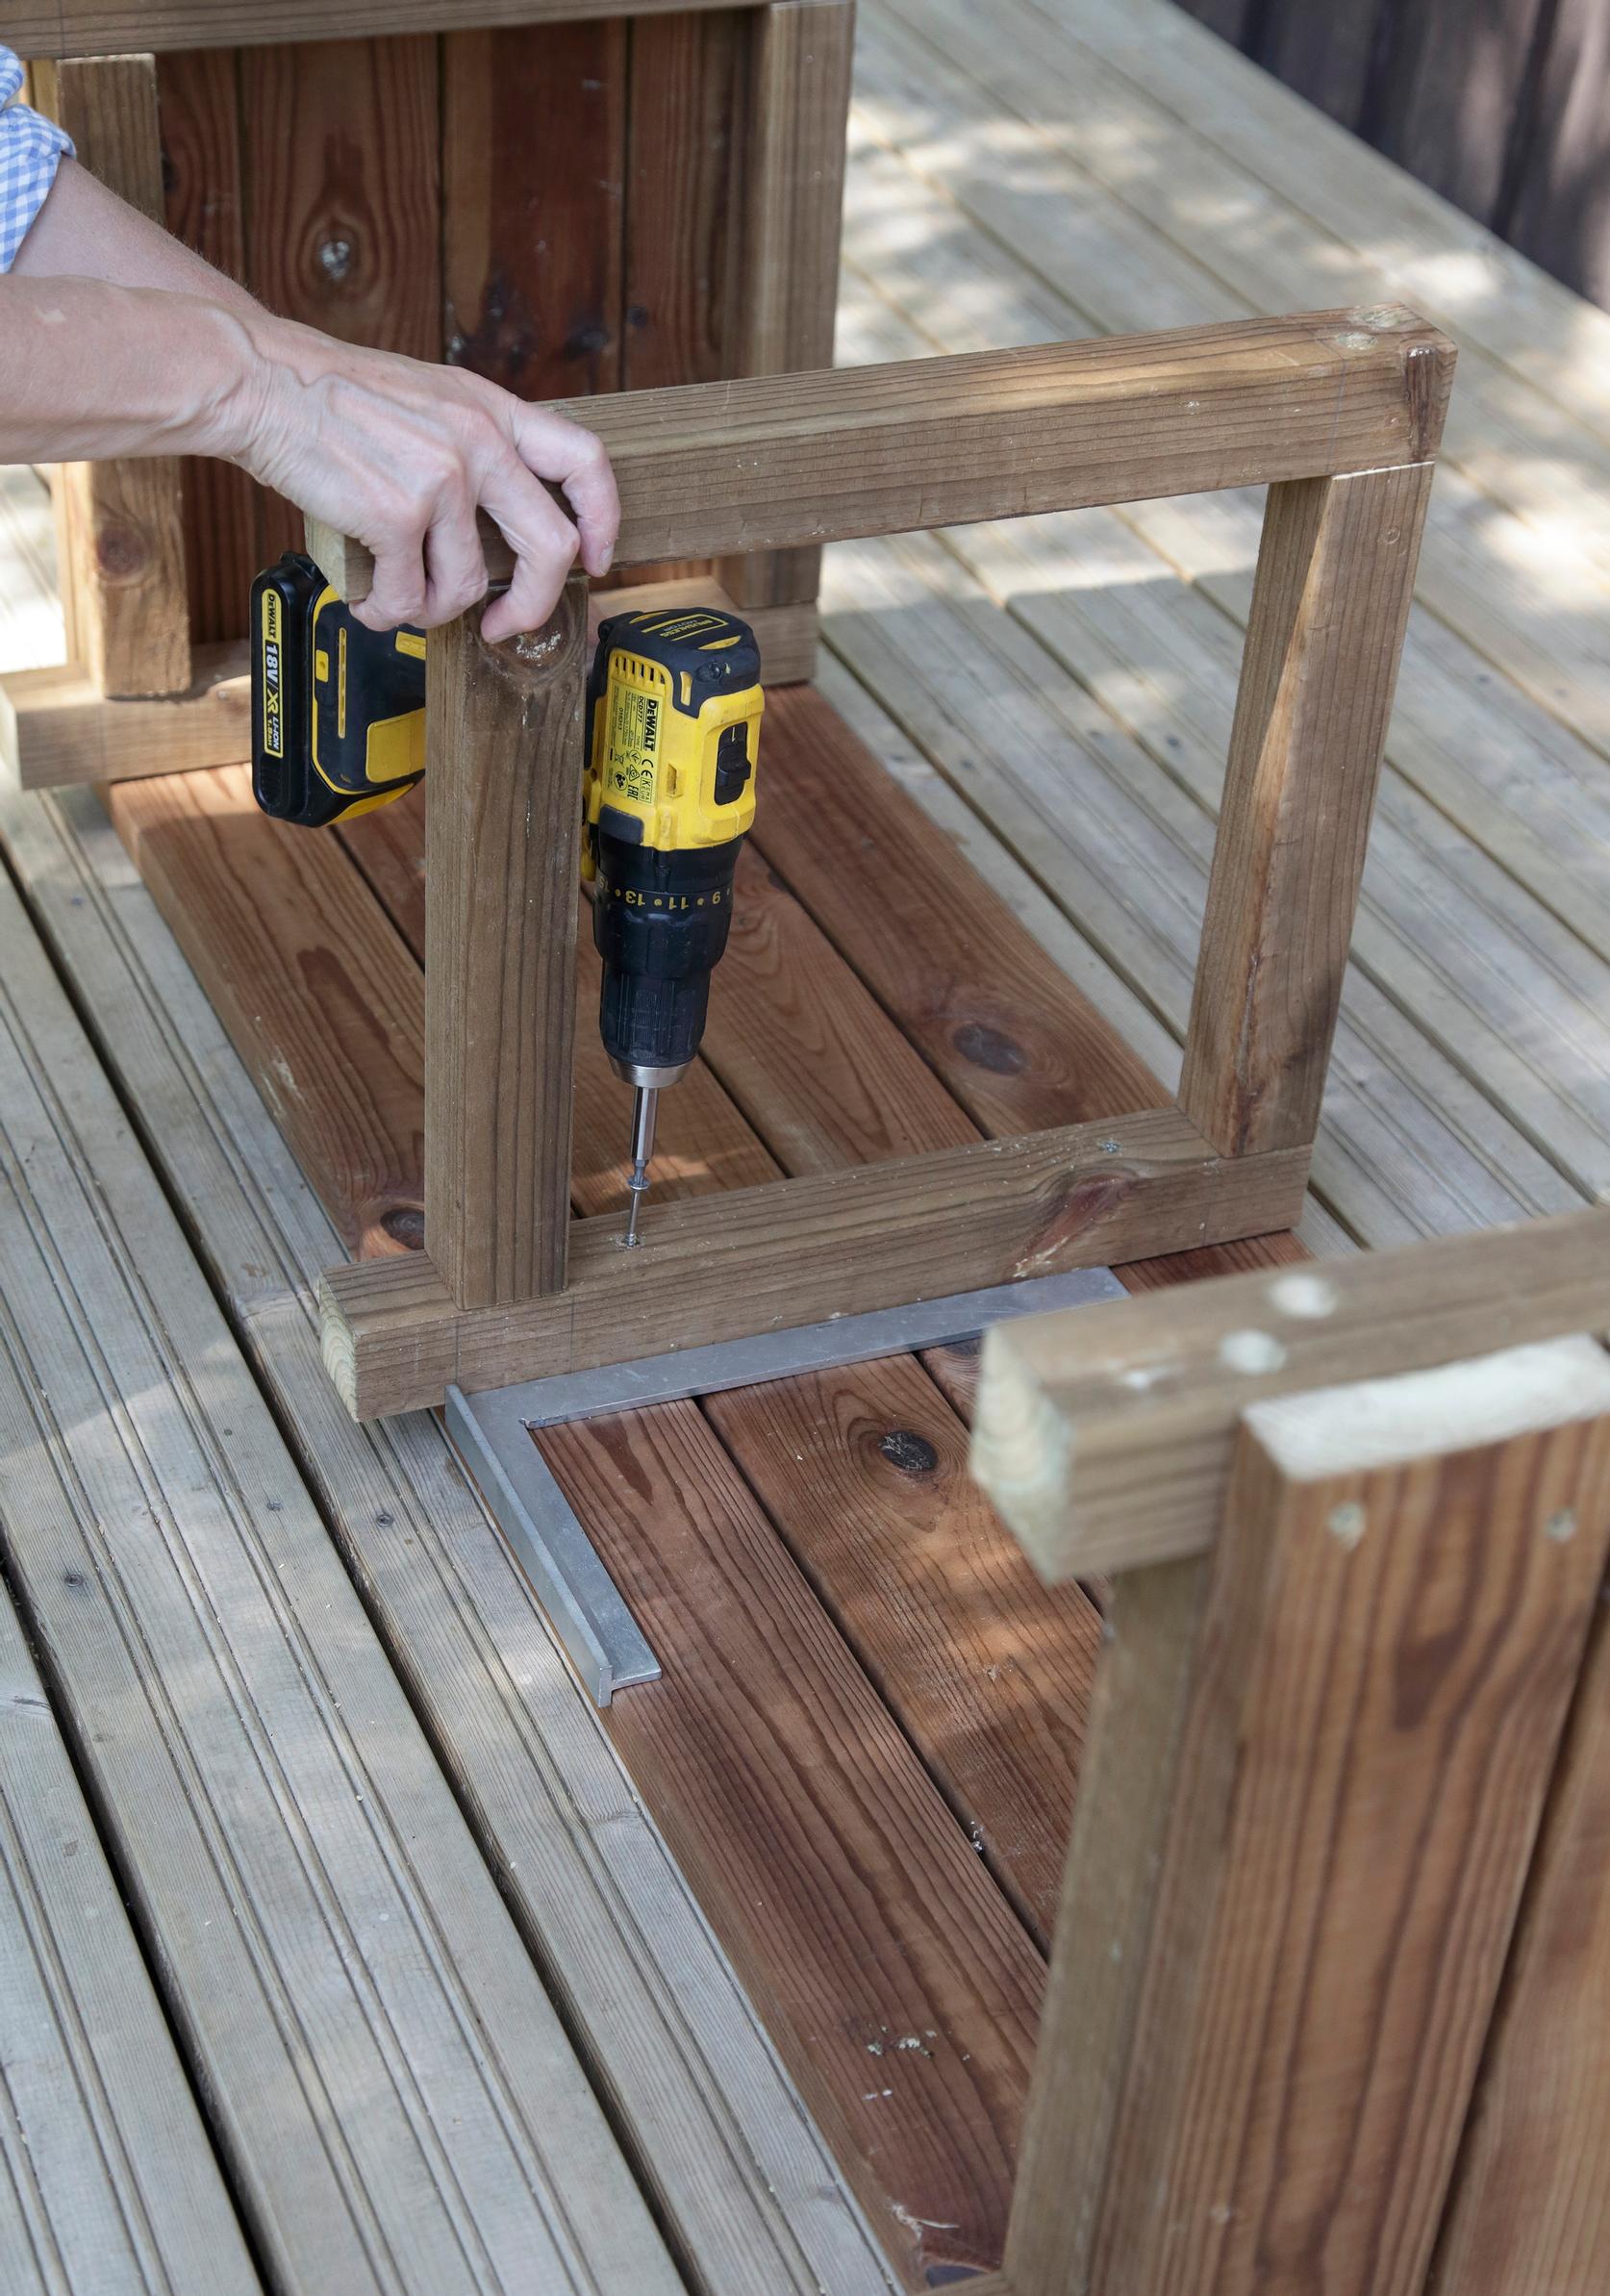
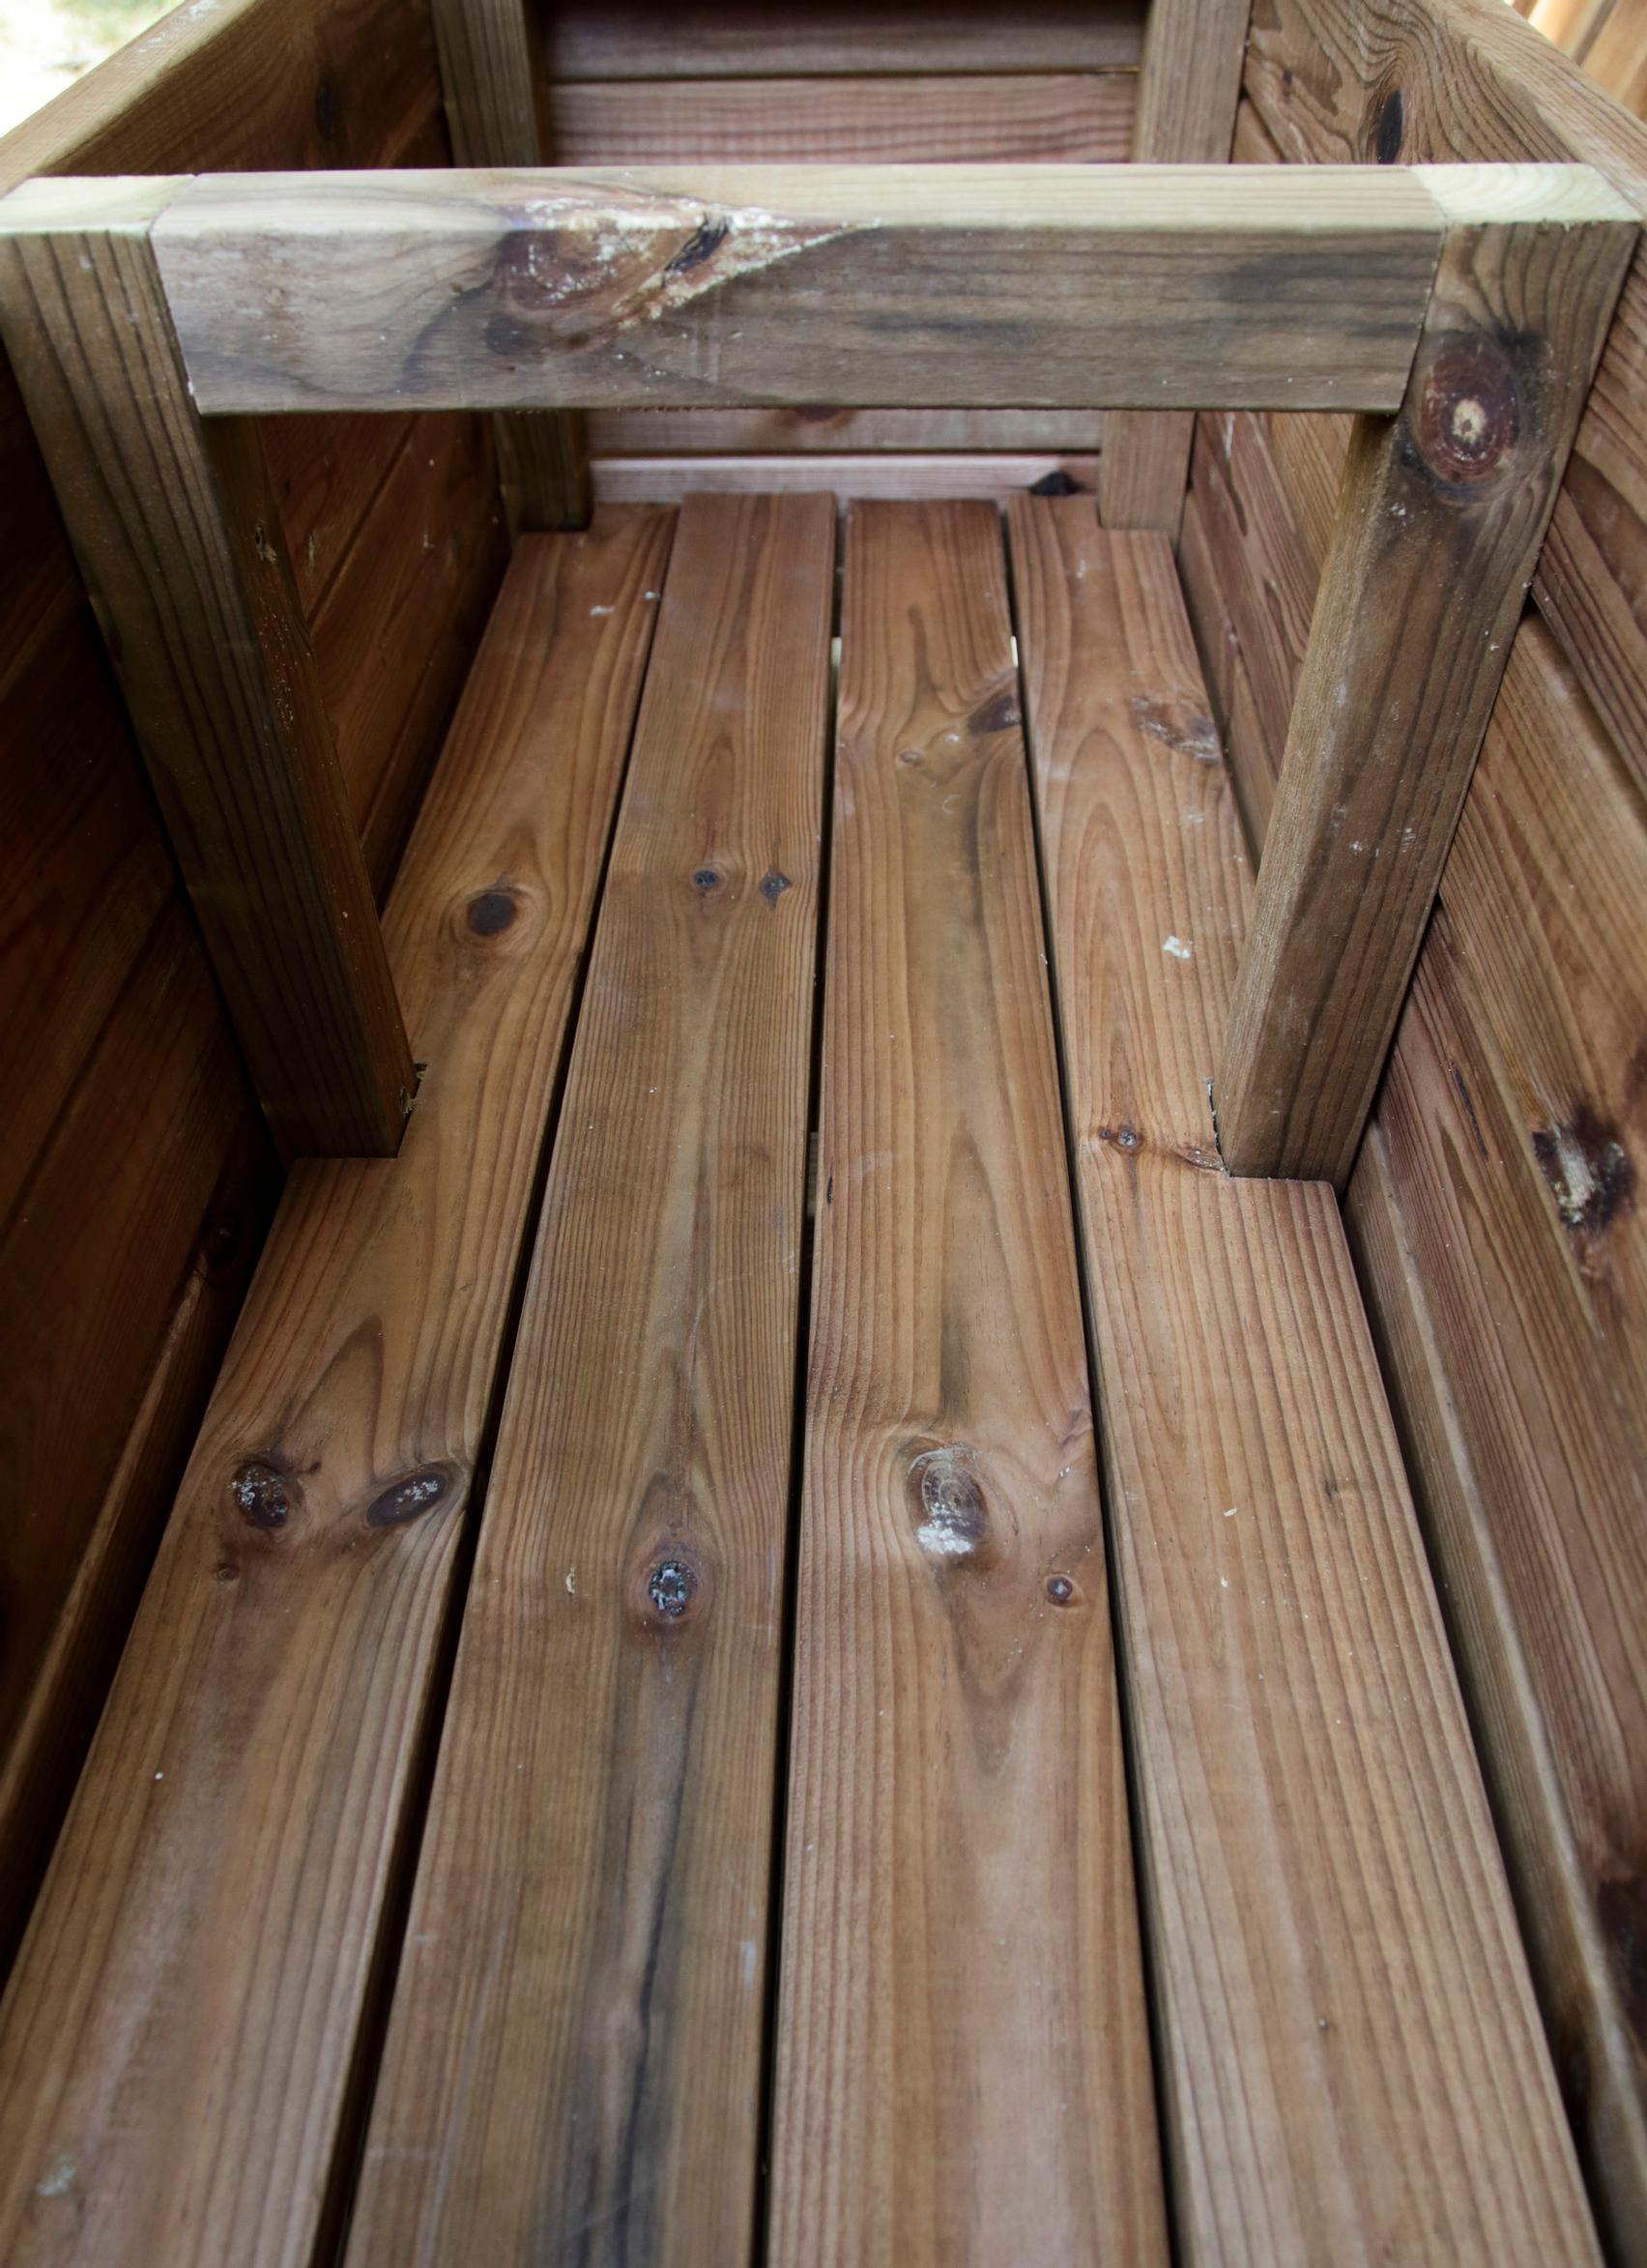
1. Build three frames to go inside the box. For the vertical pieces, cut six 44 cm pieces from 48×48 mm timber, and for the horizontal pieces, cut six 34.5 cm pieces. Attach the horizontal pieces inside the verticals. Drill countersinks for the screws using, for example, a Forstner bit, and attach the pieces with 70 mm screws. Leave a 5 cm leg below the lower support.

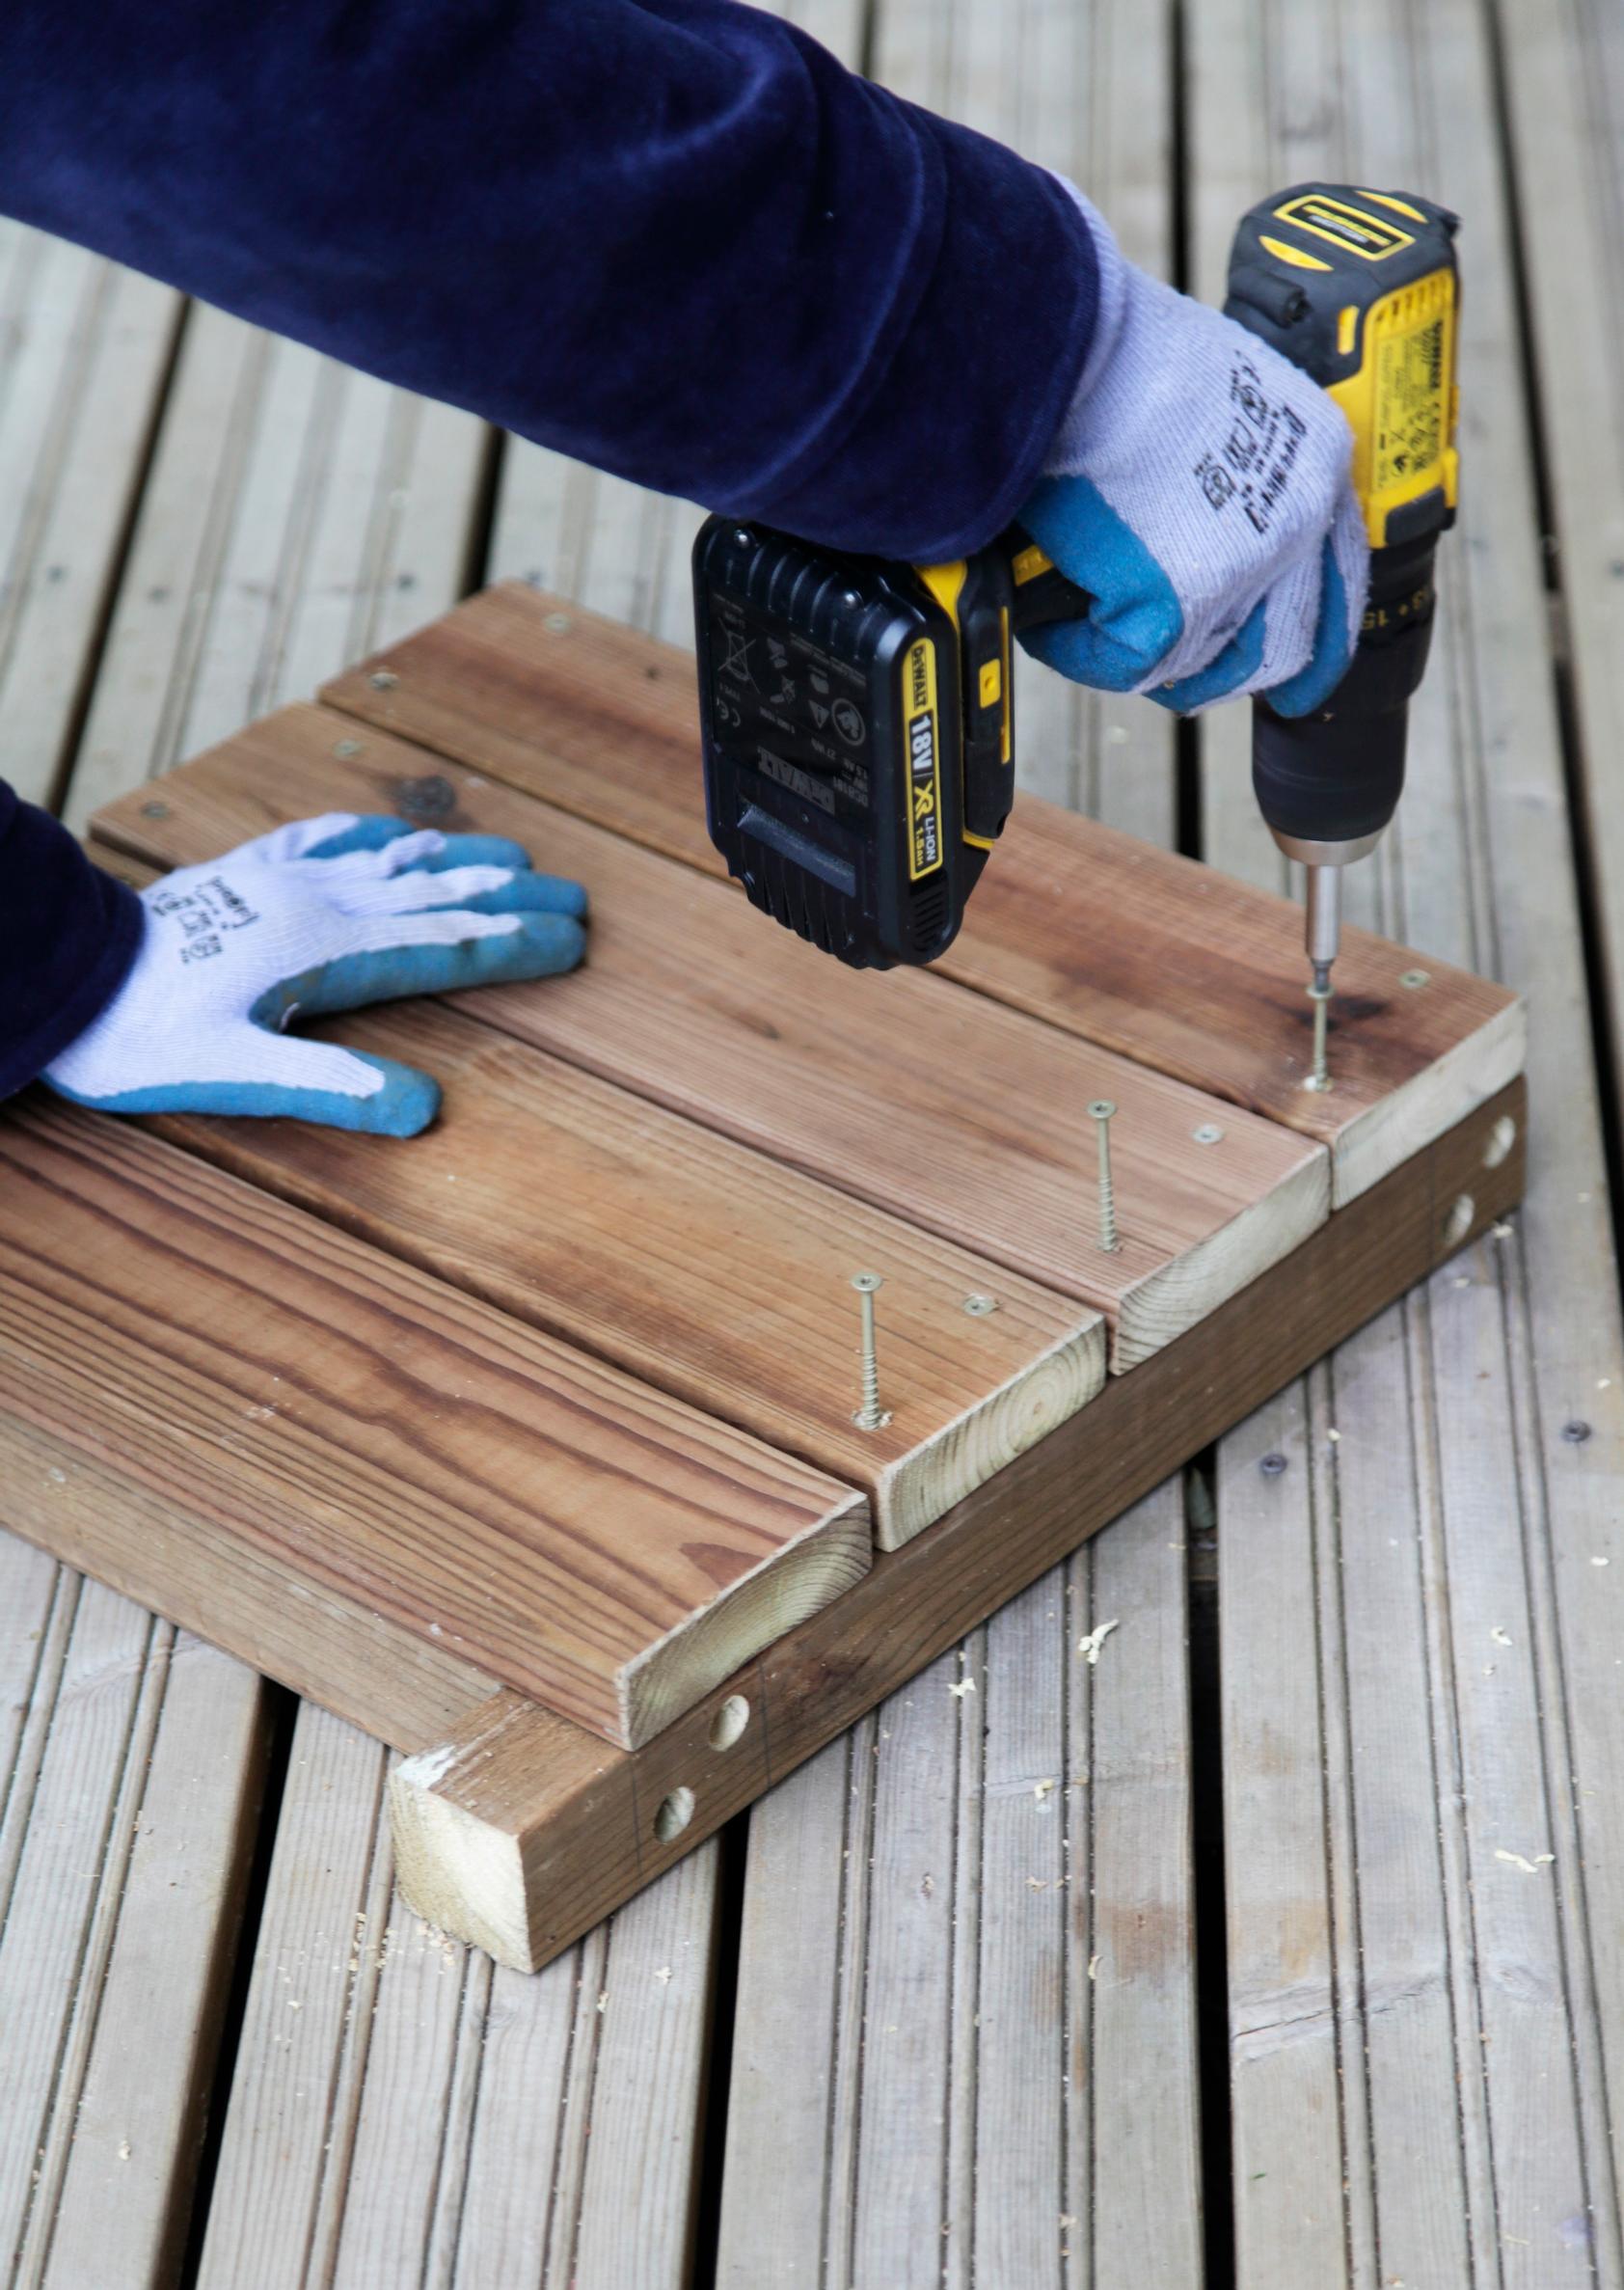
2. Cut eight boards, each 44 cm long, for the ends of the bench, and sand the cut edges. Lay the boards over the frames so that the outermost boards align with the outer edges of the horizontal supports, and the middle boards are evenly spaced. Pre-drill the boards using a countersink bit and attach them with two 55 mm crosshead screws on each end.

3. Stand the ends on their sides and cut eight side boards, each 120 cm long. Place the side boards in position and check that the side is square by measuring diagonally. Pre-drill holes for the screws and first attach the outermost boards, then the middle ones.

4. Place the box with the side boards facing the floor and attach the center support to the side boards with a couple of long screws. Attach the side boards on the other side of the box in the same way as you did the first side. Secure the boards of both sides in the middle with a single screw into the middle support frame.

5. Cut four floor boards, each 113 cm long. Mark and cut notches at the ends and center of the outer boards. Knock out the pieces from the middle notches with a hammer and chisel. Finish the notches with a knife. Attach the floor boards at the ends and center to the supports below.

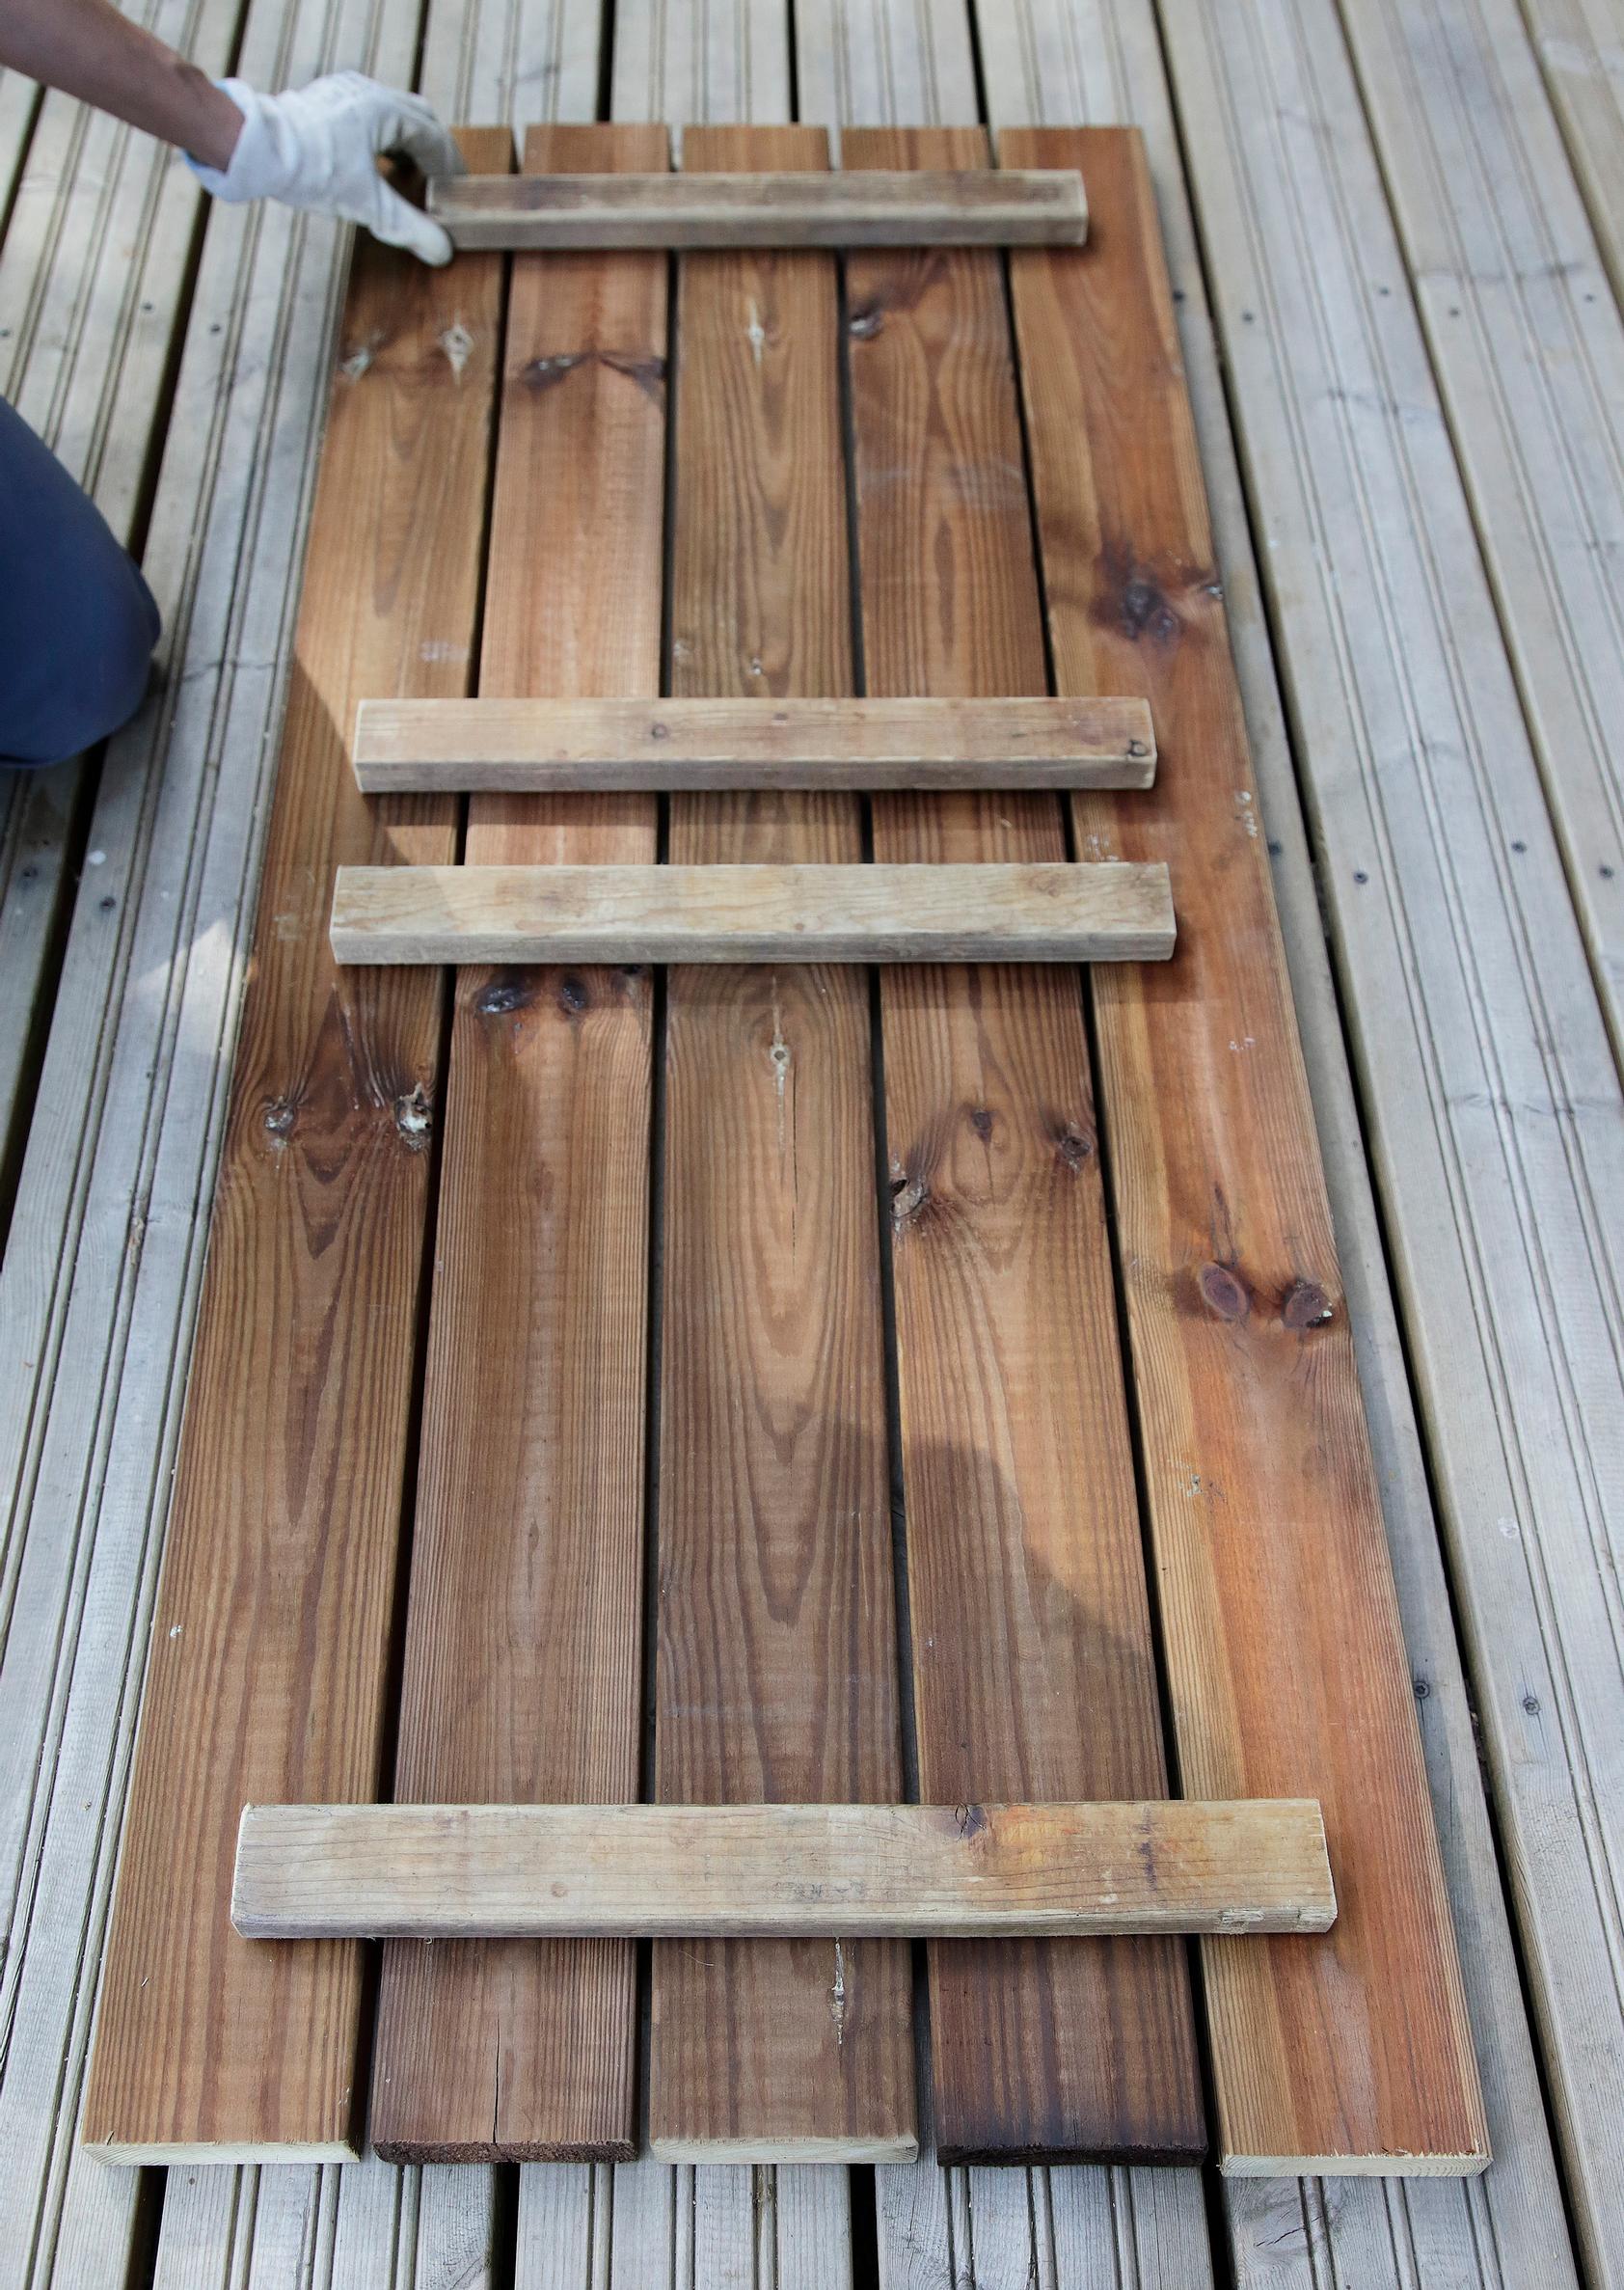
6. Cut five boards for the lid, each 125 cm long. Arrange the boards so that the width of the lid becomes 49 cm. Assemble the lid using four 40 cm slats. Attach the slats at the ends and center of the boards with 45 mm screws.

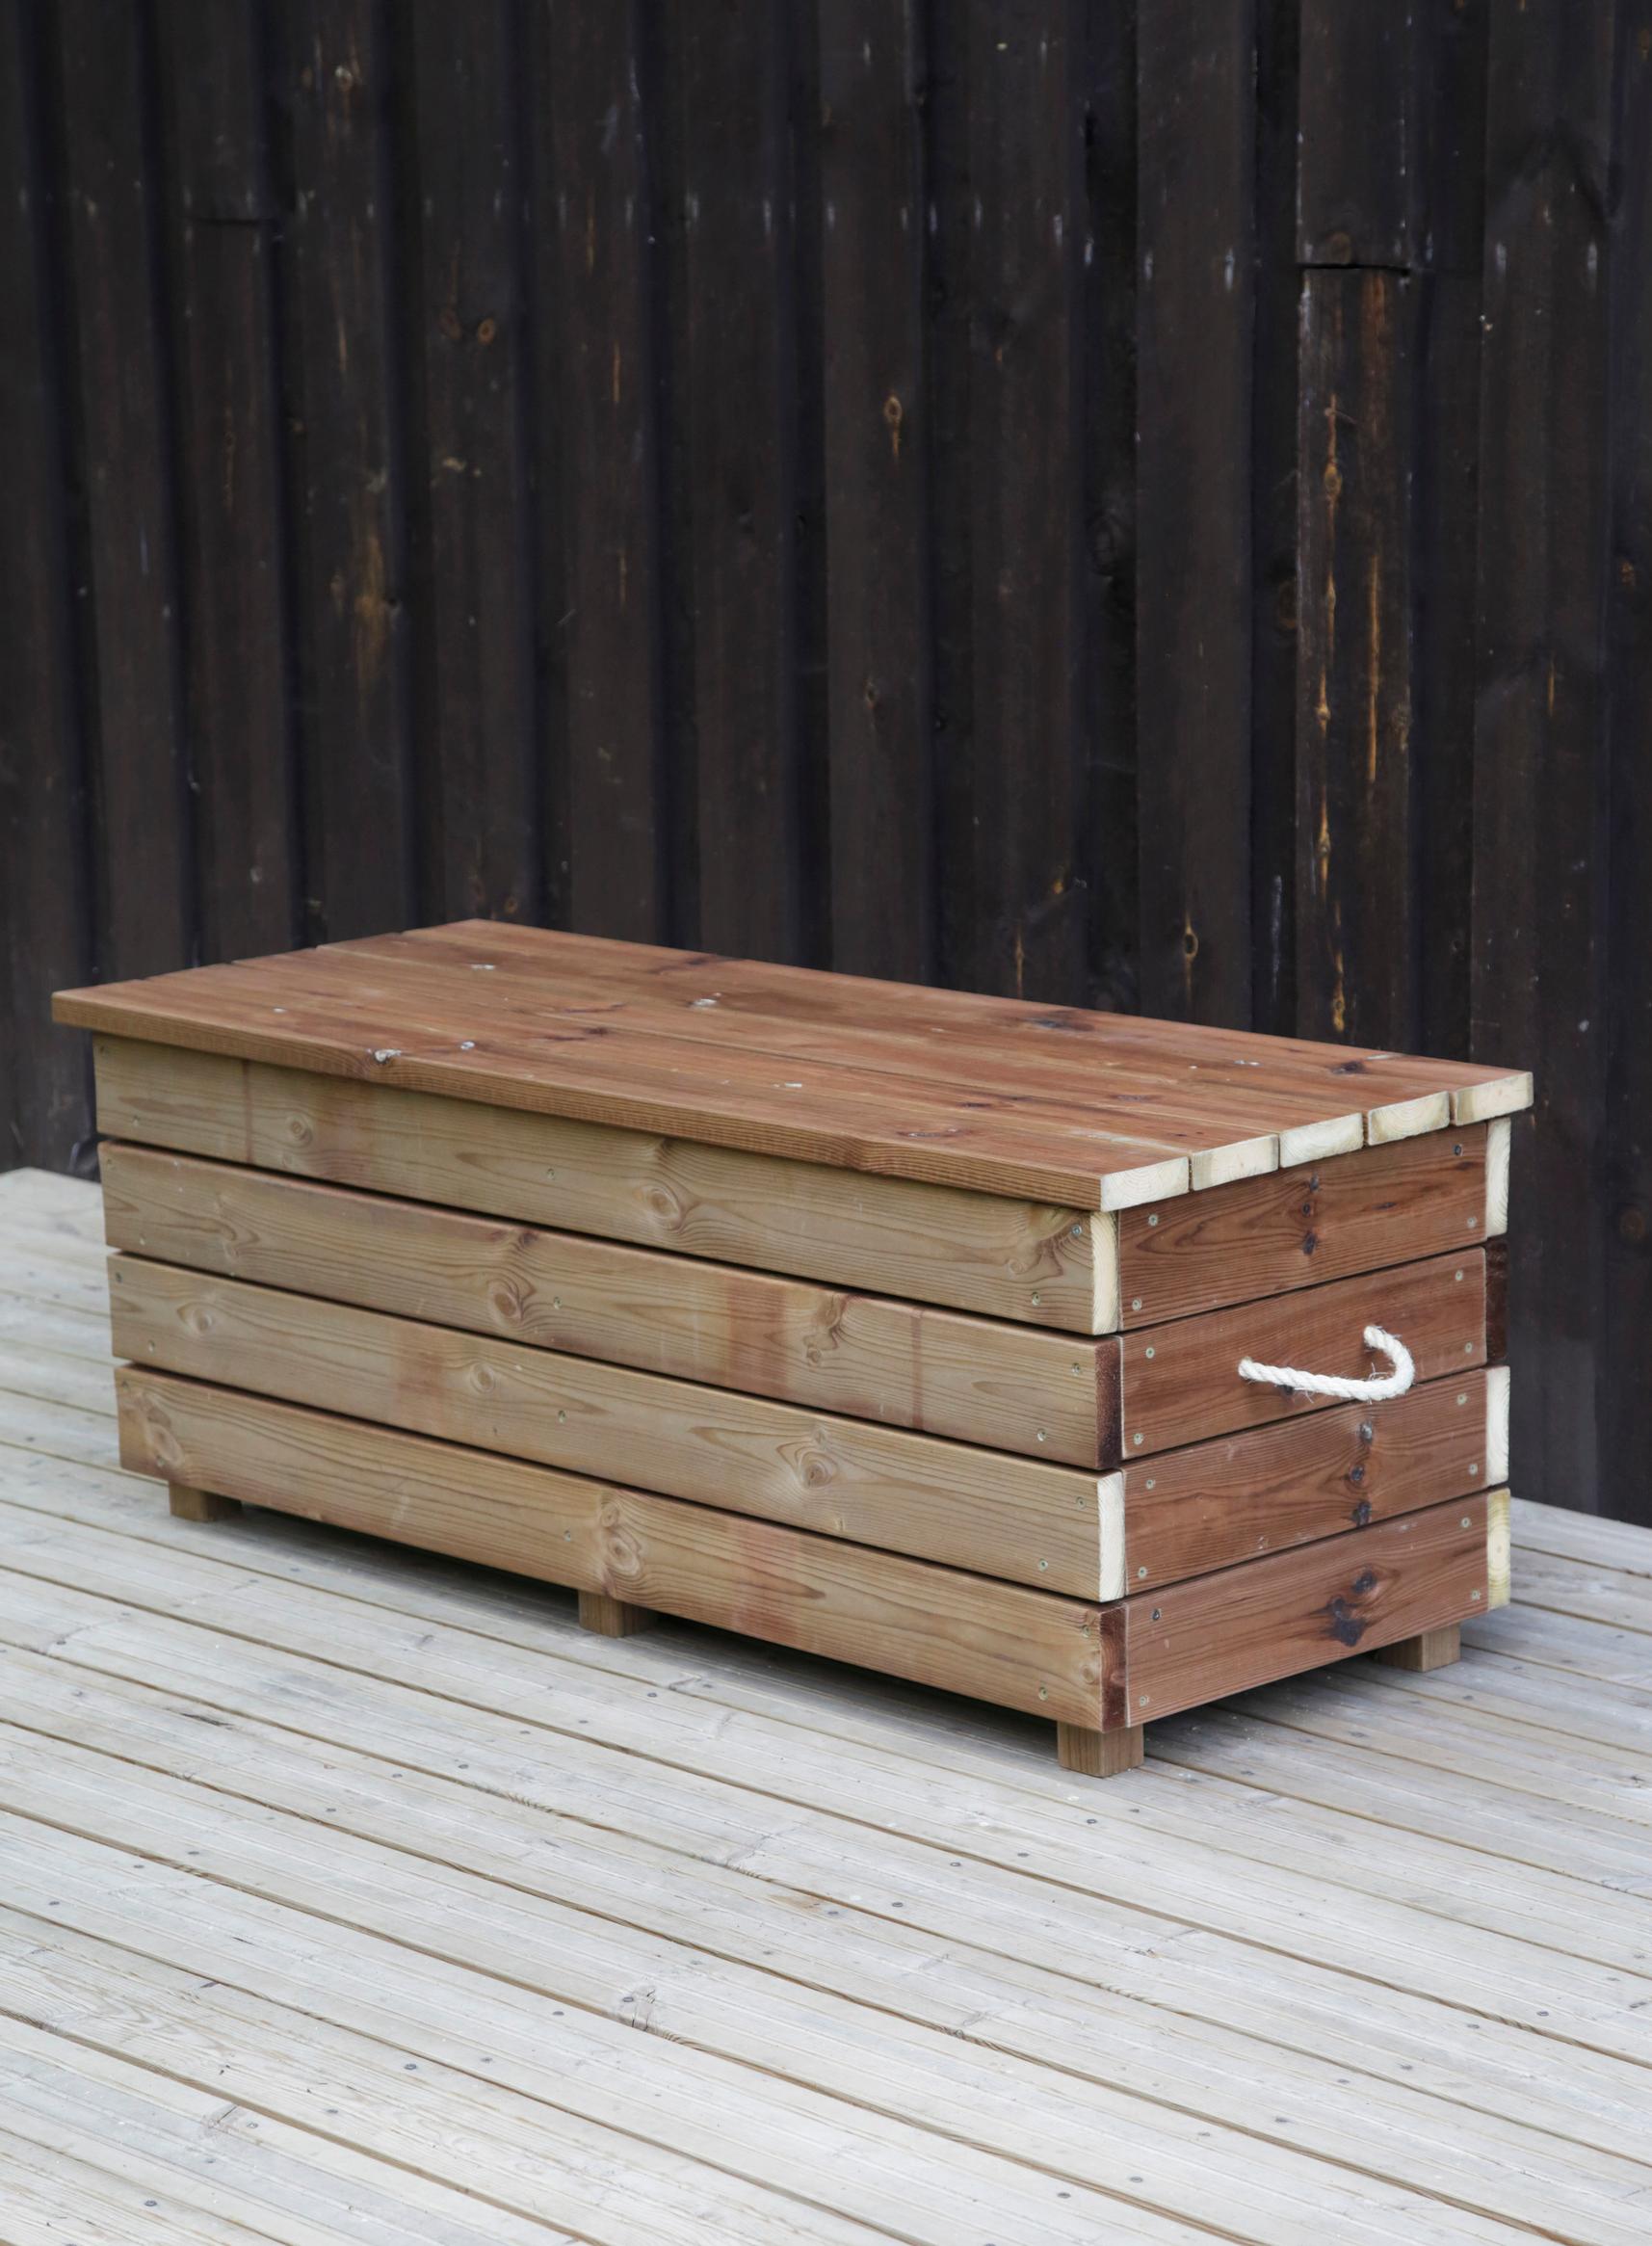
7. Attach the lid to the box with two hinges. Remove a pair of end boards and drill holes in them for the rope handles.

