
Make star and snowflake Christmas tree ornaments from tealight cups—see instructions
Aluminum cups from burned-out tealights make charming ornaments. Cut slits, hammer them flat, then fold them into stars or snowflakes.

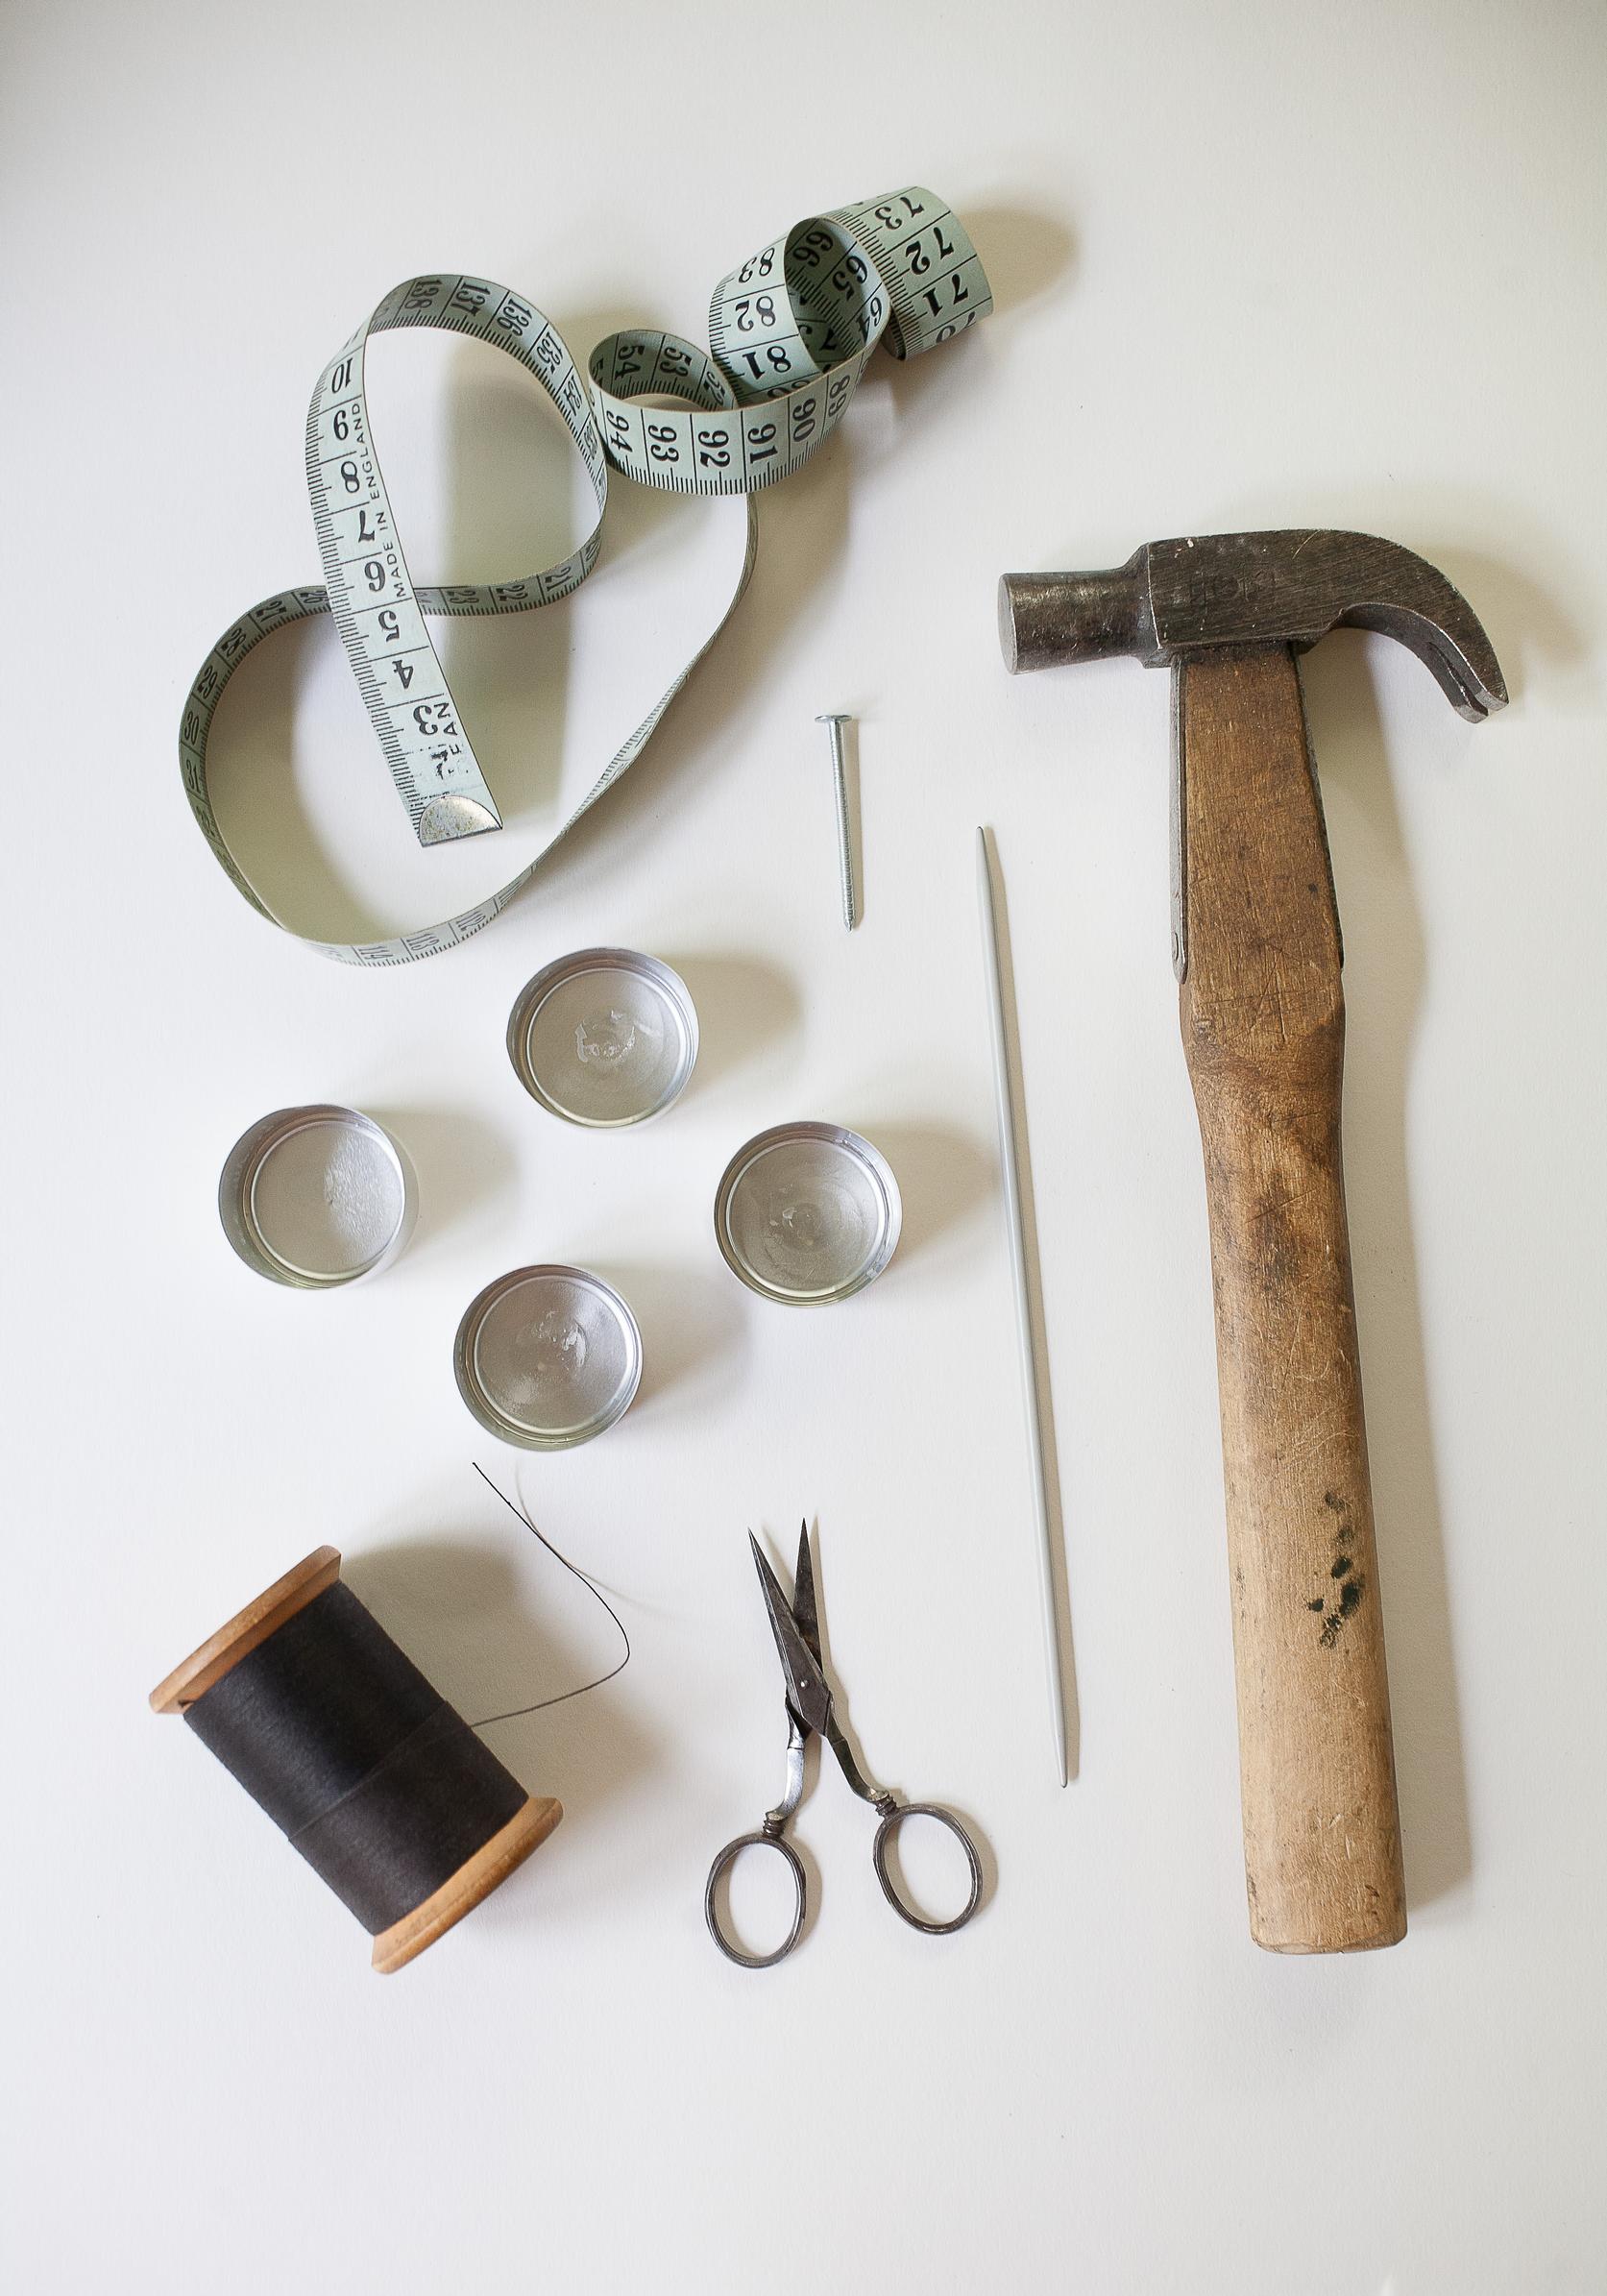
Tealight cup ornament materials
- used aluminum cups from tealight candles; the tealights in our sample ornaments are 2 cm tall (0.8″)
- small sharp scissors
- hammer
- knitting needle or wooden stick
- awl or nail
- thin thread for hanging
Tealight cup ornament instructions:
1. Clean out any leftover wax, the wick holder, and soot from the aluminum tealight cups. The cups come clean easily by soaking them in hot water.

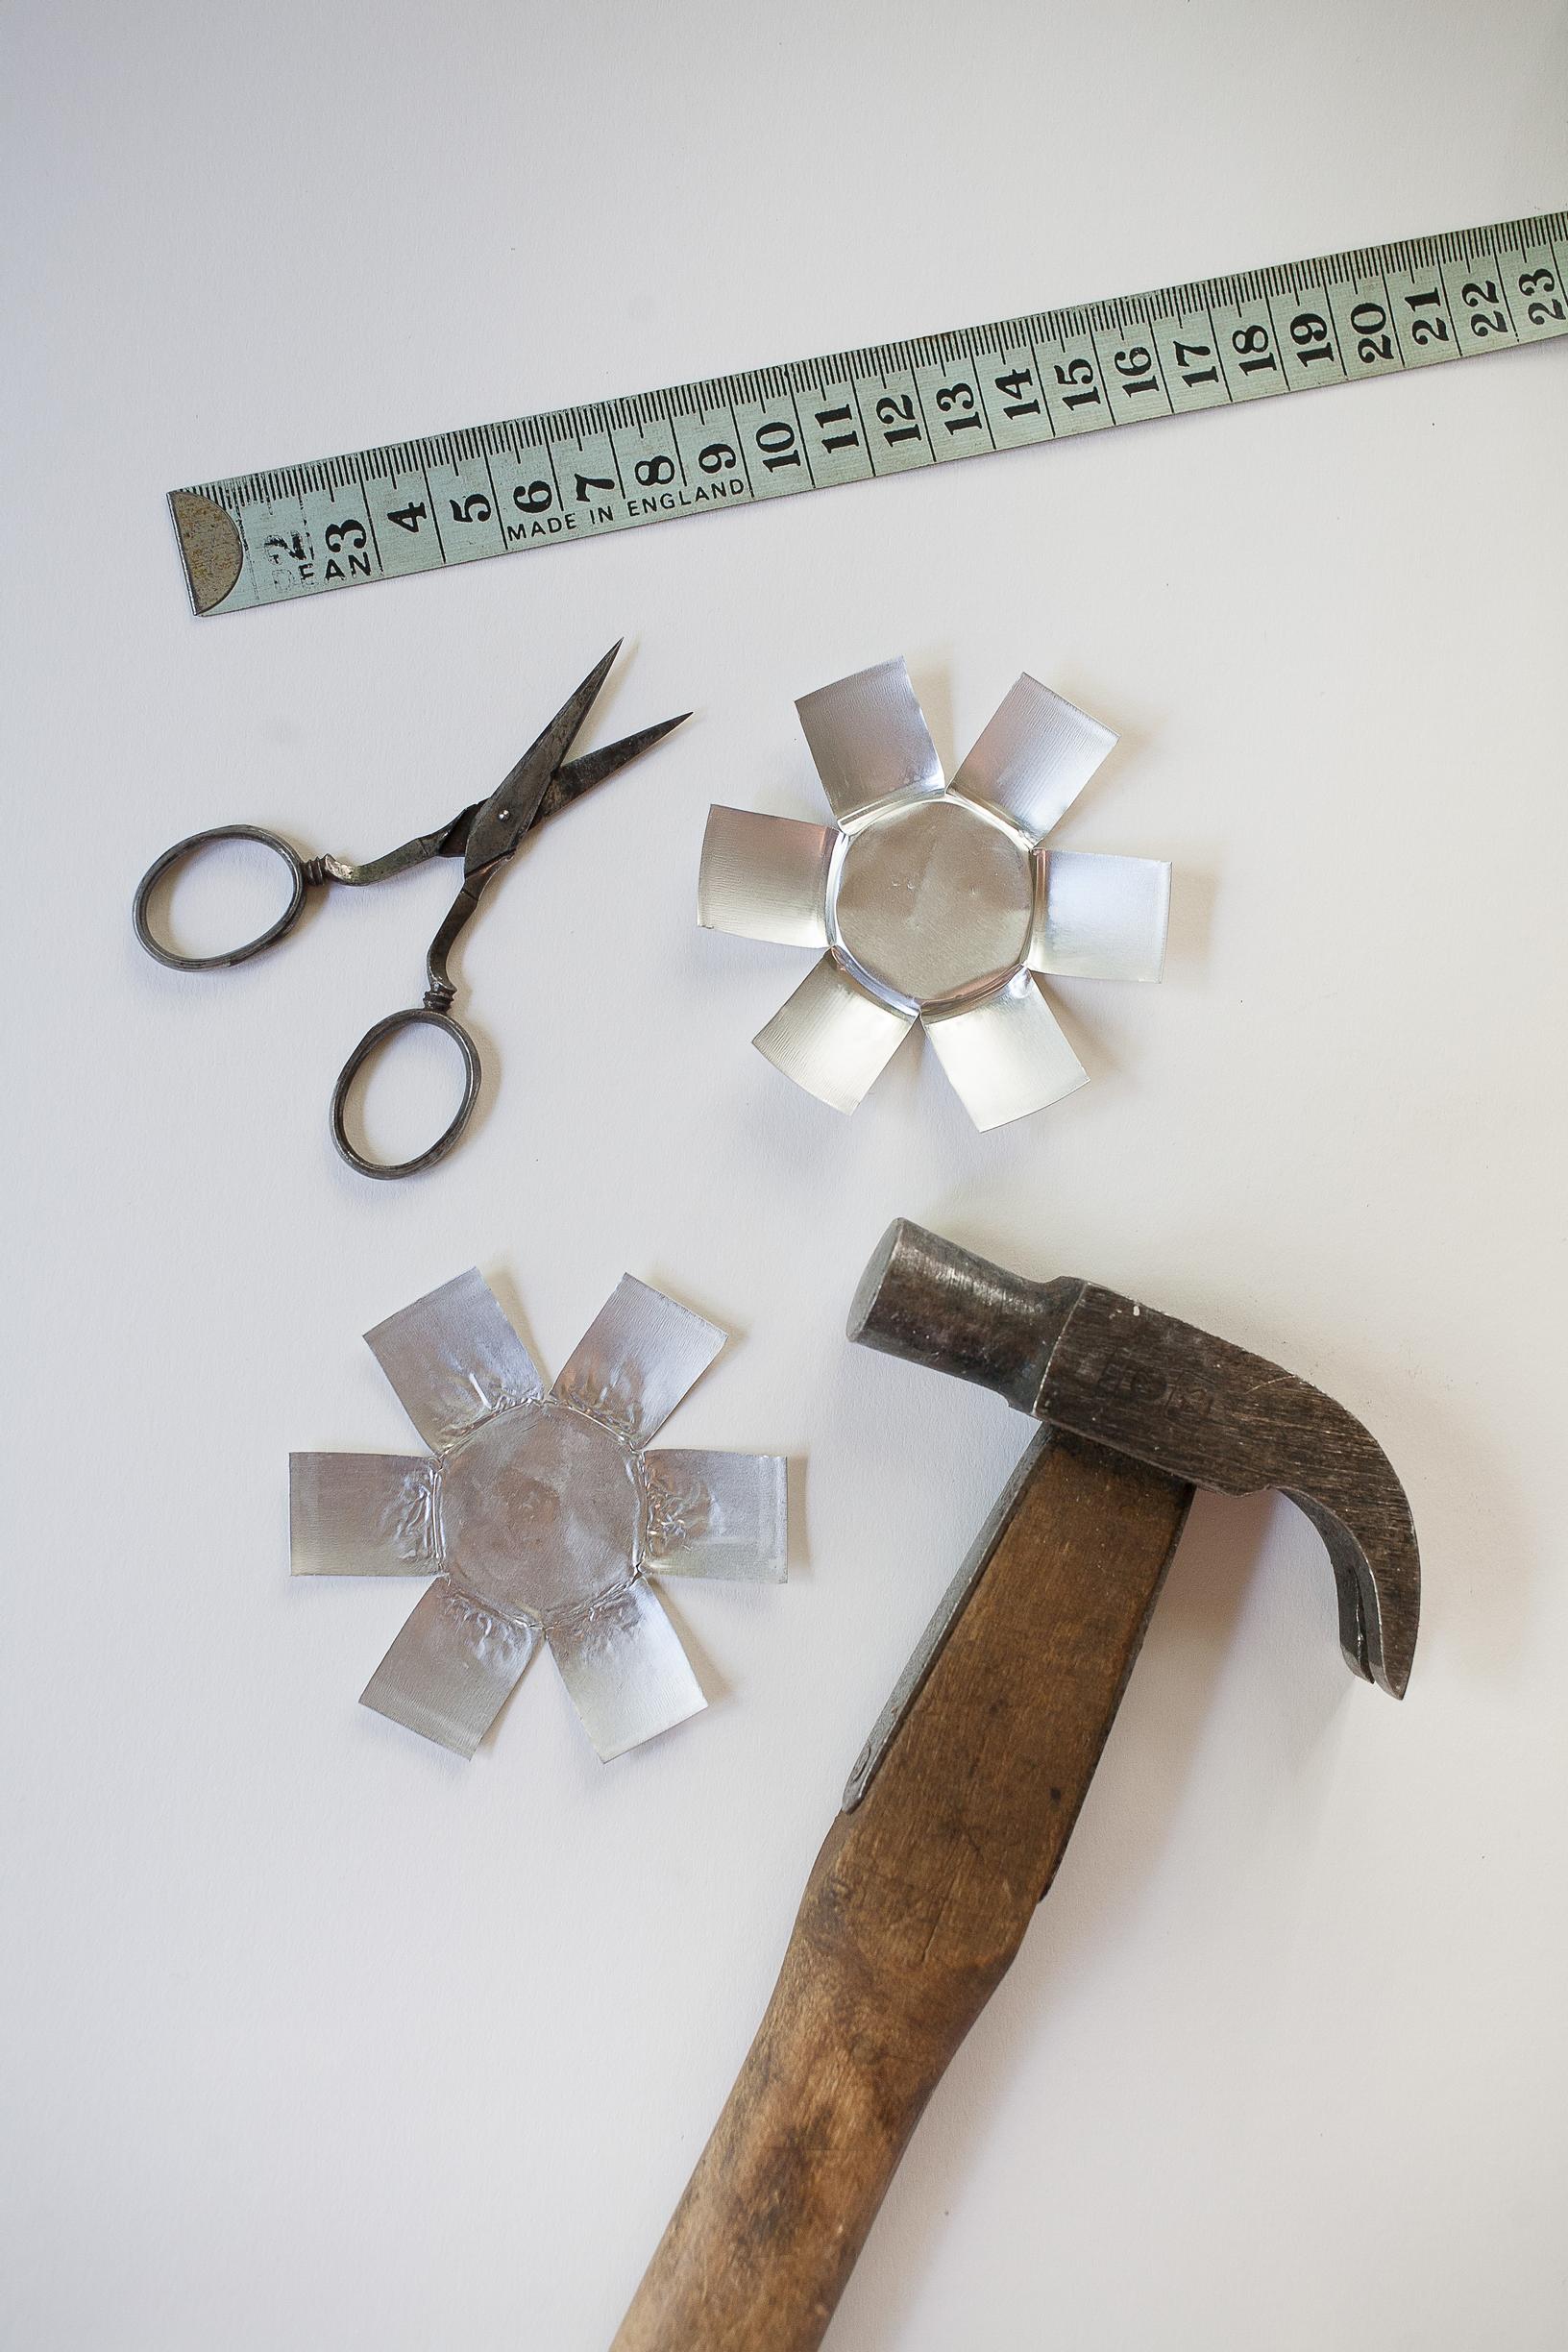
2. Cut six evenly spaced slits into the sides of the aluminum cup and open it out. Gently hammer the center flat.

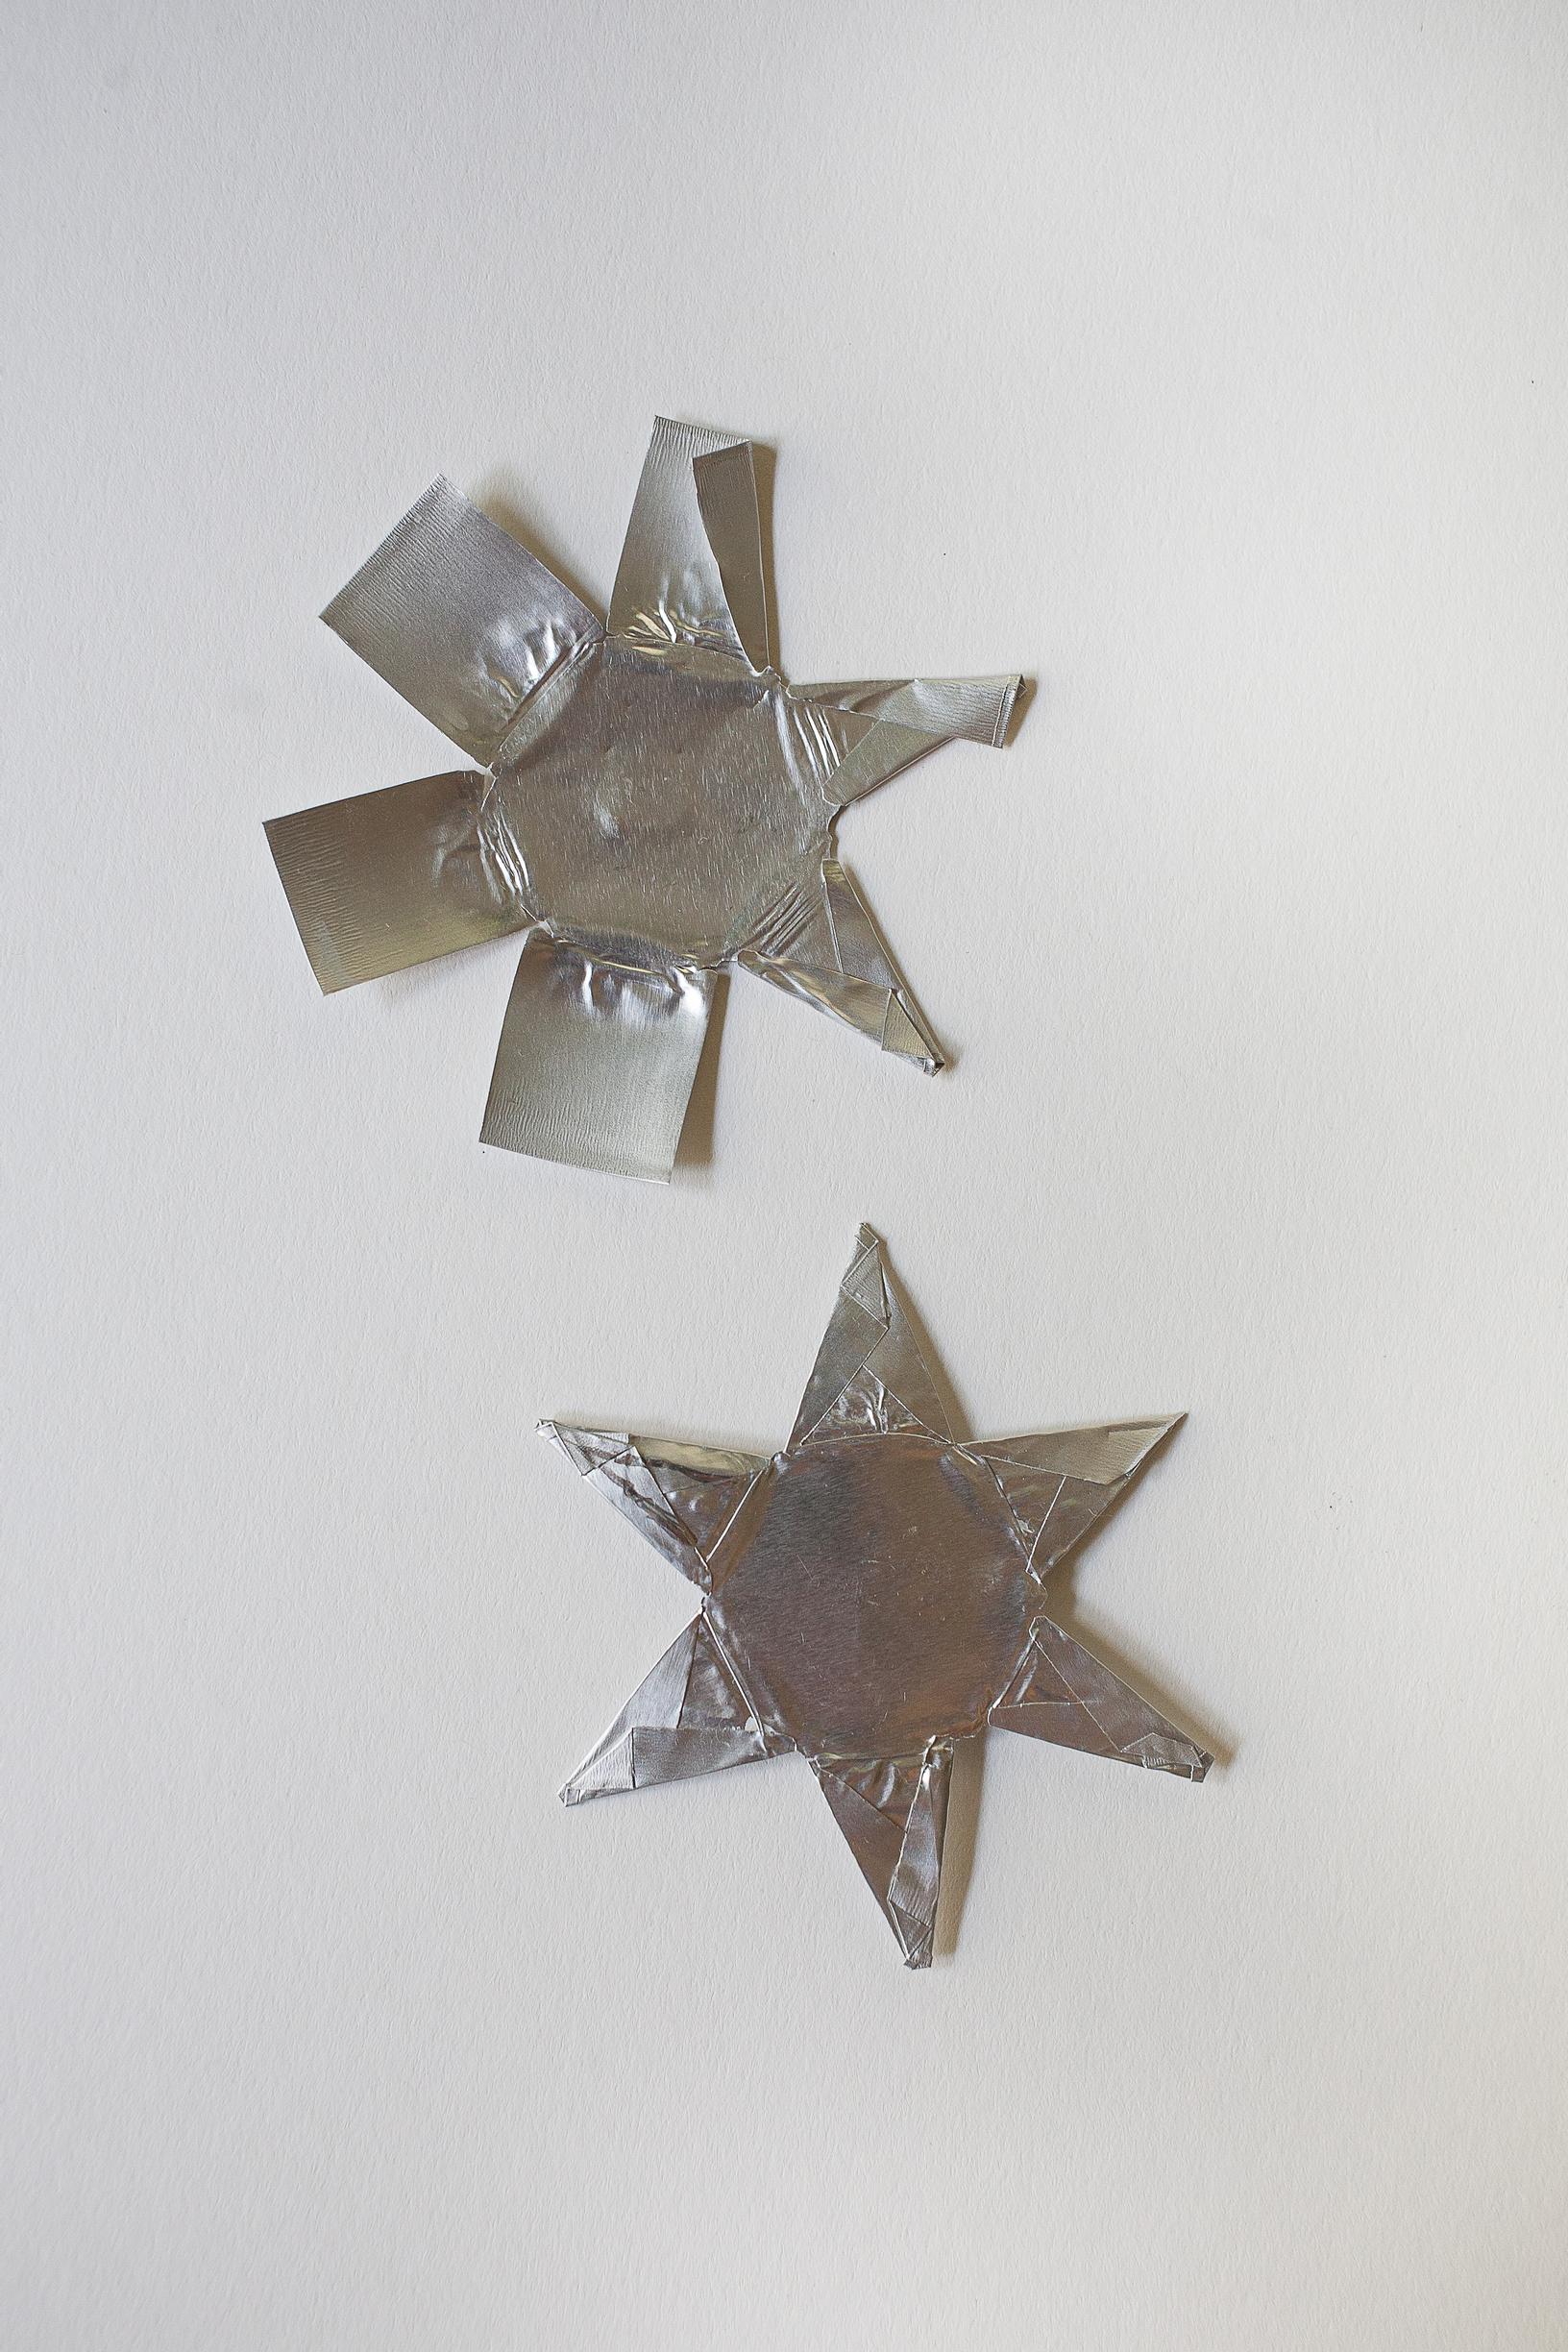
3. To make star ornaments: Fold the edge strips along their center into points, then gently hammer them flat. (Alternatively, you can simply cut the strips into points, but folding makes them sturdier.)

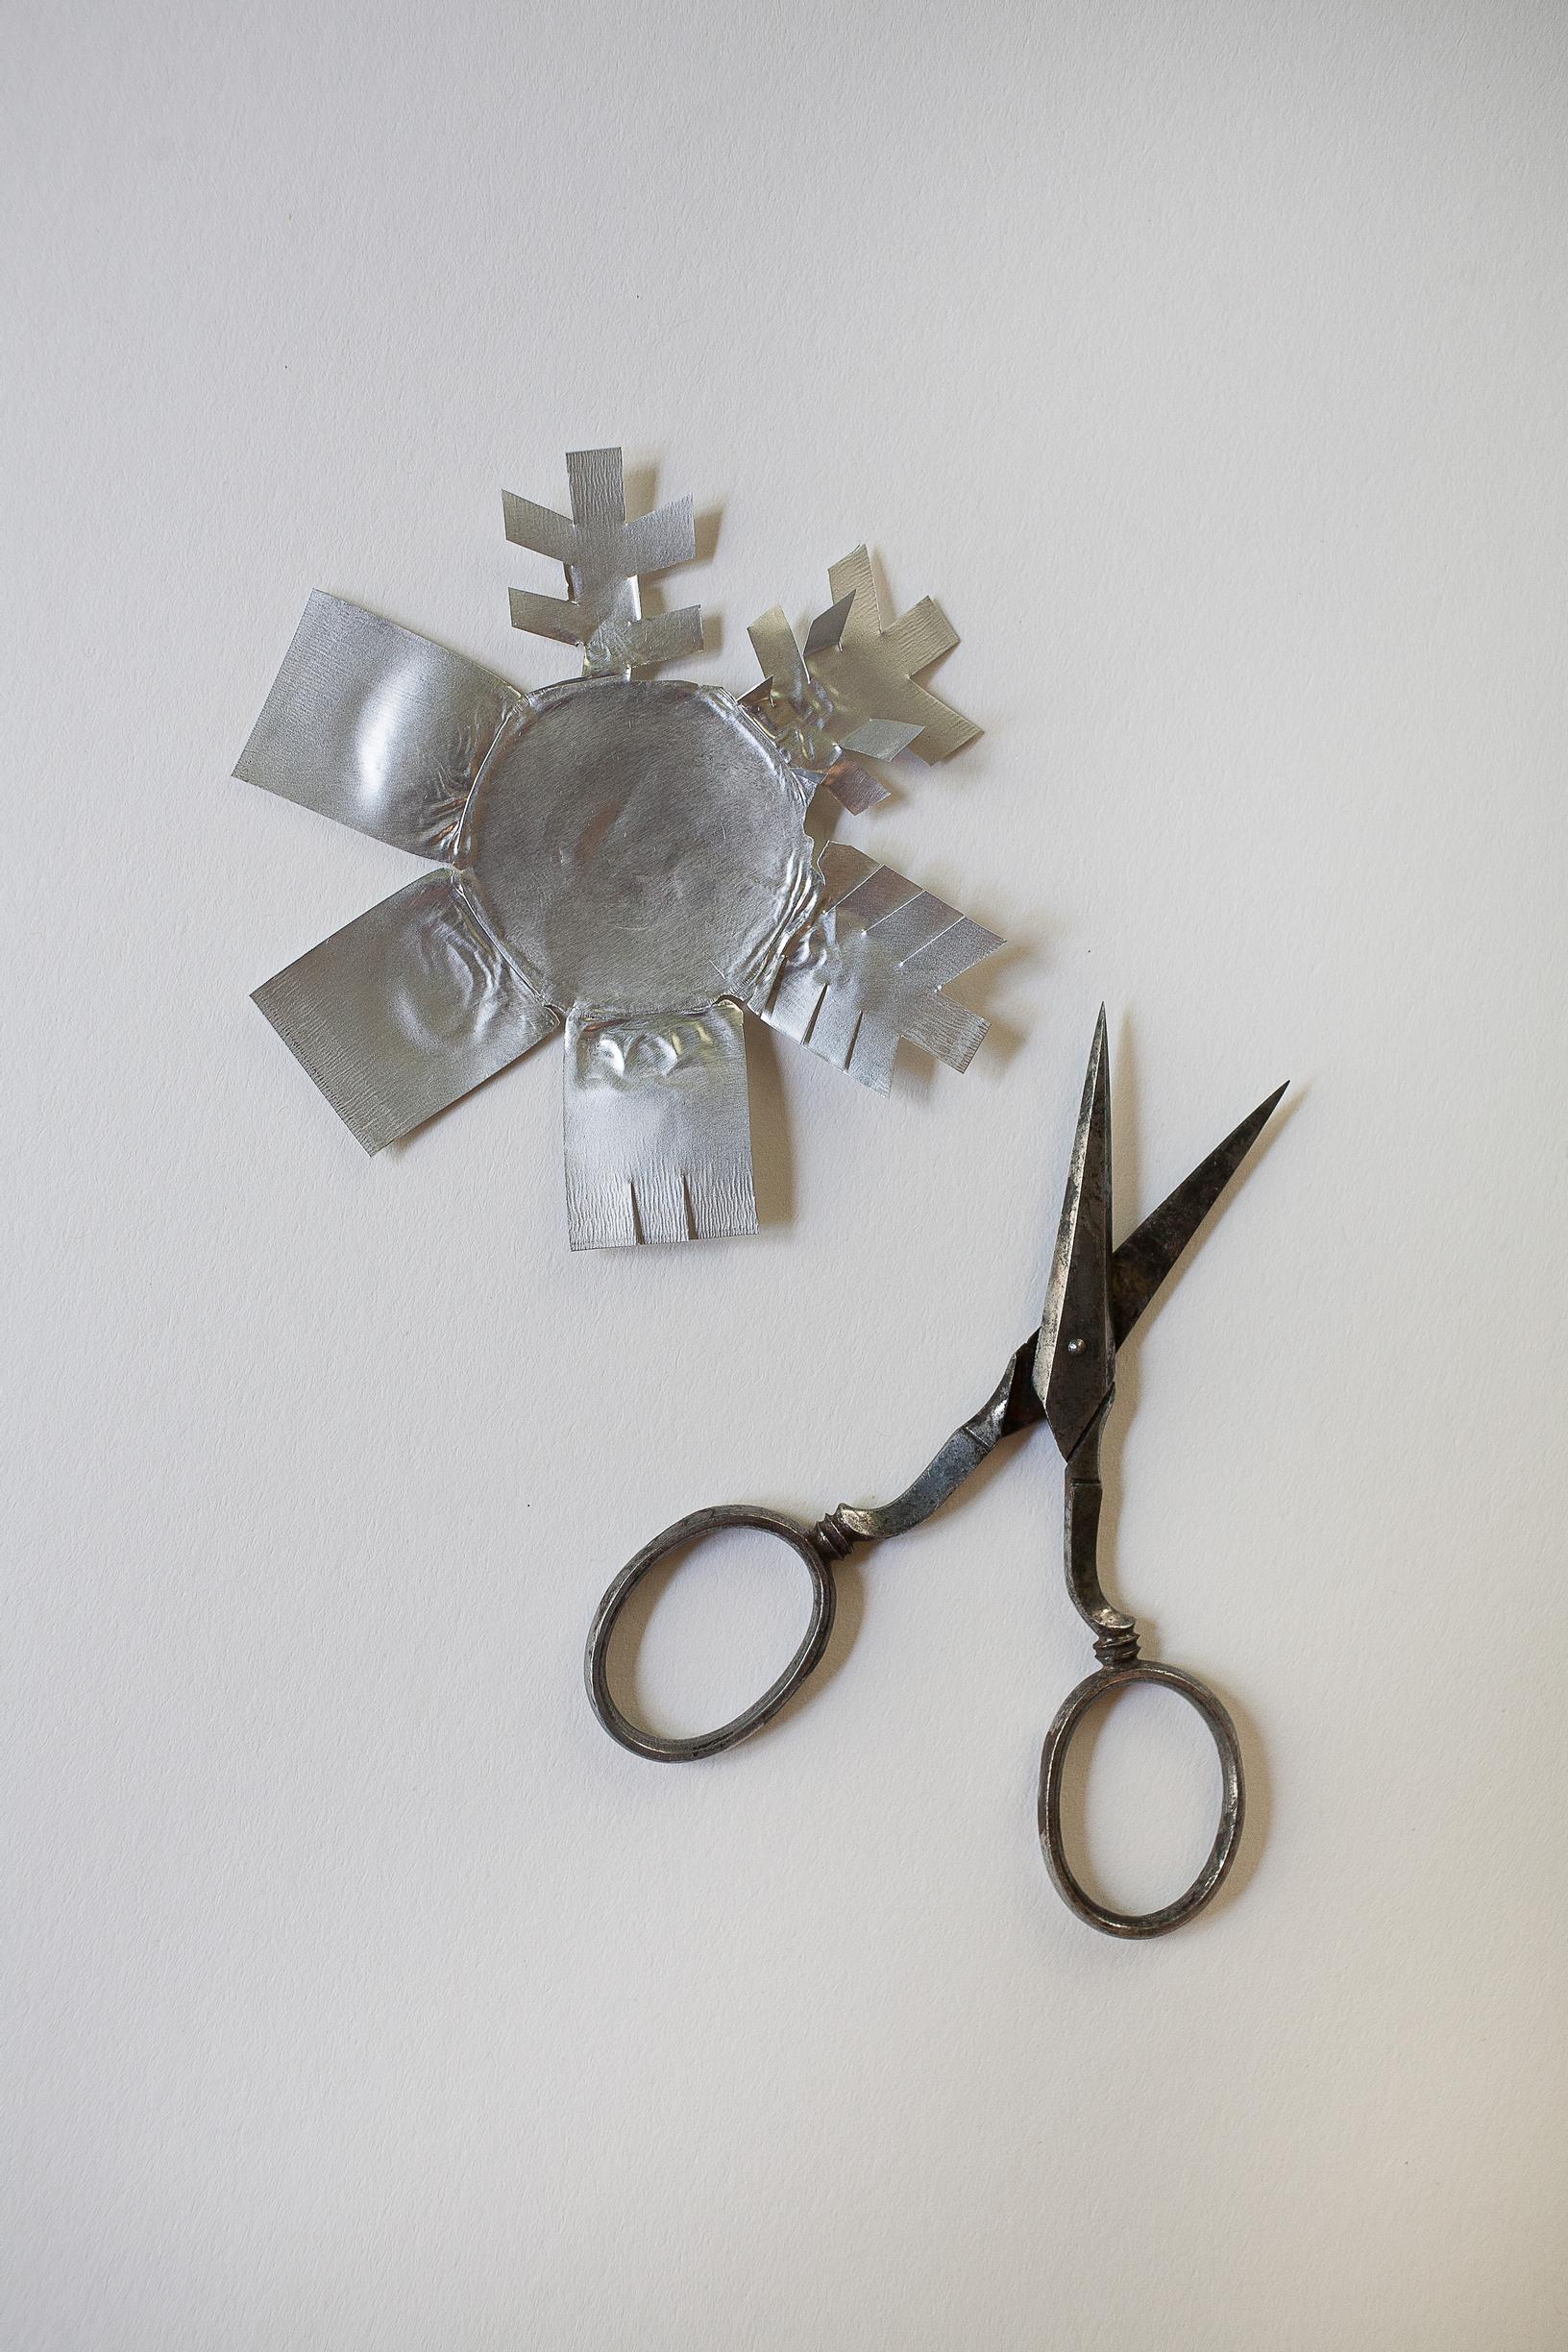
4. To make snowflake ornaments: Cut freehand at the end of the edge strip on both sides of its center, making slits about 4 mm (0.2″) long, spaced about the same length apart. Then cut four equally long and spaced diagonal slits on each side. Cut the middle diagonal slits off at the base and shape the lowest part by cutting a small tab. Finally, tap the points lightly with a hammer so the sharp cut edges flatten down.

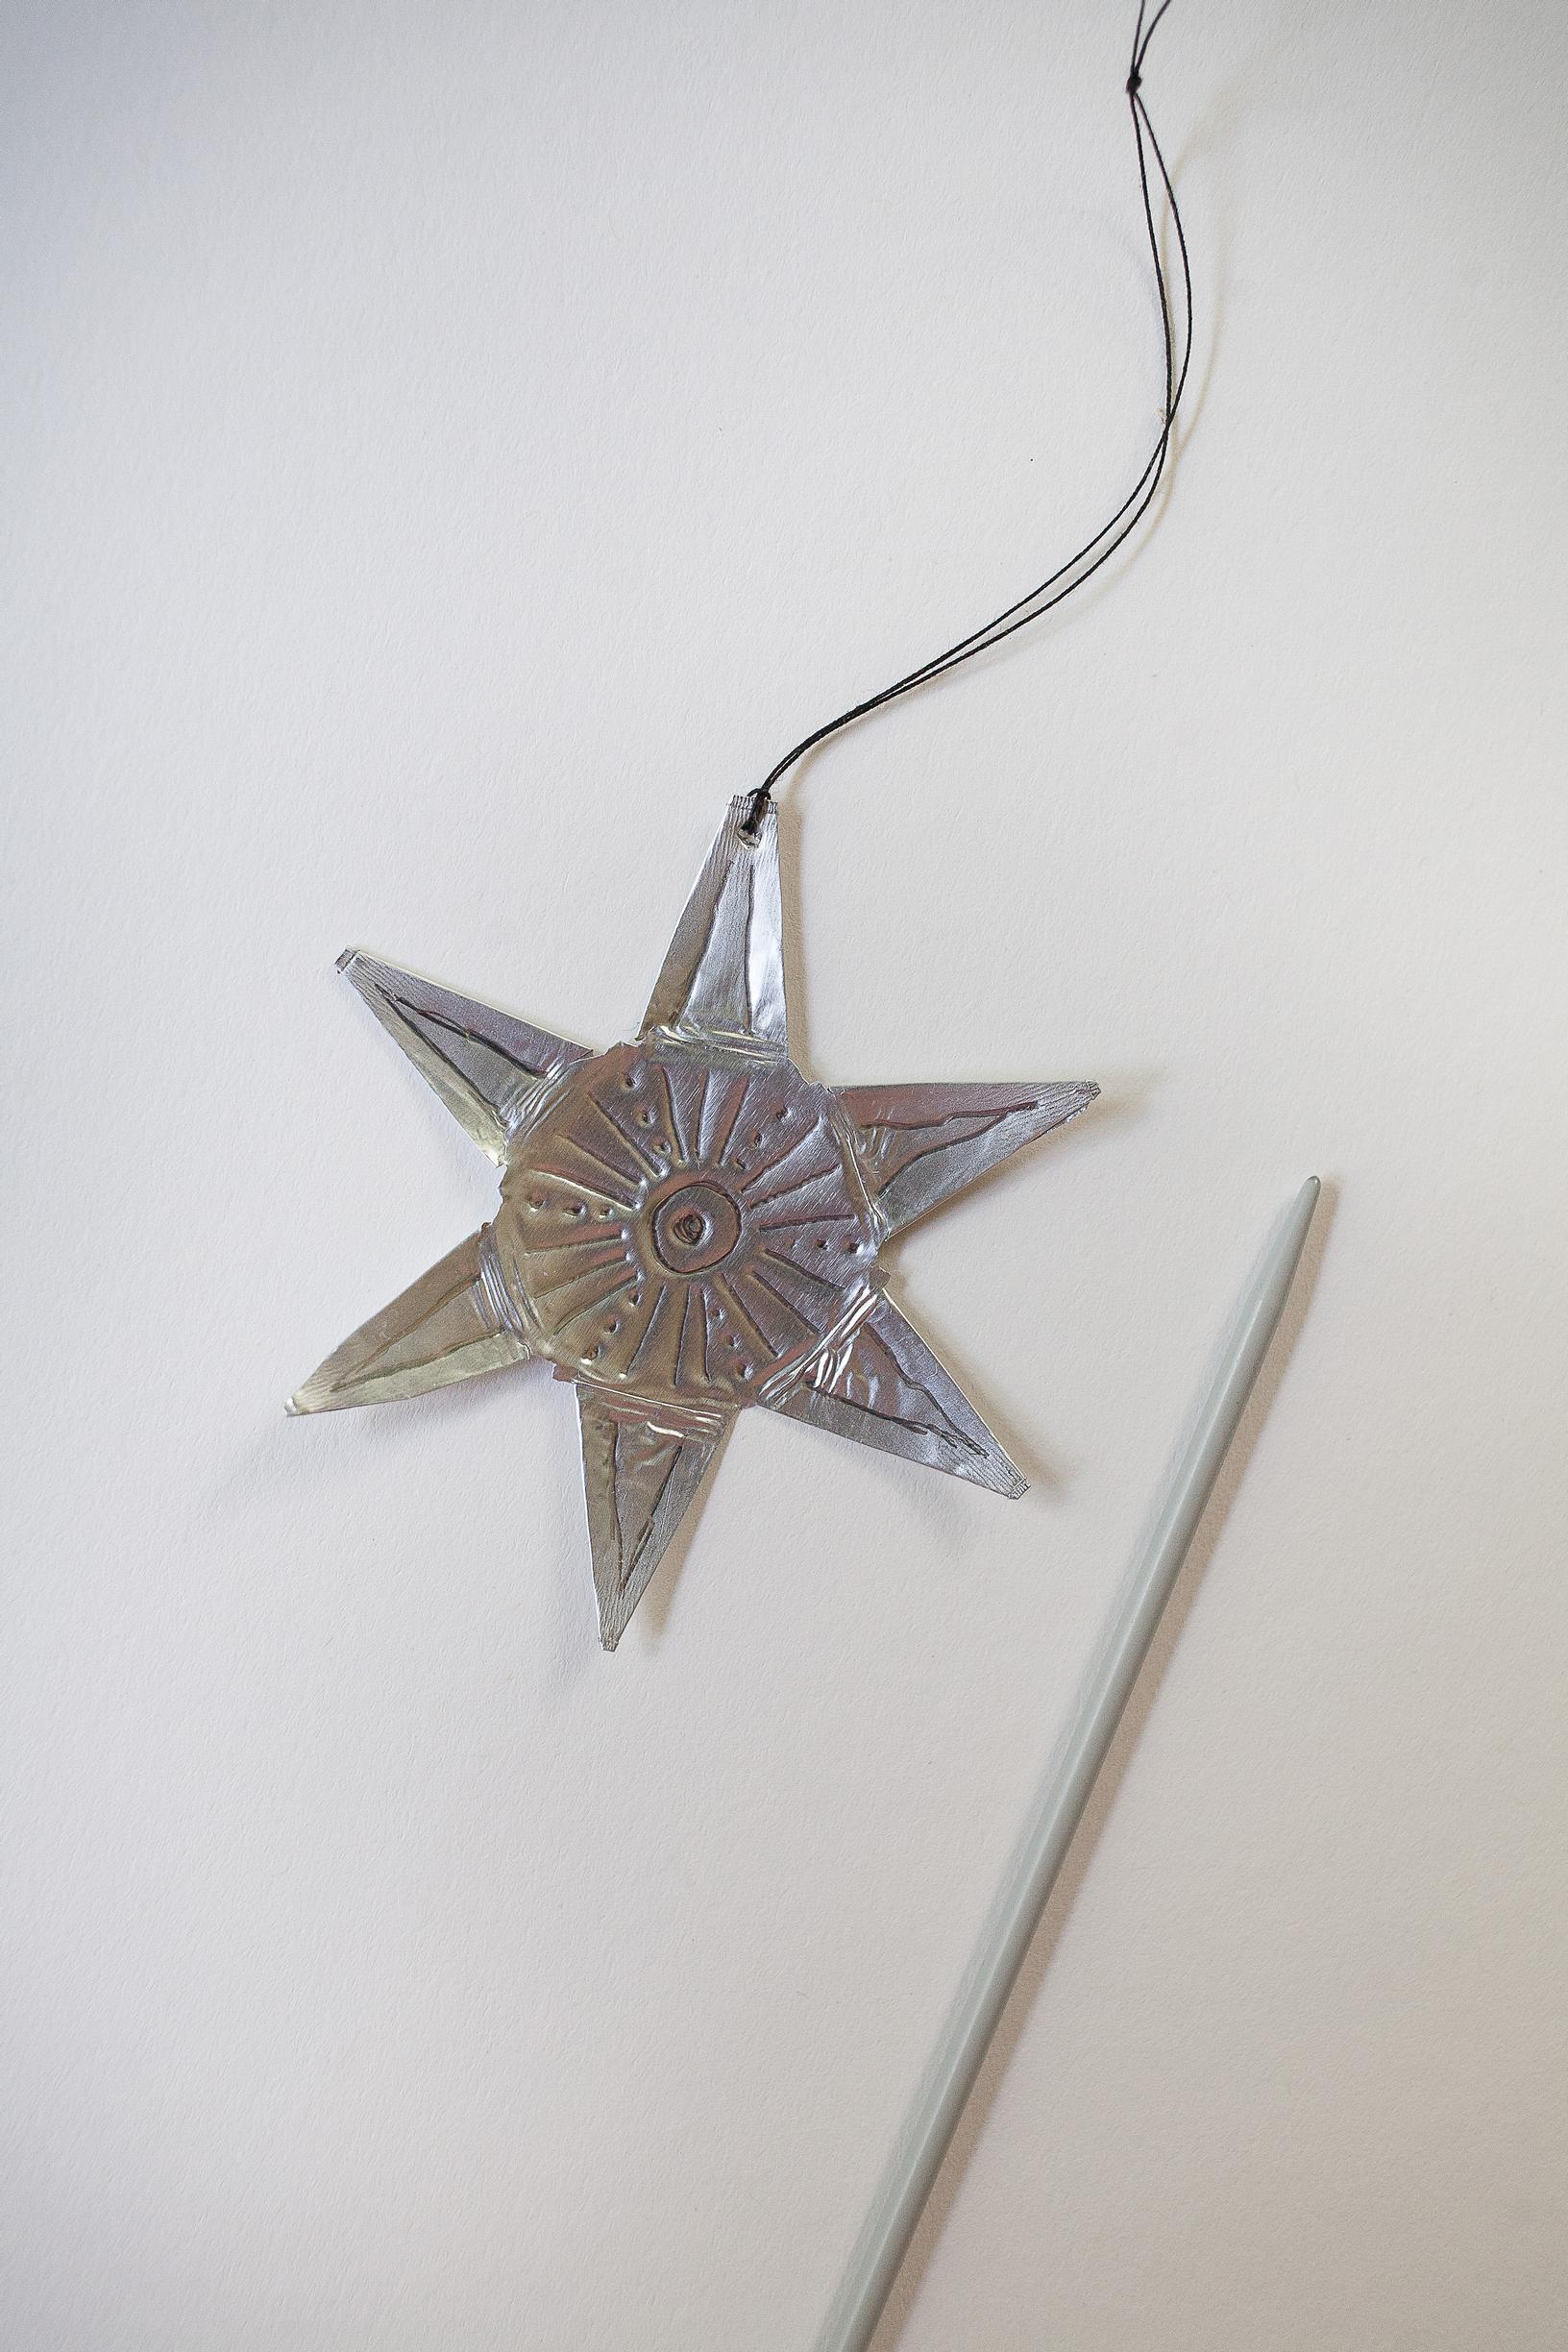
5. Finish the ornaments. Draw patterns with the knitting needle and make holes with an awl or a nail. Make a hole at the tip of one point, and tie the hanging thread through it.