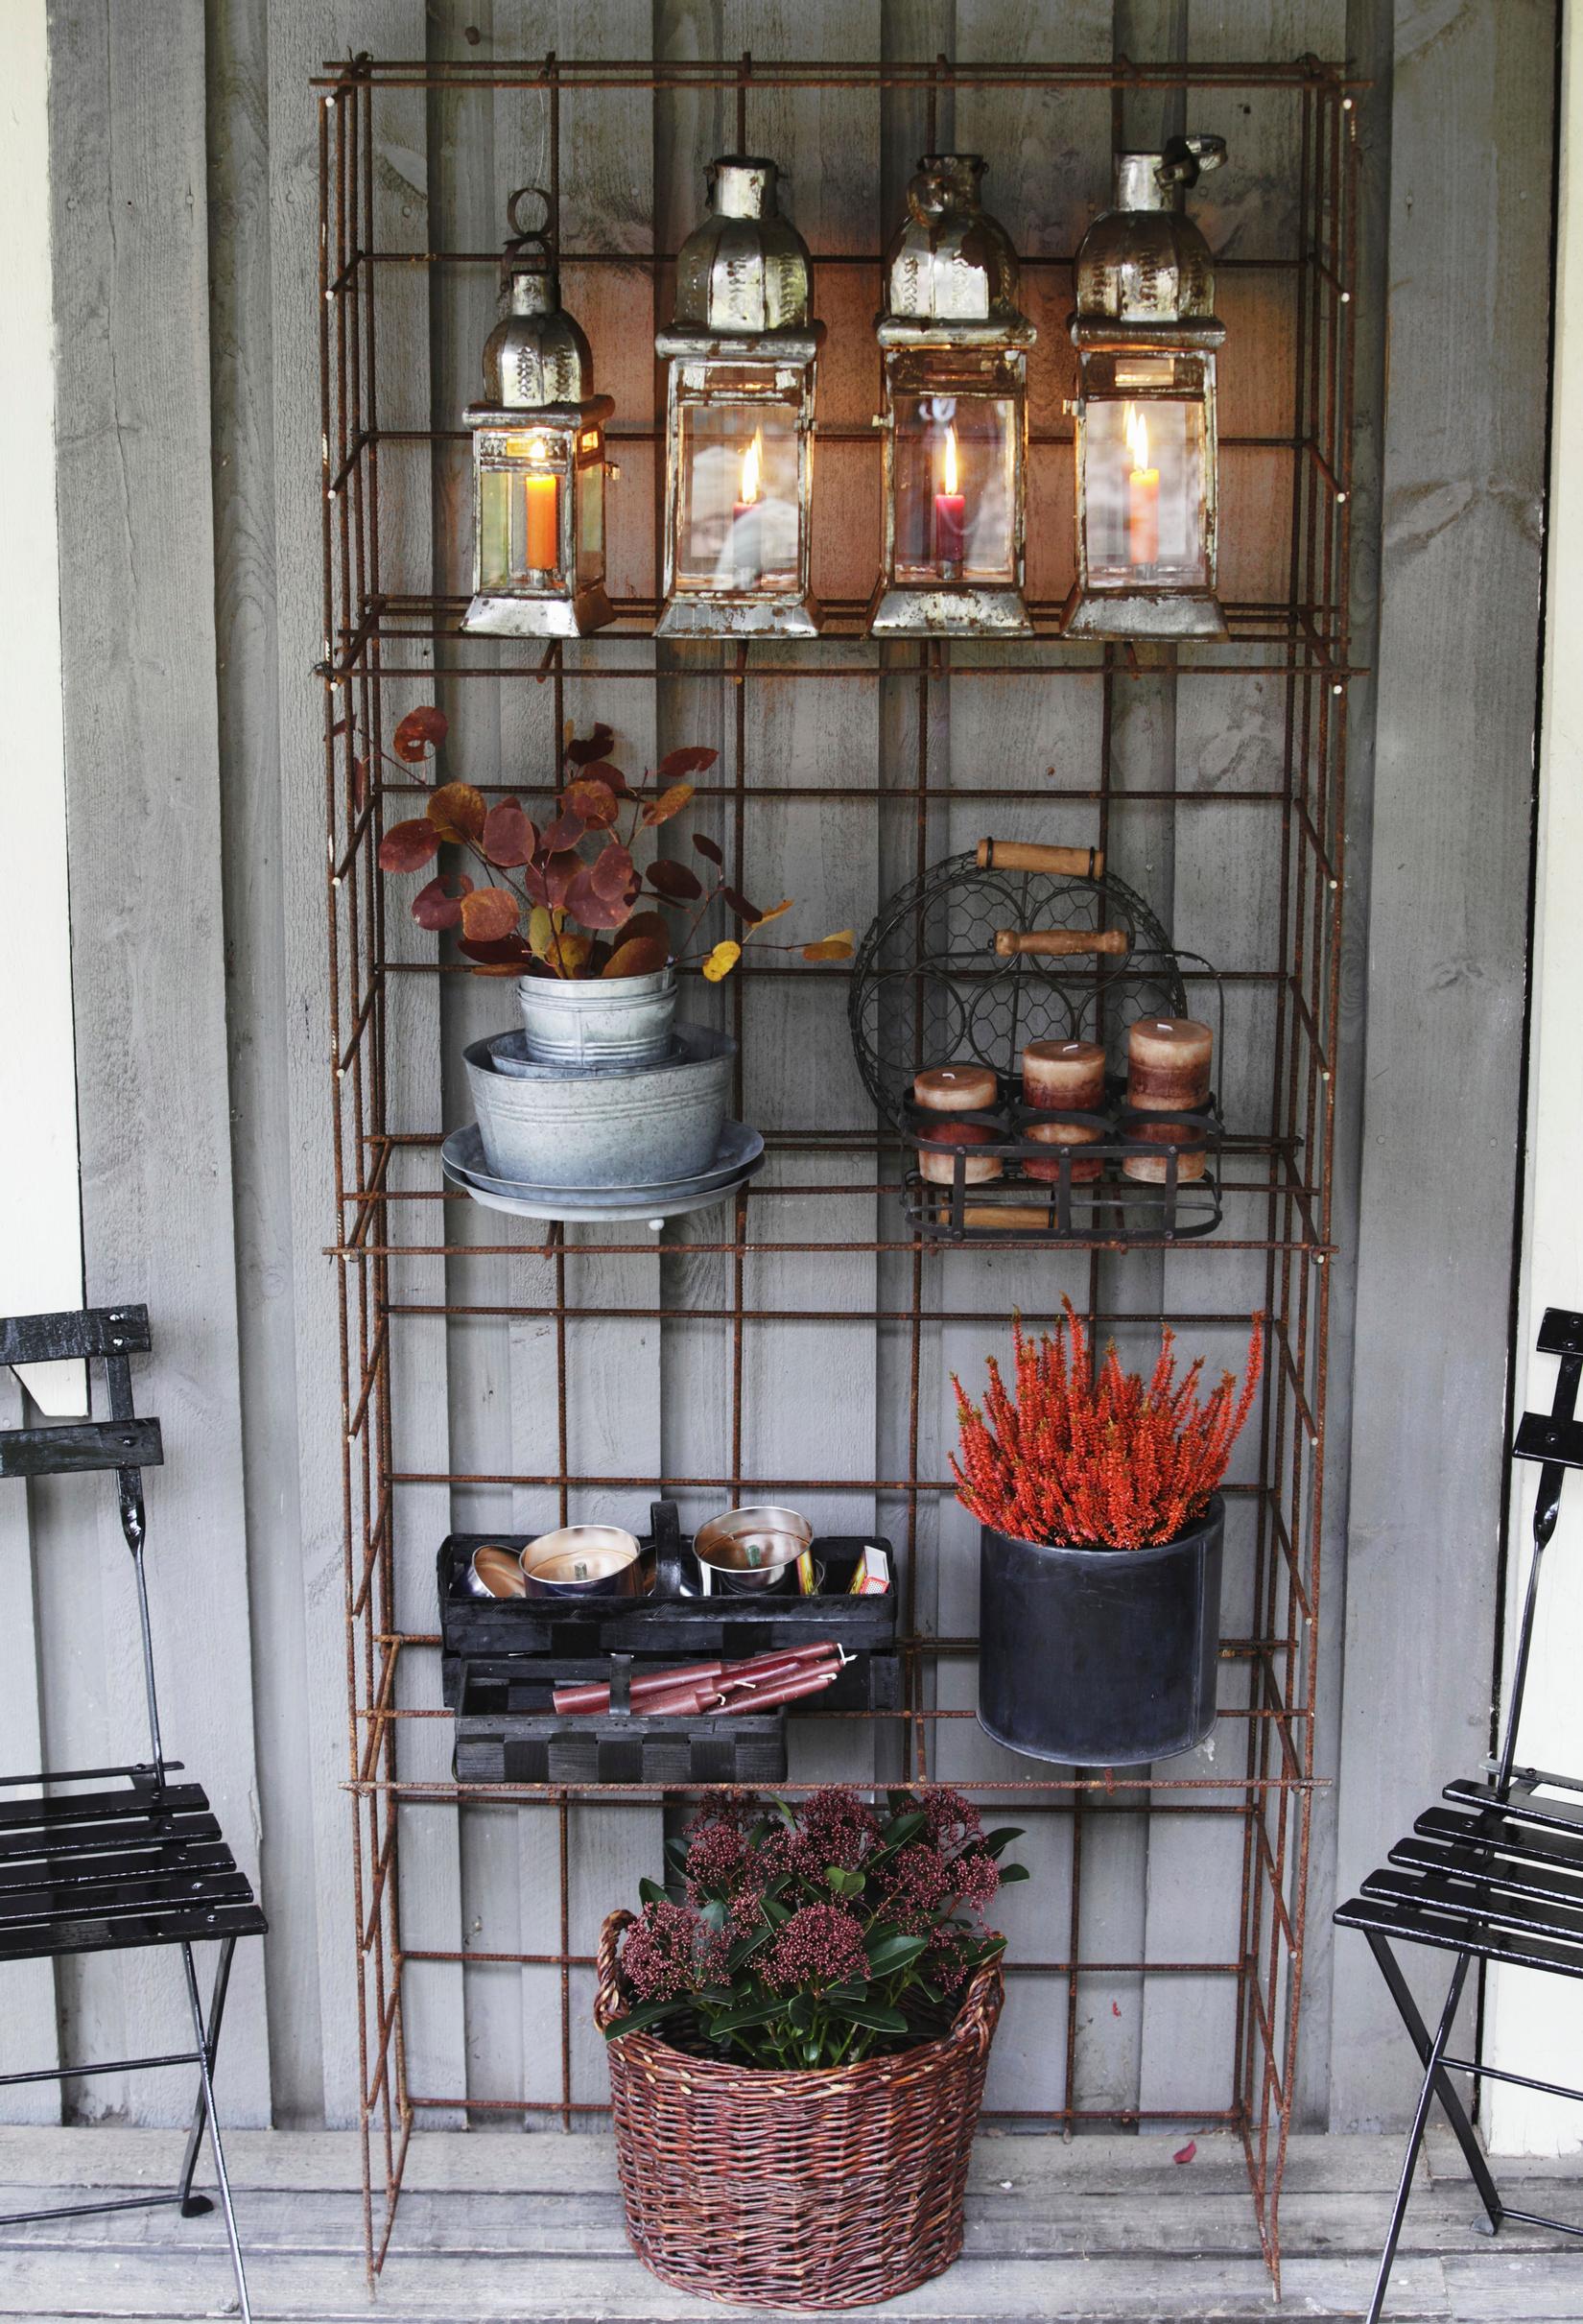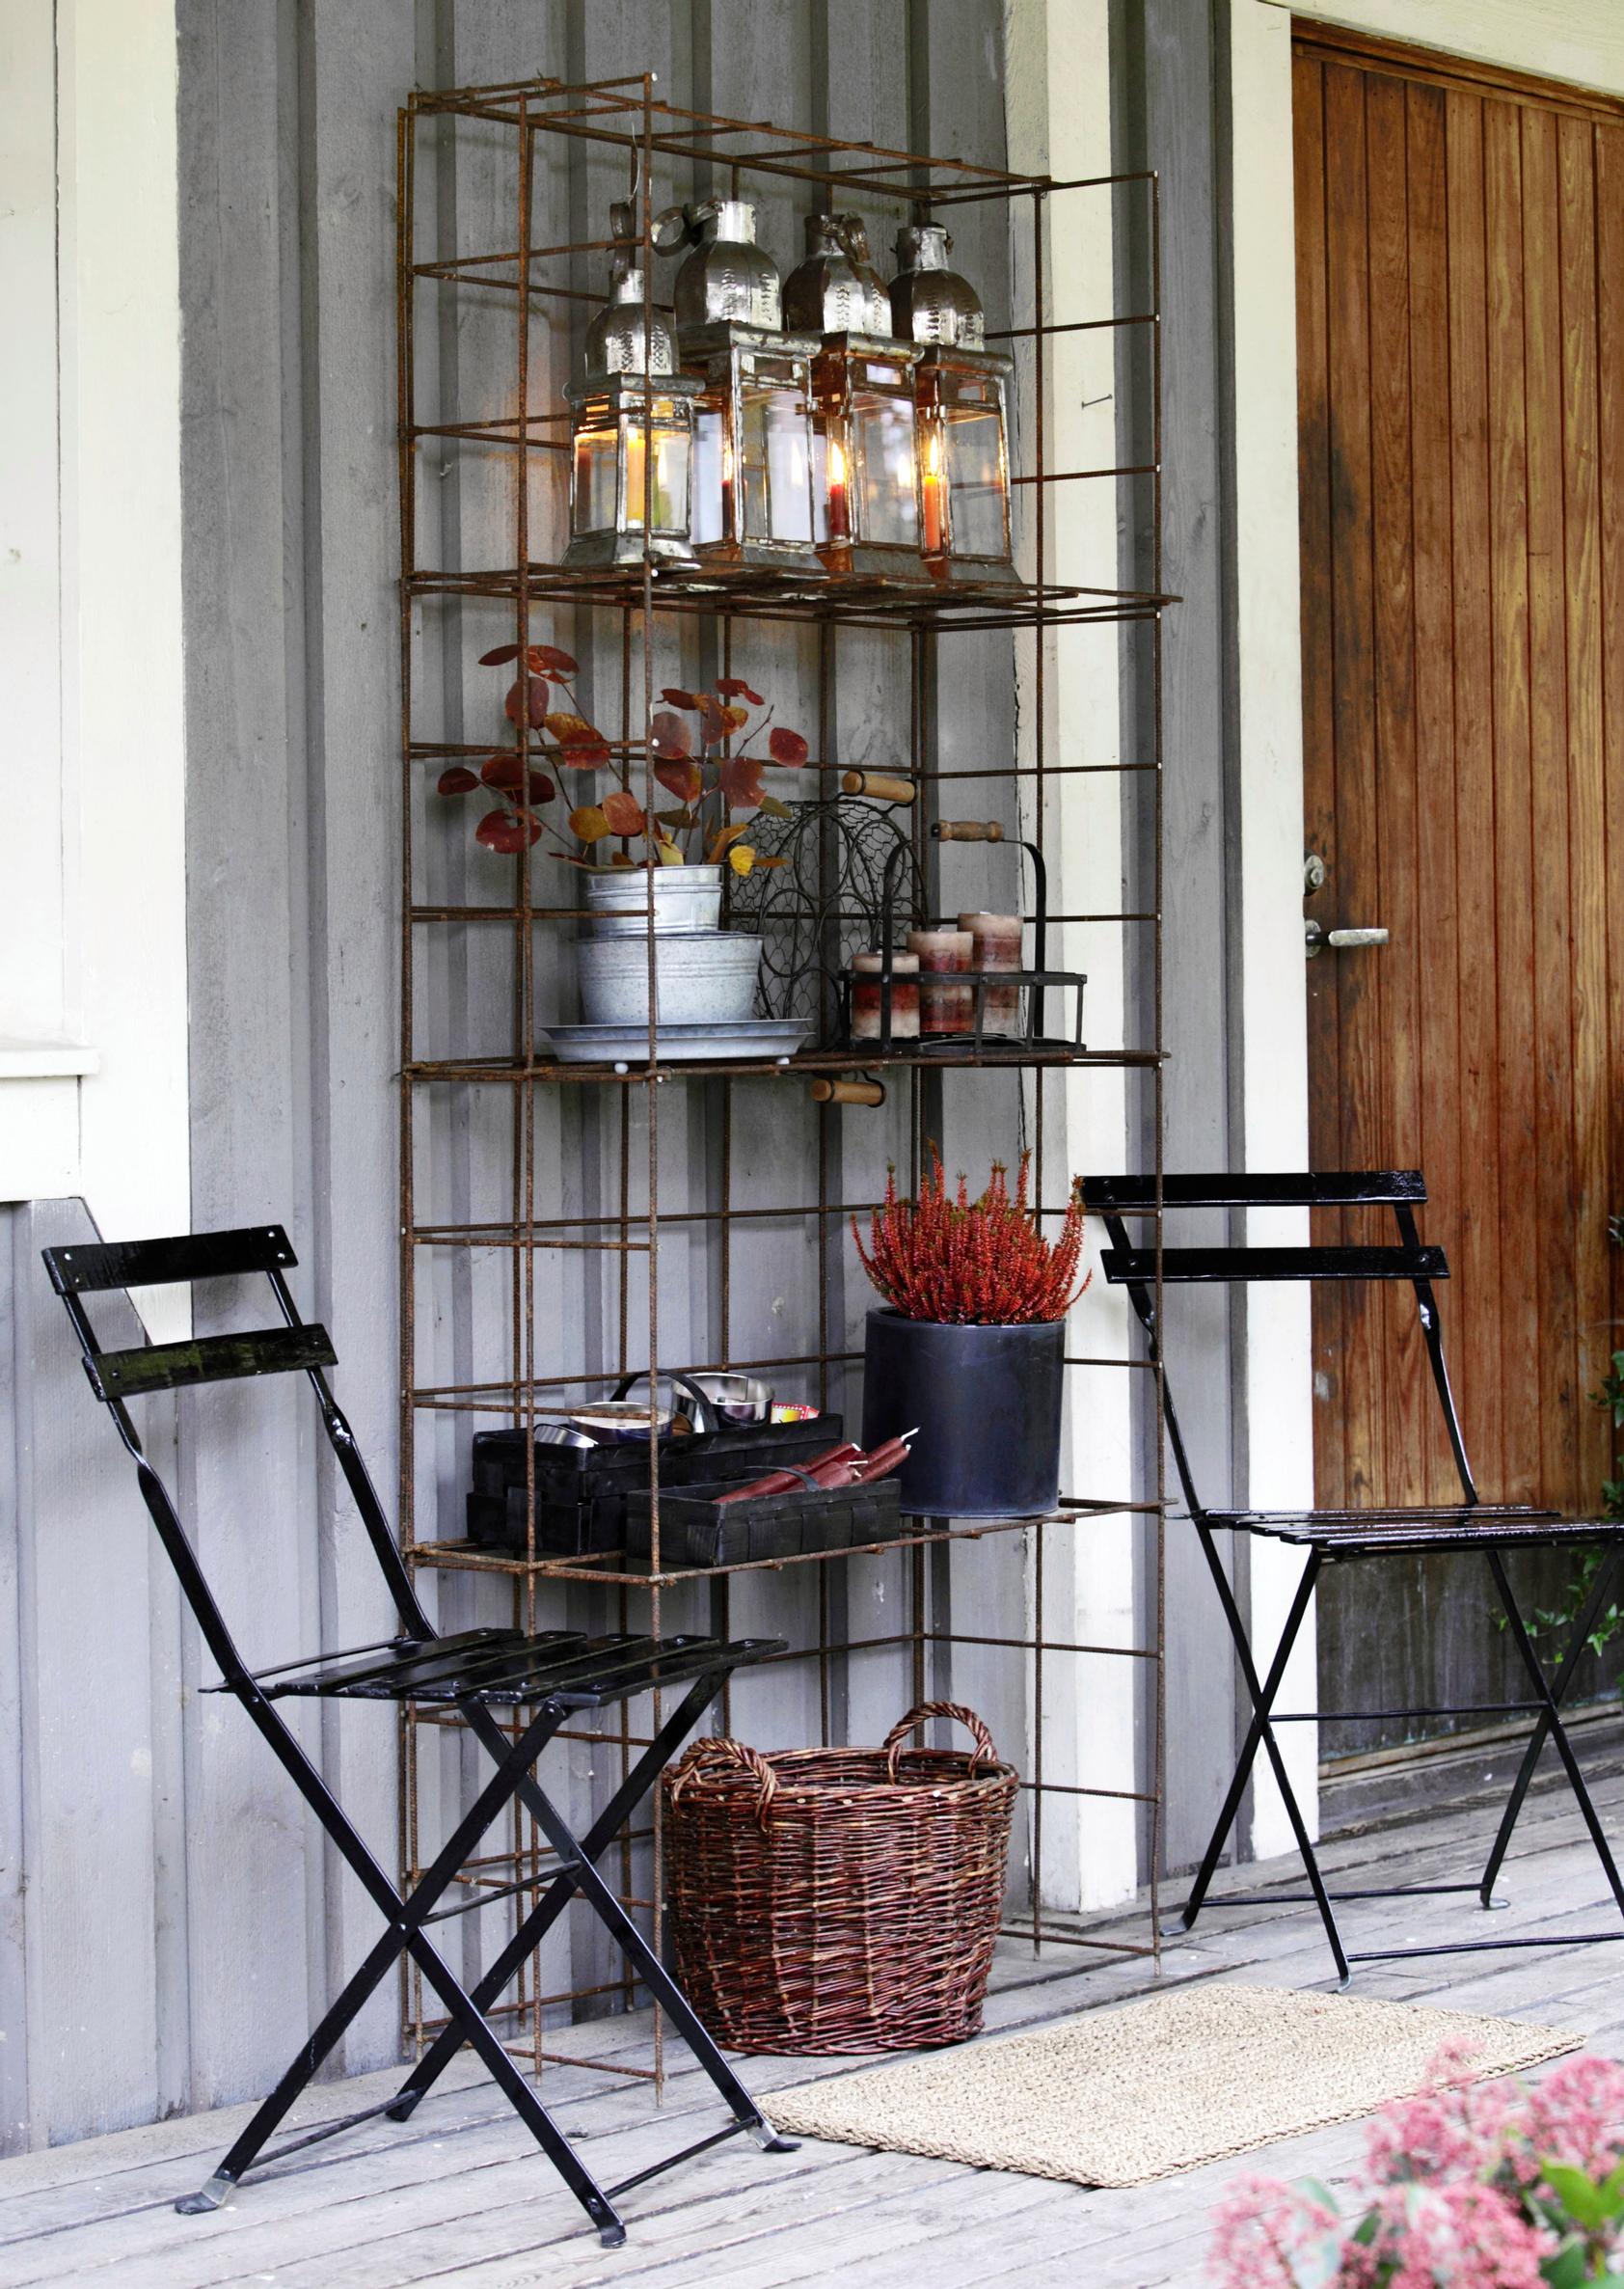
DIY rebar mesh shelf for the terrace—here’s how to build all-weather-loving outdoor furniture
A shelf made from rebar mesh is perfect for outdoor use. Over time, it acquires a beautiful rustic patina. Decorate it by season: flowers and herbs for summer, lanterns for fall, and evergreens and a string of lights for winter.
Mesh shelf—materials
- 6 mm rebar mesh (2.35 × 5 m)
- Annealed tie wire (0.9 mm, 35 m)
- A measuring tape and a roll of tape
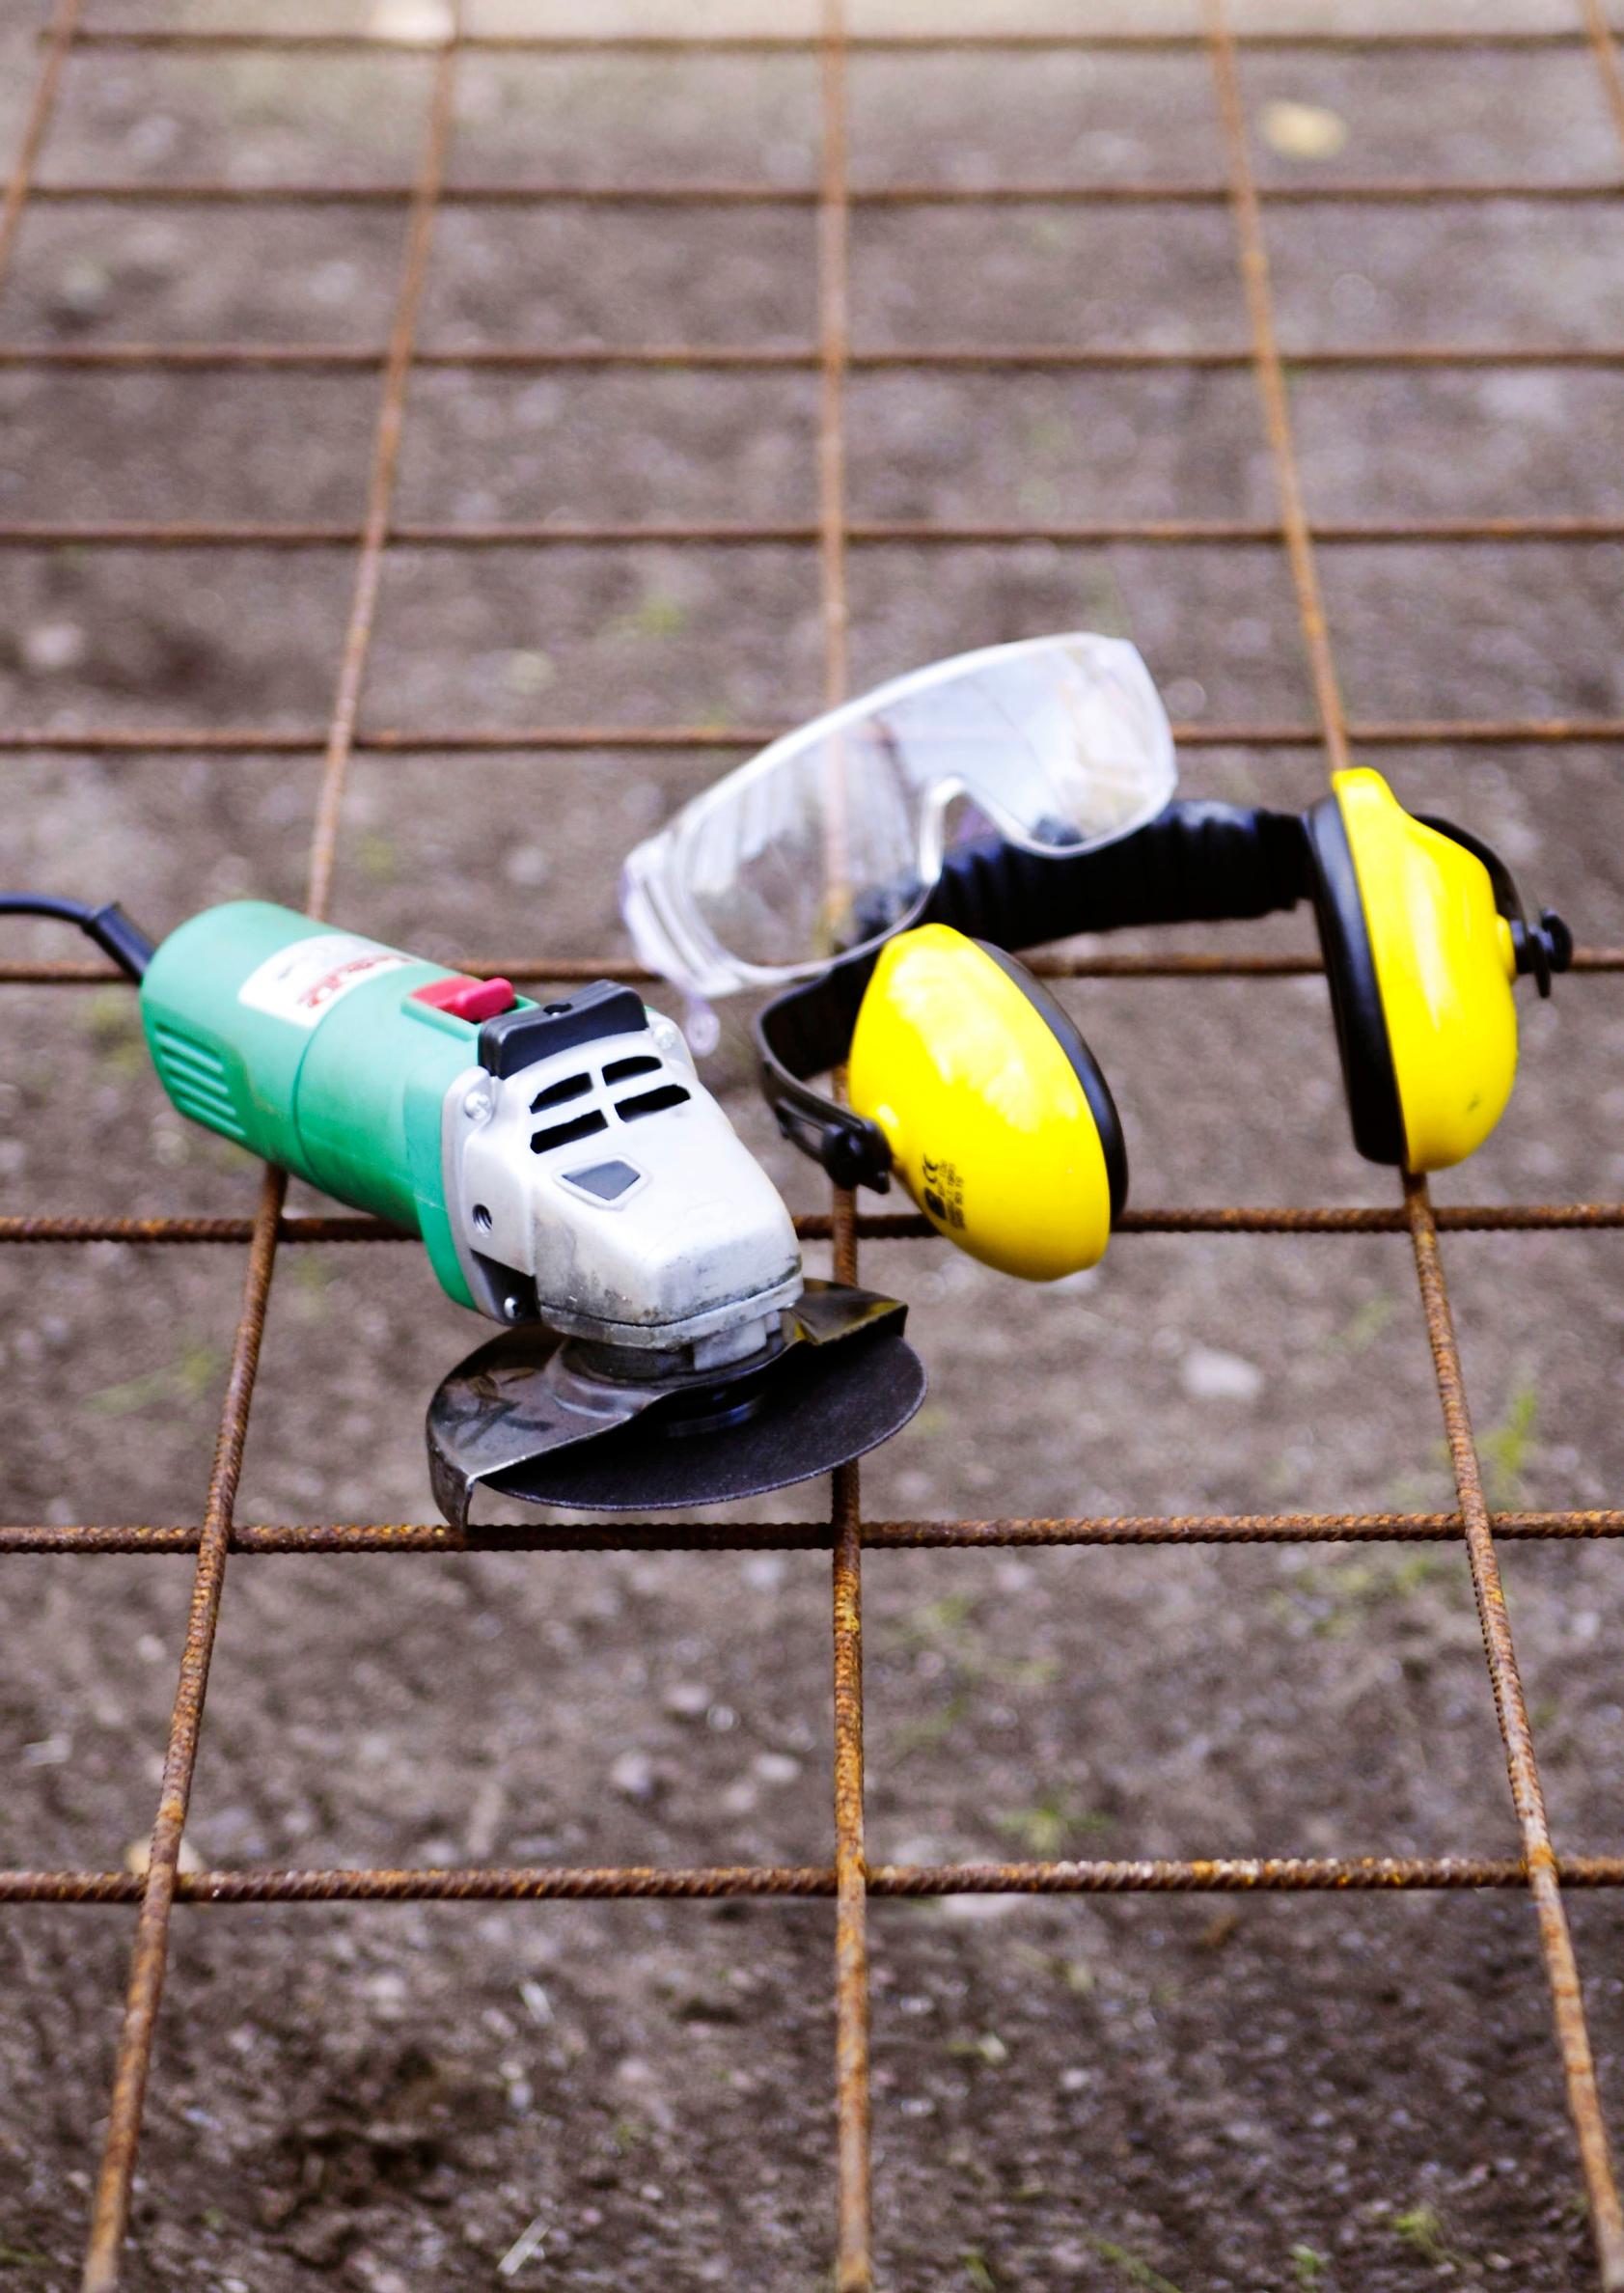
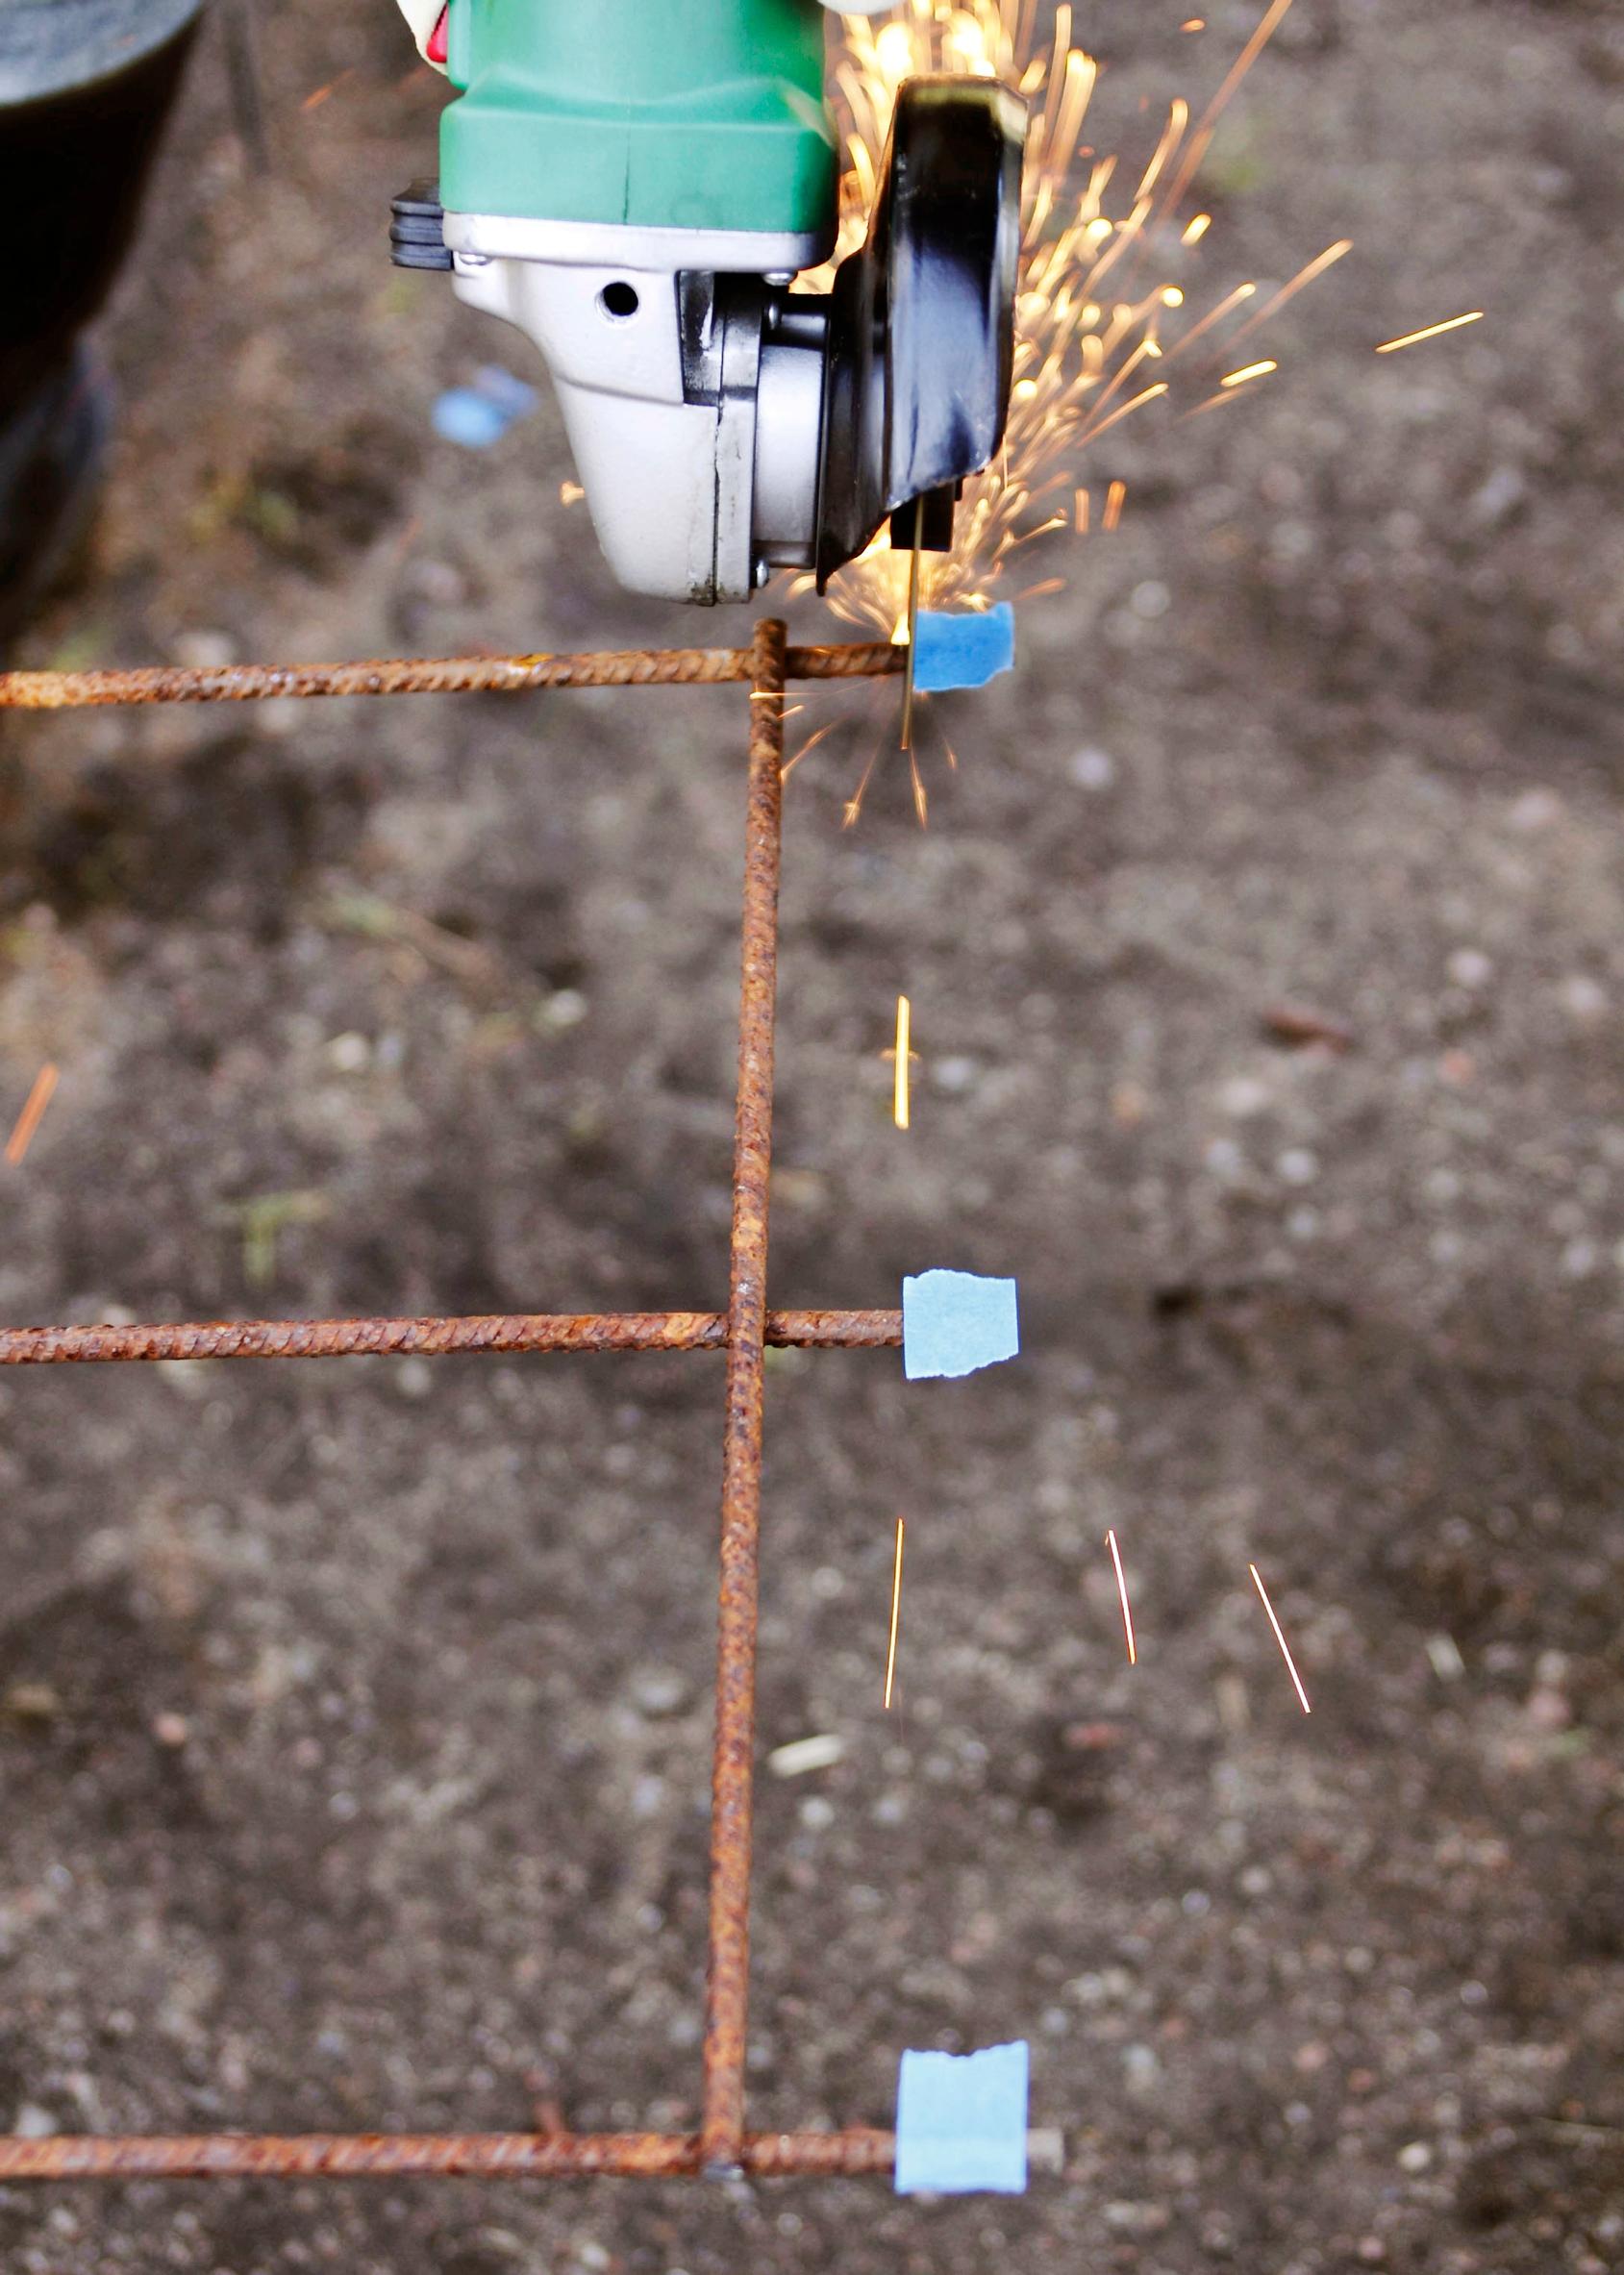
- A cutting disc and side cutters
- Hearing protection, safety glasses, and work gloves
DIY rebar mesh shelf—instructions

1. Cut a 5 × 13 section for the back panel and two 2 × 13 sections for the sides. Remember to wear goggles and gloves while cutting the mesh.

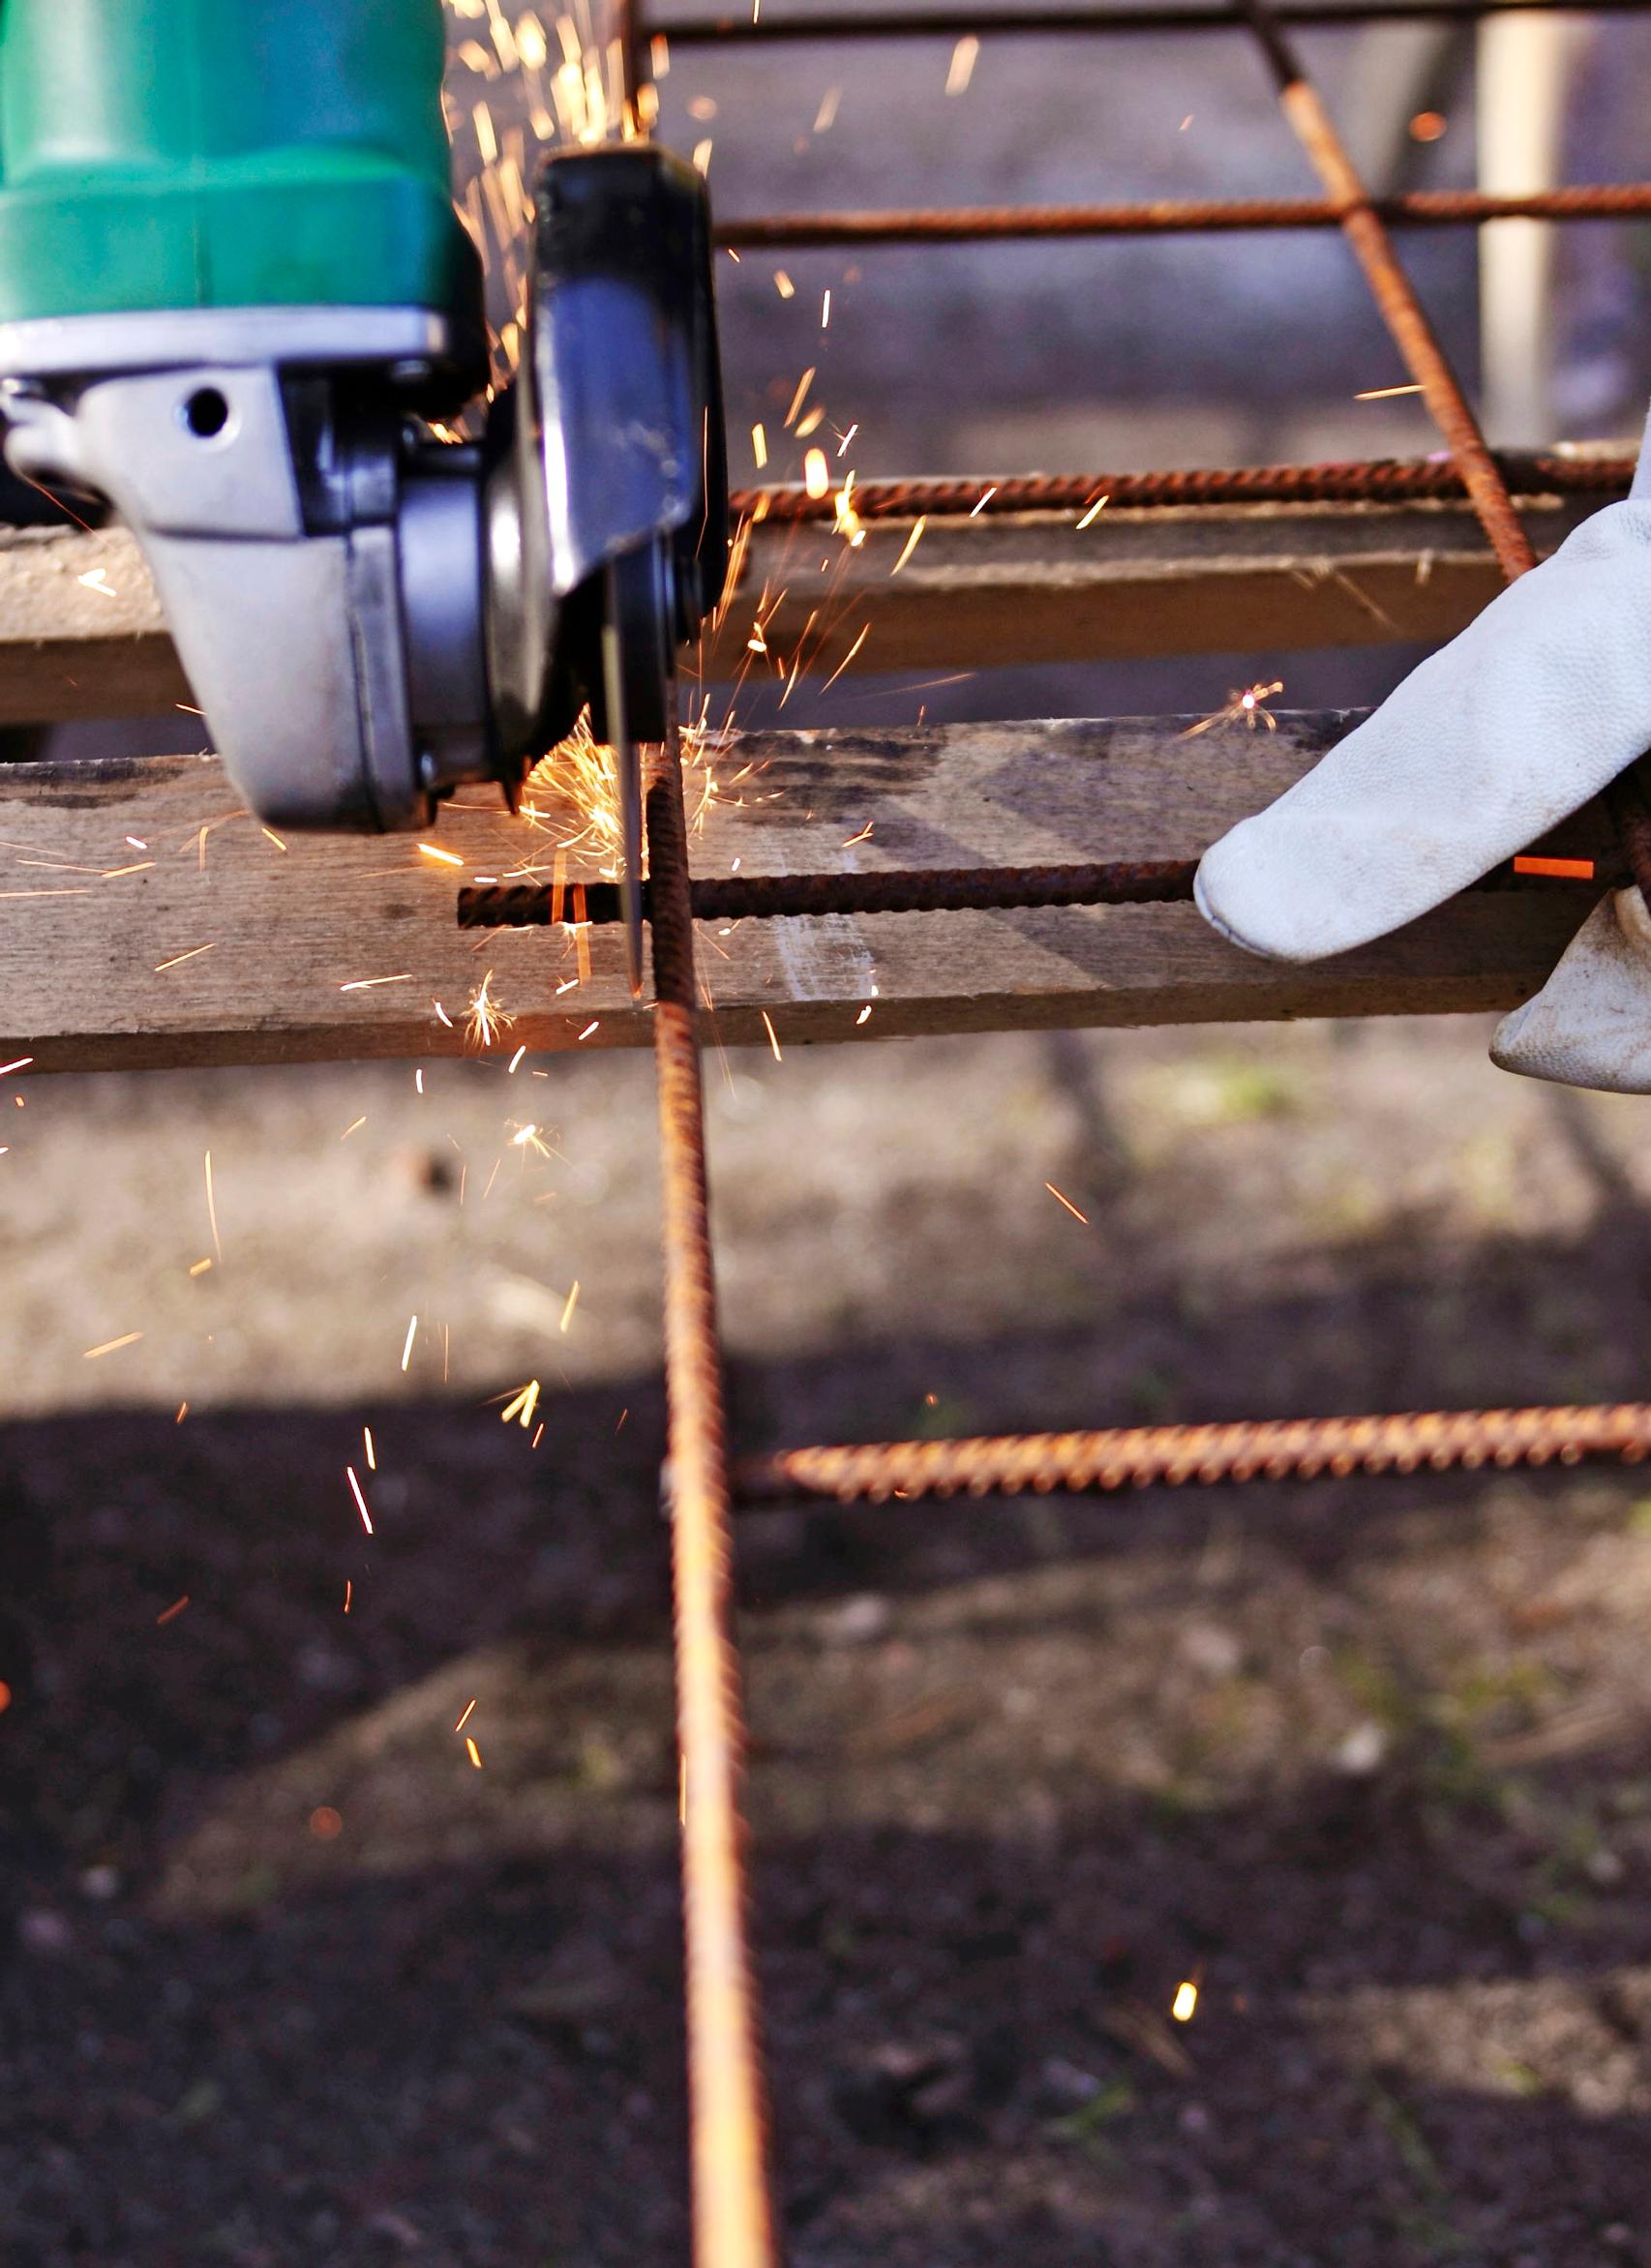
2. Using a cutting disc, trim the side panels and the back panel along their sides and top edges, right next to the full squares. Leave the bottom edges as they are for now.

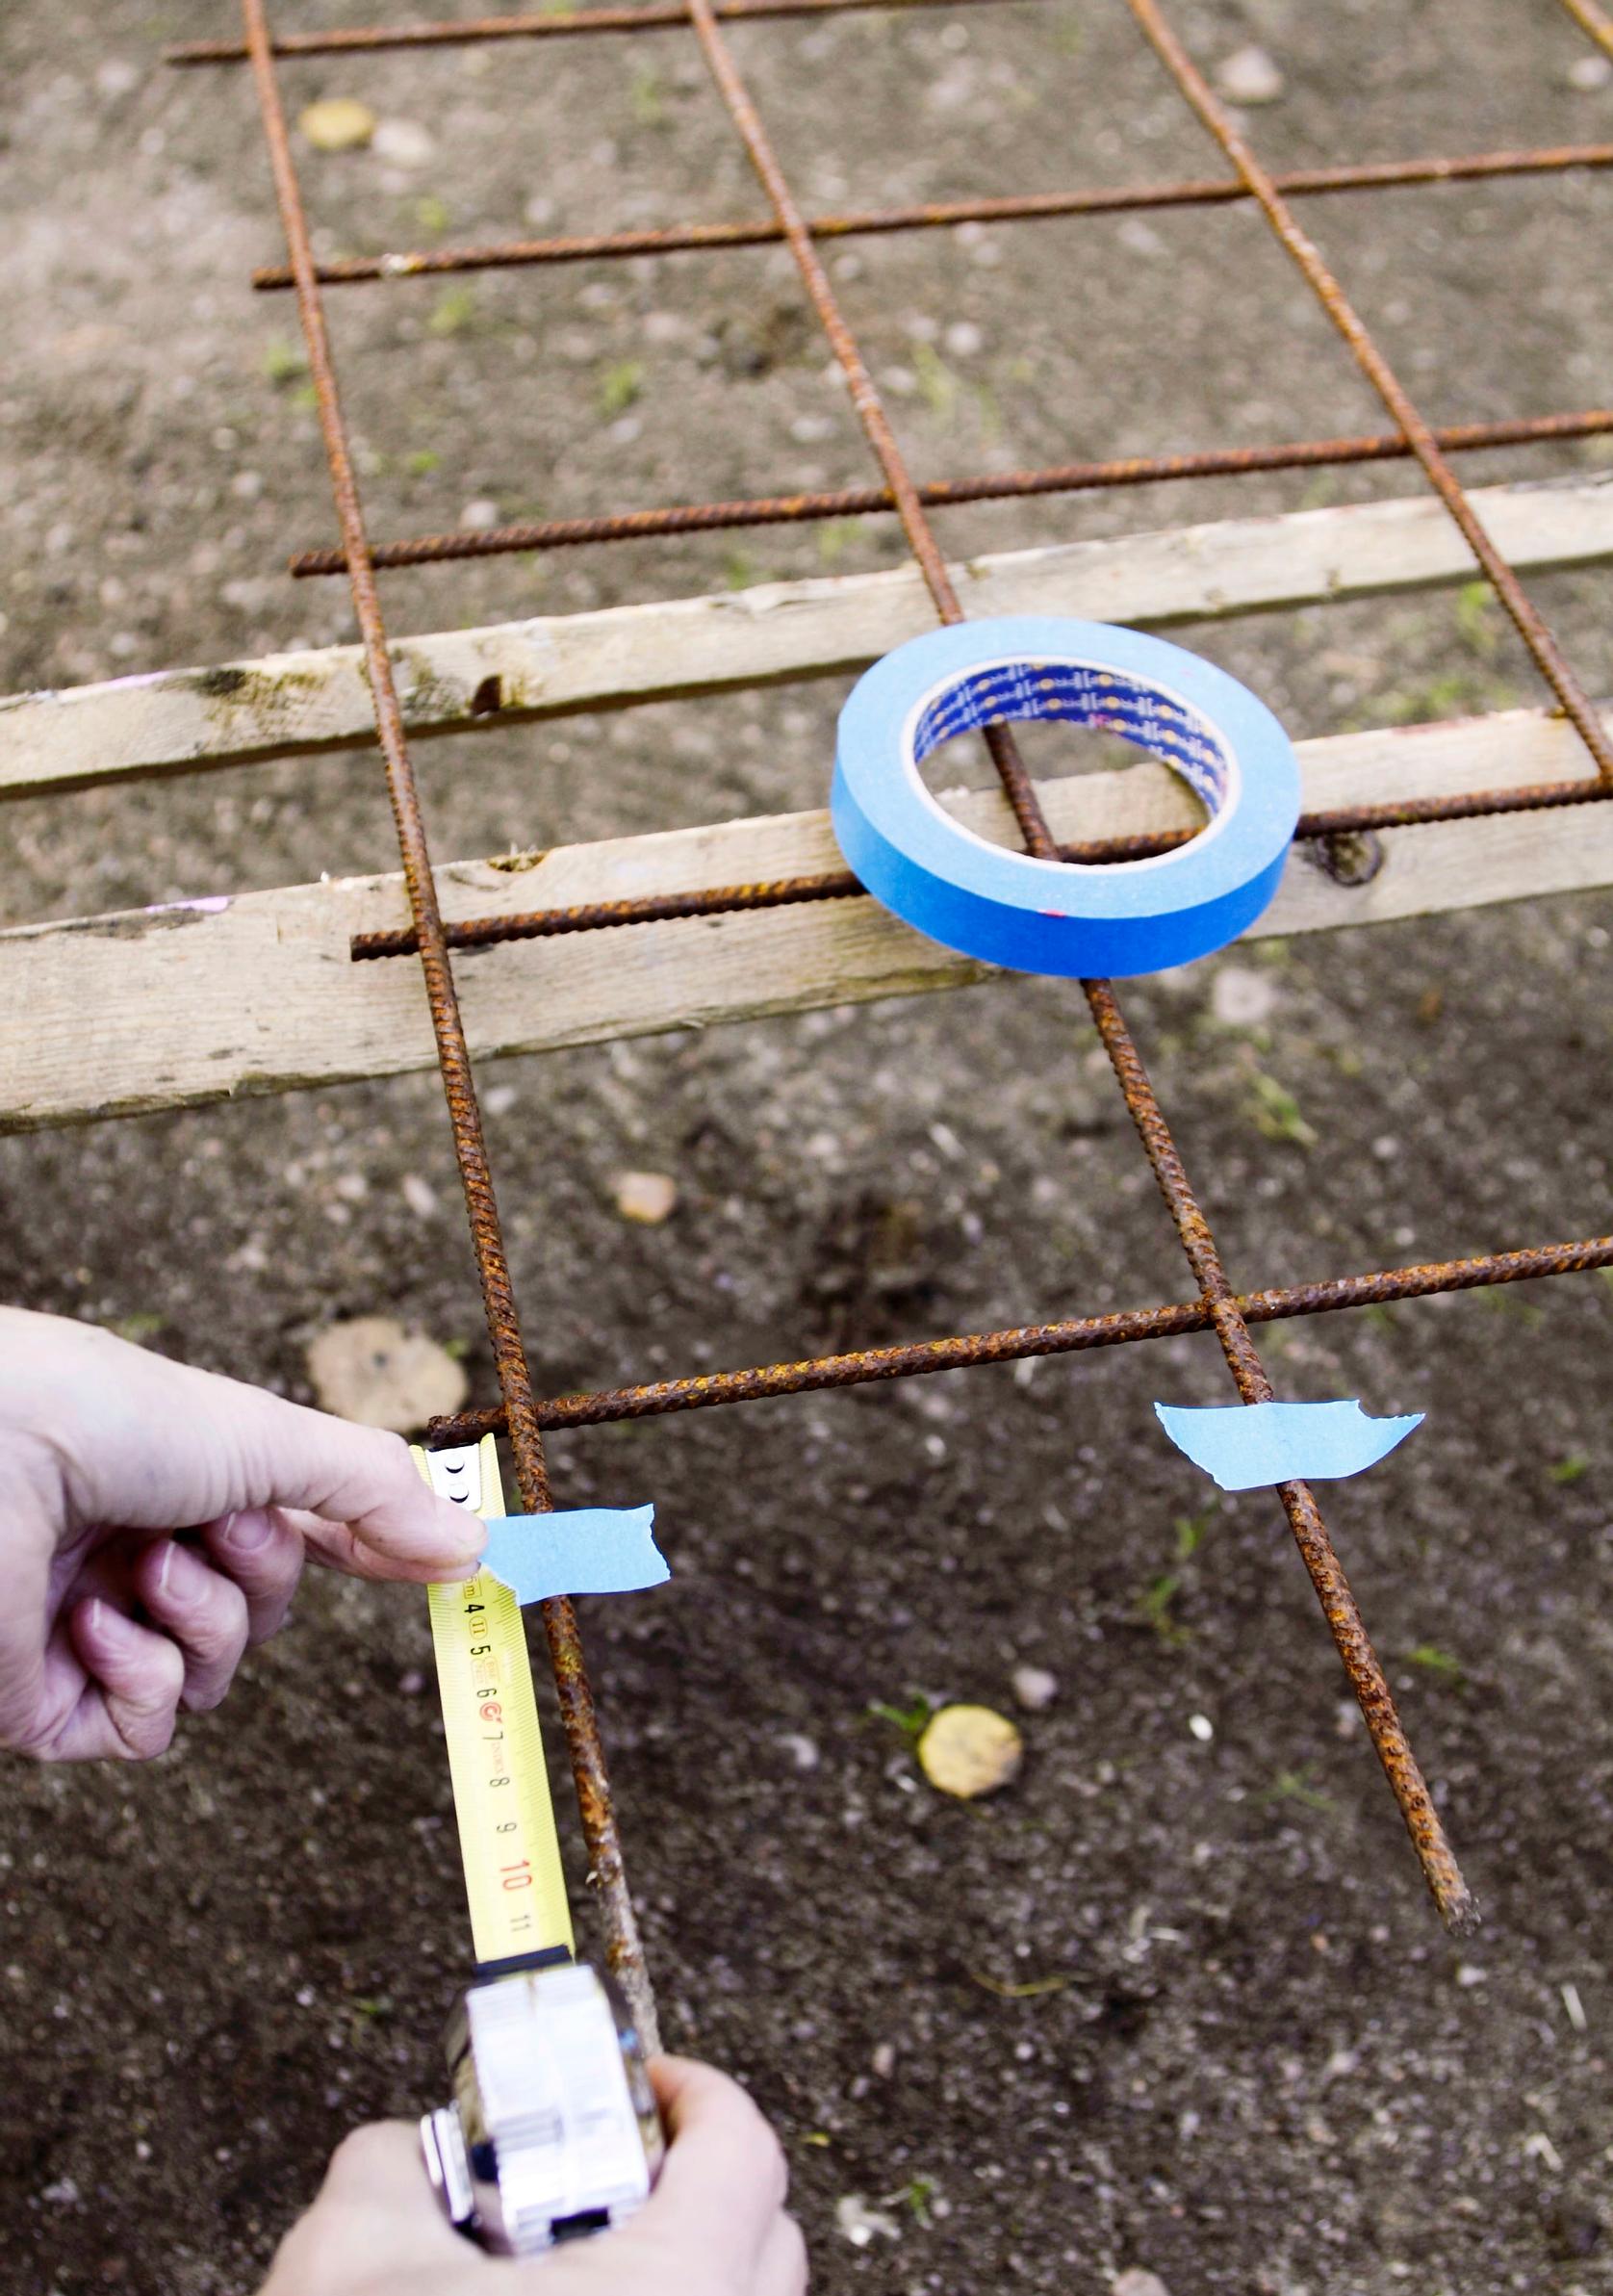
3. On both the side and back panels, measure 3-centimeter sections from the bottom squares to form the shelf legs. Use the cutting disc at your mark to separate them.

4. Next, cut the shelf panels. The finished shelf measures 2 × 5 squares and keeps 1.5-centimeter rod segments at each end and along one long edge. If you follow this tutorial for rebar mesh shelving, you can shape multiple shelves for extra storage.

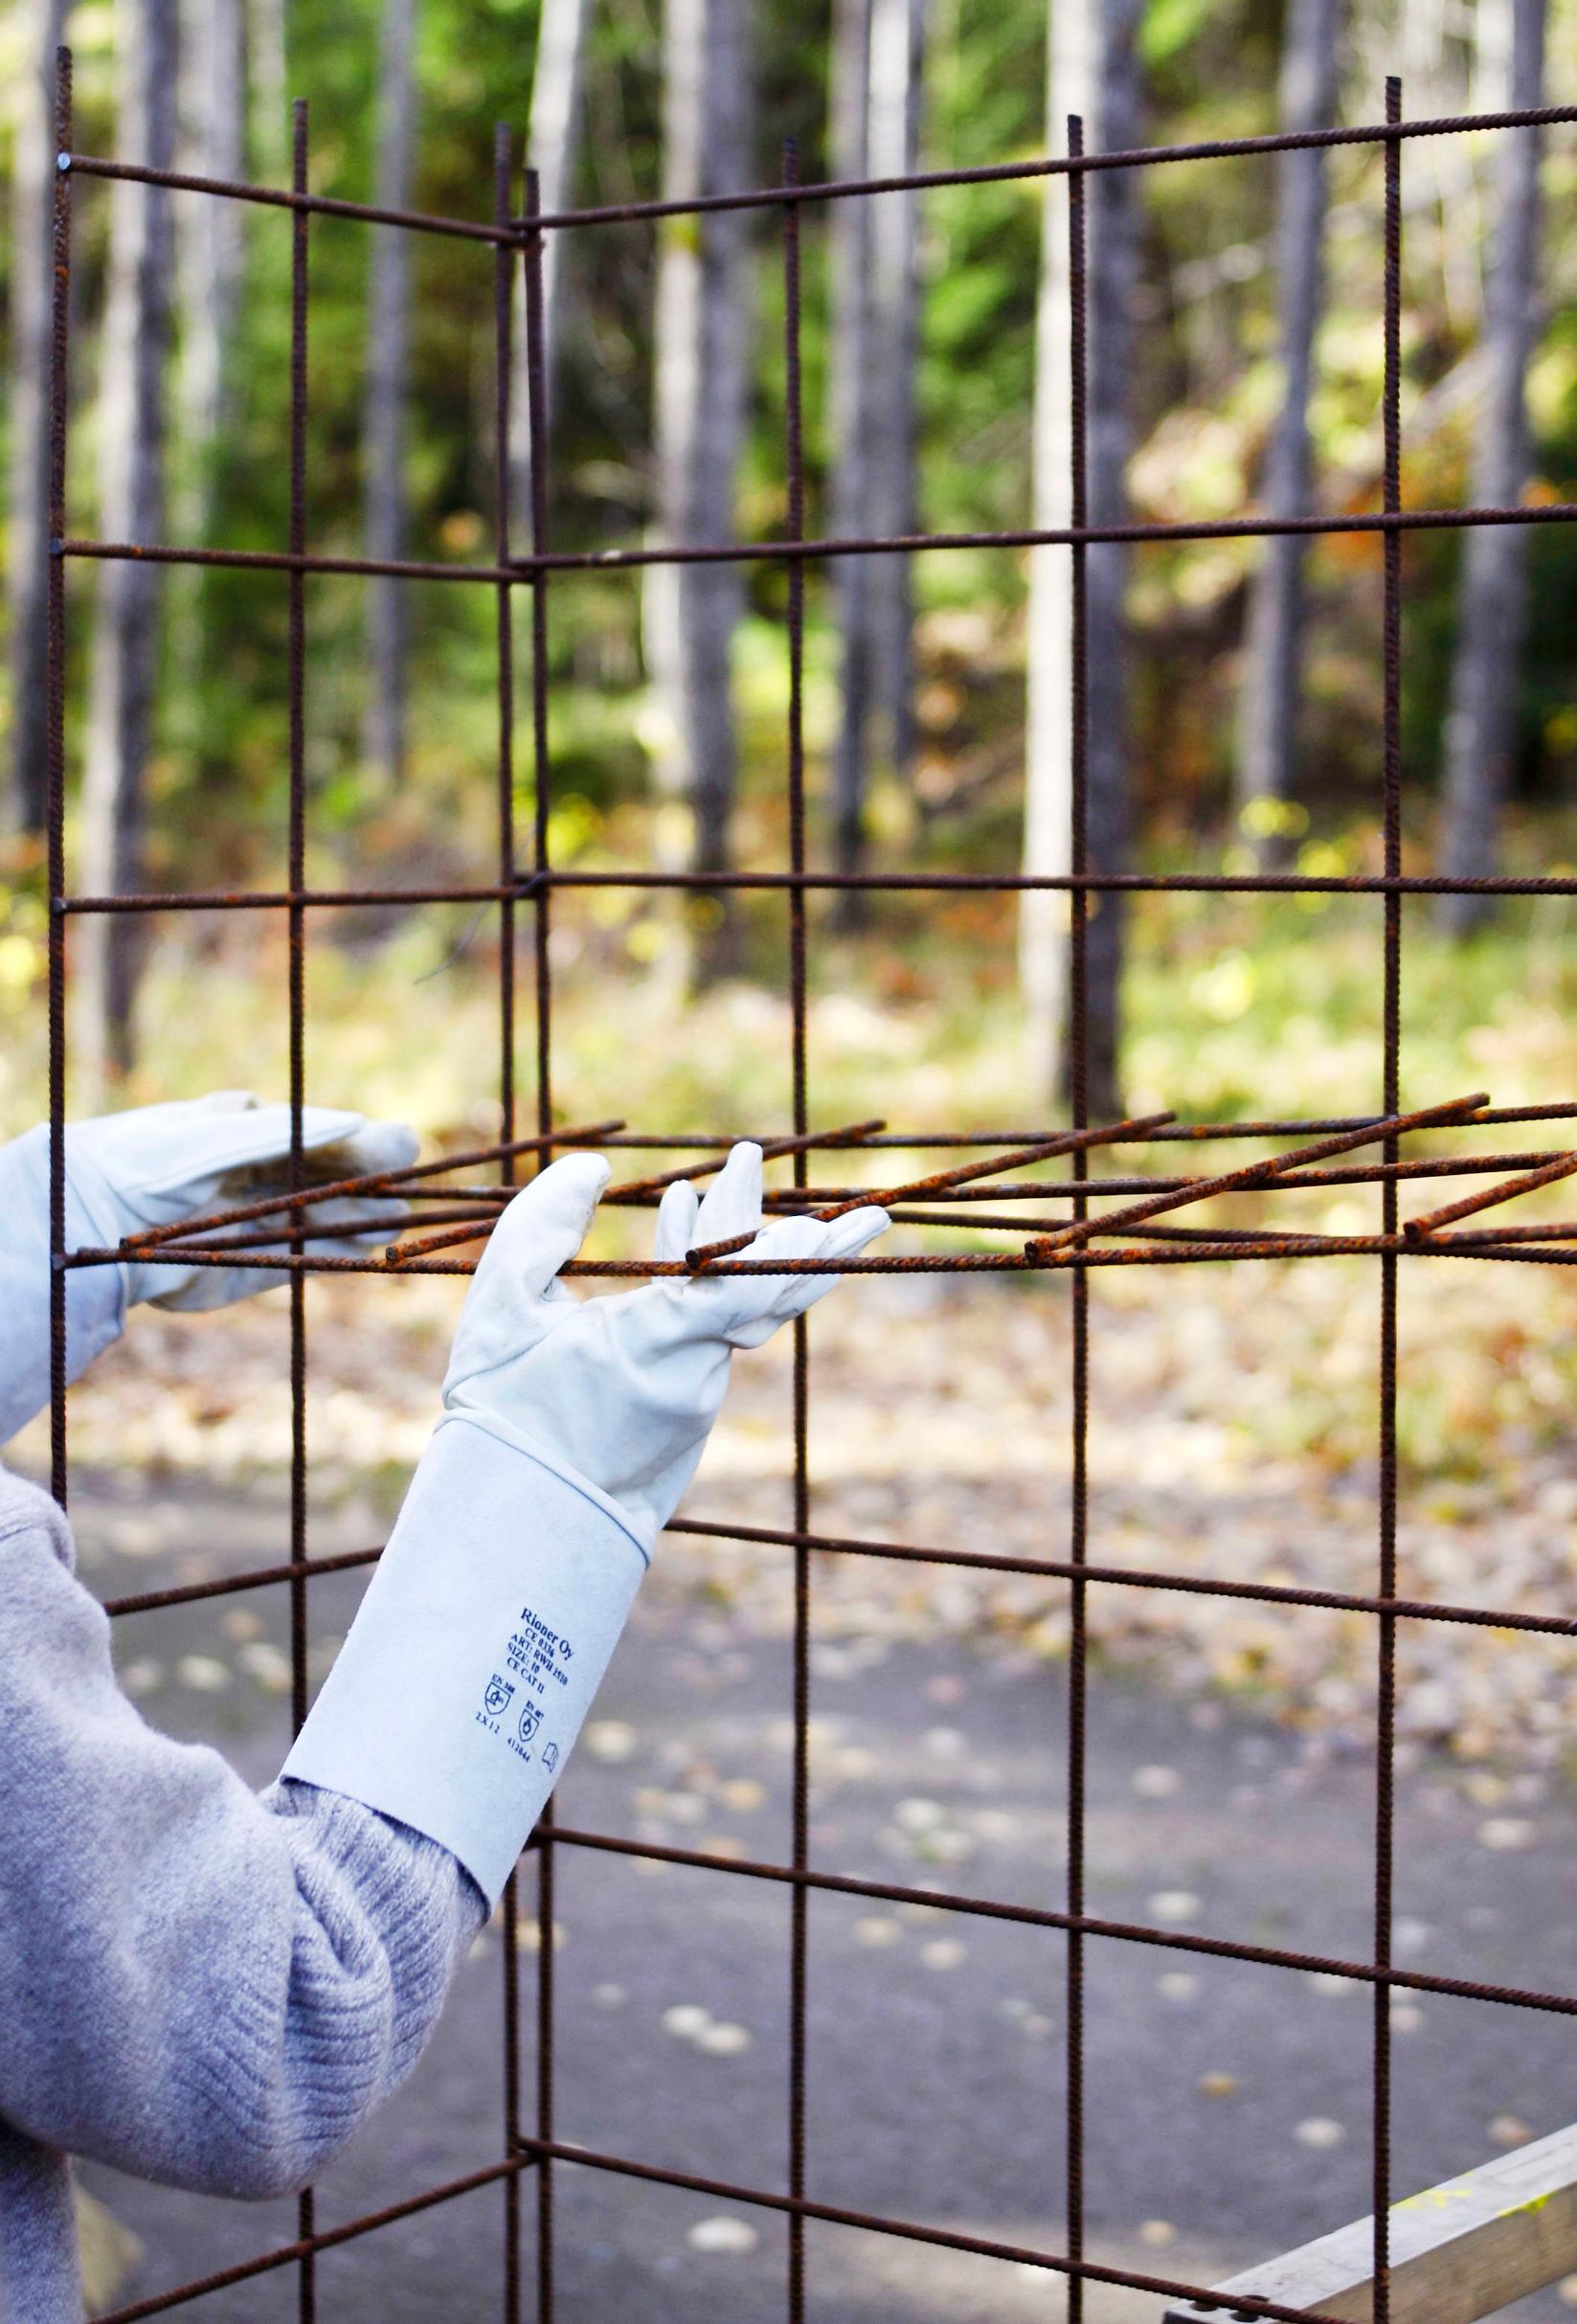
5. Stand the side pieces upright, confirming that horizontal rods face inward and vertical rods face outward. The end rods serve as shelf supports.

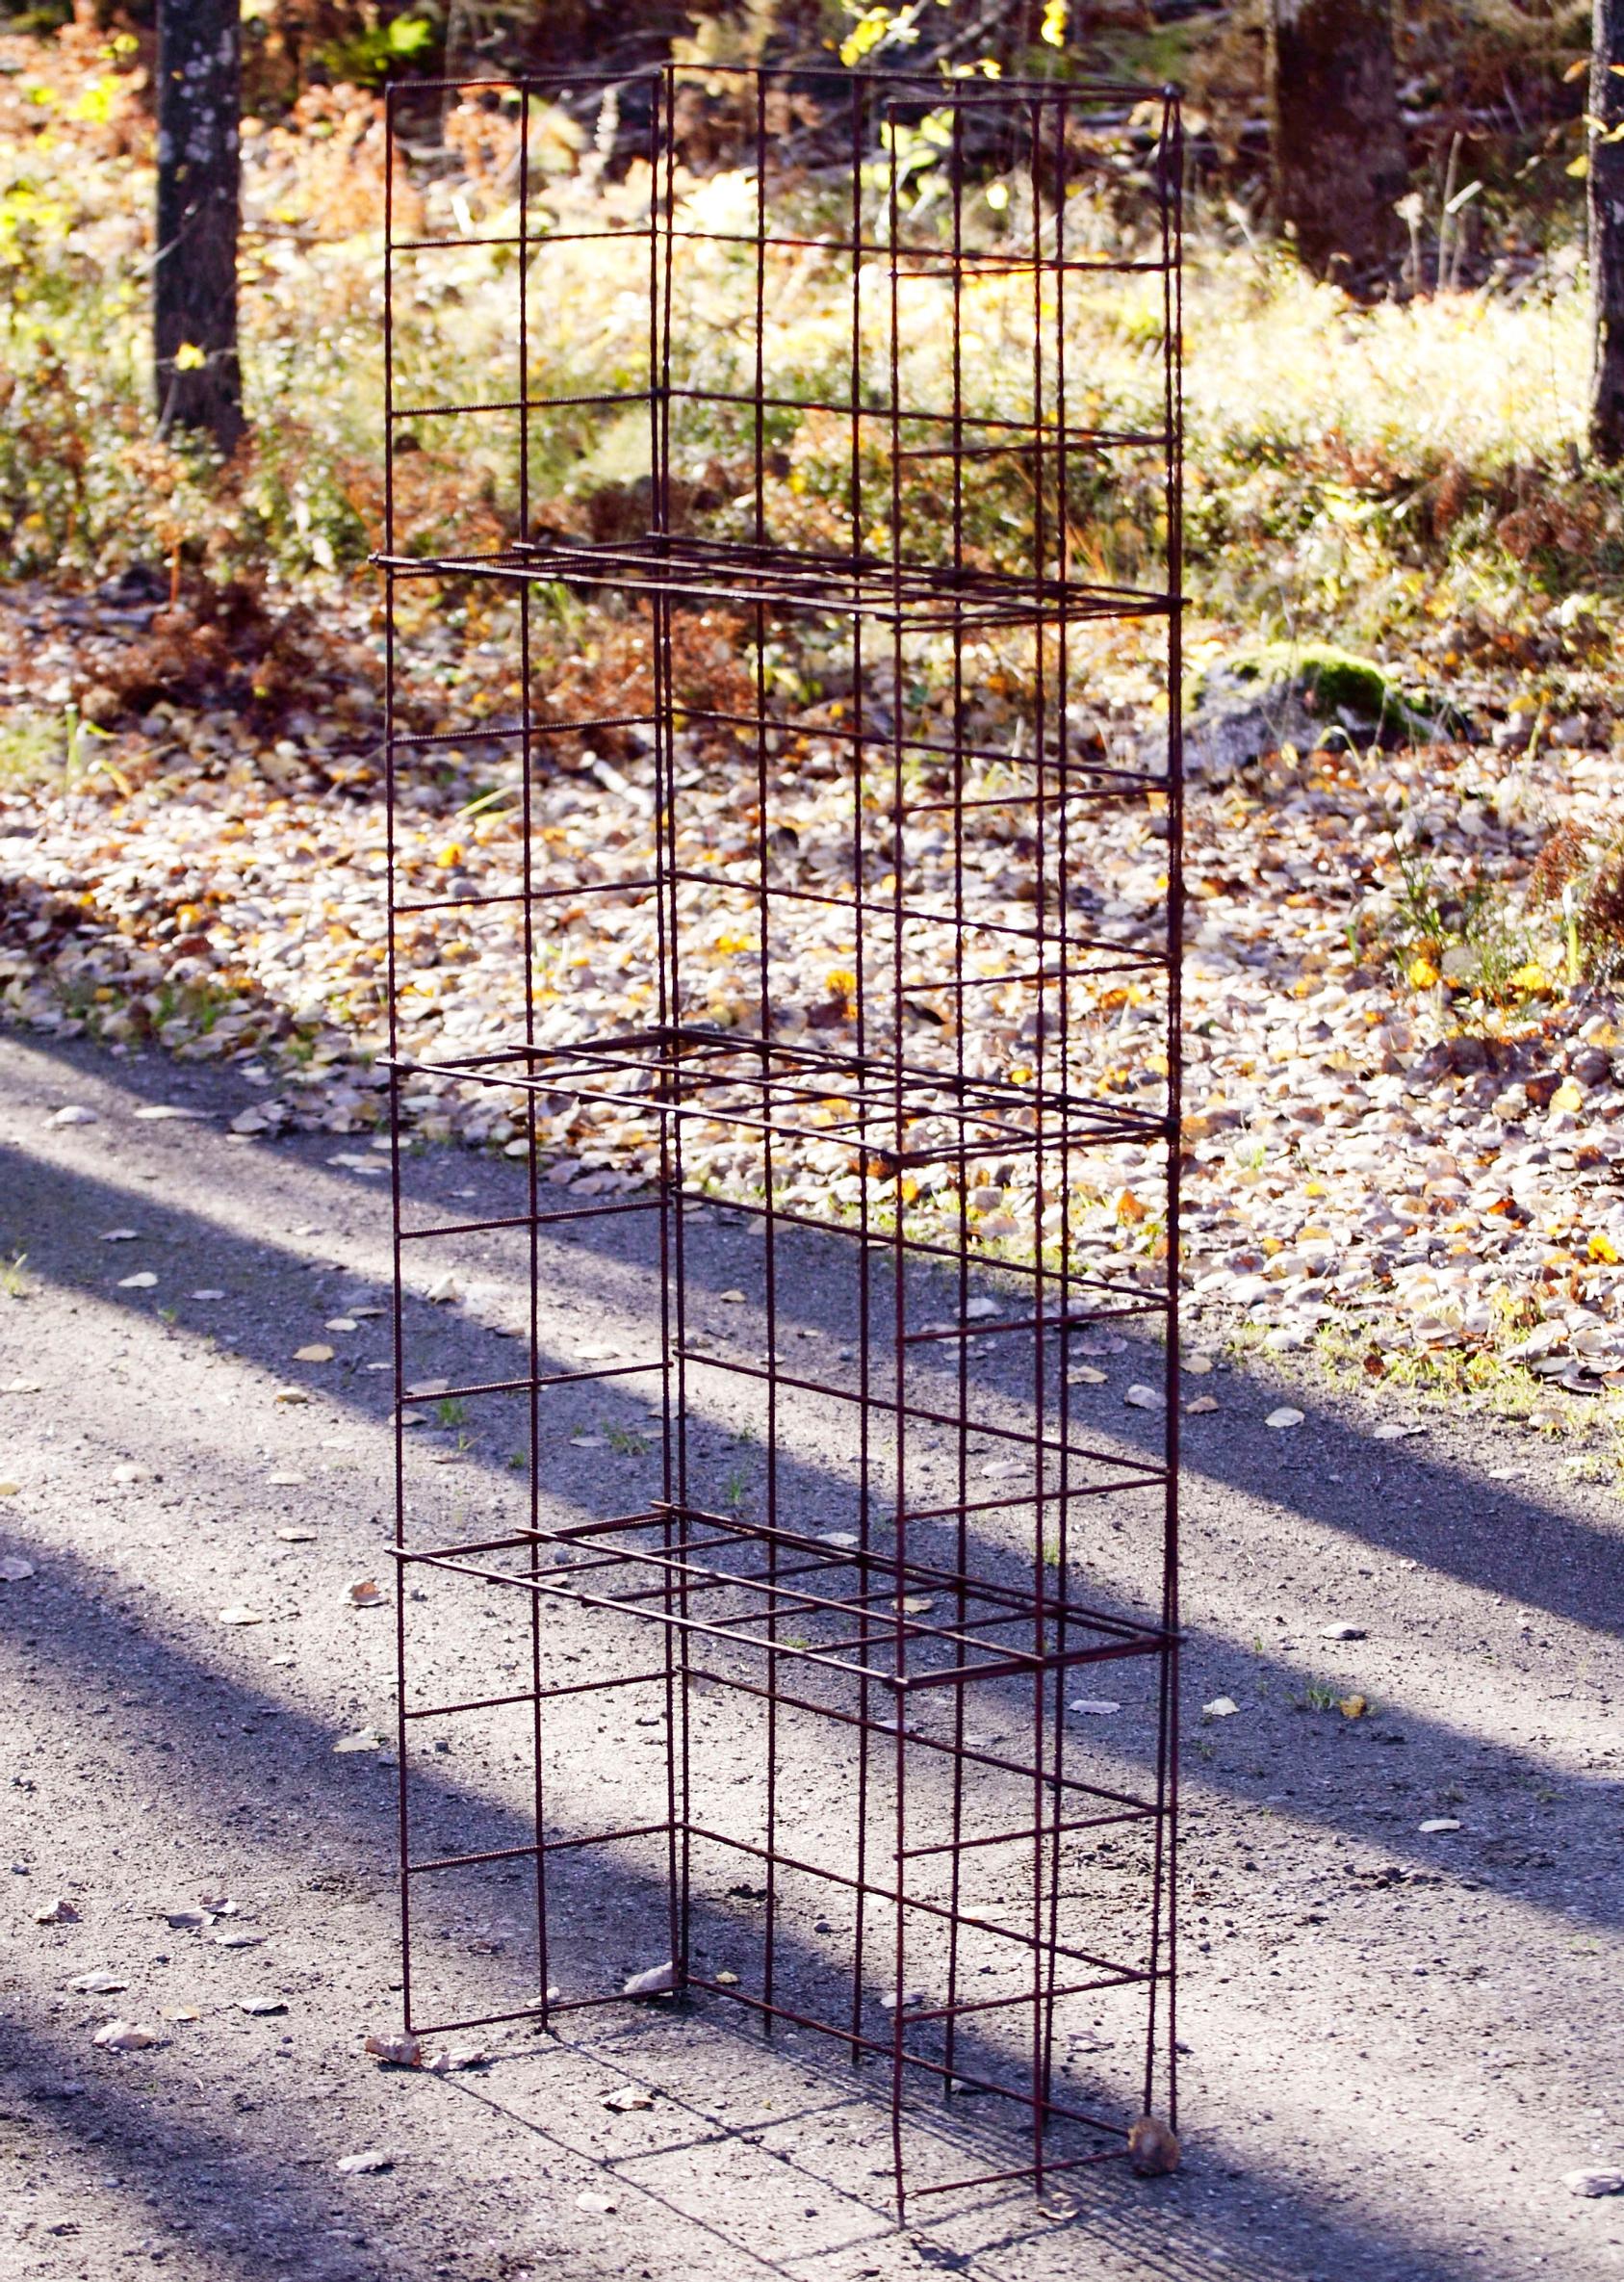
6. Secure the side and back panels together in several spots using wire. Then set the shelves in place and fasten them firmly. This rustic rebar shelving for patios approach offers a sturdy solution for all-weather storage.
Tip!
Secure the shelf to the wall at the top corners with a few nails.