DIY
The trendy macrame plant hanger—here’s how to make your own
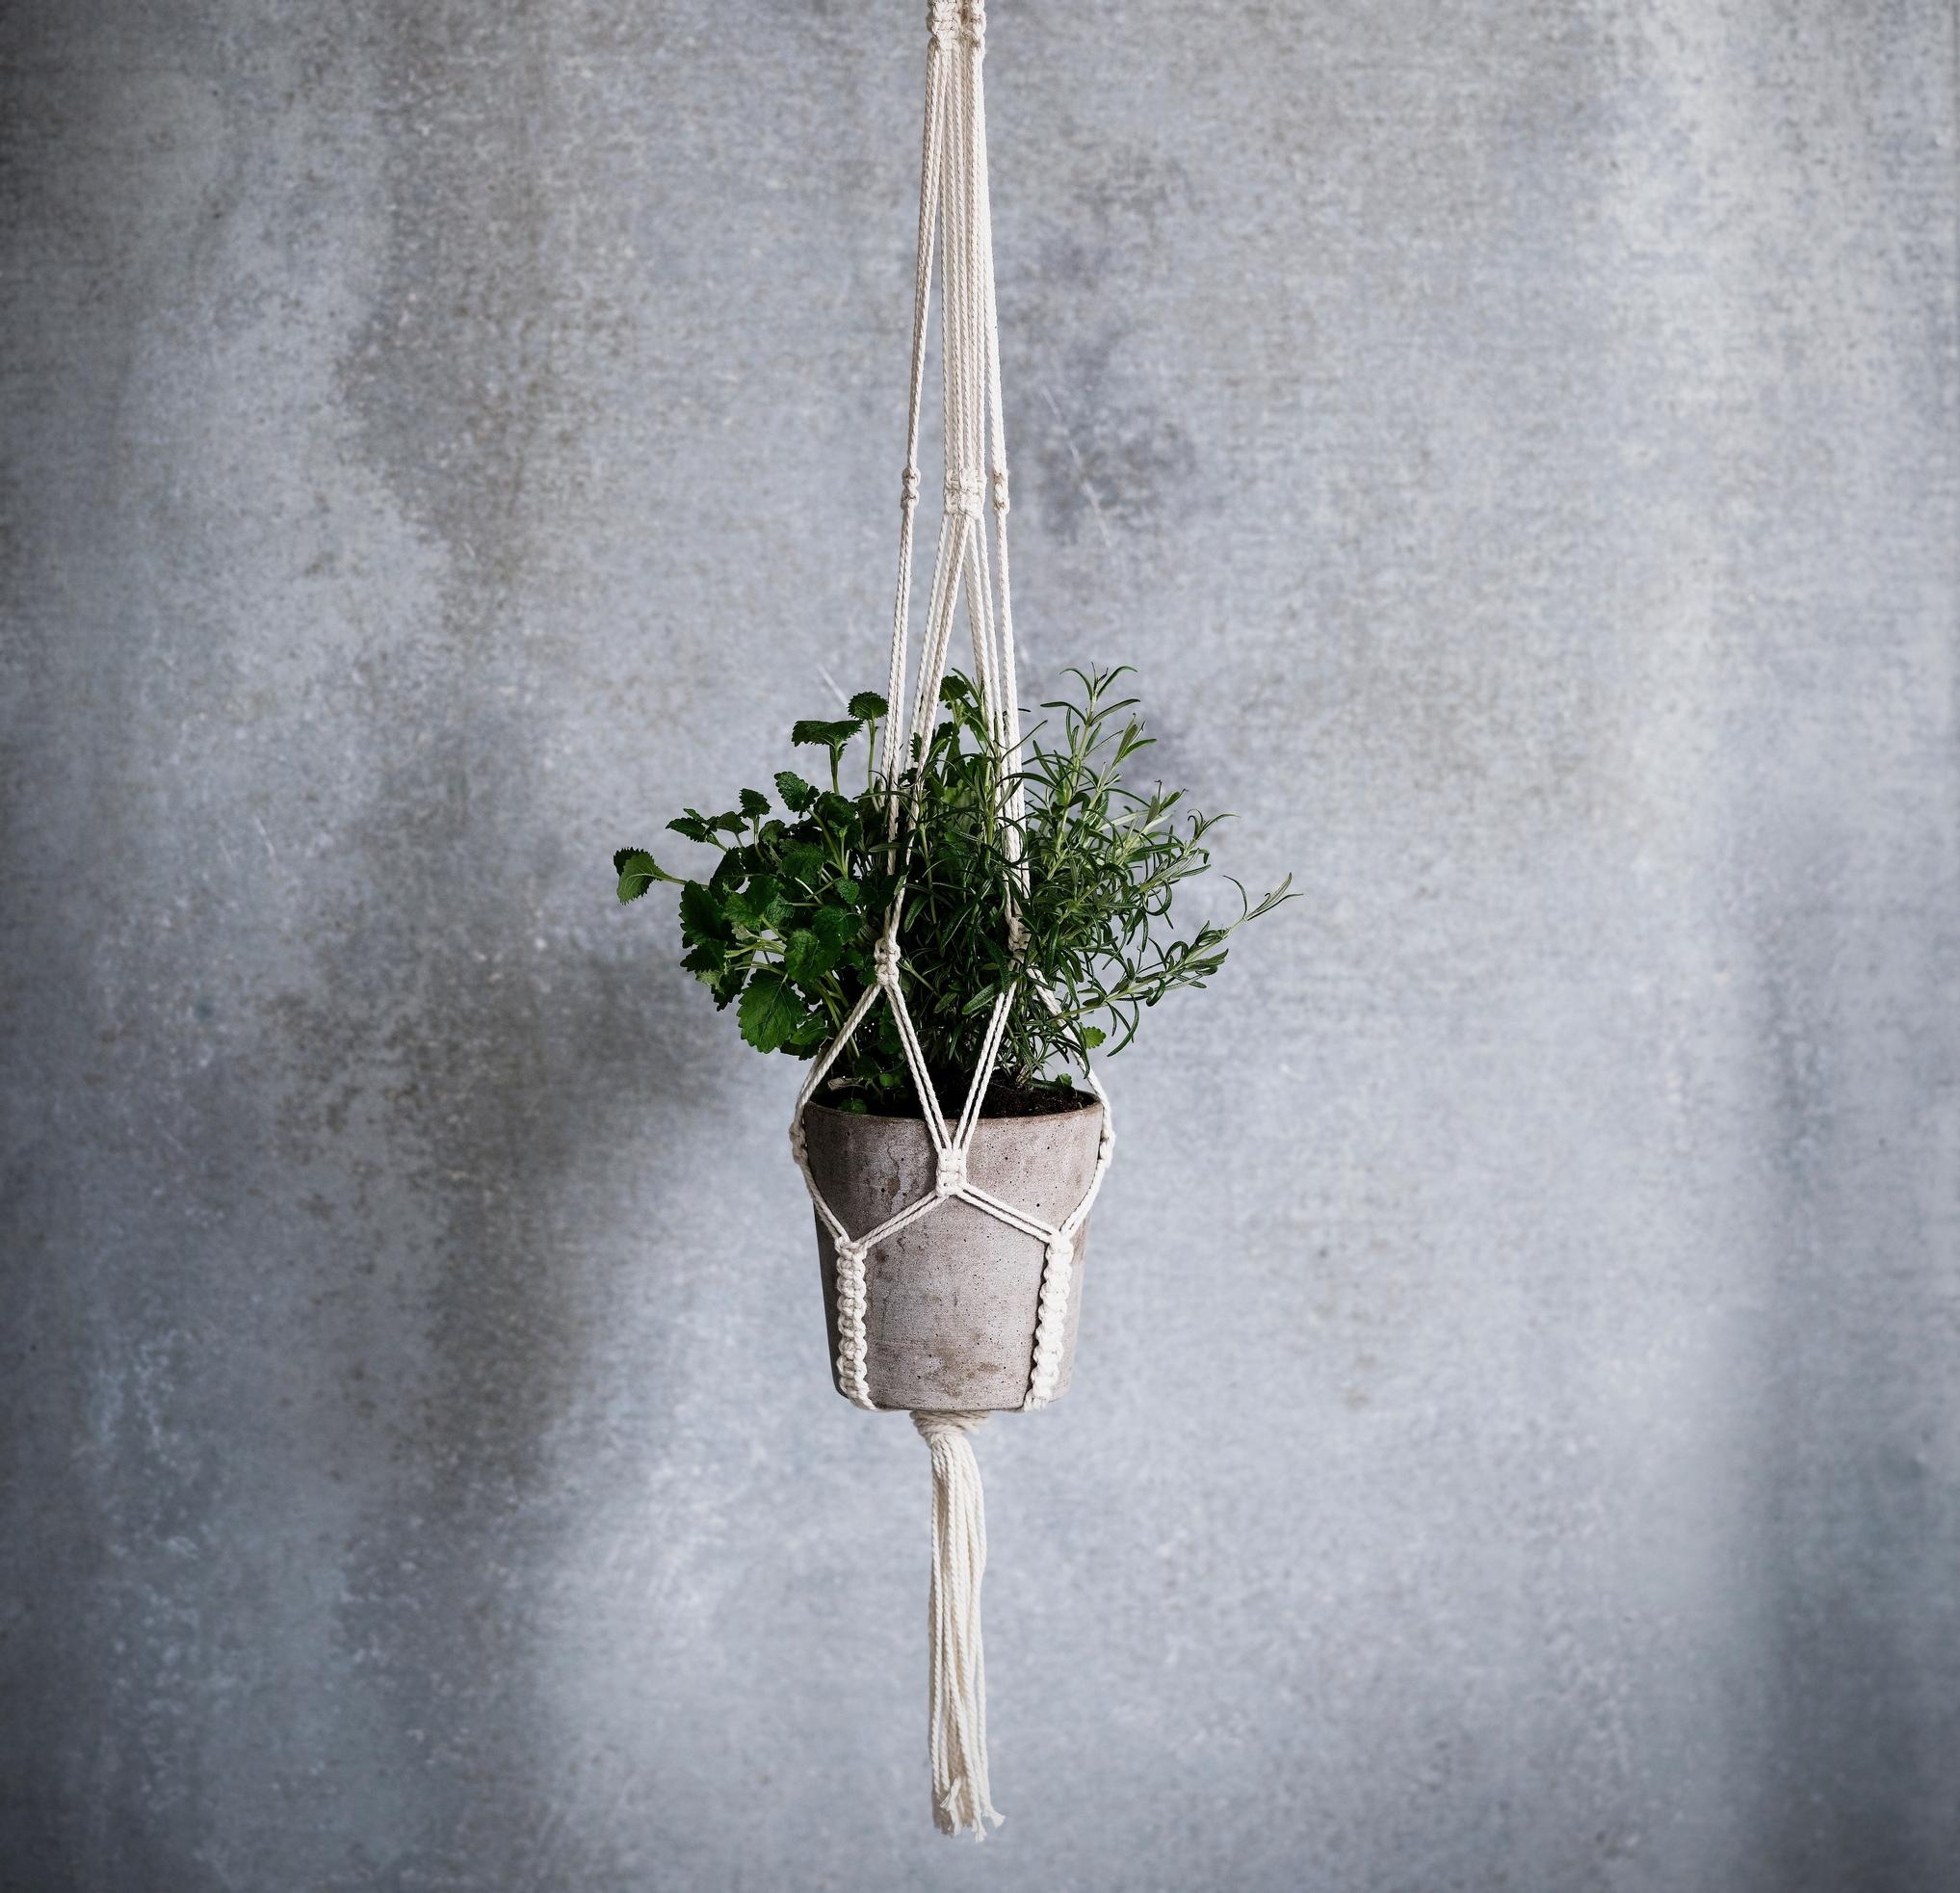
Plant hangers are back in style. With our tips, you can create a unique macrame plant hanger yourself. But beware: this is a highly addictive hobby!
Making a macrame plant hanger is easier than you might think. This craft involves knotting cords or strings to form intricate designs, with popular knots like the half square knot, square knot, and slip knot. This guide will walk you through the square knot technique to craft your own beautiful plant hanger!
Mastering the square knot
To start, you’ll need four cords. The two middle cords will remain in place while the two outer cords are used to knot back and forth.
Starting with a half square knot
- Bring the right cord under the two middle cords and over the left cord, leaving a loose loop on the right.
- Bring the left cord over the middle cords and through the loop of the right cord. Refer to picture 1 (below) for visual guidance.
- Tighten the knot securely.


The second knot is a mirror image of the first
- Bring the right cord over the middle cords and under the left cord, forming a loose loop on the right.
- Bring the left cord under the middle cords and through the loop of the right cord. See picture 2 for reference.
- Tighten this second knot. Picture 3 shows the result.


Making the plant hanger
You’ll need:
- Non-elastic cord, such as Moppari by Suomen Lanka. You could also try leather, paper, or jute, which is excellent for outdoor use due to being resistant to moisture.
- A pot (approximately 13 cm in height, with a top diameter of 13 cm and a bottom diameter of 10 cm). For a different-sized pot, adjust the sizing of the hanger as you go along. The finished hanger will be about 105 cm in height.
- A measuring tape and scissors.


Macrame plant hanger—step-by-step instructions:
- Cut eight pieces of cord, each 4 meters long. Create a large loop at their center and knot it tightly. You will now have sixteen 2-meter cords hanging down from this loop knot, and the finished hanger will be hung by this loop. You will begin knotting down from this loop towards the base of the hanger.
- Divide the cords into four groups of 4 cords each. Wind them into small balls for easier handling. If you’re working on a table, you can secure the loop onto the backrest of a chair on the opposite side using an additional cord. This will help keep everything organized as you work. Knot downwards, towards yourself.
- Begin knotting 3 cm down from the loop knot. With each group of 4 cords, create 10 square knots back-to-back so that they form a continuous string.
- Rearrange the cords: pair two left-side cords of one group with two right-side cords from the next group to form a new group. For convenience, you can tie the groups into loose loop knots.
- With each group of 4 cords, create 2 square knots spaced 20 cm from the previous knots.
- Rearrange the cords as before.
- With each group of 4 cords, create 2 square knots, again 20 cm from the previous knots.
- Rearrange the cords as before.
- With each group of 4 cords, create 2 square knots, this time 10 cm from the previous knots.
- Rearrange the cords as before.
- Begin knotting 5 cm from the last knots. Create 10 square knots.
- Place your pot into the hanger. Turn it upside down and knot the cords at the center of the pot’s base. Trim the cord ends to equal lengths. Your macrame plant hanger is now finished!


