
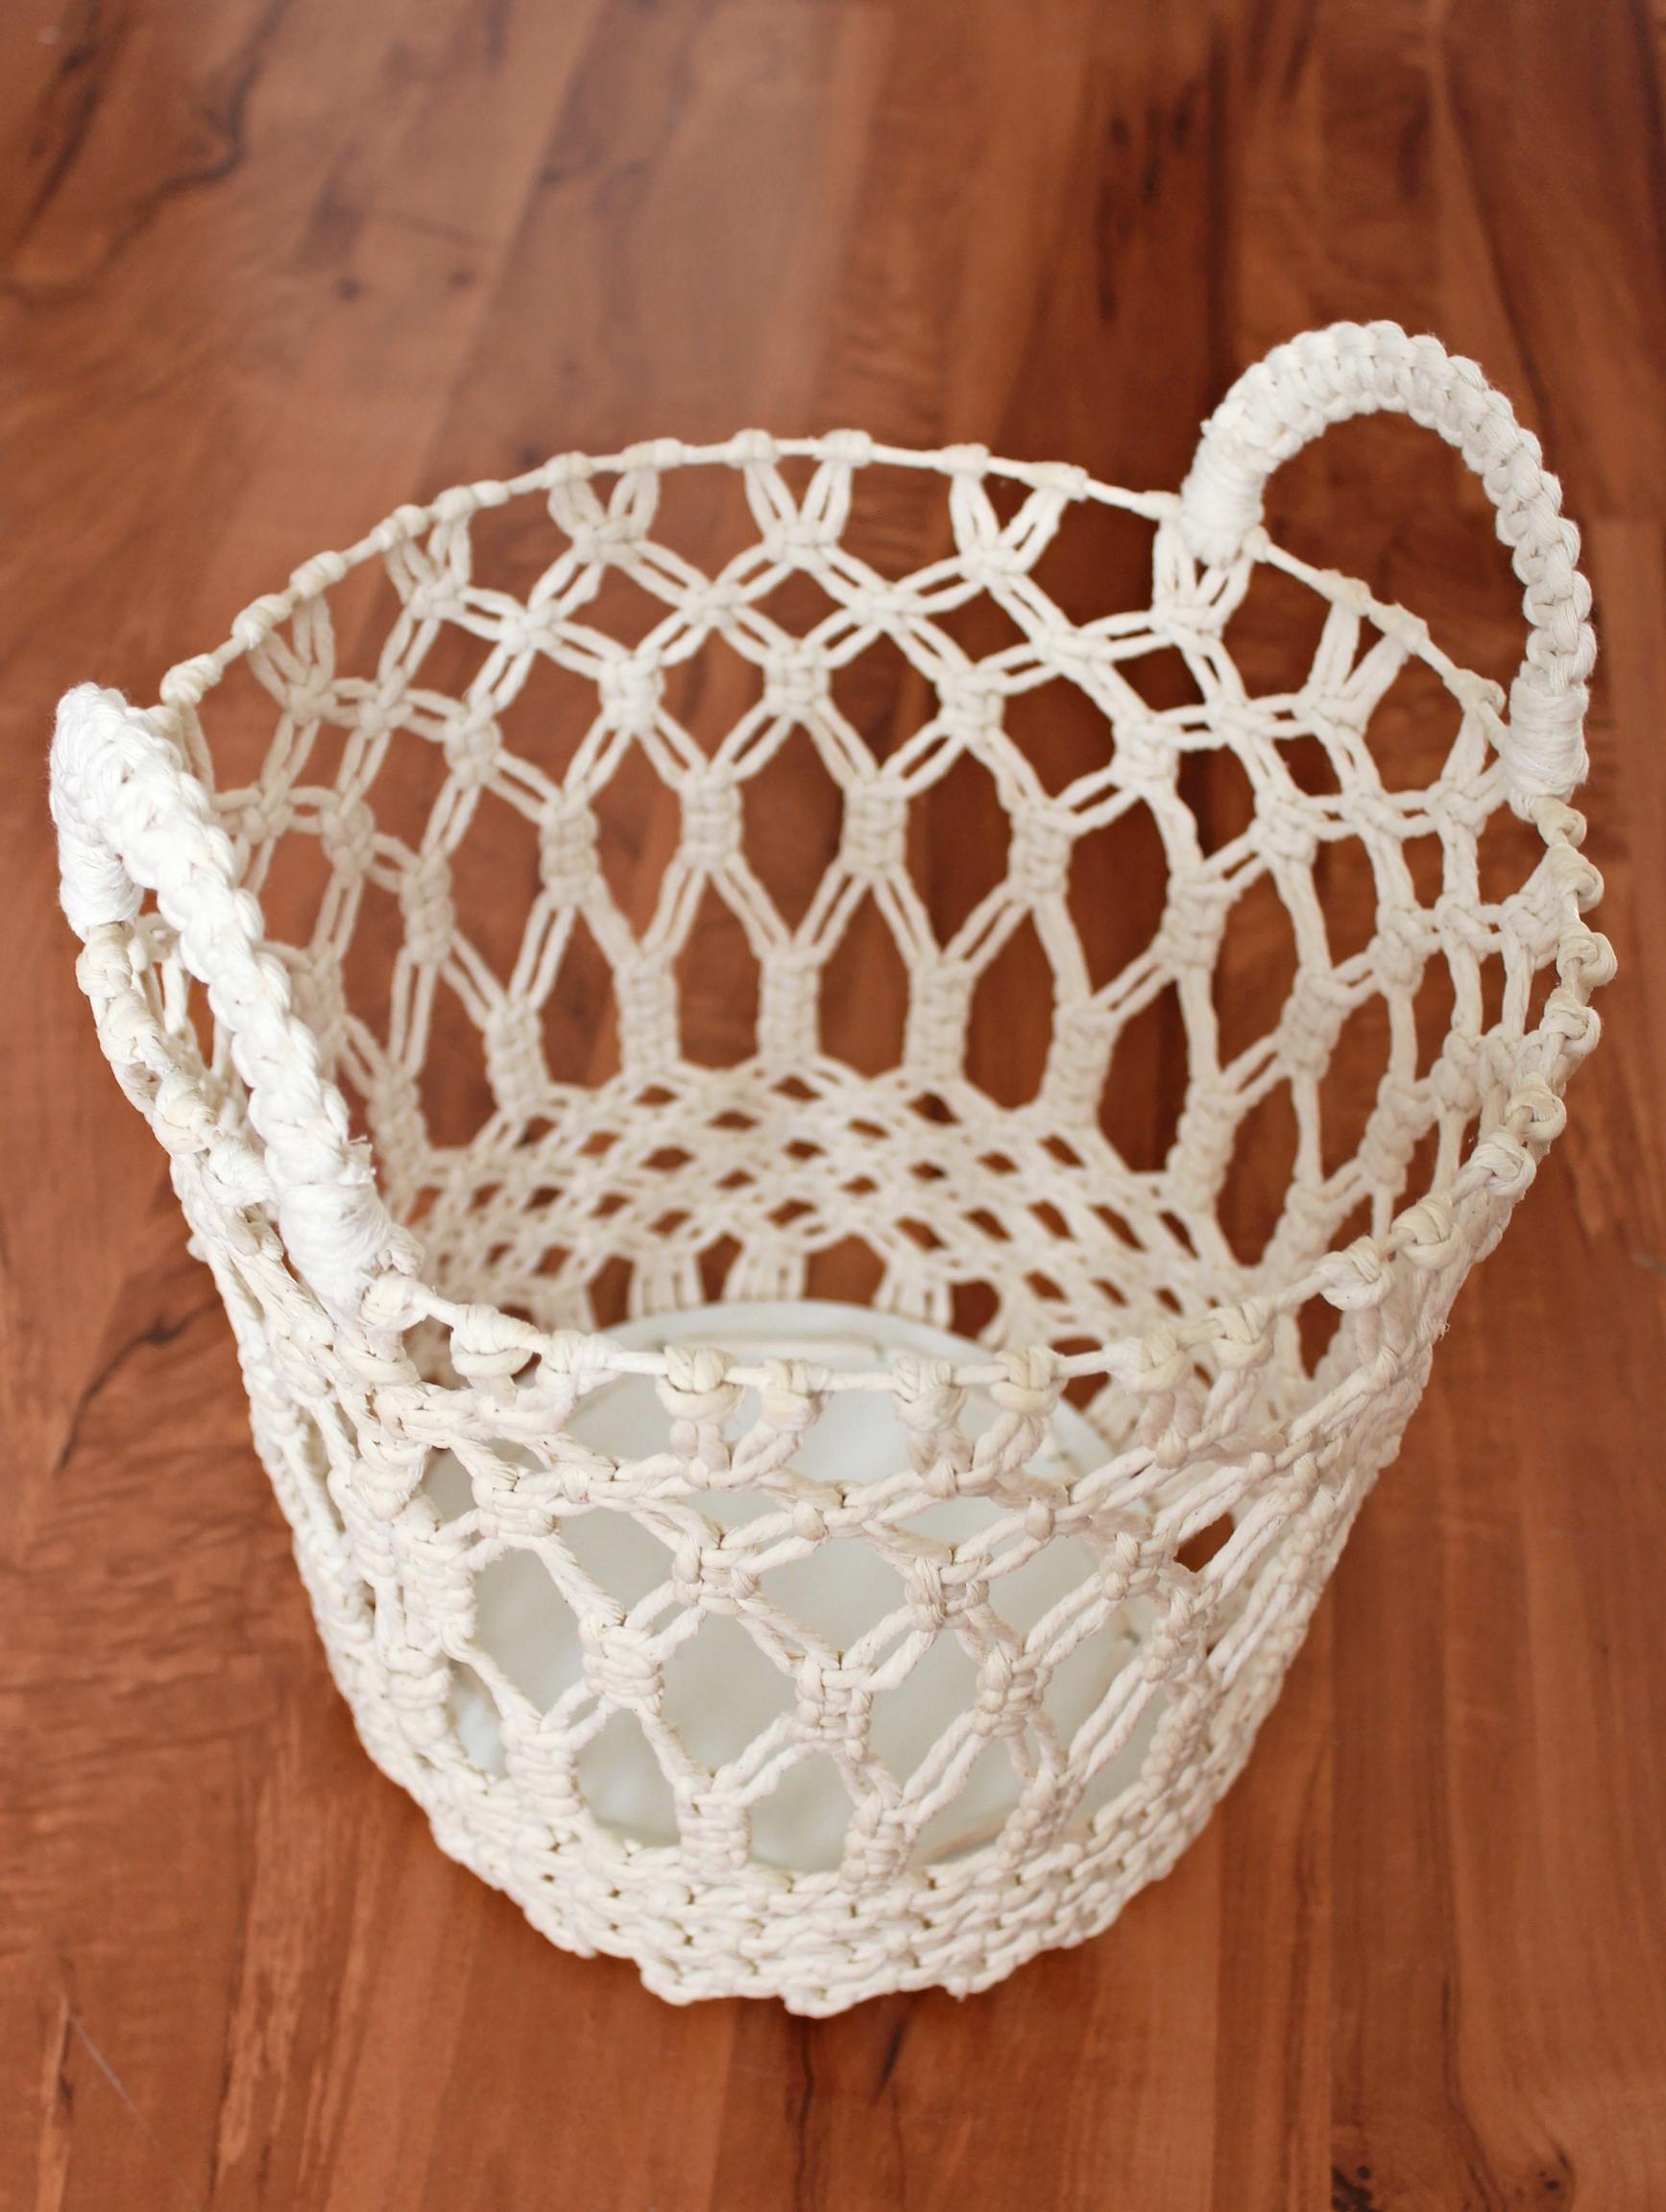
Macramé basket—a beautiful and practical basket that hardens into shape
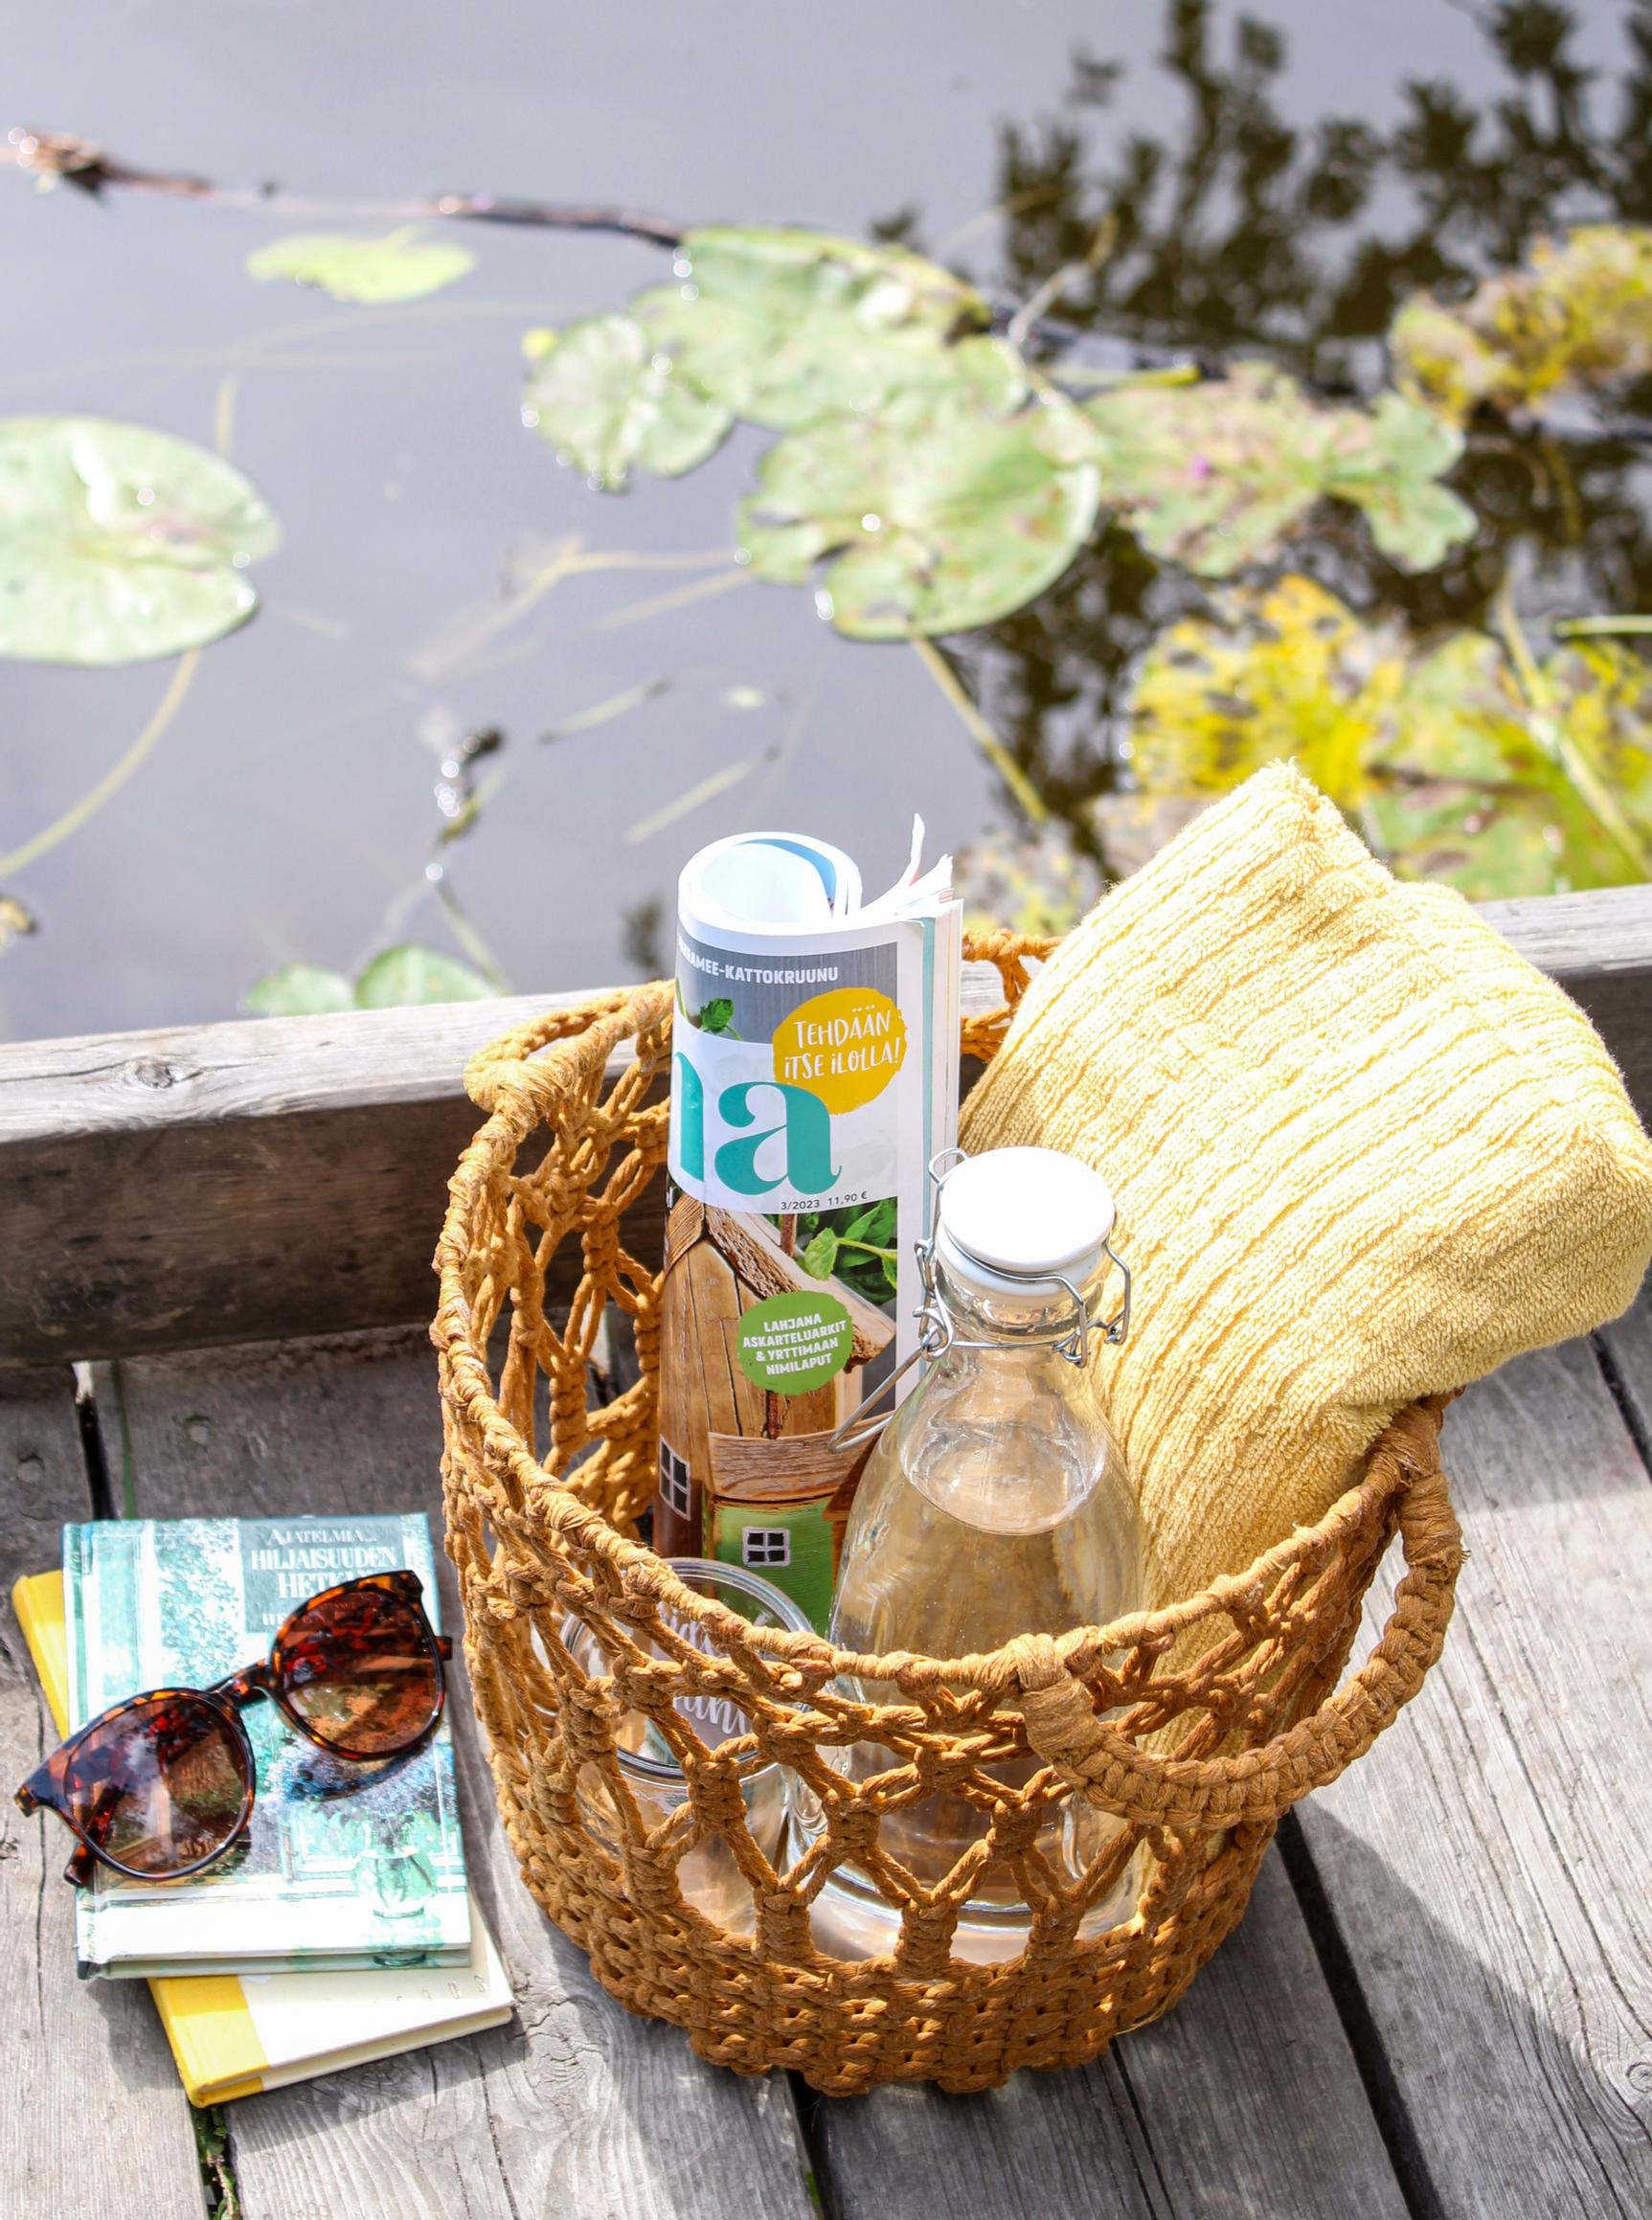
A spacious macramé basket is ideal for storing a variety of items. Its beautiful texture comes from a mix of knots, then it’s hardened to hold its shape.
Size: about 24 cm tall.
Macramé basket—materials:
about 80 meters of Lankava Chunky Mop yarn (4 mm thick)
a macramé rod about 80 cm long
a 10-liter bucket
a plastic bag or plastic wrap
measuring tape, scissors
Erikeeper glue and a glue container
a protective cover for the table
disposable gloves
clothespins
(old) book covers
paint and a paintbrush
a hole punch
a crochet hook
Macramé basket—instructions:
1. Cut 42 strands of yarn, each measuring 170 cm, plus one strand that is 90 cm long.
2. Attach the yarn at their midpoint to the macramé rod with lark’s head knots, including the 90 cm strand. The rod will be removed at the end. Secure the rod to the table using painter’s tape, for example.
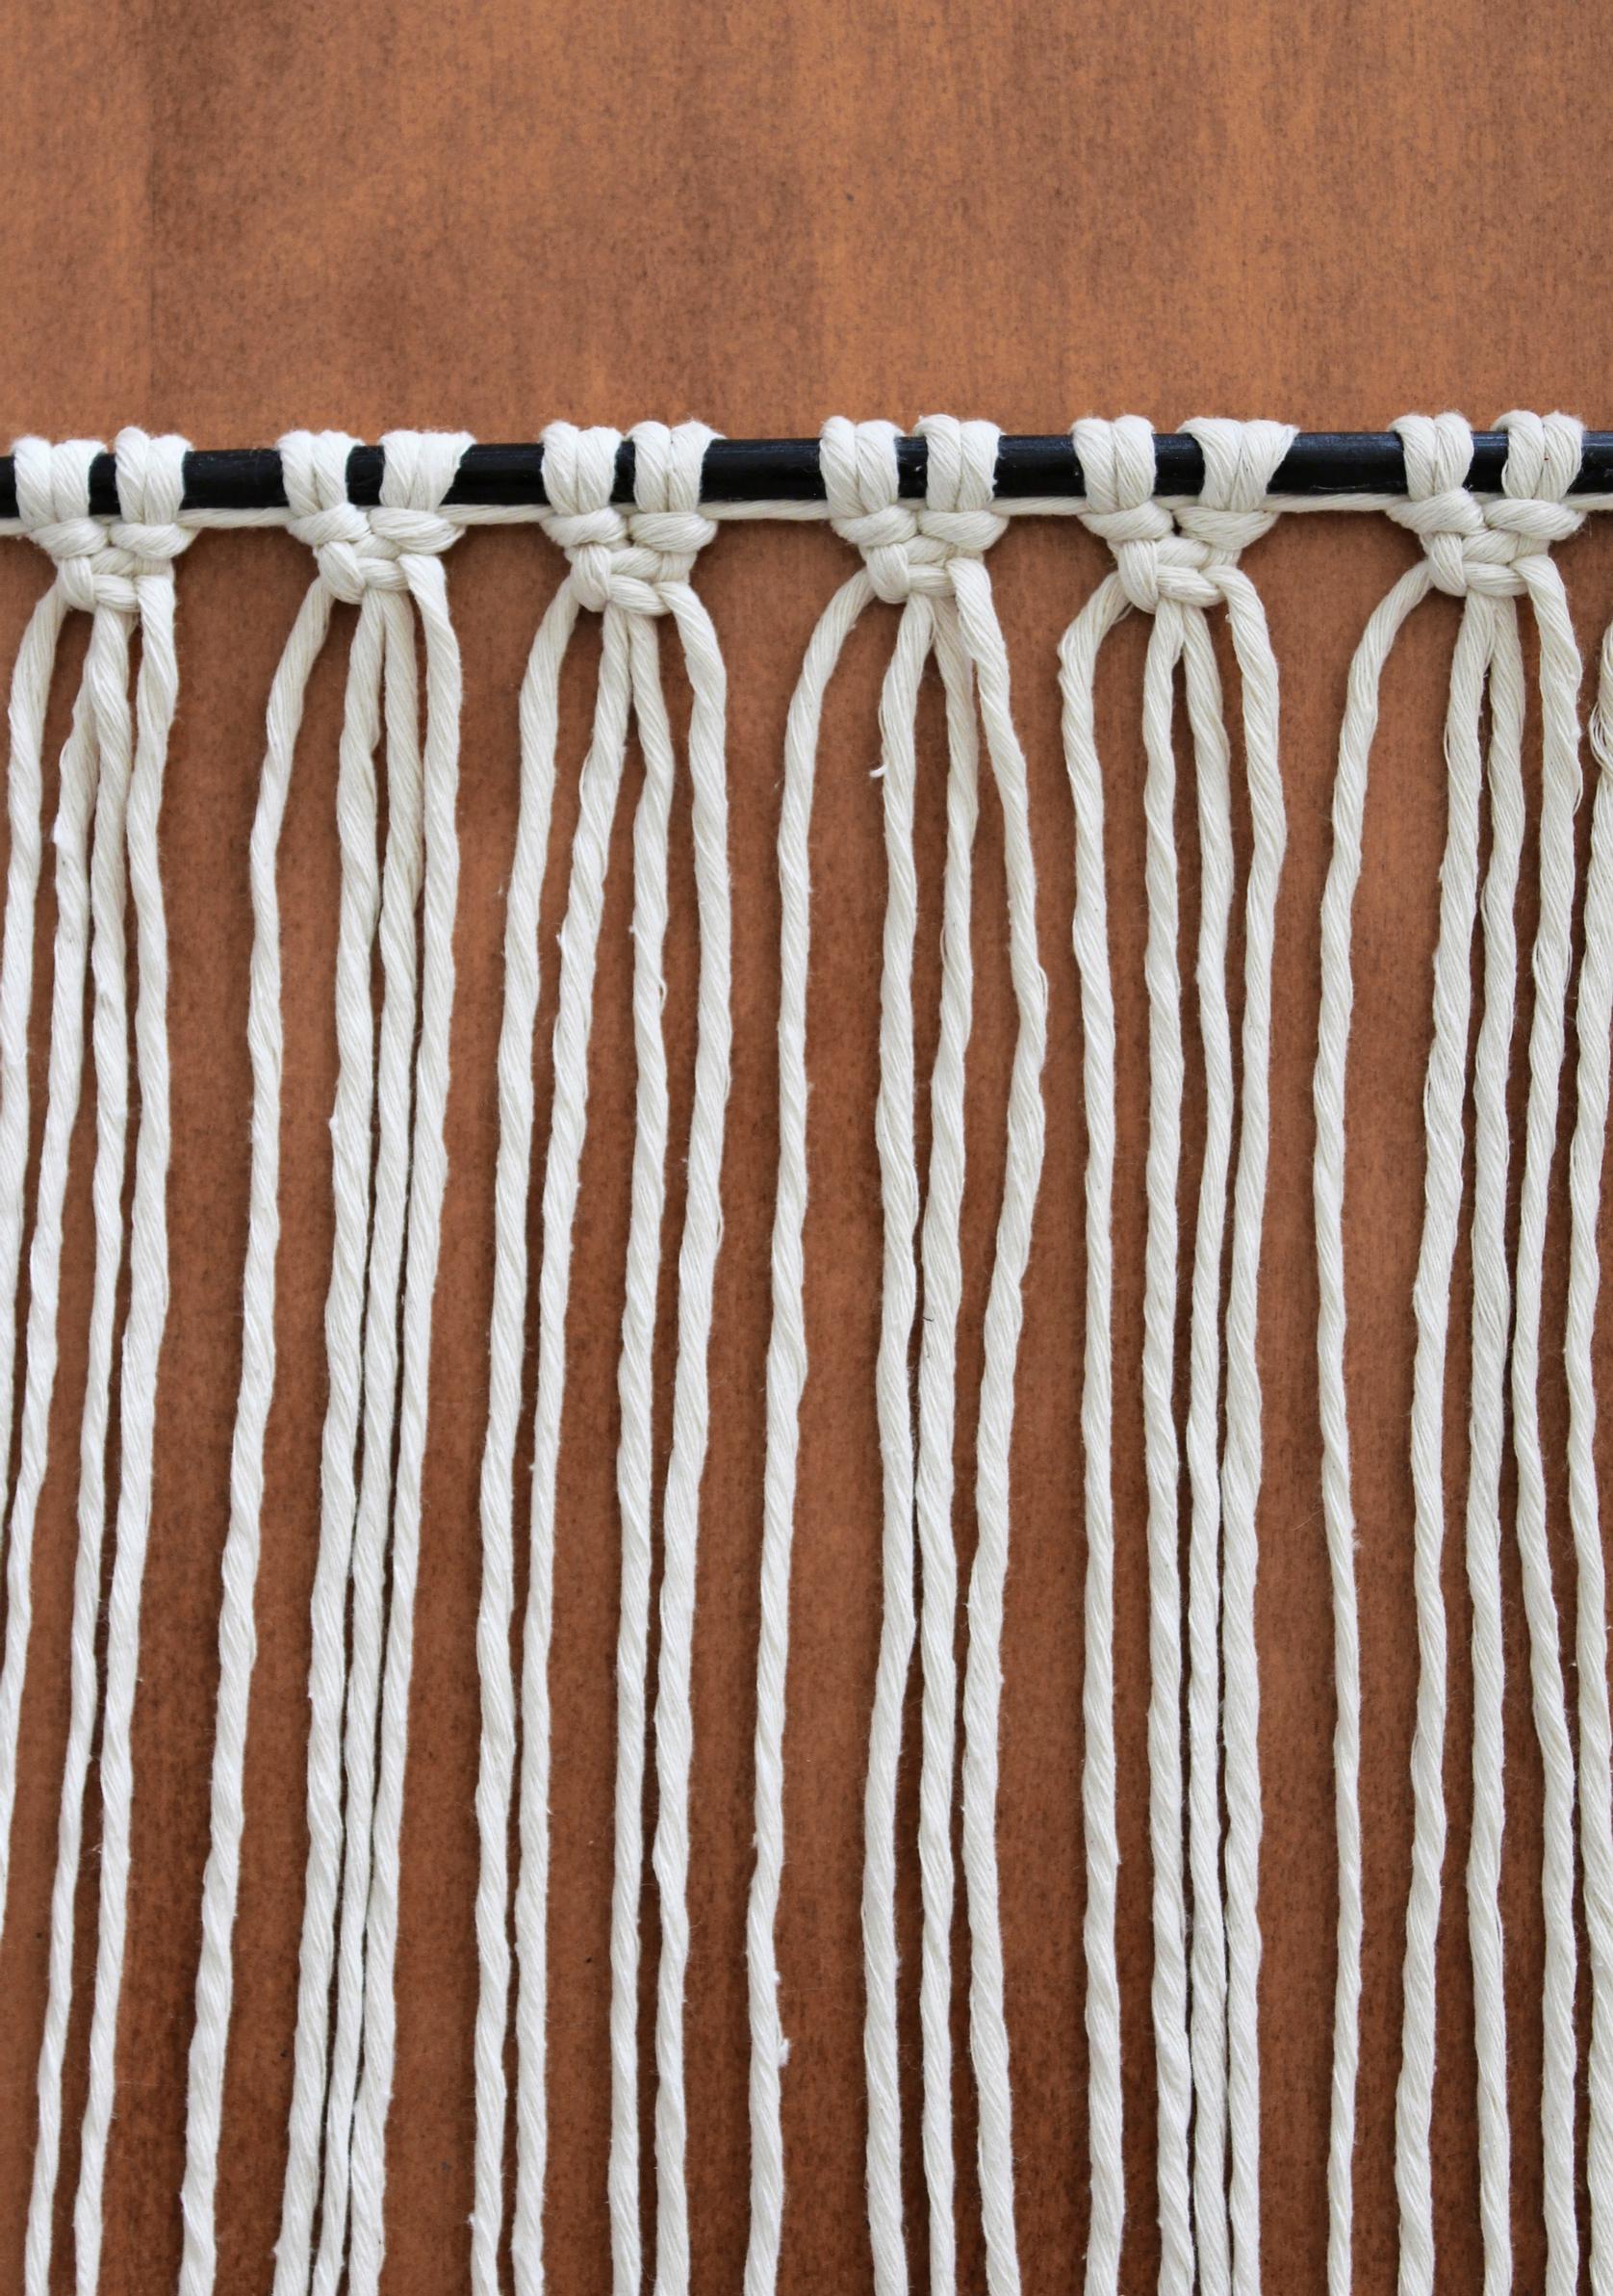
3. Tie a row of 21 square knots tightly up against the lark’s head knots.
4. Tie another row of 21 square knots a couple of centimeters below, taking each pair of cords from two adjacent knots in the previous row.
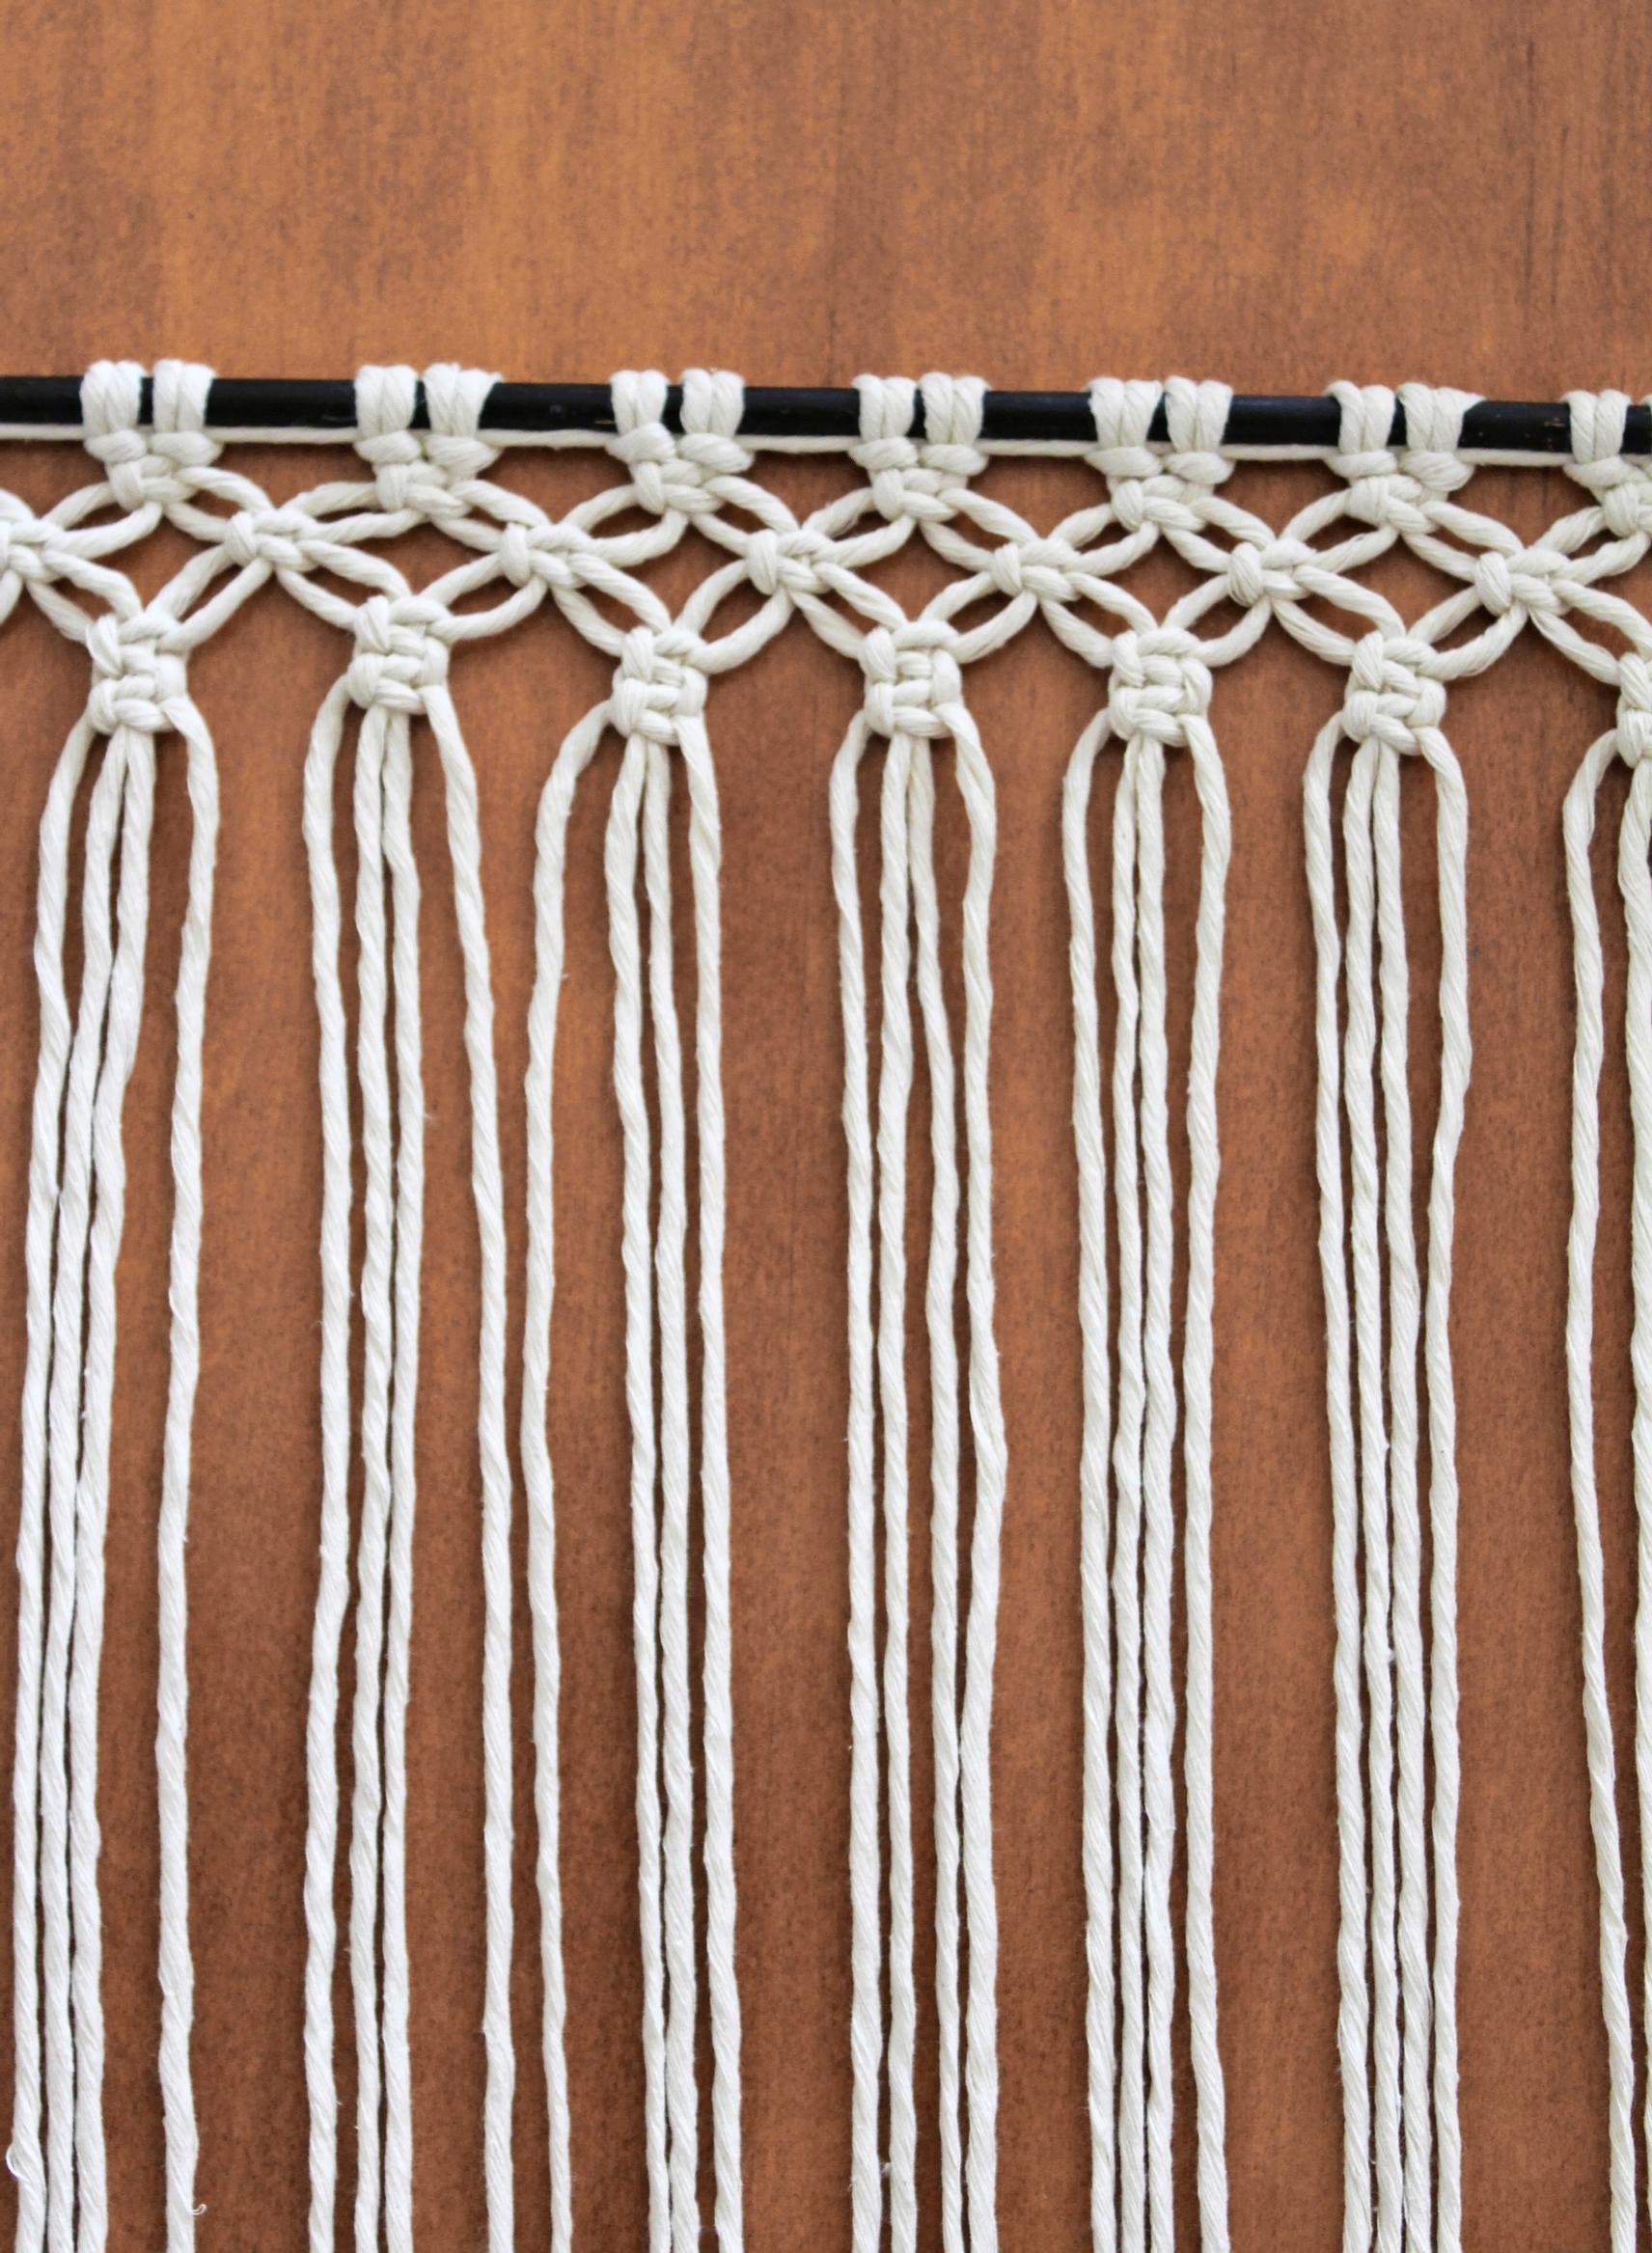
5. A couple of centimeters below, tie a row of square knots using all the cords. This row contains 2 square knots.
6. Three centimeters below, tie another row of knots with 3 square knots.
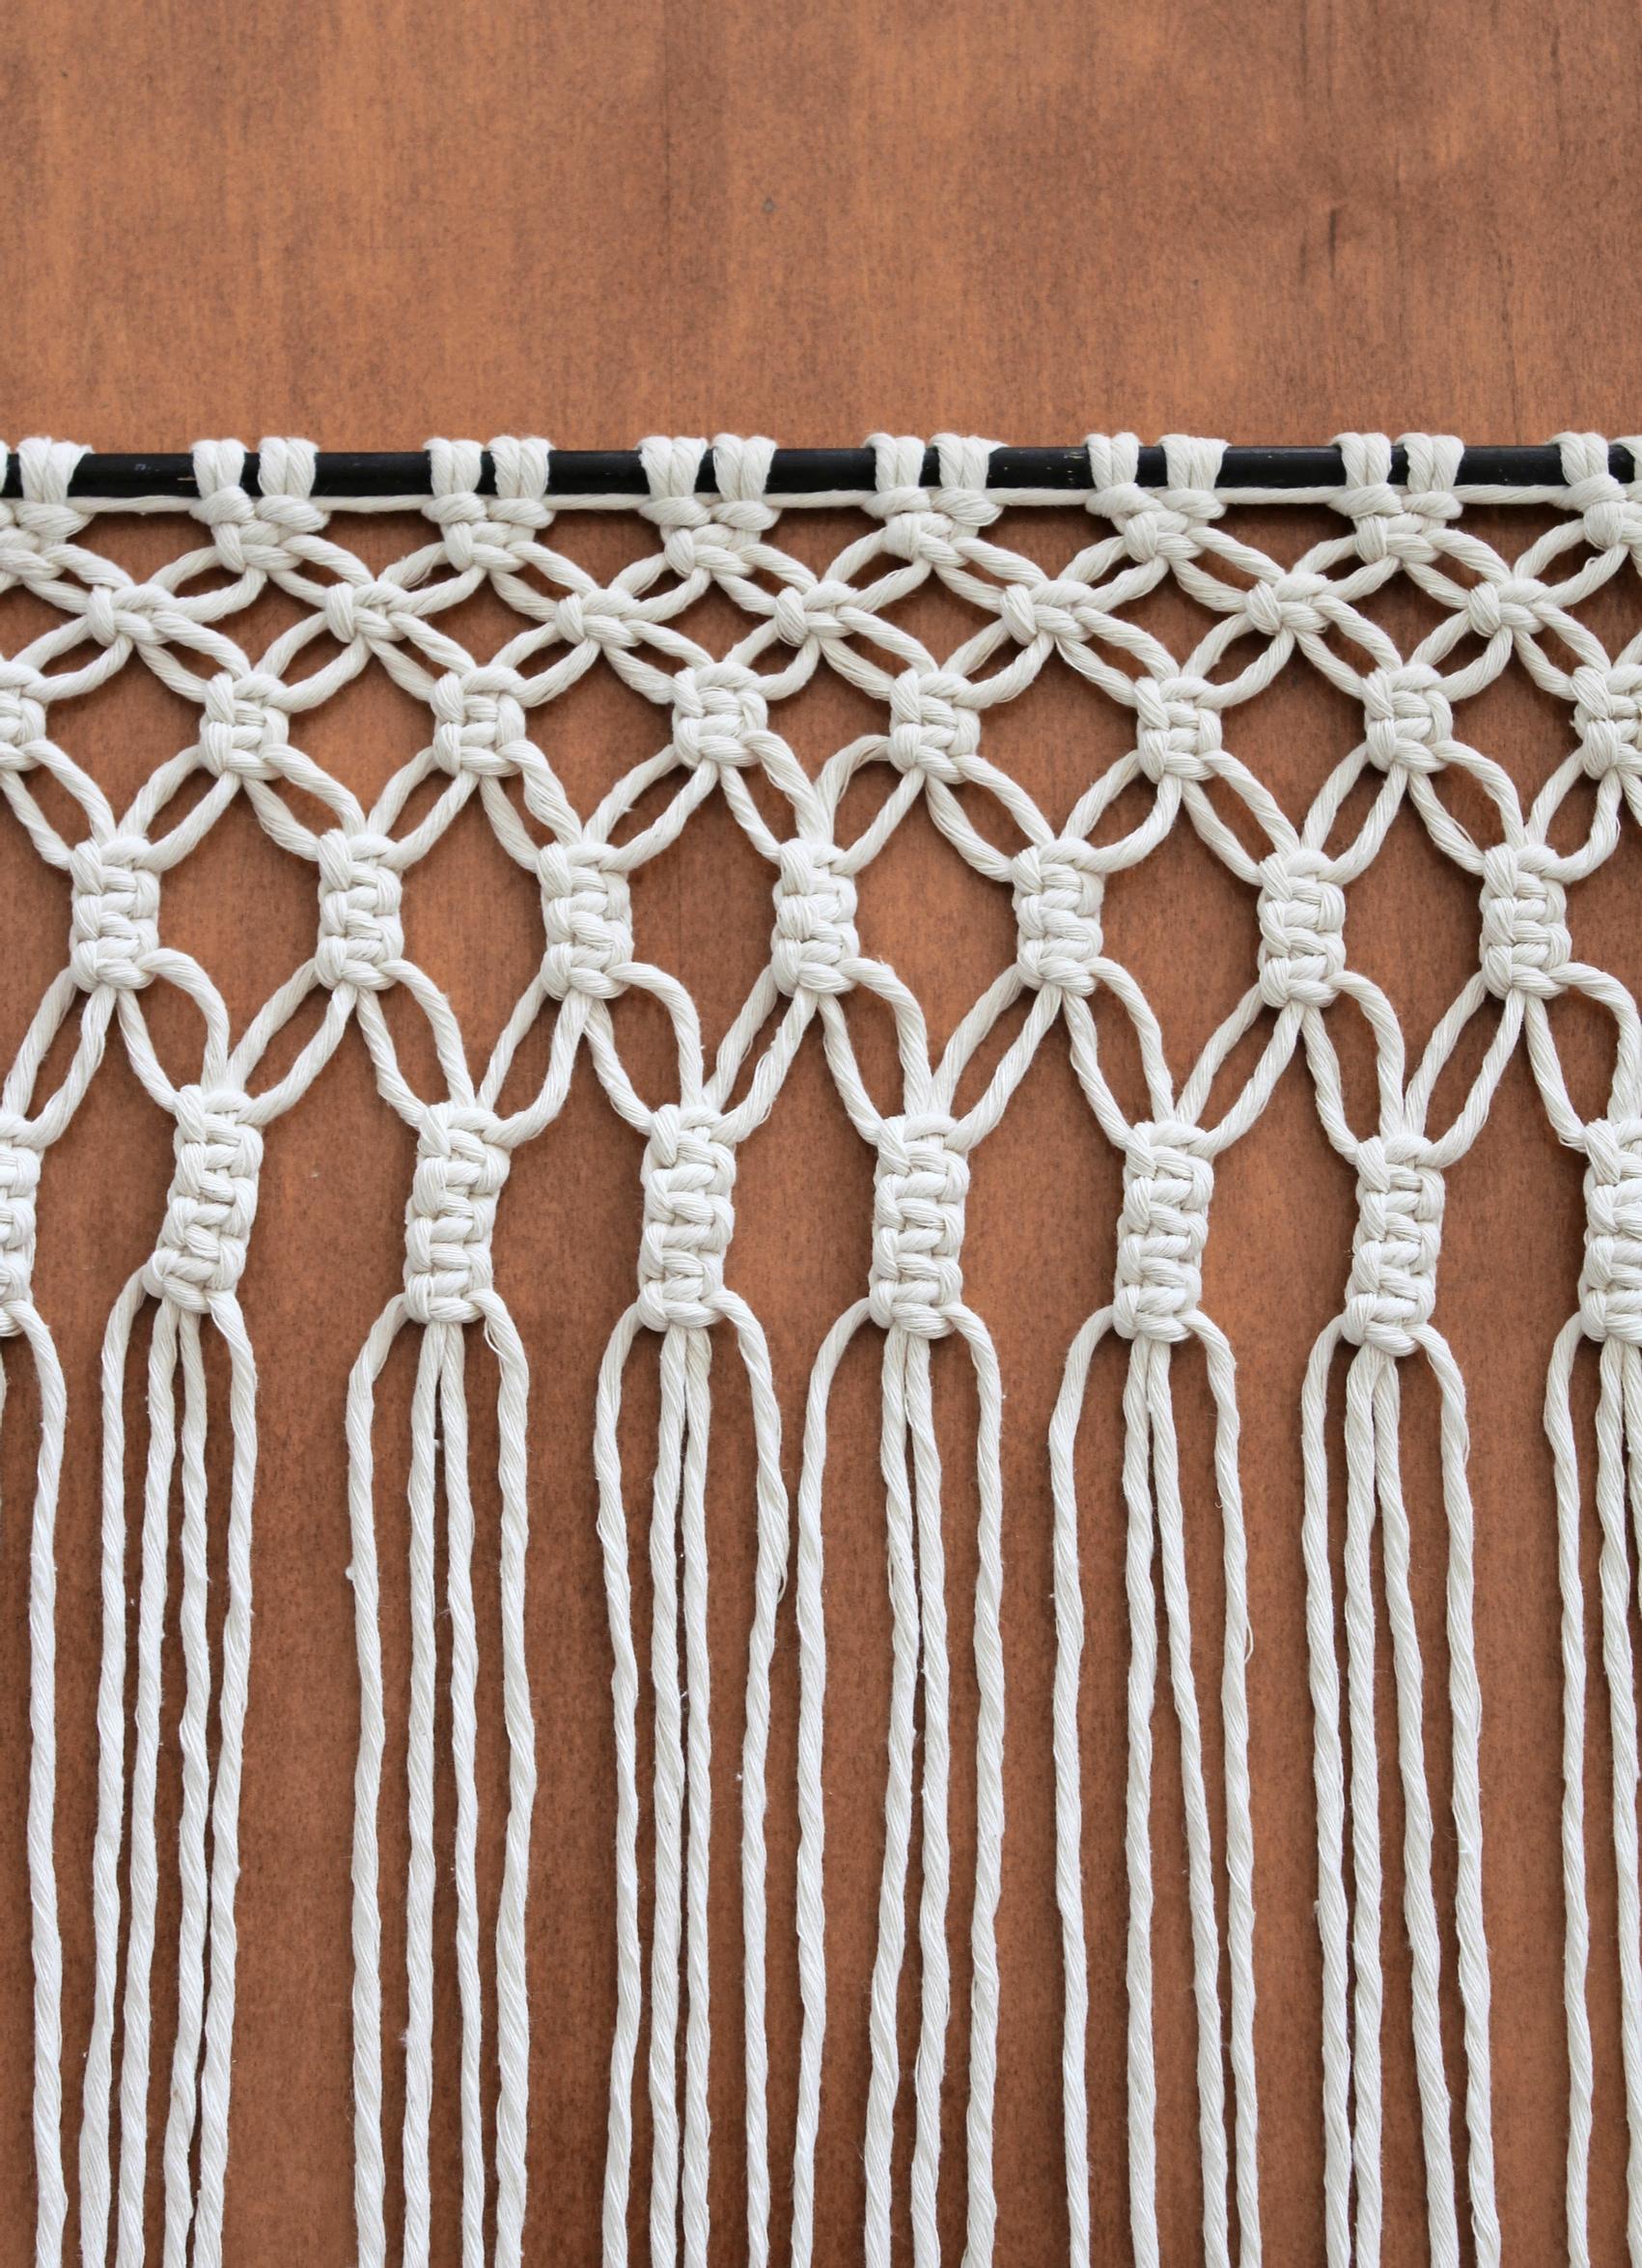
7. Four centimeters below, tie another row with 4 square knots.
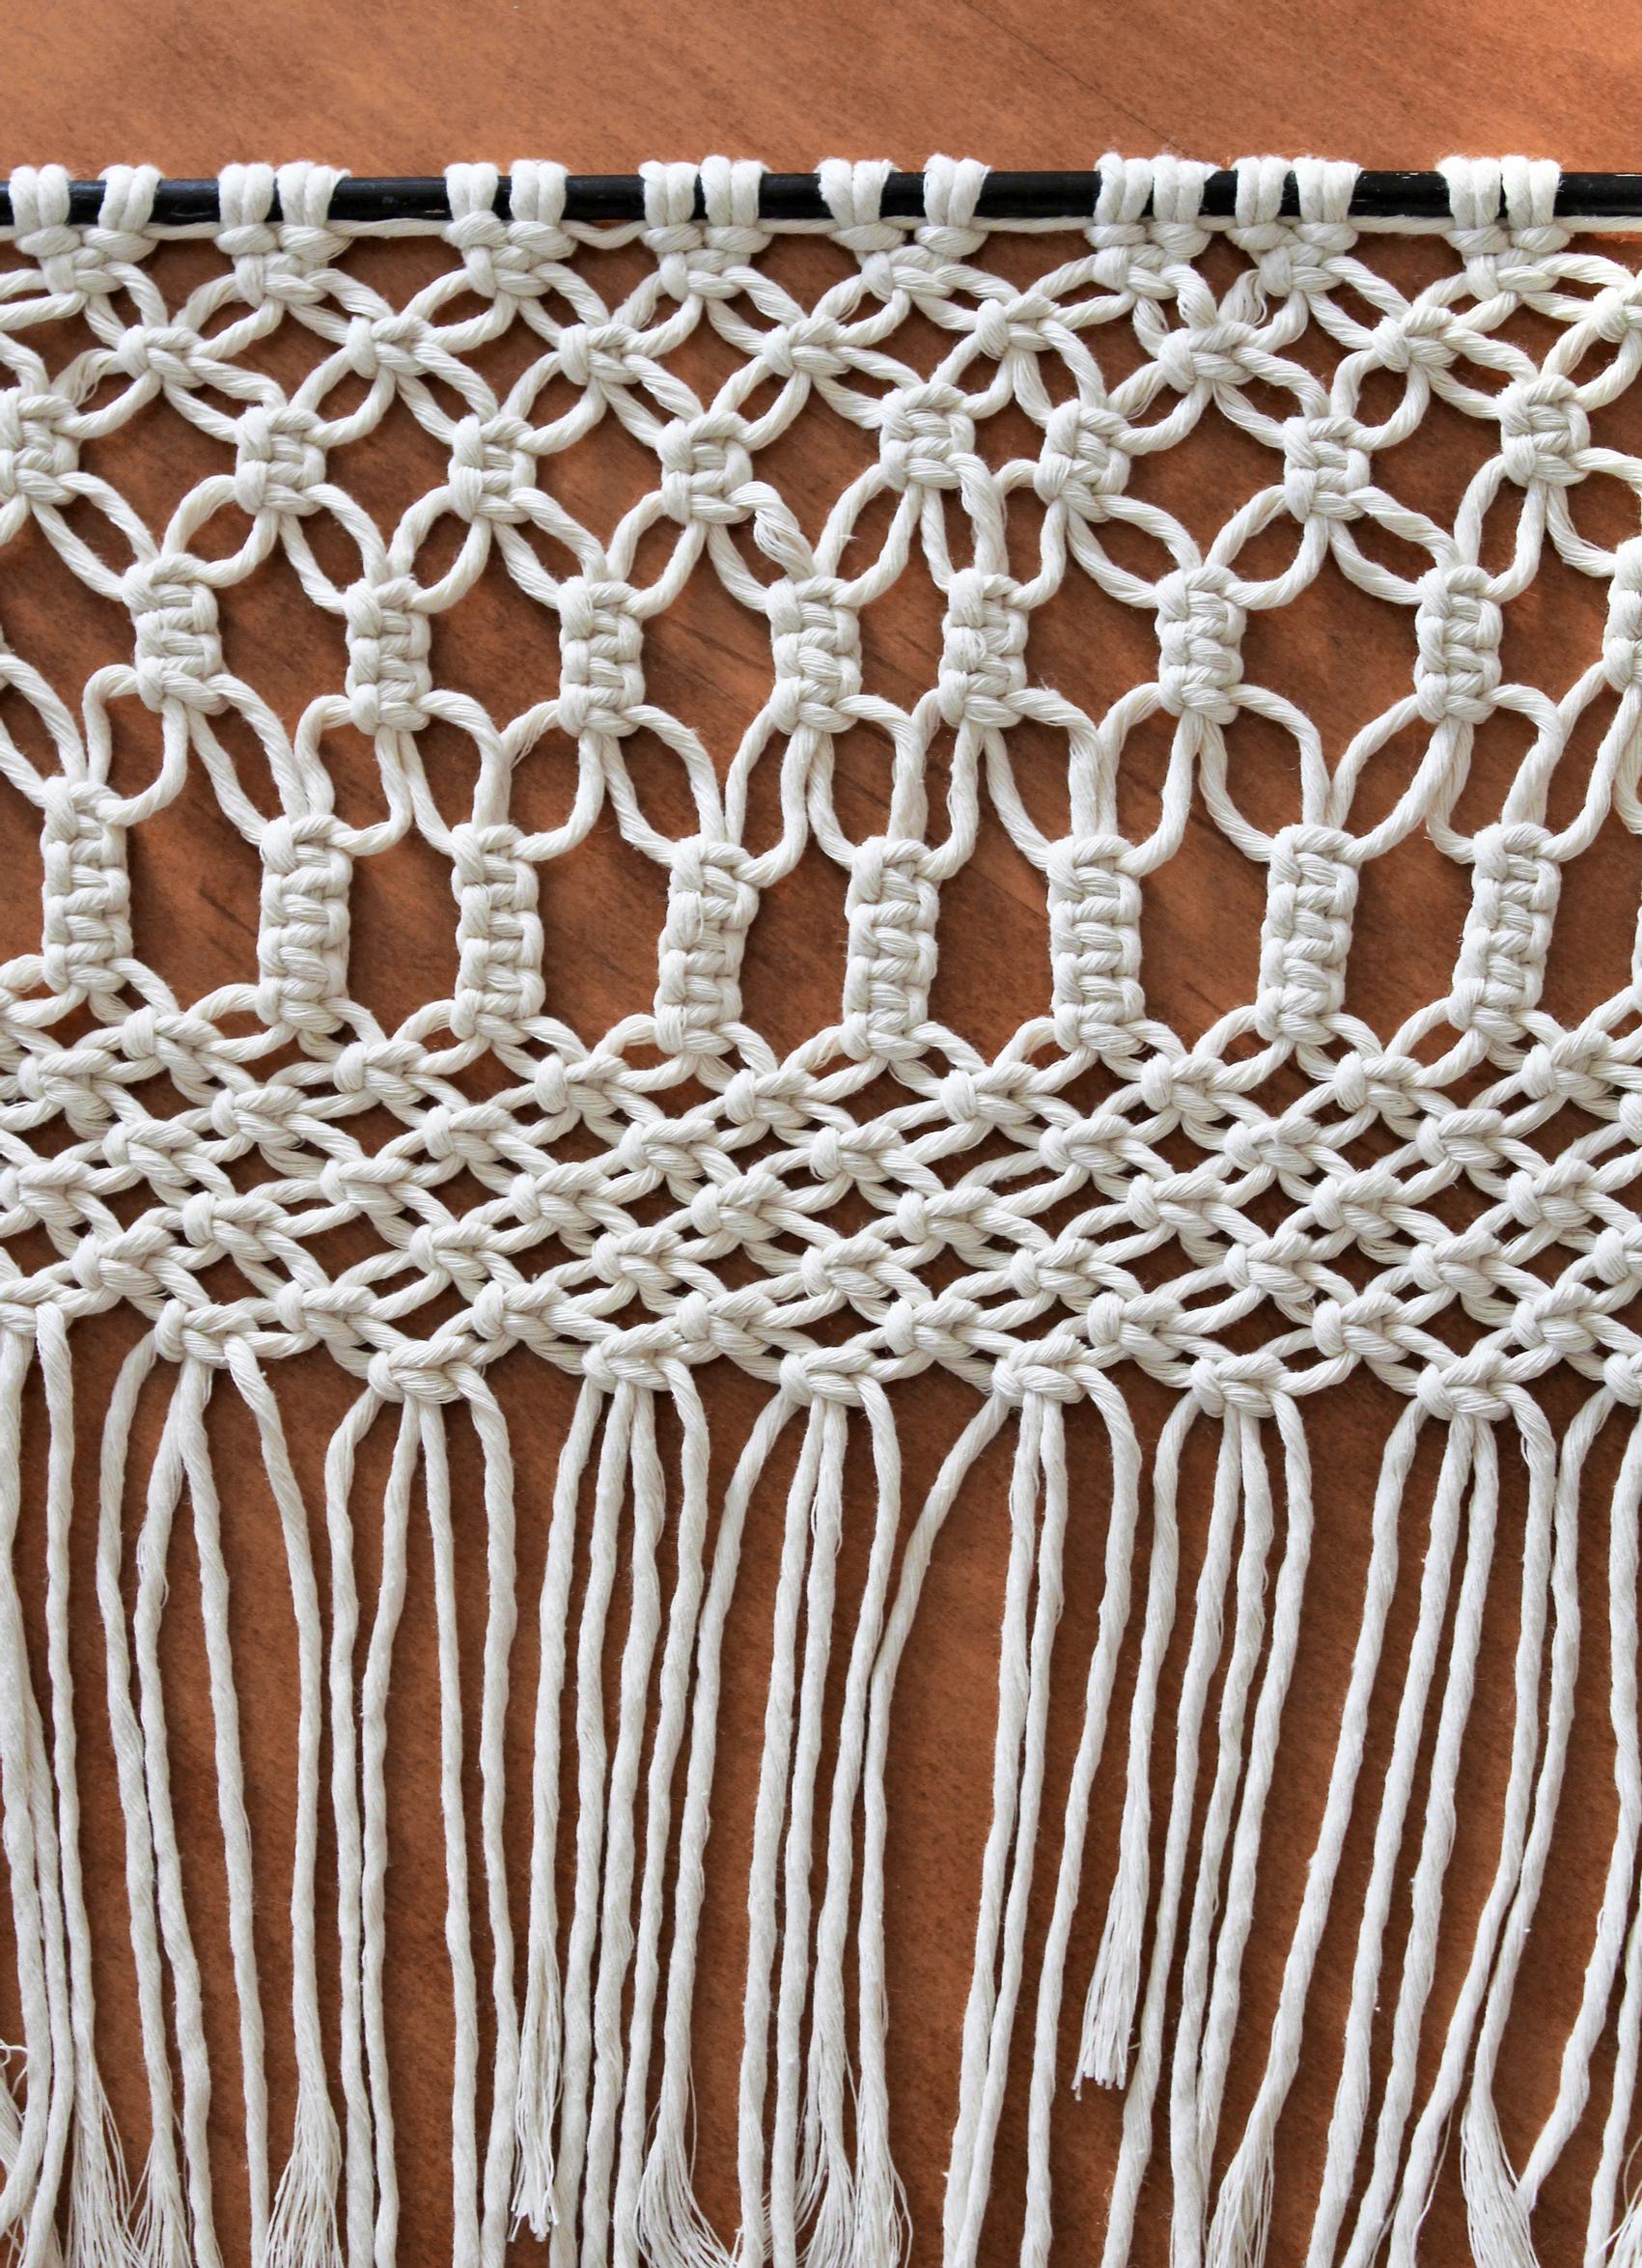
8. At this point, the piece measures about 17 cm in height. Tie the remaining 7 rows of square knots as at the beginning, taking each pair of cords from two knots in the previous row. Don’t pull the knots too tight, so the work can fit around the bucket. Check the circumference at the top of your bucket. The sample bucket measures 73 cm around.
9. Pull out the wooden rod, but keep the 90 cm cord as the basket’s top edge.
10. Remove the bucket’s handles using scissors or wire cutters. Turn the bucket upside down on the table and fit the piece over it, using clothespins to hold it in place. Join the piece in a few spots by tying it together.
11. Make a strong water—glue mixture (about 3 dl of glue to 1.5 dl of water) in a container that holds at least 1 liter. Mix thoroughly. You’ll get a thick, milky mixture.
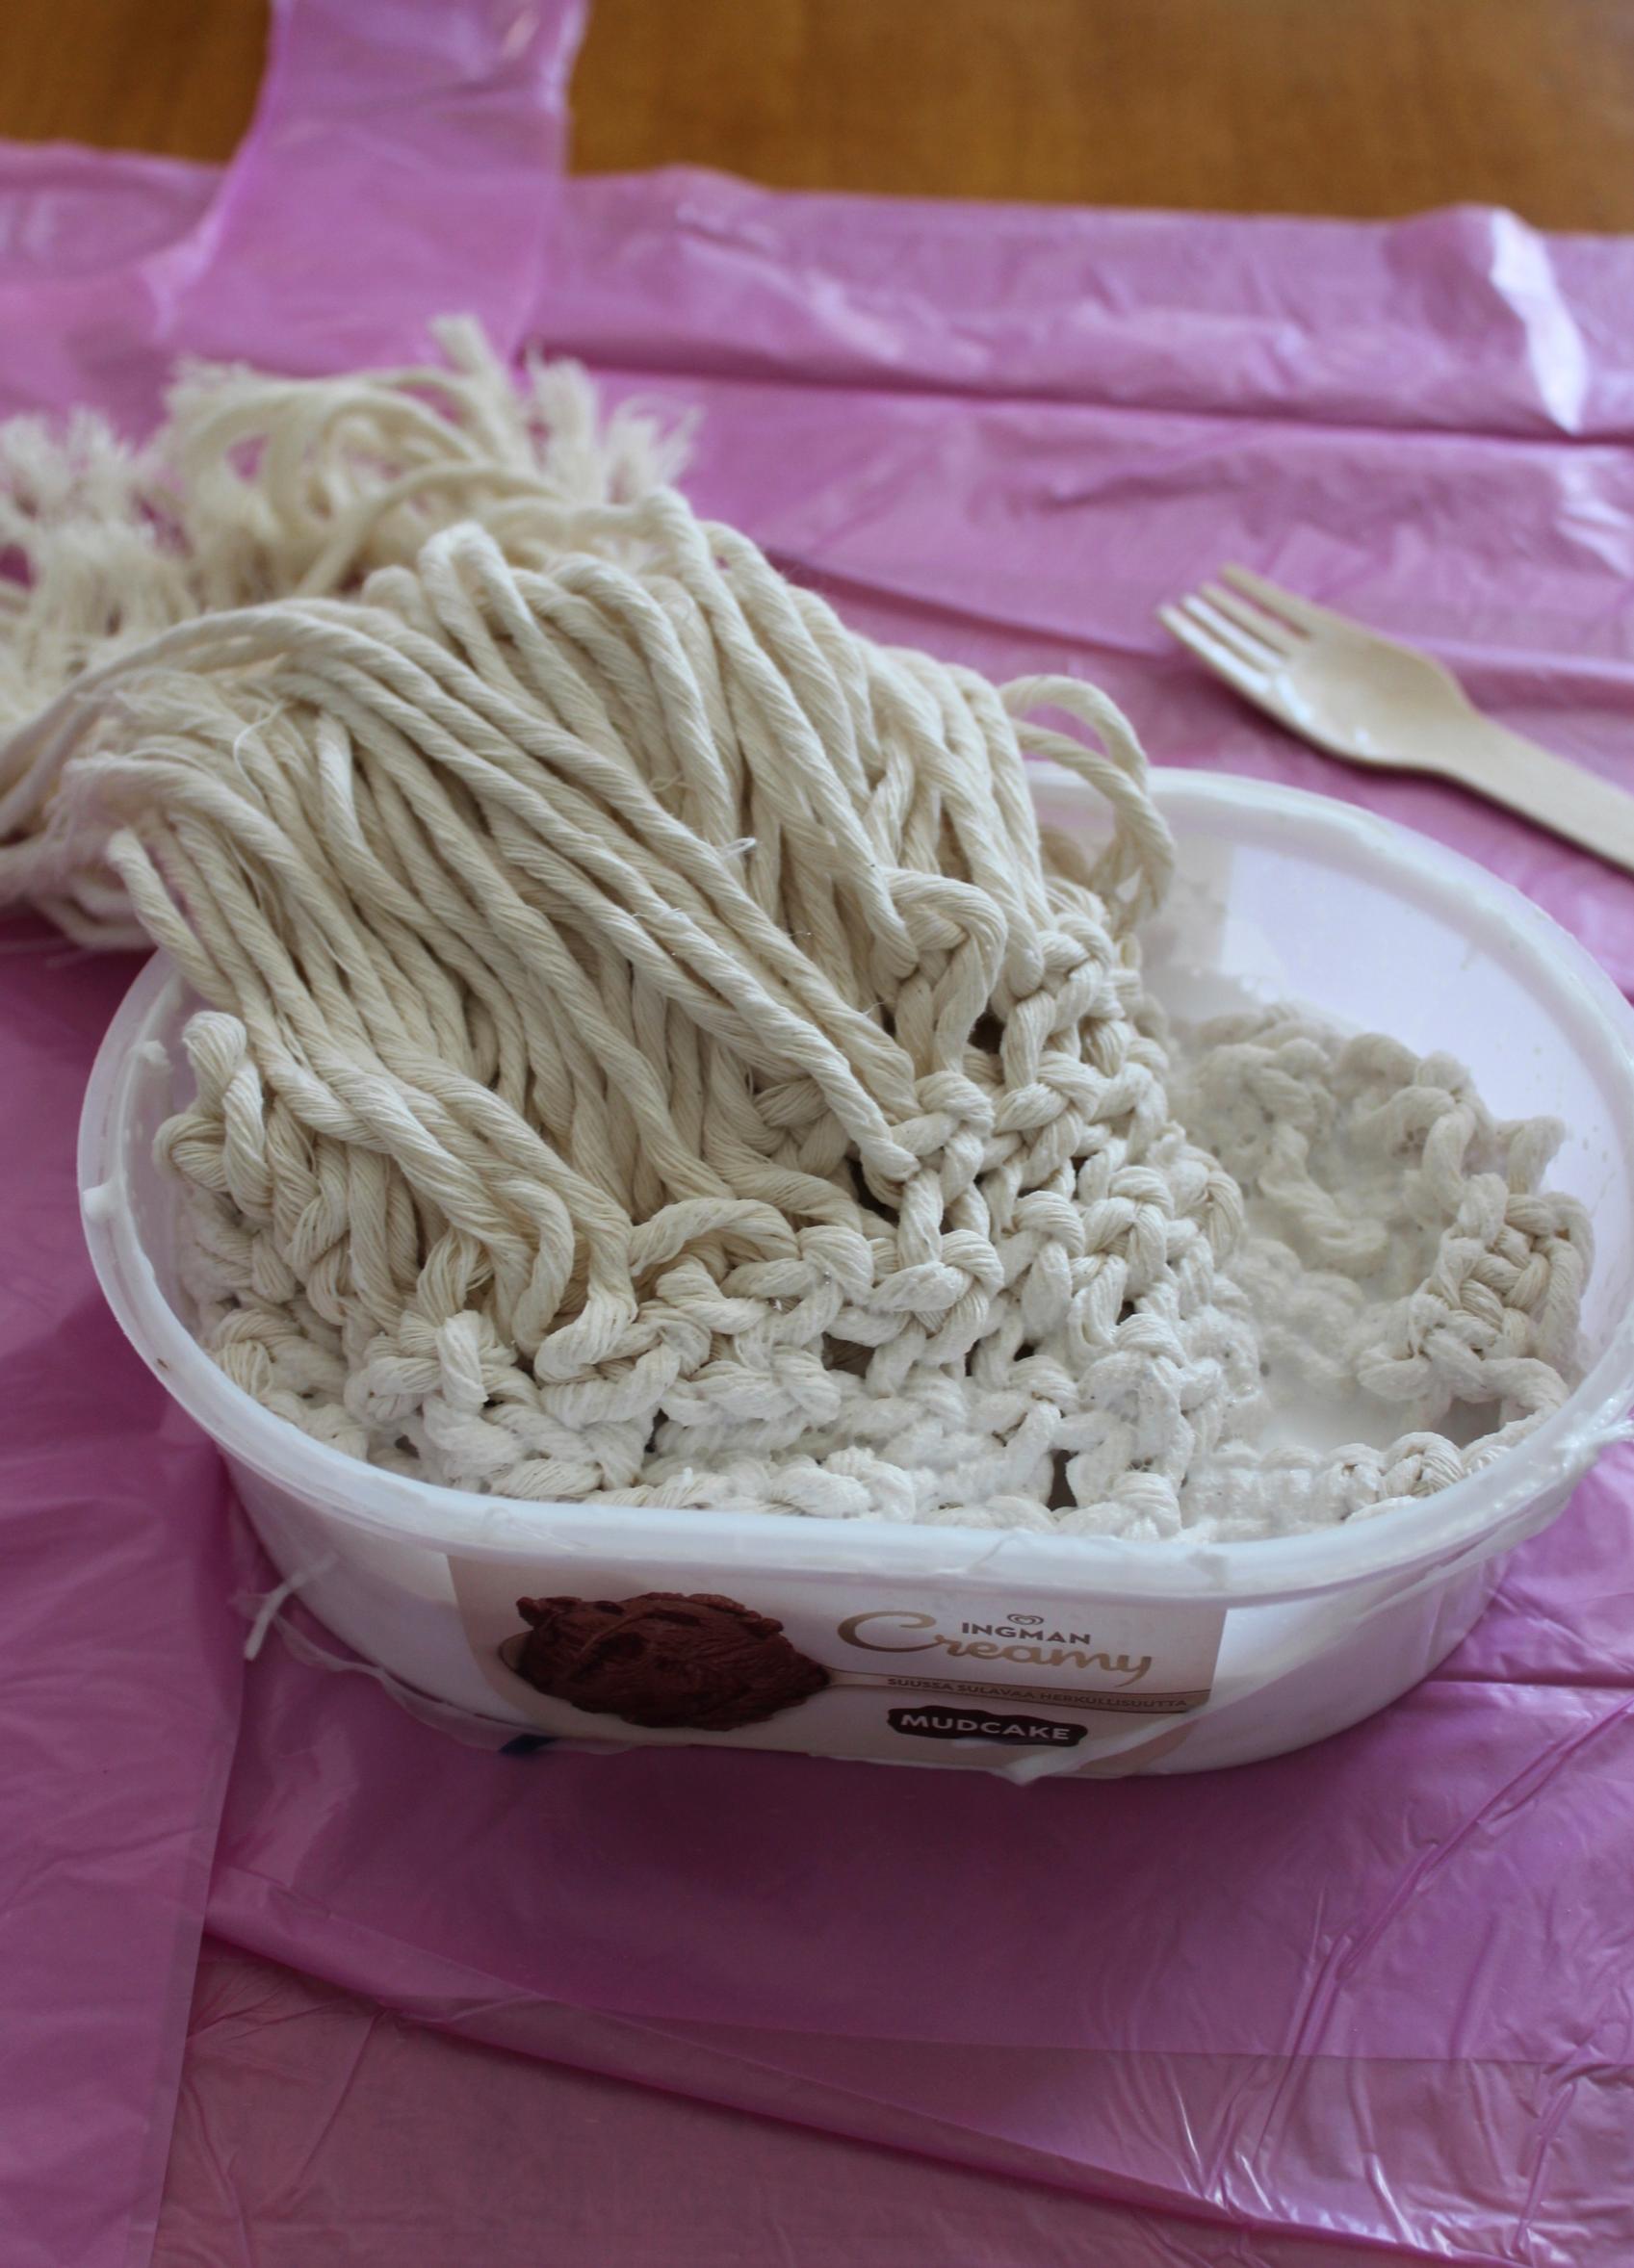
12. Protect your table with plastic, for example, and wear protective gloves. Submerge the piece in the water—glue mixture. Let it soak for at least 20 minutes so the mixture can fully absorb into all the cords.
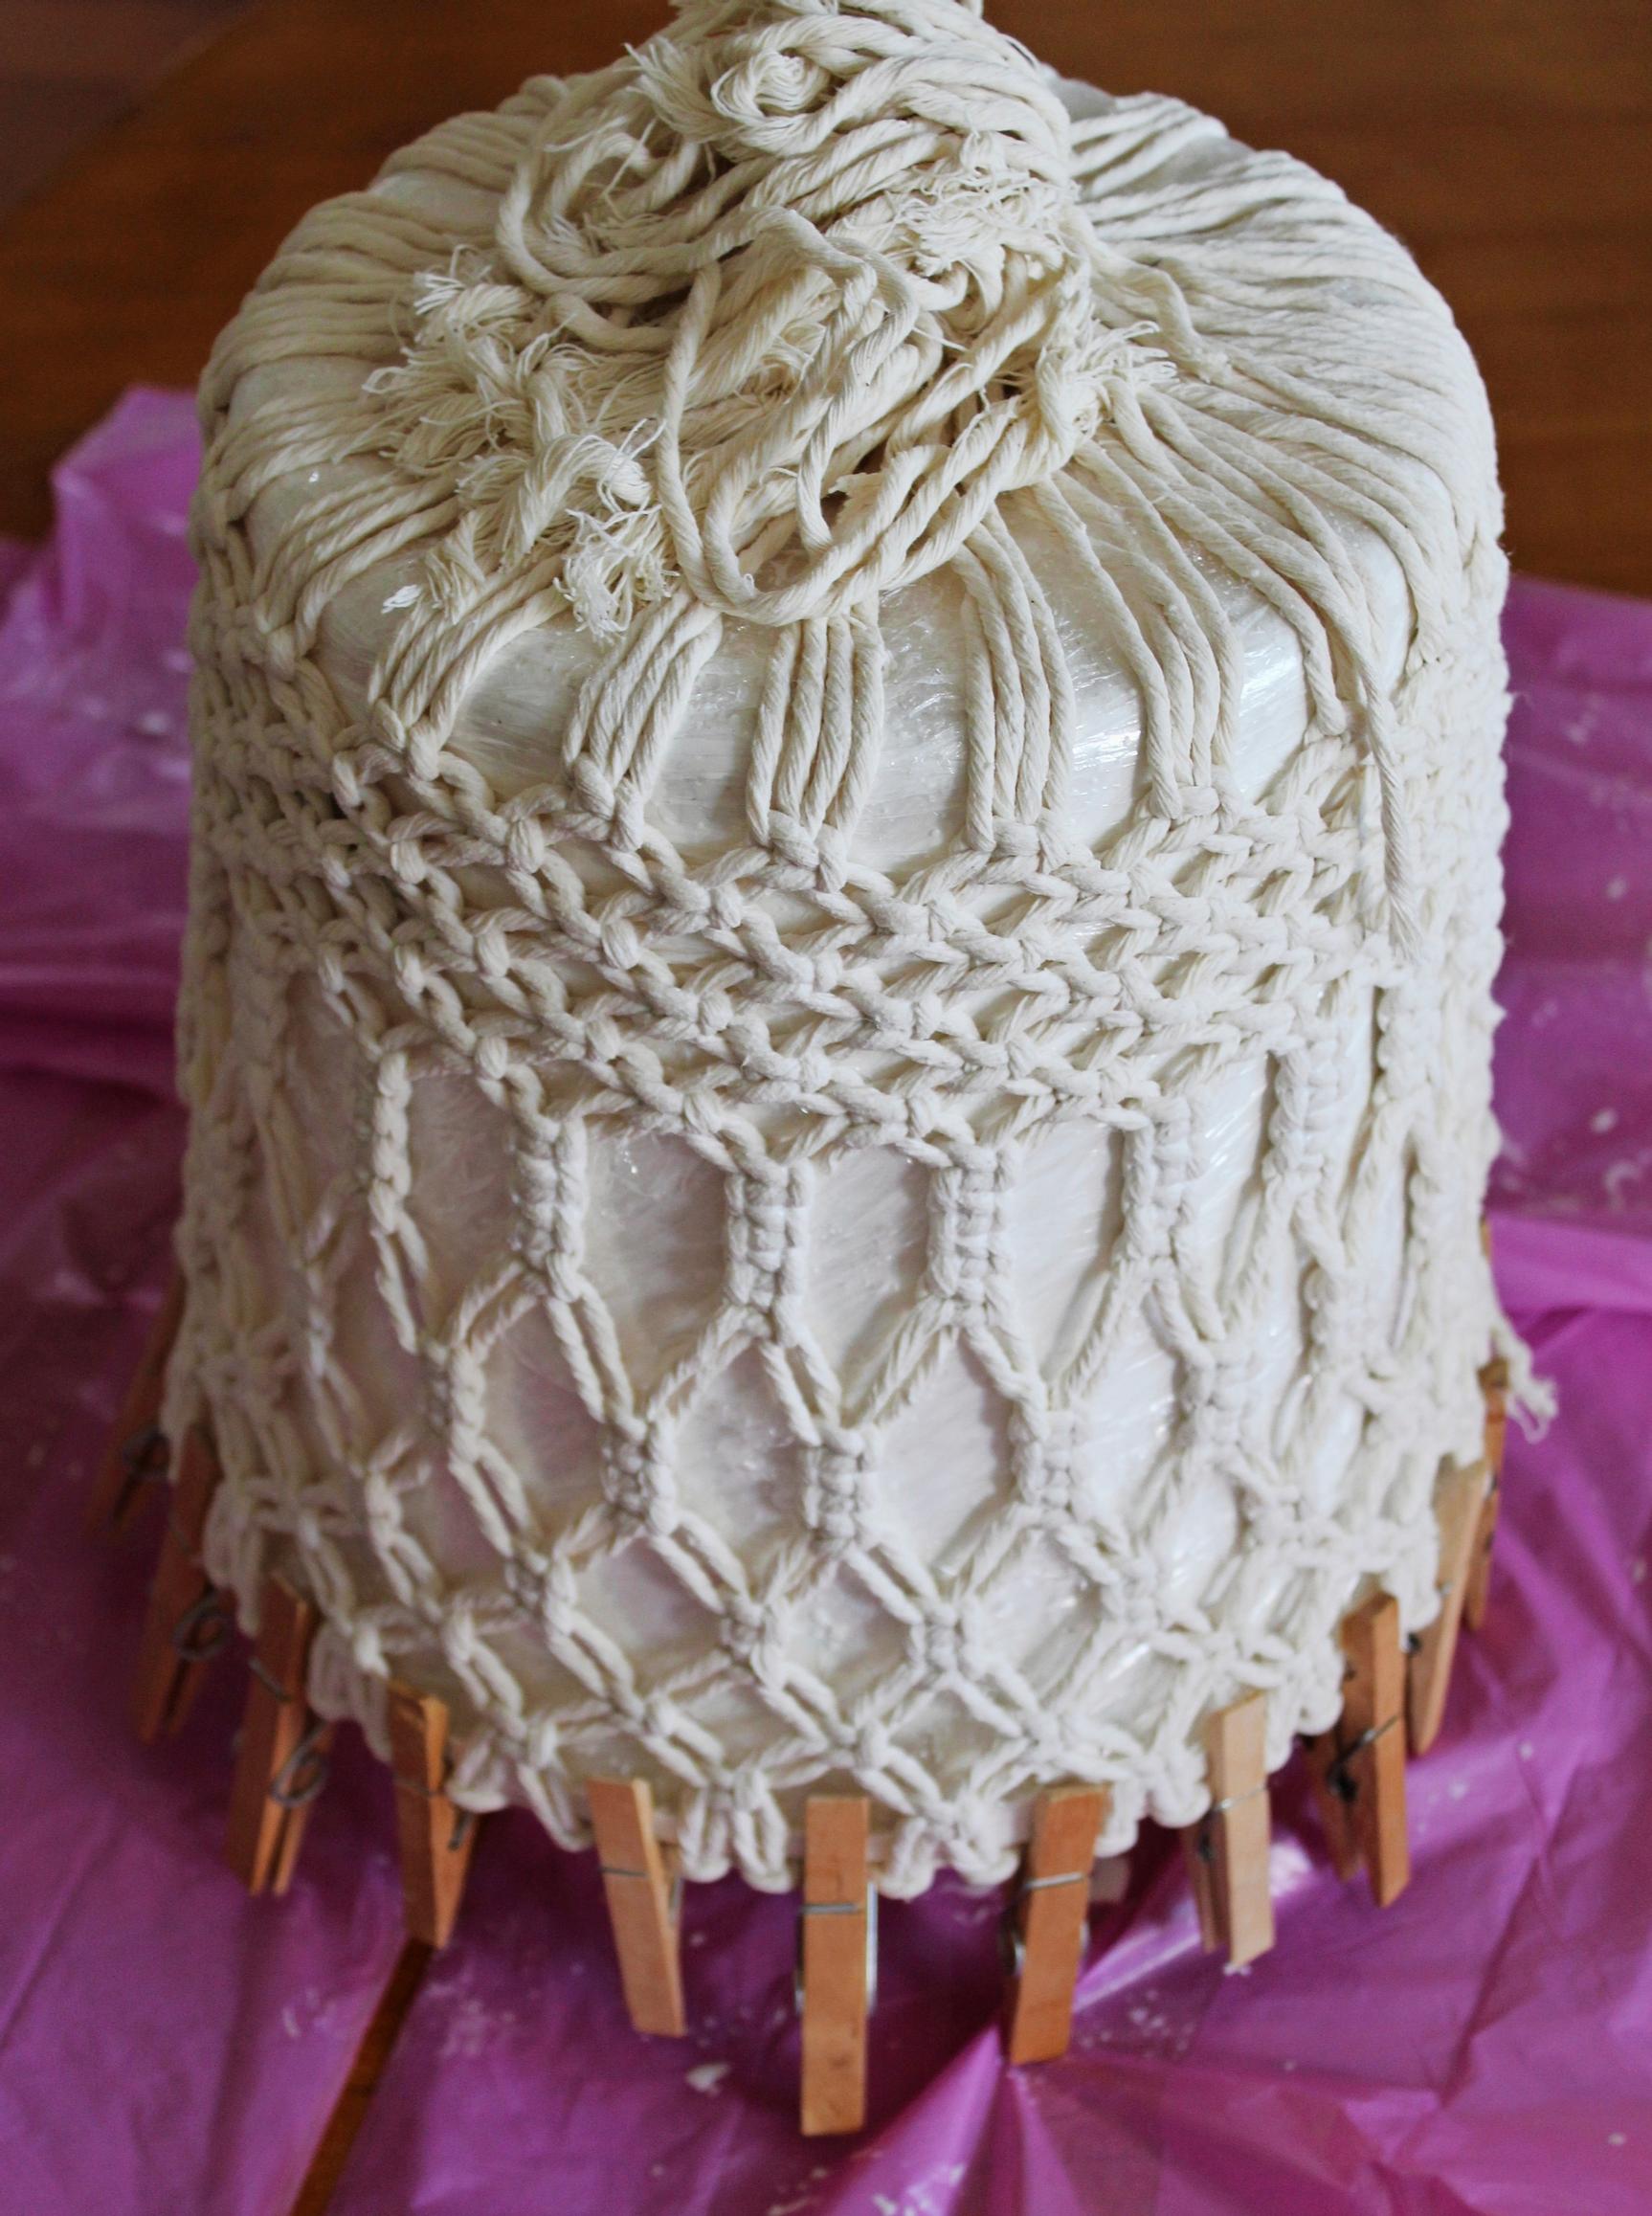
13. Cover the bucket with plastic wrap or a plastic bag. Lift the piece out of the mixture, squeeze out any excess glue, and stretch it over the bucket. Place a small piece of plastic wrap under the clothespins where you attach the top edge to the bucket’s rim. Let it dry for about 48 hours.
14. Remove the bucket and plastic wrap from inside the dried basket. Use the covers from old books or other sturdy cardboard. Tear off any extra paper. Use a compass to draw two circles, each 19 cm in diameter, and cut them out. Paint the circles with acrylic or furniture paint.
15. When the cardboard bases have dried, use a hole punch to make 9 holes at even intervals of about 5.5 cm. Cut a 150 cm length of yarn for attaching the cardboard bases.
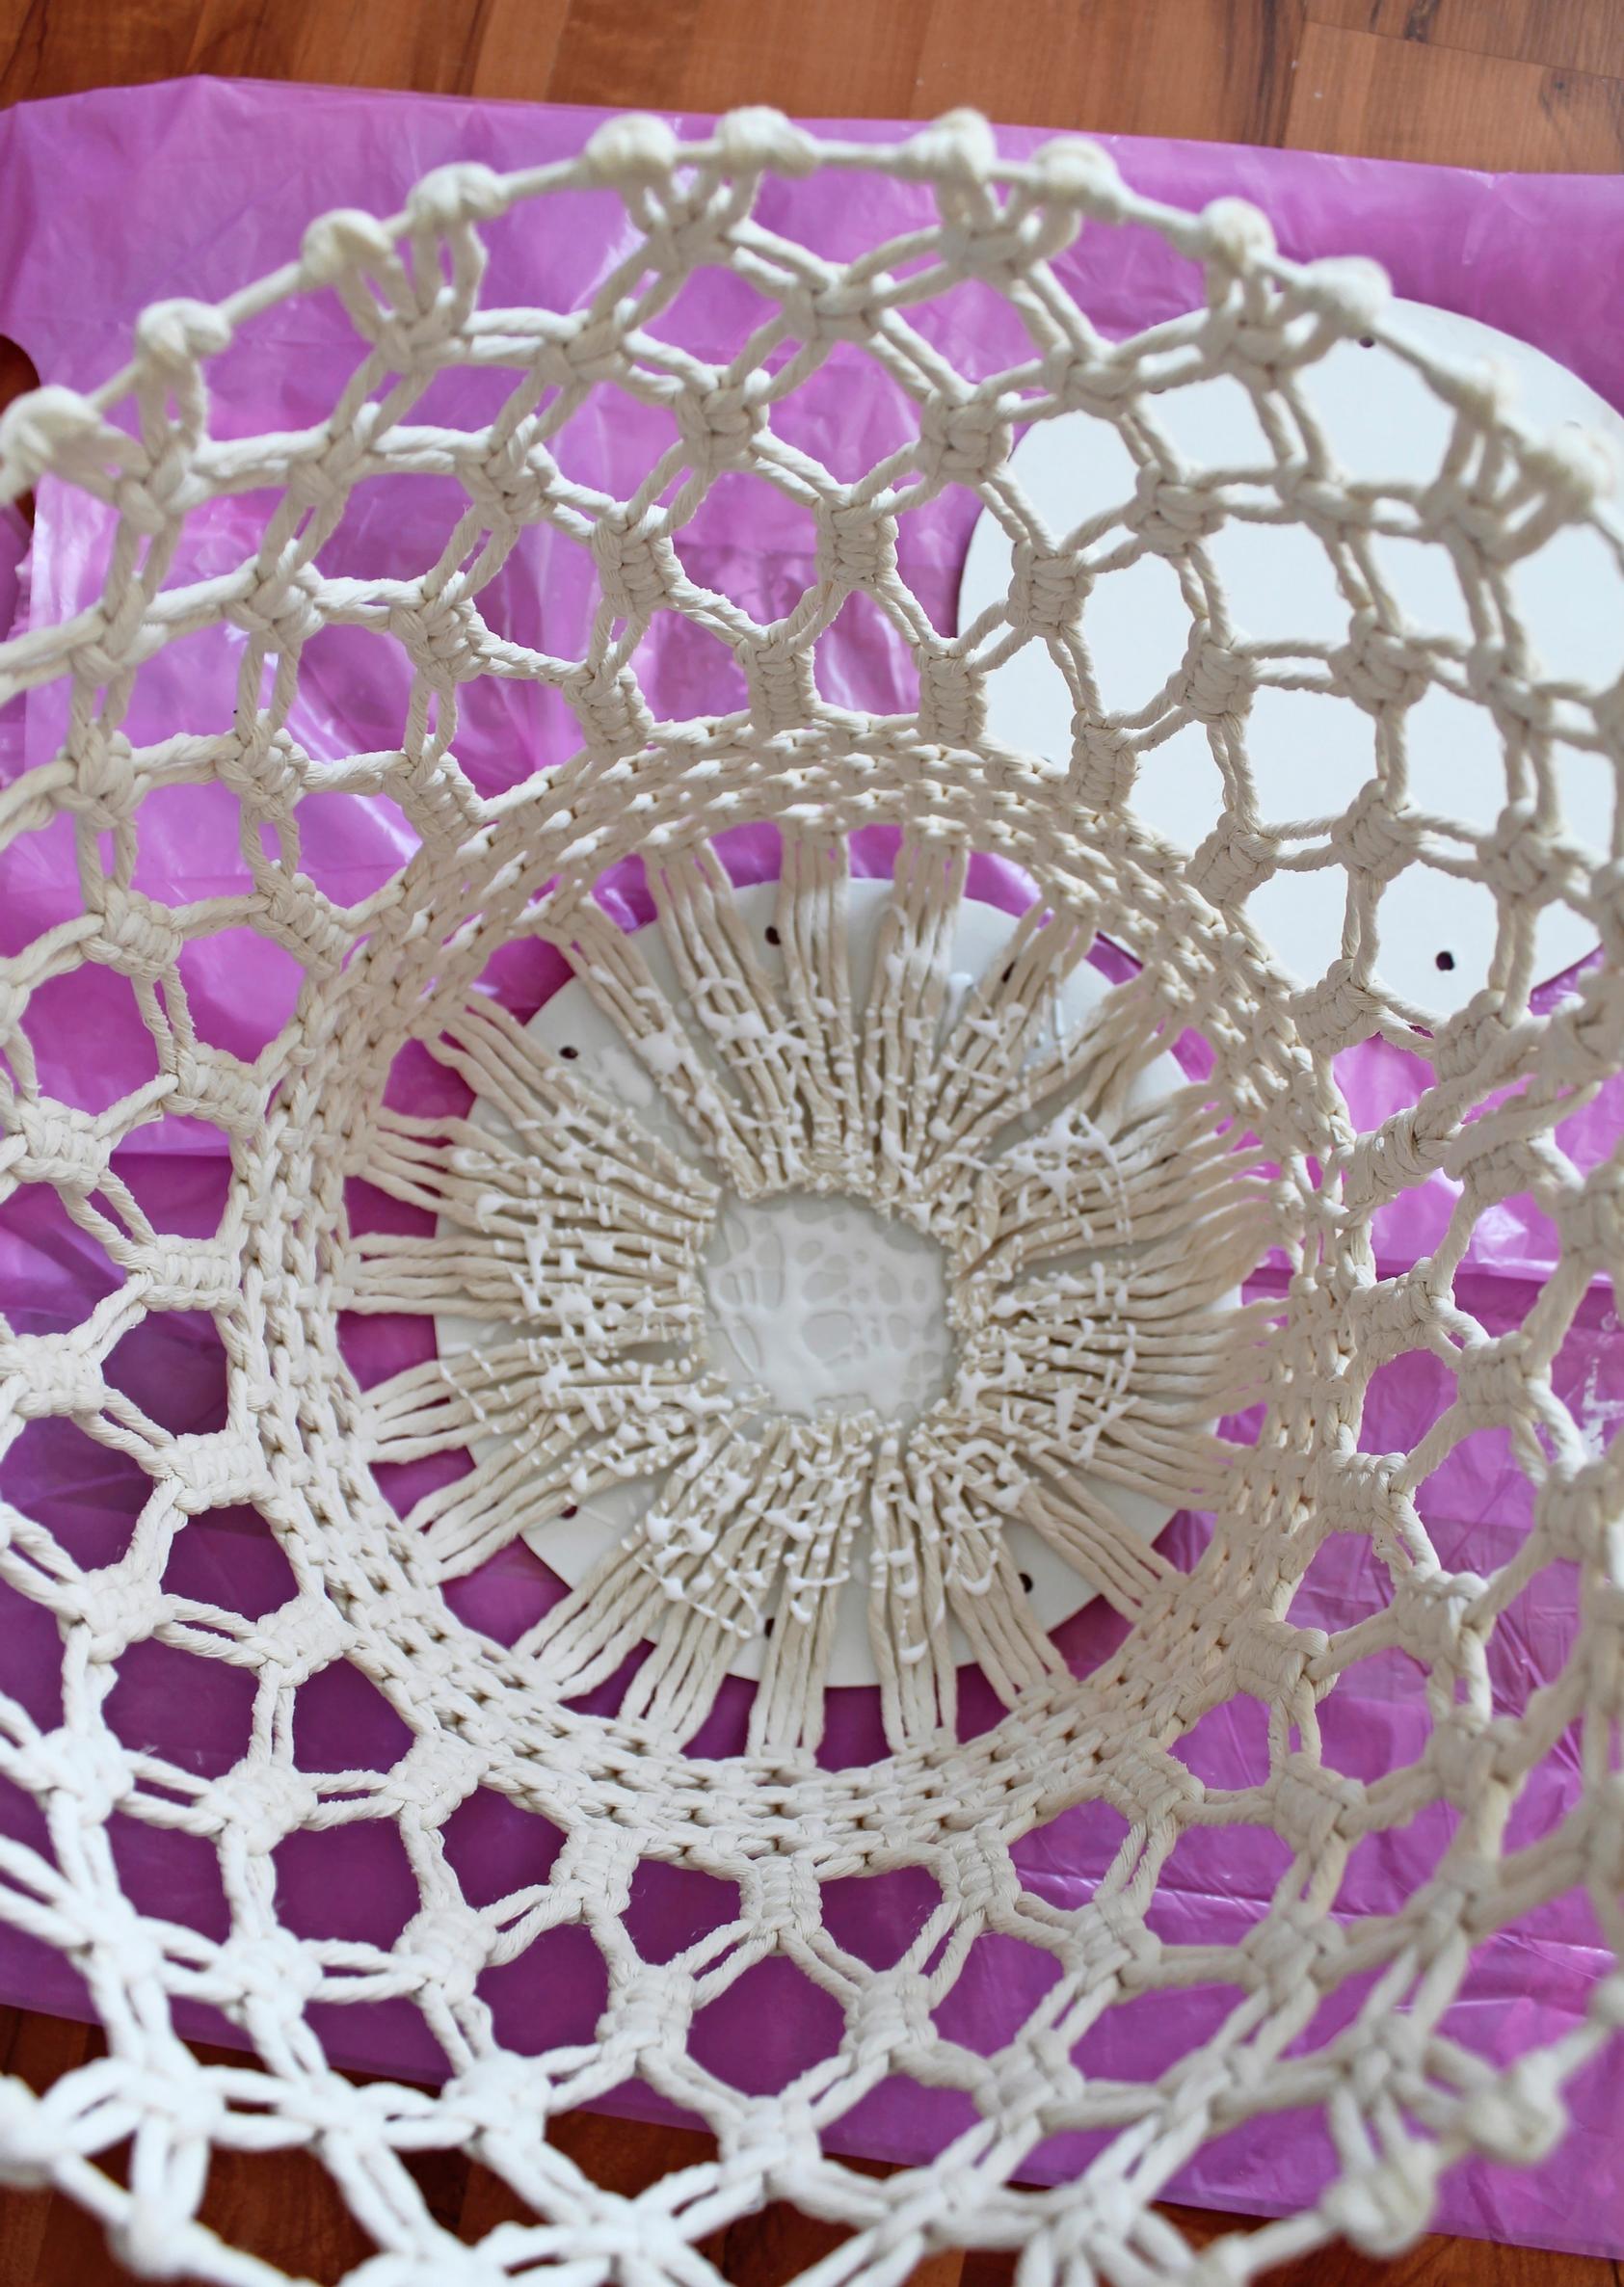
16. Cut away any excess cords from the bottom of the basket. Apply glue to one of the cardboard circles and arrange the cords on top. Then apply glue over them. Place the other cardboard circle right on top, aligning the holes. Clamp the circles together with clothespins.
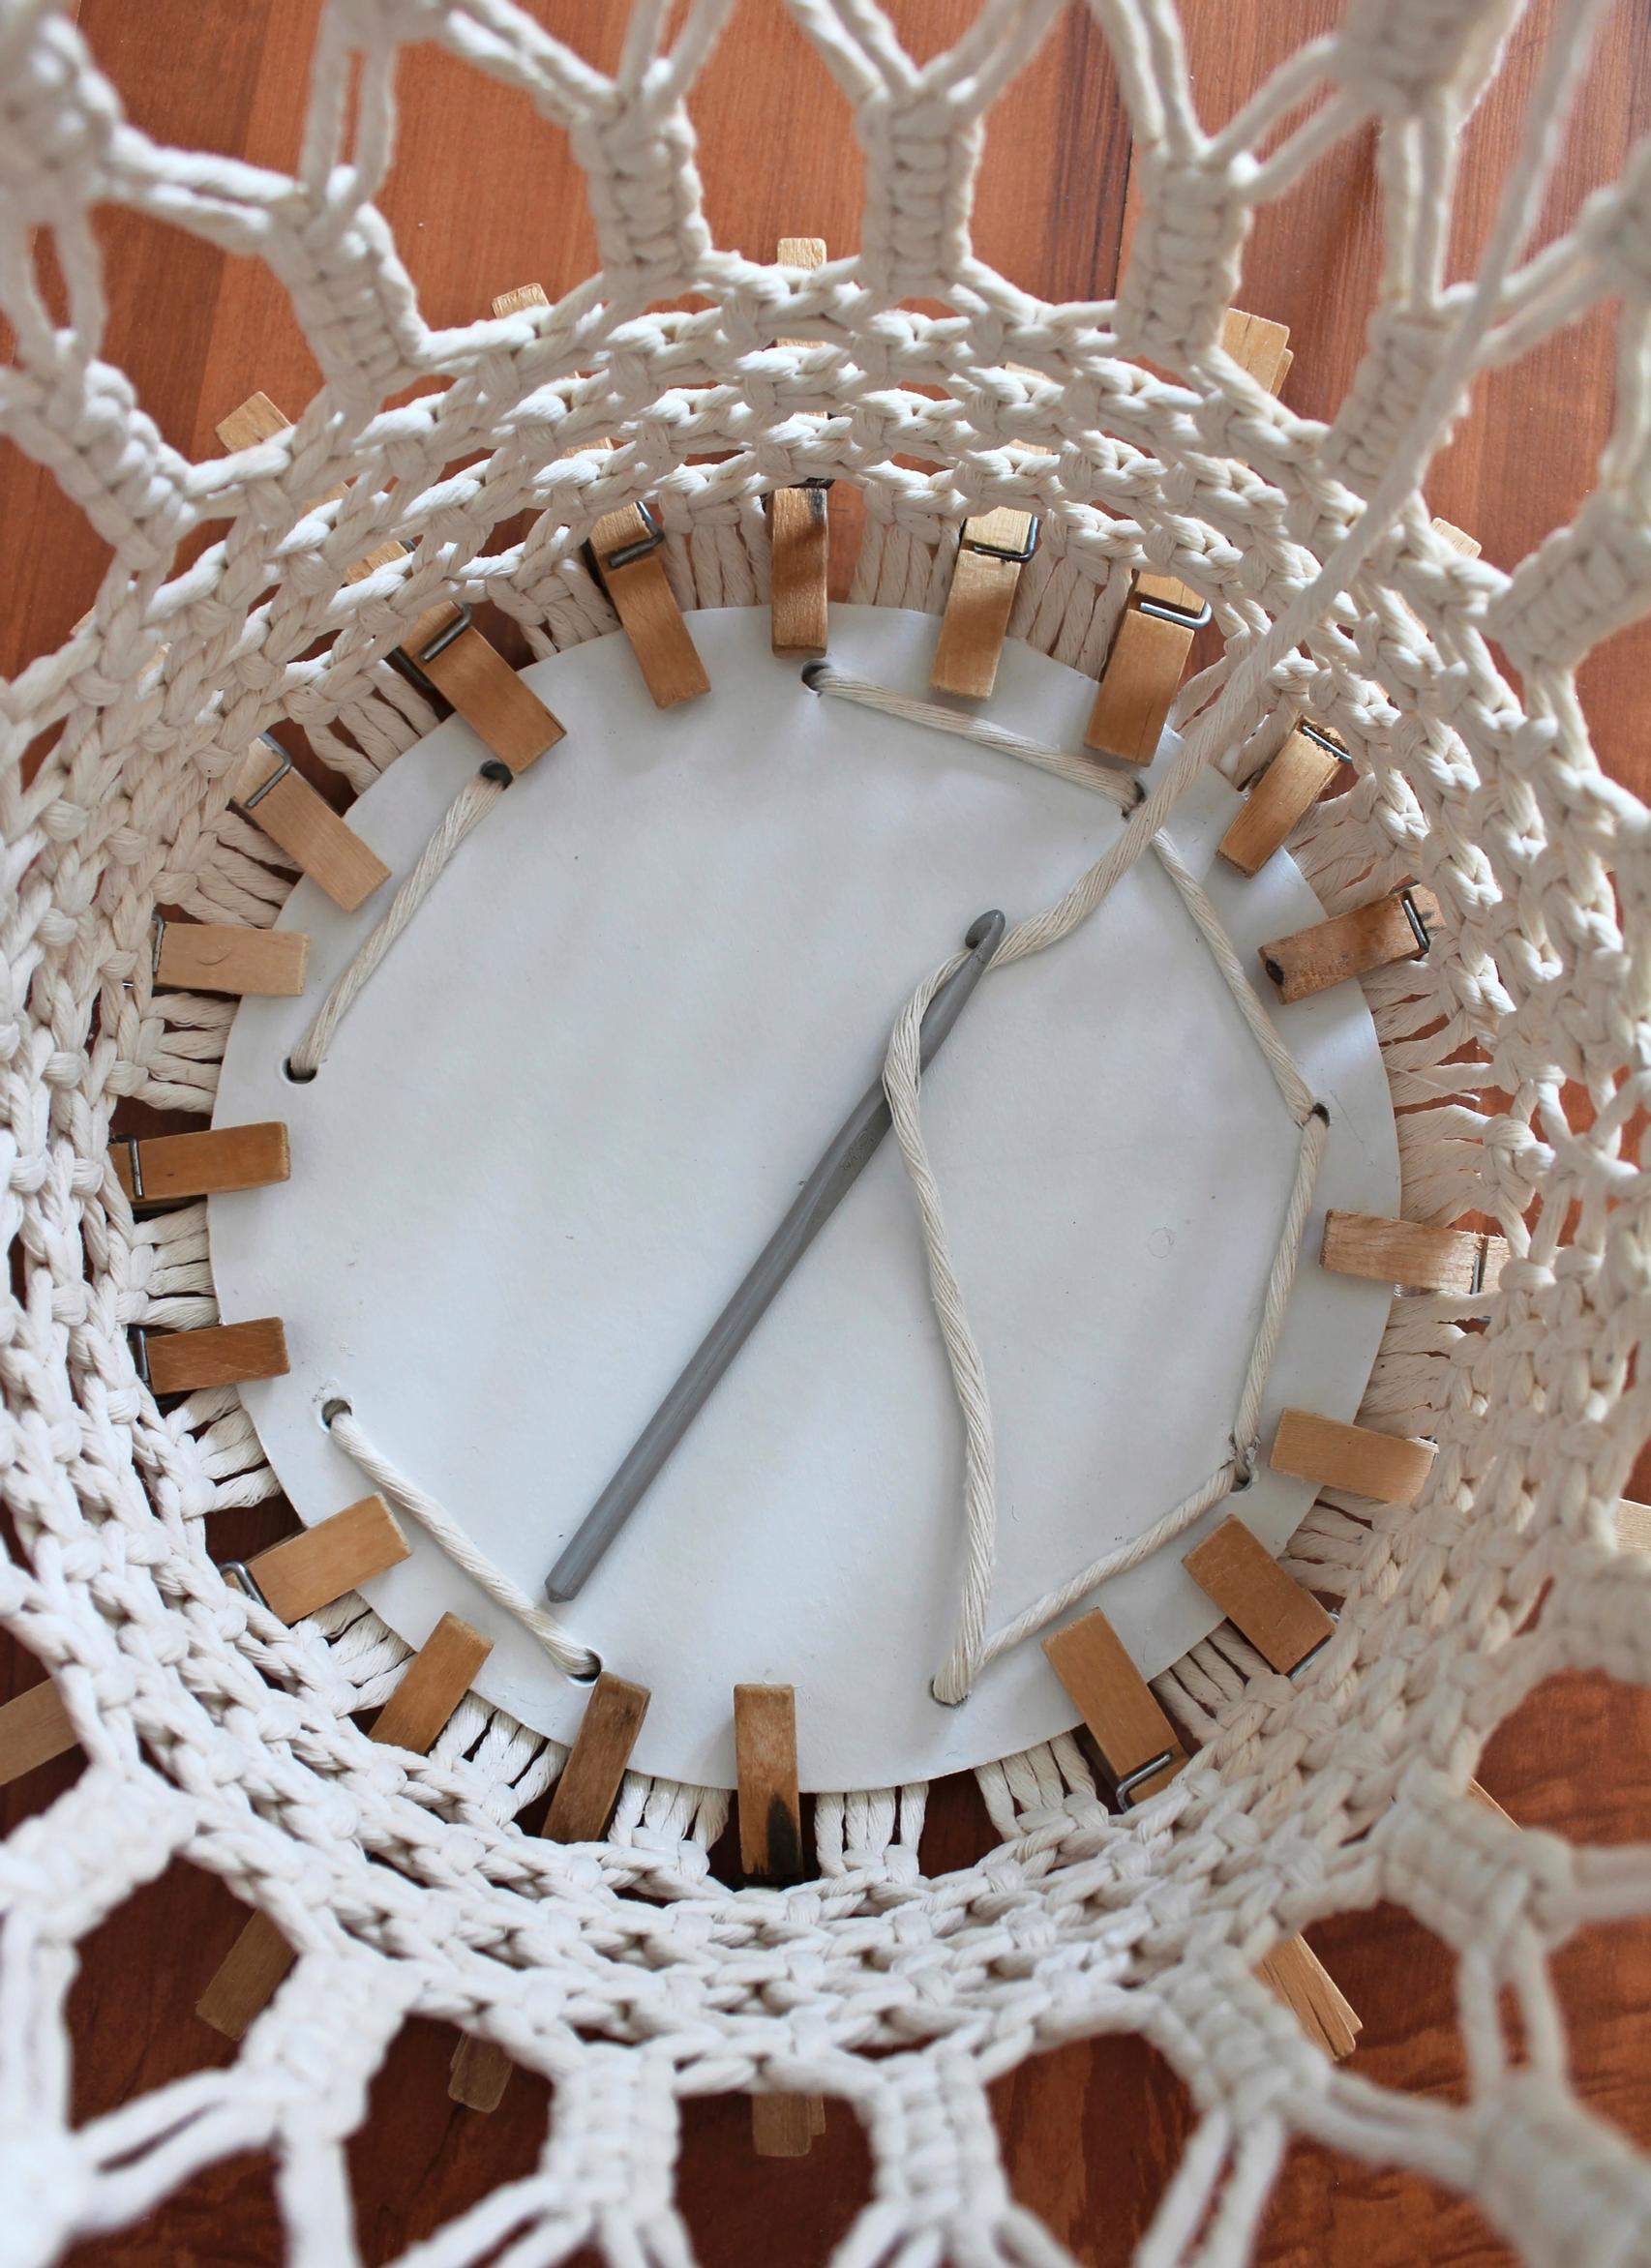
17. Thread the yarn through the holes with a crochet hook. Pull the loops tight and weave in the ends under the basket.
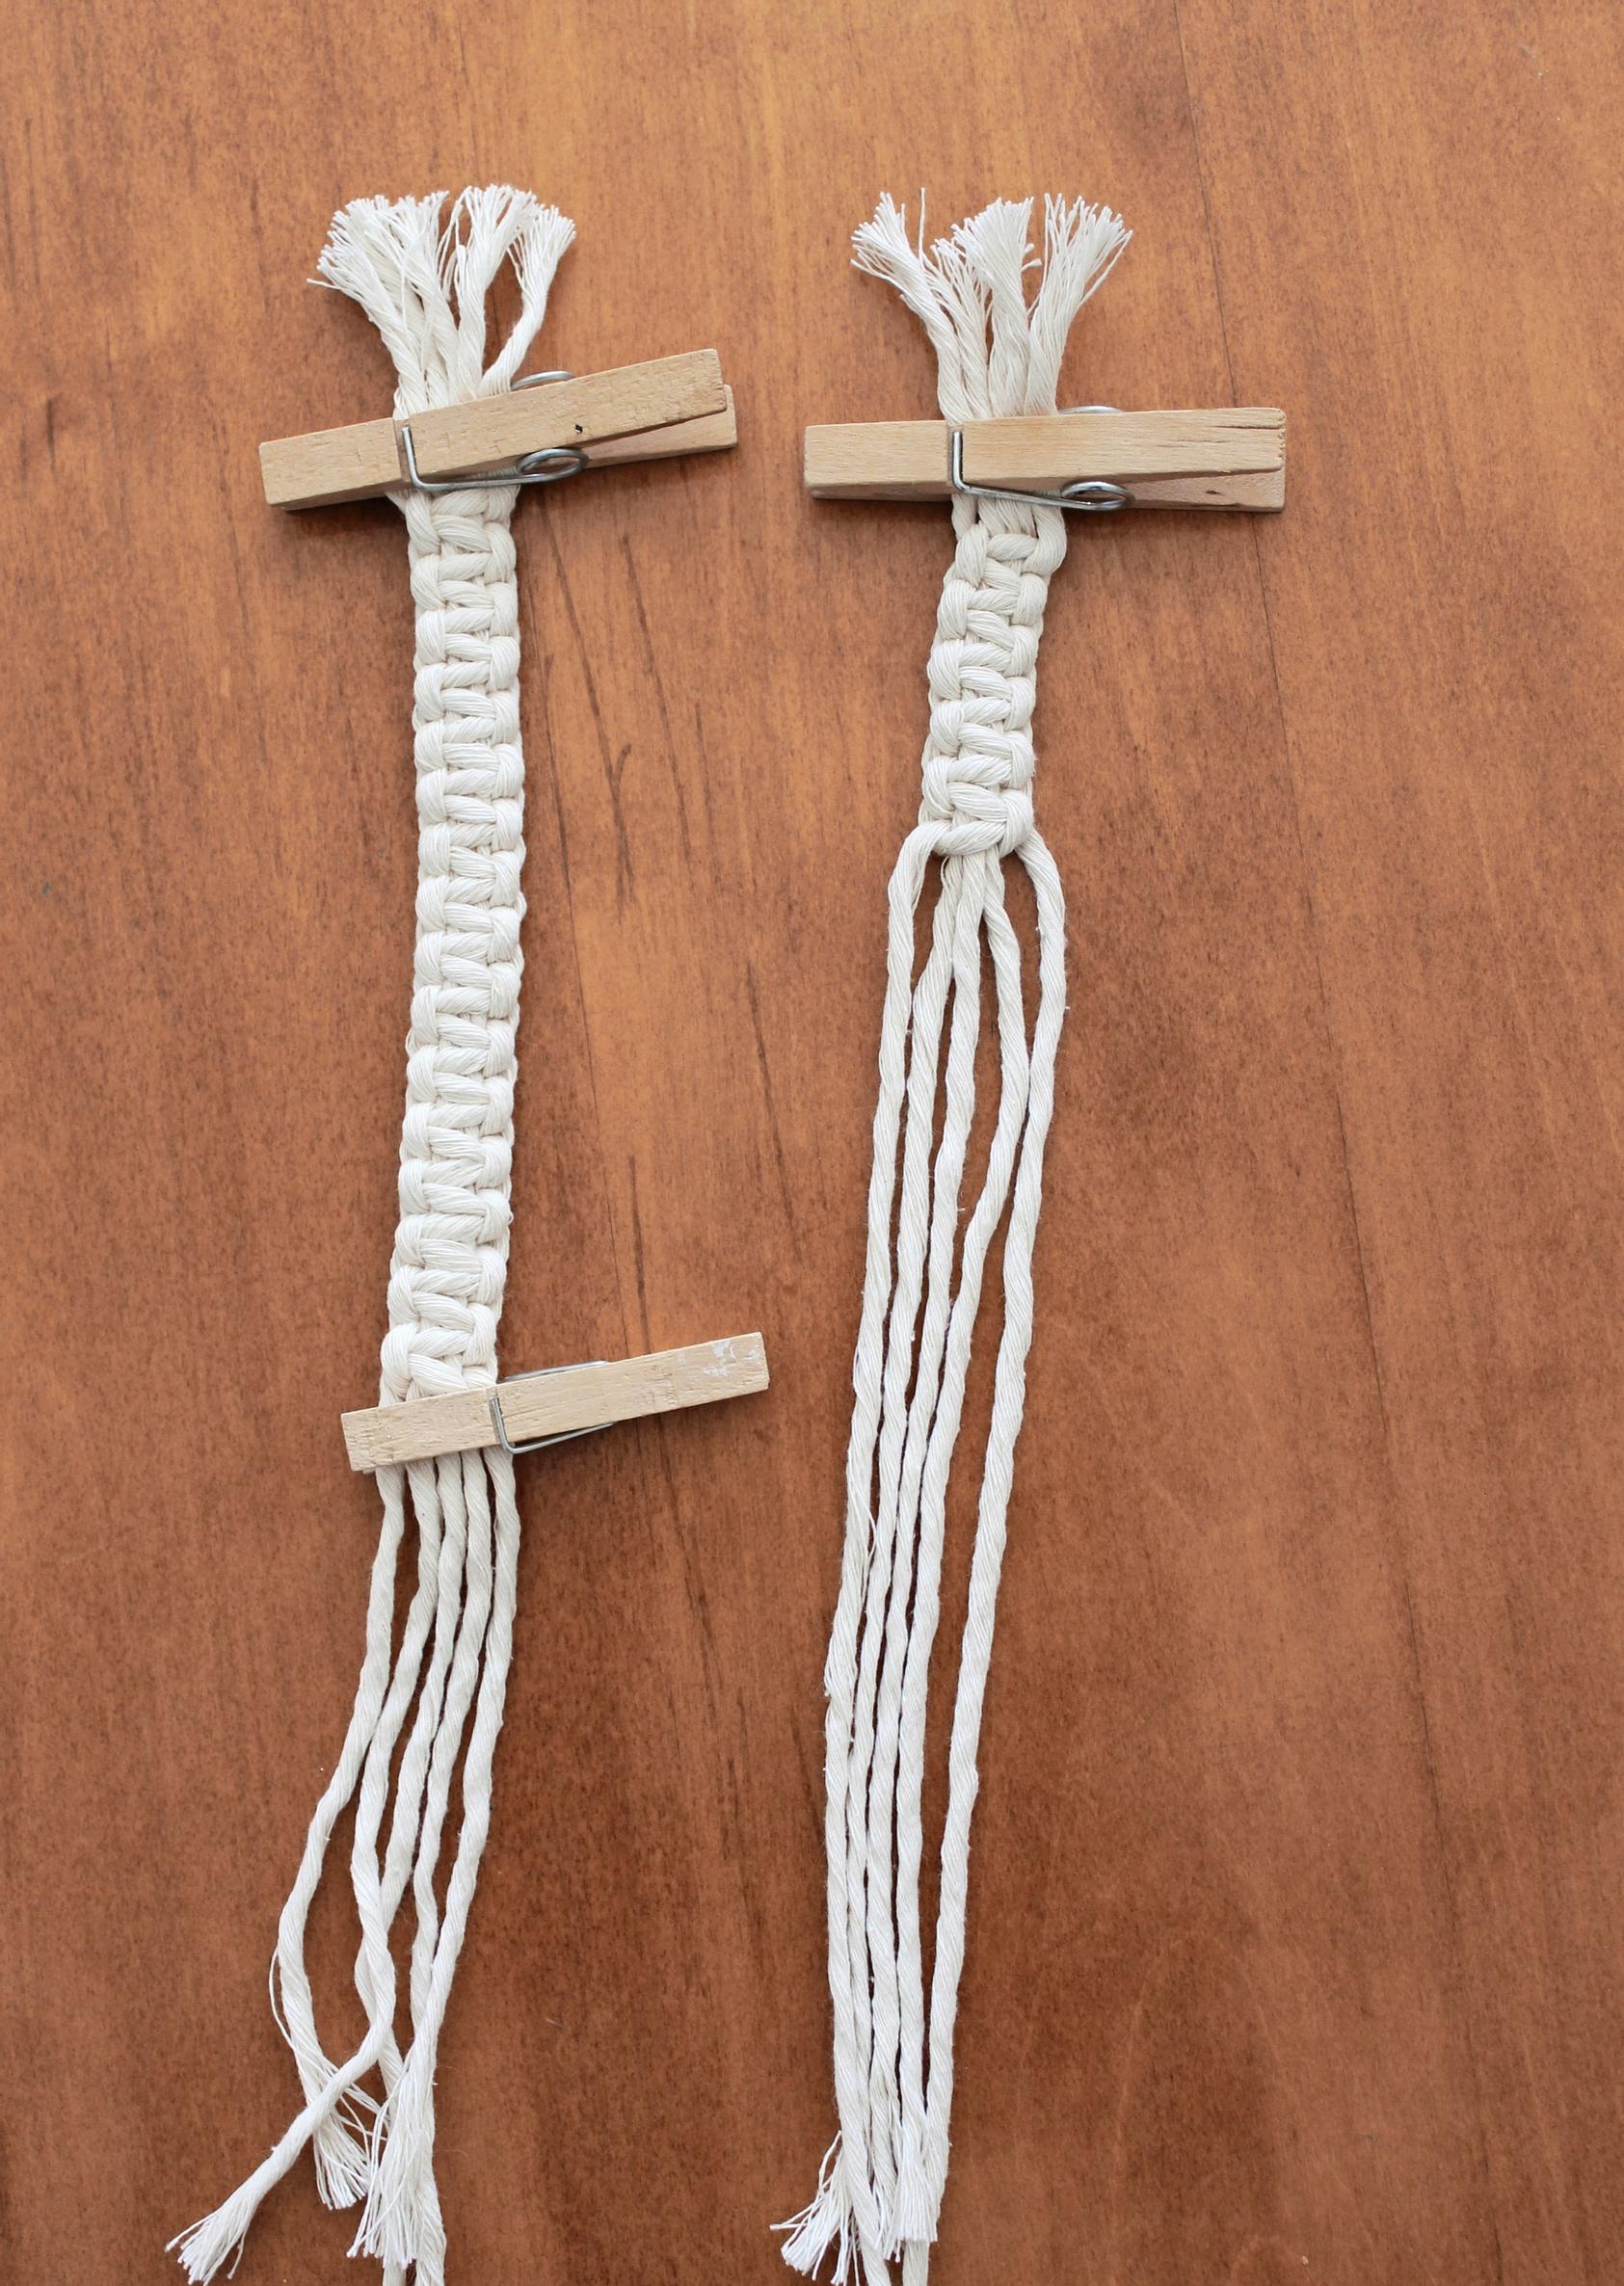
18. Finally, knot the handles. Cut four 95 cm pieces of yarn and six 35 cm pieces. Each handle consists of 15 square knots. You’ll need five pieces of yarn for one handle: three center cords (35 cm) and two tying cords (95 cm). Leave each knot slightly loose to make the handle a bit wider.
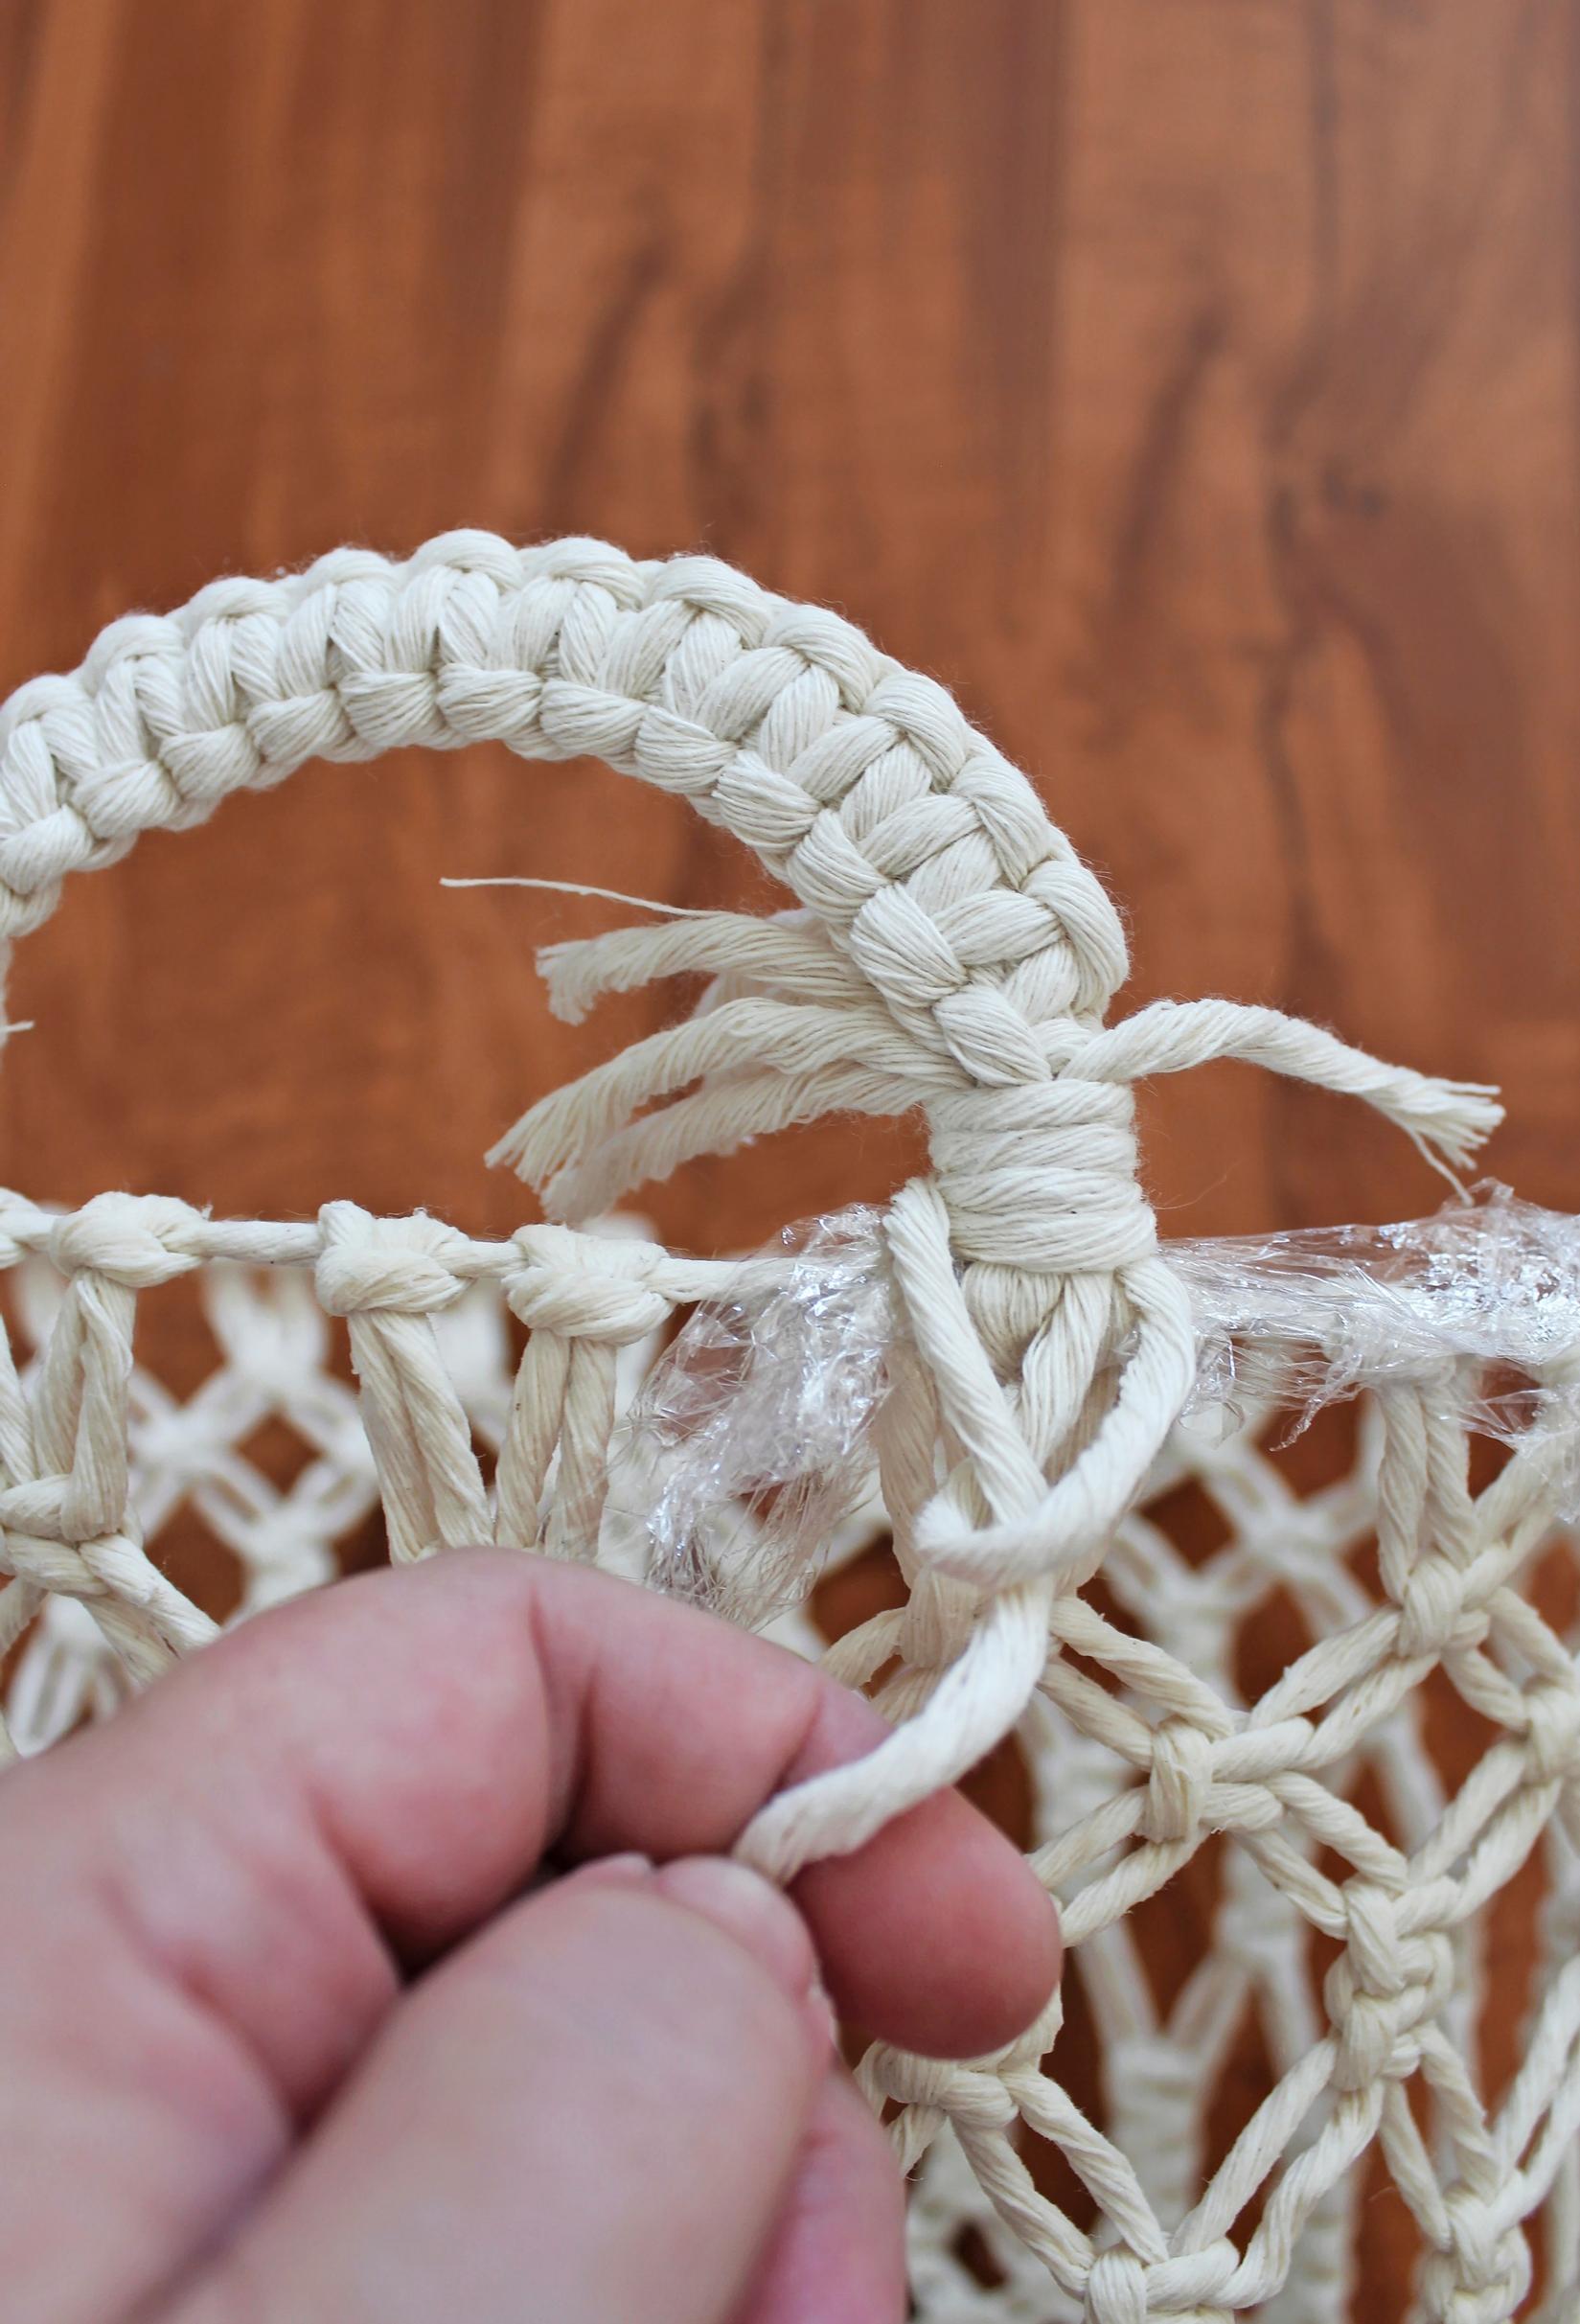
19. Measure where you want to attach the handles and wrap a small piece of plastic wrap around those spots. Attach the handles to the top edge of the basket with gathering knots. Generously apply the water—glue mixture to the handles and the gathering knots several times. Remove the plastic wrap once the handles have dried.
Tips!
- You can also use other types of containers, pots, or boxes as the mold for your basket. Carefully measure the widest part of your mold and keep an eye on the length of your piece as you work, so it goes all the way around.
- Try out different knots for the basket’s surface. If you want a dense surface, tie square knots right next to each other.
- Using the same technique, you can also make lampshades or decorative plant covers.
Knots used in this tutorial
Lark’s head knot
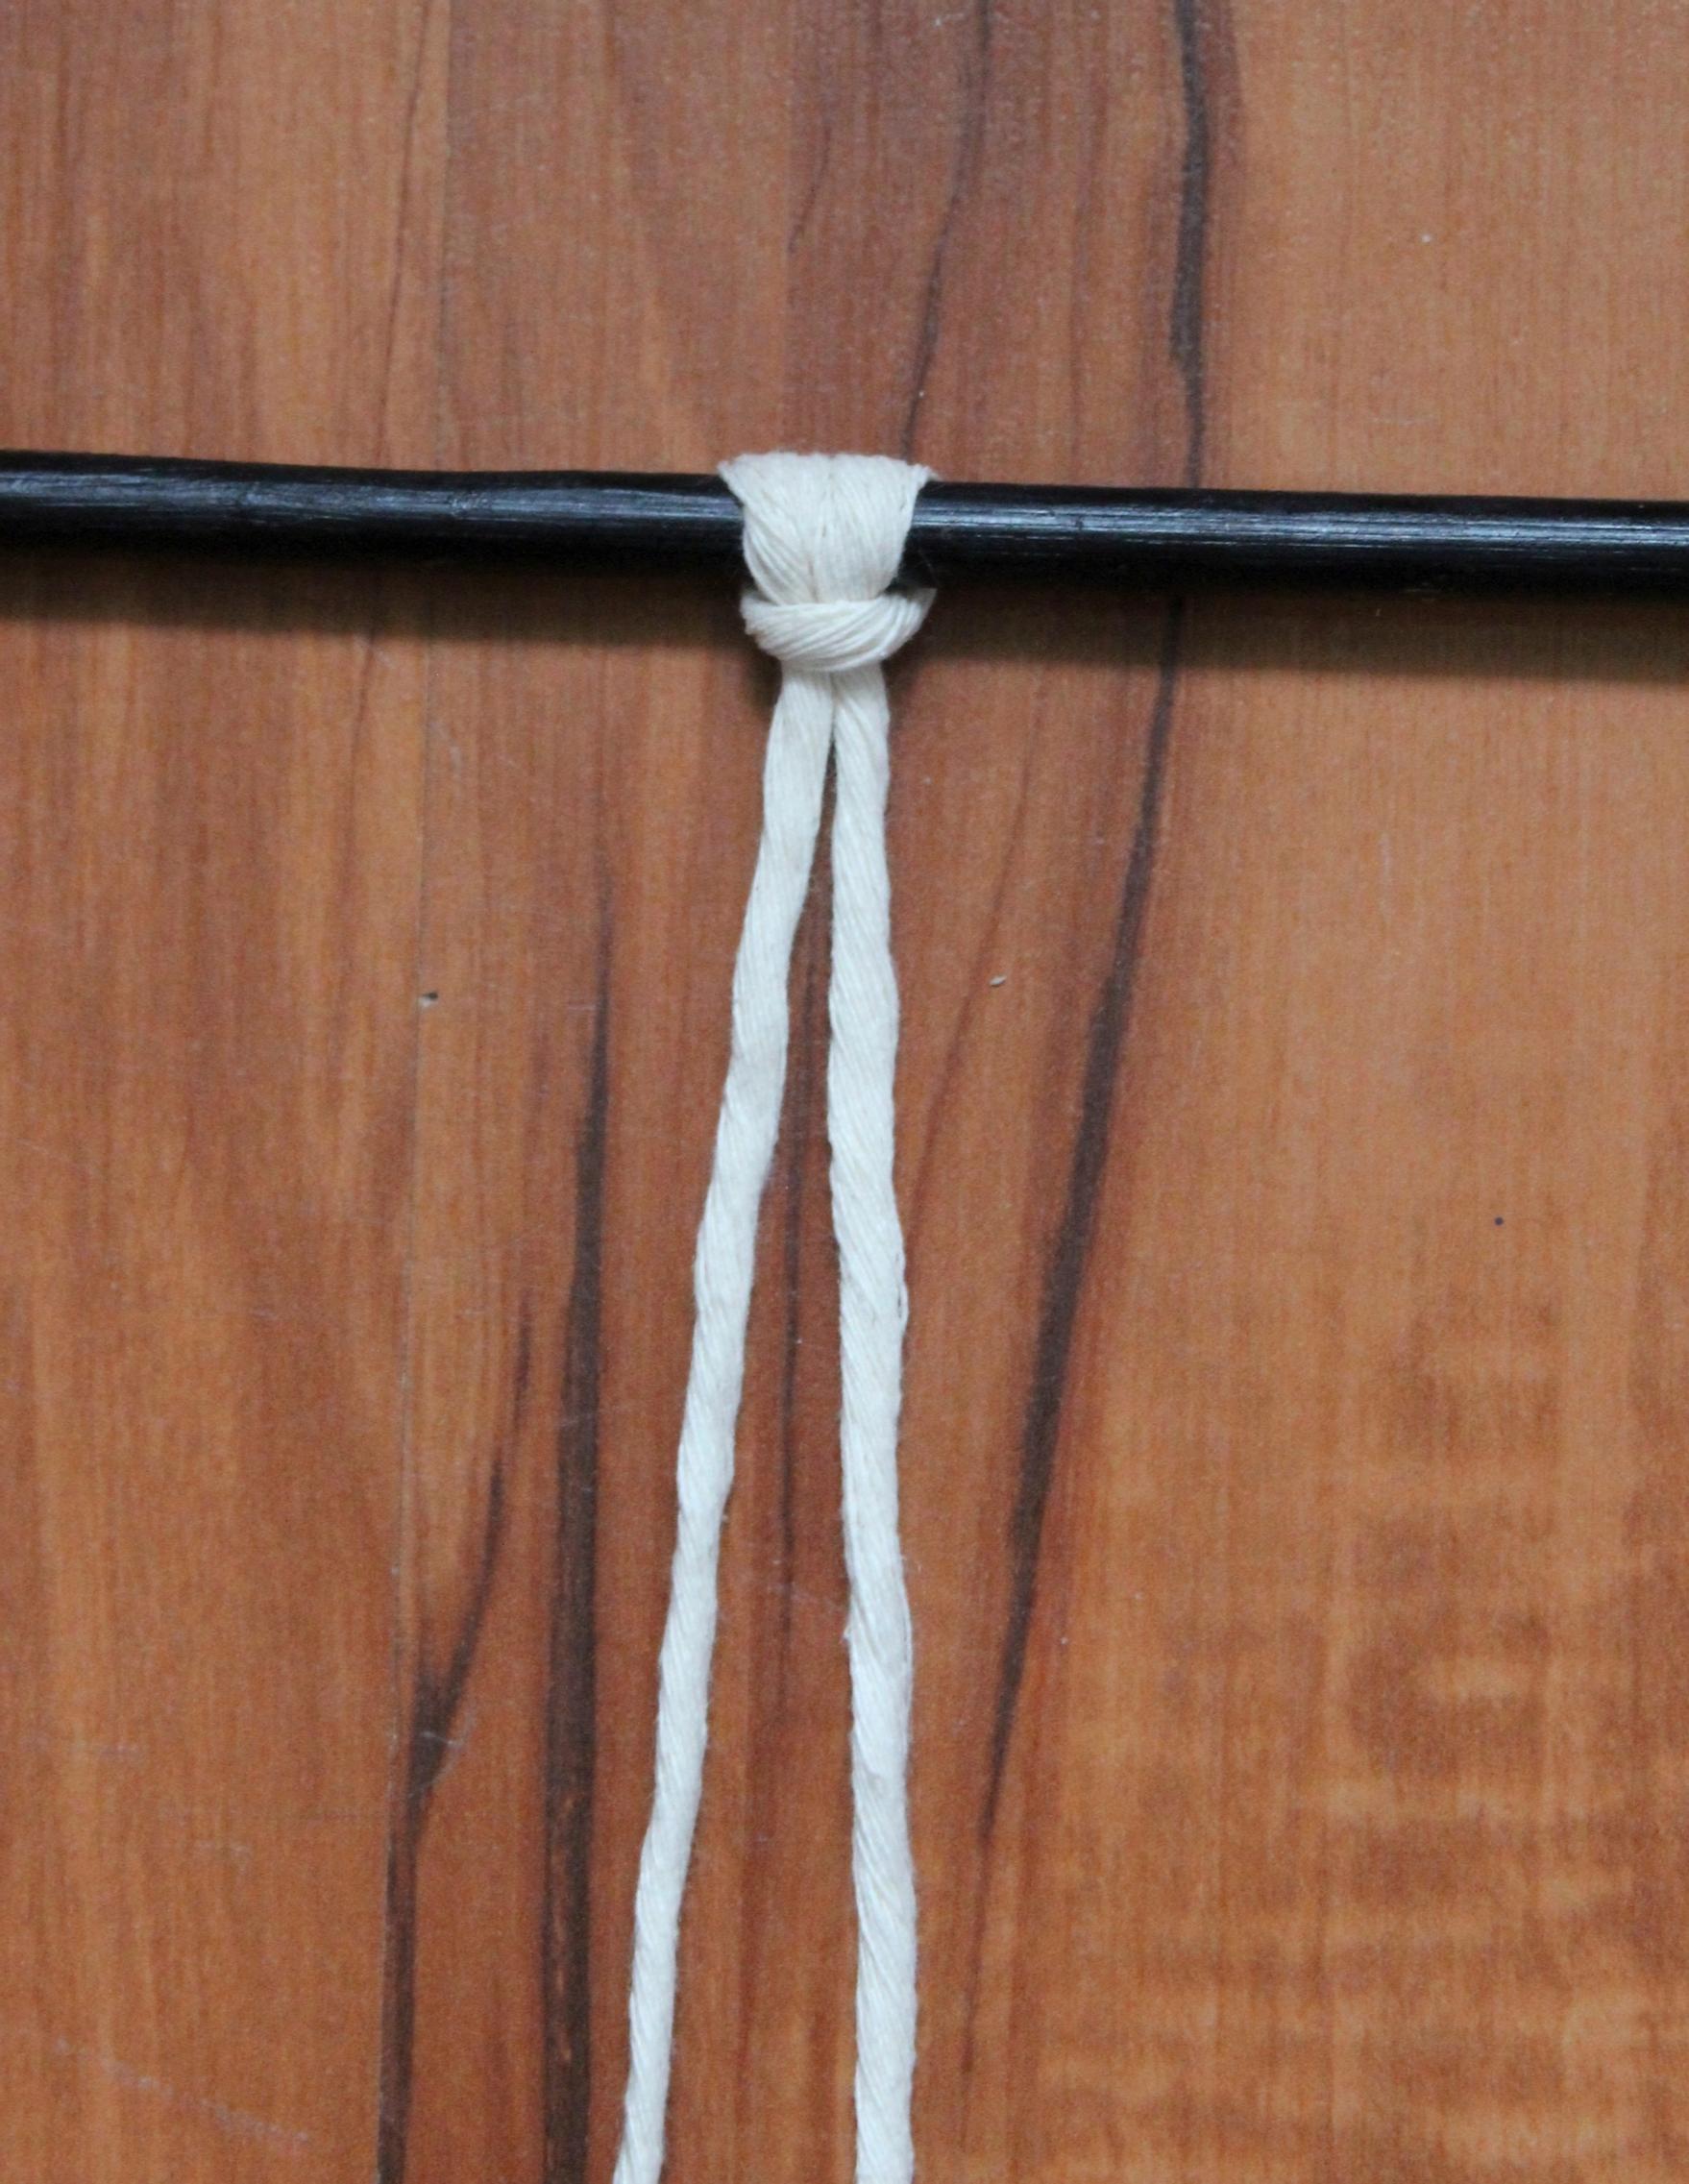
Place the looped cord around the front of the rod, then pull the ends of the cord through the loop and tighten.
Square knot
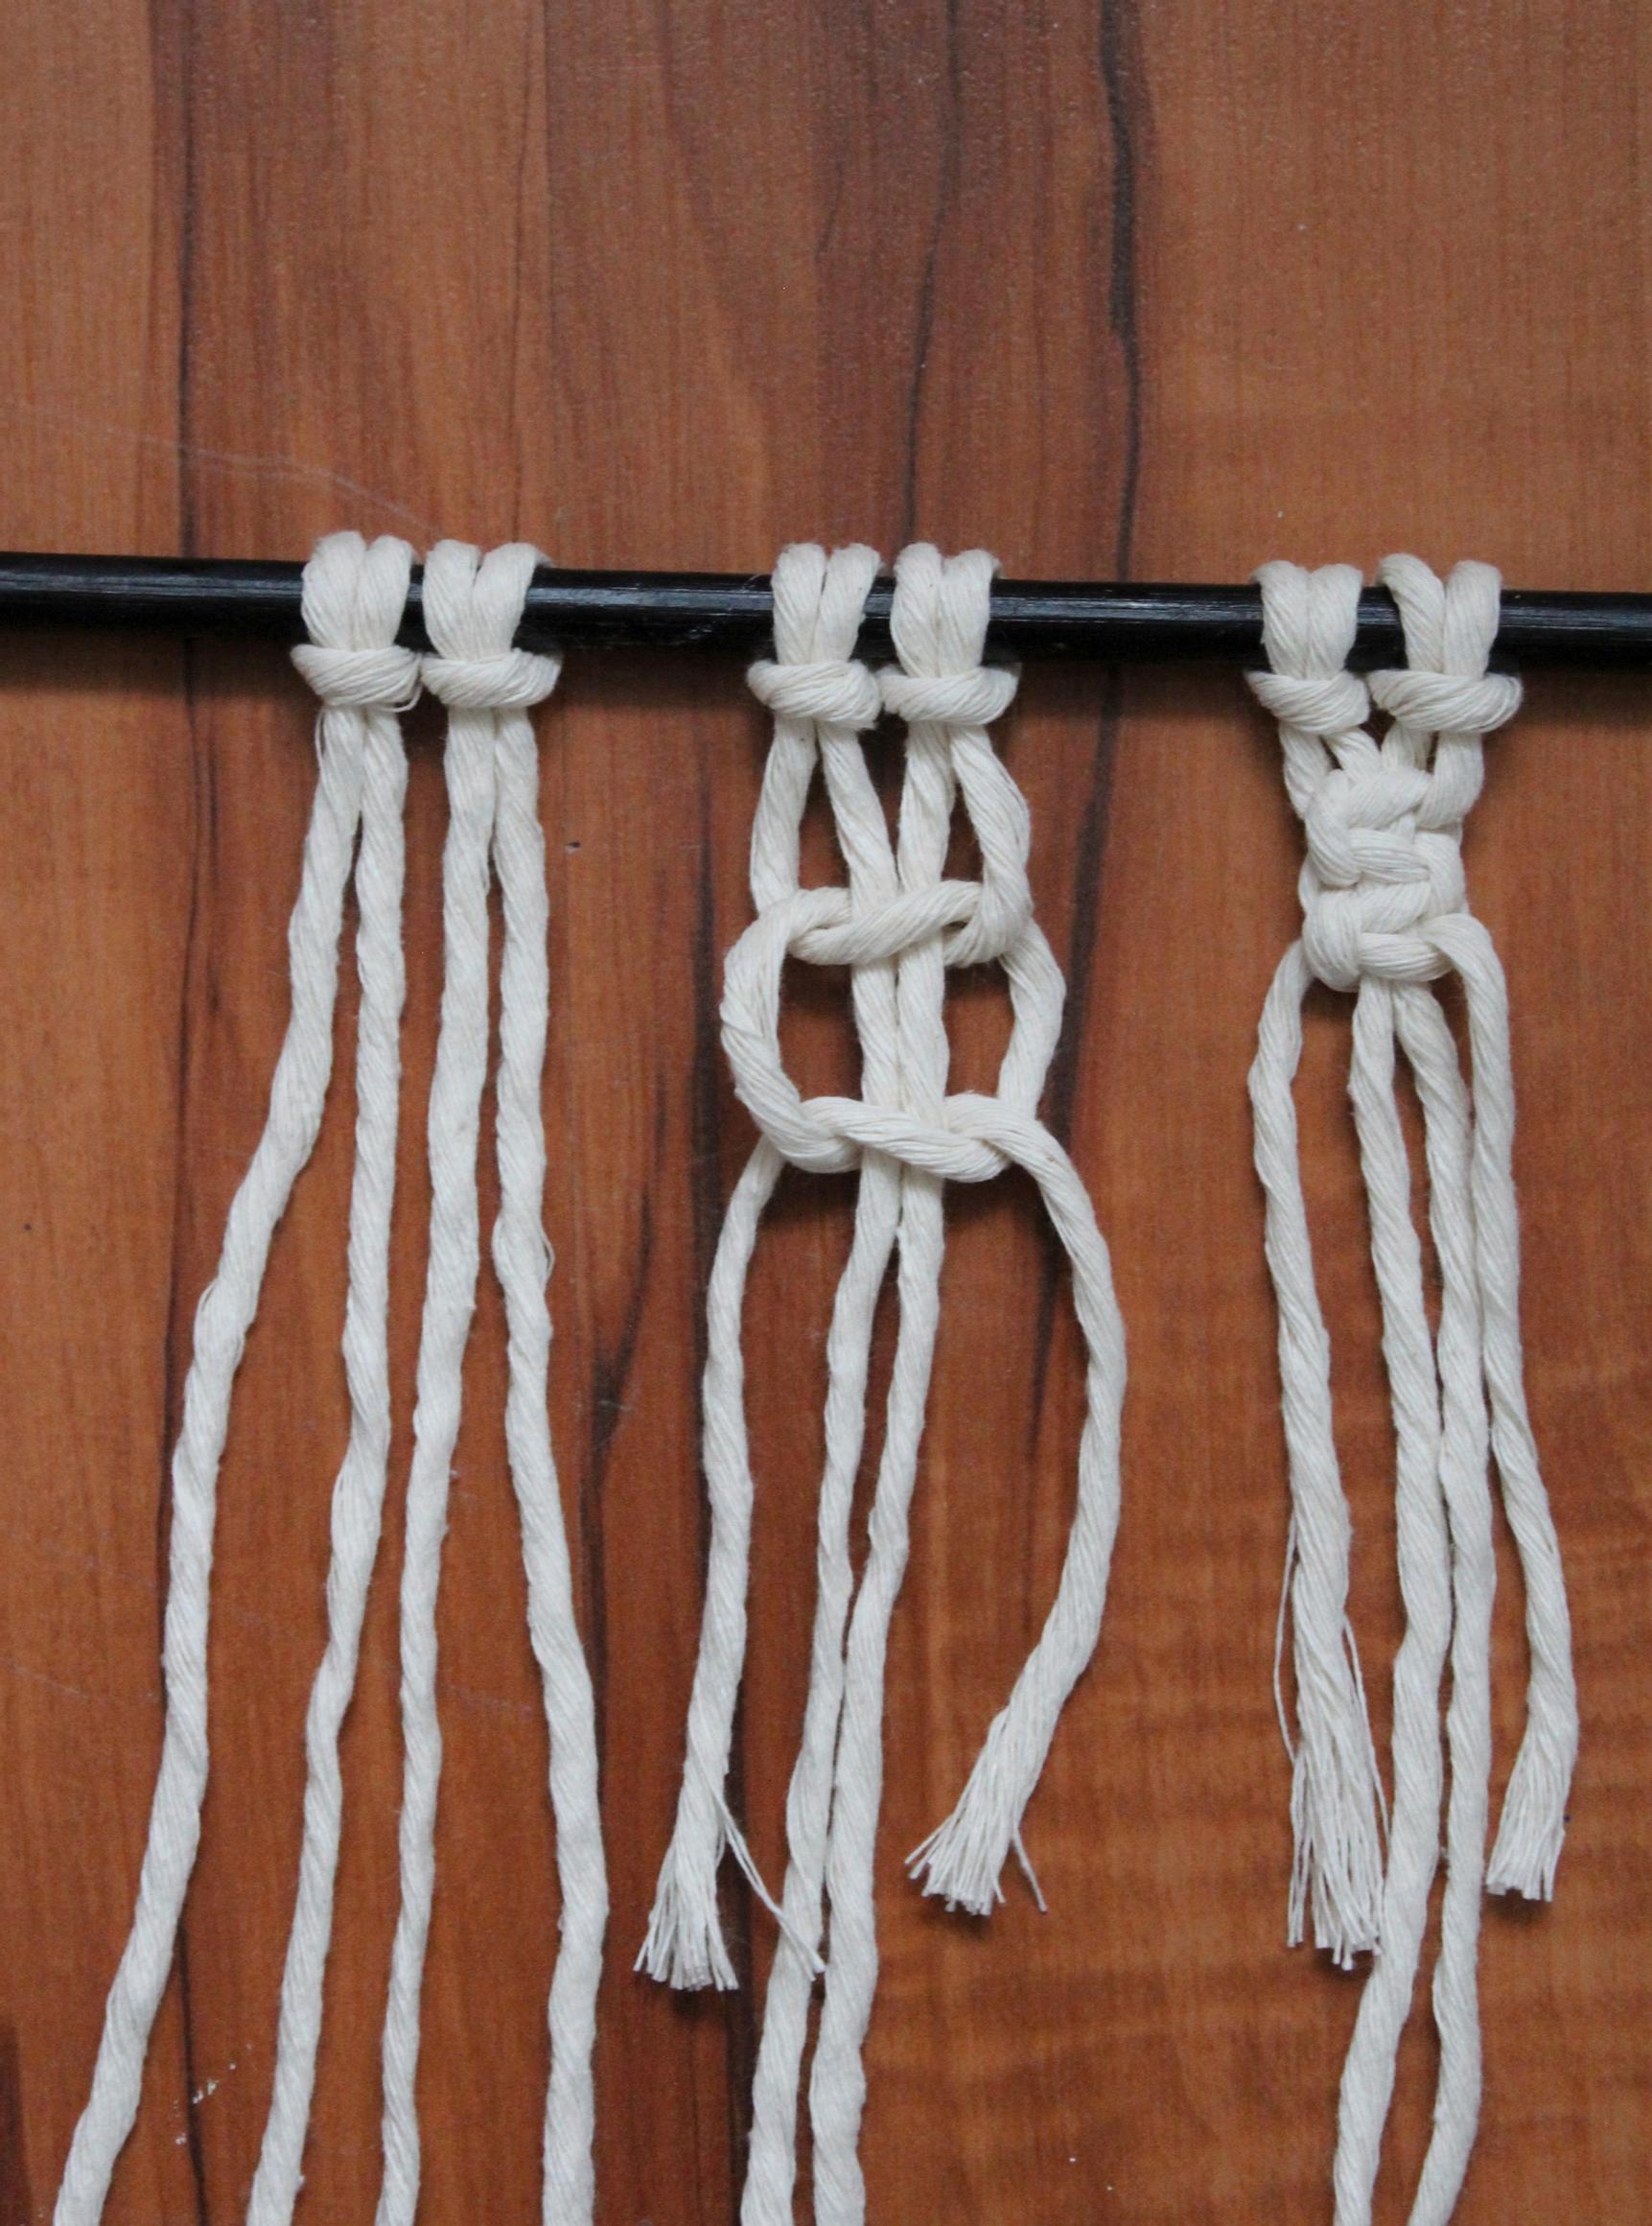
Take the first cord over the next two cords and under the fourth. Then take the fourth cord under those two cords and over the first. Next, tie the same knot in reverse: take the fourth free cord over the two middle cords and under the first, then take the first cord under the next two cords and over the fourth. Pull the knot tight.
Gathering knot
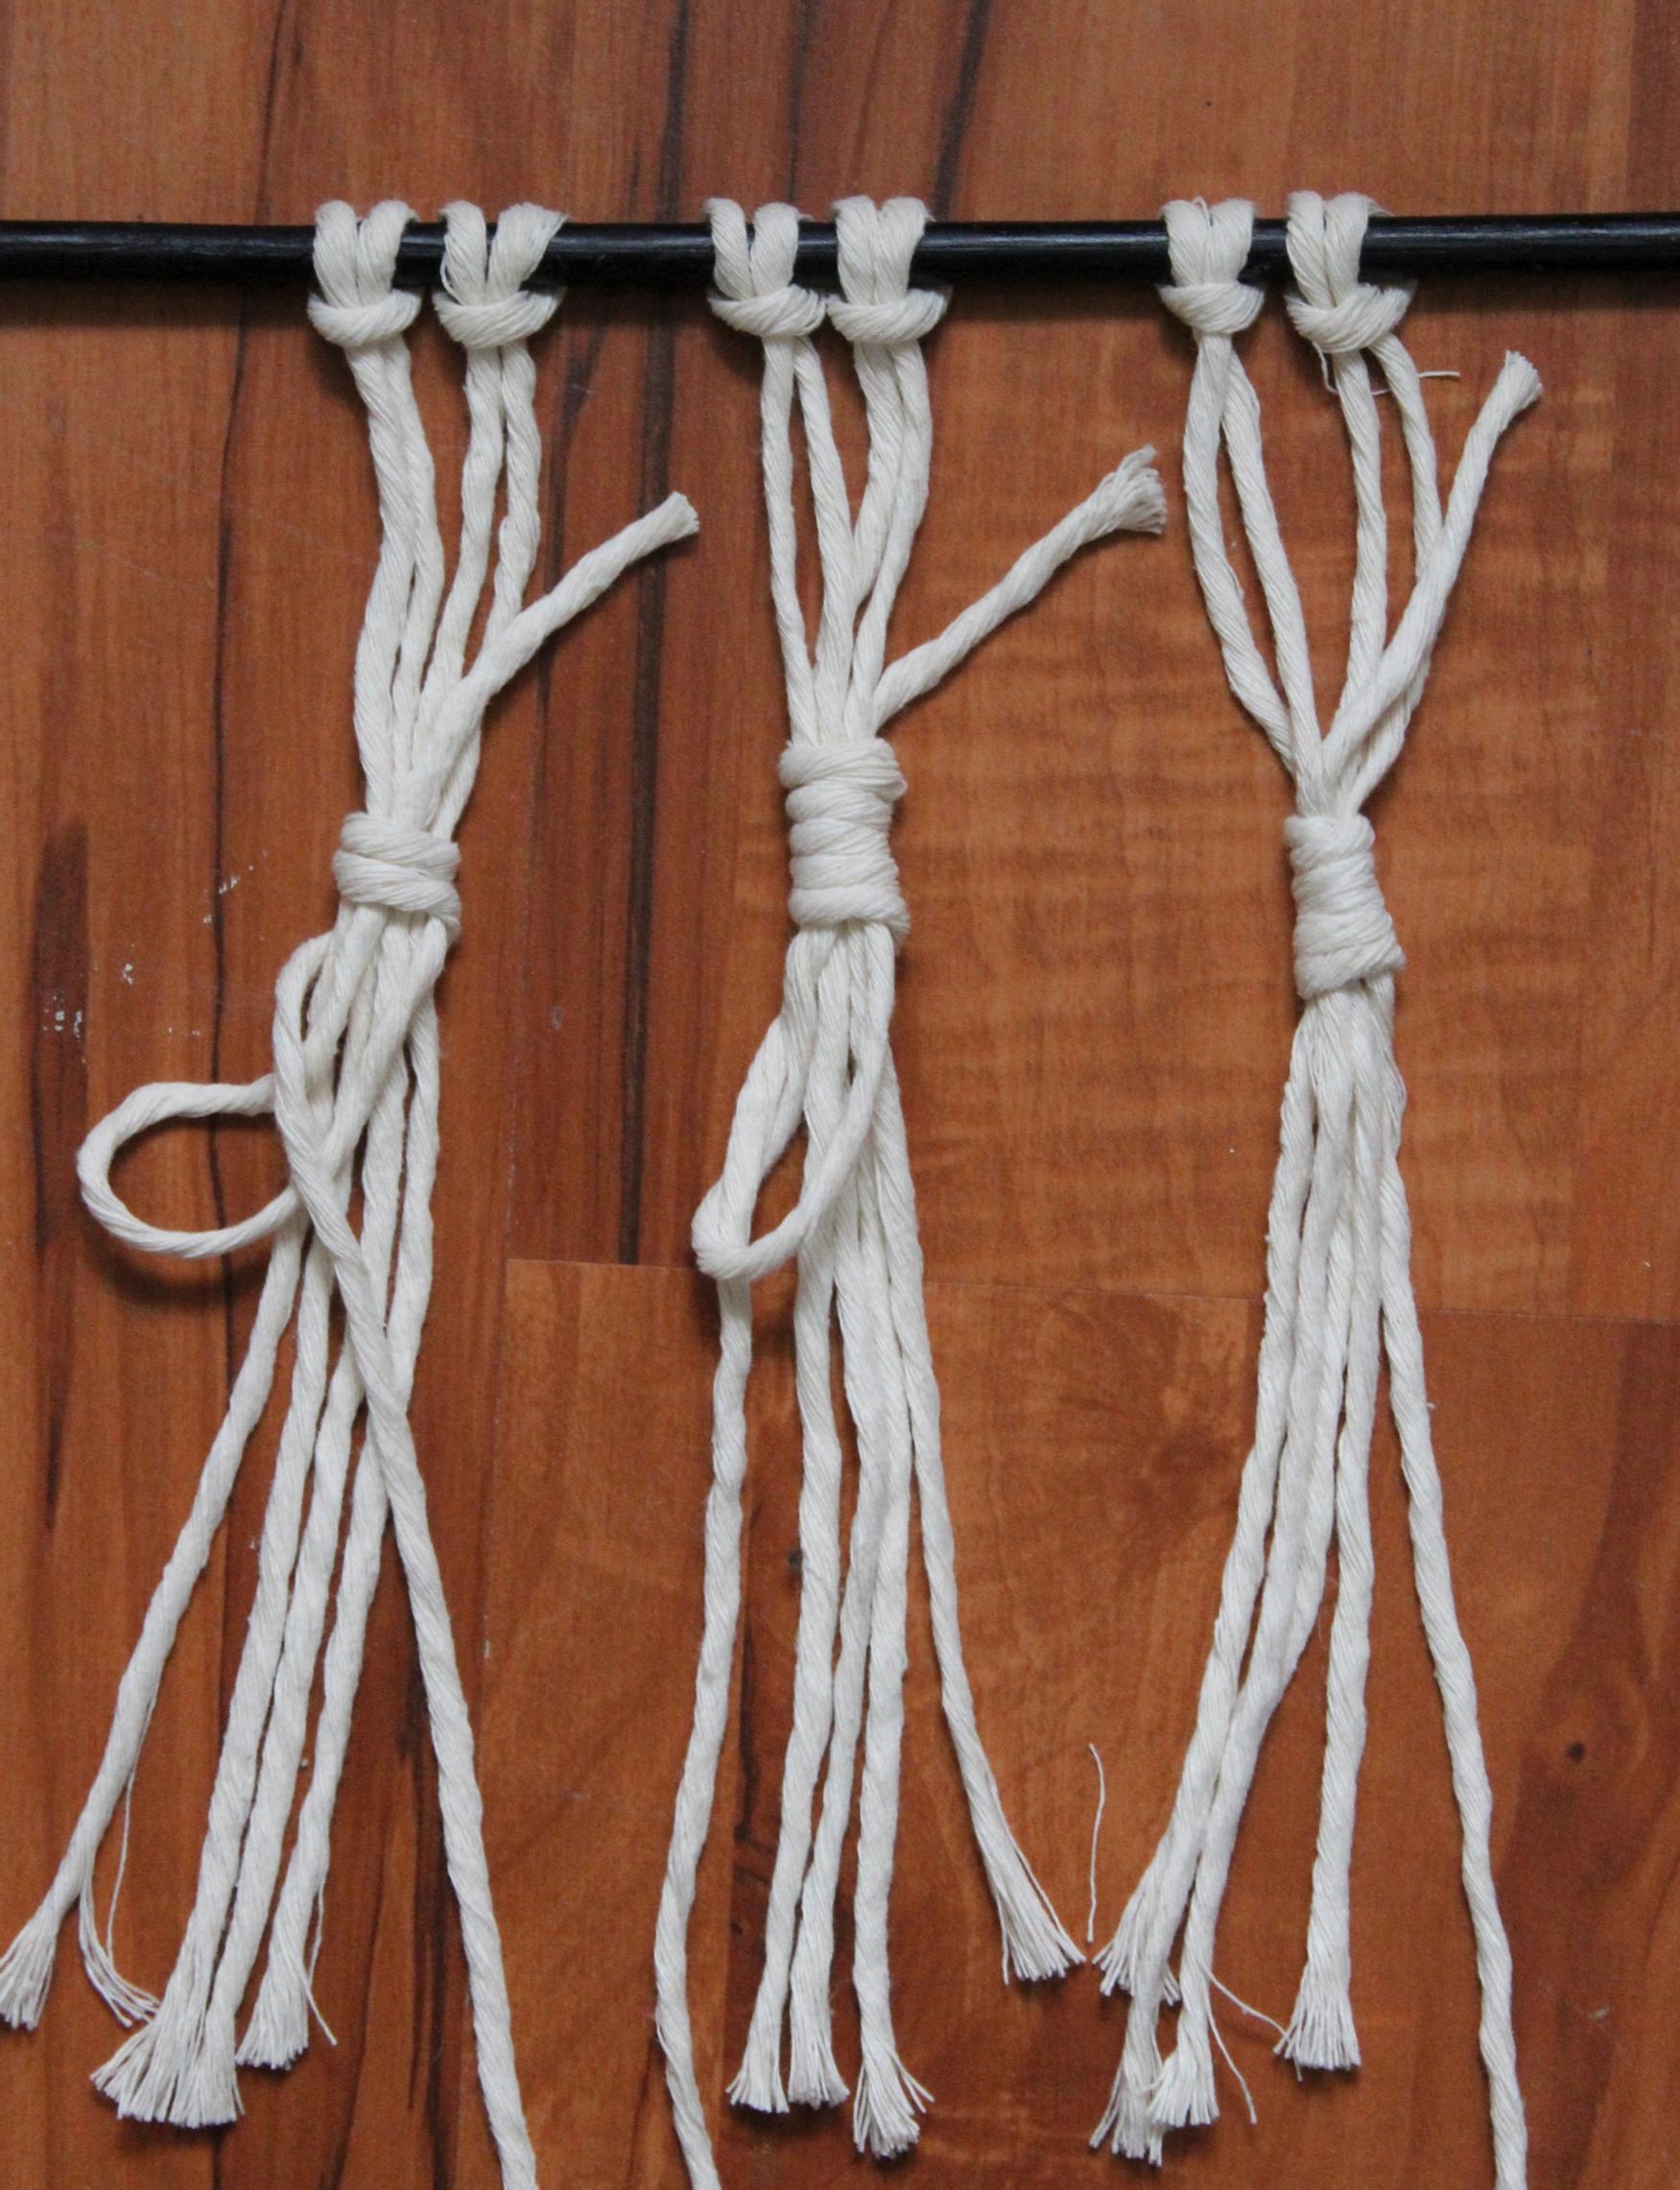
Hold the bundle of cords in one hand. Cut a separate piece of cord (about 30 cm) and form a small loop below the bundle. Wrap the cord tightly around the bundle 4–5 times, then pass the end through the loop. Finally, pull from the top end of the cord to hide the loop inside the wrap.