Kitchen renovation for about €400: Veera gave the kitchen of her wooden home a beautiful makeover on a small budget
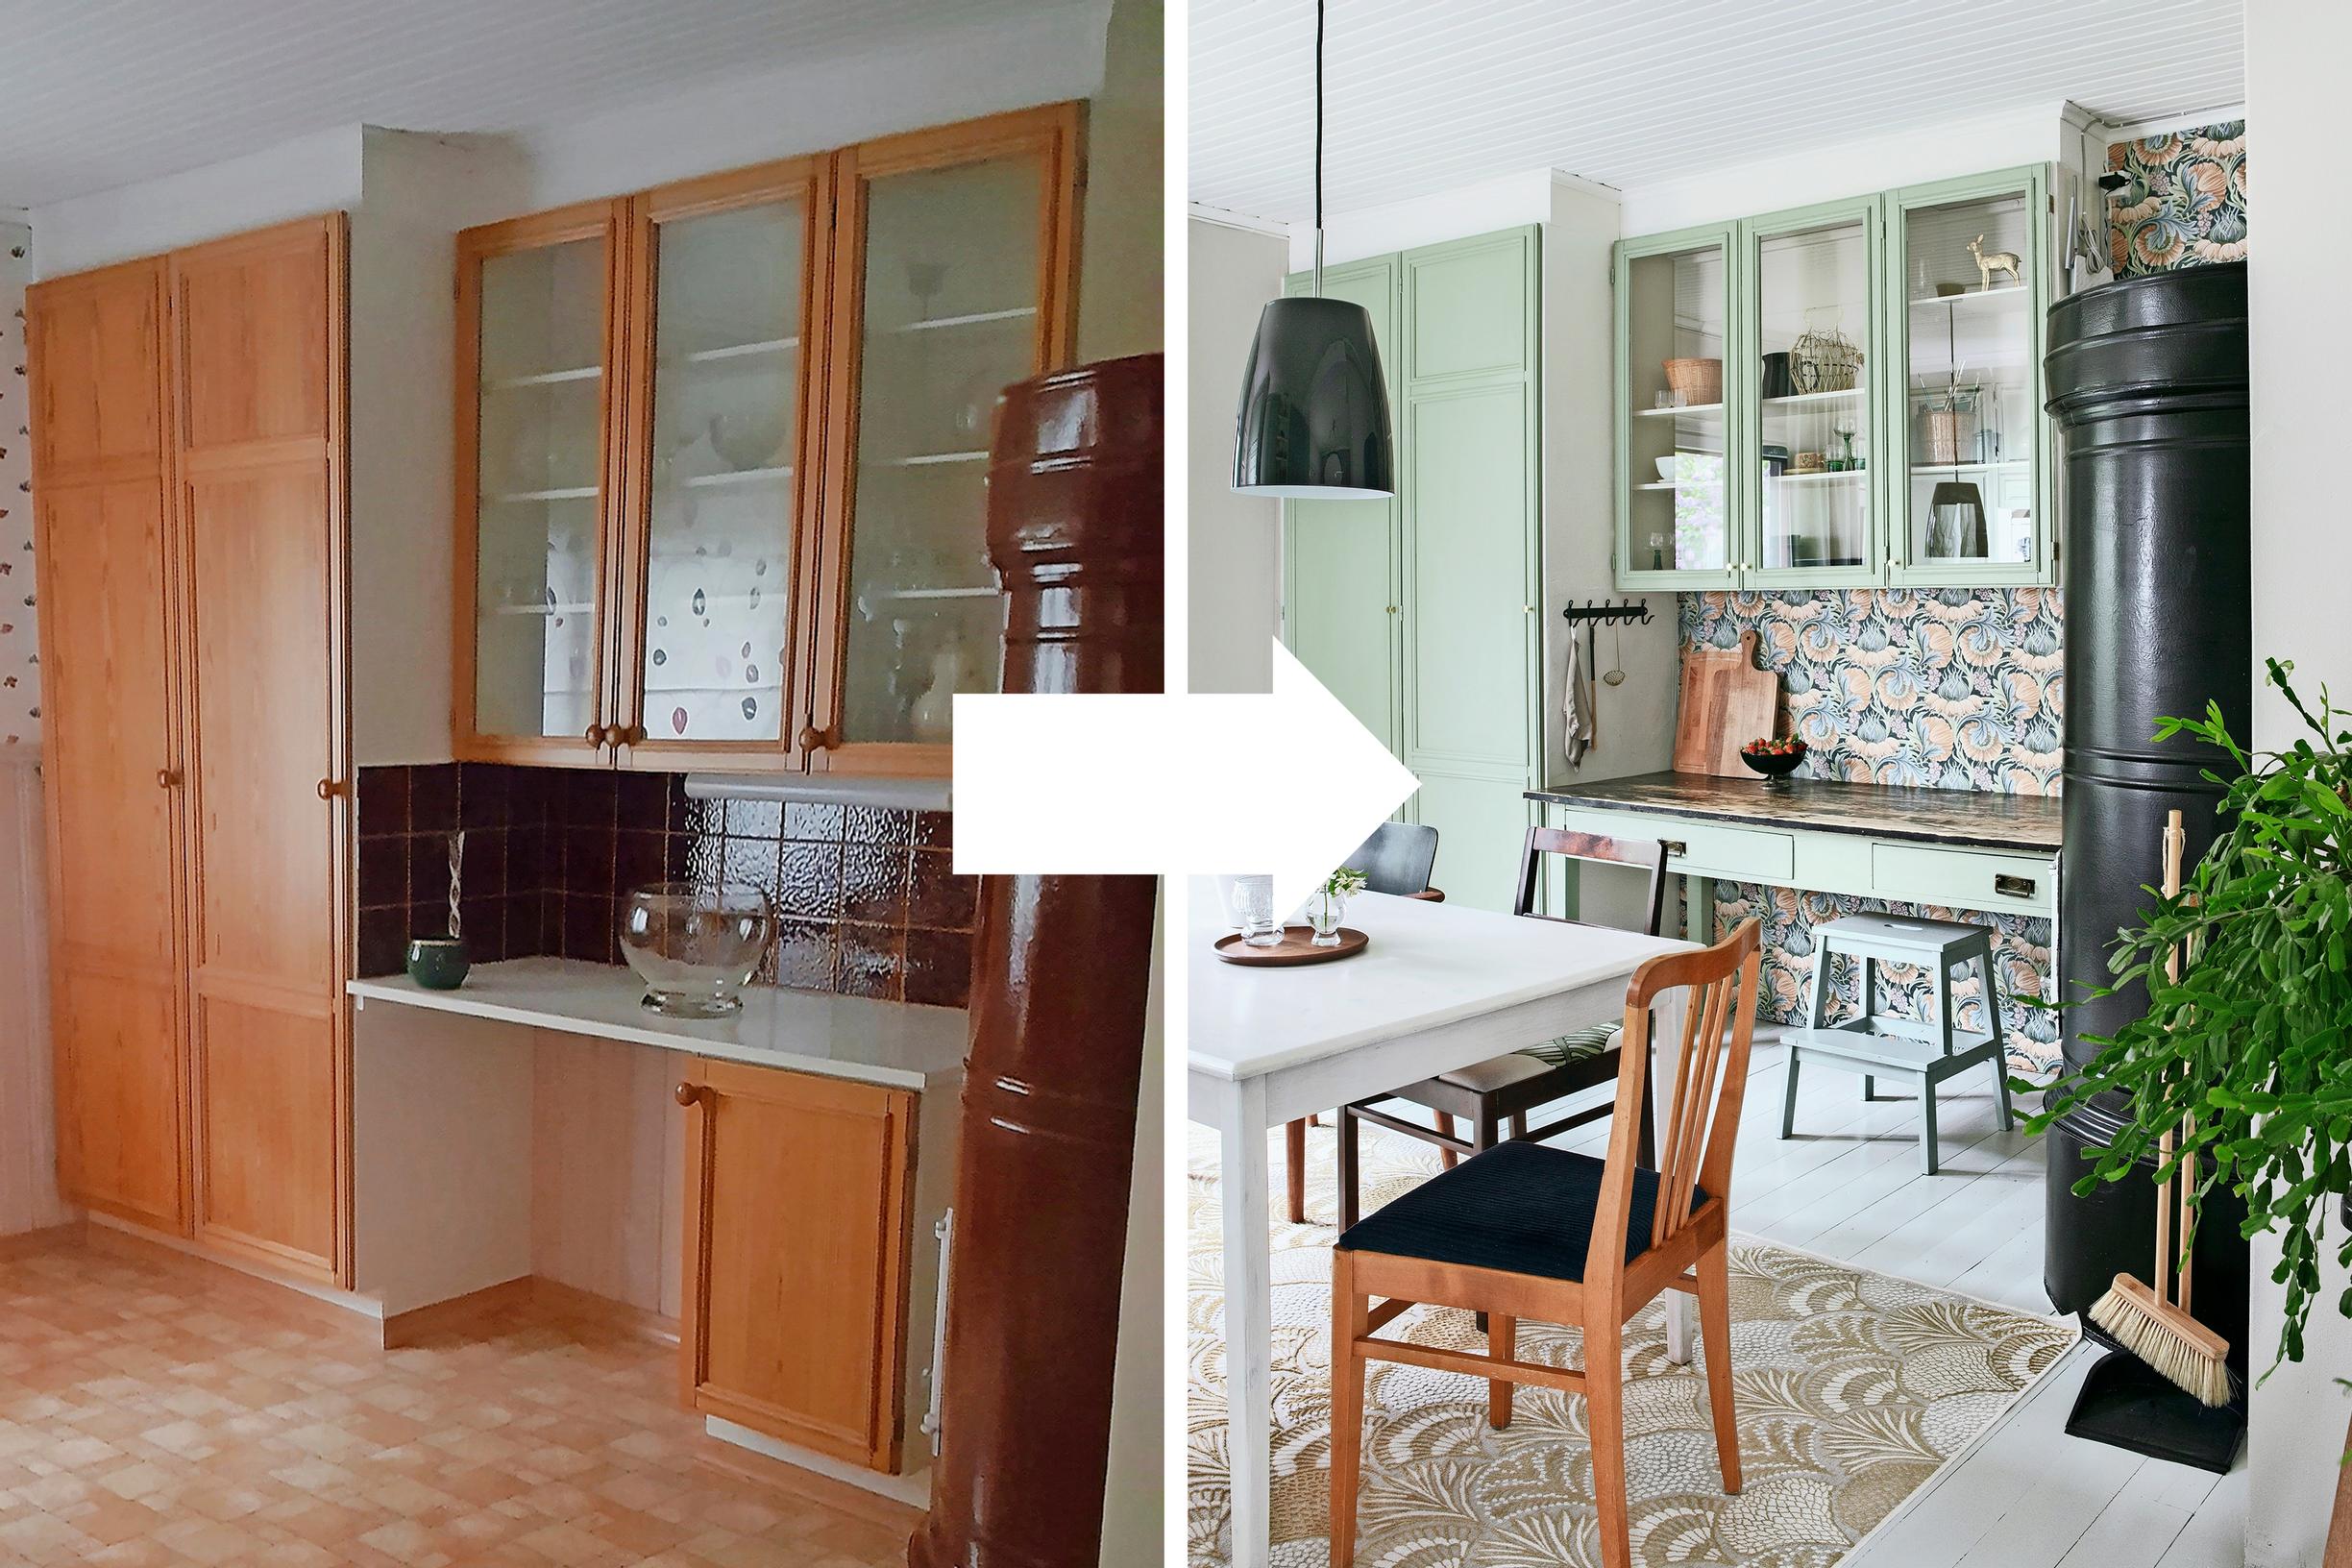
Veera Kuittinen from Hyvinkää, Finland, decided to update her kitchen on a whim. The pine cabinets were from the 1980s, but since everything was intact and functional, a fresh coat of paint and new handles did the trick. “The most expensive part of the renovation was replacing the countertops, sink, and faucet.”
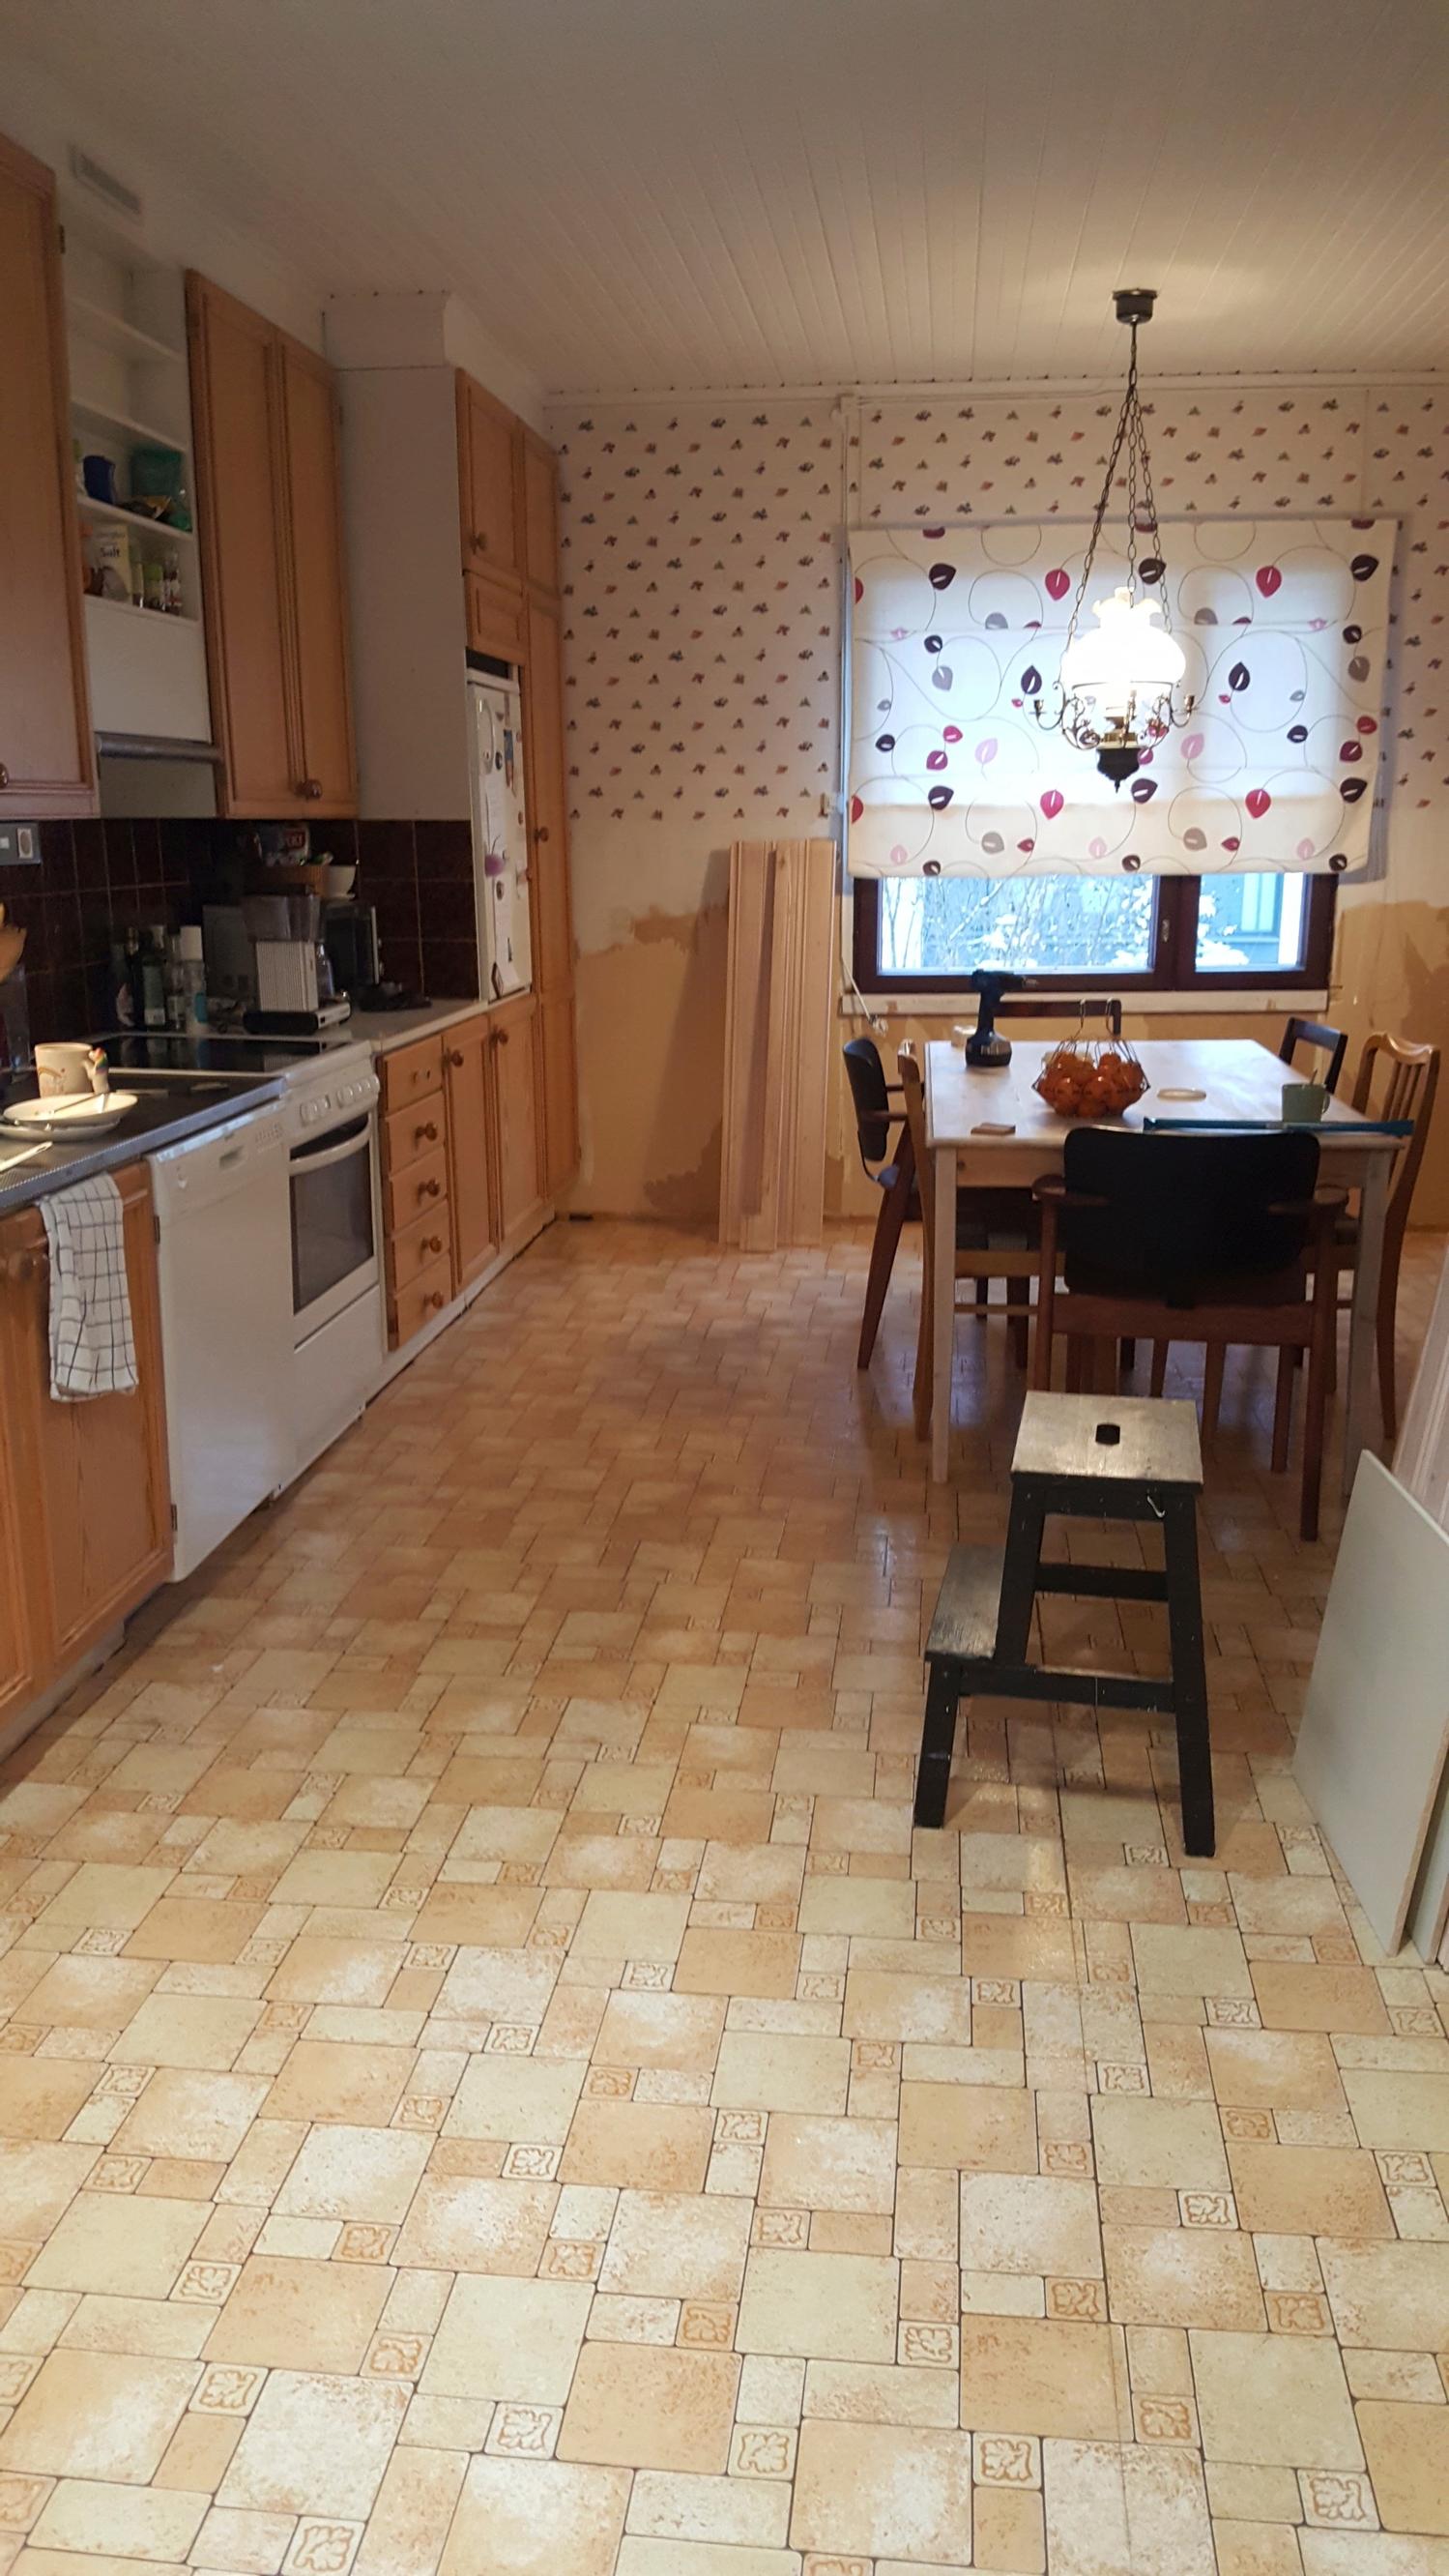
“This kitchen renovation started on a whim. My partner and I, along with our three kids, had only recently moved into a 1950s wooden house. The place hadn’t seen a renovation in decades, so we initially planned to tackle the most urgent rooms, like the bathrooms, first. But I tend to move fast, and one thing led to another.
I planned to remove some of the paneling in our house with a crowbar and then paint the walls. Then I got curious about what was underneath the patterned vinyl flooring in the kitchen. I pulled up one corner and got excited. Before long, I’d peeled away all the vinyl to uncover the original wood floor in excellent shape. It had been covered in the 1970s and stayed protected for decades.
Here’s what the kitchen looked like before the renovation:

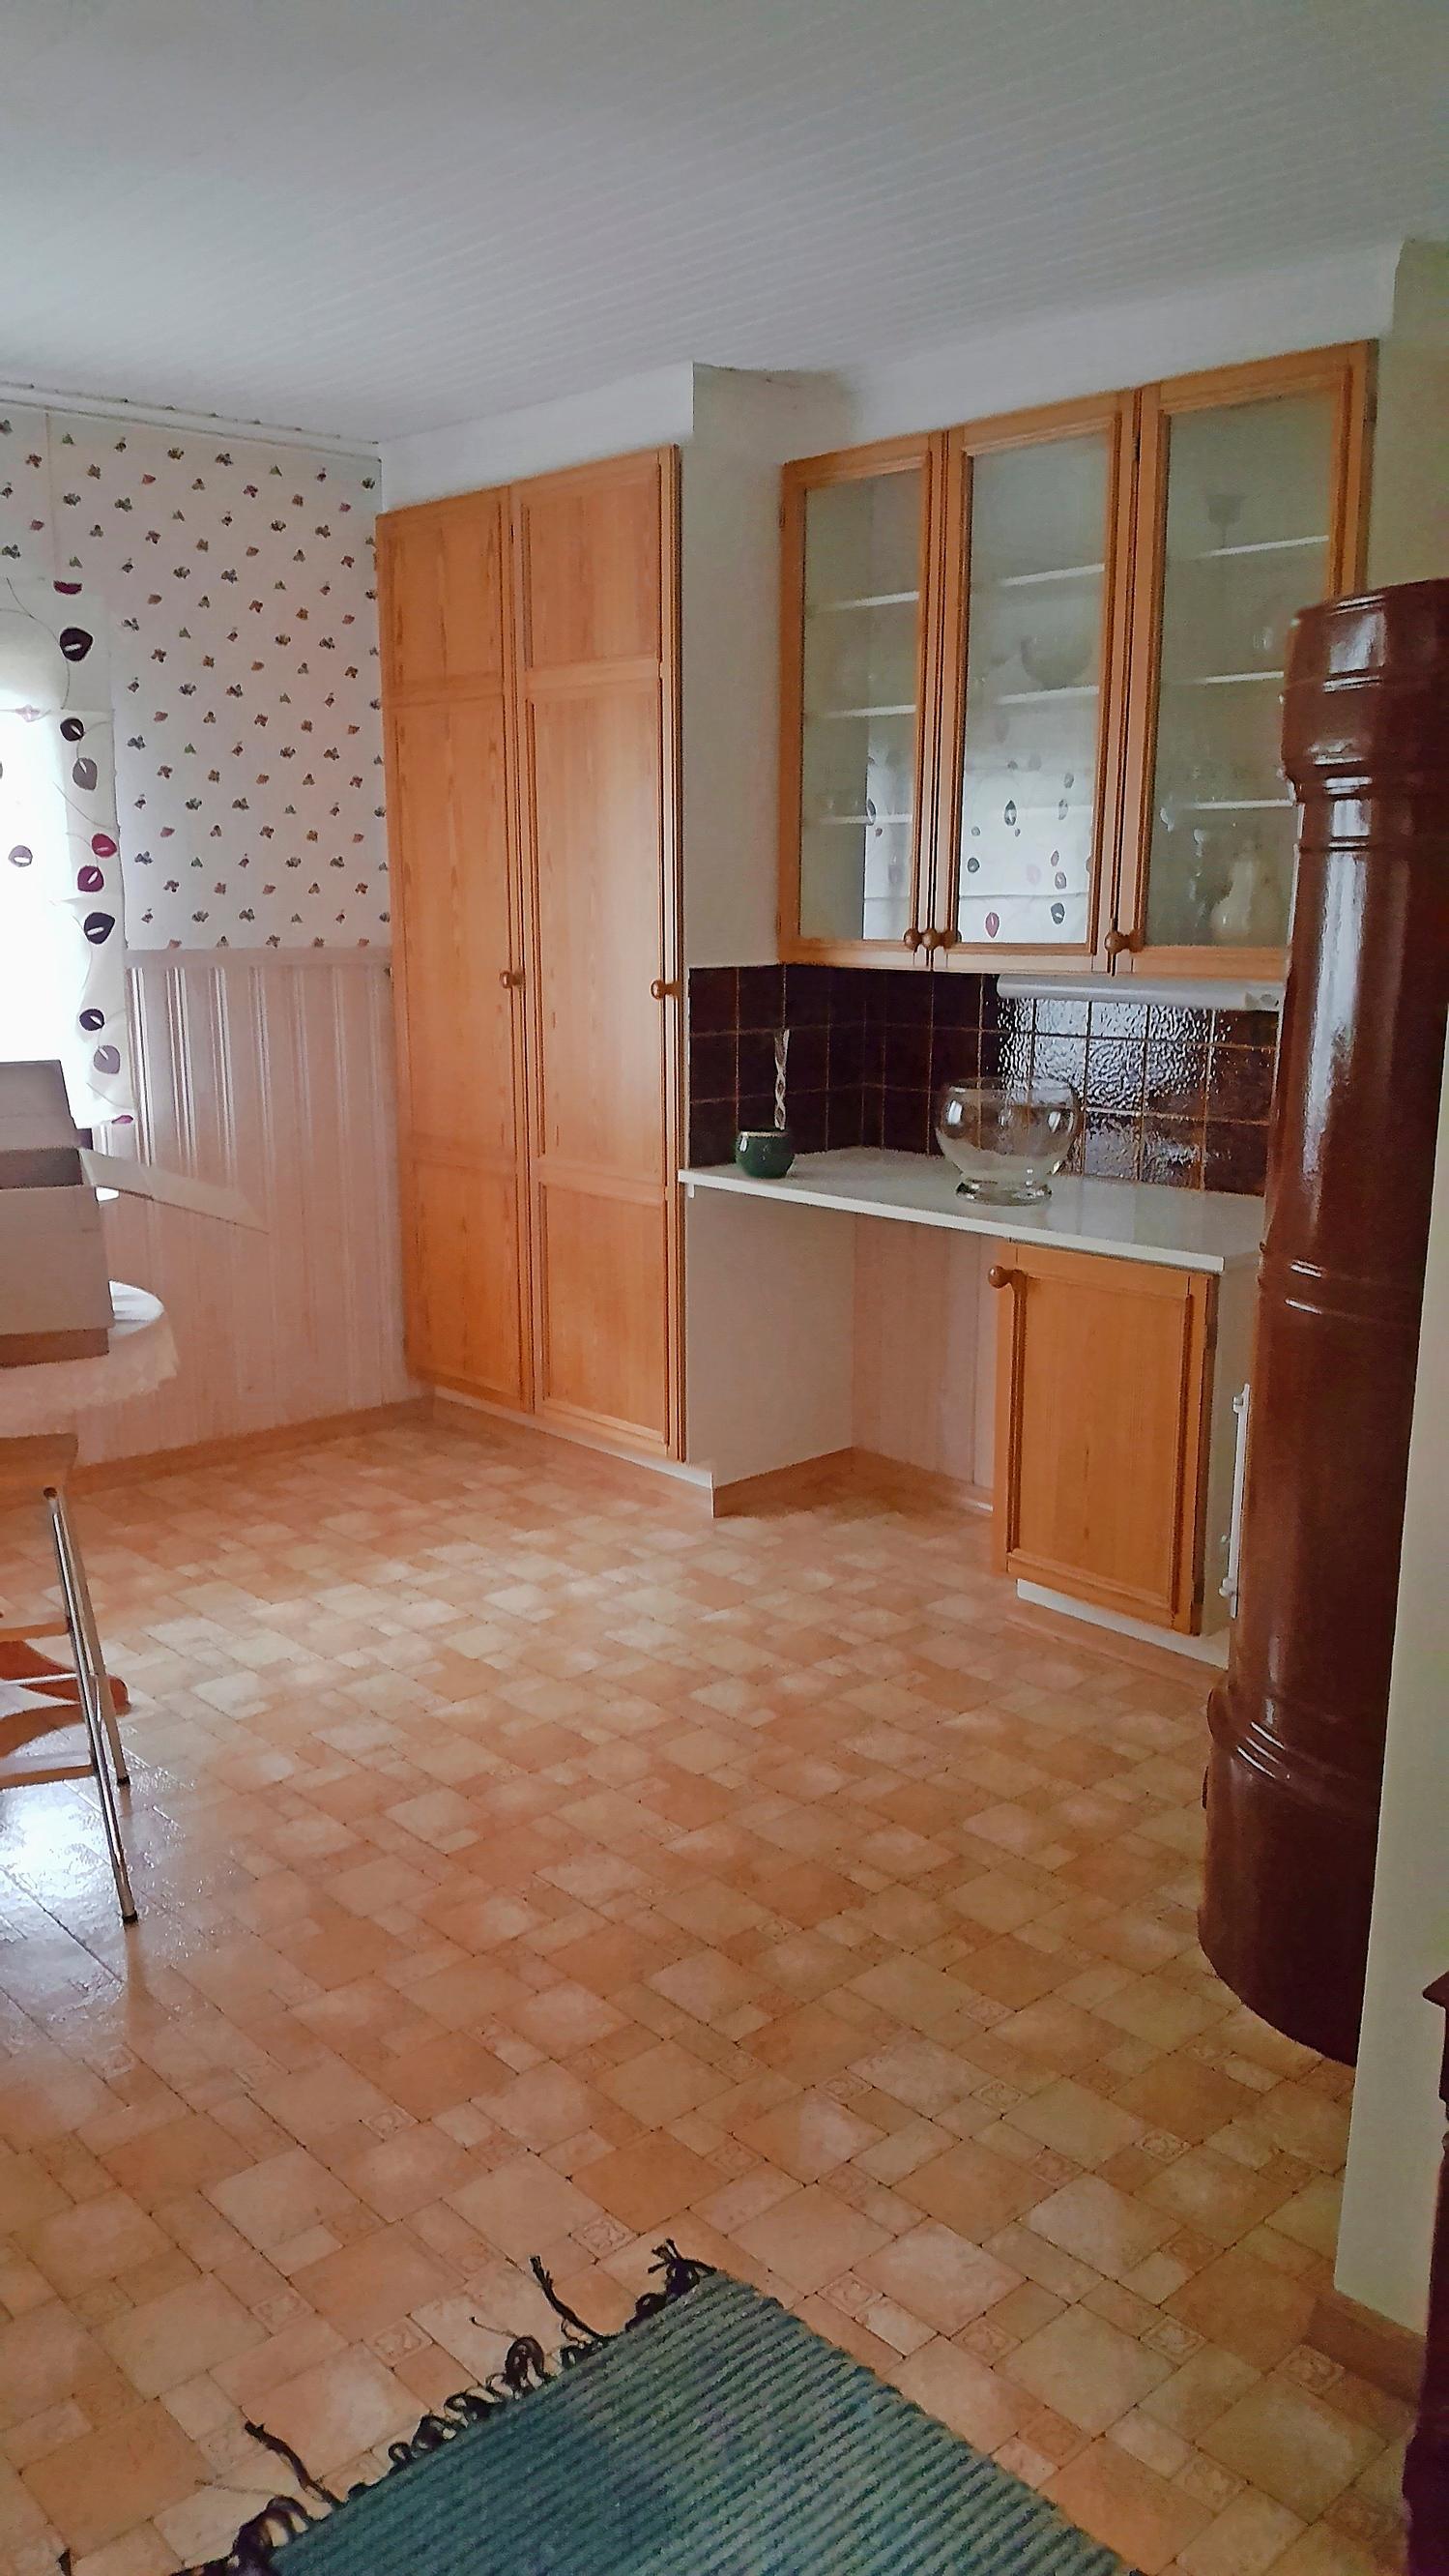


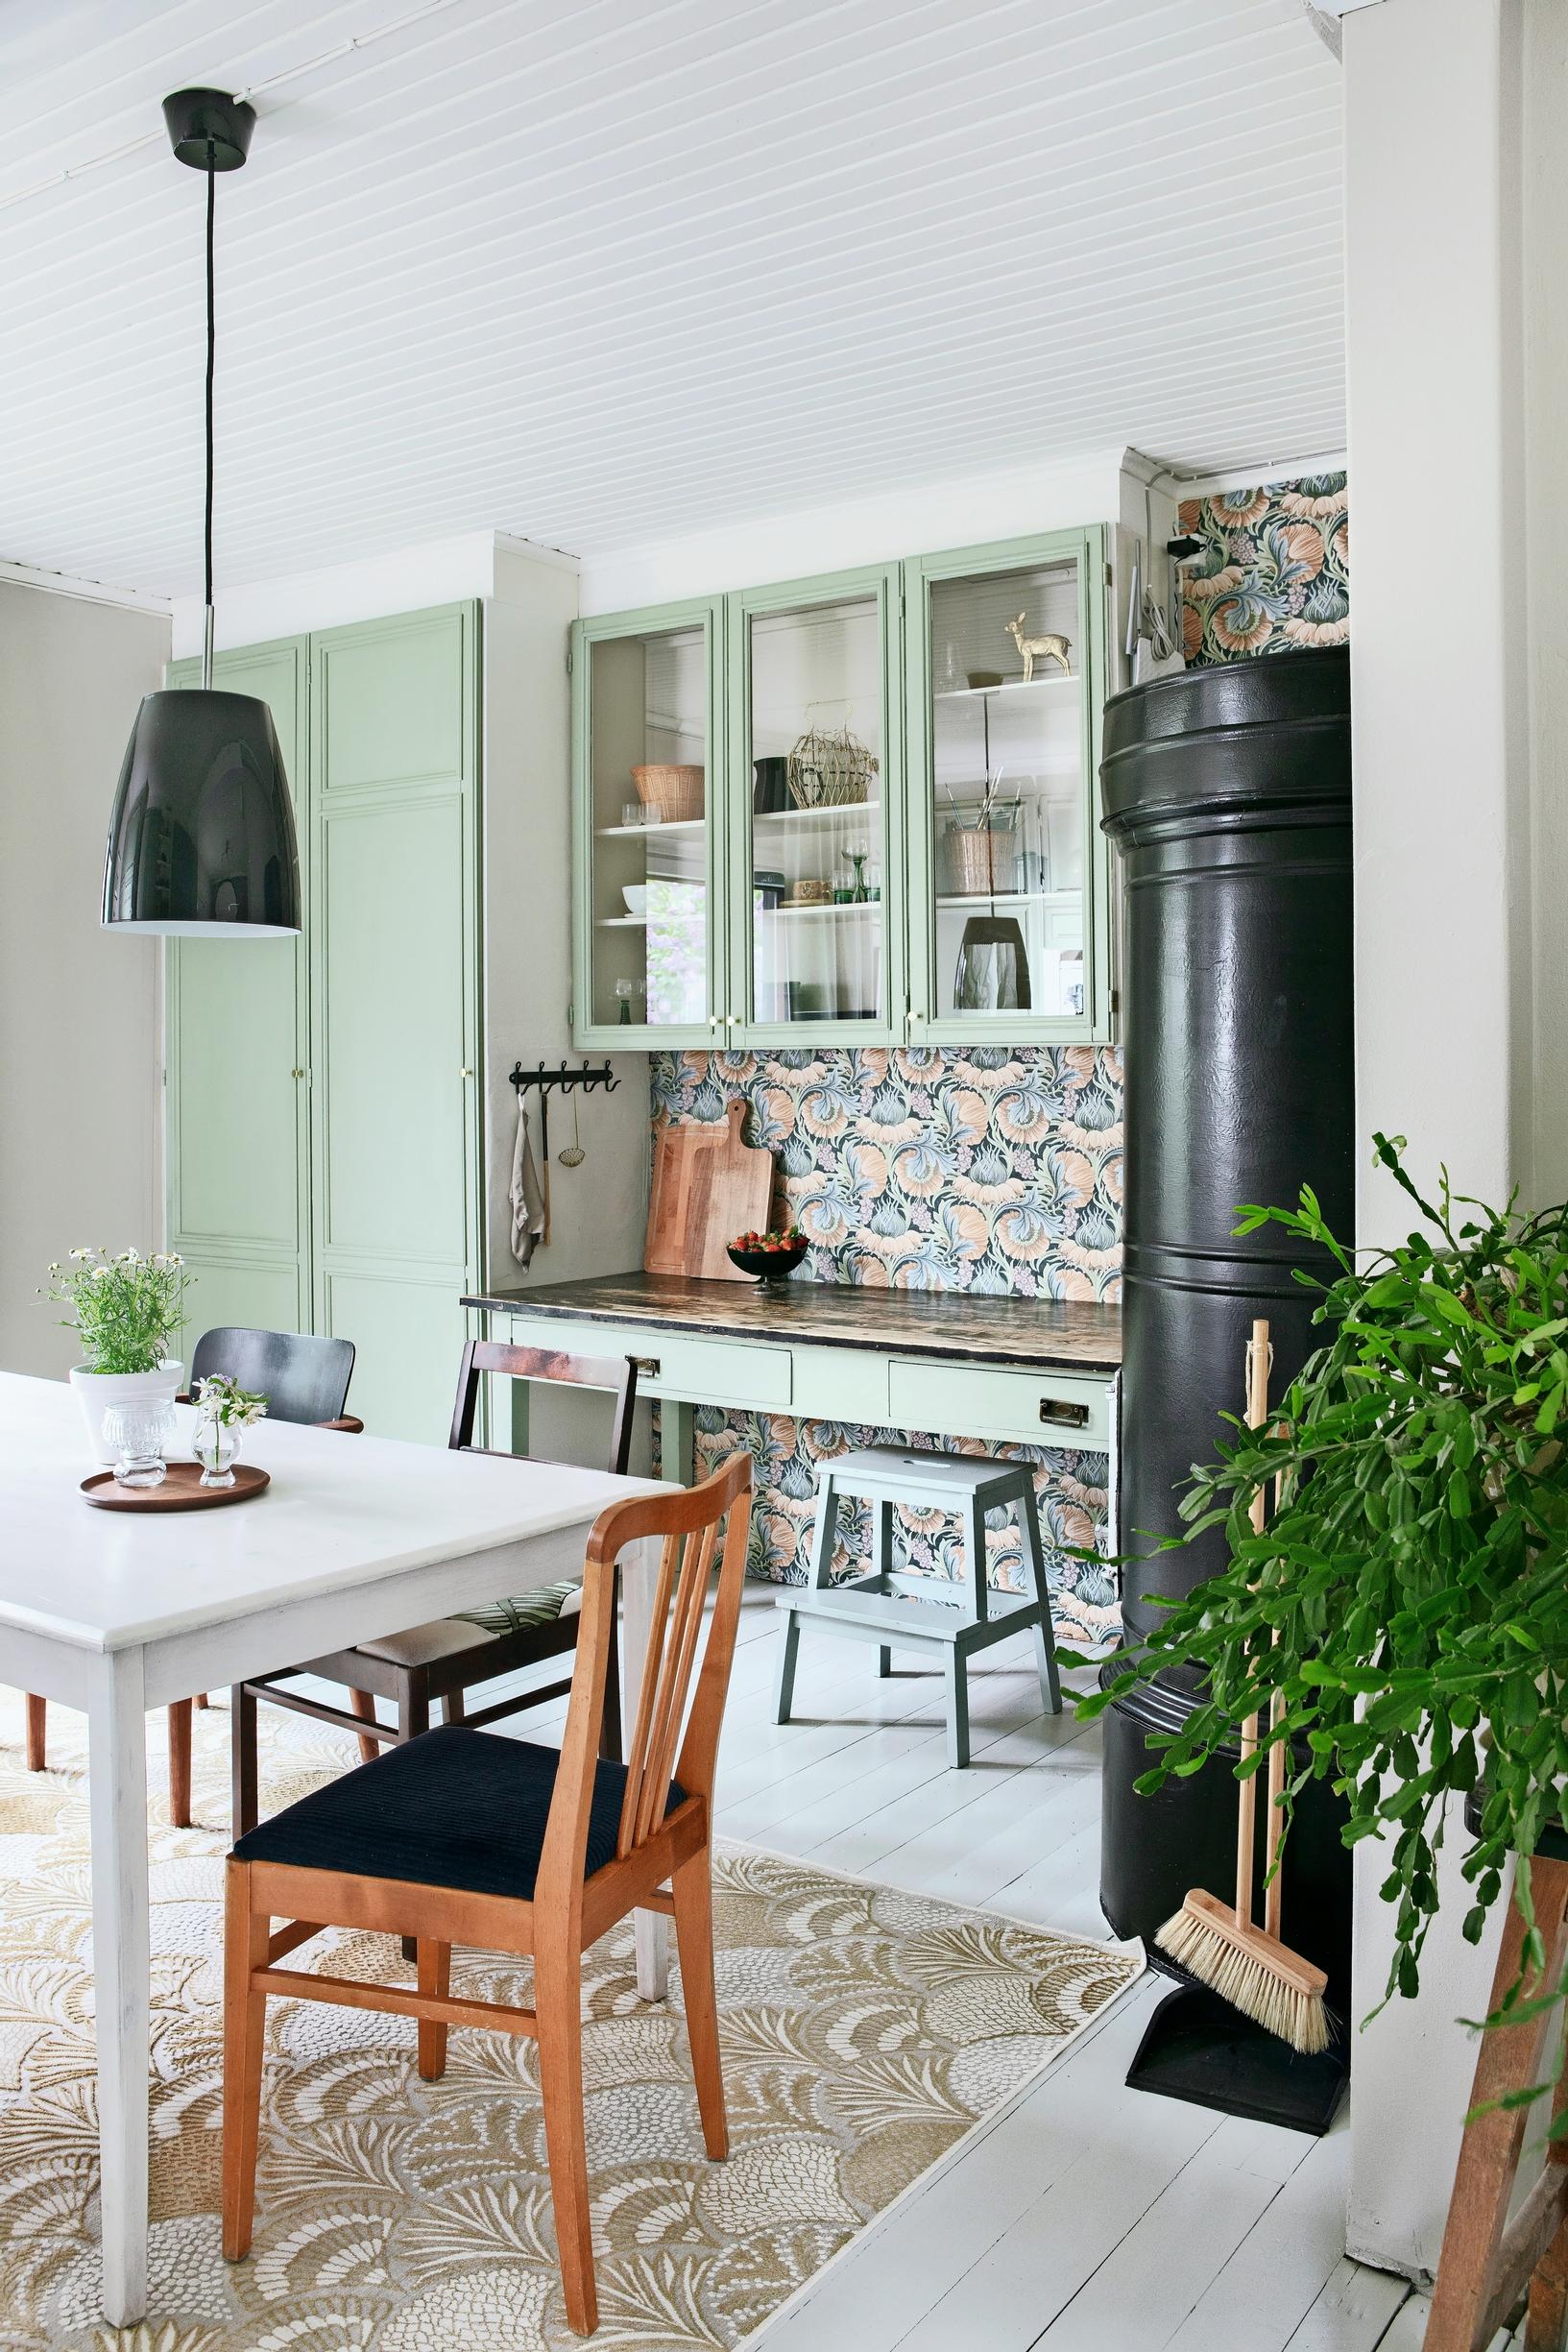
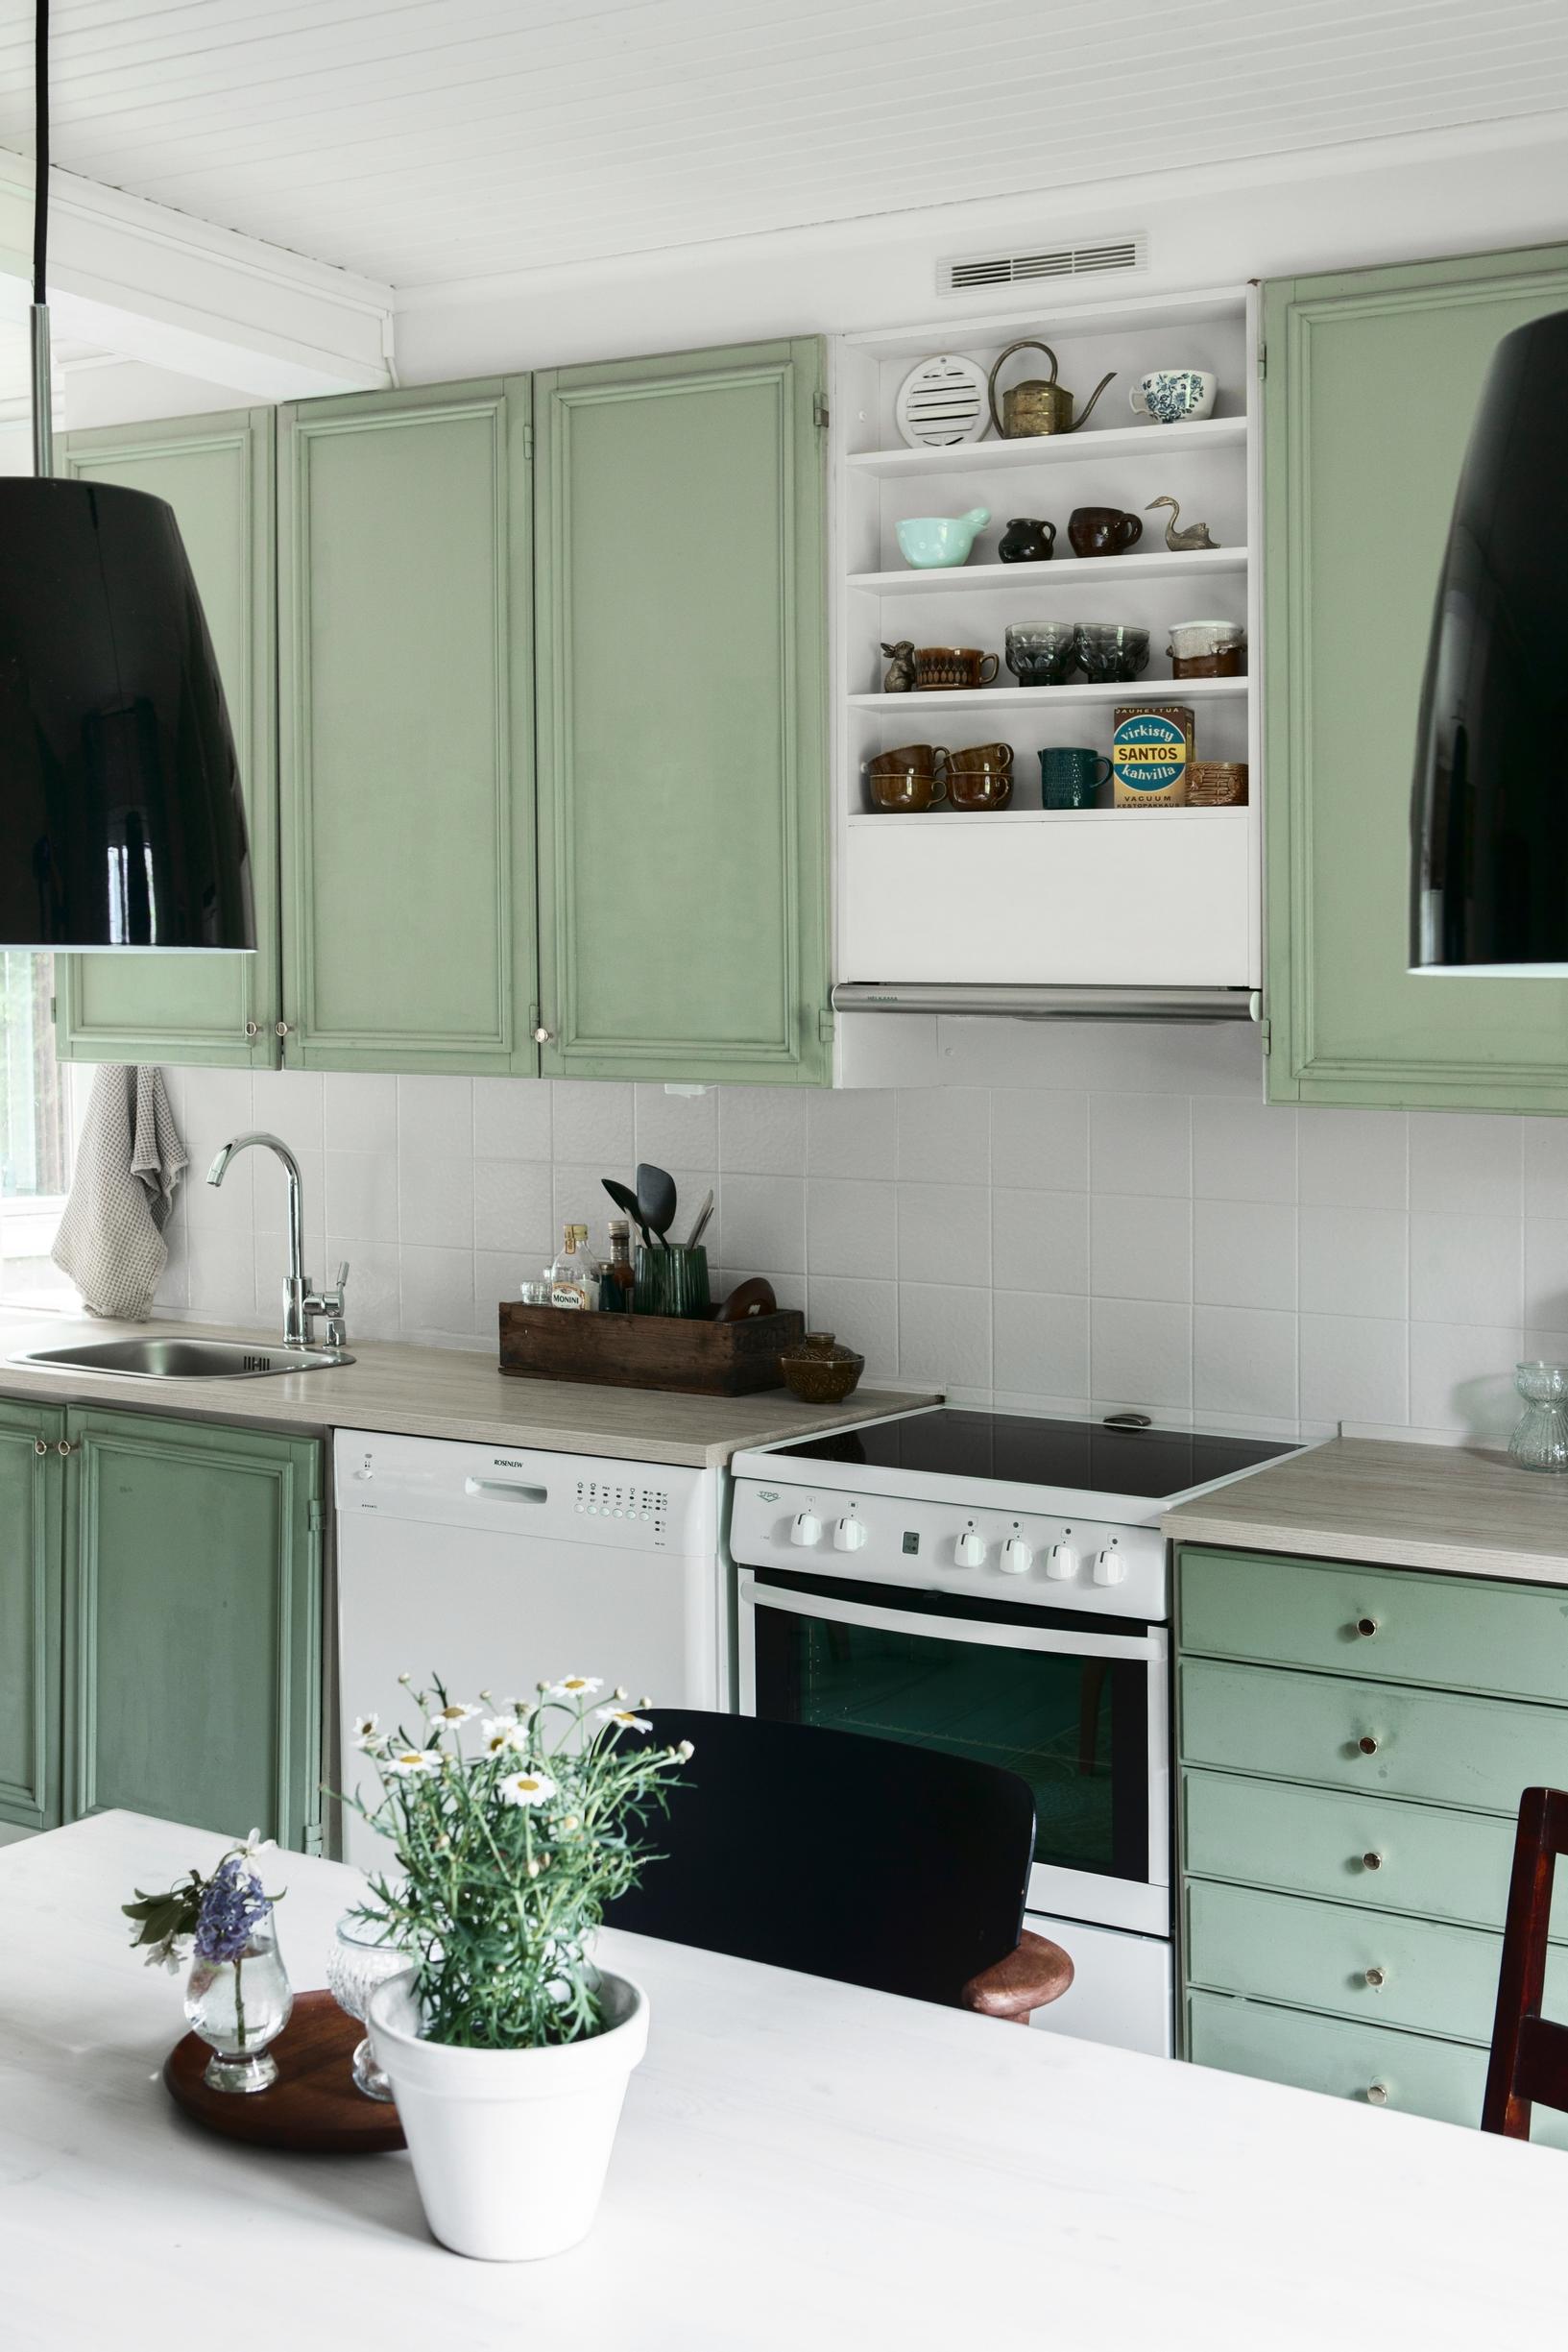
Over five days, we removed some old fixtures and painted the existing cabinets, walls, and floor. The pine cabinets were from the 1980s, but since they were all intact and functional, a fresh coat of paint and new knob handles did the job. We took down some upper cabinets and glass-front cabinets that were spread across multiple walls in the kitchen.
The most expensive part of the renovation was replacing the countertops, sink, and faucet. The previous countertops were drab metal ones that couldn’t be painted. However, we found an affordable laminate option from IKEA. At the same time, we painted the brown tiles in the backsplash.
“I love wallpaper, but my mother had always warned me not to choose a pattern that’s too busy or I’d grow tired of it. I decided to break that rule, and I’m so glad I did.”
I wanted some warmth in the kitchen, so I picked a sage green for the cabinets, a pale watery blue for the floor, and beige for the walls. After painting the cabinets and walls, I somewhat spontaneously chose the wallpaper from Rusta. I love wallpaper, but my mother had always warned me not to choose a pattern that’s too busy or I’d grow tired of it. I decided to break that rule, and I’m so glad I did. Even now, I’m not sick of the kitchen wallpaper—even though I’ve already re-wallpapered the kids’ rooms a couple of times.

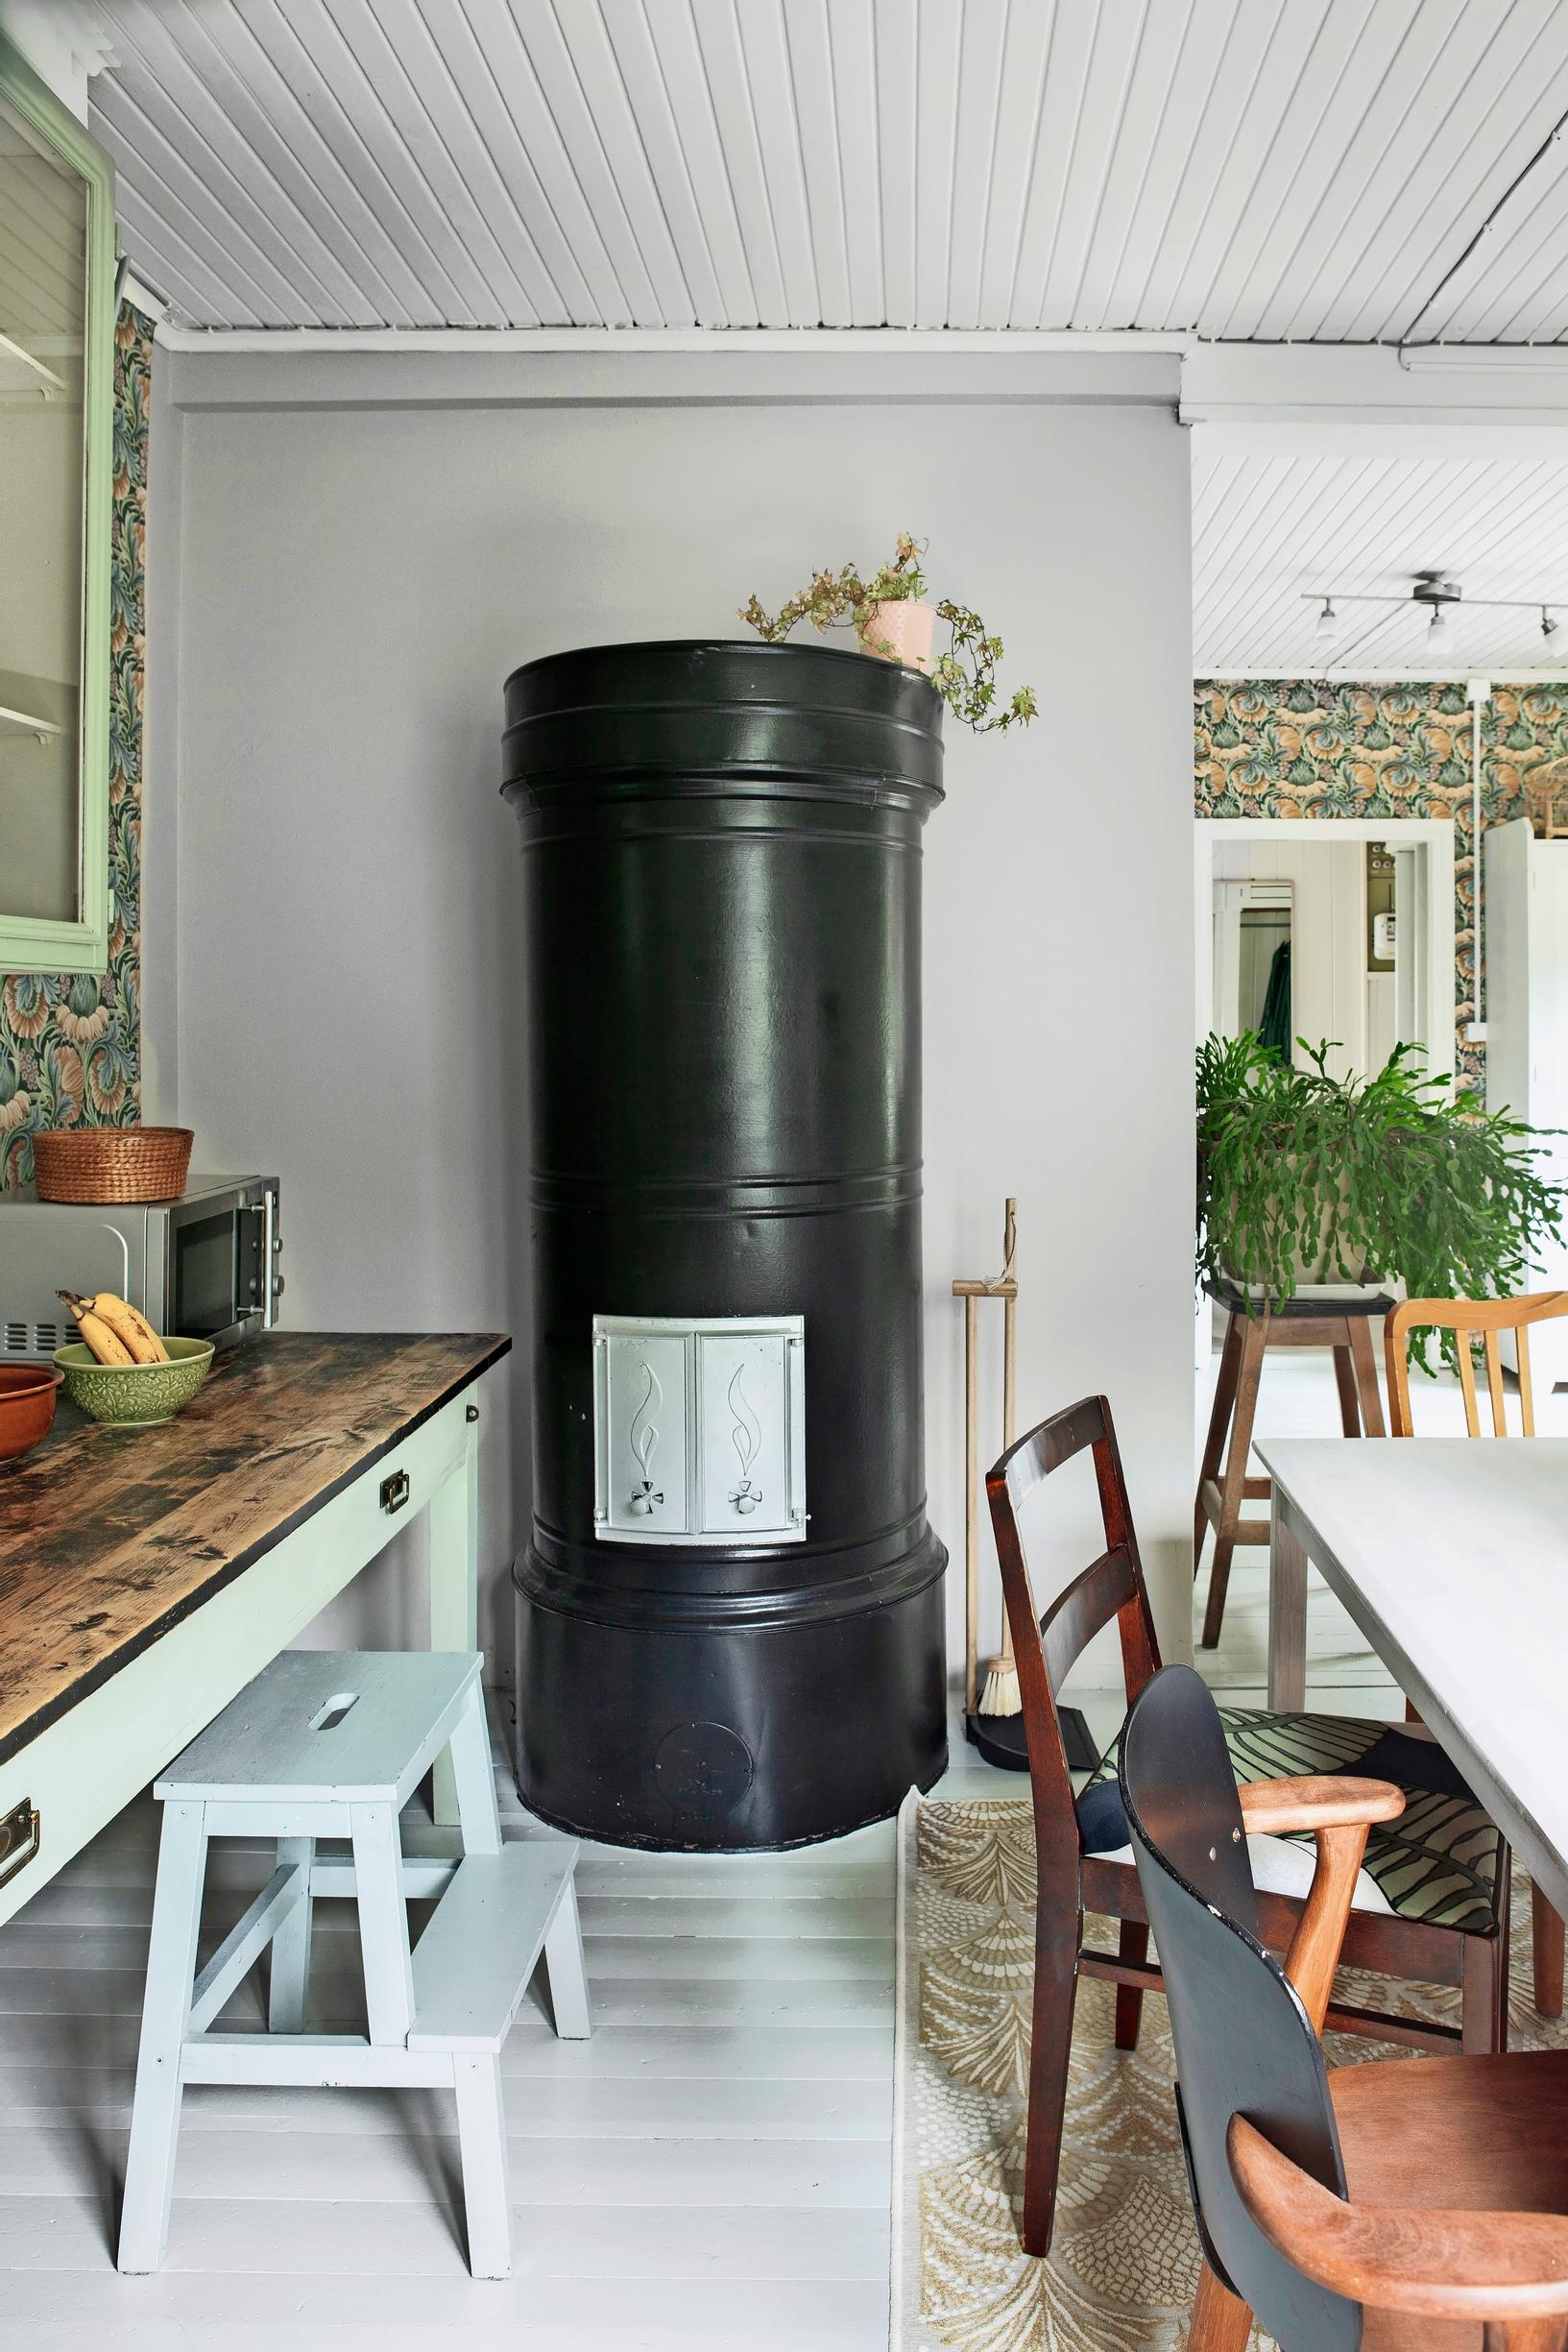
I’ve dreamt of a wood-burning stove since I was a child, and now we have both a stove and a masonry stove. They were brown, so we painted them black. All the masonry stoves in the house had electric heating elements installed. We wanted to restore them to their original purpose, and for safety reasons, we had to remove the old glass-front cabinet near the kitchen stove. These days, the masonry stove and the wood-burning stove are my favorite features in the kitchen, and in winter, one or the other is lit every single day.
The kitchen décor is always evolving, but I rarely buy anything new. I pick up pieces with beautiful shapes at thrift stores—especially vases and lamps—and upcycle them if needed. I restore furniture and swap items back and forth with my mother. For example, we have two desks in the kitchen that came from my childhood home. My parents gave them to me, and they fit perfectly here. I painted them the same shade as the cabinets.
I’m really happy with the kitchen. It’s spacious because at some point, someone has opened it up to the adjacent bedroom. If I had to change something, I’d repaint the cabinets. I used Rust-Oleum chalk paint with a wax finish on top. I may have applied the wax too late because it hasn’t protected the paint enough, and the cabinets have permanent marks from the kids’ greasy fingerprints. It bothers me a little, though people often compliment the kitchen’s color. Next time, I’ll use Tikkurila paint. I’m waiting to see if a new trendy color comes along that might work.


Cost of the renovation
- Countertop €120
- Sink €30
- Faucet €30
- Handles €50
- Chalk paint €60
- Wall paint €20
- Floor paint €40
- Wallpaper €60
Total: €410