Just two pieces of wood! Here’s how to make a beautiful wall shelf
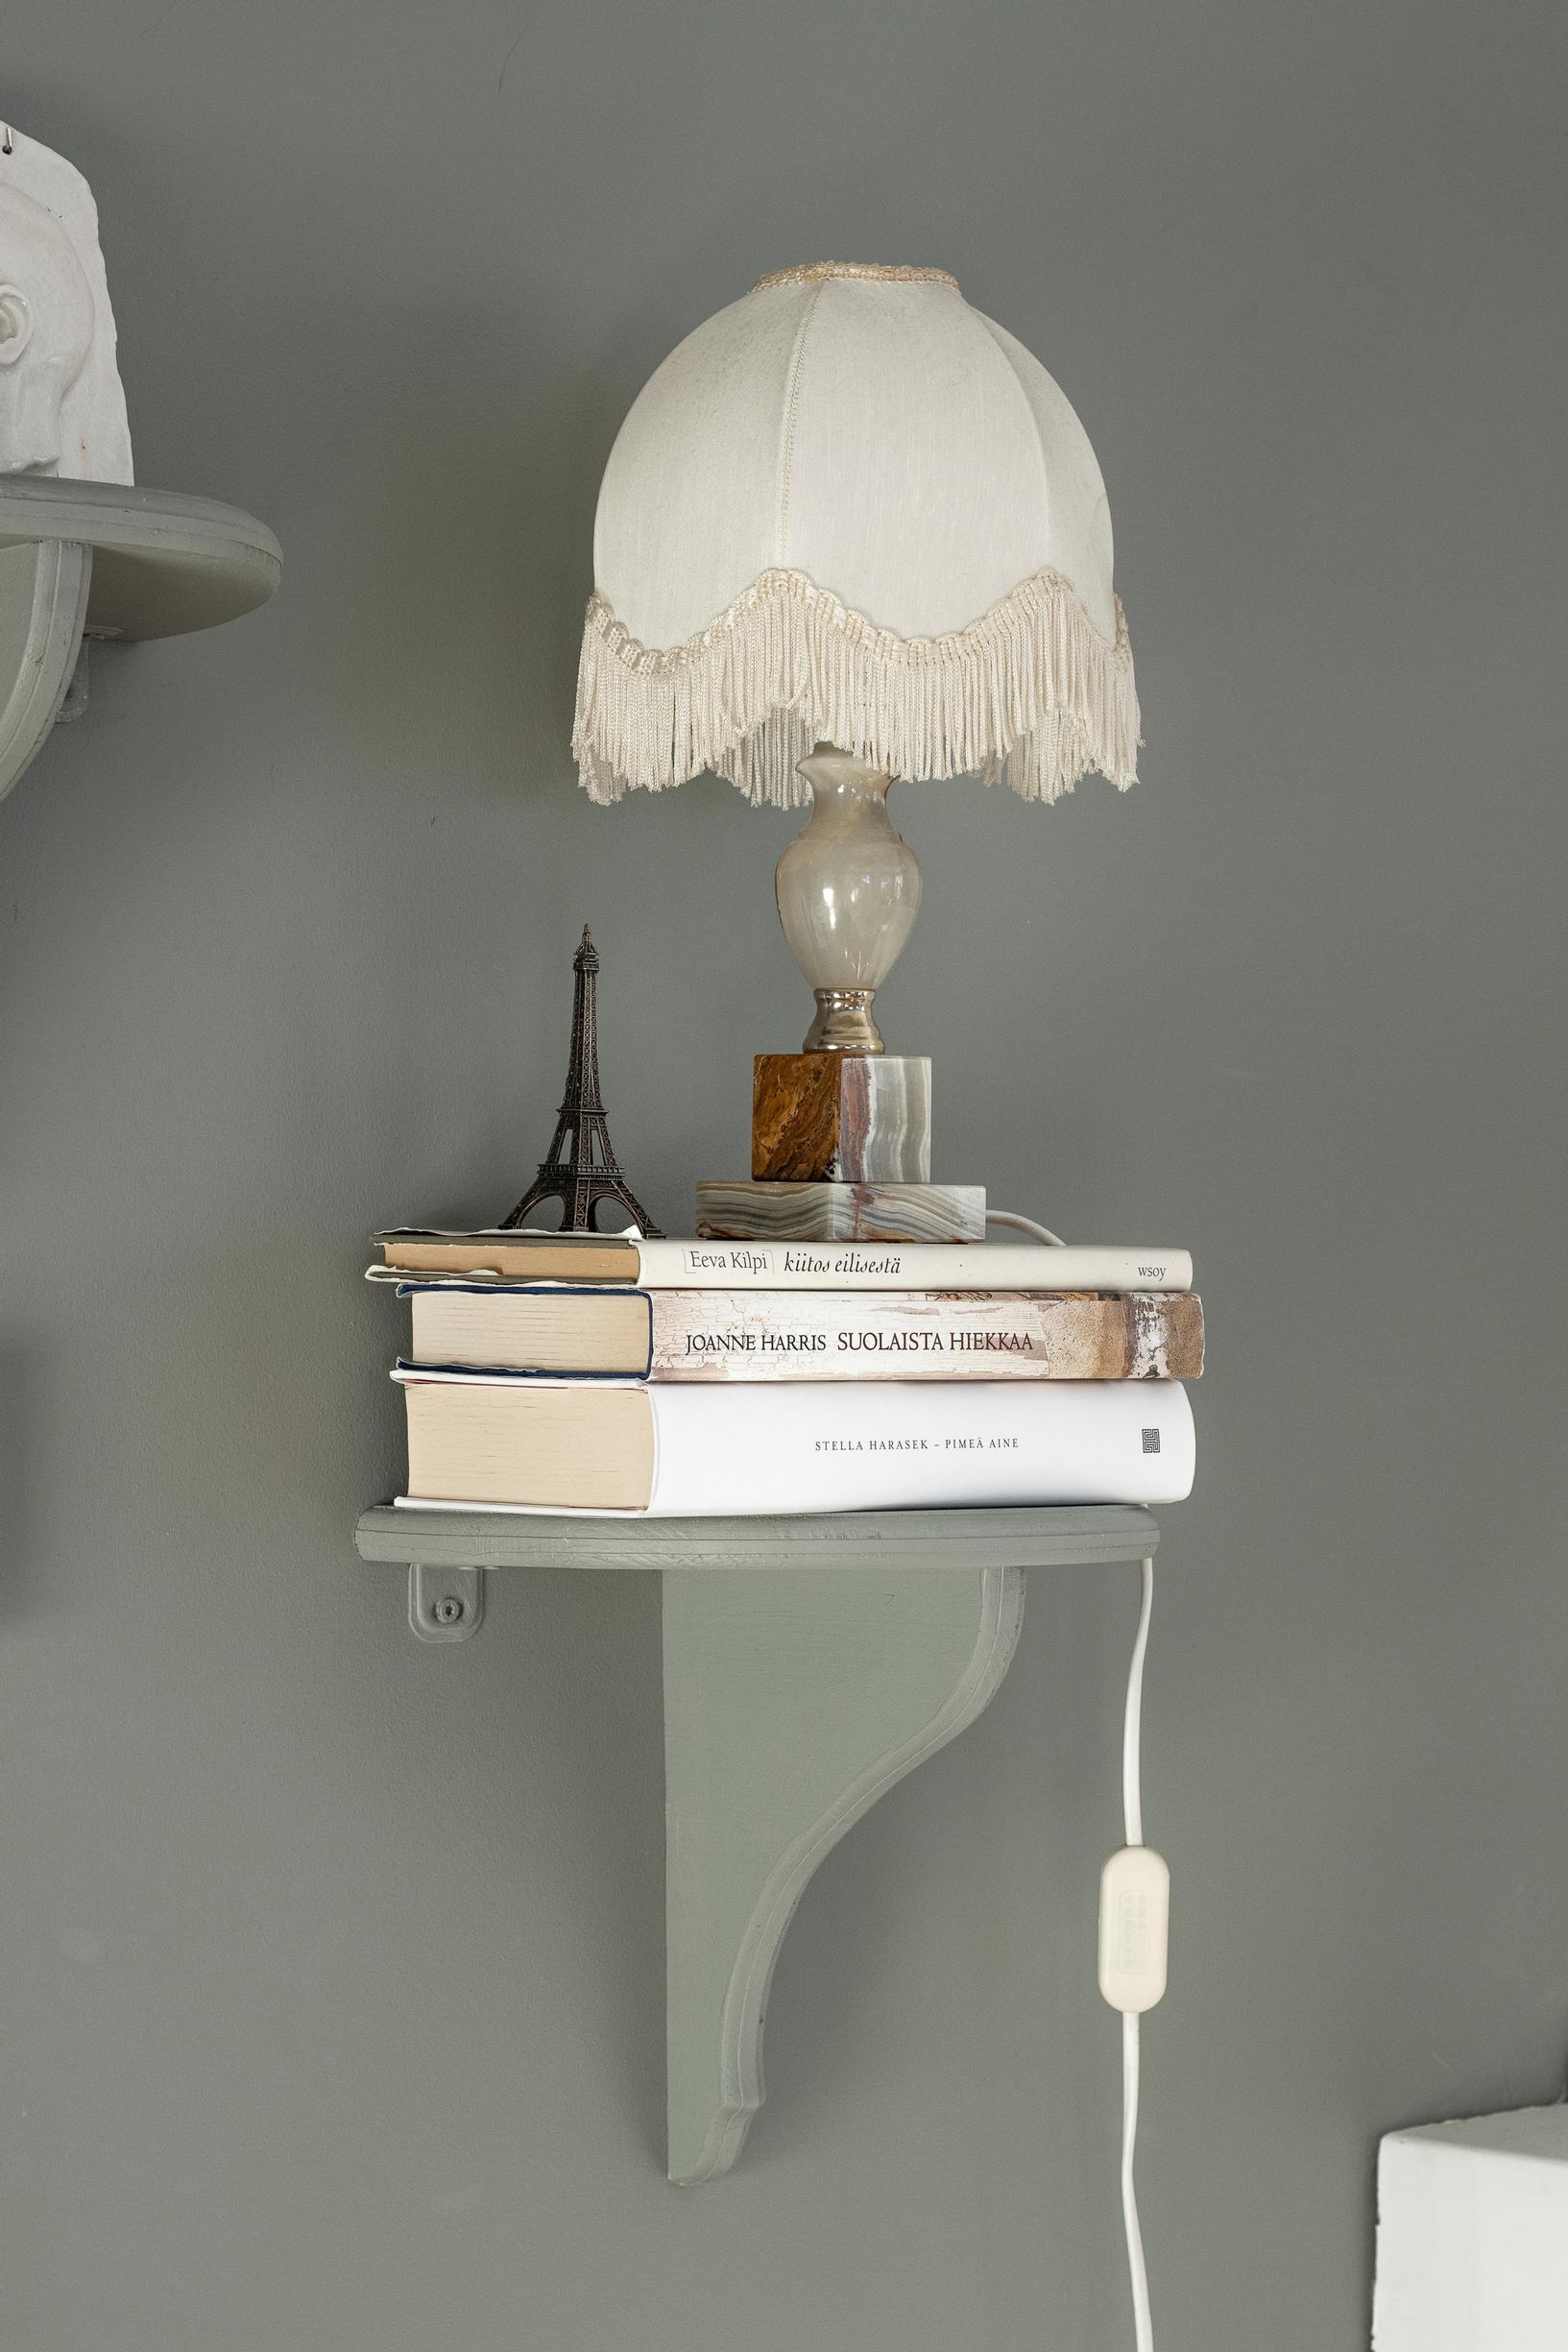
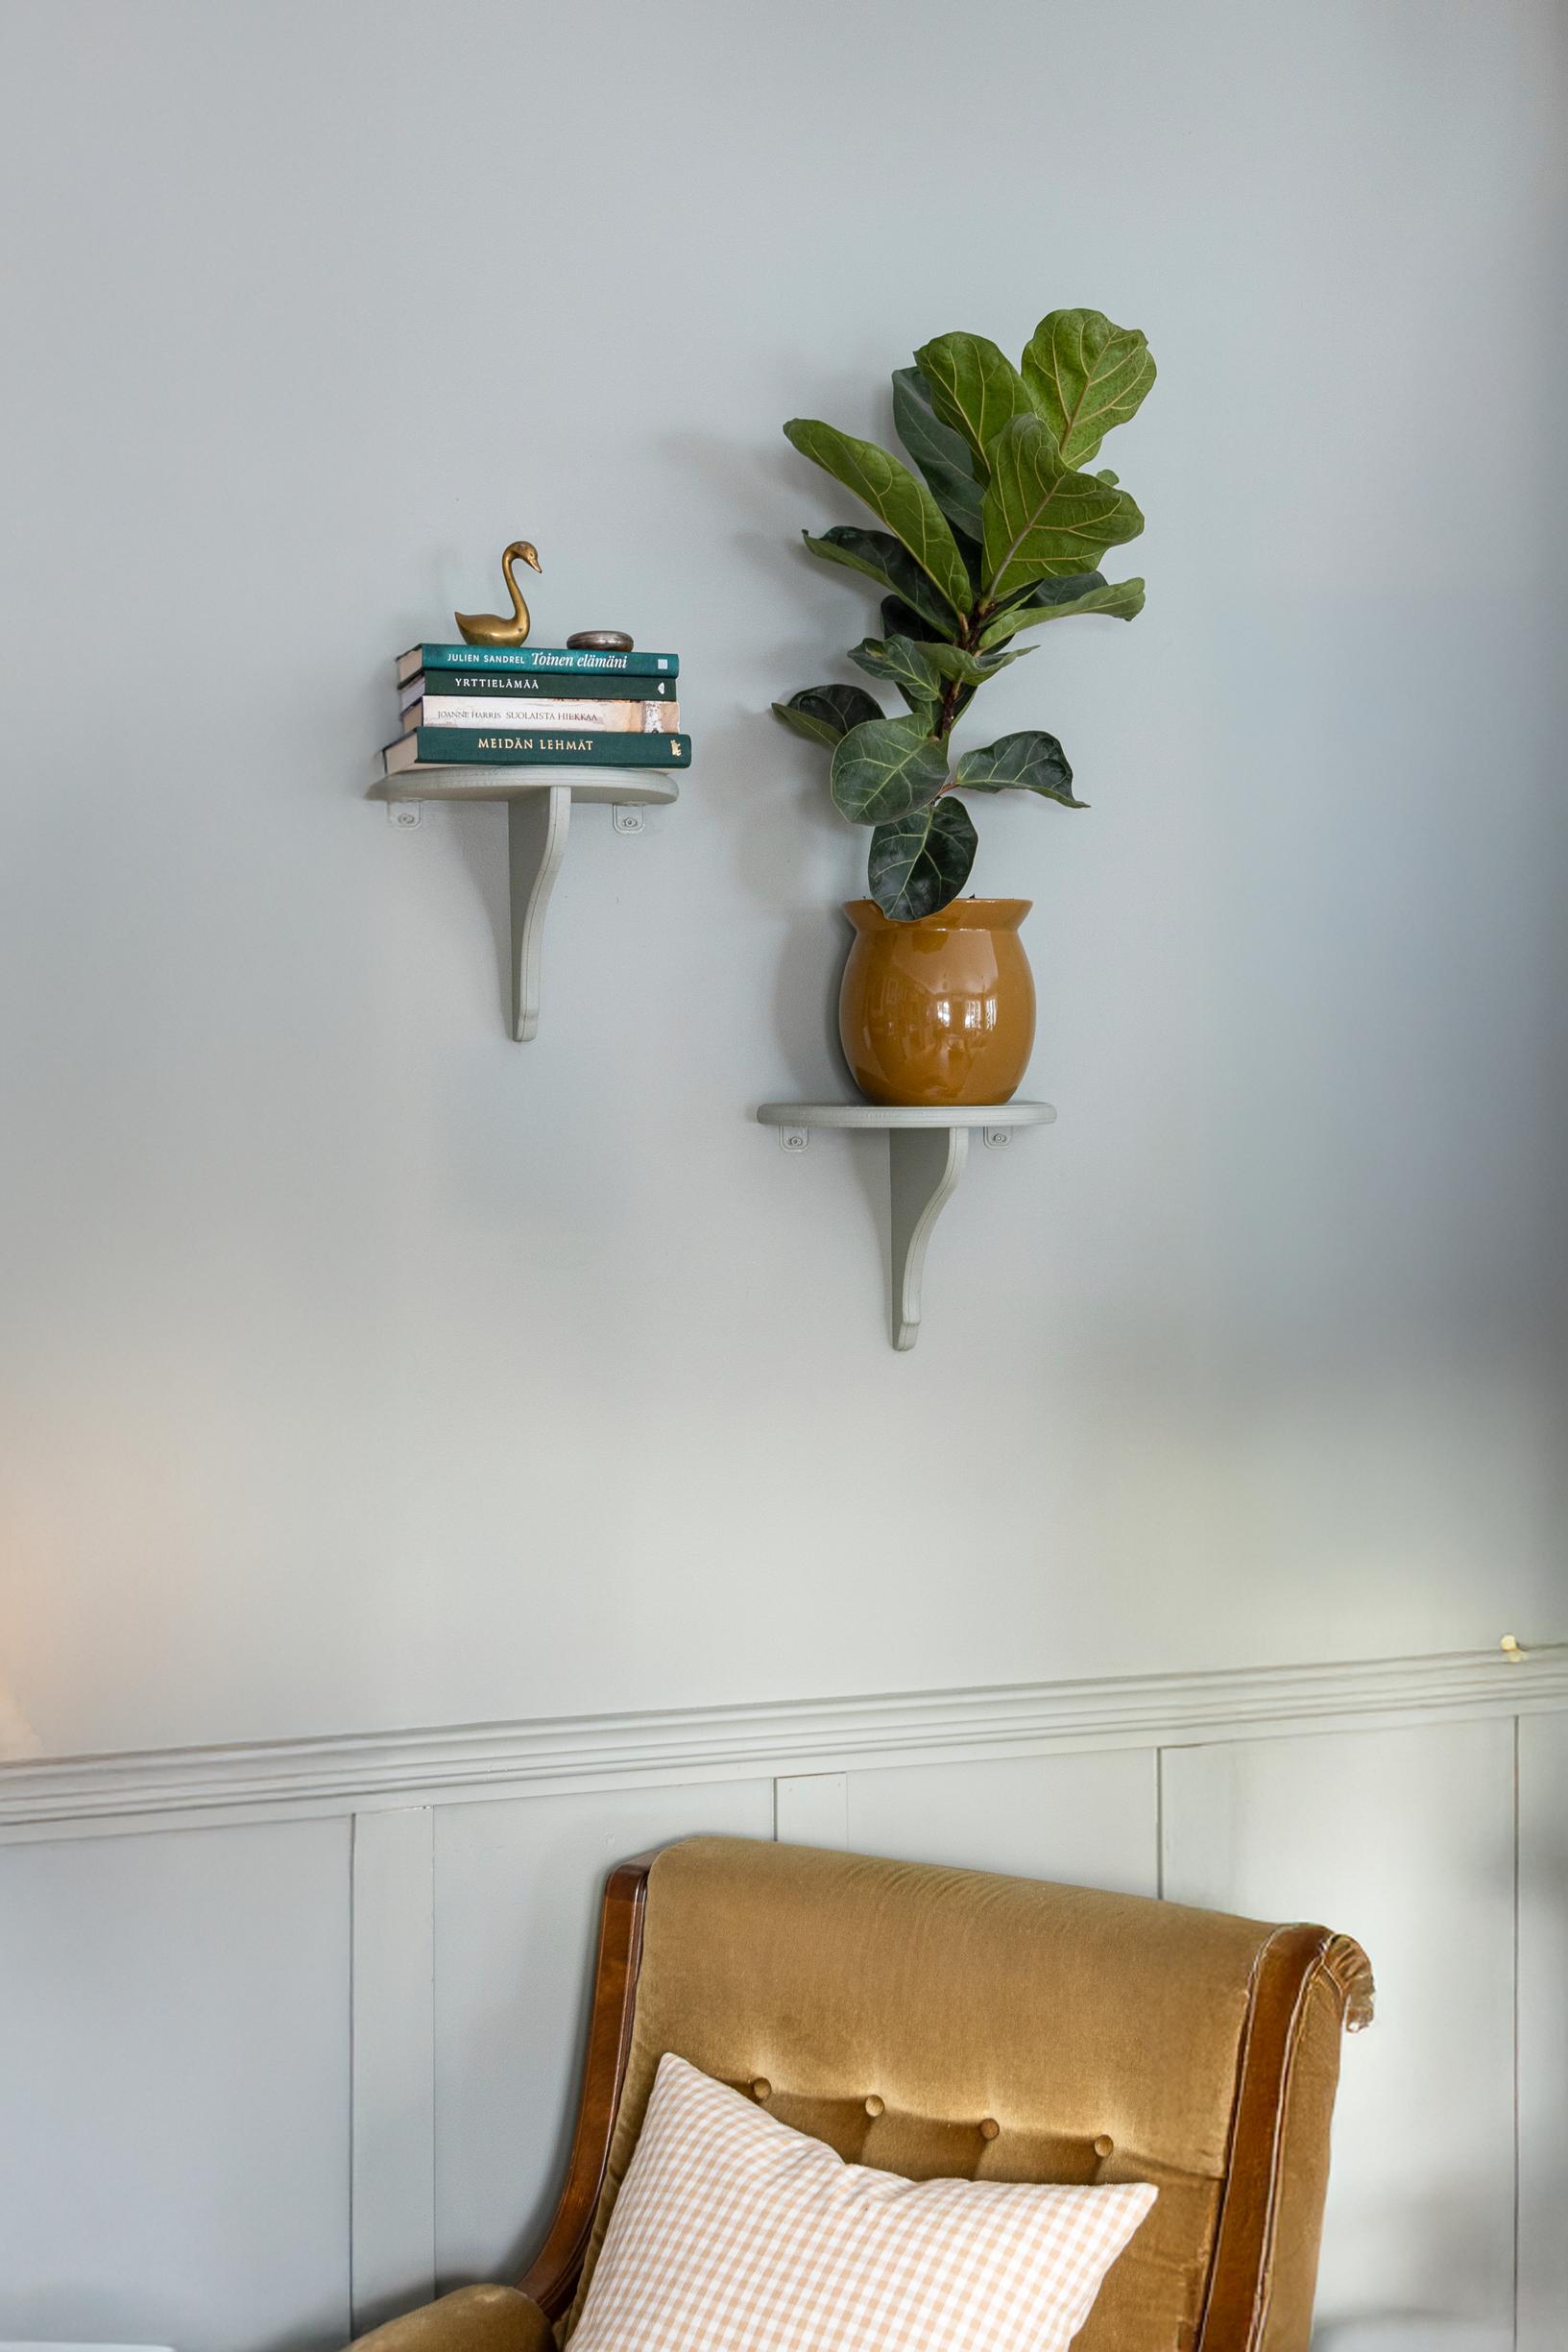
A wall shelf always comes in handy! You'll only need two pieces of wood to build this simple shelf. Use it to hold whatever you like: a lamp, a plant, a stack of books — you name it.
Two-piece wall shelf—supplies:
- Laminated board (18 mm thick)
- Tape measure and pencil
- Jigsaw and sandpaper
- Drill driver and screws (40 mm)
- Furniture paint
- A small paintbrush suitable for furniture paint
- Wood glue
- 2 furniture brackets (30 x 30 x 26 mm)
- (Router)
- (Putty knife and quick filler)
Two-piece wall shelf—instructions:

1. Draw a shelf of your desired size and shape on sturdy cardboard. The shelf has two parts that are screwed together. For inspiration, check Pinterest or vintage interior styles.
2. Place the base part of your cardboard template in the board’s corner for a 90-degree angle. Then align the shelf portion of the template with the board’s edge for a straight side. Trace both pieces with a pencil.
3. Saw the pieces with a jigsaw. Cut slightly outside the line so you have room to sand. You can add a decorative edge with a router, leaving the sides that face the wall or each other un-routed. Sand both pieces. For a simpler look, skip the router and just sand the pieces.

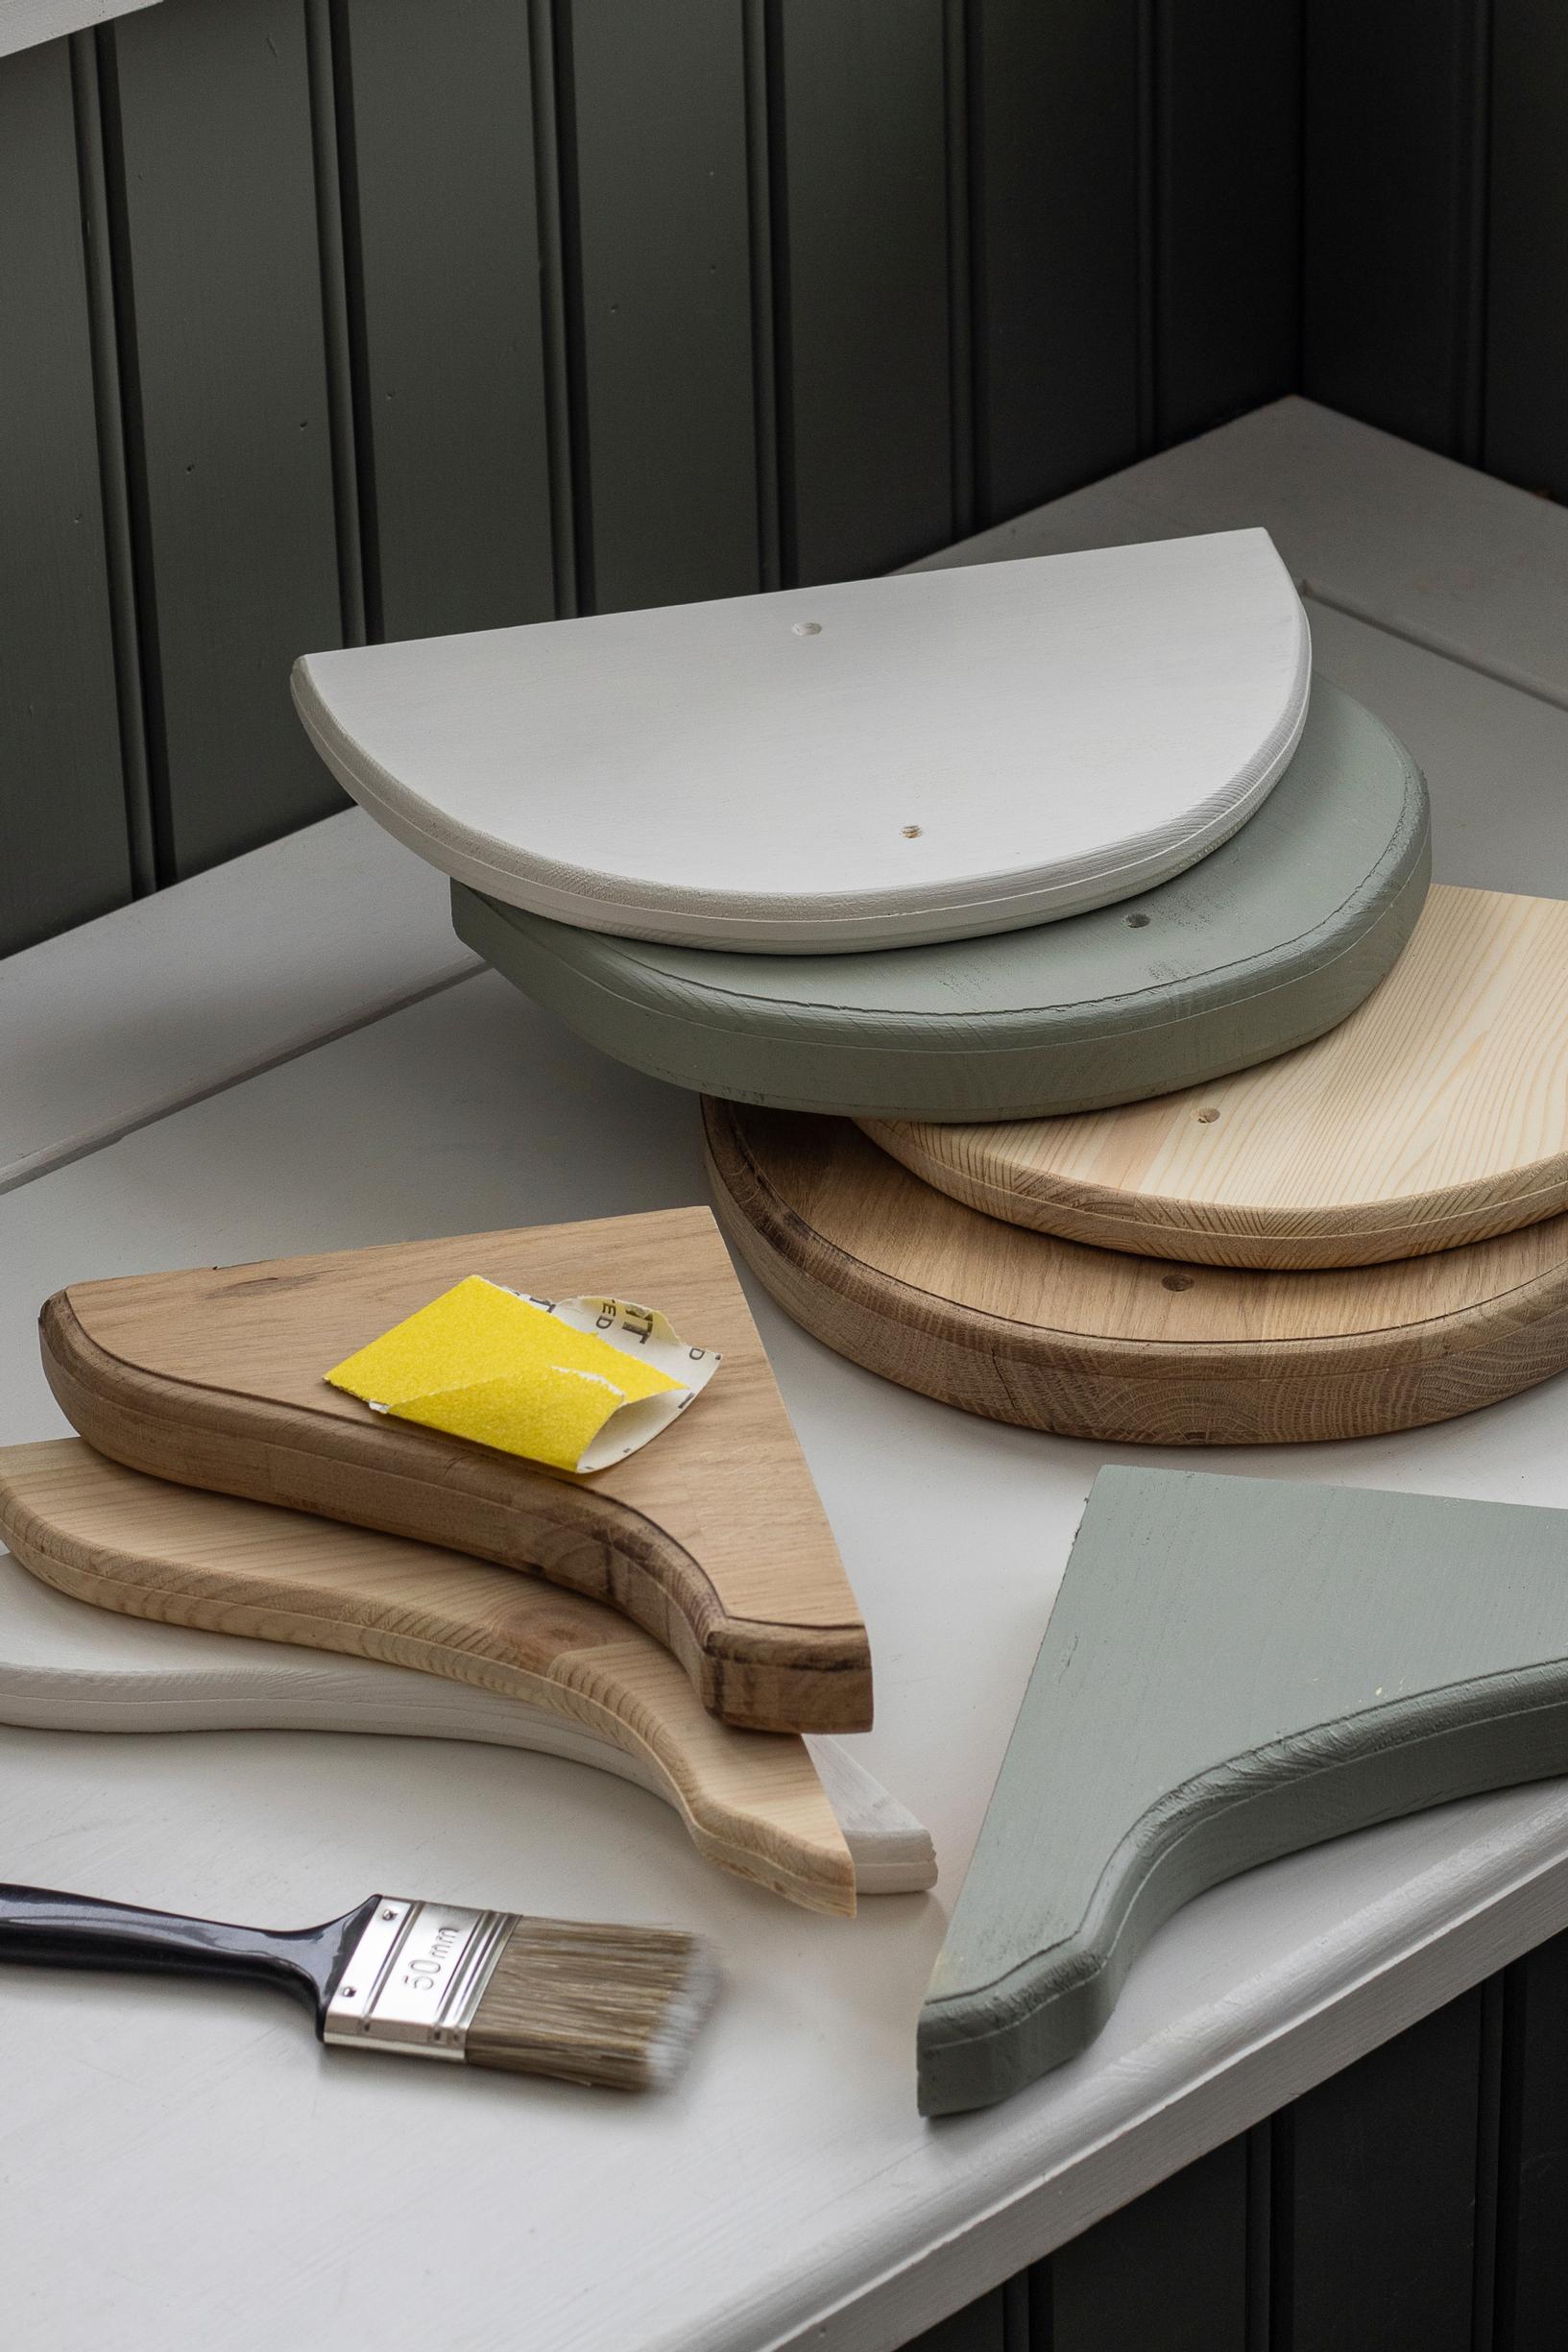

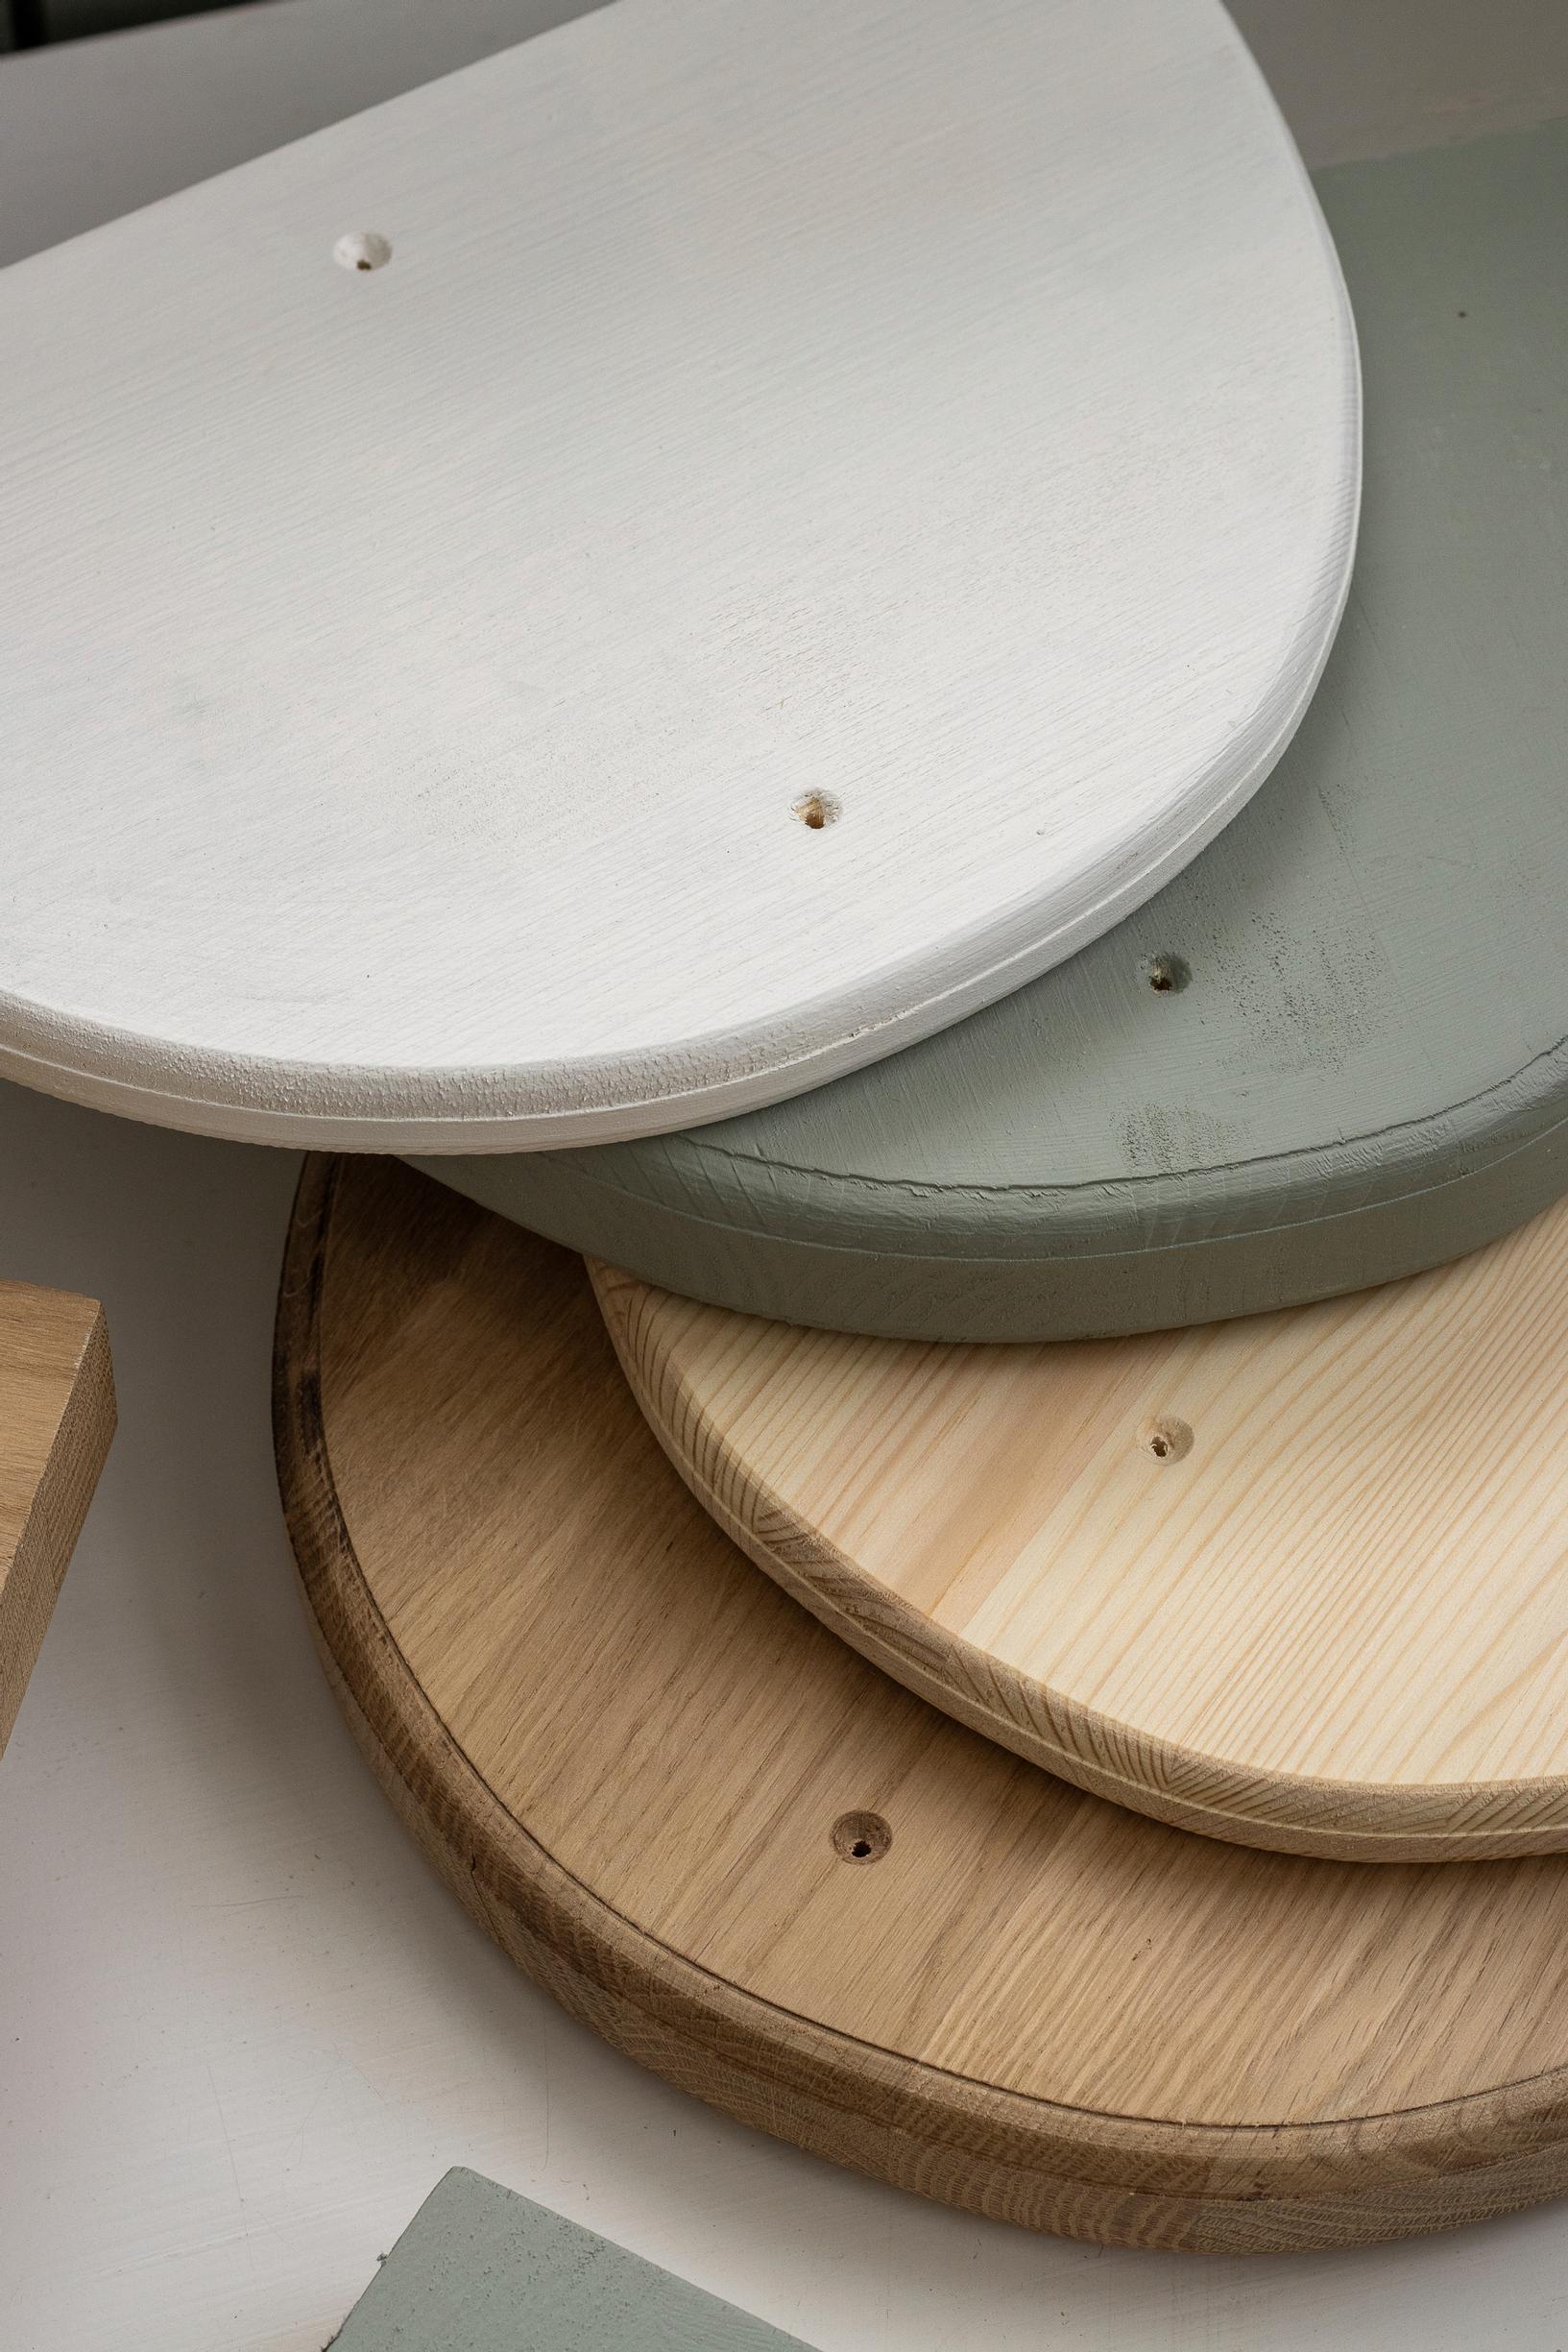
4. Center the base piece on the shelf board. Glue the pieces together and secure with screws. To prevent splitting, pre-drill the shelf piece with a bit that’s 1 mm smaller than the screw. If you prefer, you can also join them with glue and nails.
5. If you want, fill the screw holes with quick filler. Let it dry and sand it smooth. Paint the shelf with furniture paint. Attach it to the wall using the brackets.