One cabinet, six imaginative transformations: discover these decorators’ creative tips for Ikea’s Ivar
Six creative individuals decided to modify the furniture chain’s raw-wood Ivar cabinet to match their own style, just like many others. The Ikea hack phenomenon refers to revamping popular Ikea pieces. Borrow these ideas for your own project!
1. Matching the wall color

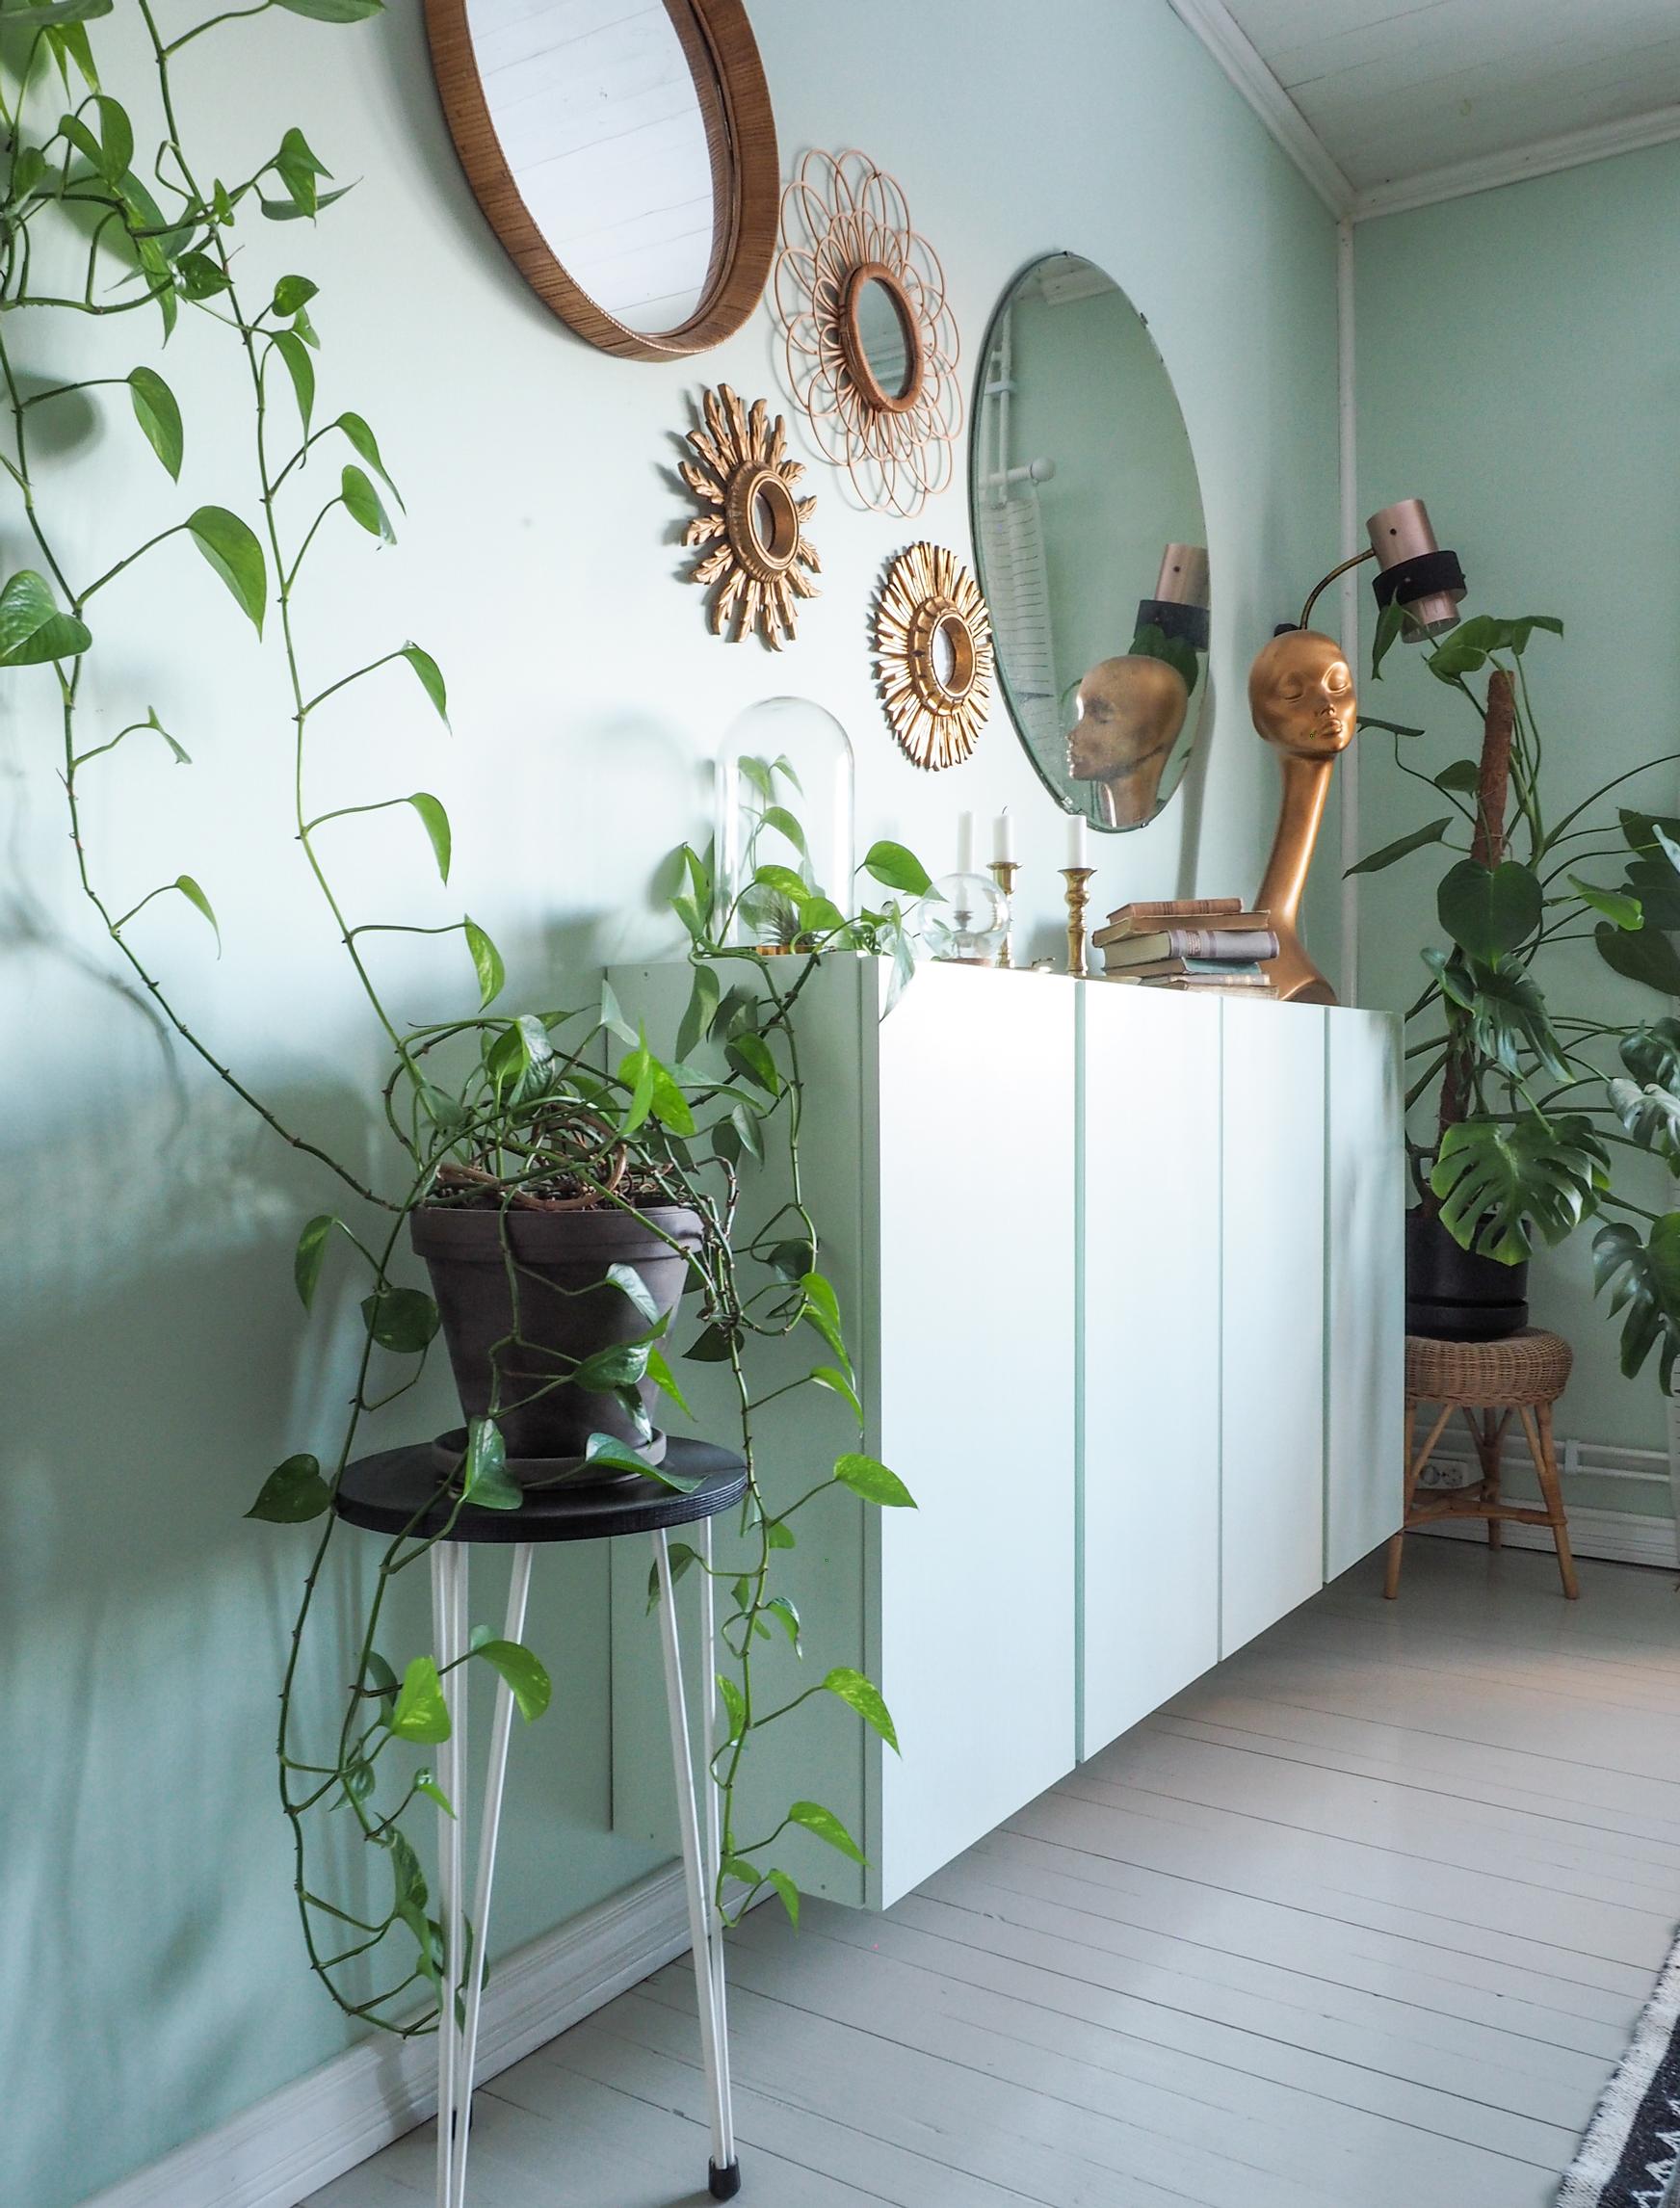
“I was looking for an airy, lightweight storage solution to pair with the old wooden cabinets in our dining area. So we mounted two Ikea Ivar cabinets to the wall and painted them the same pale mint color as the backdrop. We used a semi-matte Helmi furniture paint tinted with Tikkurila G370.
Customizing was easy because the cabinets were untreated wood. They hold my huge coffee cup collection and have truly earned their place in our décor! They appear delicate yet store a remarkable amount of items.”—Pauliina Pitkänen
2. Off the floor

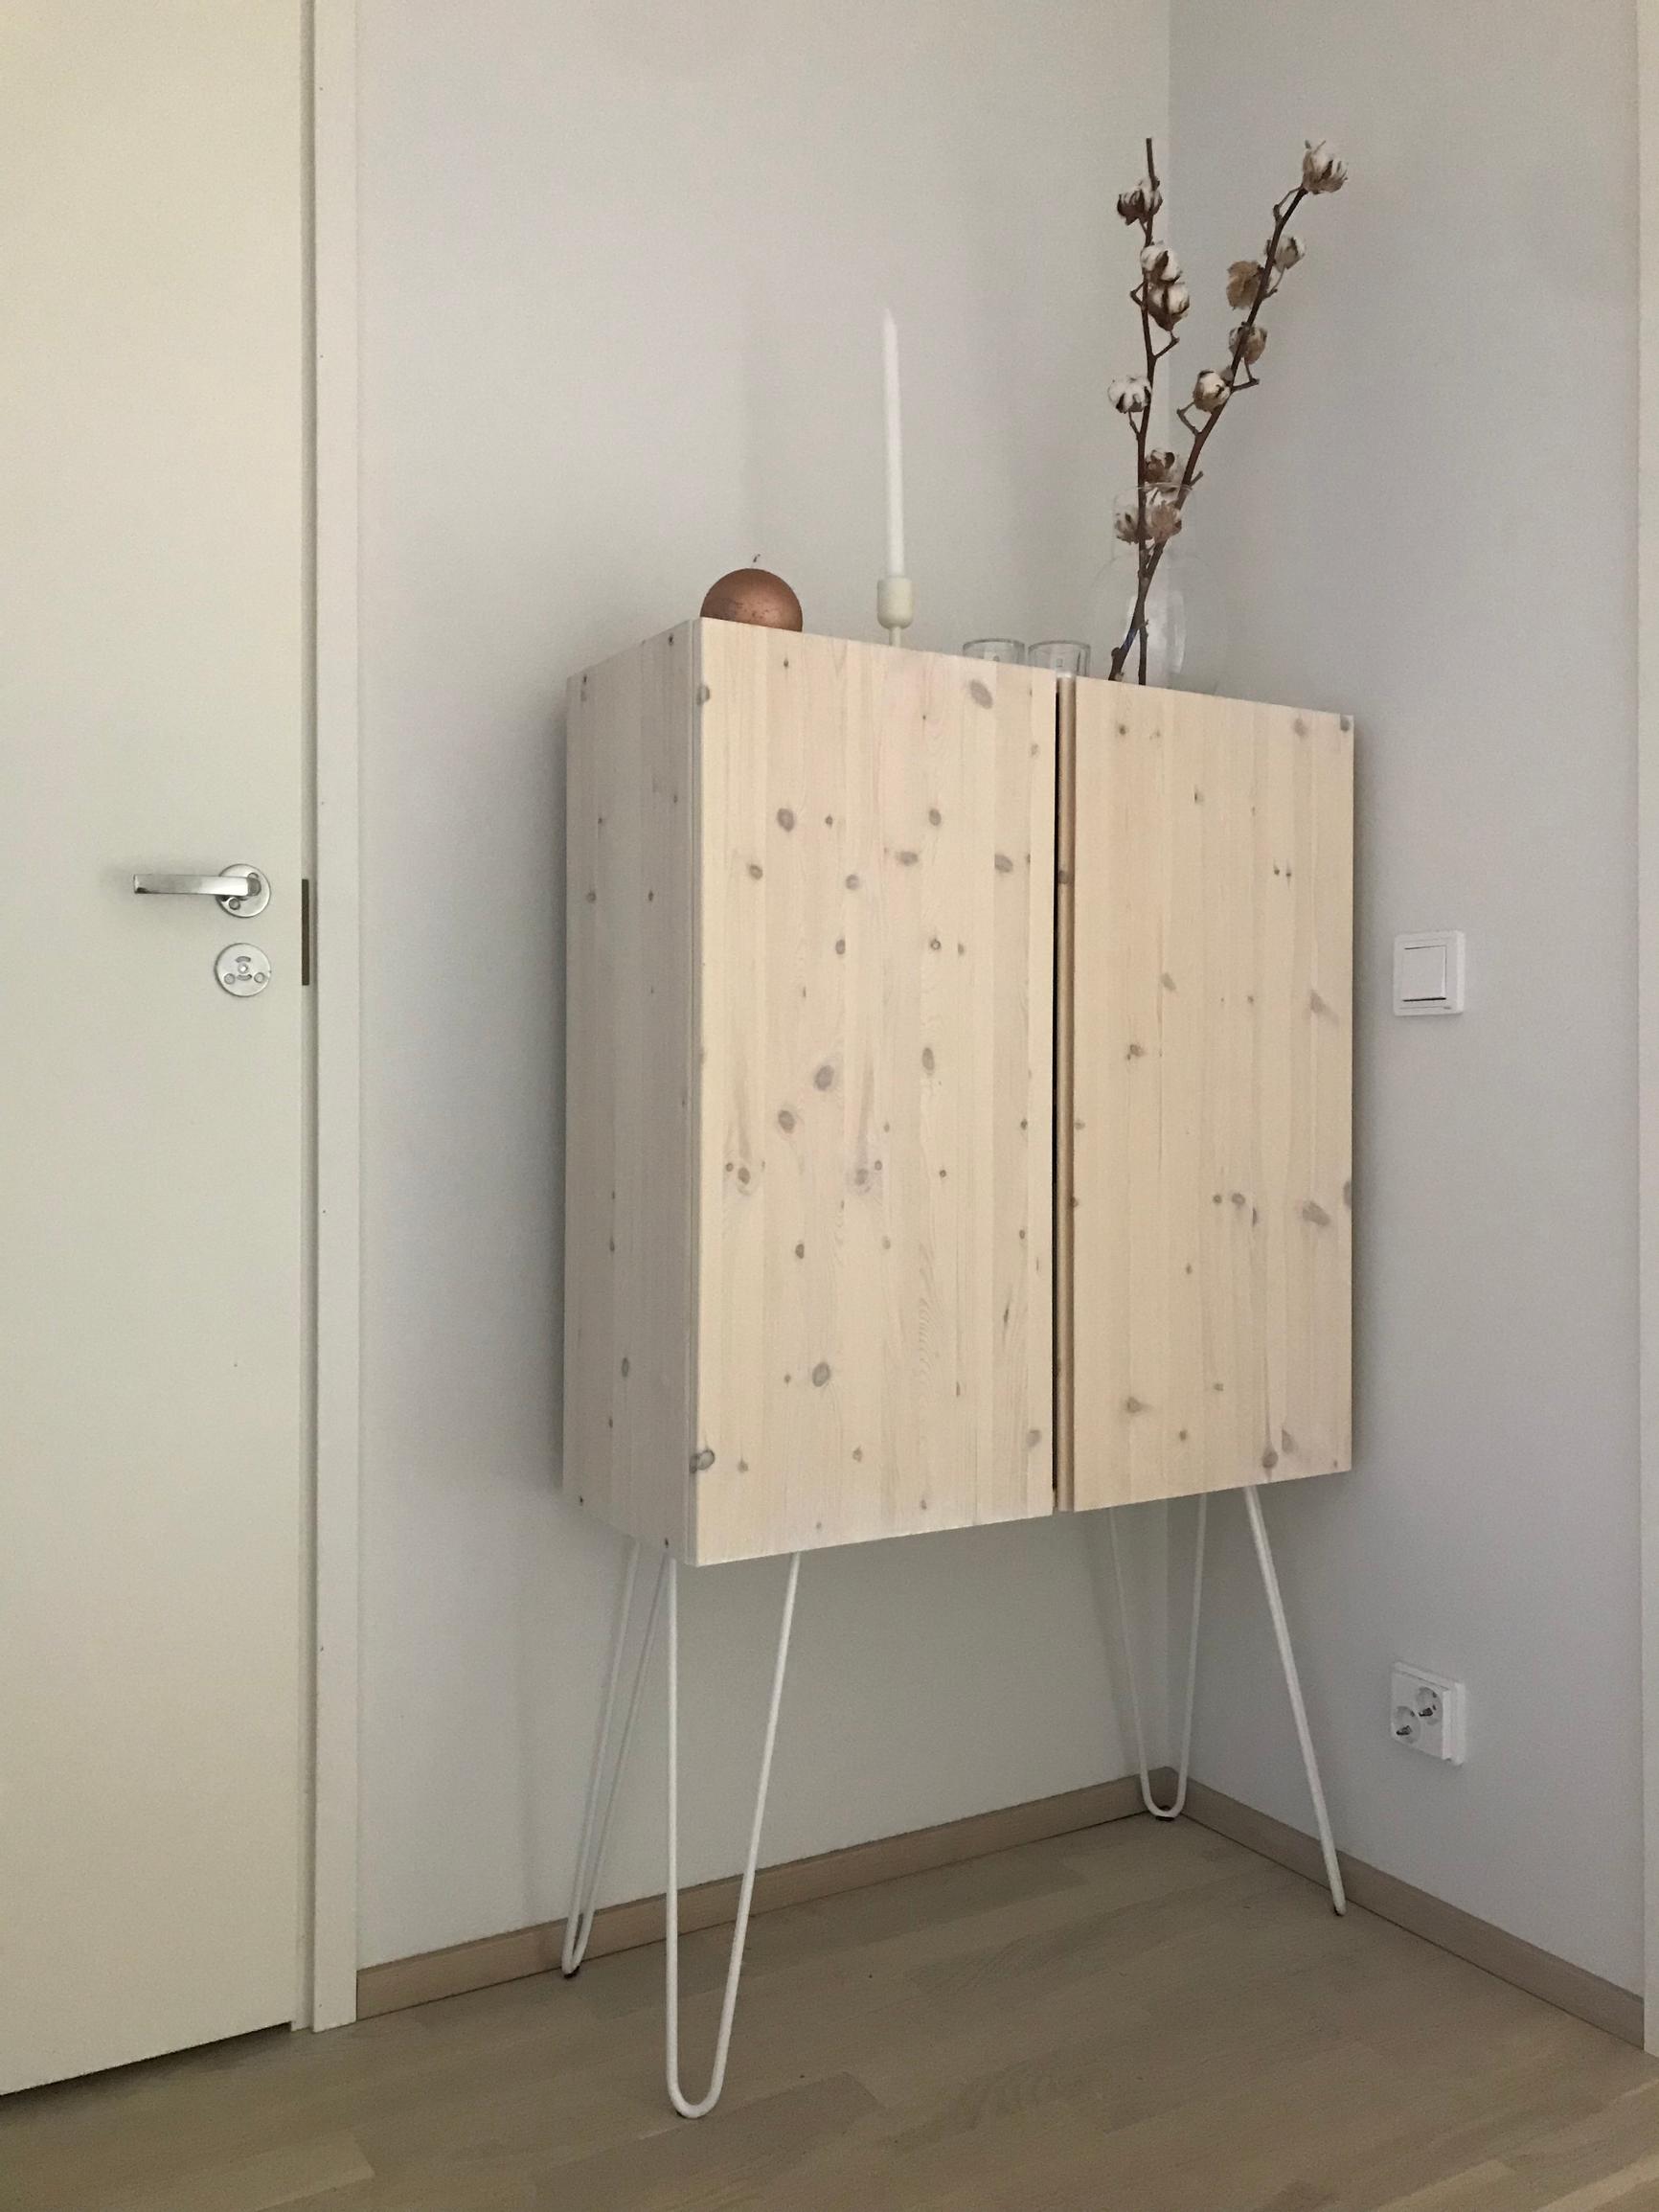
“I searched for a suitable cabinet for the small landing in our upstairs area but couldn’t find one. While browsing online, I came across various furniture makeover projects that inspired me. I picked the Ivar cabinet for my project because of its simple design.
I treated it with Osmo Color wood wax in a spruce shade and attached metal legs from Prettypegs. I loved this idea because it was easy and added personality. It’s nice that my own handiwork is visible, and by customizing it, I got exactly what I wanted. It was simple to do!”—Noora Terkomaa
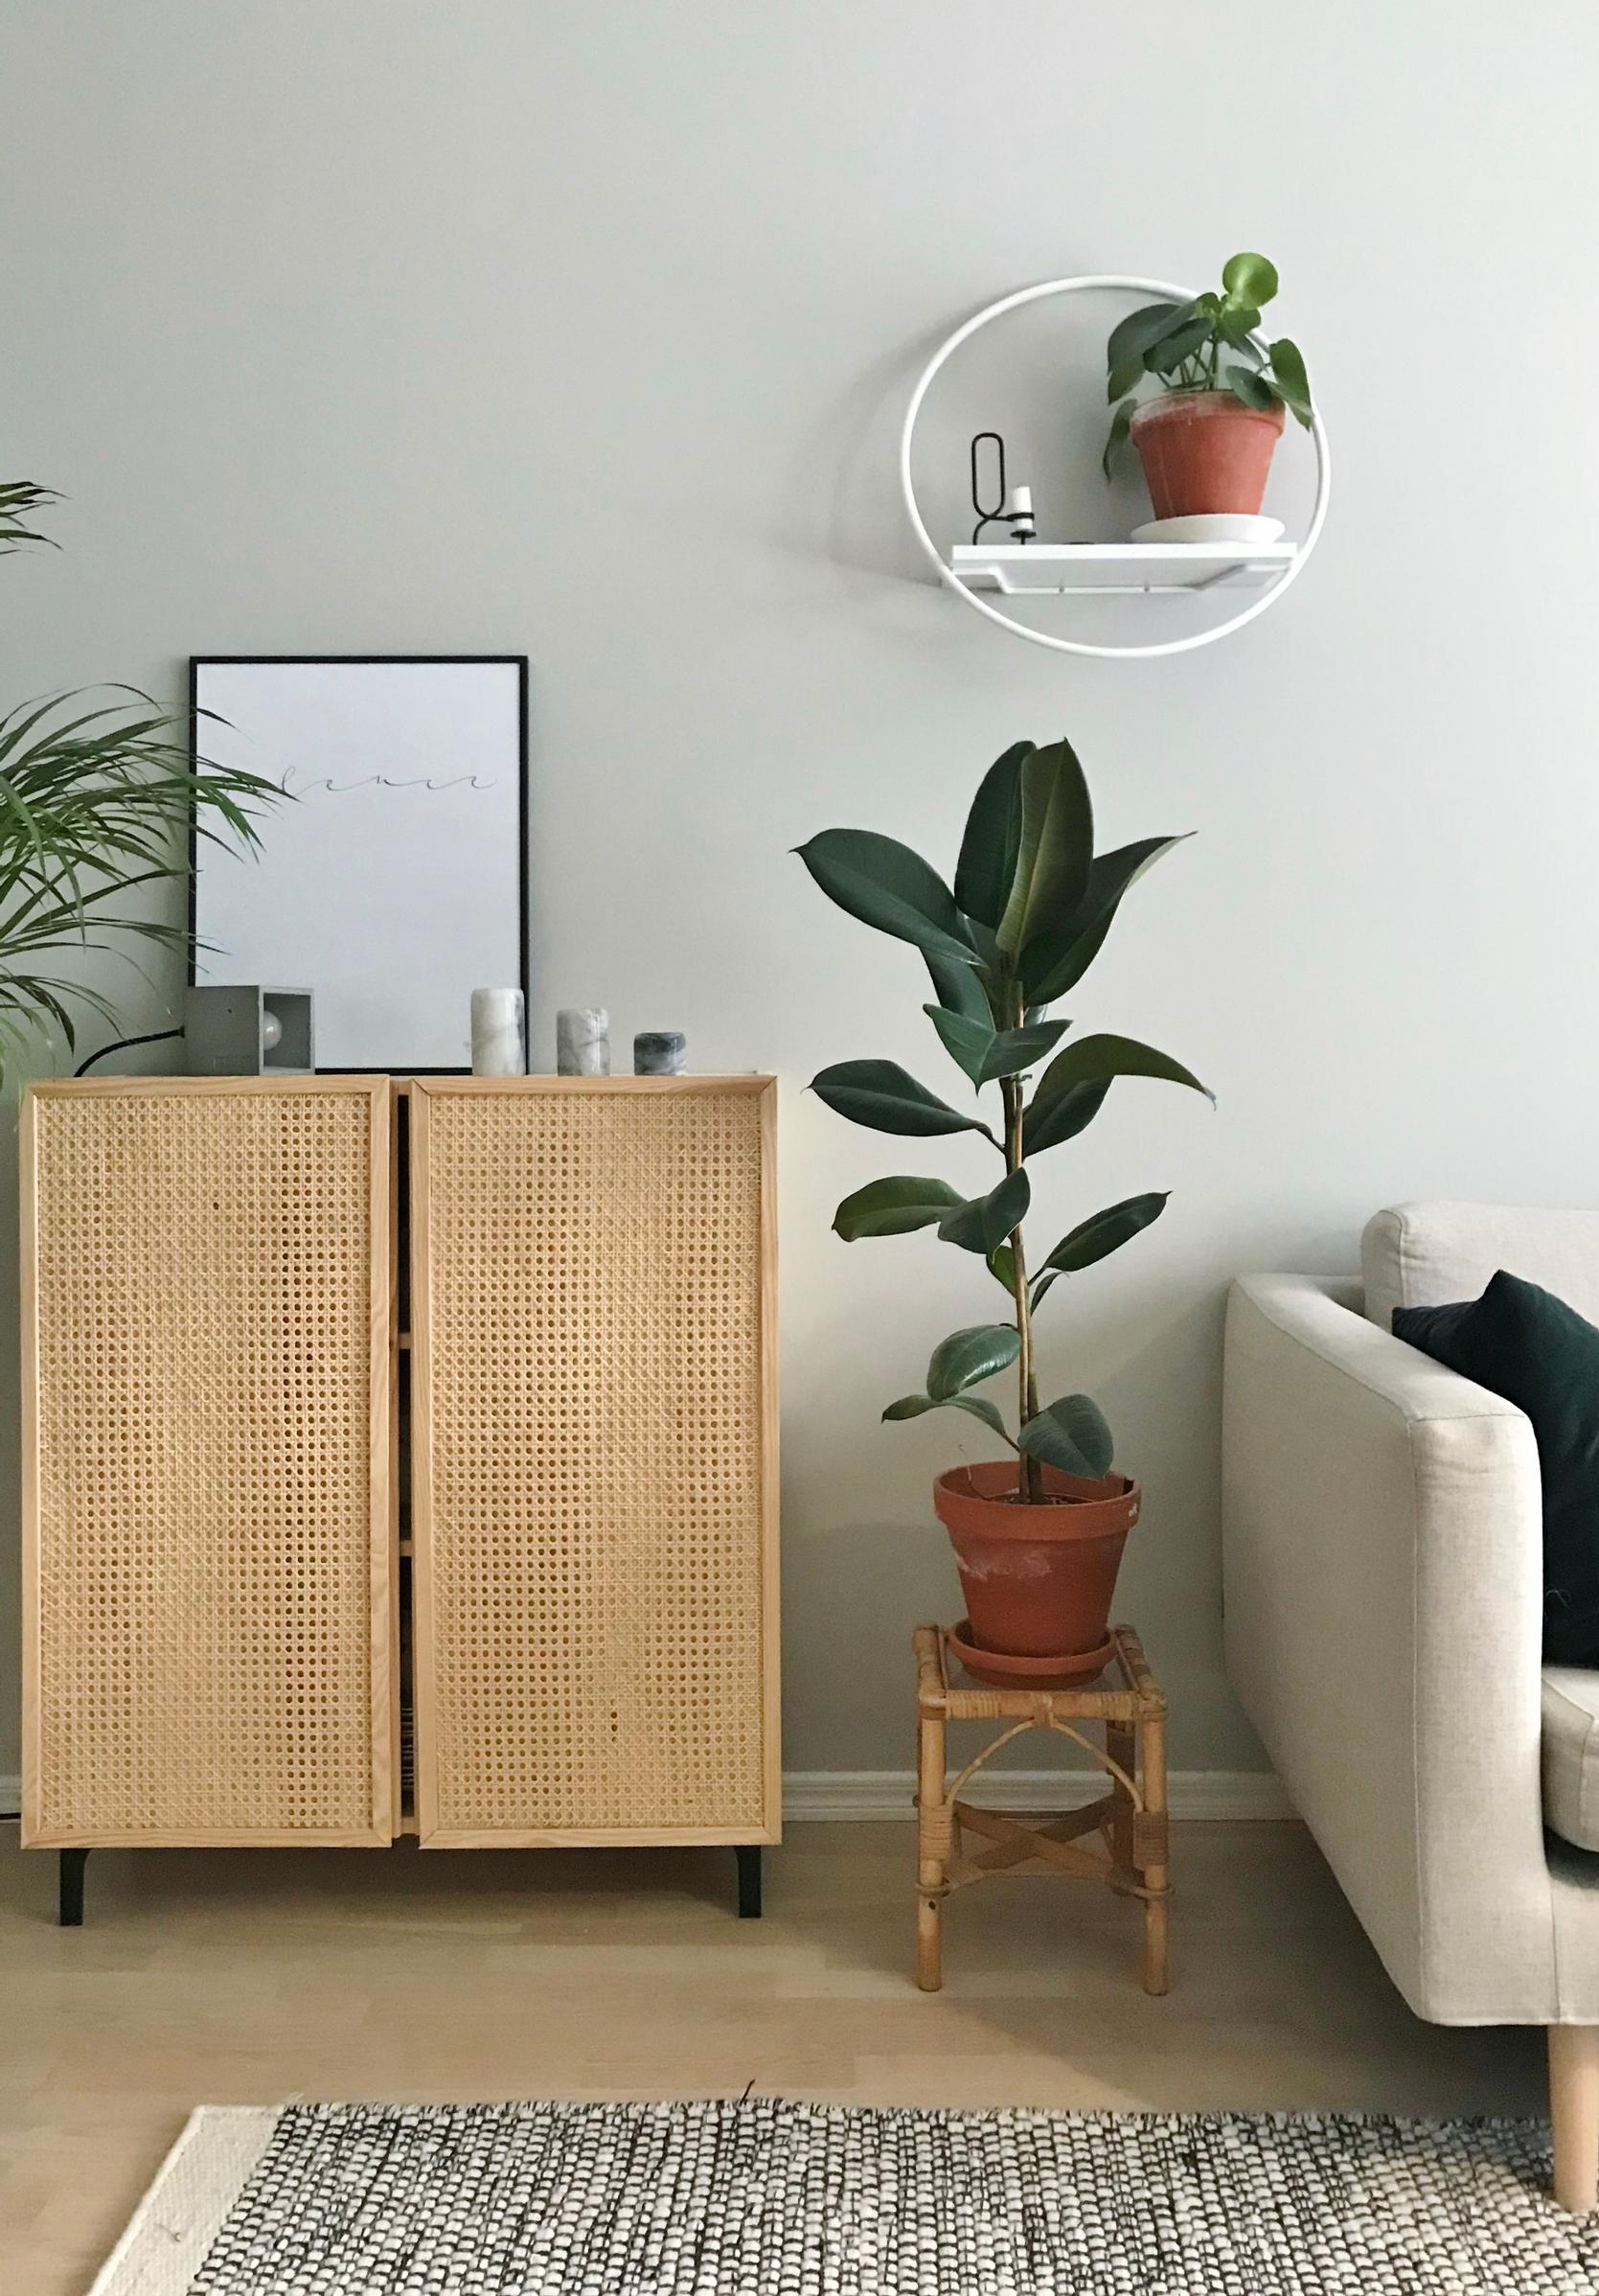
3. A touch of rattan


“I’ve loved rattan details in décor for a while. I especially adore Ikea’s Stockholm2017 rattan cabinet, so I got inspired by it when customizing my Ivar.
I bought an Ivar cabinet and some rattan mesh by the meter at a local upholstery shop. Rattan mesh has also been used, for instance, in 1990s Venetian-style chairs. It’s easier to work with once soaked in water for about twenty minutes. I cut it to size and attached it with hot glue before adding thin wooden strips as a frame to hide the rough edges. Finally, I added black metal legs I found at Ikea.
The project was easy to pull off, and it turned out even better than I’d hoped! Hot glue may not be the best adhesive for rattan, though—I think a staple gun would give a more polished look. The cabinet is now in our living room, storing a large inherited dish set. It would also work well in a child’s room or even as a bedside table.”—Ninni Urpo
4. A playful pattern

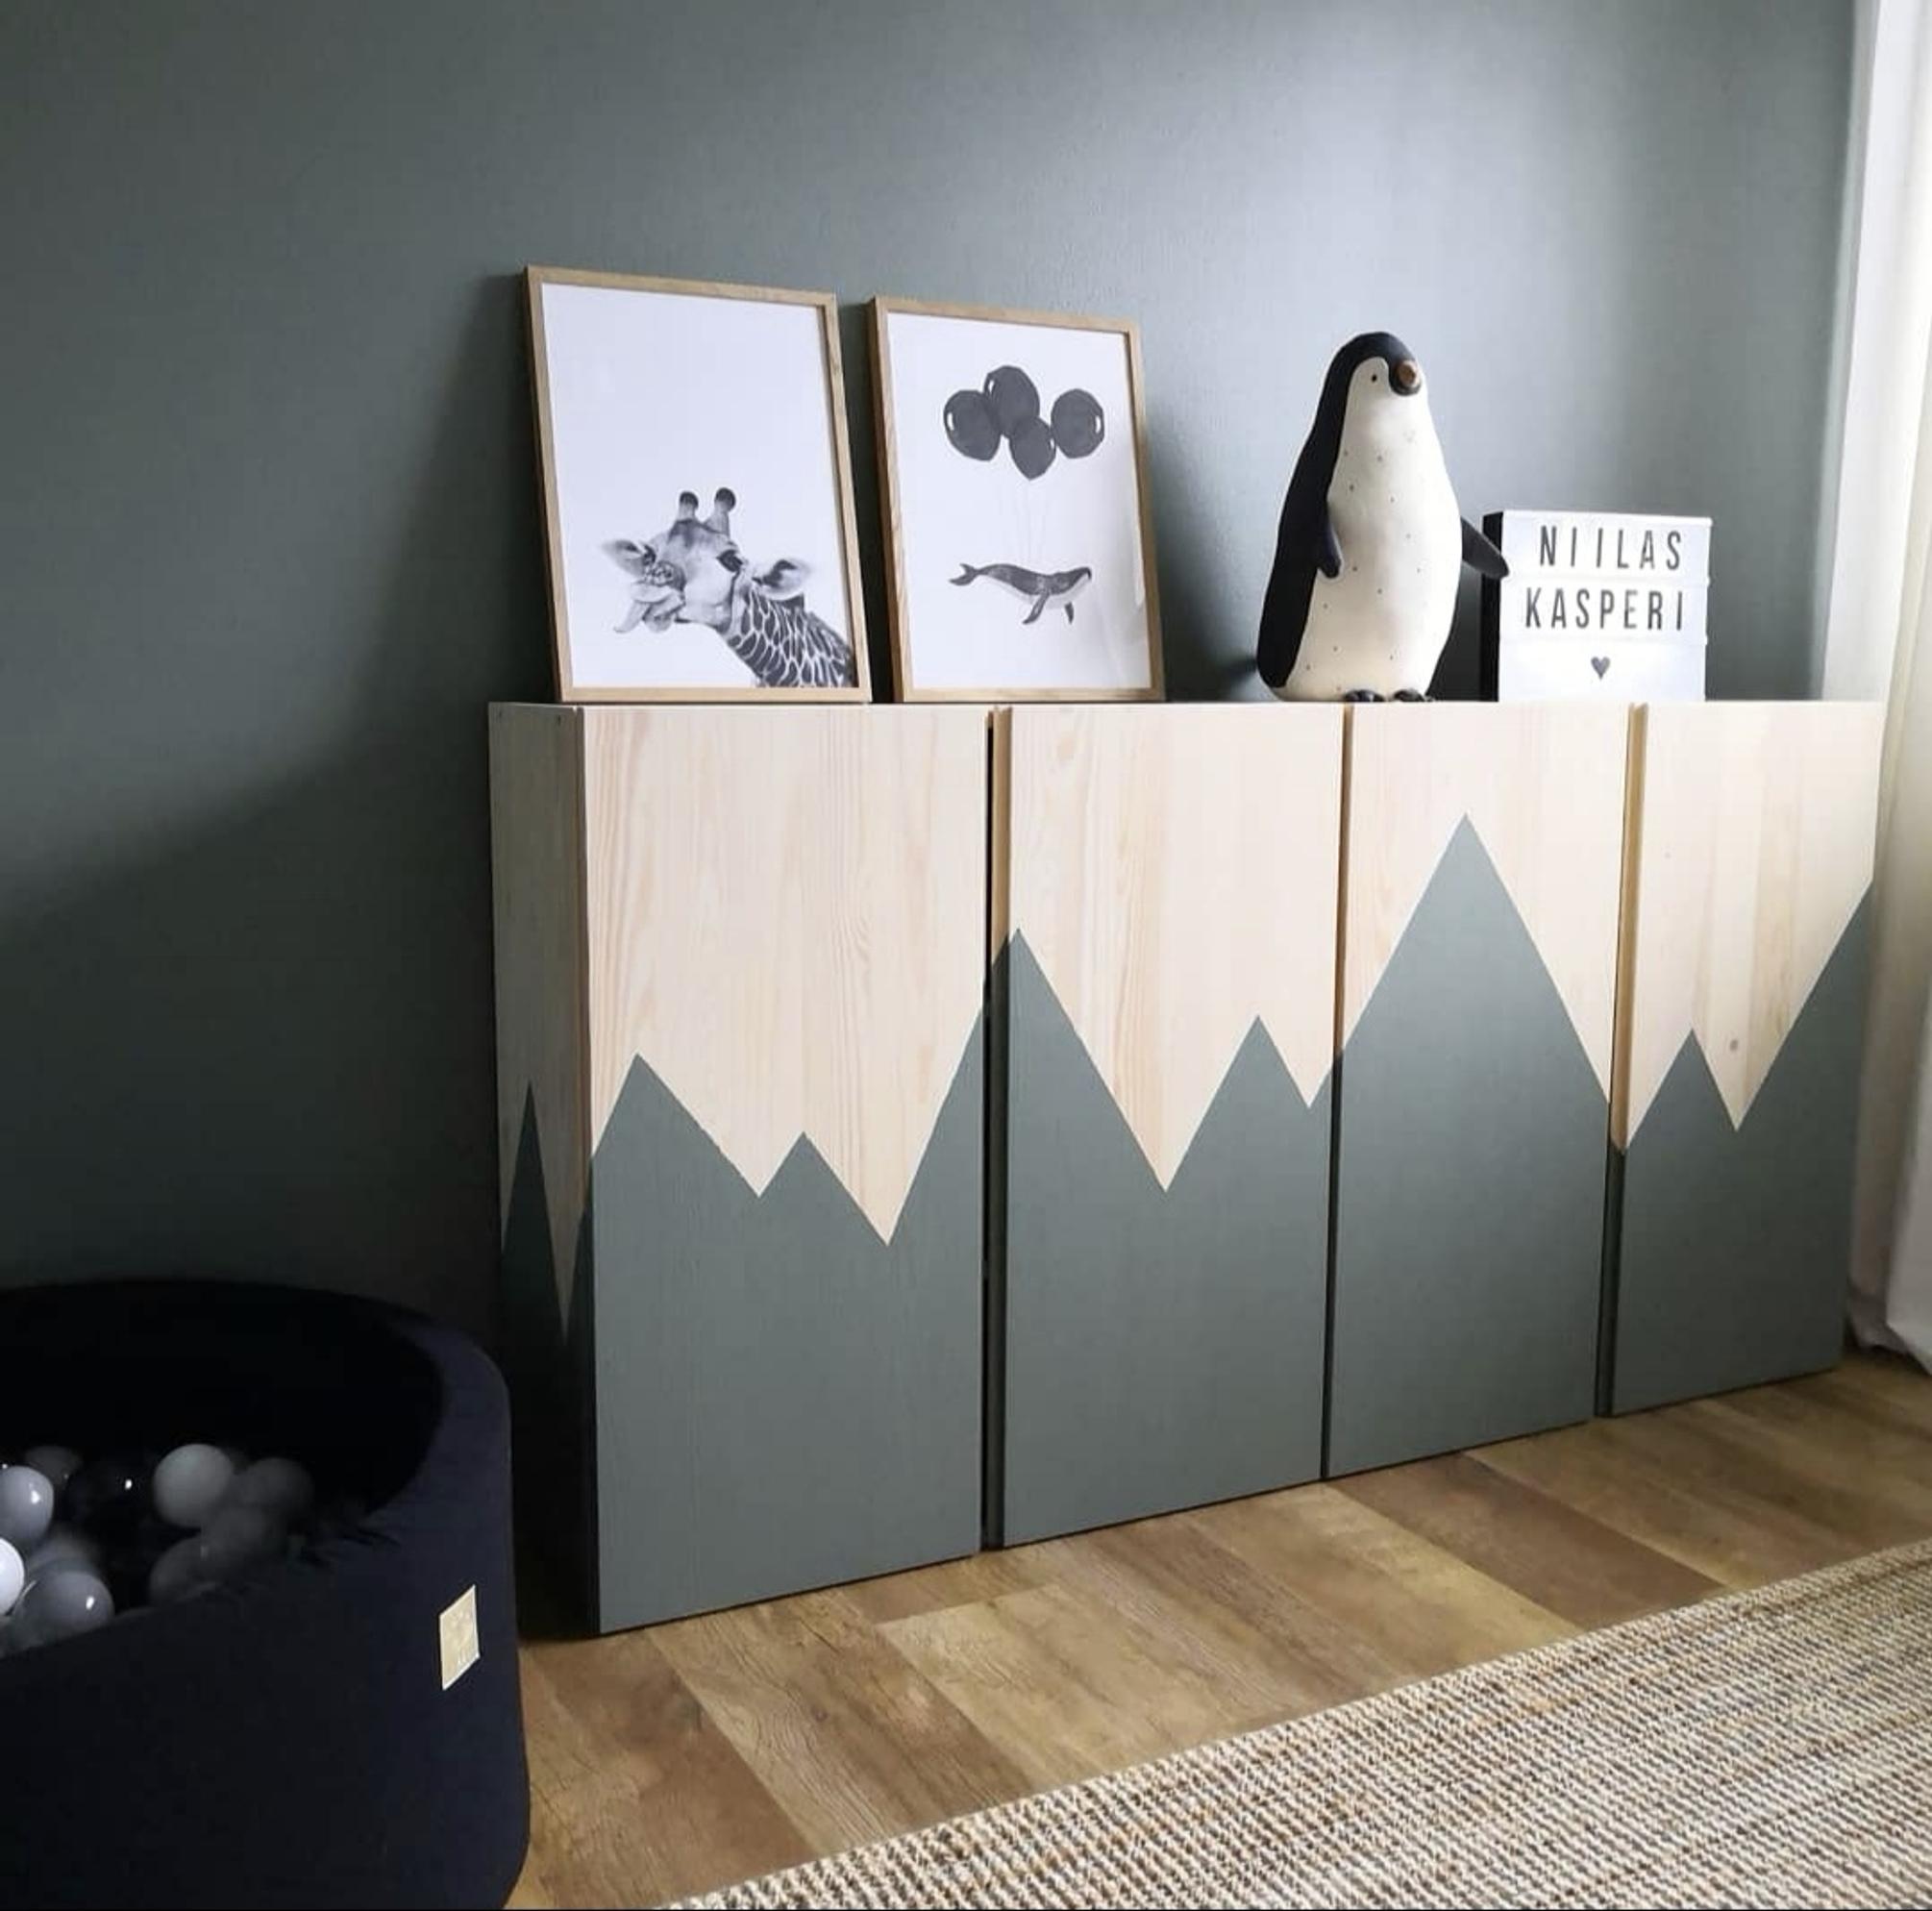
“These cabinets sit in our almost-one-year-old son’s room. I wanted to paint a mountain silhouette on them and also lighten the wood tone. I saw a similar idea on Pinterest once.
First, I outlined the mountains on the cabinet with painter’s tape. With the tape in place, I treated the top half with Osmo Color wood wax in a spruce shade. Since paint doesn’t adhere to wax, I left the bottom half untouched. After letting it dry overnight, I moved the tape onto the waxed area along the mountain lines and painted the bottom half using Tikkurila Nefriitti, the same color as our son’s walls.
I think the mountain motif is perfect for a child’s room, and I like that it uses the same color as the wall. We have lots of wood tones and green accents in our décor, so the cabinet fits seamlessly into our home.
I’m studying interior architecture and furniture design, and I love bringing my ideas to life. Customizing the cabinet was very easy and fun. With just a bit of effort, you can create a piece that perfectly suits your décor!”—Sanni Santaharju
5. Adorable handles

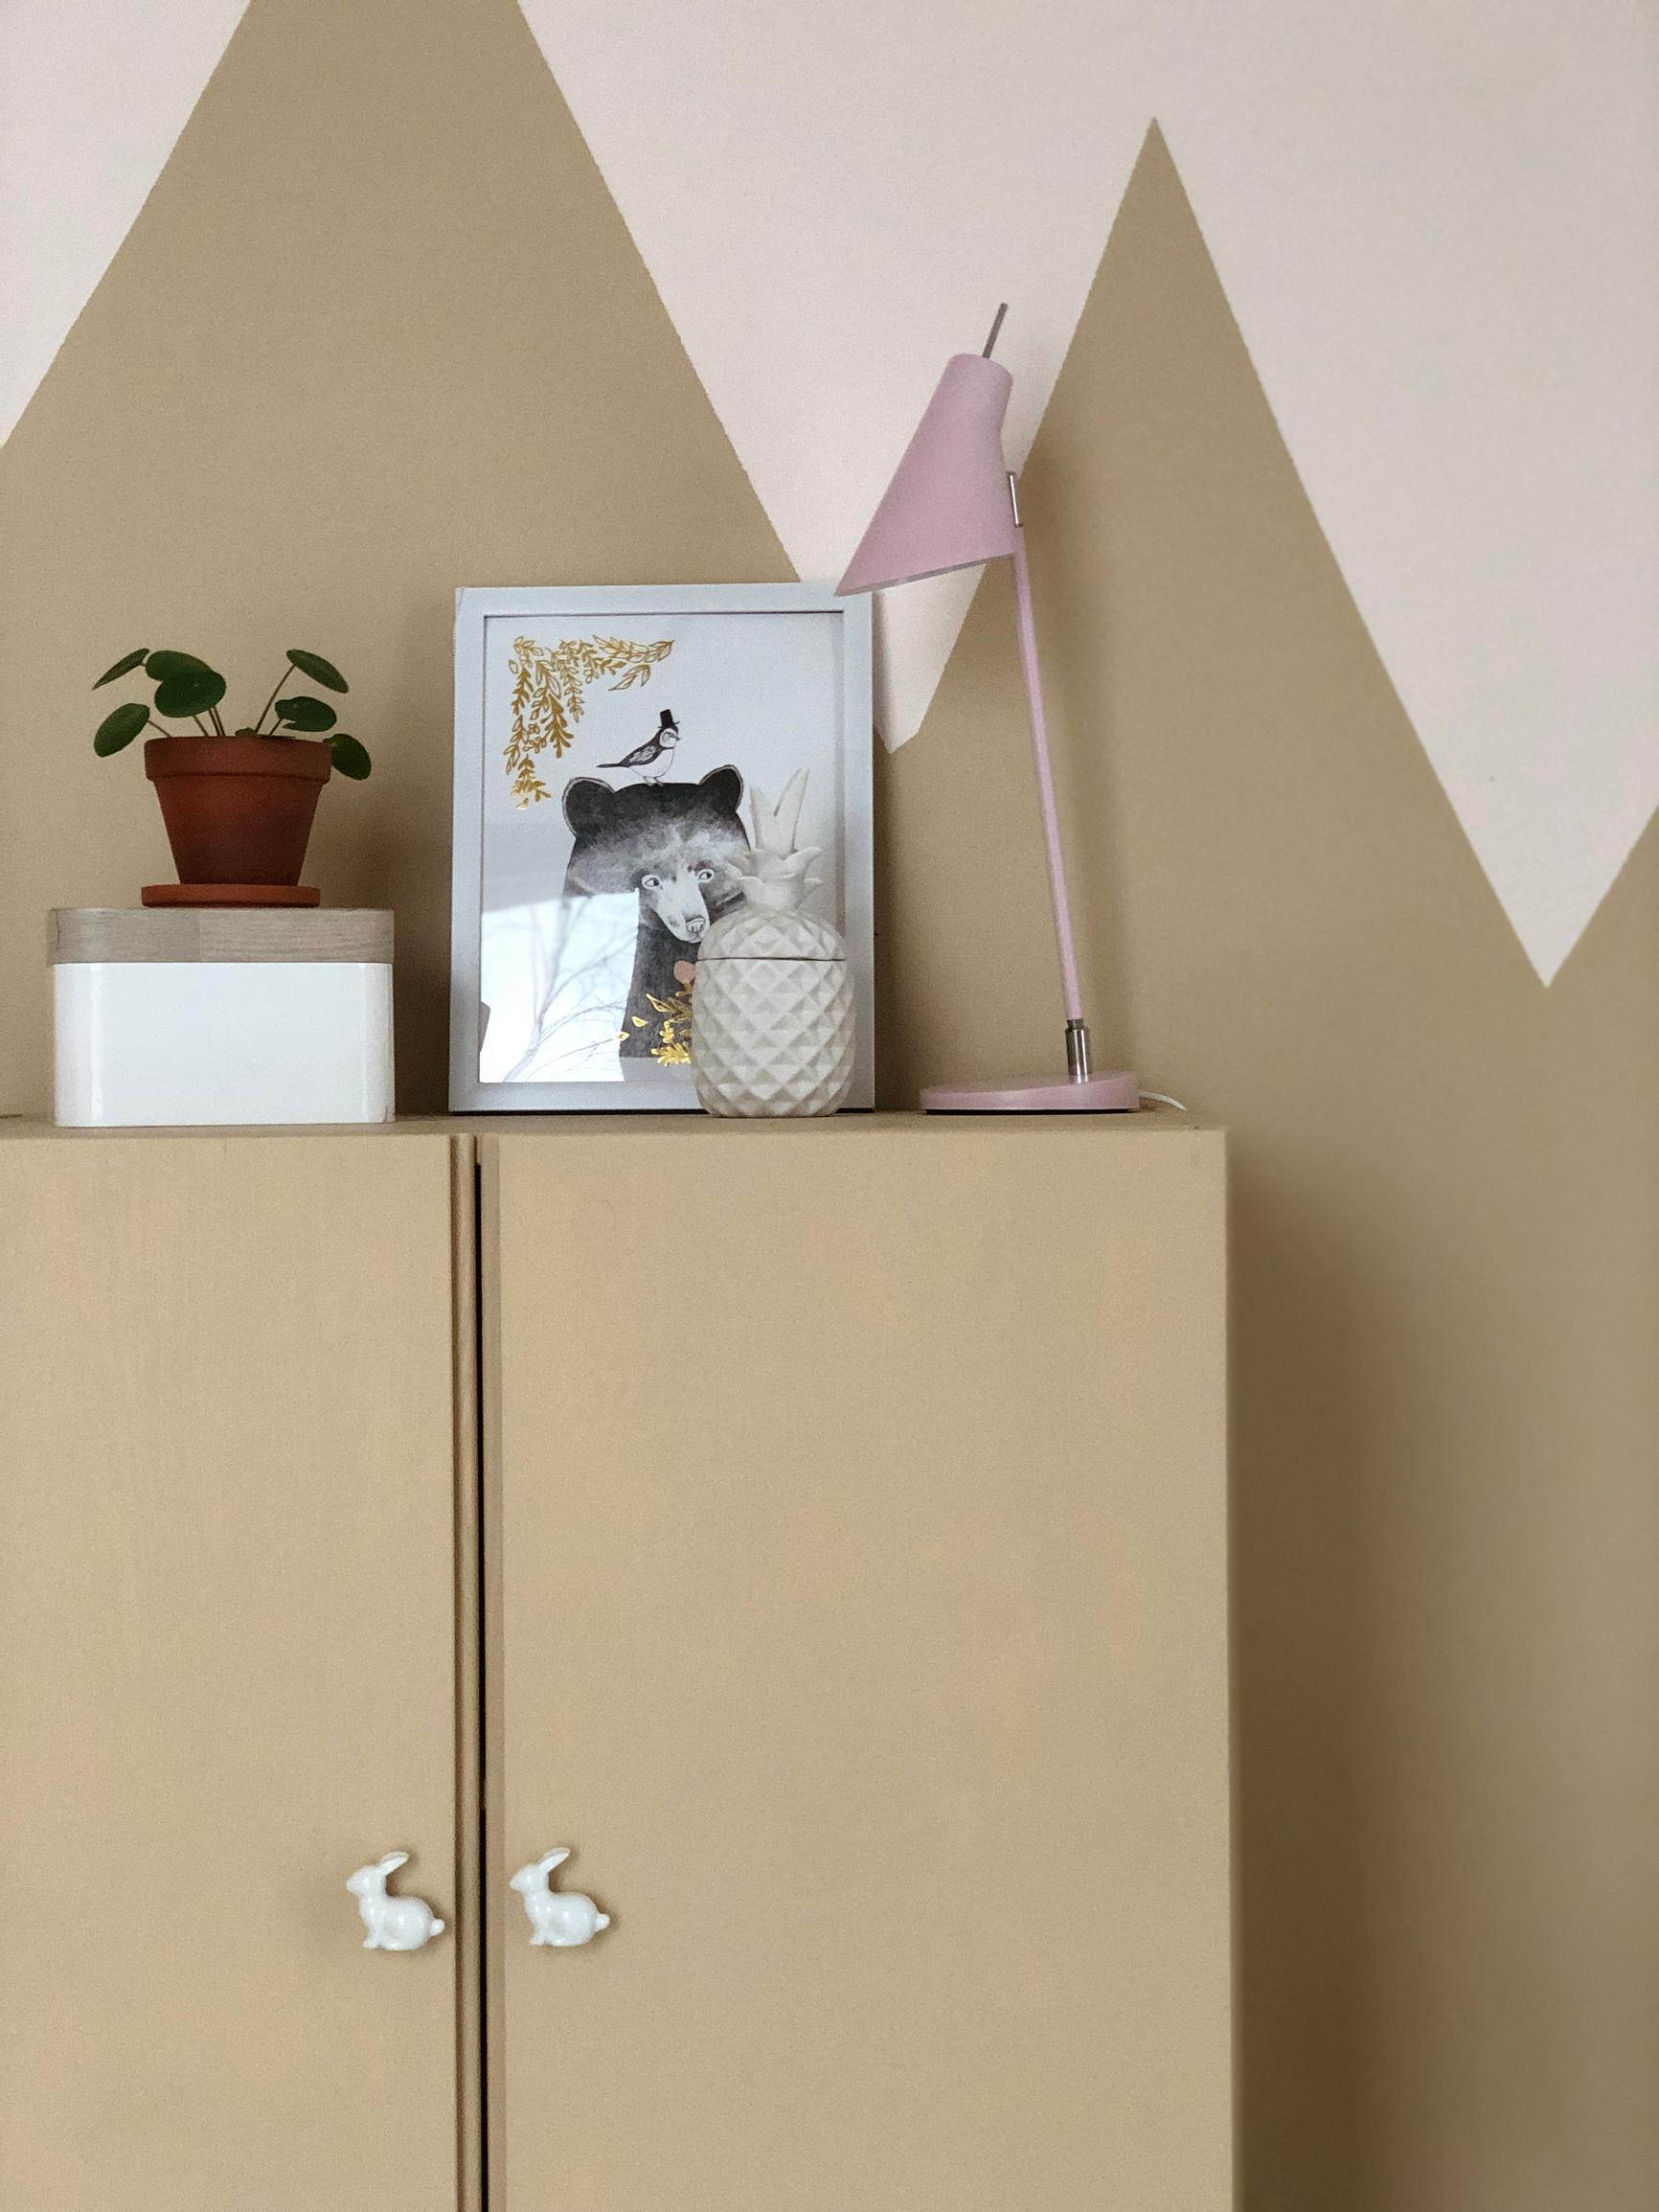

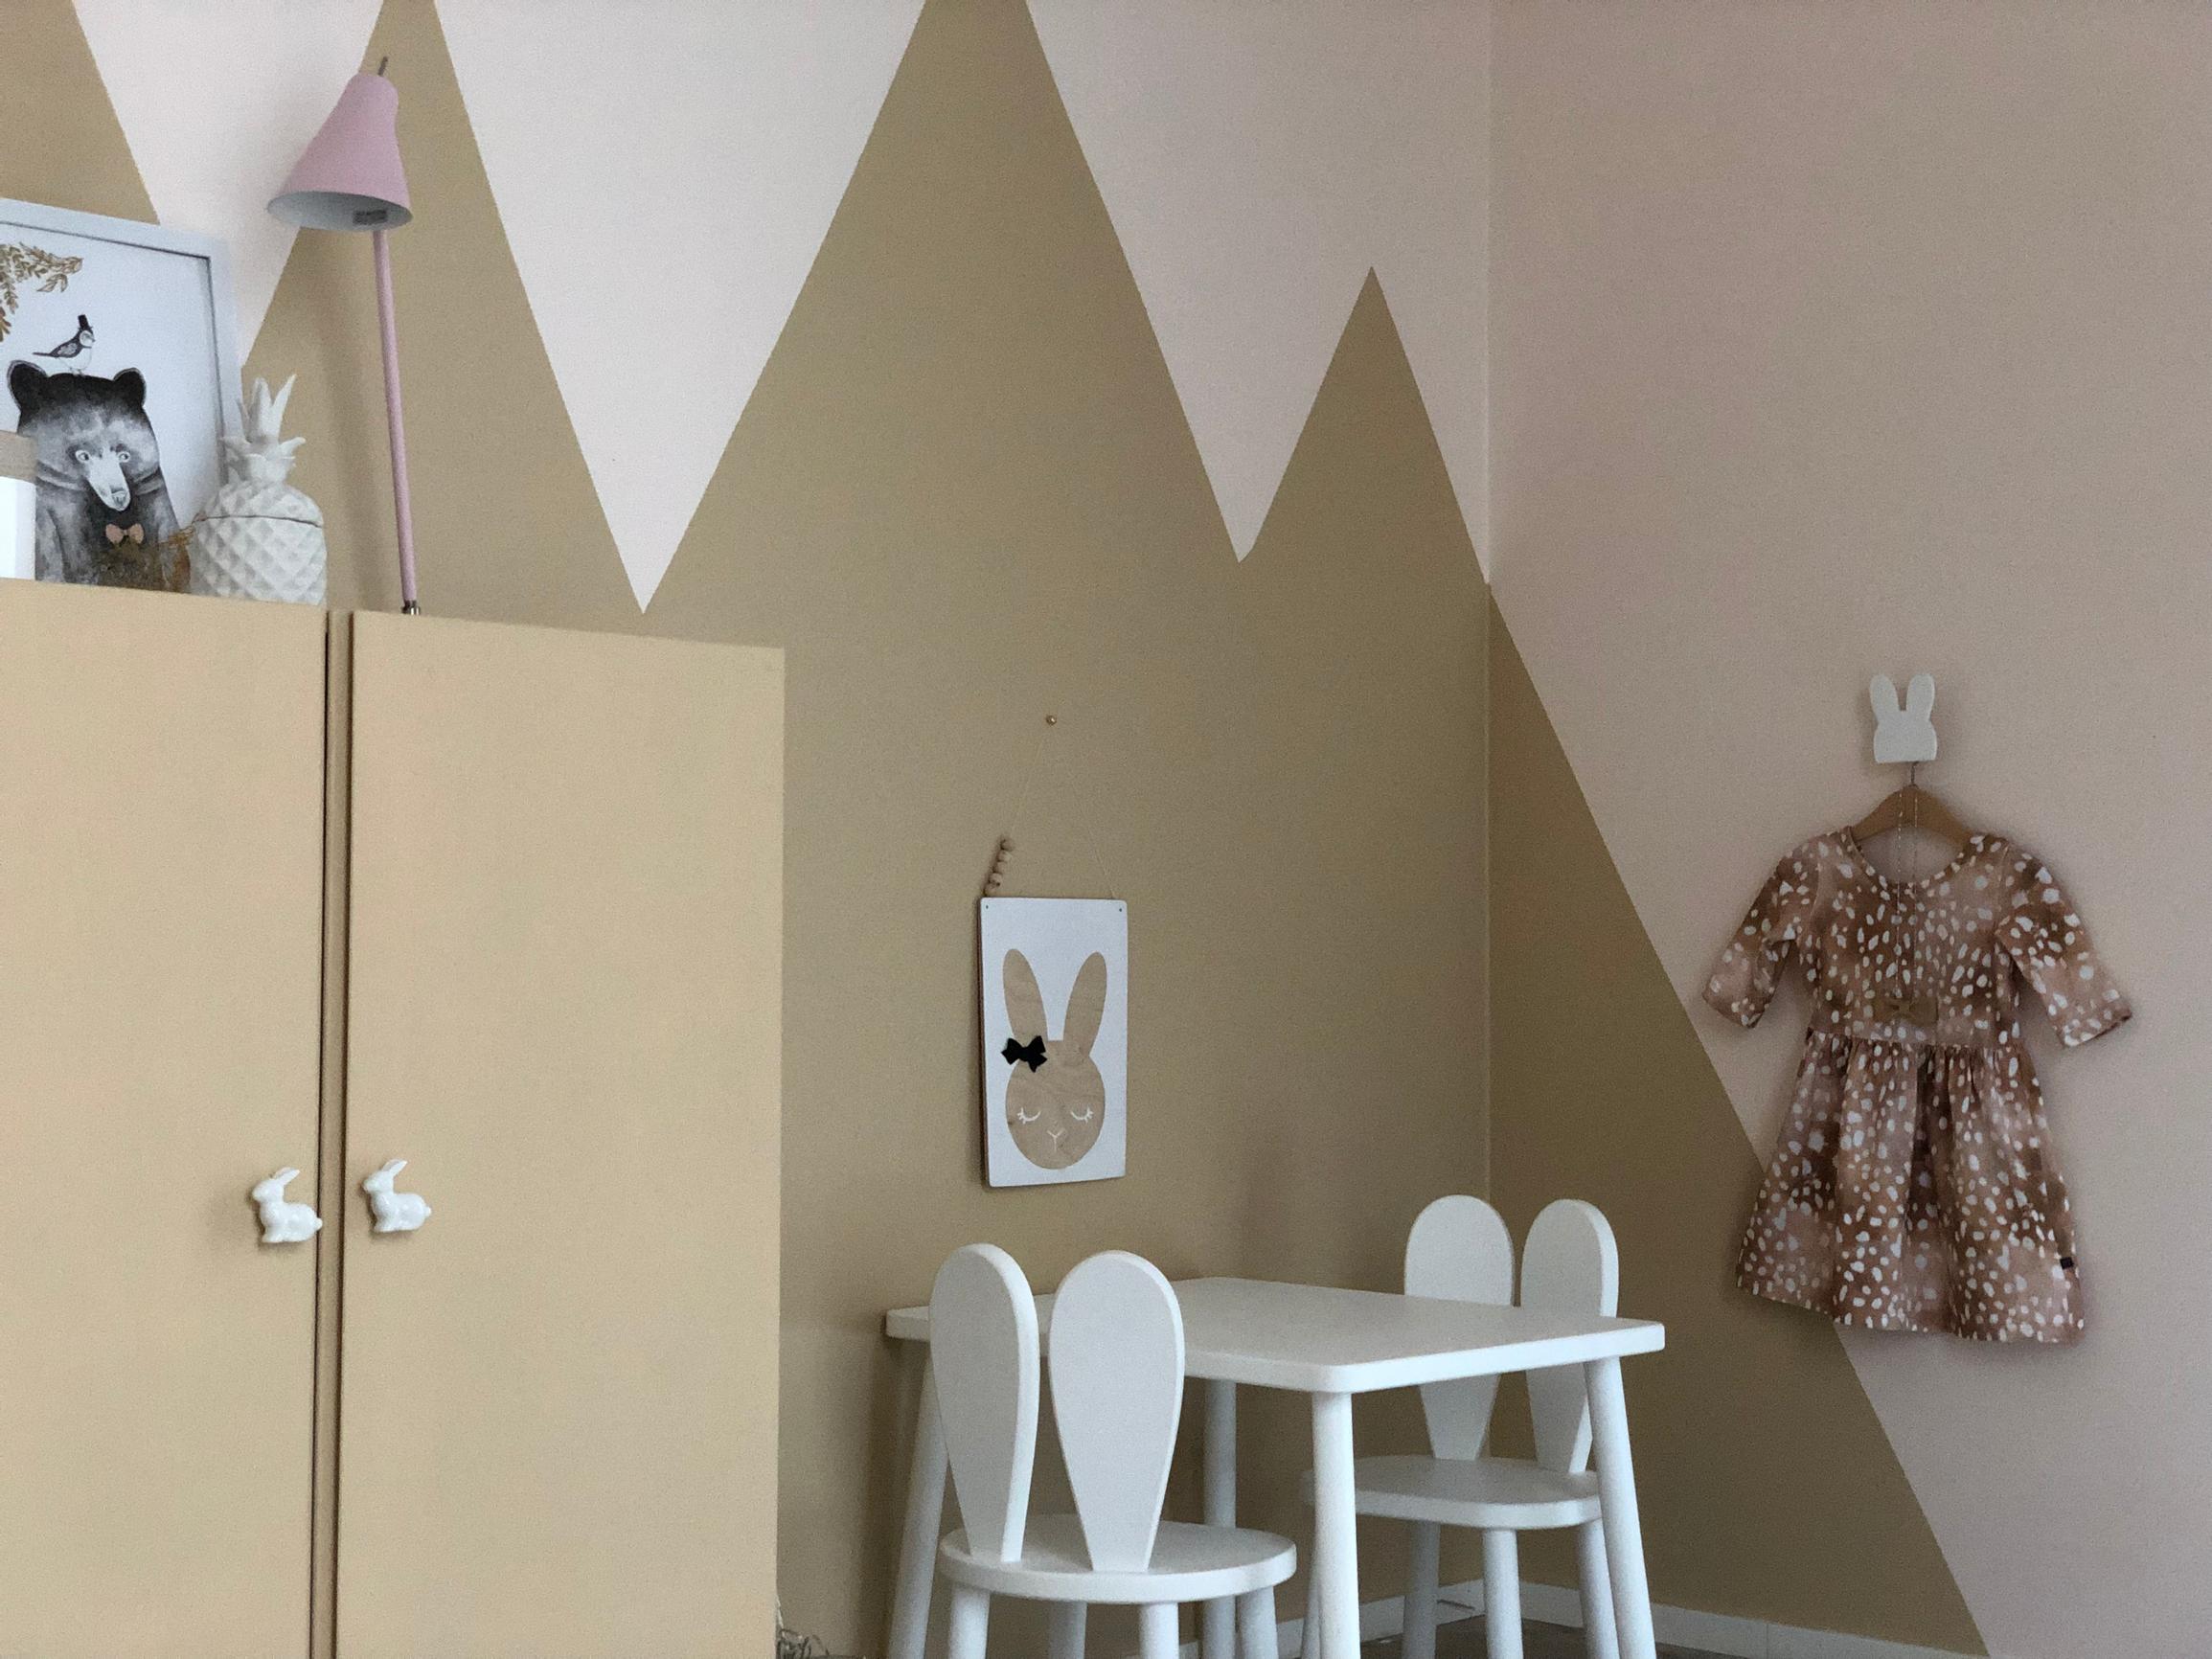
“The cabinet I customized is in our three-year-old daughter’s room. After painting the room, I decided to paint the cabinet in the same shade, Tikkurila X395 (Playa). I skipped priming. It was incredibly easy to customize! I finished it off with porcelain bunny knobs I found at Clas Ohlson.”—Reetta Ervasti
6. Stacked in two layers
“The room shared by our two school-aged daughters needed storage, but we didn’t want a big, space-consuming set of cabinets. These fit our home’s style perfectly, offering the storage we were missing without taking up much floor space. It’s easy to vacuum underneath, and they’re at a kid-friendly height.
As lovely as Ivar’s natural finish was, it didn’t match the other wood tones in the room. I painted them to complement the wallpaper, then mounted them on the wall. I used a solvent-based primer followed by a semi-gloss Futura 40, tinted with Tikkurila Nefriitti.
Customizing was easy and affordable, though it took a couple of days for each coat to dry.”—Susanna Heposalmi