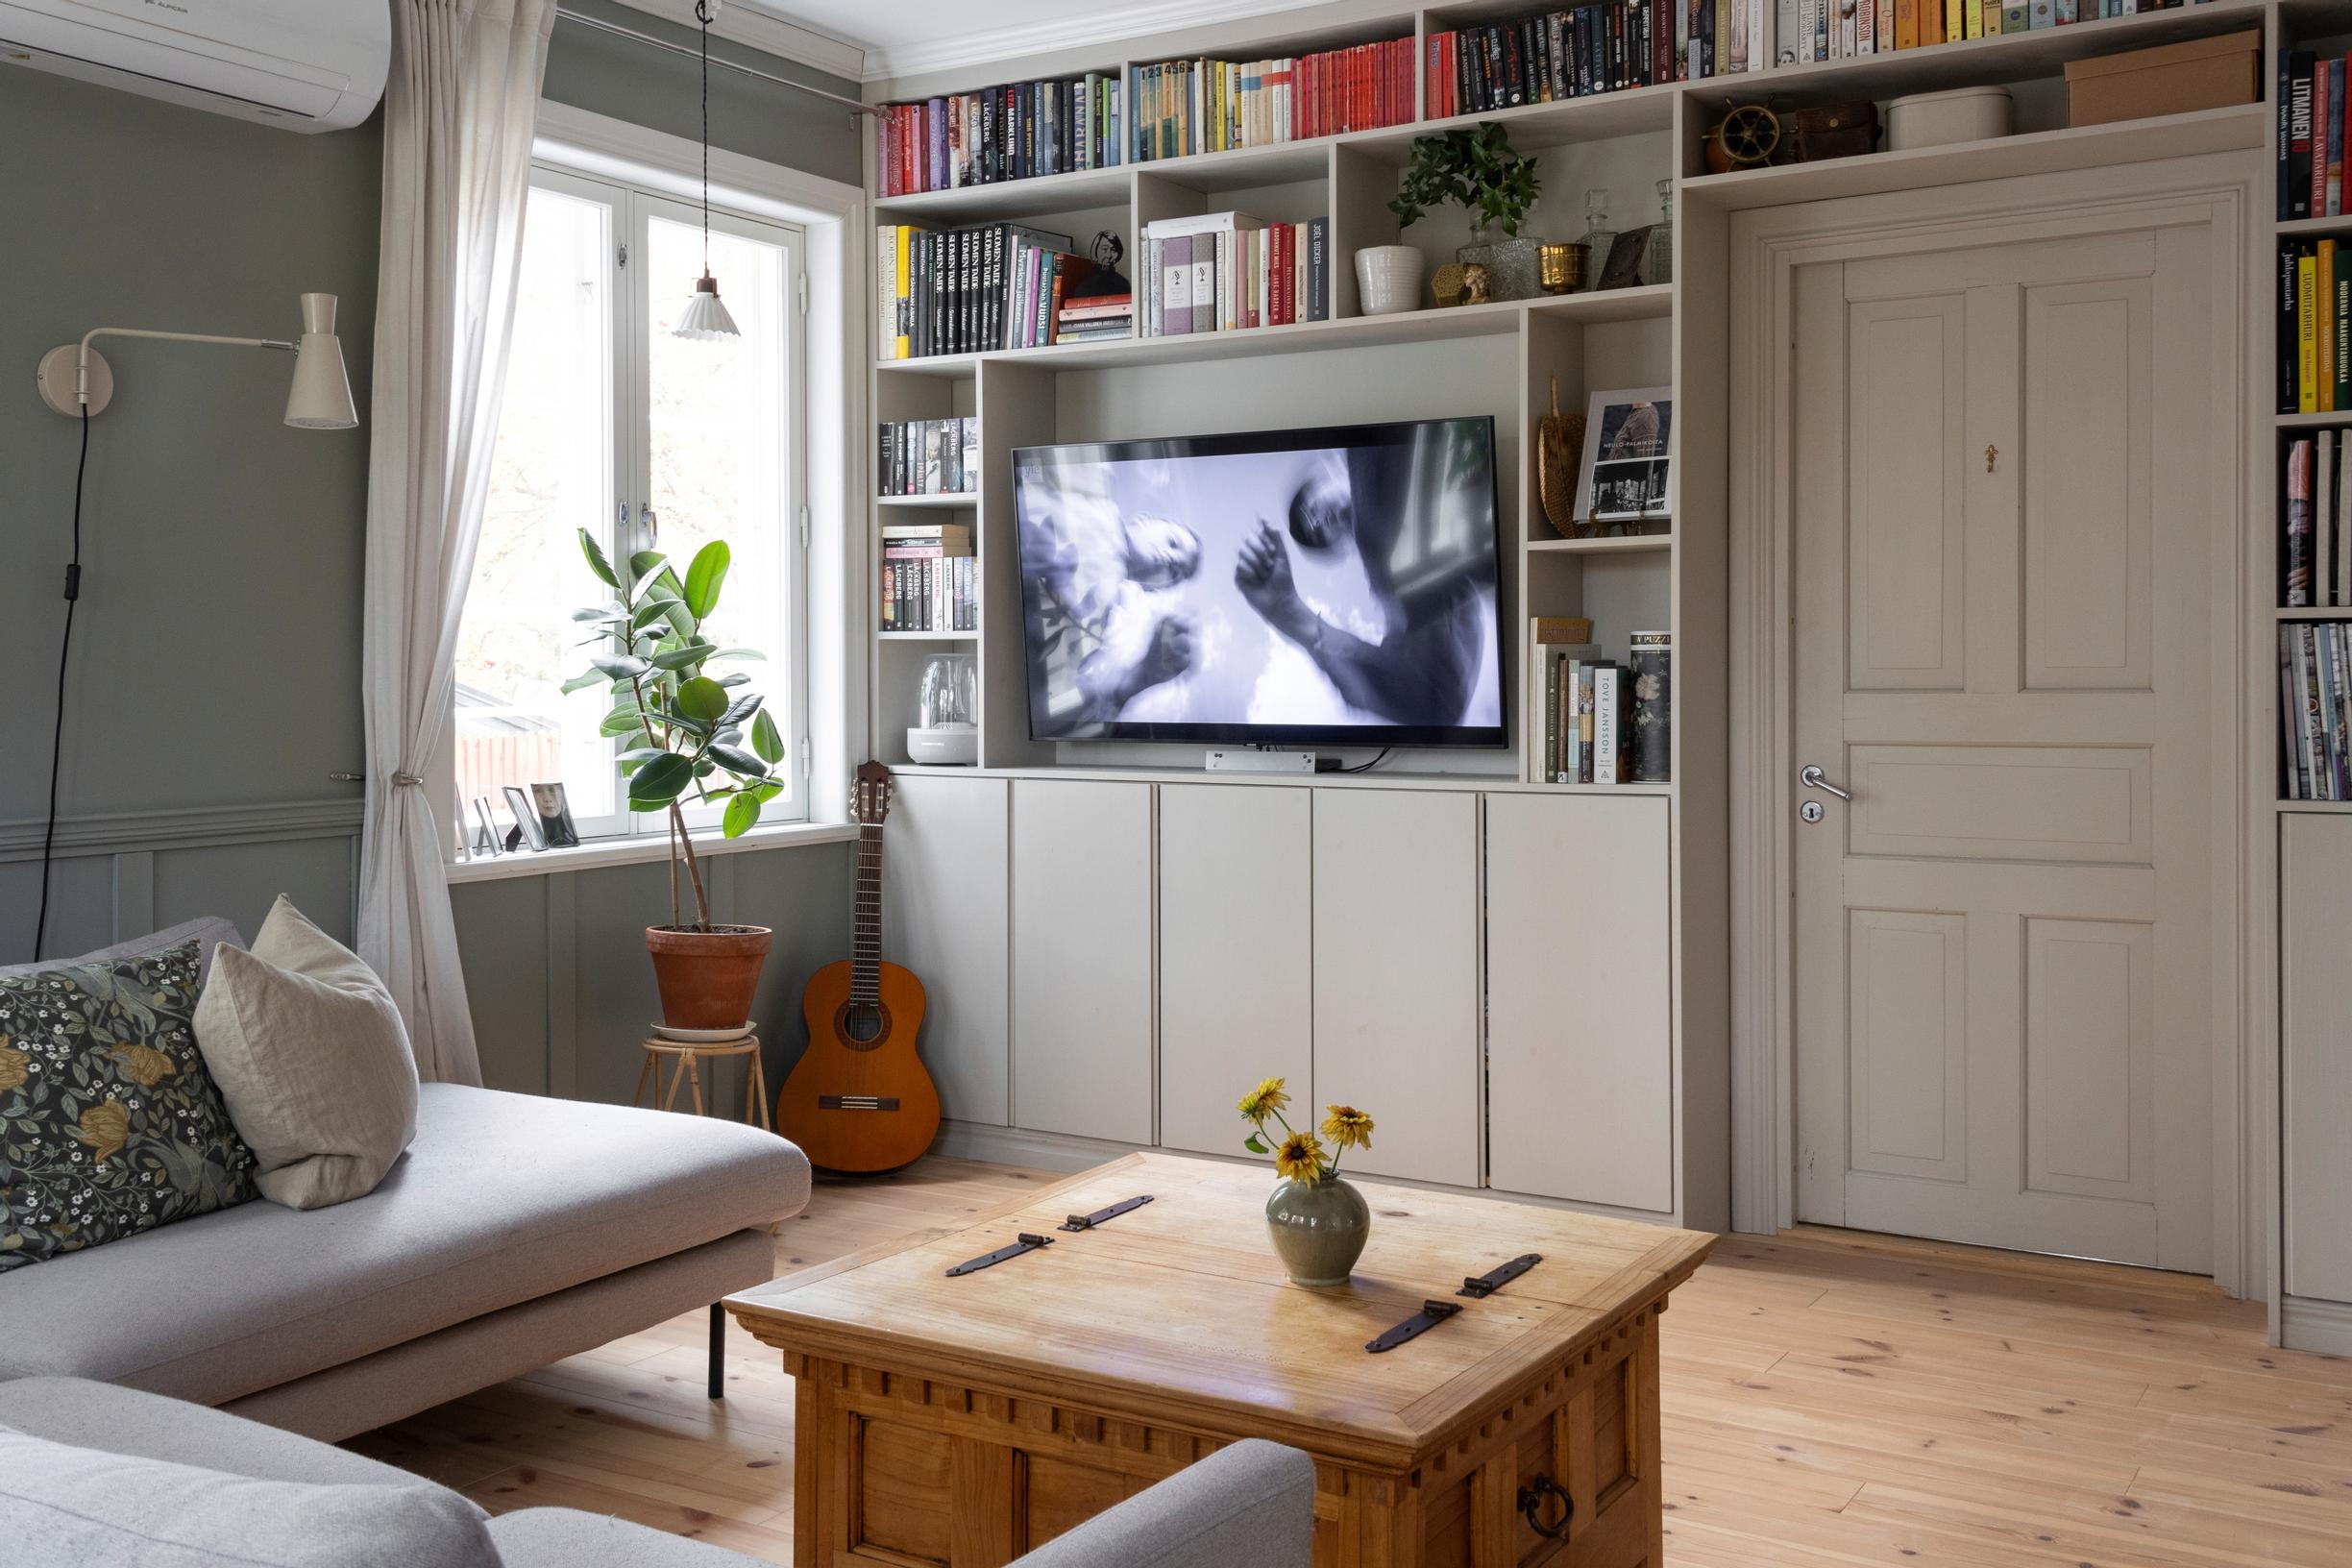
How to make a custom built-in bookshelf from Ikea pine cabinets and glued-laminated boards
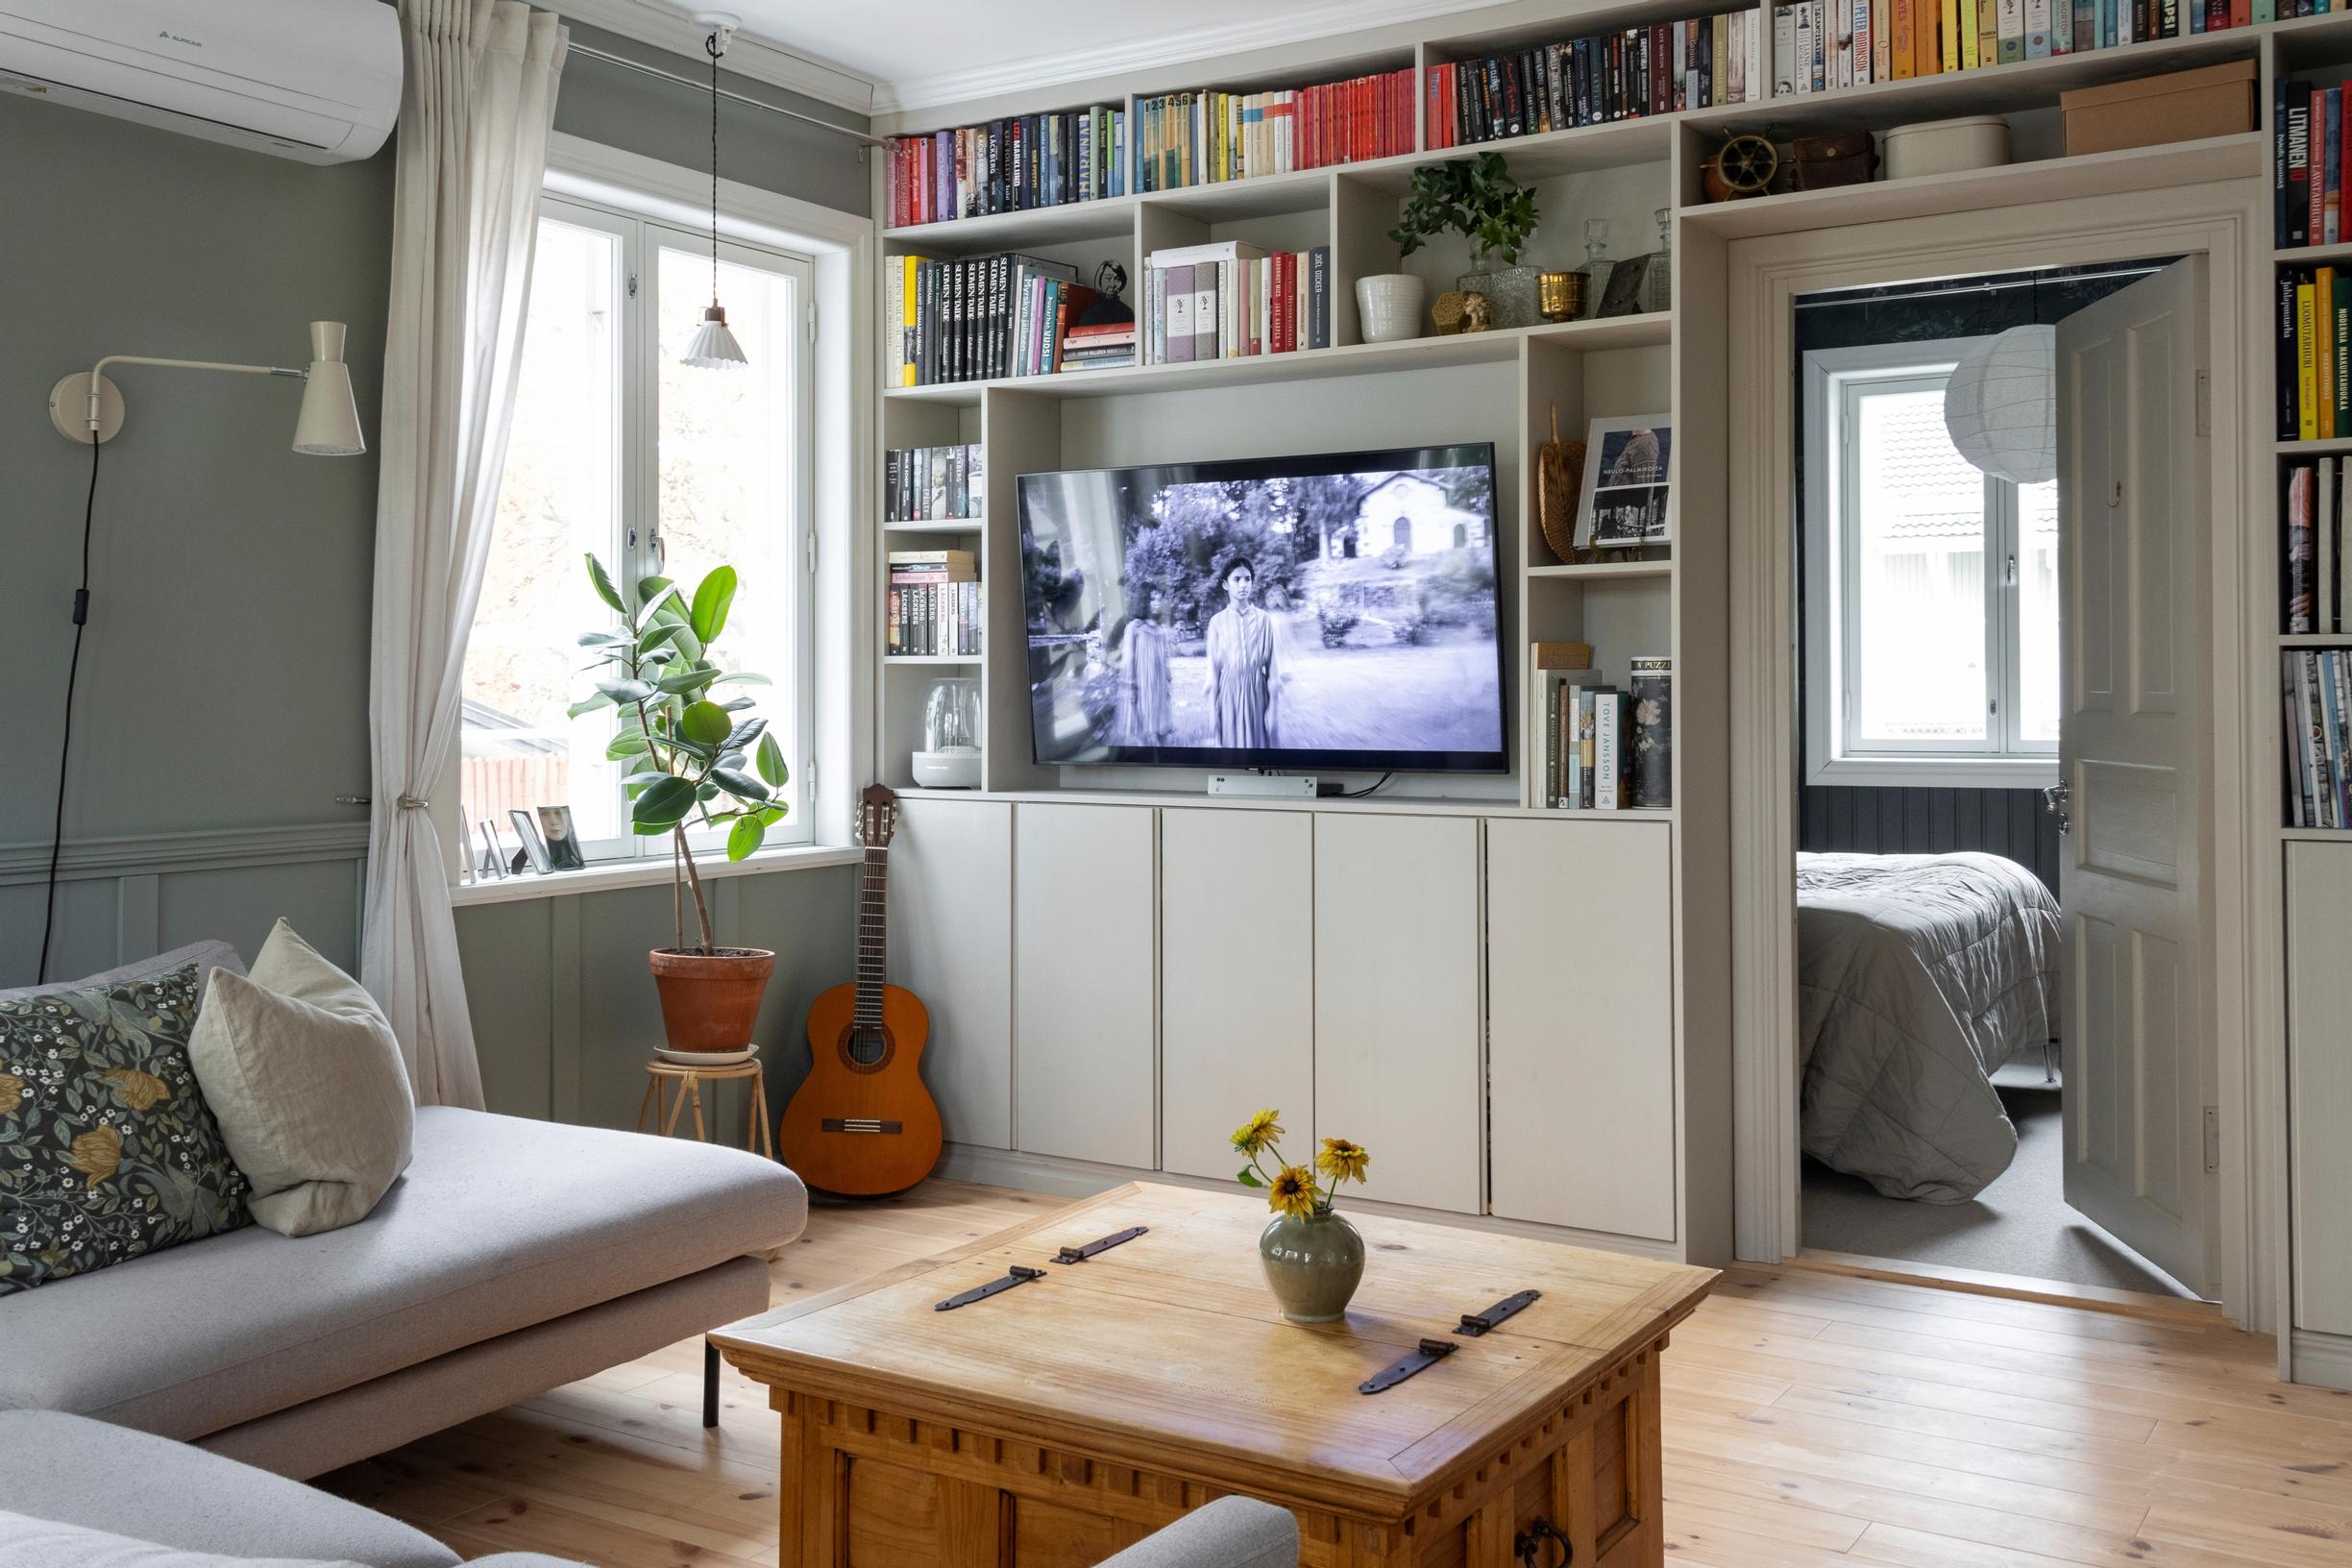
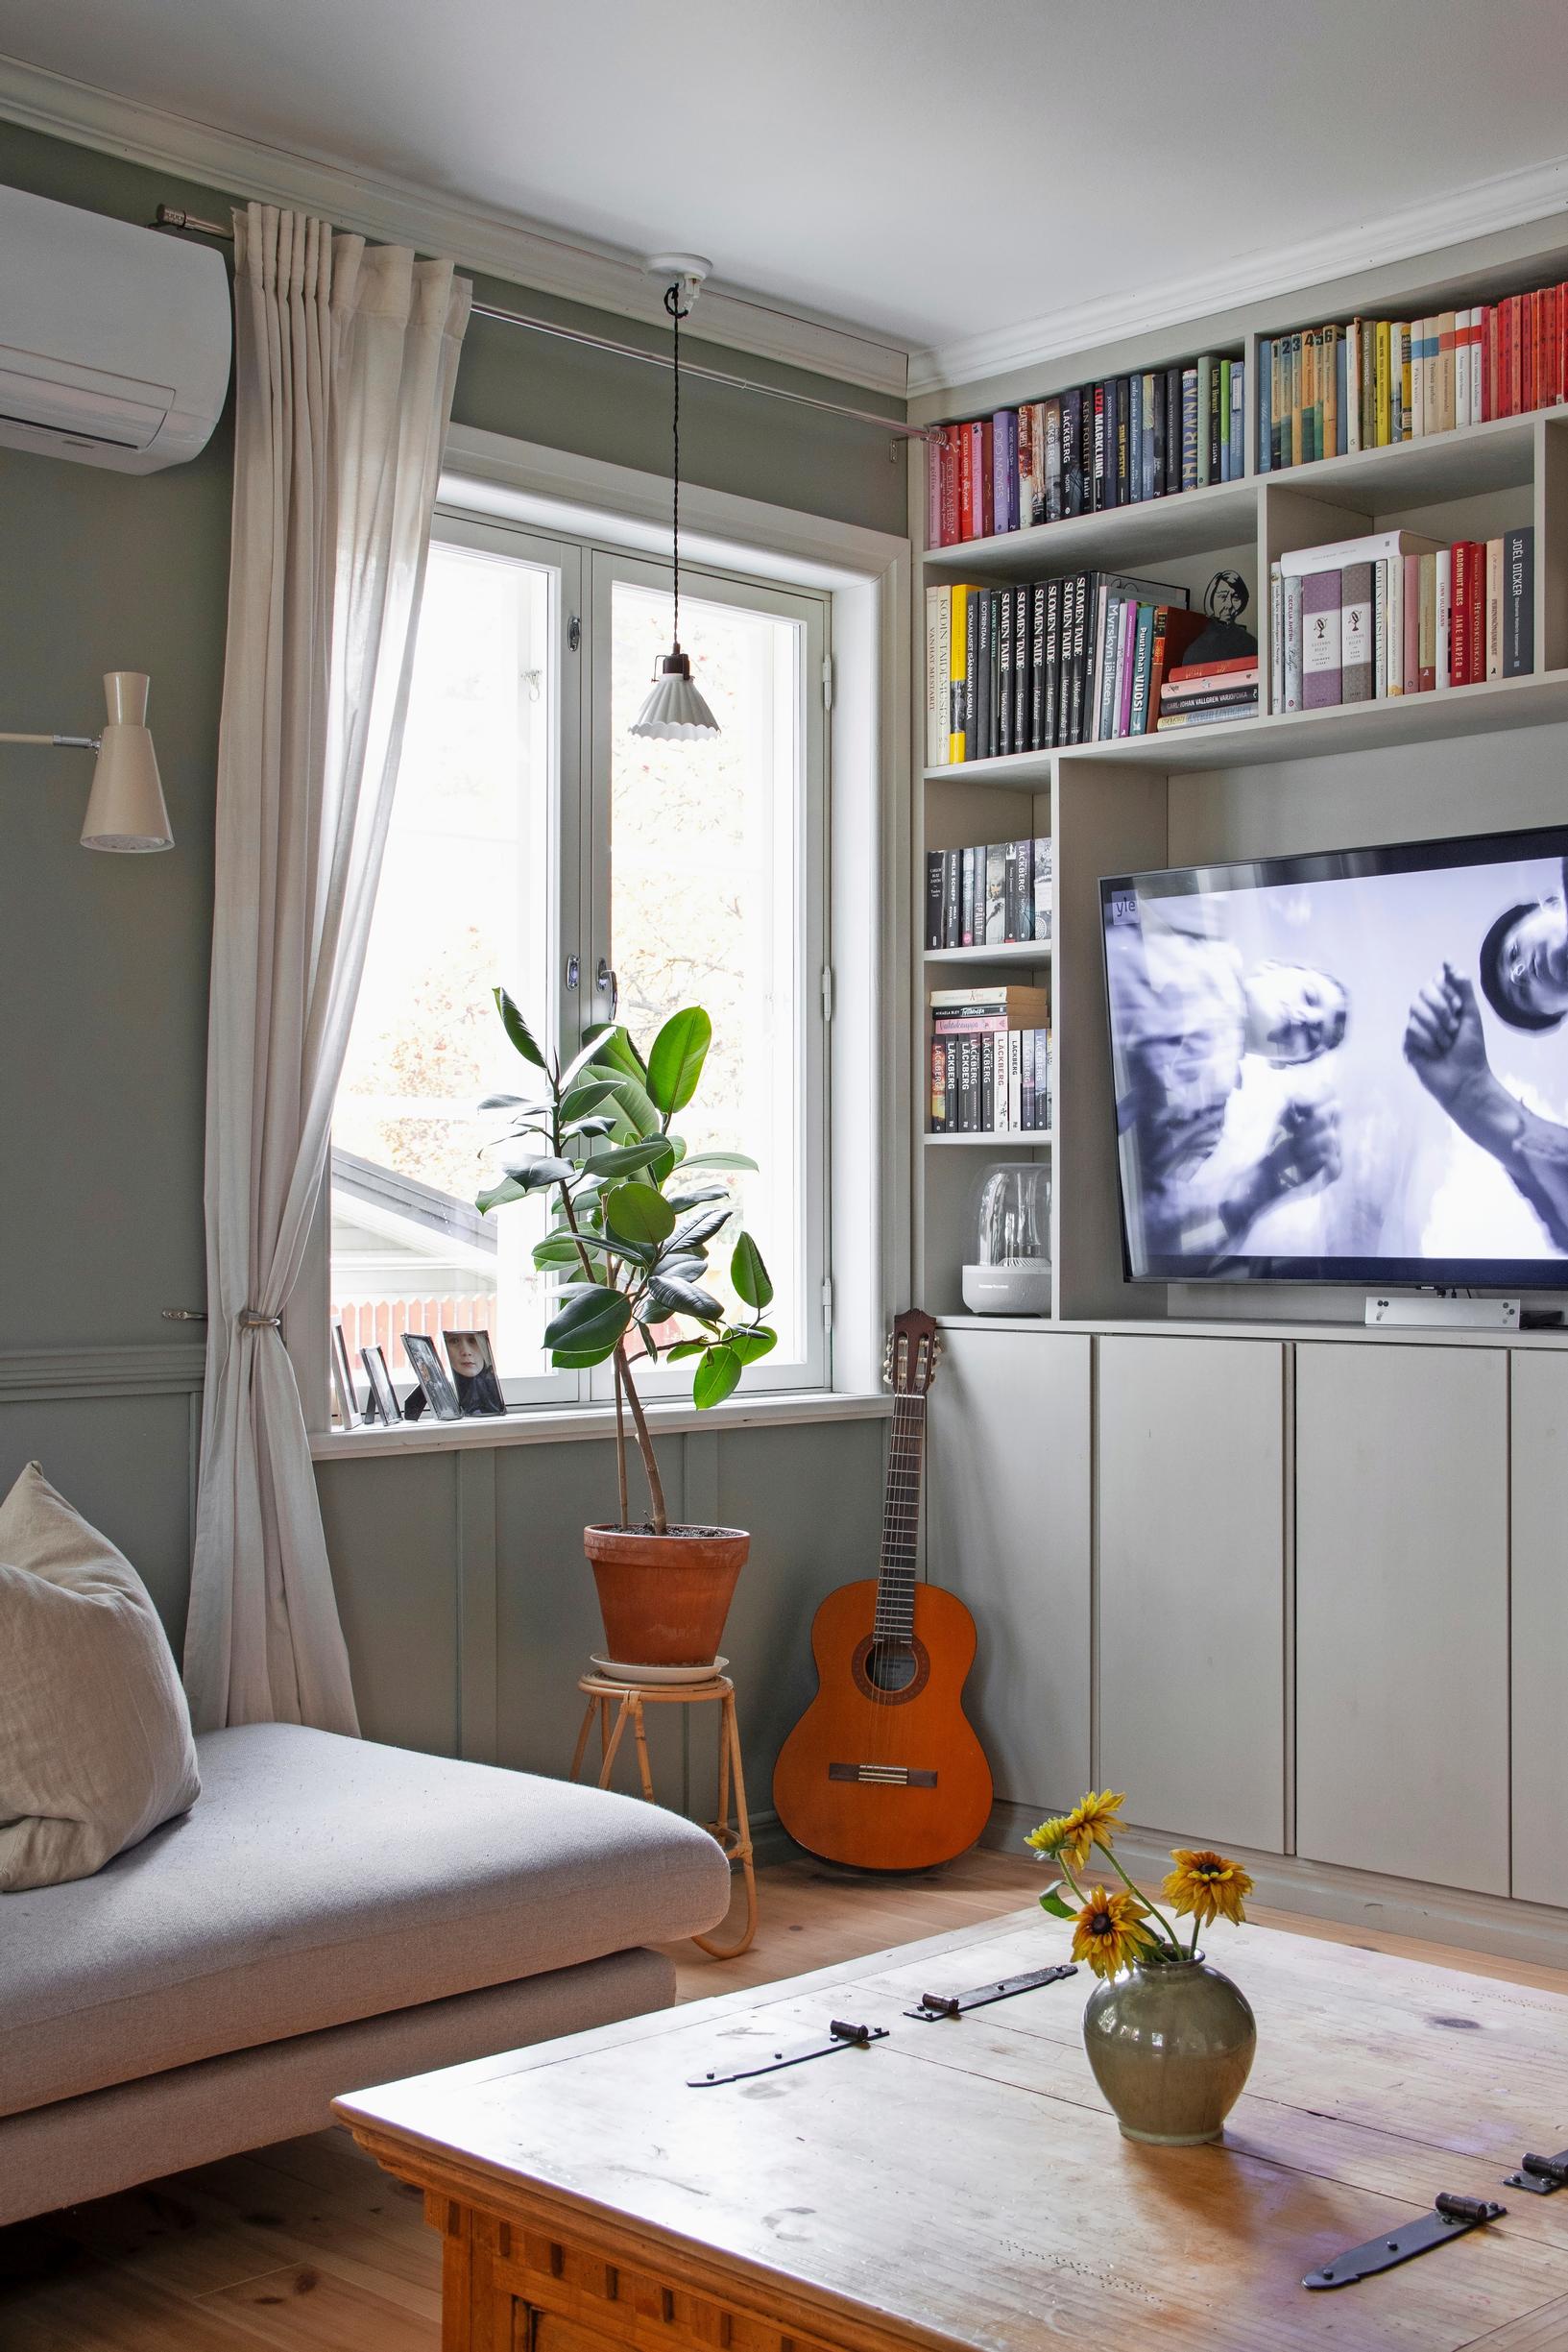
Want to make the most of your space but can't find the perfect shelf? Build one yourself! With this guide, you can design a solid-wood, sturdy bookshelf that spans the entire space from wall to wall and floor to ceiling. A long shelf won’t sag either if you secure it to the wall with furniture brackets.
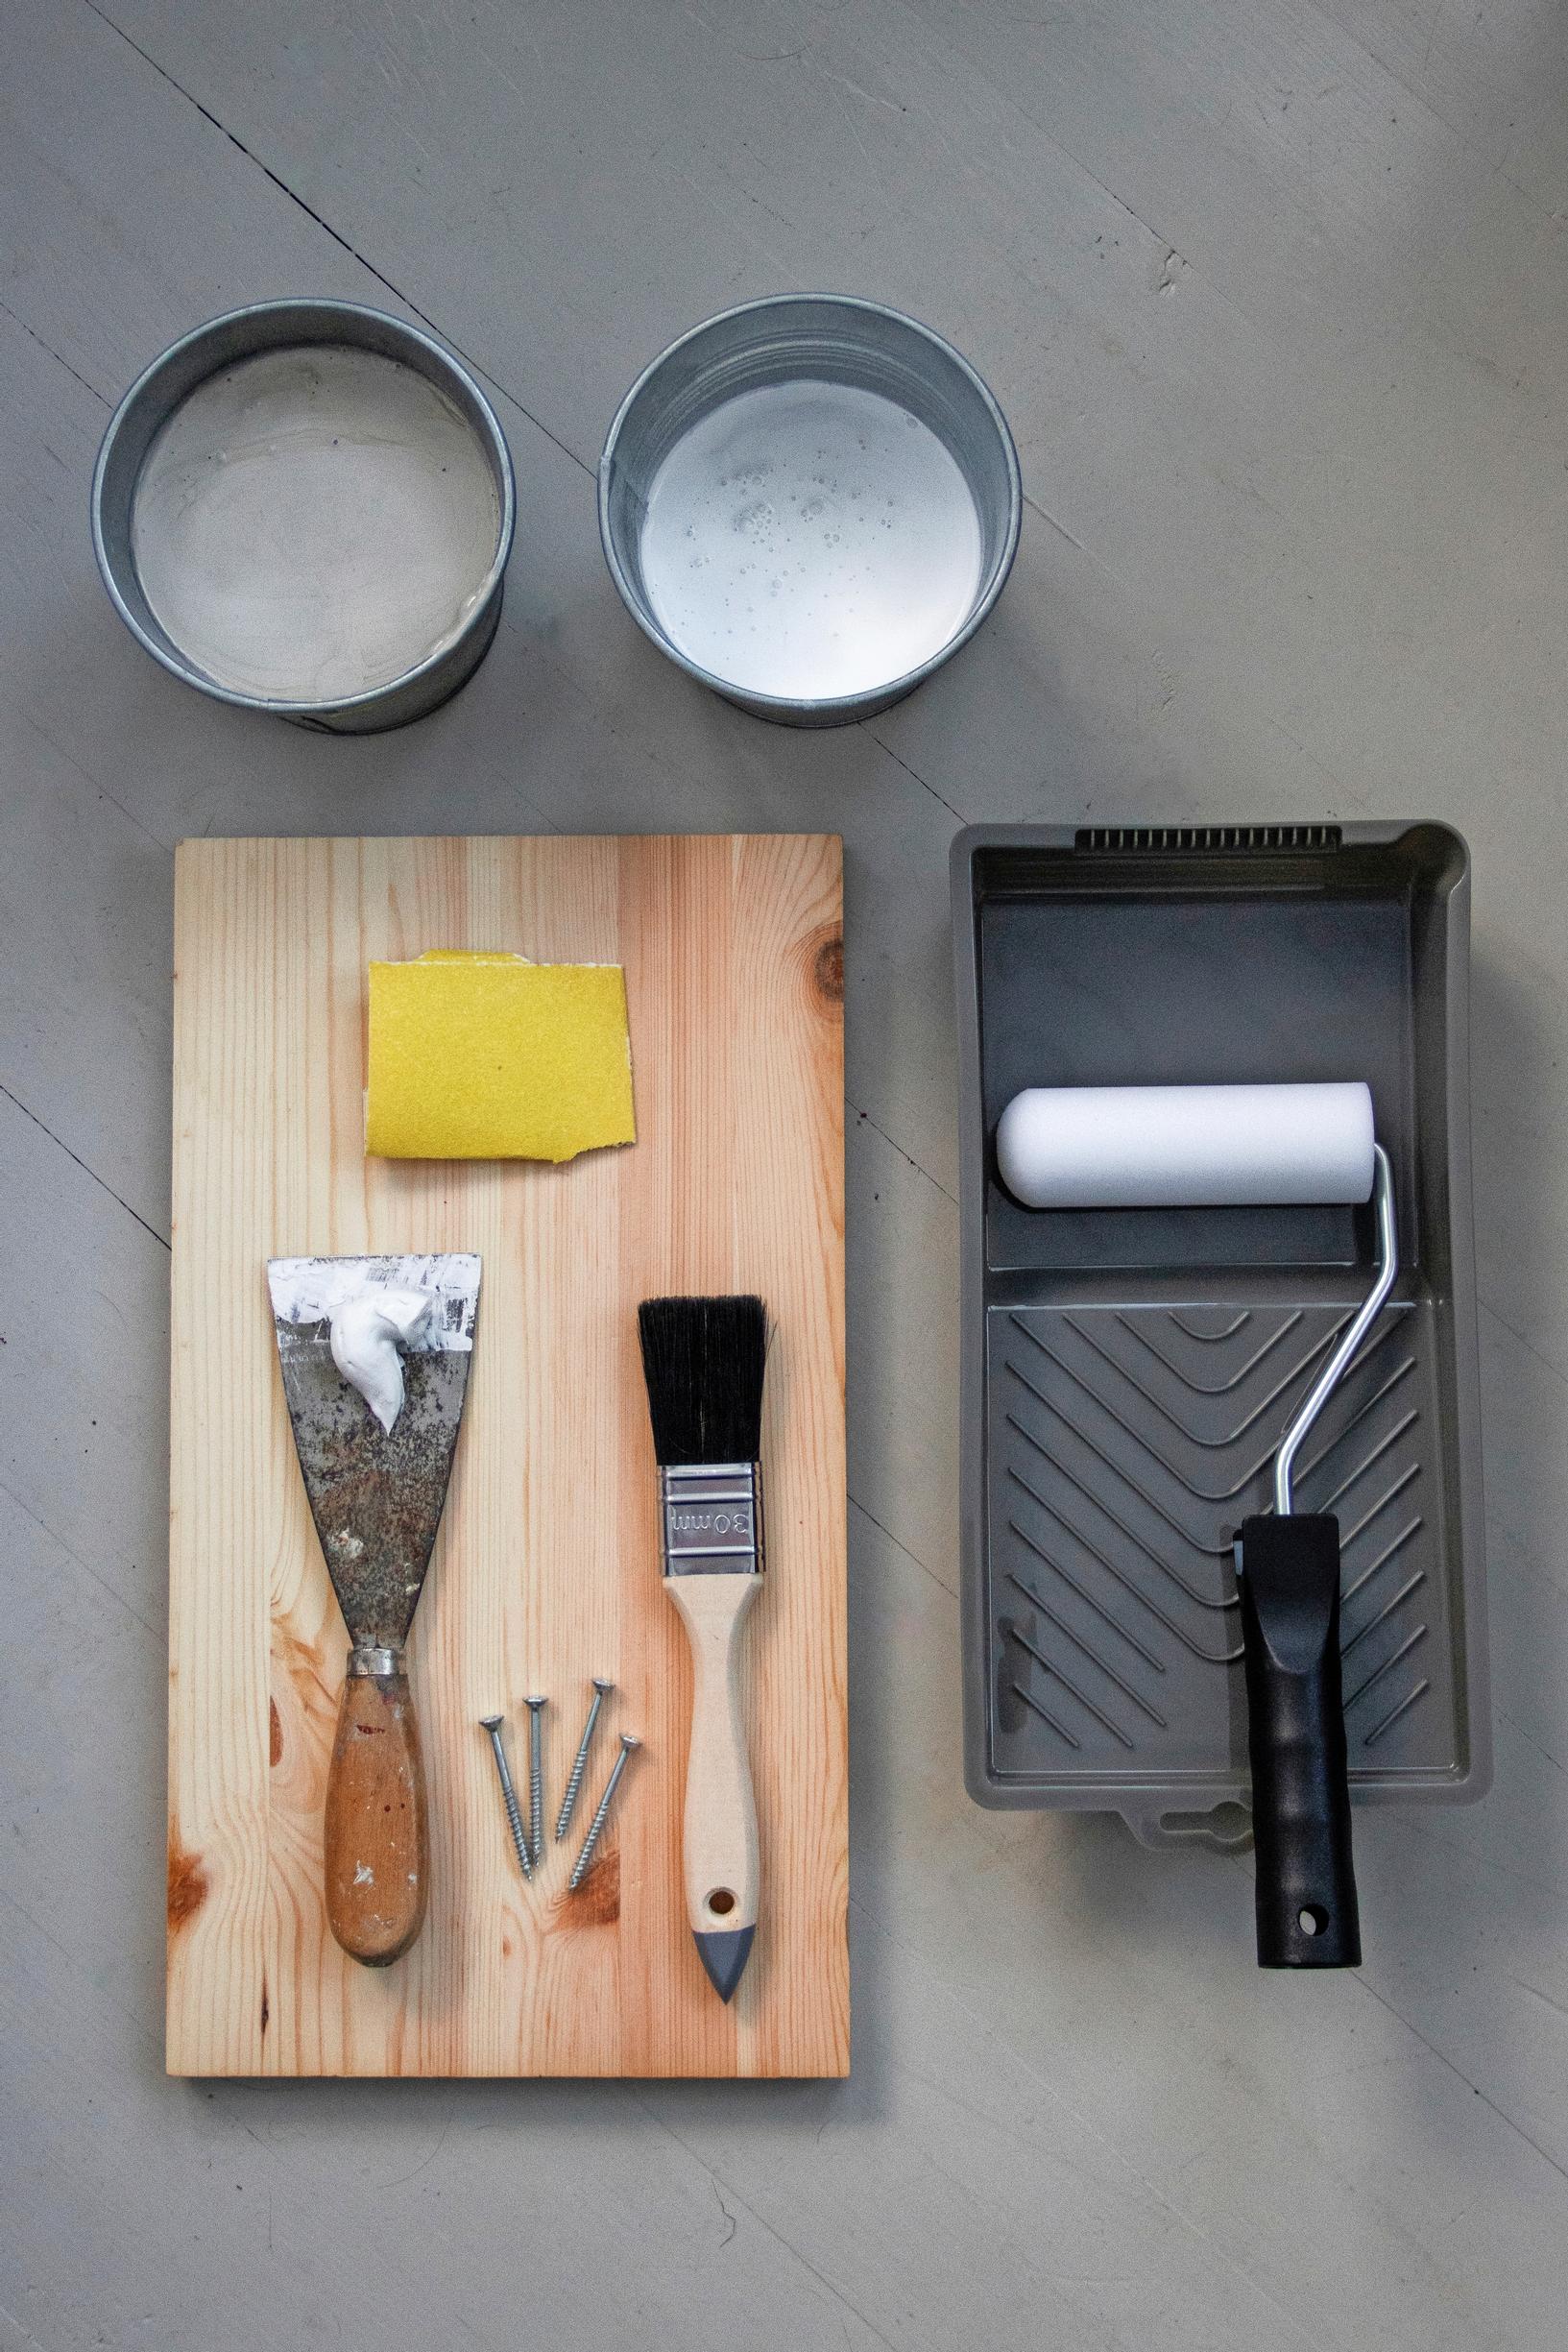
Built-in bookshelf: supplies
Pine glued-laminated board (300 mm × 2000–3000 mm, 18 mm thick)
Measuring tape, pencil, and square
Circular saw or handsaw, and sandpaper
Quick filler and a putty knife
45 mm screws and a driver
Wood glue
A small roller and paintbrush suitable for furniture paint
Ikea Ivar cabinets (calculate how many you need)
Small furniture brackets as needed, e.g., 5–6 pieces in size 40 × 28 × 22 mm
Isolation primer
Furniture paint


Built-in bookshelf: instructions
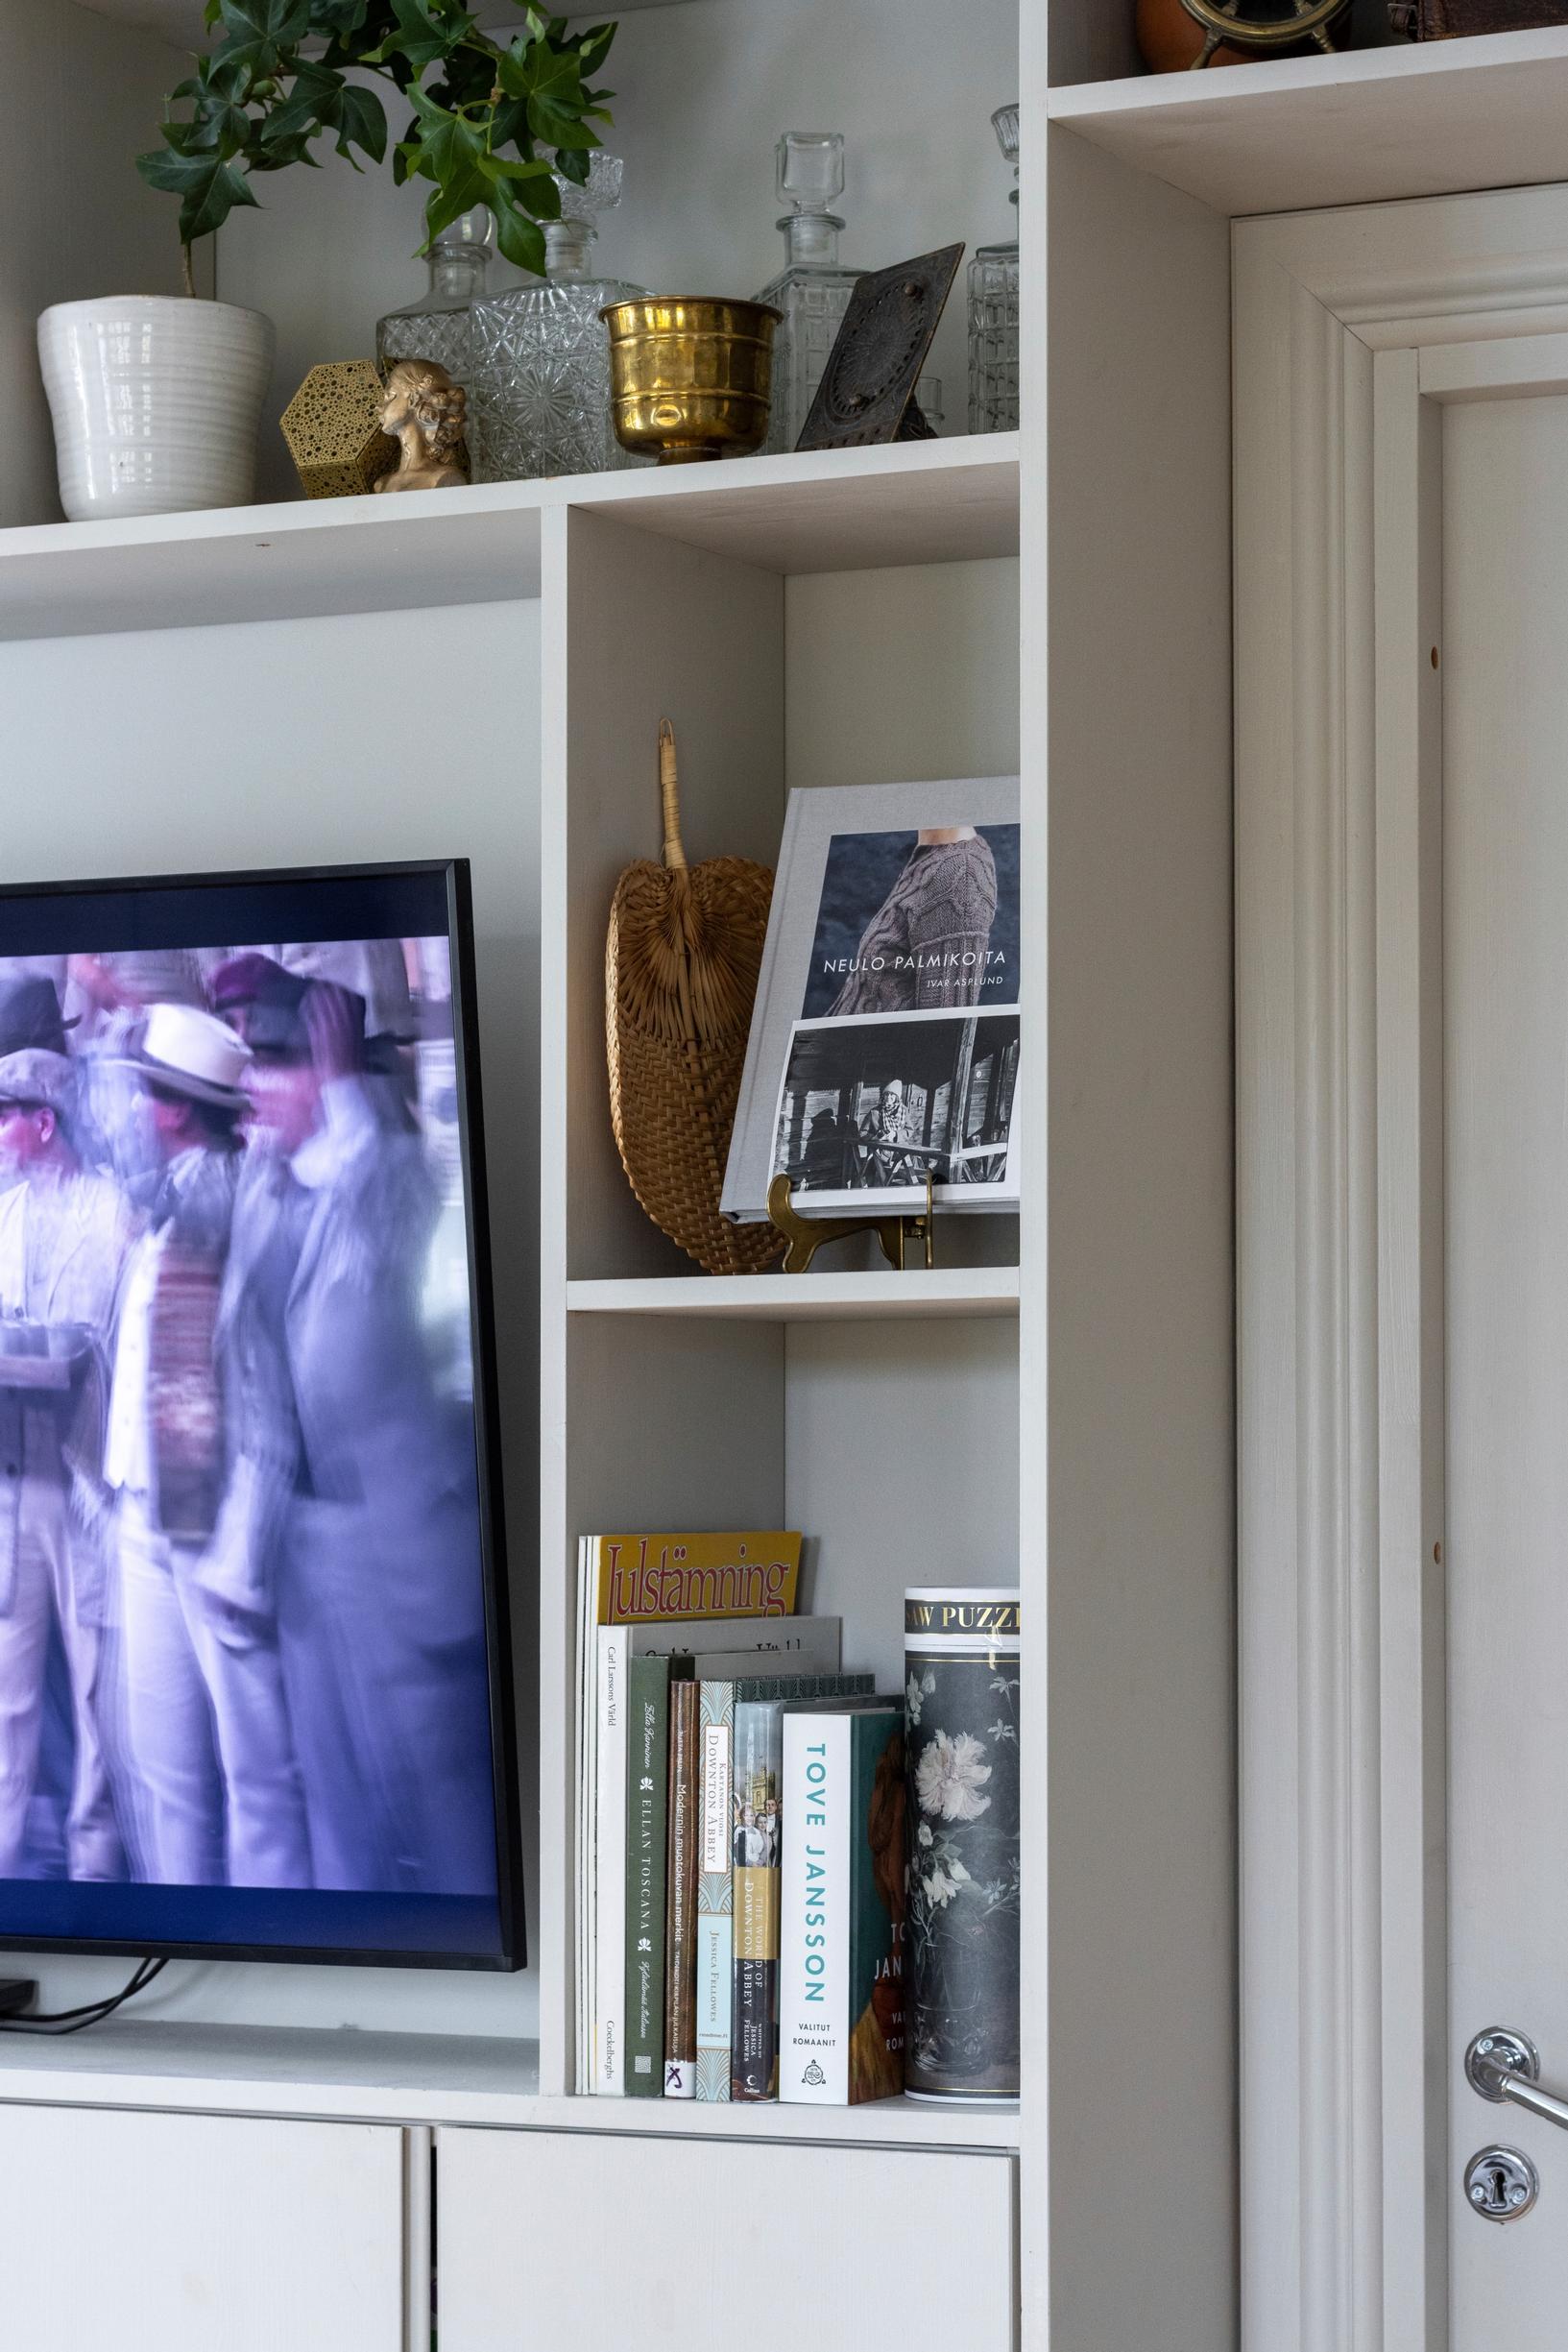
1. Assemble and mount the Ivar cabinets. Attach them to the wall at your desired height with screws. You can hide the gap under the cabinets with a baseboard or raise the cabinets higher and add a cover panel. Depending on the width of your bookshelf, you can split an Ivar cabinet into two separate units.
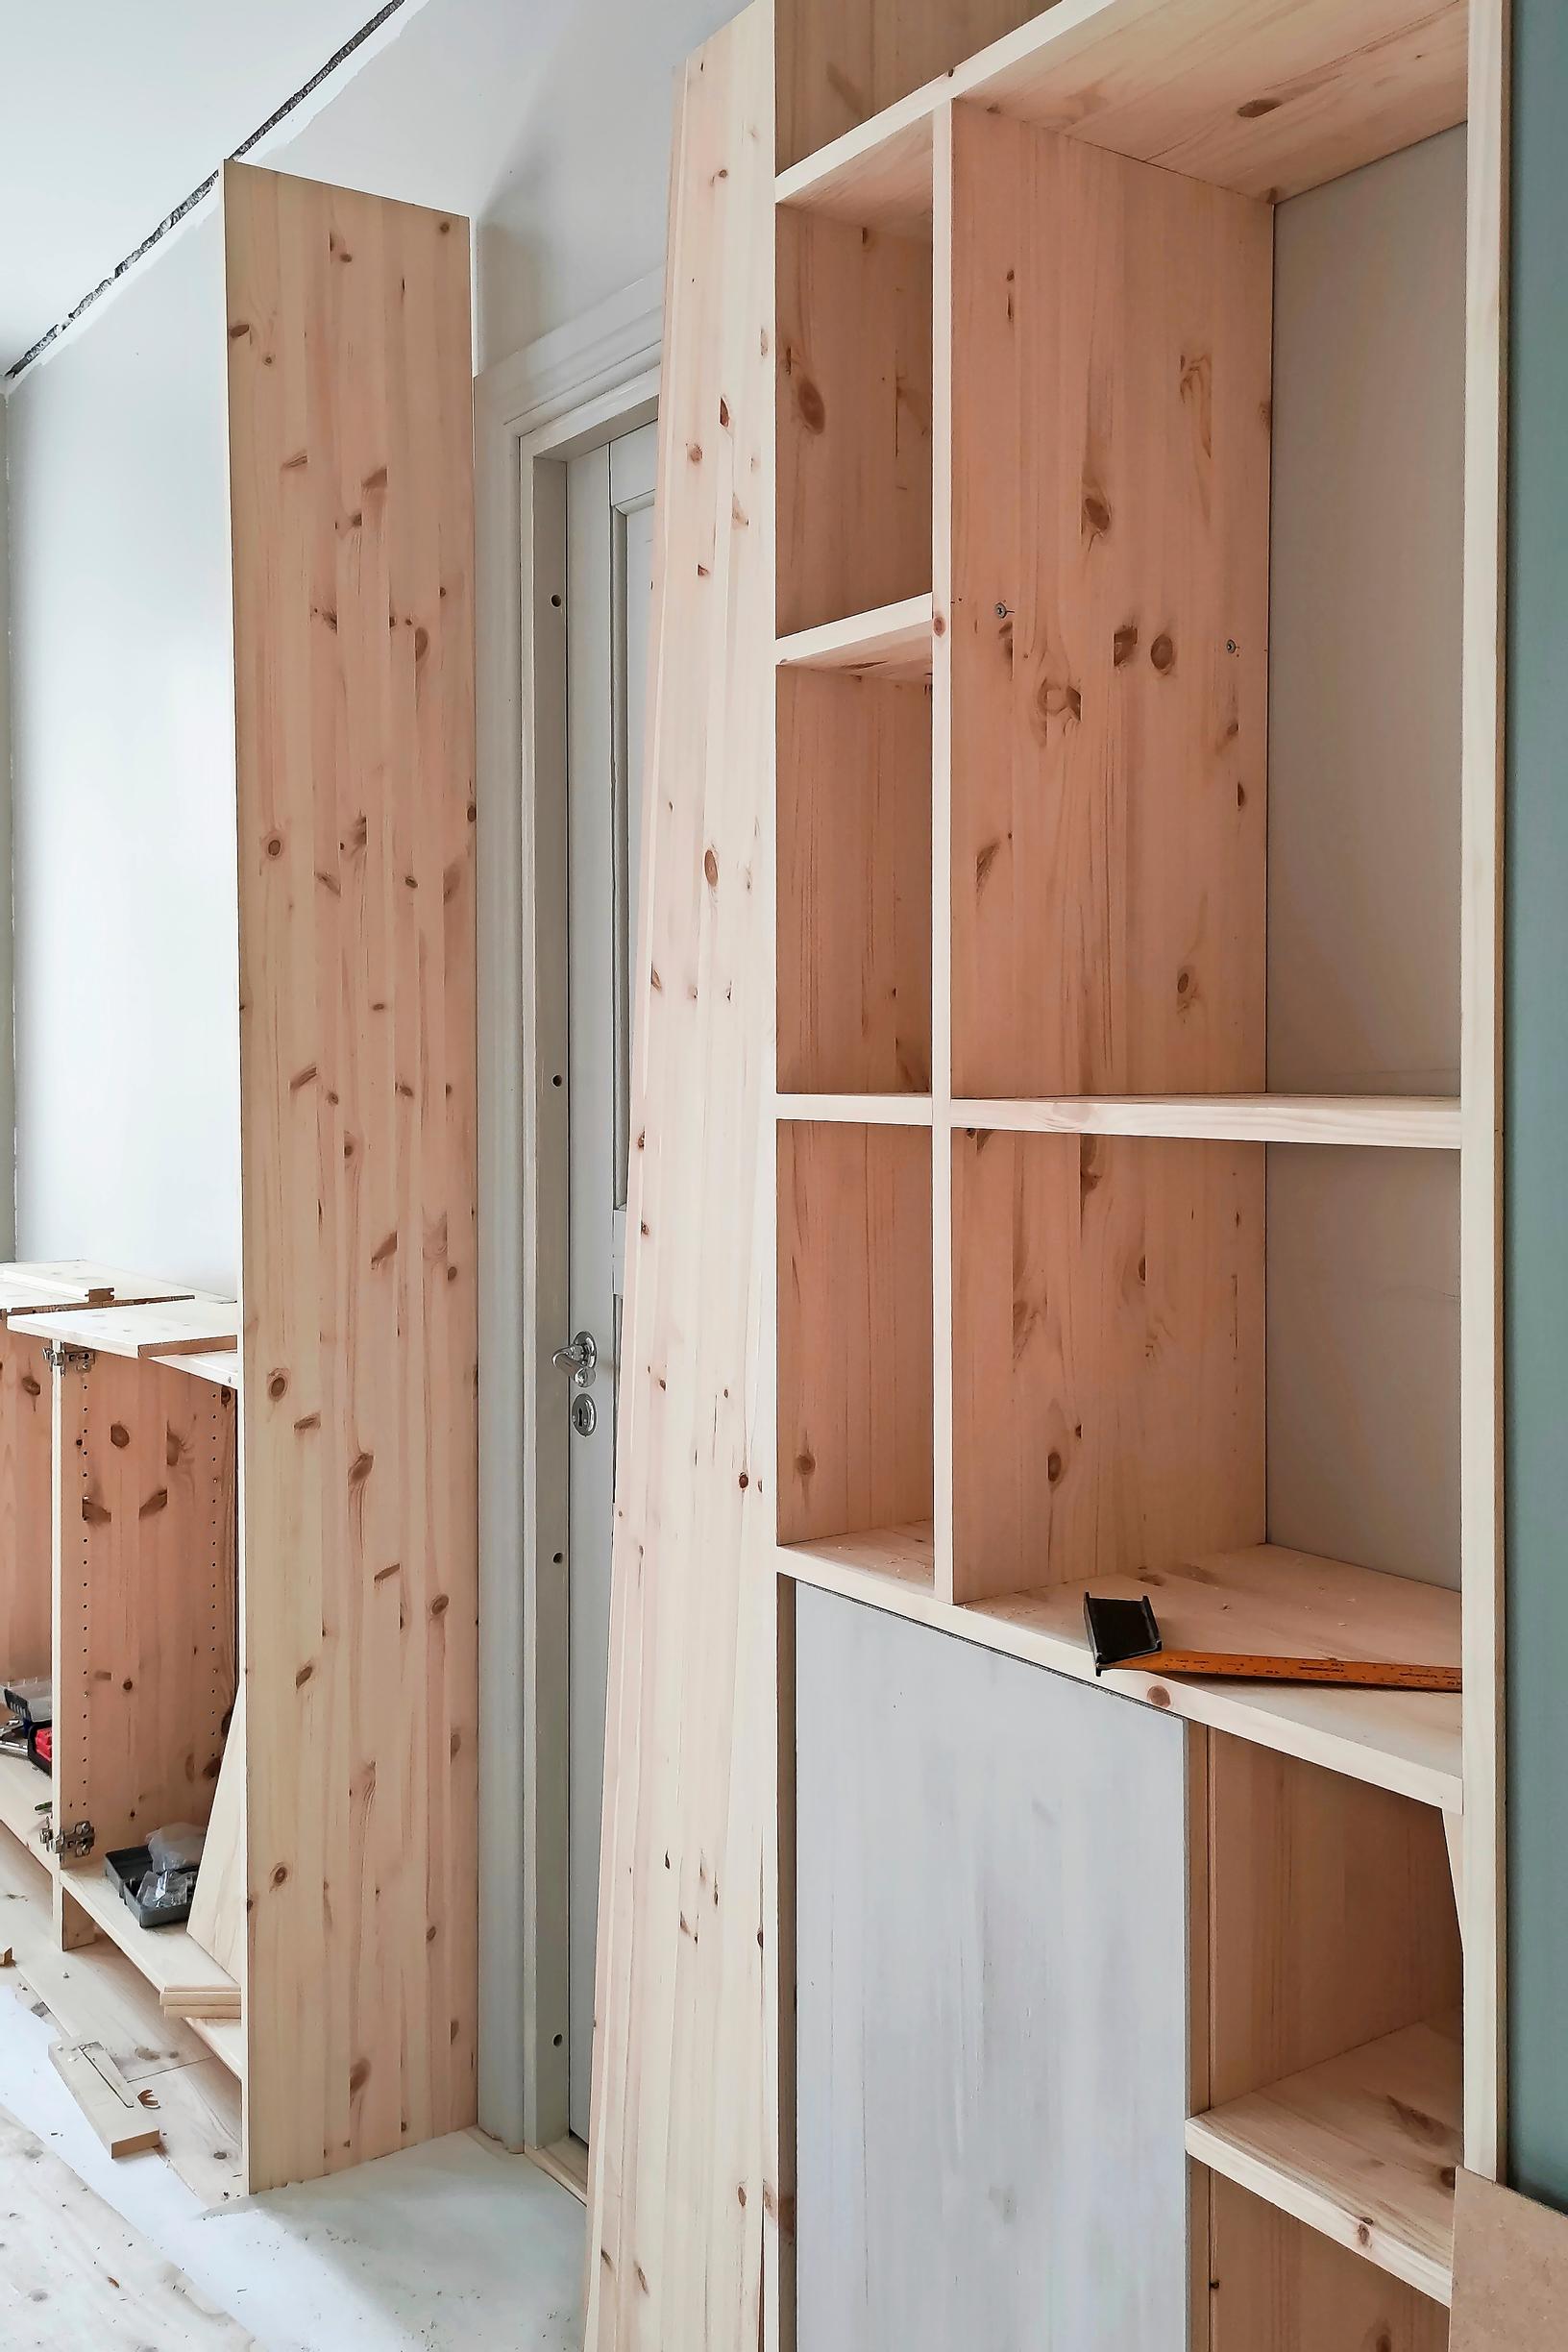
2. Measure and mark the shelf dimensions on the wall above the cabinets. Sketching the measurements helps you visualize the spacing between the shelves. Then measure and saw the glued-laminated boards to the required sizes.

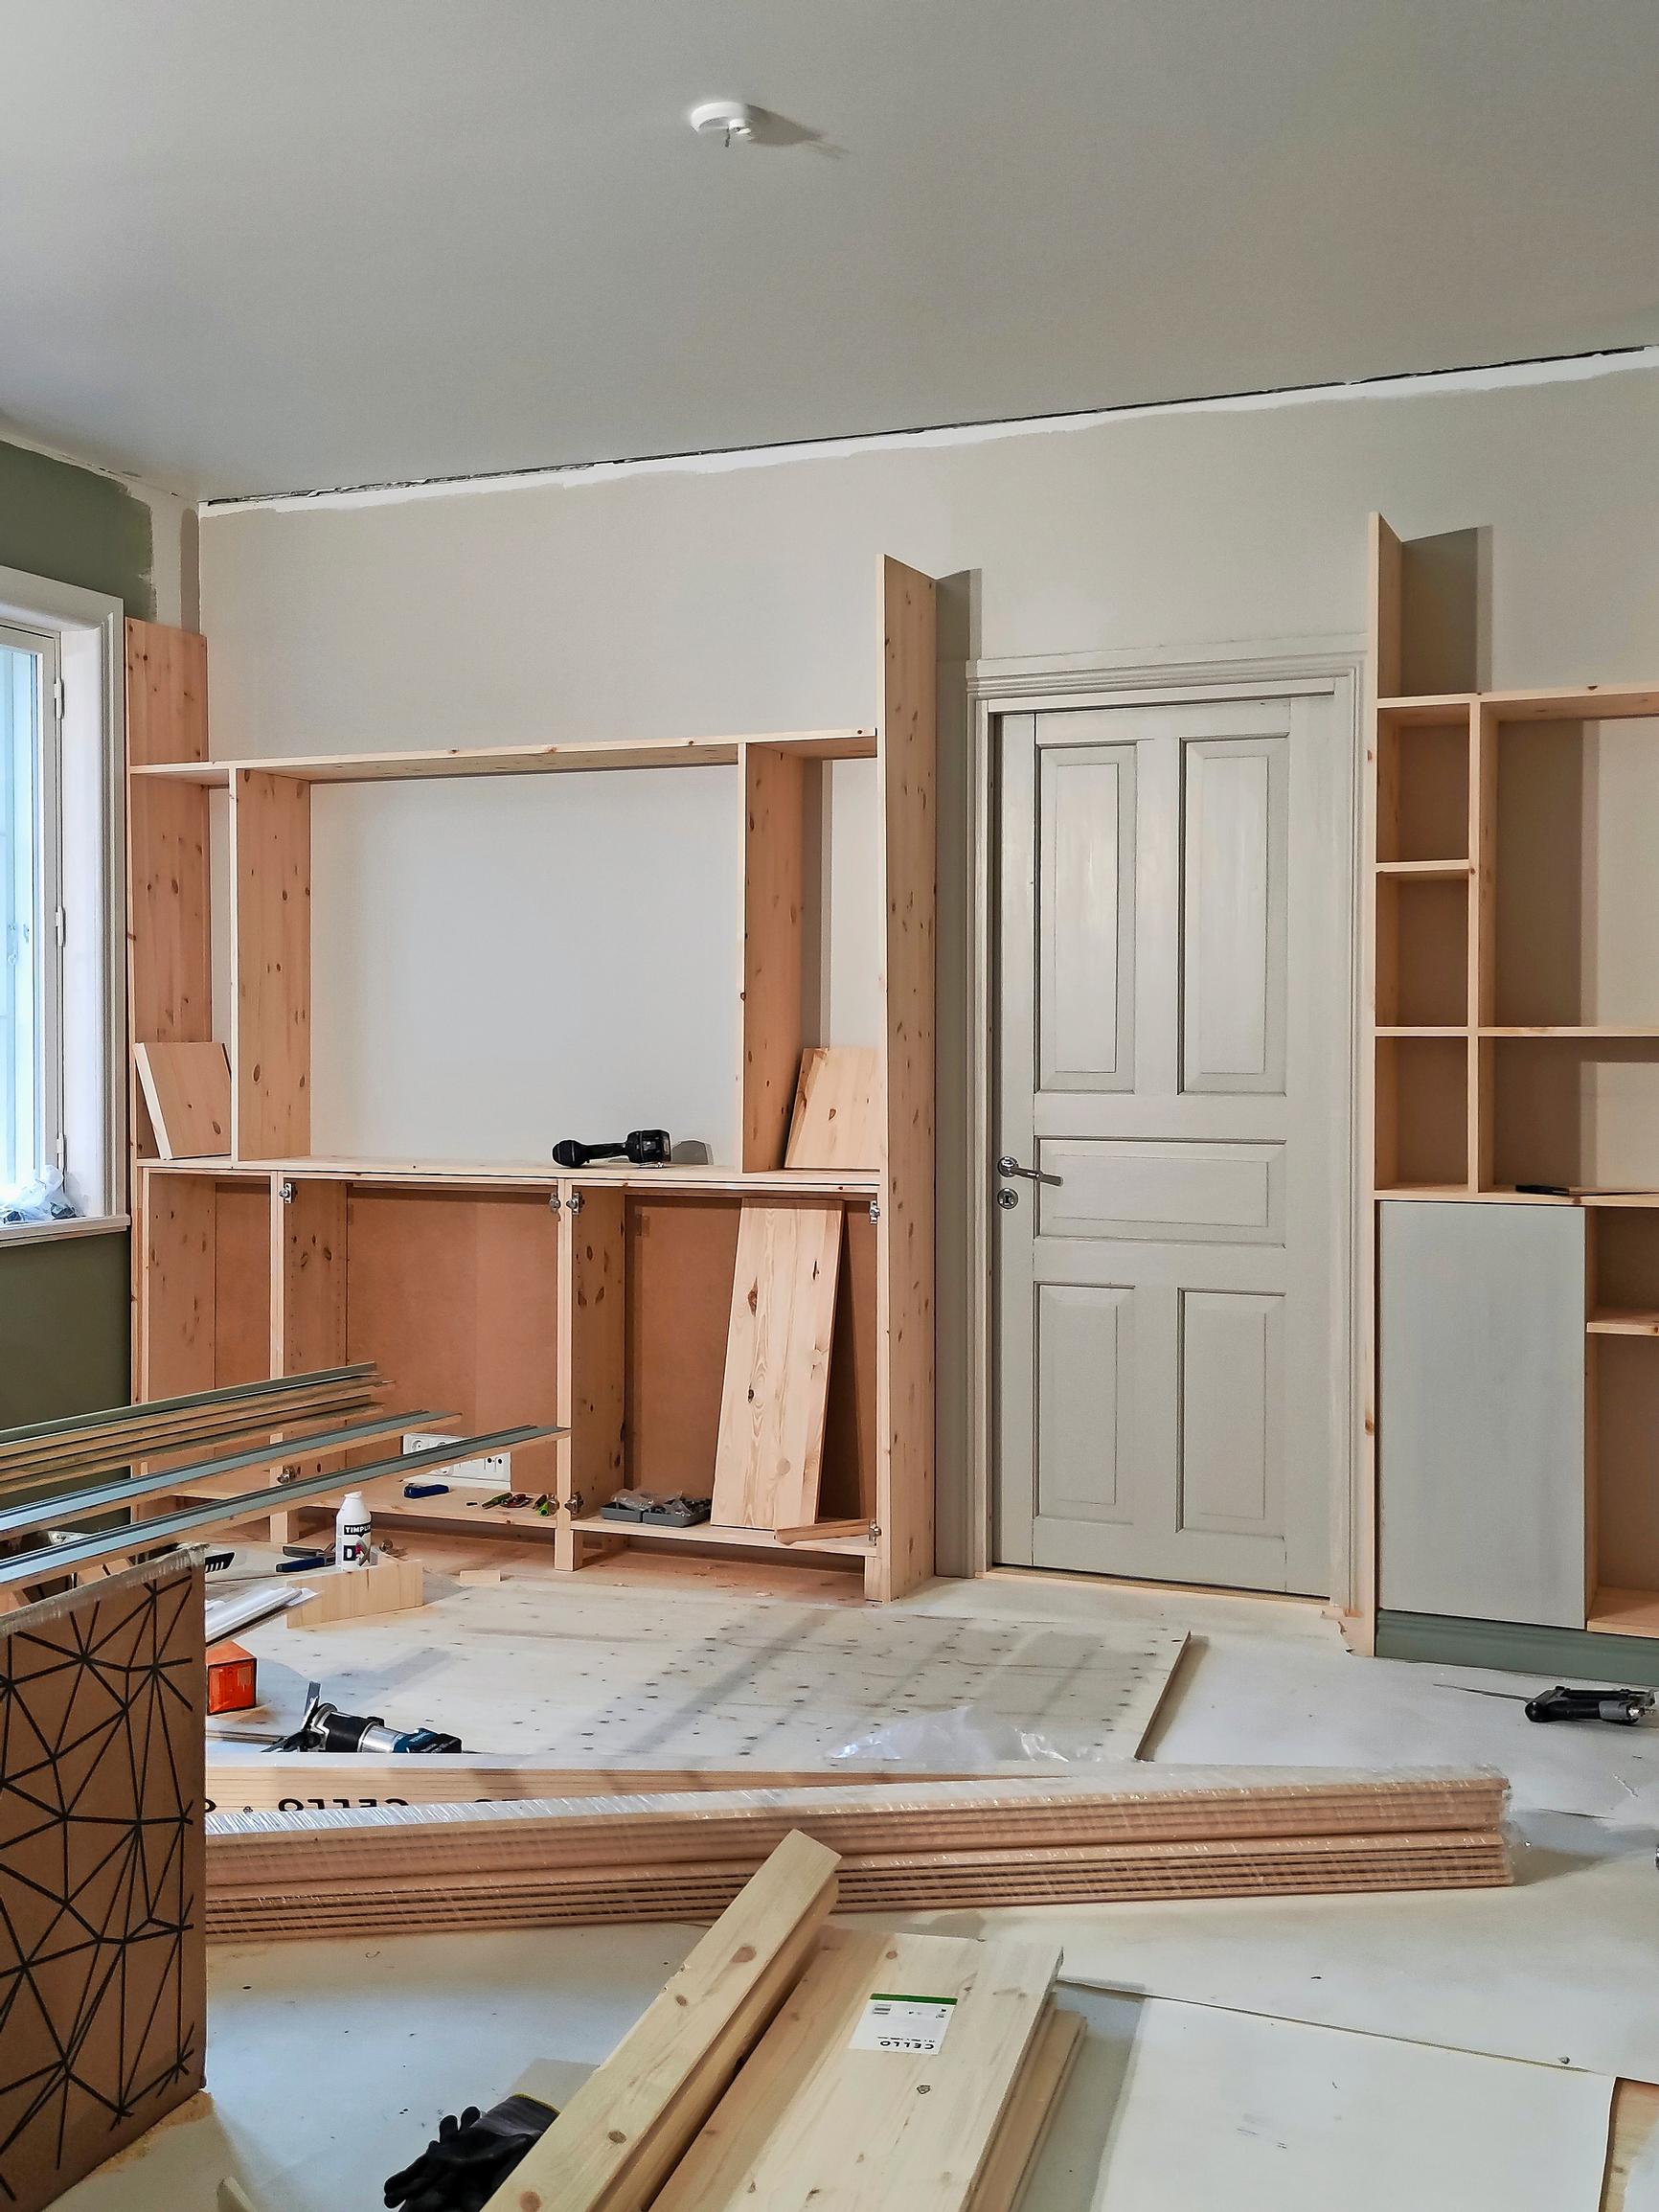

3. Join the boards with screws, adding wood glue on the joint surfaces. You can assemble sections of the shelf on the floor and then lift them into place. Secure the shelf to the wall with furniture brackets. If needed, add a baseboard at the bottom of the wall below the cabinets and a cover panel at the ceiling.
4. Fill the screw holes with quick filler, let it dry, and sand smooth. Then apply isolation primer to stop the wood grain from showing through the topcoat. Finally, paint the shelf and the background wall twice using a small roller and a paintbrush.


Materials purchased at: K-rauta (laminated boards, quick filler, and paint); Ikea (cabinets).