
Unlock the secrets to making the perfect sauna whisk with sauna master
A sauna whisk infuses your sauna with the fresh scent of summer birch. It’s recommended that you use silver birch for the whisk and downy birch for the binding. Pentti Hakala, sauna master and world champion in whisk-making, shares his tips to help you make the perfect whisk.
Sauna whisk tutorial

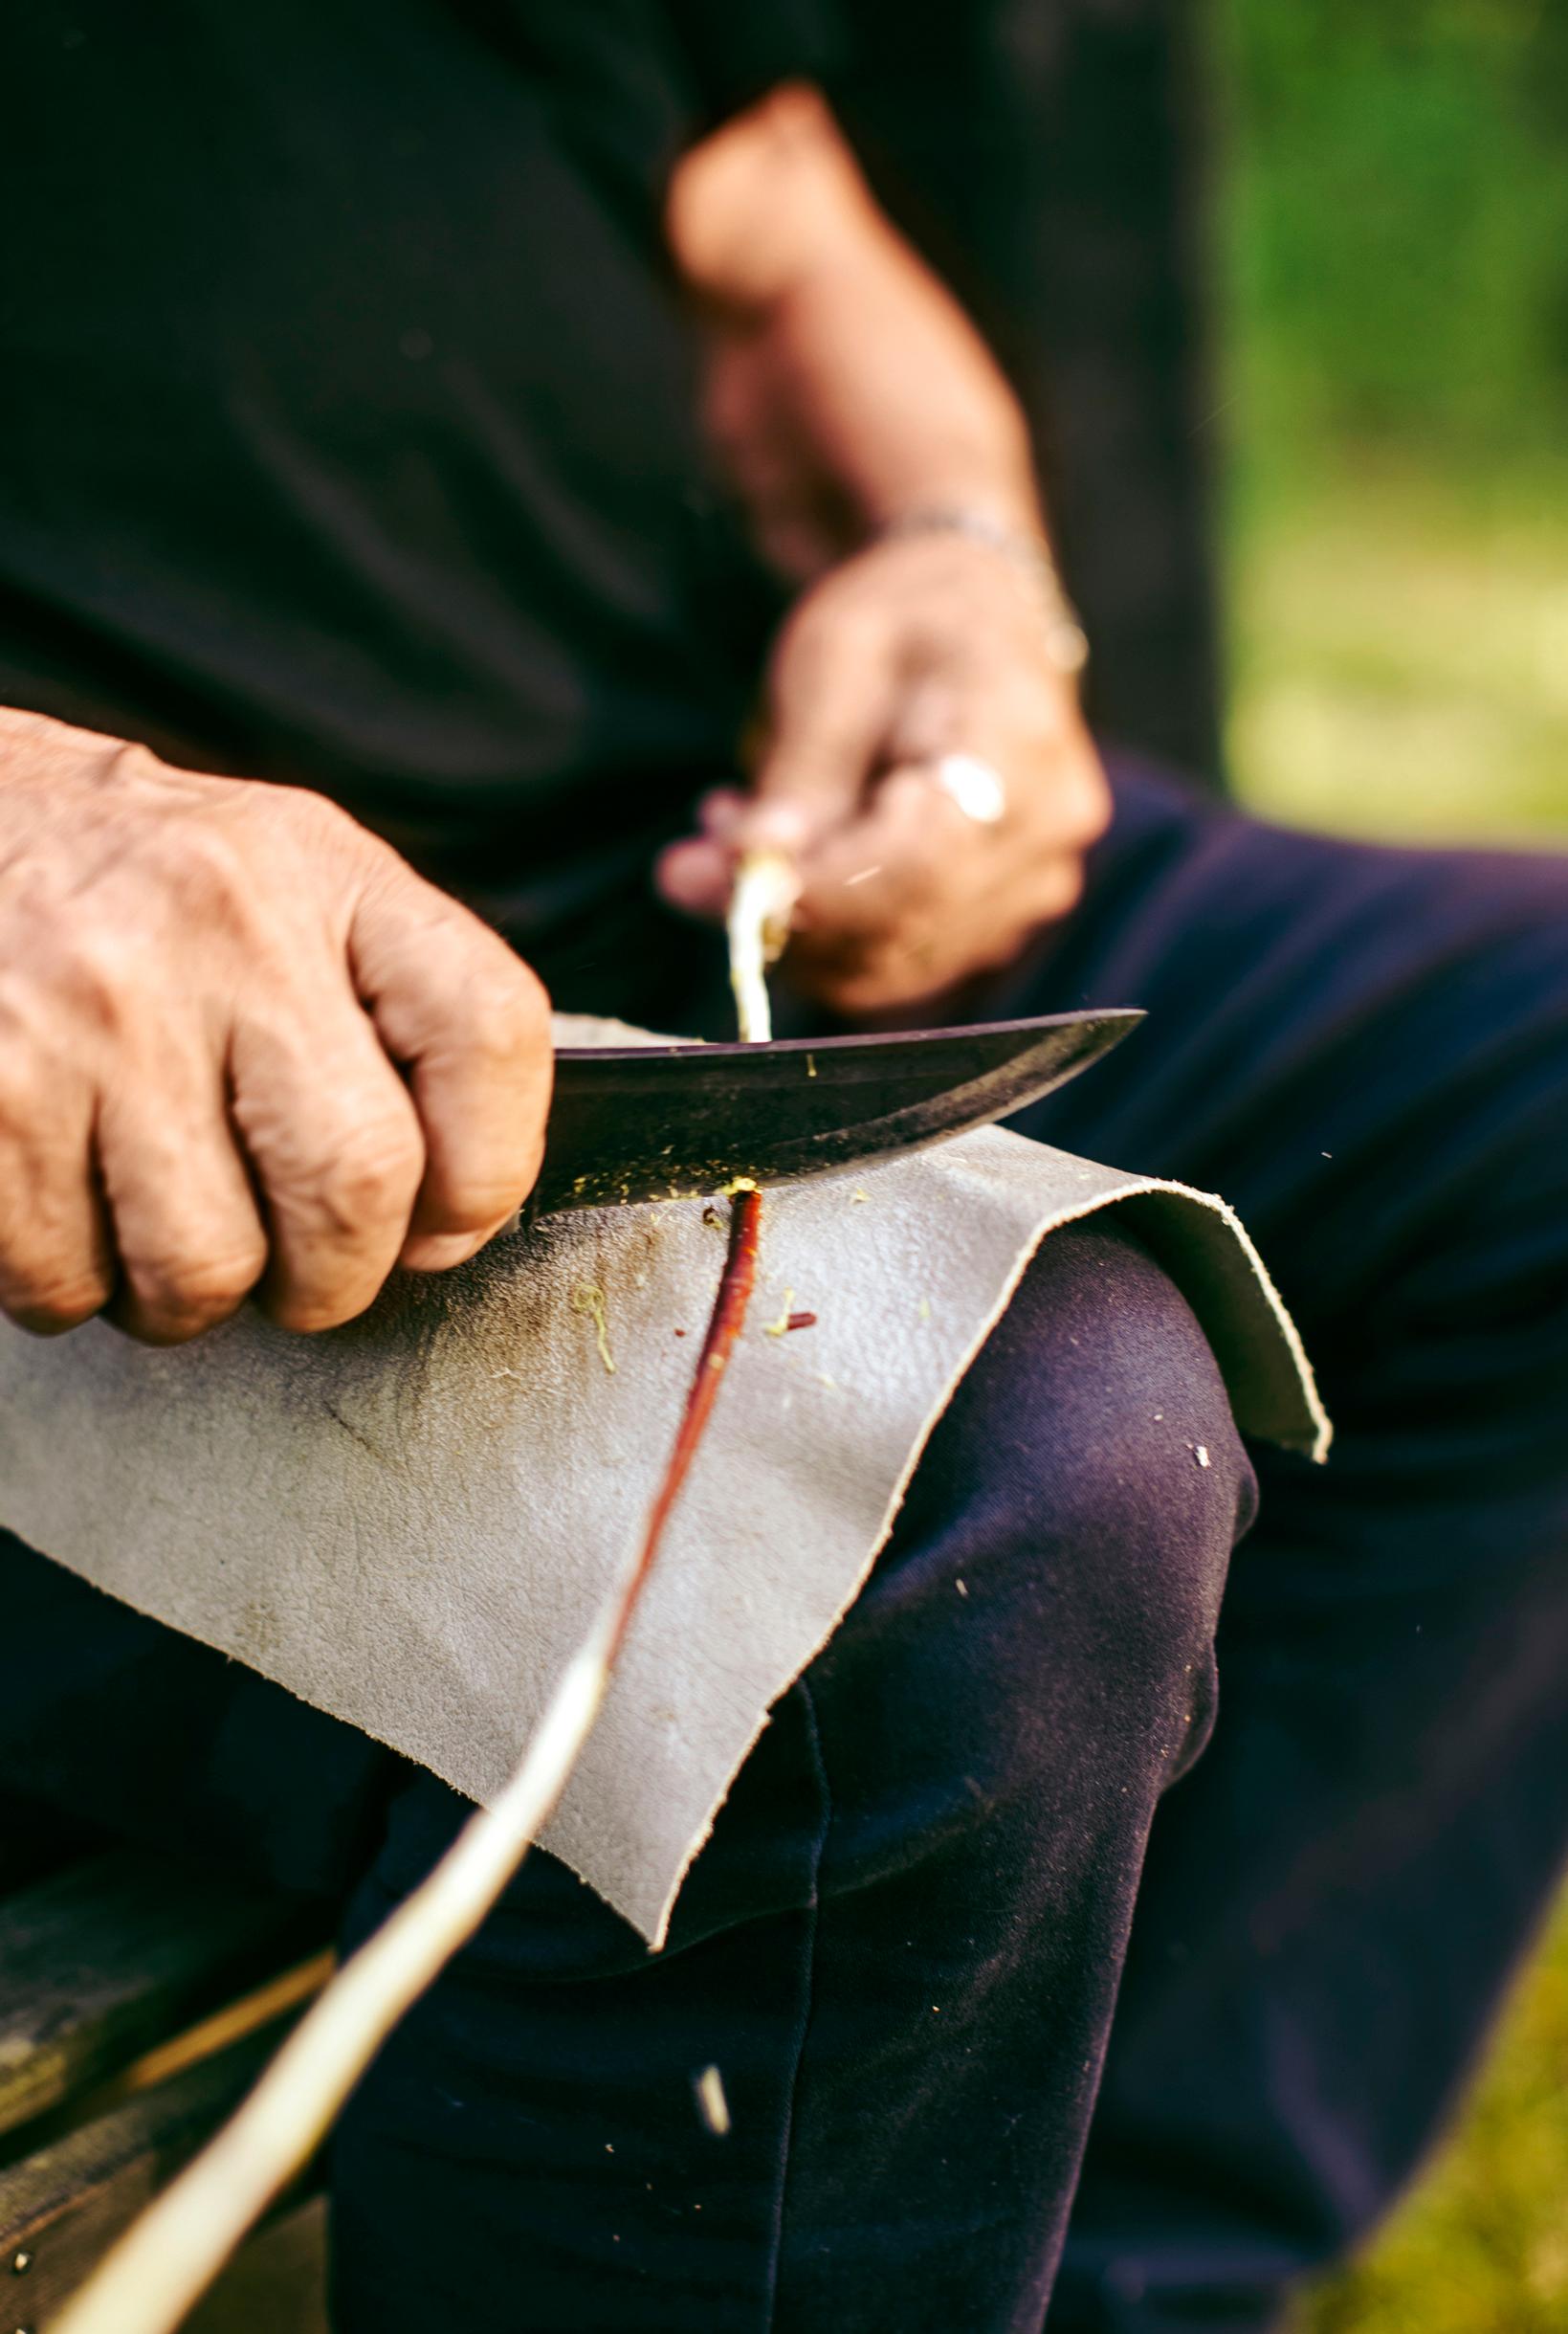
1. Begin by preparing the binding twig. Carefully use a knife to remove the branches from the twig without damaging it. Scrape off the bark on both sides by pulling it over your knee under the knife blade.
2. Start twisting the binding twig from the tip, keeping the base firmly under your foot. Do not loosen the twist between your hands at any point.
3. Continue twisting toward the base of the twig, but leave the last 7–8 cm untwisted. After twisting, remove all the bark from the twig and sharpen its base.

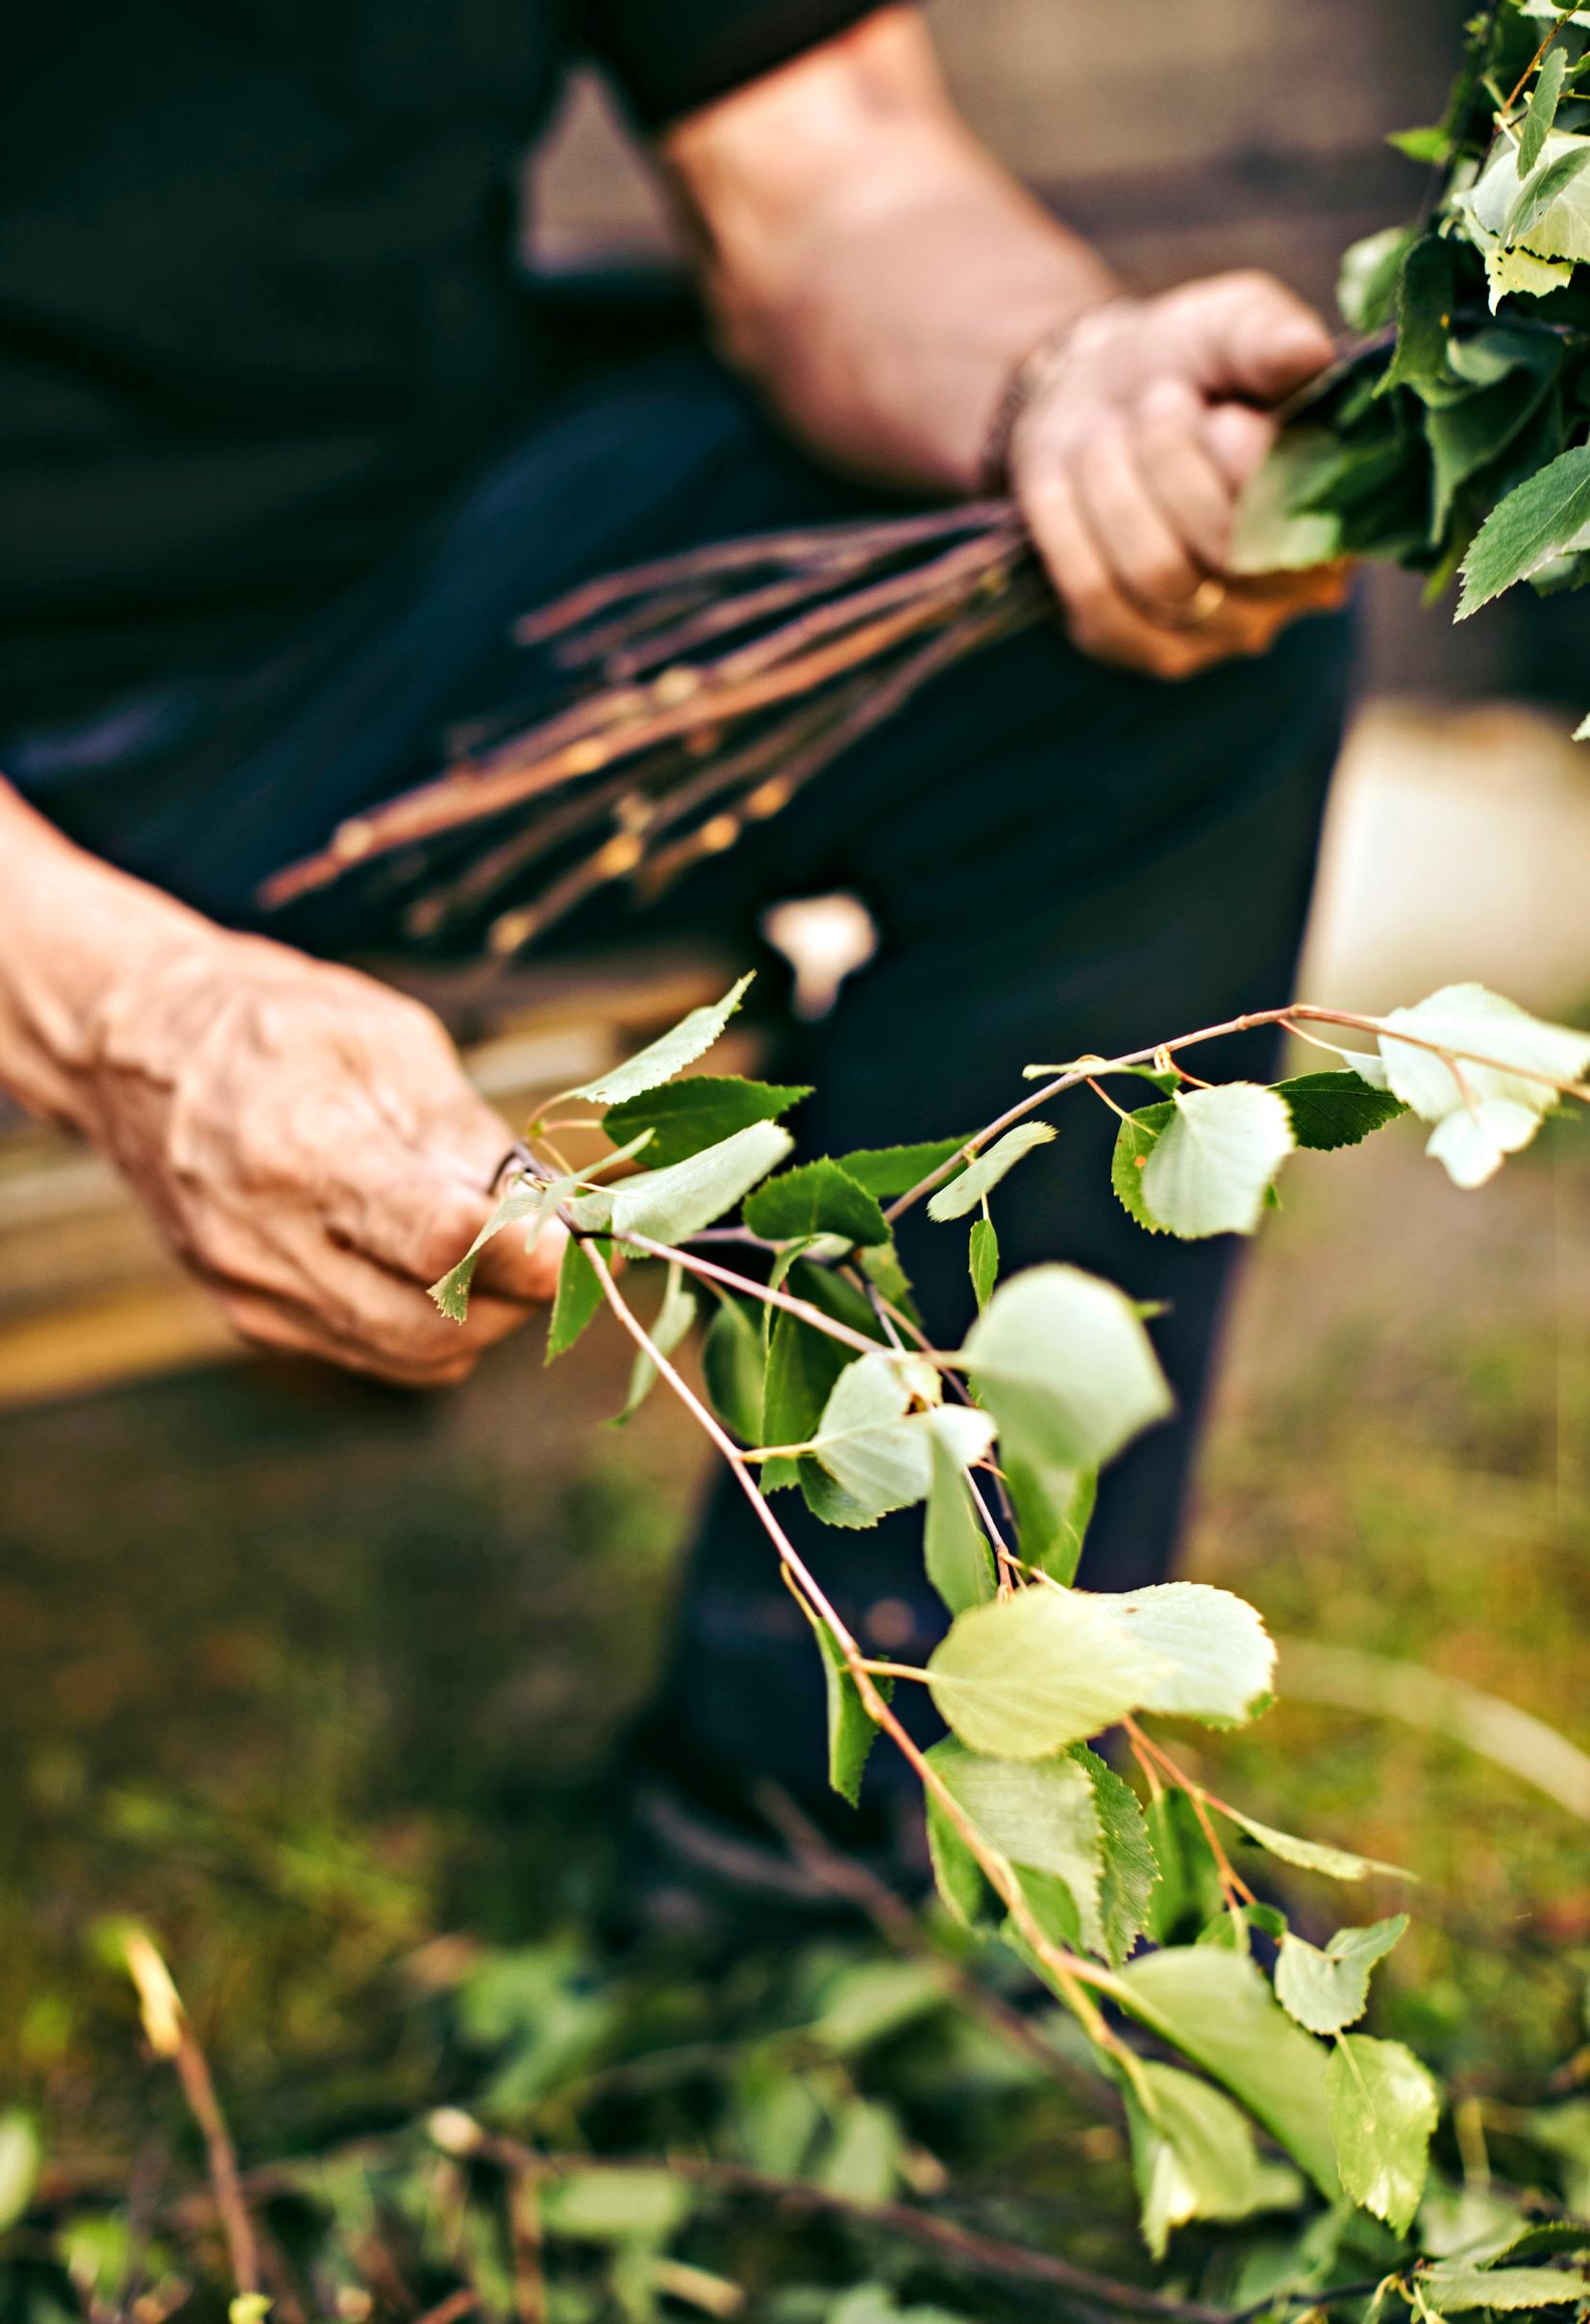
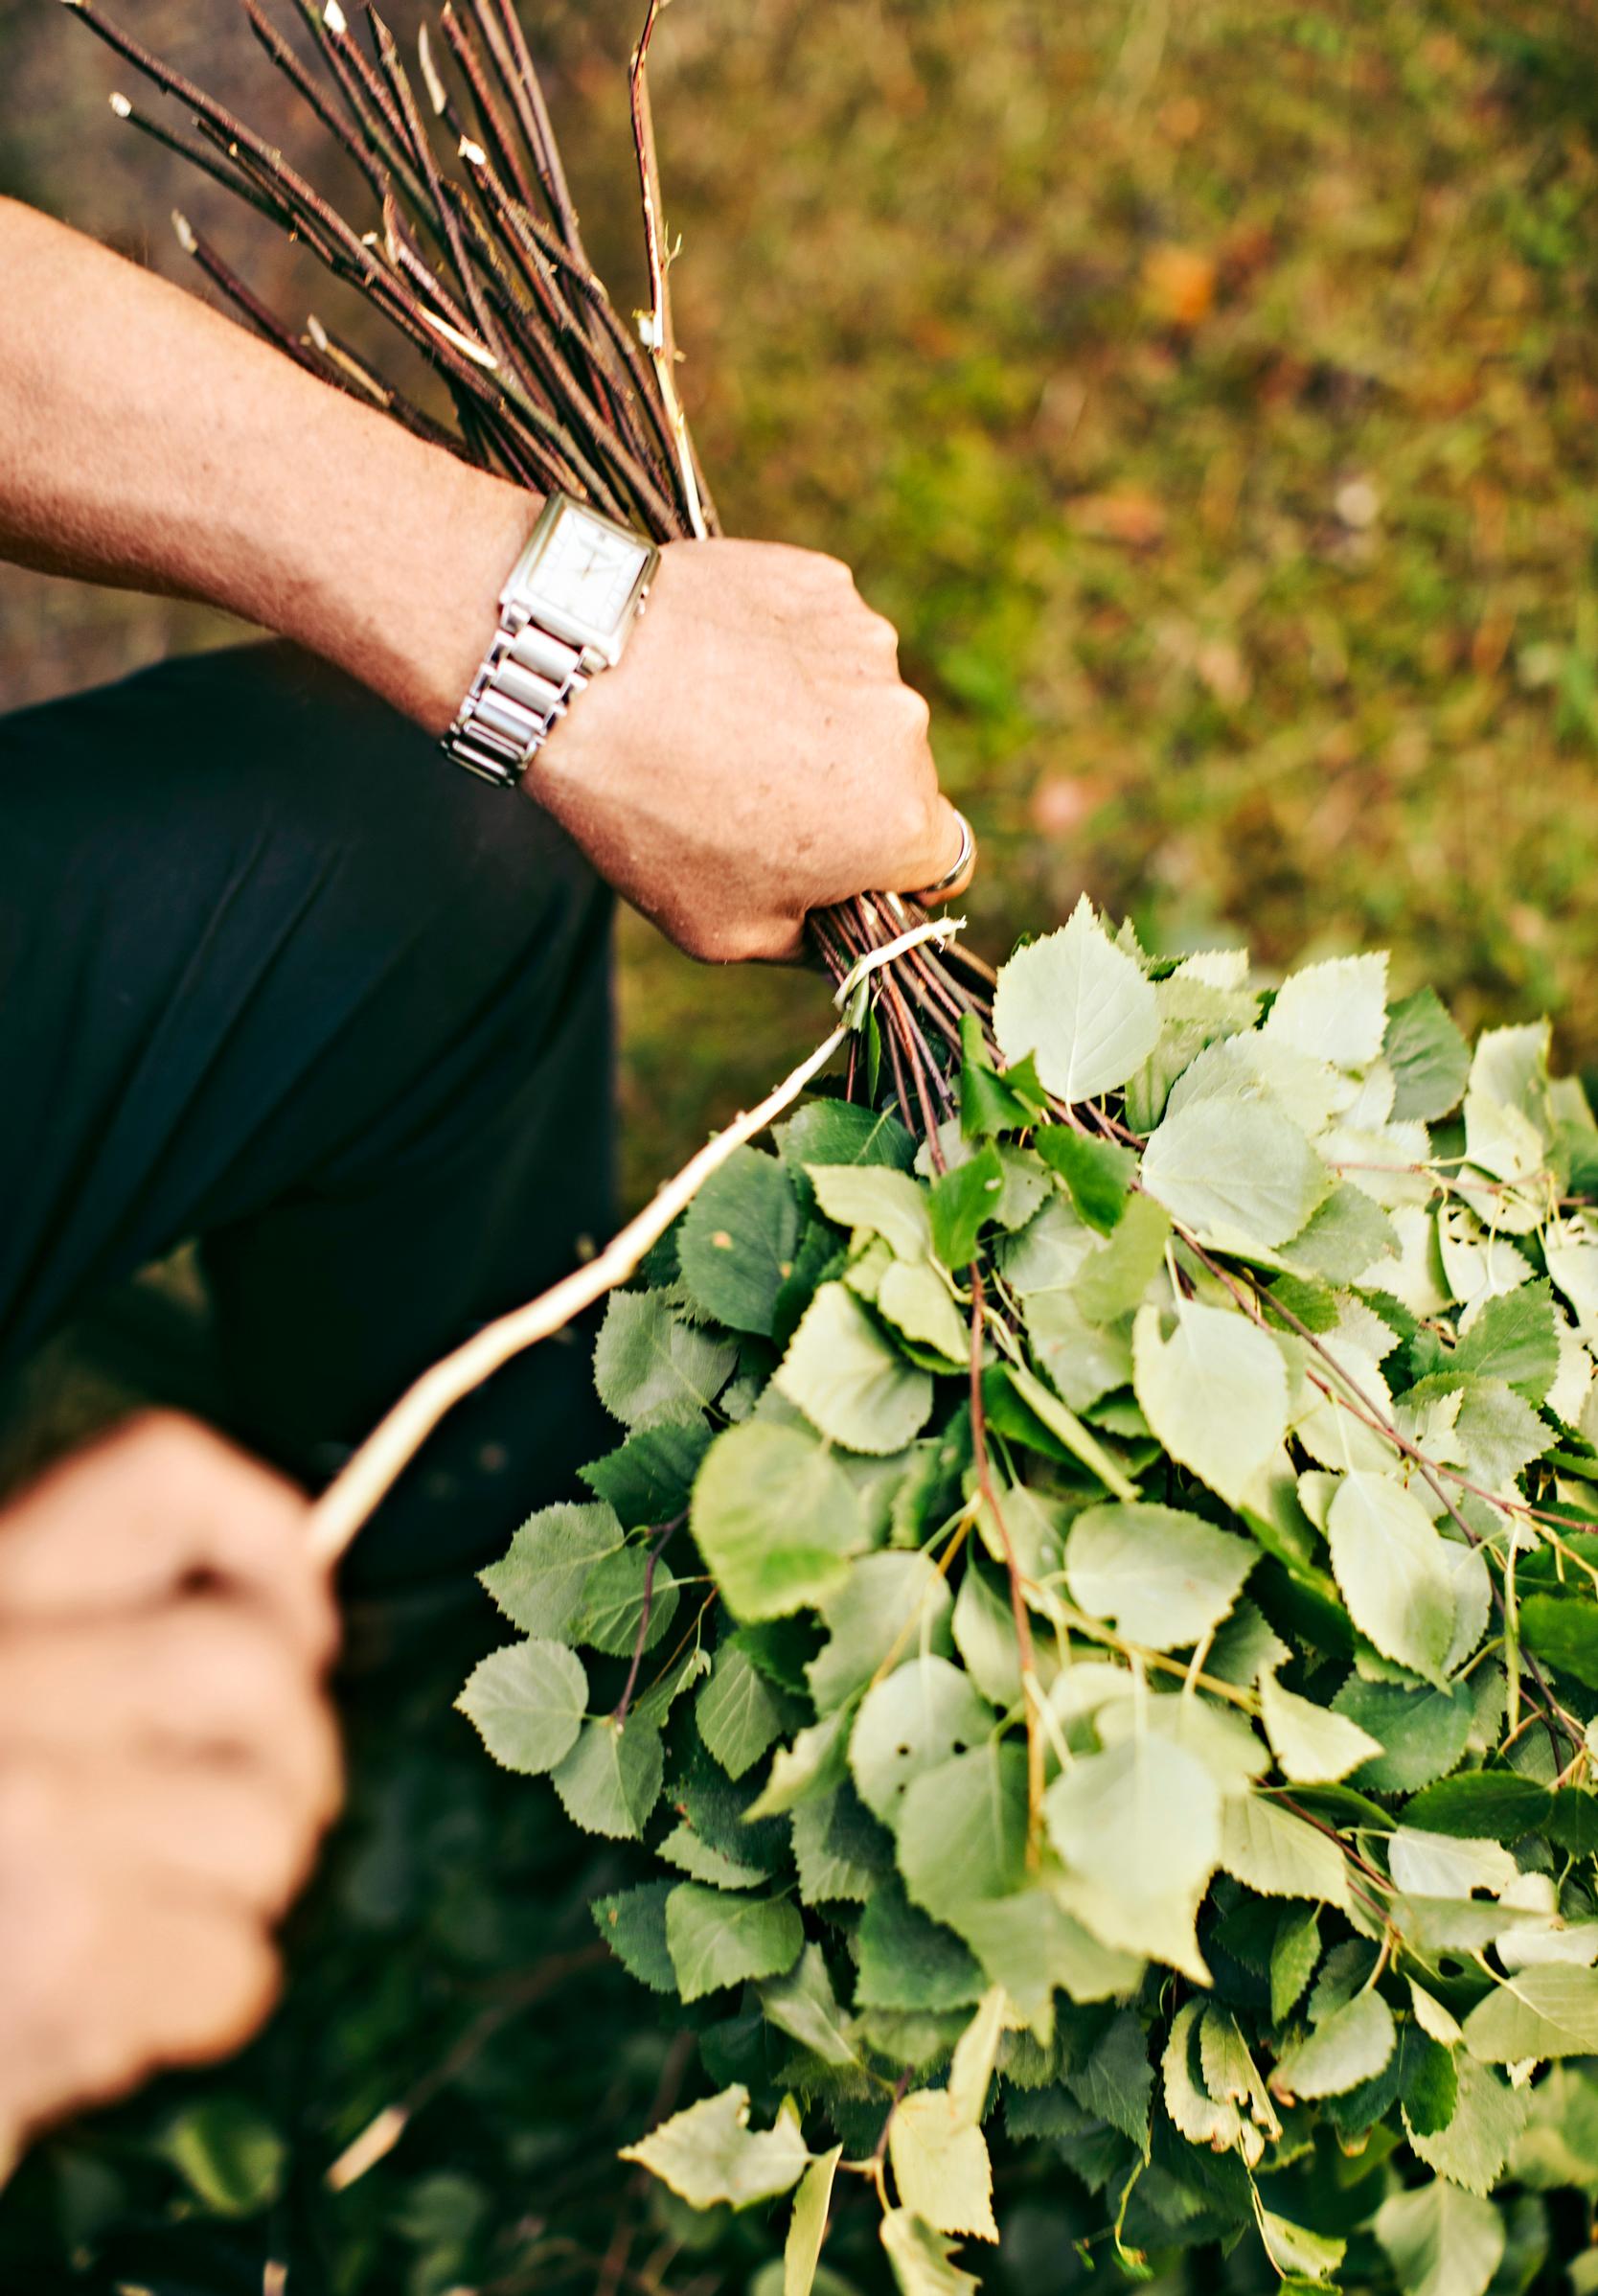
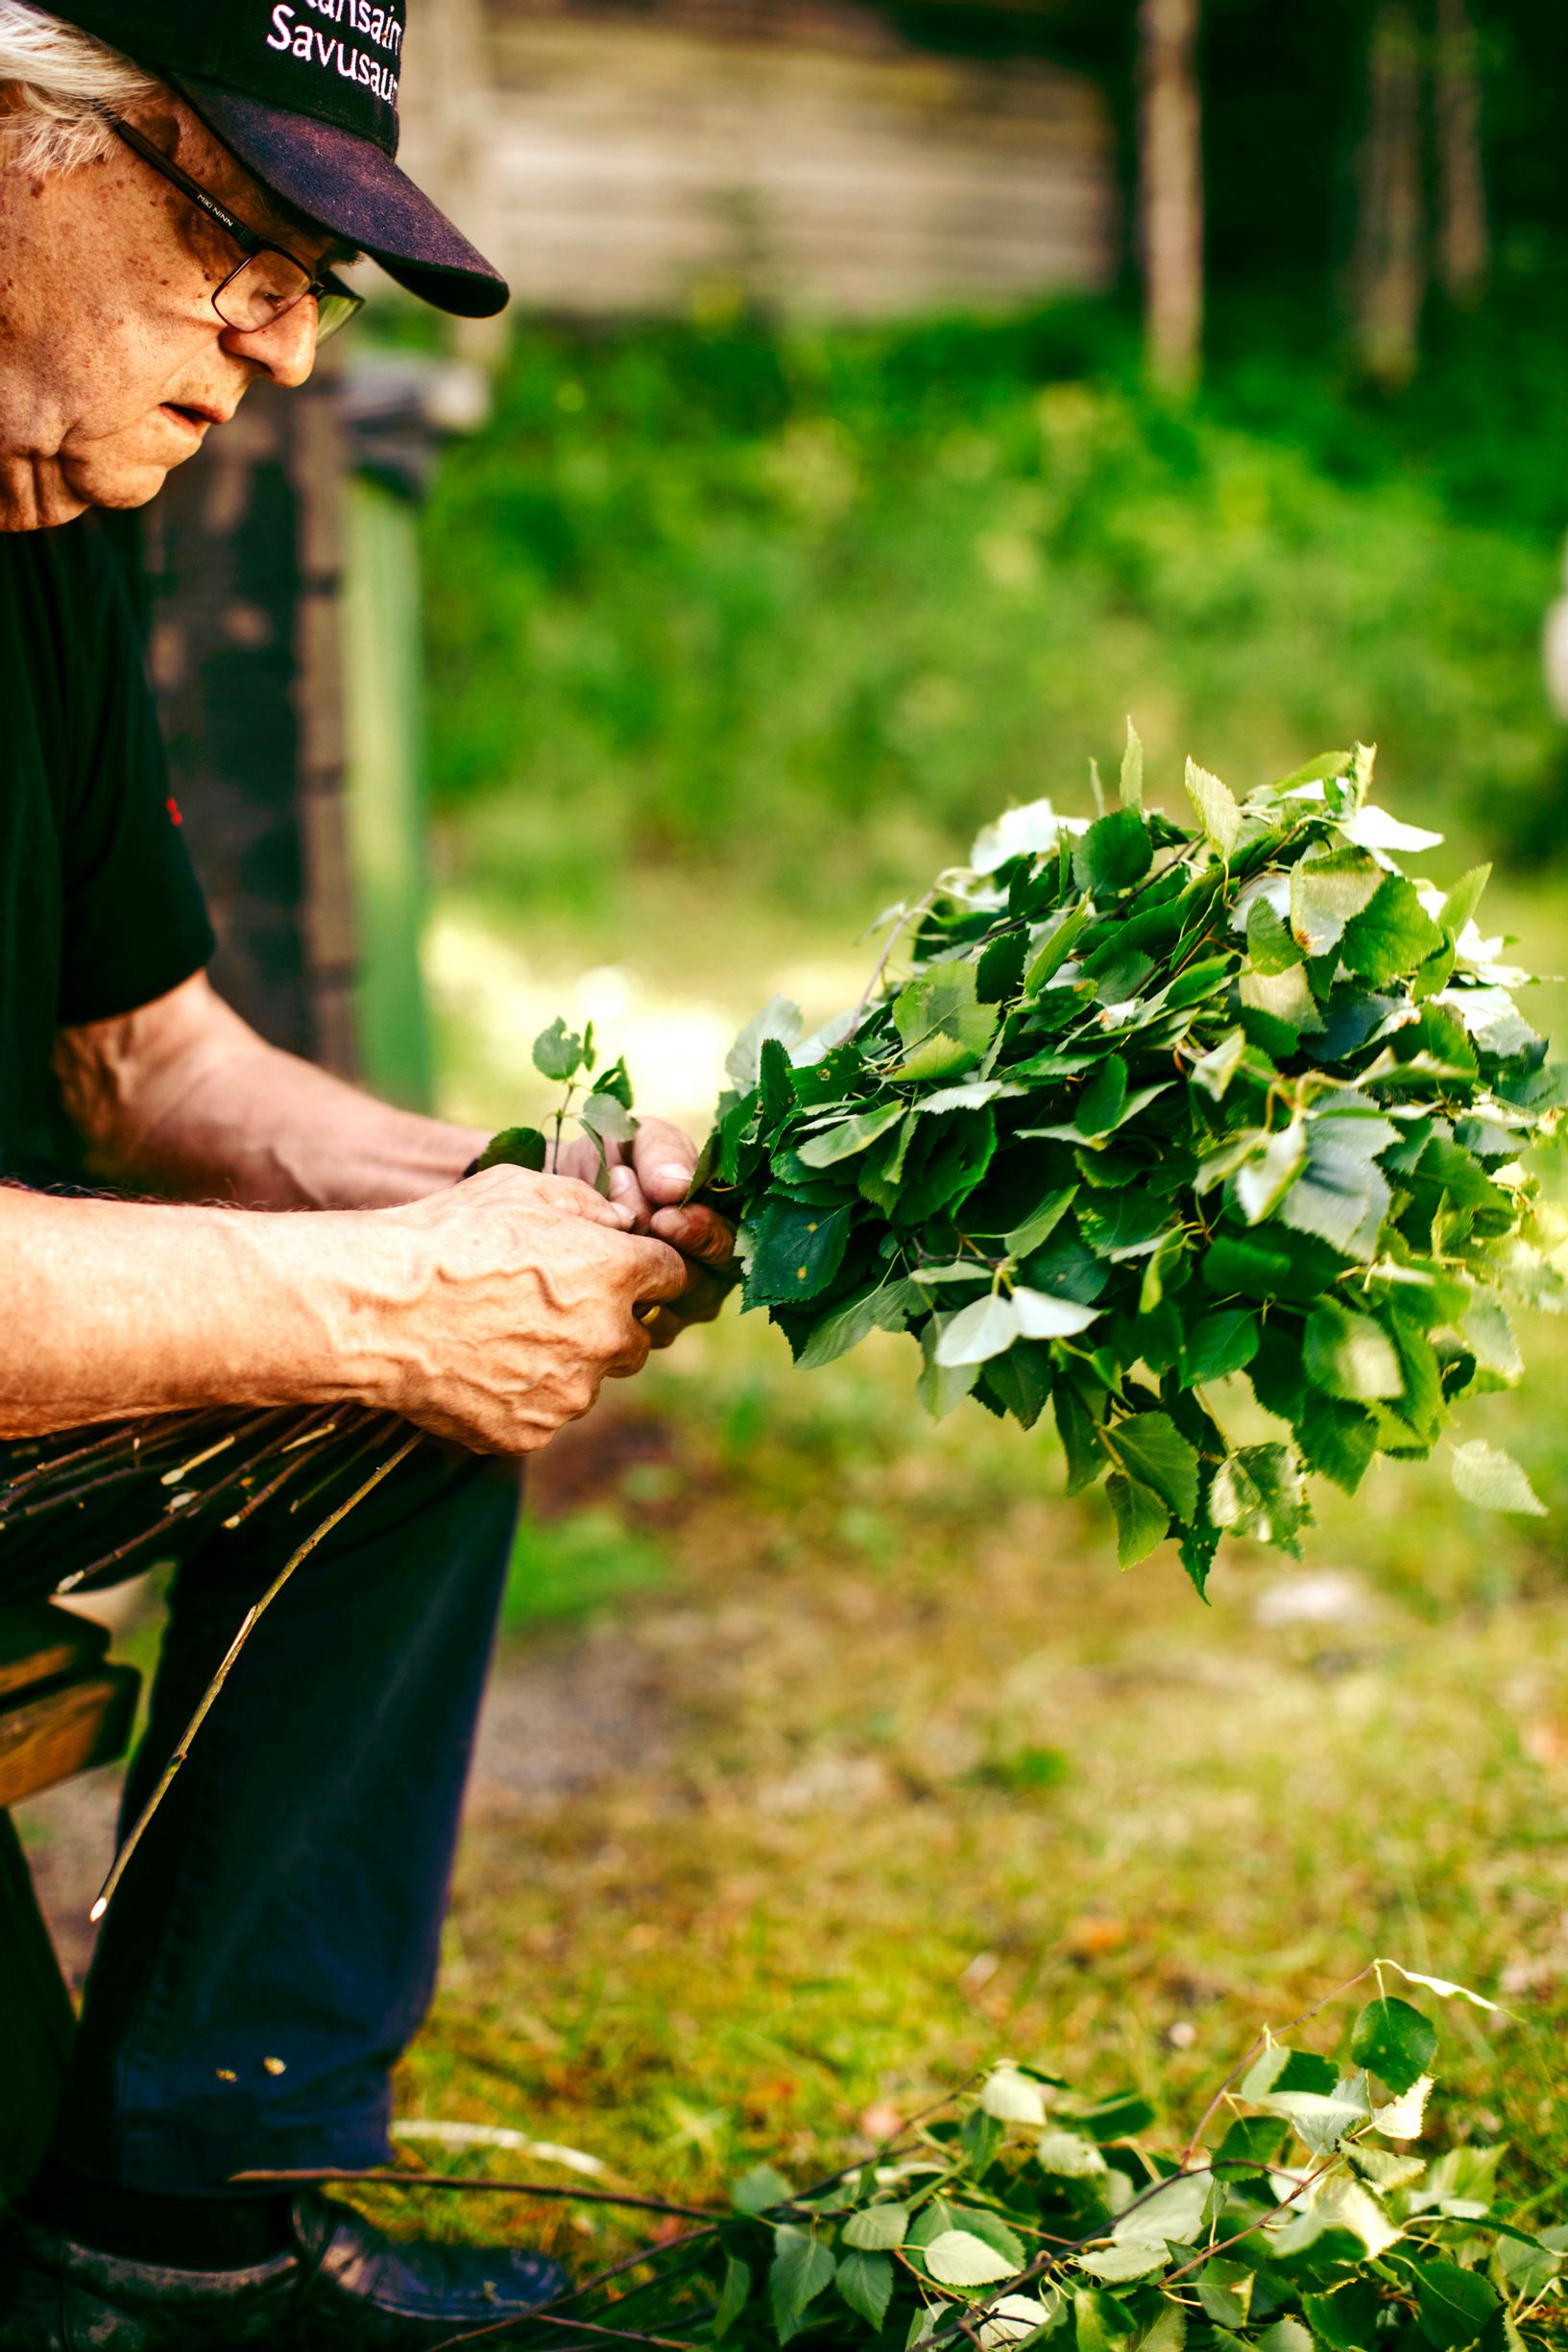
4. Once the binding is ready, start assembling the whisk. Add branches only from the top, arranging them in a fan shape with the underside of the leaves facing upwards. When about half of the whisk is assembled, flip the bundle around and arrange the other half in the same way. As you arrange the branches, ensure there are no overly long tips in the bundle. Remove leaves and branches from the handle area. The bundle should be fan-shaped and slightly flat.

5. When the whisk is big enough, take binding you prepared first and start tying the whisk. Insert the sharpened end of the binding through the handle portion near the leaves. Leave 15–20 cm of the binding’s tip exposed and bend it toward the base of the whisk, under your palm. Before tying, twist the binding a few more times.
6. Once there are enough twists in the binding, wrap it twice around the handle, then thread it under both loops to form a knot, and tighten firmly.

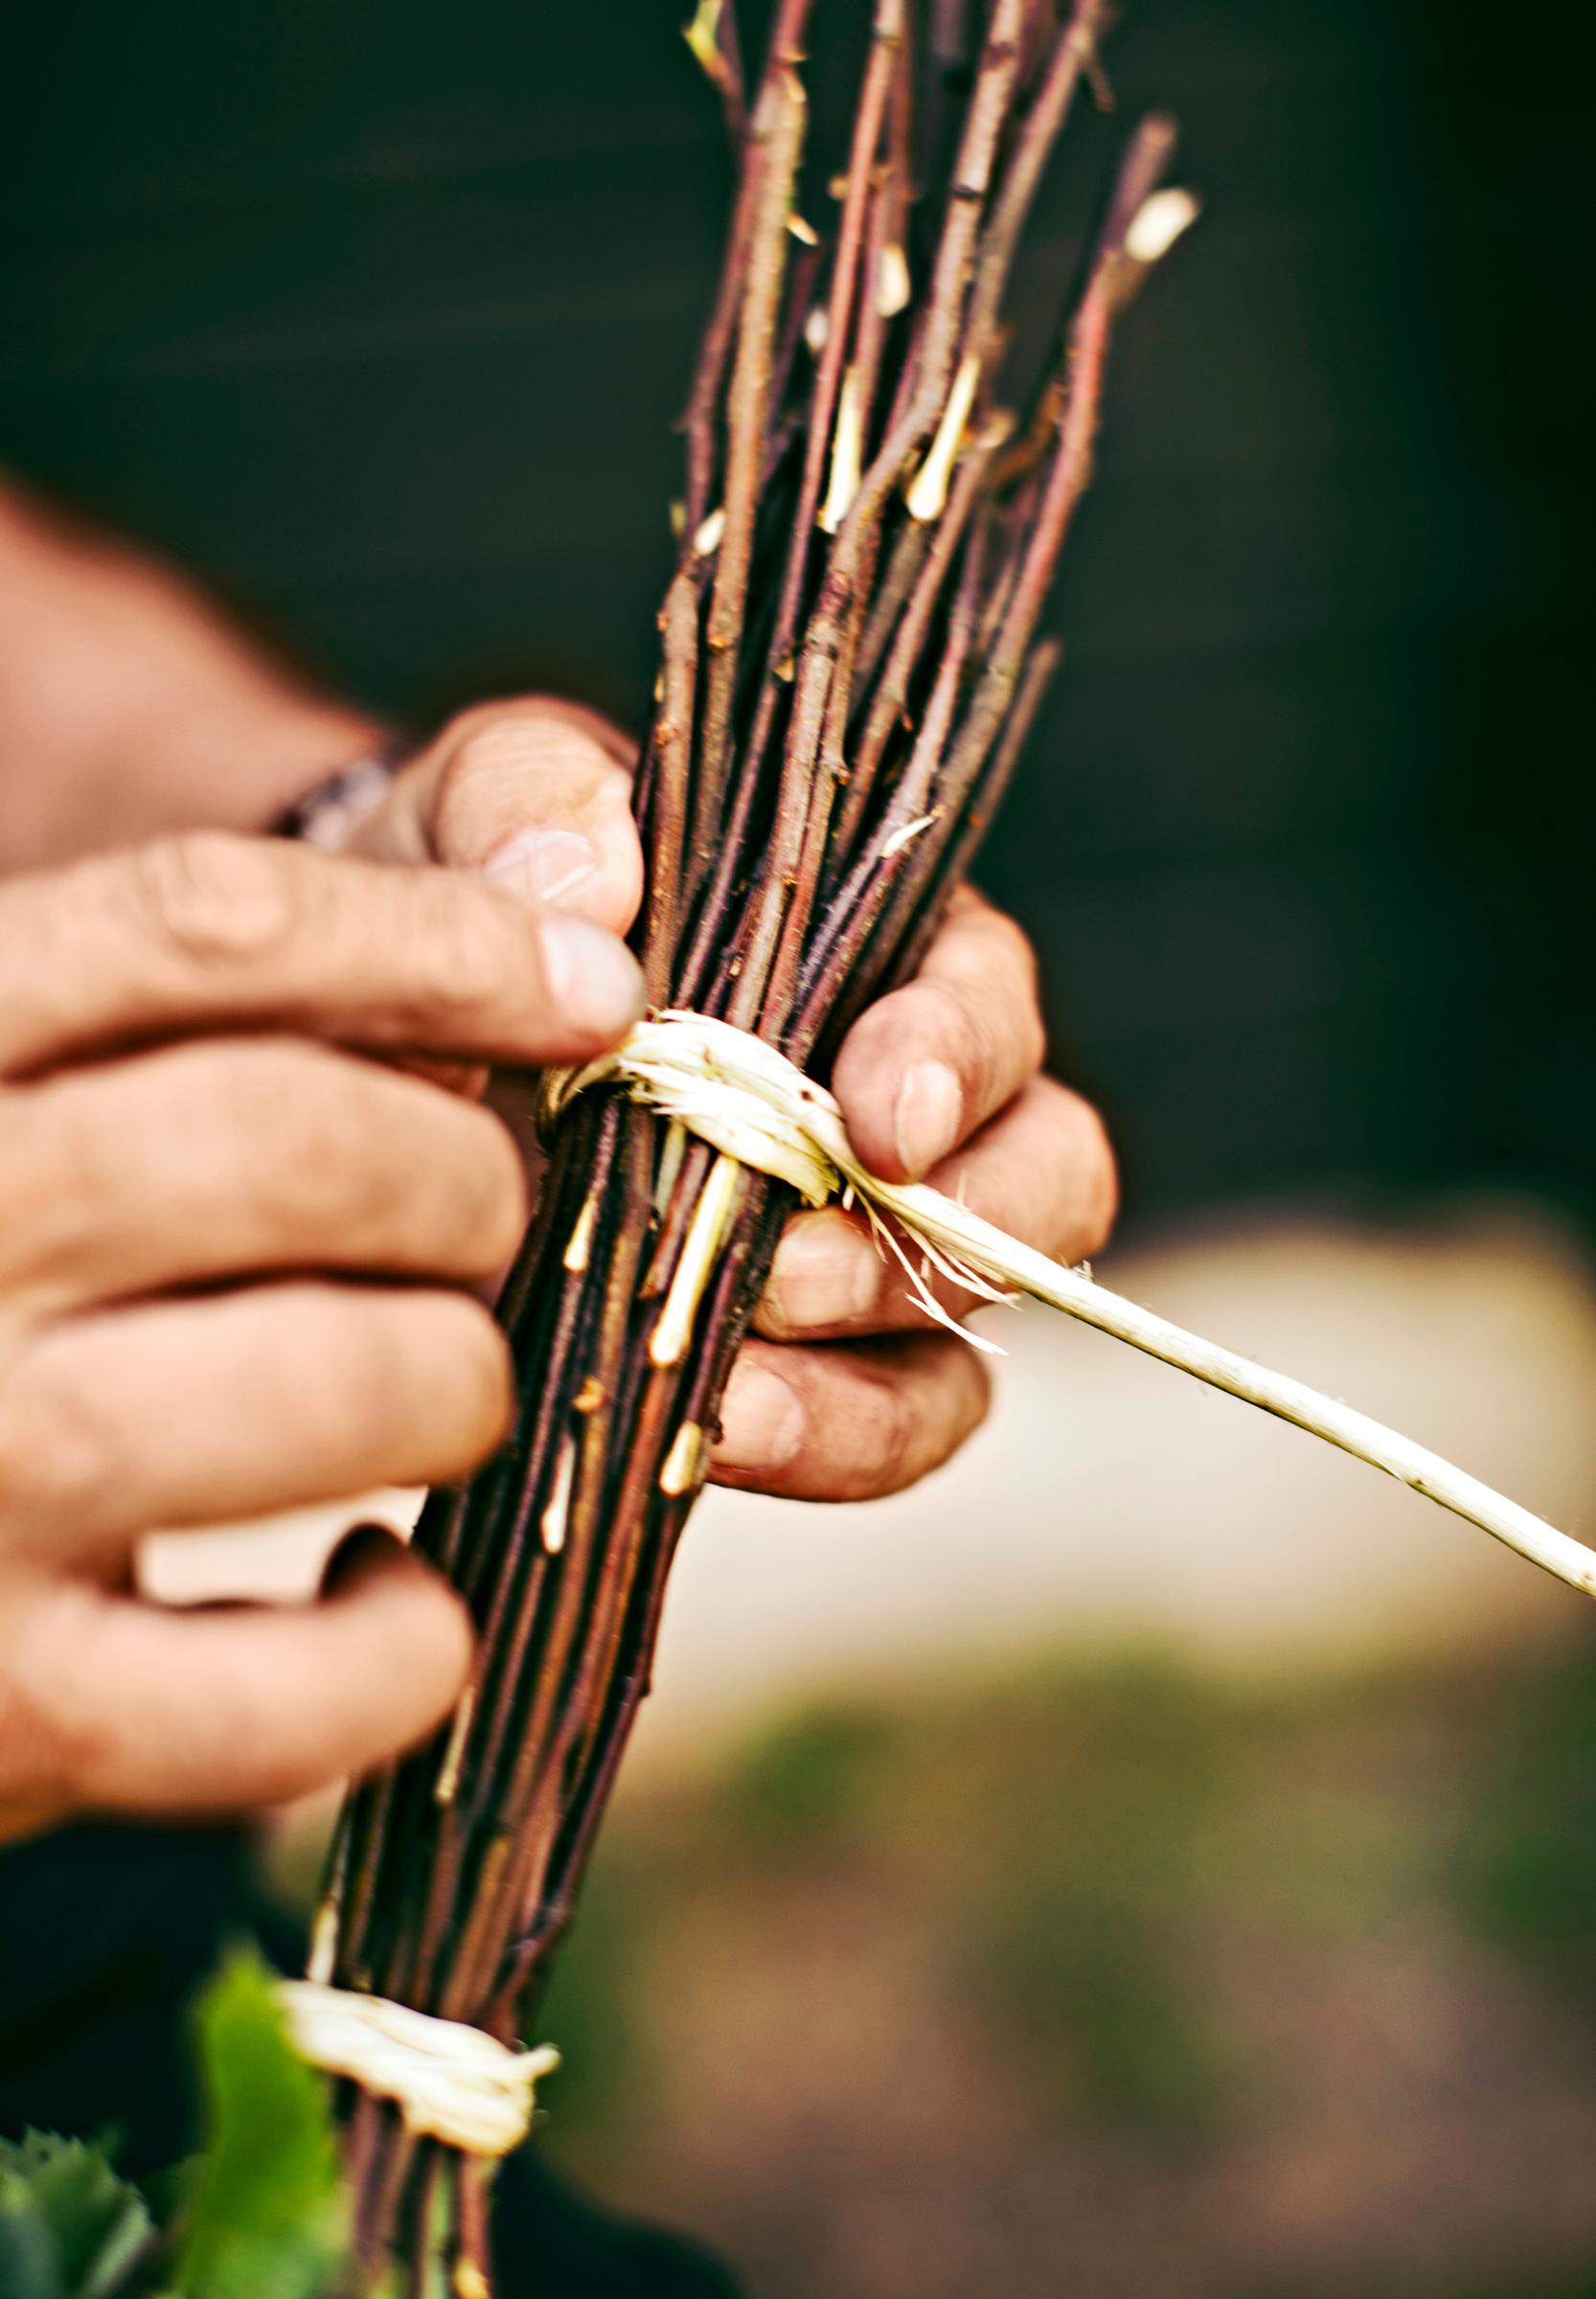
7. After completing the first tie, ensure the binding remains twisted. Insert the end of the binding through the handle again, 10–12 cm away from the first tie. Wrap the binding around the handle once. Thread the binding to form a knot and tighten firmly. Thread the end into a knot again and tighten firmly.

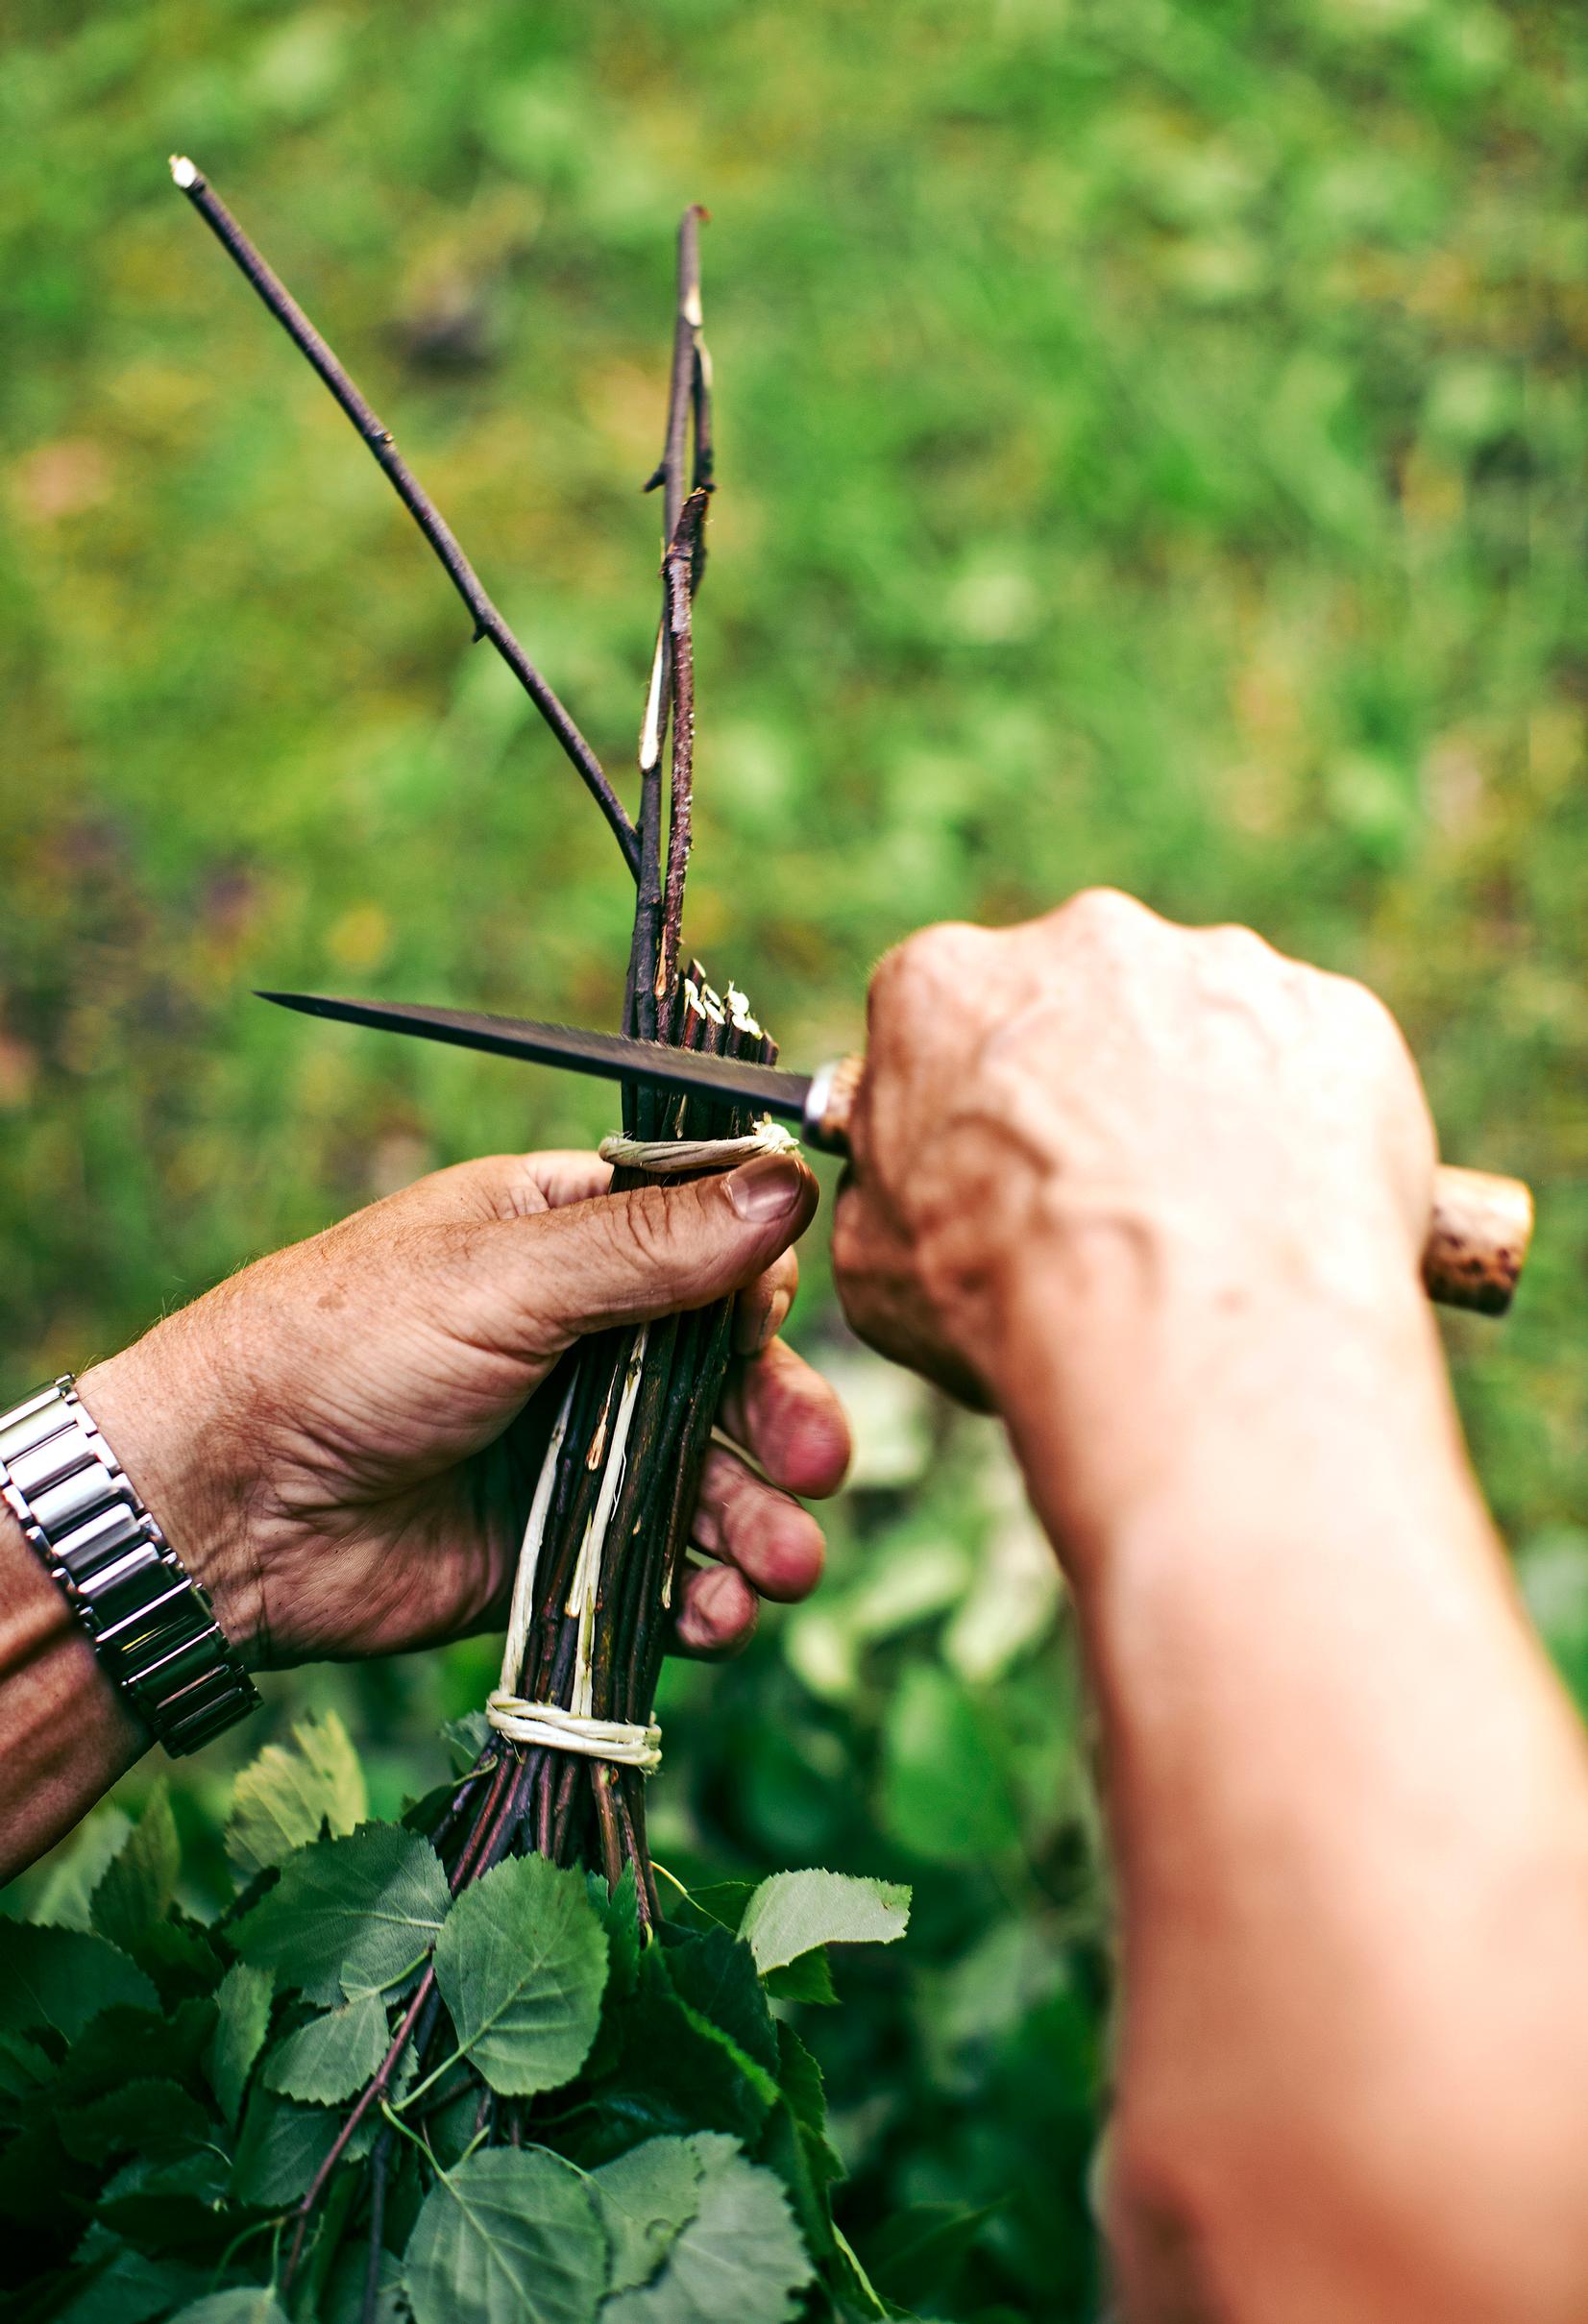
8. When both ties are complete and tightened, fold the remaining end of the binding under your palm while you trim the ends of the branches with a knife (this prevents the binding from accidentally snapping).
9. After trimming the branch ends, twist the remaining binding, insert the sharpened end back into the same spot where it exits, thread it among the branches under the tie, and leave a loop extending 6–8 cm beyond the ends. Twist the loop into a figure-eight shape.
10. Finalize the handle by removing any twig stubs that feel rough to your hand with a knife. This will make the whisking experience more enjoyable.


Pentti Hakala’s tips for using a whisk
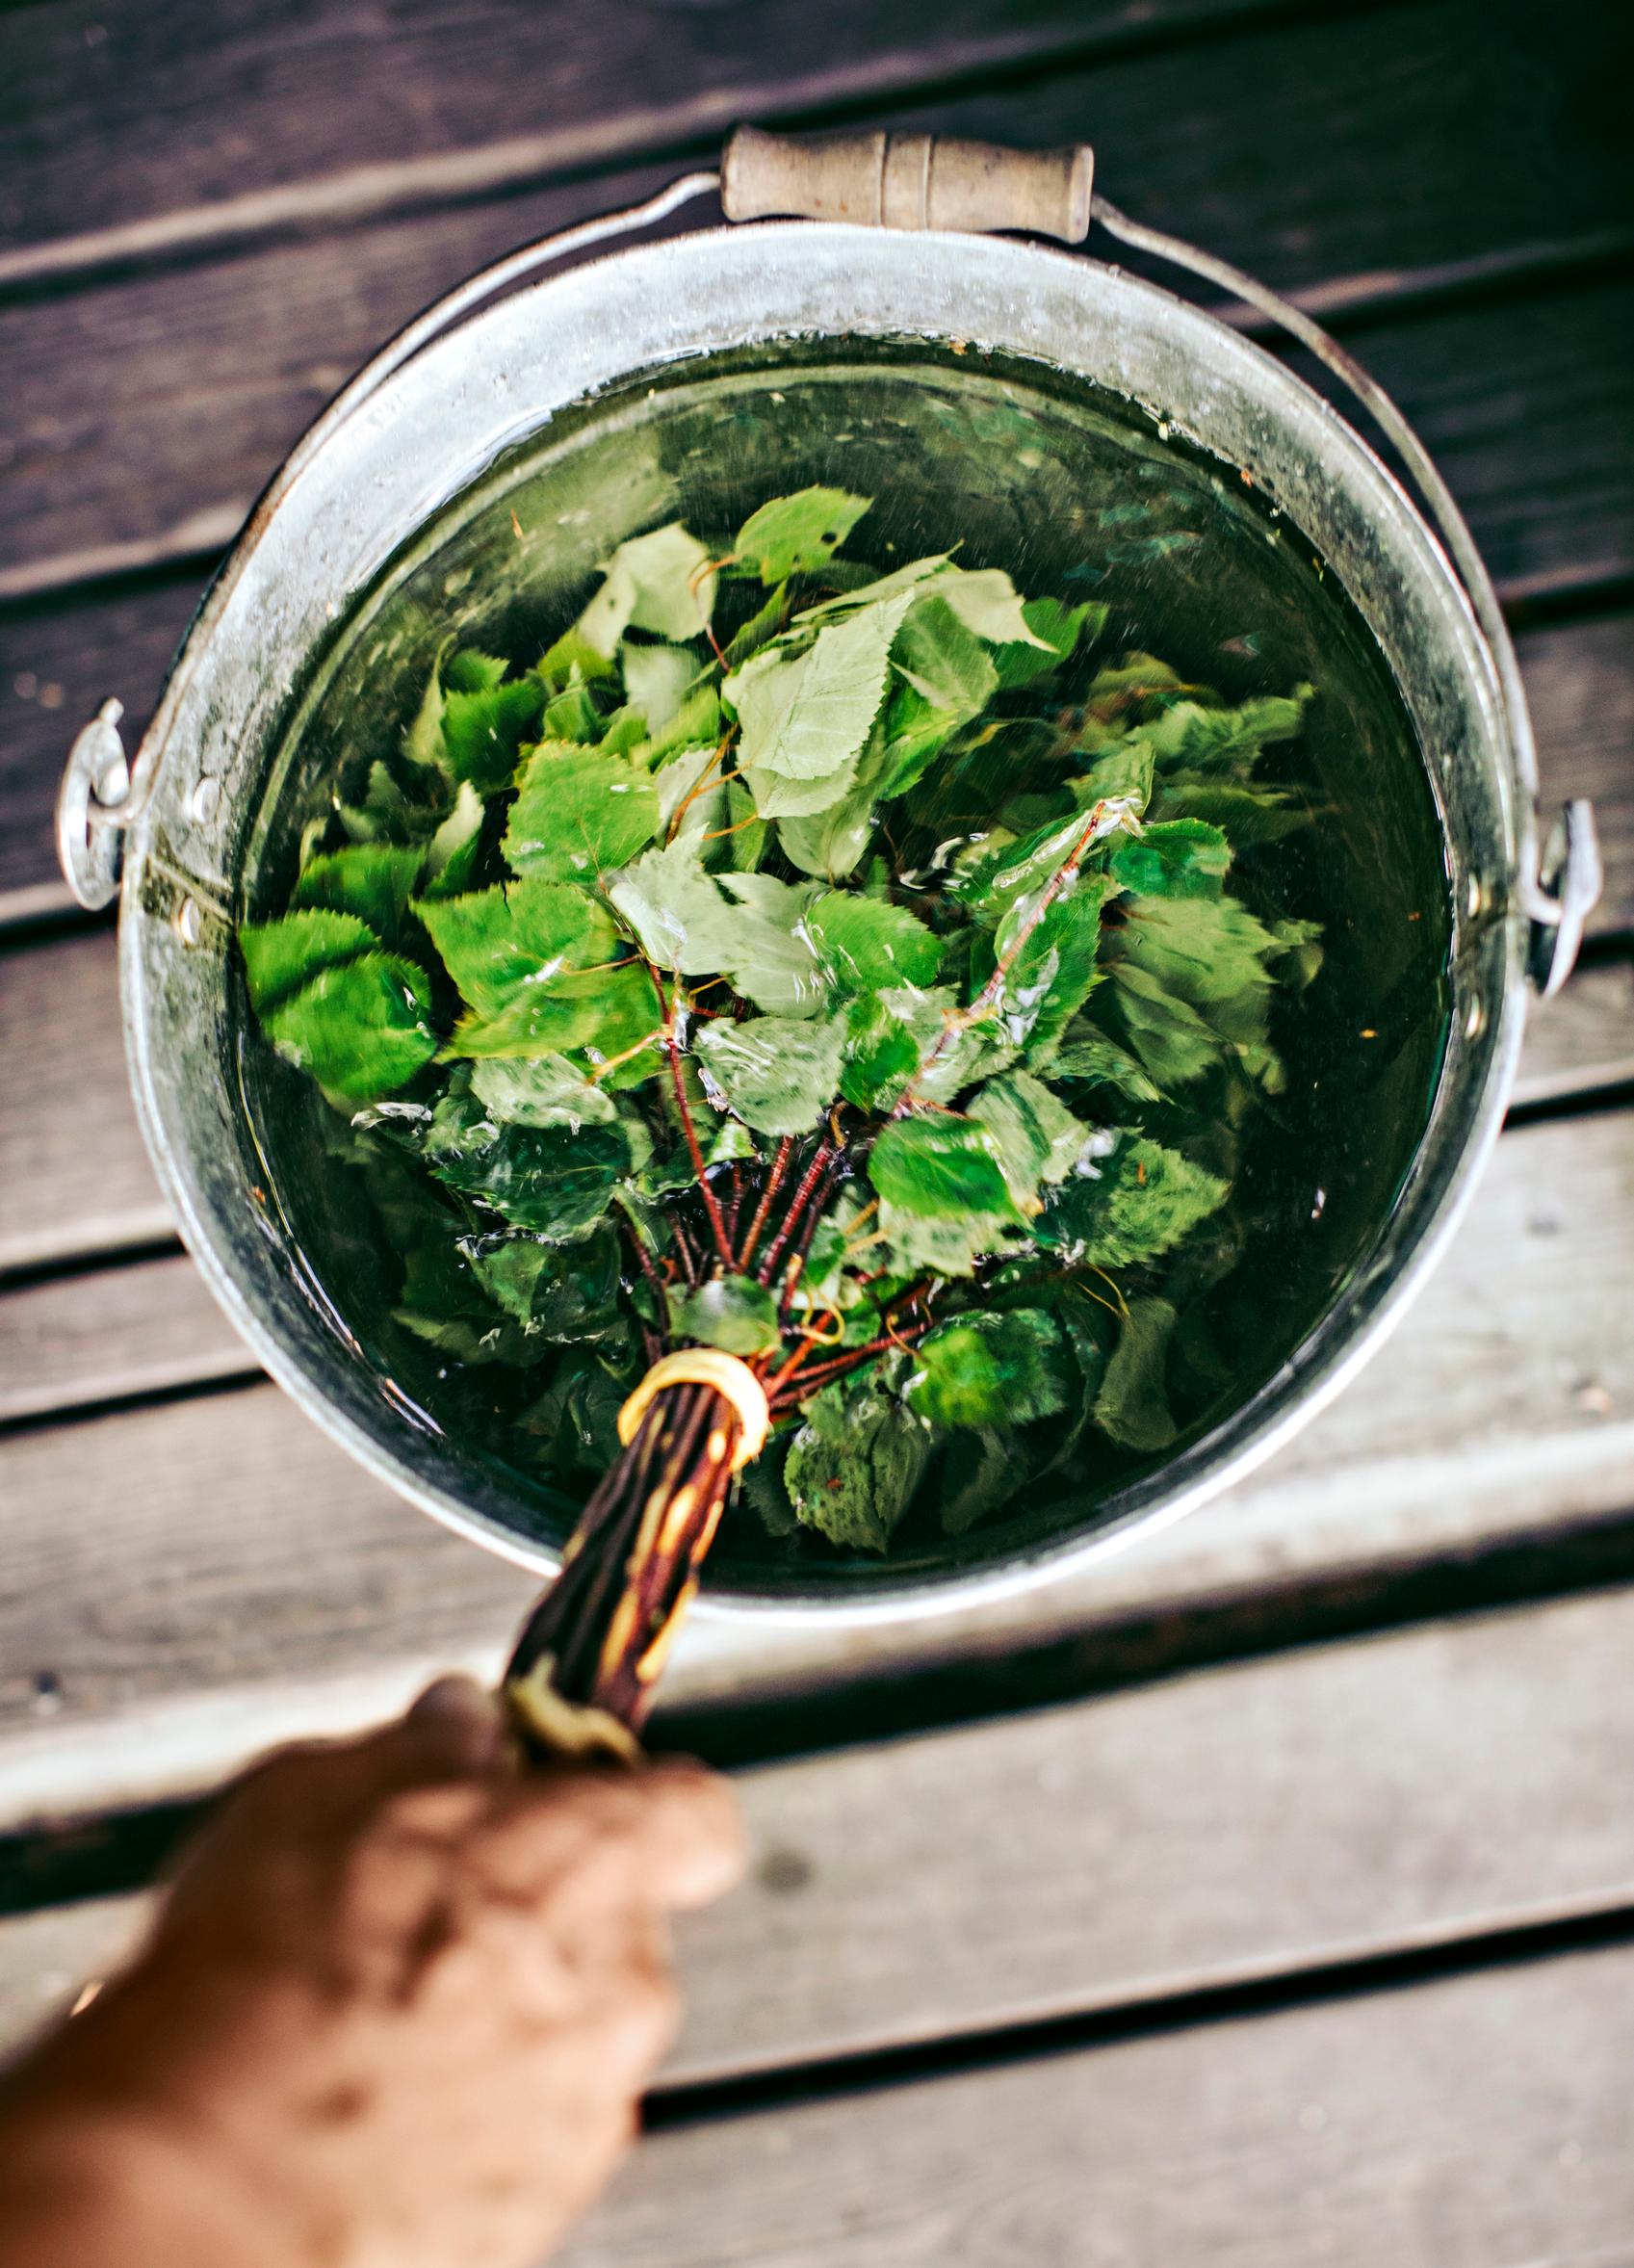
- In summer, you can make the whisk while heating the sauna by collecting the materials beforehand. A fresh whisk is ready to use immediately. Fill a bucket with lukewarm water, submerge the whisk, bring the bucket to the sauna, and use the whisk whenever you feel like it.
- After taking a sauna, rinse the whisk with cold water, shake it gently, and hang it in a cool, dark place.
- For your next sauna session, soak the whisk in warm water for 1 to 1.5 hours, and it will be ready to use again.
- In winter, the whisk is almost instantly ready for use when you put it in warm water.