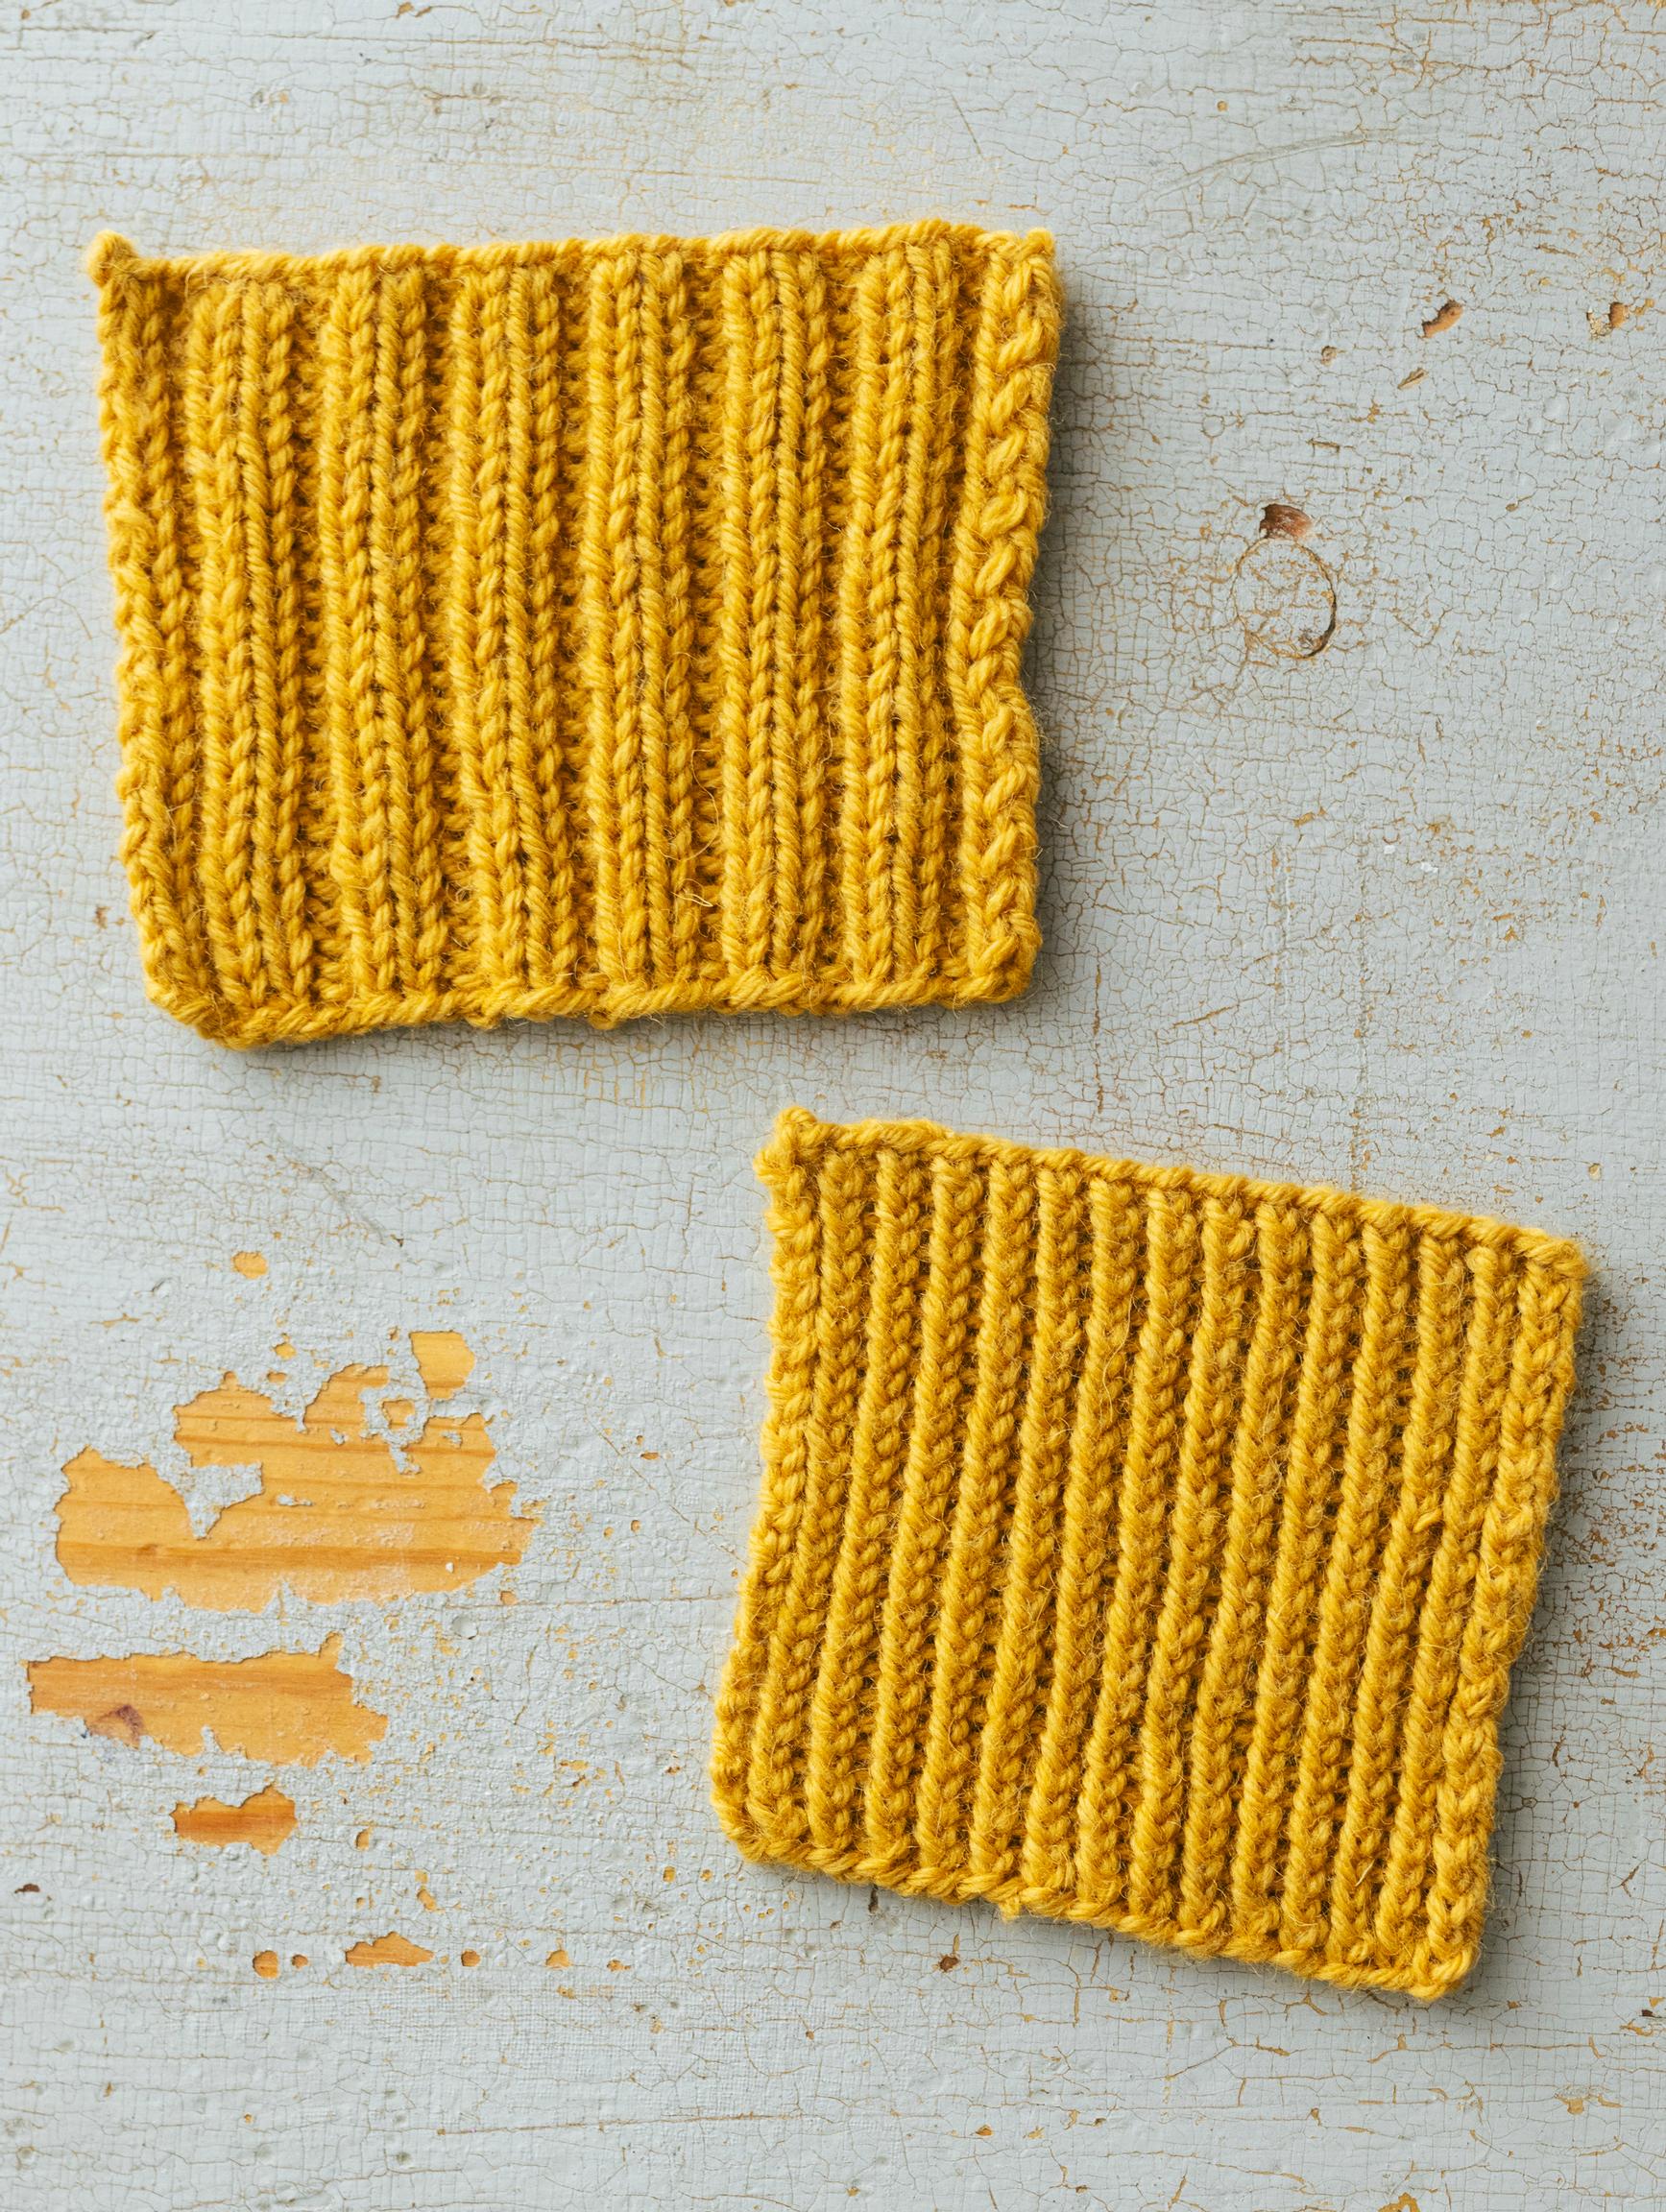
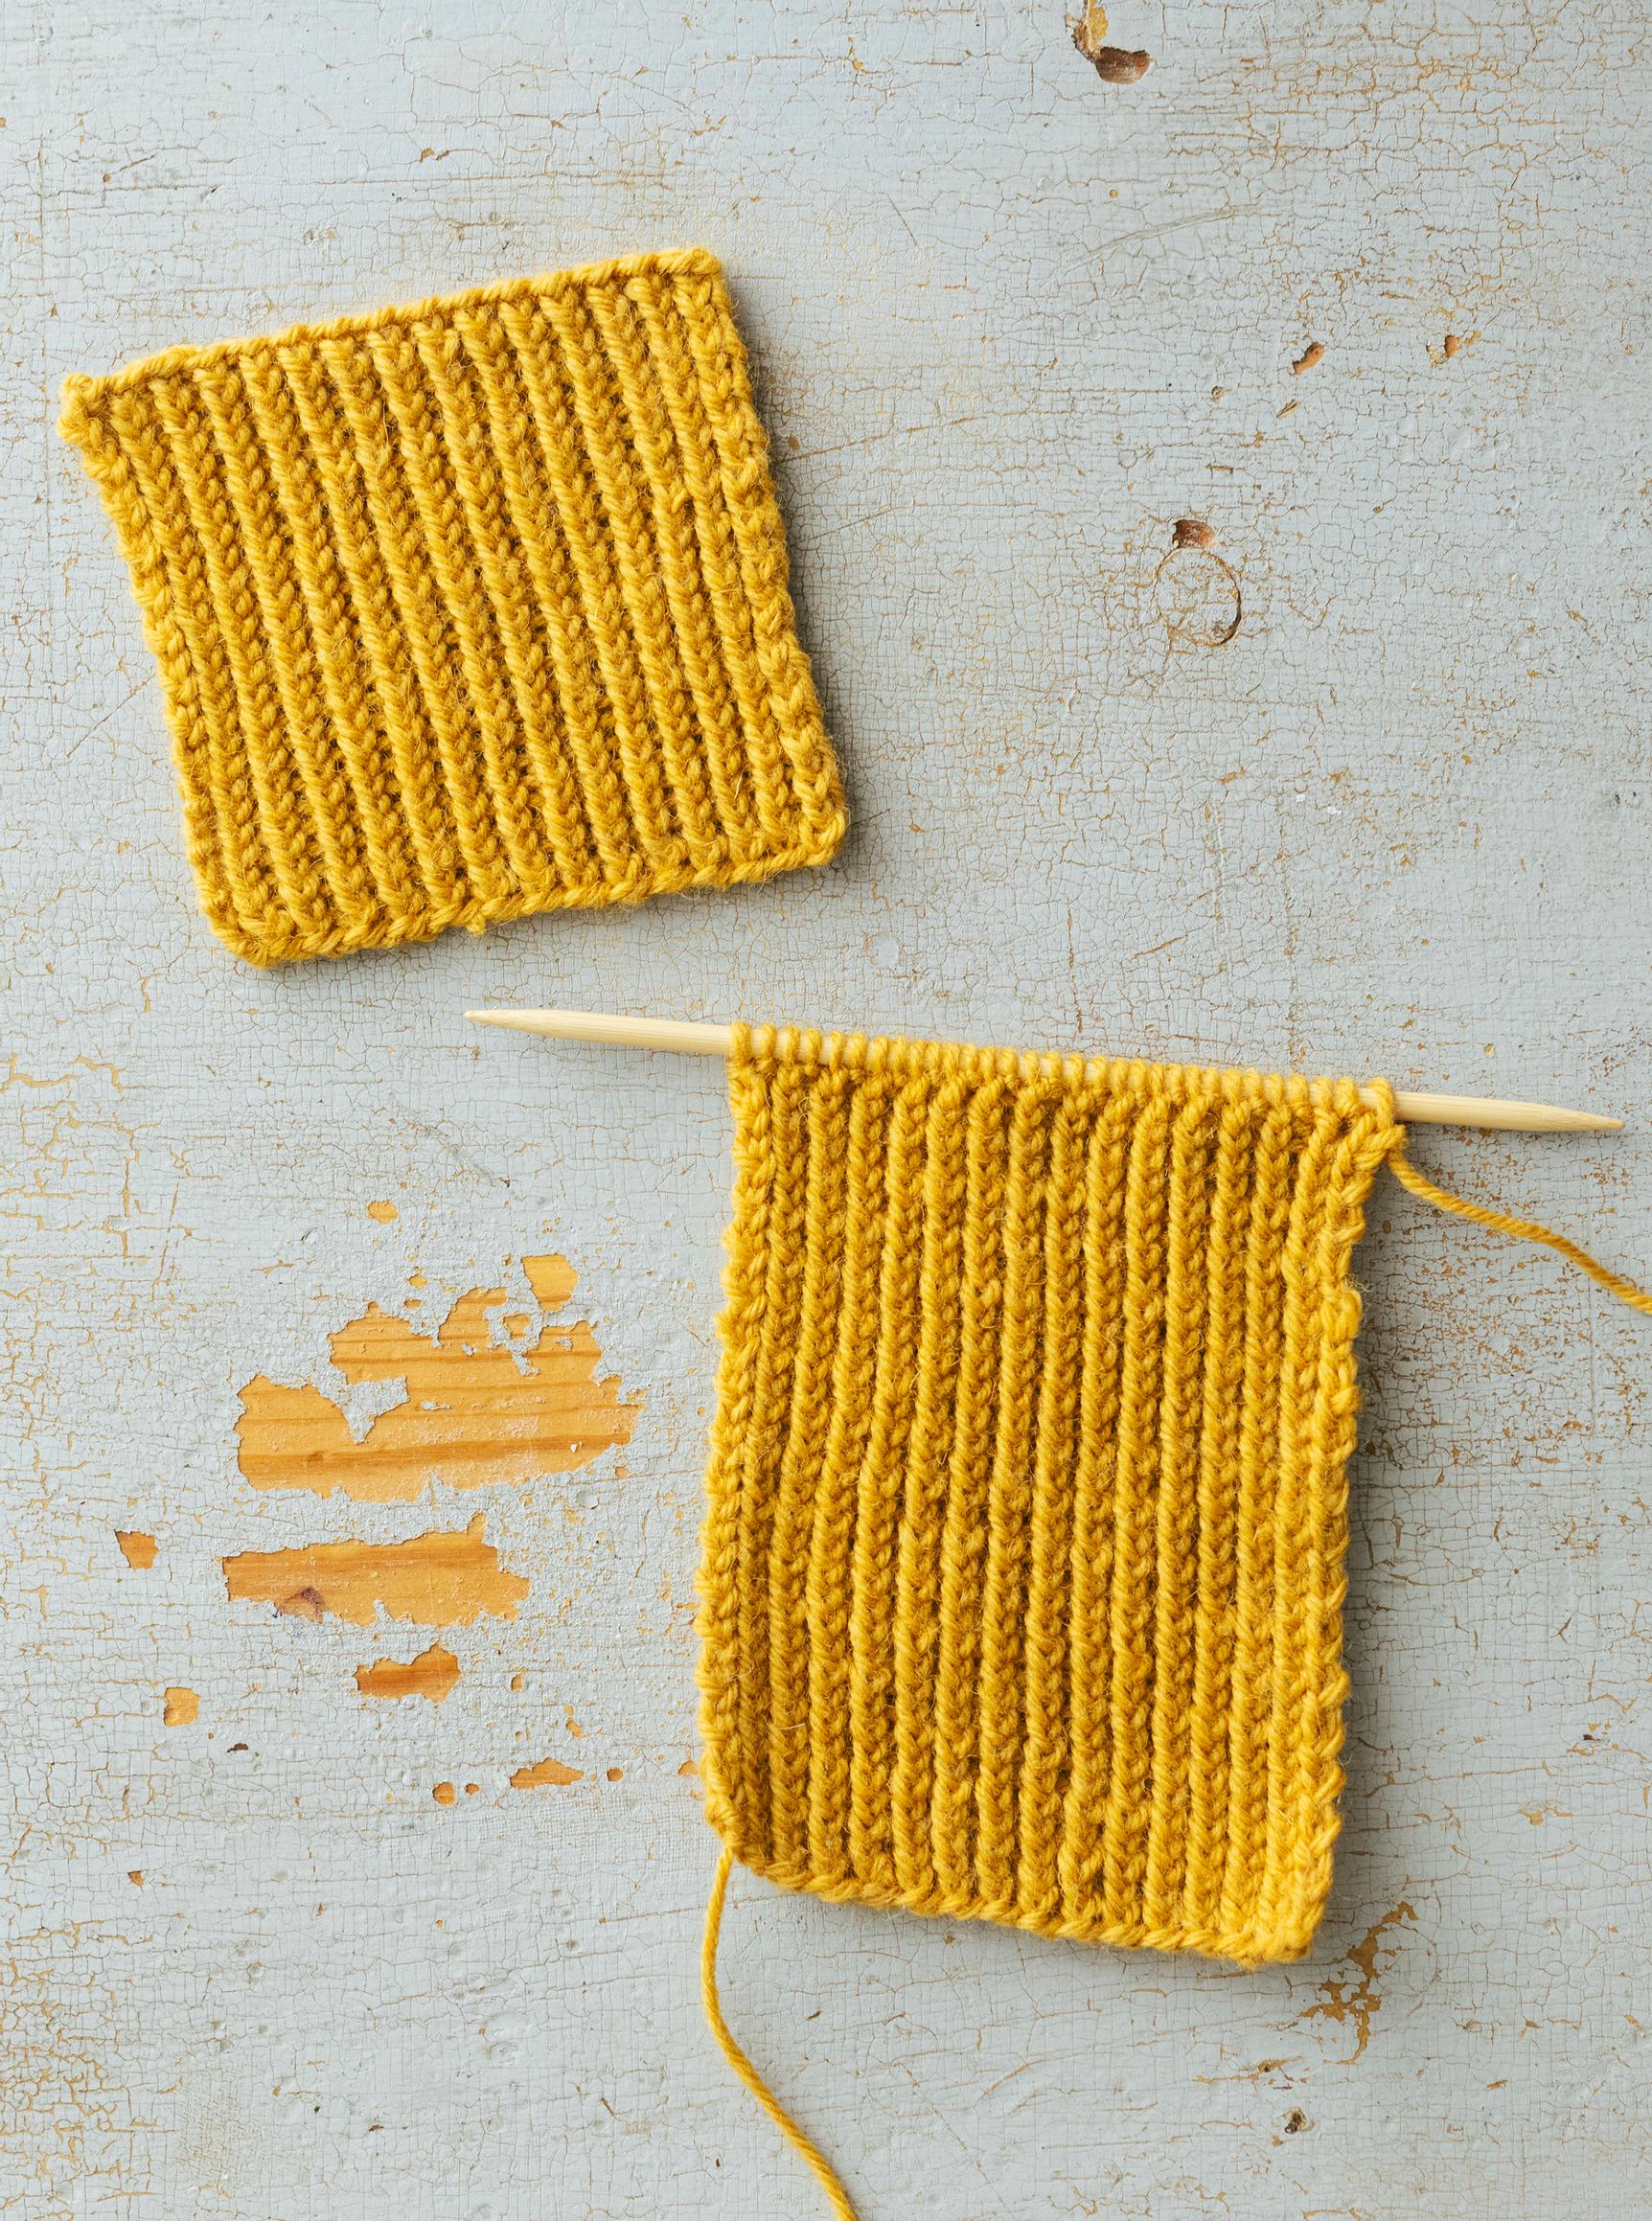
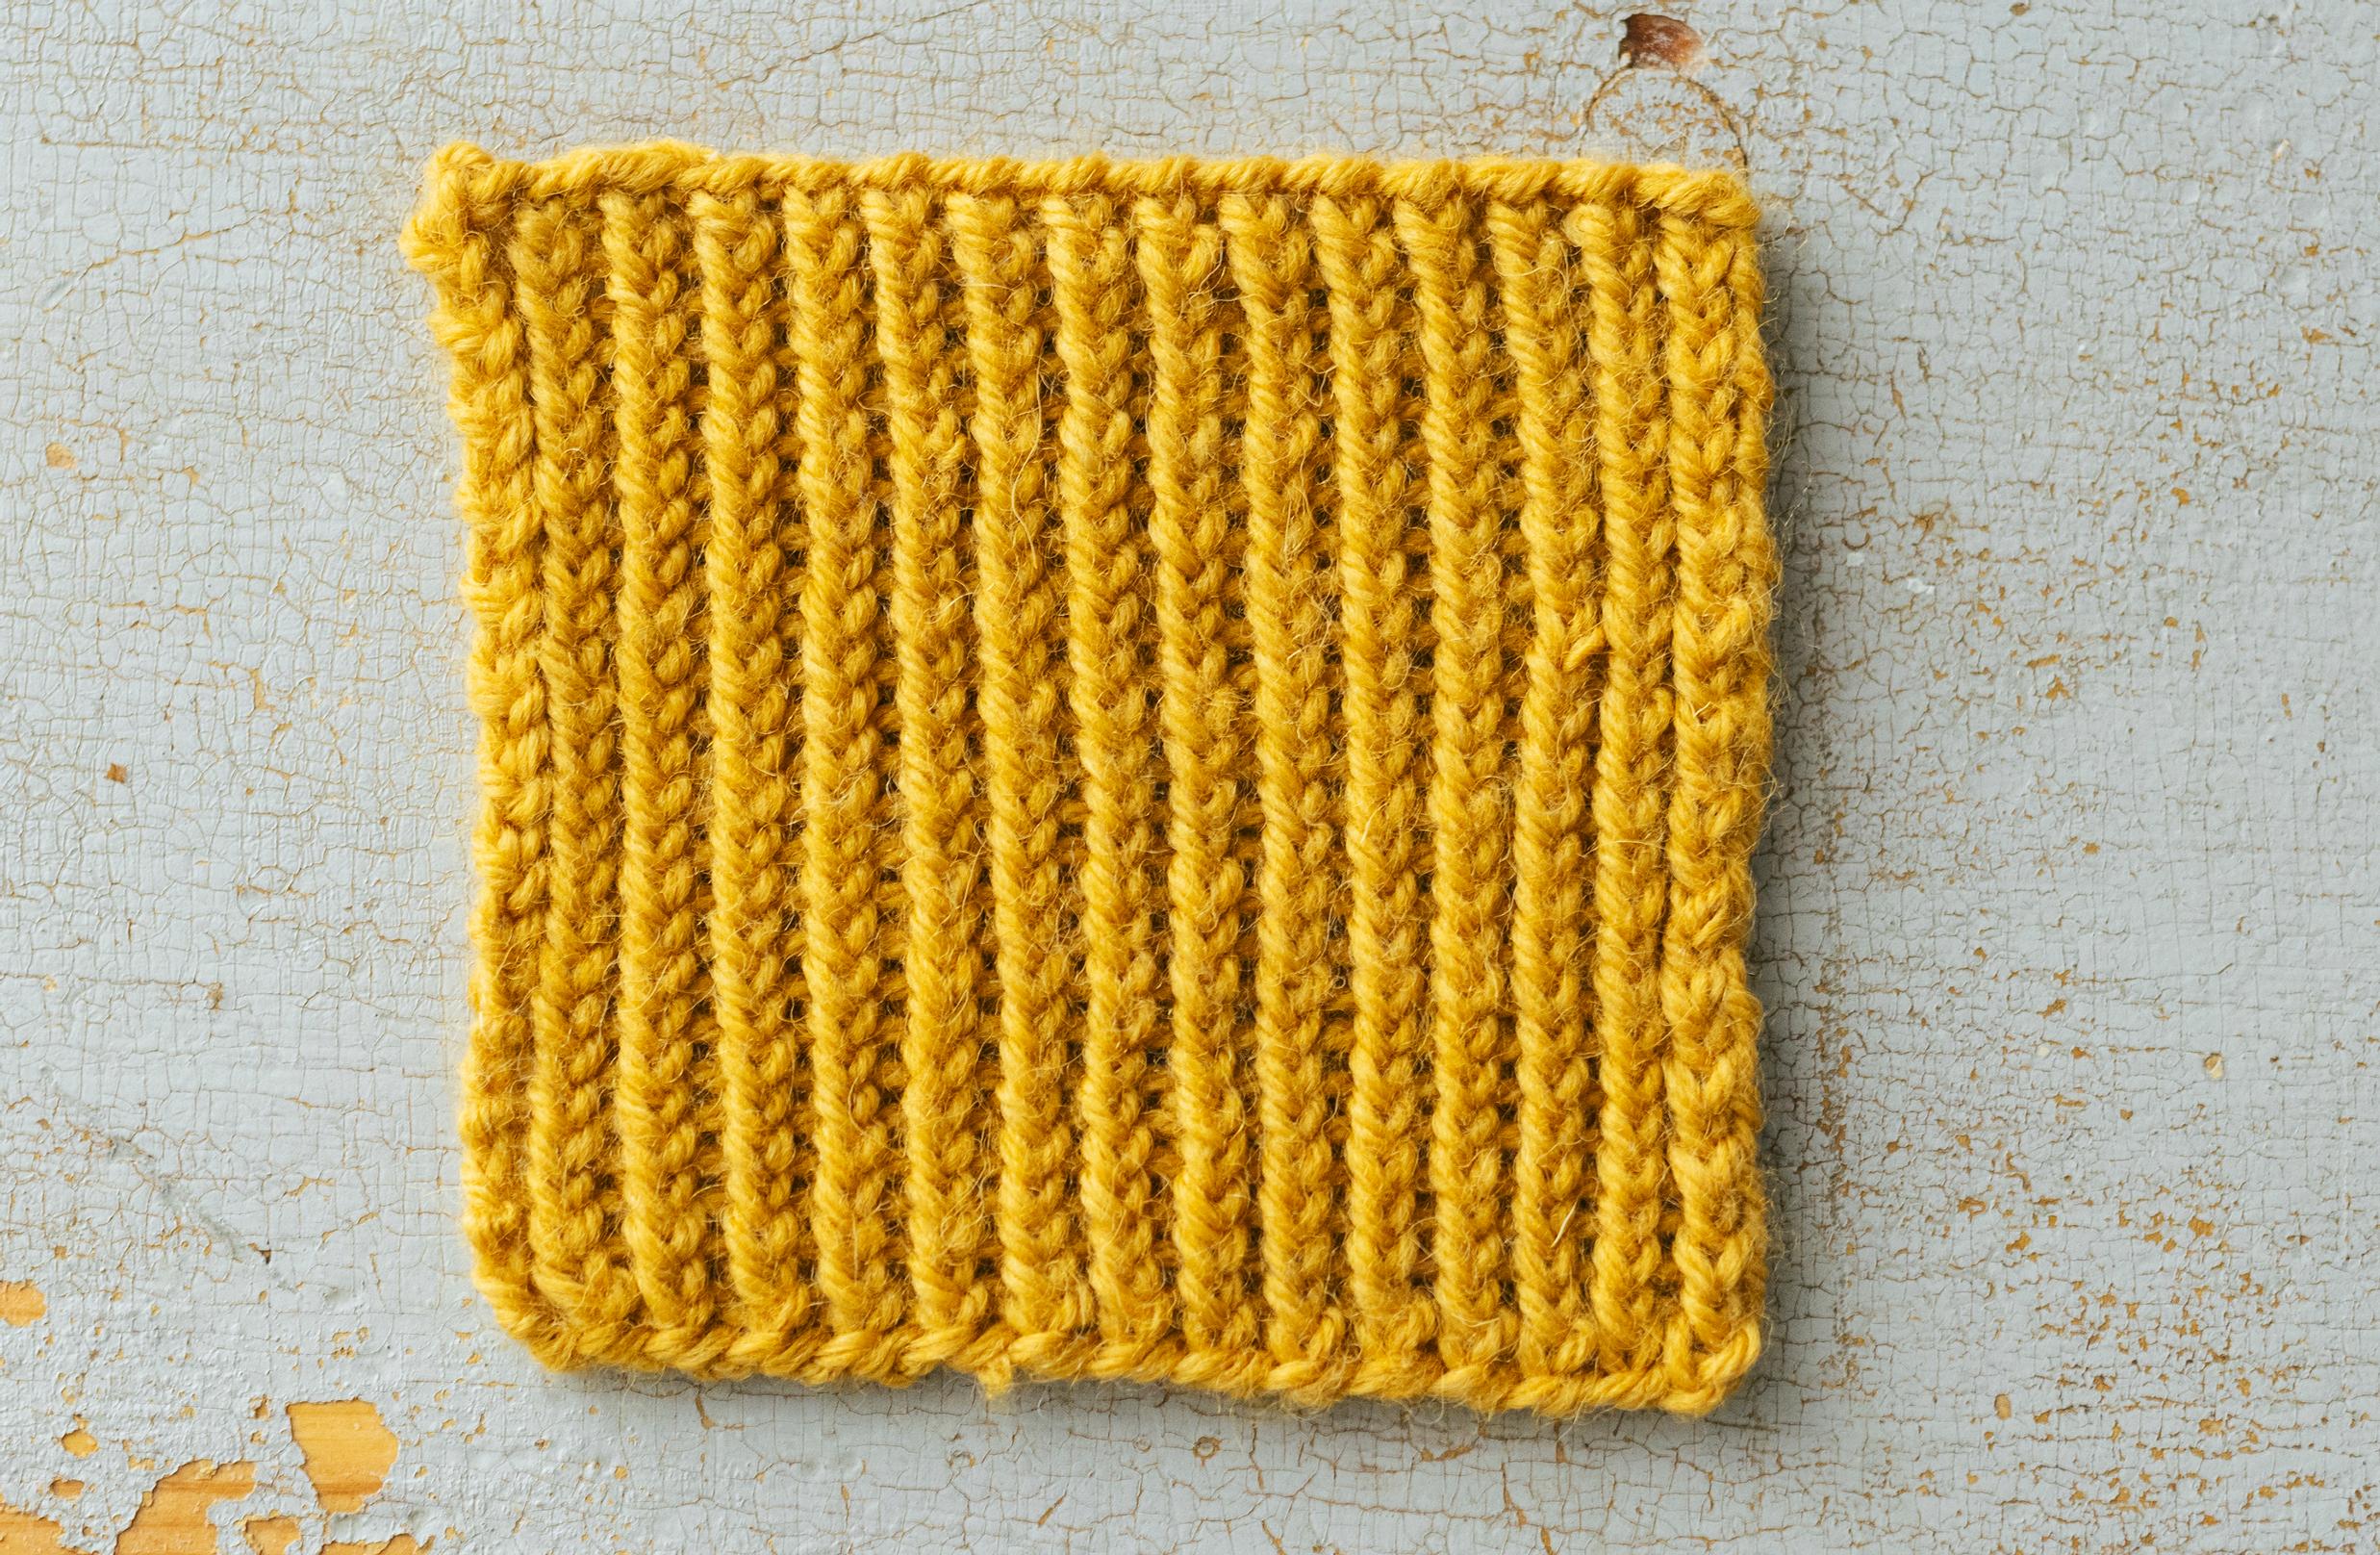
How to knit ribbing? We show you two ways: try the traditional and twisted ribs
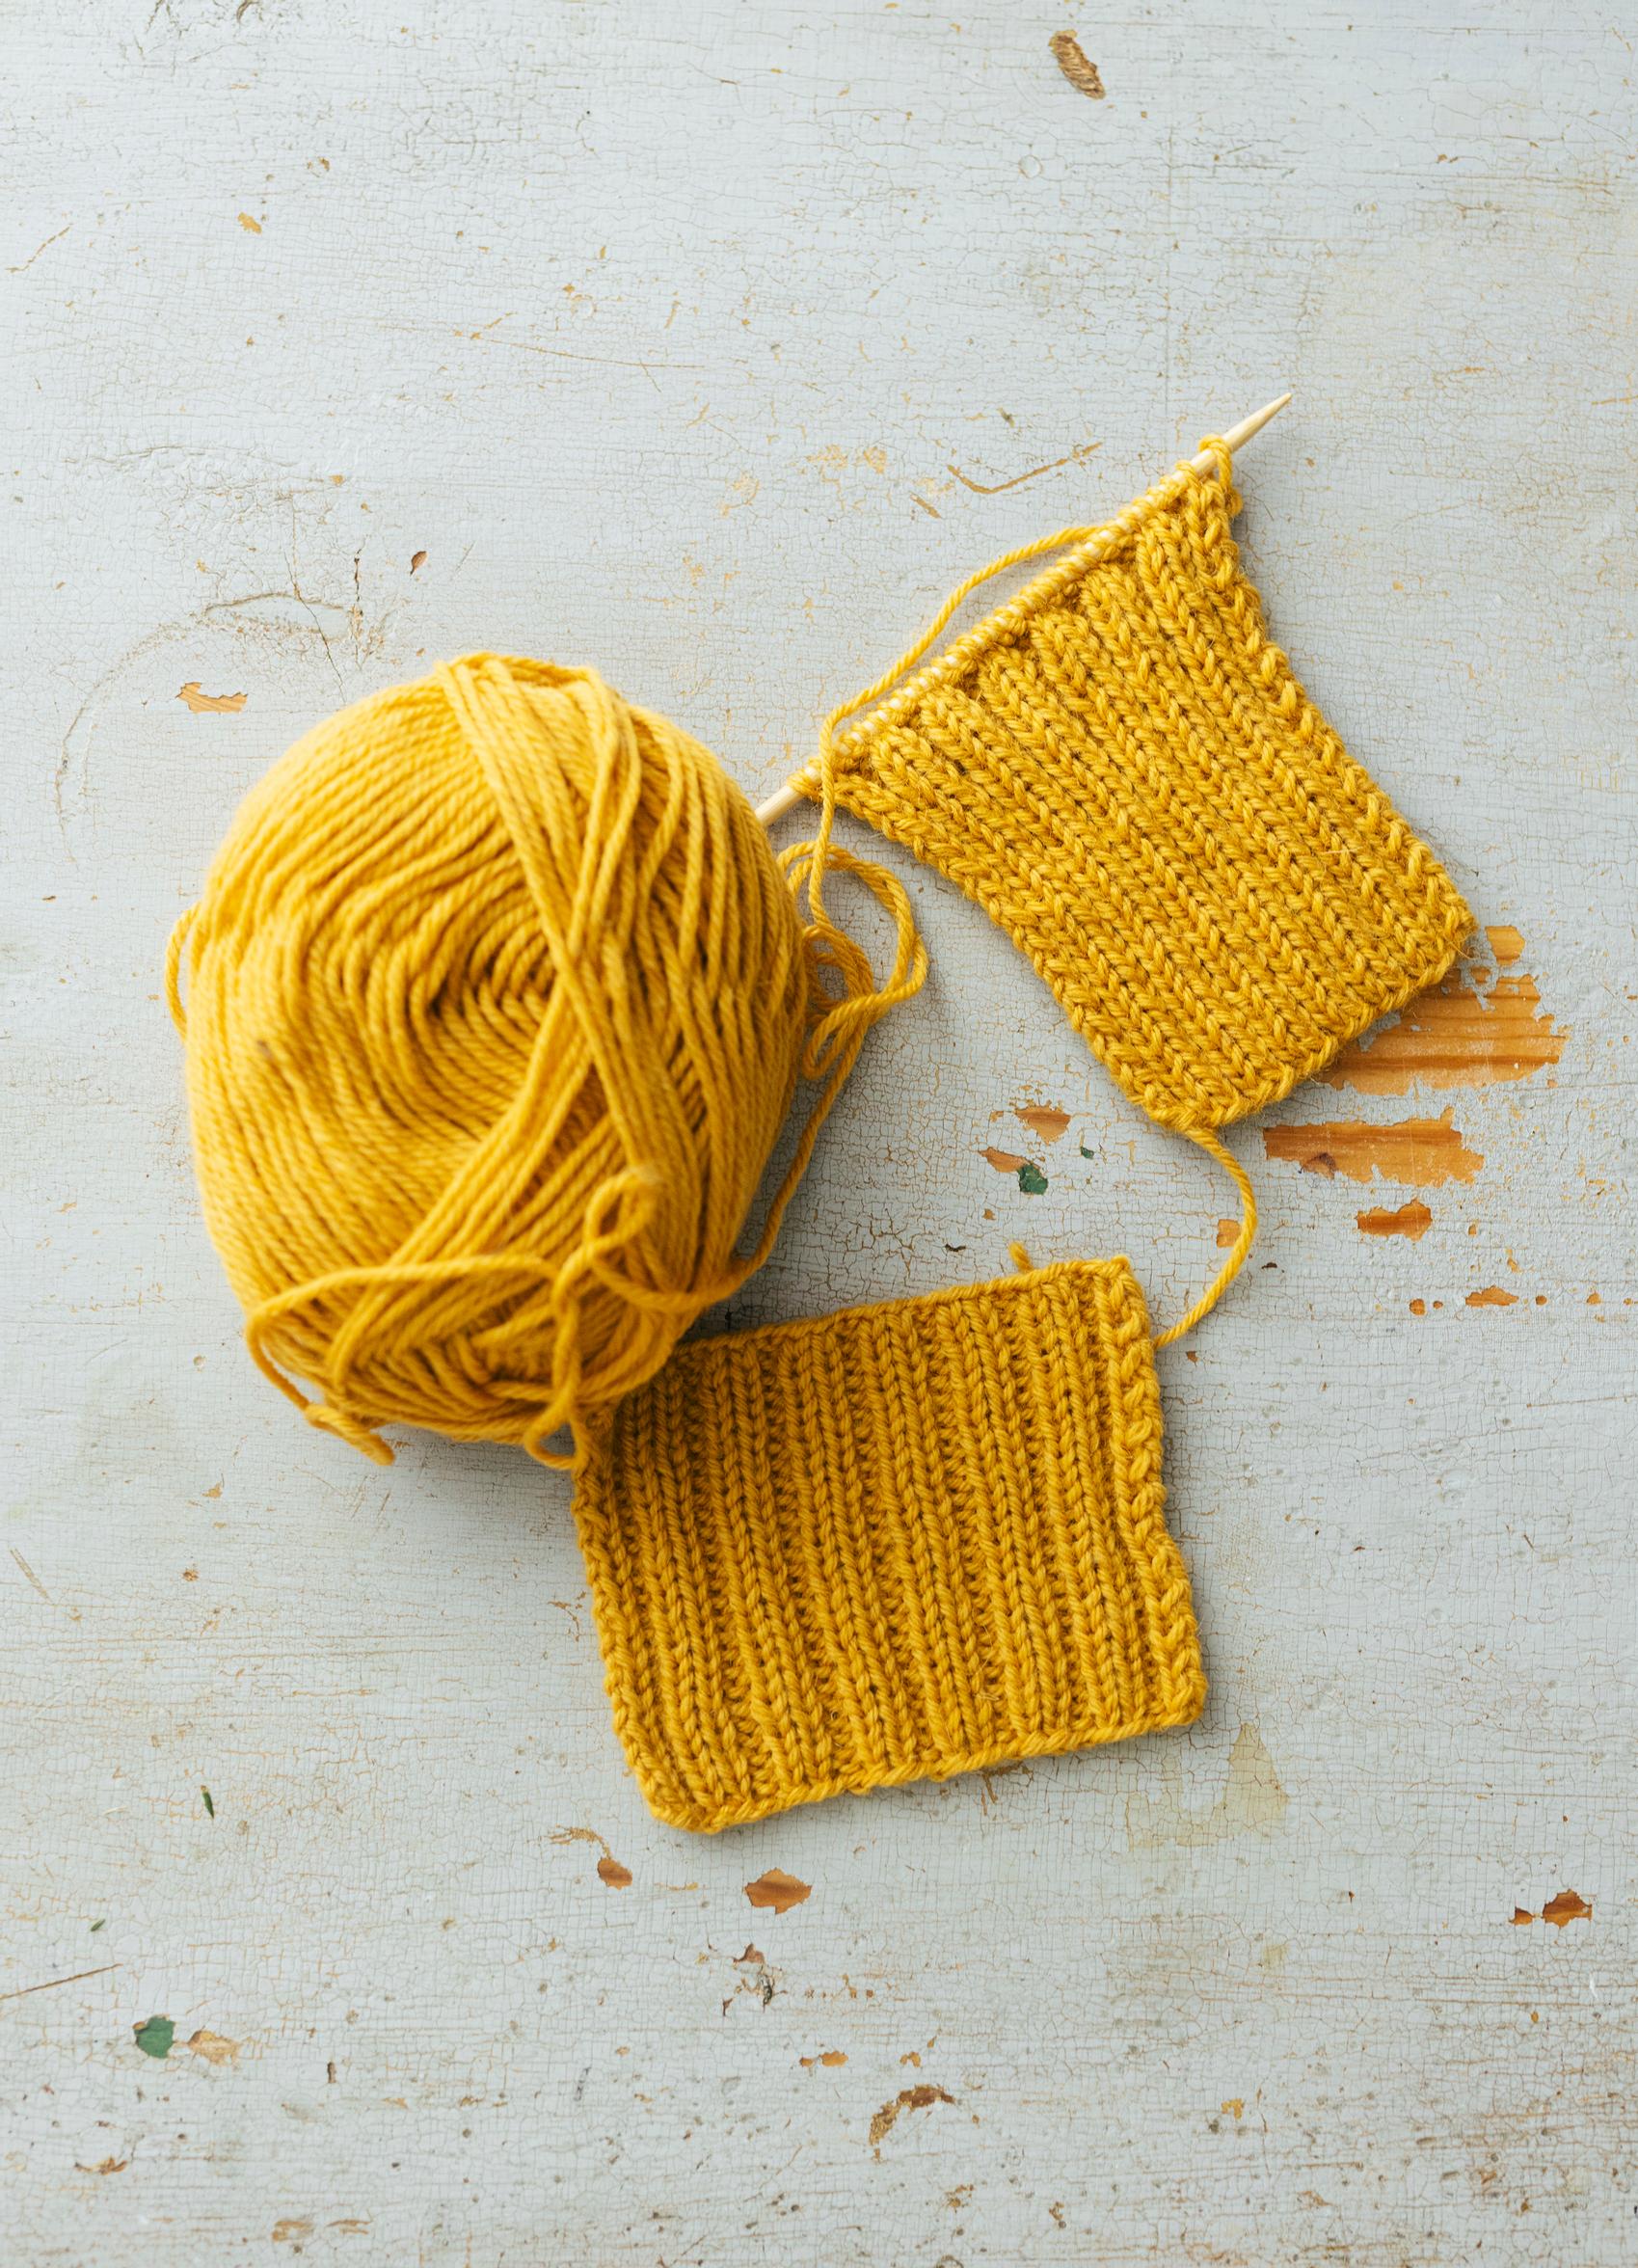
Ribbing is created by alternating knit and purl stitches. It is used in many types of projects, from socks and hats to sweaters. We’ll show you two ways: a simple k2, p2 rib and a twisted rib that beginners may find easier to knit neatly.
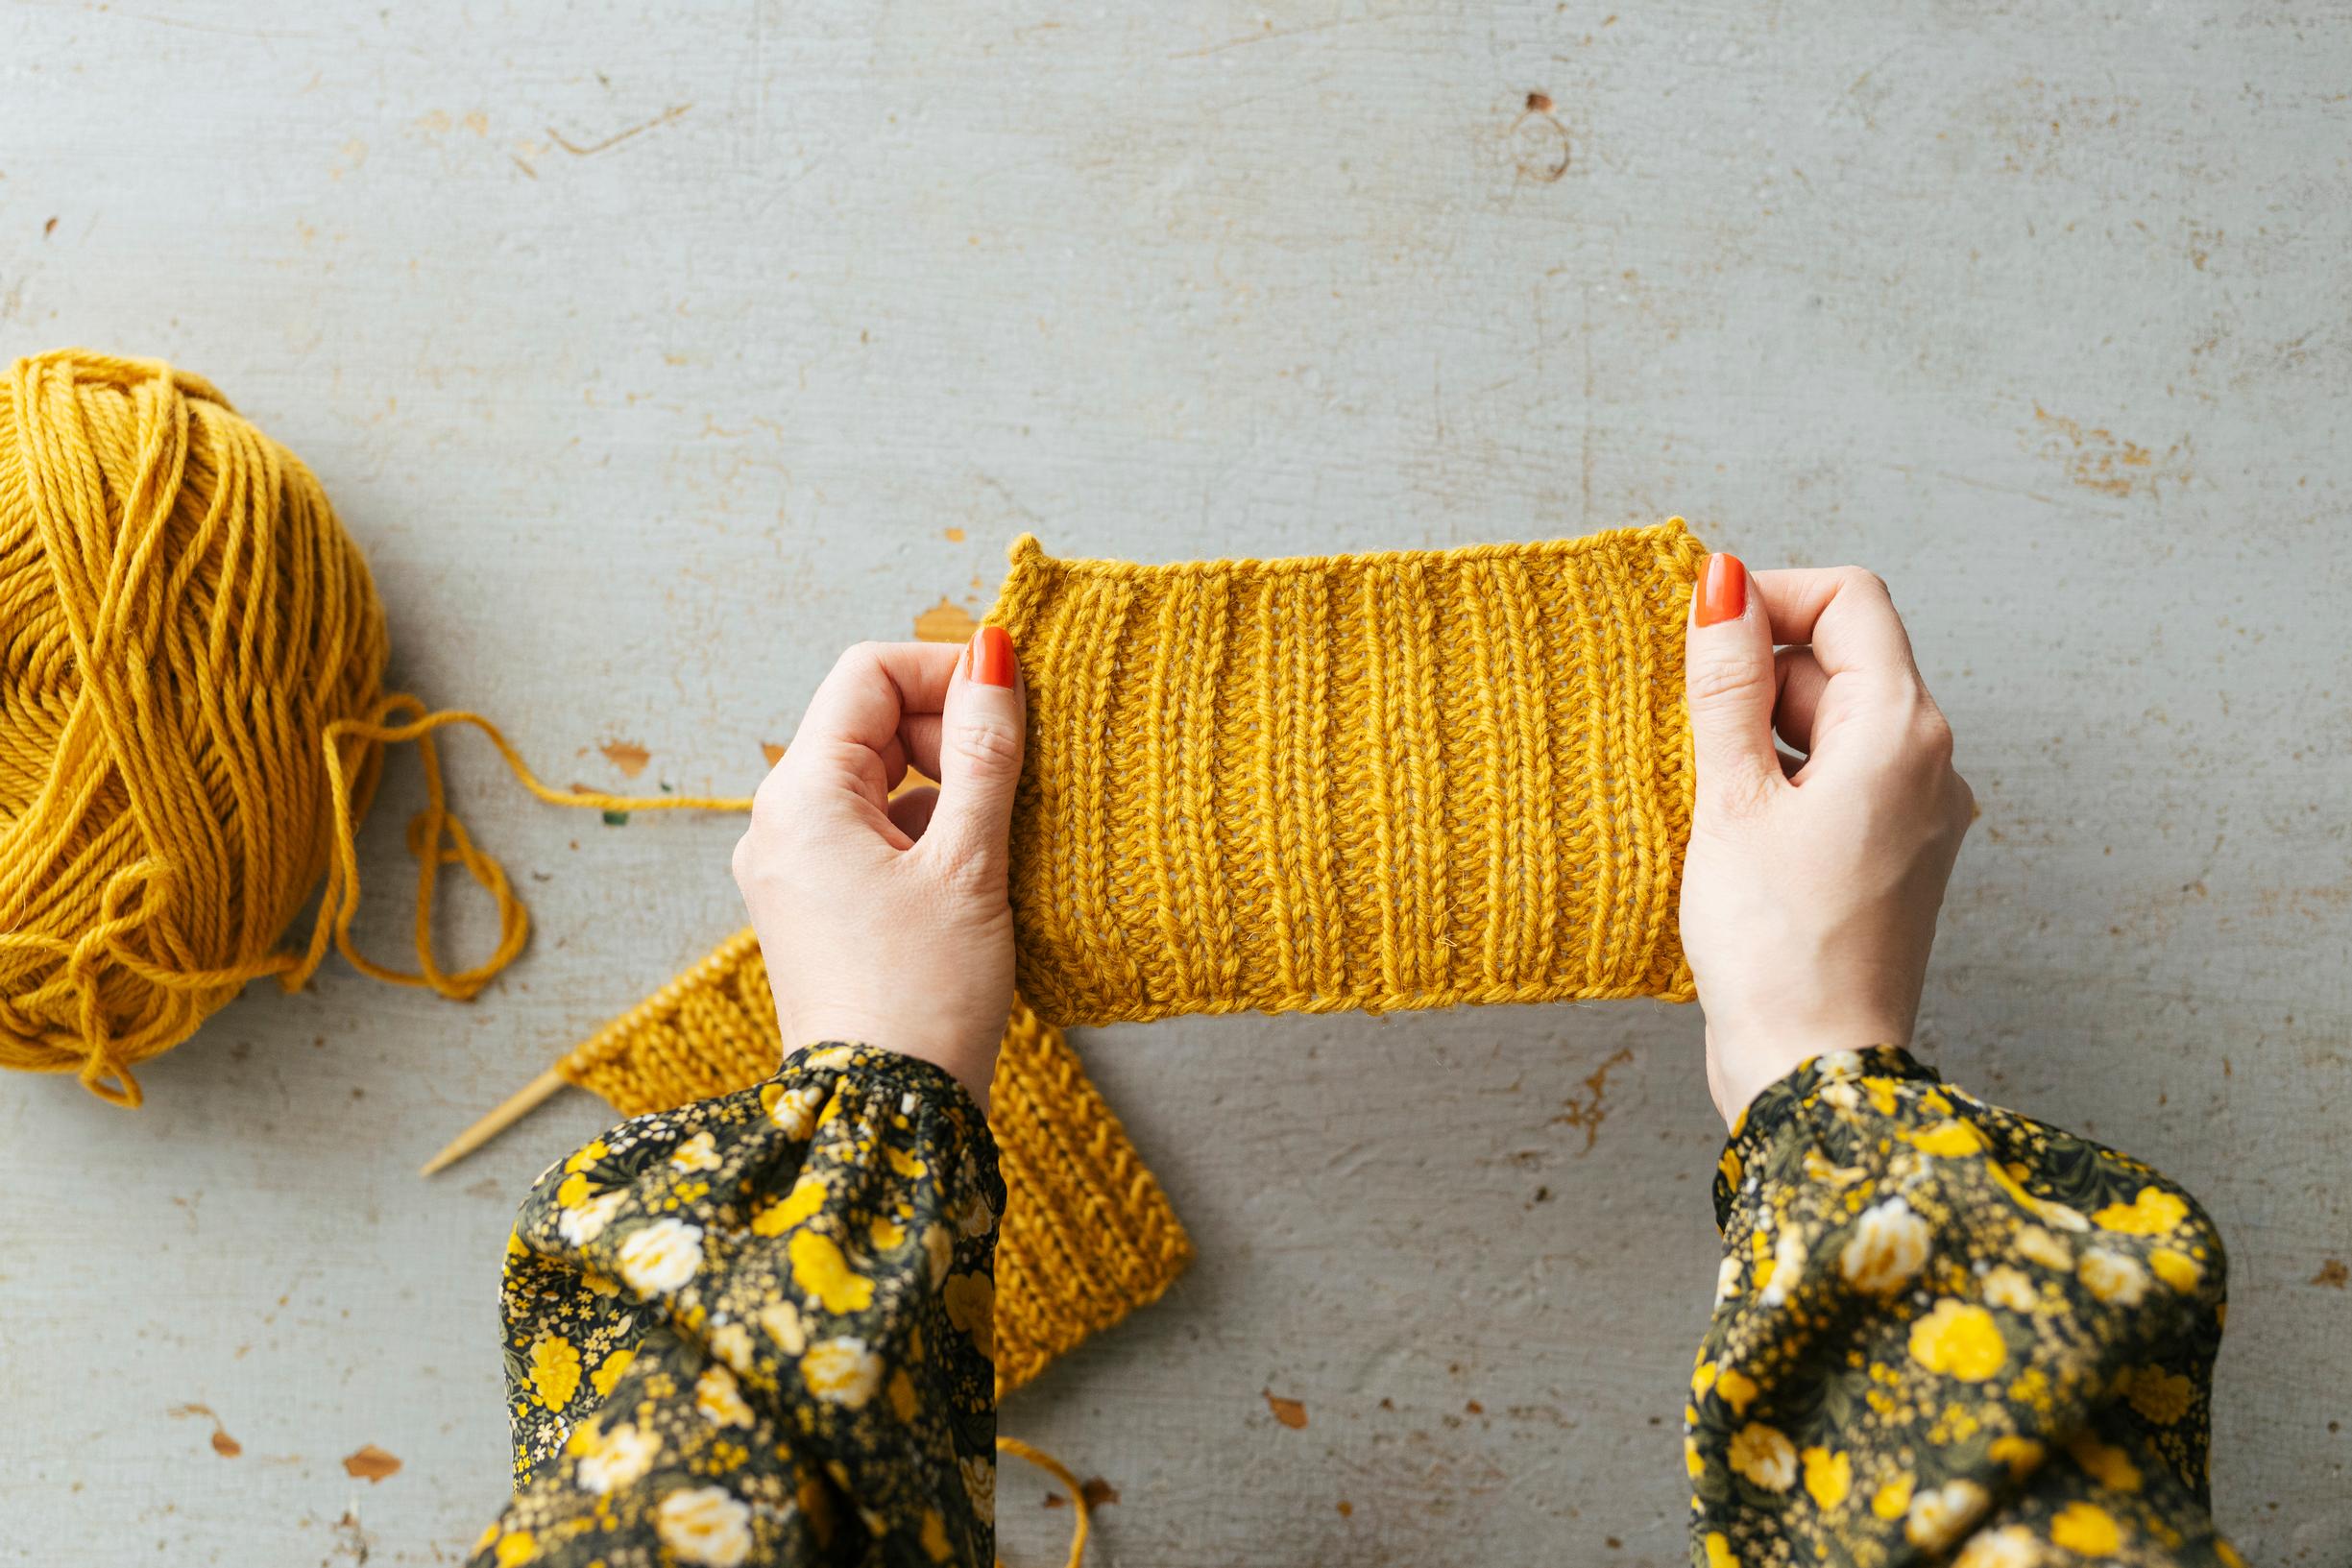
Ribbing is a familiar sight on the cuffs of many garments and accessories. It conforms to the different shapes and curves of the body, such as the neck and wrists, yet it stretches when needed. That’s why it’s often used for necklines, cuffs, and hems. Of course, you can also knit an entire hat, scarf, or even sweater in ribbing.
How to knit ribbing? Ribbing is created by alternating knit and purl stitches. At its simplest, you knit 1 and purl 1 stitches, or knit 2 and purl 2 stitches. Then you repeat this pattern until the end of the row.
On the next row, the knit and purl stitches switch places, so if the previous row ended with a purl, the next row begins with a knit. A knit stitch appears as a purl on the wrong side of the work, and vice versa.

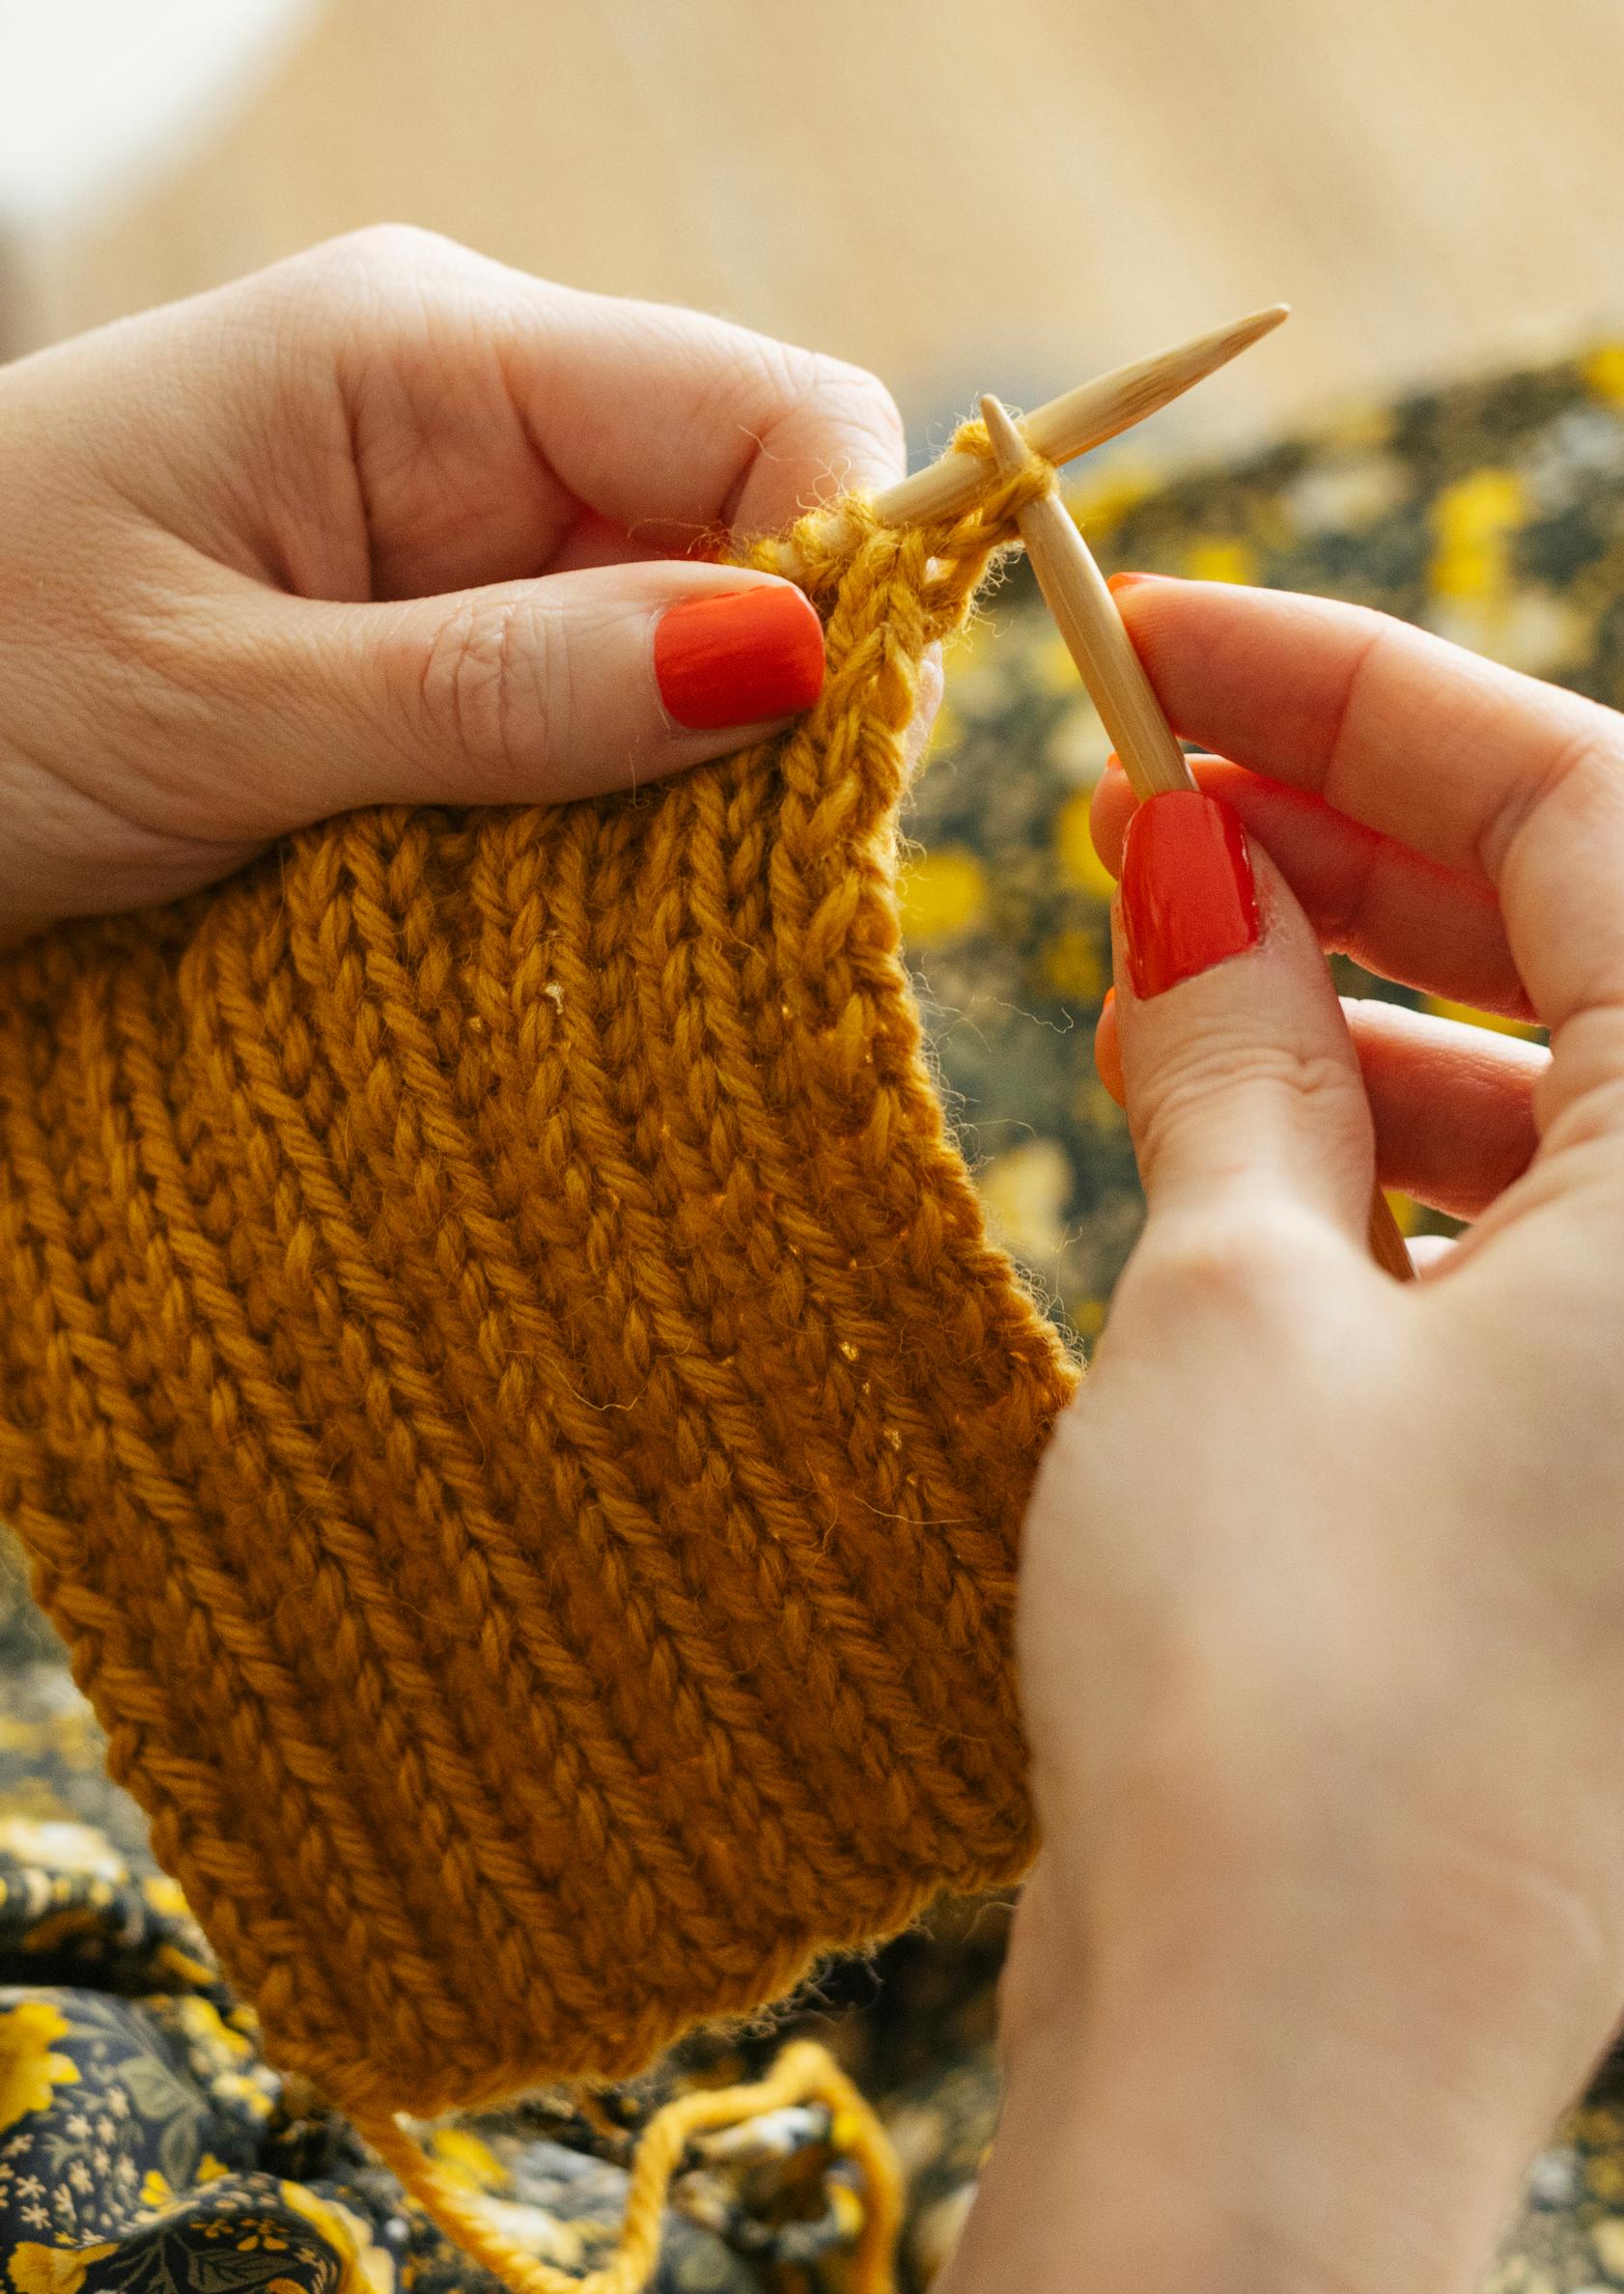
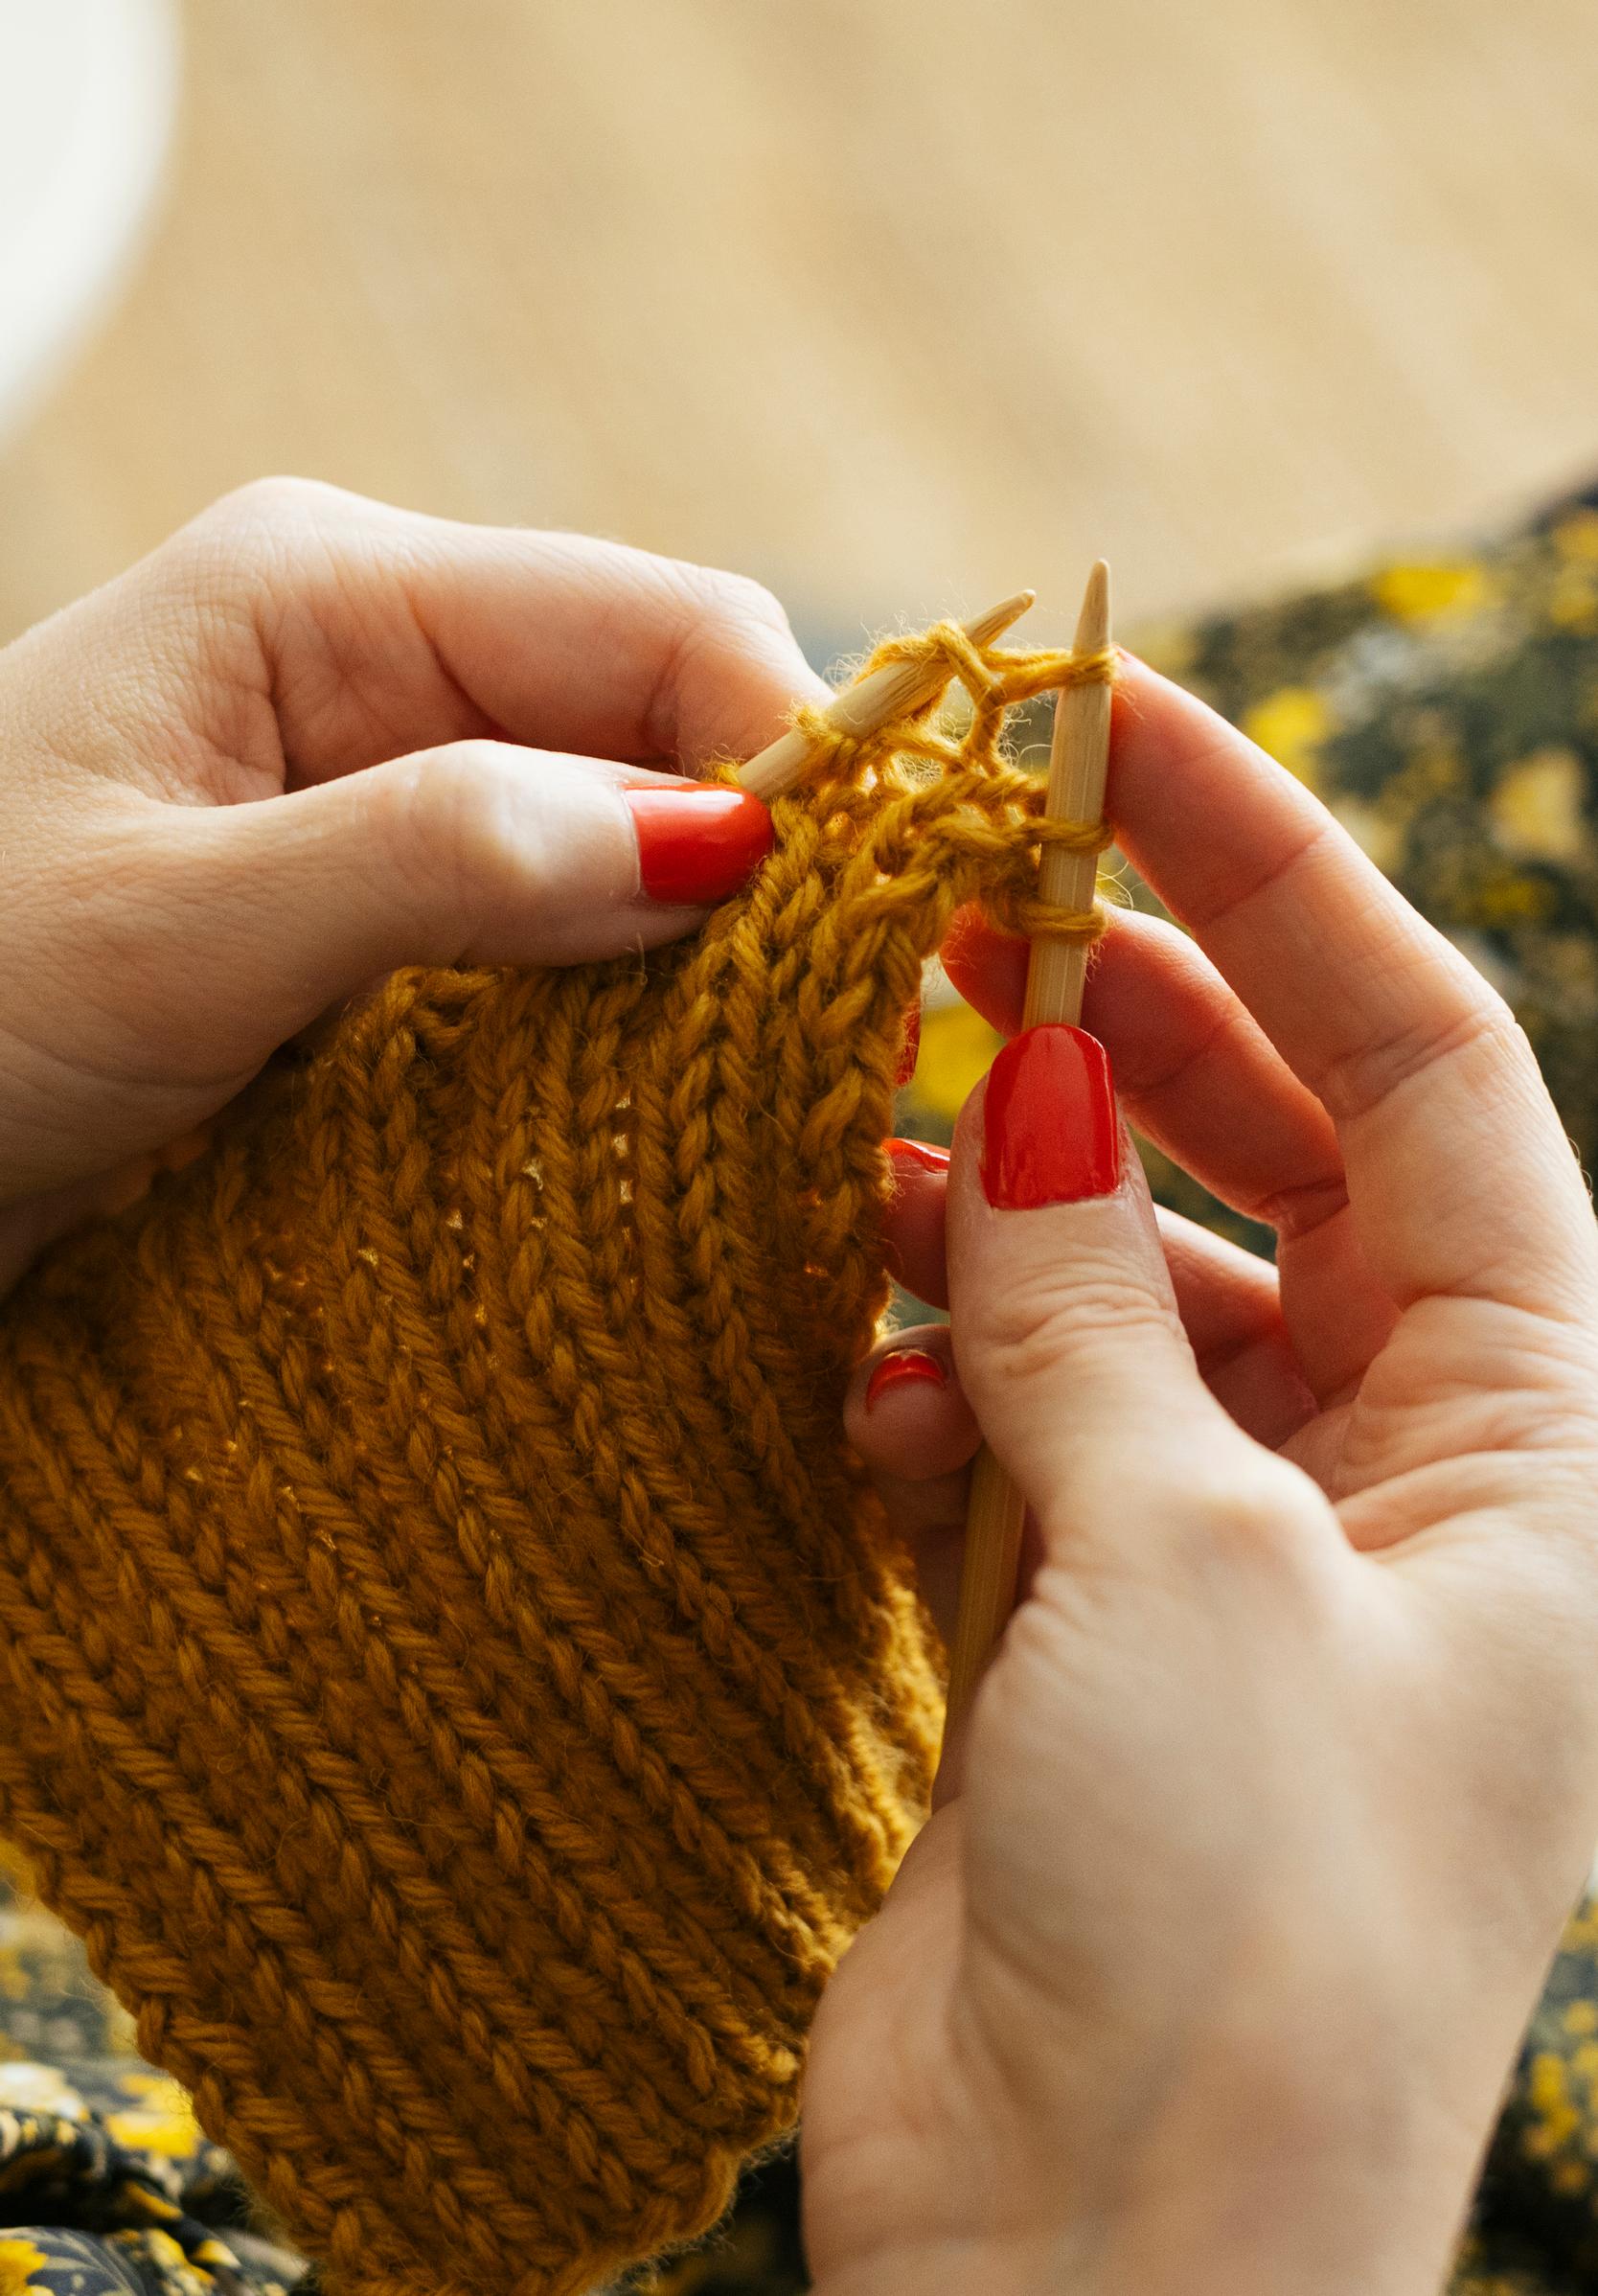
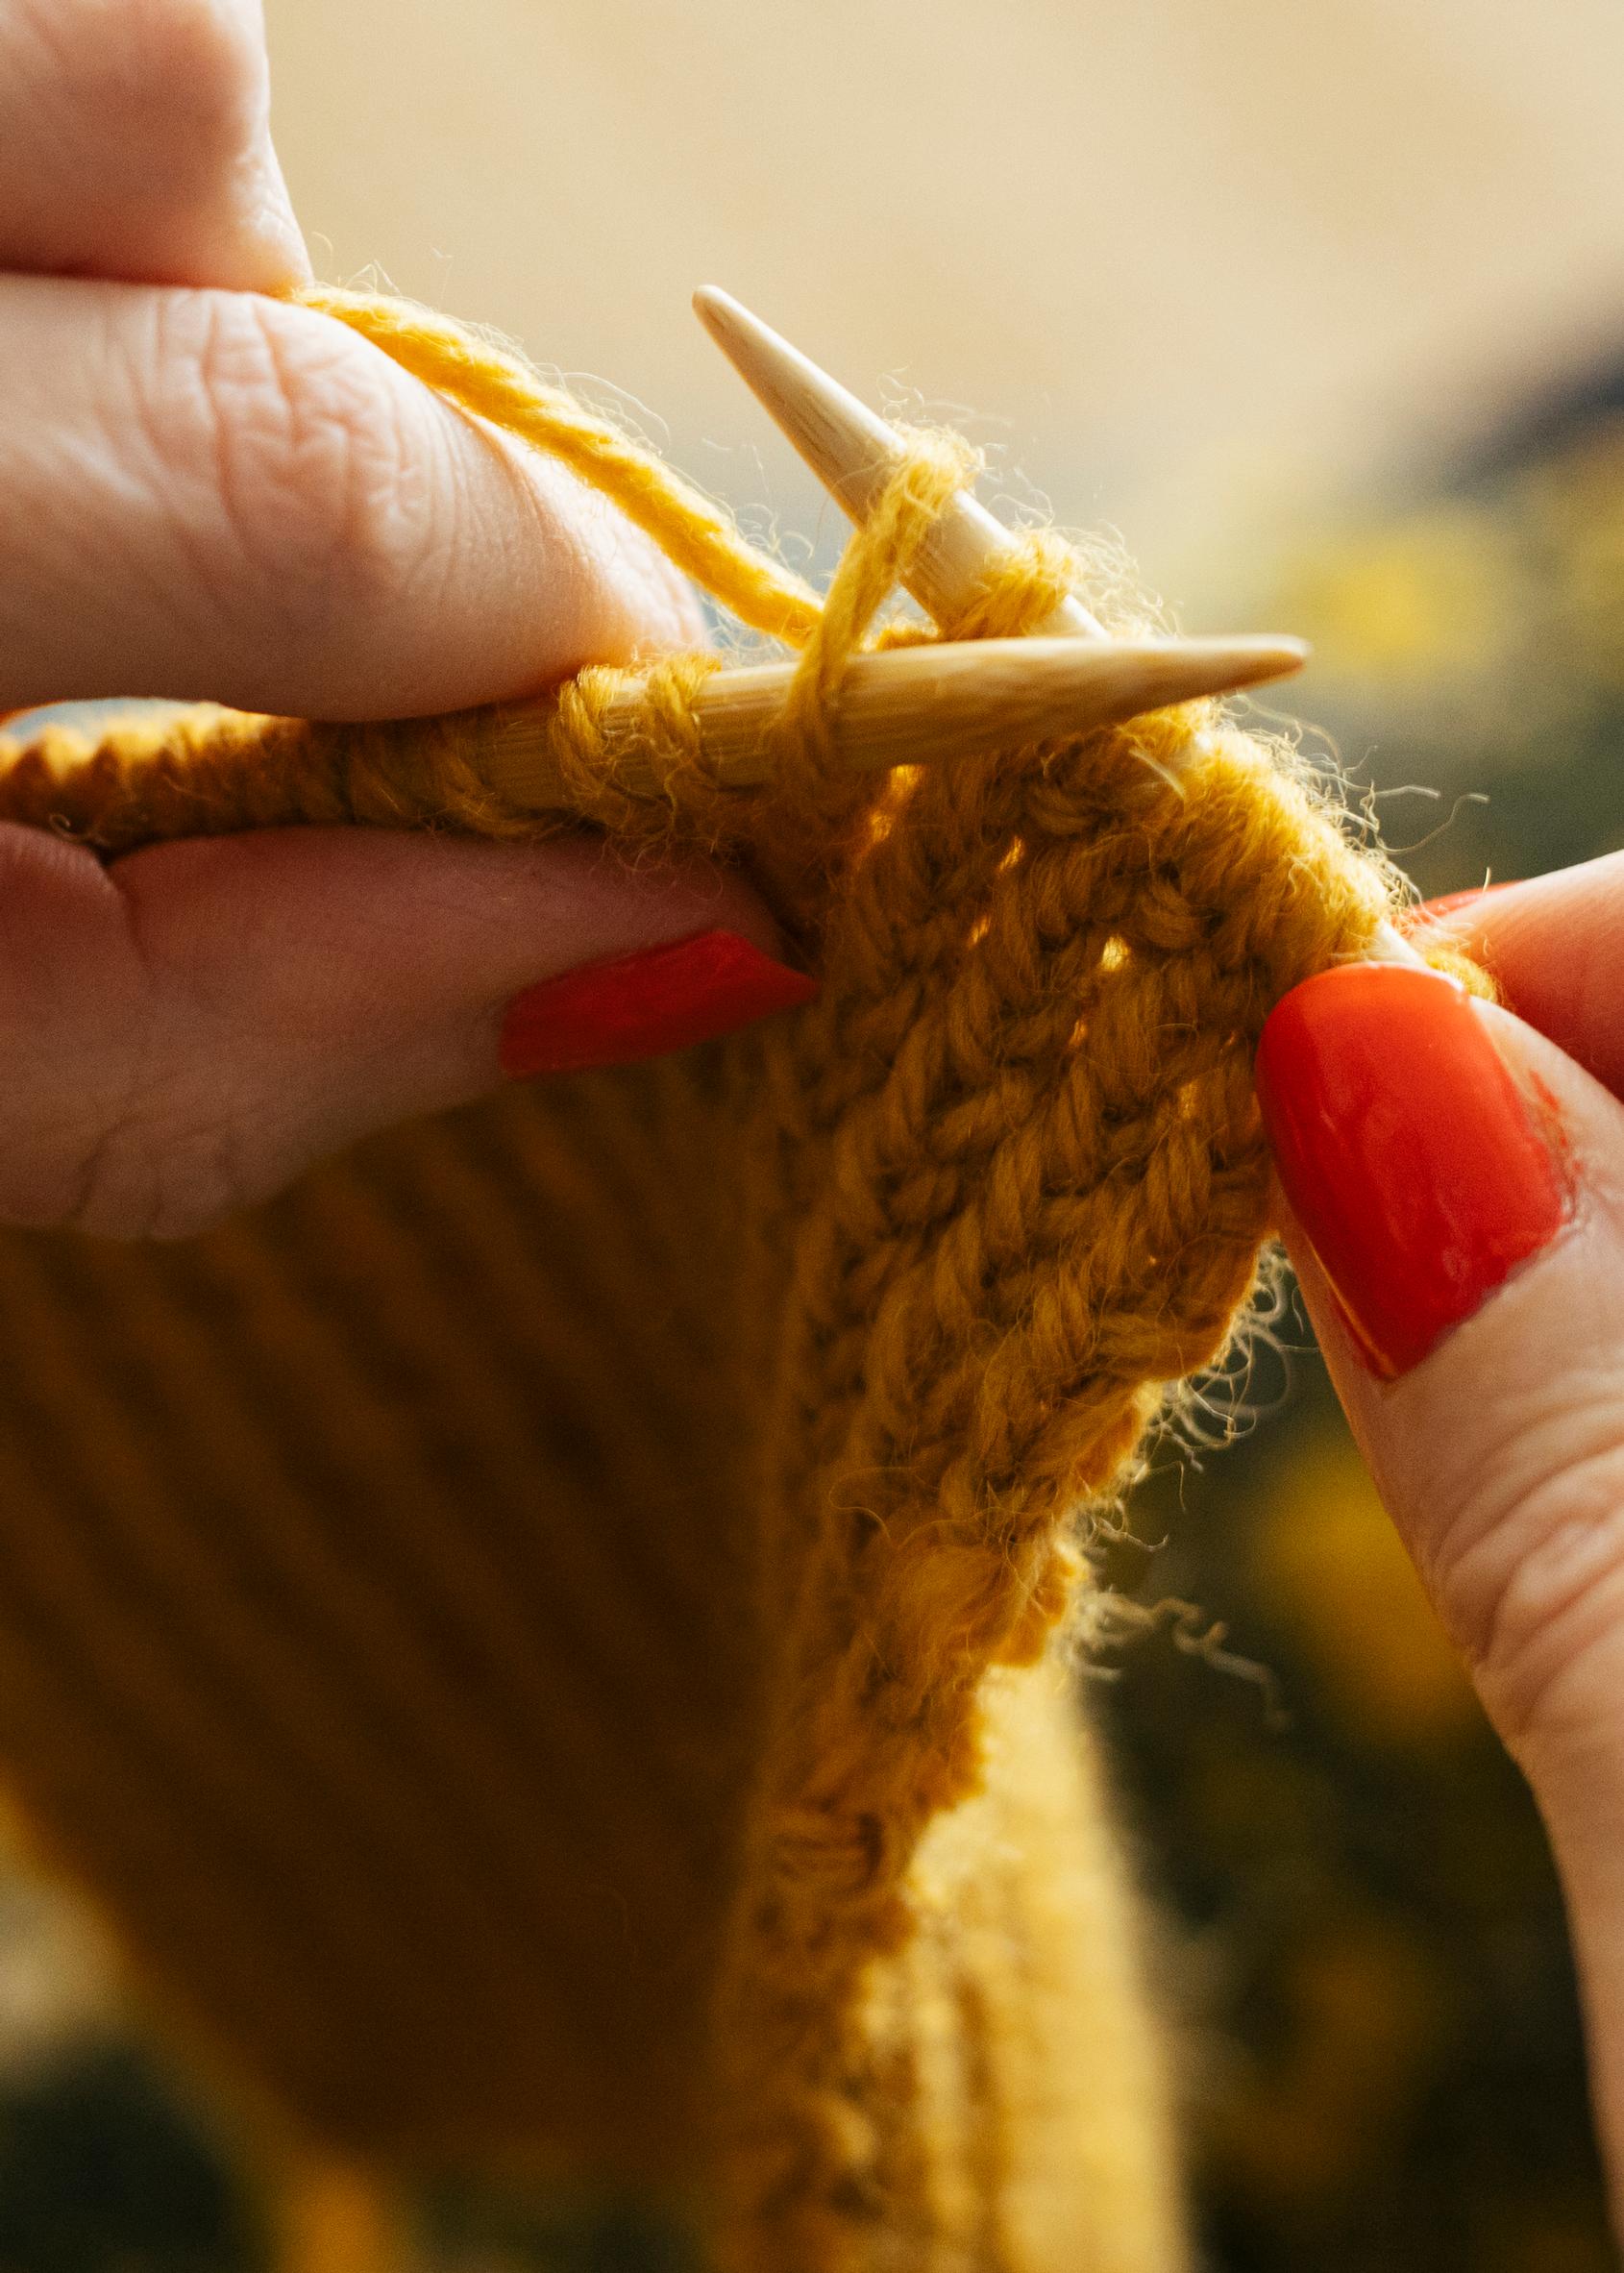
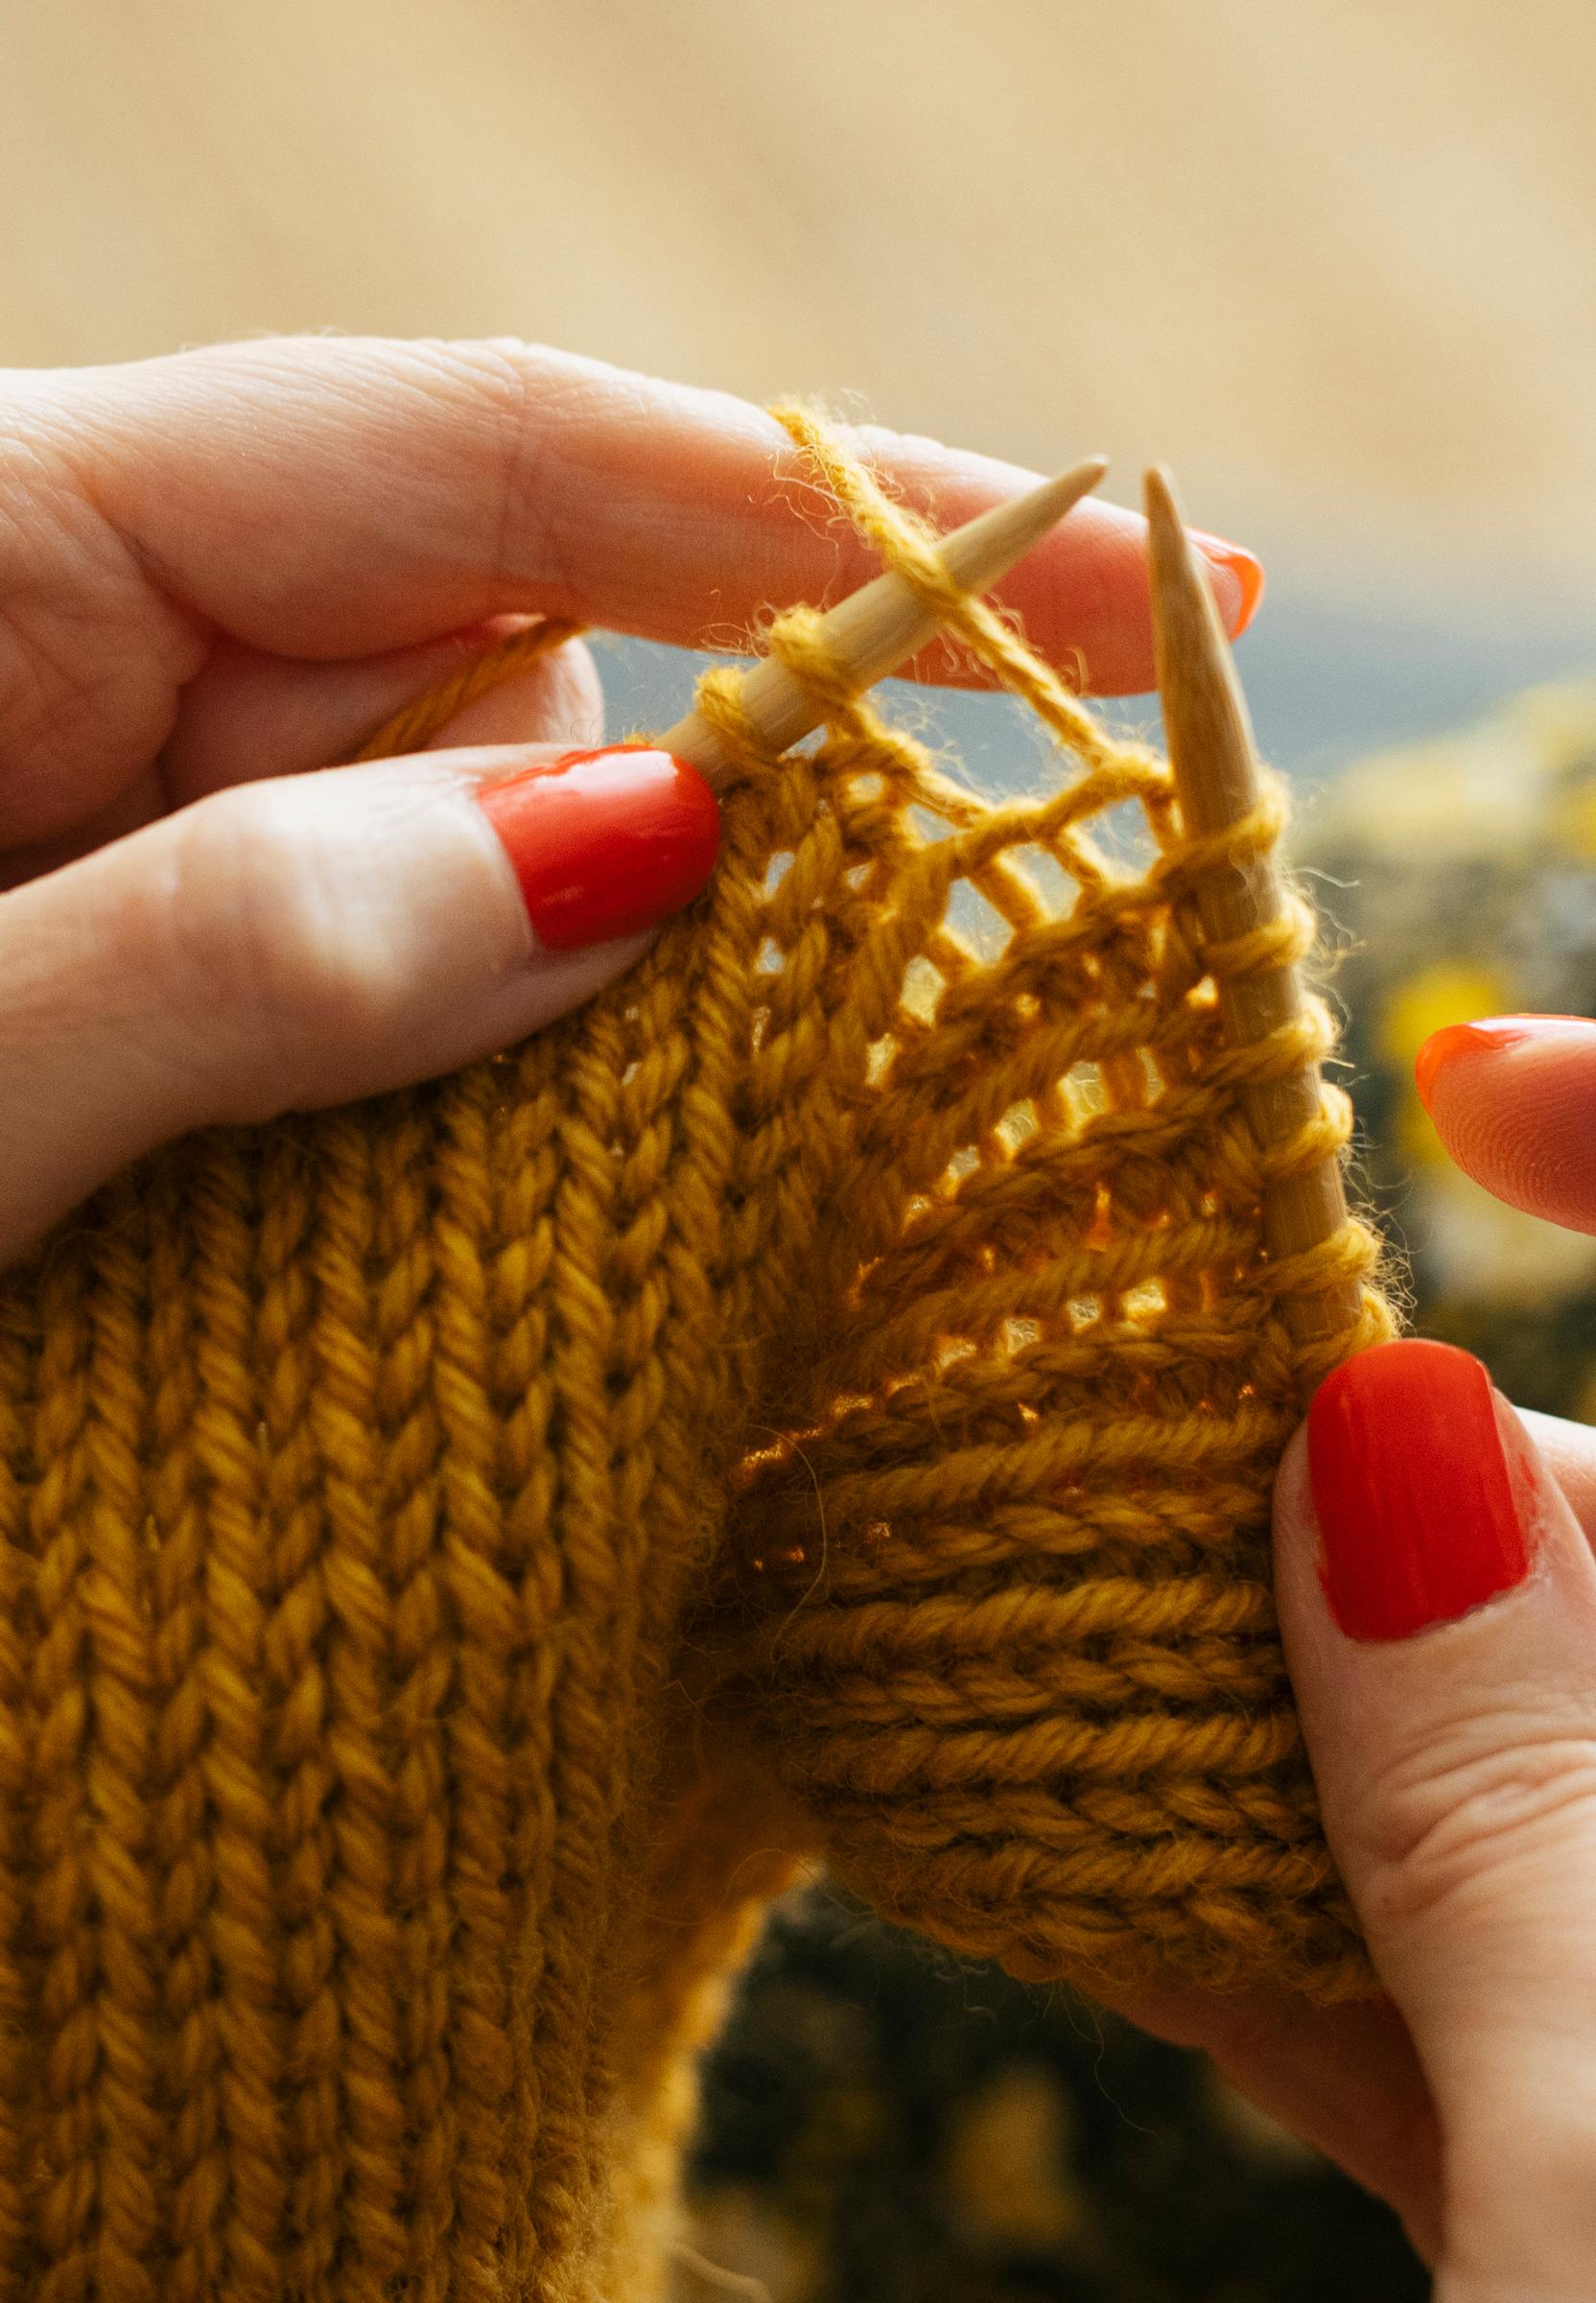
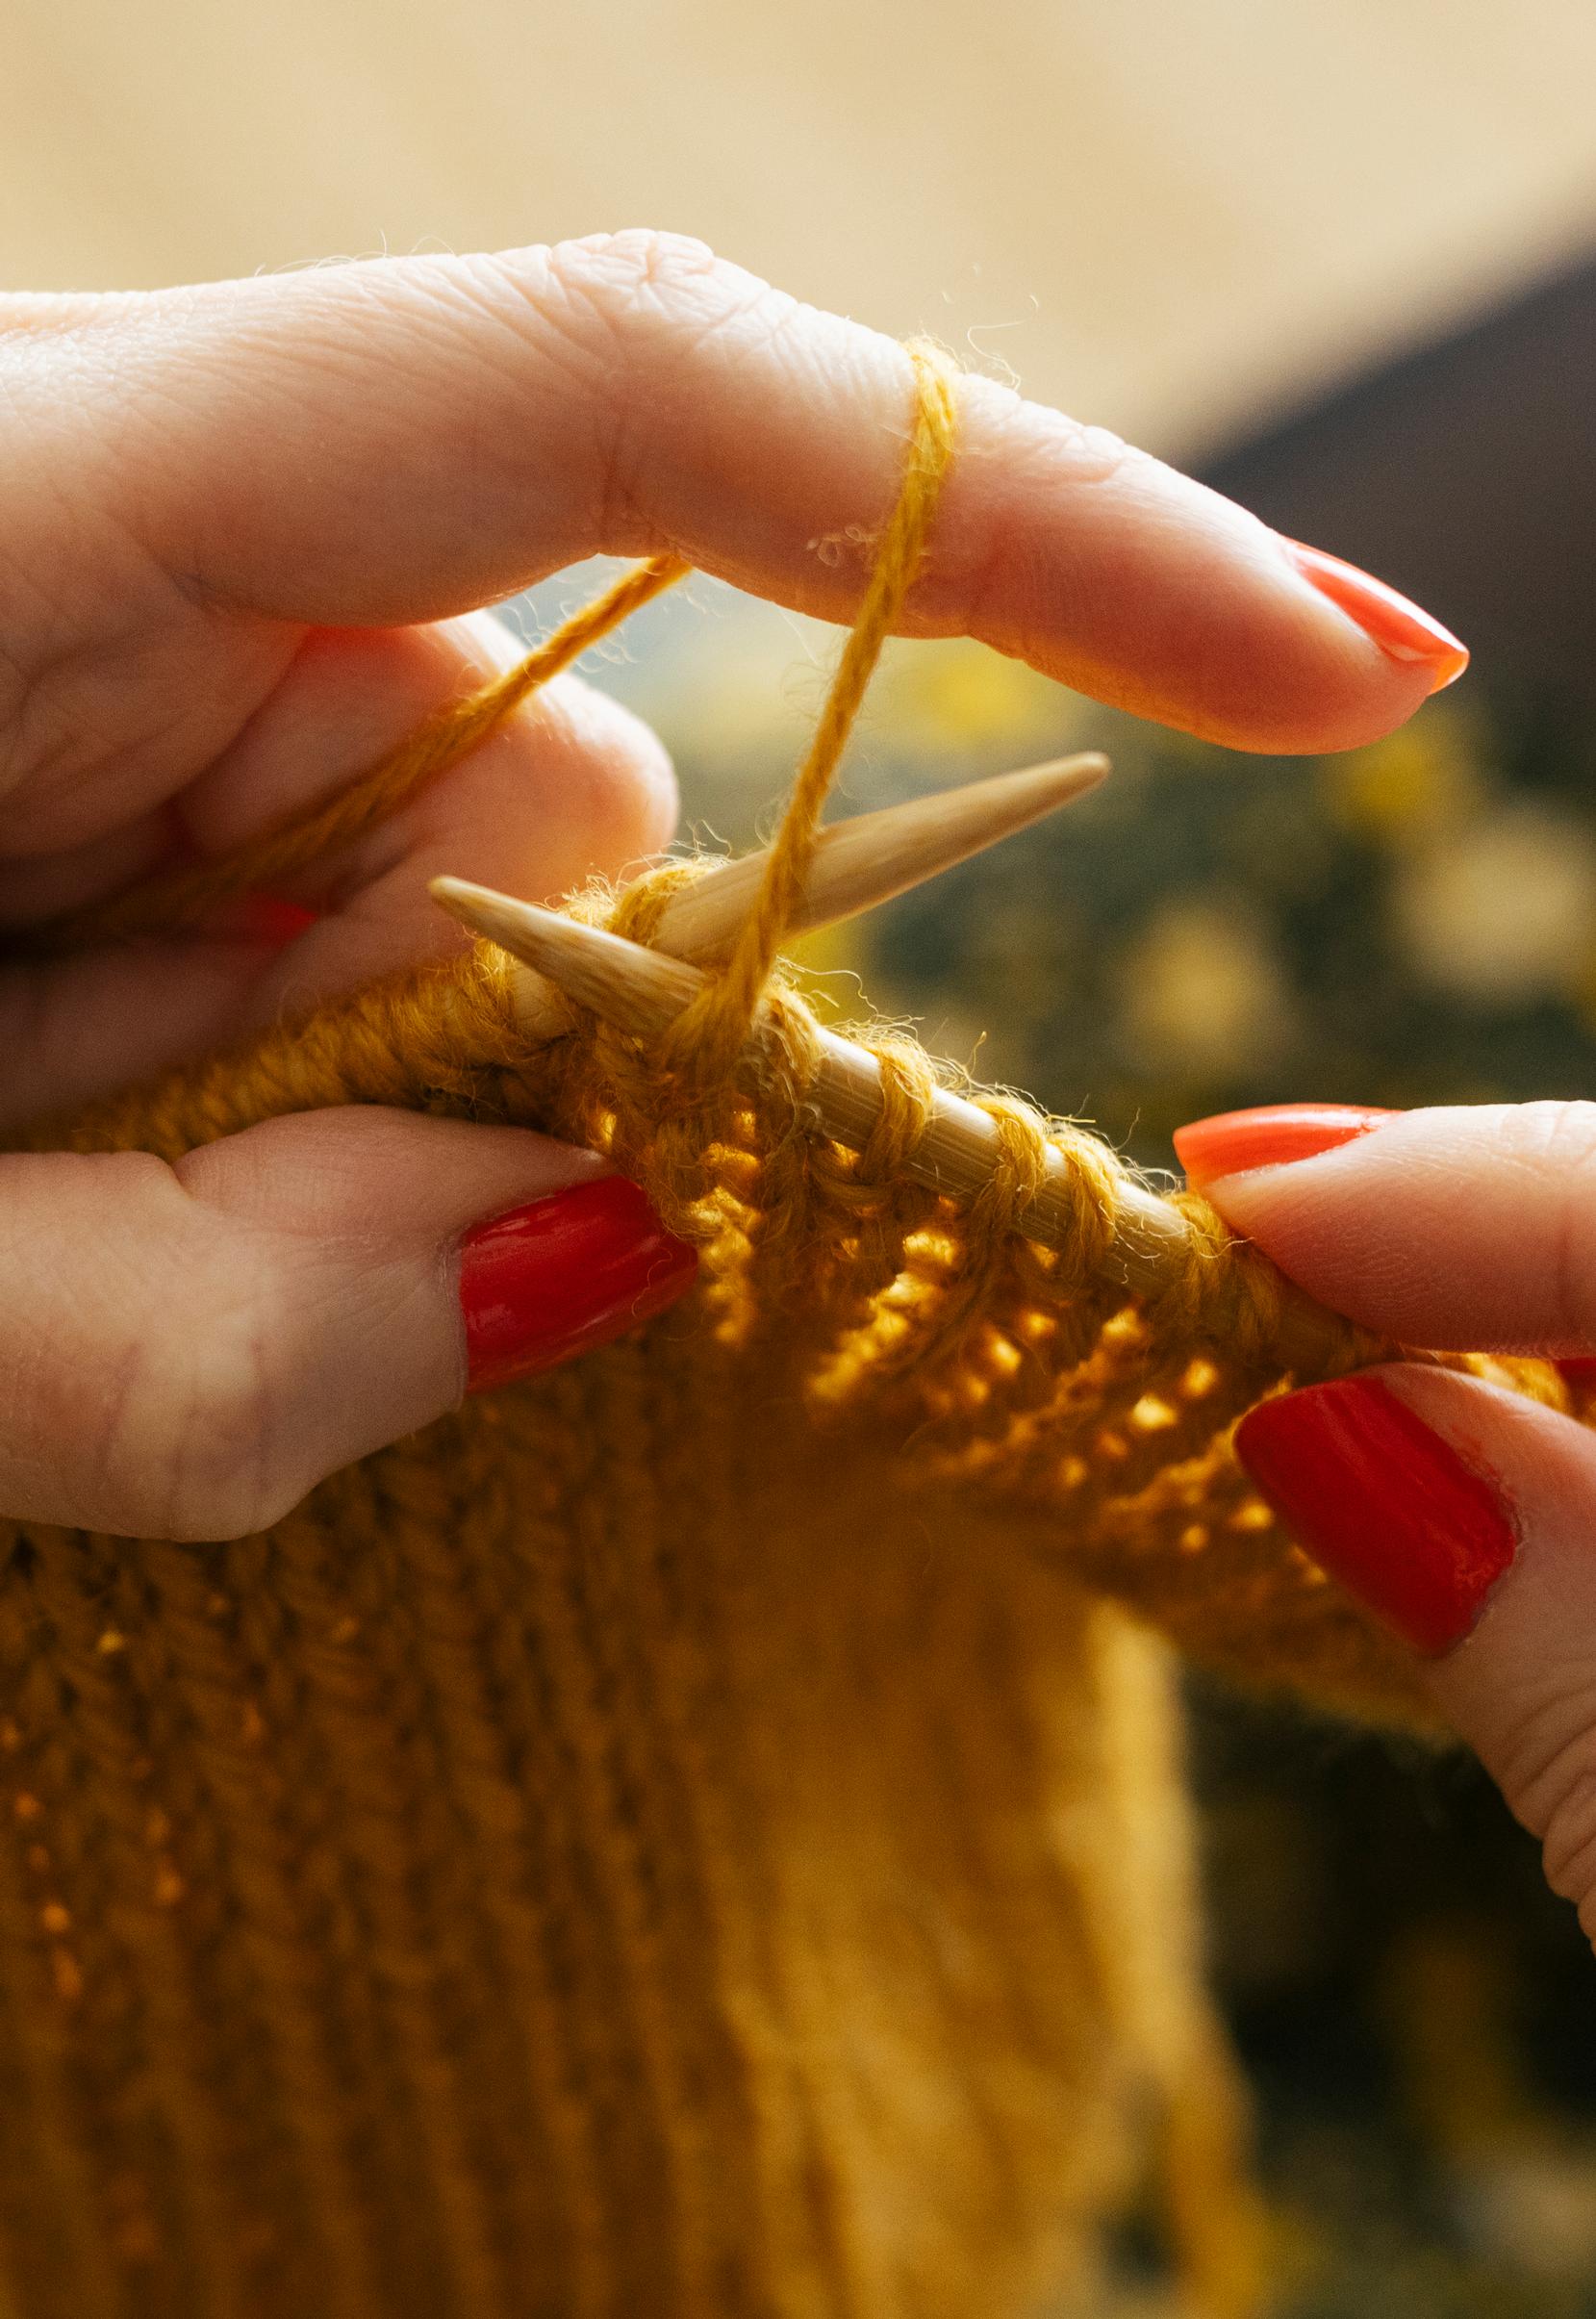
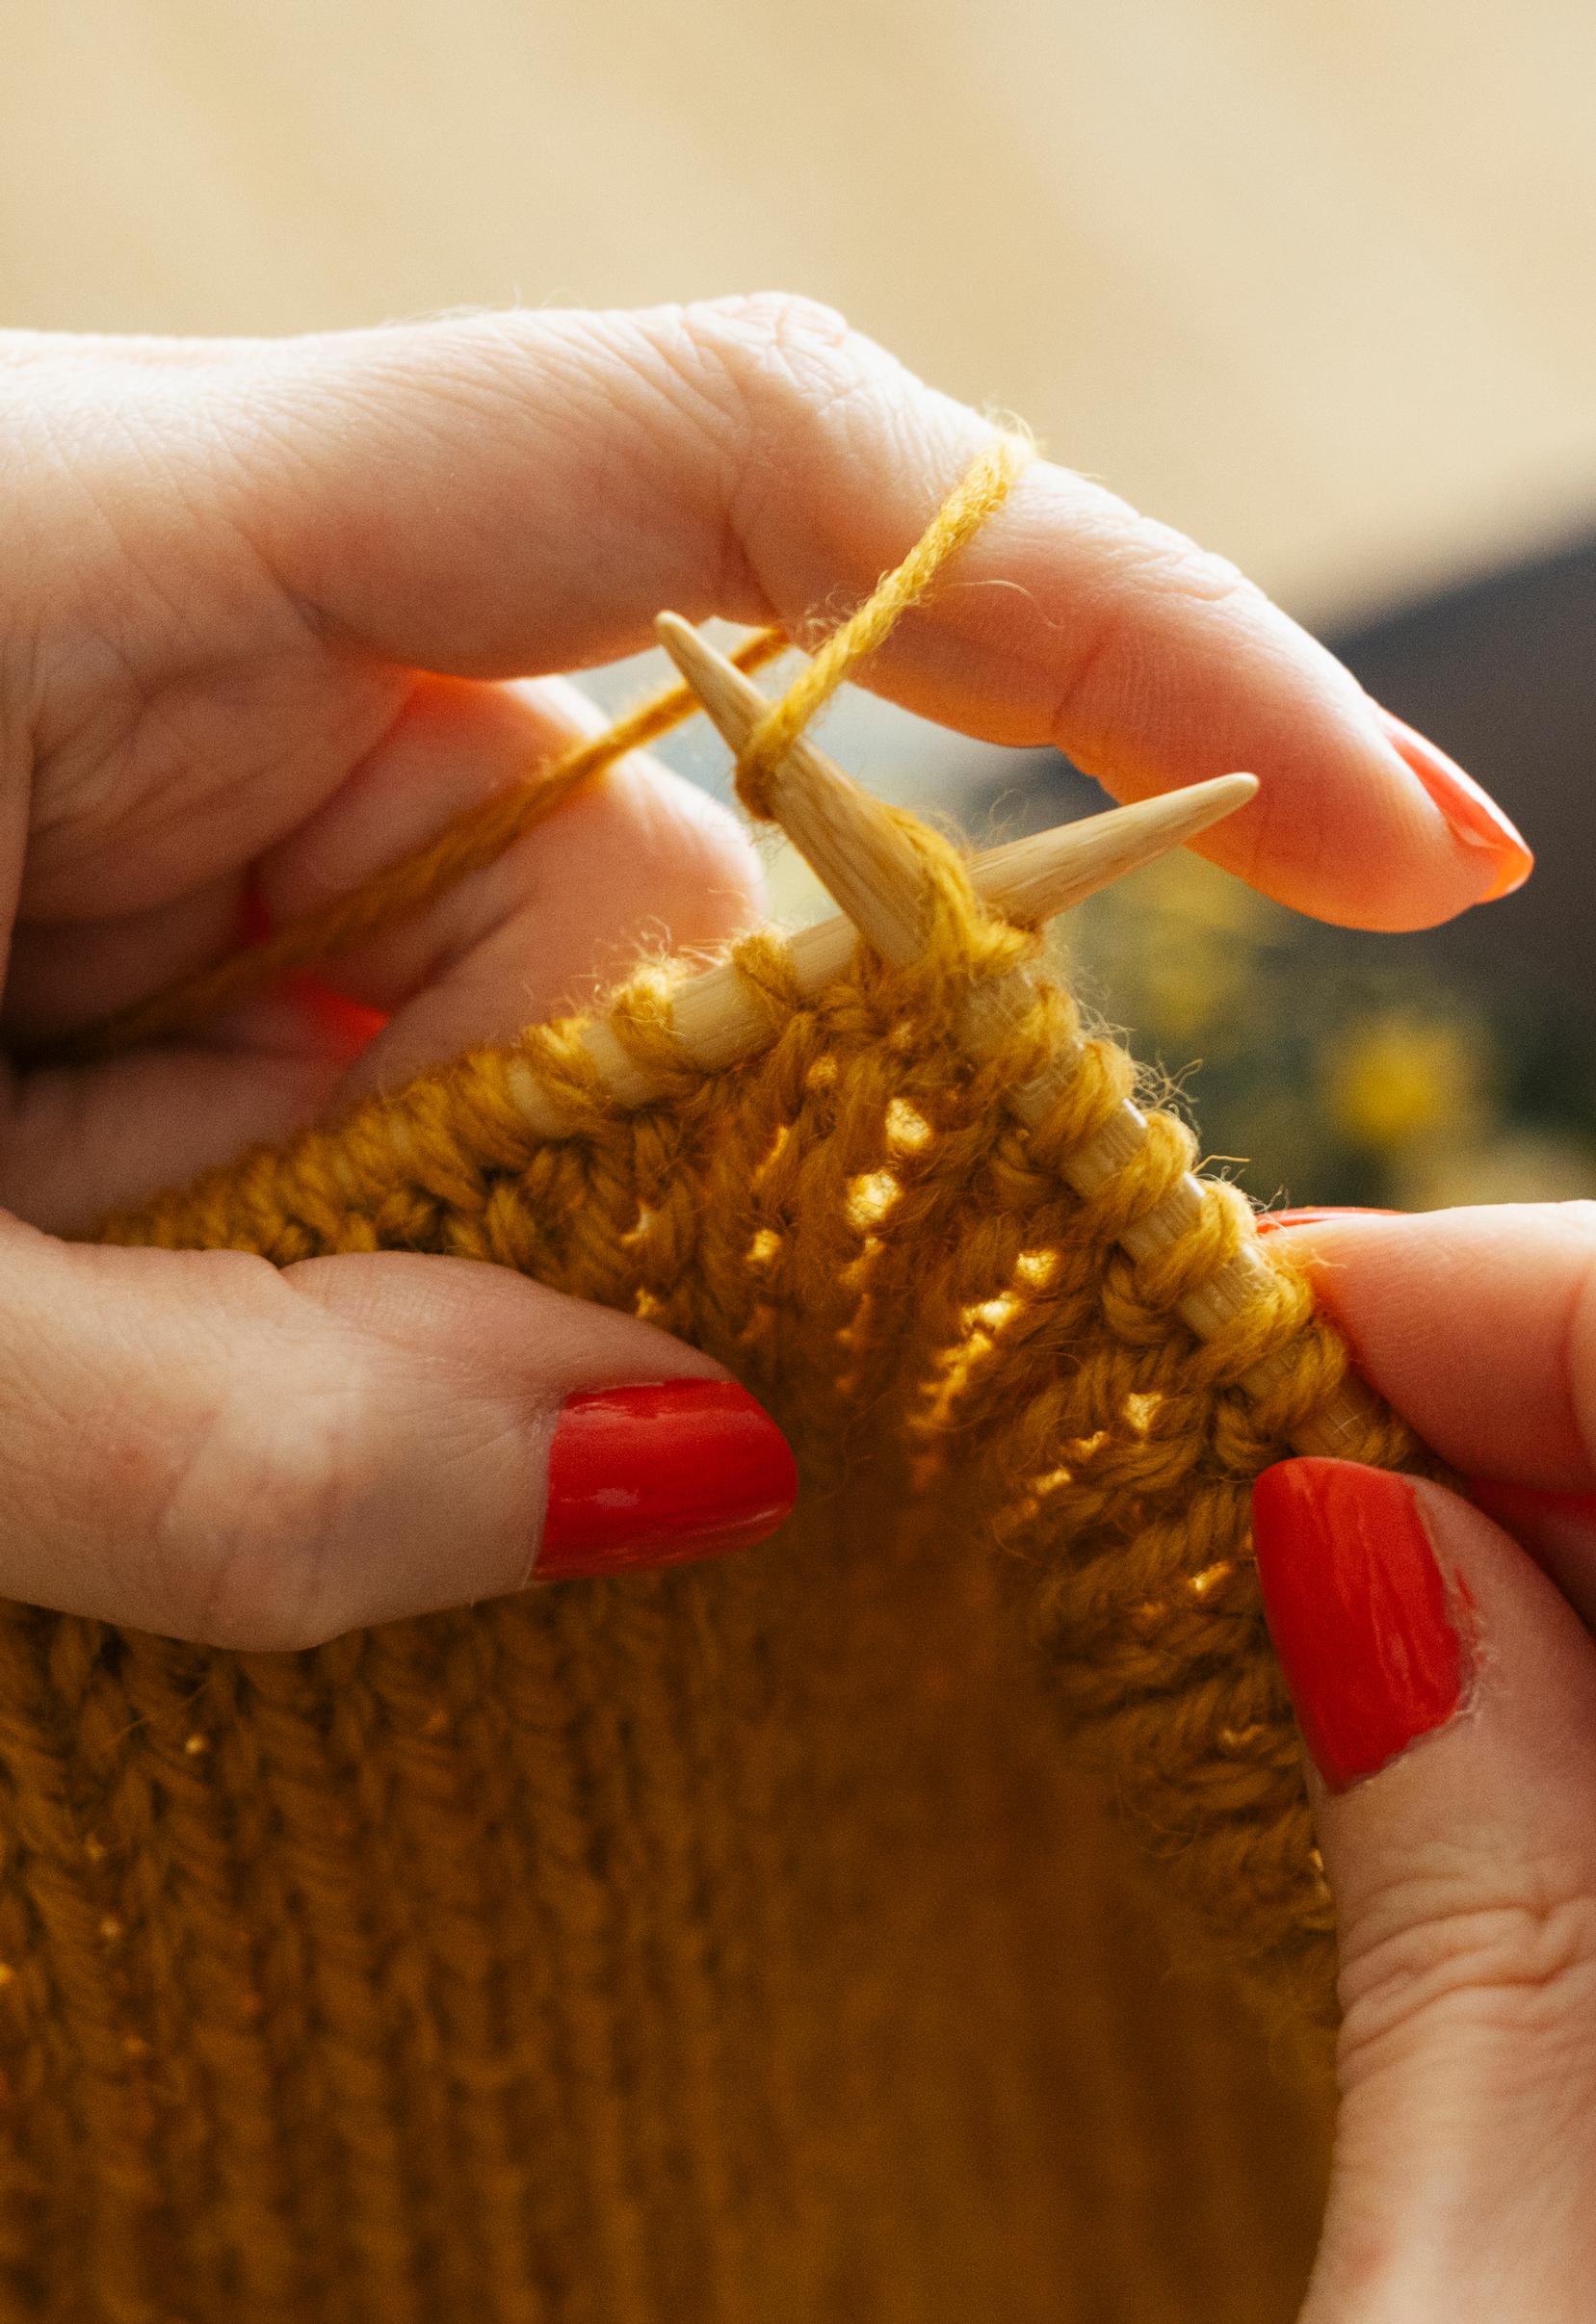
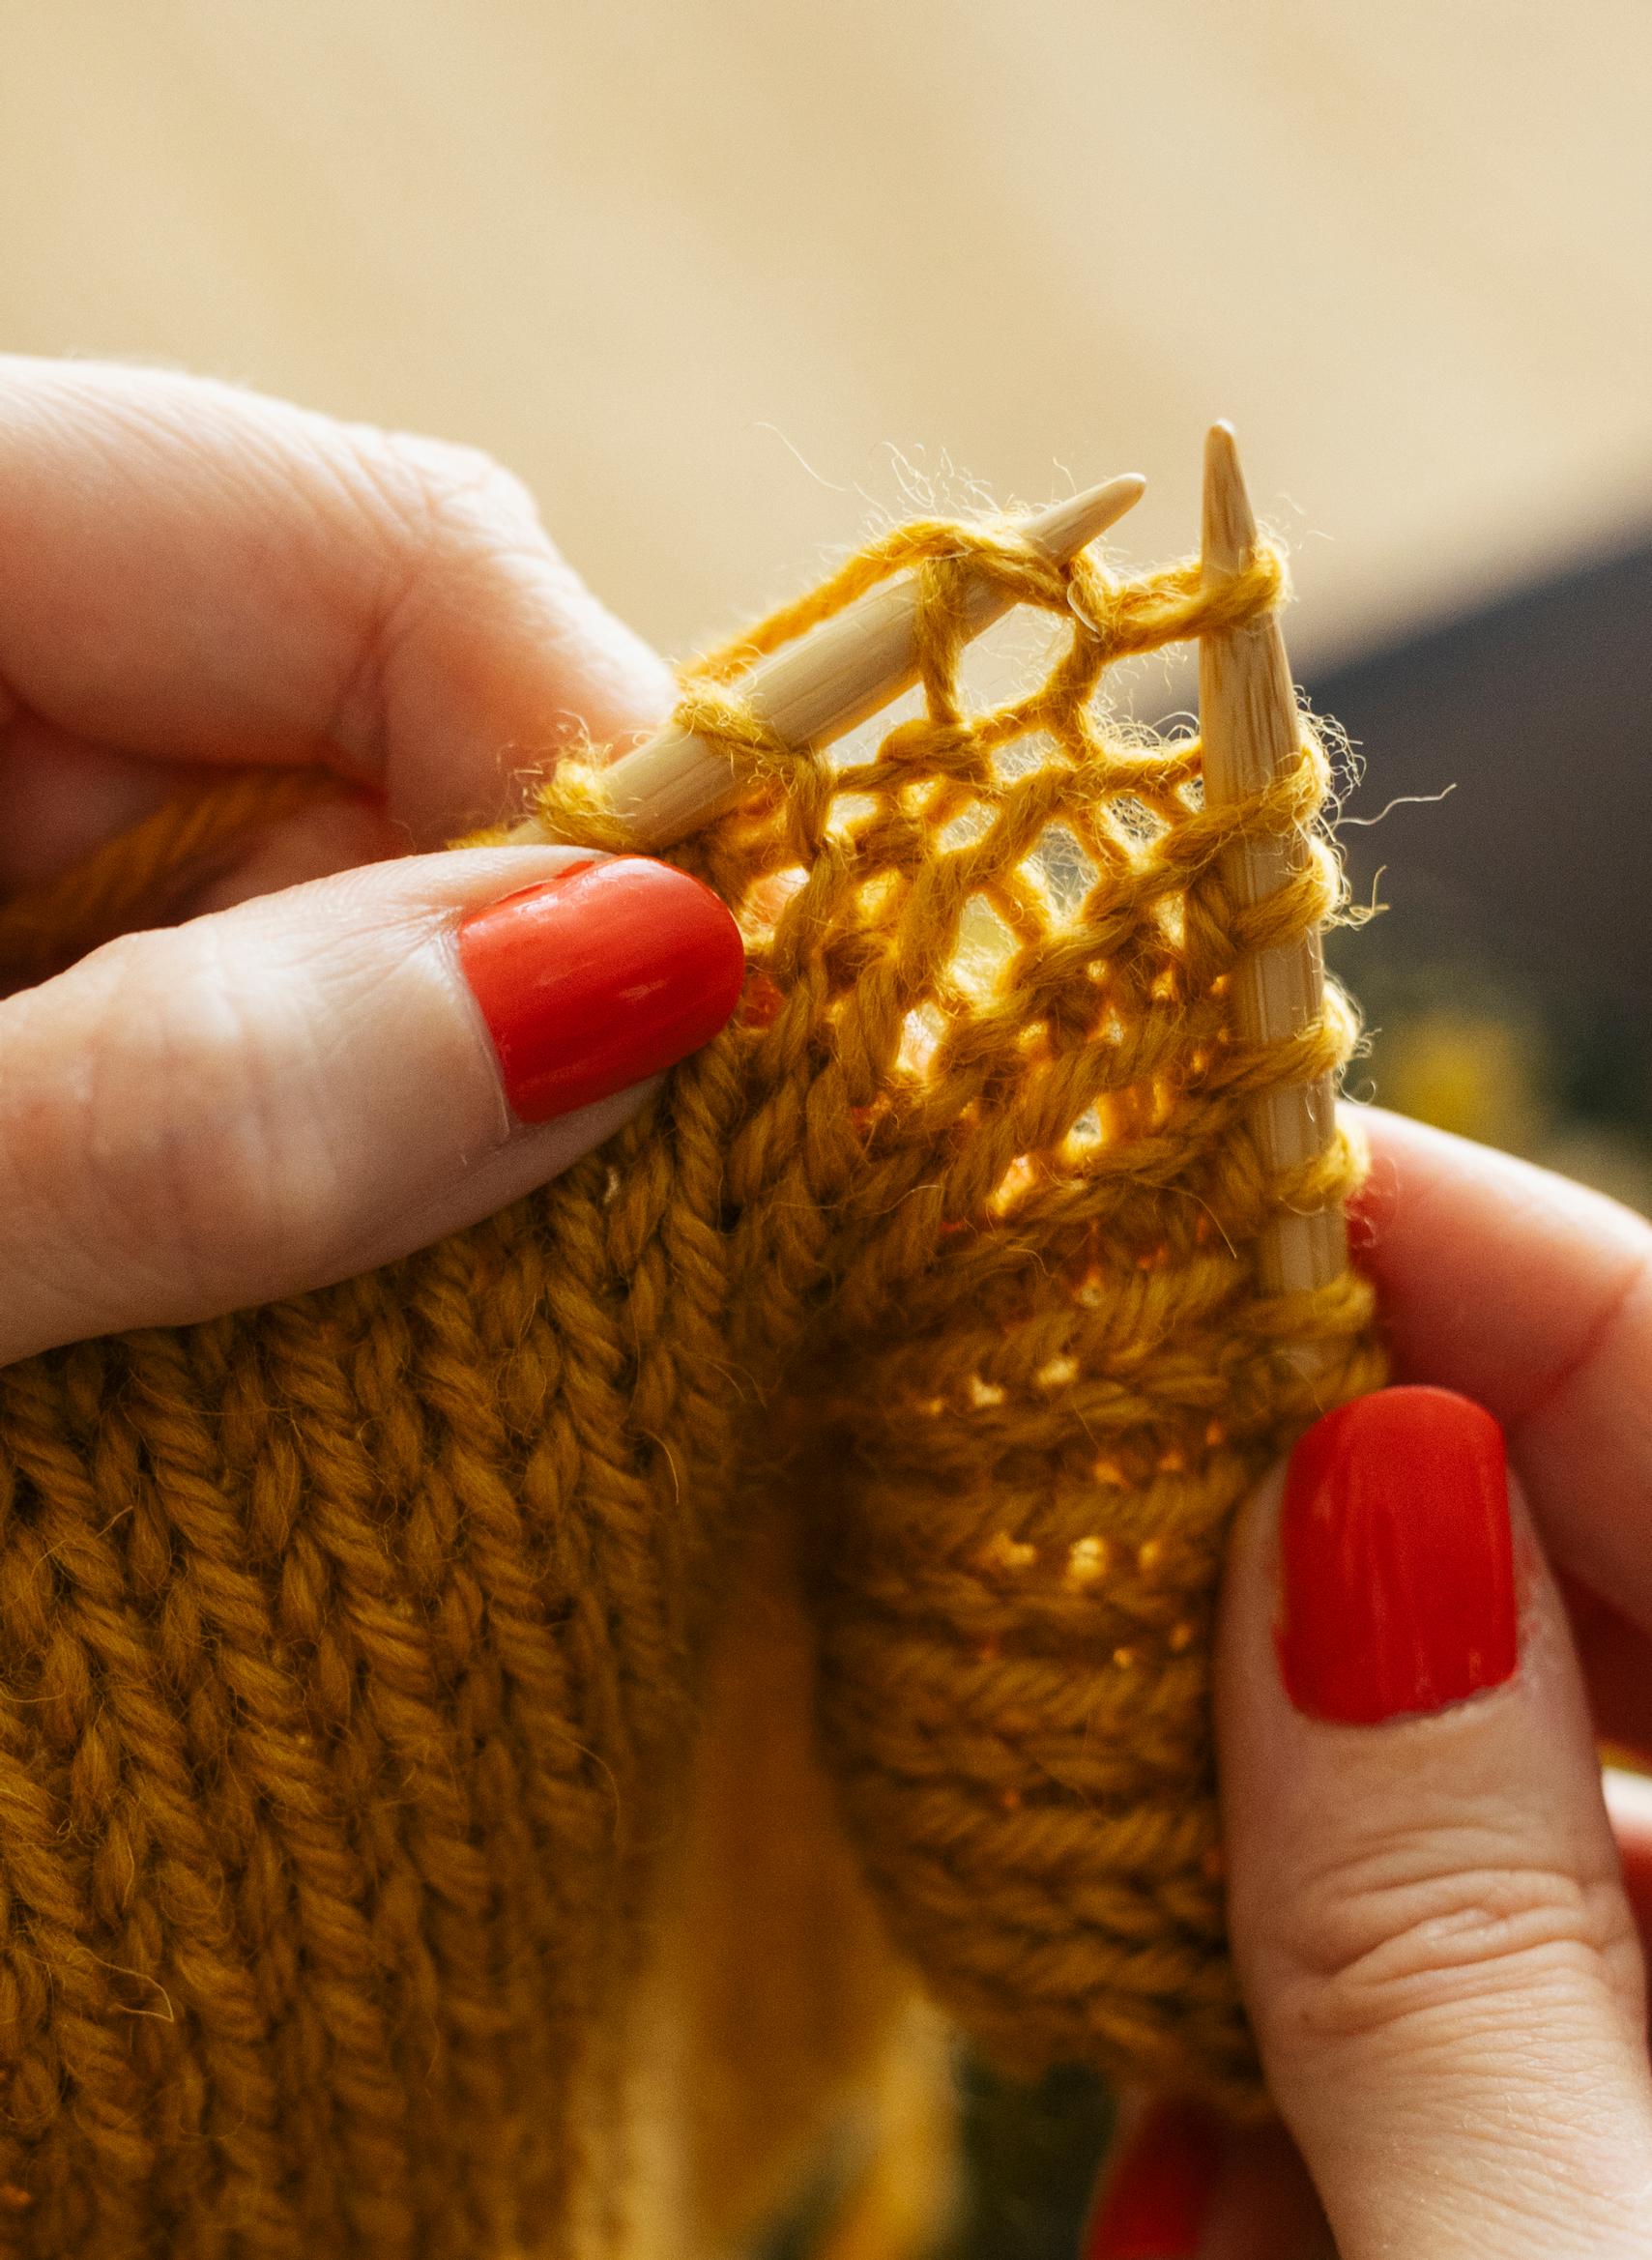
For beginners, the most challenging part can be moving the yarn between the front and back of the work depending on whether you’re about to knit or purl.
For example, for a k2, p2 rib, you first knit 2 stitches, then move the yarn to the front of the work between the needles before purling the next stitches. After the purl stitches, you move the yarn back behind the work for the knit stitches. If you guide the yarn over the needle, you’ll accumulate extra yarn overs on the needle and end up with additional stitches. Soon, your work will begin to look triangular.
Tip!
For a snugger rib, use needles 0.5–1 size smaller than those for the rest of the project. For socks and mittens, you might try half a size smaller, while larger garments often benefit from going a full size down.
For example, if you’re knitting socks with 3.5 mm (US 4) needles, make the ribbing with 3 mm (US 2.5) needles. Similarly, if you’re using 5 mm (US 8) needles for a sweater, you can comfortably do the cuffs on 4 mm (US 6). If you stick to the same size as the rest of the project, the rib can easily lose its shape over time.
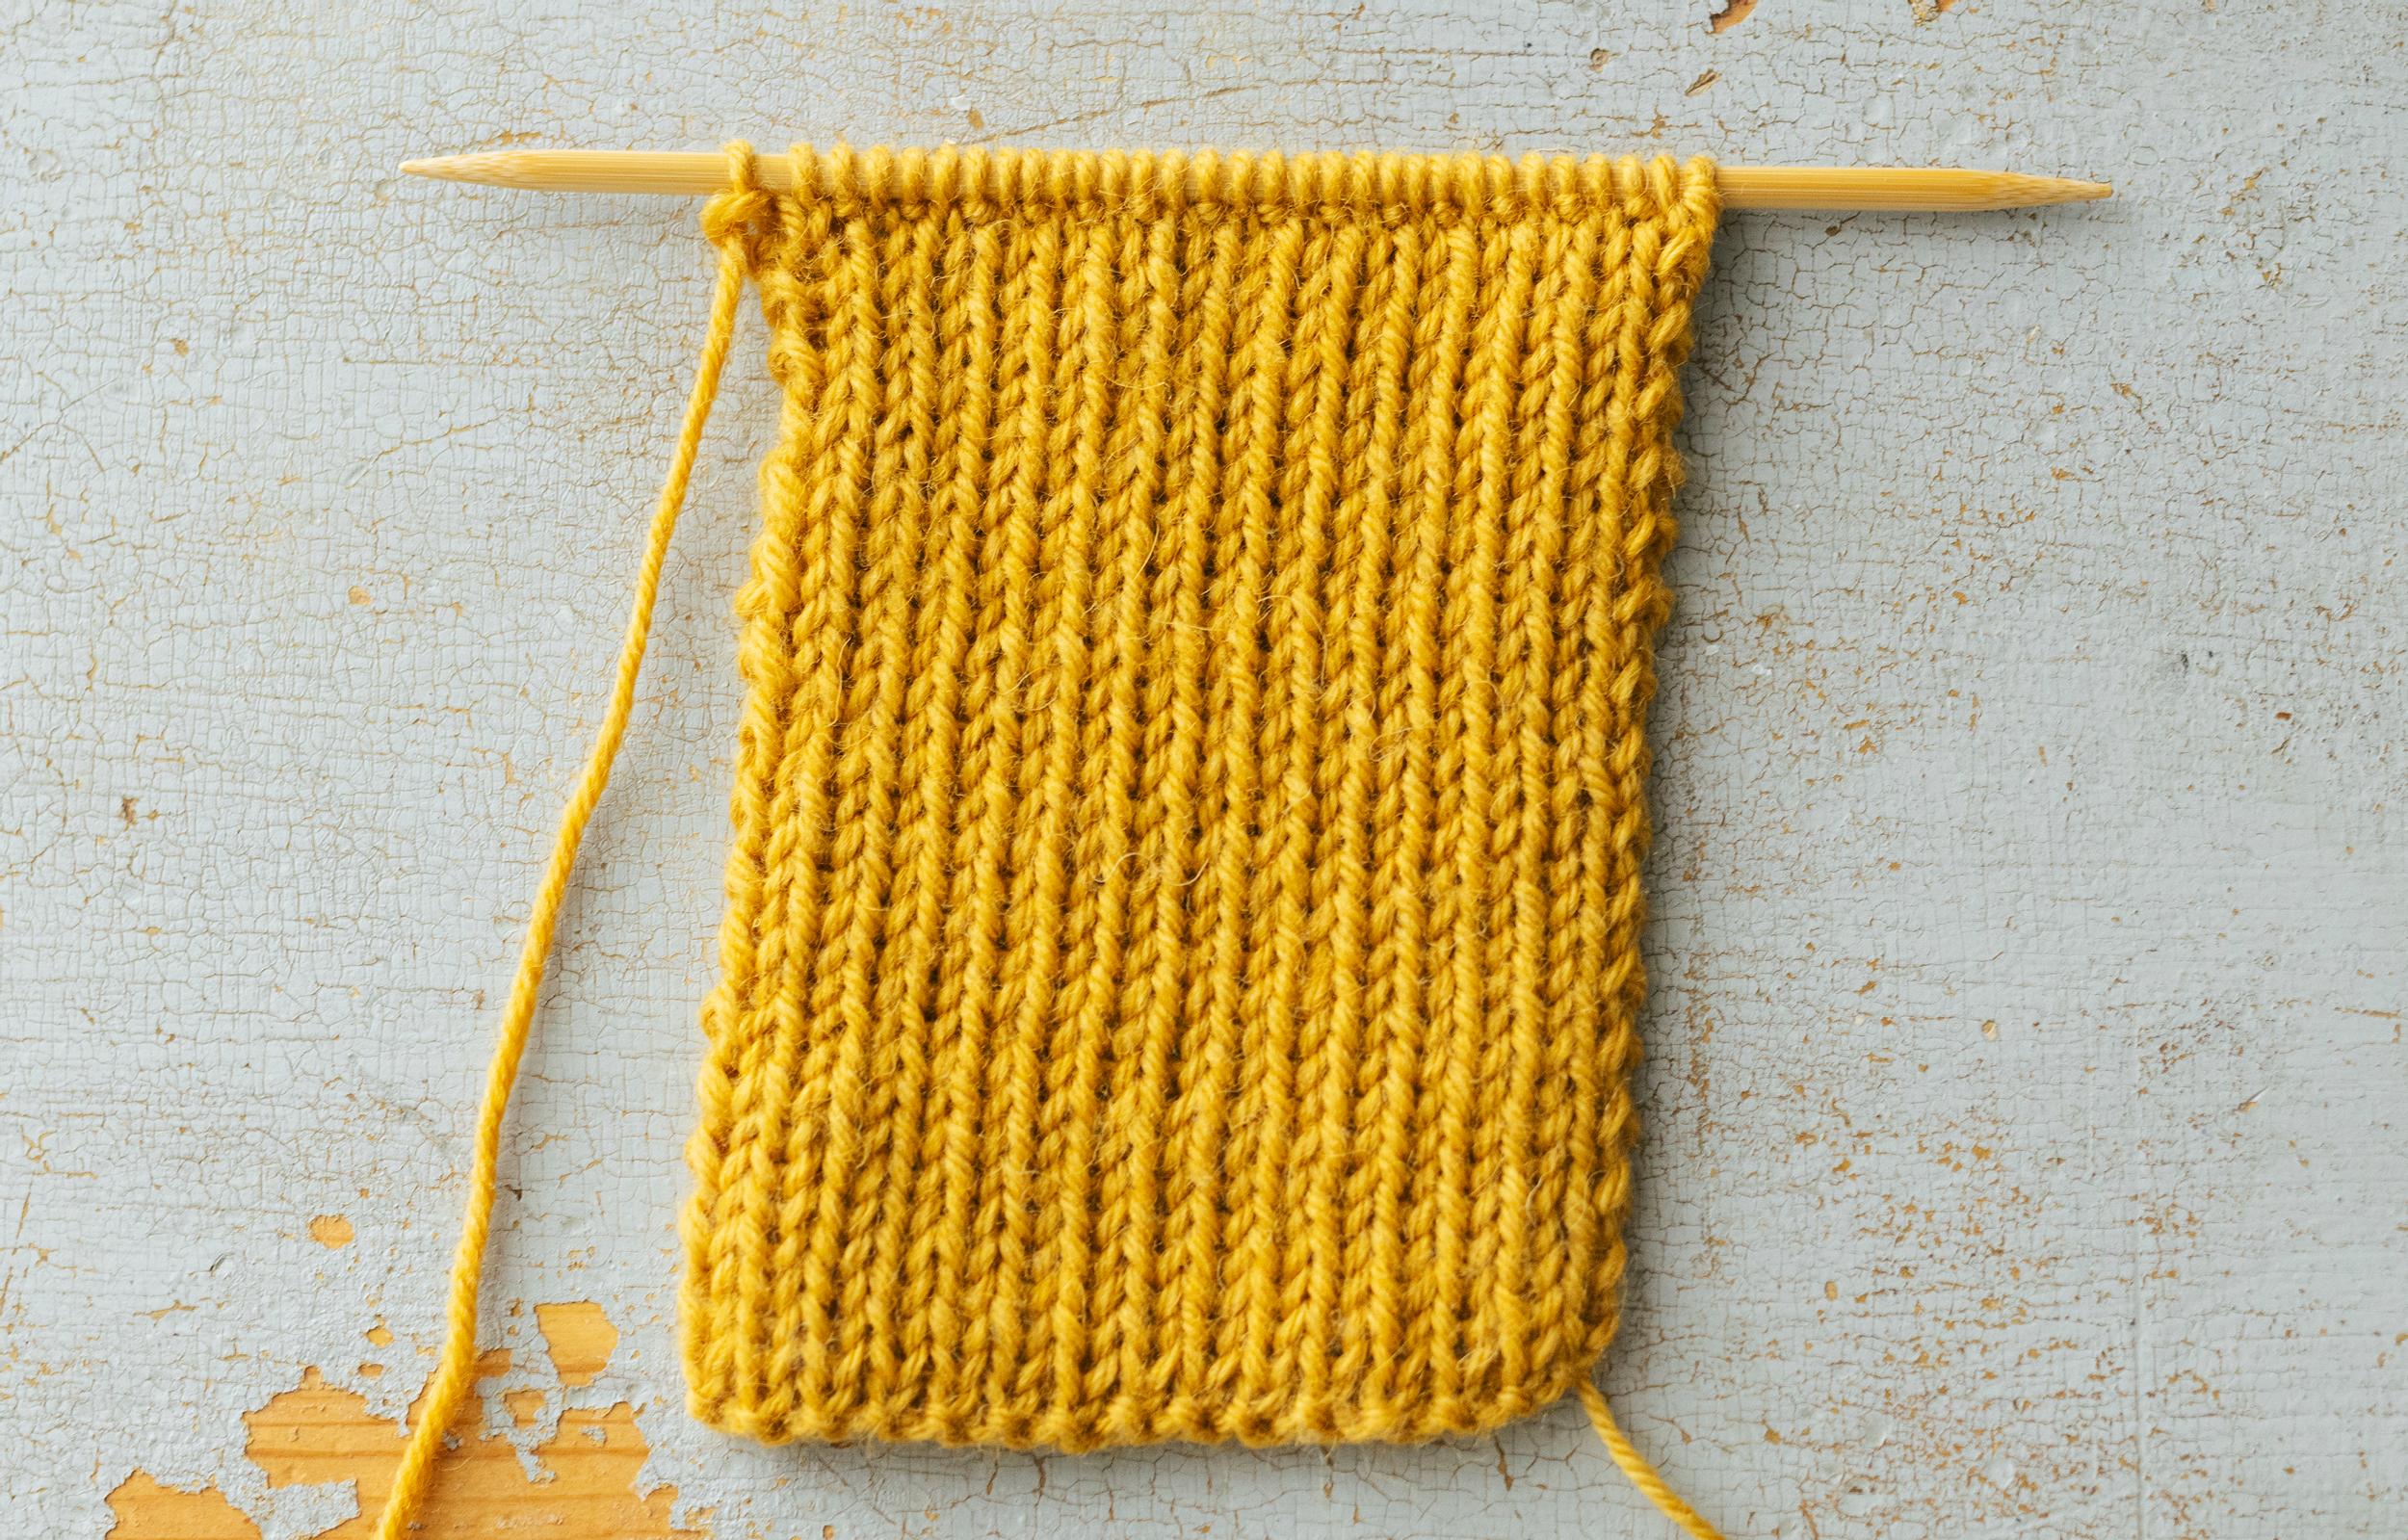
How to knit k2, p2 ribbing

Cast on an even number of stitches.
Row 1: Knit 2, purl 2. Repeat to the end of the row. Turn your work.
Row 2: Purl 2, knit 2. Repeat to the end of the row. Turn your work.
Repeat rows 1 and 2 until the ribbing is the desired length.
Tip!
You can adapt these instructions by knitting k1, p1 or even k3, p2 ribbing. If Row 1 starts with knit followed by purl, Row 2 is the reverse—starting with purl and then knit.


Ribbing in the round
If you’re knitting ribbing in the round with double-pointed or circular needles, simply follow Row 1 all the time: k2, p2 on every round.
How to knit twisted ribbing
Twisted ribbing is firmer than a standard rib, so it springs back to shape better. If you struggle to get neat results with regular ribbing, give the twisted version a try.
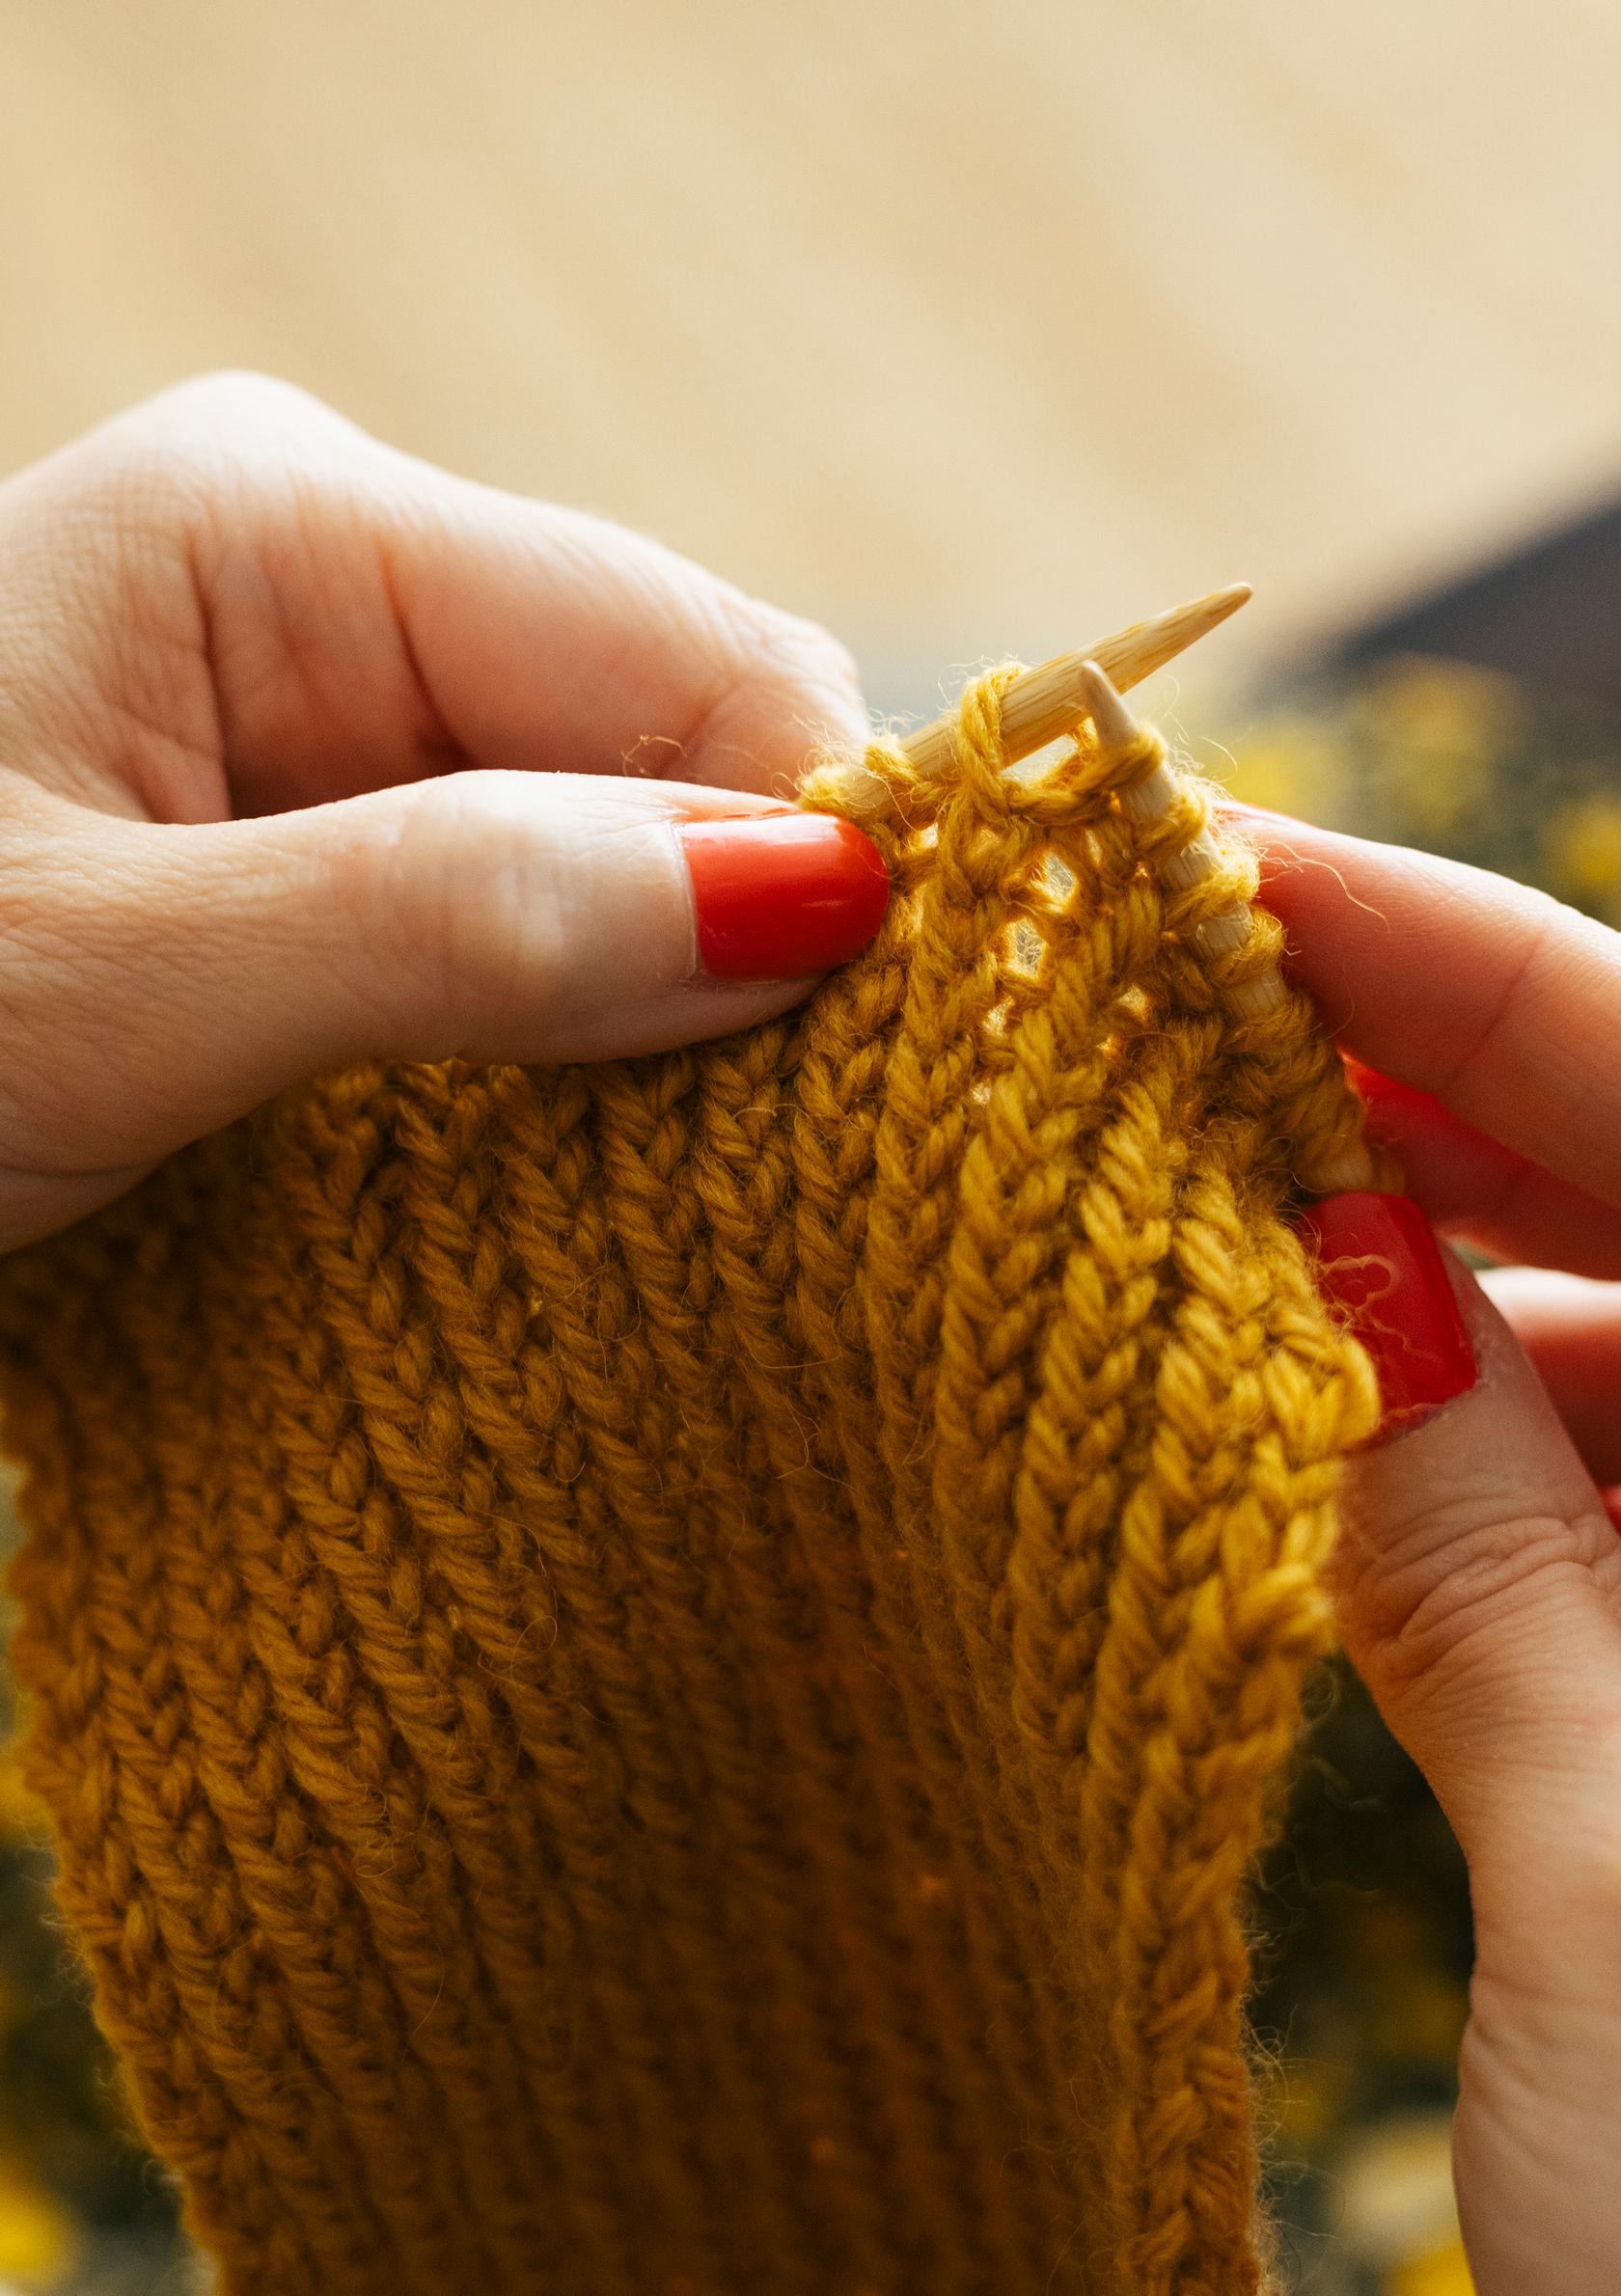
For twisted ribbing, every other stitch is worked through the back loop. Otherwise, knit and purl stitches are done as usual.
Tip!
Some yarns, such as cotton and linen yarns, don’t have any stretch to them, so twisted ribbing usually works well with these fibers.

Cast on an odd number of stitches so the right side starts and ends with knit, creating symmetrical edges.
Row 1: knit 1 through the back loop, purl 1. Repeat until 1 stitch remains. Knit the last stitch normally. Turn your work.
Row 2: purl 1, *knit 1, purl 1 through the back loop, knit 1*. Repeat from * to * until 1 stitch remains. Purl the last stitch normally. Turn your work.
Repeat Rows 1 and 2 until the ribbing is the desired length.
Knit stitch through the back loop


Purl stitch through the back loop


Twisted ribbing in the round
If you’re knitting twisted ribbing in the round with double-pointed or circular needles, simply follow Row 1 of the pattern on every round: knit 1 through the back loop, purl 1.