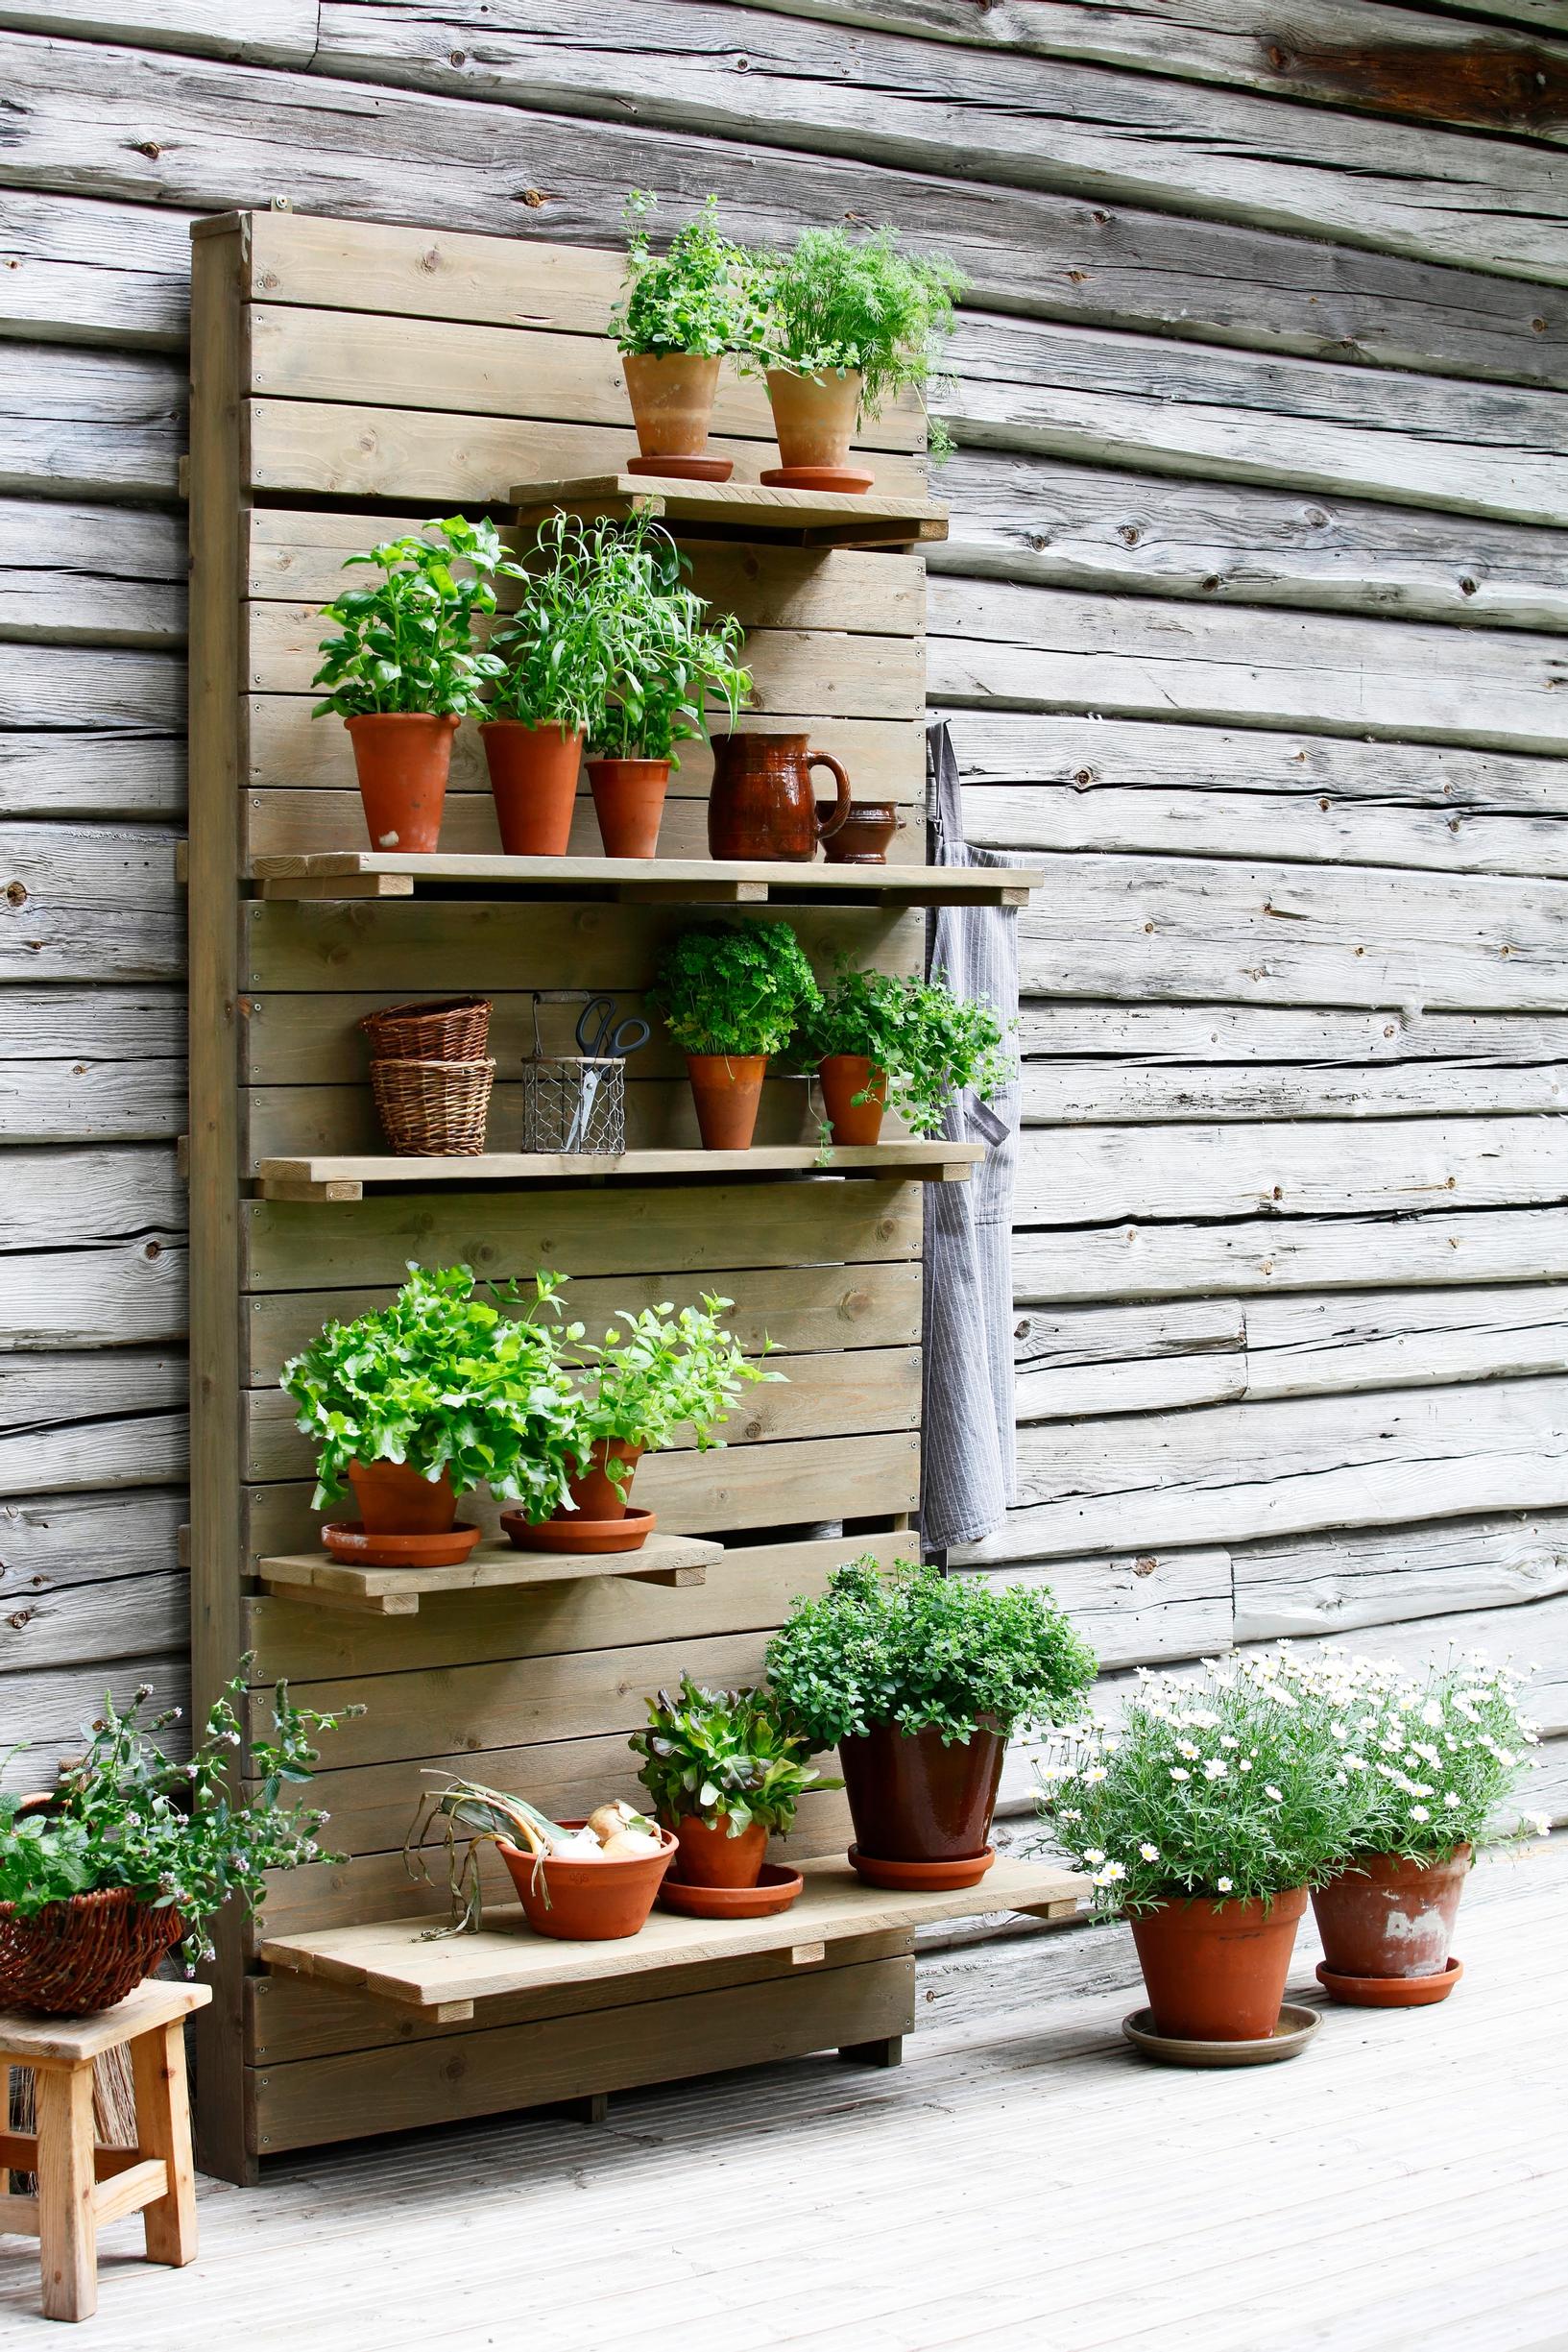
Herb wall for the terrace or balcony—build a handy shelf and give your herbs a lift
If you love cooking in summer, make this herb wall built from rough-sawn boards for your terrace or balcony. The removable shelves—long, short, wide, and narrow—can be easily rearranged as needed.
Herb wall for the terrace—supplies
22x100 mm rough-sawn board, about 38 m
22x50 mm stripwood, about 10 m
4x40 mm stainless steel screws
saw, drill, and screwdriver
square, tape measure, pencil, and eraser
long clamp
sander
brush and Teknos solvent-based Woodex Wood Oil
Herb wall for the terrace—instructions

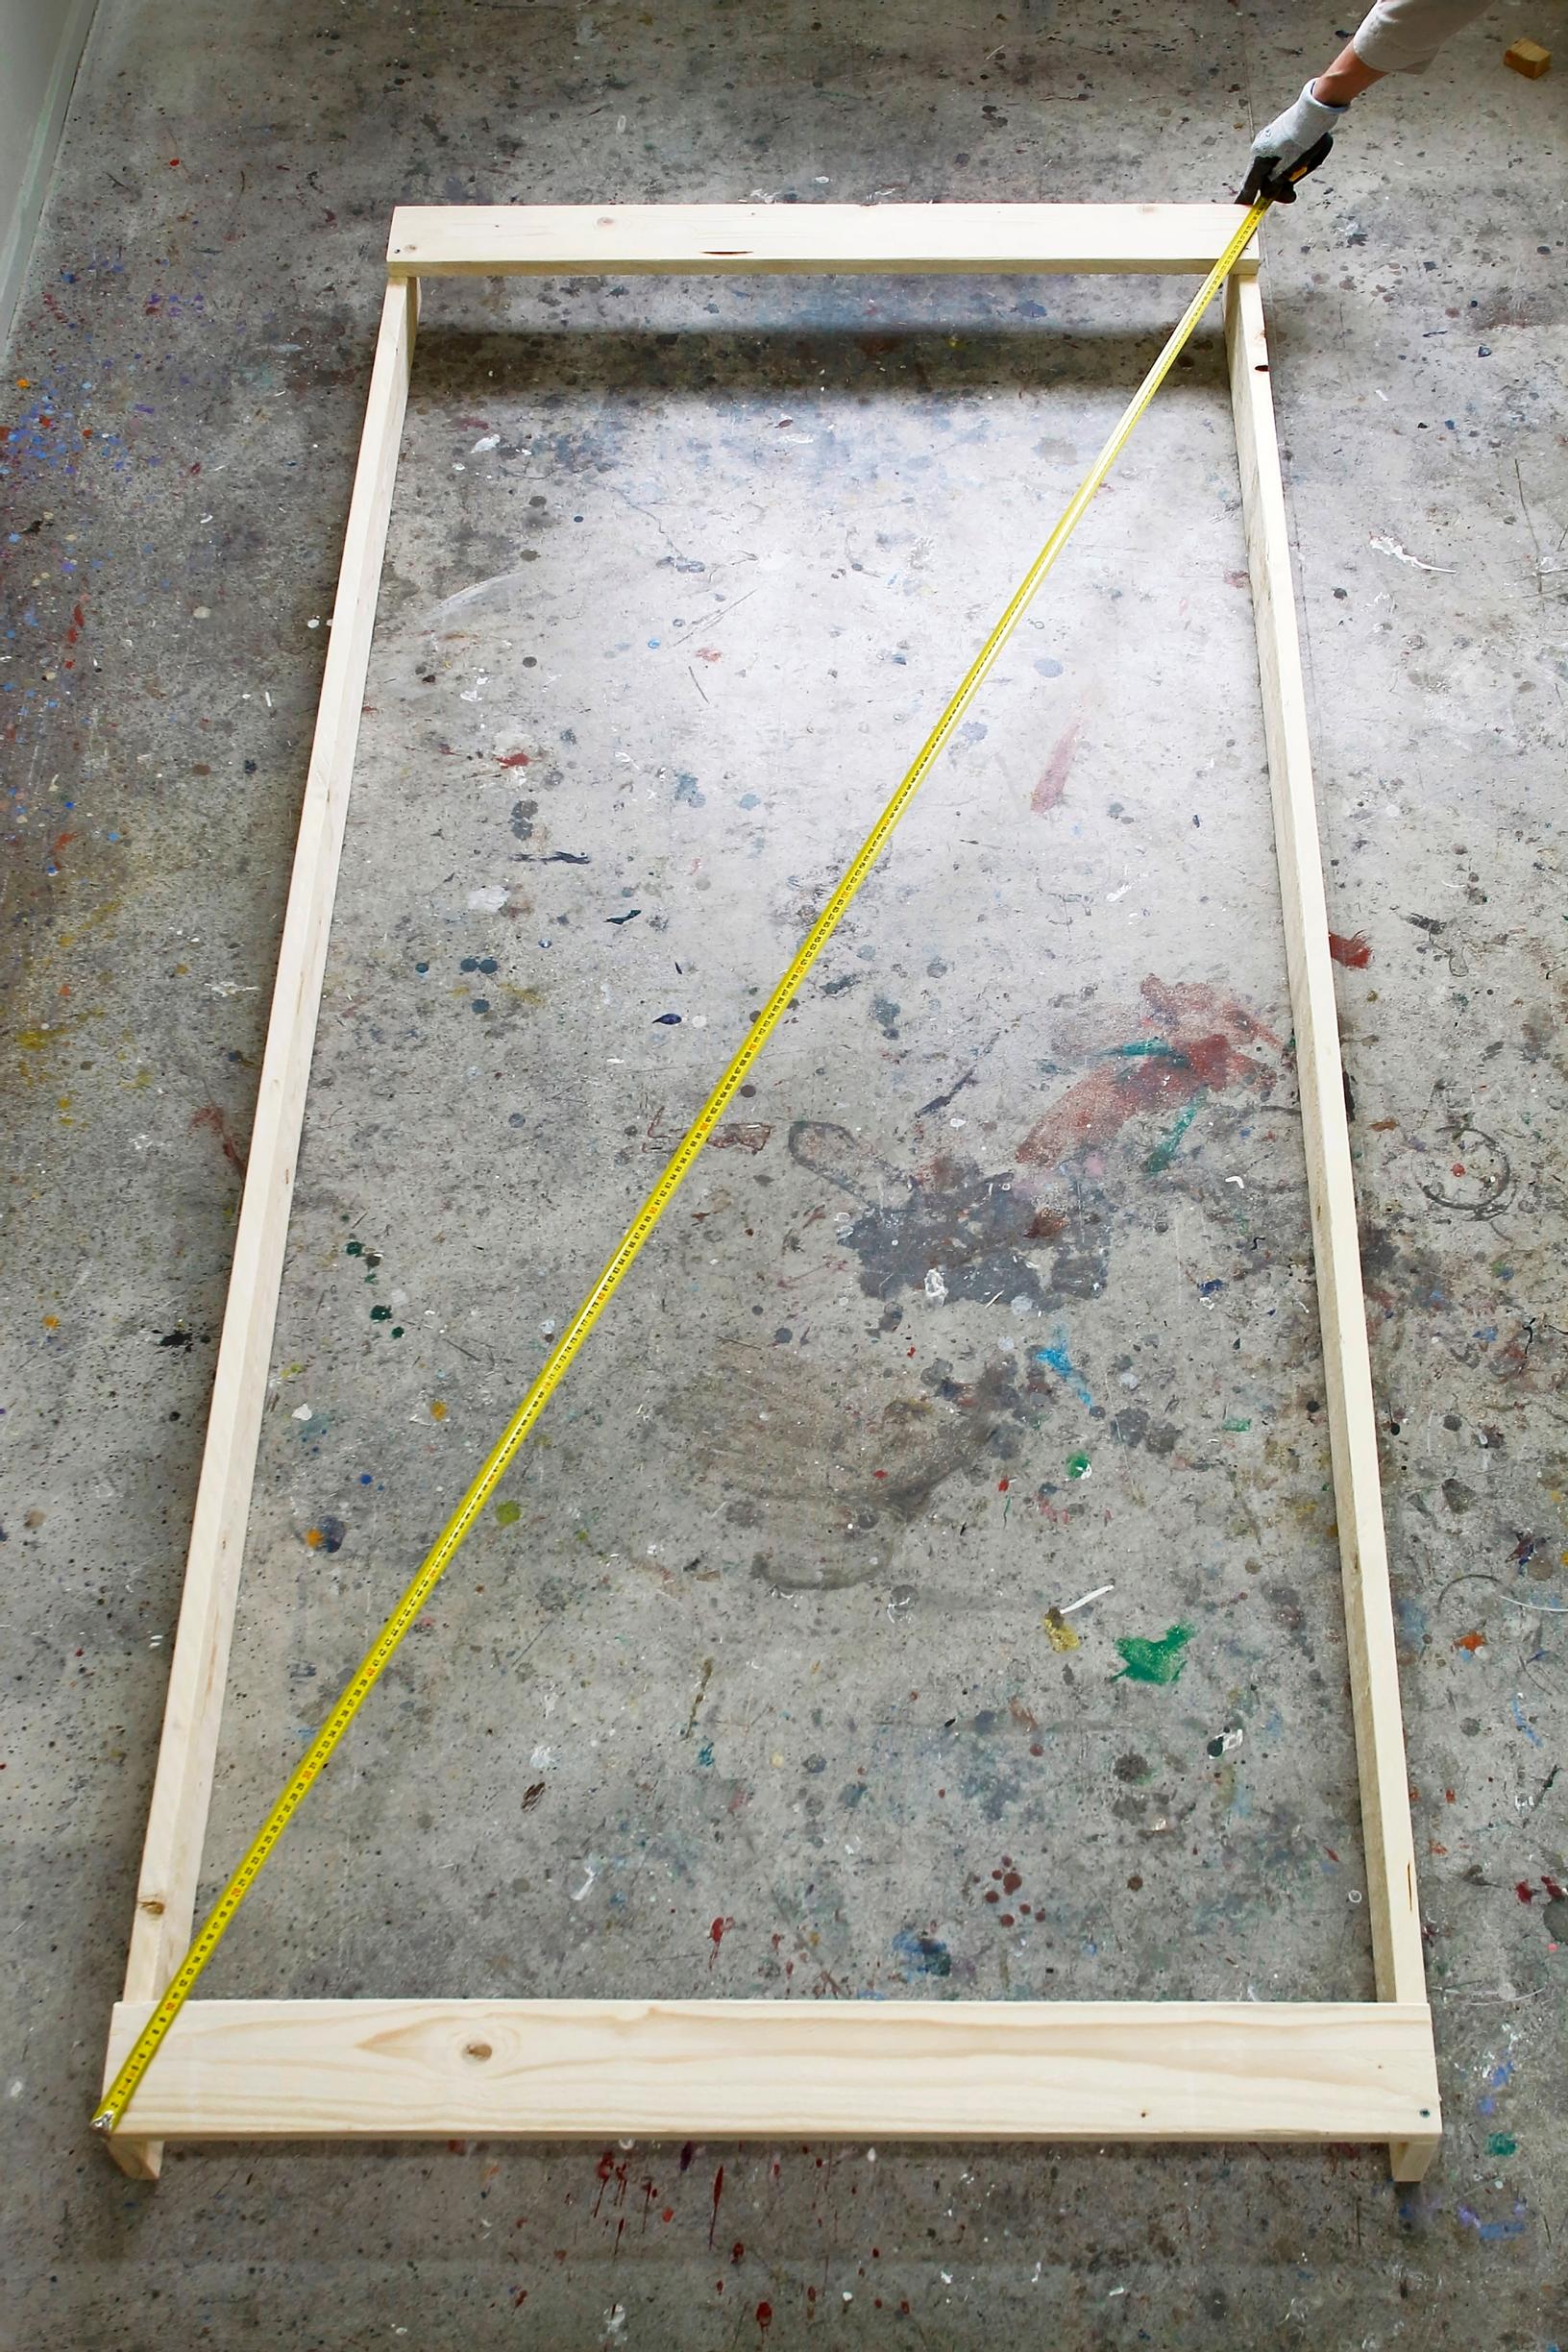
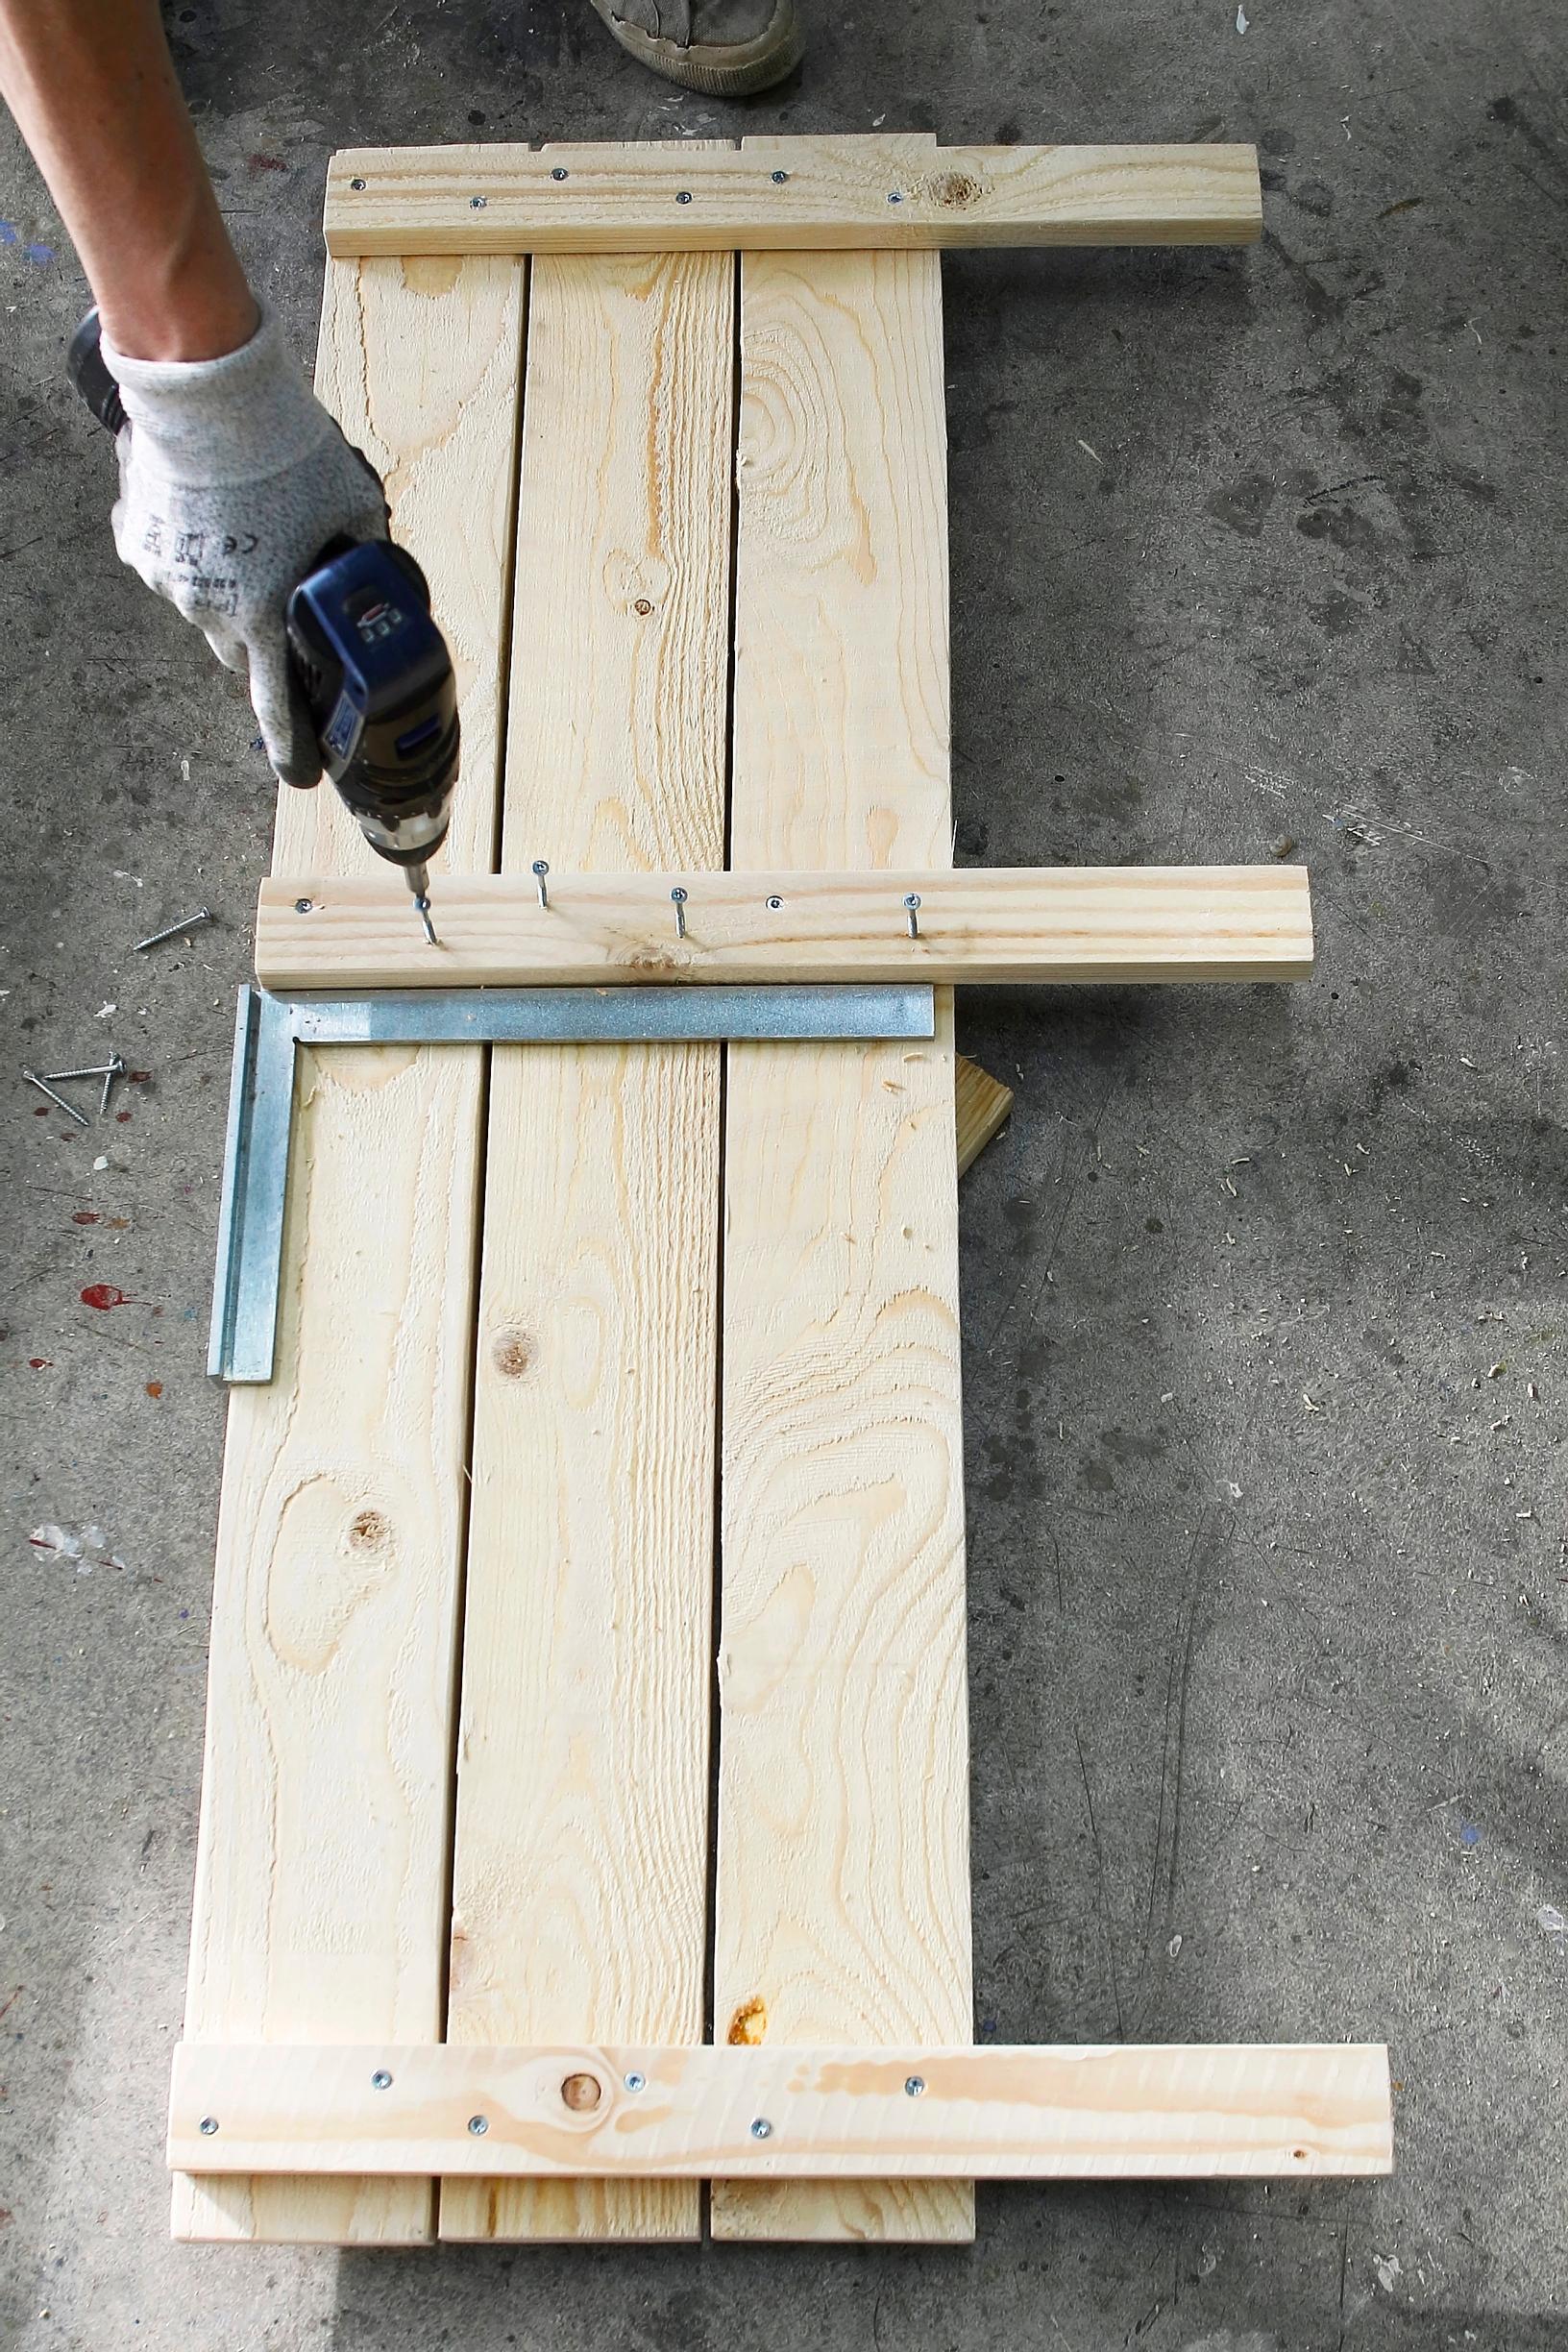
1. Cut and sand the three vertical boards (220 cm each), as well as the 100 cm boards for the top and the shelves (21 + 6 pieces). On the vertical boards, place the bottom board and the top-most board, ensuring the top-most board overhangs by 22 mm. Check that the frame is square by measuring diagonals. Drill pilot holes, then attach the boards with screws.

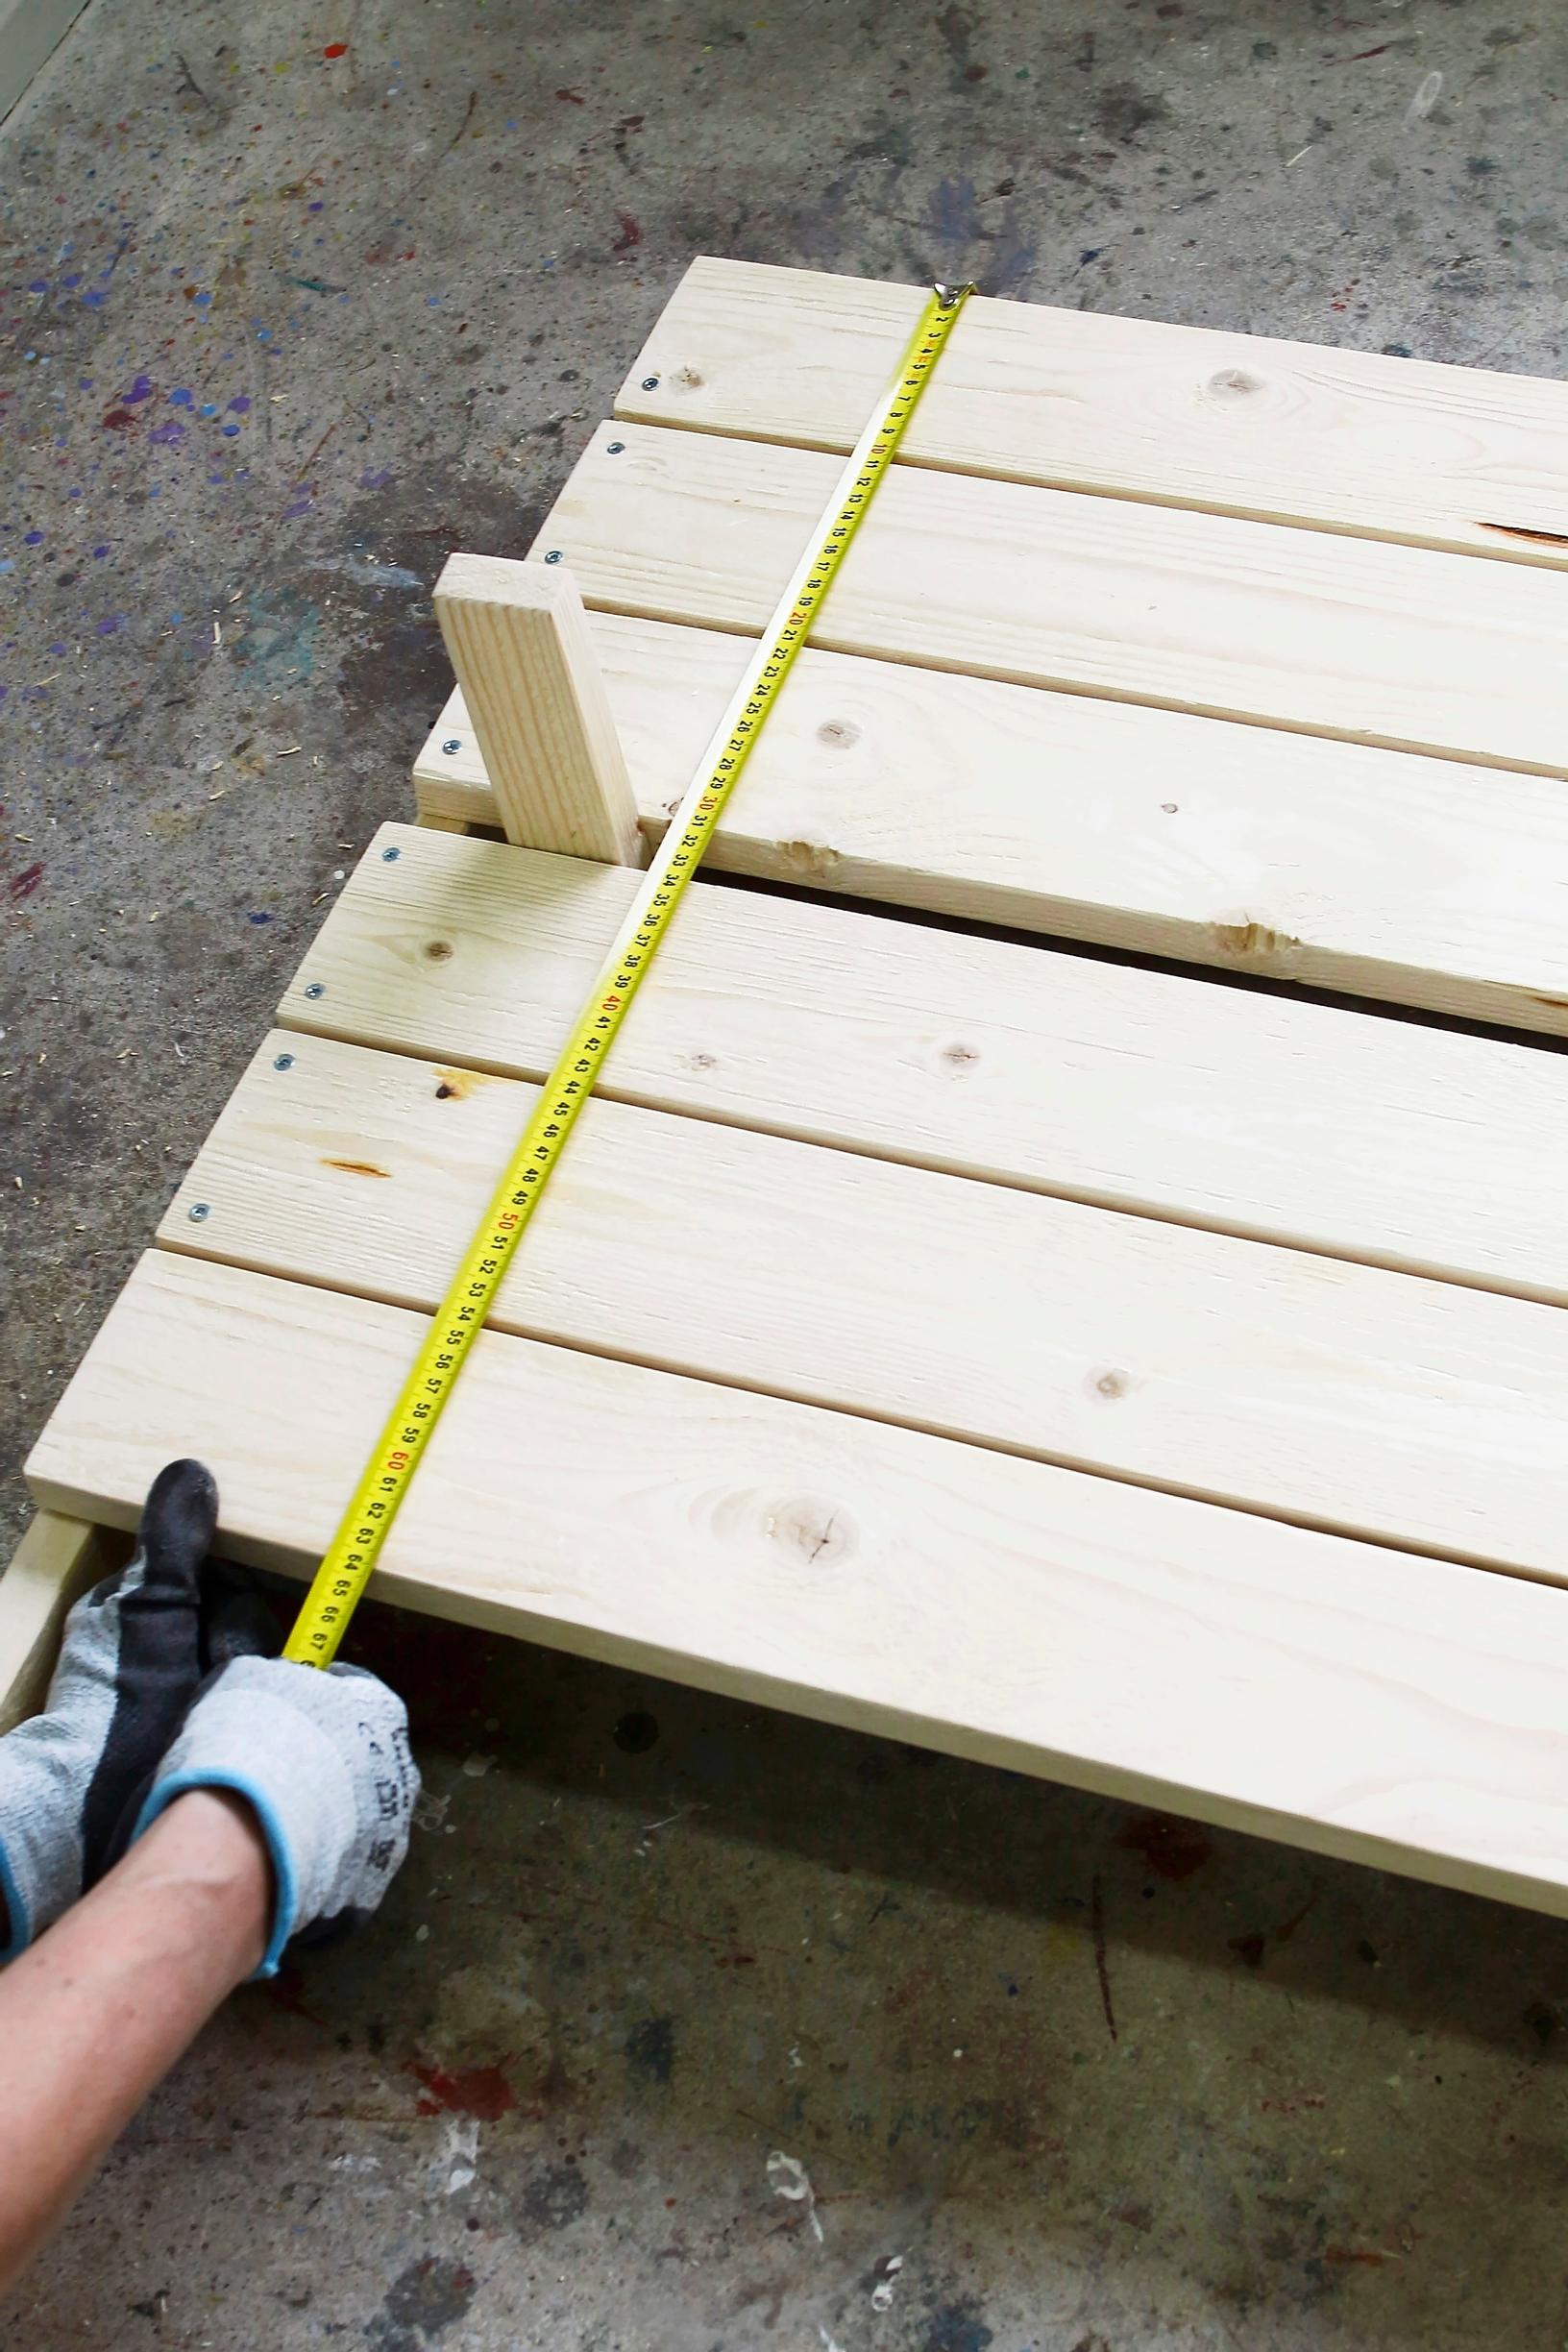
2. Attach the first three boards with narrow gaps in between, checking with a tape measure to ensure the gaps are consistent. Leave a gap the thickness of the stripwood for the topmost shelf. Attach the fourth board so the stripwood, which will be the bracket, fits effortlessly between the boards. Continue attaching the front boards.

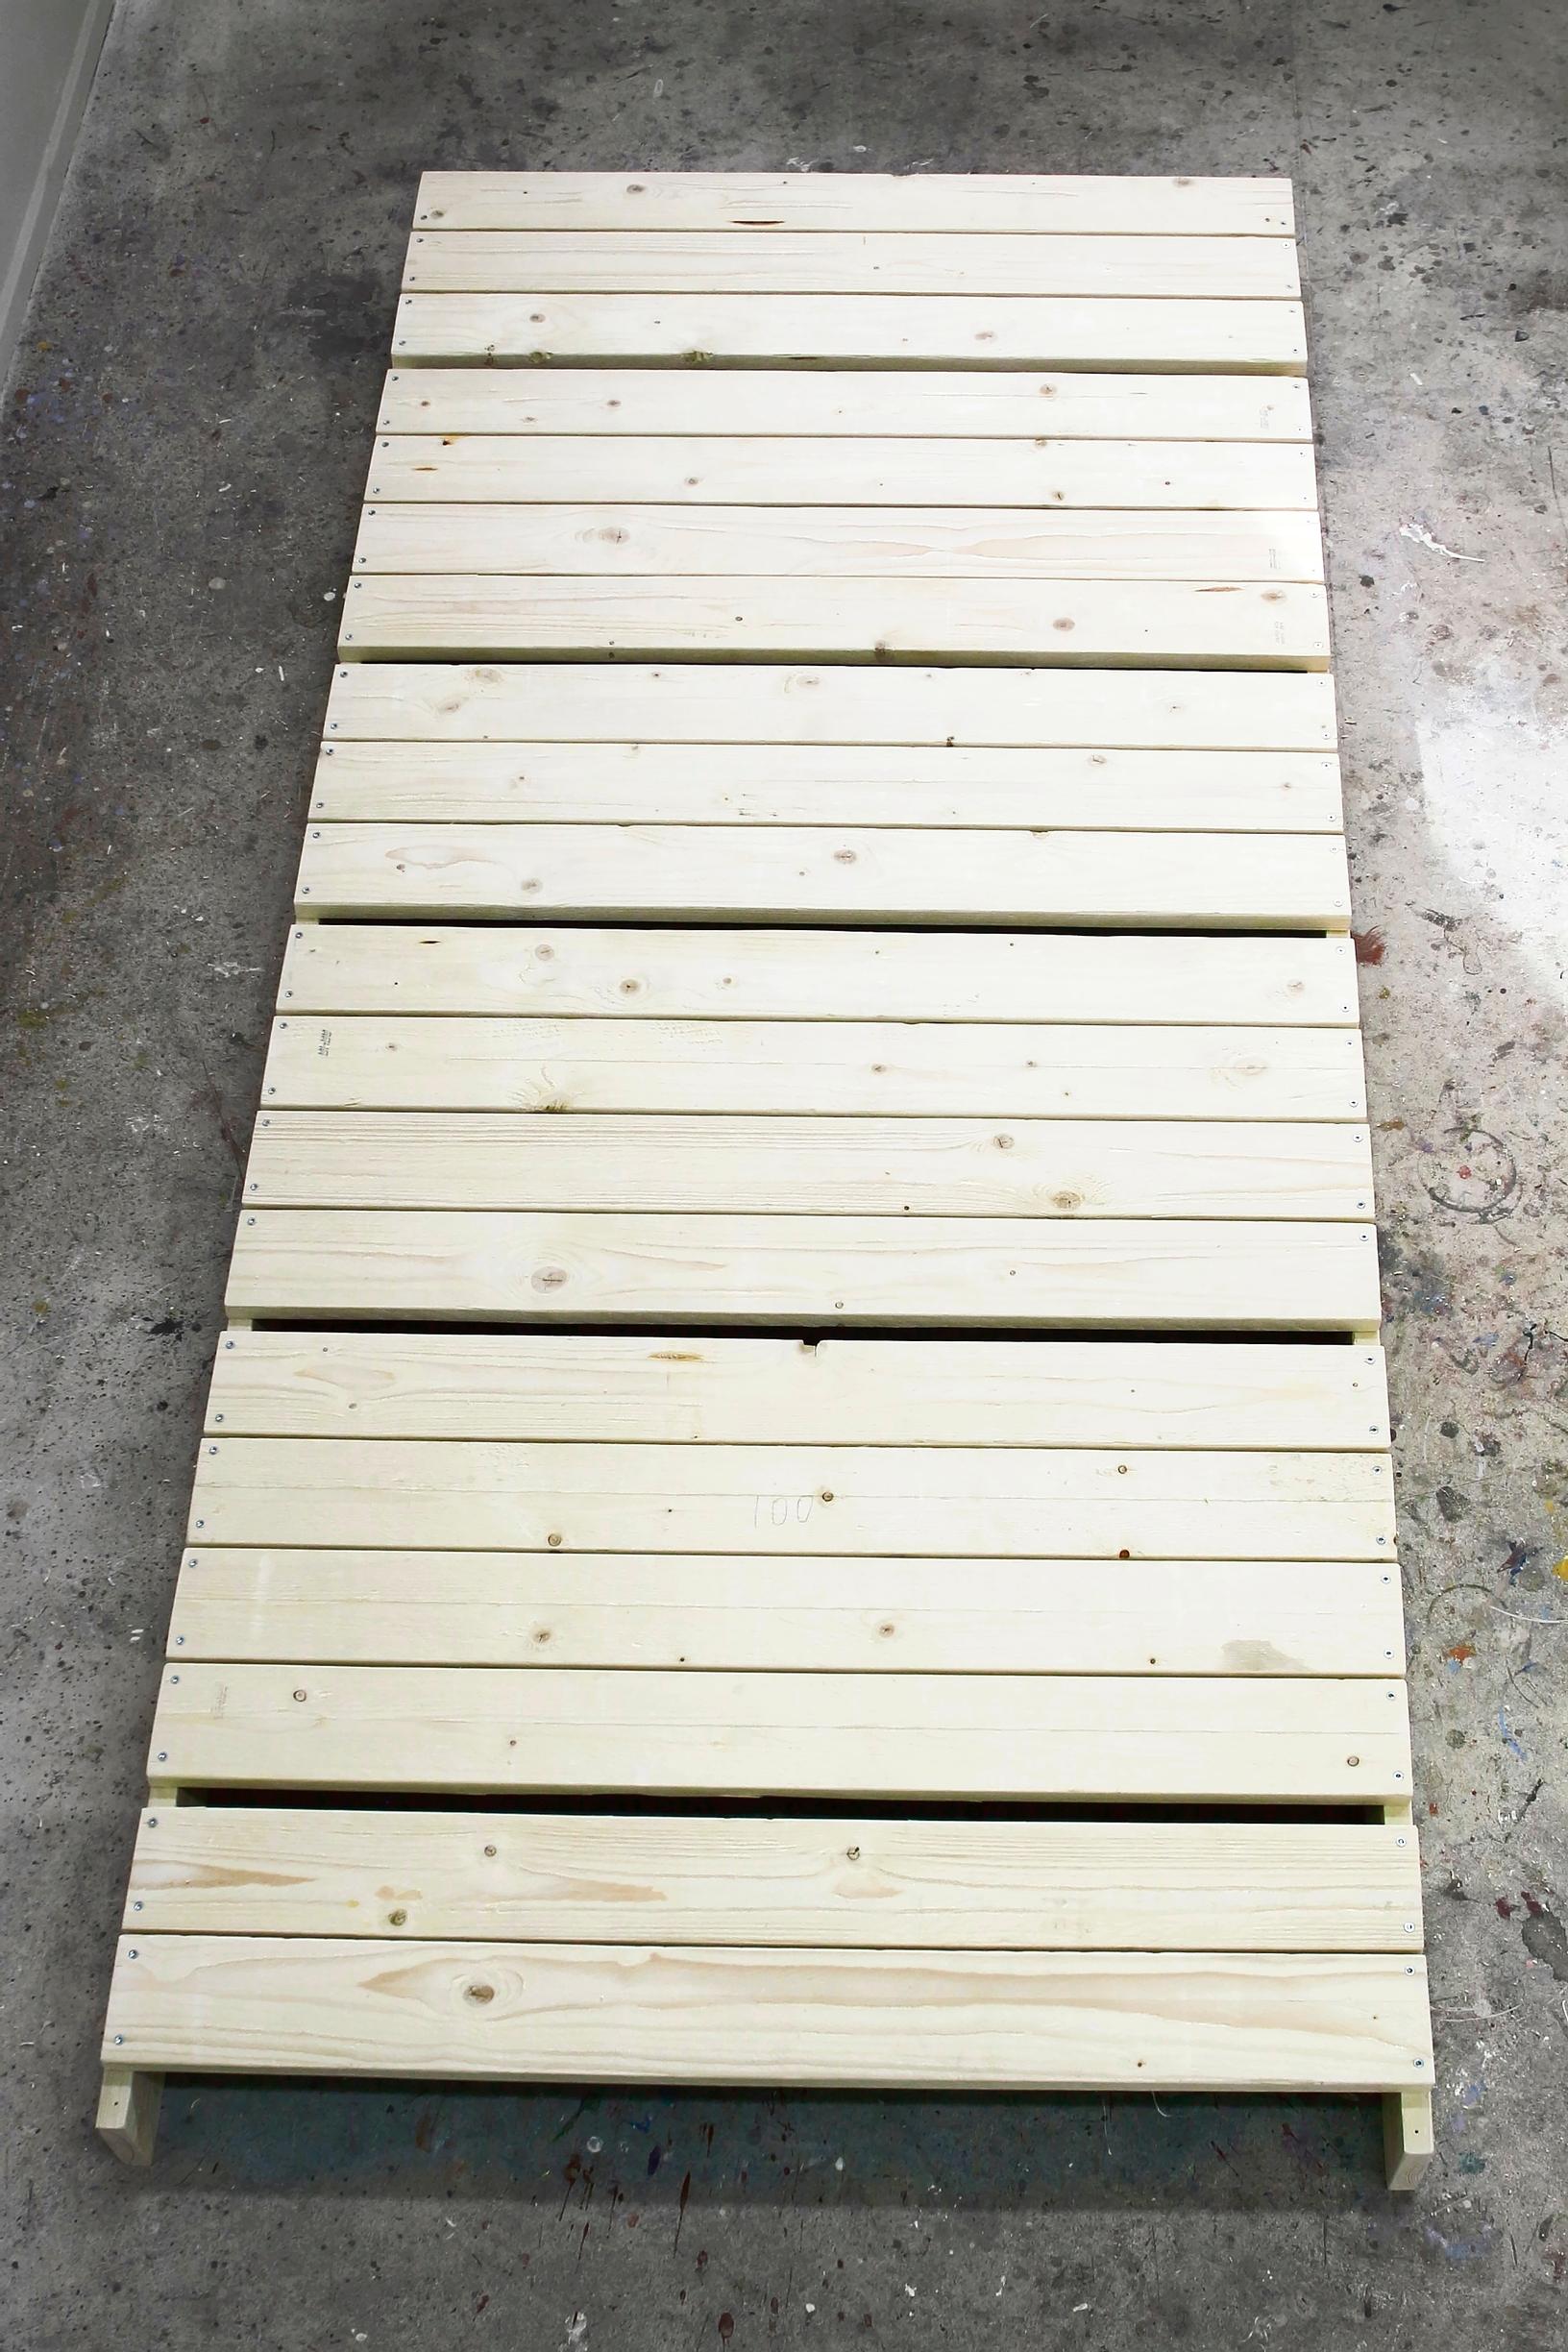
3. Attach the rest of the top boards, leaving gaps for the shelves at suitable points. Adjust the bottom board so that small legs remain at the bottom. Add a third vertical board in the middle and secure it with screws. Attach one board as a roof for the shelf structure.

4. For a shelf with three boards in depth, cut three strips for brackets, measuring 46.5 cm each. Position the strips so that they will be inside the vertical boards and next to the center board. Leave 5 mm gaps between the shelf boards and attach the strips to the boards with screws.

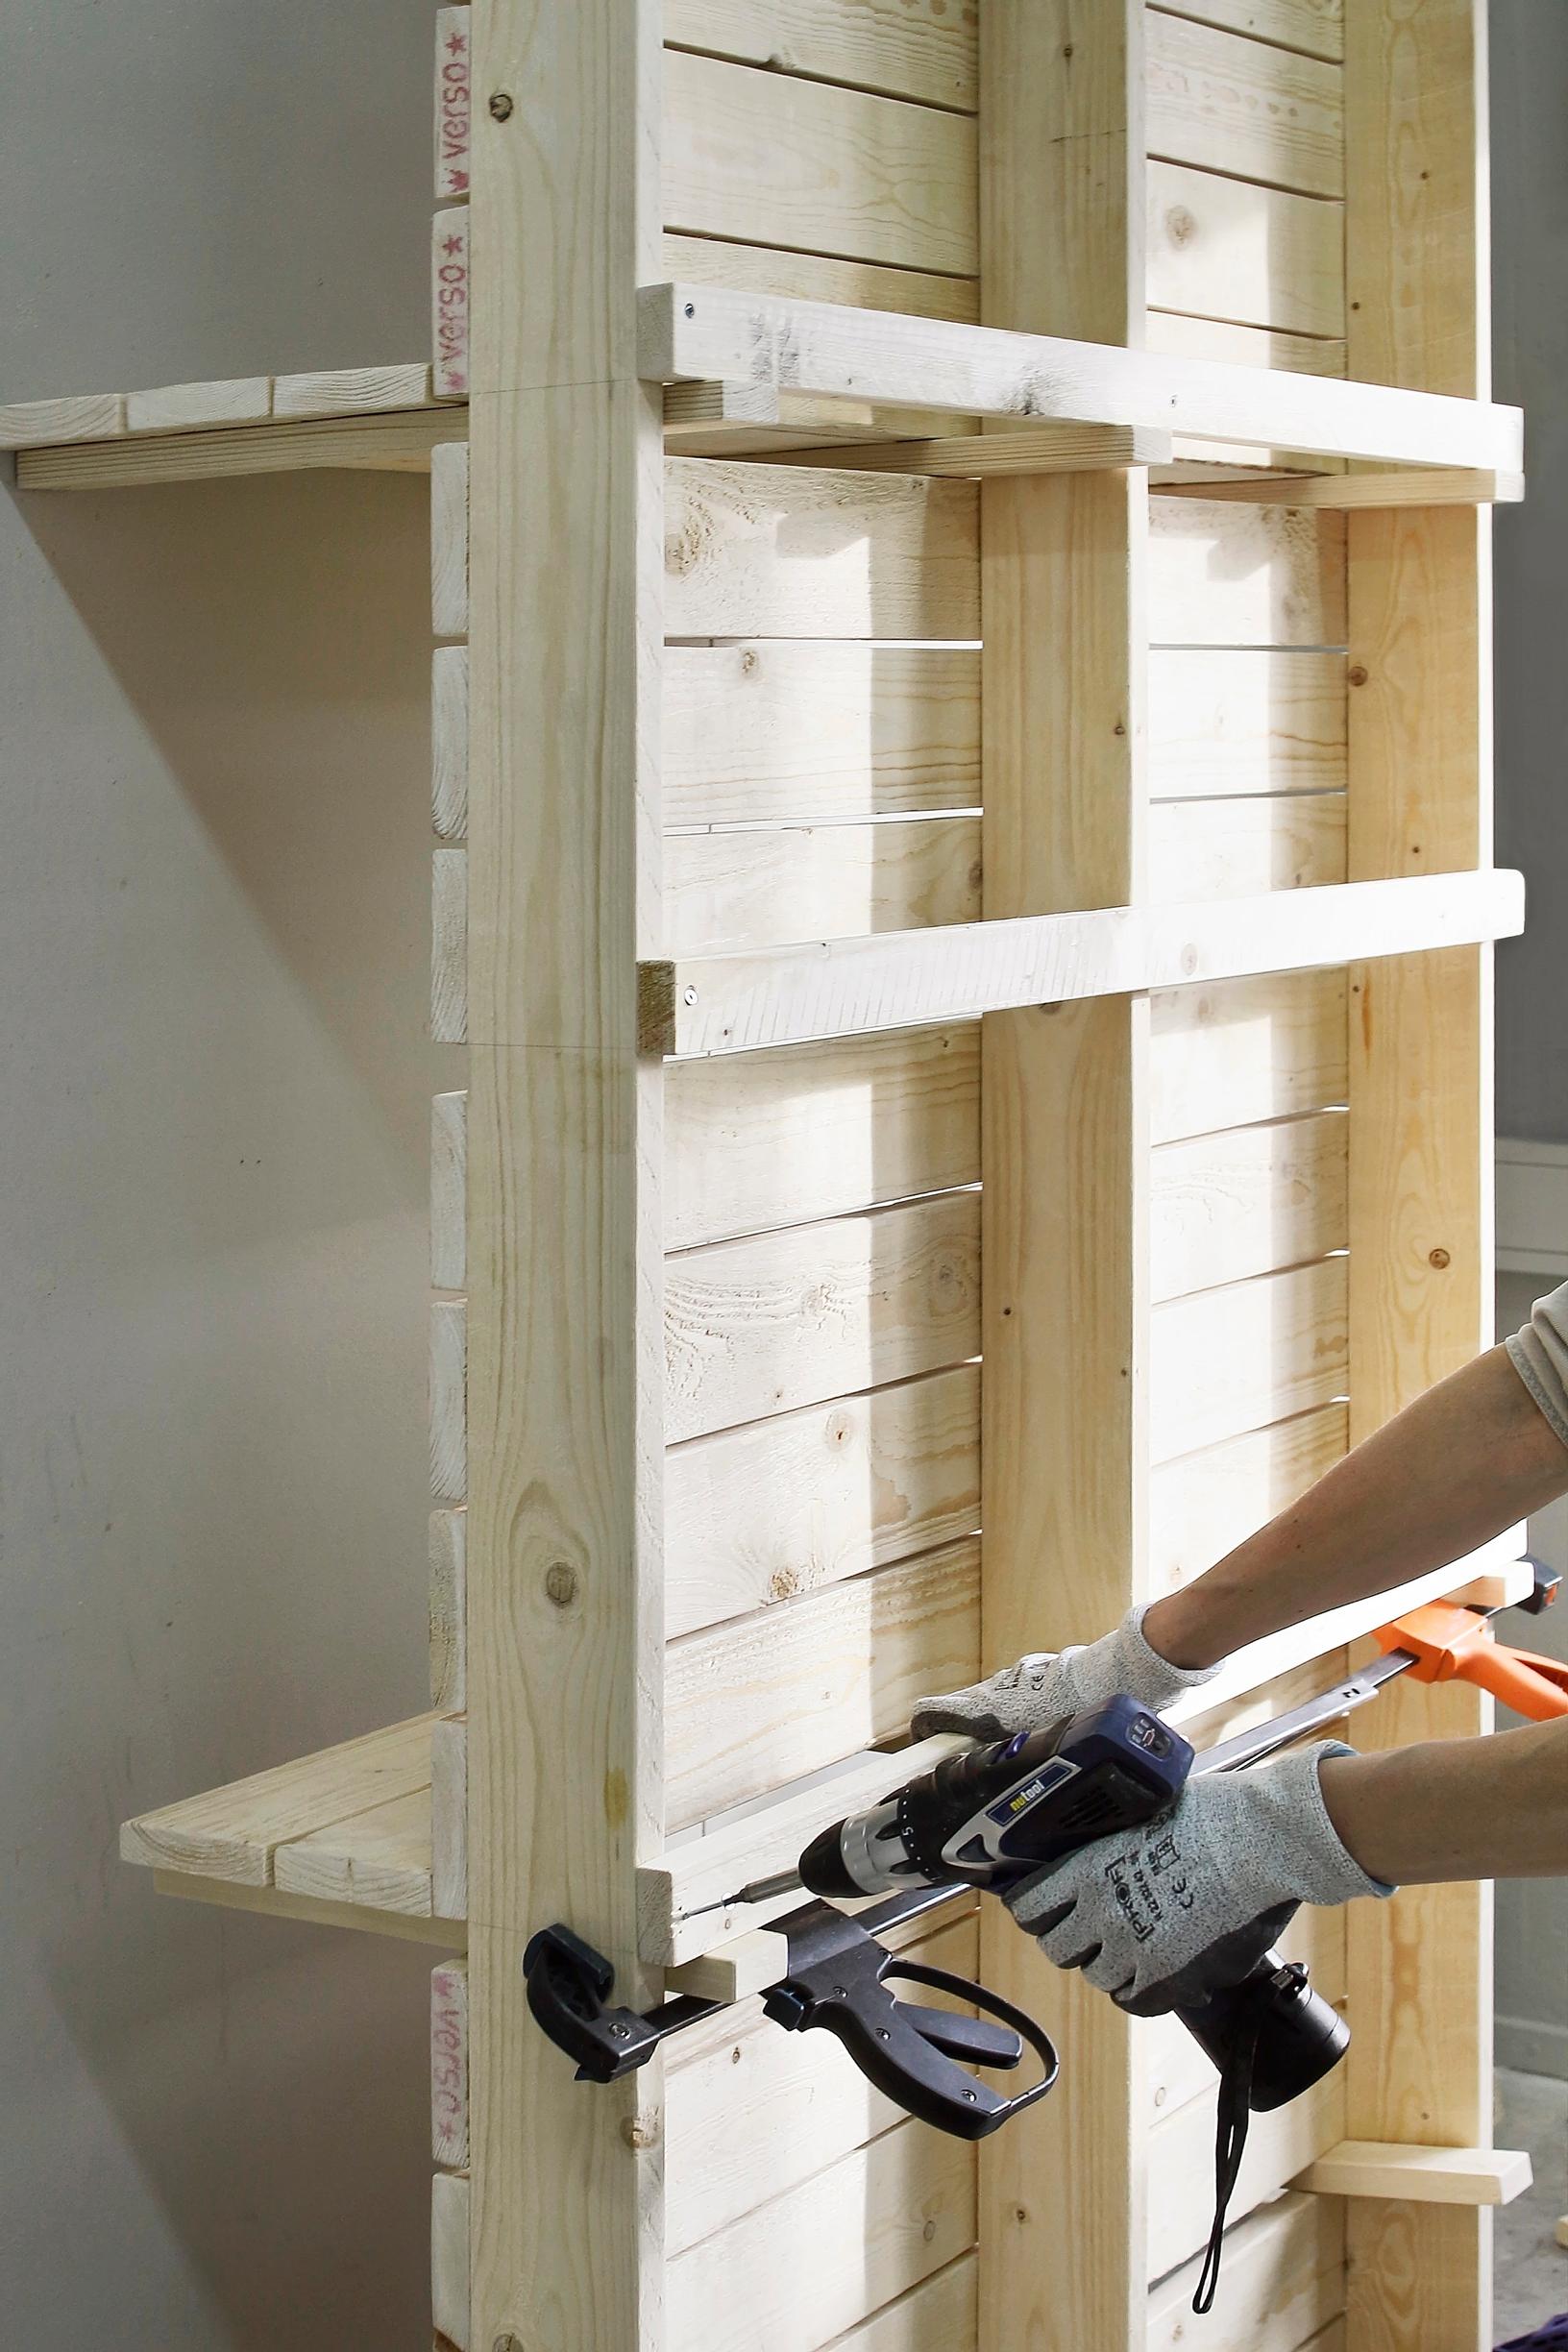
5. Flip the wall structure over. Mark the shelf spacing on the side board. Slide the shelf into place, making sure it’s at a right angle. Clamp the shelf in place and attach a horizontal strip with screws to all three vertical boards.


6. Make the remaining shelves 1–3 boards deep, either full length or half length. Protect the finished shelf unit from moisture and sunlight with tinted, solvent-based wood oil. Attach the shelf unit to the wall at the top with two fasteners.