
Display your treasures or tuck away linens—DIY wooden storage chest
This practical storage chest can also double as an extra cabinet. Build it with rough-sawn boards for a rugged look, or use planed boards and glossy paint for a more refined style.
Storage chest dimensions: 80 x 100 x 55 cm (depth x width x height).
Storage chest—supplies:
- Rough-sawn boards (22 x 125 mm, 10 m; 25 x 50 mm, 5 m; 50 x 50 mm, 5 m; 22 x 100 mm, 30 m)
- Dome-head screws 5 x 50 mm, 200 pcs
- General-purpose screws 4.5 x 40 mm, 200 pcs
- Hinges, 2 pcs
- Lock hasp
- Handles, 2 pcs
- Eye screws, 5 pcs
- Swivel casters 50–100 mm, 4 pcs
- Wood finish and a paintbrush
- A saw, a drill, and a screwdriver
- Sandpaper or sander
- A square, a tape measure, and a pencil
- Work gloves, safety goggles, and a dust mask
Cut and sand the lumber
22 x 125 mm boards:
- Bottom and lid: length 100 cm, 8 pcs
22 x 100 mm boards:
- Front and back walls plus lid and bottom: length 100 cm, 14 pcs
- Side walls and boards for inside the box: length 75.5 cm, 8 pcs
- Bottom boards: length 75 cm, 2 pcs
- Divider boards for the box: length 74 cm, 4 pcs
- Horizontal support boards for the hinges: length 35.5 cm
- Side supports for inside the box: length 34 cm, 2 pcs
50 x 50 mm lumber:
- Inside the box: 40 cm tall, 8 pcs
25 x 50 mm strips:
- 63 cm support strips, 2 pcs for the lid edges, and 71 cm supports, 2 pcs for the center of the lid
Storage chest—instructions:

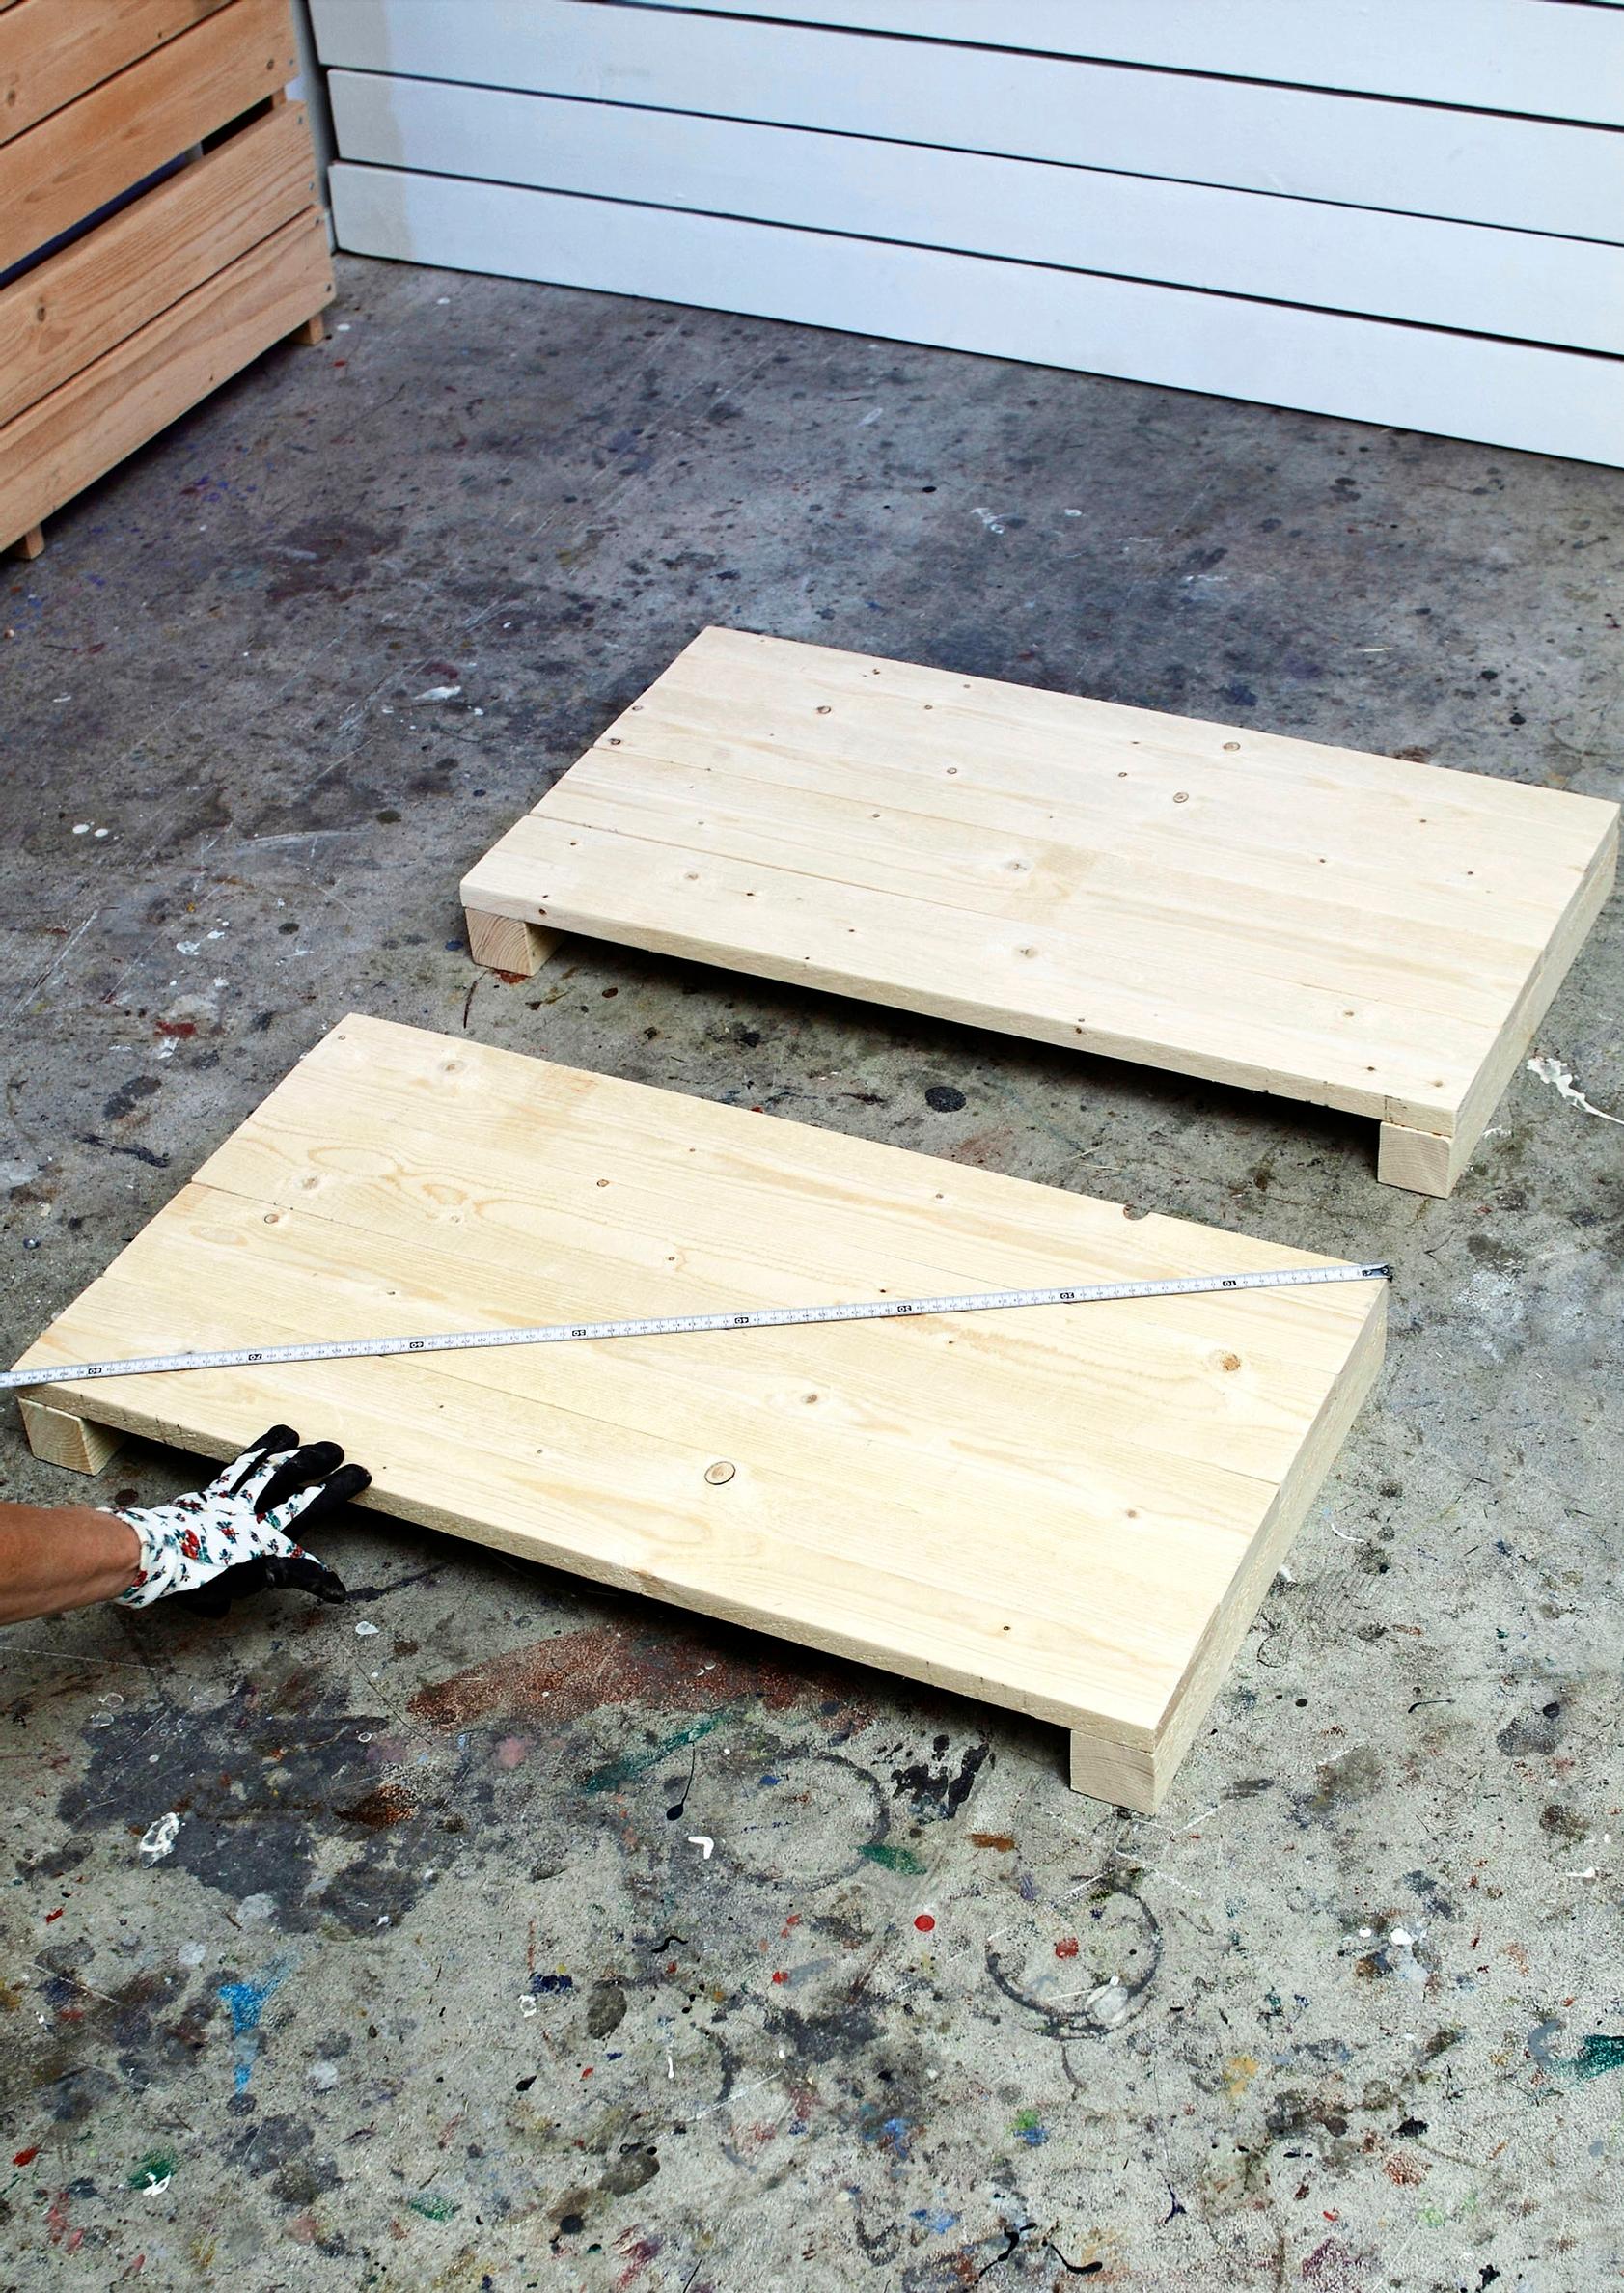
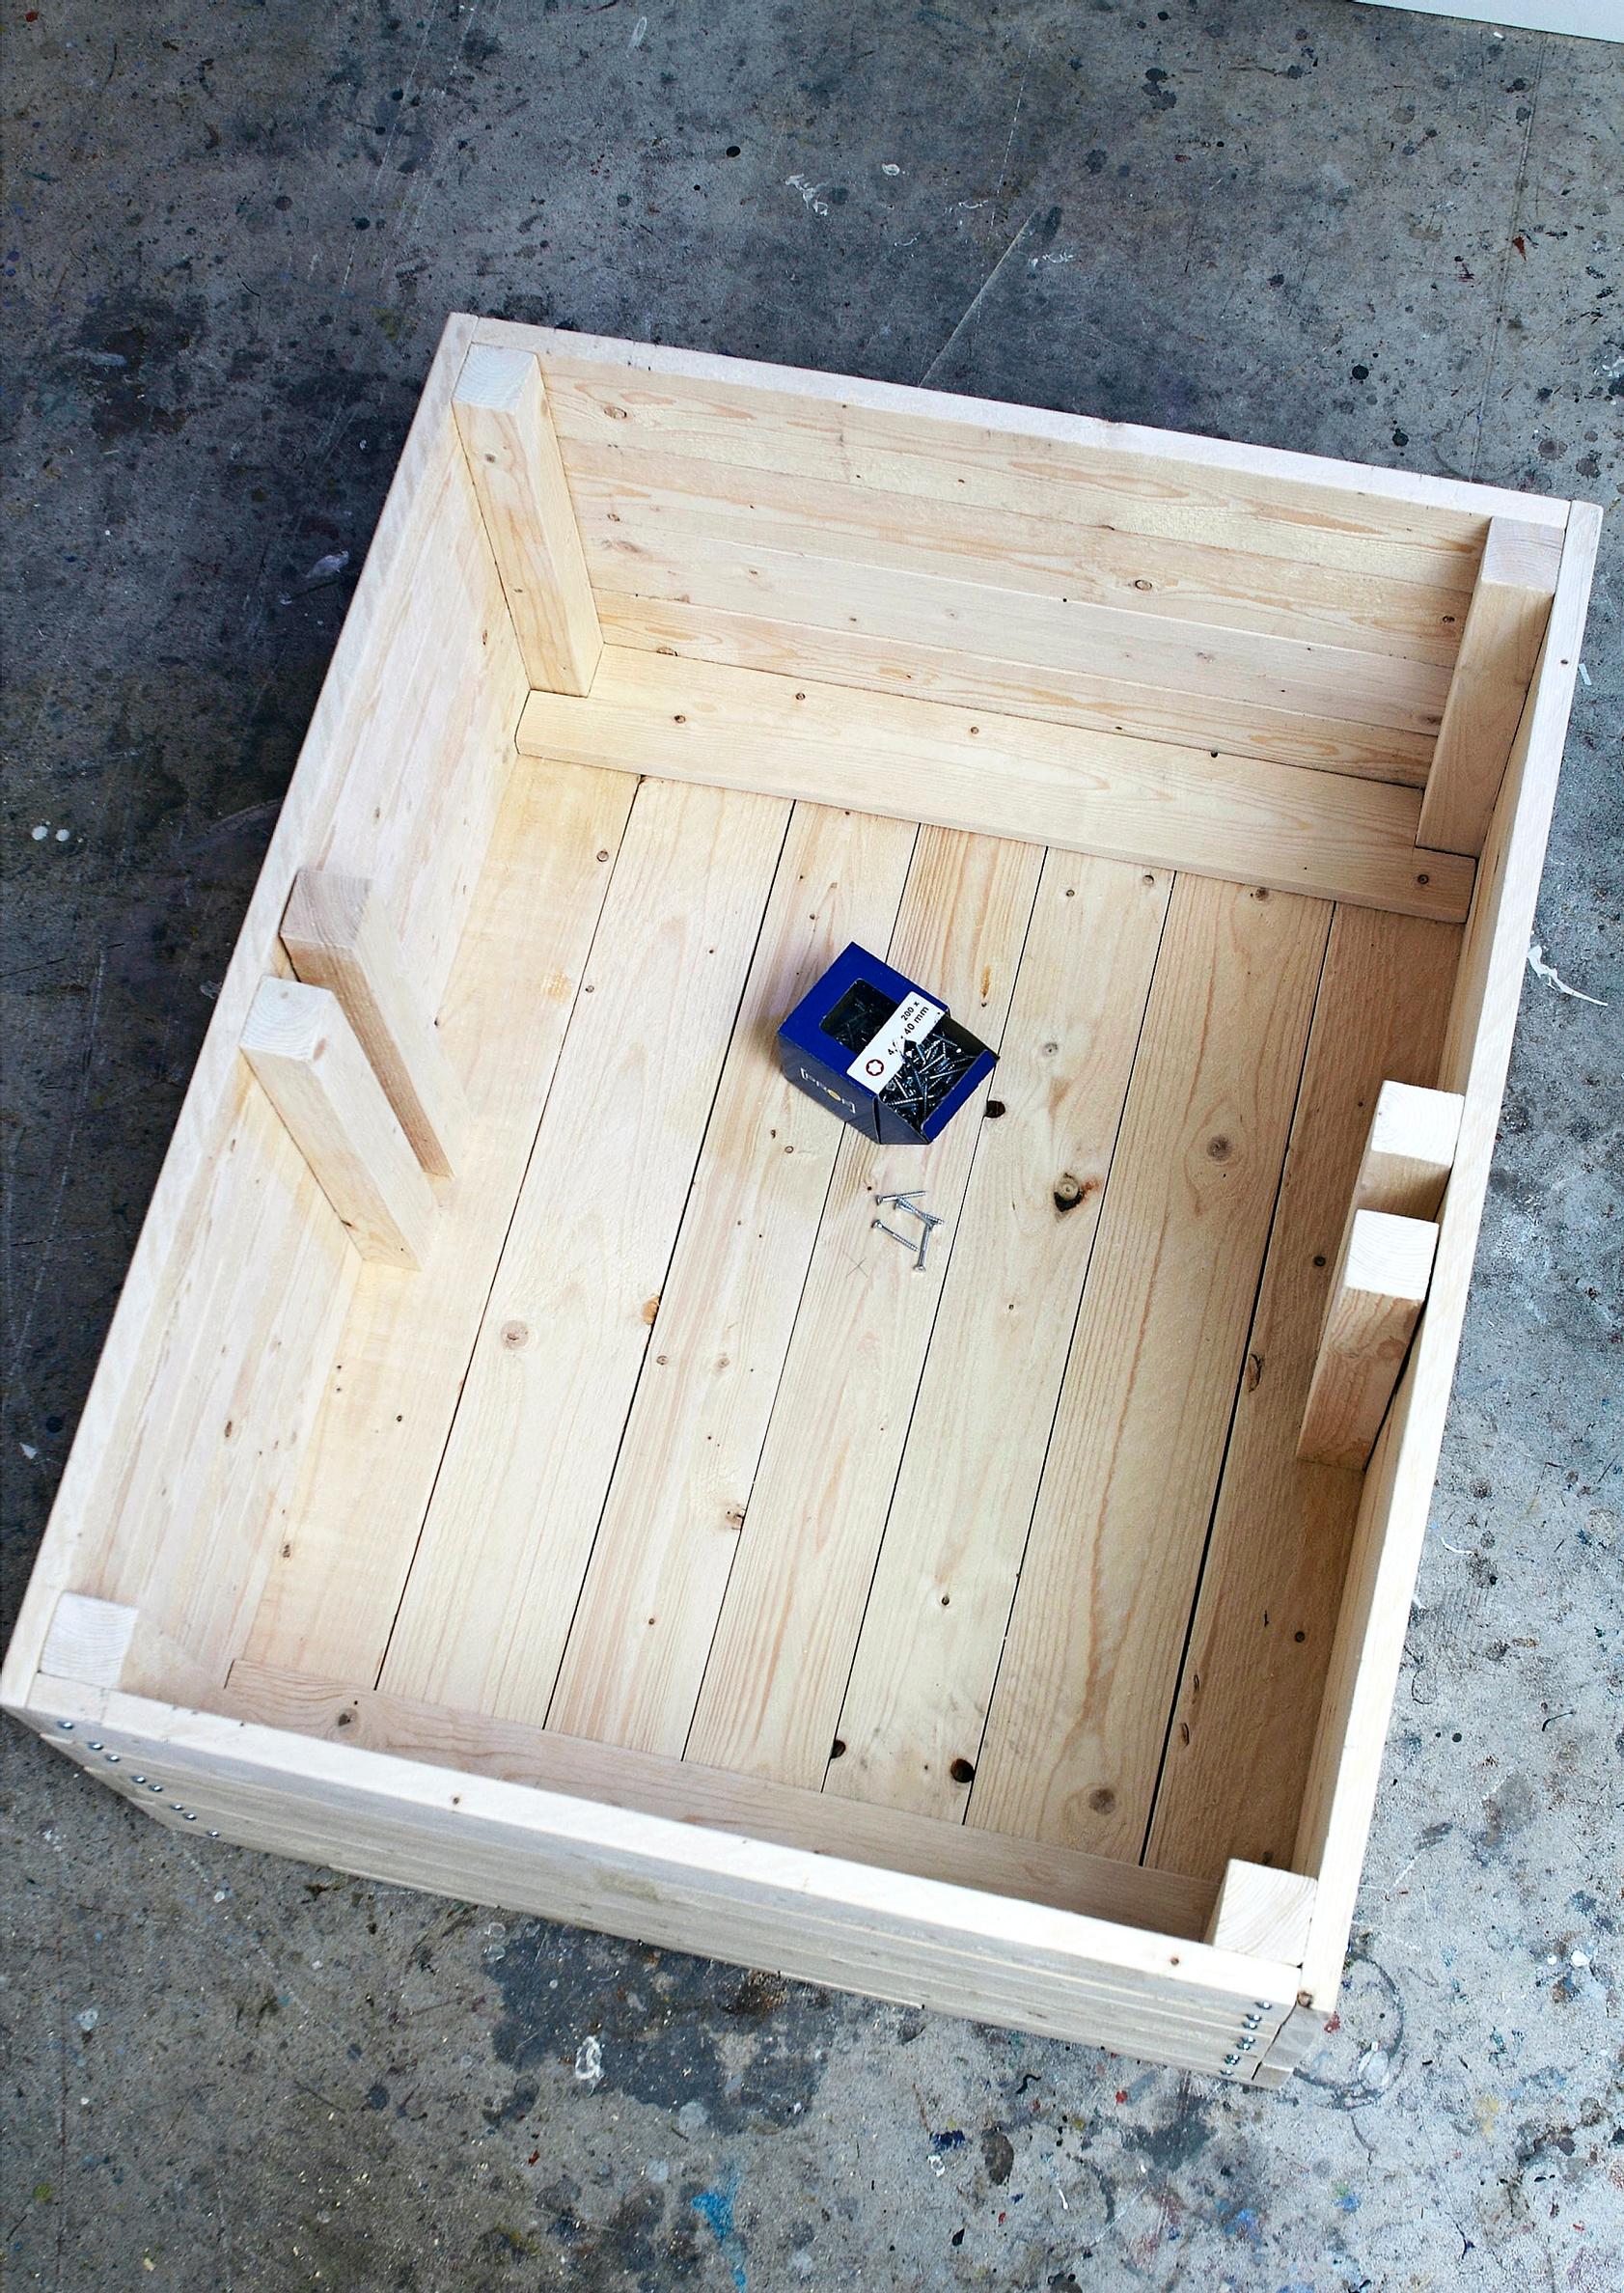
1. Place four narrow boards measuring 75.5 cm on top of two 40 cm support posts. Check that the diagonal measurements between opposite corners match so the wall stays straight.

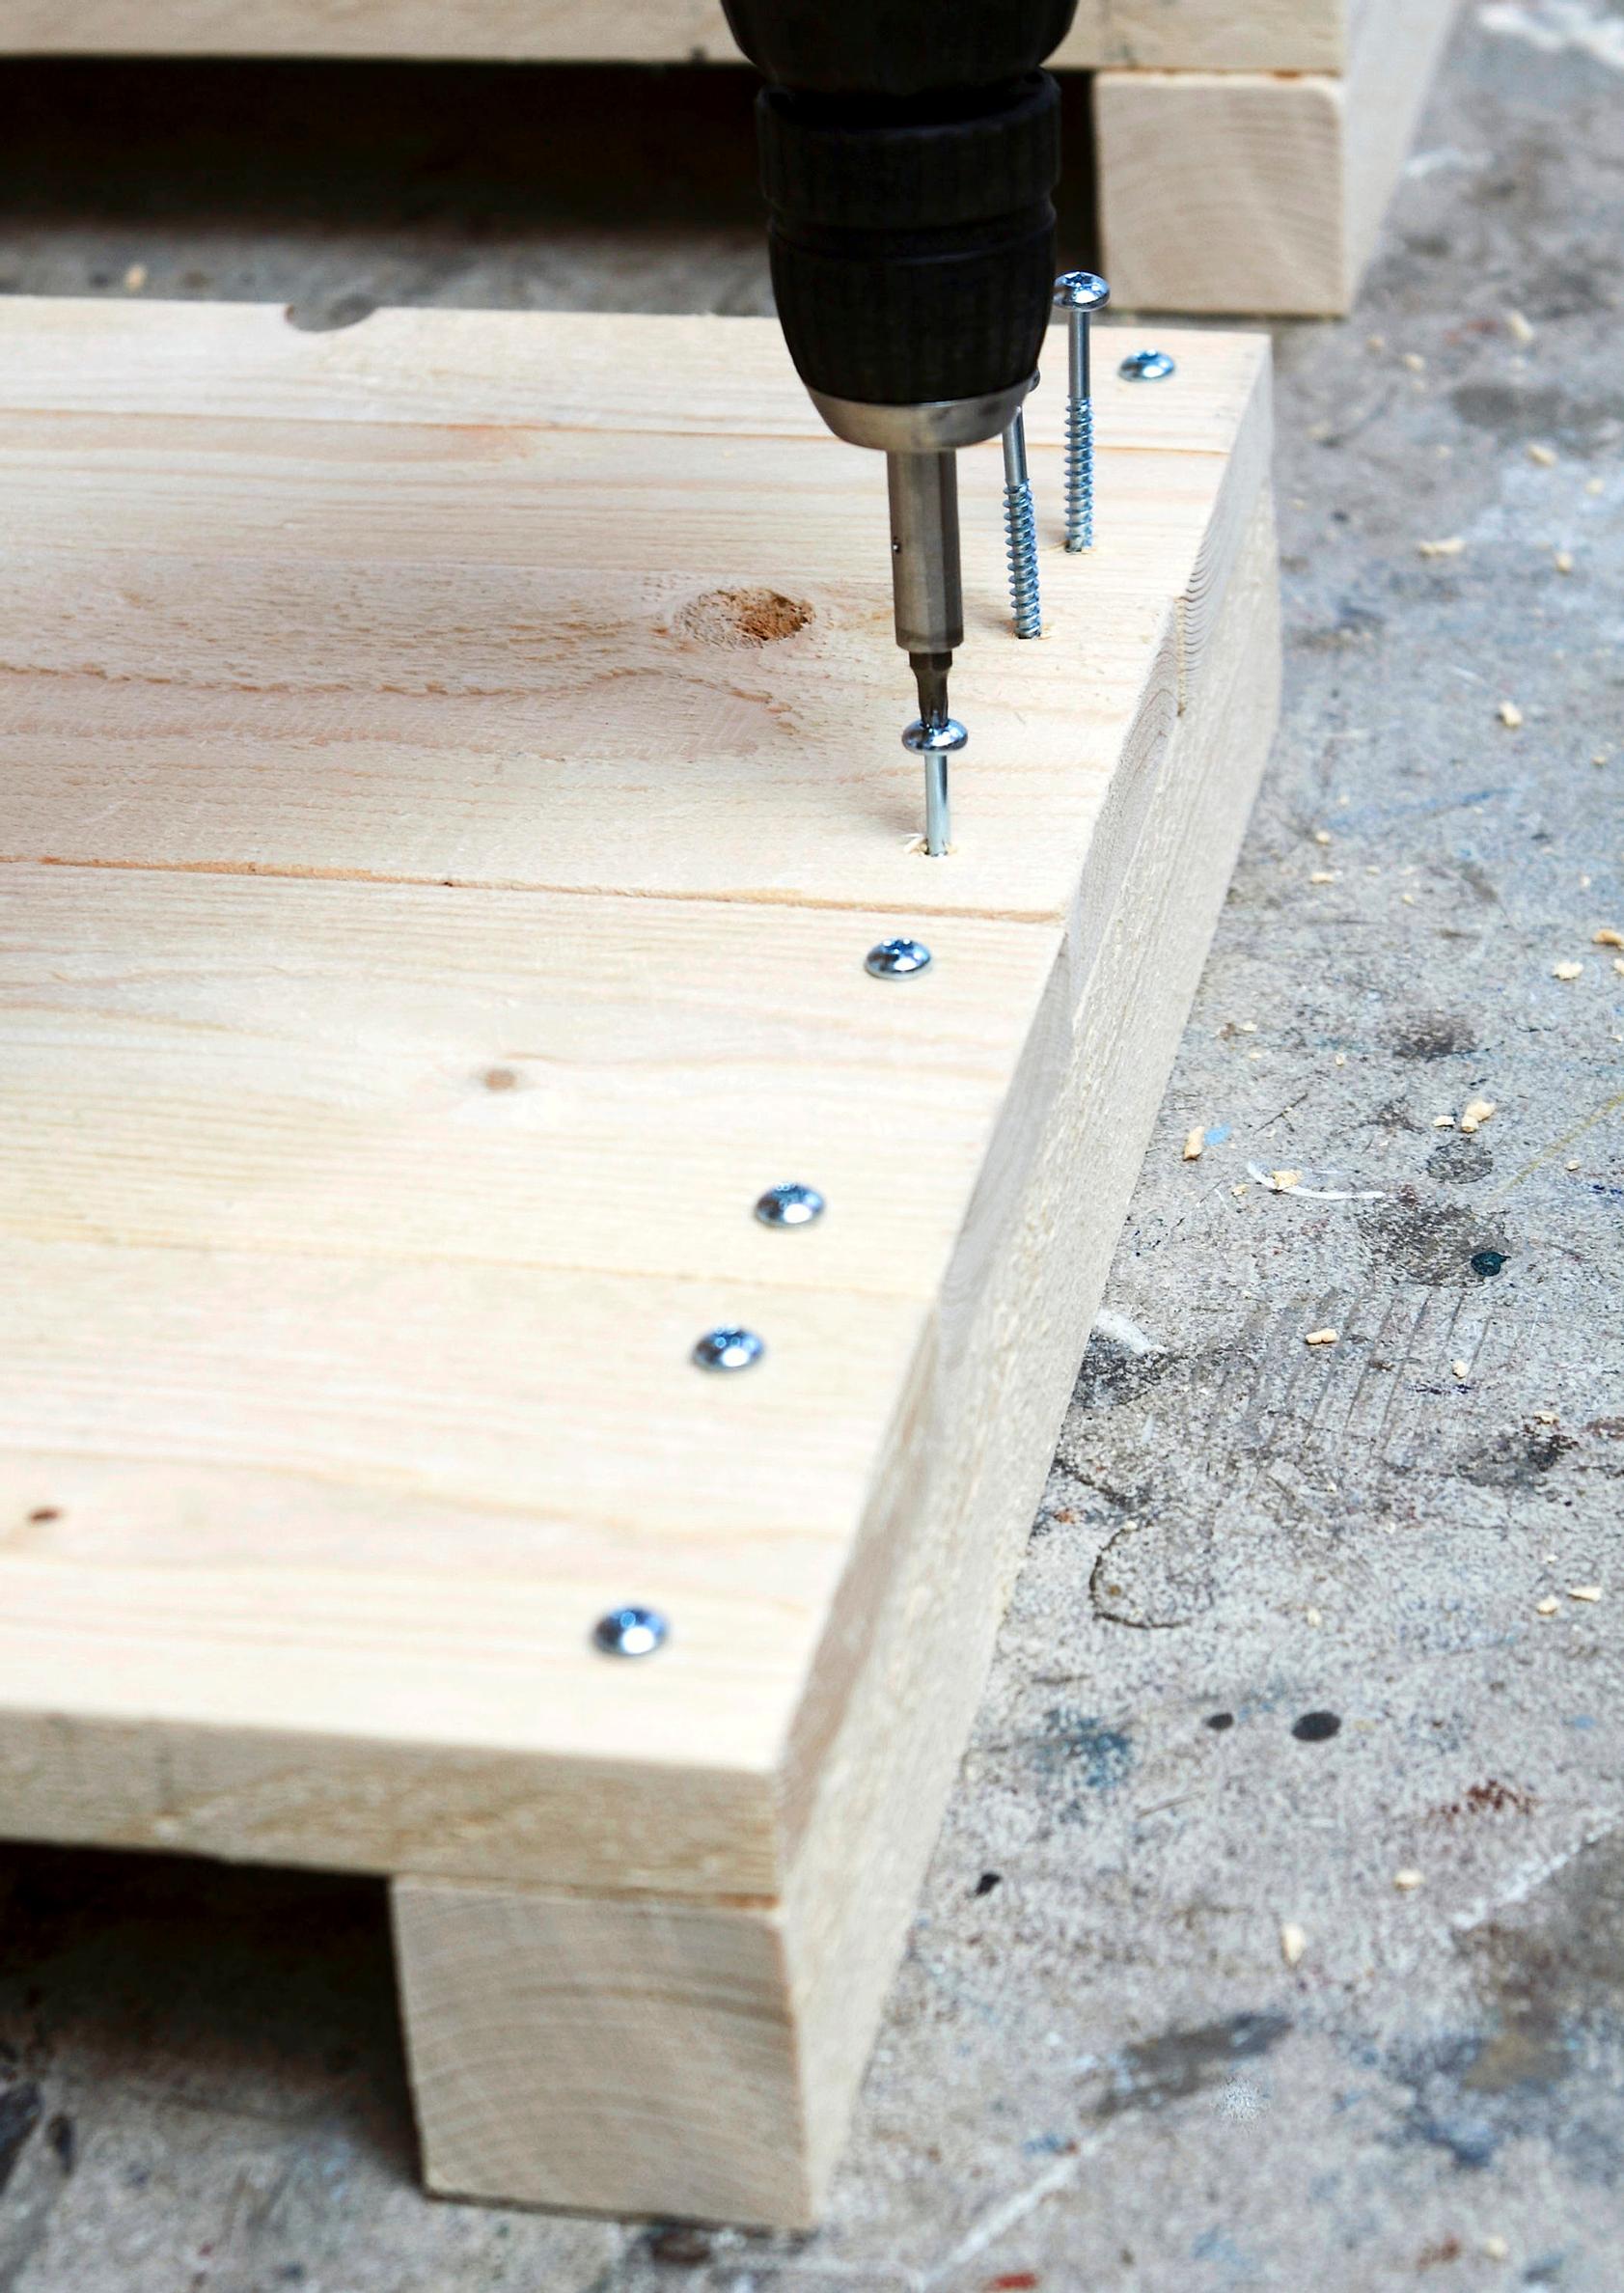
2. First attach the top and bottom boards with one screw each. Pre-drill the board ends and secure them with dome-head screws. Then attach the middle boards and add another screw. Repeat on the other side.

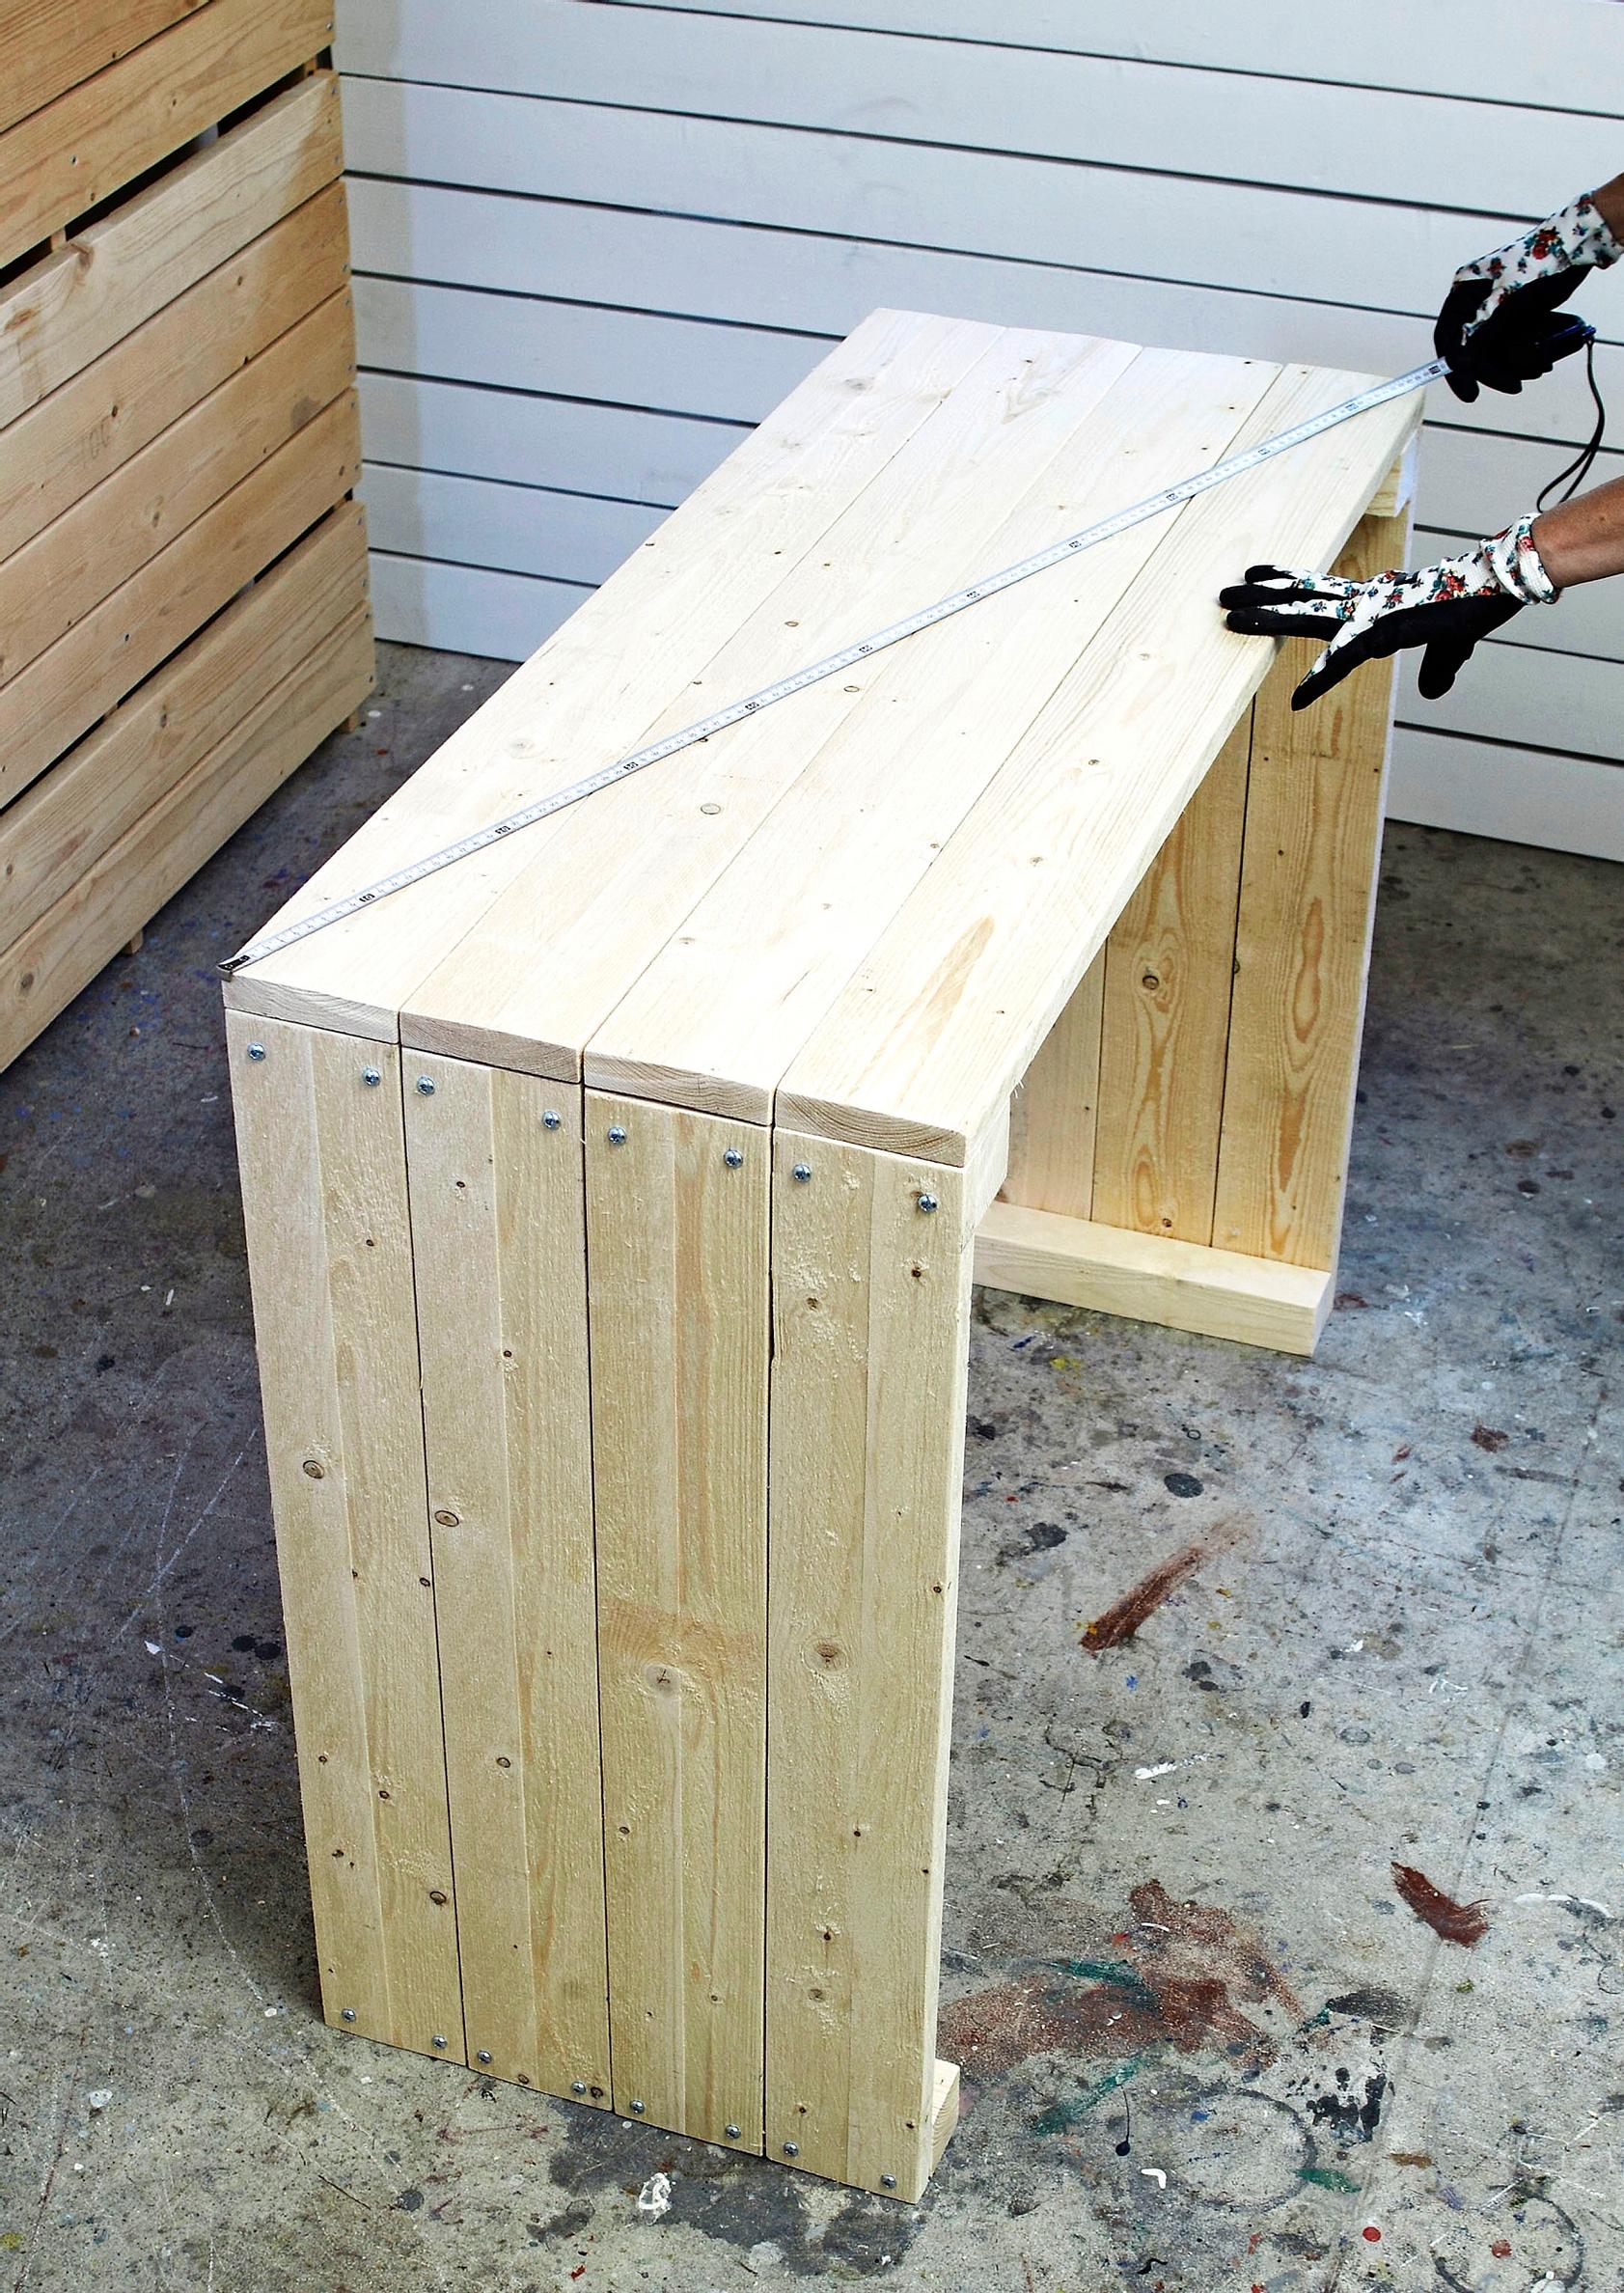
3. Stand the completed sides upright and place the 1-meter-long narrow boards on top. Take diagonal measurements to ensure they are aligned. Secure with screws and do the same for the other side.

4. Turn the box upside down and build the base. Lay four wide boards, each 1 meter long, around the edges and three narrow boards in the center. Pre-drill and secure each board with two screws at both ends.

5. Cut corner notches in the 75 cm bottom boards and attach them to the base with 40 mm screws. These boards support the base and the box when you attach the casters underneath.

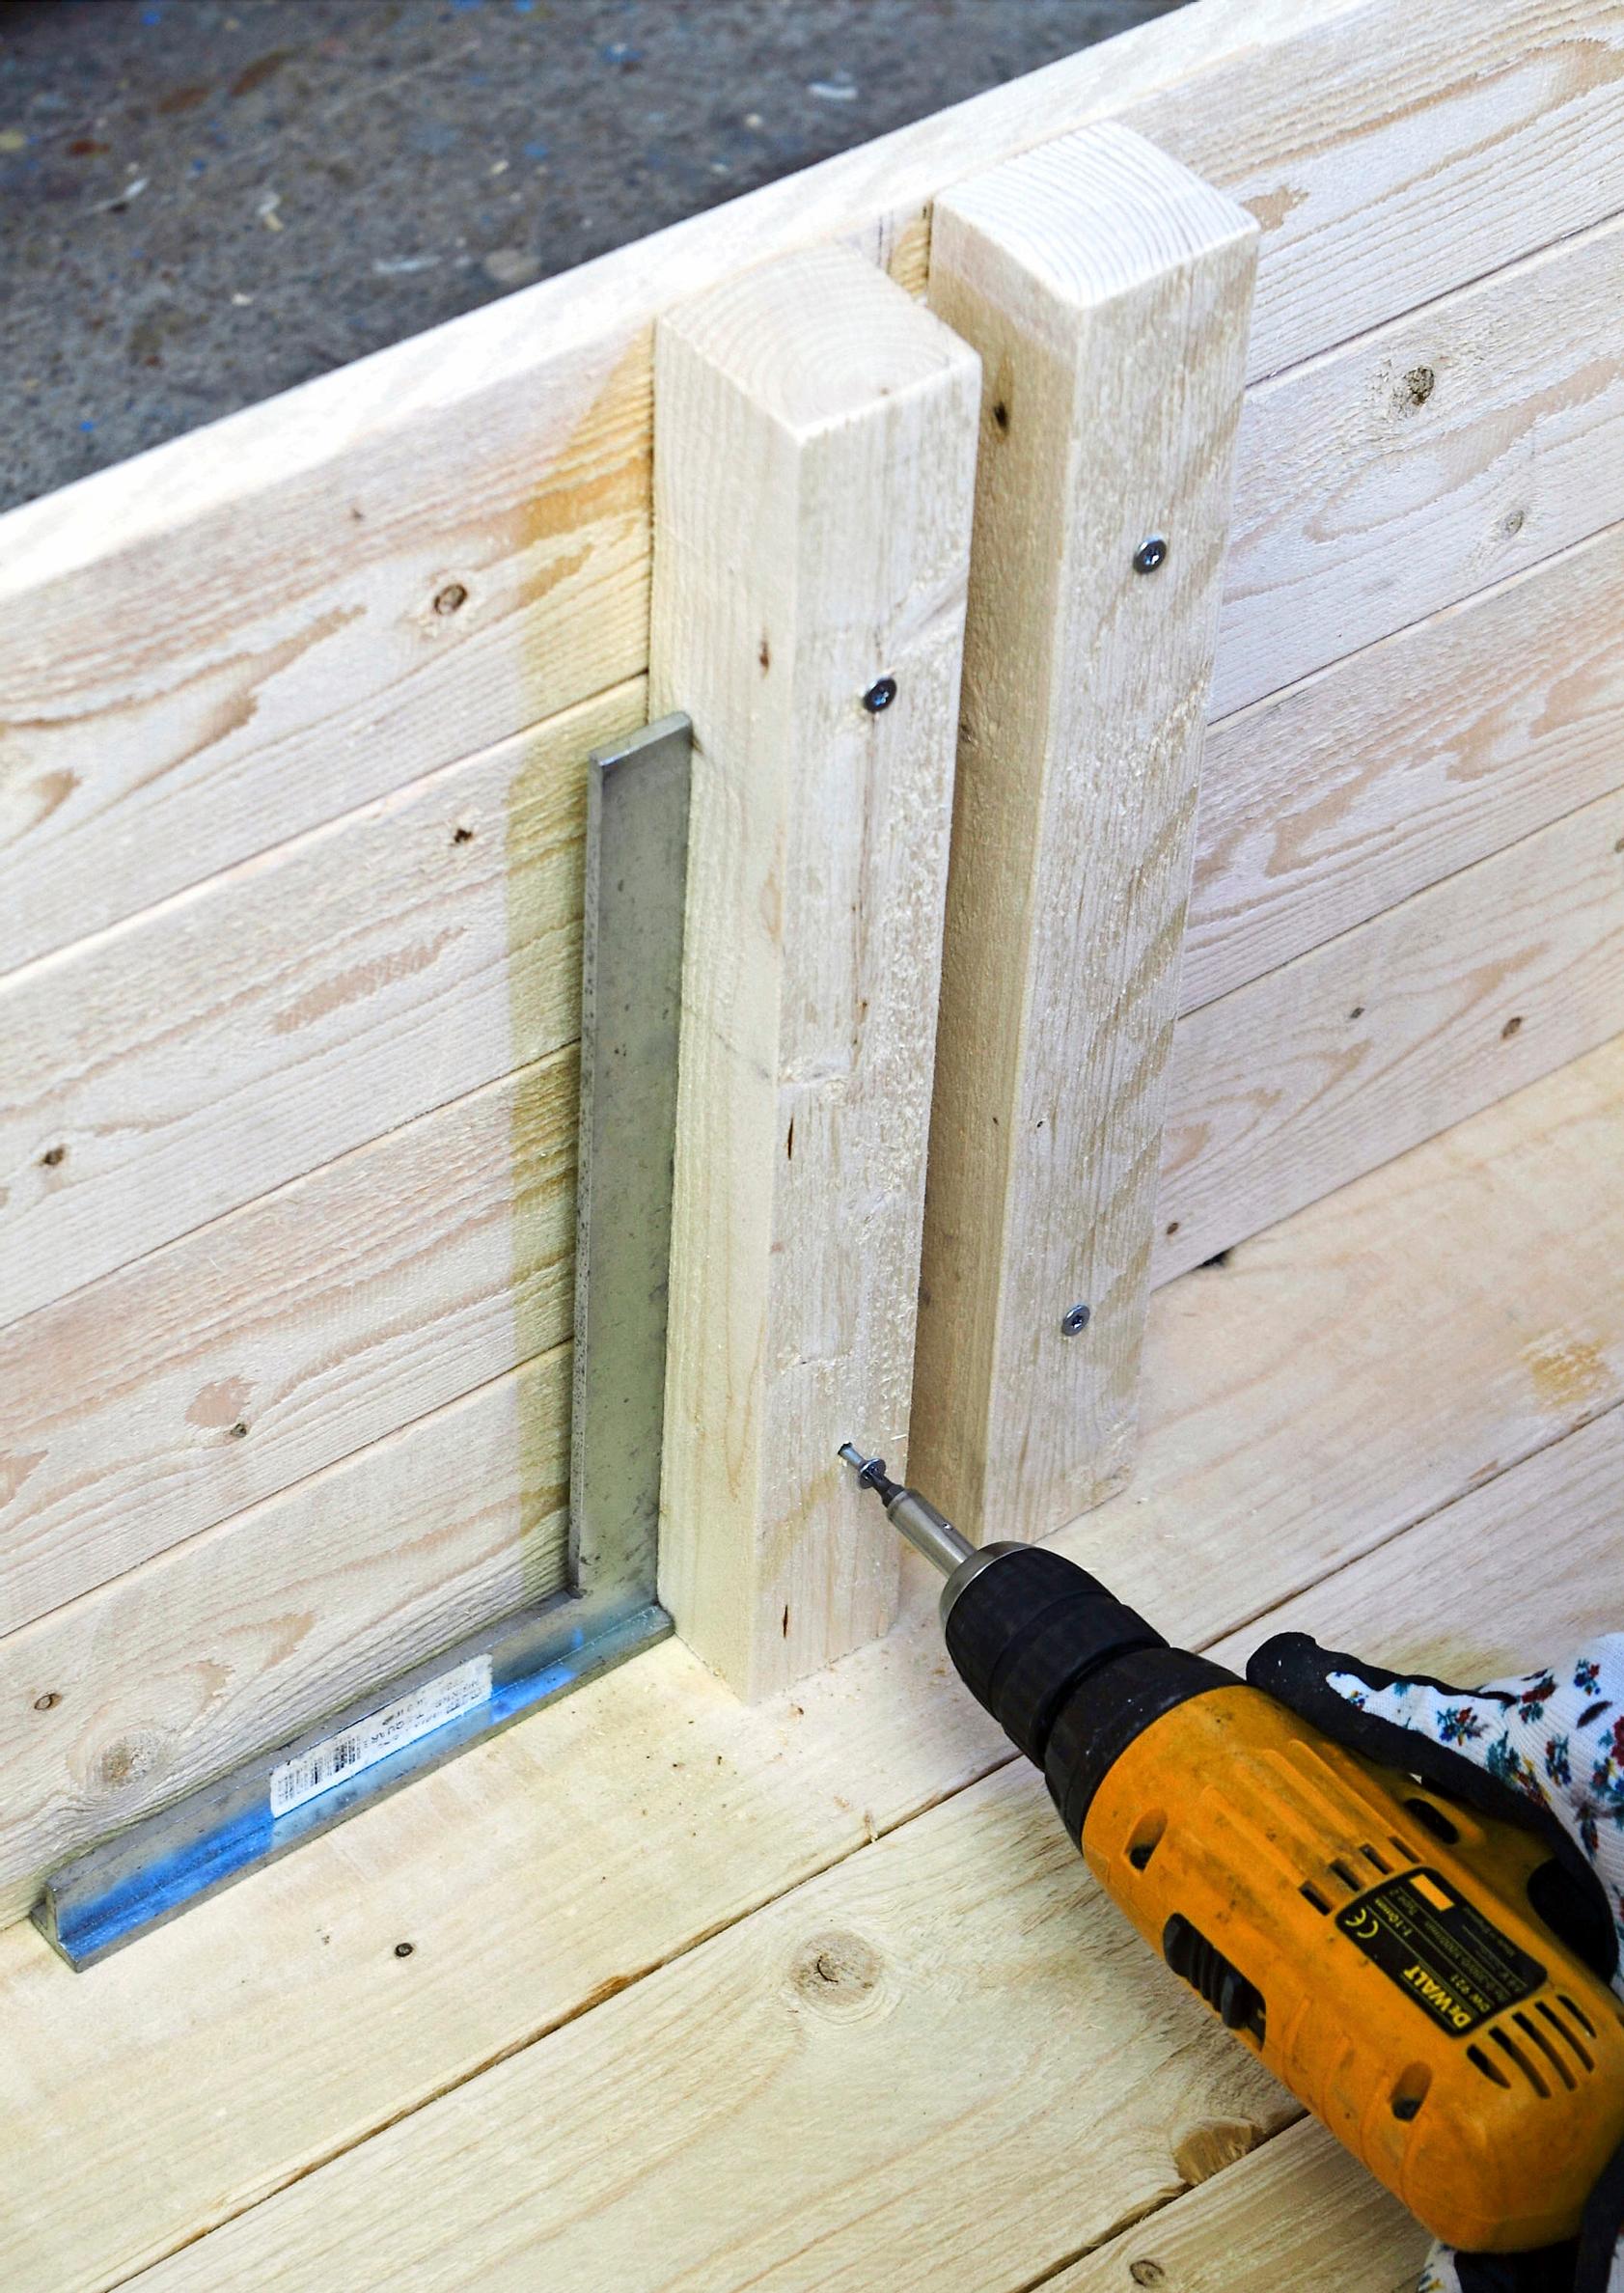
6. Place two pairs of 40 cm posts in the middle of each long side, leaving about a 3 cm gap between them. Attach the 34 cm vertical supports to the sides of the storage chest.

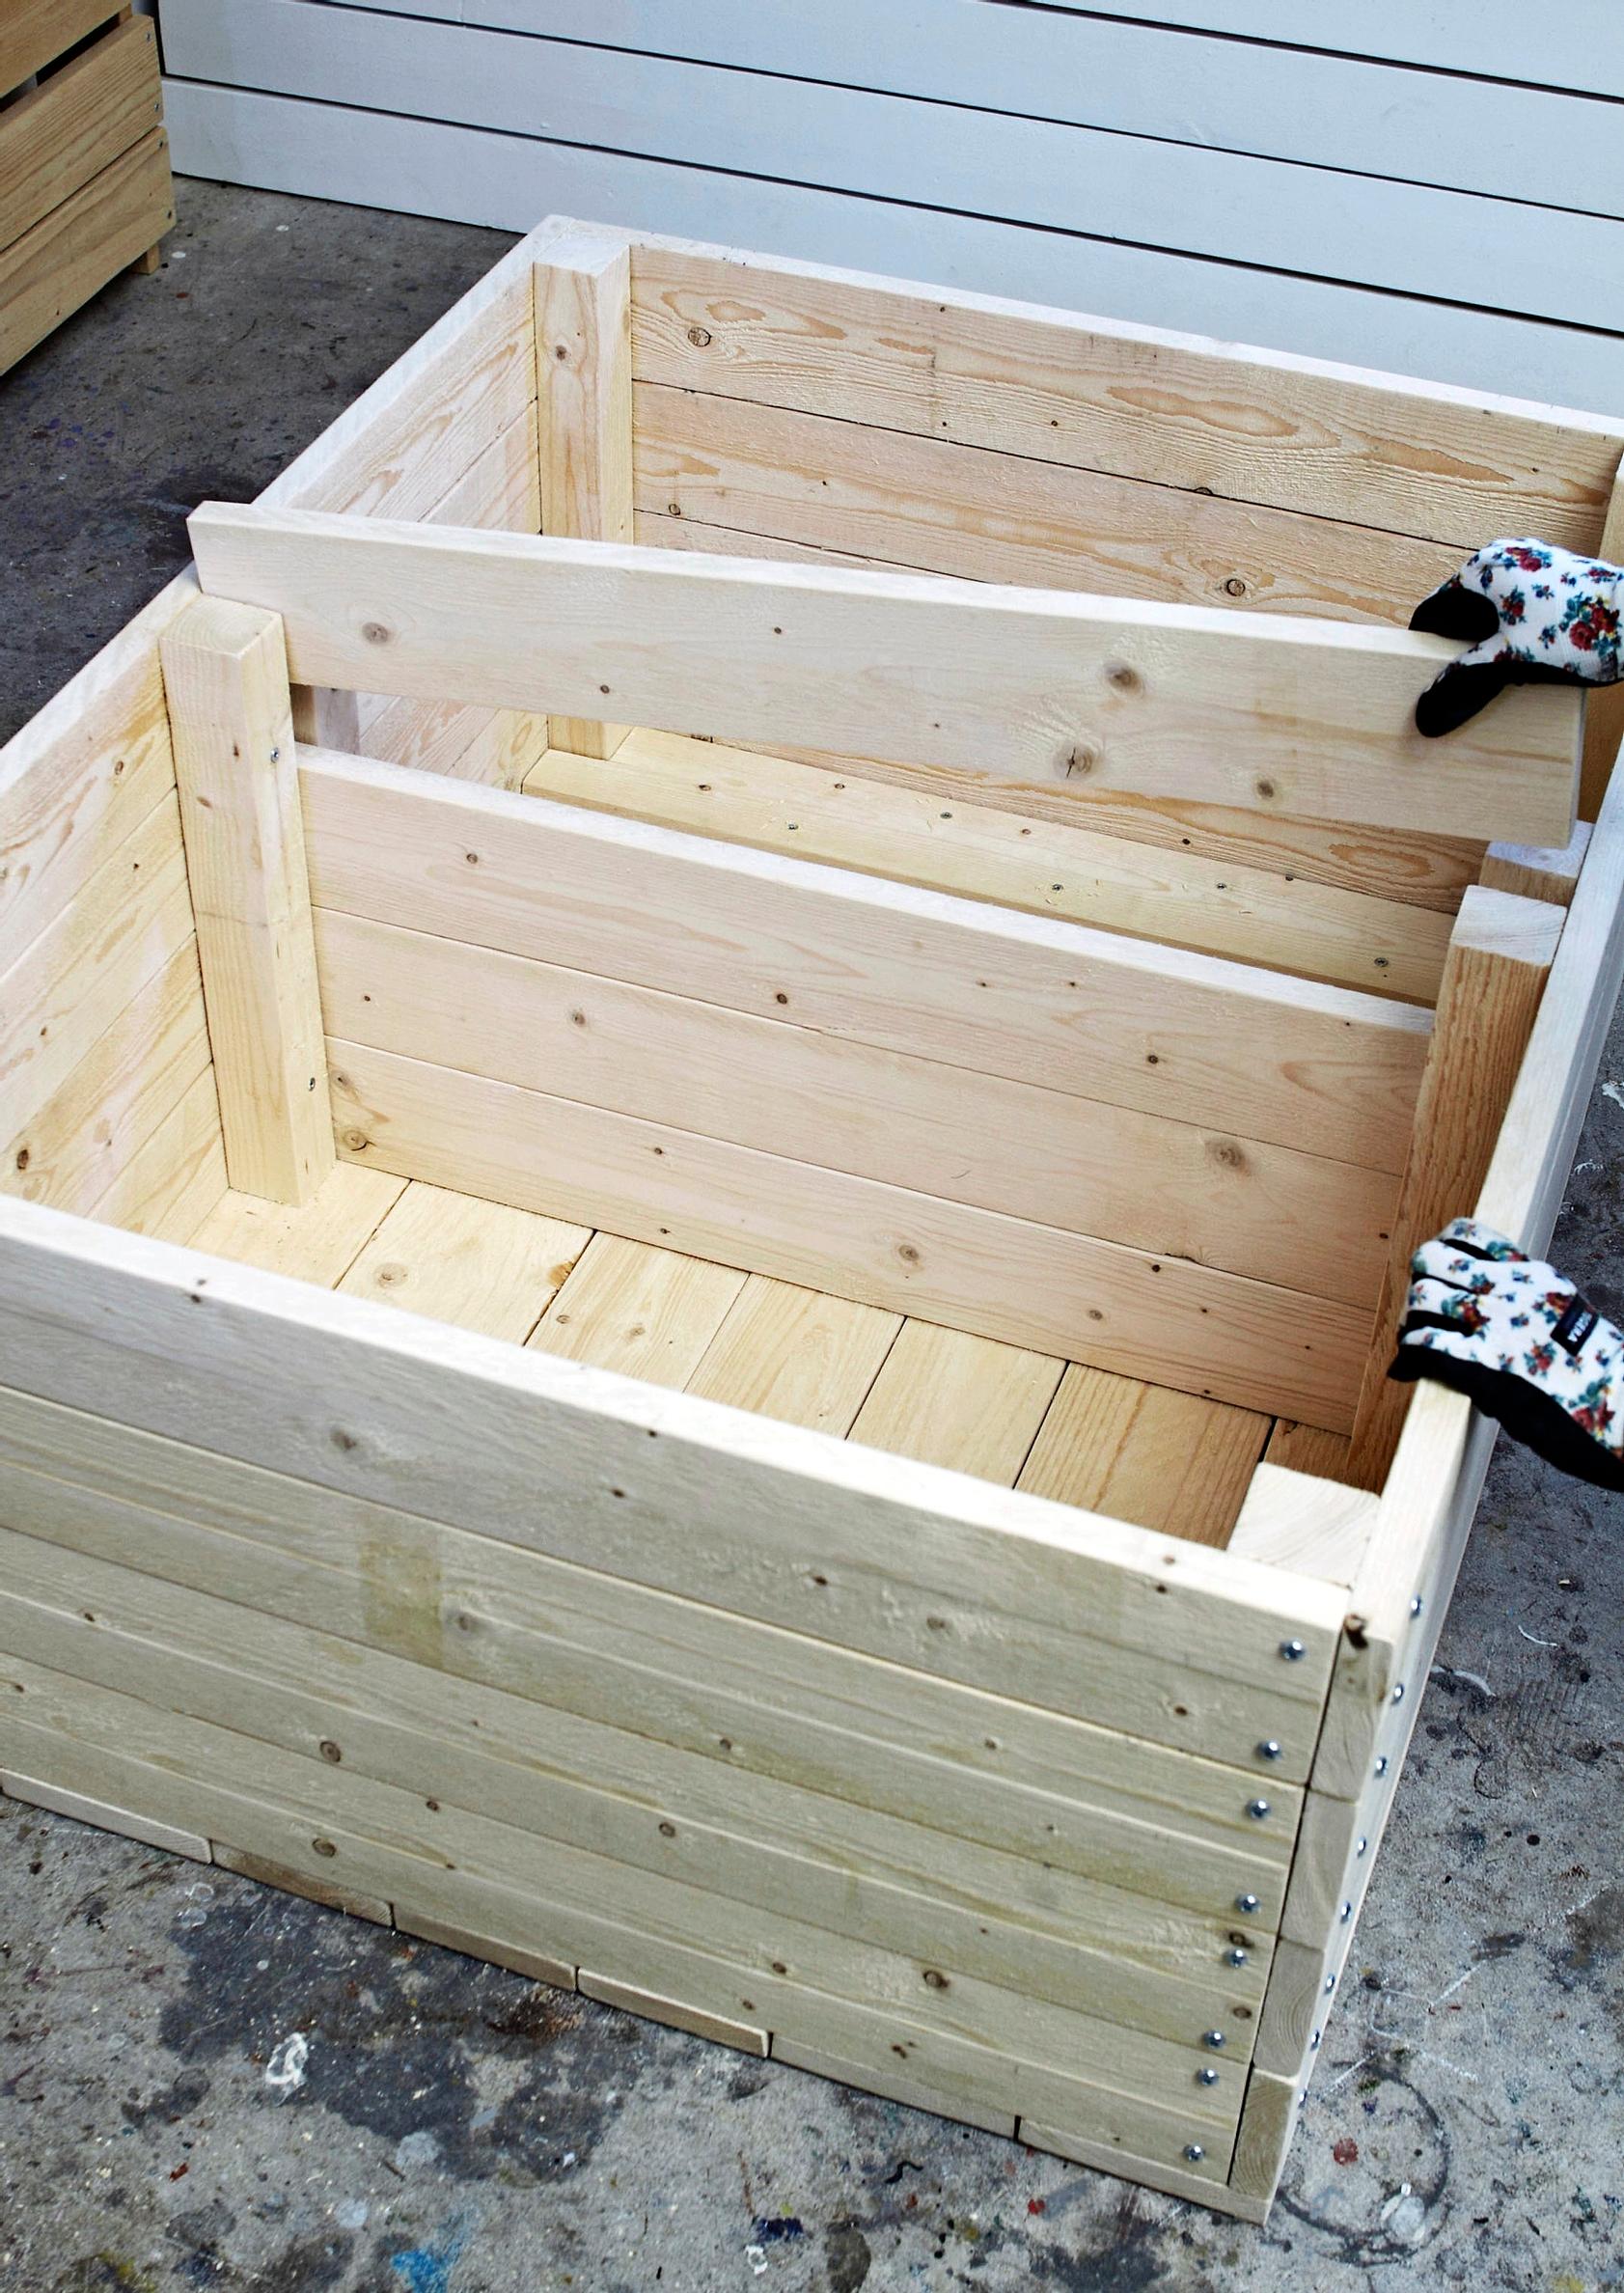
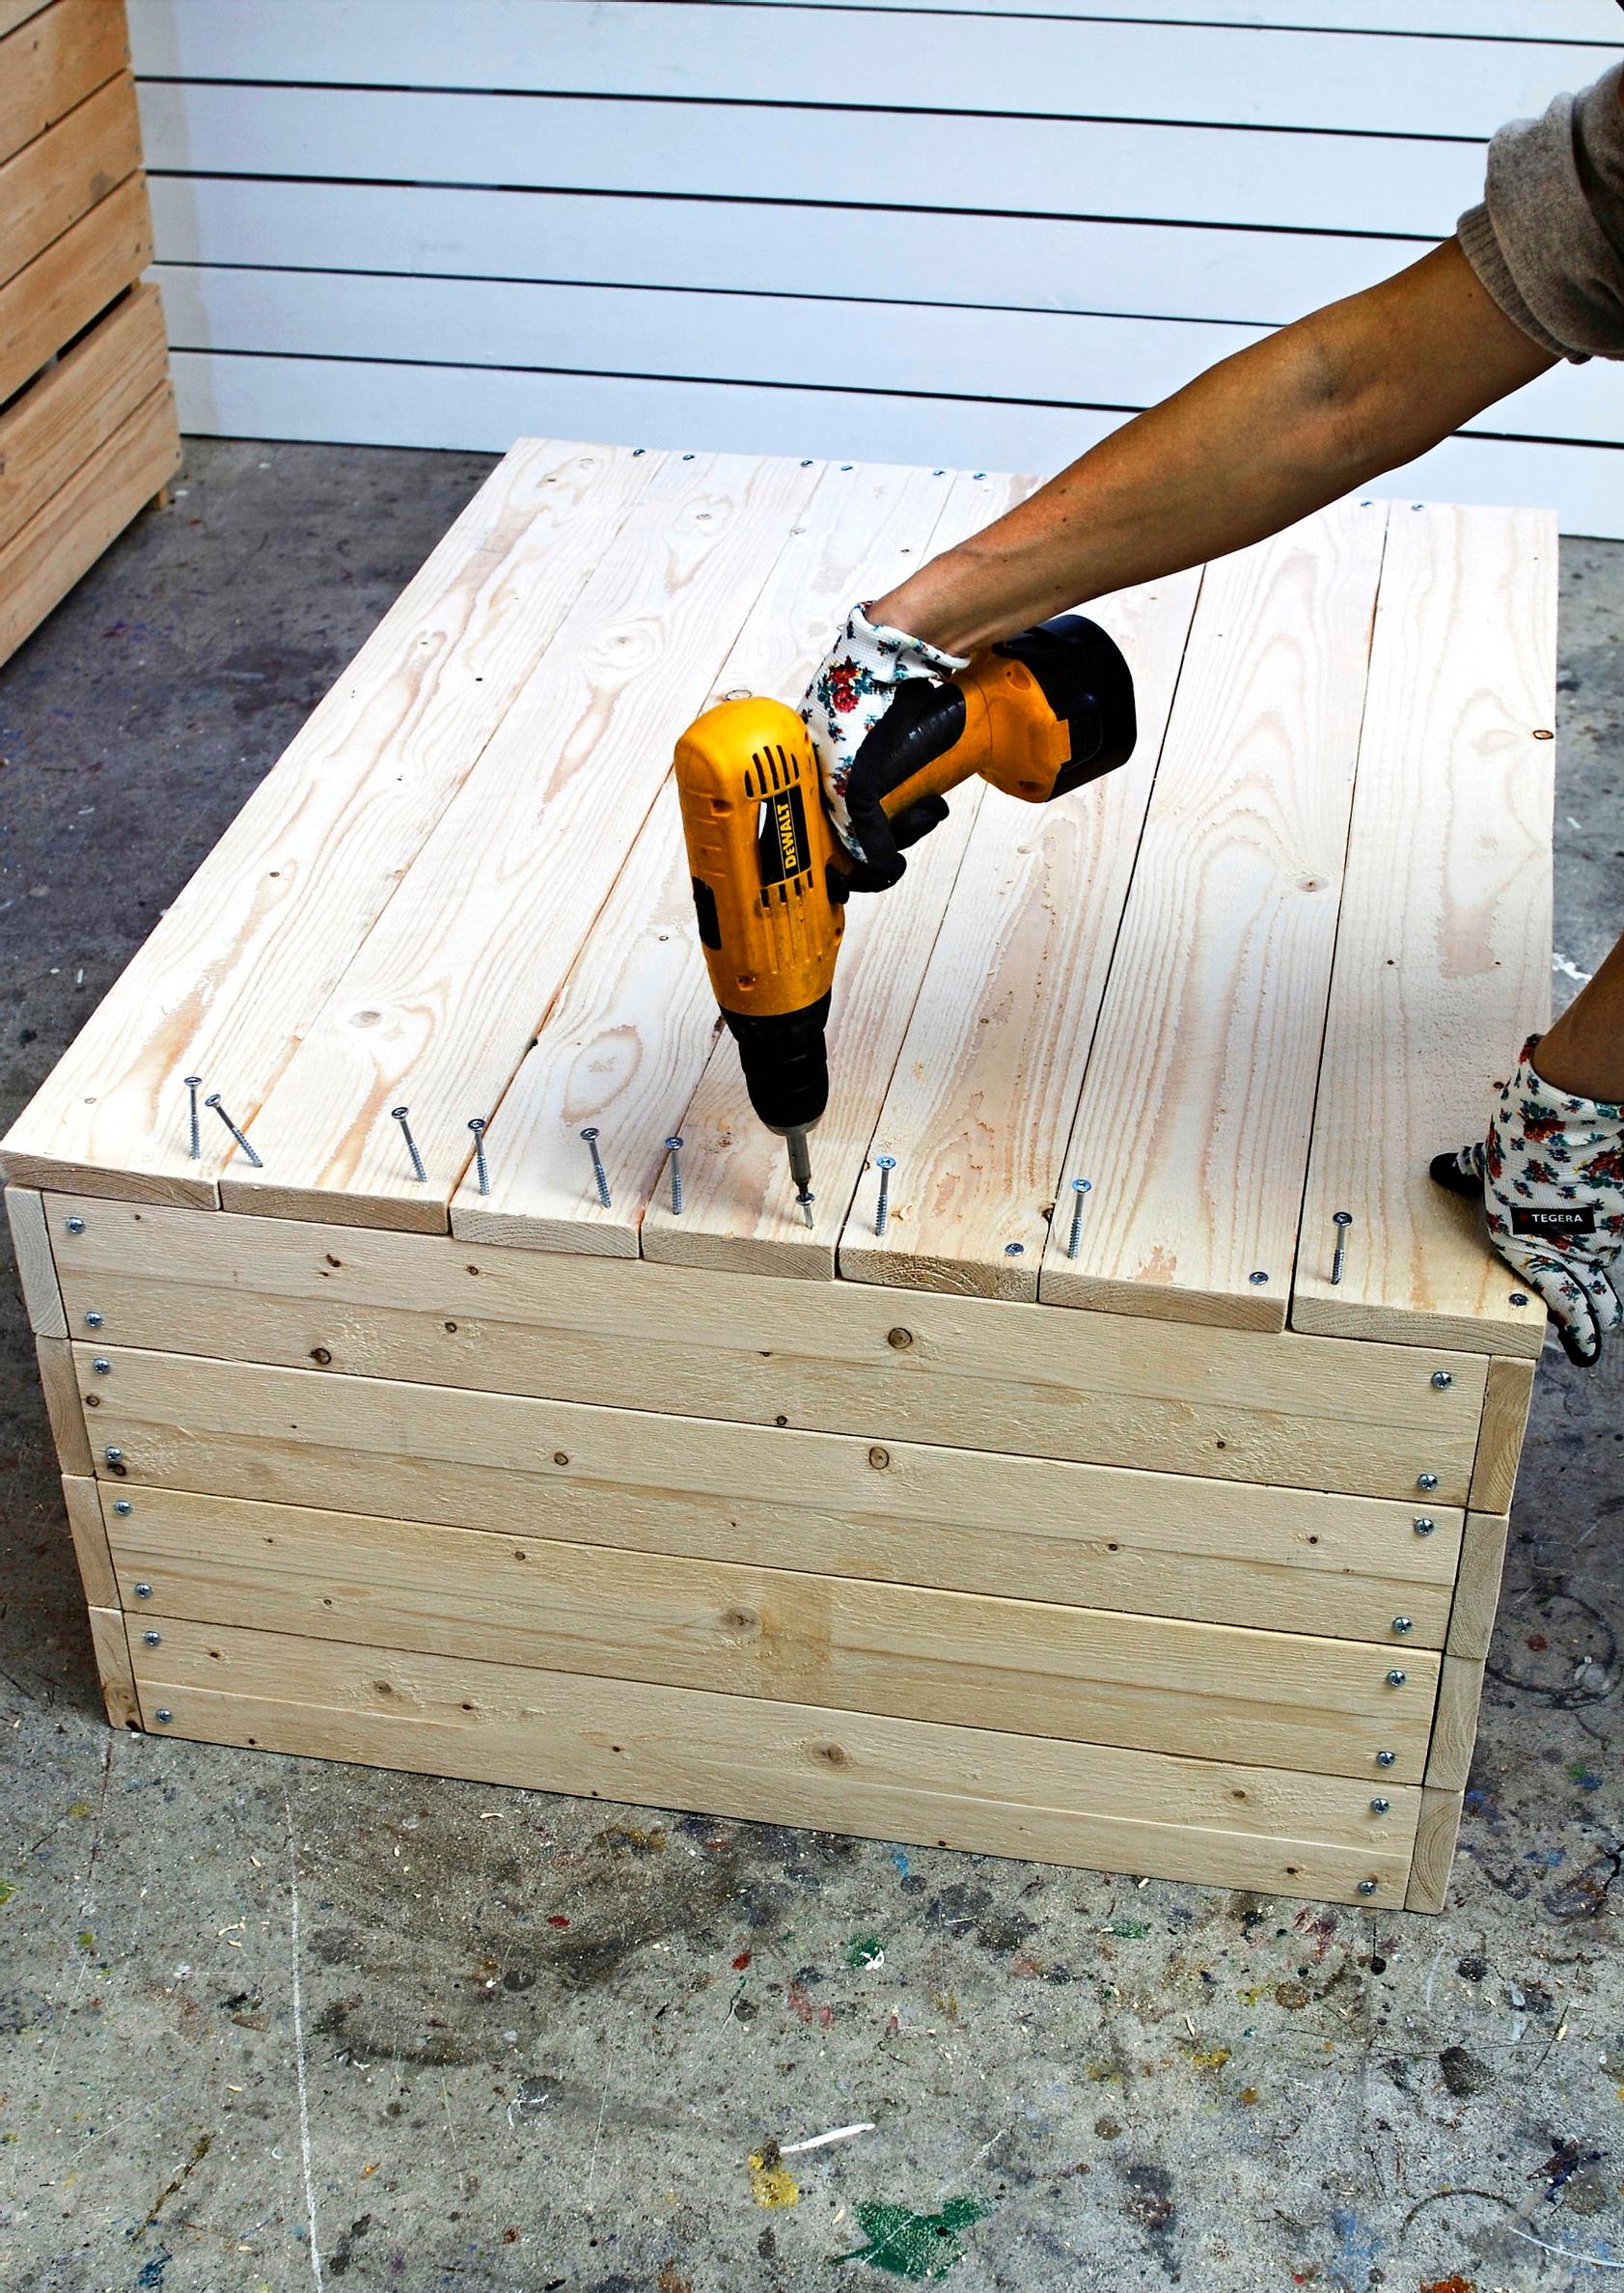
7. Create a dividing wall in the middle of the box using boards cut to size. You can secure them, but leaving them loose makes cleaning easier.

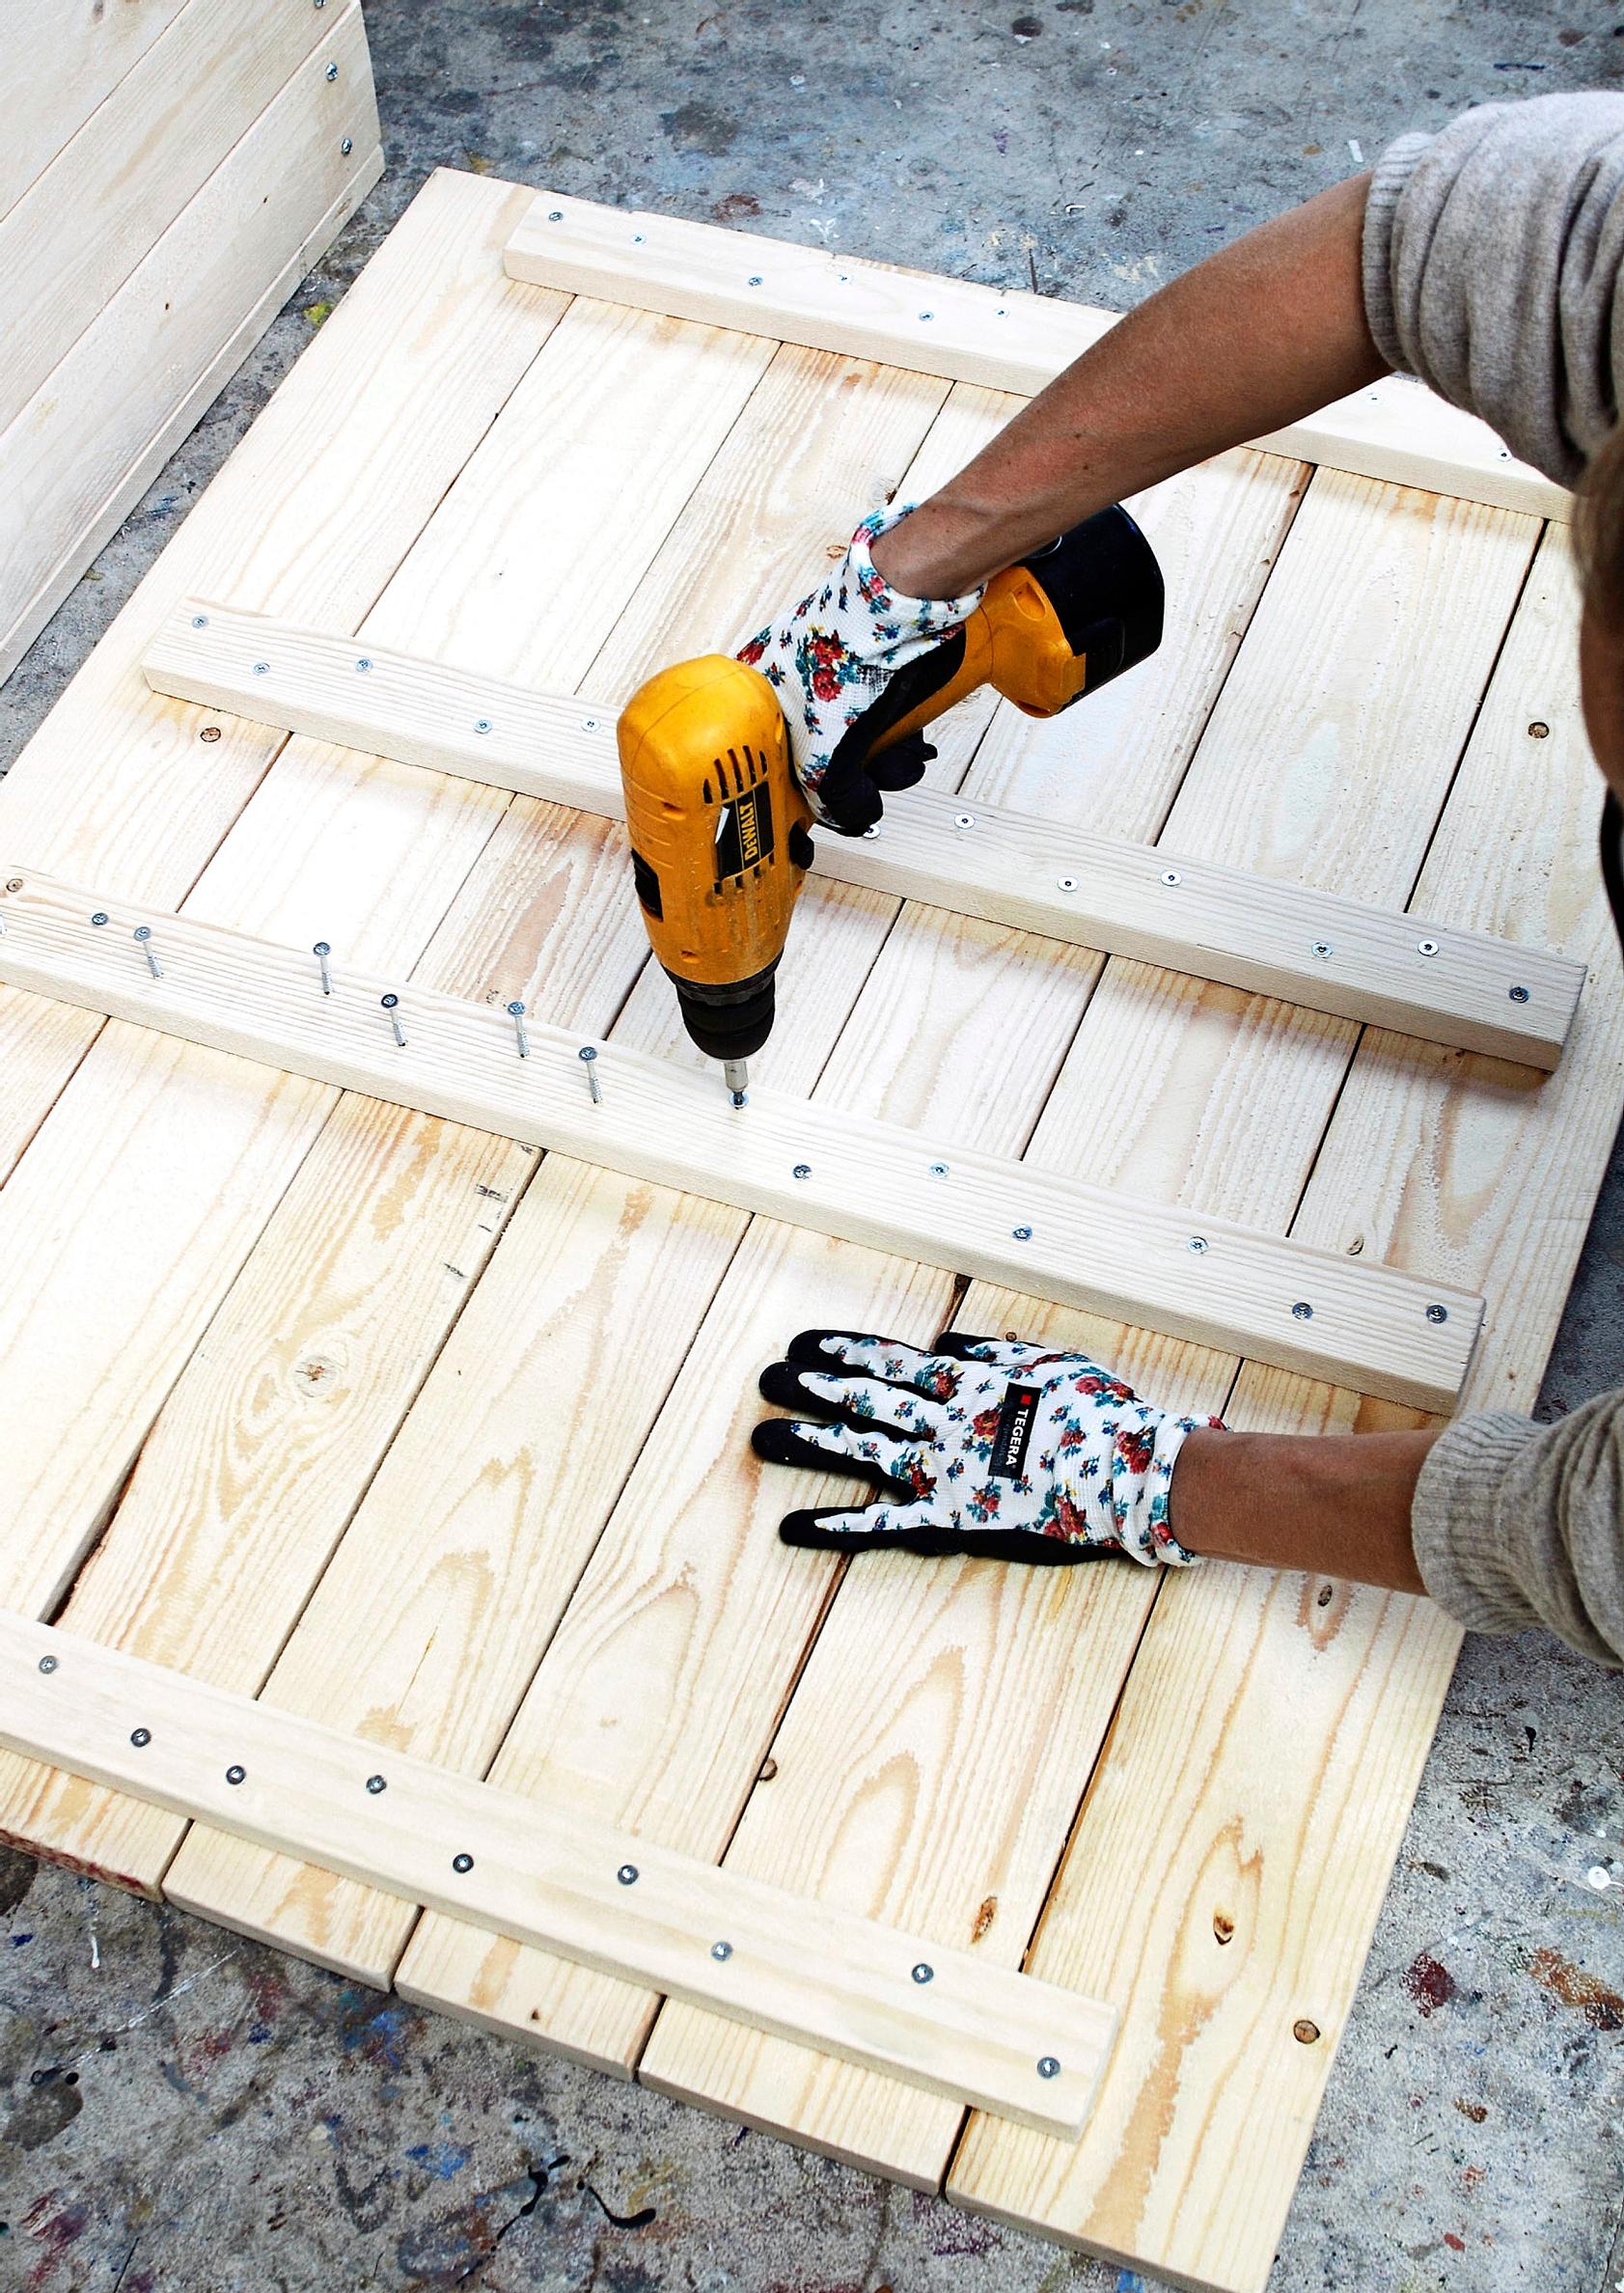
8. Assemble the lid just like the base, using wide boards along the edges and narrow boards in the center. Place two 63 cm strips just inside the box edges and the 71 cm strips closer to the lid’s center.

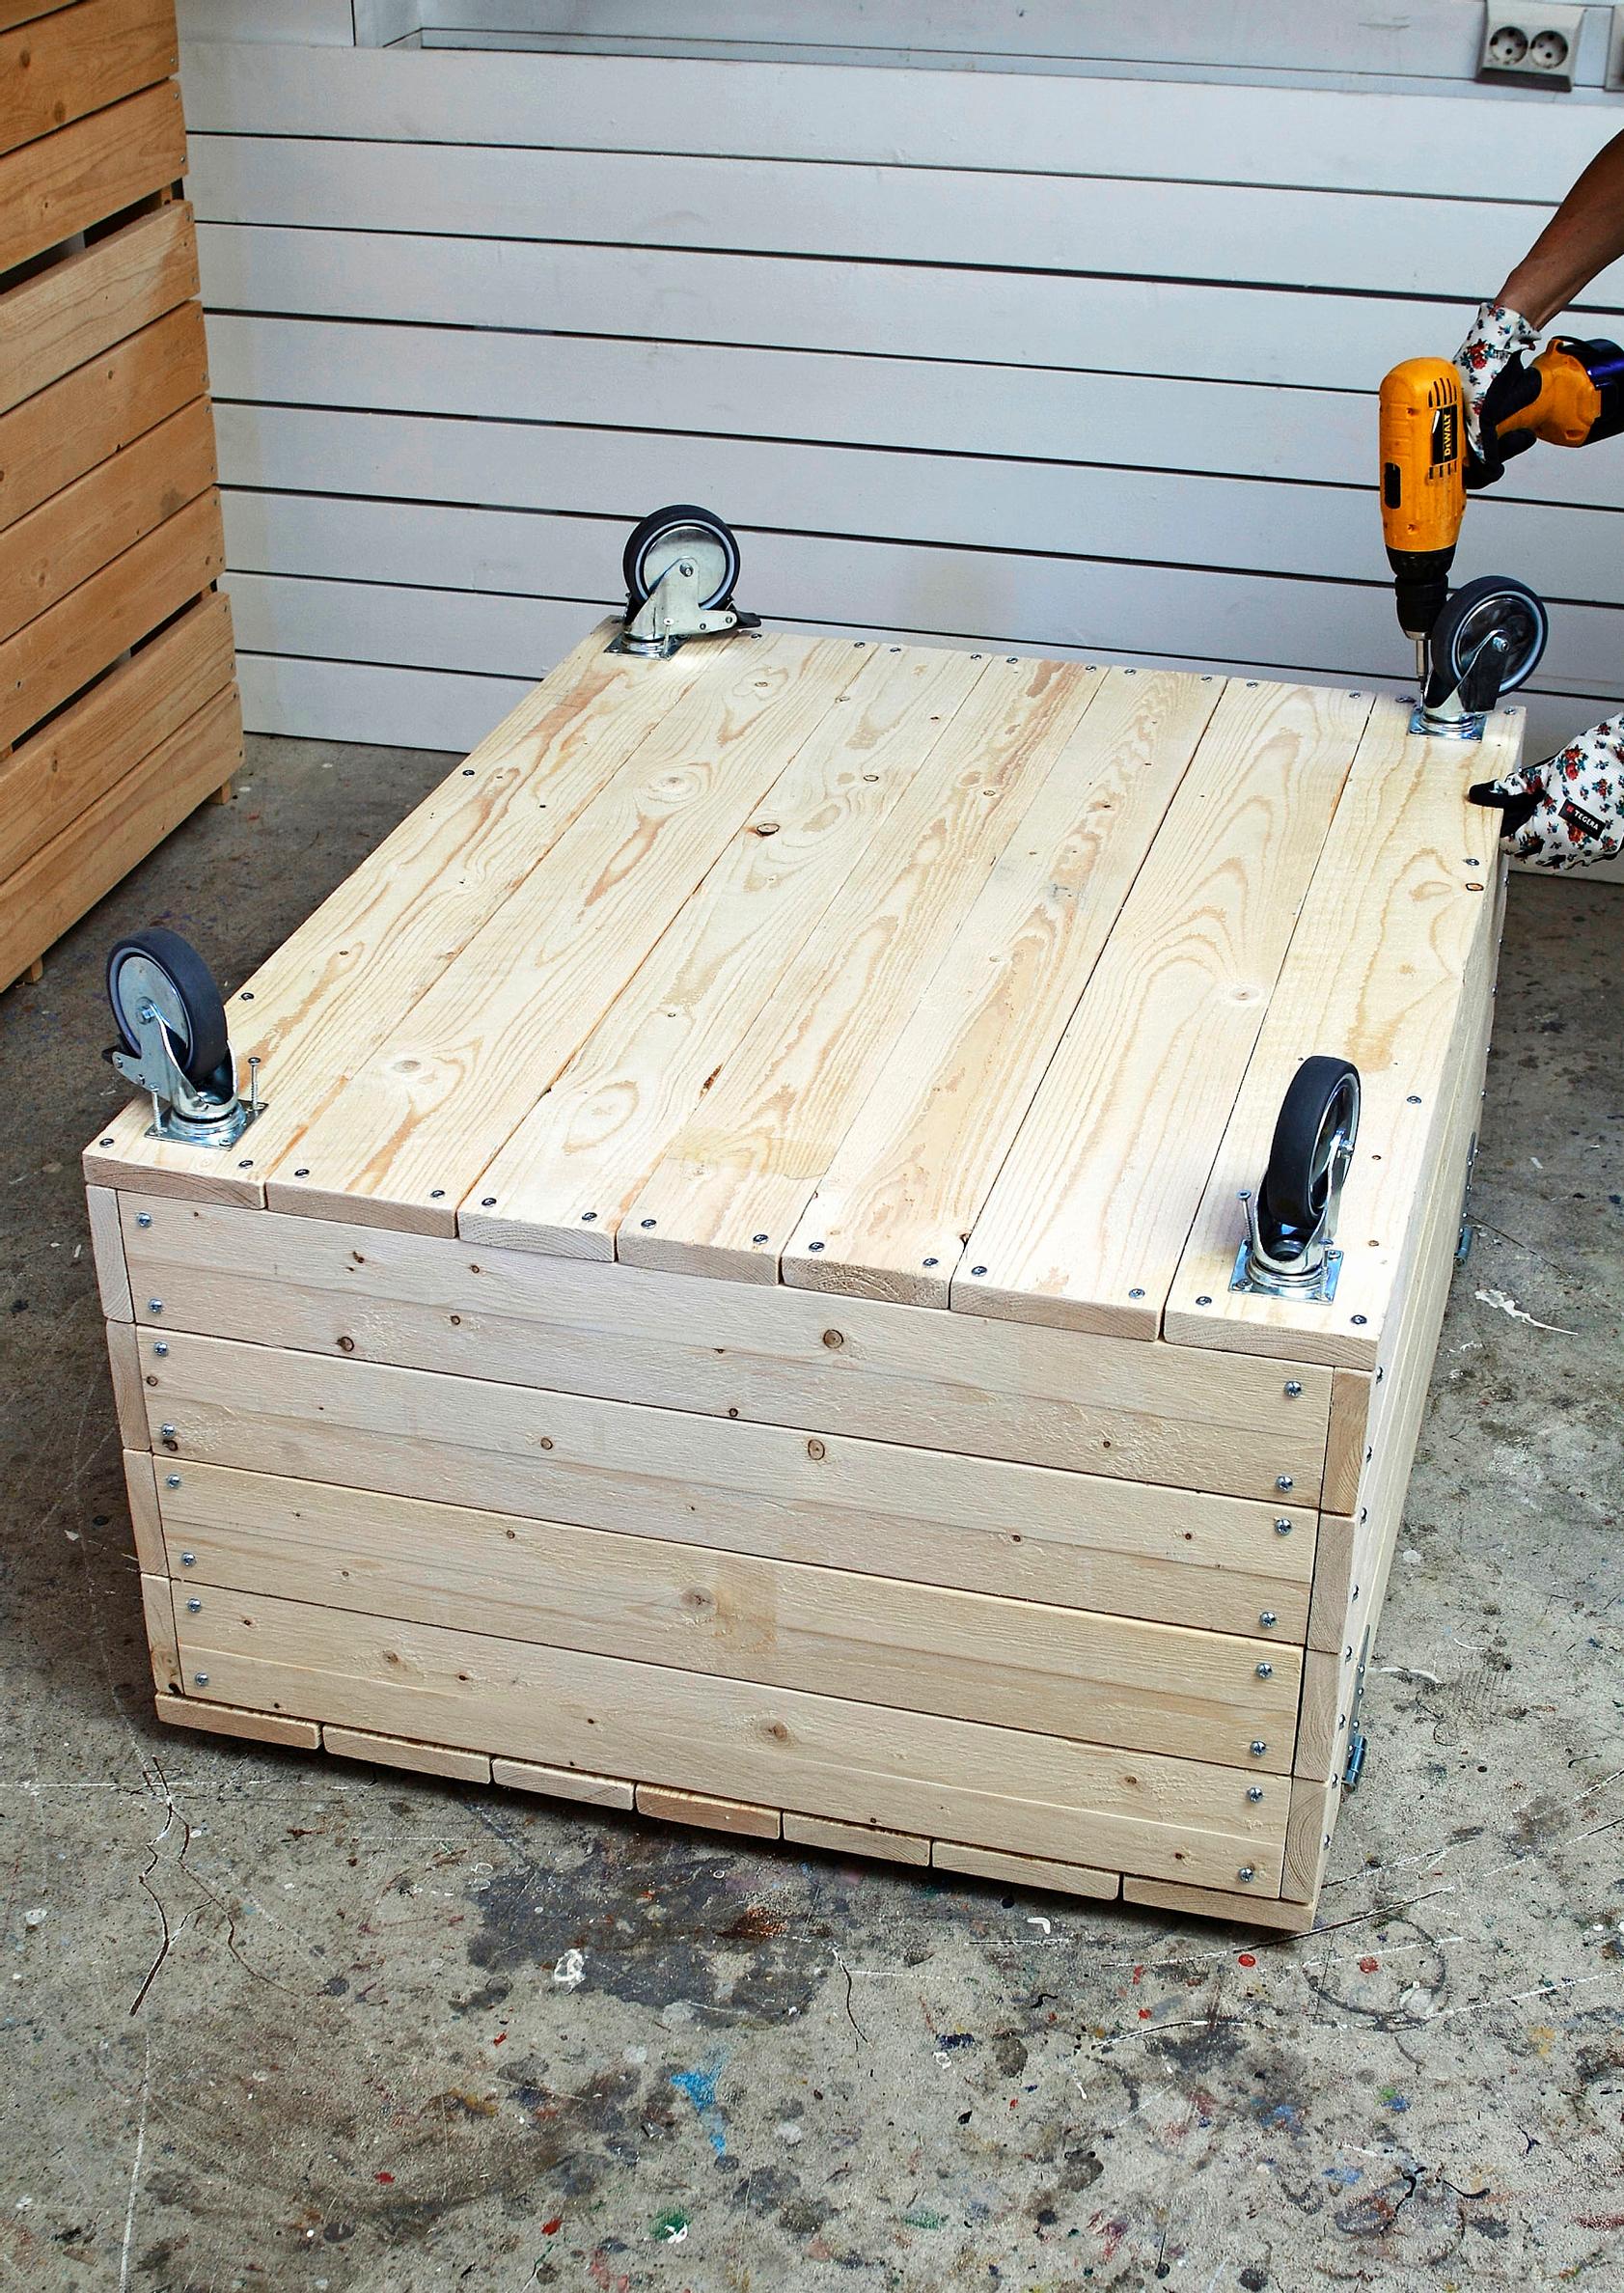
9. Attach the lid to the storage chest with hinges. Flip the finished chest upside down and secure the casters at the corners, leaving about a 3 cm gap from the edges. Put the lockable casters at the front.

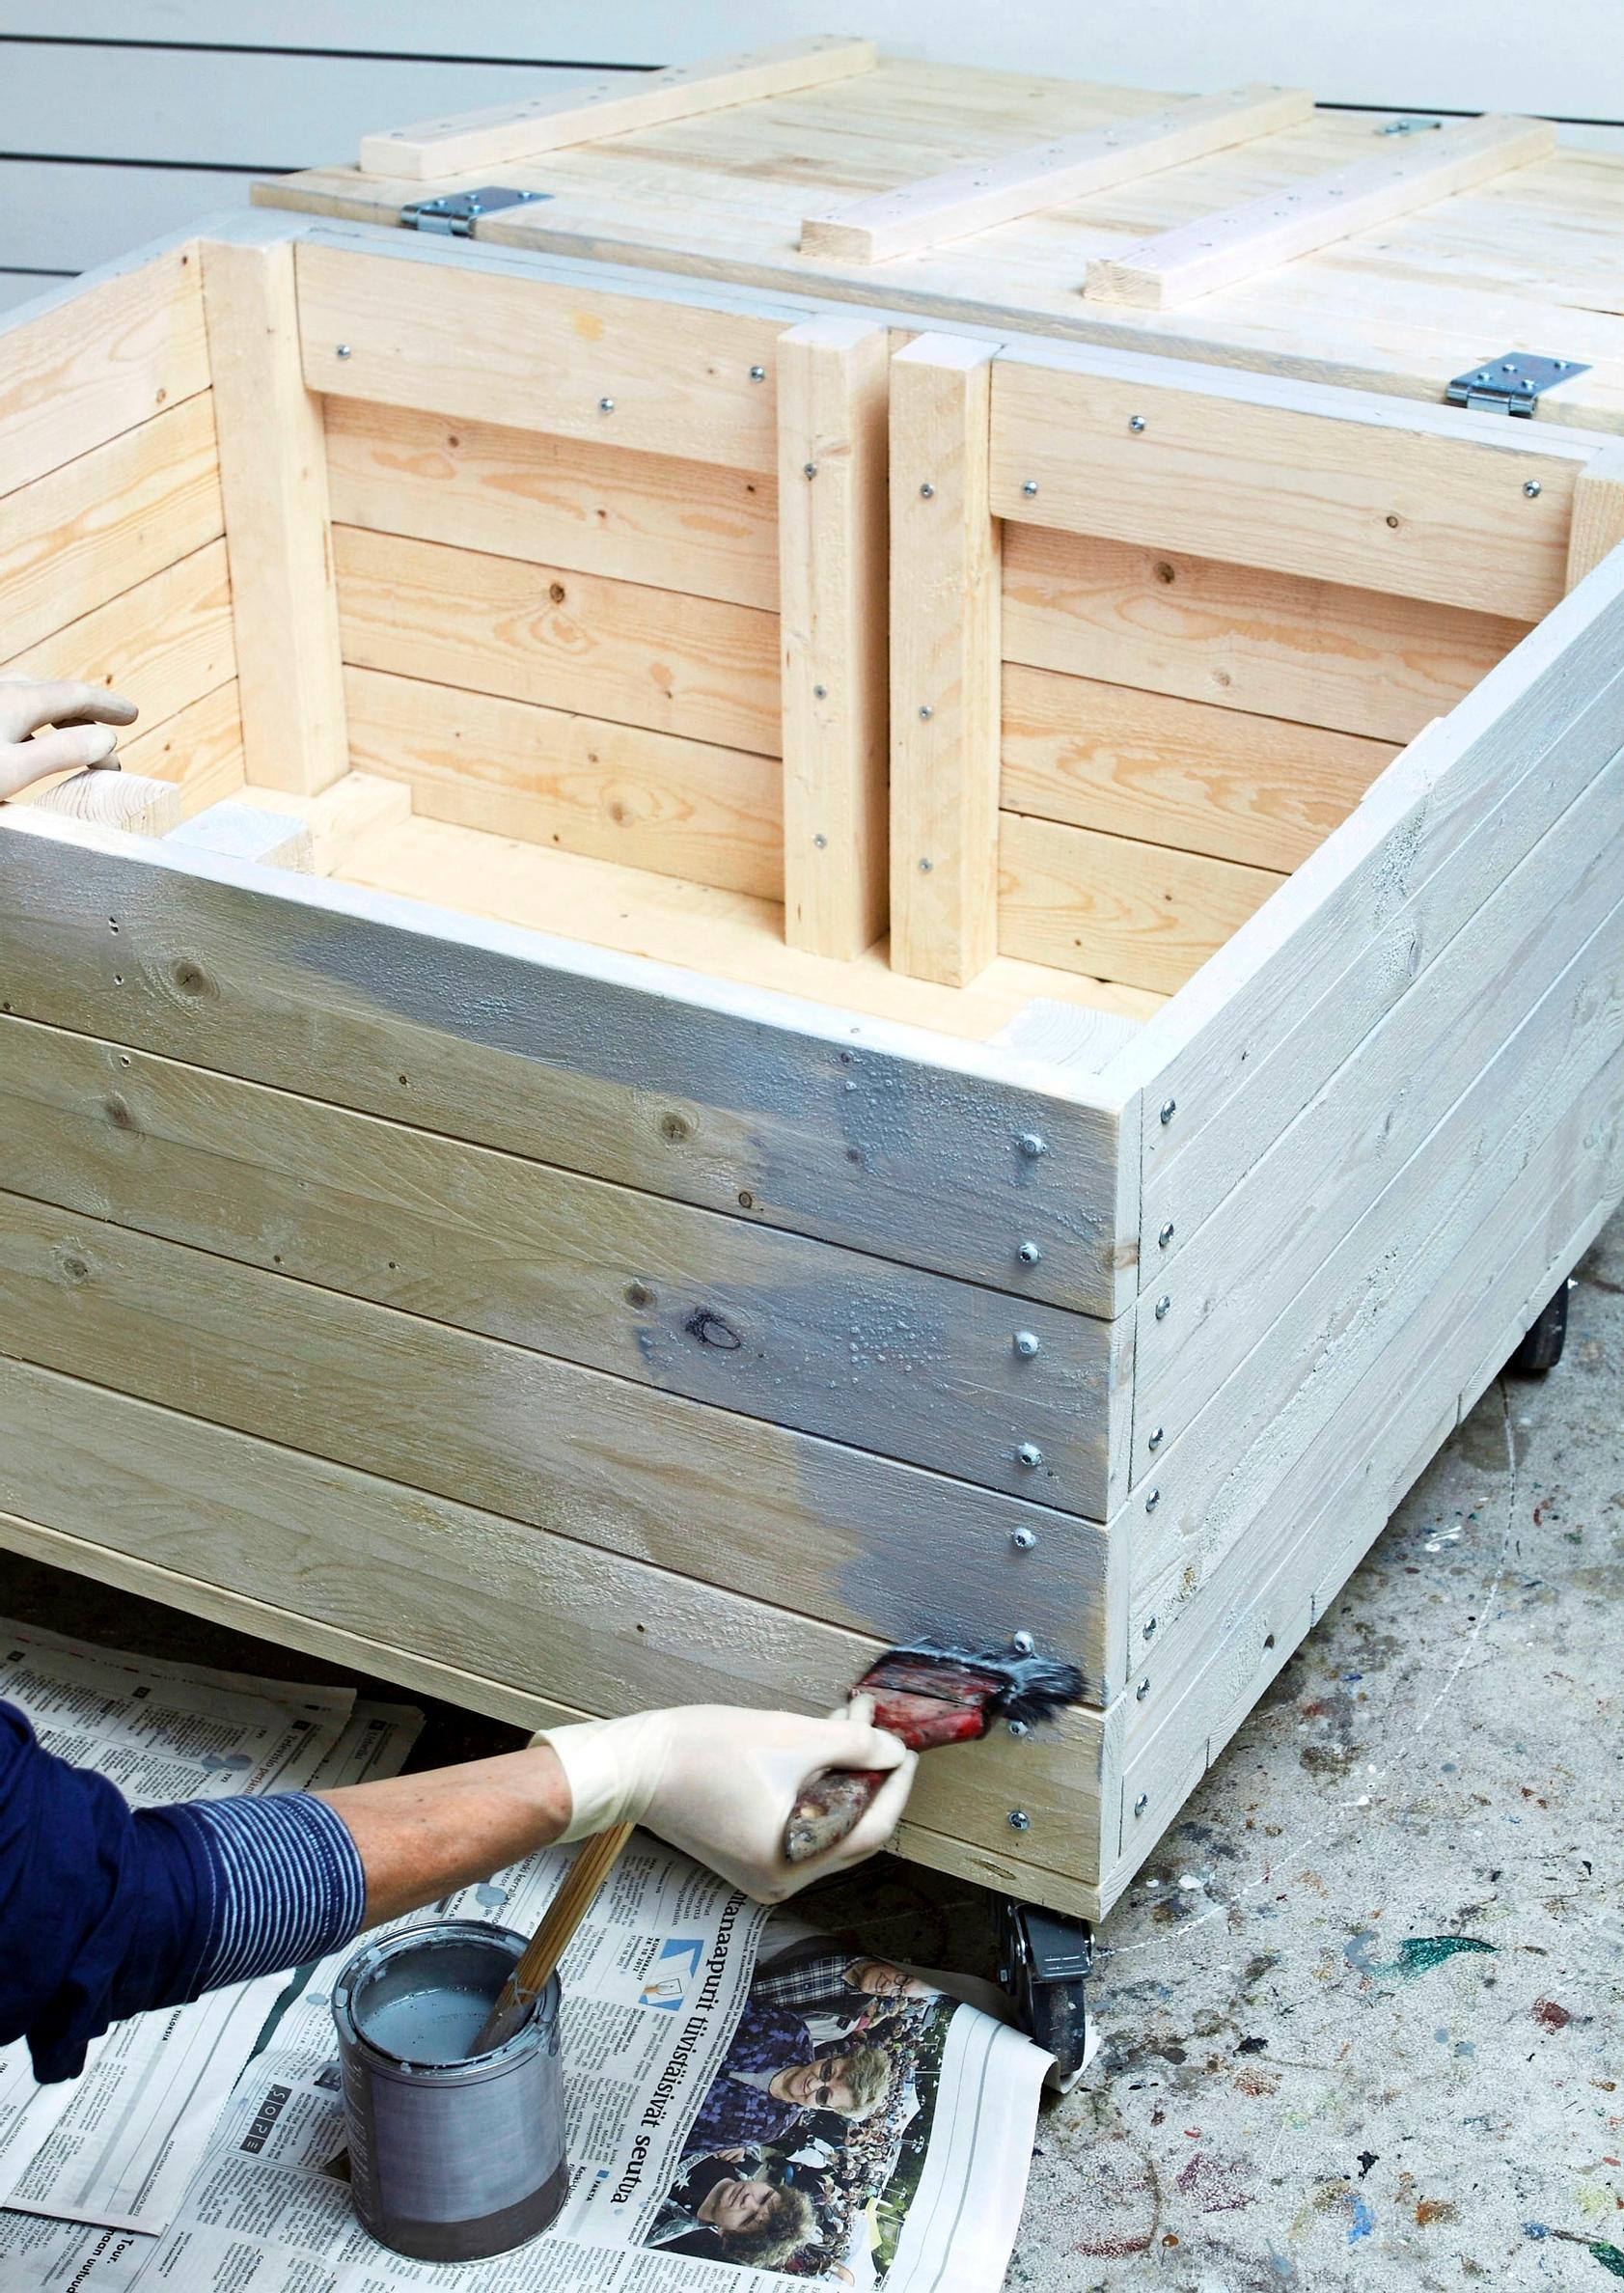
10. Install horizontal support boards on the back of the chest. Use opaque furniture paint or a translucent, tinted lacquer to finish. A glossy paint will give it a sleek look.

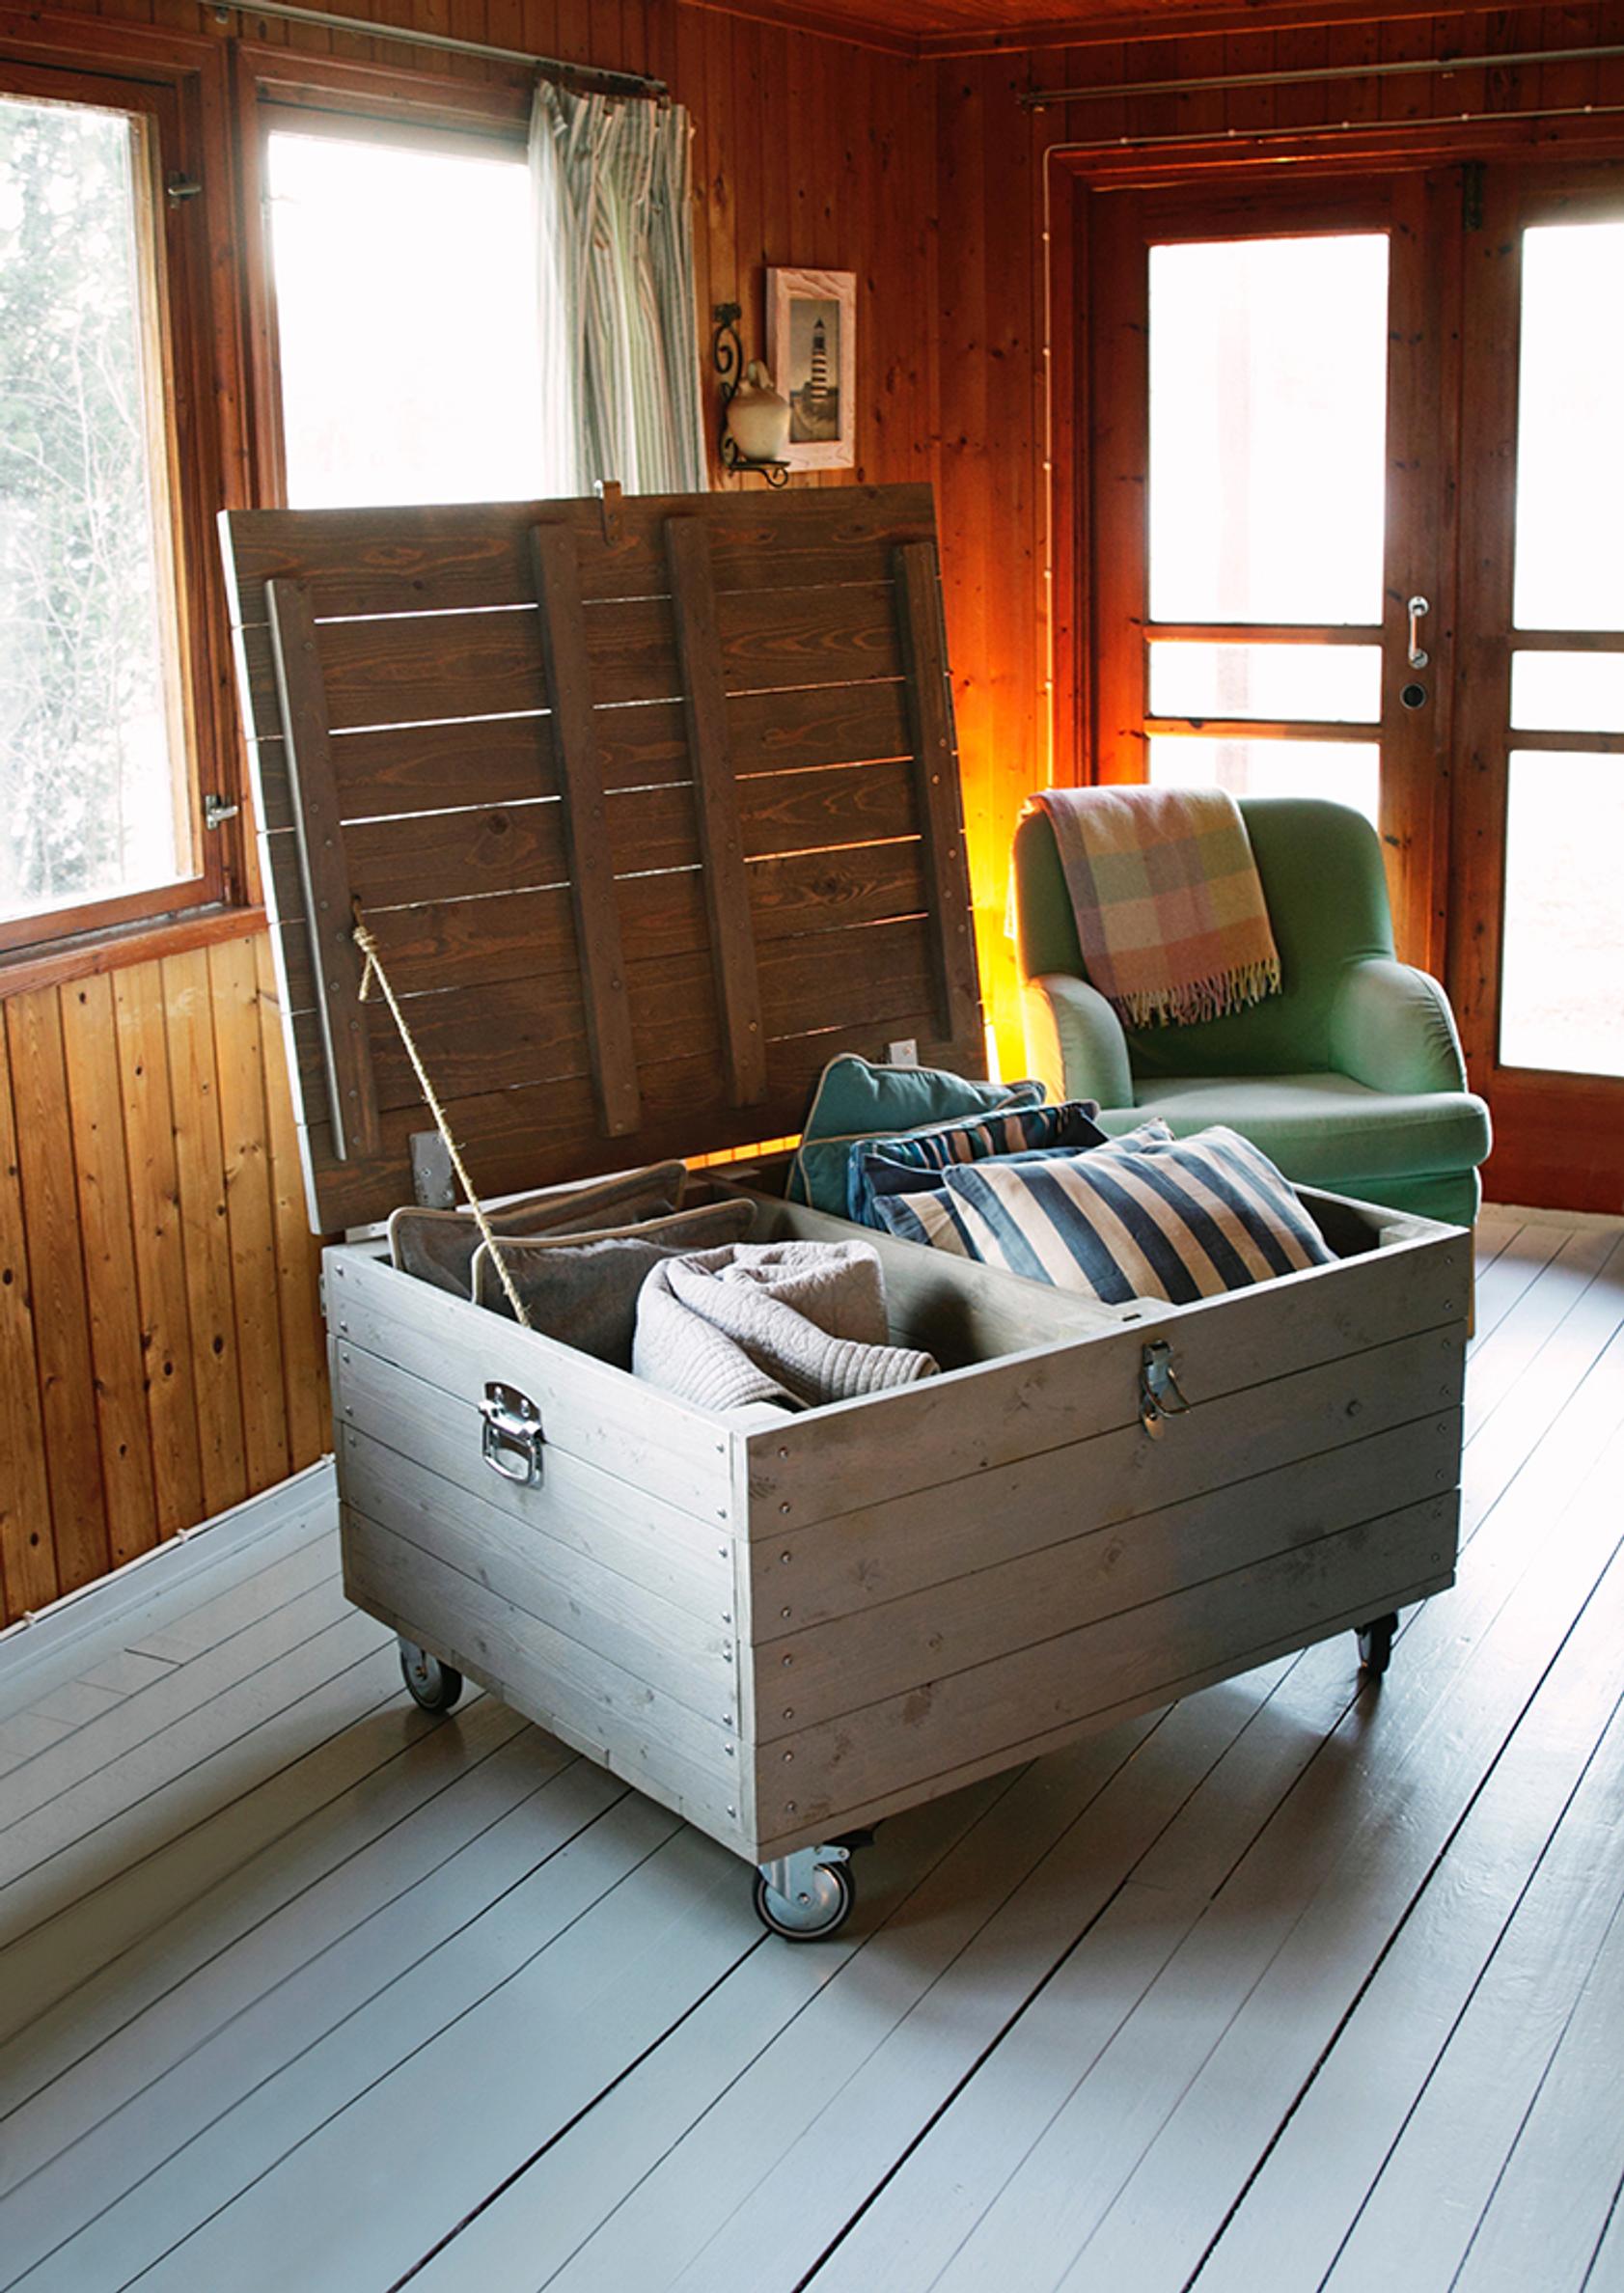
11. Finally, install the eye screws for the lid cord, along with the lock hasp and handles. Use the chest to store extra bedding or guests’ linens—or whatever you like.