Growing rosemary tips: Everything you need to know!
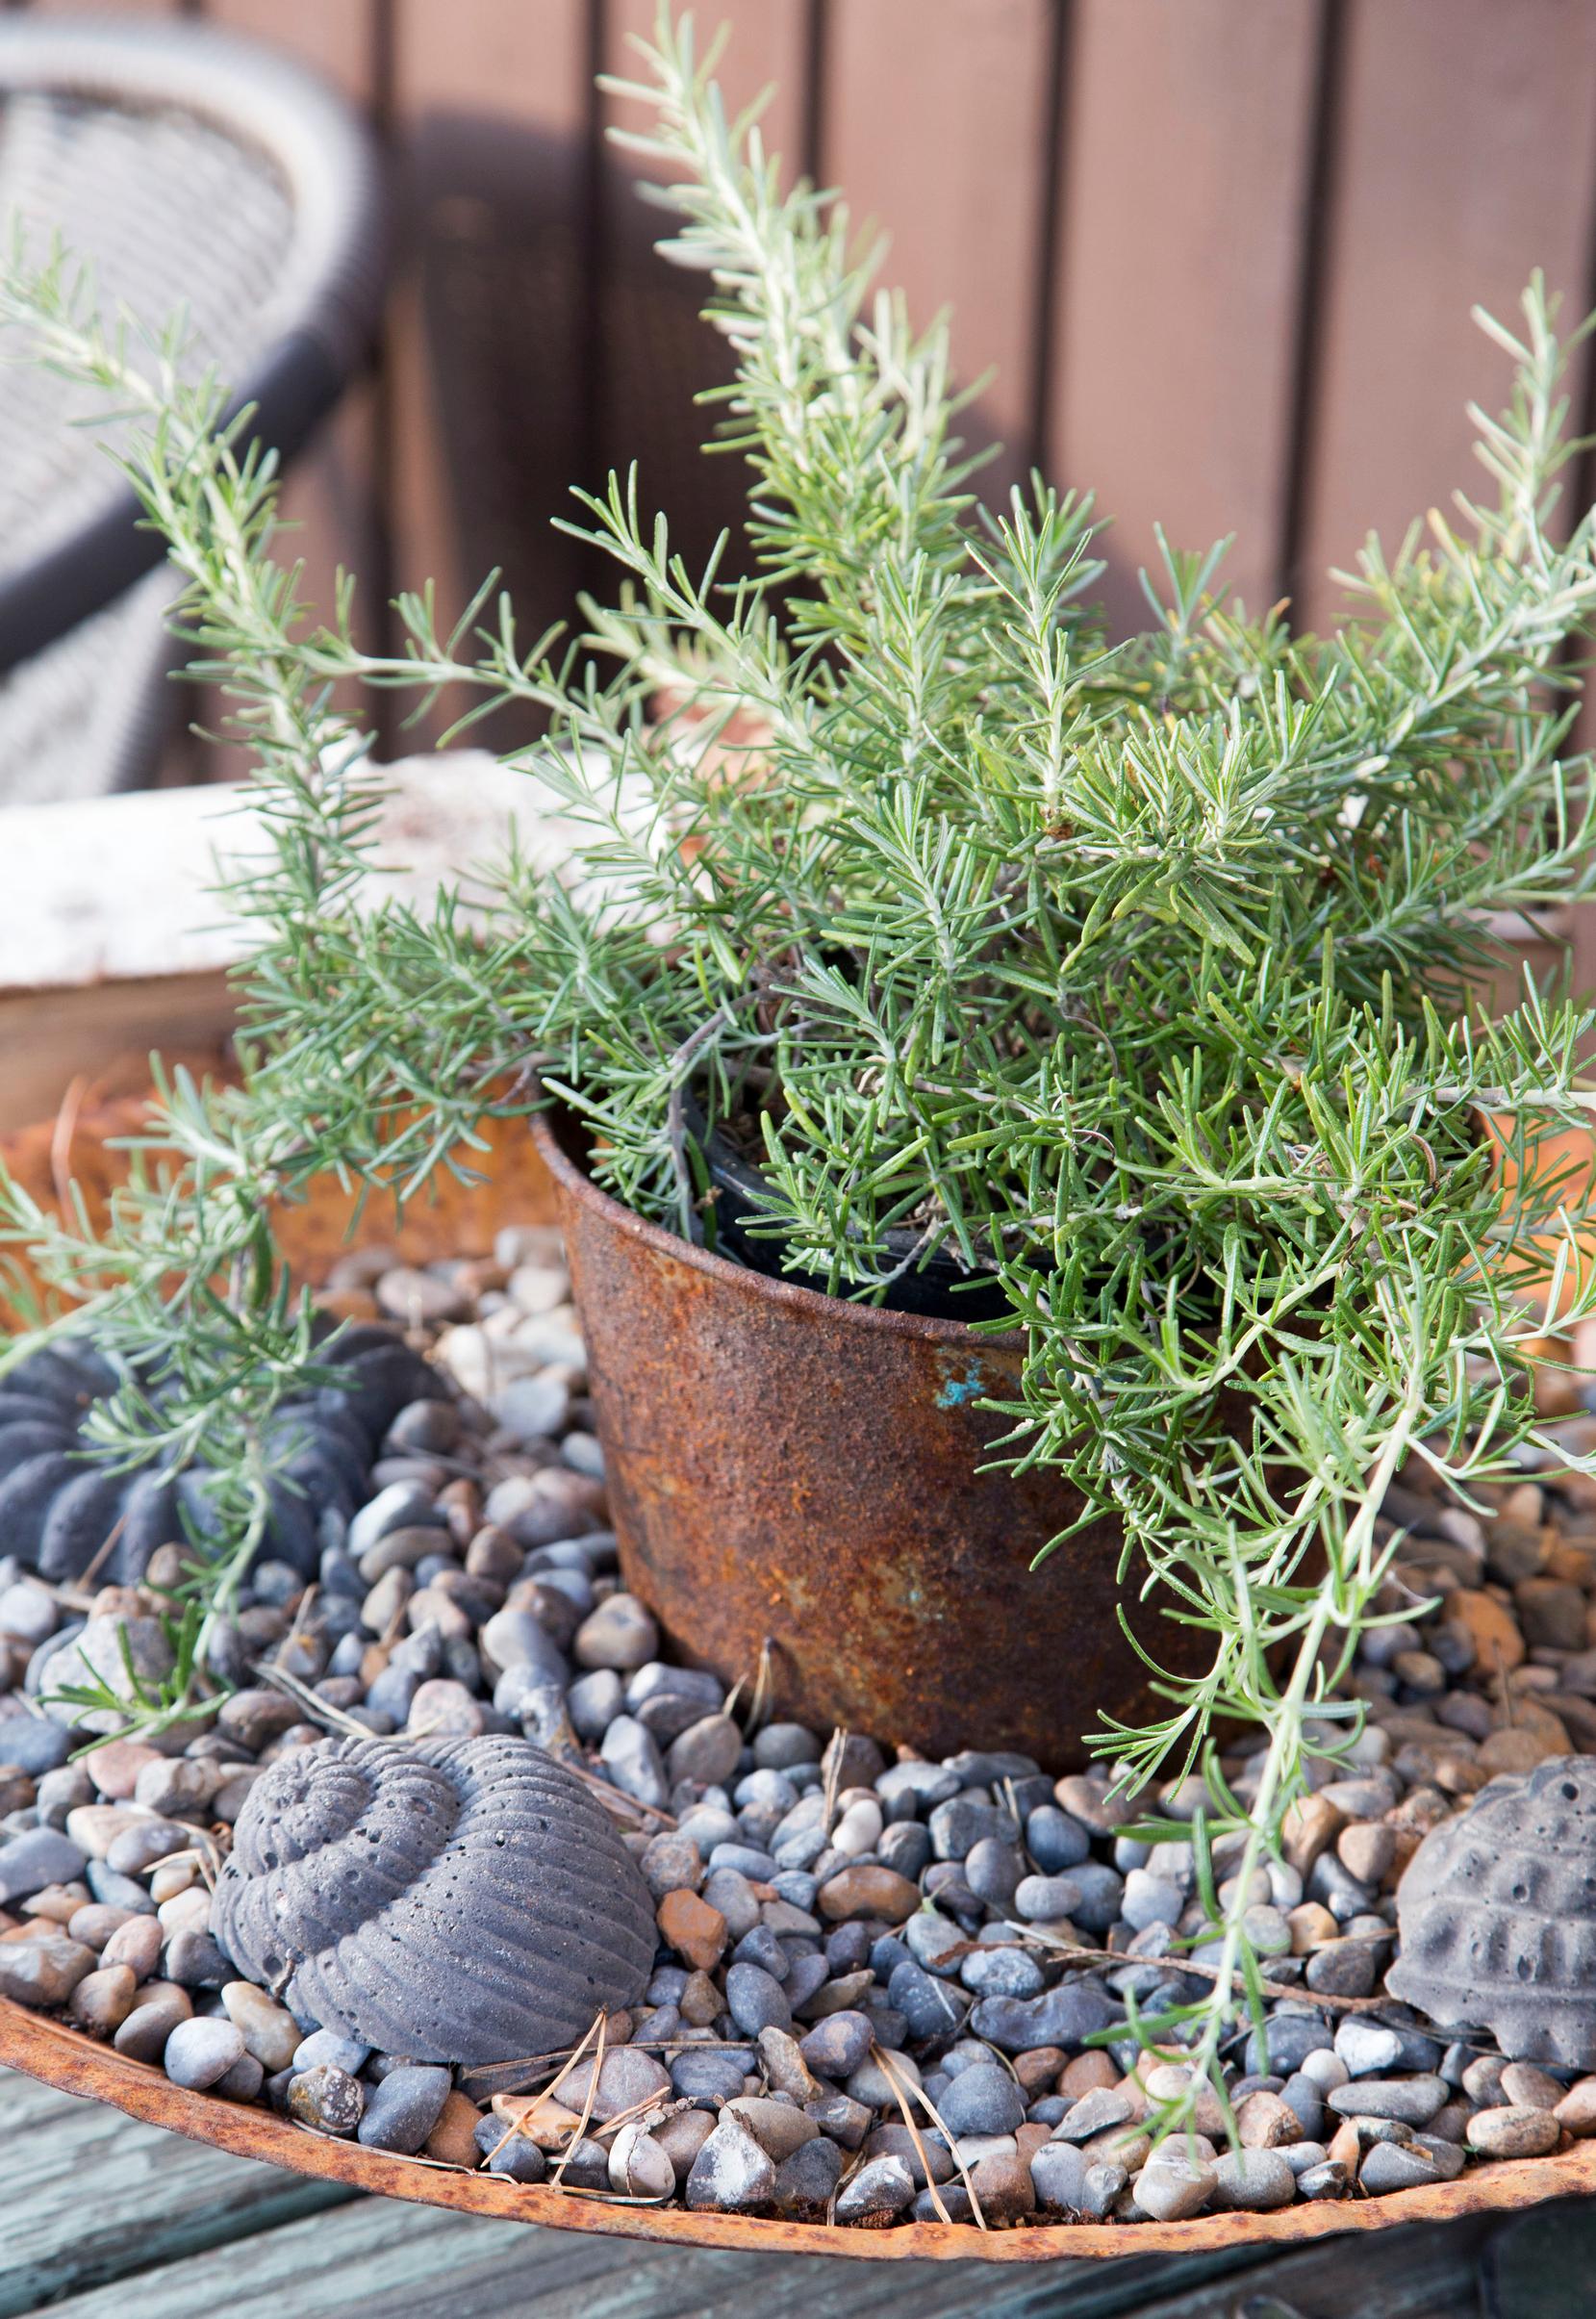
Growing rosemary in a pot is easy! Since rosemary leaves lose very little moisture, the plant tolerates dryness and direct sunlight. Once you find the right watering routine, your rosemary will thrive. Check out our tips for growing rosemary.
Rosemary, Rosmarinus officinalis
- Perennial in its native region, but annual in for example Finland. It grows in the Mediterranean on rugged slopes and reaches about 50–250 centimeters in height.
- Well suited for pot cultivation.
- Needs humus-rich, limed, and well-draining soil.
- Thrives in warm conditions.
- Propagates from cuttings.
- Very sensitive to frost.
- Strongly aromatic.
Growing rosemary tips
Sowing and pre-cultivation
Start by buying a seedling, a potted herb, cuttings, or seeds. Growing from seeds requires patience, as germination can be uneven and slow, lasting 1–4 weeks. Cuttings typically root within 4–8 weeks.
Cold treatment helps seeds germinate. Scatter the seeds on potting soil and place the container in a cool spot, like the fridge. After 1–2 weeks, relocate the seedlings to a place where the temperature is ideally 18–22 °C. The best temperature range for cold treatment is +0–4 °C.
Be gentle with the roots when transplanting or potting.

Growing location
Grow rosemary on a bright windowsill, in a greenhouse, or outdoors in a pot placed in a sunny and warm spot.
Rosemary flourishes in rich, limed, sandy soil that drains well. Its roots are sensitive to excess moisture, so improve drainage by mixing in sand.
If planting in open ground, rosemary needs a sunny, sheltered spot. In Finland, it’s usually best to grow it in a pot. Add drainage at the bottom of the pot with expanded clay pebbles or fragments.
Use some of rosemary’s abundant stems to start new plants. Rooting cuttings works well in a flower pot on a bright kitchen windowsill.

Propagating rosemary
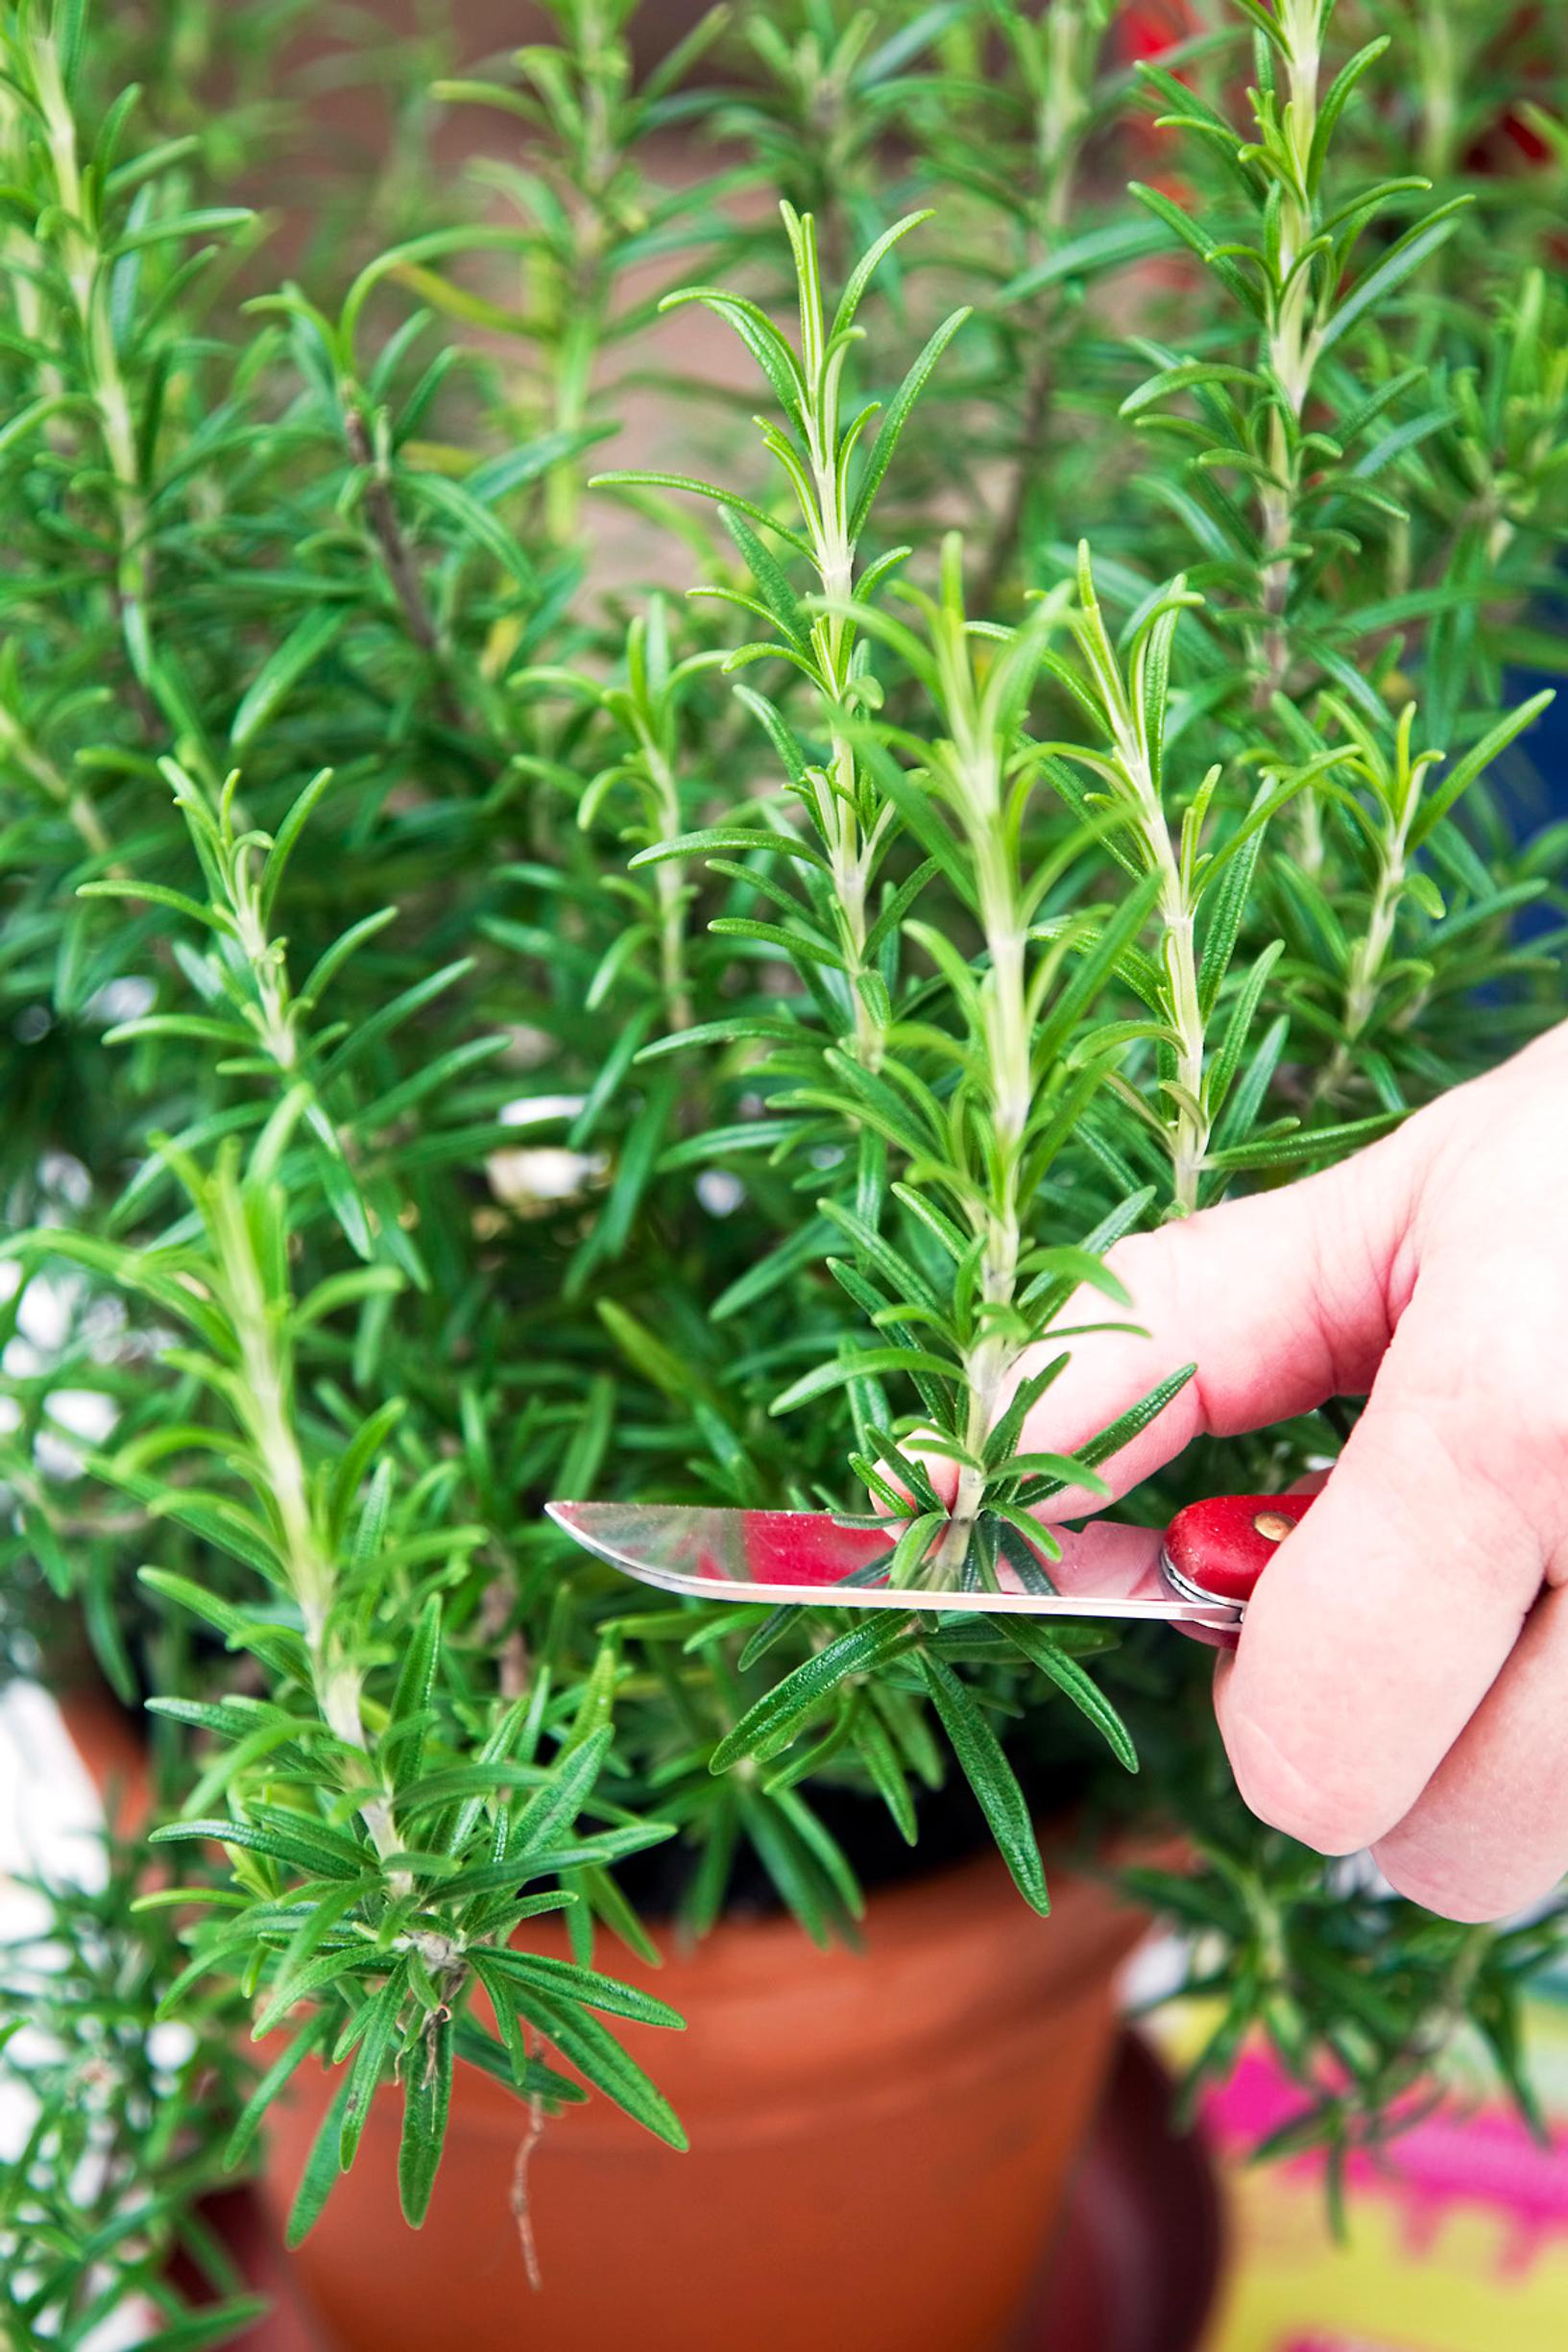
- Pick healthy, young, and robust stems. Non-flowering stems are ideal. If the plant is blooming, remove any flowers and buds. Use a sharp knife to cut the stems. The best time to take cuttings is in the morning, when the plant’s turgor pressure is highest.
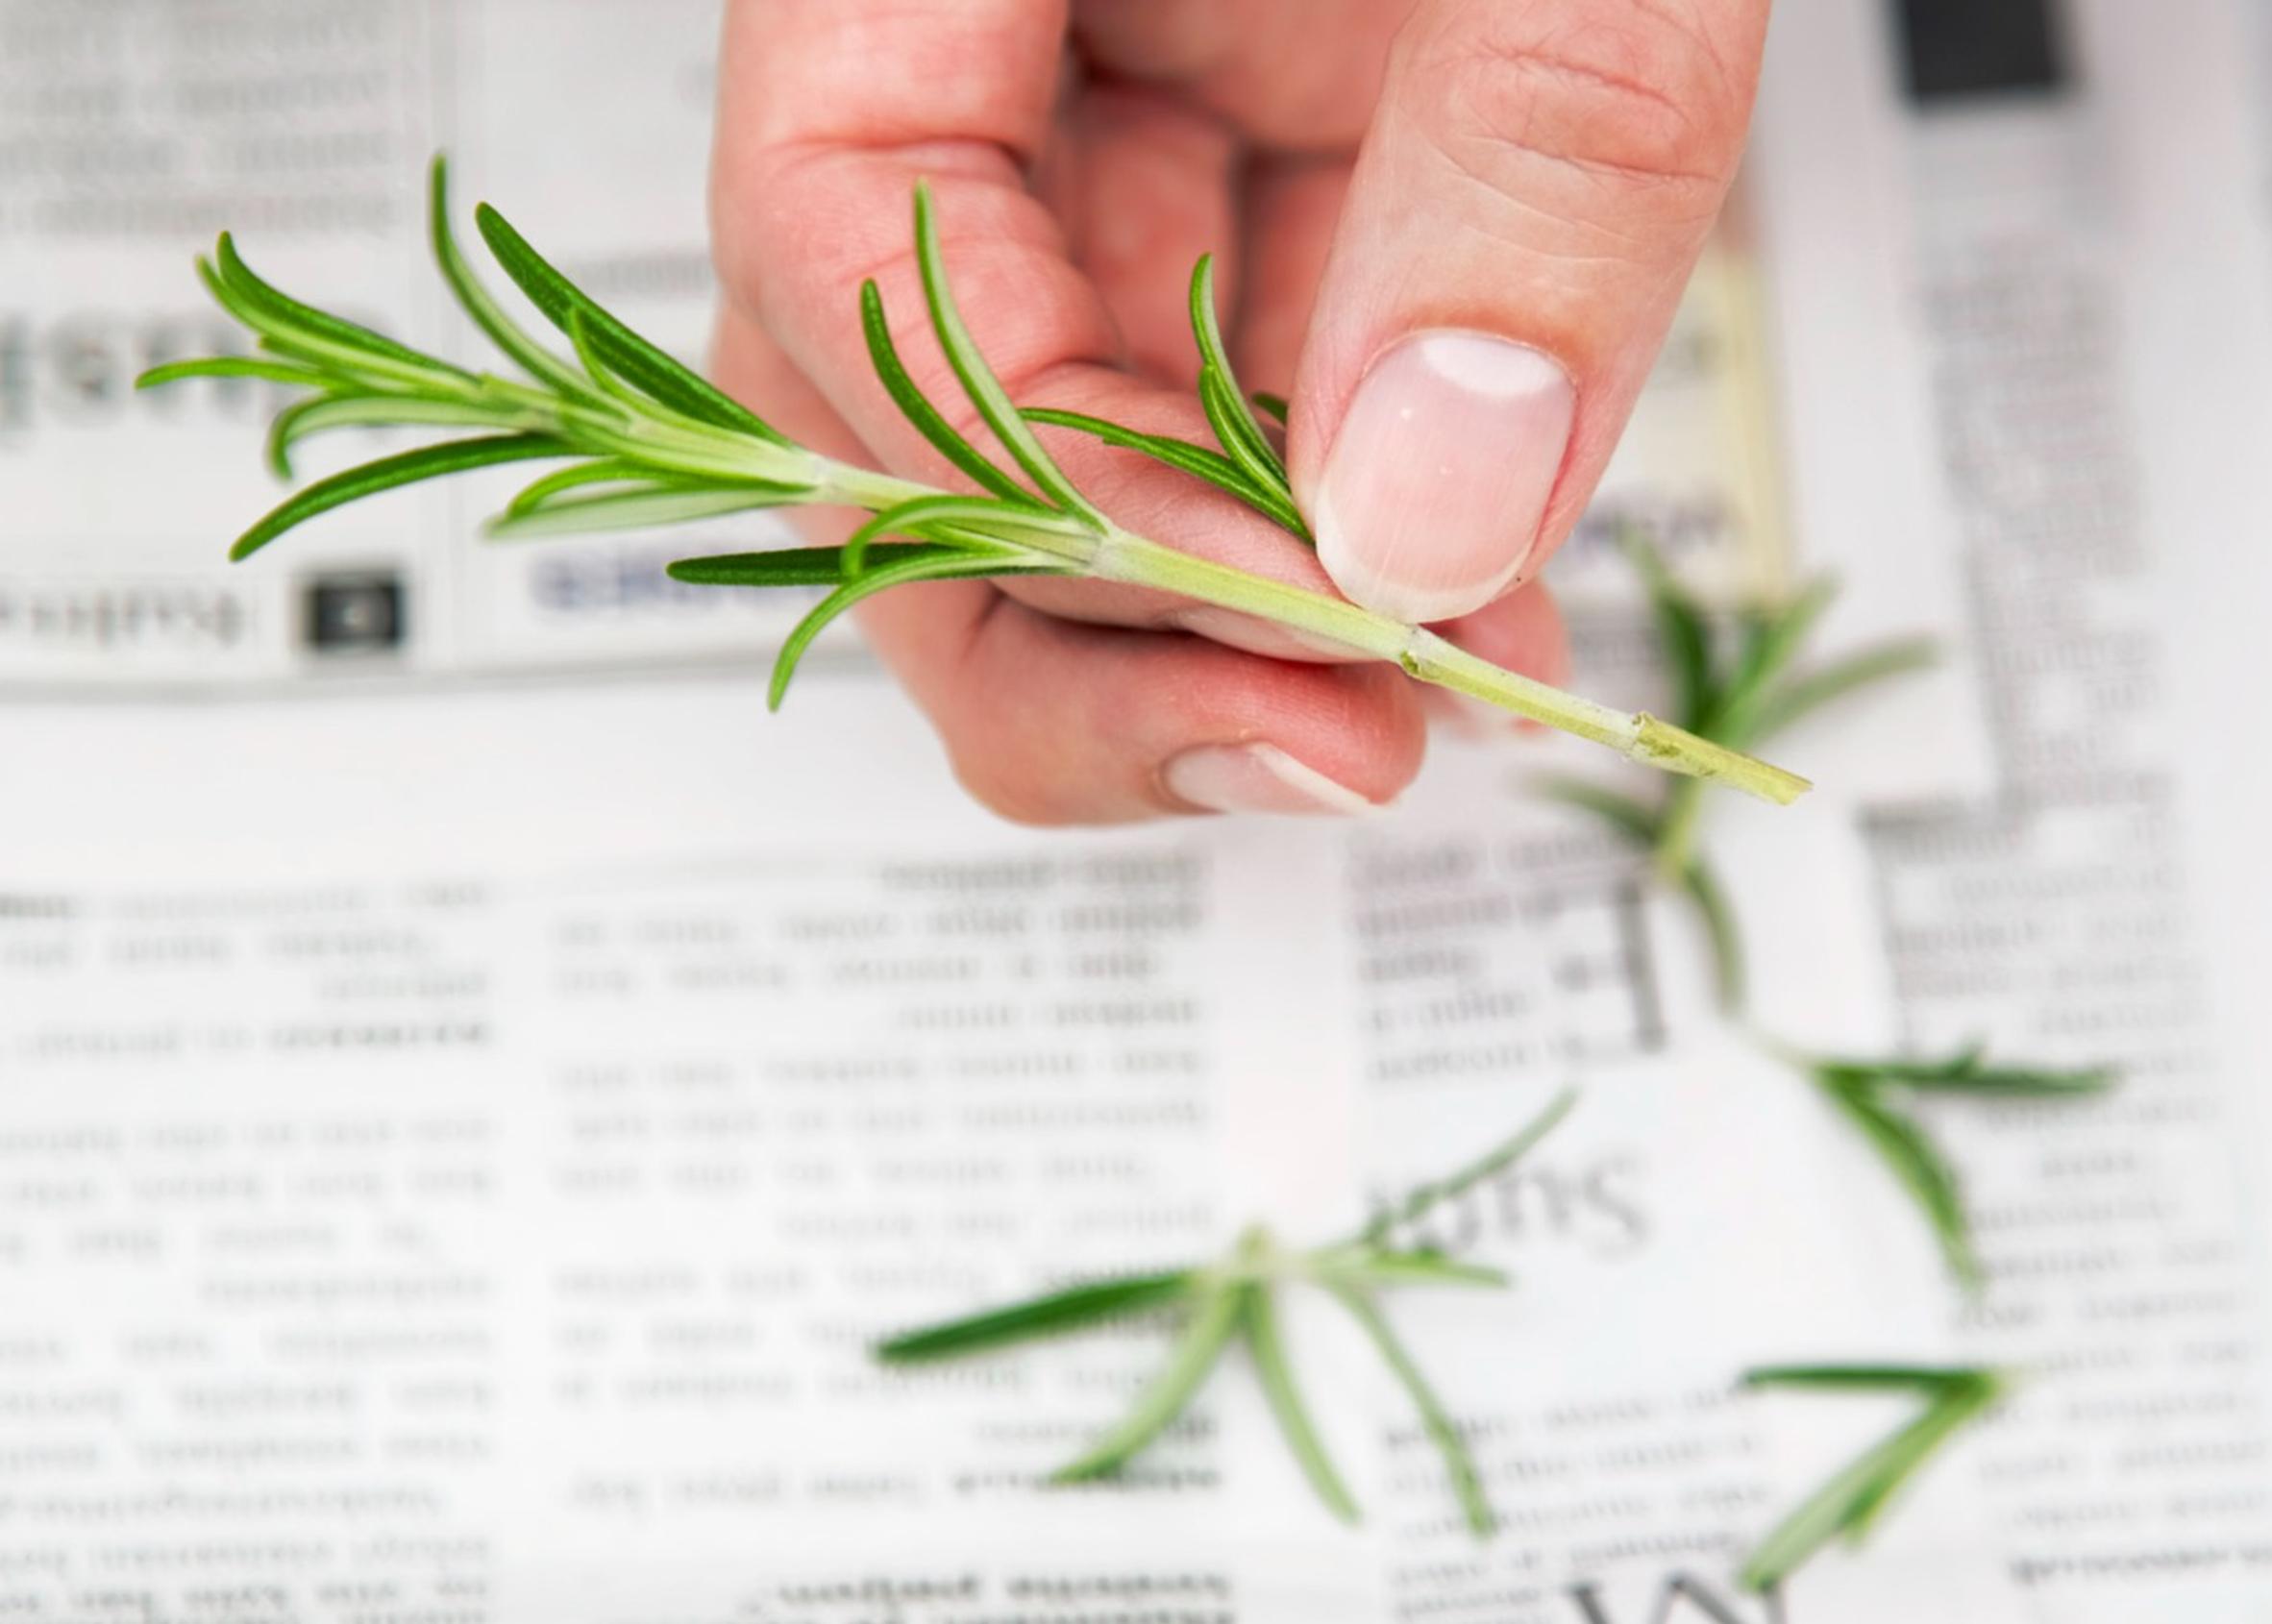
- Trim each cutting to 5–10 centimeters. Remove any lower leaves, as they evaporate moisture. Make a fresh cut just below a leaf node to form a new absorption surface.
- Allow the cuttings to develop short roots in a glass of water or plant them directly in a pot with airy seedling or moss-based soil. You can root them individually in small pots or group several stems in a larger container. Water gently so that the soil settles firmly around the cuttings.
- Cover the pot with plastic and keep it in a bright spot that is shielded from direct sunlight.
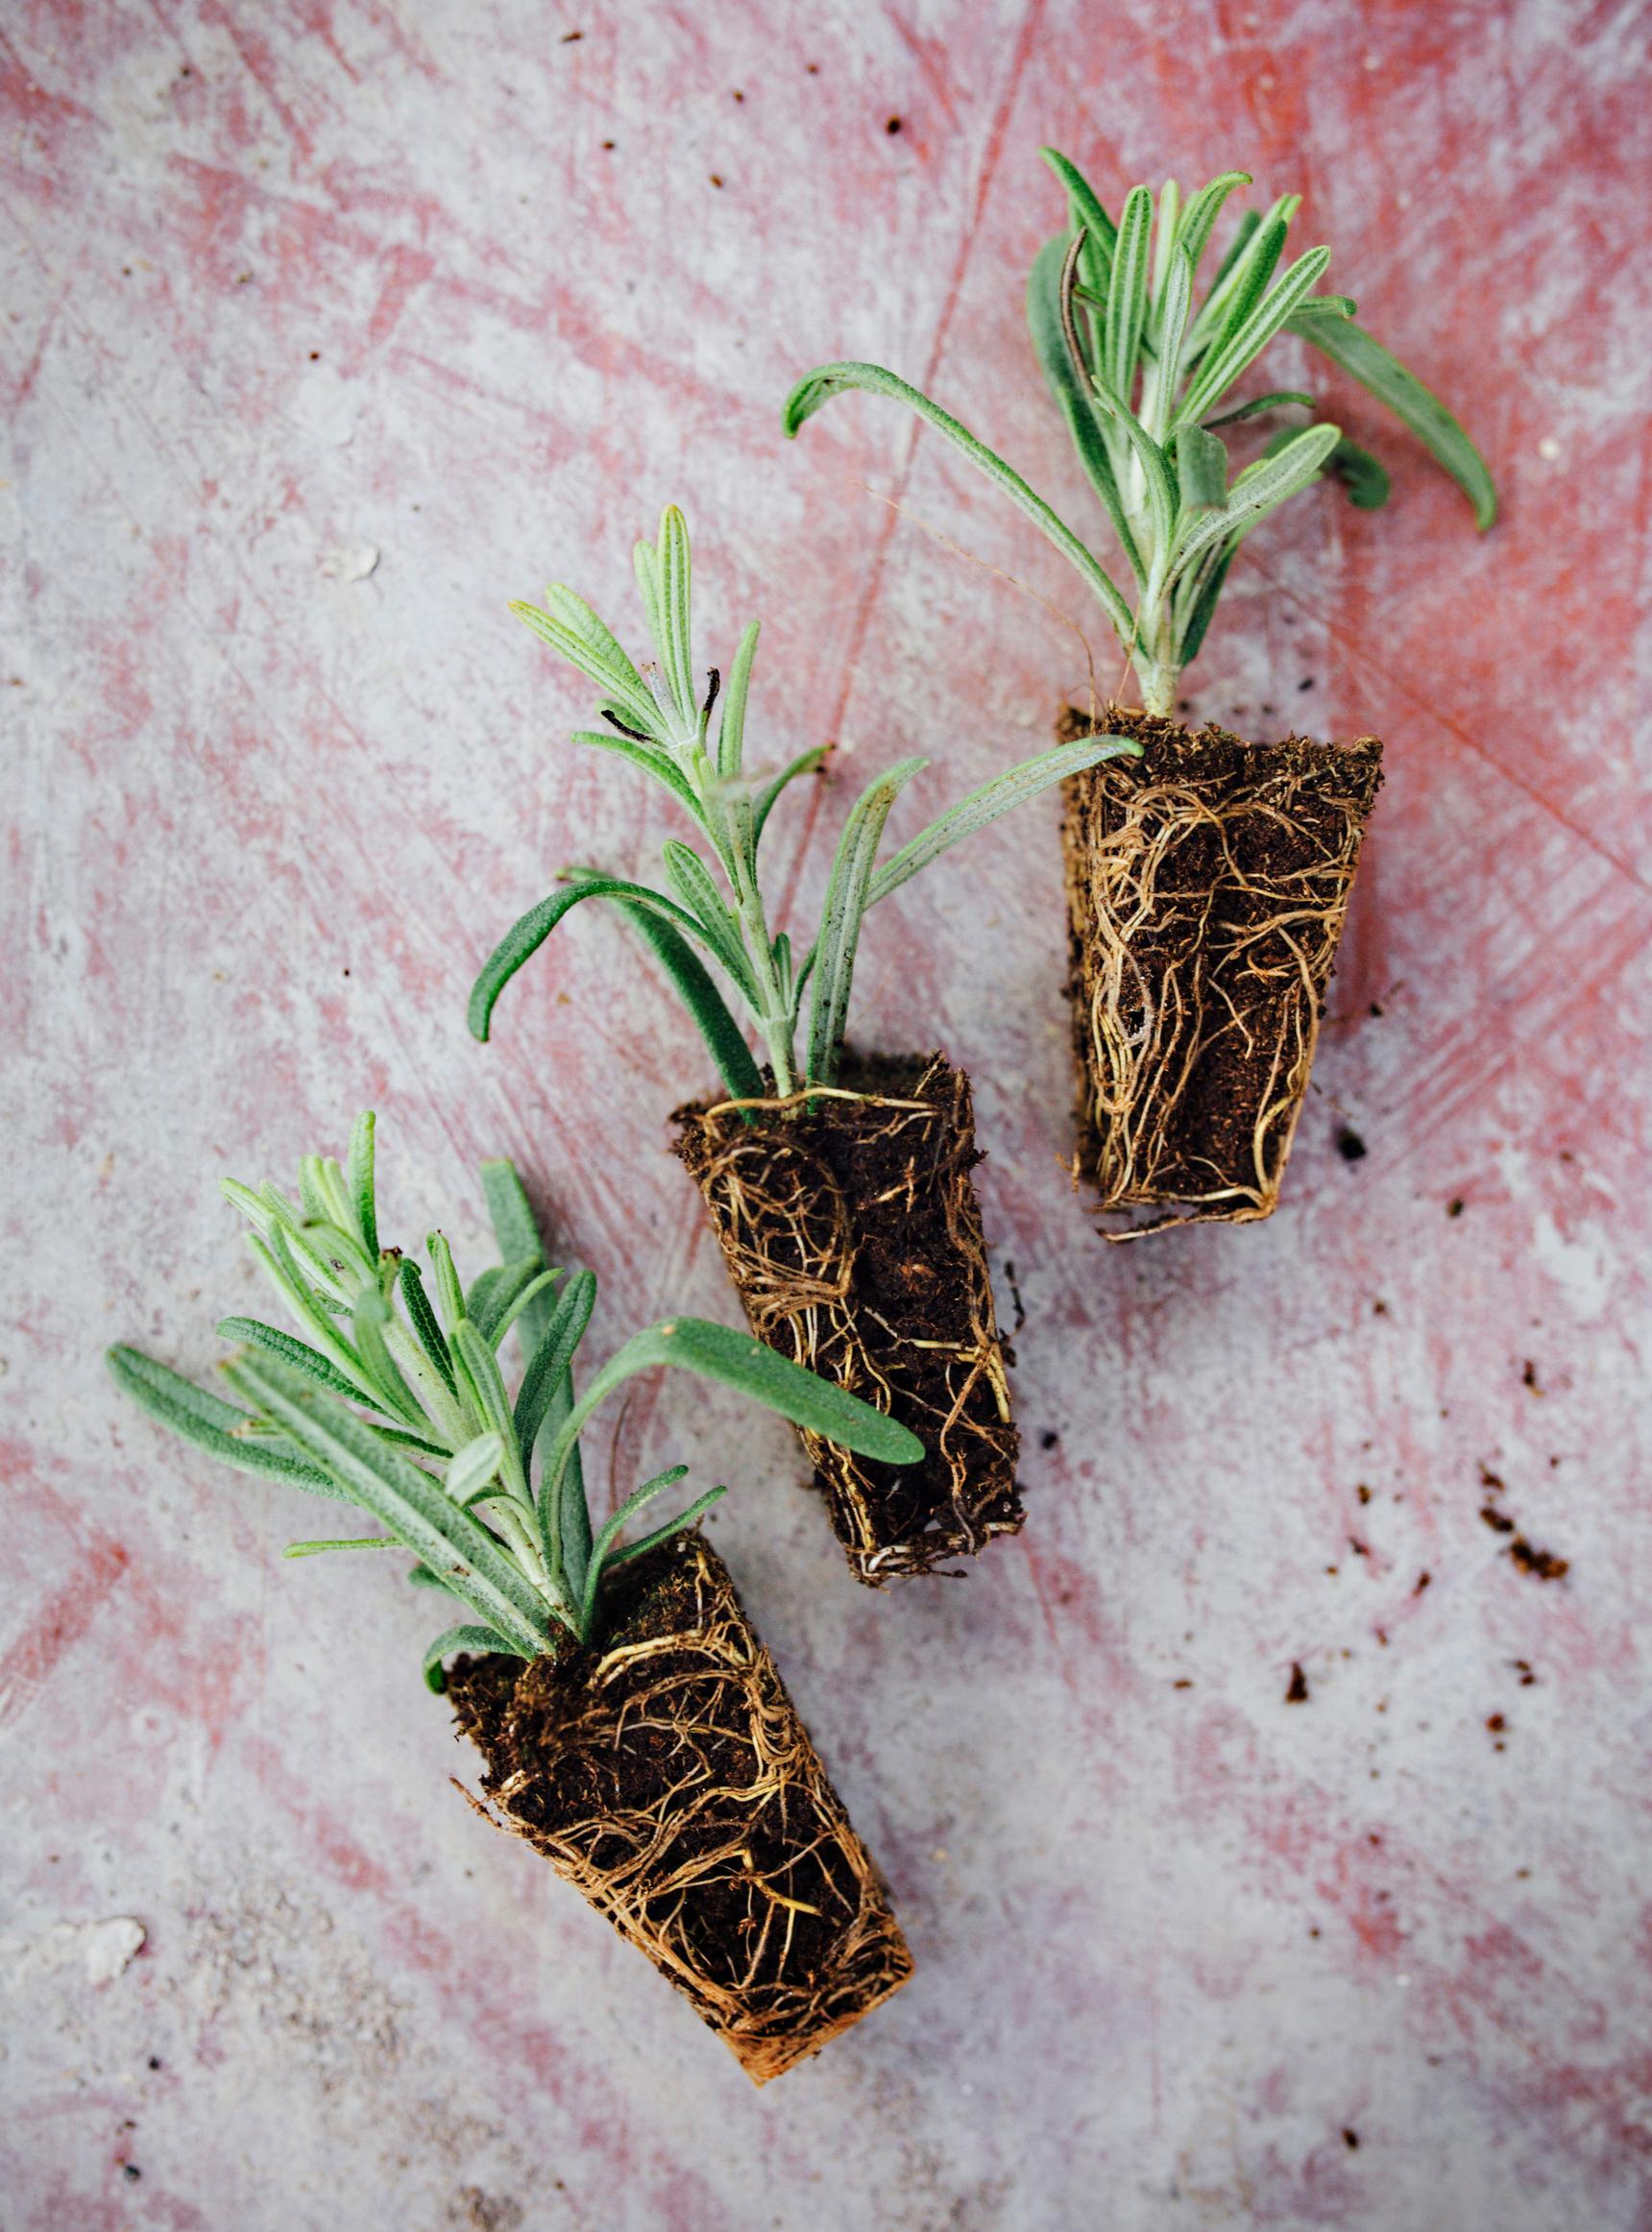
- Mist the cuttings daily and keep the soil moist. Rooting can take several weeks. Once roots form, move each seedling into its own pot. Handle them gently, as rosemary roots are delicate.
Watering
You’ll develop a sense for watering rosemary with practice. In pots especially, the roots are prone to damage from overwatering. If you see branches drying out and leaves dropping, it often means there’s been too much moisture. Let the soil dry out between waterings.
The roots are also sensitive to heat, so it’s best to use a thick-walled clay pot. If you use a plastic pot, leave an air gap between it and the outer decorative pot.
Although rosemary naturally thrives in dry conditions, it can still suffer from drought, especially indoors or during a hot summer. Some people recommend using a self-watering pot. Whatever pot you choose, it’s easier to regulate moisture in a larger container than a smaller one.
When grown indoors, rosemary’s biggest pest is the spider mite, which loves dry, warm conditions. It’s a good idea to mist the foliage and undersides of the leaves with water.

Fertilizing
Use herb-focused fertilizers and avoid excessive nitrogen, particularly for plants you’ll overwinter. Low-nutrient soil and a sunny setting help enhance the aroma, but a moderate fertilizer promotes more stem growth and a larger harvest. Sufficient potassium is essential for proper essential oil production.
Harvesting
Rosemary is well-suited for drying. For drying, harvest right before the plant blooms. Snip off stems with scissors and lay them on a clean towel to air-dry. Once dried, the leaves are easy to strip off. The top 5–10 centimeters of new stems can be dried intact; they release more flavor than just the leaves alone.
Keep dried stems and leaves in an airtight glass jar away from light. You can crush them in a mortar before use. Although rosemary keeps its strong flavor when dried, it won’t last very long. You will need to harvest fresh rosemary each year for drying.
Harvest and encourage branching by gradually snipping off the top shoots. Dry the stems as you go—rosemary retains its aroma for years. If you plan to overwinter the plant, avoid pruning after the end of August.
Tip! Rosemary’s fragrant, woody stems are perfect for skewering vegetables.
Overwintering rosemary
Move your rosemary indoors before the first autumn frost, as it can’t survive the winter outside. Rosemary overwinters best in a bright spot where the temperature stays between +2 and +14 °C. Water sparingly—if the plant dries out completely, it will drop its leaves. In late winter, as growth resumes, trim the stems and repot.
Rosemary varieties
There are many rosemary varieties with different aromas and growth habits, including upright and trailing forms. For instance, the ‘Rosy’ variety is prized for its quick growth. Rosemary flowers usually range from light to medium blue, though white and pink varieties are also available.