
Growing Jerusalem artichokes: a robust, beginner-friendly plant that needs minimal care
Growing Jerusalem artichokes is easy because this resilient aster plant thrives with minimal care. Still, relocating the plants, fertilizing, and watering will reward you with a bountiful yield. Harvest the tubers late in autumn or early in spring once the ground has thawed.
When growing Jerusalem artichokes, you can treat them much like potatoes, but they are easier to cultivate and a healthier species. They are not susceptible to blight or scab, and their tubers can survive even harsh winters. You can also plant these knobby root vegetables as early as autumn to take advantage of their hardiness.
The Jerusalem artichoke is both robust and easy to care for, making it an easy root vegetable to grow even in the northernmost parts of Europe.
How to grow Jerusalem artichokes
Growing site
Choose a sunny site for your Jerusalem artichokes. Although they aren’t picky about soil, they produce the best crop in well-draining, humus-rich soil with a pH of 6–7.
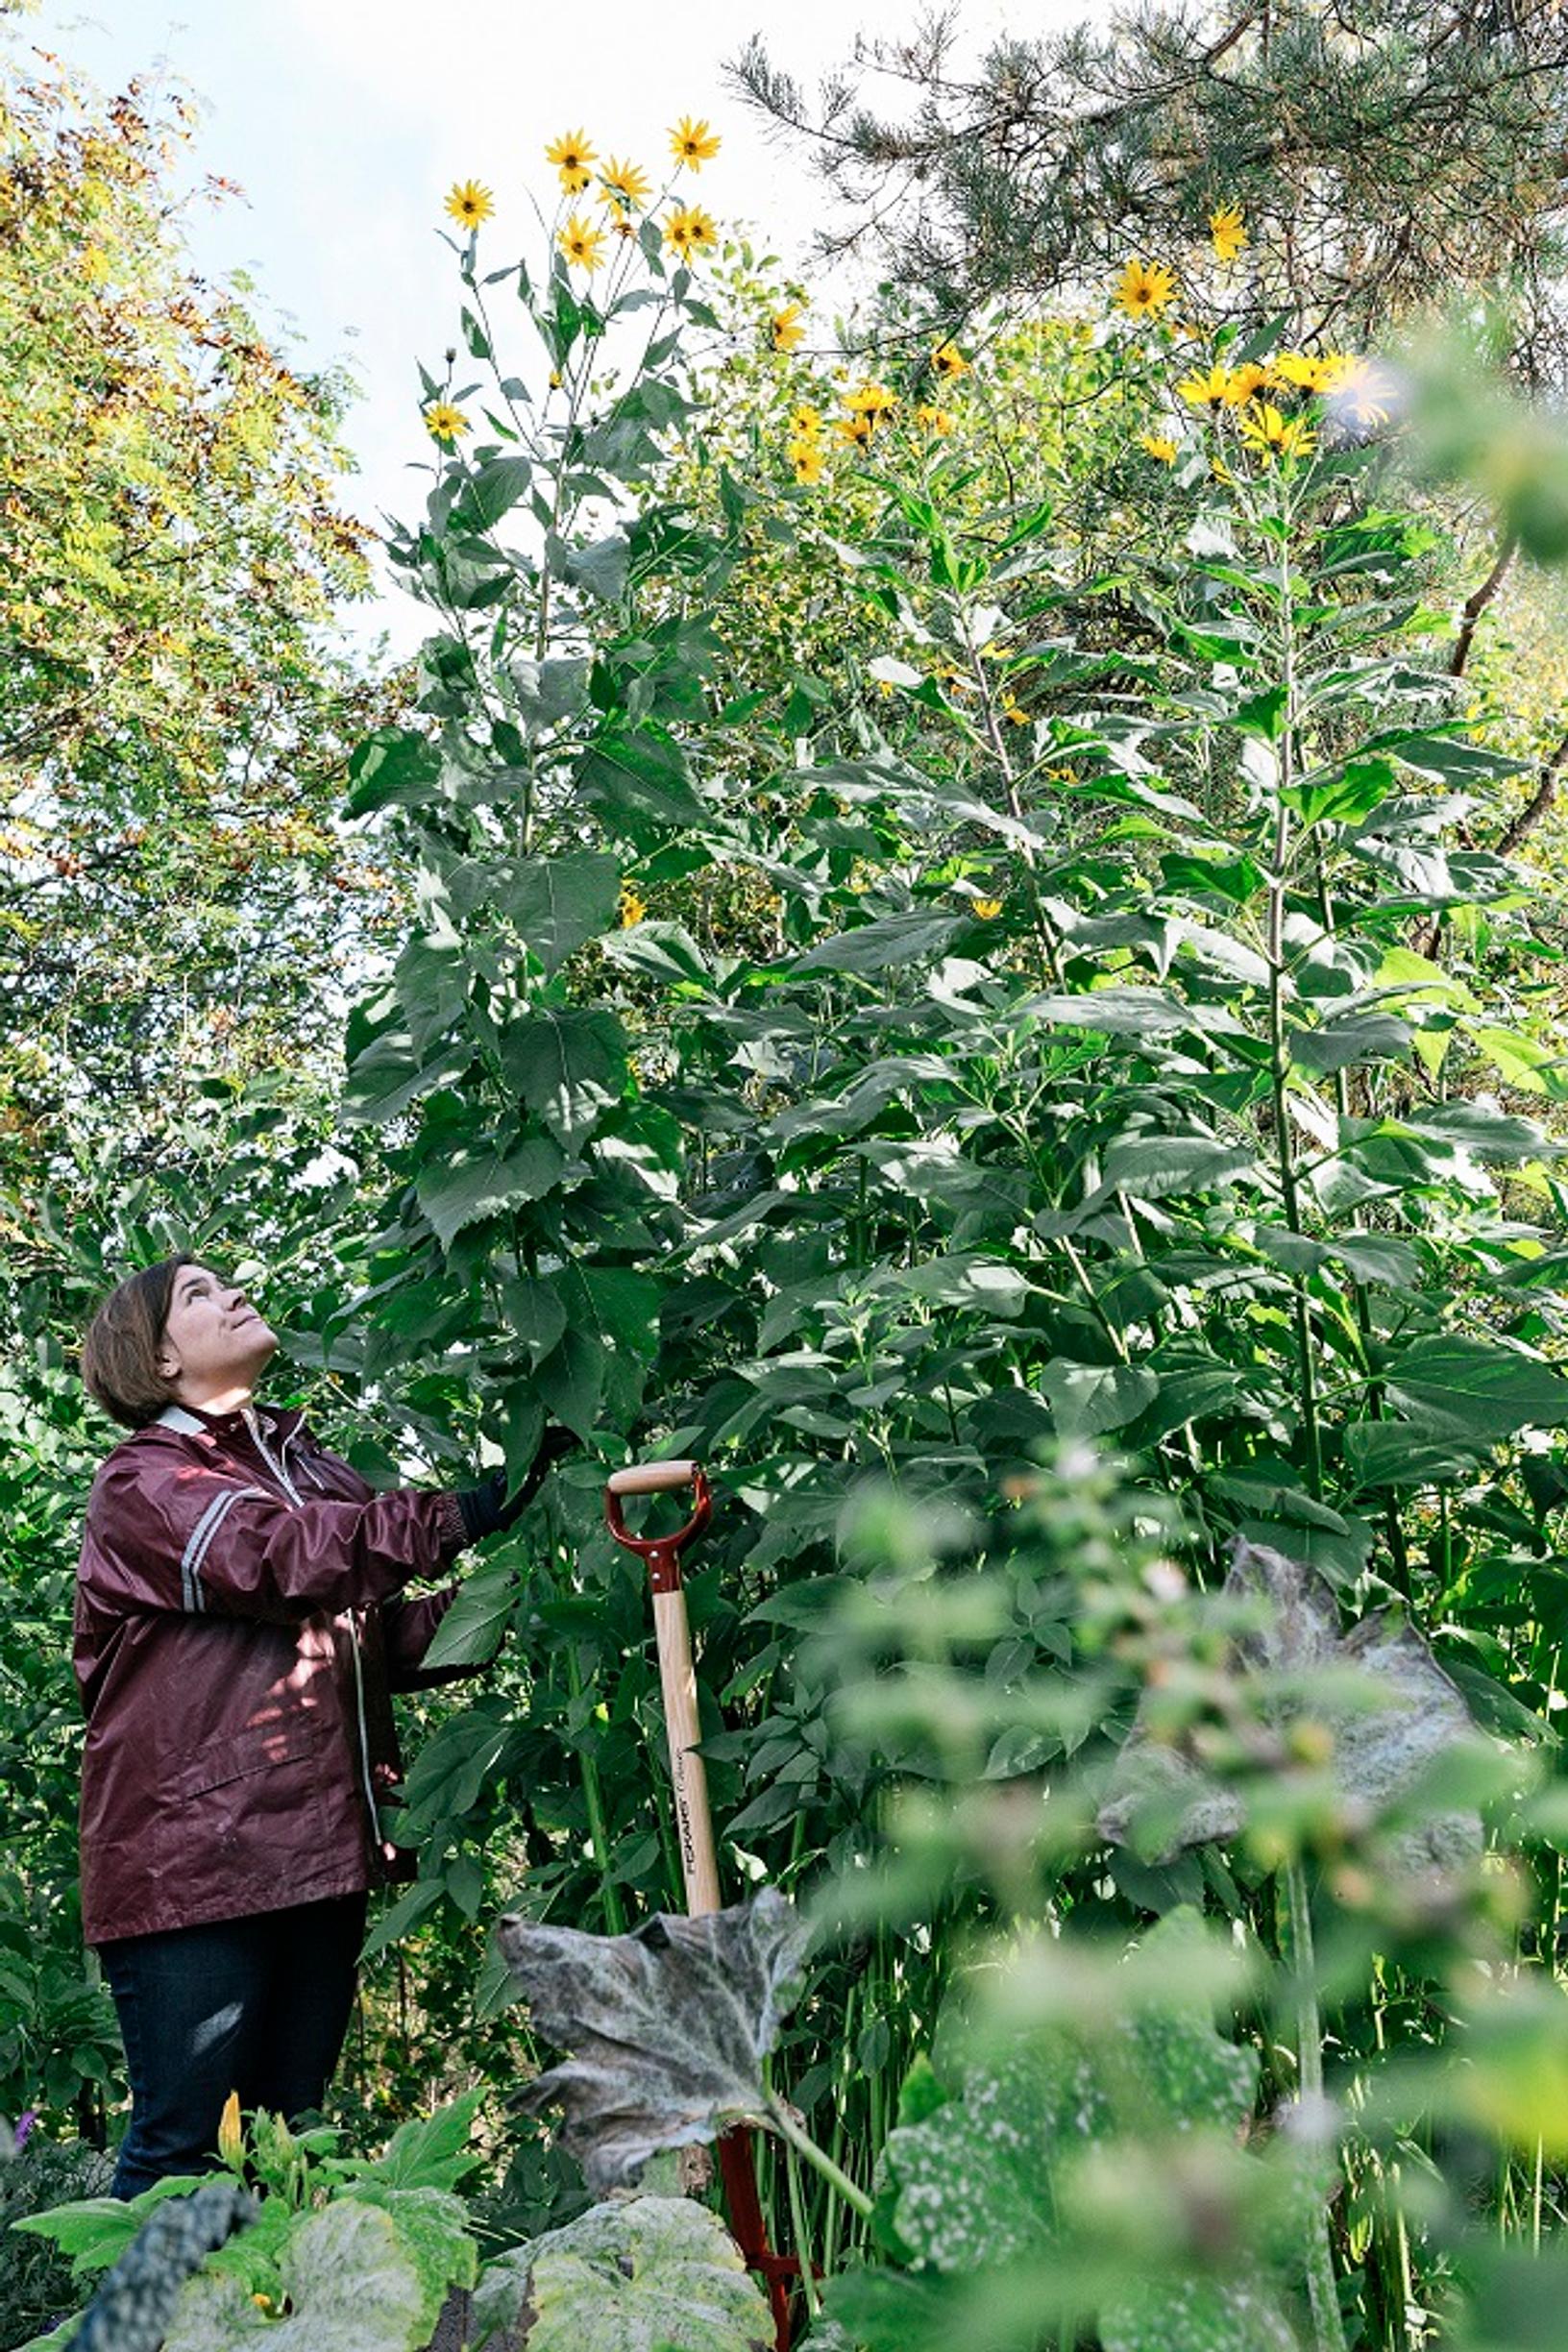
It's best to plant the artichokes in a part of your kitchen garden or vegetable patch where their 2–3 meter tall stalks can form a green wall.
Relocate your artichokes if their vitality declines. If you move the tubers to a new spot, ensure no small tubers remain in the soil, as every eye will sprout. Keep an eye on the old site in the following year.
Pre-sprouting
If you have time, start your Jerusalem artichokes early to extend their growing season. You can also sprout the tubers like potatoes, but make sure they don’t dry out. Their delicate shoots can break easily.

How to plant Jerusalem artichokes
The best time to plant Jerusalem artichokes is in early spring (April–May) or autumn (September–October), either at ground level or in ridges at a depth of 10–15 centimeters. Space the rows 70–80 centimeters apart and individual plants 20–40 centimeters apart. Because these plants can grow large, they need enough room. You can plant 5–6 large tubers or 7–8 small ones per square meter. While autumn planting extends the season, water voles can be an issue. You can grow Jerusalem artichokes in a wire mesh-lined raised bed if there are water voles in your garden.
Watering
Because Jerusalem artichokes have deep roots, they require minimal watering. However, a long dry spell can reduce the yield.
Fertilizing
Fertilize in several phases, as Jerusalem artichokes need plenty of nutrients. Monitor stem growth to decide how much nitrogen to apply. If nitrogen levels are too high, the stems thrive at the expense of the tubers.
Fertilize the soil before planting; compost is a good option. You can spread grass clippings on the bed in early and mid-summer.

Mulch
You can spread grass clippings at the base of the plants to help retain moisture, reduce weeds, and feed the soil. You will have to weed the bed especially in spring and early summer.
Weeding
Remove weeds early in the season. Later, the tall stems and large leaves will block enough sunlight to keep weeds in check.
If you grow Jerusalem artichokes as a perennial in the same spot, thin out the dense stands in autumn or spring. Overcrowding raises the risk of sclerotinia stem rot, a fungus that makes the lower stems wilt and weakens the stand.
Support
Use string or another support for the sprawling plants, as some Jerusalem artichoke stalks can reach up to three meters in height.

Pests
Jerusalem artichokes are generally healthy and rarely affected by pests or diseases. If the stems wilt, the cause may be sclerotinia stem rot. Water voles are the biggest concern, often appearing on the vegetable patch around harvest time.
Harvest
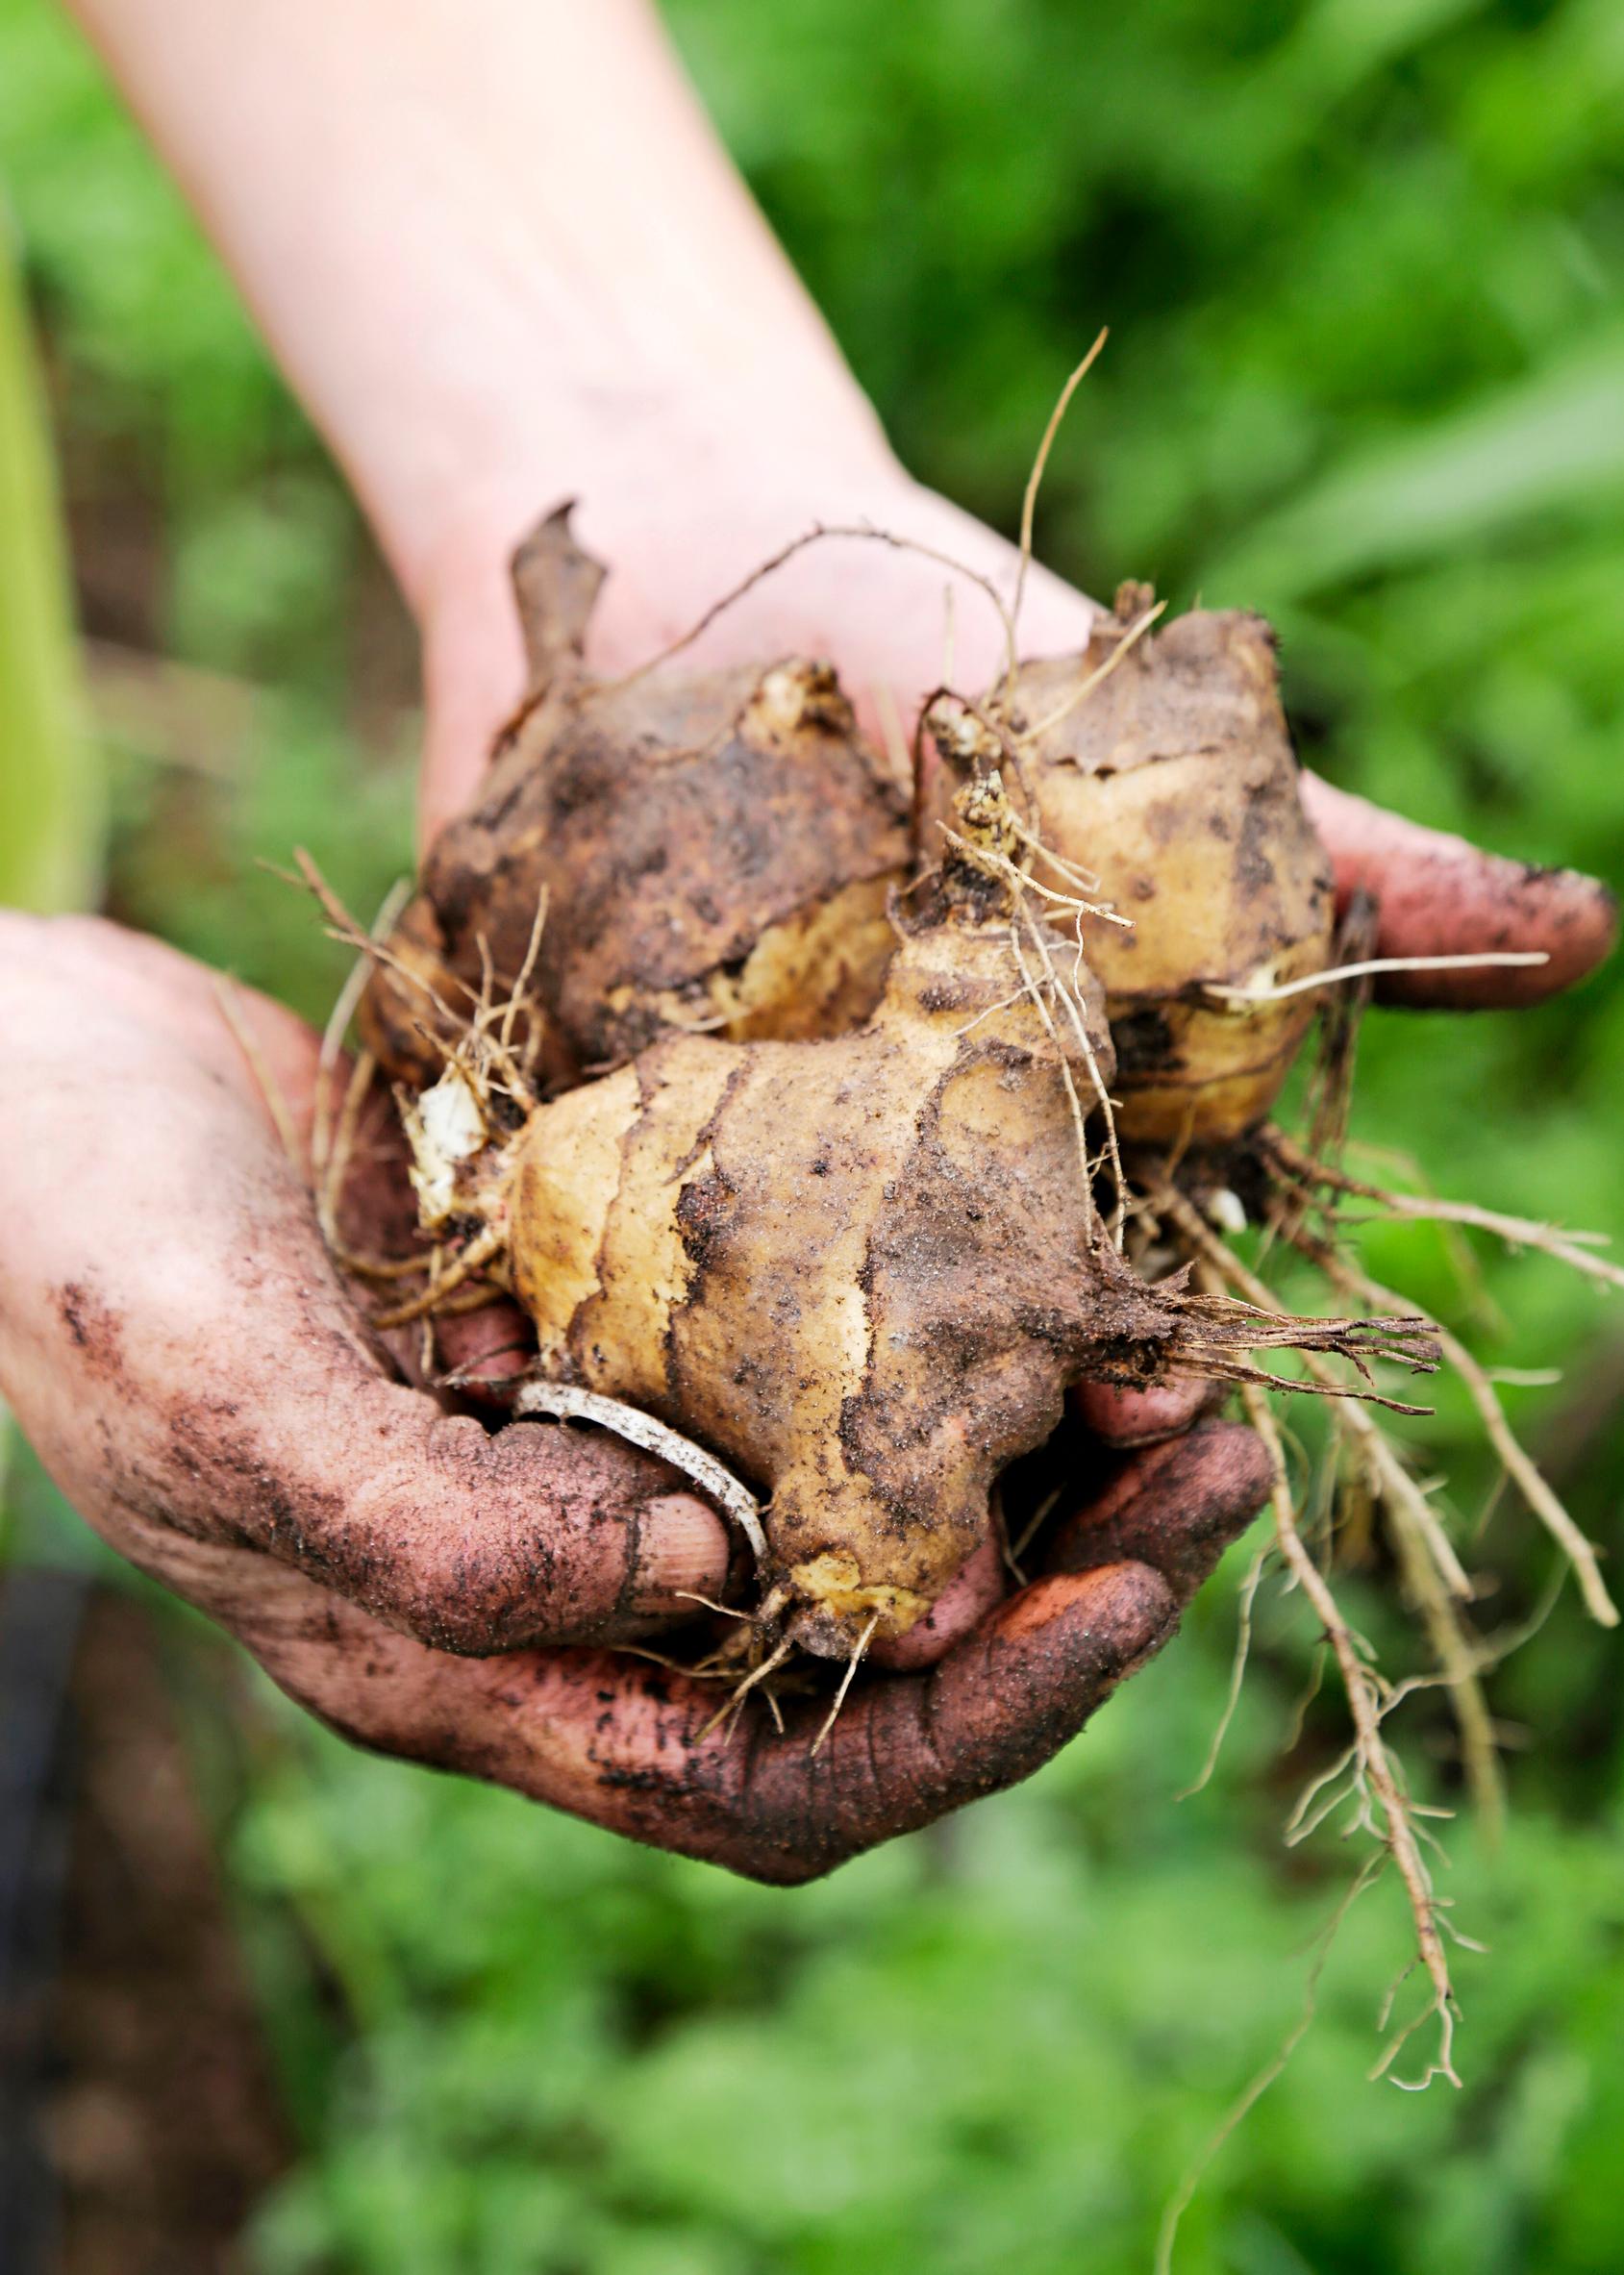
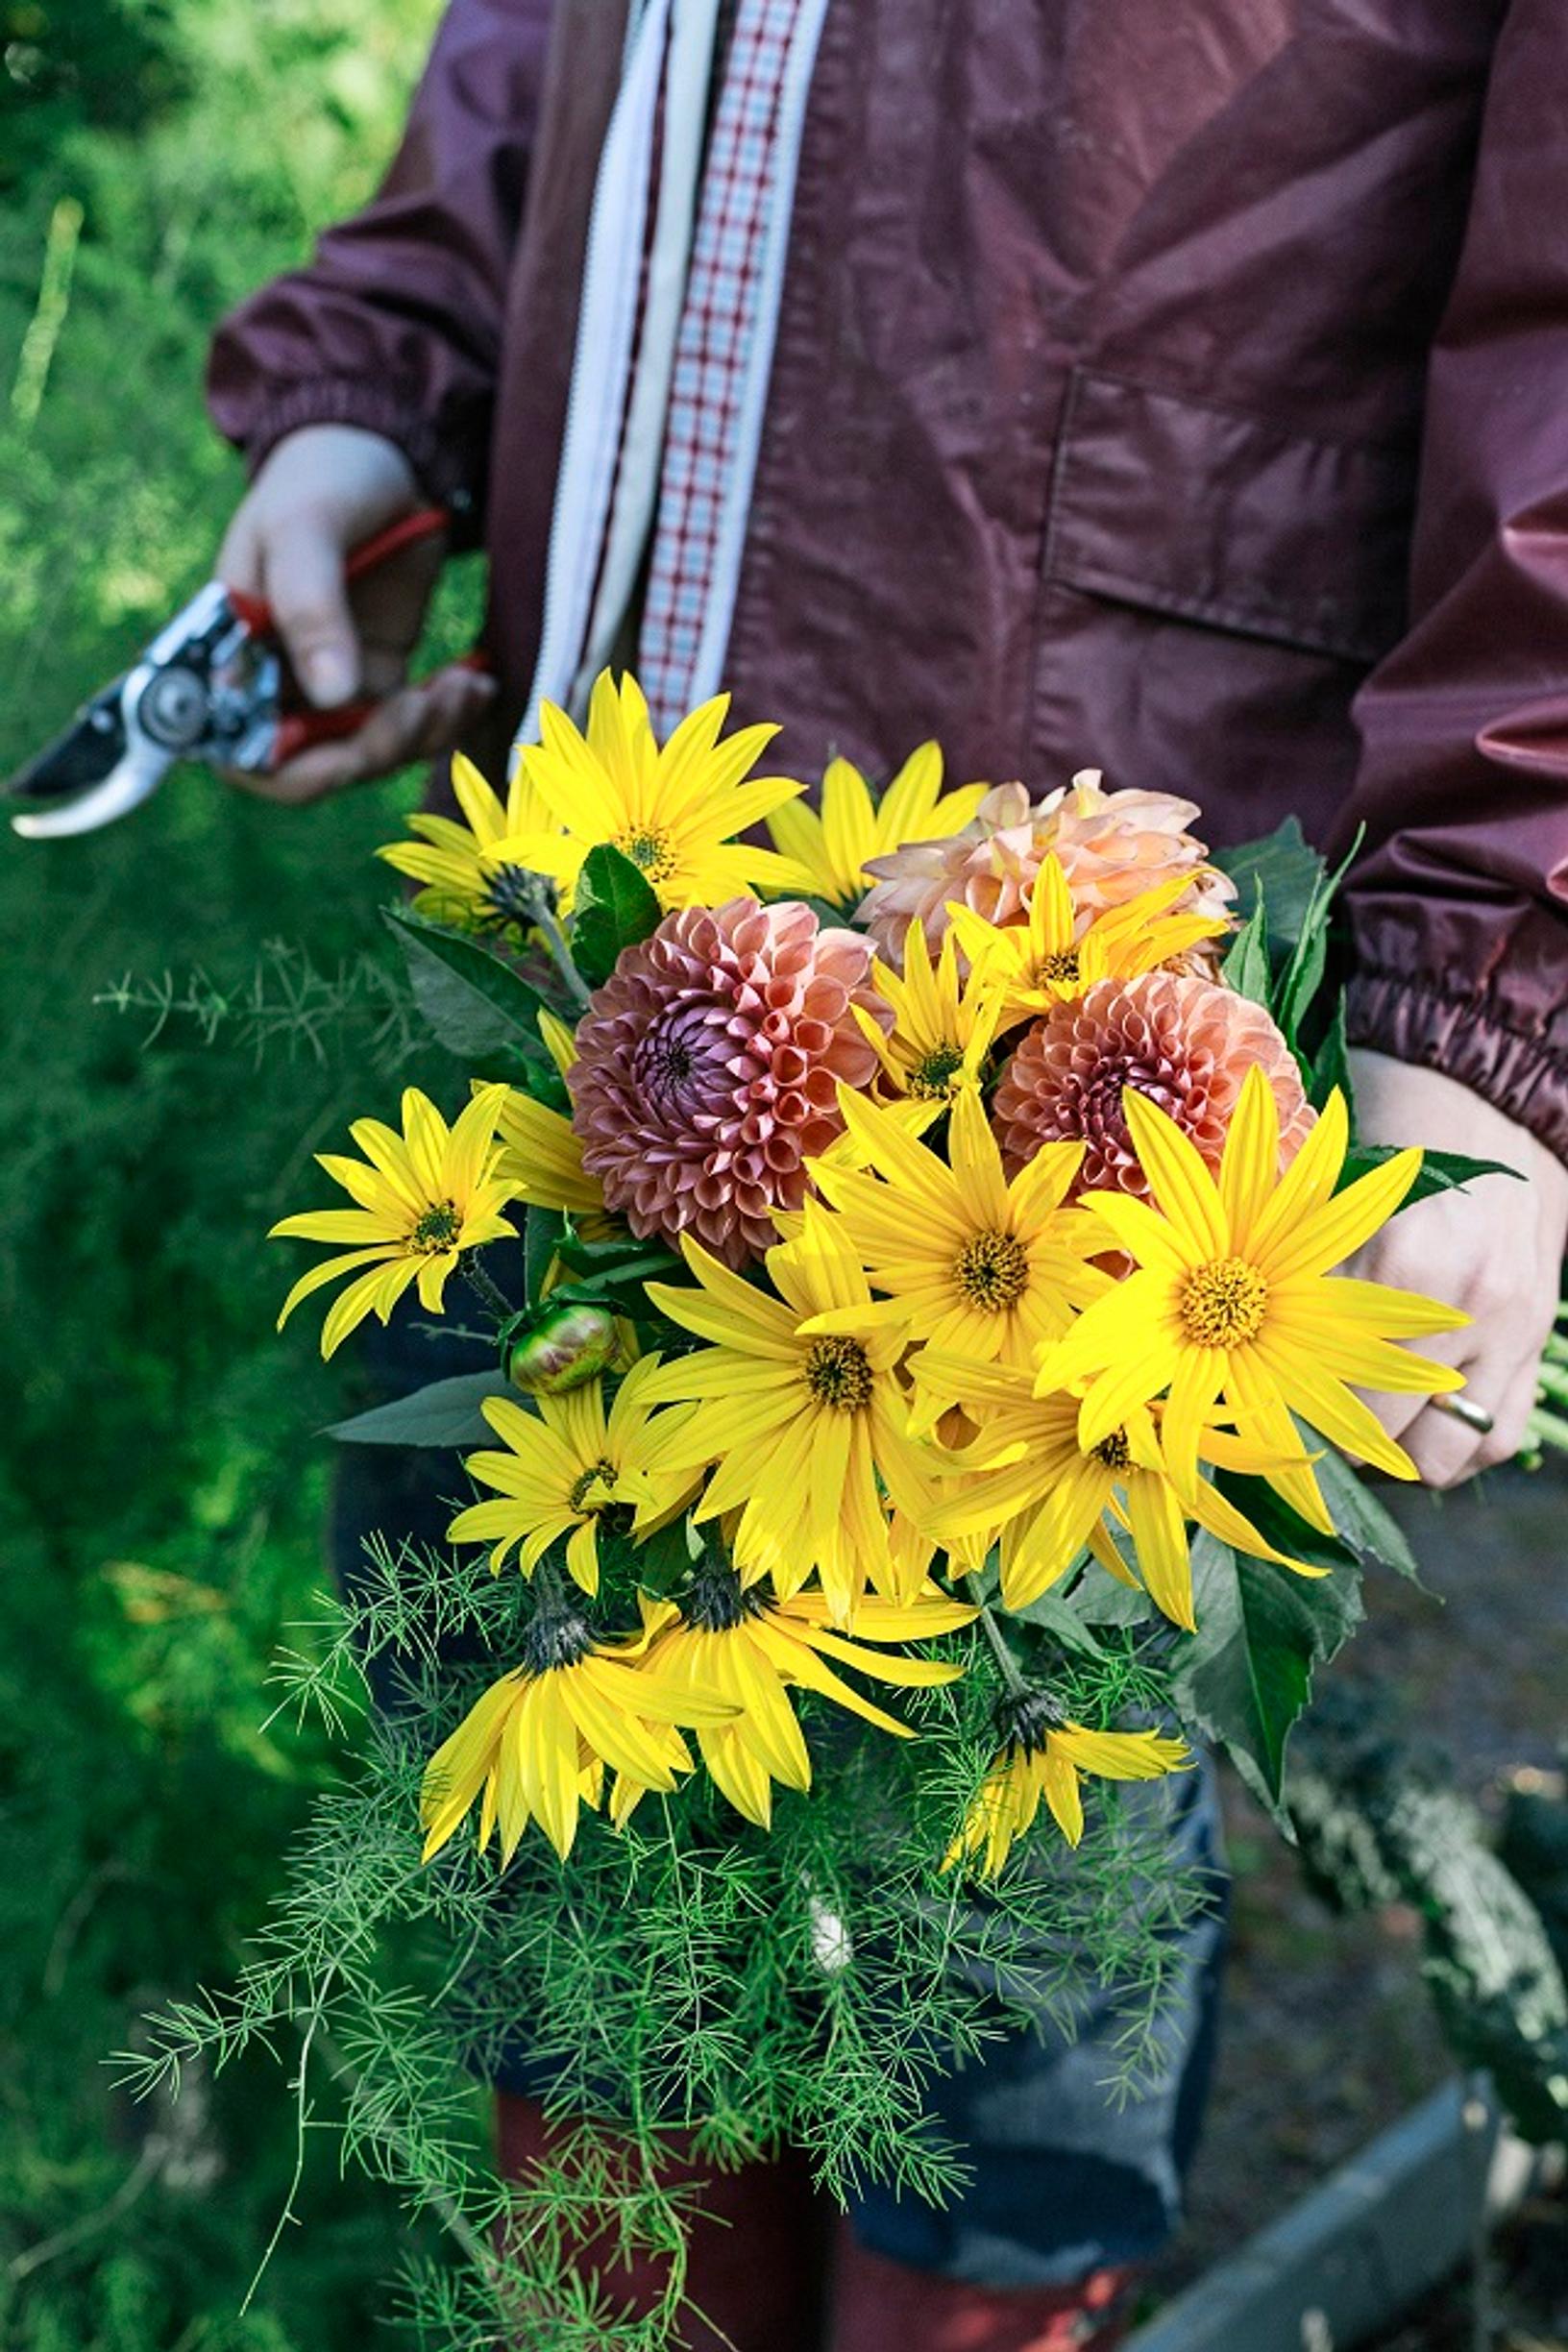
Jerusalem artichokes have a long growing season. The tubers are ready to use once the flowers have faded. It's best not to harvest the tubers until late September through October–November, as long as the soil stays unfrozen. If you plant very small tubers, let them grow for two years before harvesting. You can also harvest the tubers in early spring, before they sprout.
You can prolong the harvest by spreading straw, leaves, or styrofoam on the soil surface to delay freezing. This protection also helps during long, snowless cold spells, as deep freezing can slow spring growth.
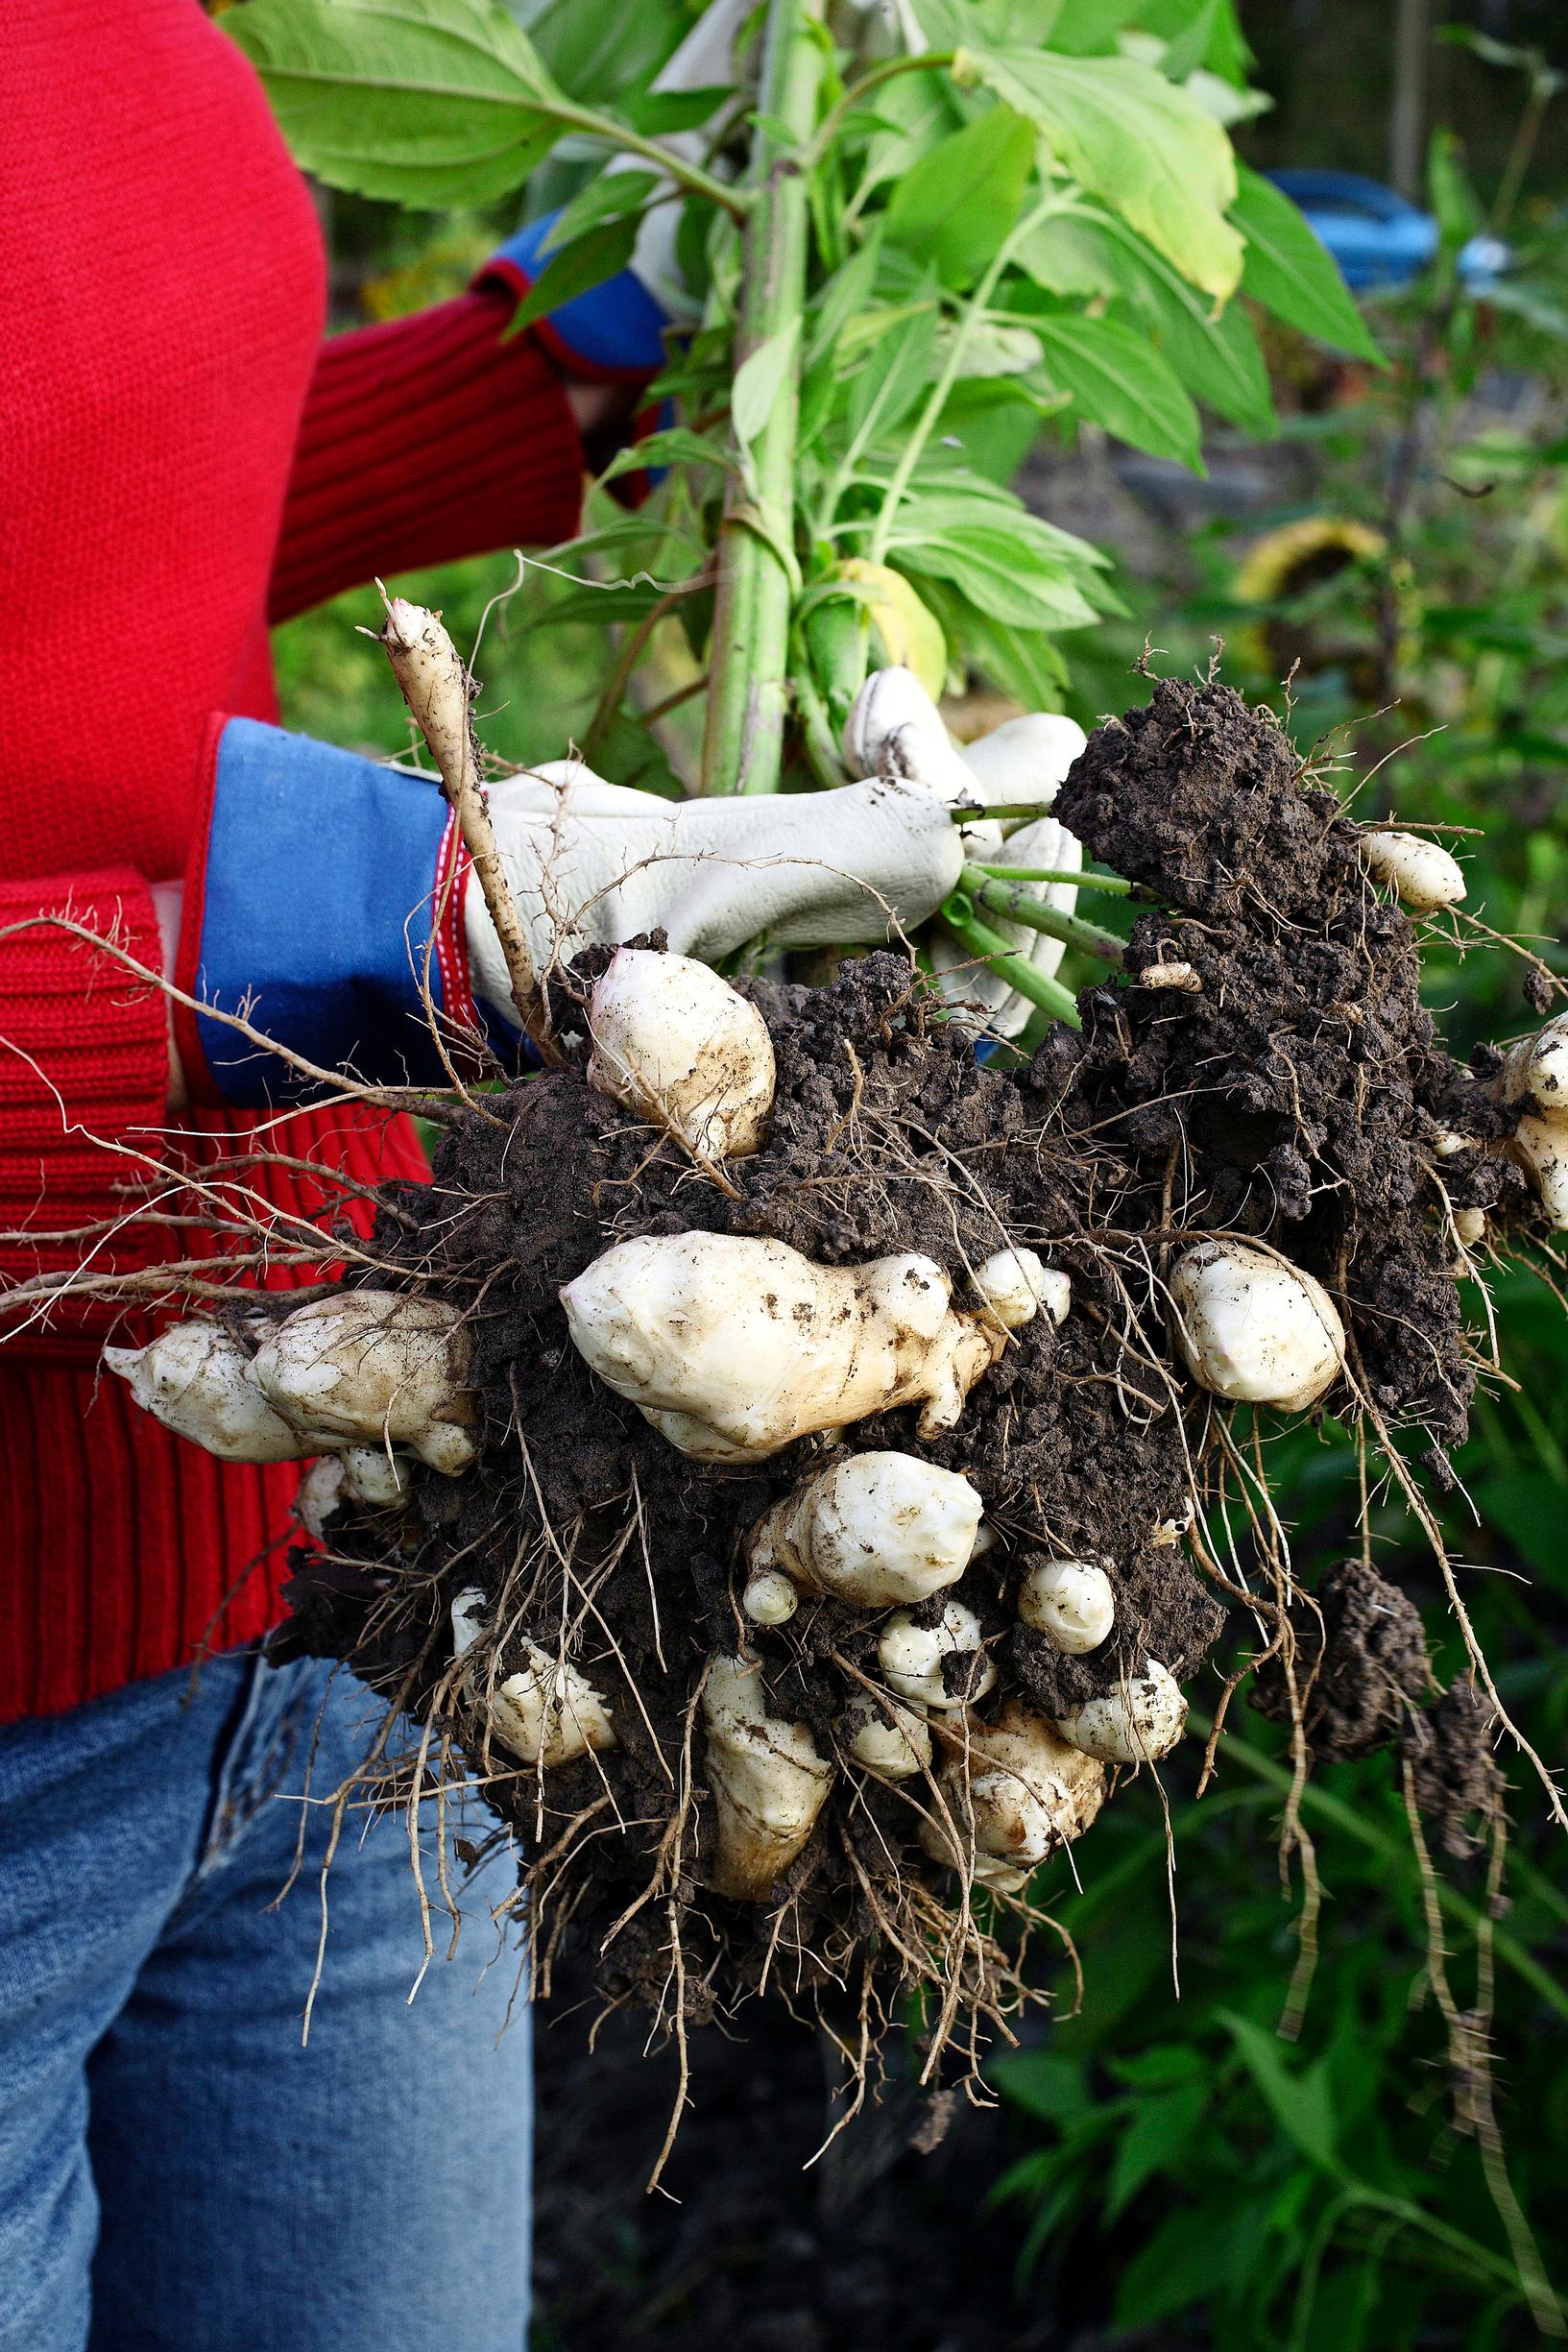
If the tubers surface above the soil, they will turn green. Cover them with soil, and do not use any that have turned green.
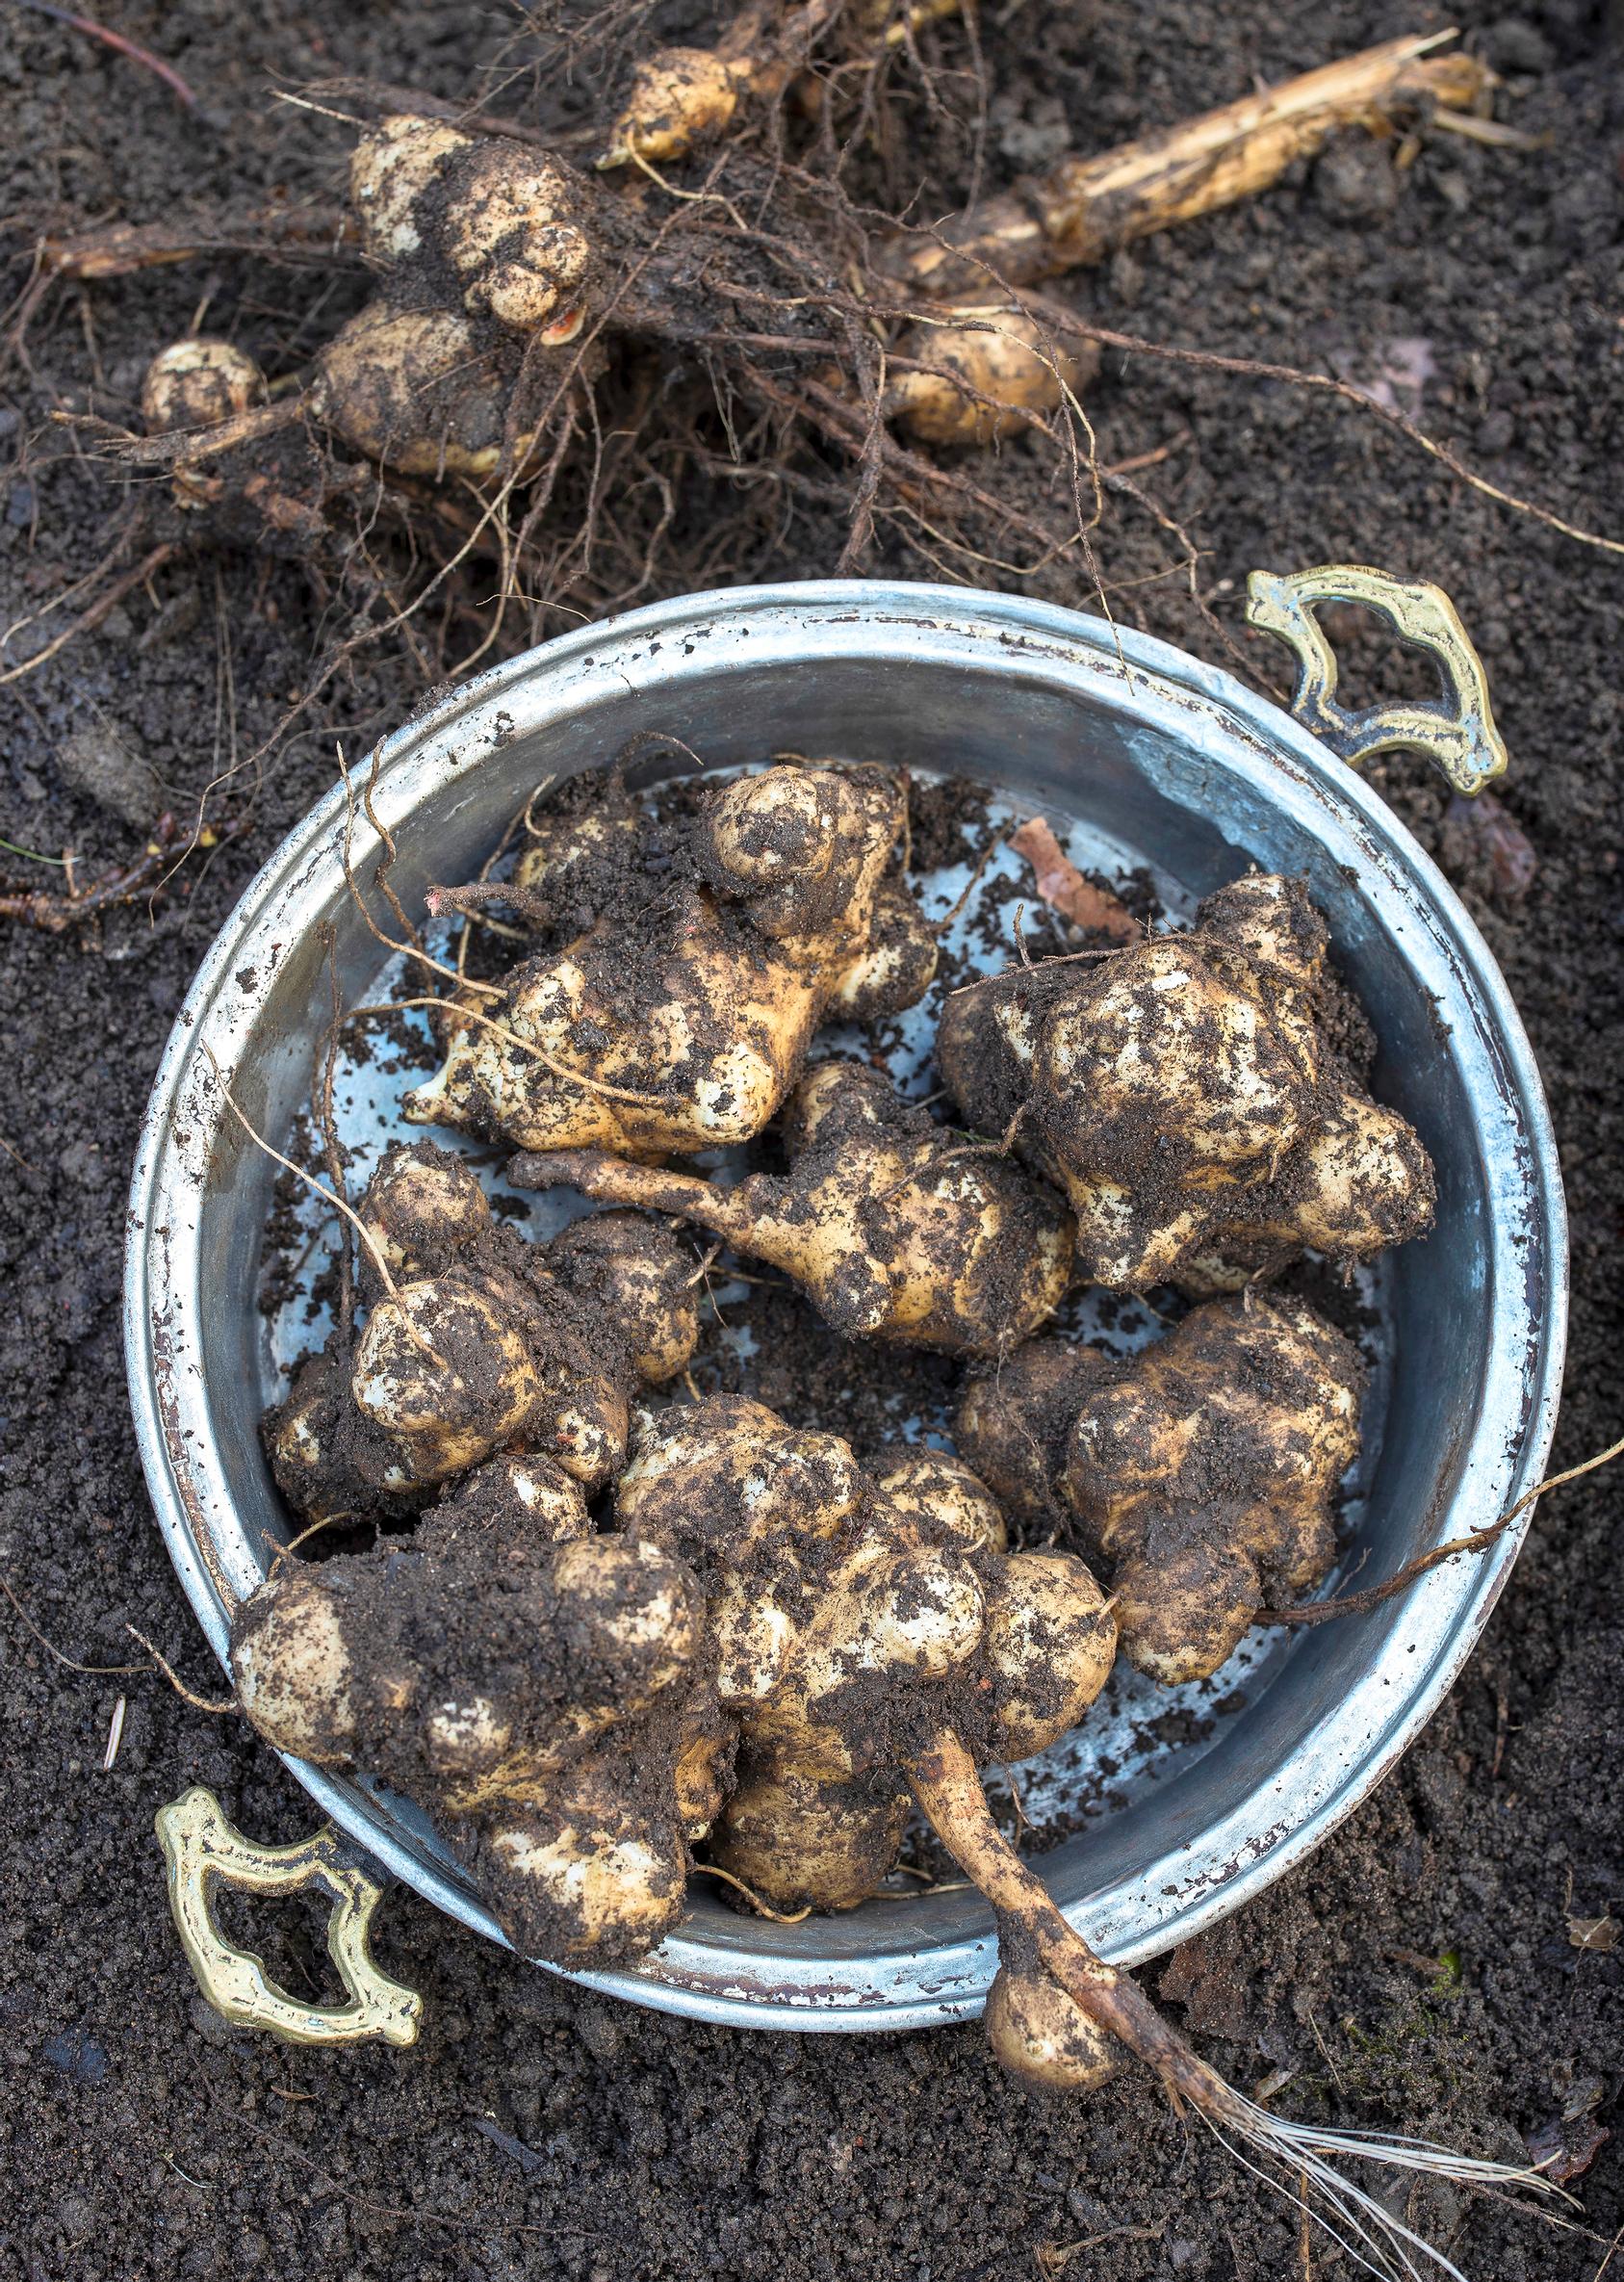
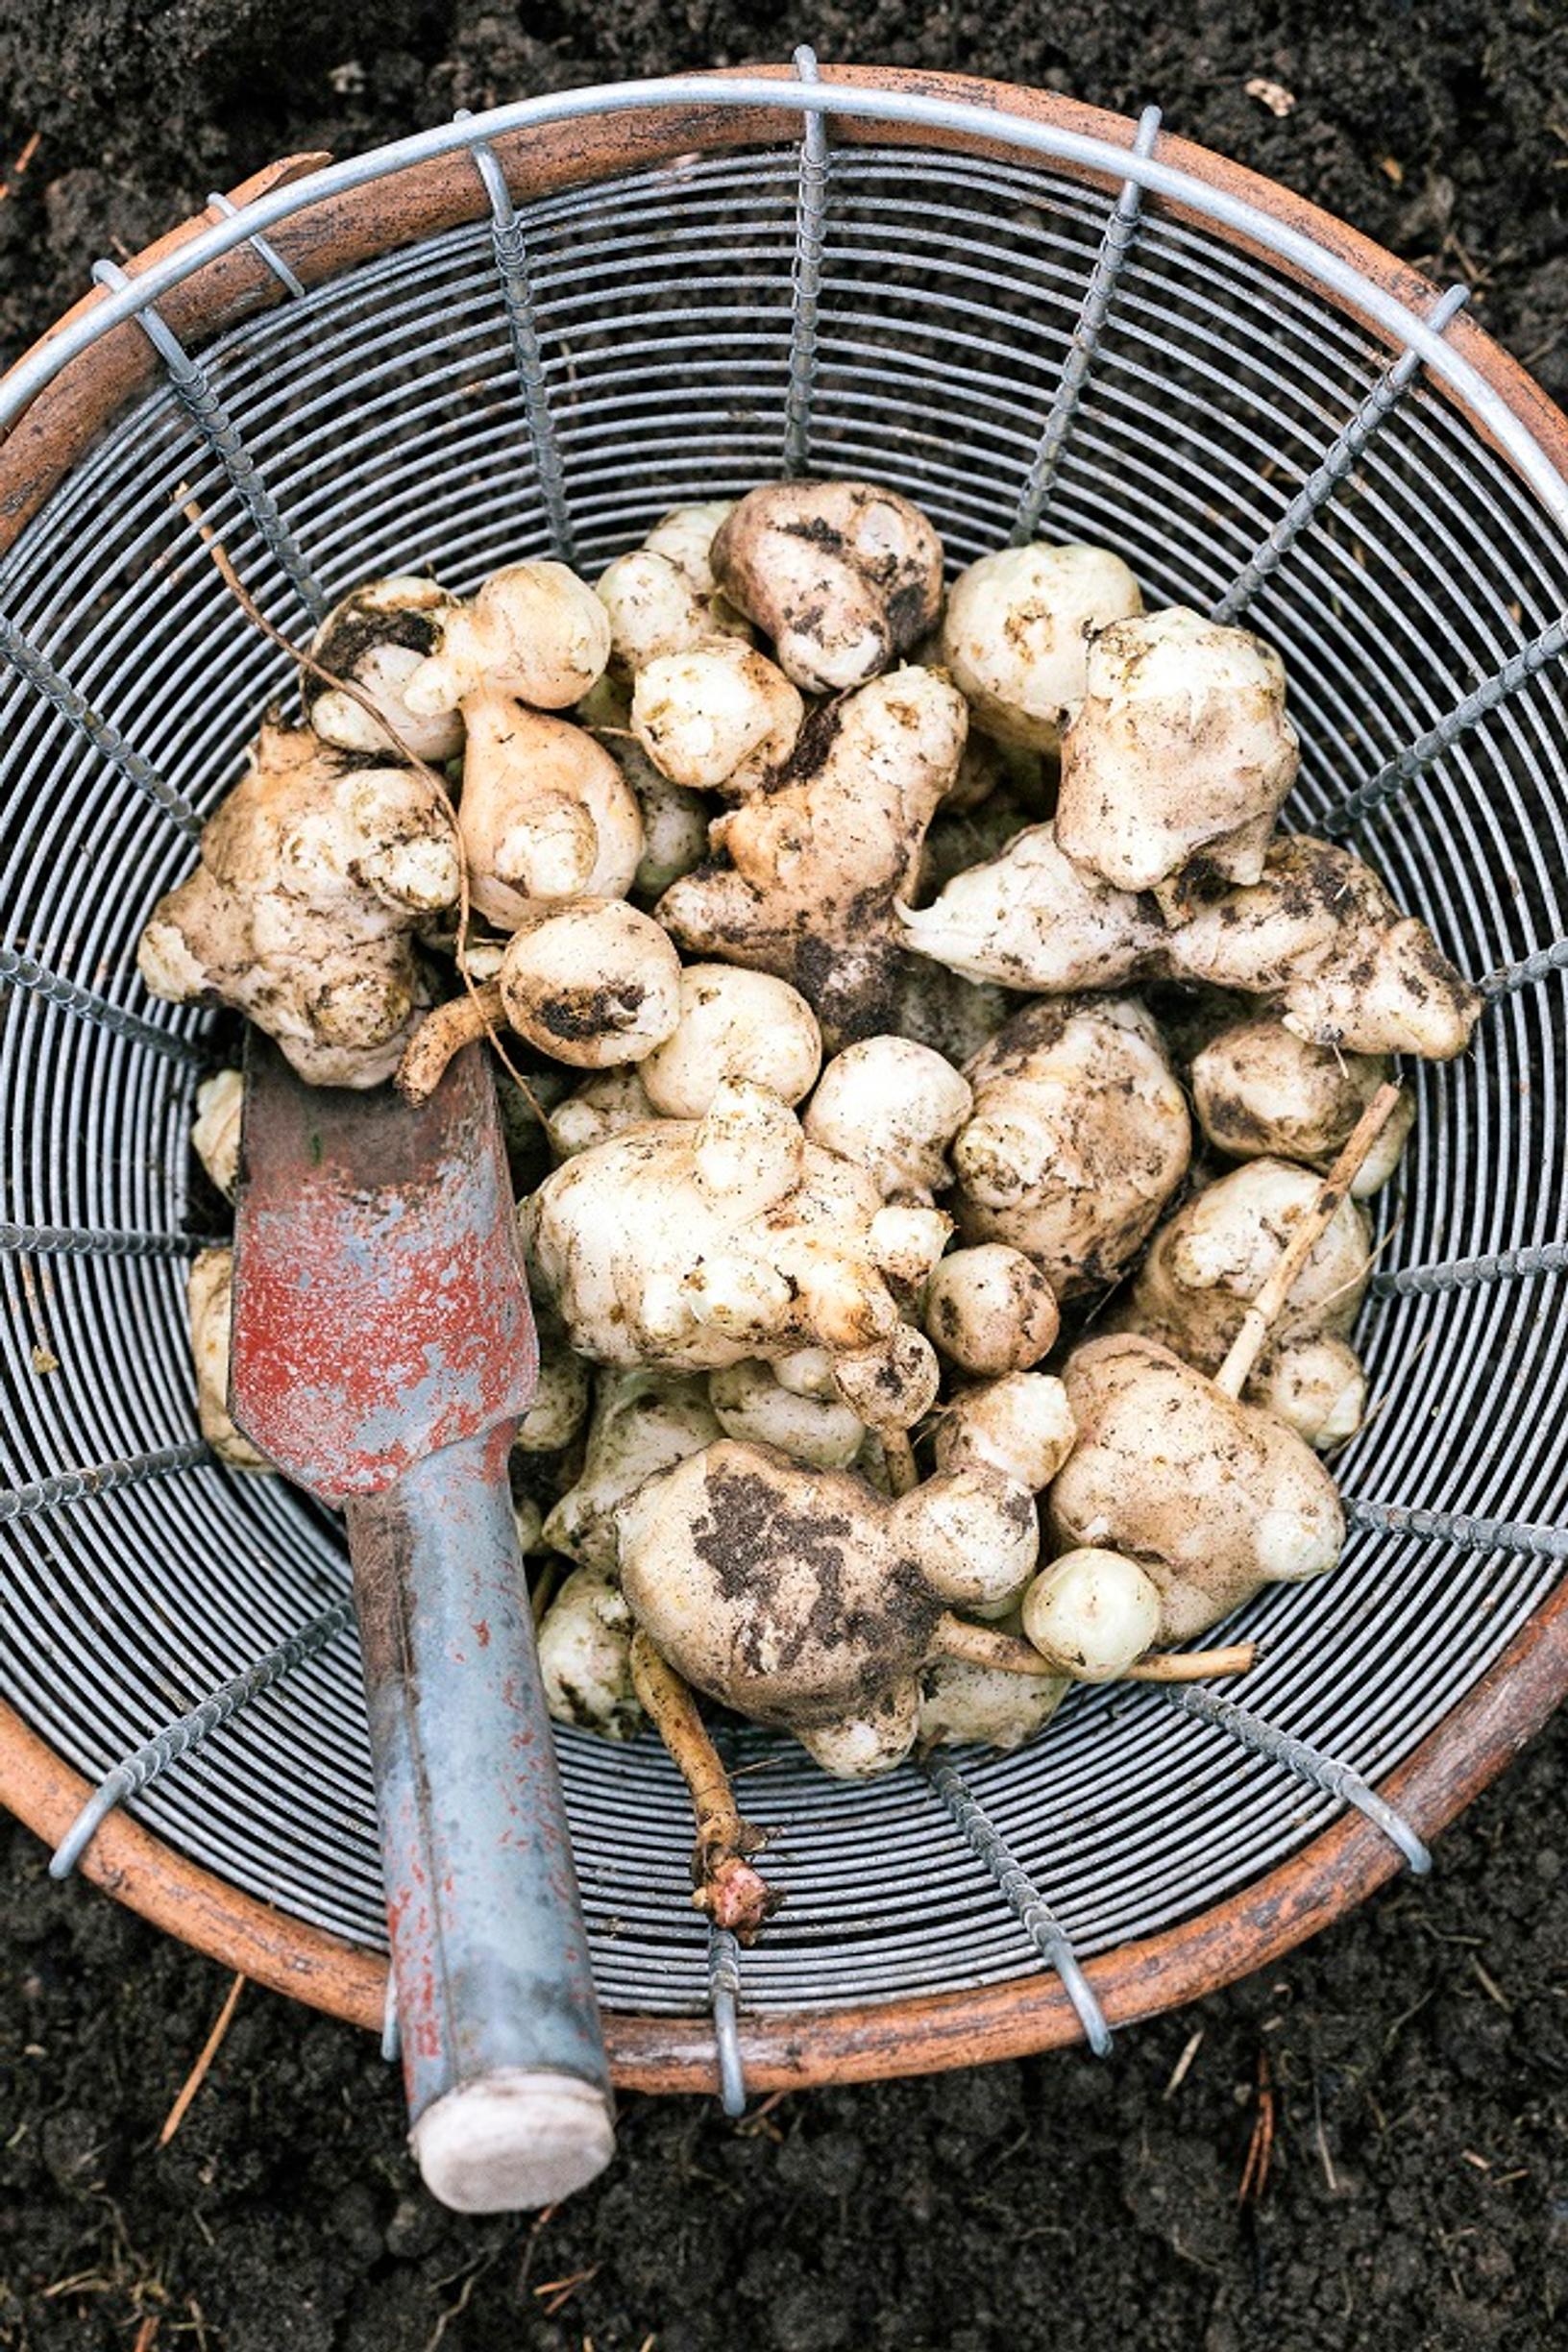
Since tubers don’t keep for long once lifted, harvest only as many as you need. Use a pitchfork and take care not to damage them.
Rather than a peel, the tuber’s surface is covered by a thin epidermis. With no true skin, it shrivels quickly. The smaller the tuber, the smoother its surface.


Using and storing Jerusalem artichokes
You can use Jerusalem artichoke tubers peeled or unpeeled. Simply brush off the dirt—usually a firm scrub is enough. If you boil them, cut a small slit in the surface and squeeze out the flesh. You can also freeze the purée.
Cook Jerusalem artichoke tubers shortly after harvesting or keep them in a cool place, protected from moisture loss. The tubers will stay firm for just a week or two in the fridge.

Jerusalem artichoke strains are rich in tradition
- In Finland, Jerusalem artichoke tubers are often sold without variety names, but there are many varieties are available in Central Europe.
- If you have a friend with a prolific artichoke strain in their garden, asking them for a few tubers is a great way to make sure the plant will thrive in your garden, too.
- Finnish home gardens mostly have older, high-yielding strains that belong to the valuable Finnish plant heritage.