Let’s get crafty
So easy: create paper pumpkins with supplies you already have!
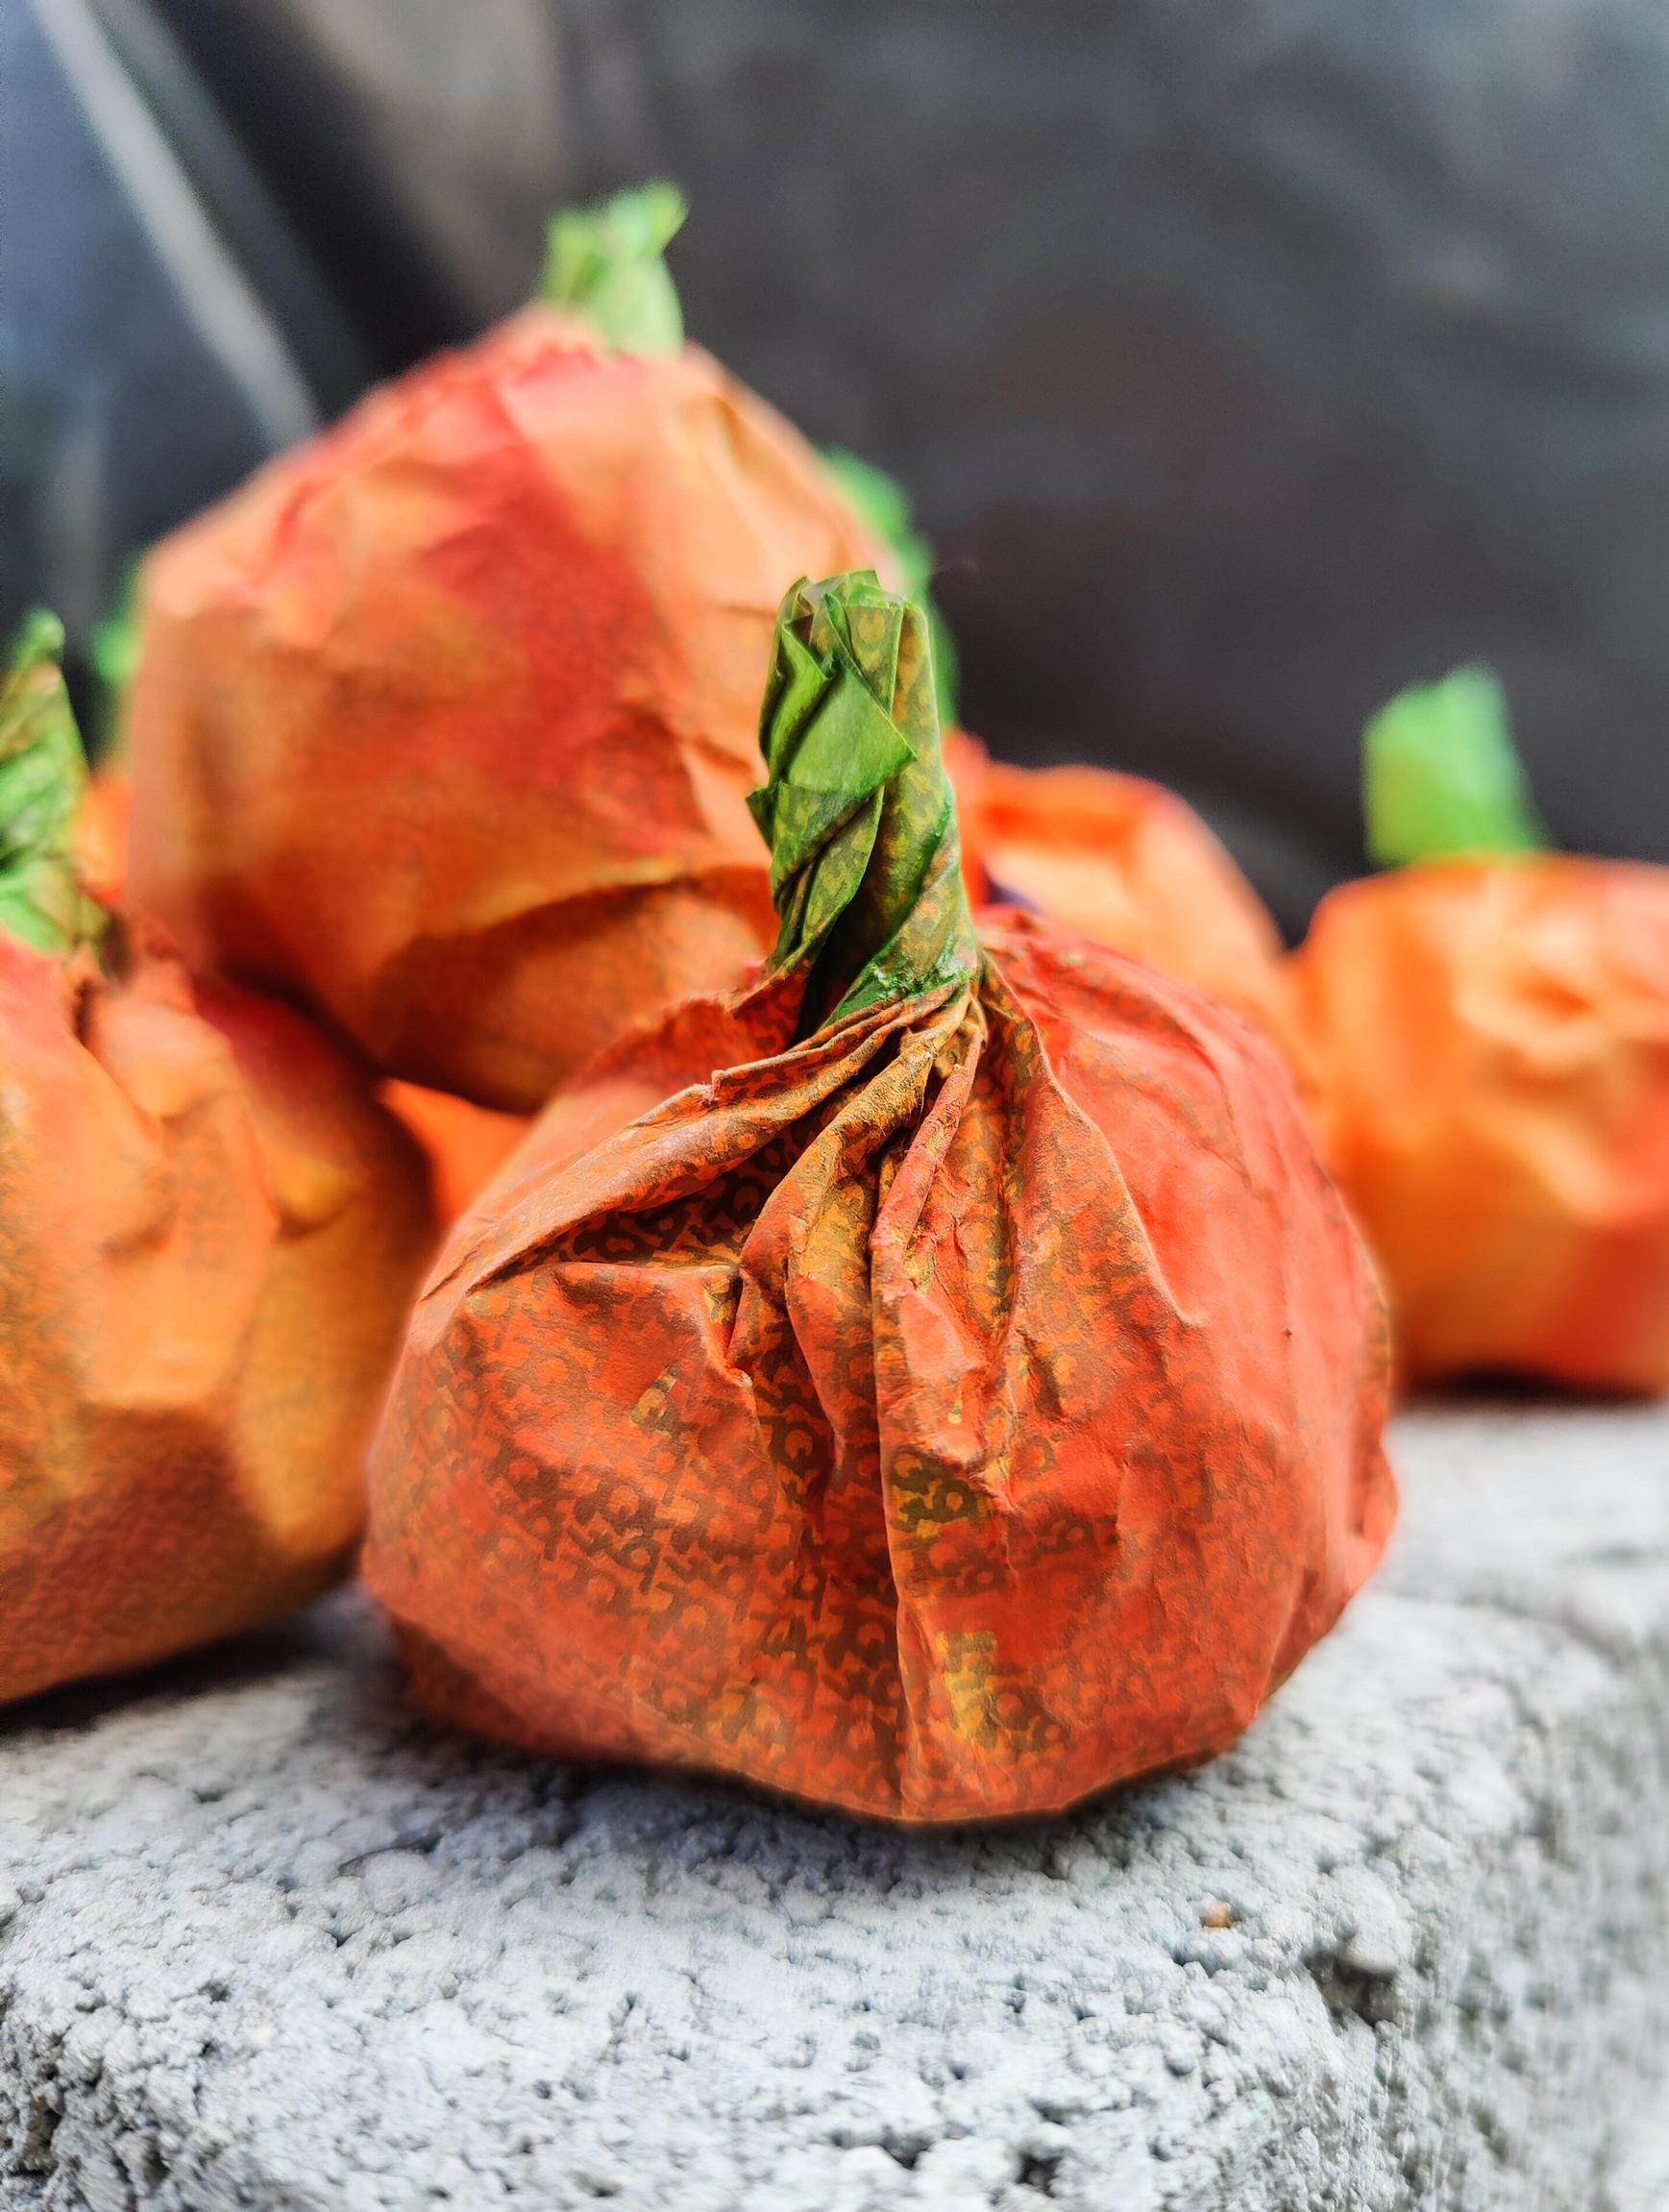
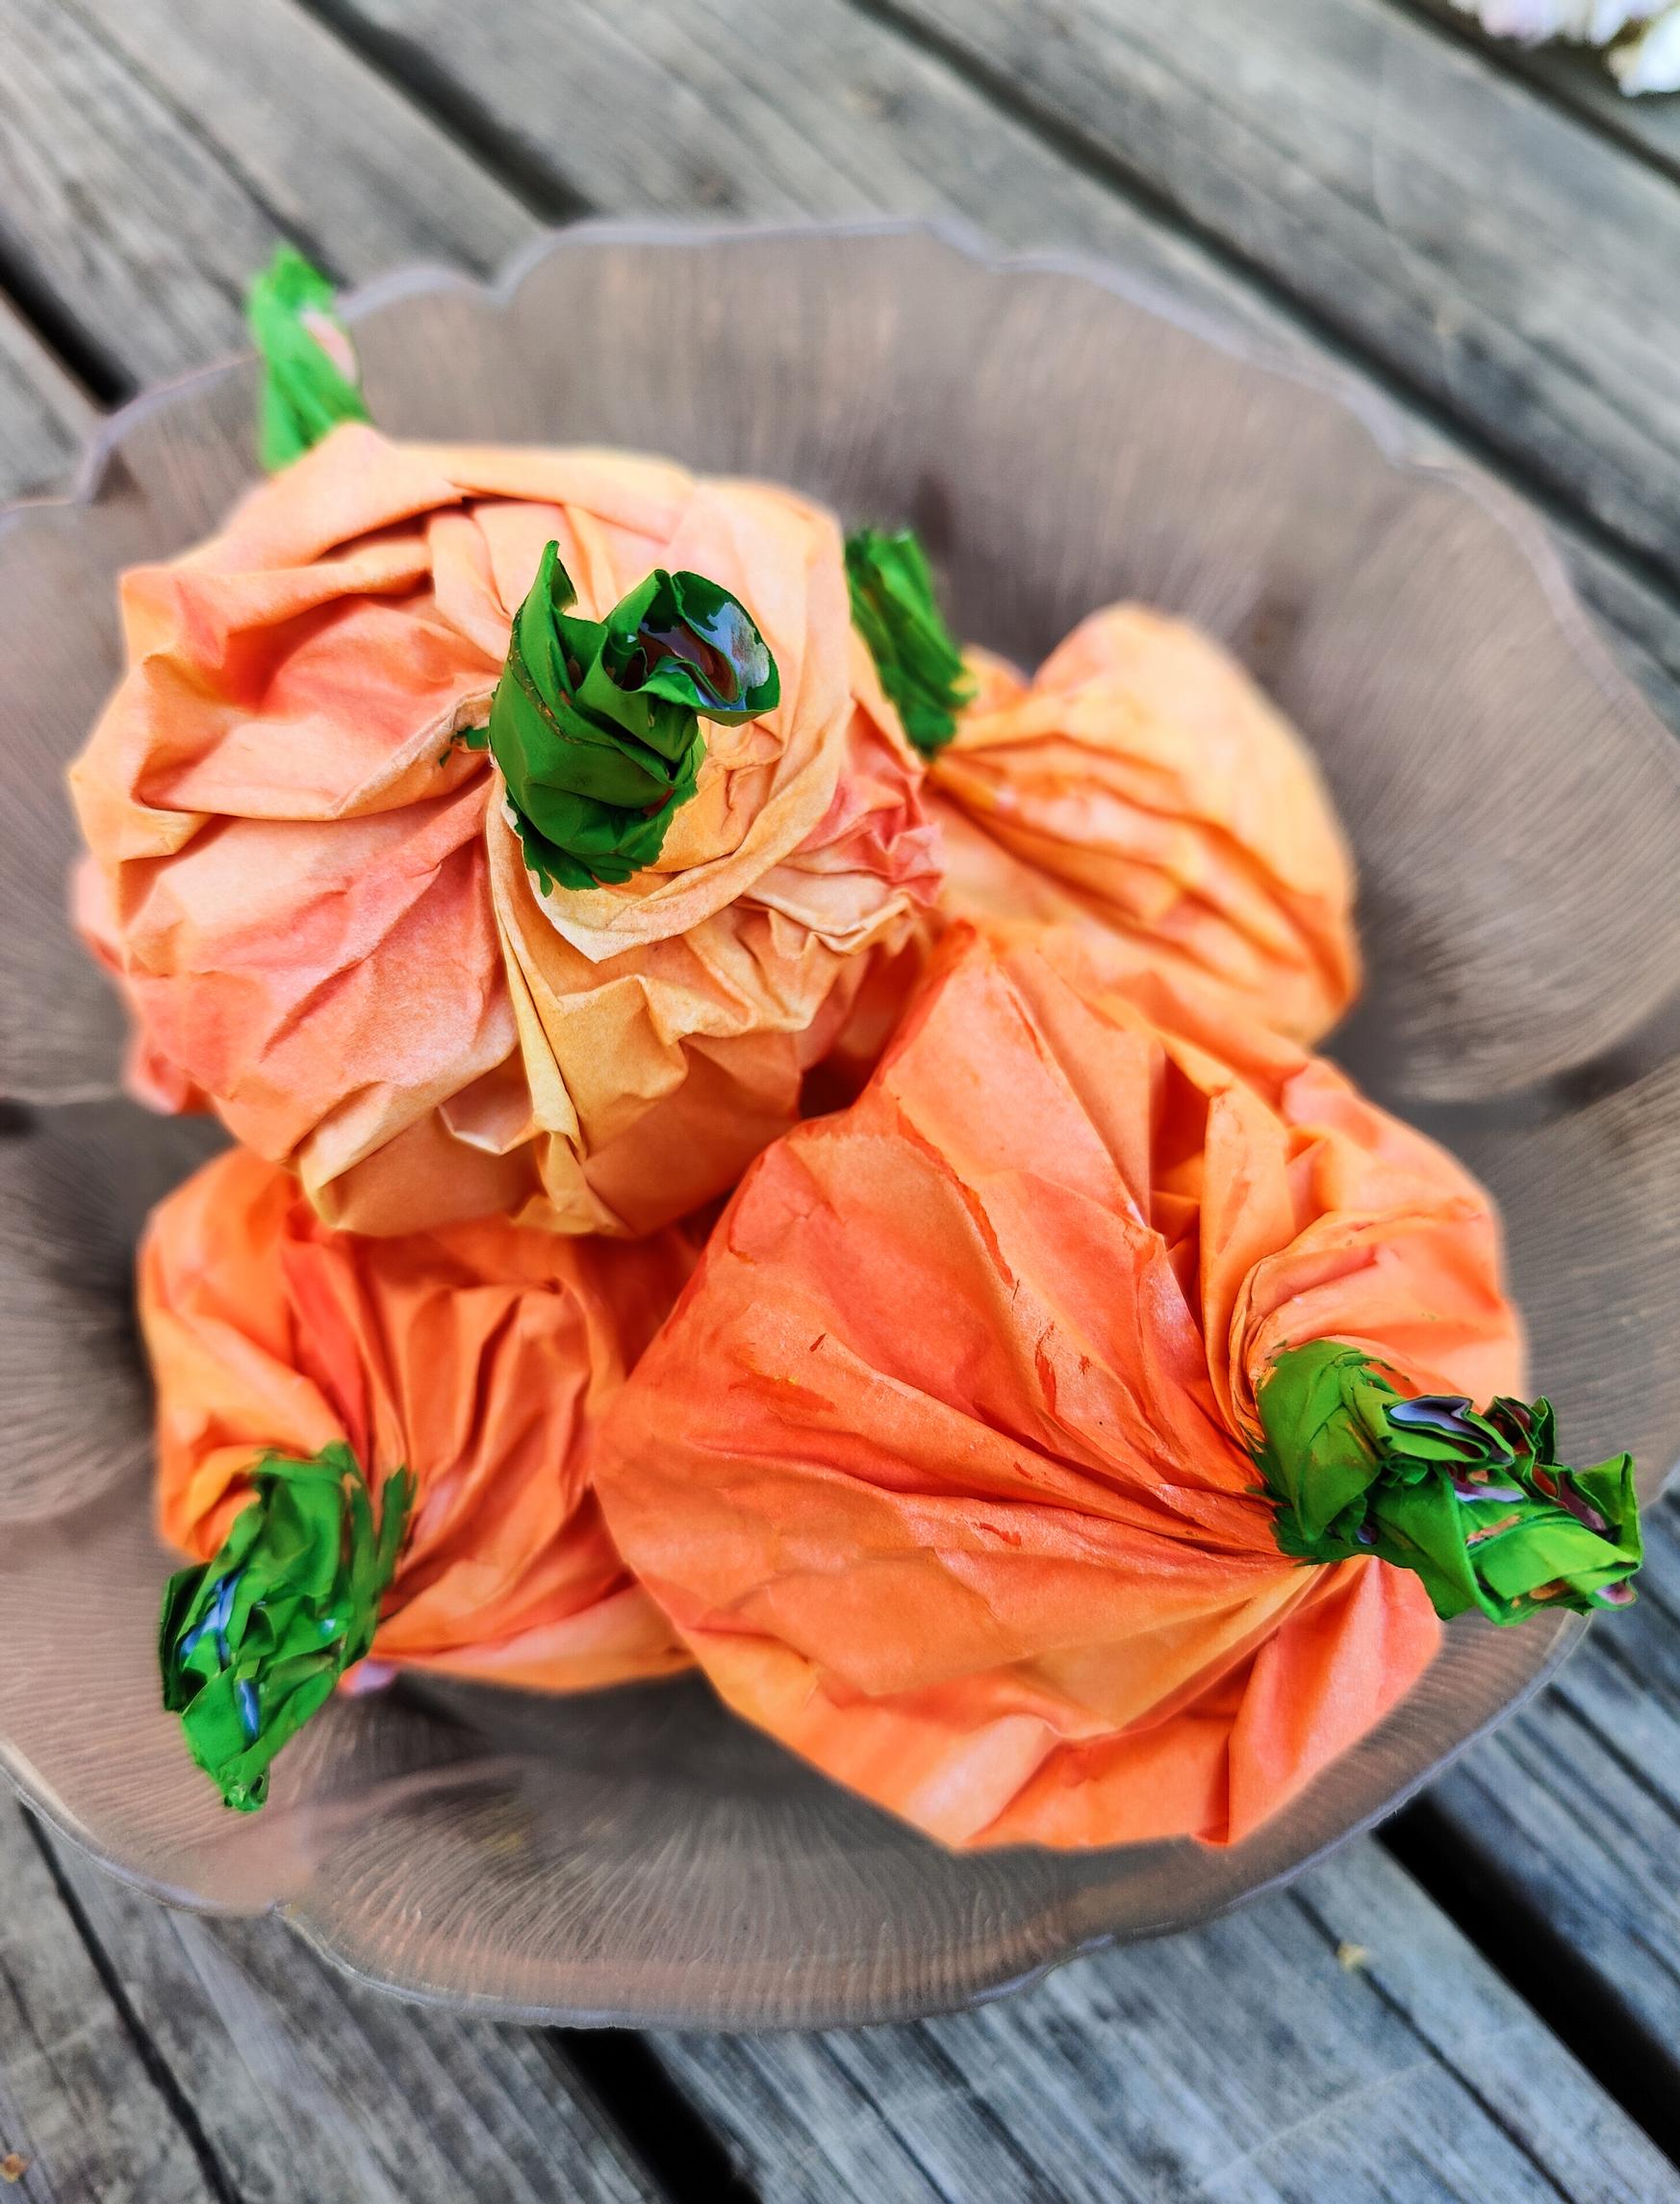
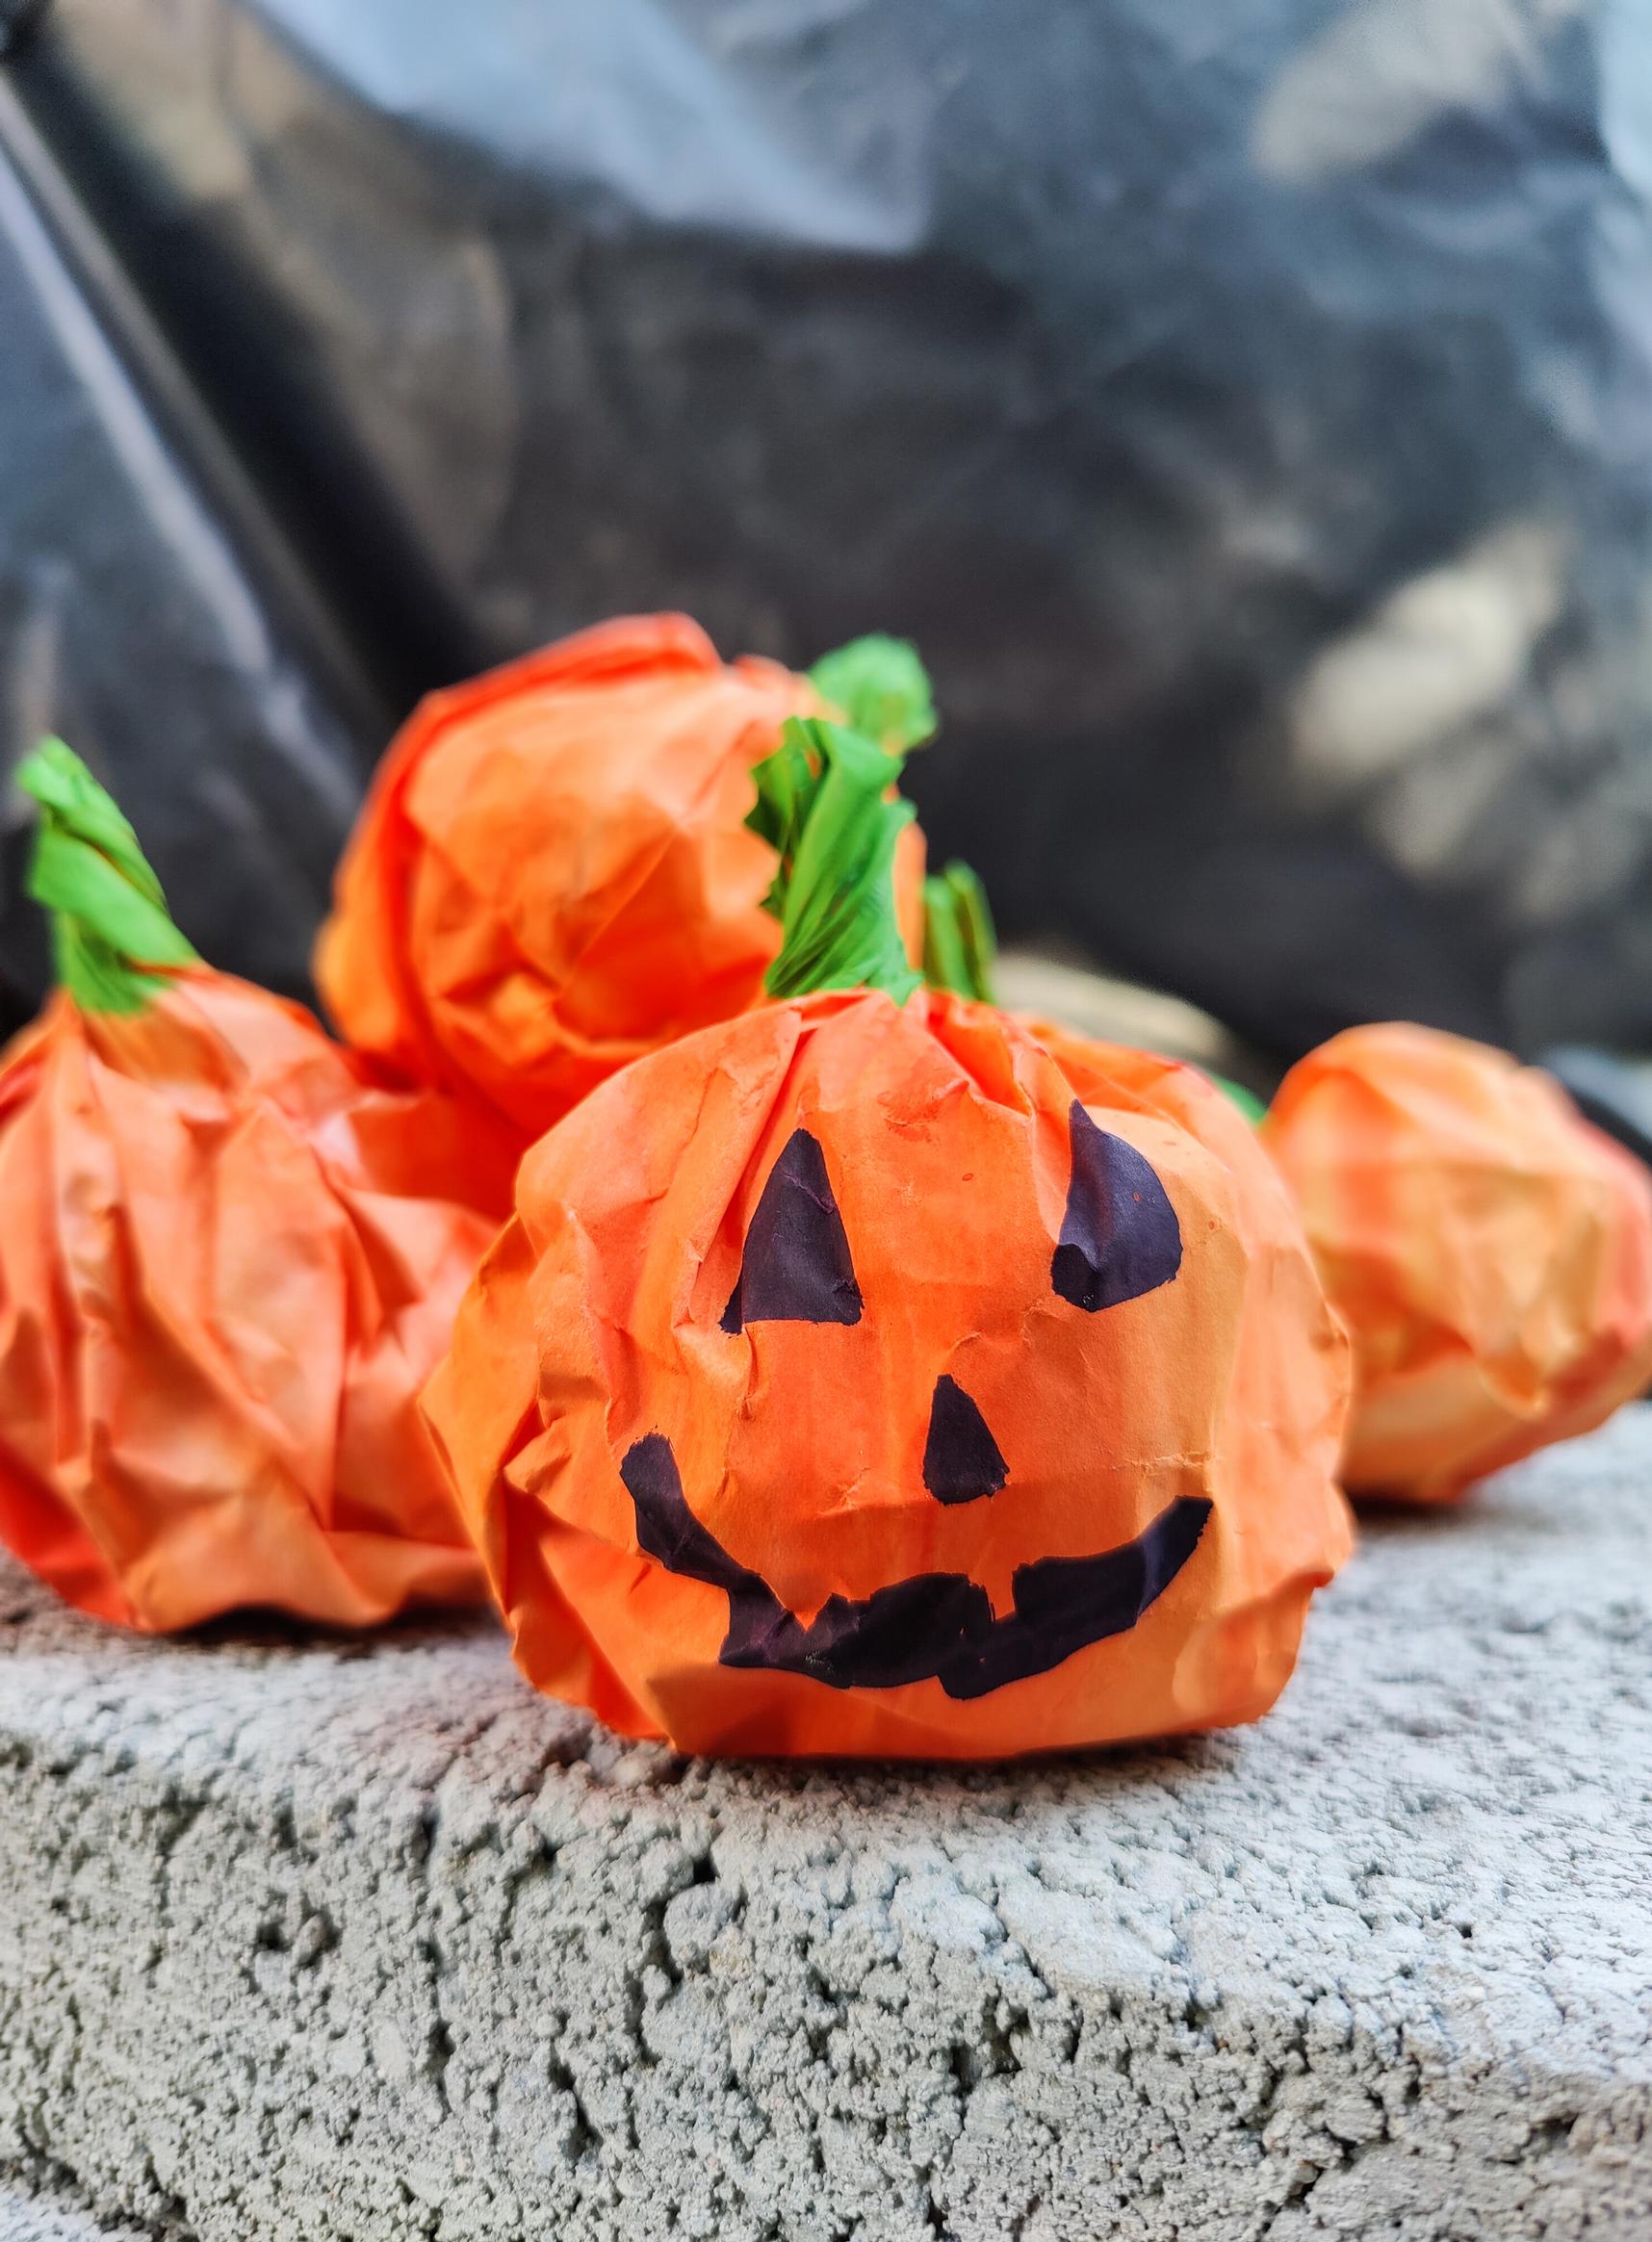
Pumpkins are part of fall festivities. This time, they’re crafted from paper painted with watercolors to match the season. If you’d like Halloween pumpkins, draw a spooky face on them. These decorations are also easy for kids!
Easy paper pumpkins: what you’ll need
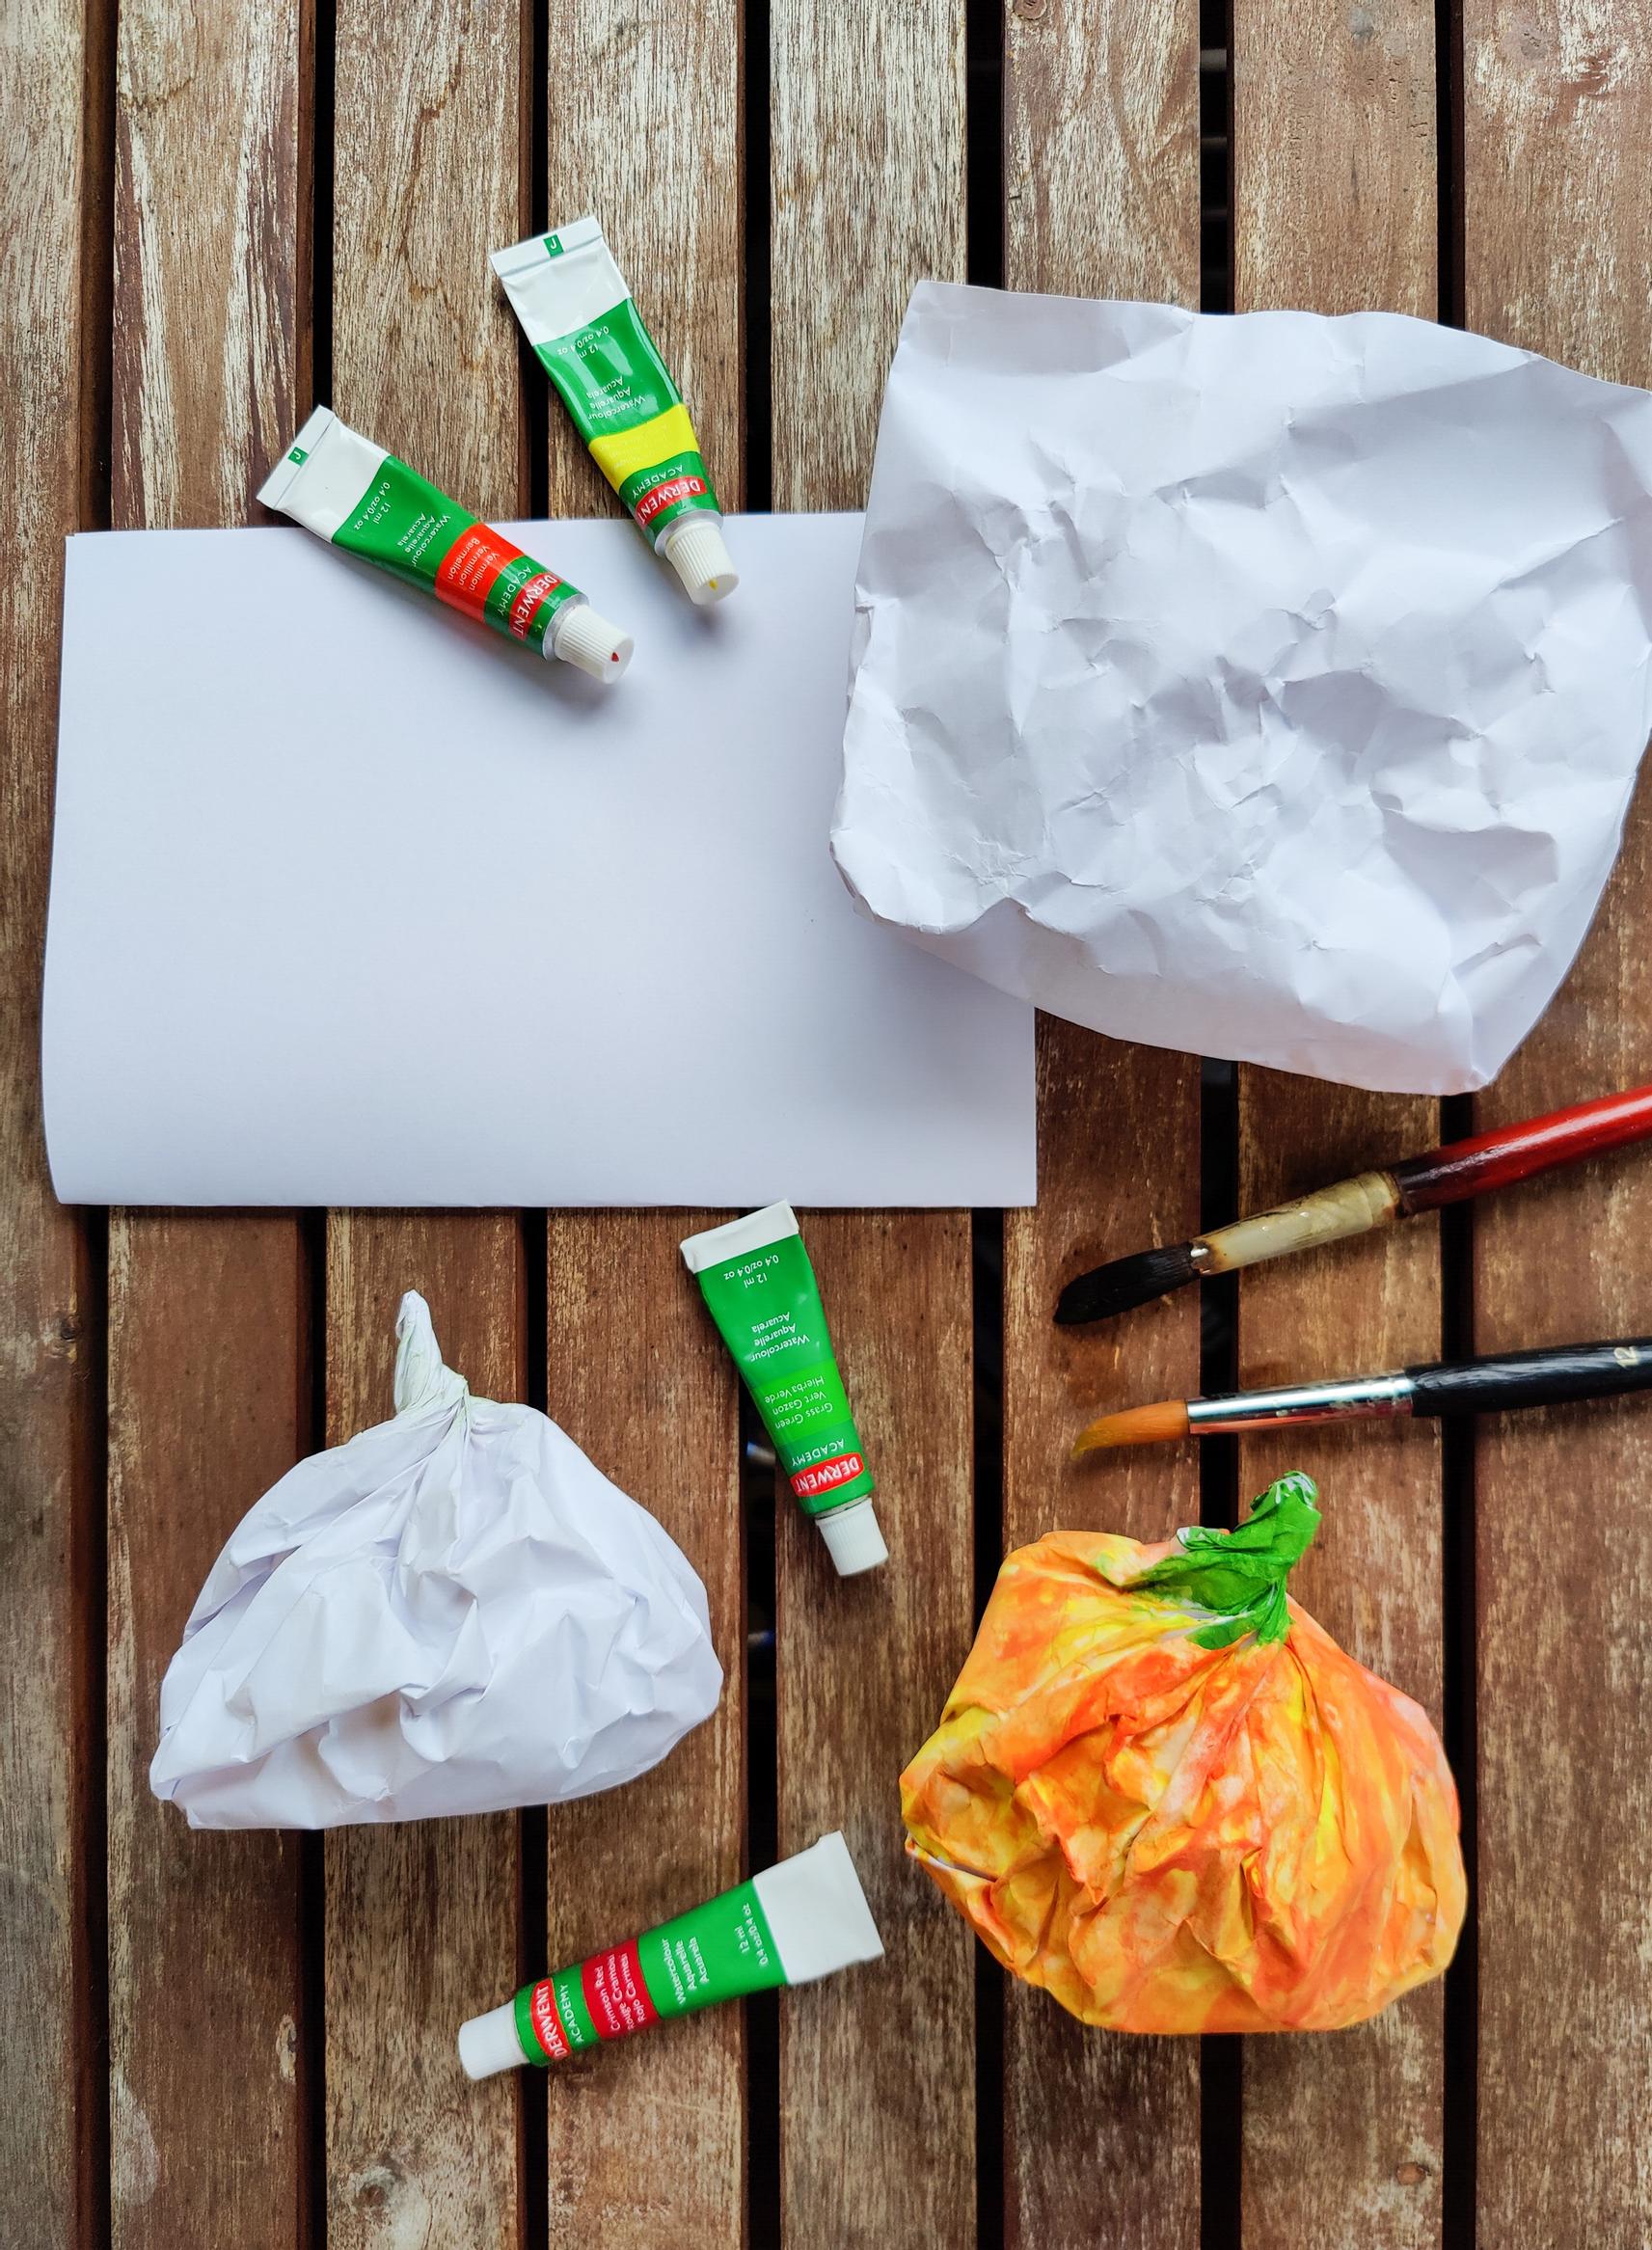
- Copy paper or recycled paper
- Watercolors (we used Derwent Academy Watercolours in the example)
- Newspaper
- Black water-resistant marker
- Double-sided tape
- Paintbrushes
- Water
- A watercolor palette or mixing tray

Easy paper pumpkins: instructions
- Place strips of tape along both long edges of the copy paper, then fold it in half. Press the seams firmly. Envelope paper also works well for making pumpkins—just cut a rectangular piece from an envelope and continue following the instructions.
- Turn the paper bag inside out so the side seams remain inside.
- If you want a Halloween pumpkin, draw its face now.
- Roll balls of newspaper and place them inside the bag for filling.
- Twist the top of the bag tightly so it seals the bag and forms a stem for the pumpkin. Be careful not to tear the paper.
- Paint your paper pumpkin in its signature hues. Let it dry.