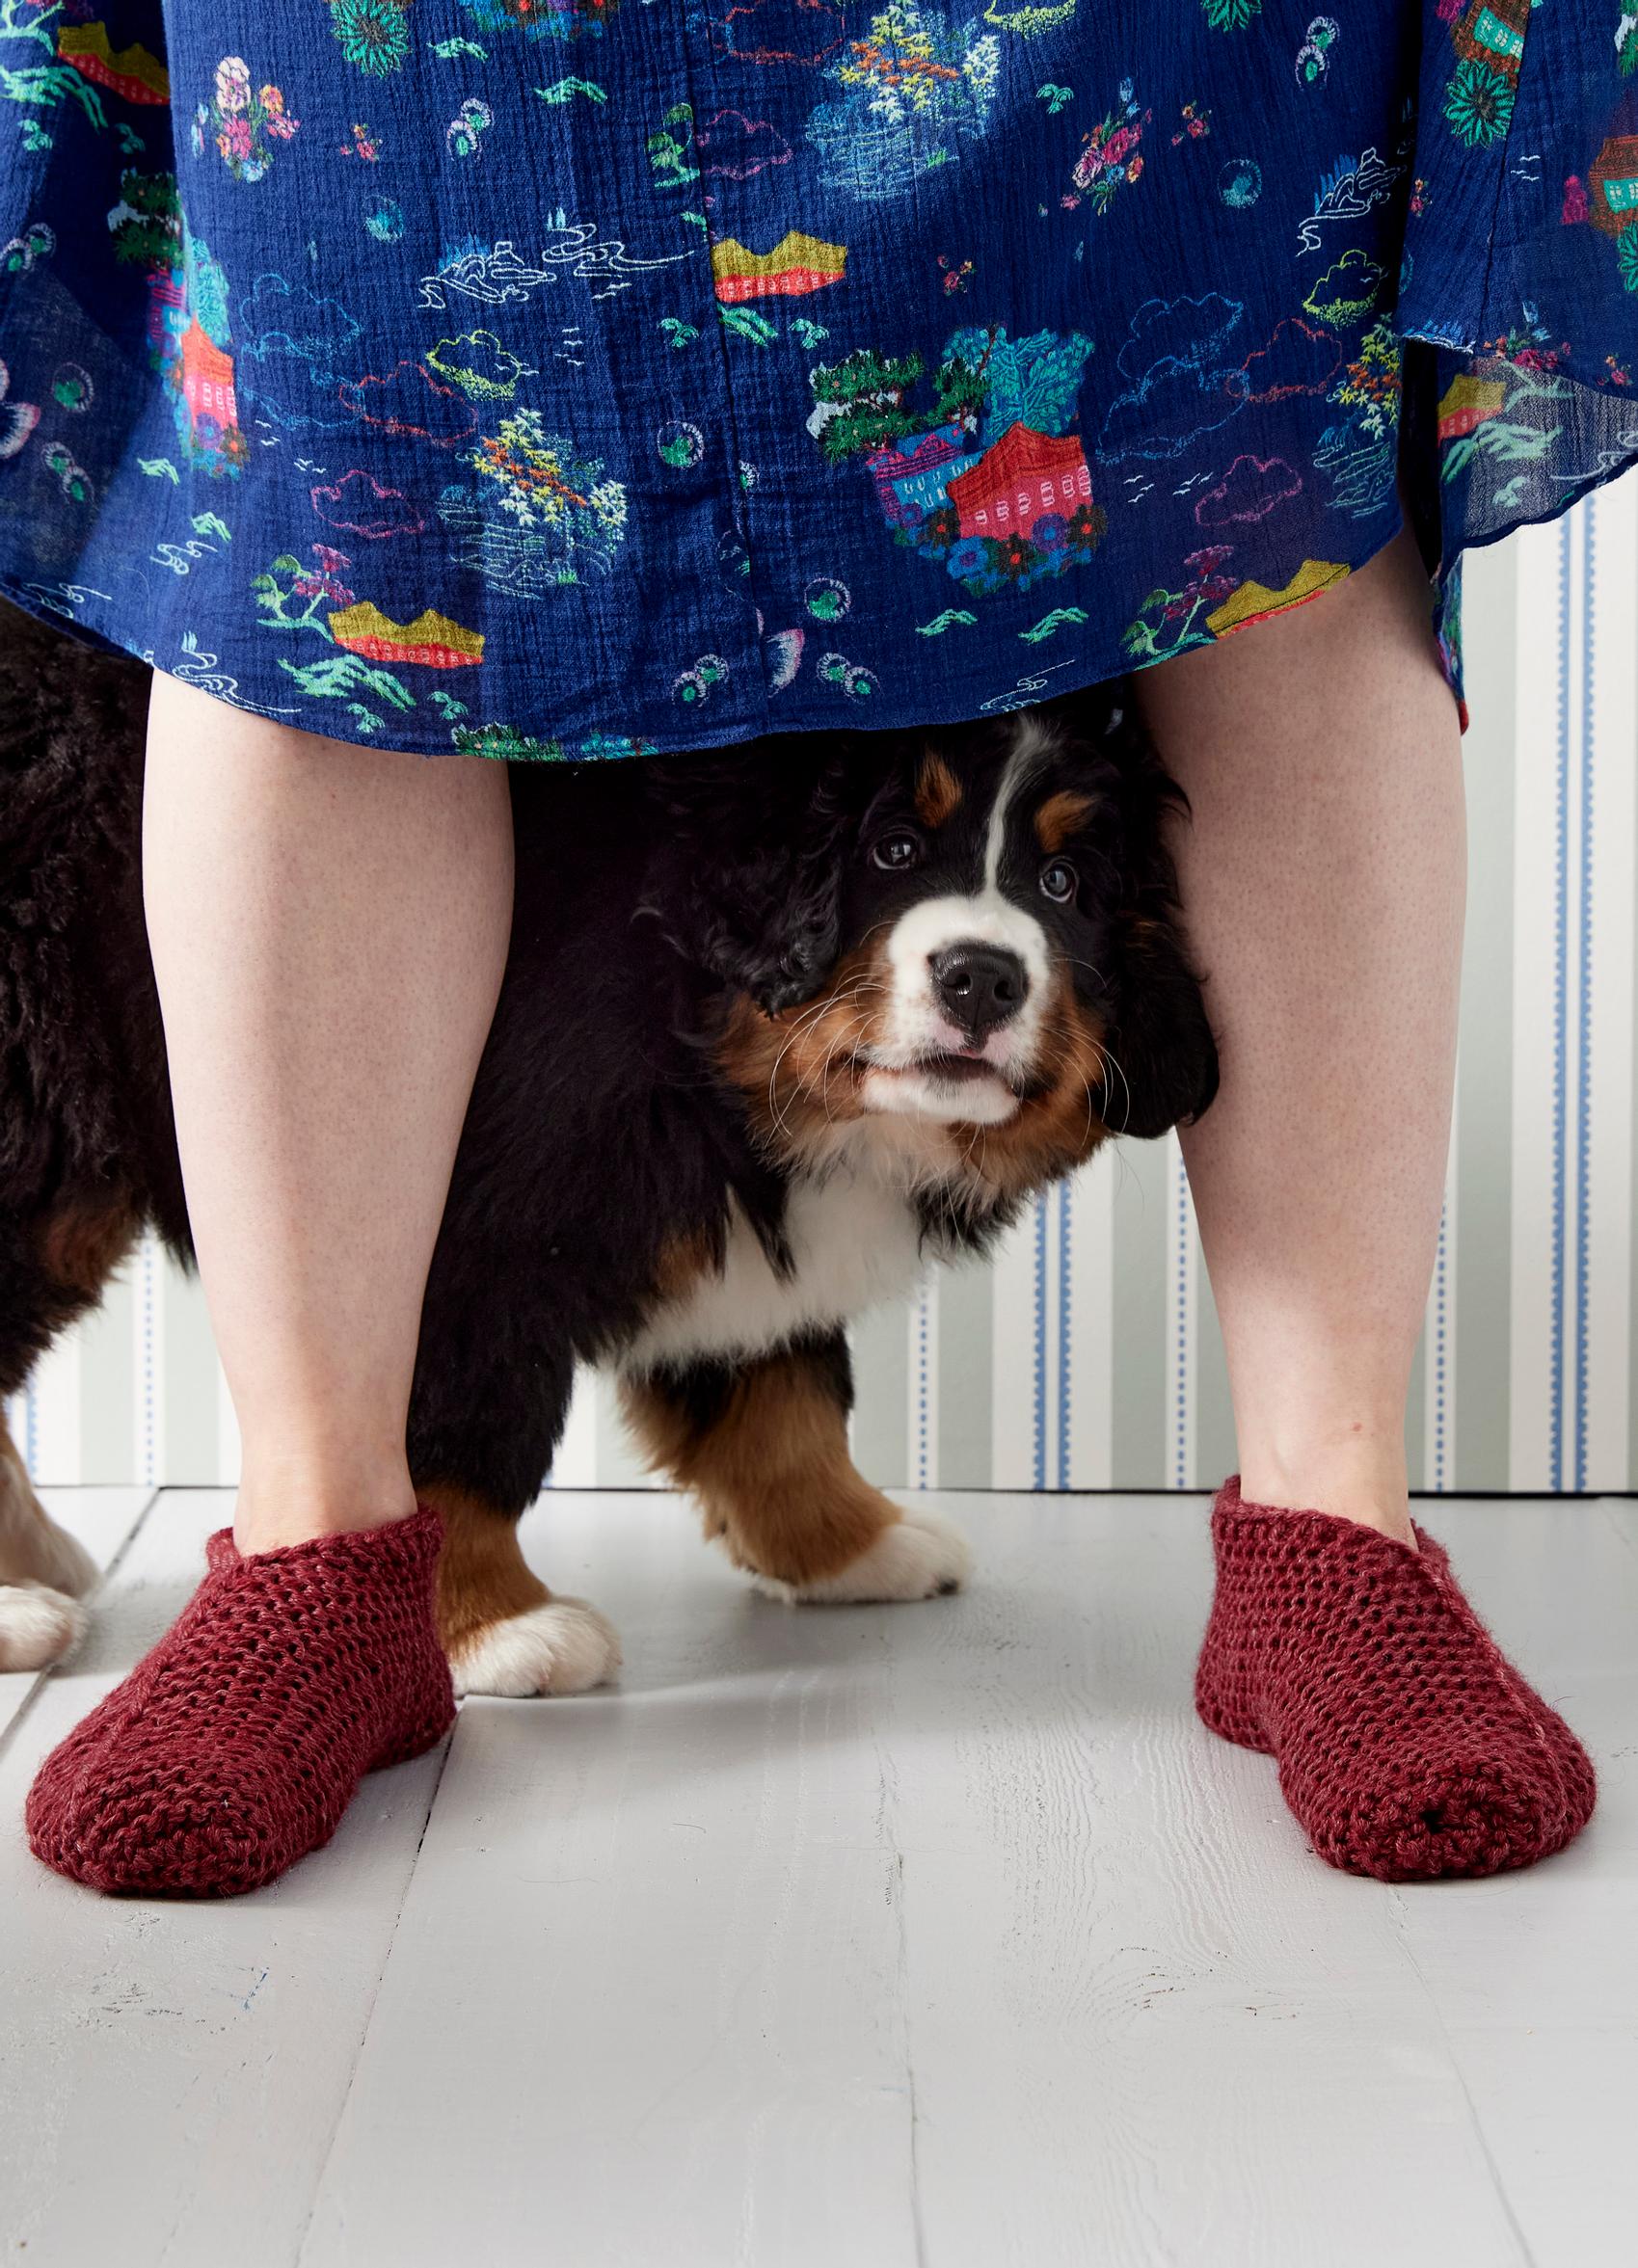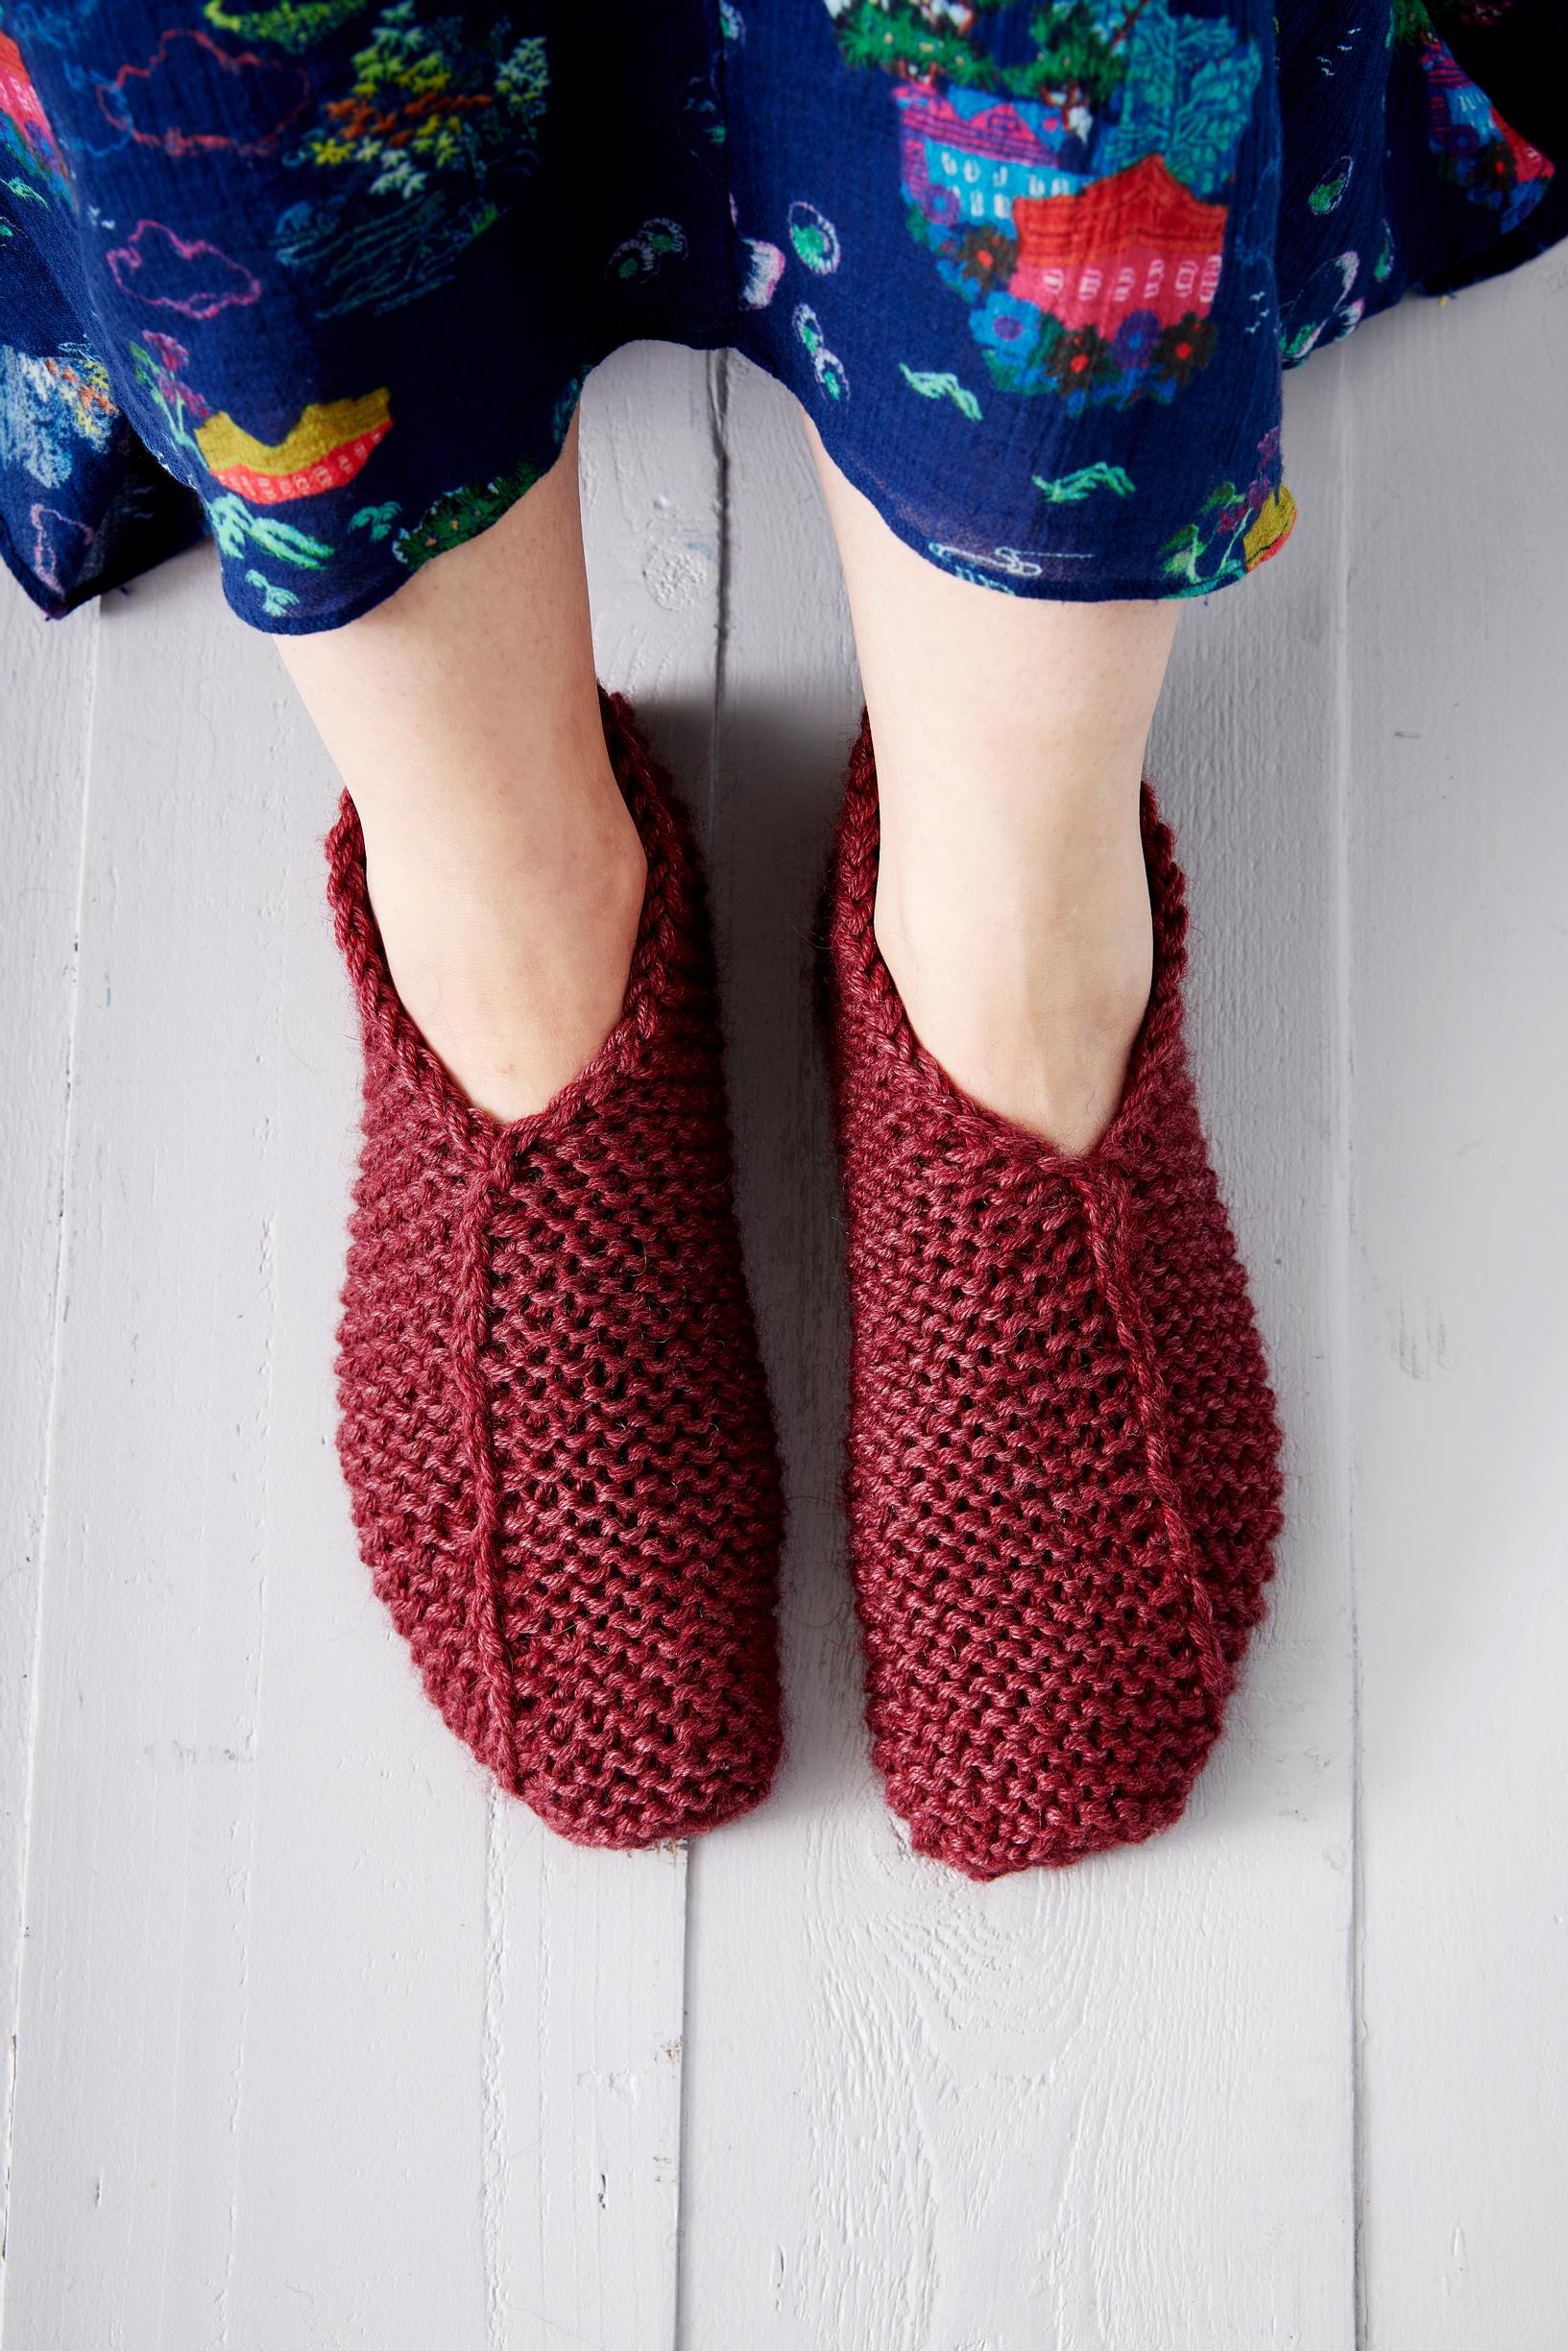
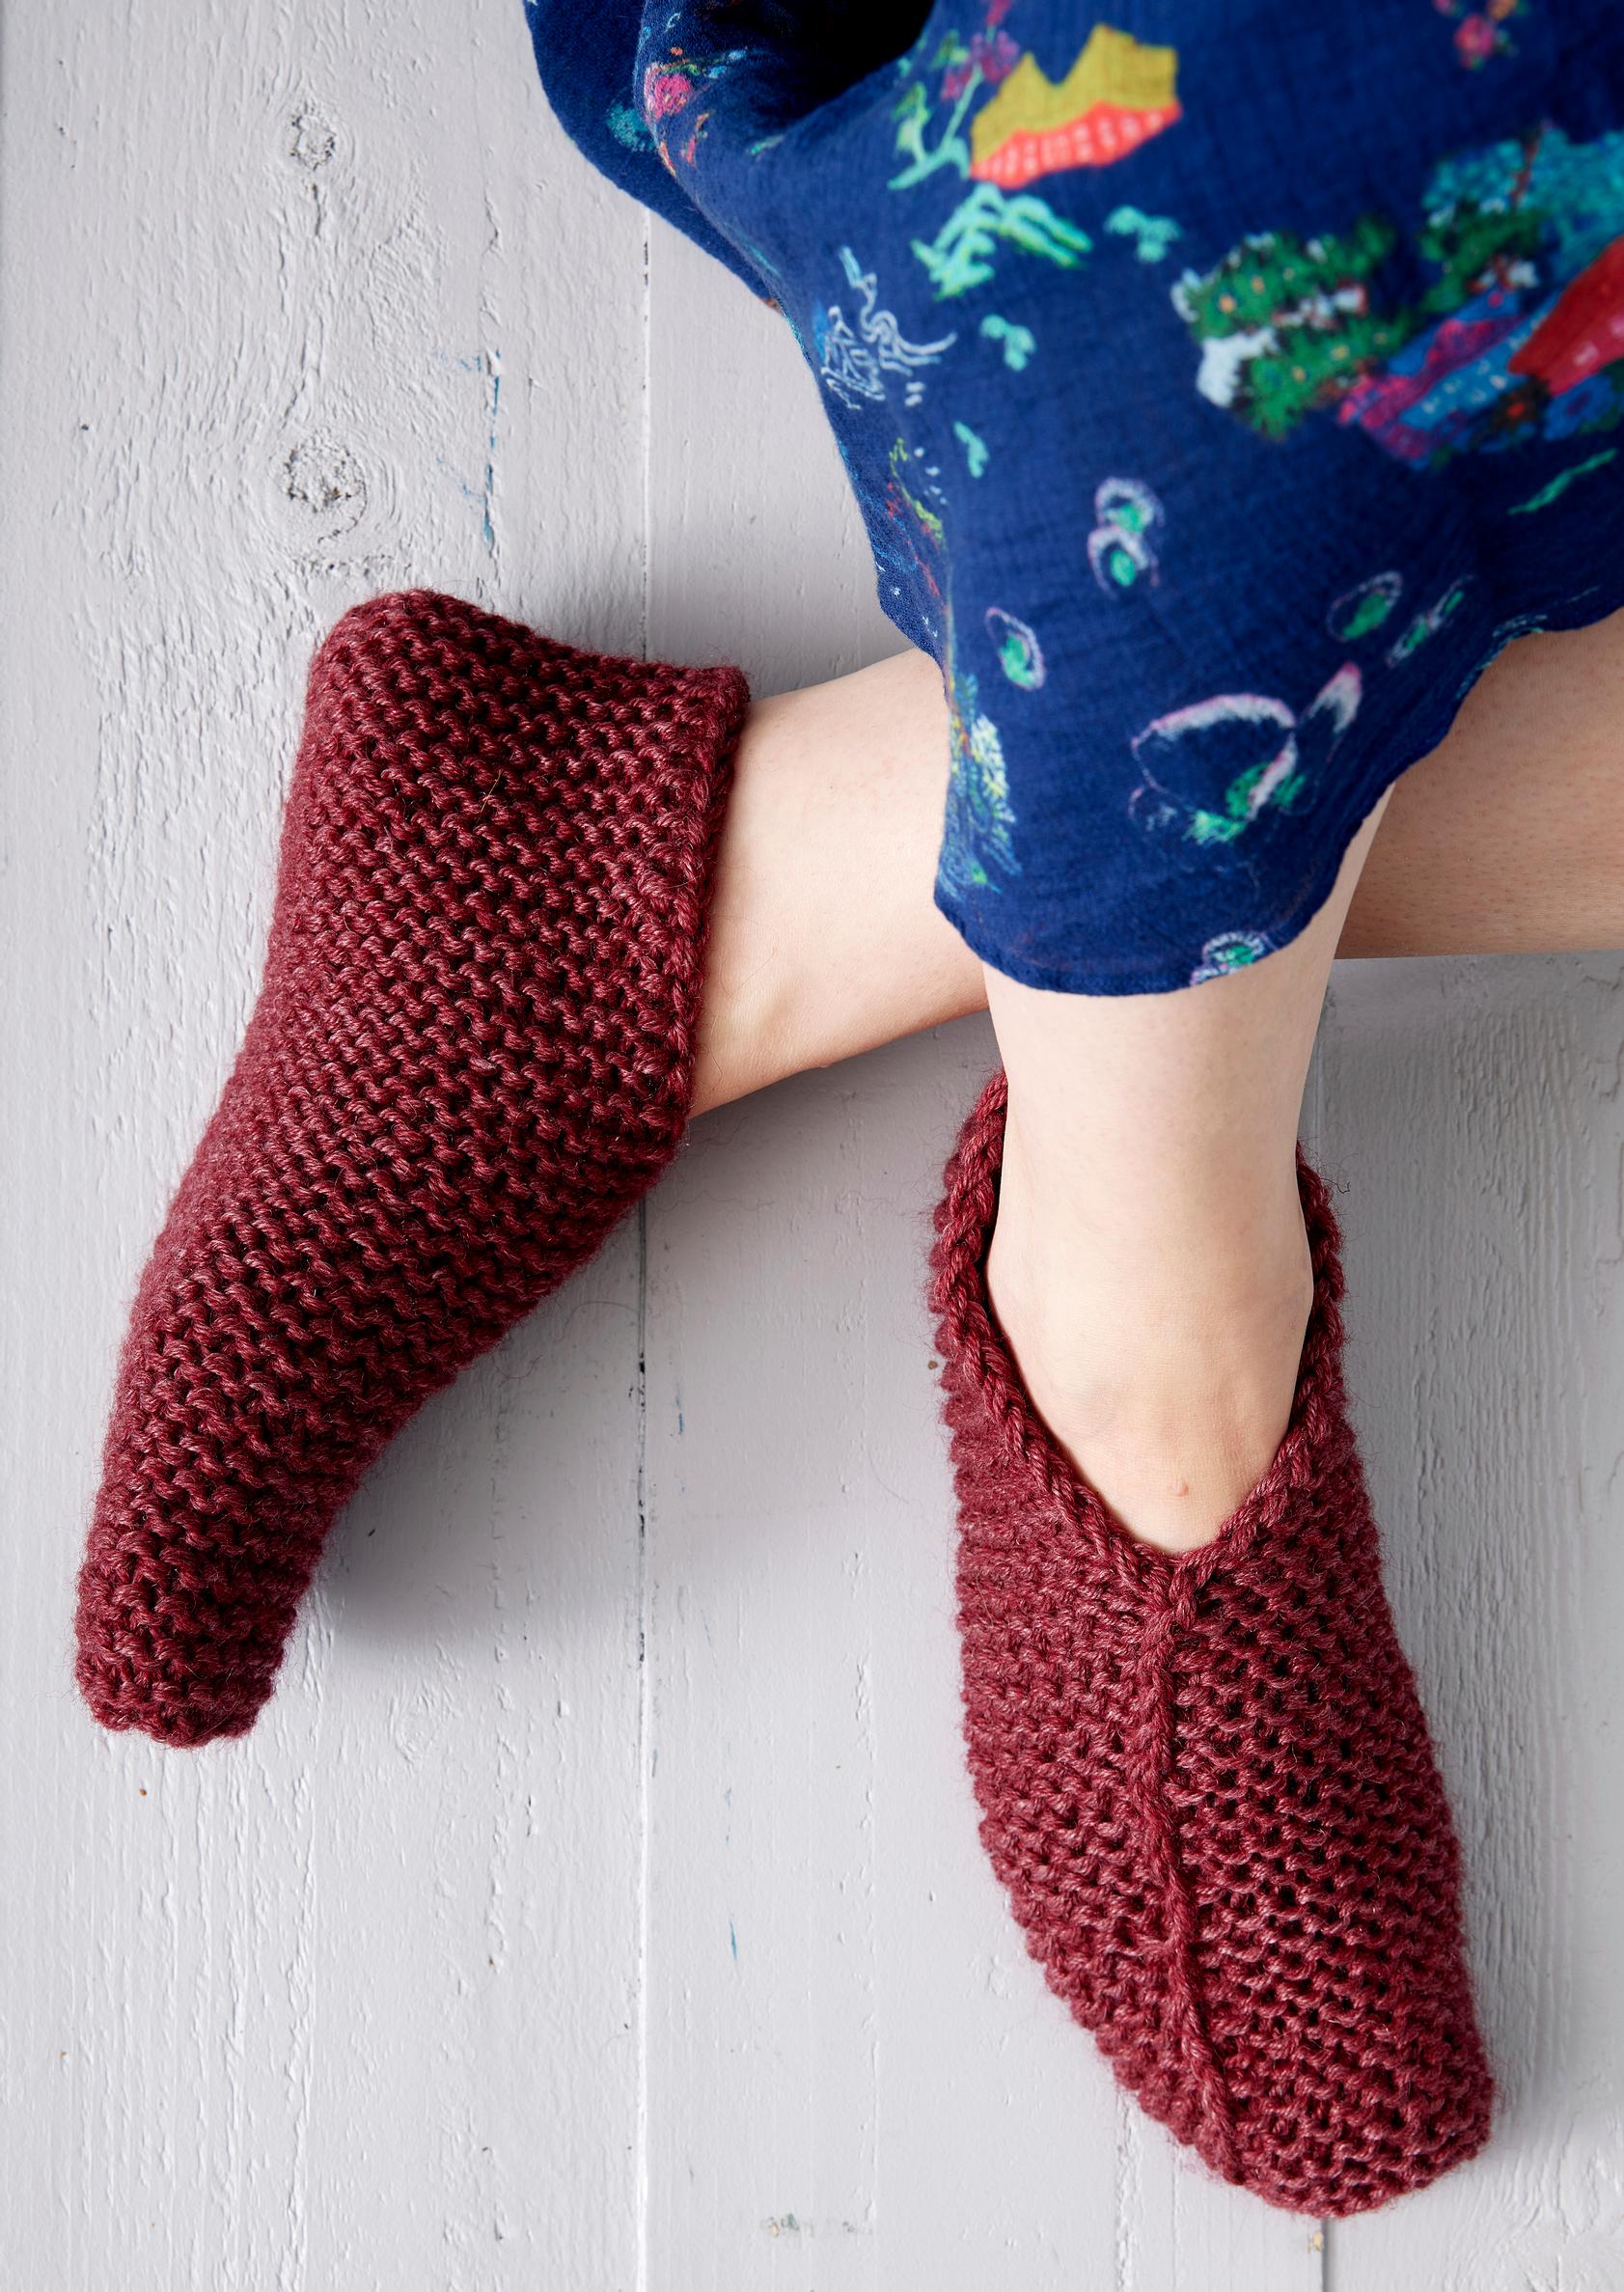
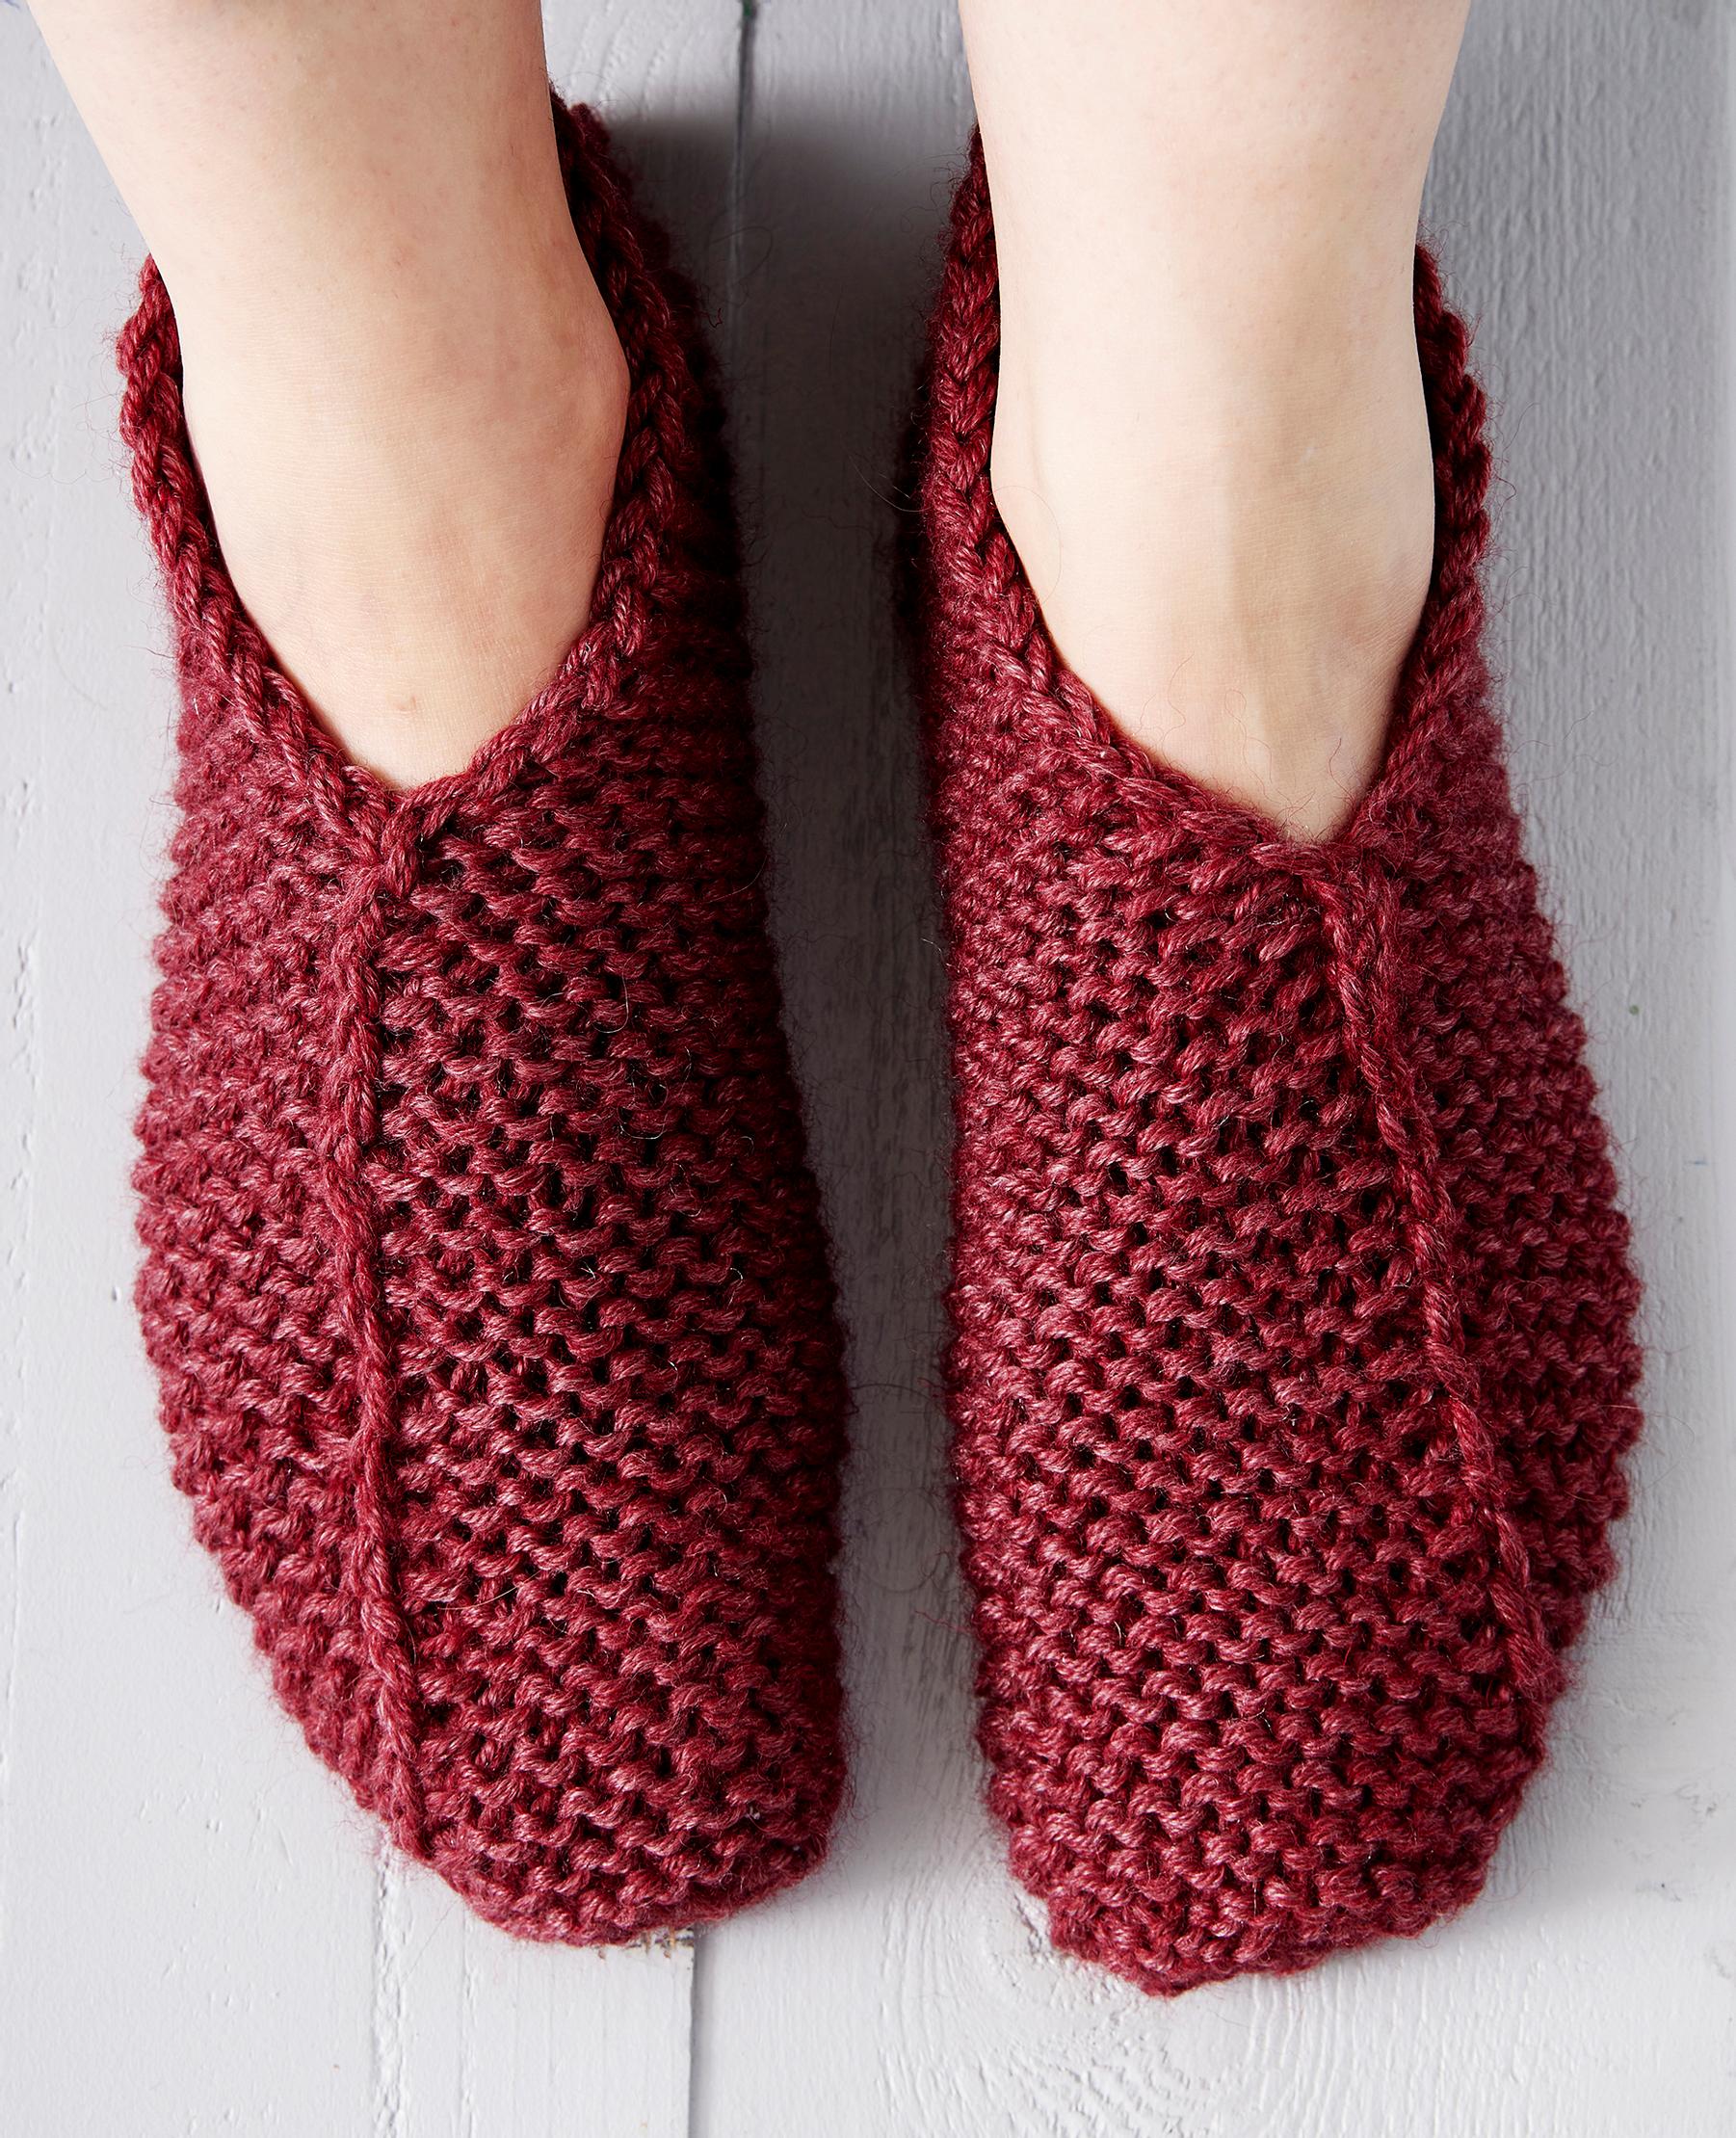
Knit the easiest slippers ever—all you need is a rectangle and a few seams!
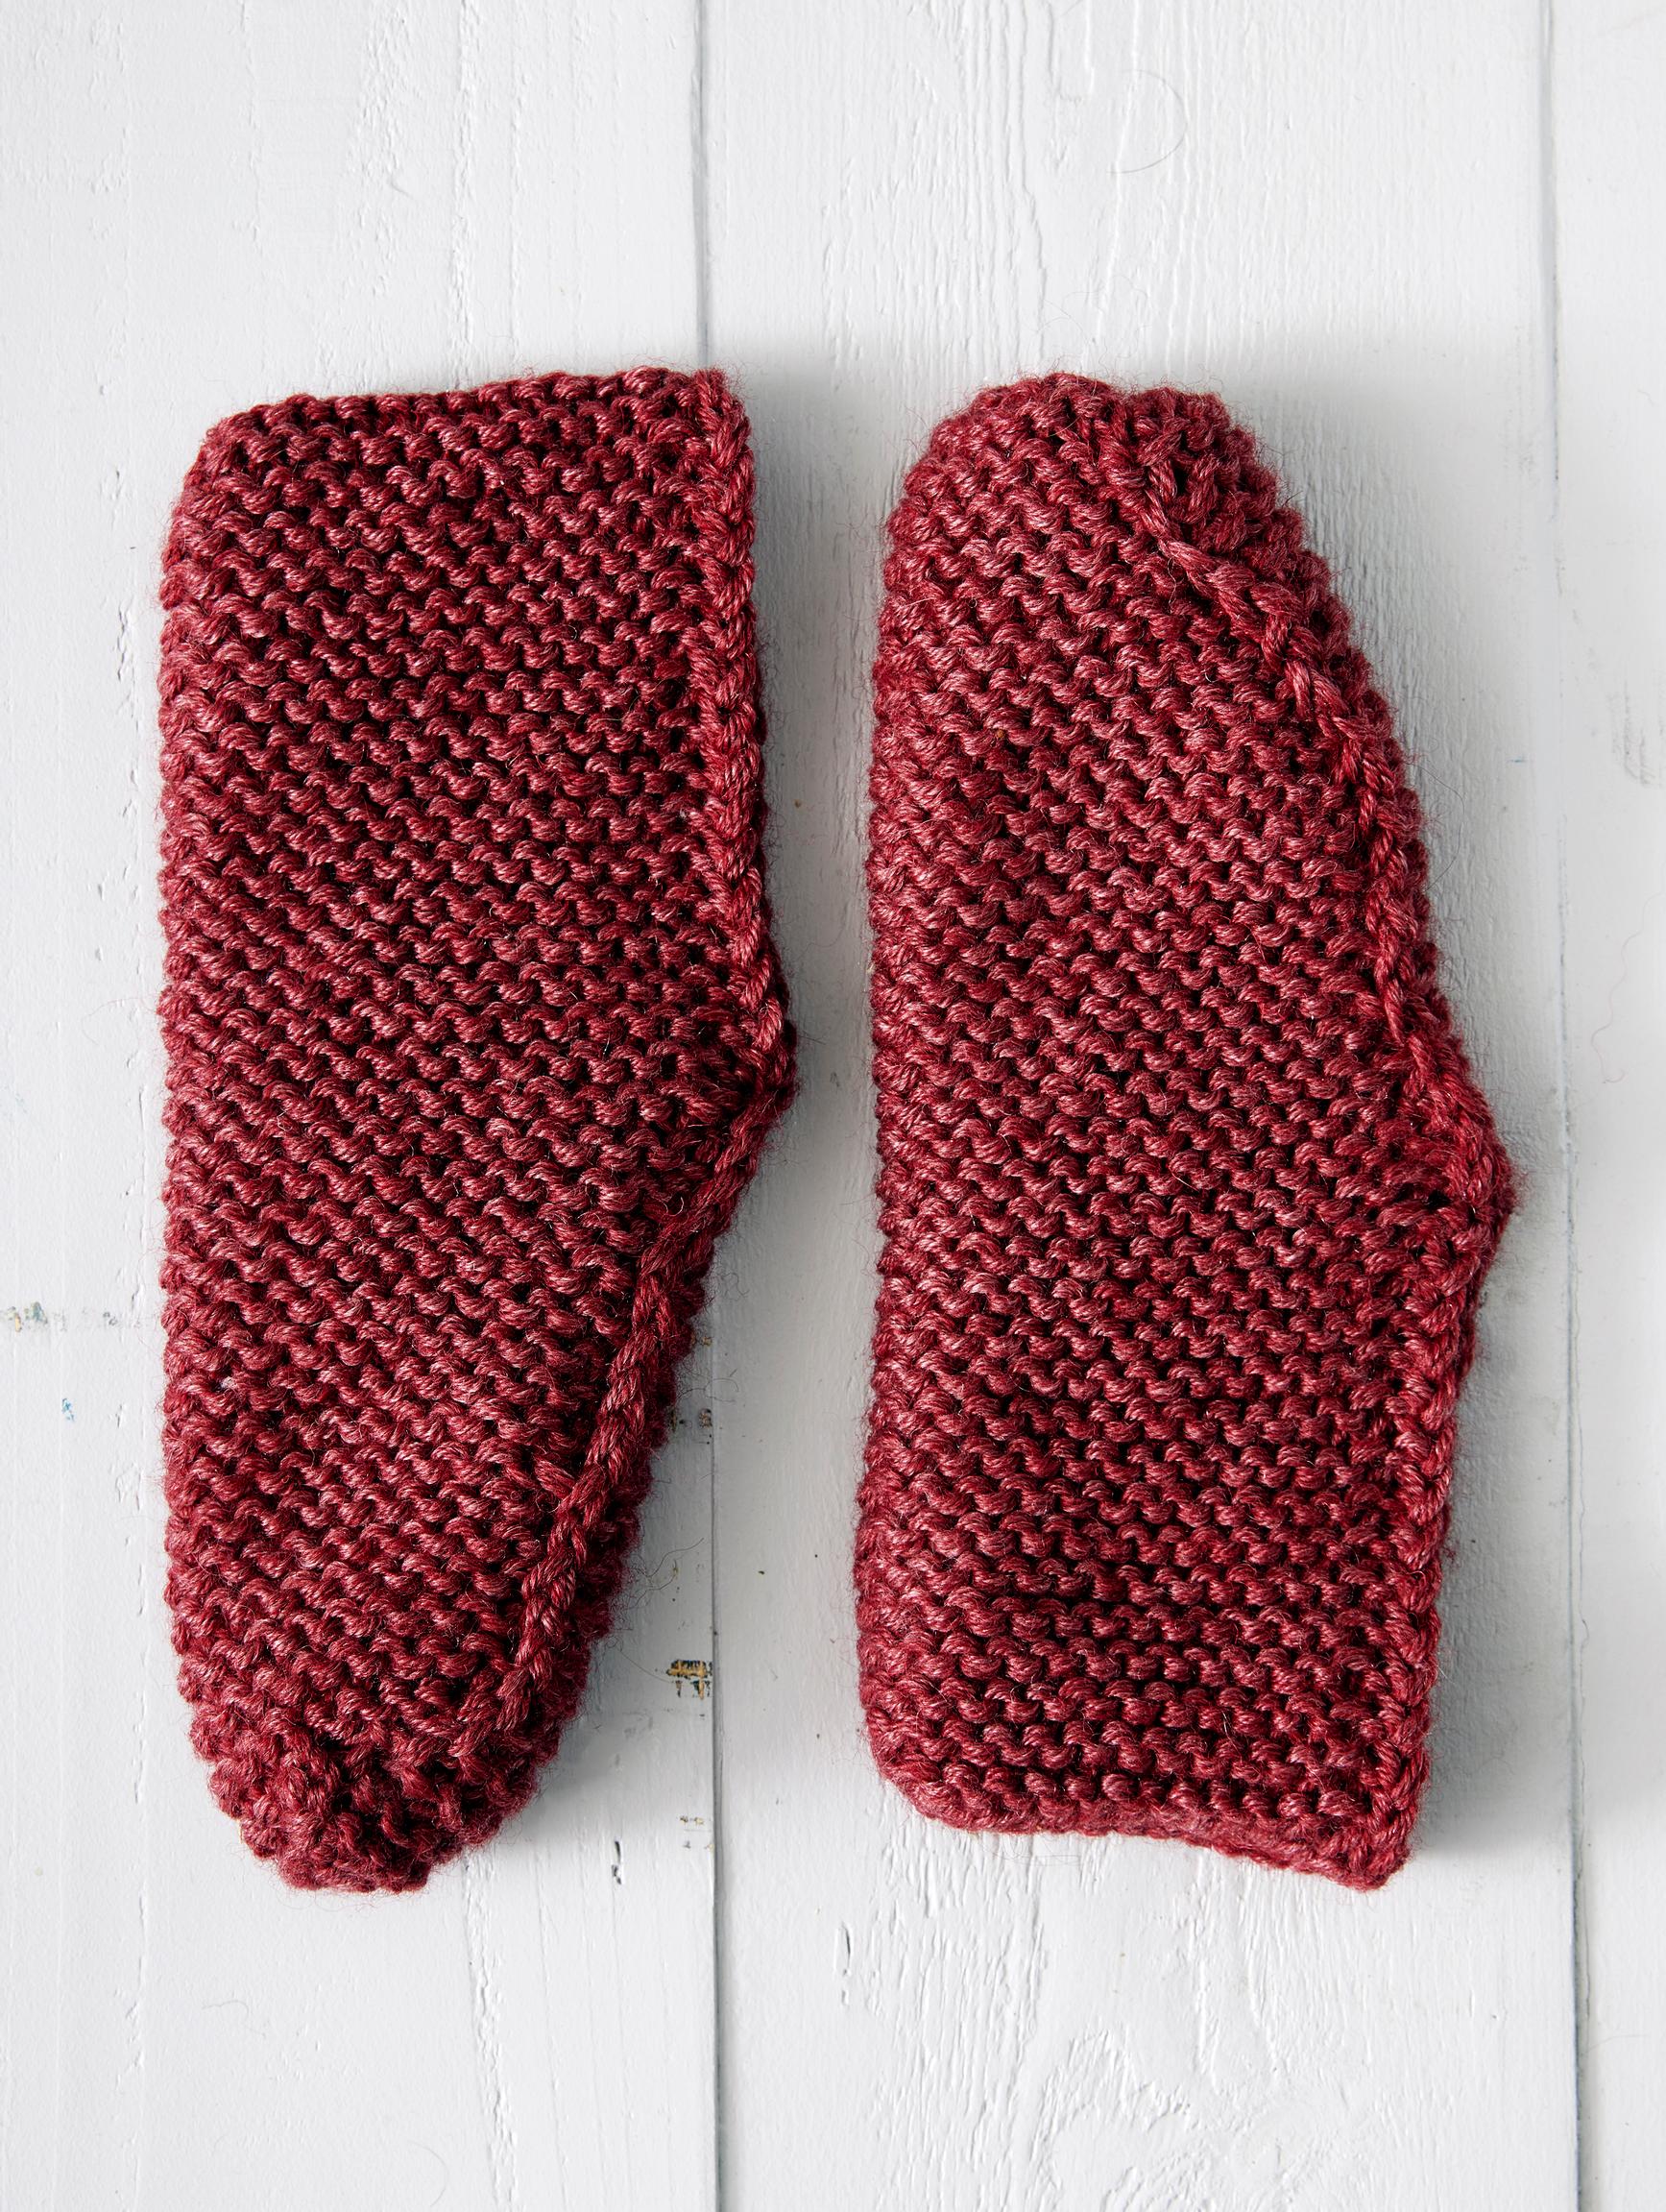
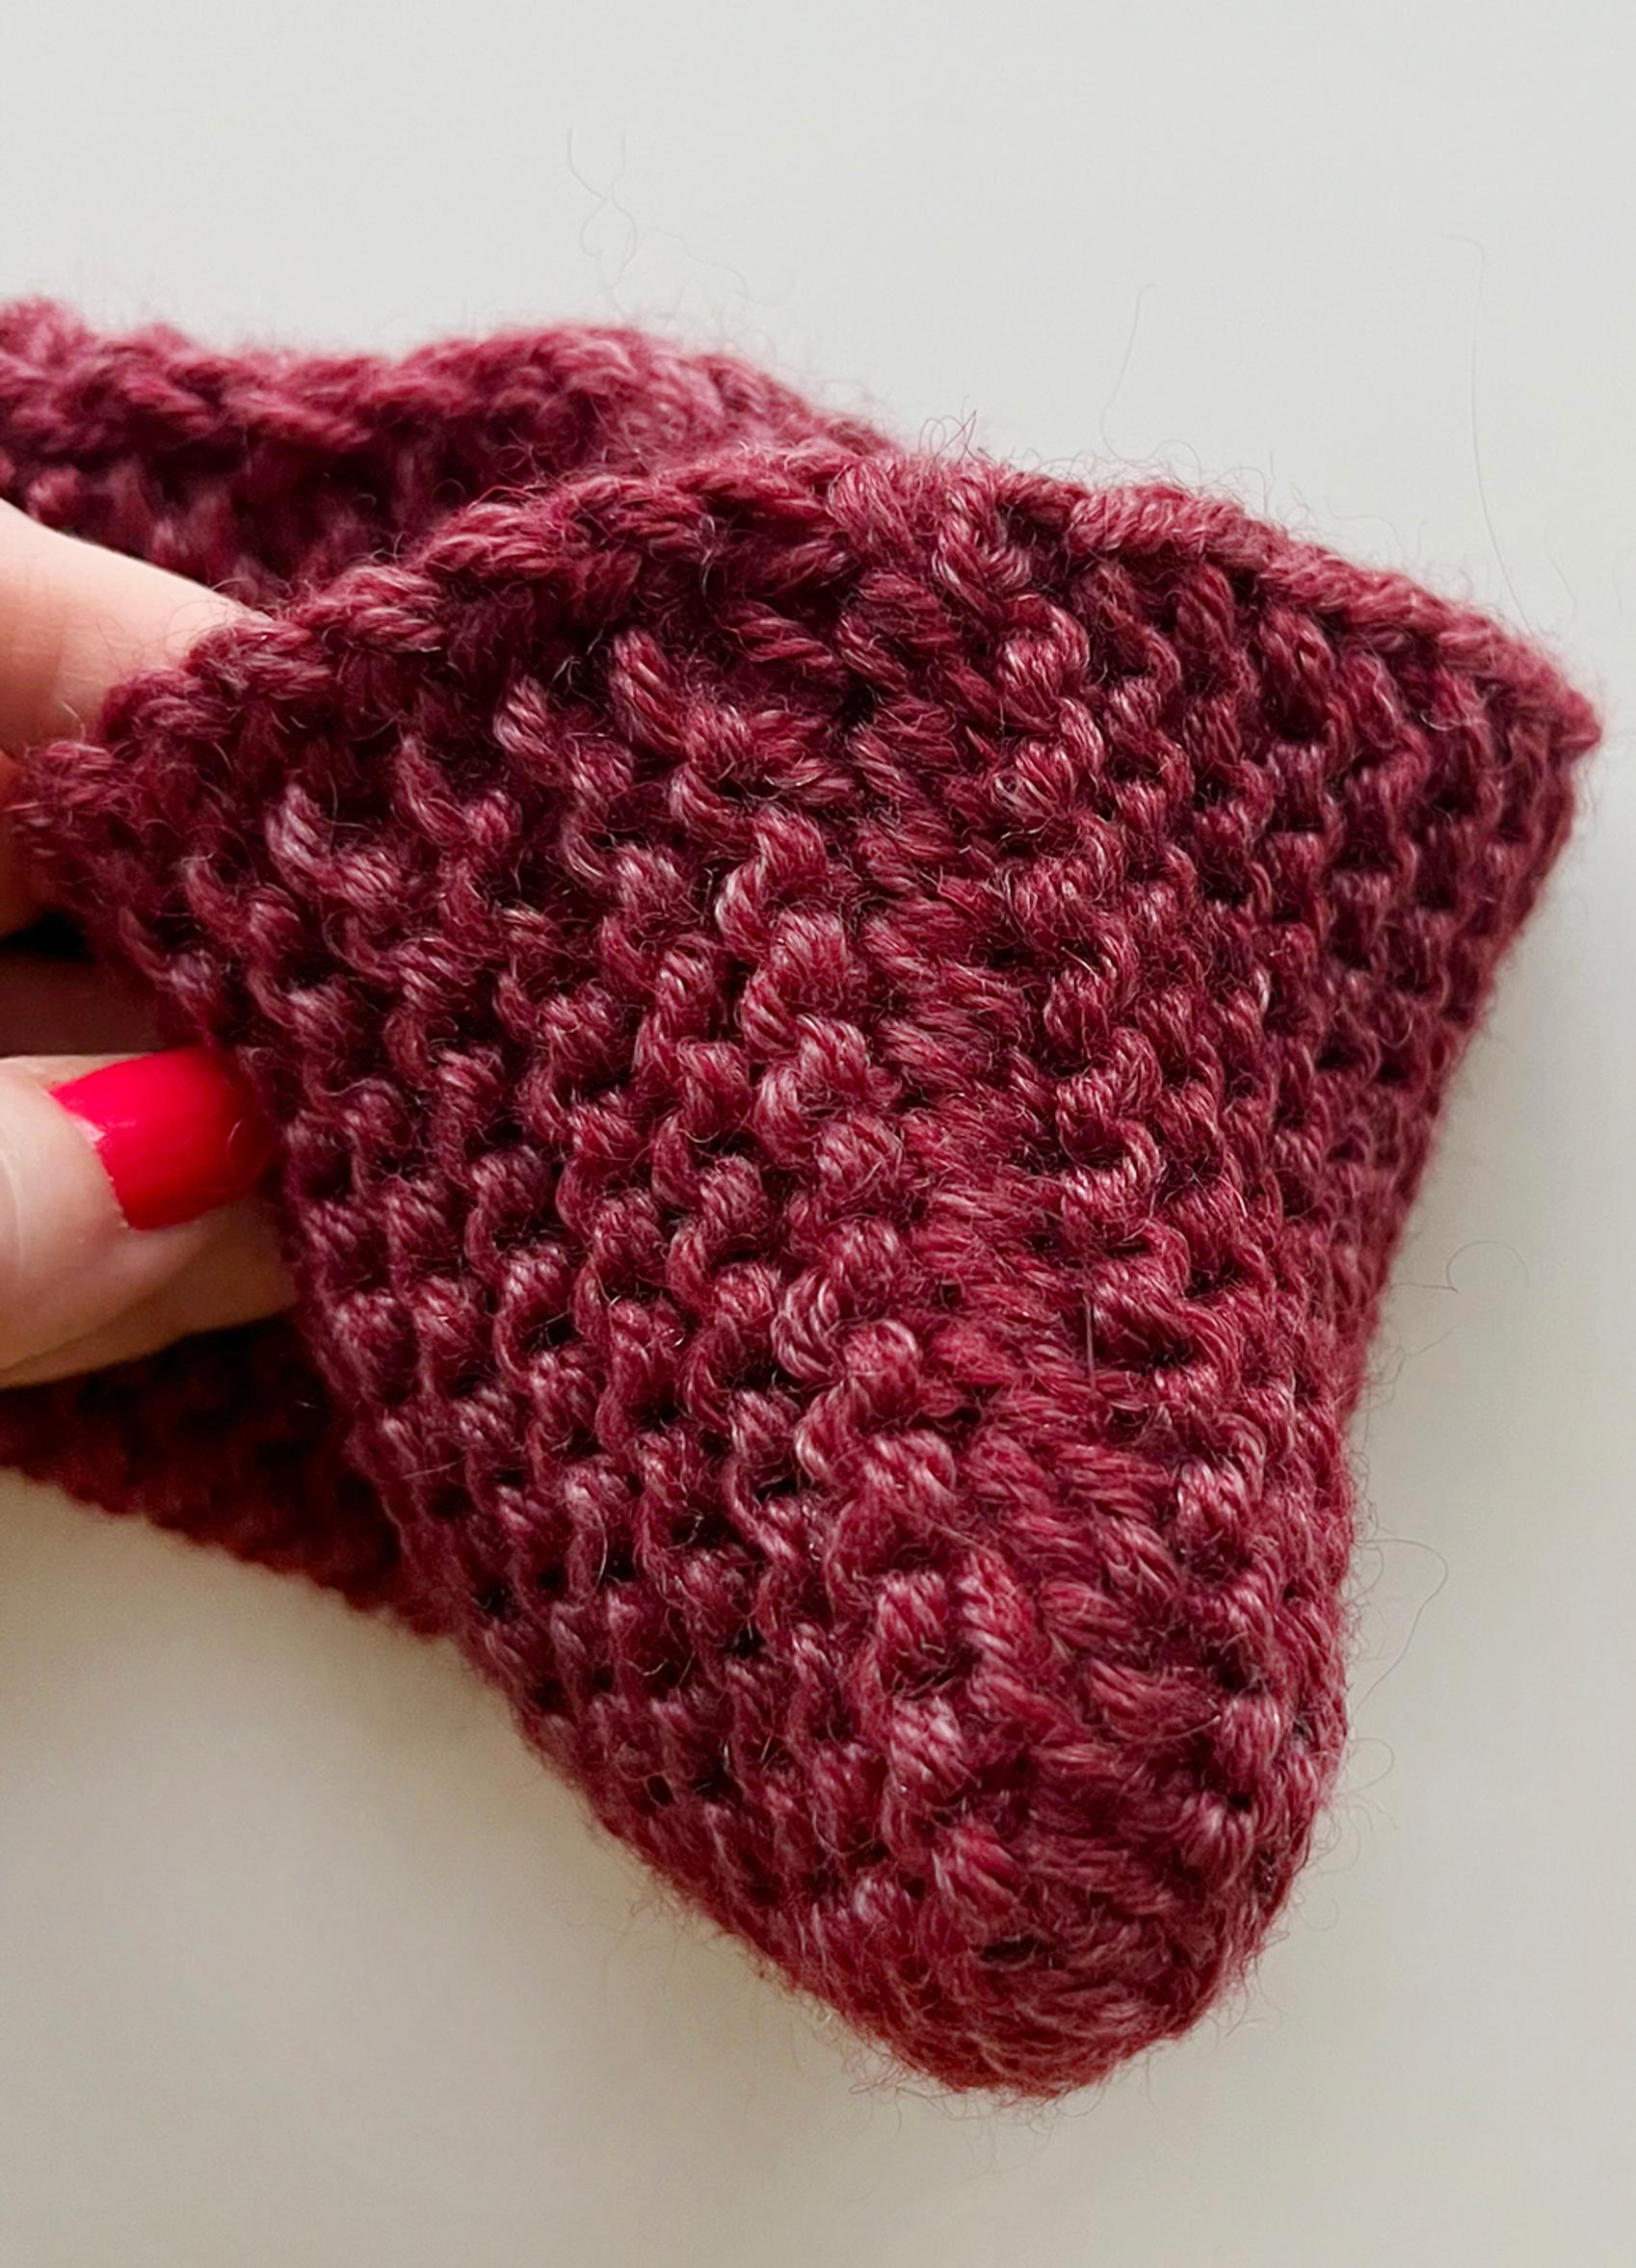
These flat-knit slippers are incredibly easy to make! All you need are two rectangular pieces knitted in garter stitch. Then, you simply sew them together at the toe, heel, and top.
Size: 38/39 (40/41).
Easy knit slippers—materials:
- 2 skeins of 7 Veljestä Nature yarn (70% wool, 30% lyocell, 100g = 200m), shade 594 Villiviini
- 6 mm (US 10) straight or circular needles
- Darning needle, stitch marker, or small safety pin
Gauge: 15 sts and 30 rows = 10 cm. (Rows are counted by the ridges; there are 15 ridges, i.e., 30 rows, in 10 cm.)
When knitting with the recommended yarn, you’ll need approximately 113 grams for the smaller size and about 125 grams for the larger size.

Easy knit slippers—instructions:
Note:The slippers are knitted with yarn held double.
Cast on 30(32) sts.
Row 1: Slip 1 stitch purlwise. Knit to end. Turn work.
Row 2: Slip 1 stitch purlwise. Knit to end. Turn work.
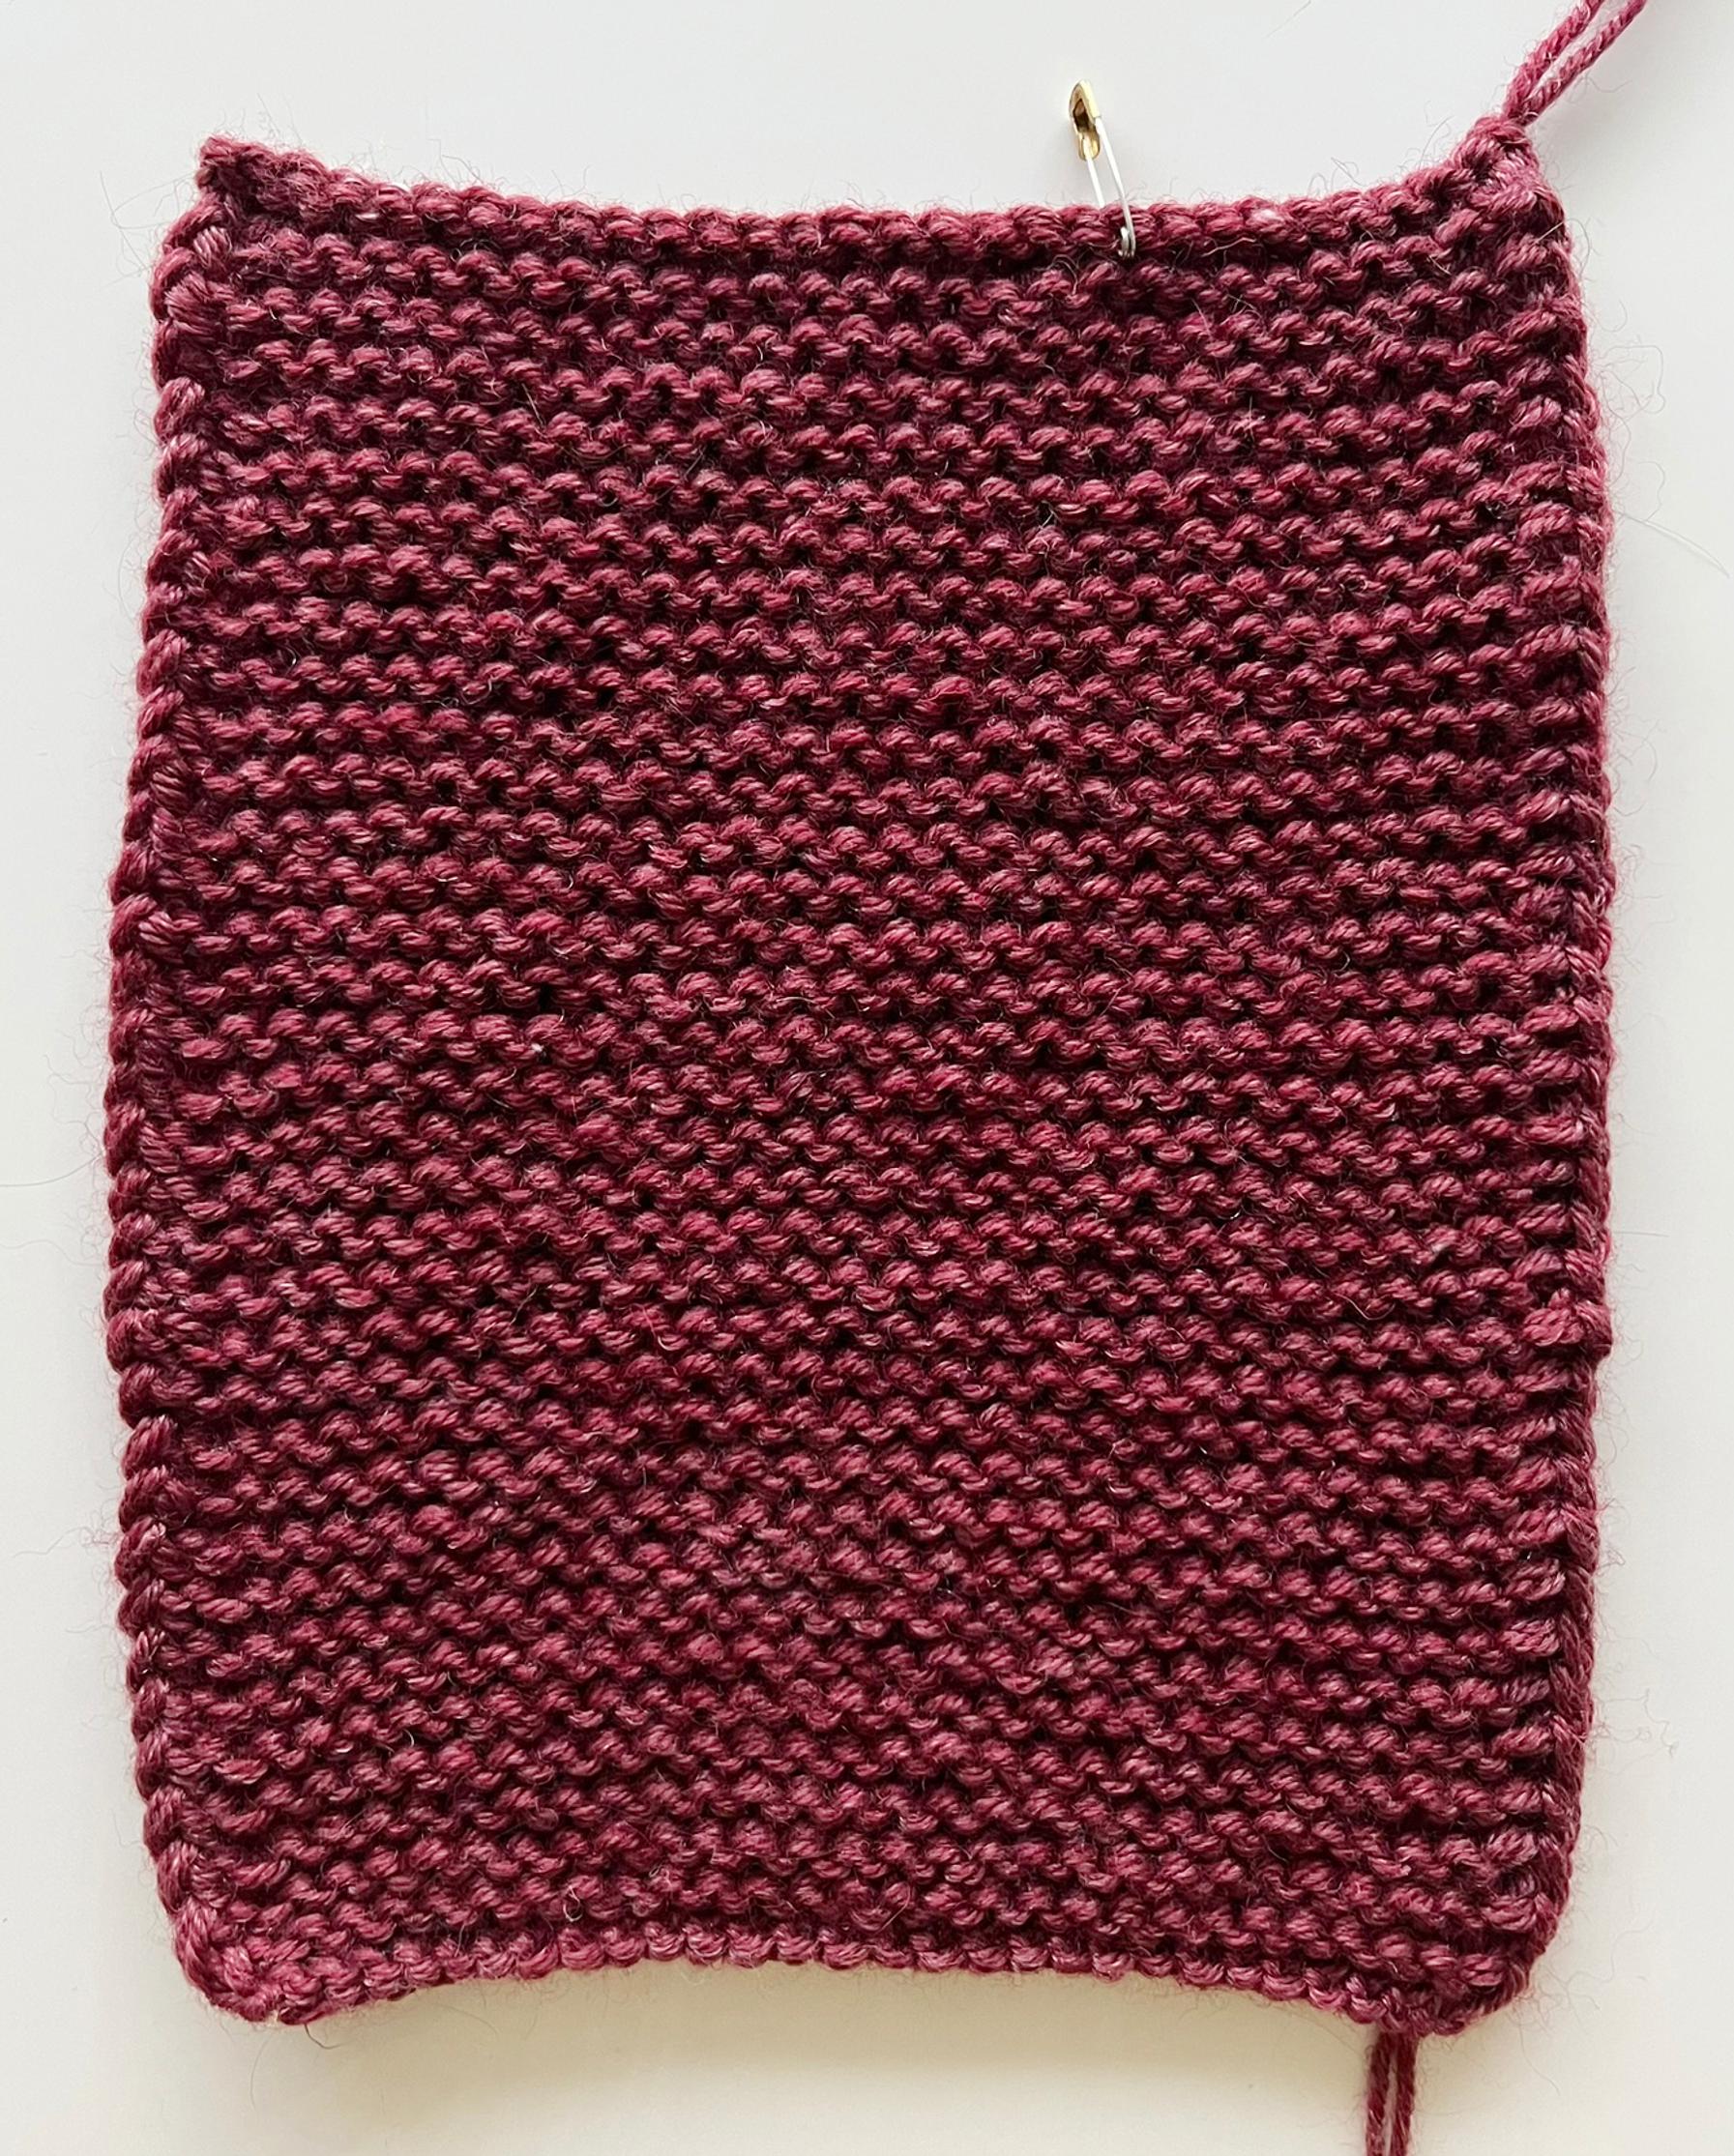
Continue knitting in garter stitch [in Finnish]: repeat rows 1 and 2, until the piece measures approximately 25(26) cm. Bind off the stitches. Cut the yarn, leaving a long tail.


Toe of the left slipper

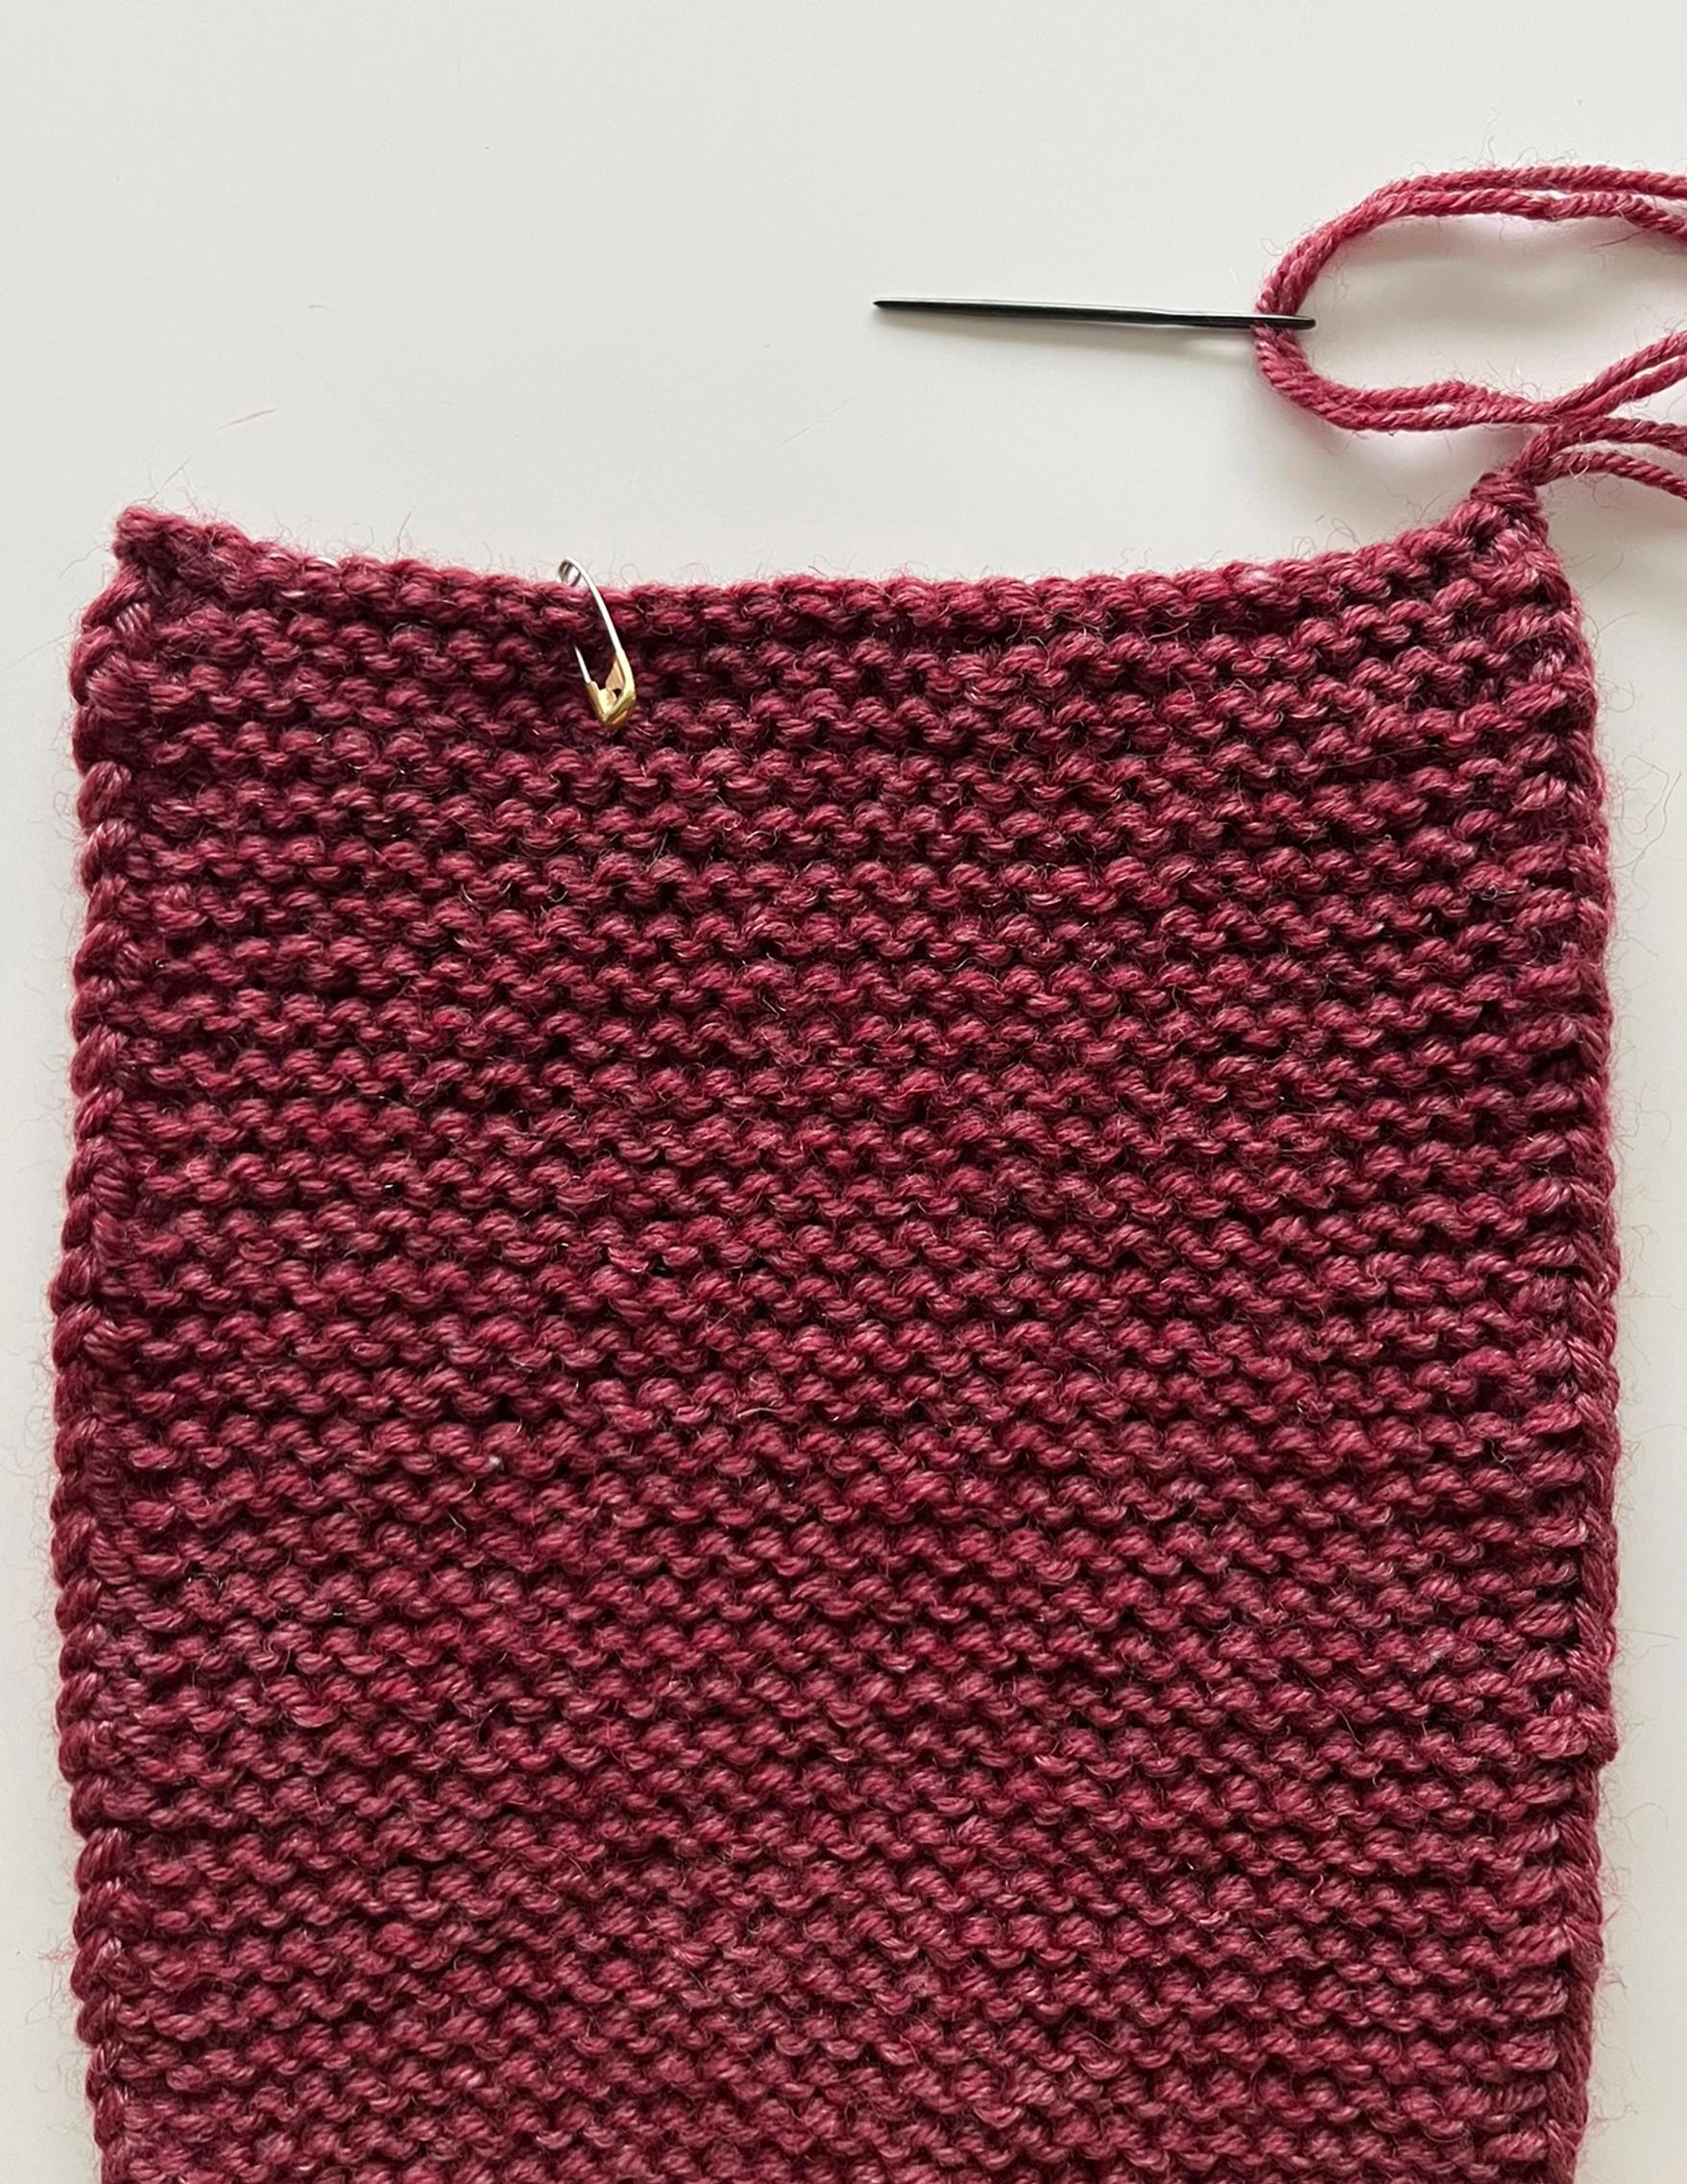
1. Place the piece so that the yarn tail is at the top right corner. Divide the total number of stitches into three parts. Count the stitches from left to right. Place a small safety pin or stitch marker to separate the first third and the remaining two-thirds. For the smaller size, place the marker between the 10th and 11th stitches, and for the larger size, between the 11th and 12th stitches.
Tip!
If you’re making the slippers in a larger size and the stitch count isn’t divisible by three, place the “extra” stitch in the smaller section.

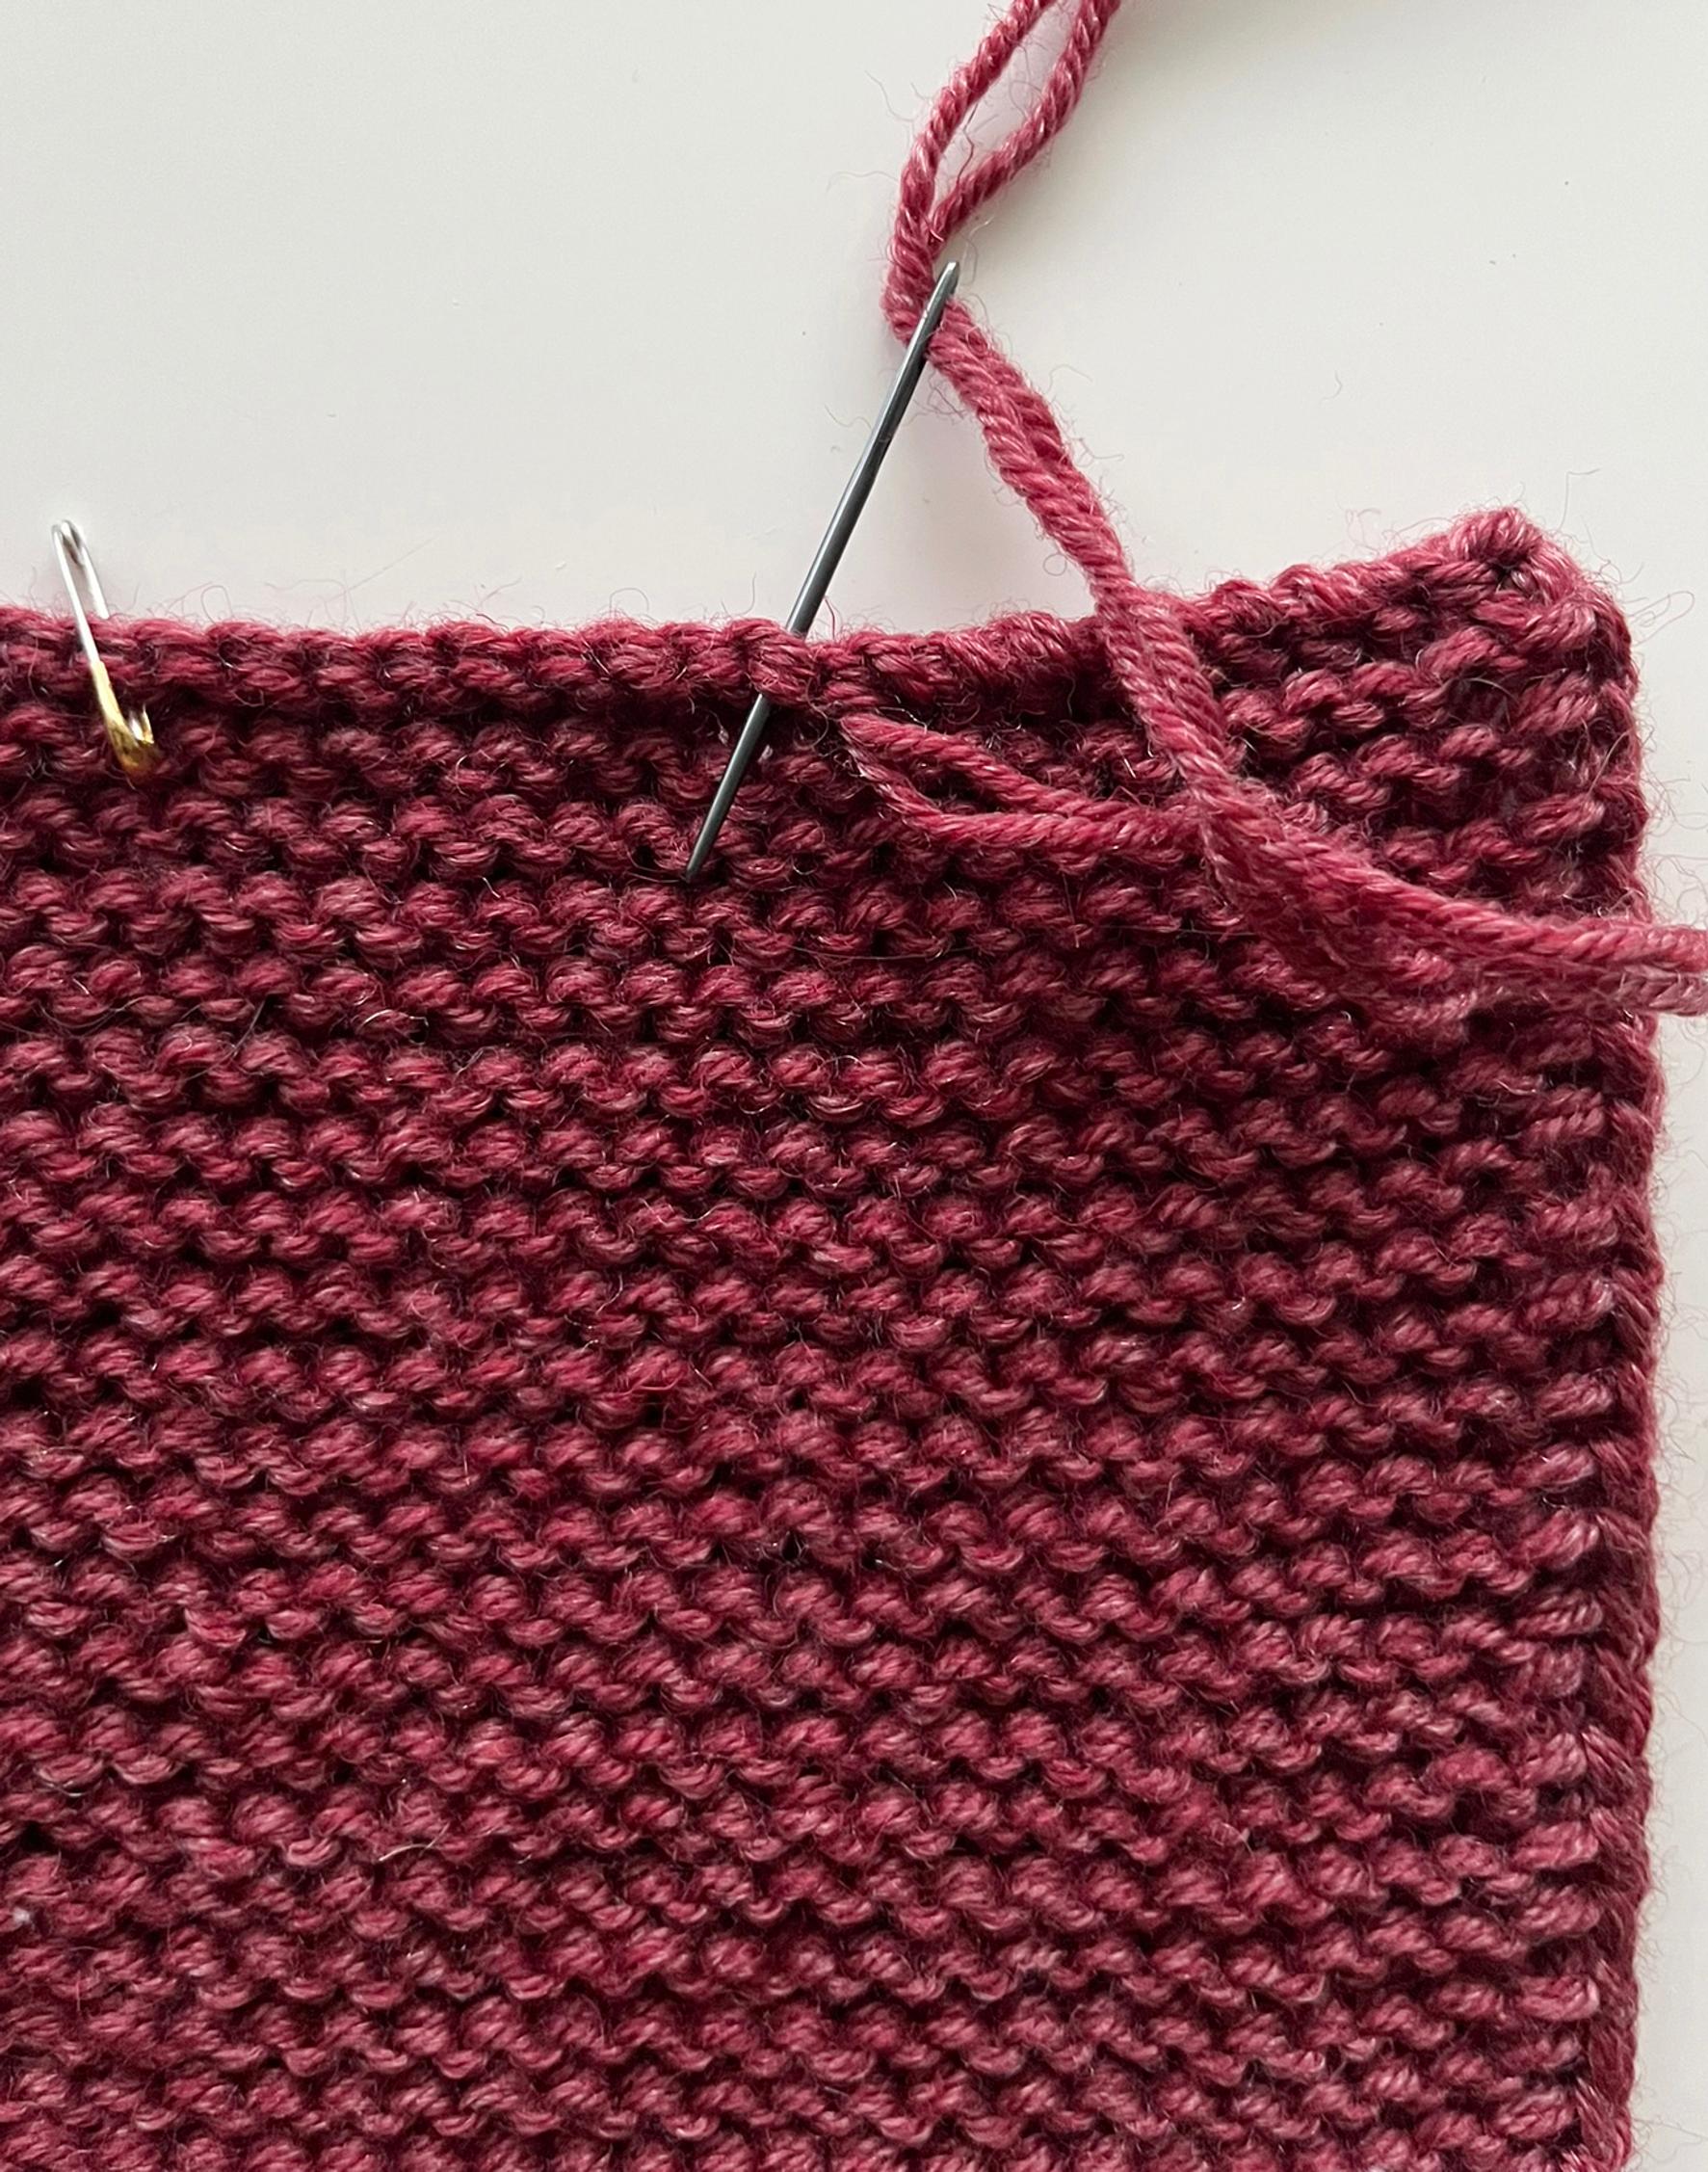
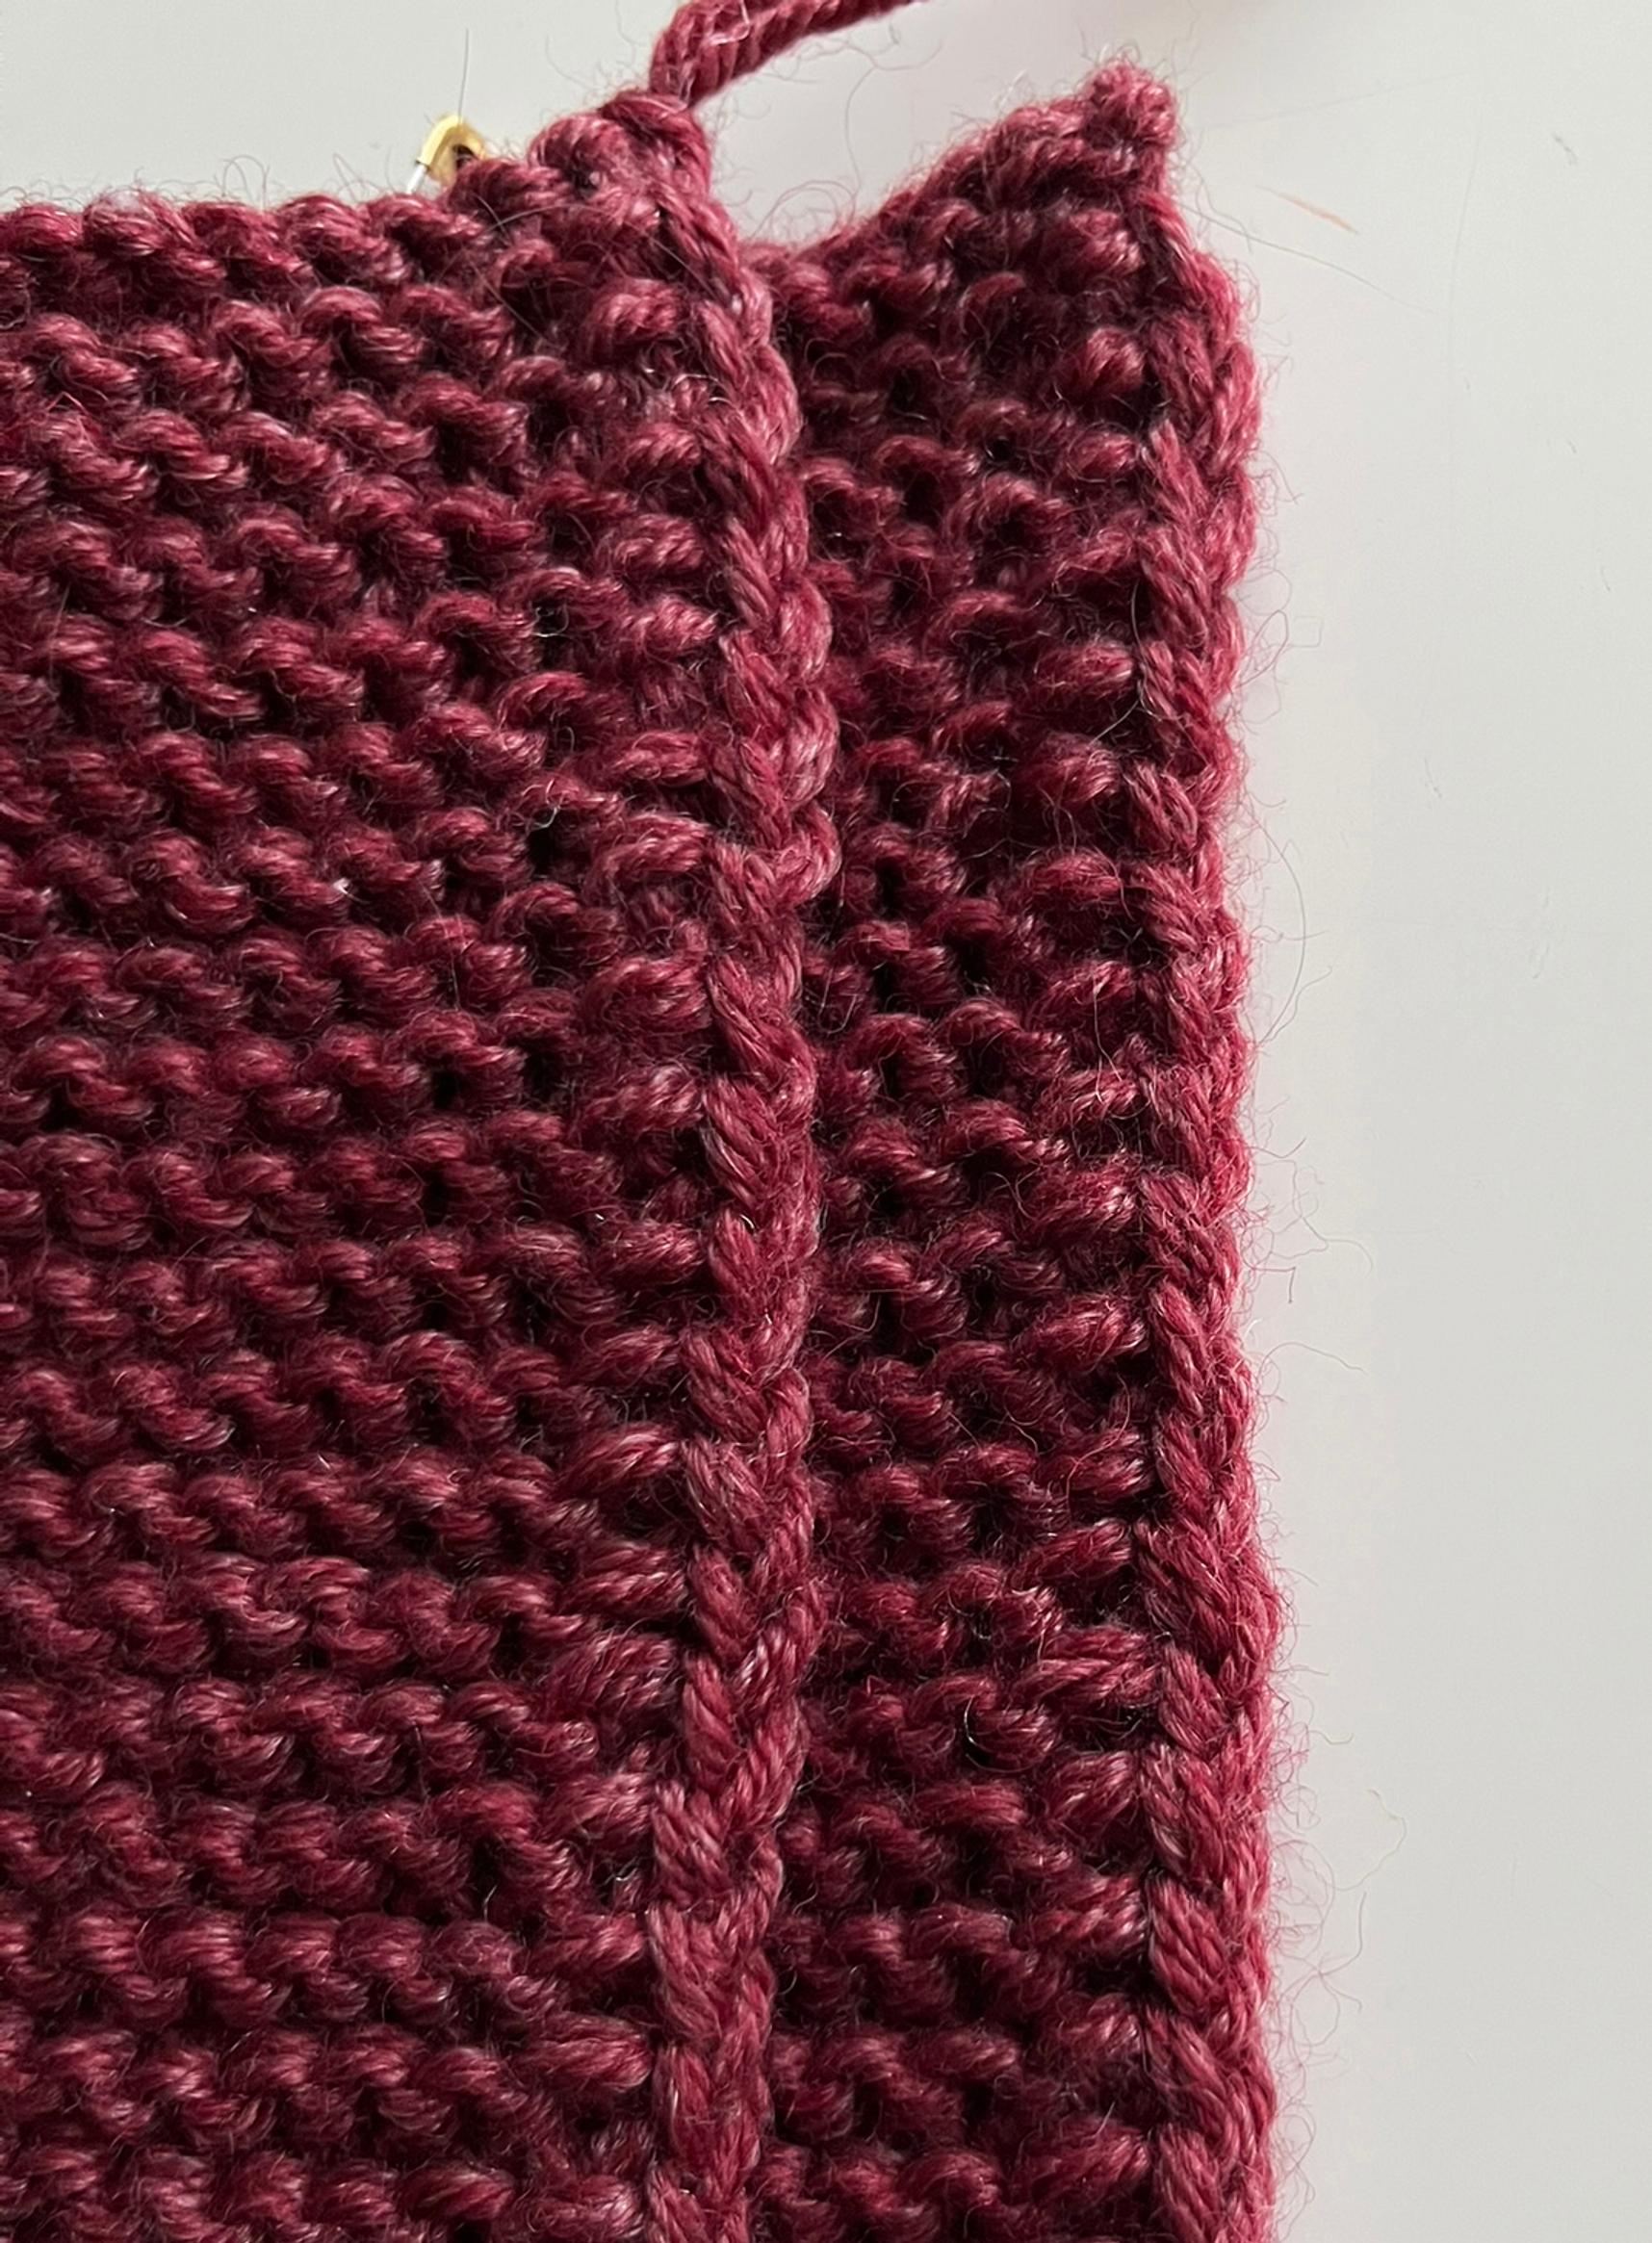
2. Using the yarn tail in the top corner, thread the yarn with a needle through the stitches up to the marker. Remove the marker.

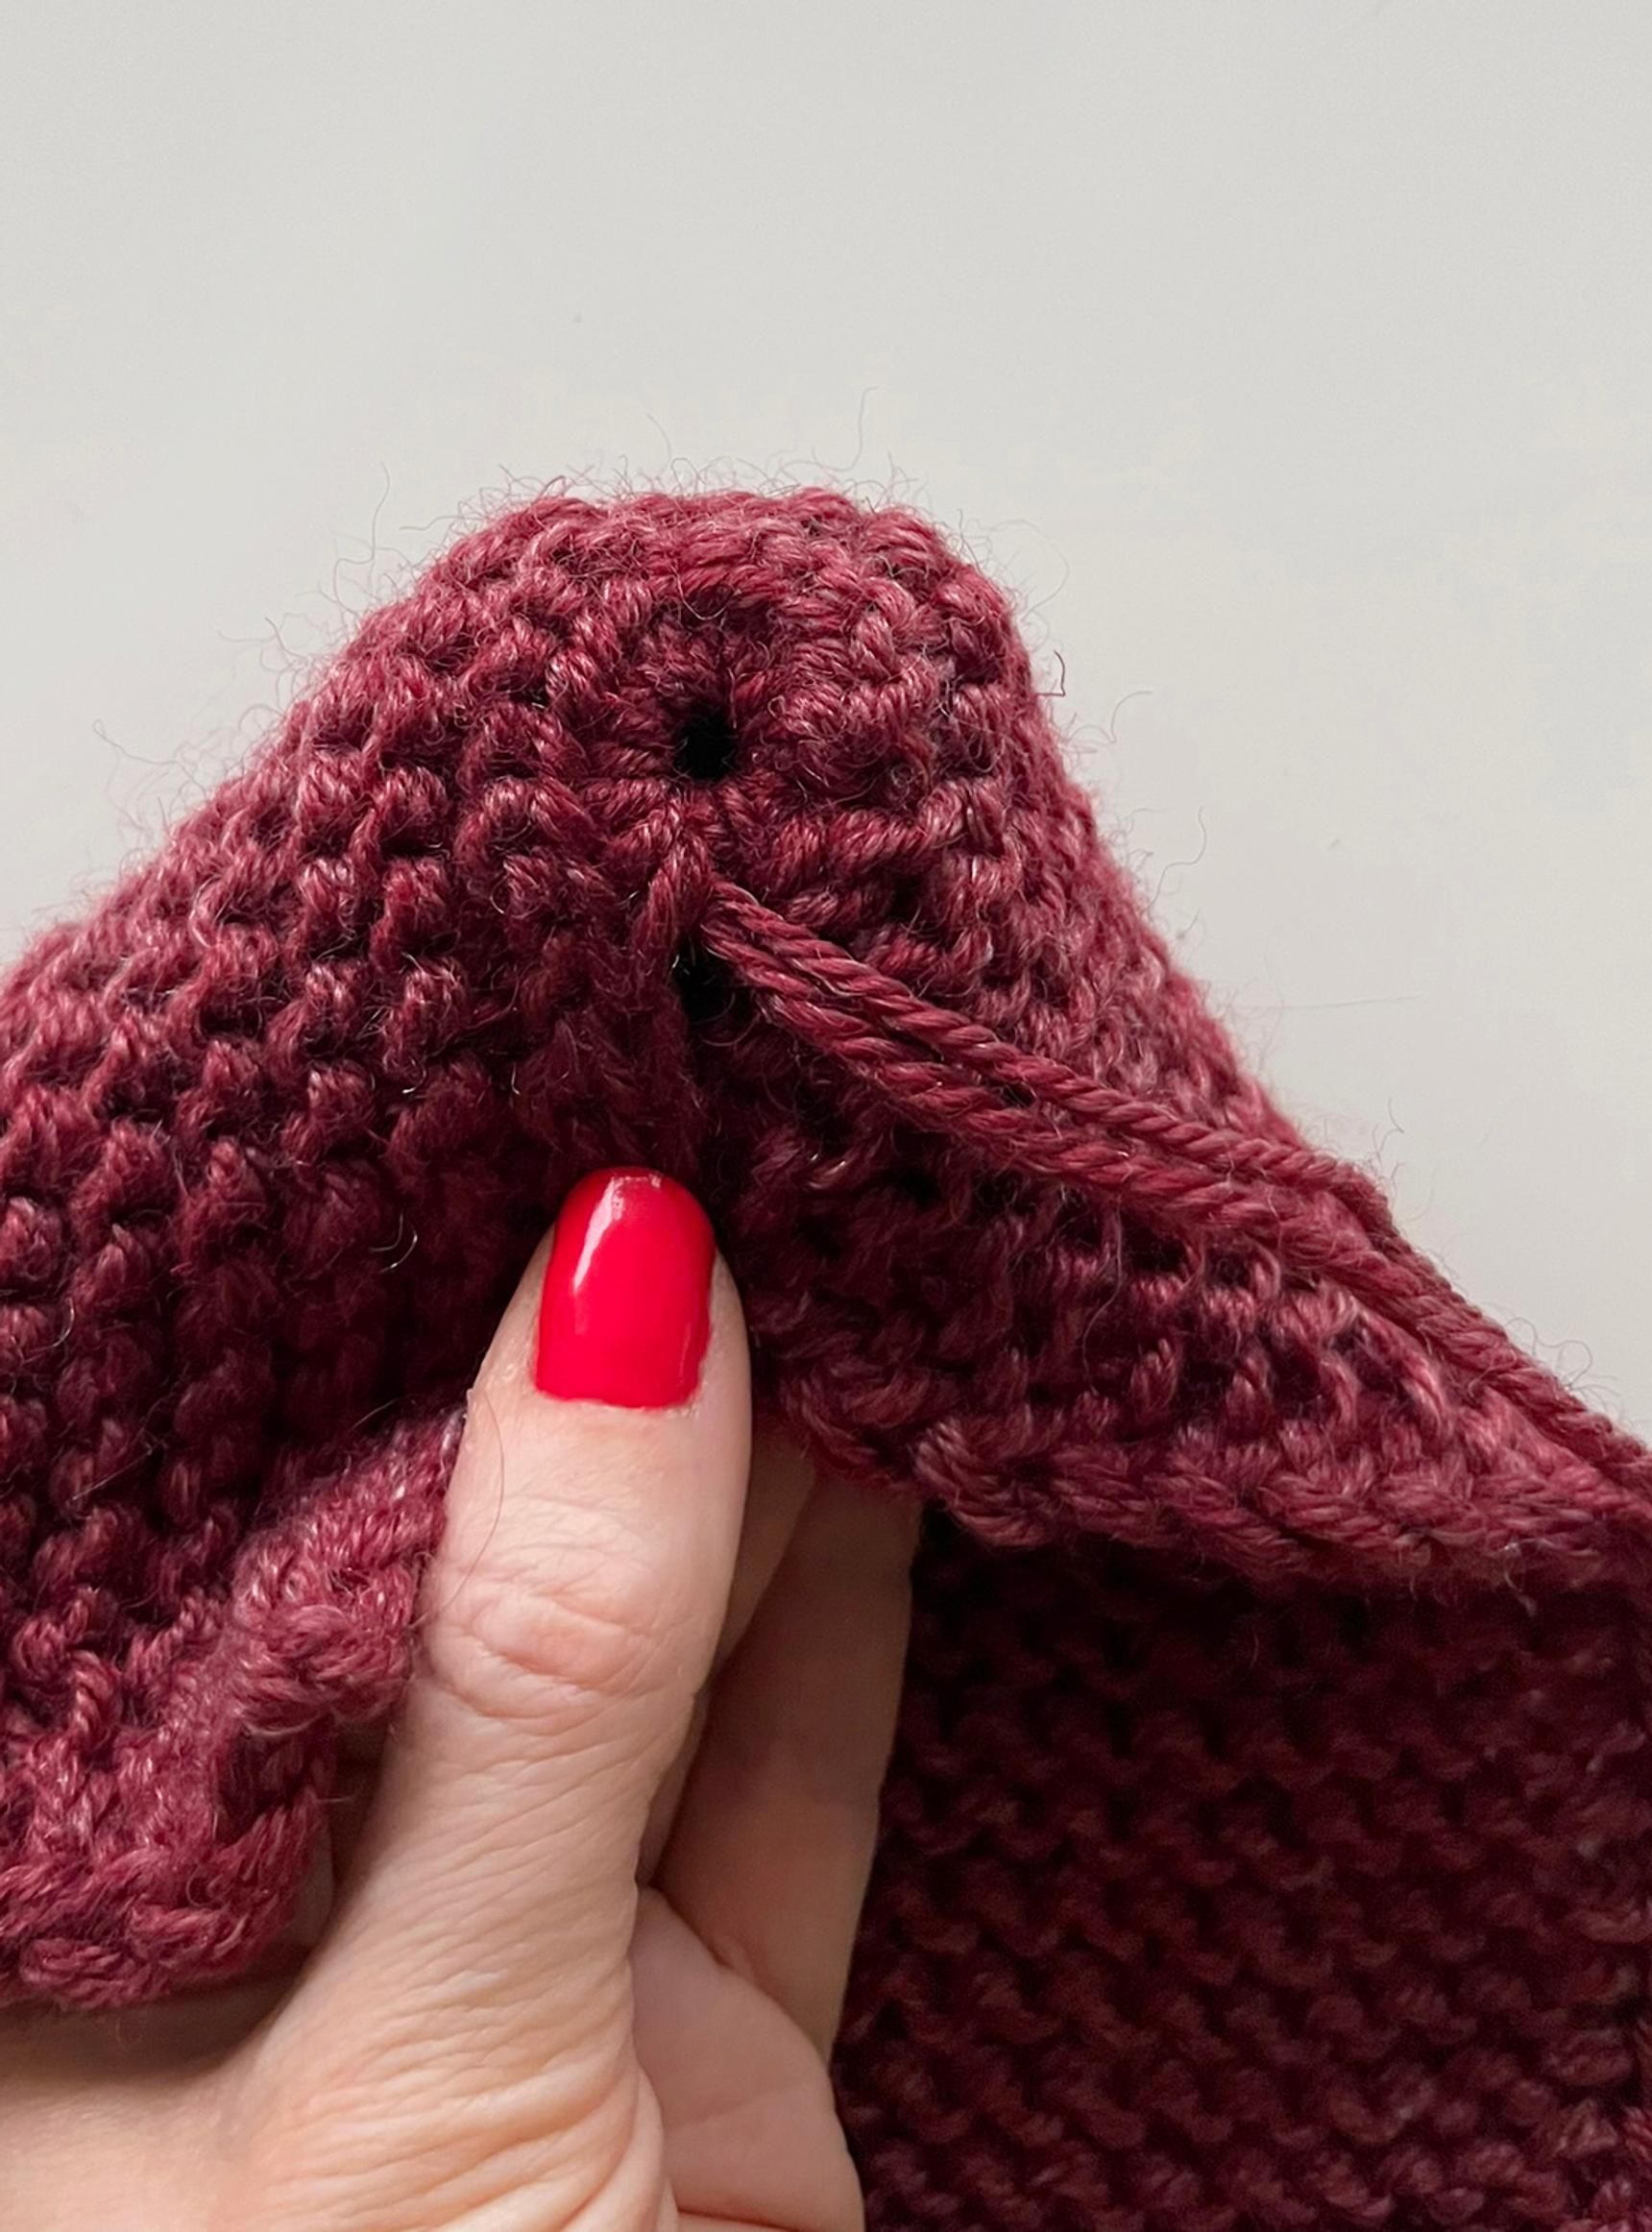
3. Pull the yarn to close the toe of the slipper. Don't worry if you can't close the gap entirely.

4. Fold the remaining section over the toe. Using the same yarn, sew the folded section in place.

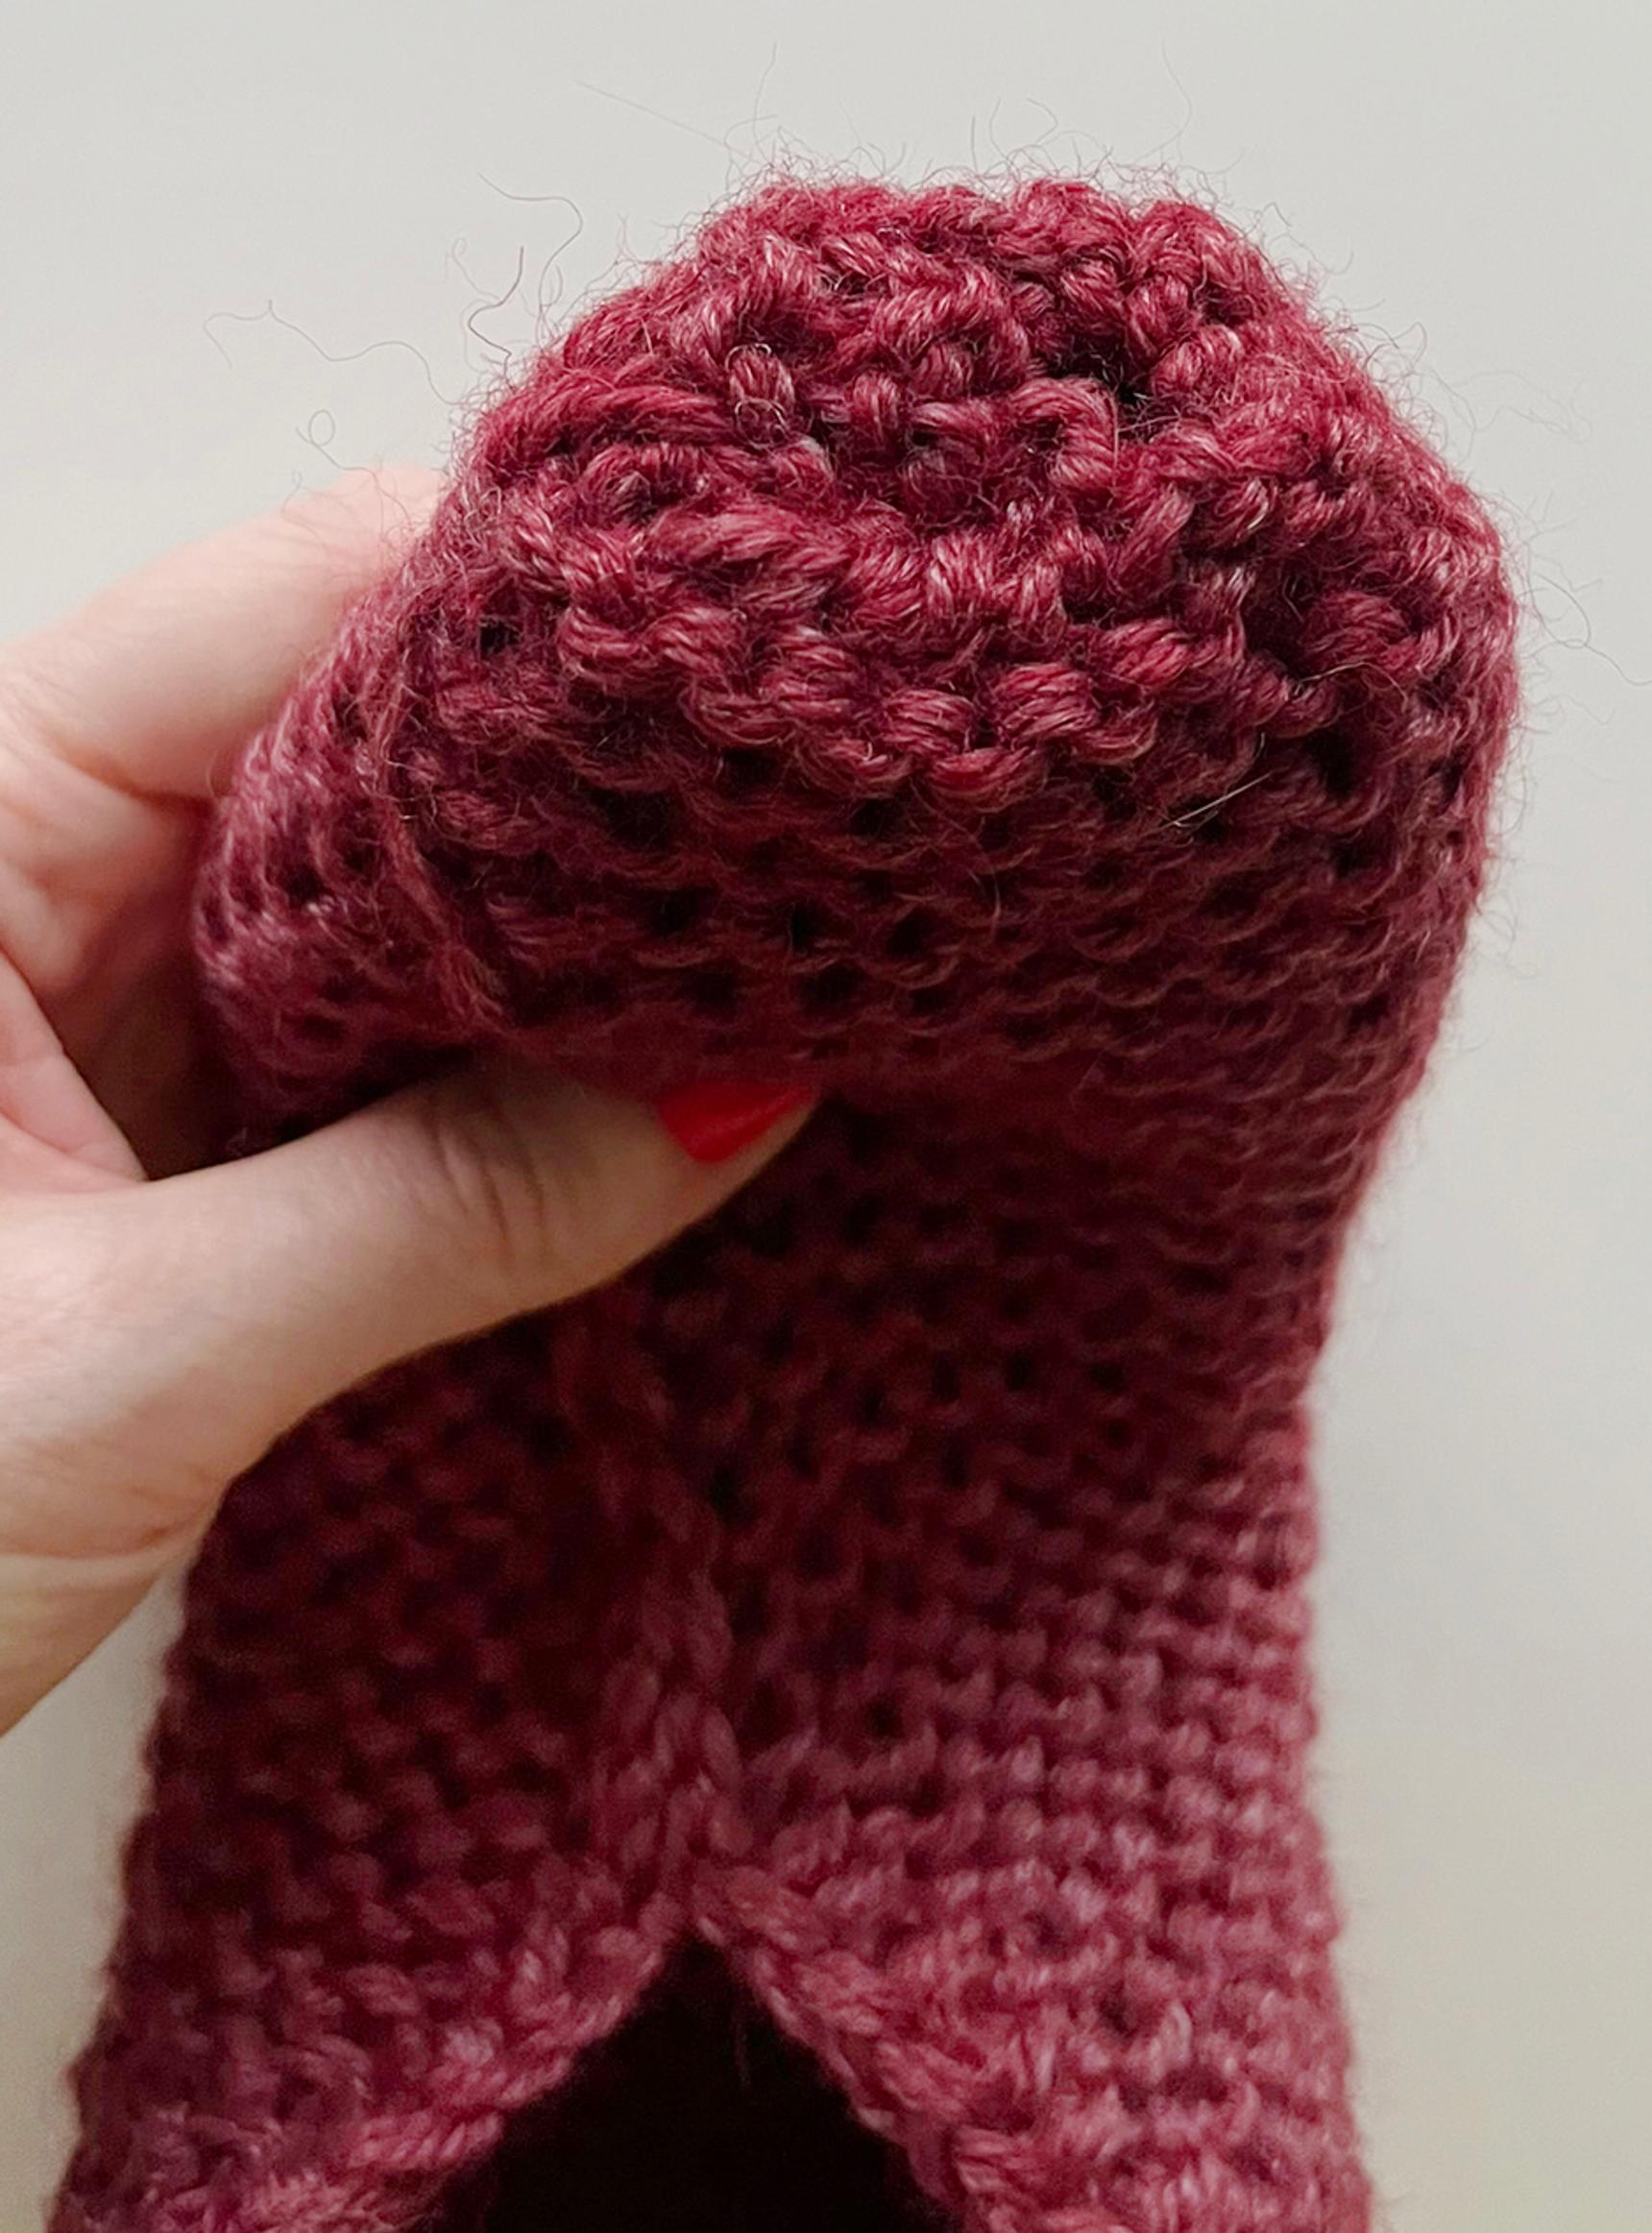

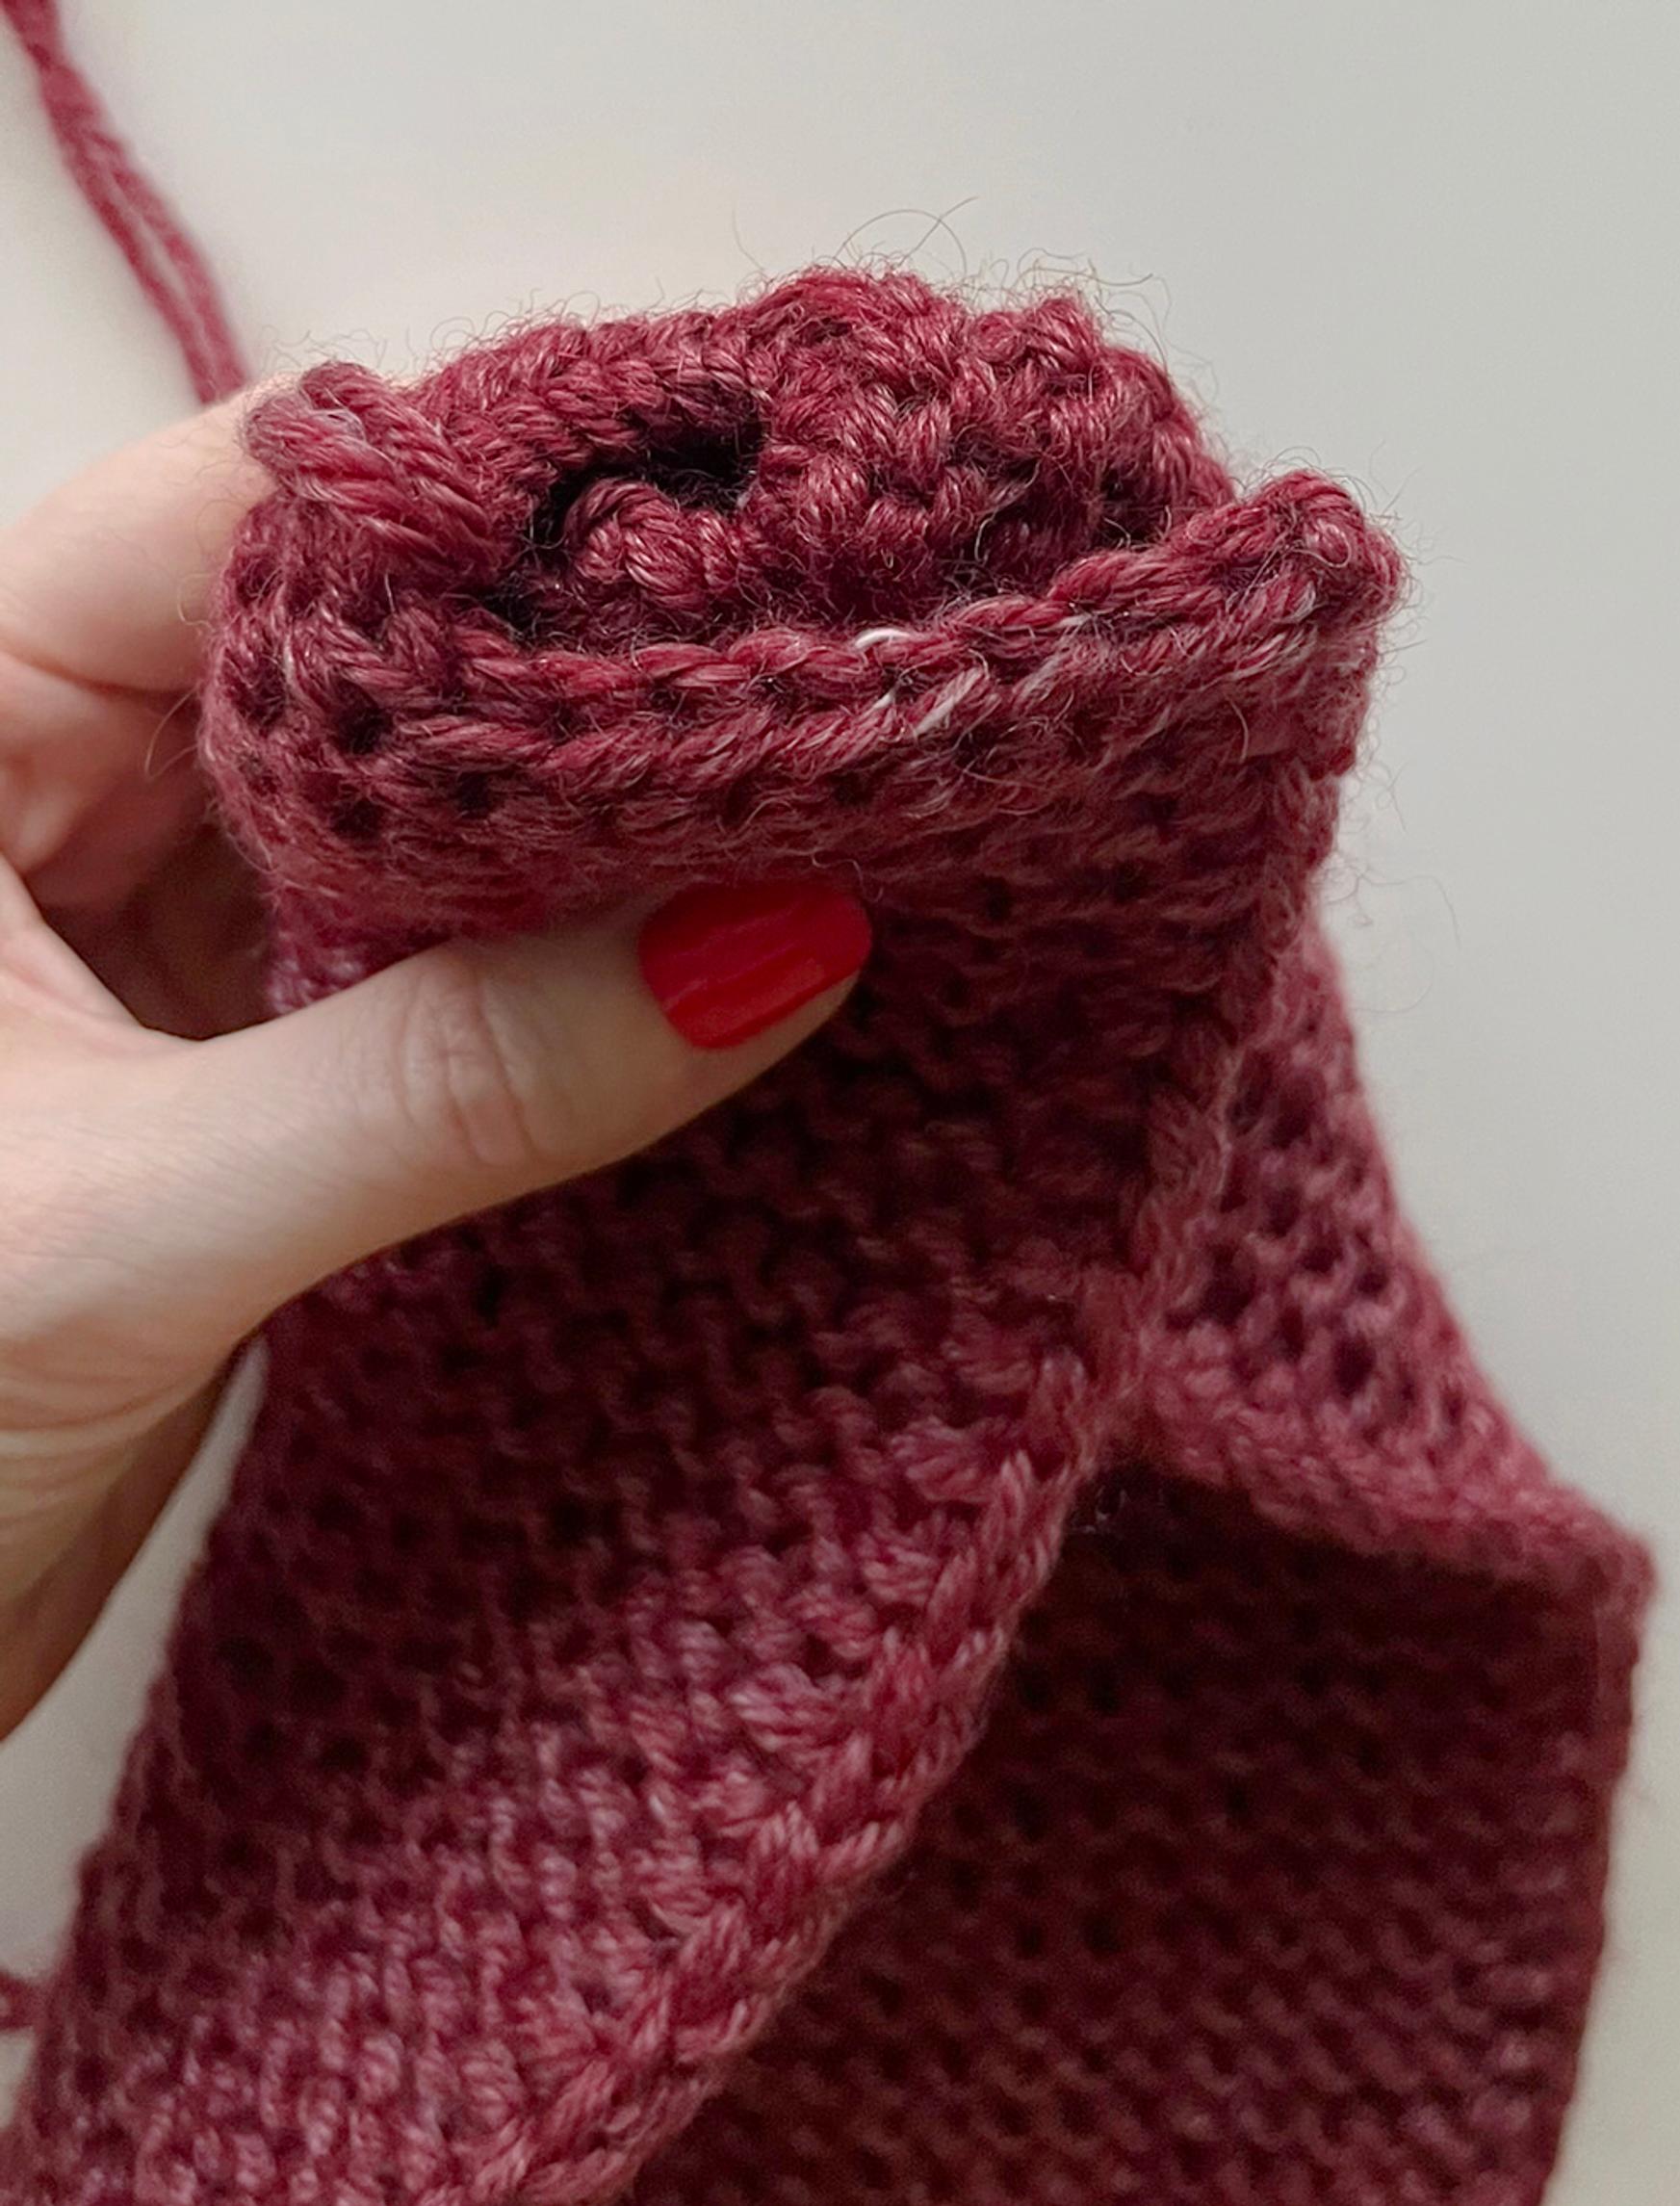
5. Continue sewing the edge over the slipper. Sew until about half of the edge is attached. It’s a good idea to try on the slipper while sewing. Avoid leaving the foot opening too loose, as the slipper is made of stretchy knit fabric and will stretch slightly with wear. Finally, weave in the end on the wrong side.
Toe of the right slipper
Make the toe of the right slipper a mirror image of the left.
1. Place the piece so that the yarn tail is at the top left corner. Count the stitches from right to left and place a marker.
Repeat steps 2–5 in the same way as for the left slipper.
Heel

Sew the heel seam. Using the existing yarn tail, sew the edges together from top to bottom. Weave in the end on the wrong side.
Tips!
- Because the slippers are made from rectangular pieces, there may be some extra fabric on the inside of the finished toe. If this bothers you, you can make decreases in the last few rows: Slip the first stitch purlwise, knit the next two stitches together. Knit until there are 3 sts left in the row. Knit 2 stitches together, knit the last stitch. Repeat these decreases on every row 3 times, reducing a total of 6 sts from the work.
- If you usually knit loosely, you can use smaller needles. Garter stitch stretches a bit with use, so the slippers should be fairly snug at first. For the same reason, you shouldn’t knit the piece longer than the length of the wearer’s foot.