Dry in style
Turn broom handles into a chic drying rack—easy DIY for two affordable designs
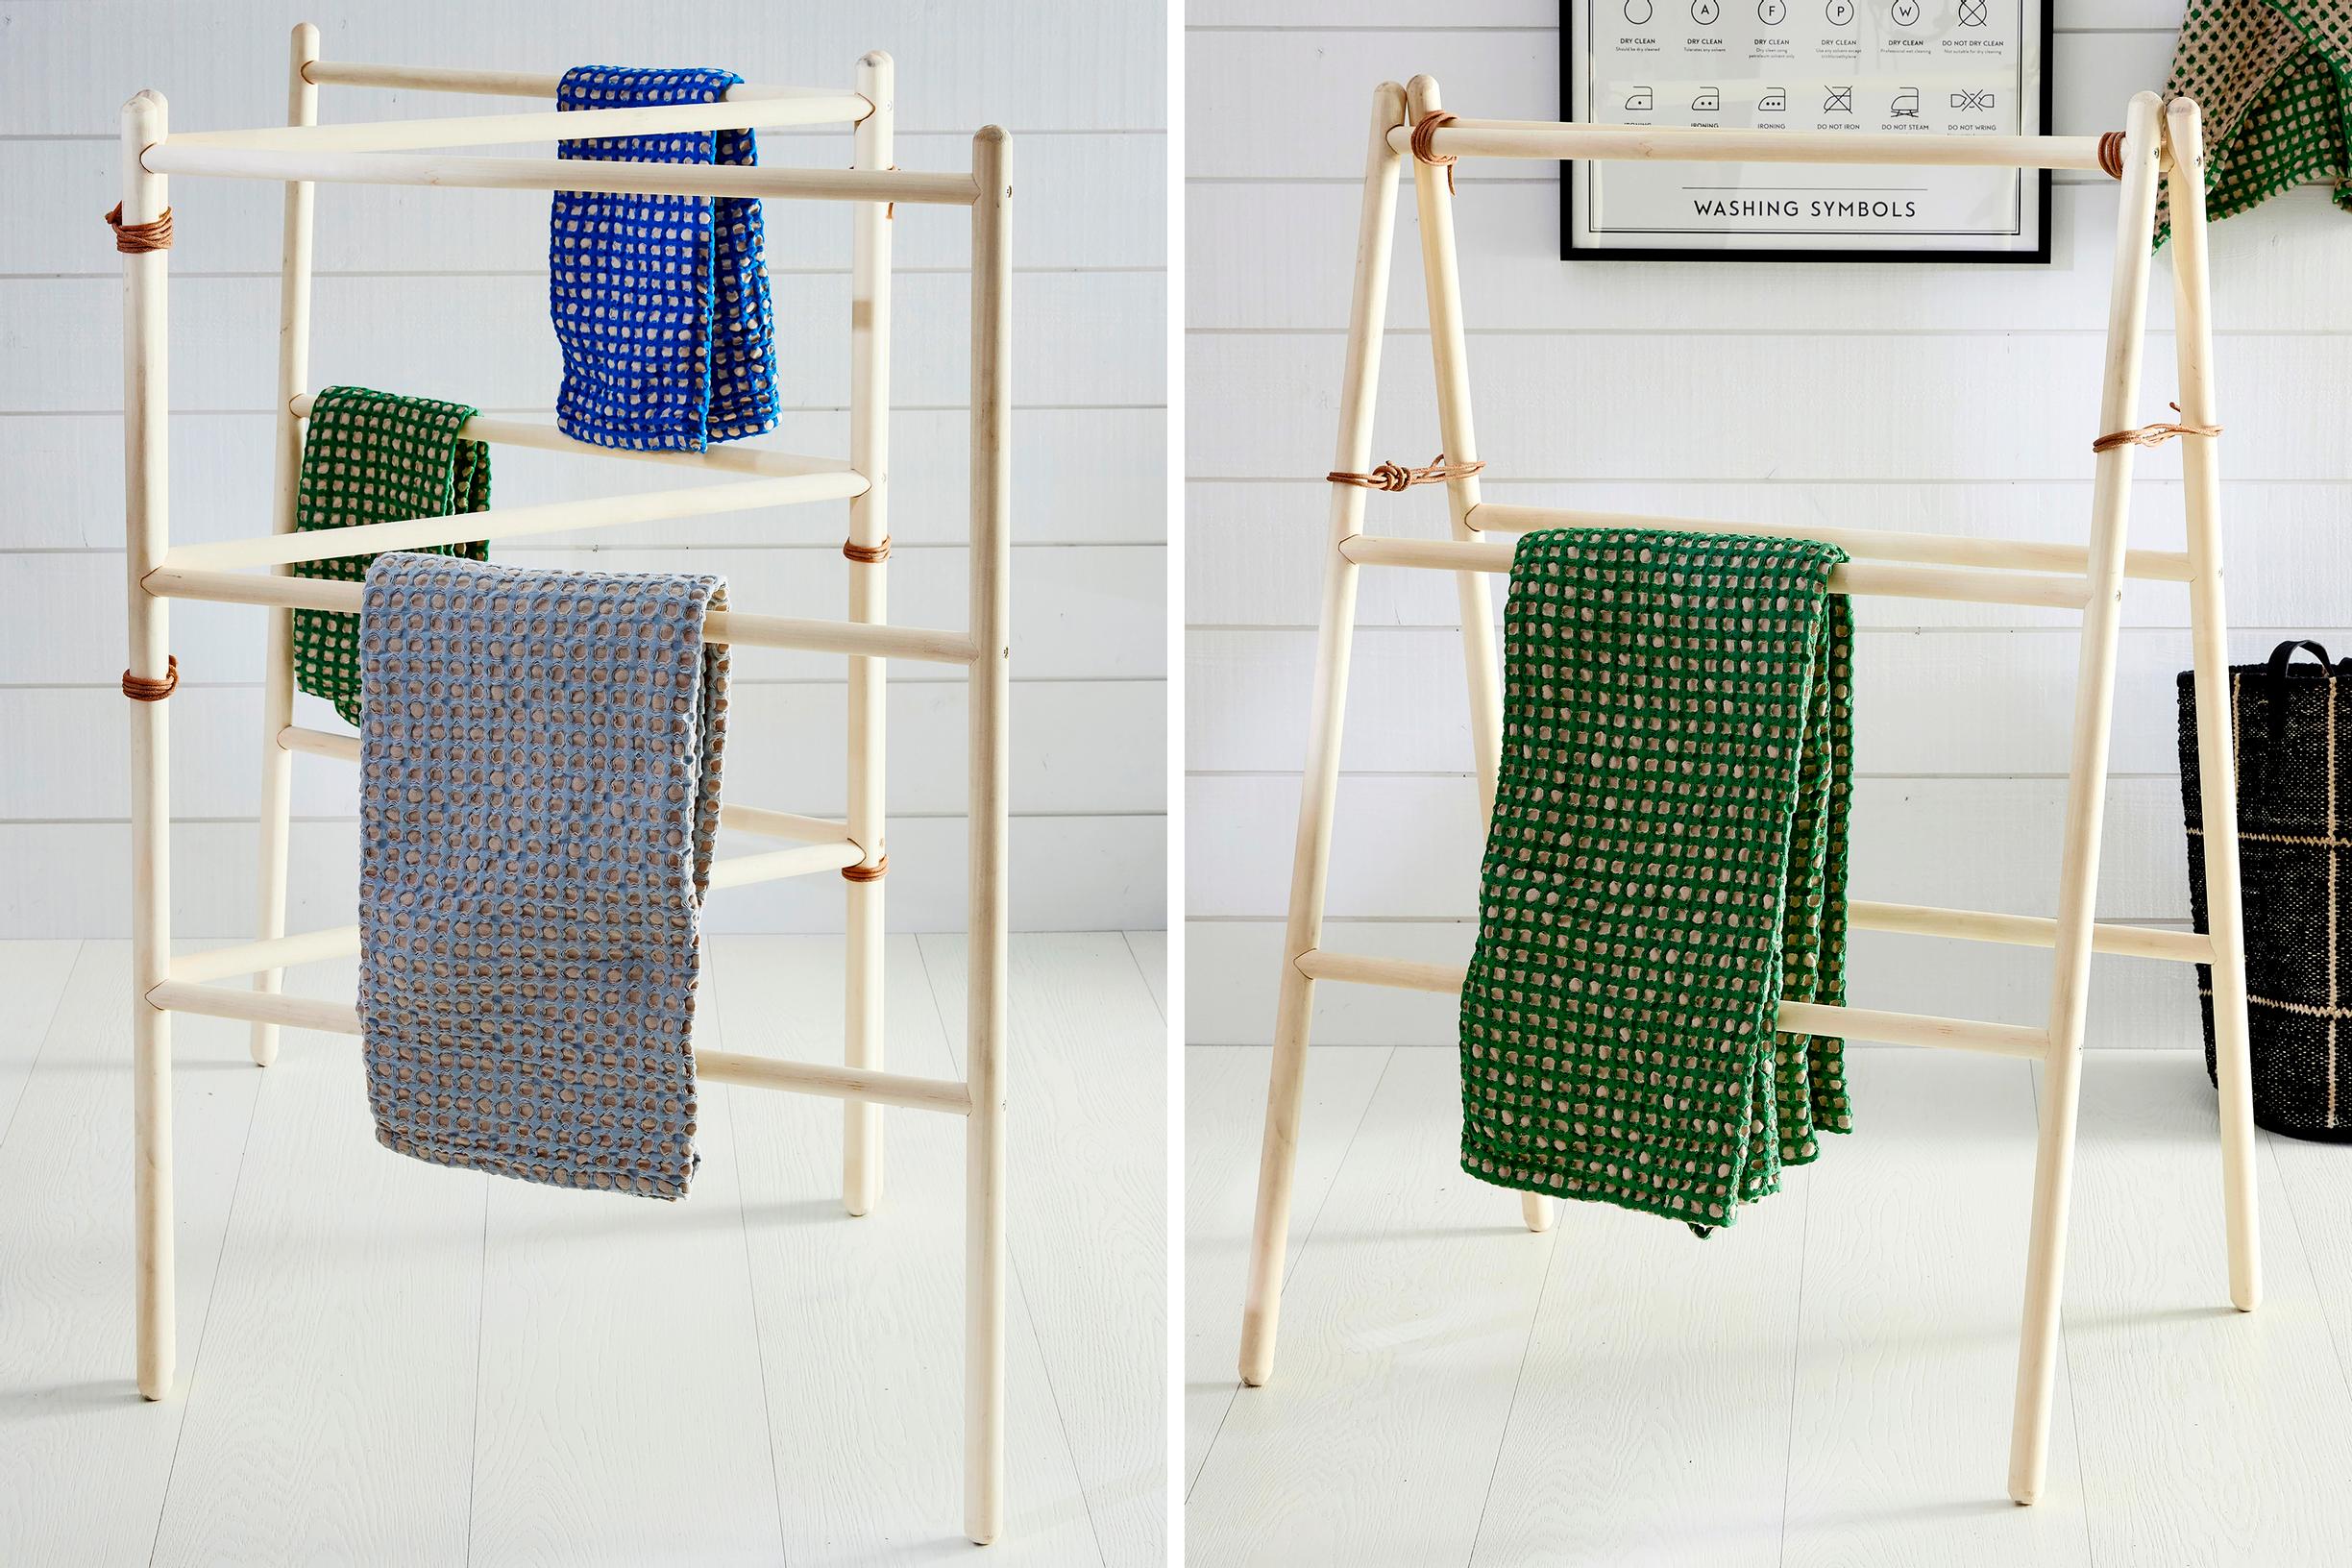
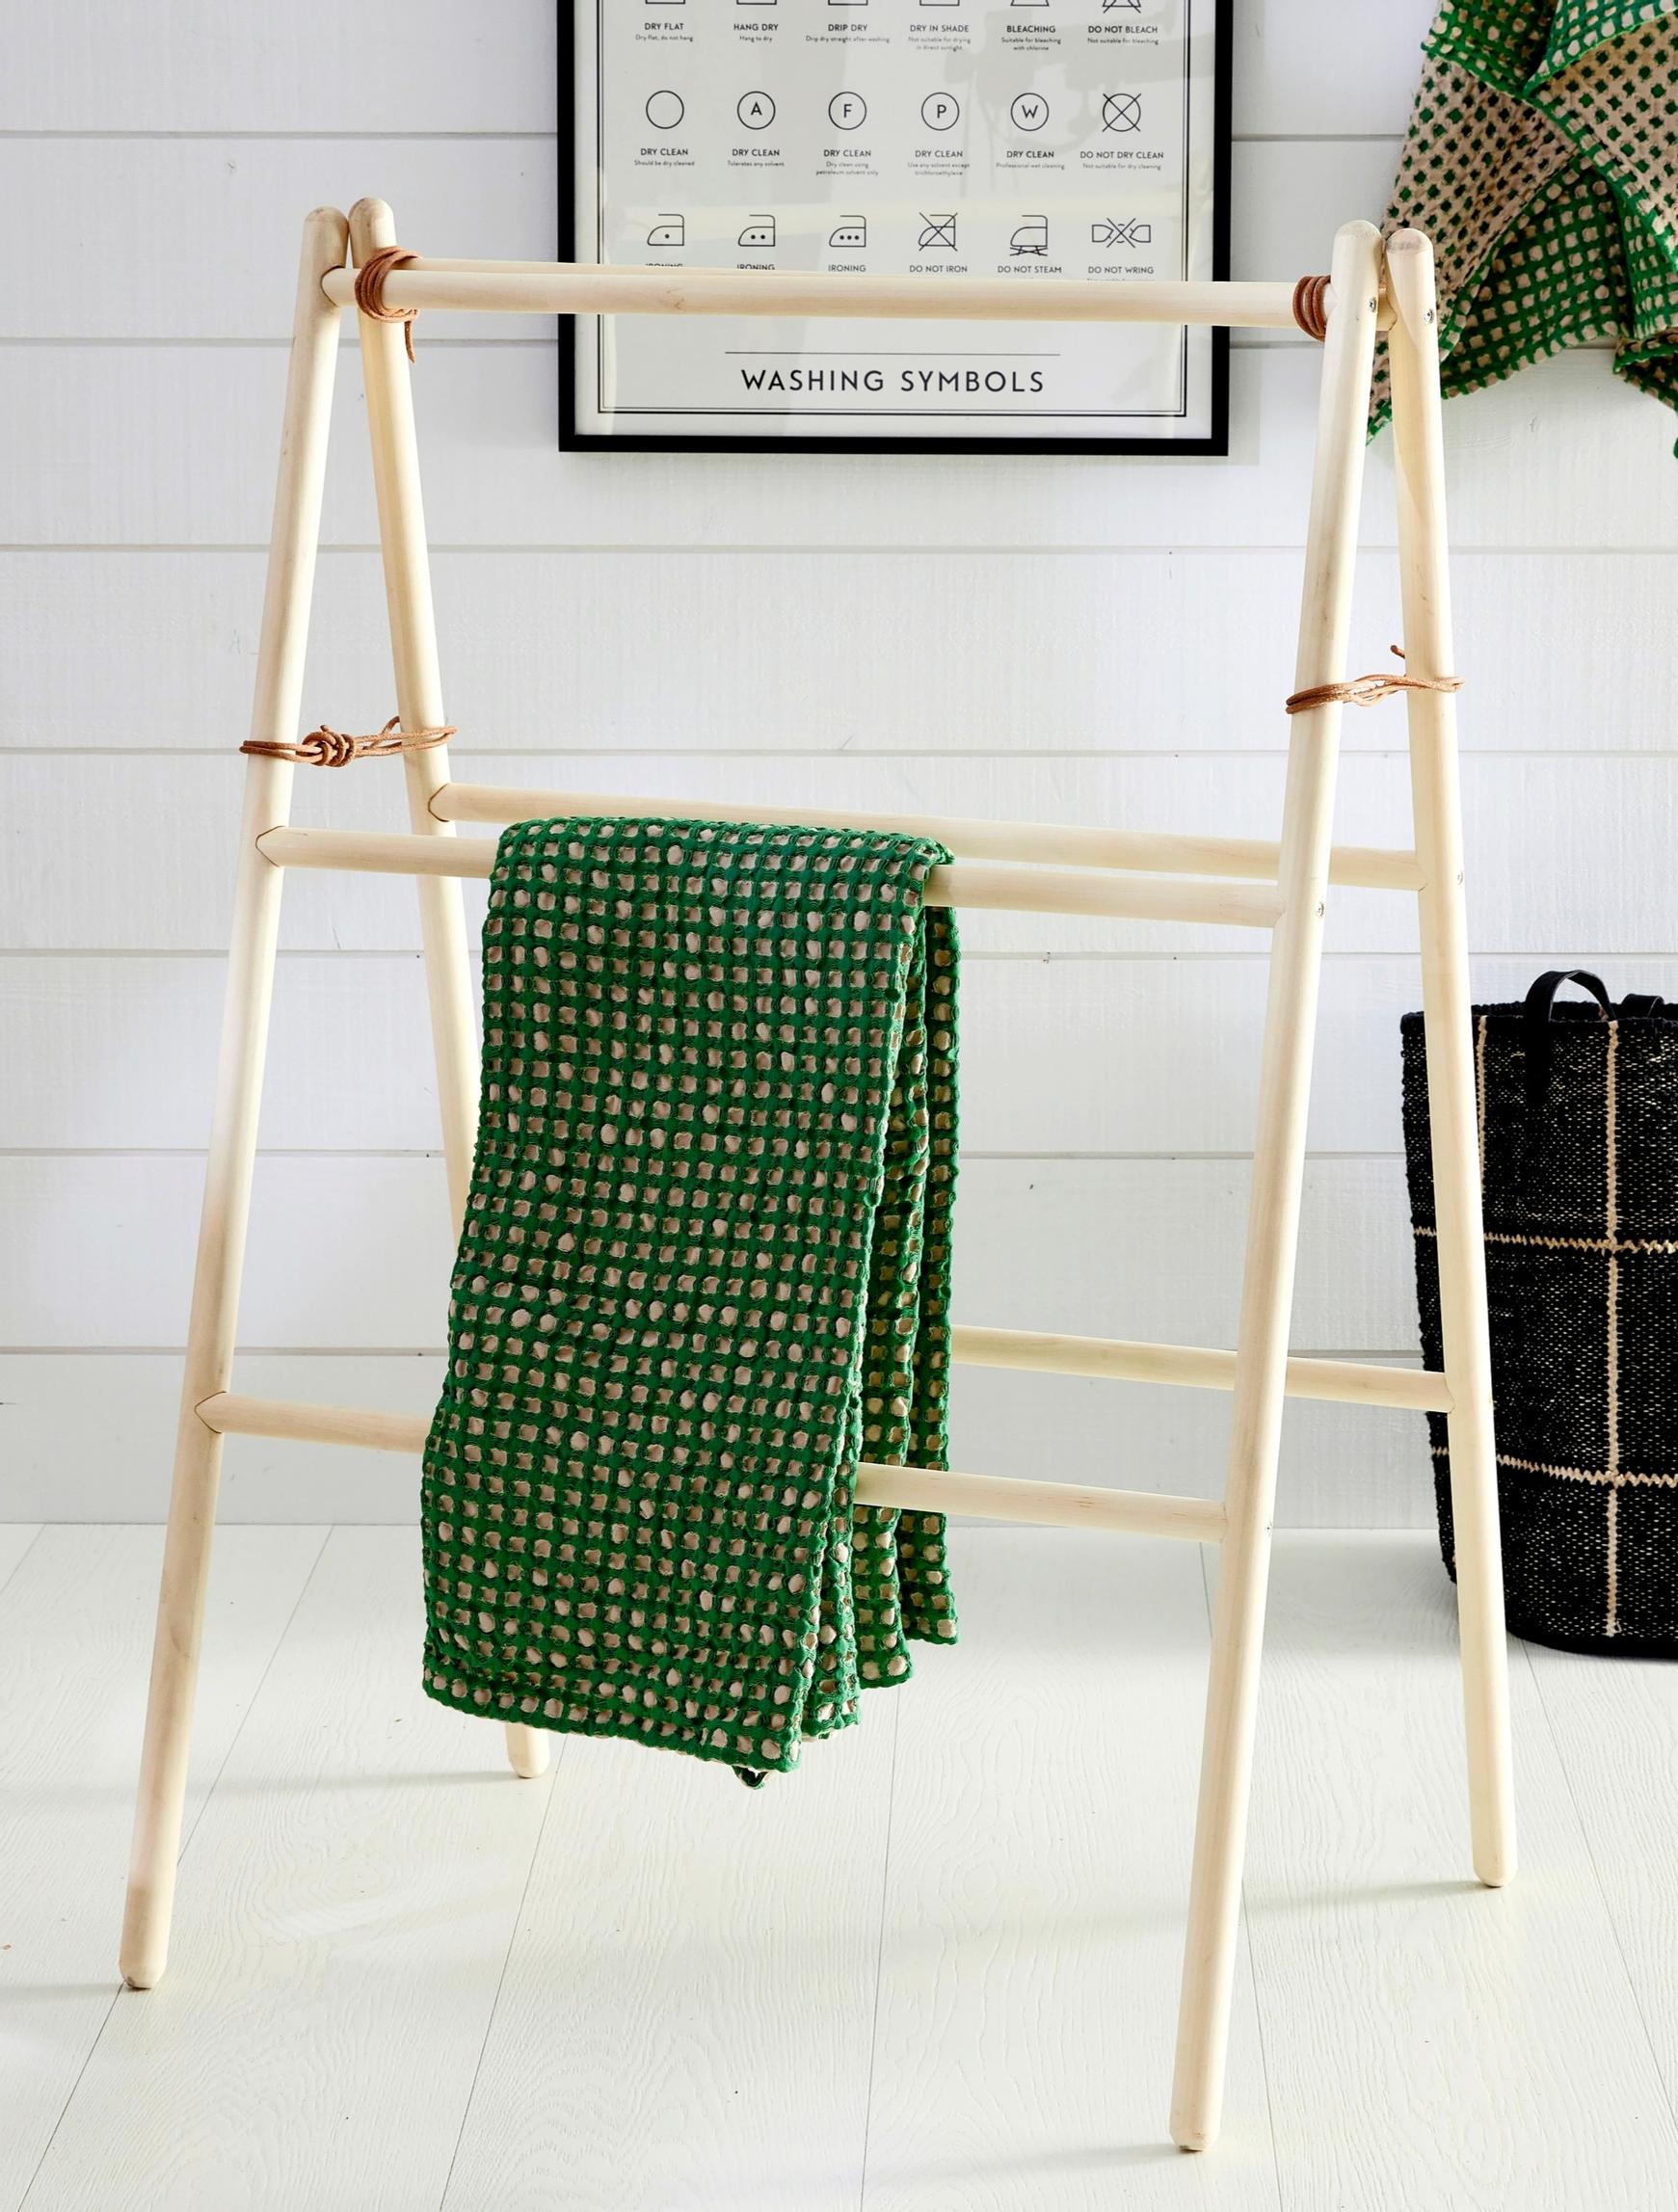
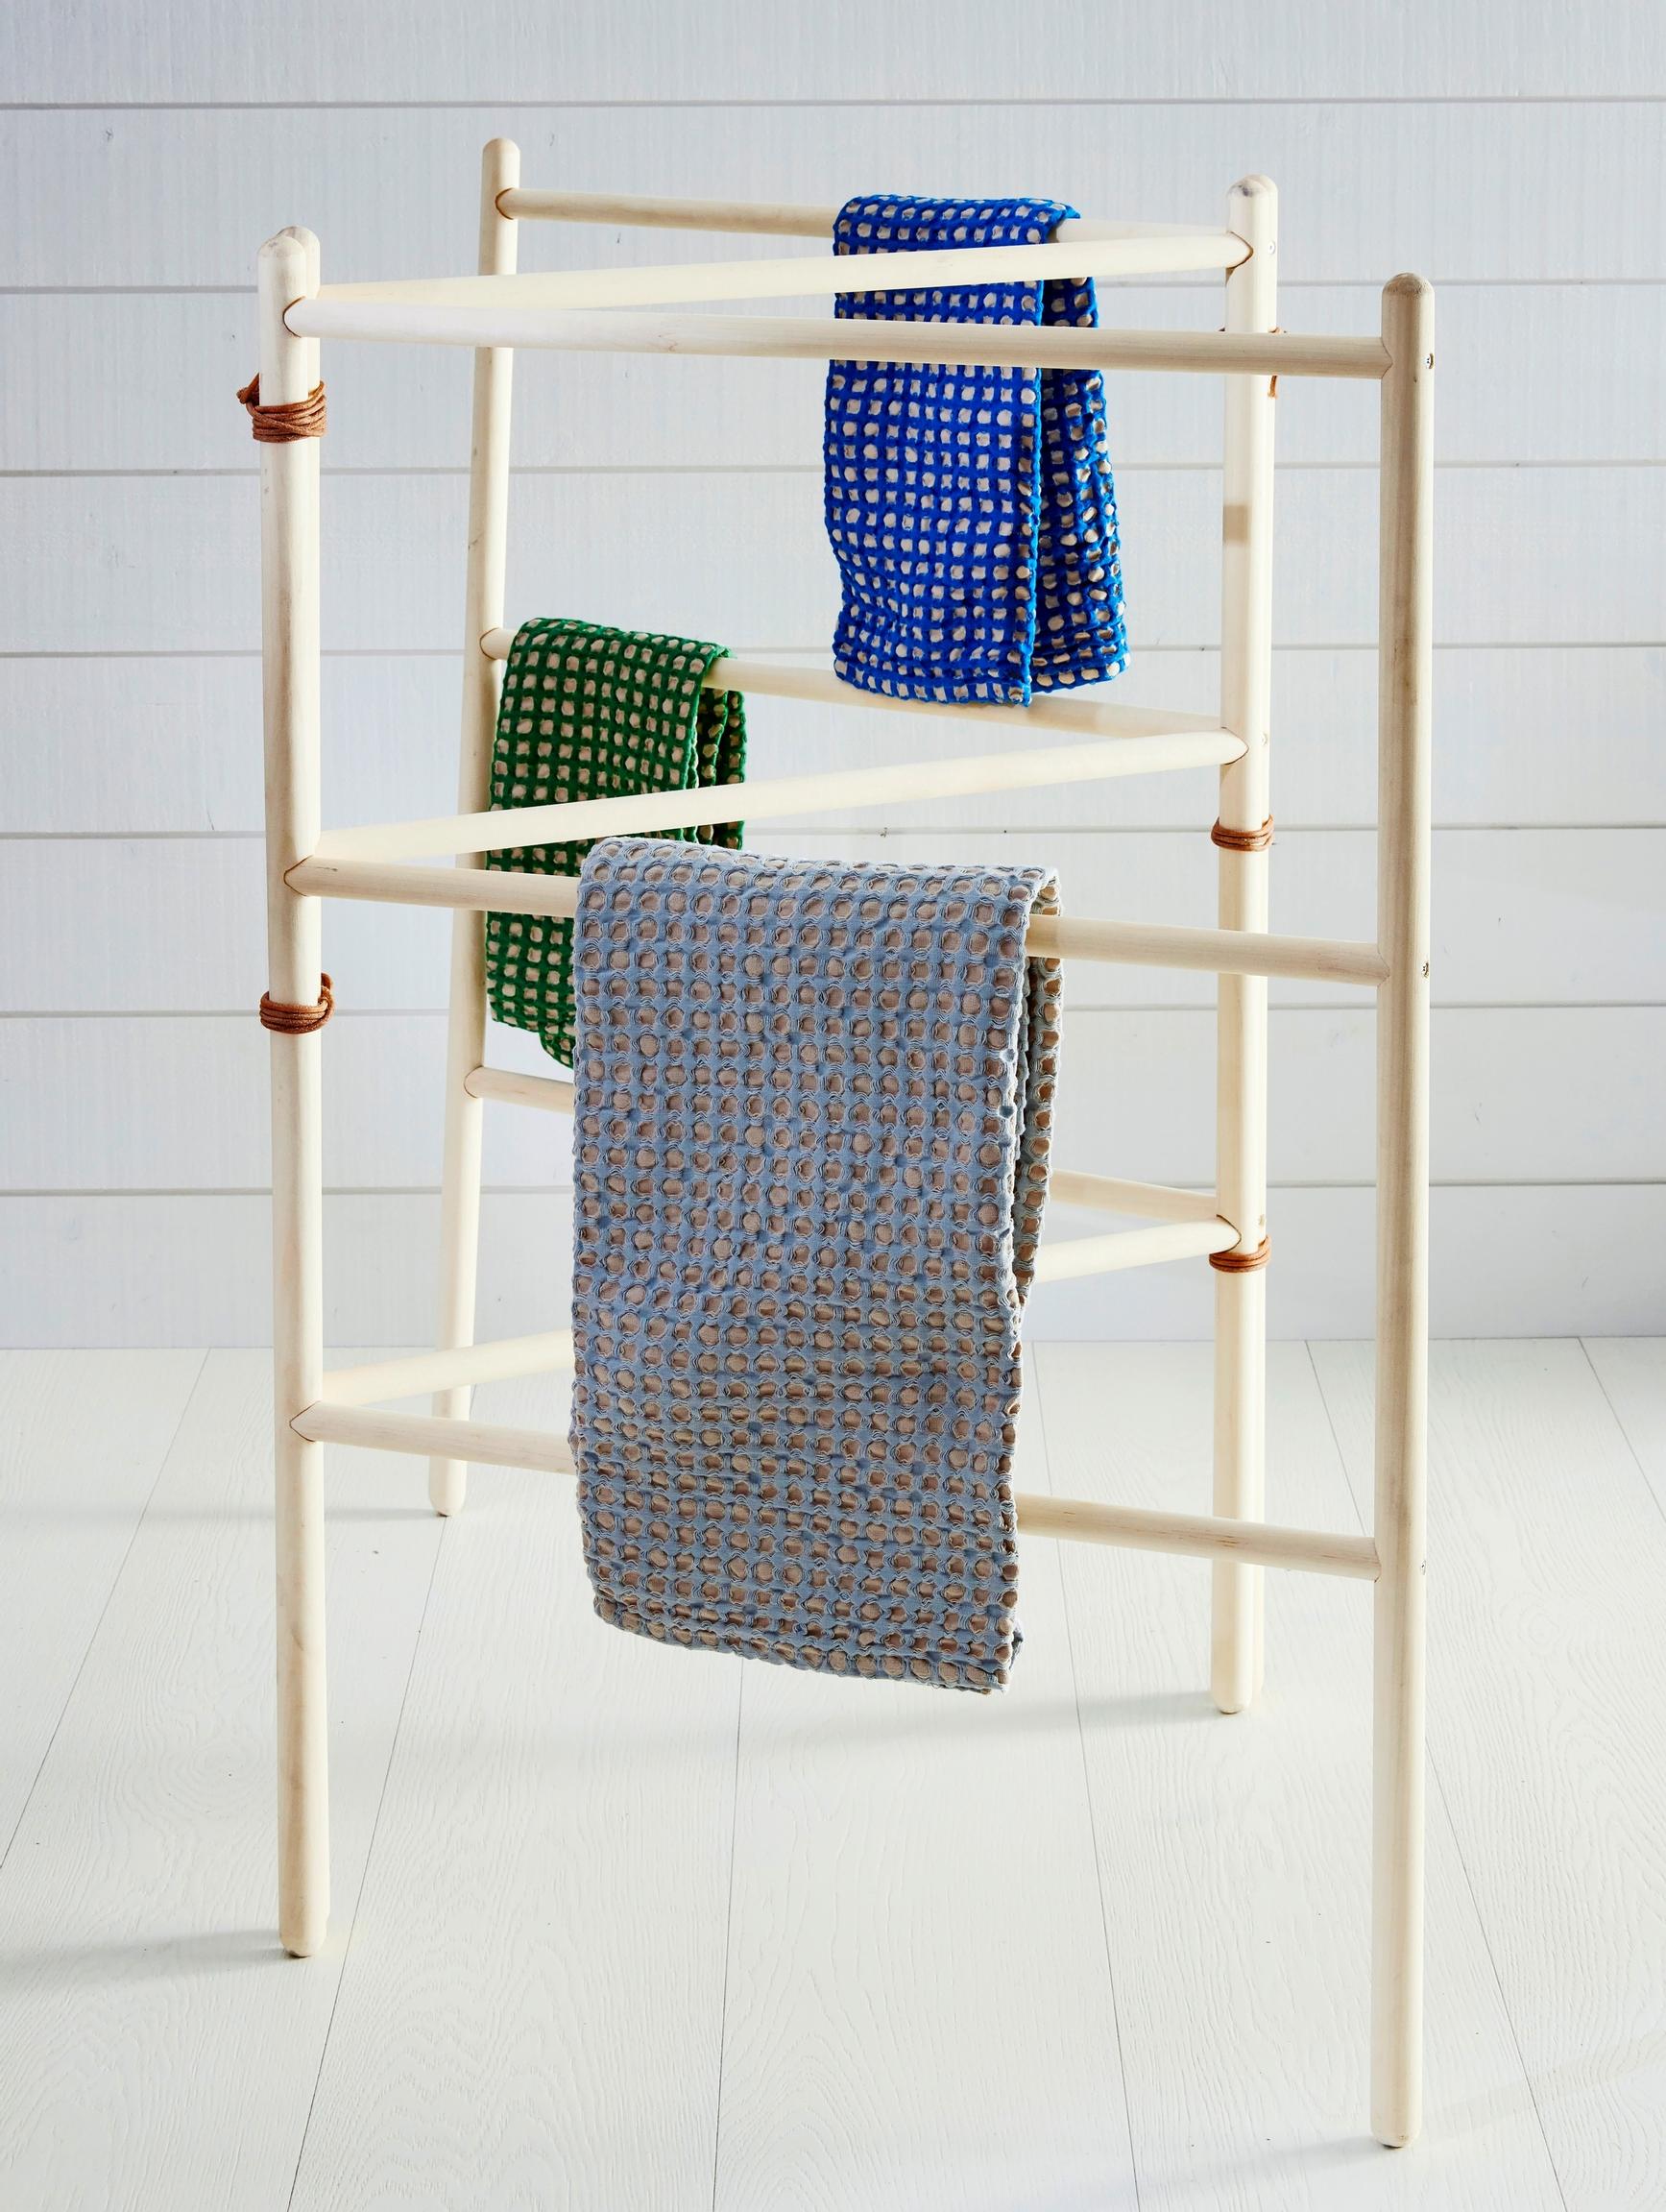
Craft an affordable and stylish drying rack using wooden broom handles. You can assemble the rack with two sections to form a triangle or with three sections for a zigzag design.
Materials for the broom handle drying rack:
- Wooden broom handles: You’ll need five 140-cm-long broom handles for a two-section drying rack, or seven for a three-section rack.
- Handsaw and sandpaper
- Drill and screws
- Wood glue
- Leather cord, jute twine, or releasable cable ties.
Instructions for the broom handle drying rack:
- To build the rack, make two or three ladder-shaped sections. For a two-section rack, cut four 1-meter-long support poles and six 40-cm-long crossbars from the broom handles. For a three-section rack, cut six 1-meter-long support poles and nine 40-cm-long crossbars.
- Round off the ends of the support poles by sanding them, if you’d like.
- Mark the locations where you’ll insert the crossbars on the support poles. Draw a longitudinal line on the support poles to help align the holes correctly. Drill holes about halfway through the poles. Pre-drill screw holes into the openings and countersink on the other side for the screw heads. Attach the crossbars by screwing them into the support poles. You can use wood glue to secure the joints.
- Connect the rack sections to each other with leather cord, jute twine, or releasable cable ties.
Most recent
Latest