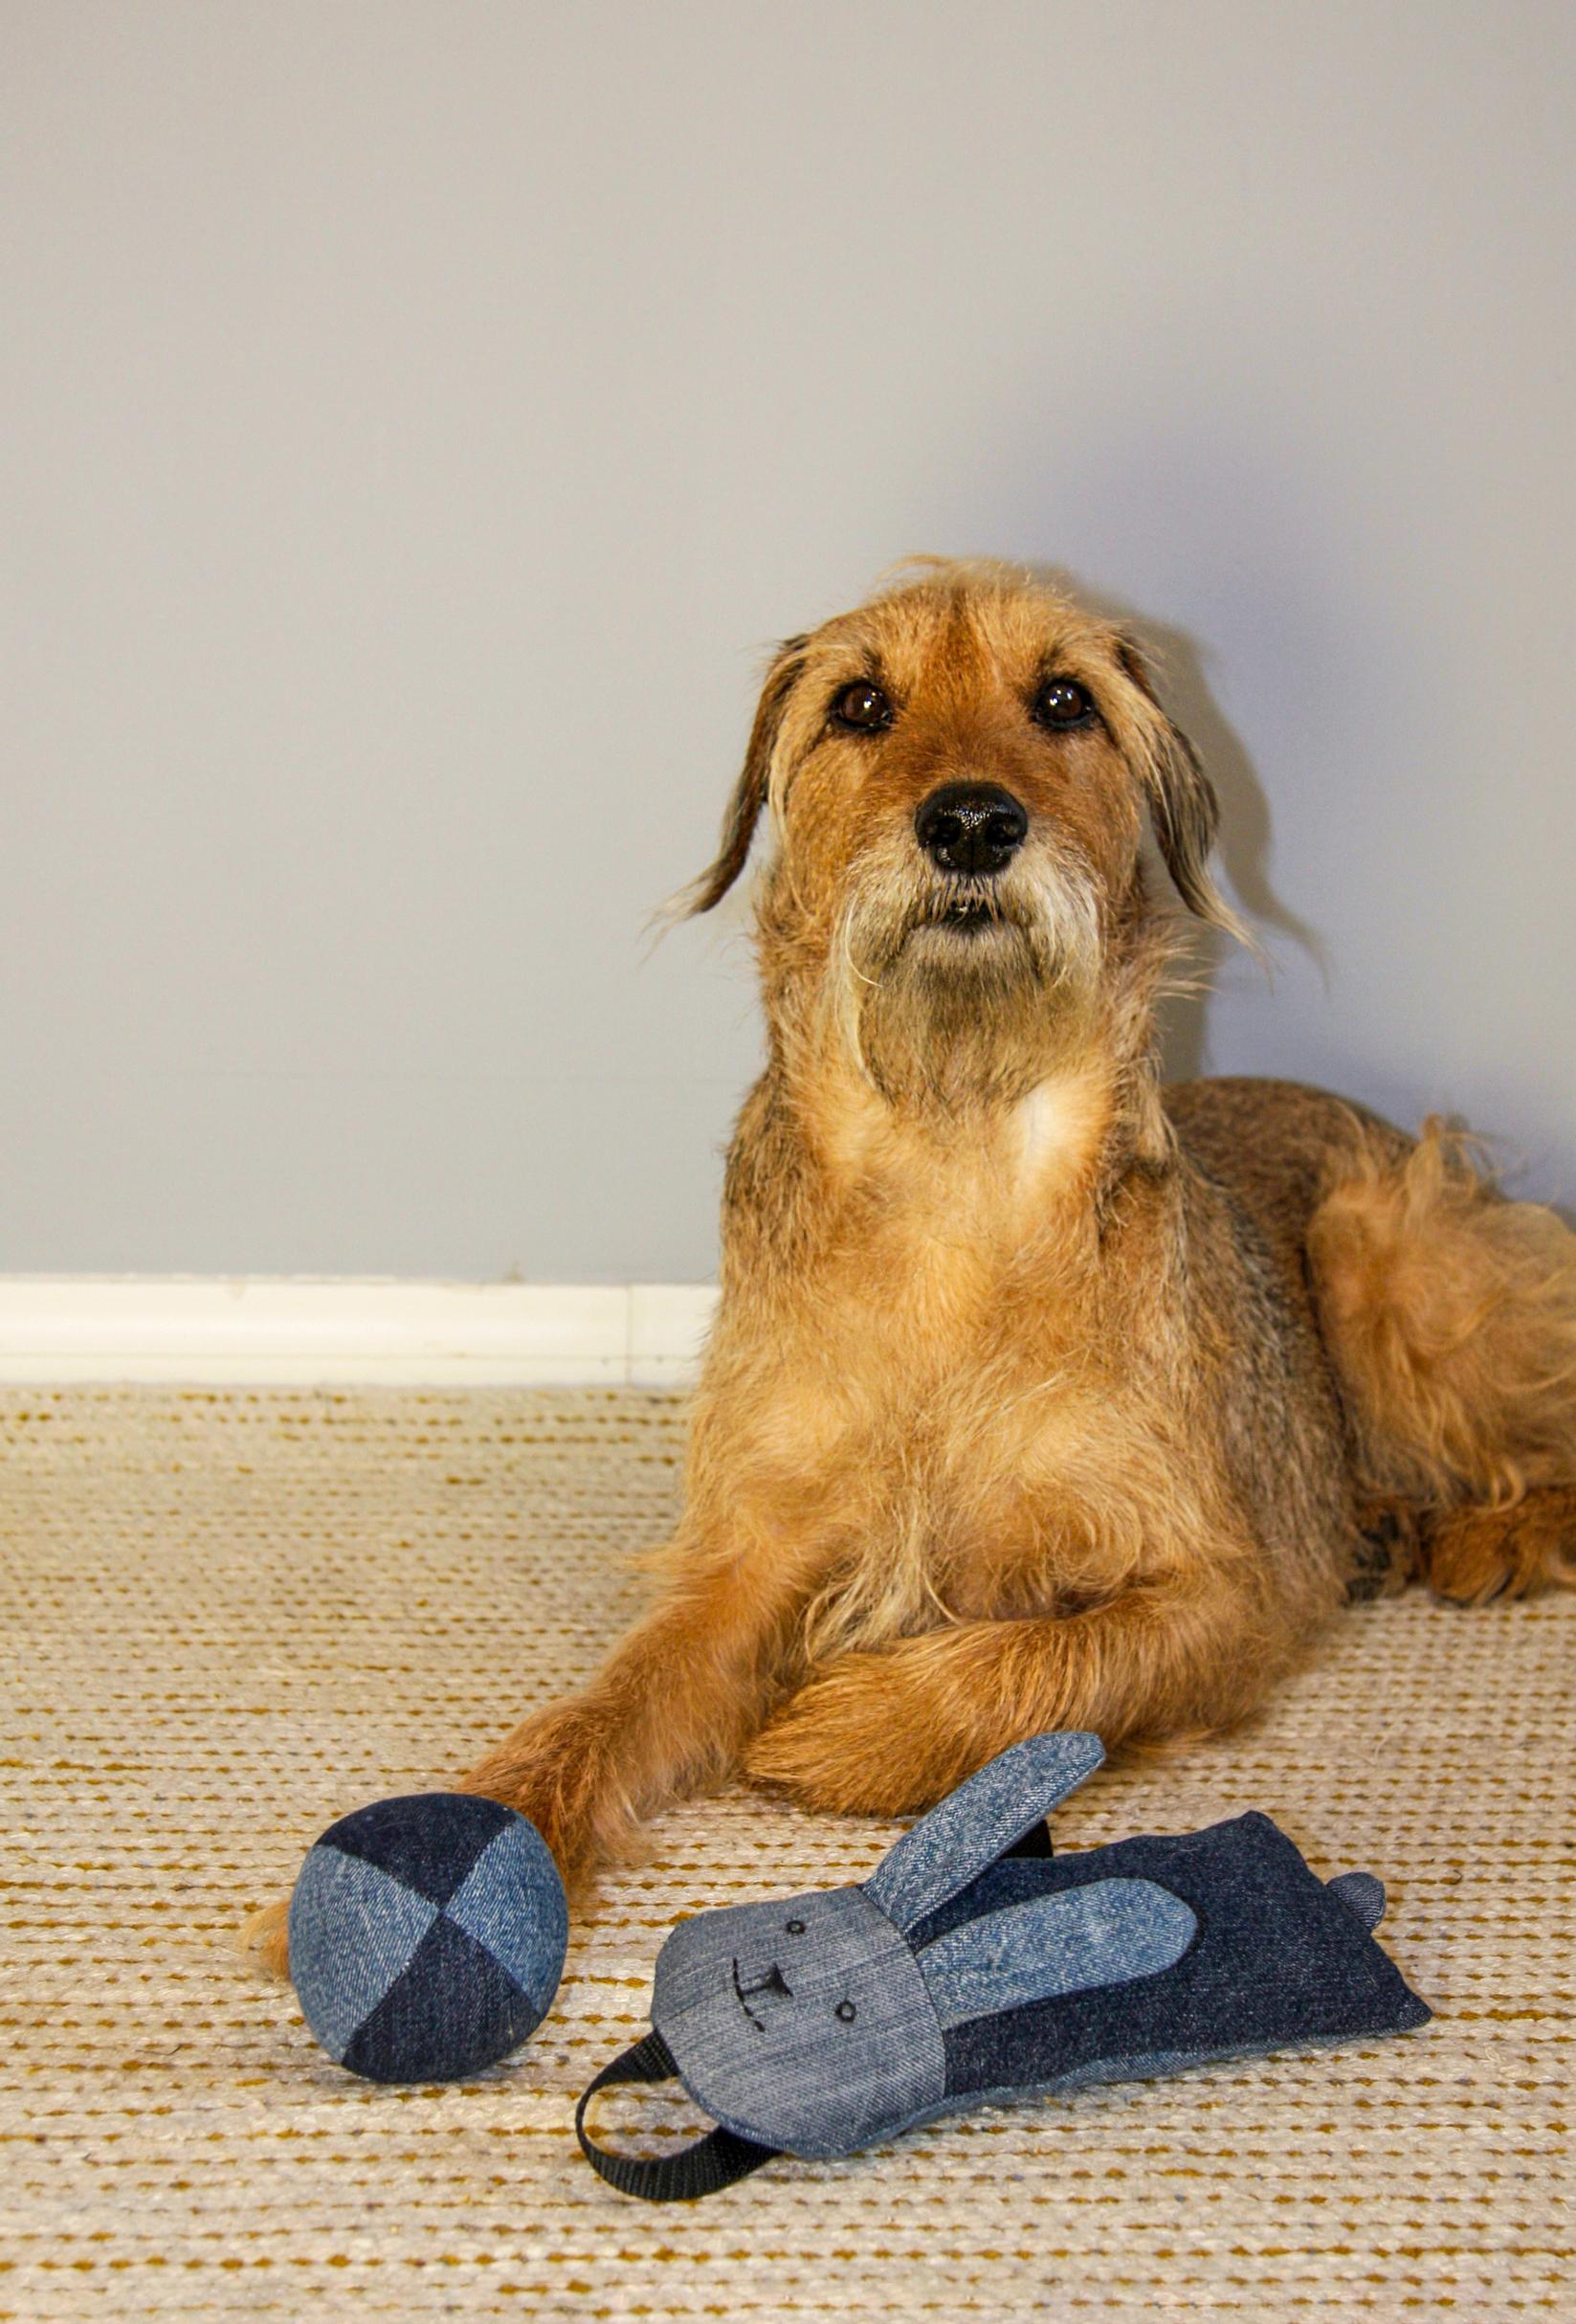
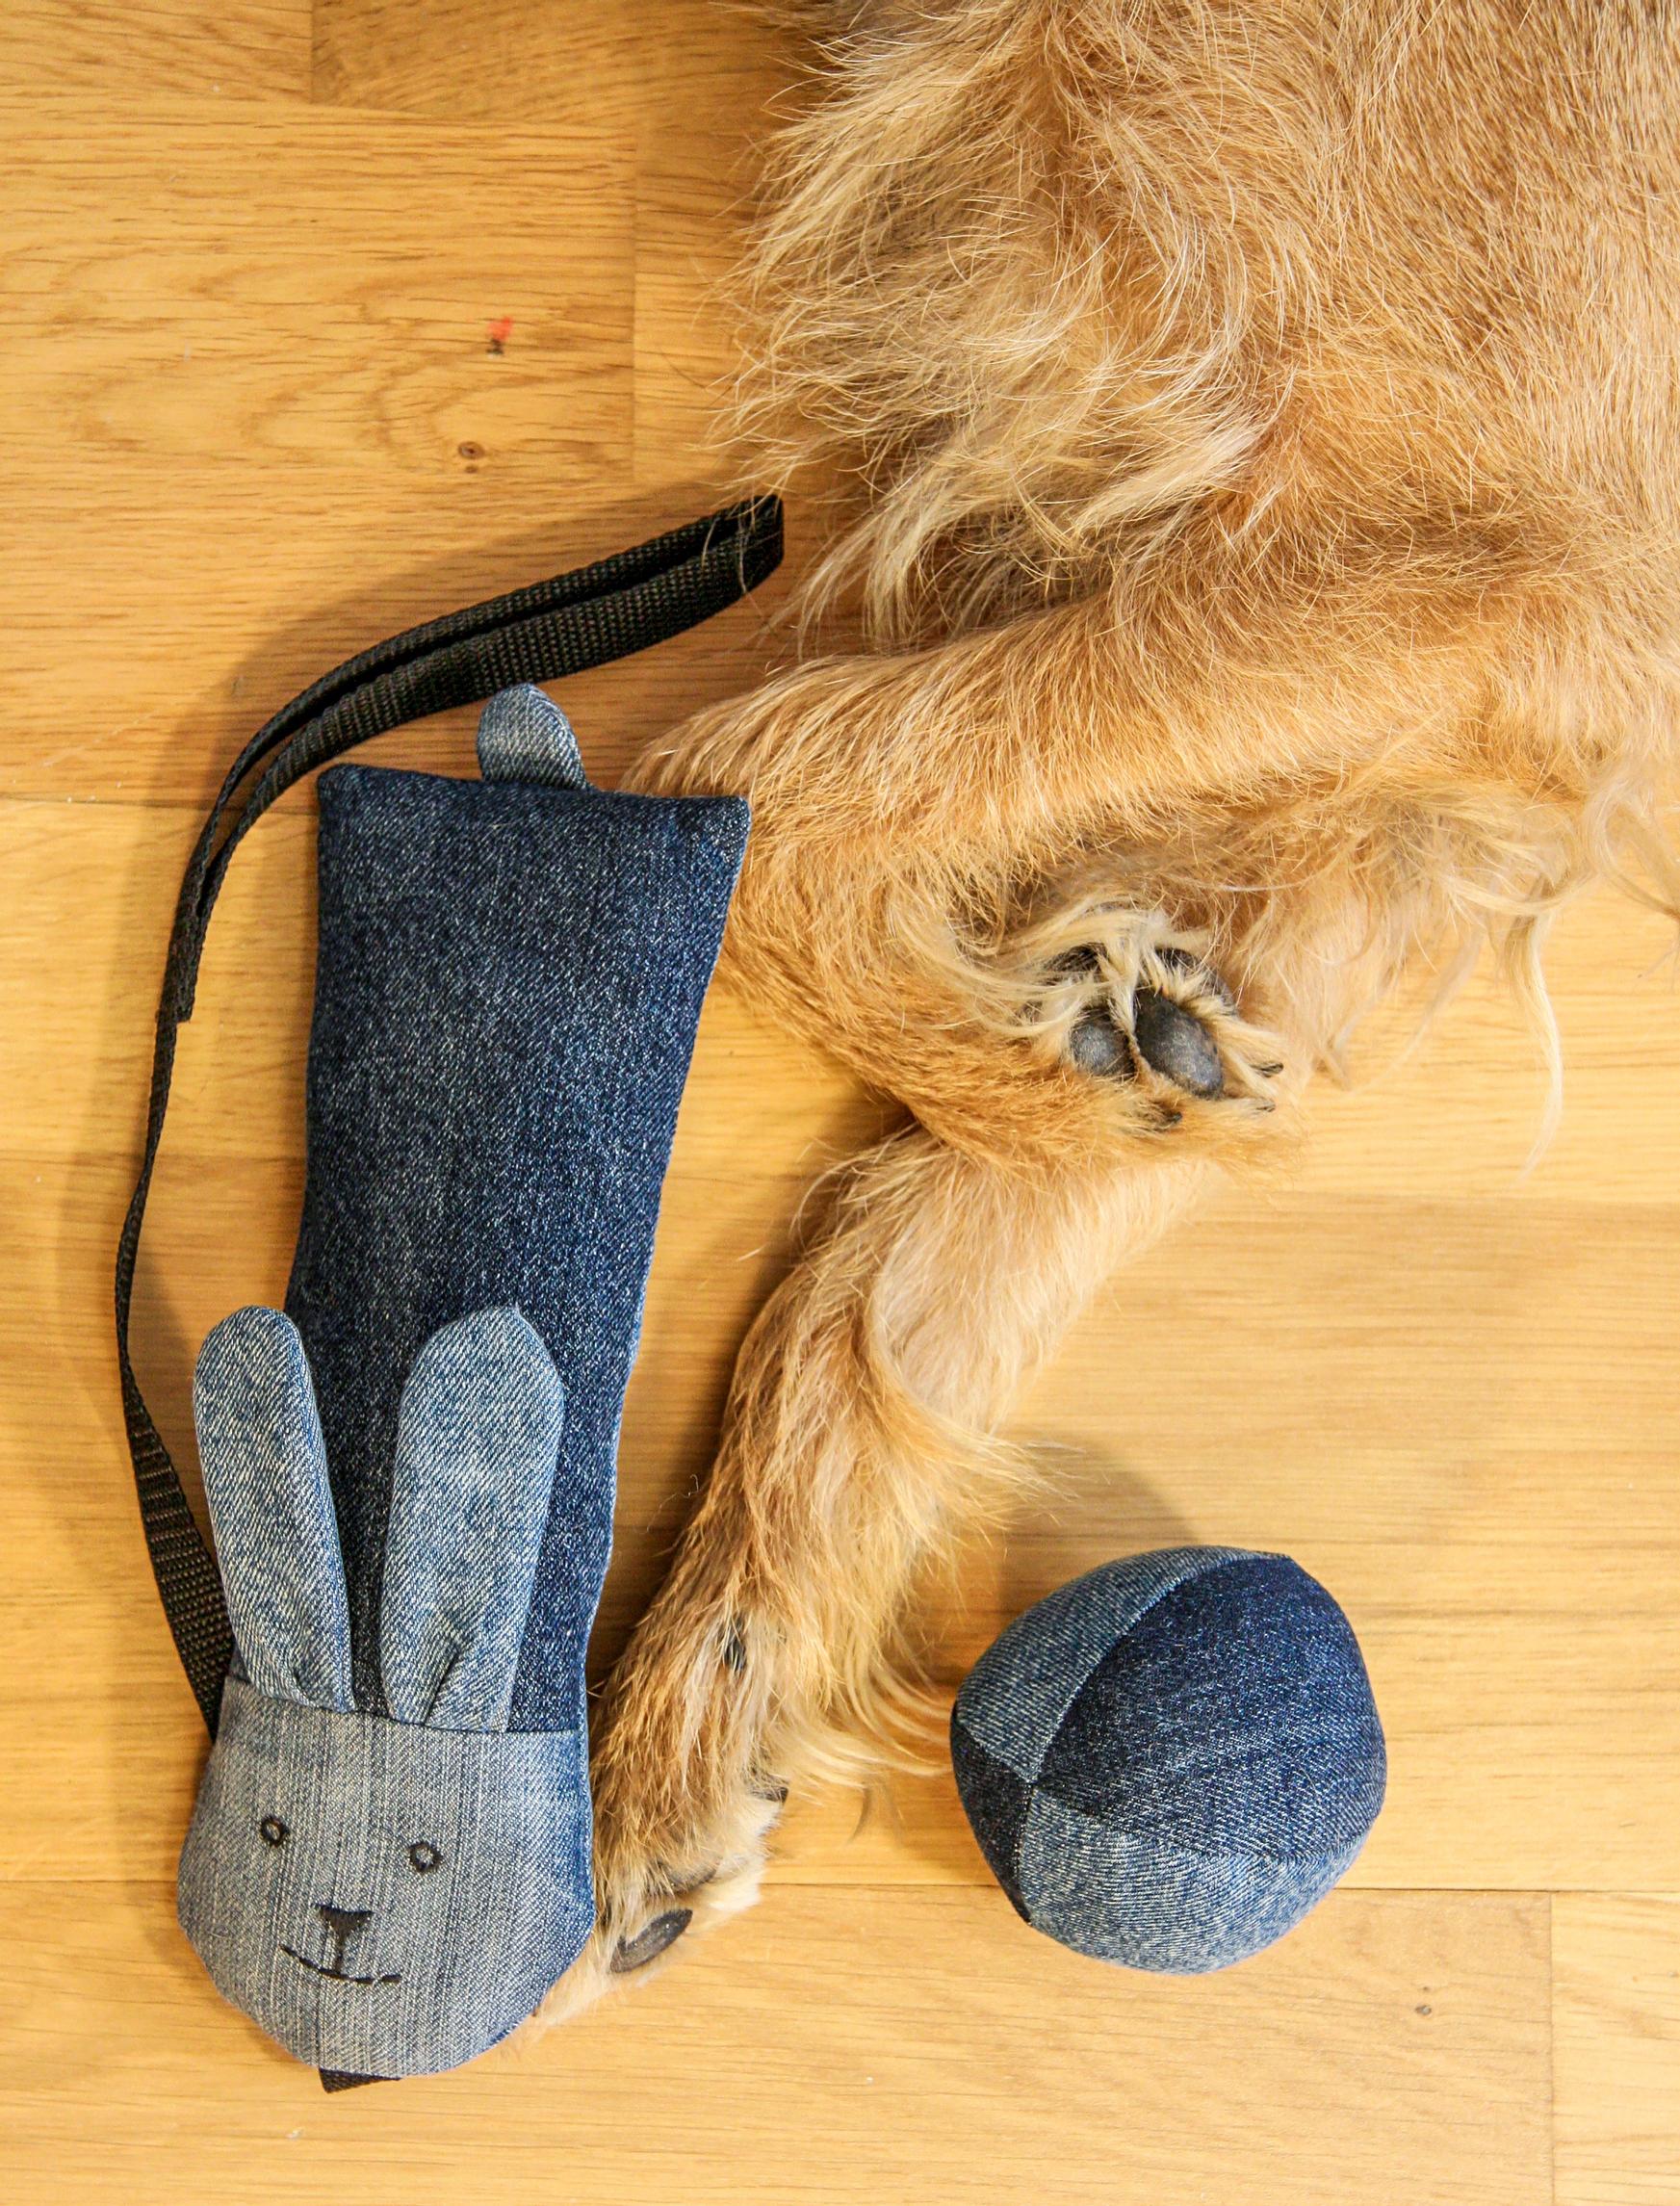
A dog ball and tug toy from old jeans—see our instructions and sew your furry friend’s new favorite toys
Instead of buying new dog toys, simply recycle your old jeans and sew them into toys for your beloved furry friend. A ball and tug toy will bring joy for a long time!
Dog ball and tug toy supplies:
Denim scraps
Pencil
Stuffing
For the tug toy: 0.6 m of 15 mm-wide strap, tracing and pattern paper, a ruler, and a fabric marker
Sewing supplies and a sewing machine
Ironing supplies
Dog ball instructions:
The ball will be about 24 cm in circumference.

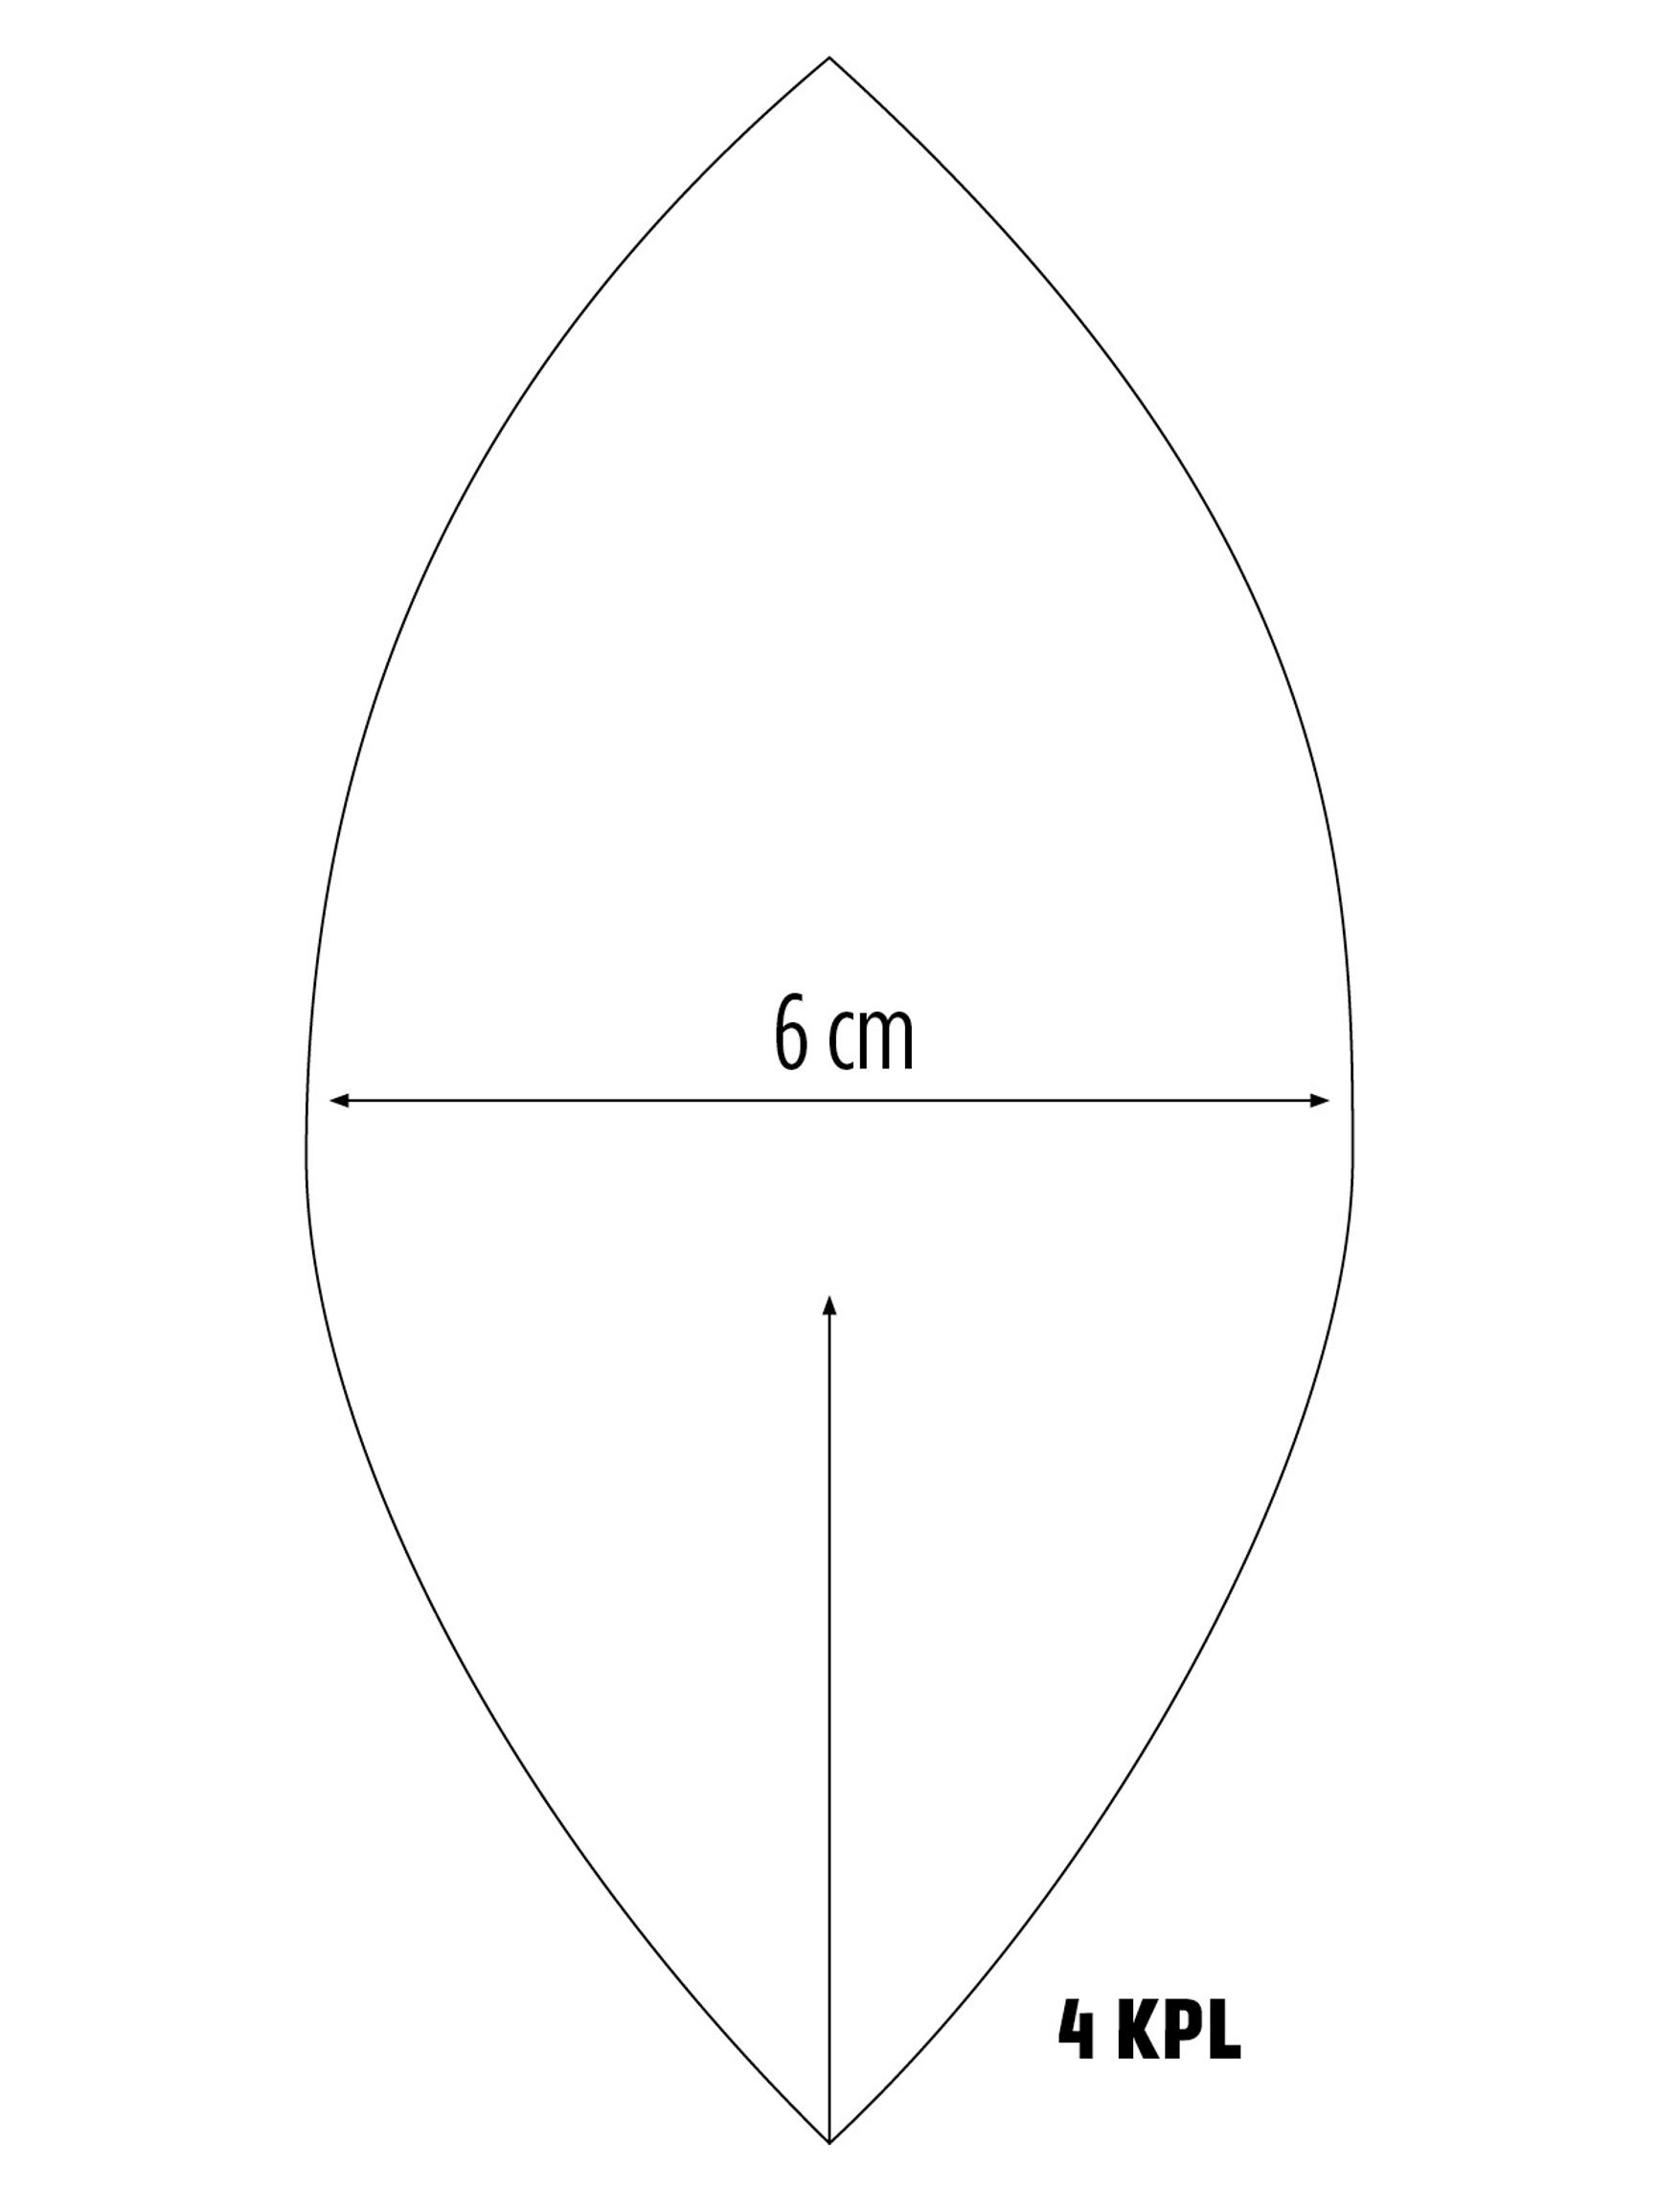
1. Trace the ball pattern onto your fabric and add 0.7 cm seam allowances. Cut four identical pieces from the denim scraps.

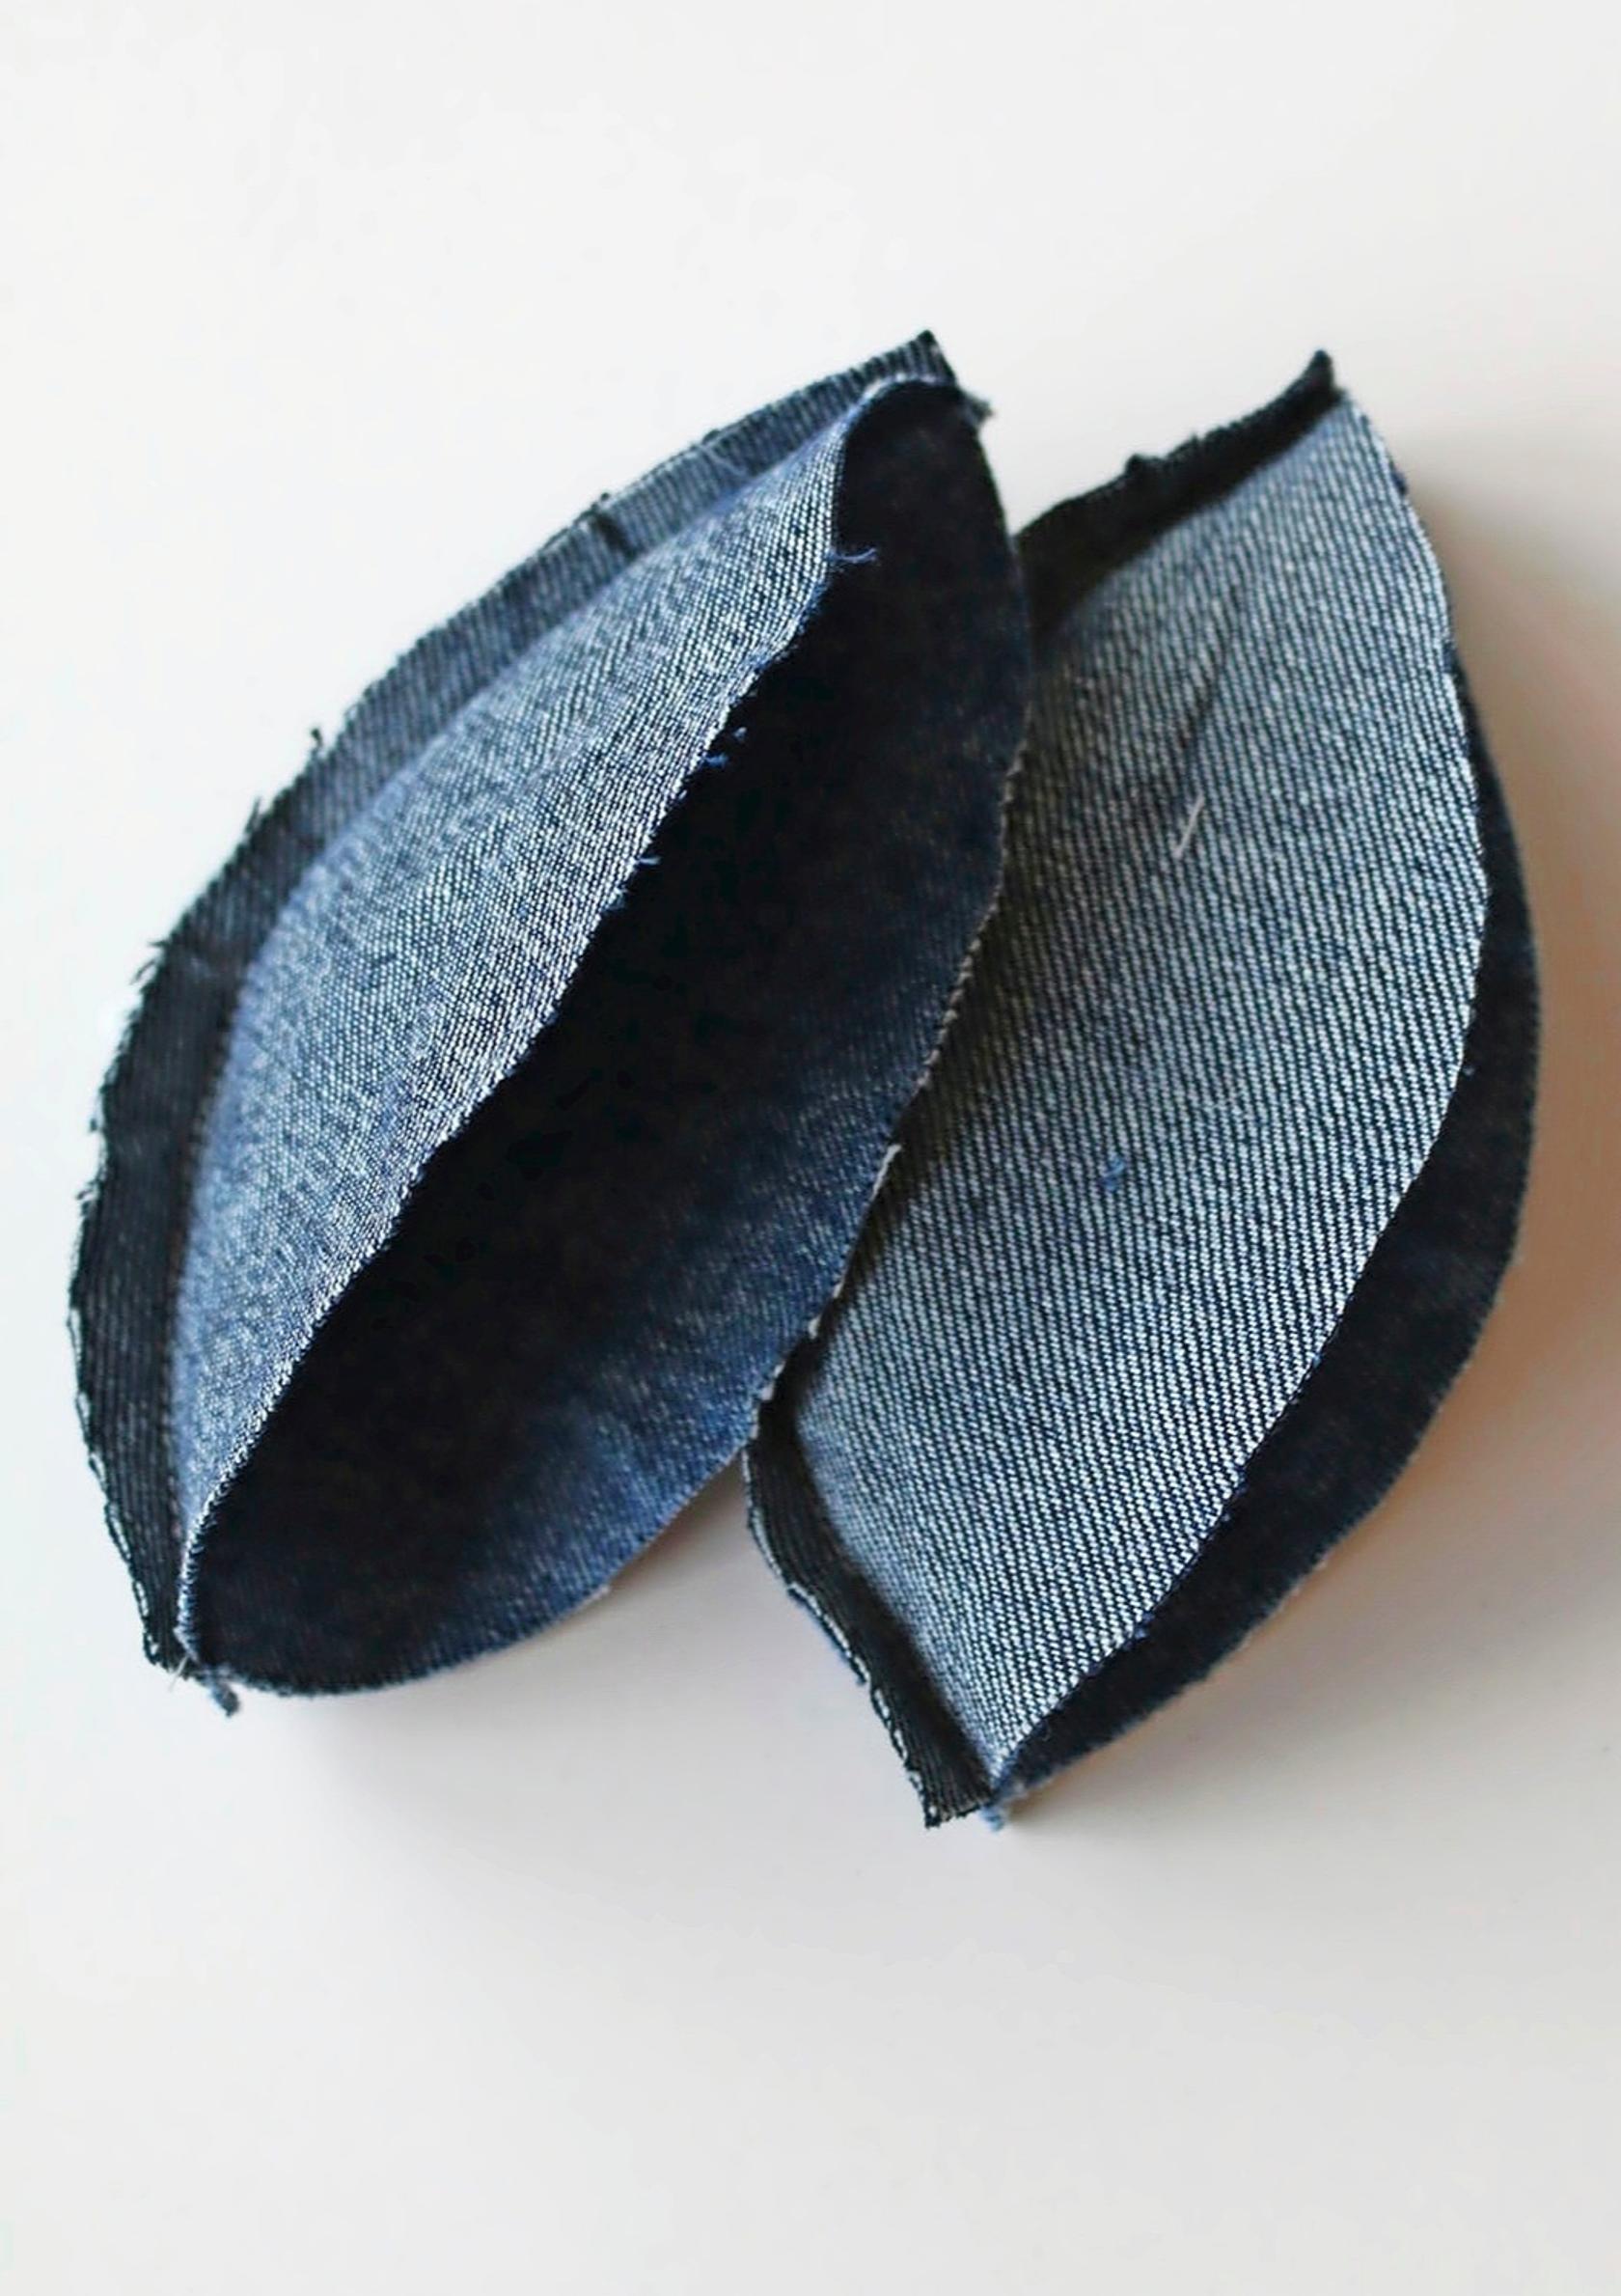
2. With right sides together, sew two pieces along one side, then press the seams open. Repeat with the other two pieces. Now place the two halves right sides together, matching the seams. Sew them together, leaving a space for turning.

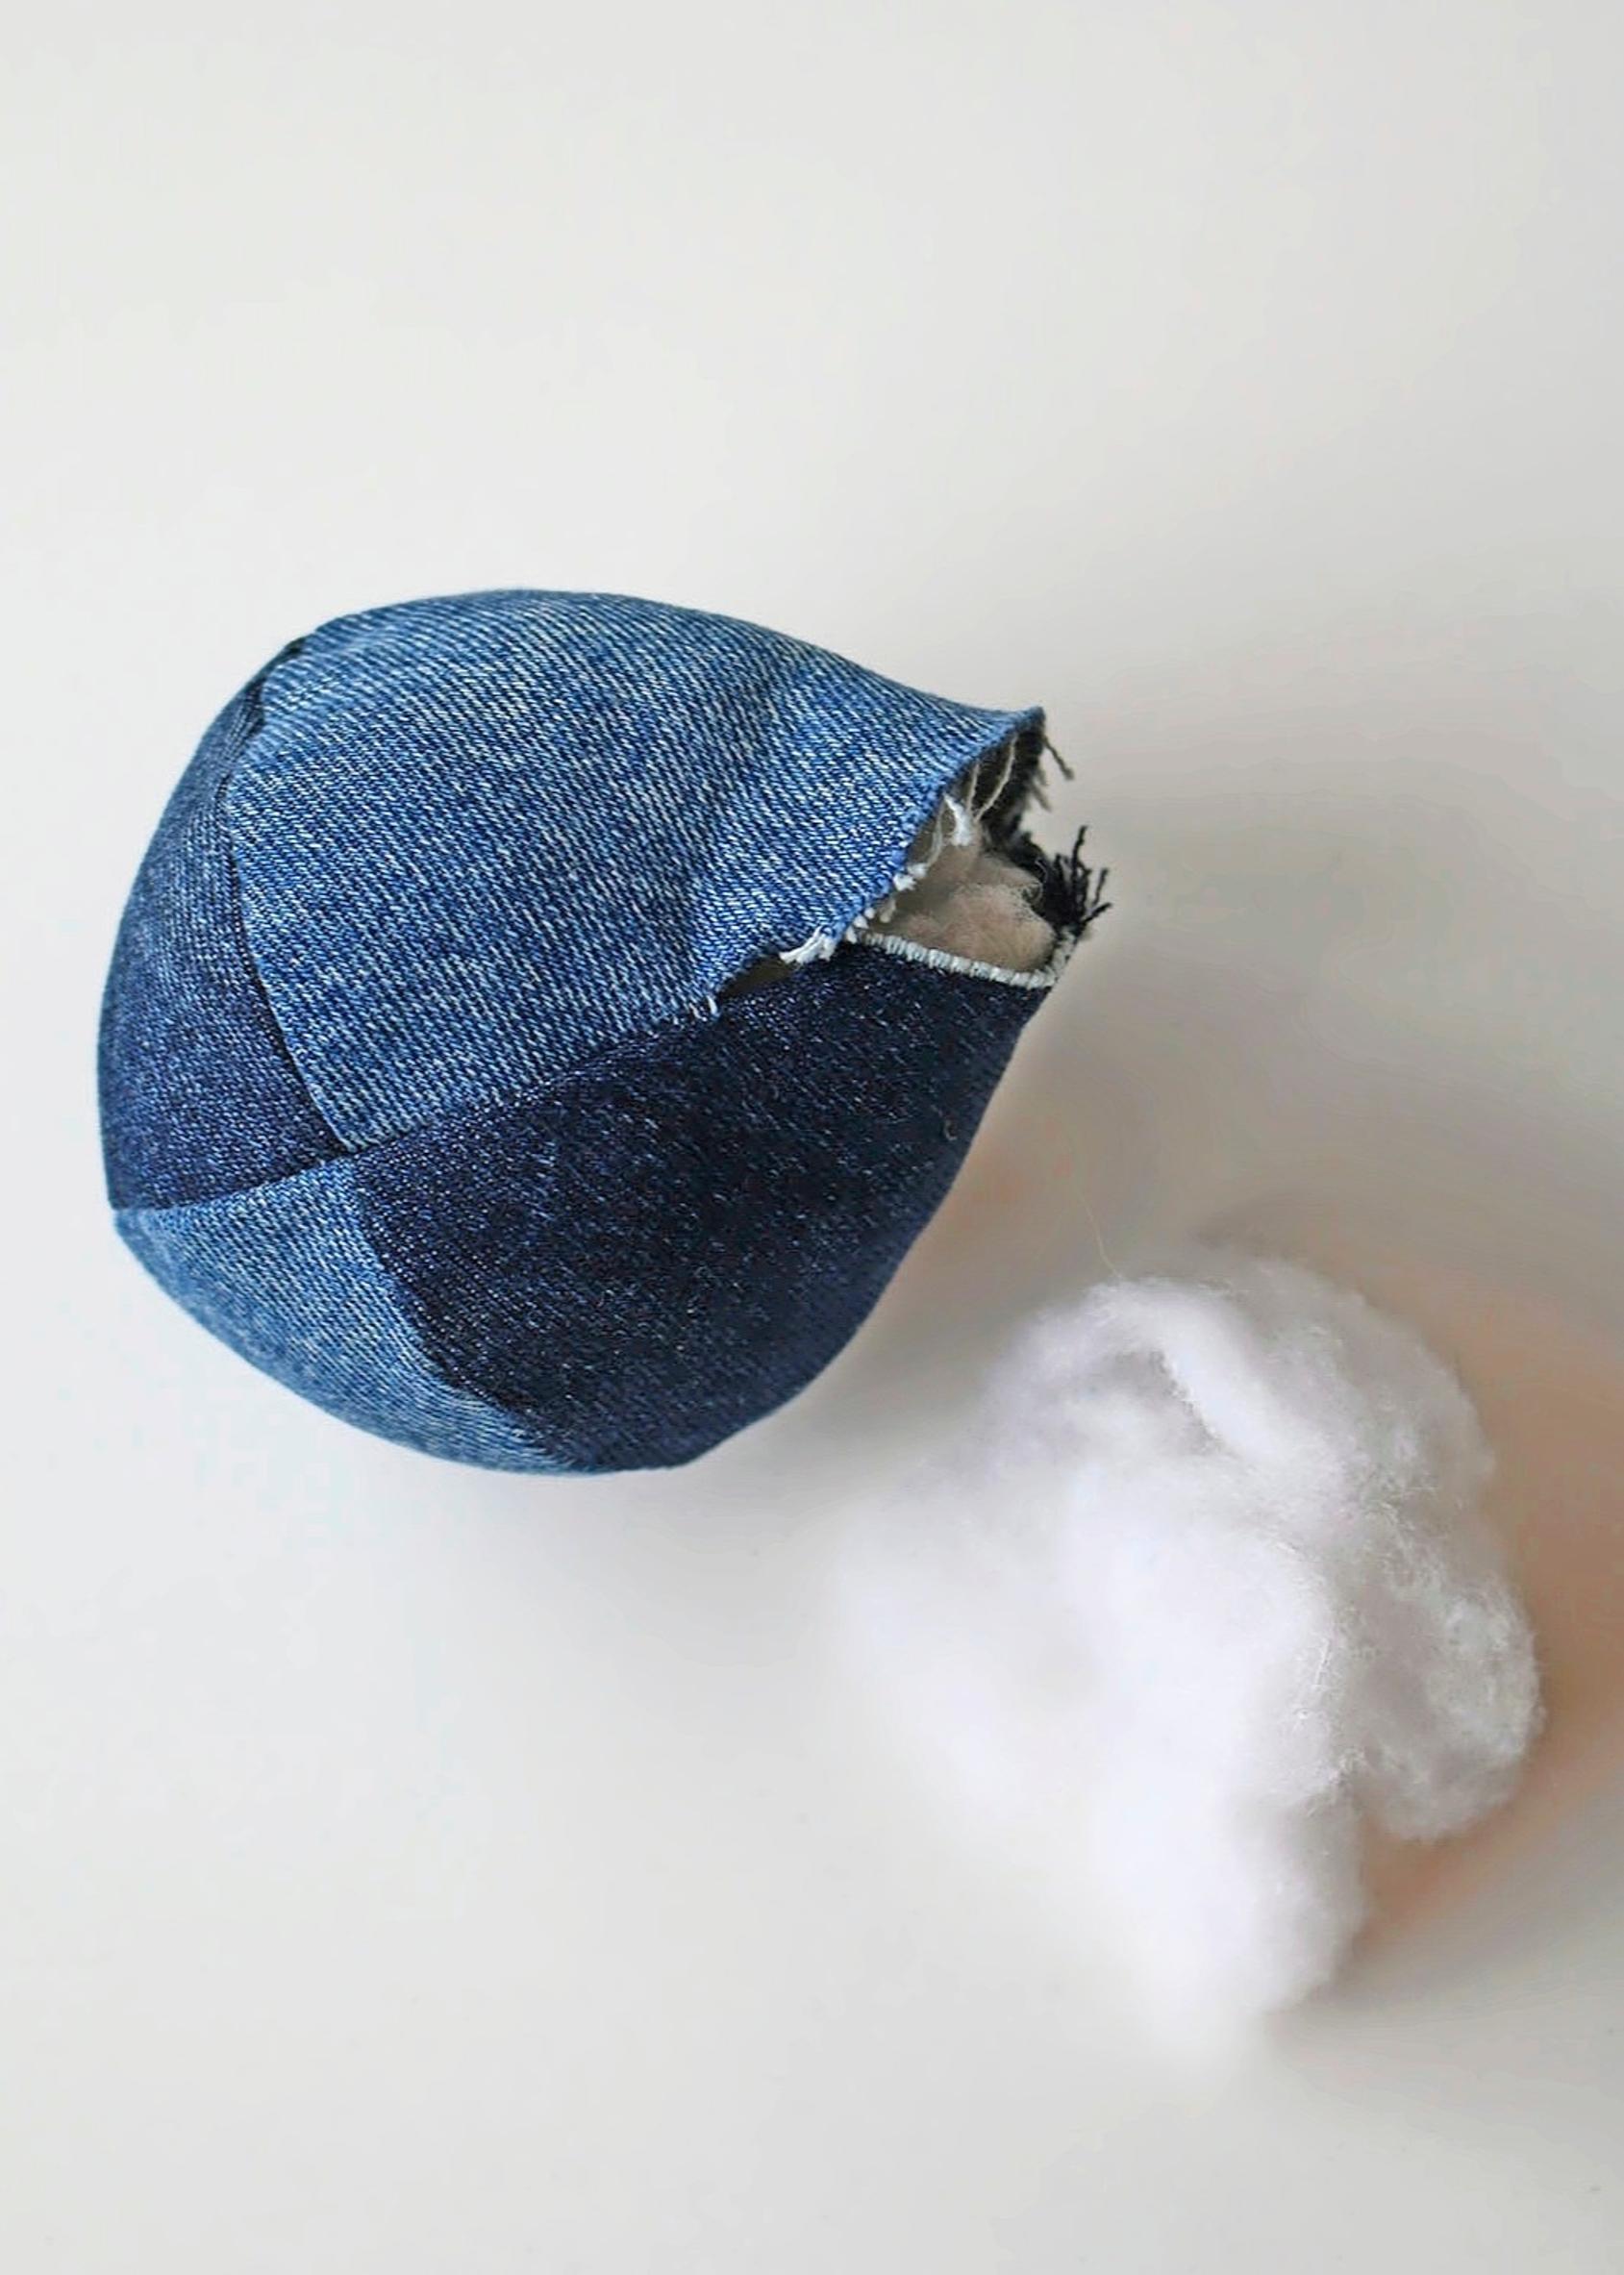
3. Turn the ball right side out, fill it with stuffing, and hand-stitch to close the opening.

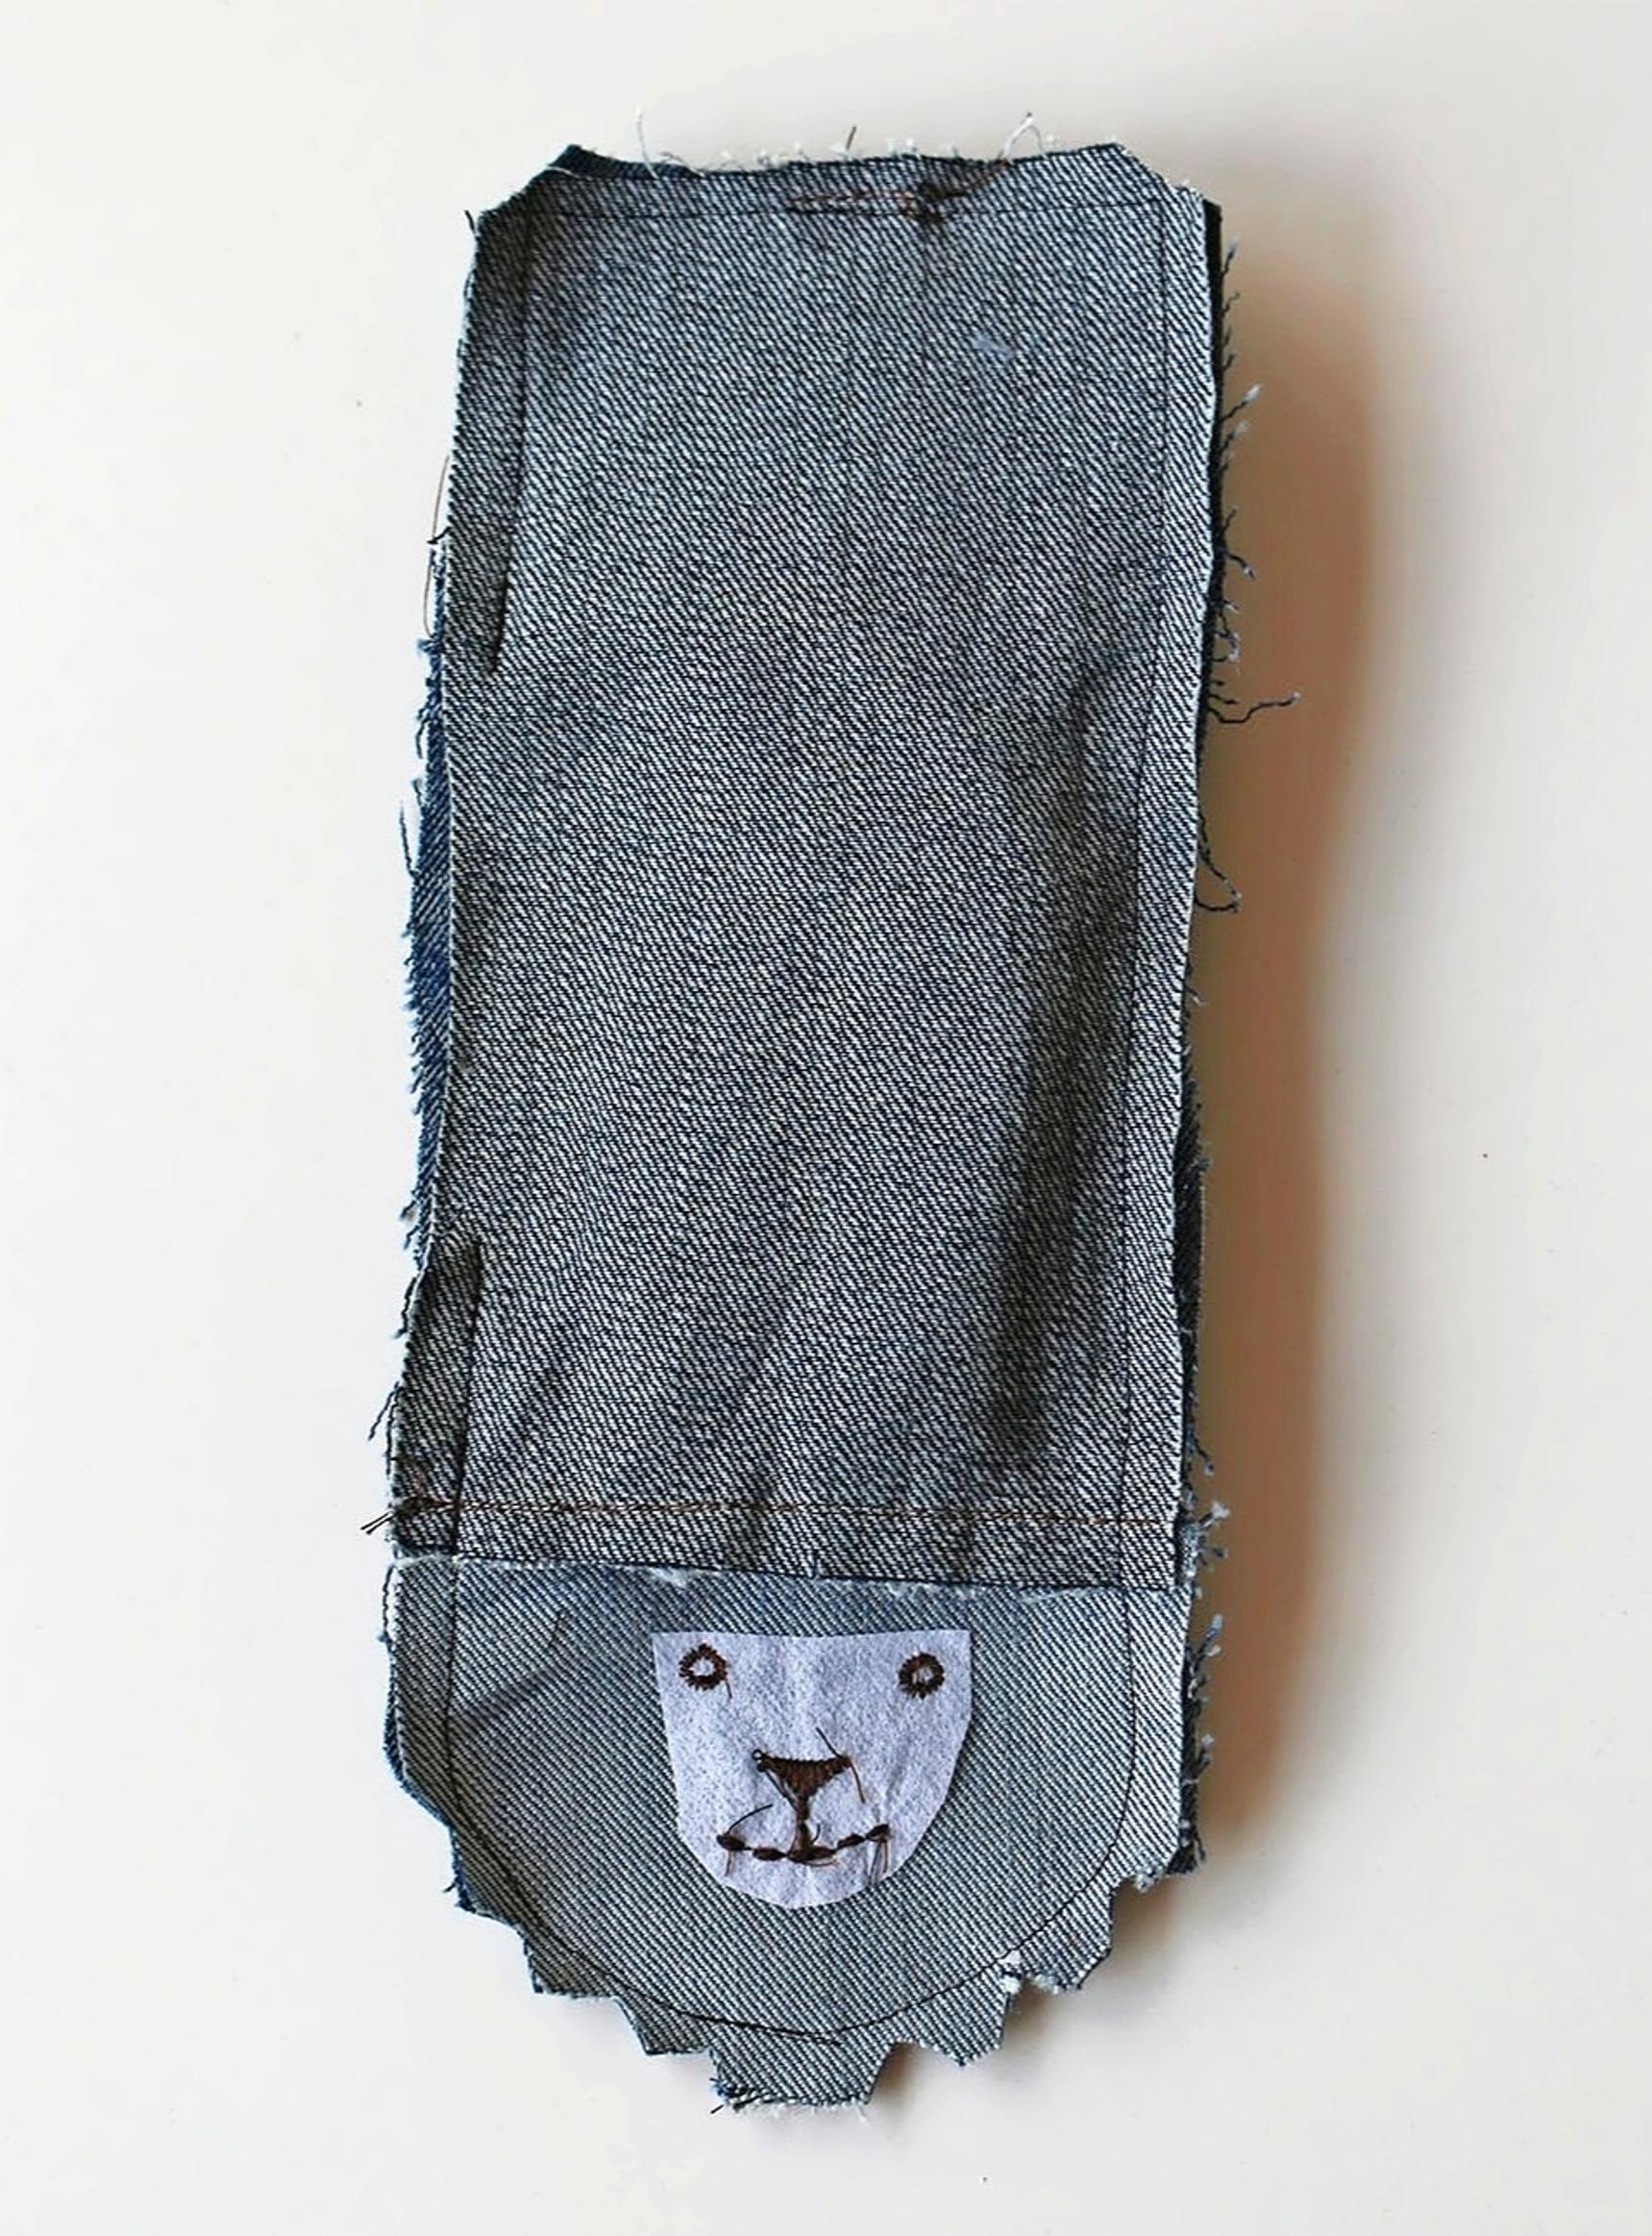
Bunny tug toy instructions:

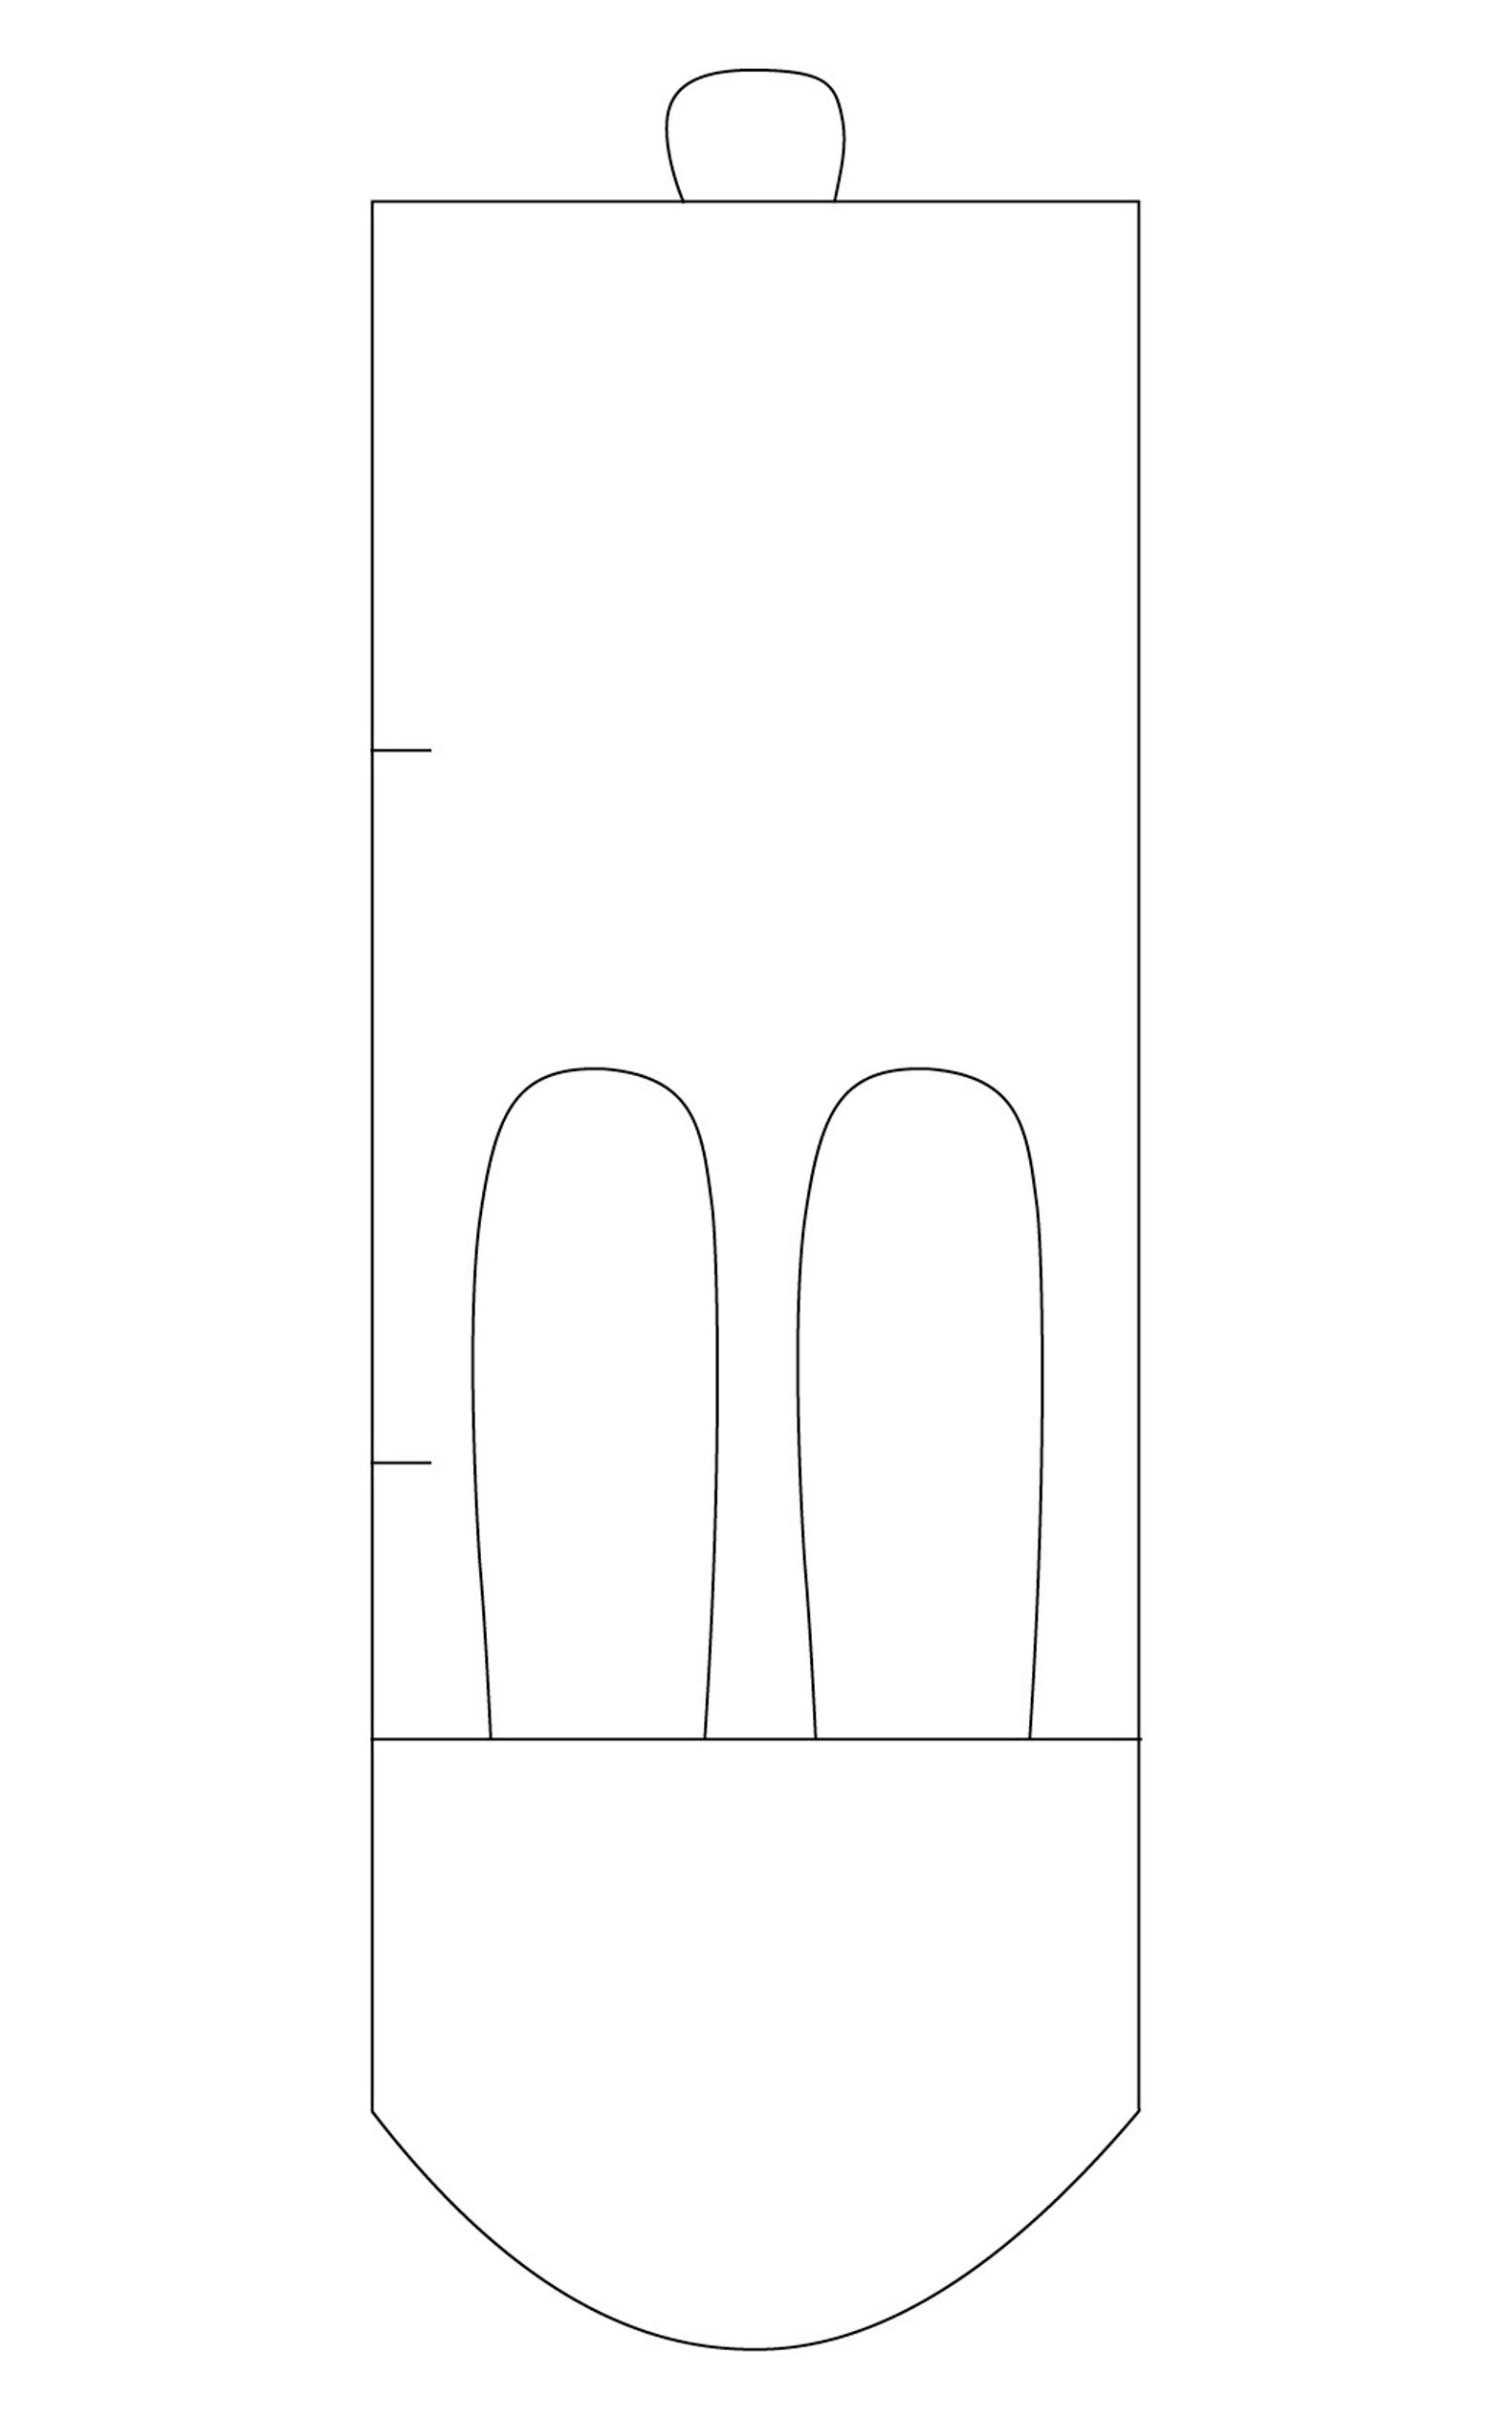
1. On your pattern paper, draw a rectangle about 9 cm × 25 cm. Mark a line for the head around 7 cm from the bottom edge. Draw the ears and tail, then round the bottom edge to form the head.

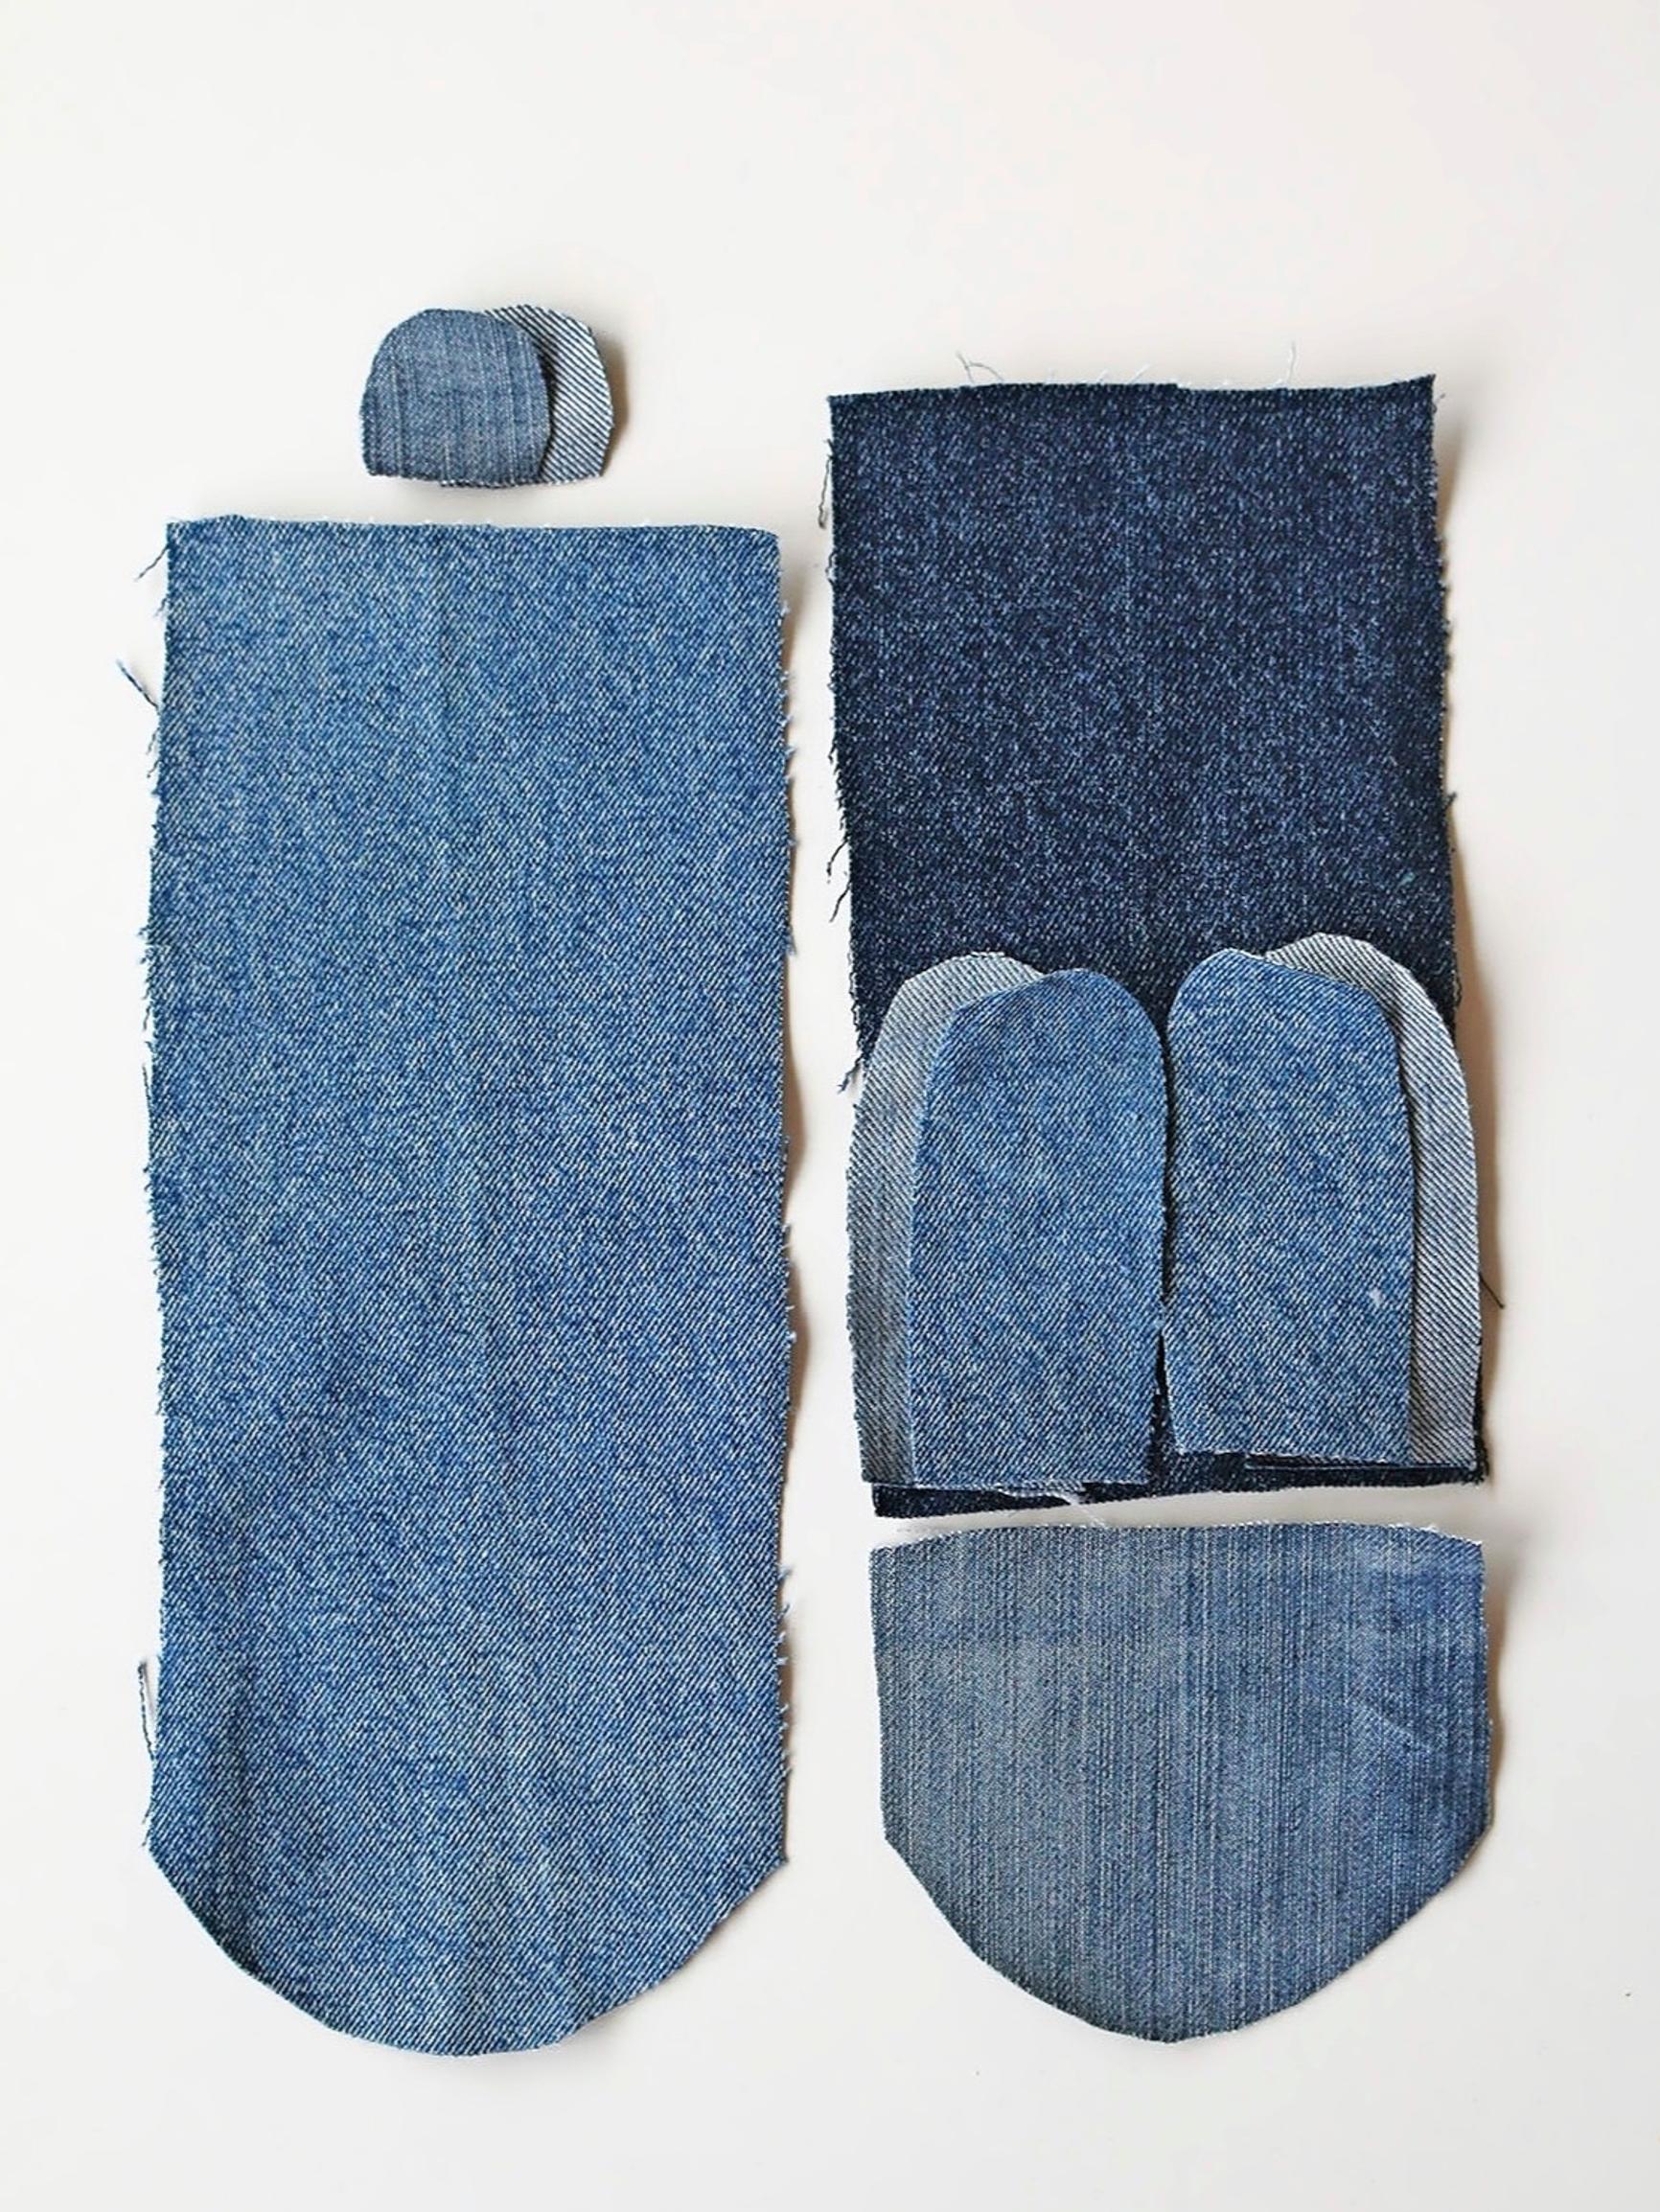
2. Trace the pattern pieces (the back piece is the entire rounded rectangle, plus the head, body, ears, and tail) onto pattern paper. Add 0.7 cm seam allowances, then cut from your denim scraps: 1 back piece, 1 head, 1 body, 4 ears, and 2 tails.
3. Use a fabric marker to draw the bunny’s face, or stitch it onto the head piece with different types of machine stitches.
4. Sew the bunny’s ears and tail. Place the ears right sides together, stitch along their length, trim the seam allowances, and turn them right side out—using a pencil if needed. Sew the tail in the same way.
5. If you like, fold a small pleat on the outer fabric of the ears and pin them to the body piece. Pin the tail to the piece as well. Baste everything in place. Then sew the head to extend the body.

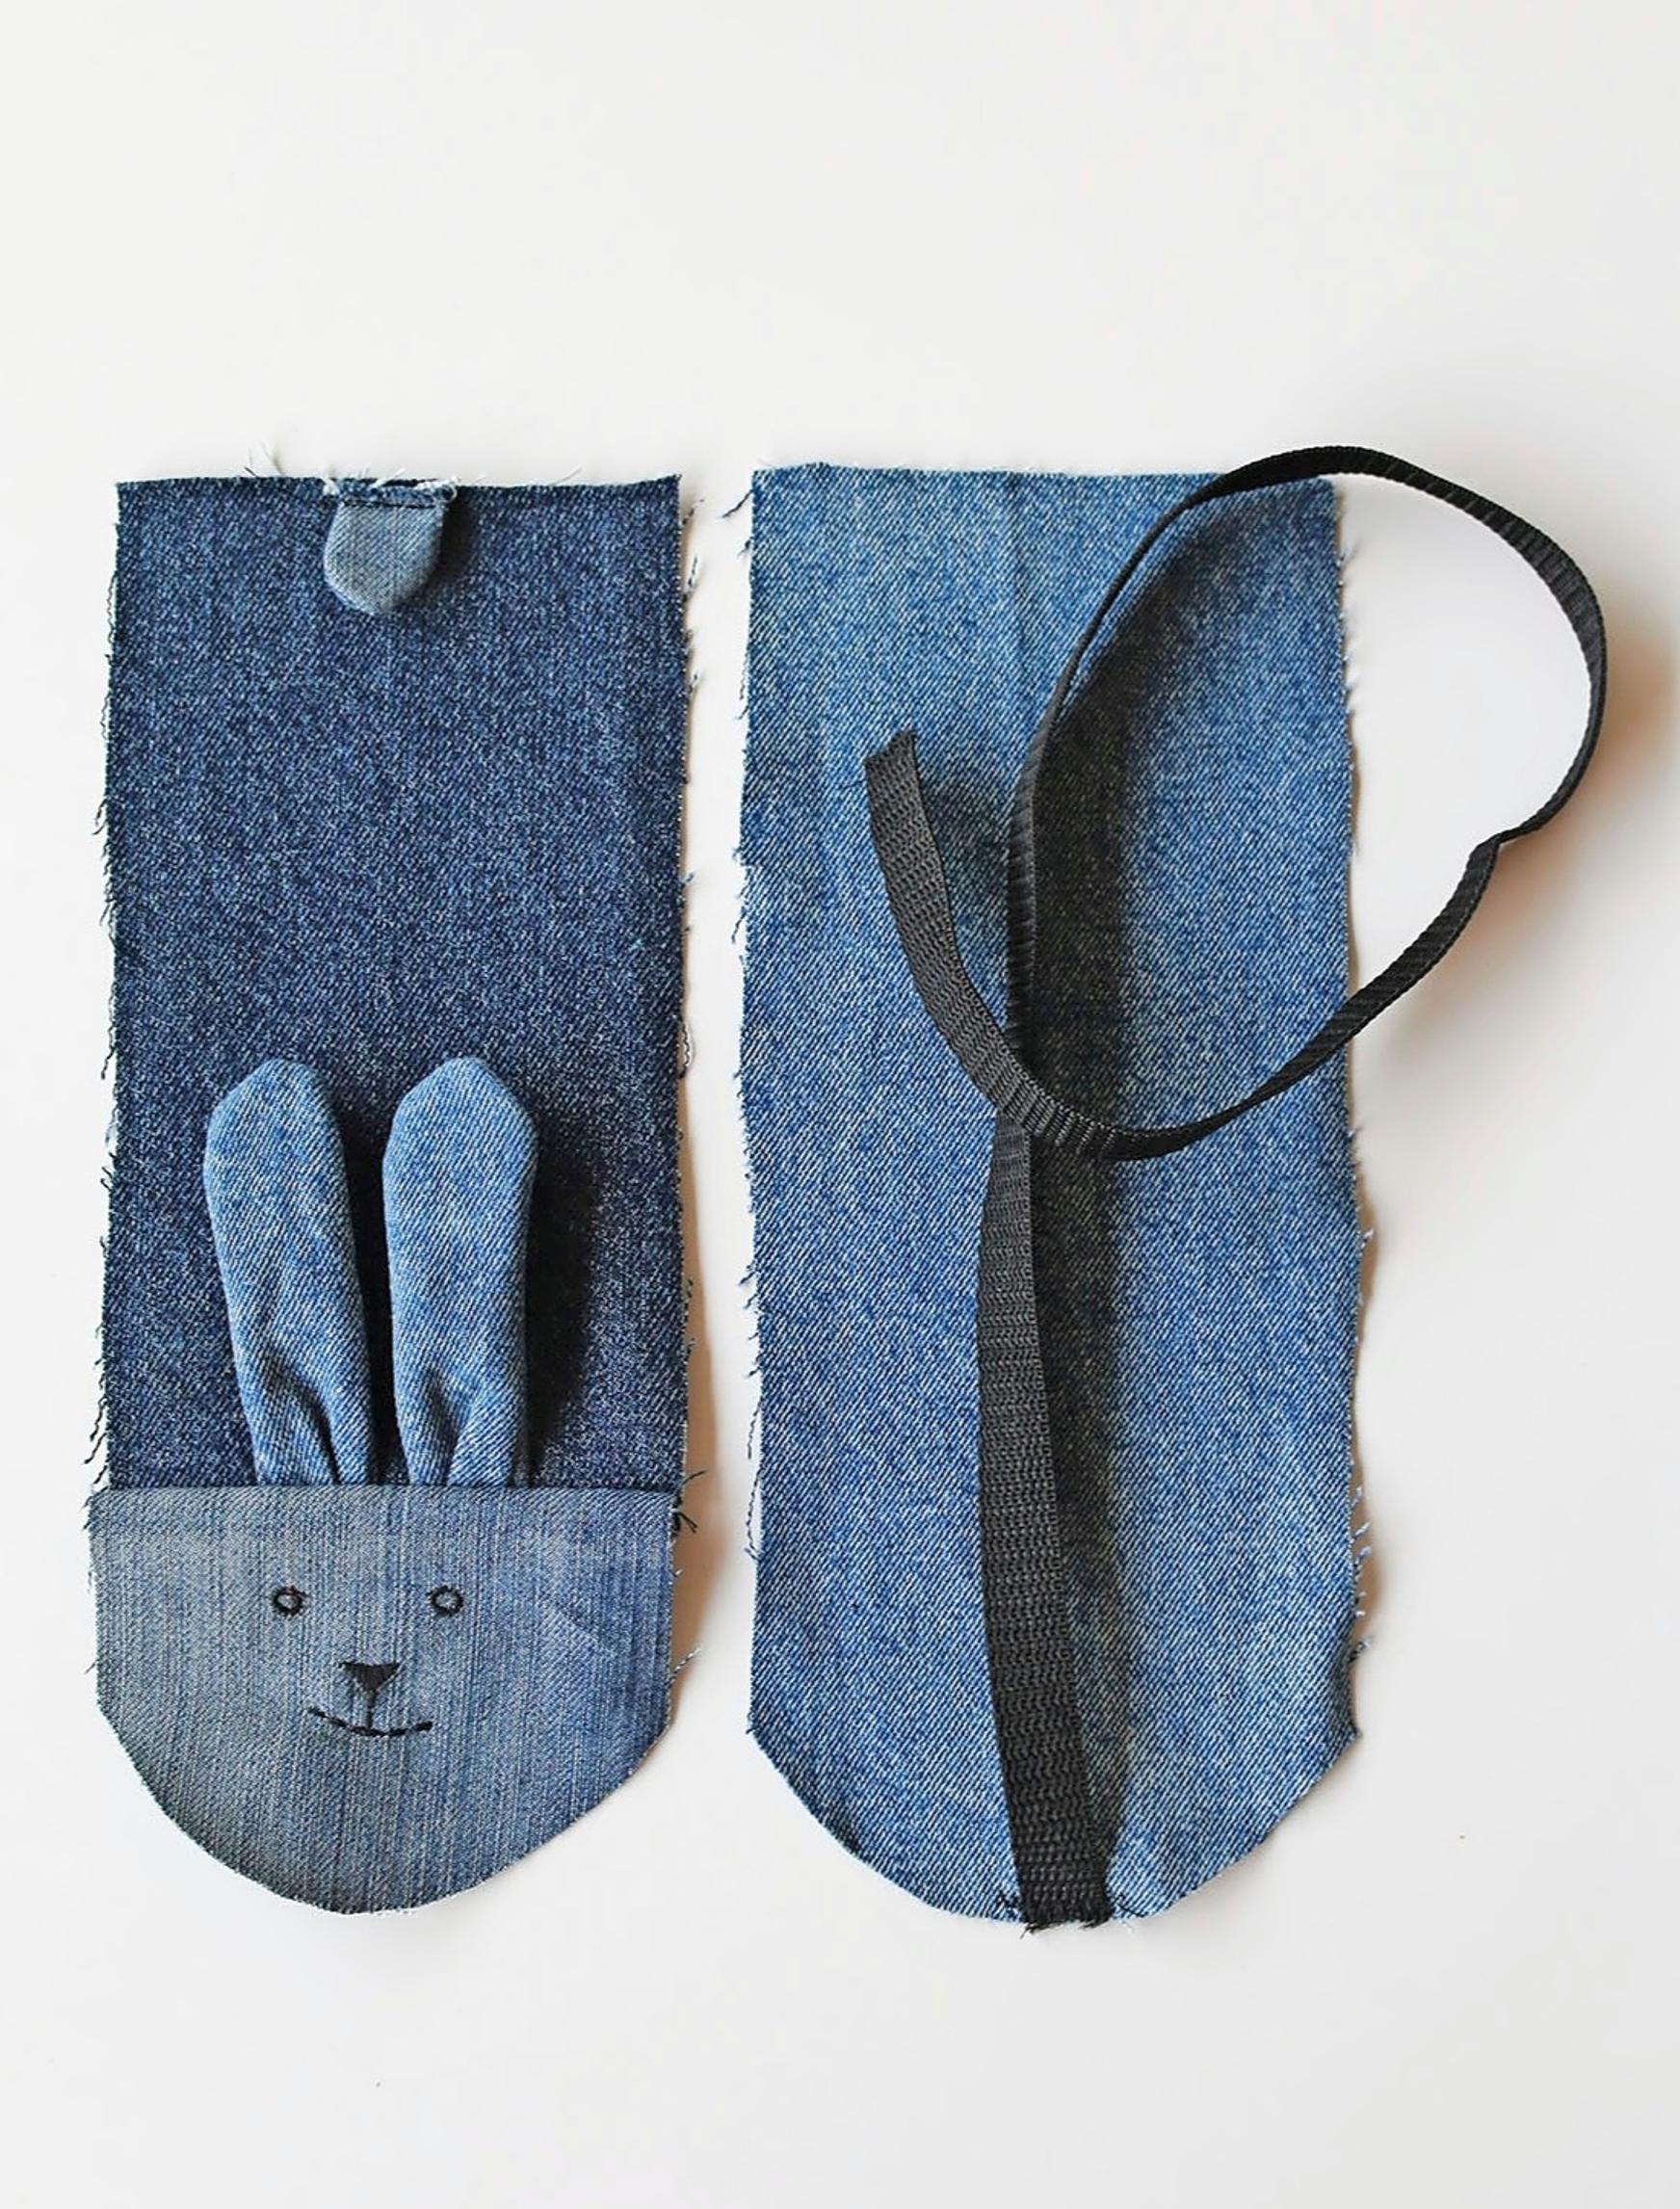
6. Zigzag stitch the strap ends so they don’t unravel. Baste one end of the strap to the back piece and stitch it back and forth a few times for extra strength.

7. Place front and back pieces of the bunny’s right sides together, making sure the strap and tail are inside. Pin and sew them together, leaving an opening for turning on one side (as marked on the pattern). Trim the corners and cut small notches around the head (avoid the strap’s attachment point) so the curved edge will turn neatly.
8. Turn the bunny right side out, stuff it, and close the turning opening.
9. Sew a loop at the other end of the strap. If necessary, adjust the length and sew it firmly in place.
Tip!
Adjust the tug toy pattern to suit your dog and, if needed, use a wider strap. If your pup loves vigorous tug games, consider stitching the strap onto the back piece on the right side—possibly along the entire length of the toy. Keep this in mind when measuring the strap.