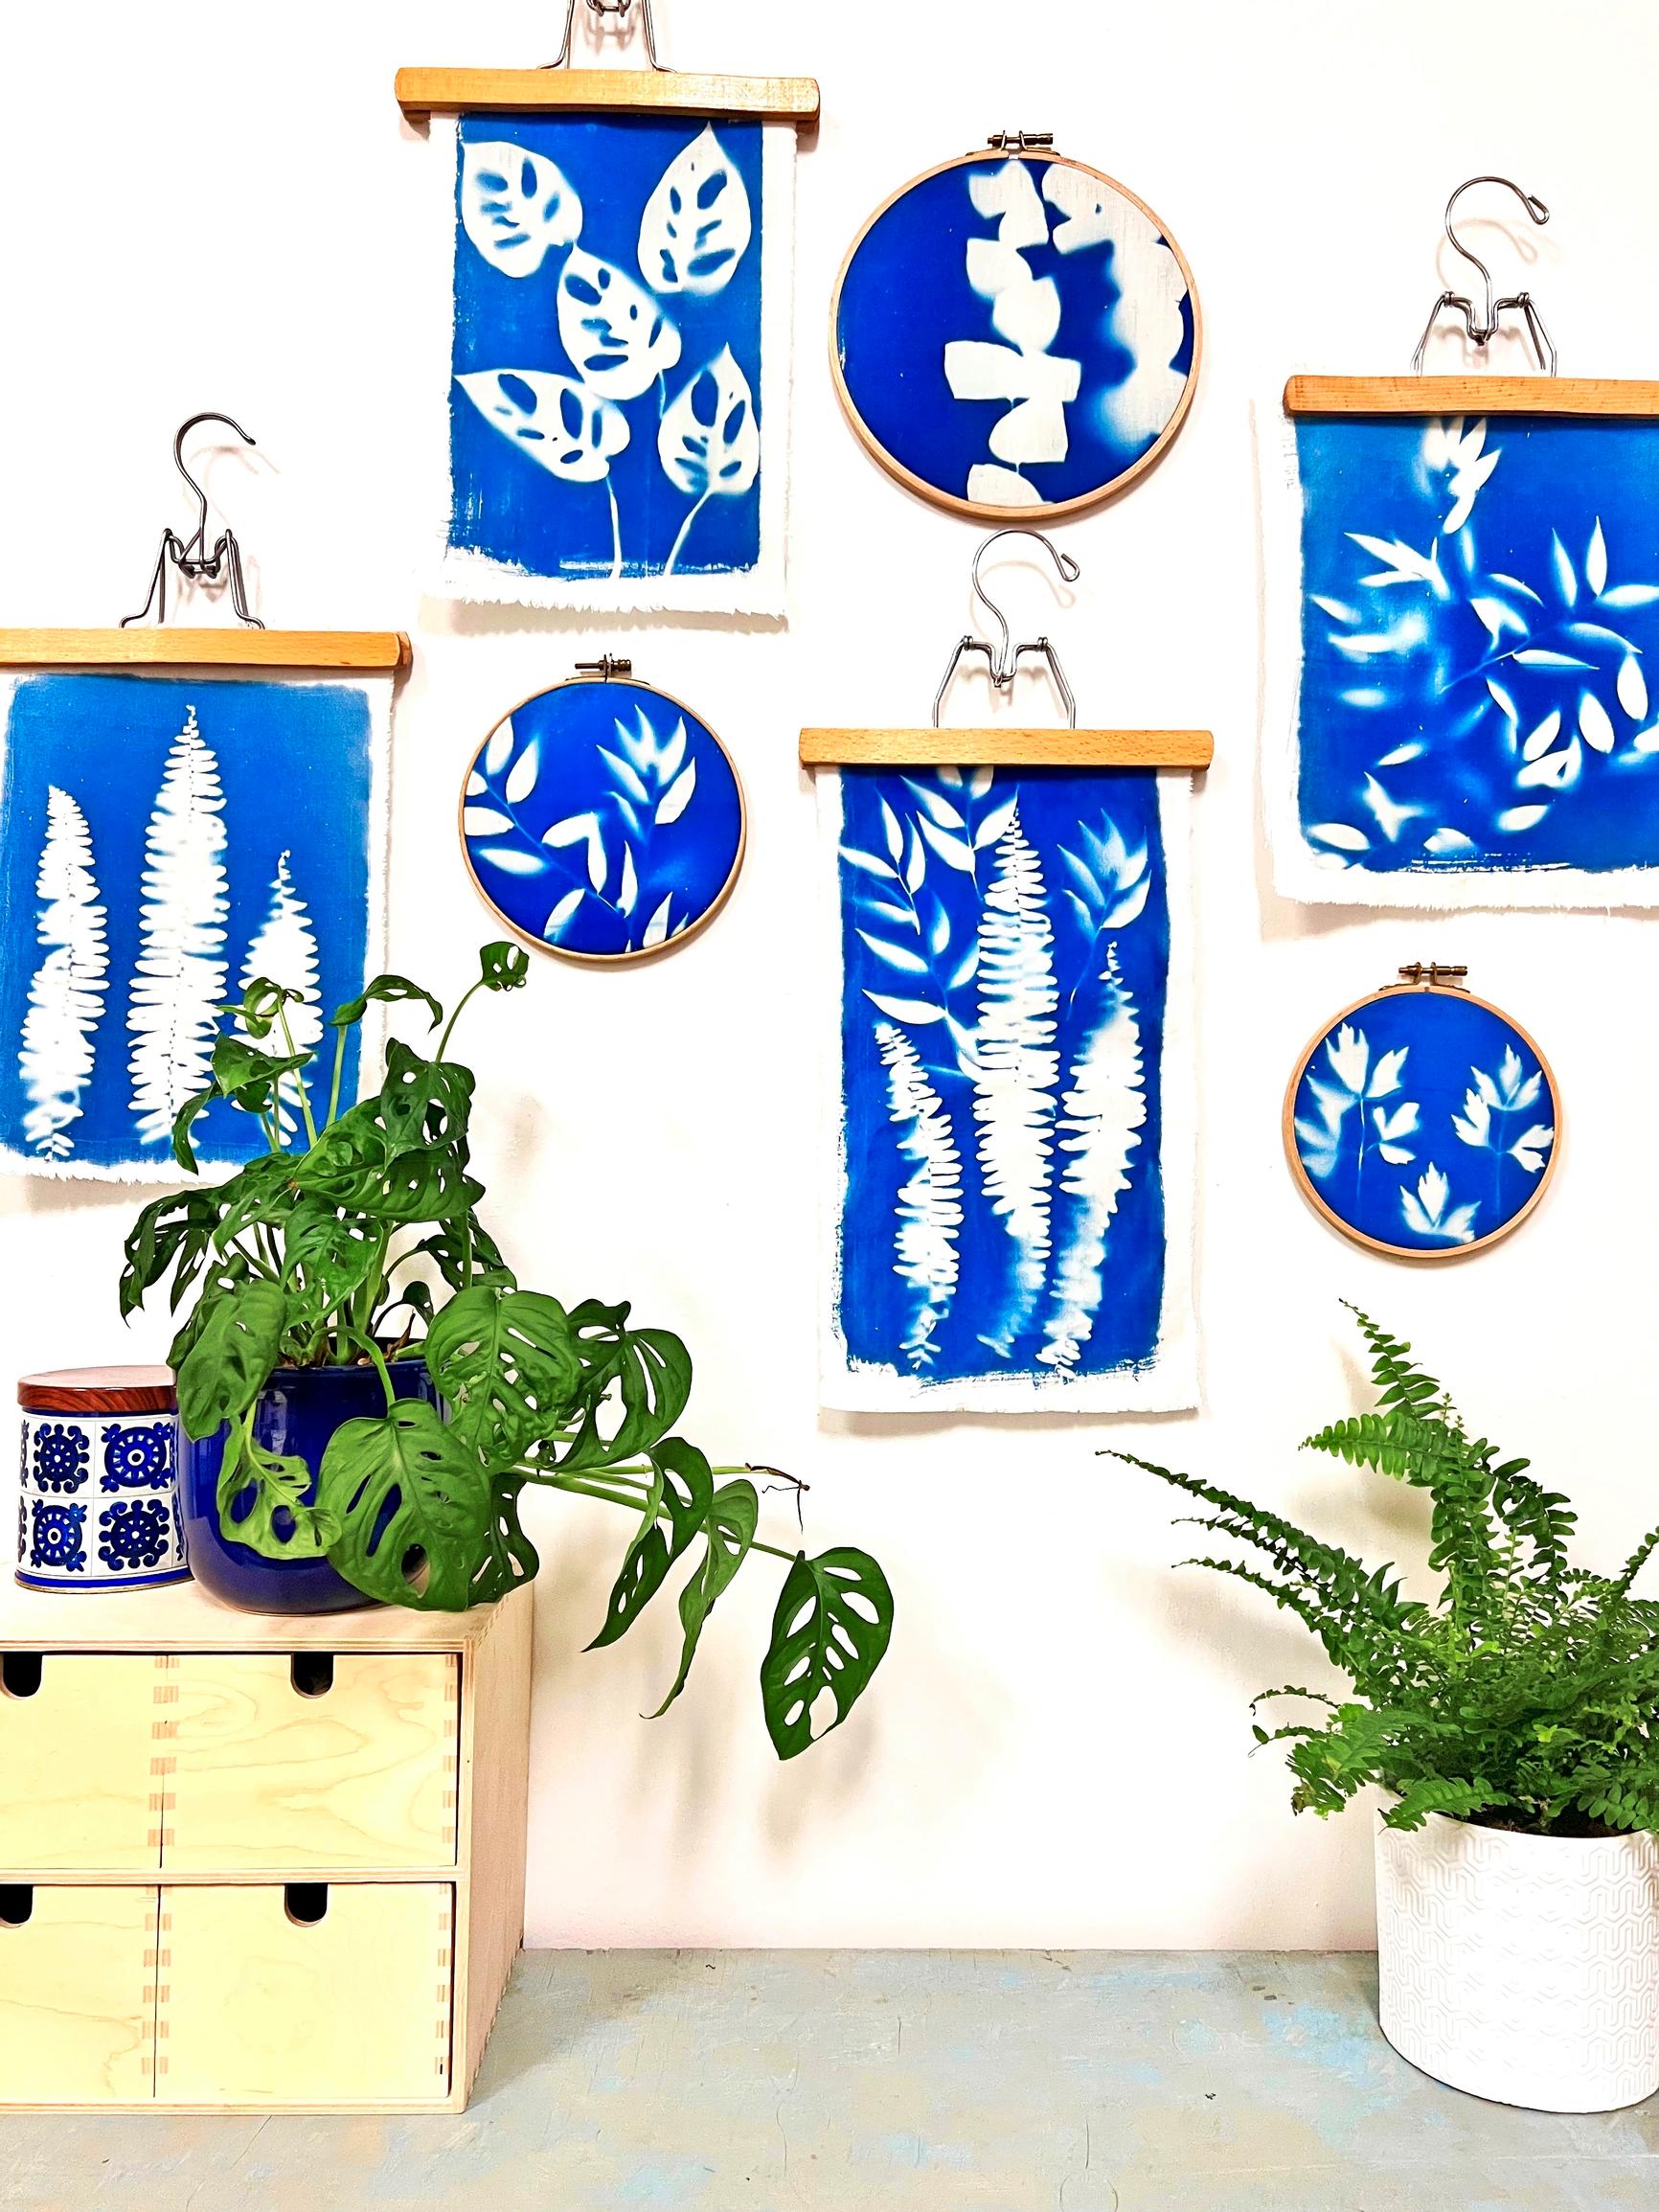
Create stunning cyanotype art in the sun—here’s how to do it
Cyanotype is a printing method in which iron salts are exposed to light, resulting in a bold shade of blue. The areas that do not receive light remain colorless. Pick a sunny day for exposure, and you’ll see results in no time!
Cyanotype was developed in the 19th century as a way to make images and copy shapes. The exposure process uses two powdered sensitizers: ammonium ferric citrate and potassium ferricyanide. They are first dissolved in water and then mixed together as liquids. Once prepared, the combined developer solution only remains usable for about one day, so it cannot be stored. You can sensitize the paper or fabric you want to use the day before and let it dry in complete darkness overnight. In the summer, you might even need a double layer of black plastic to protect it.
Cyanotype tutorial—supplies:
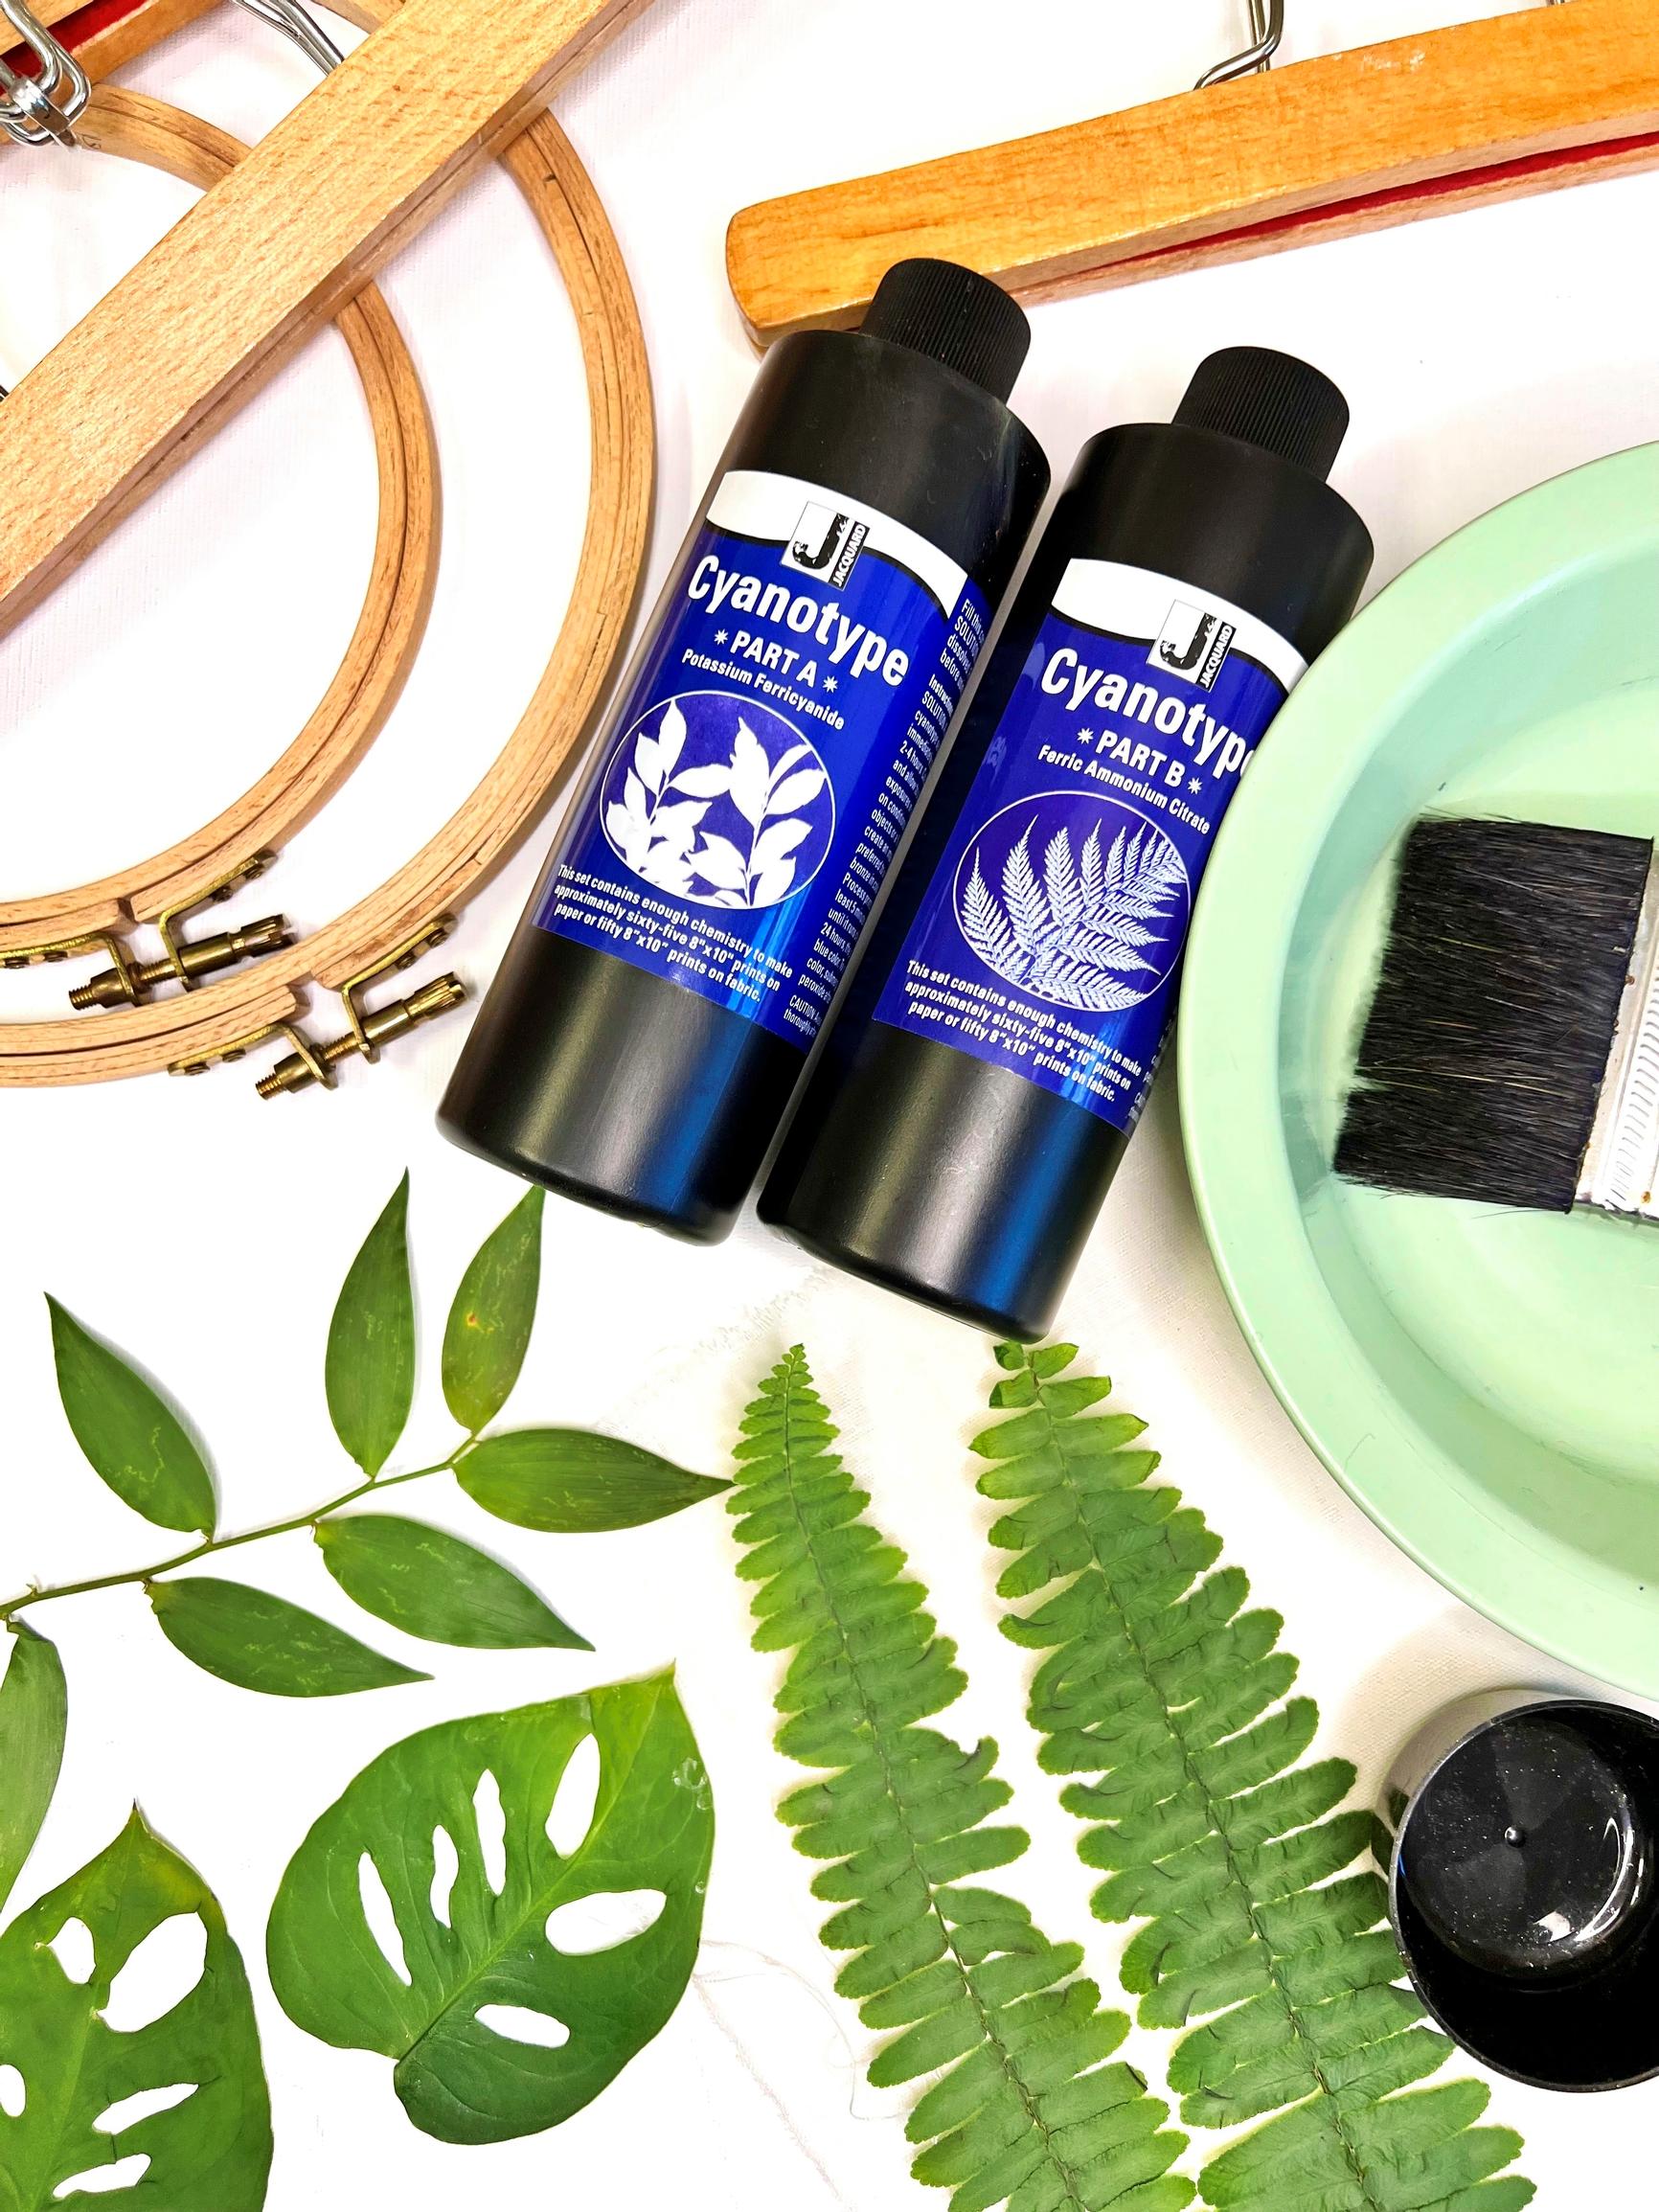
- A cyanotype set, i.e., bottles of sensitizer
- Cotton fabric (or watercolor paper, if preferred)
- Pressed plants for exposure
- A UV lamp or sunlight
- A brush
- A poster hanger, pants hanger, or embroidery hoop.

Cyanotype tutorial—instructions:
1. Fill the chemical bottles with water according to the instructions, shake them well, and let them sit for about a day if possible.
2. Tear the cotton fabric into suitably sized pieces. Tearing creates beautiful edges.
3. Pour 0.5 dl of solution from each bottle into a container (about 1.7 fl oz), and mix them together. This amount is enough to treat about ten pieces of A4-size fabric (about 21 × 29.7 cm or 8.3 × 11.7 in). The mixed solution does not keep well, so avoid combining all the contents of the bottles at once.

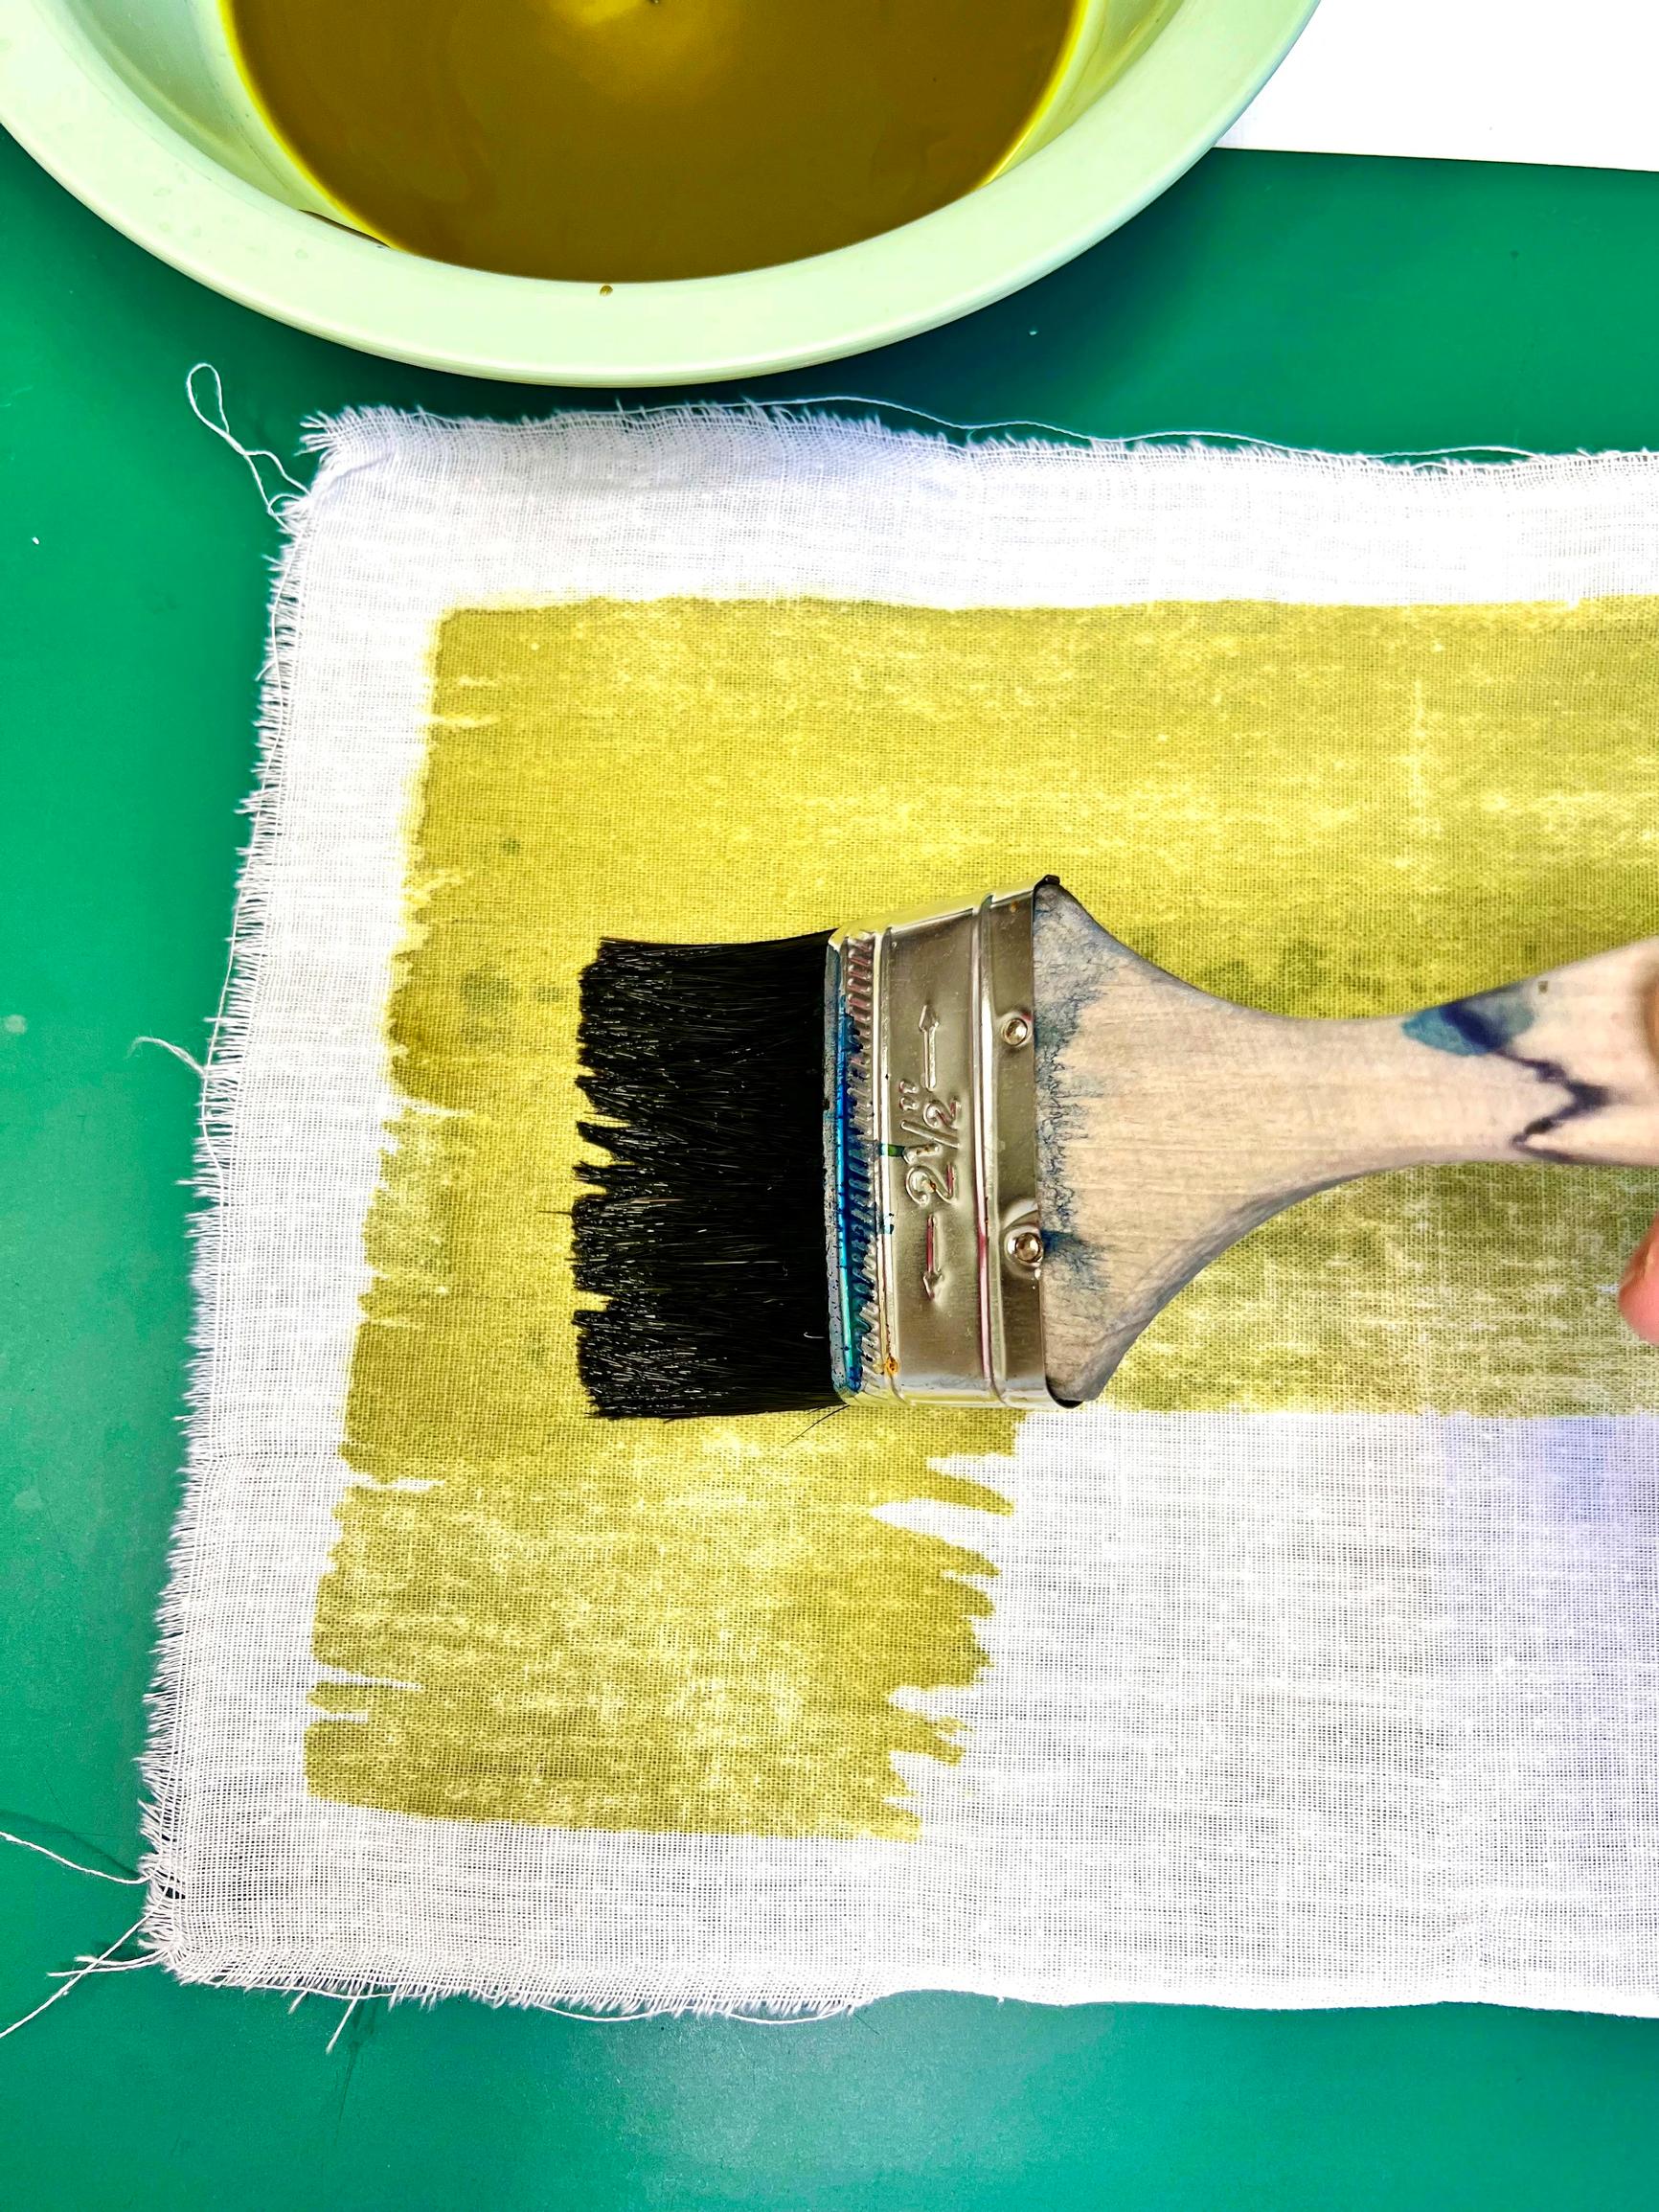
4. In a dimly lit room, brush the fabric with the solution and move it to a dark place to dry.

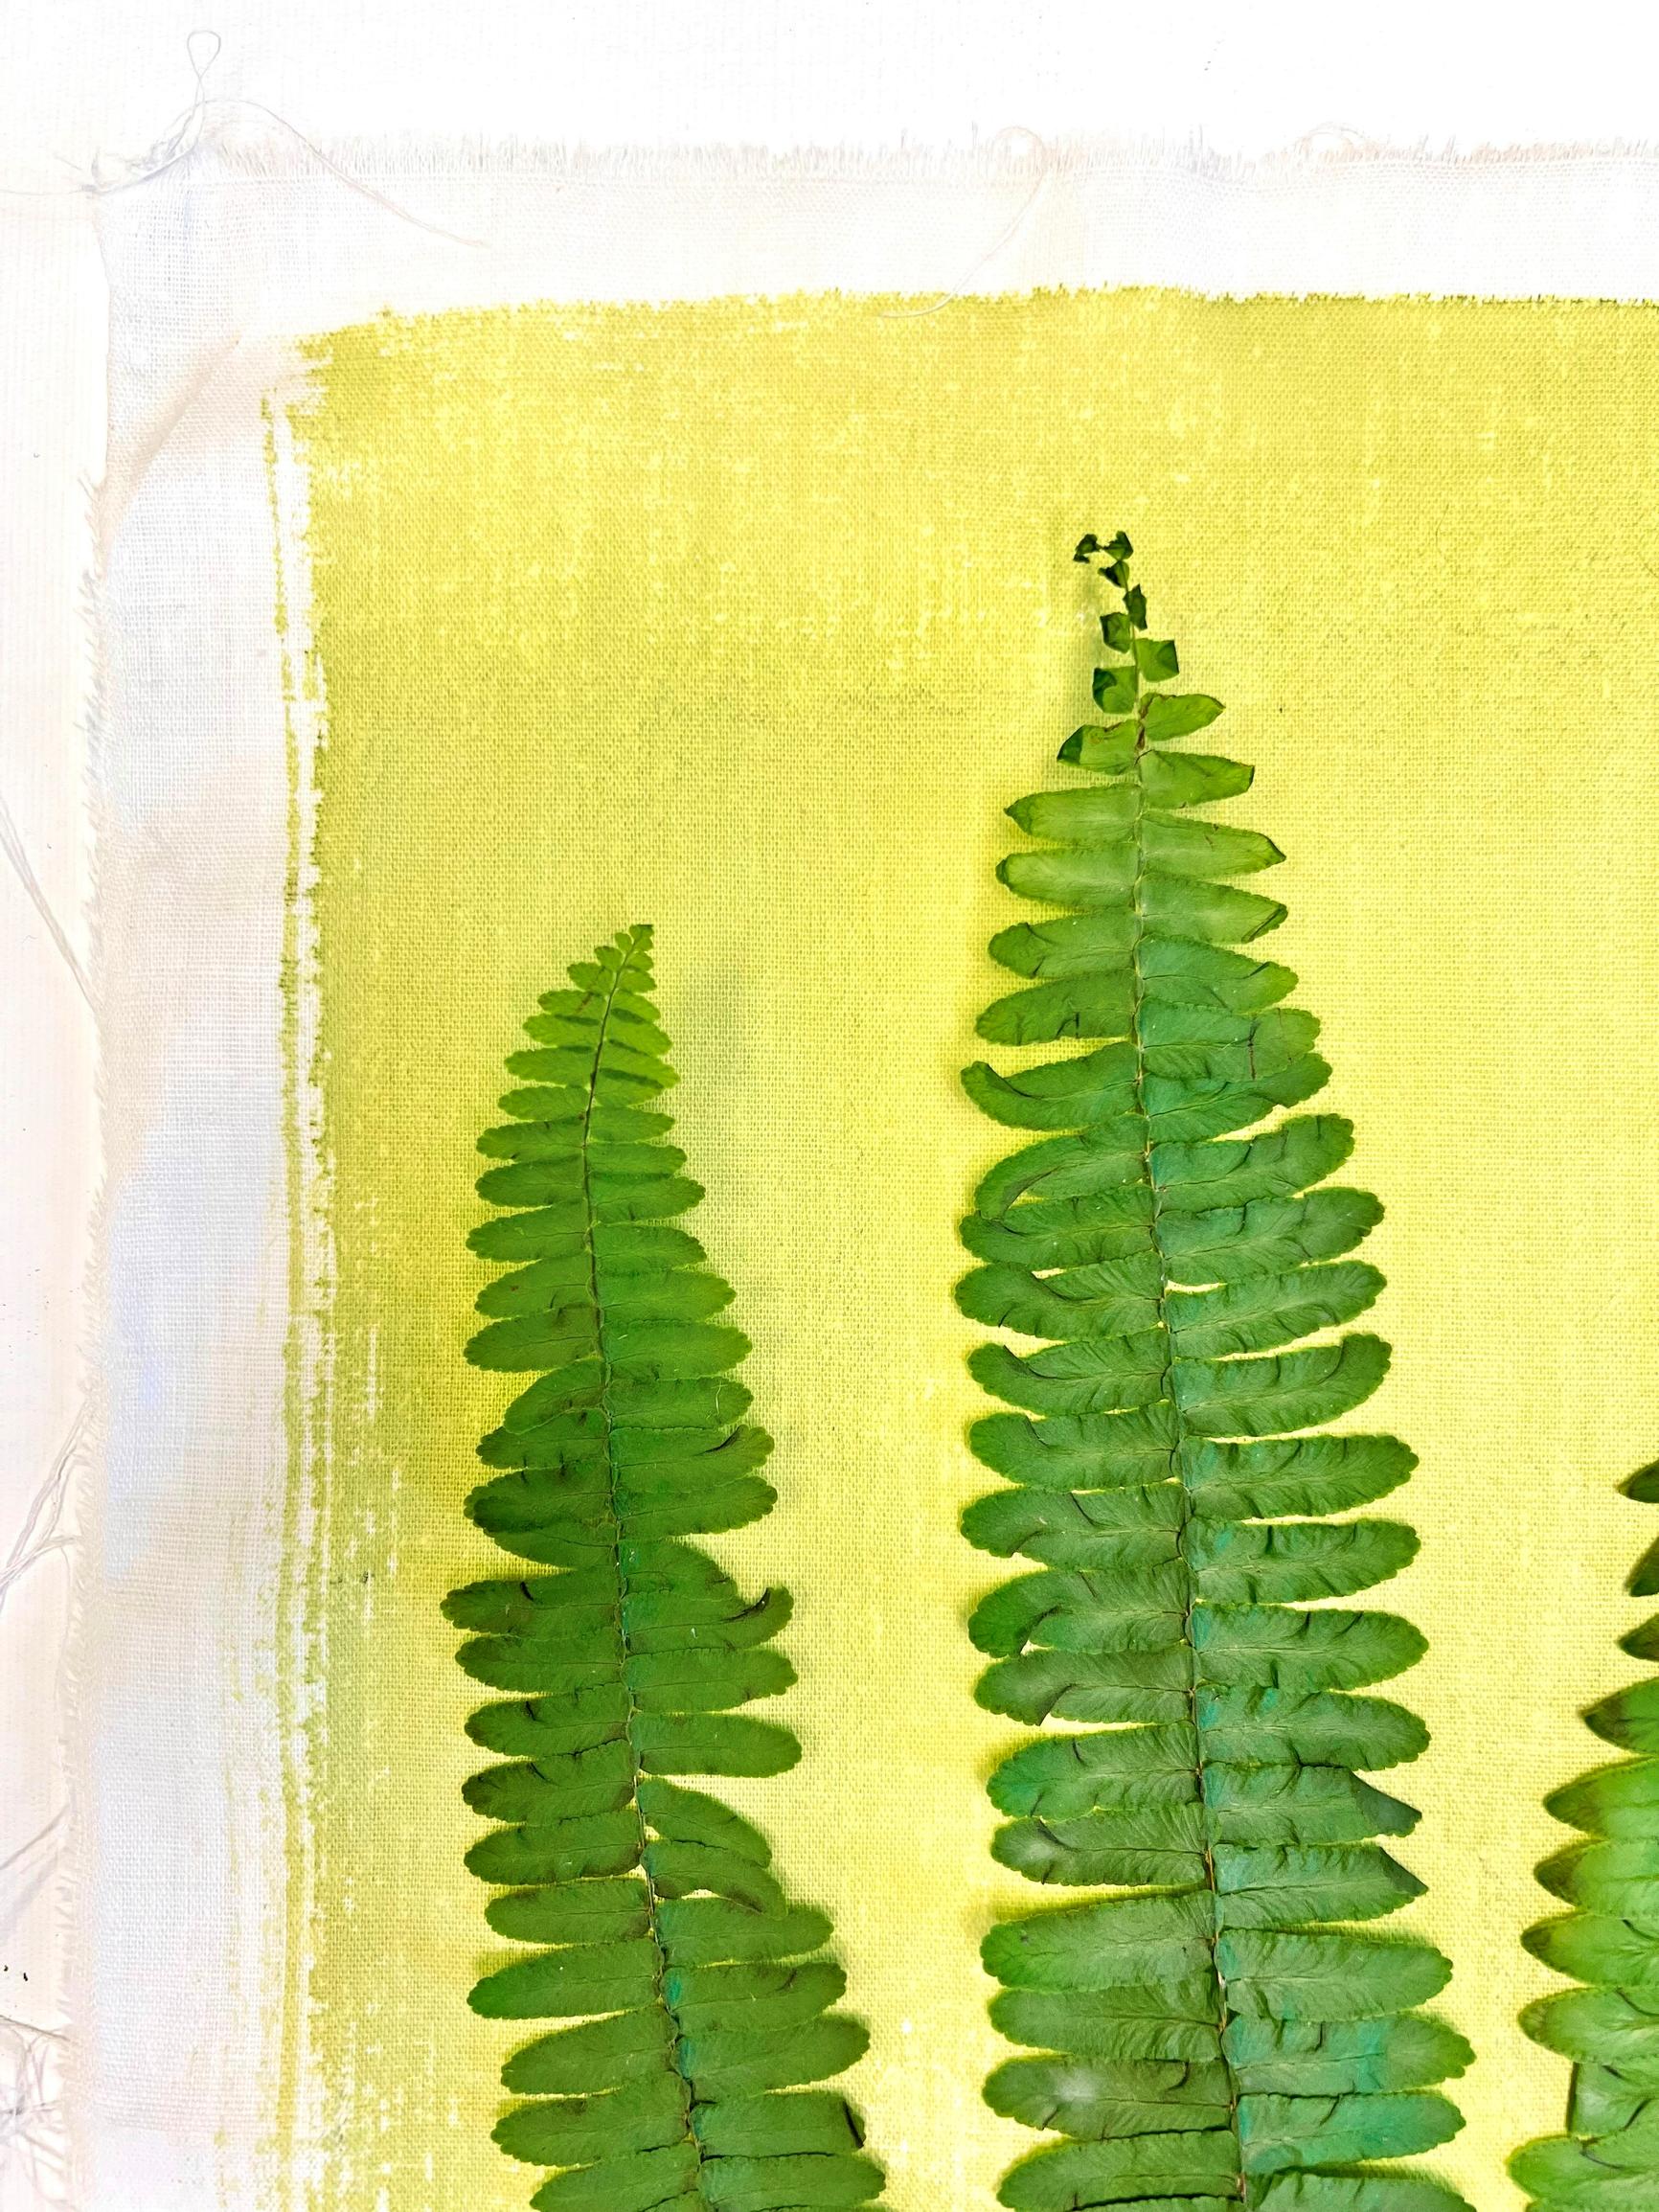
5. Once the fabric has dried, arrange the plants on it however you like, and place it in sunlight to expose. You can also use a UV lamp. Exposure takes anywhere from five minutes to a few hours.

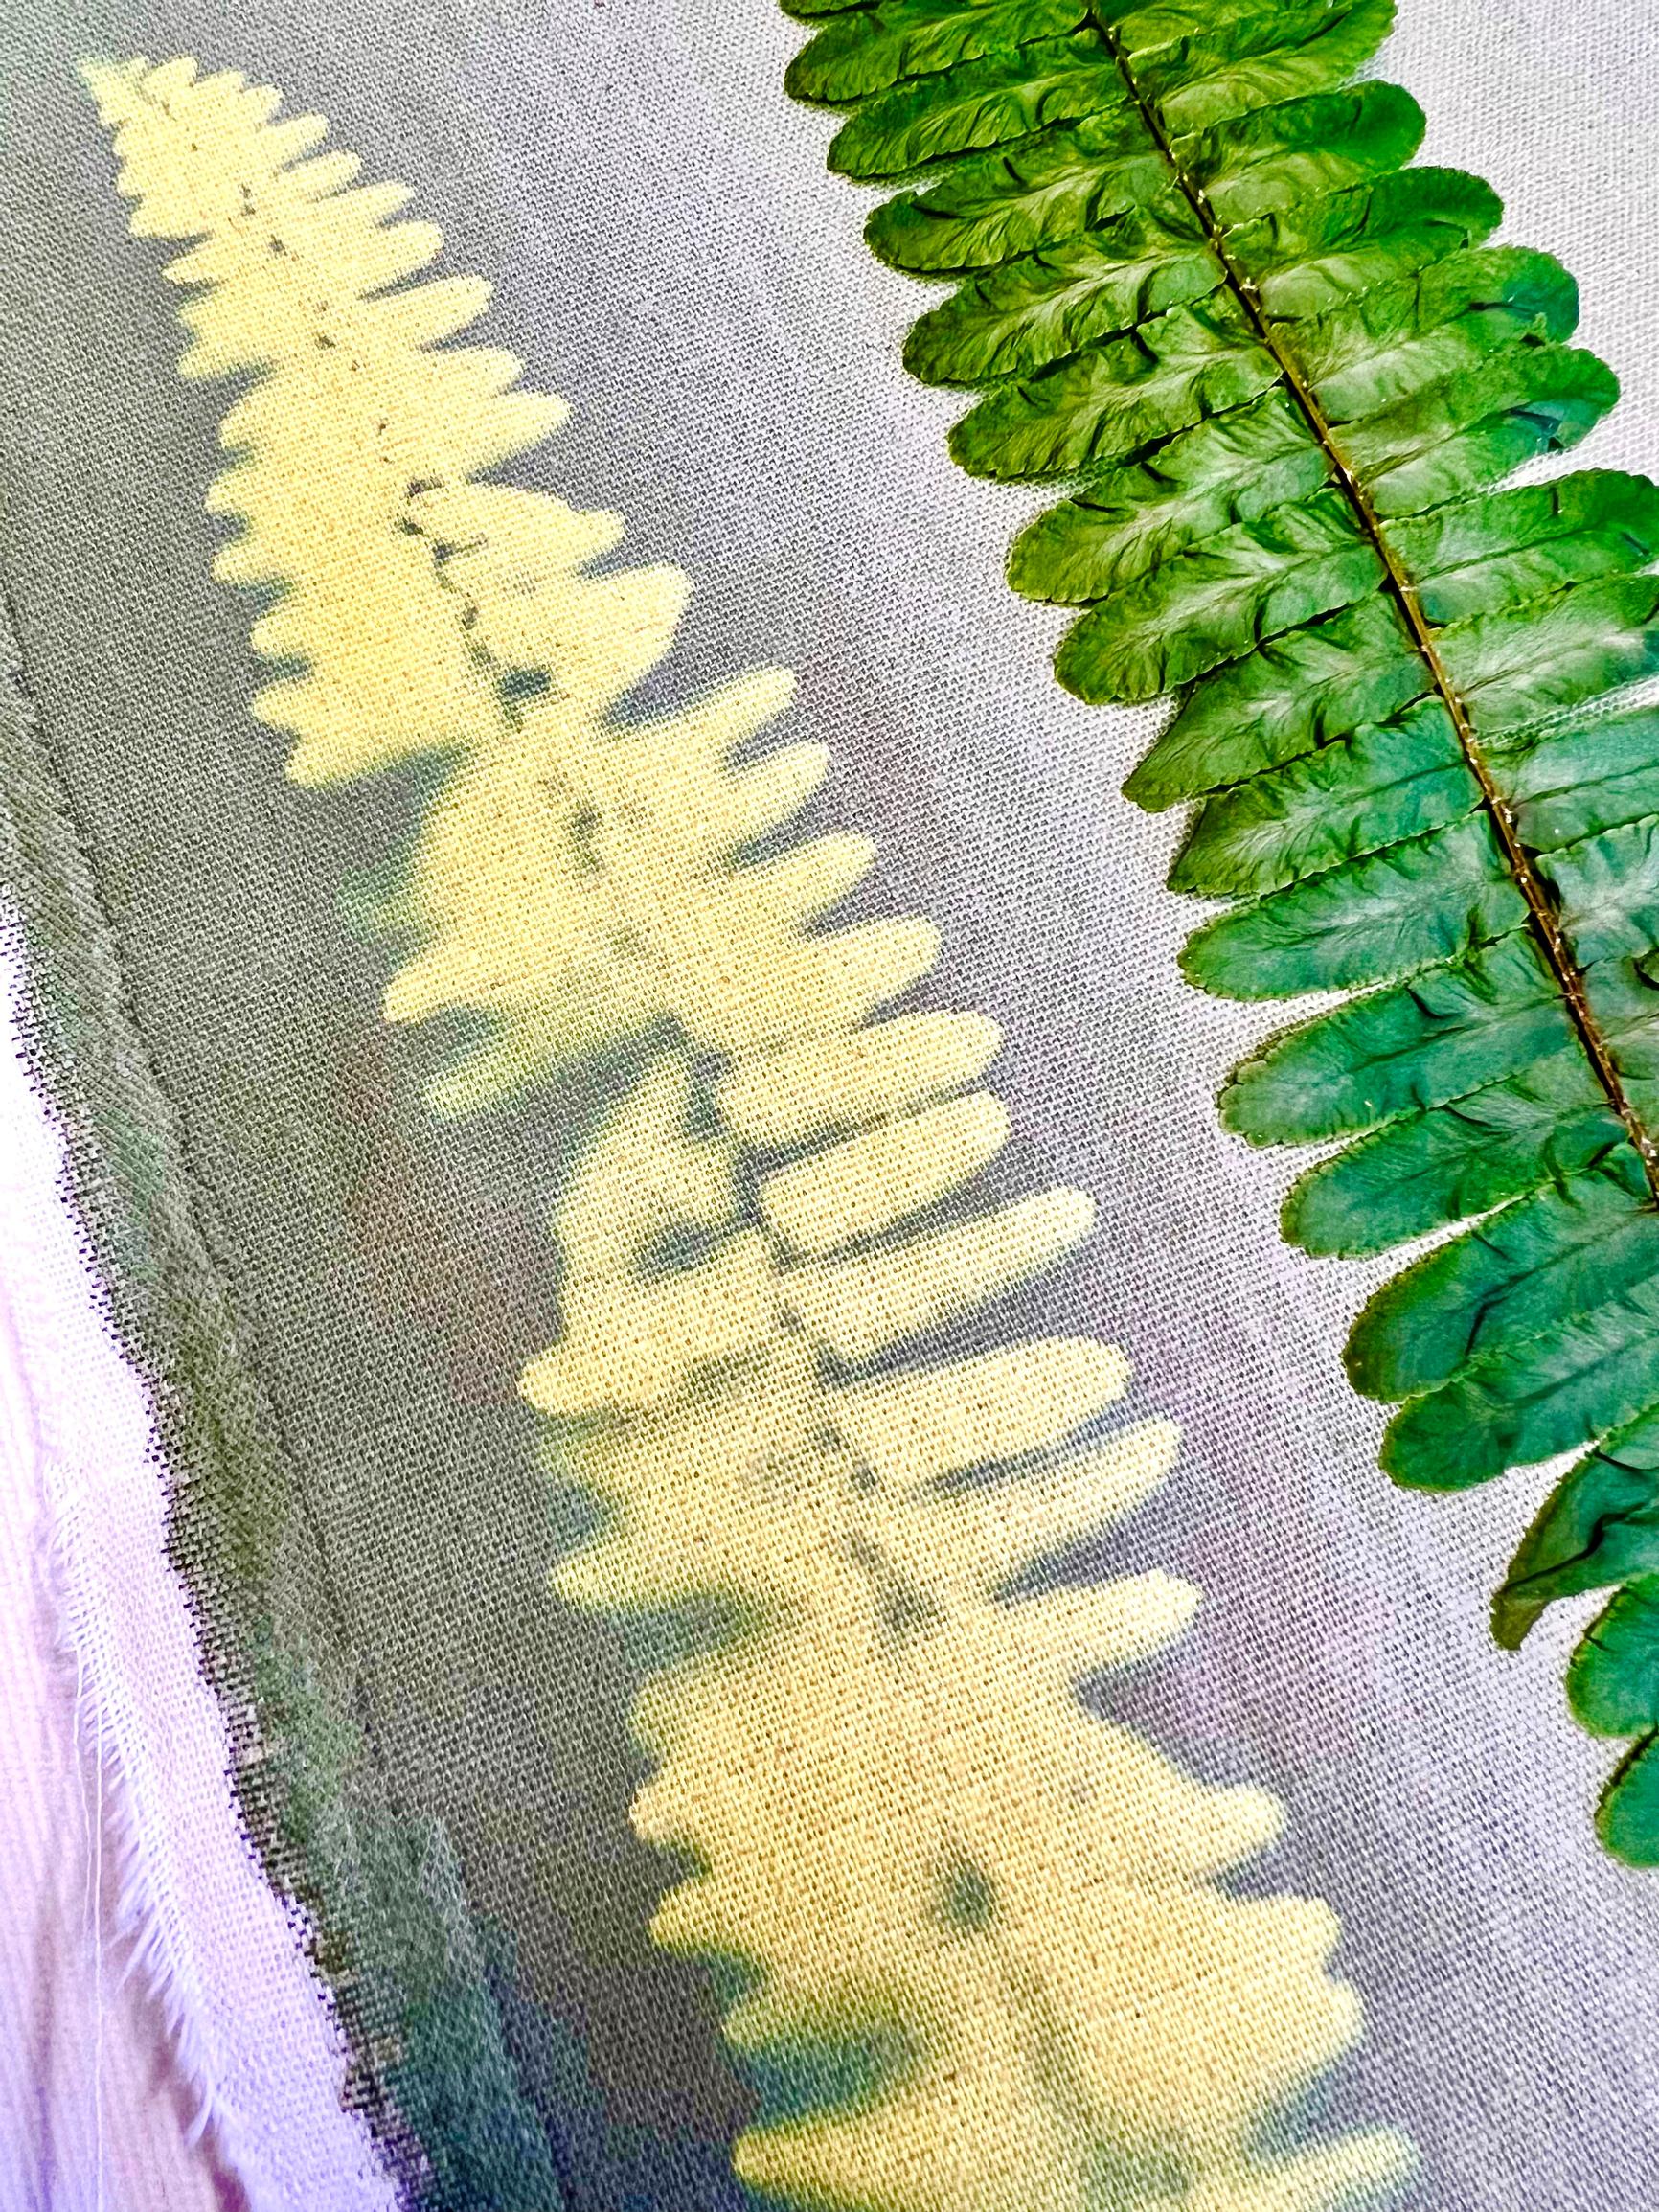

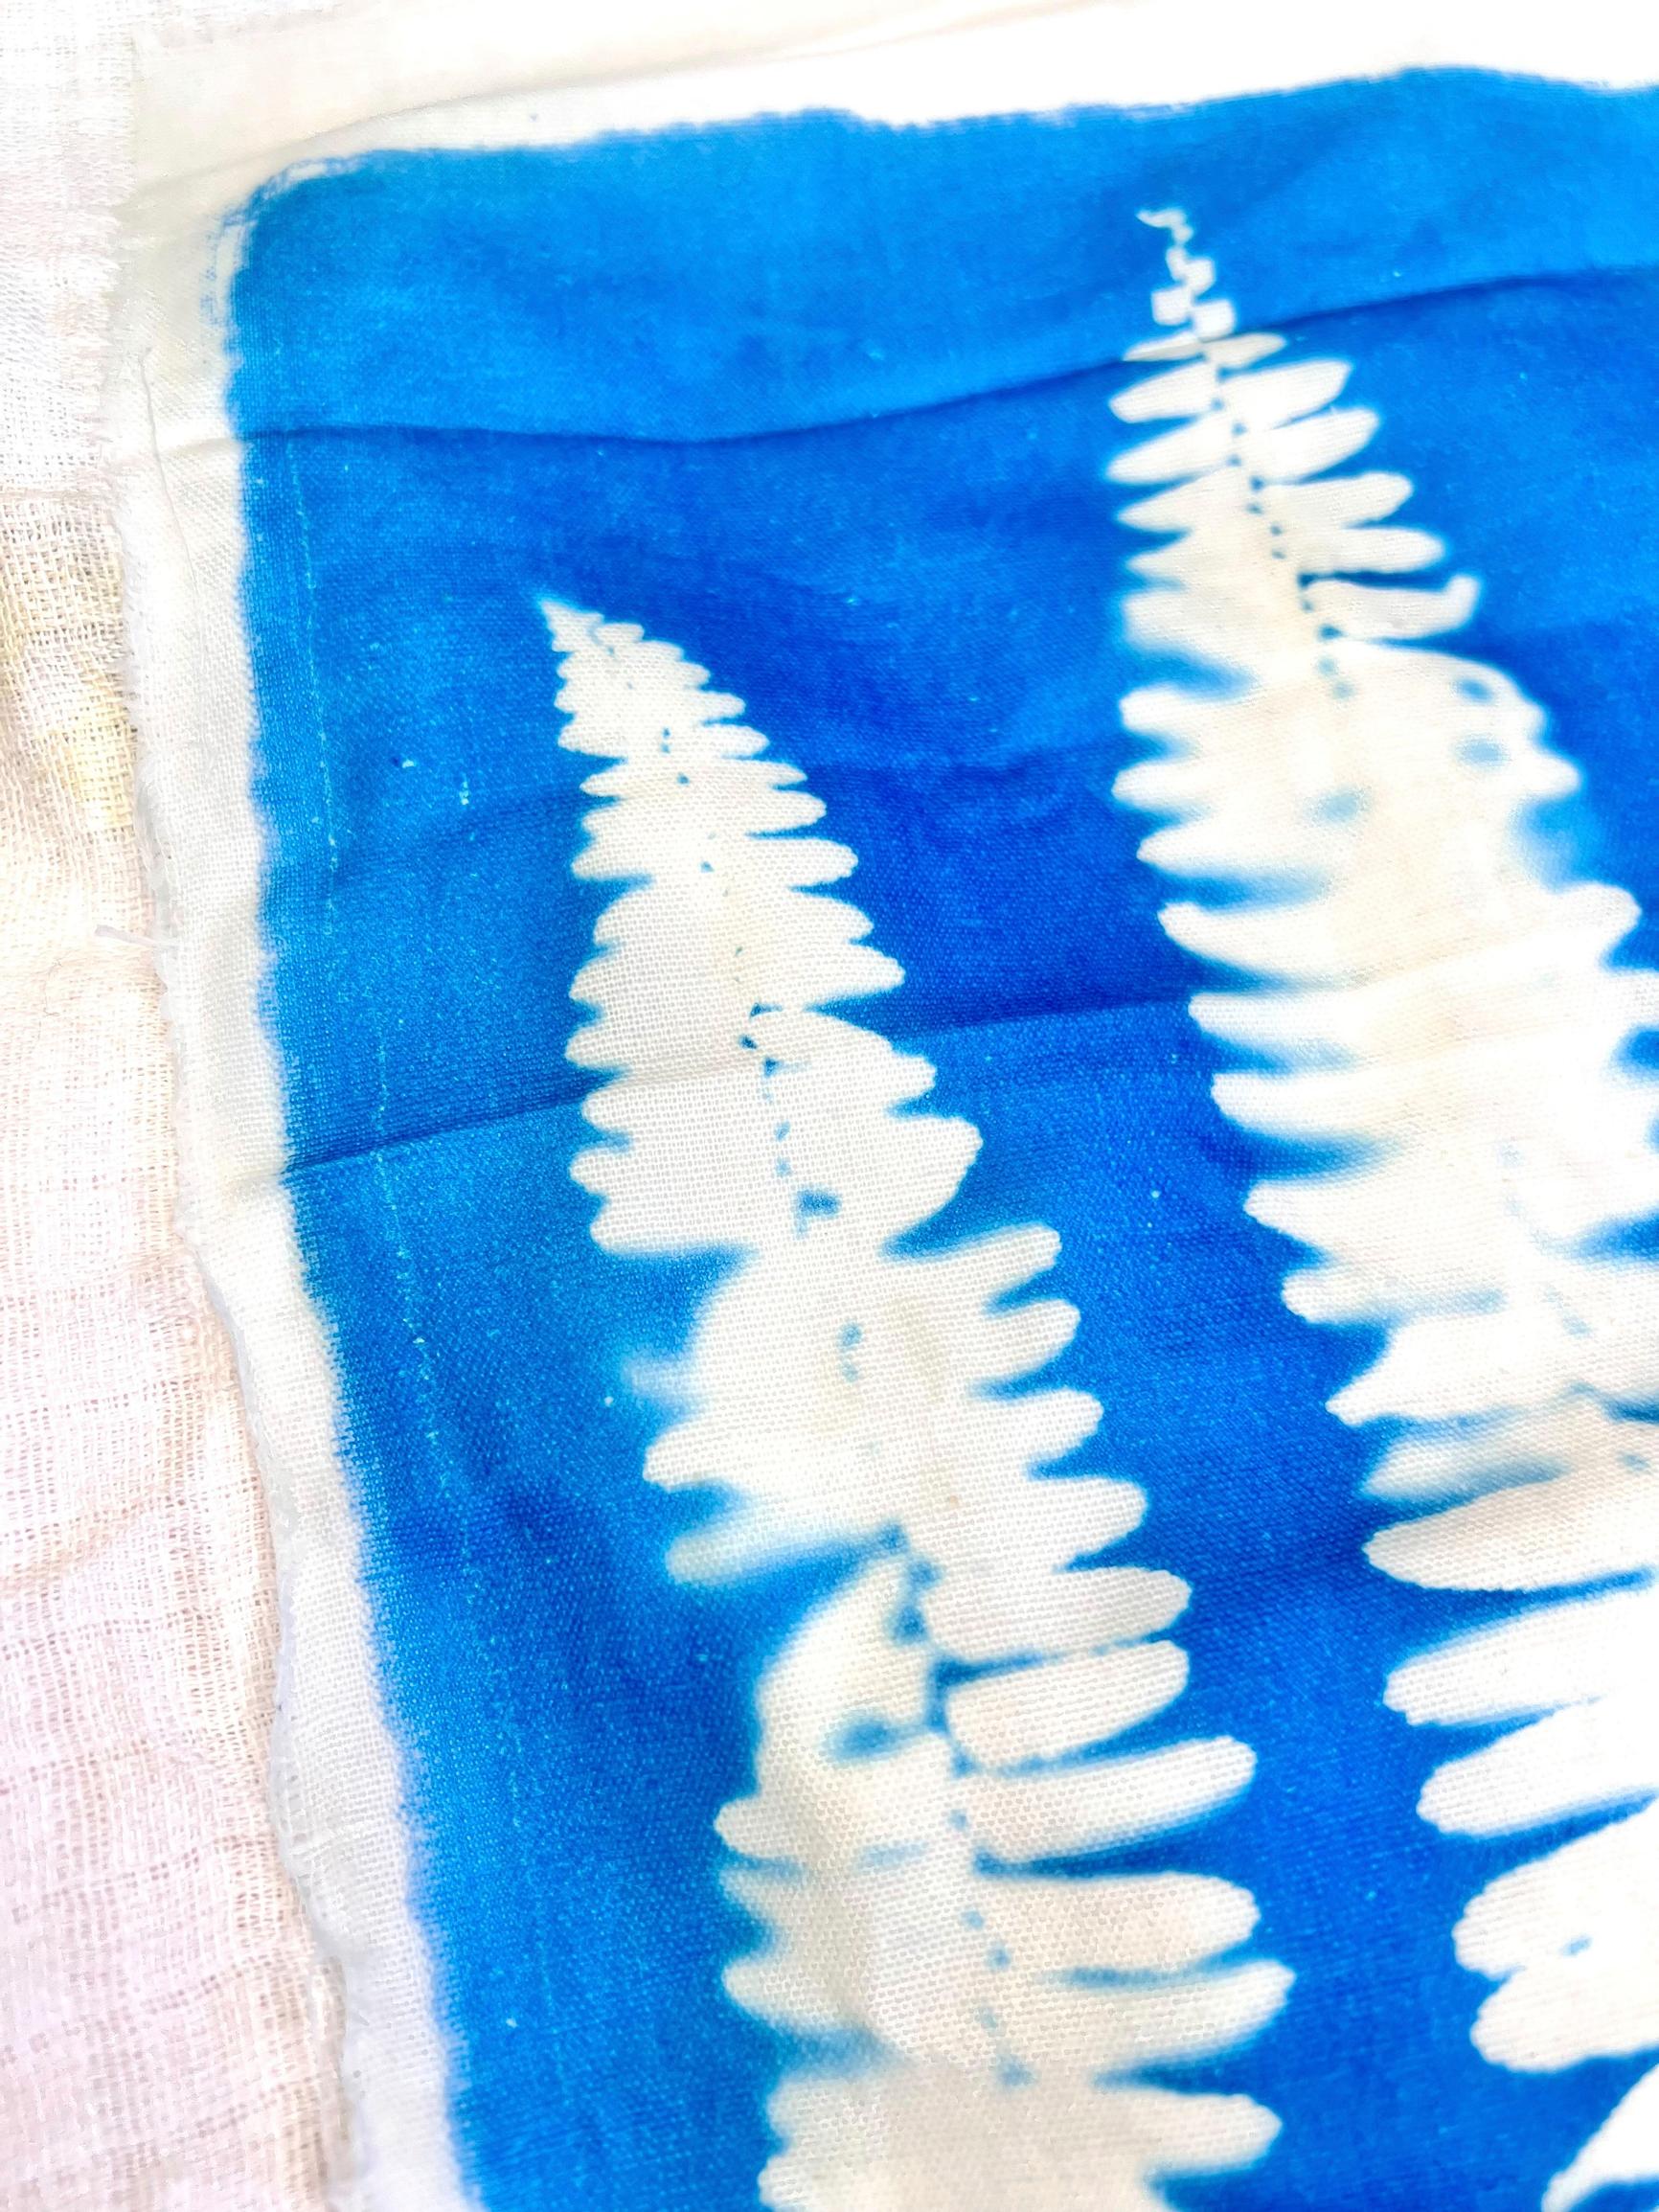
6. Once the fabric has been exposed enough, it will be a dark teal color, and the area under the plants will appear pale yellow. Remove the plants, then rinse the fabric until no more developer is released. All the yellow will wash away, leaving the fabric blue and white.
7. Let the fabric dry. The blue color will deepen a bit as it does.

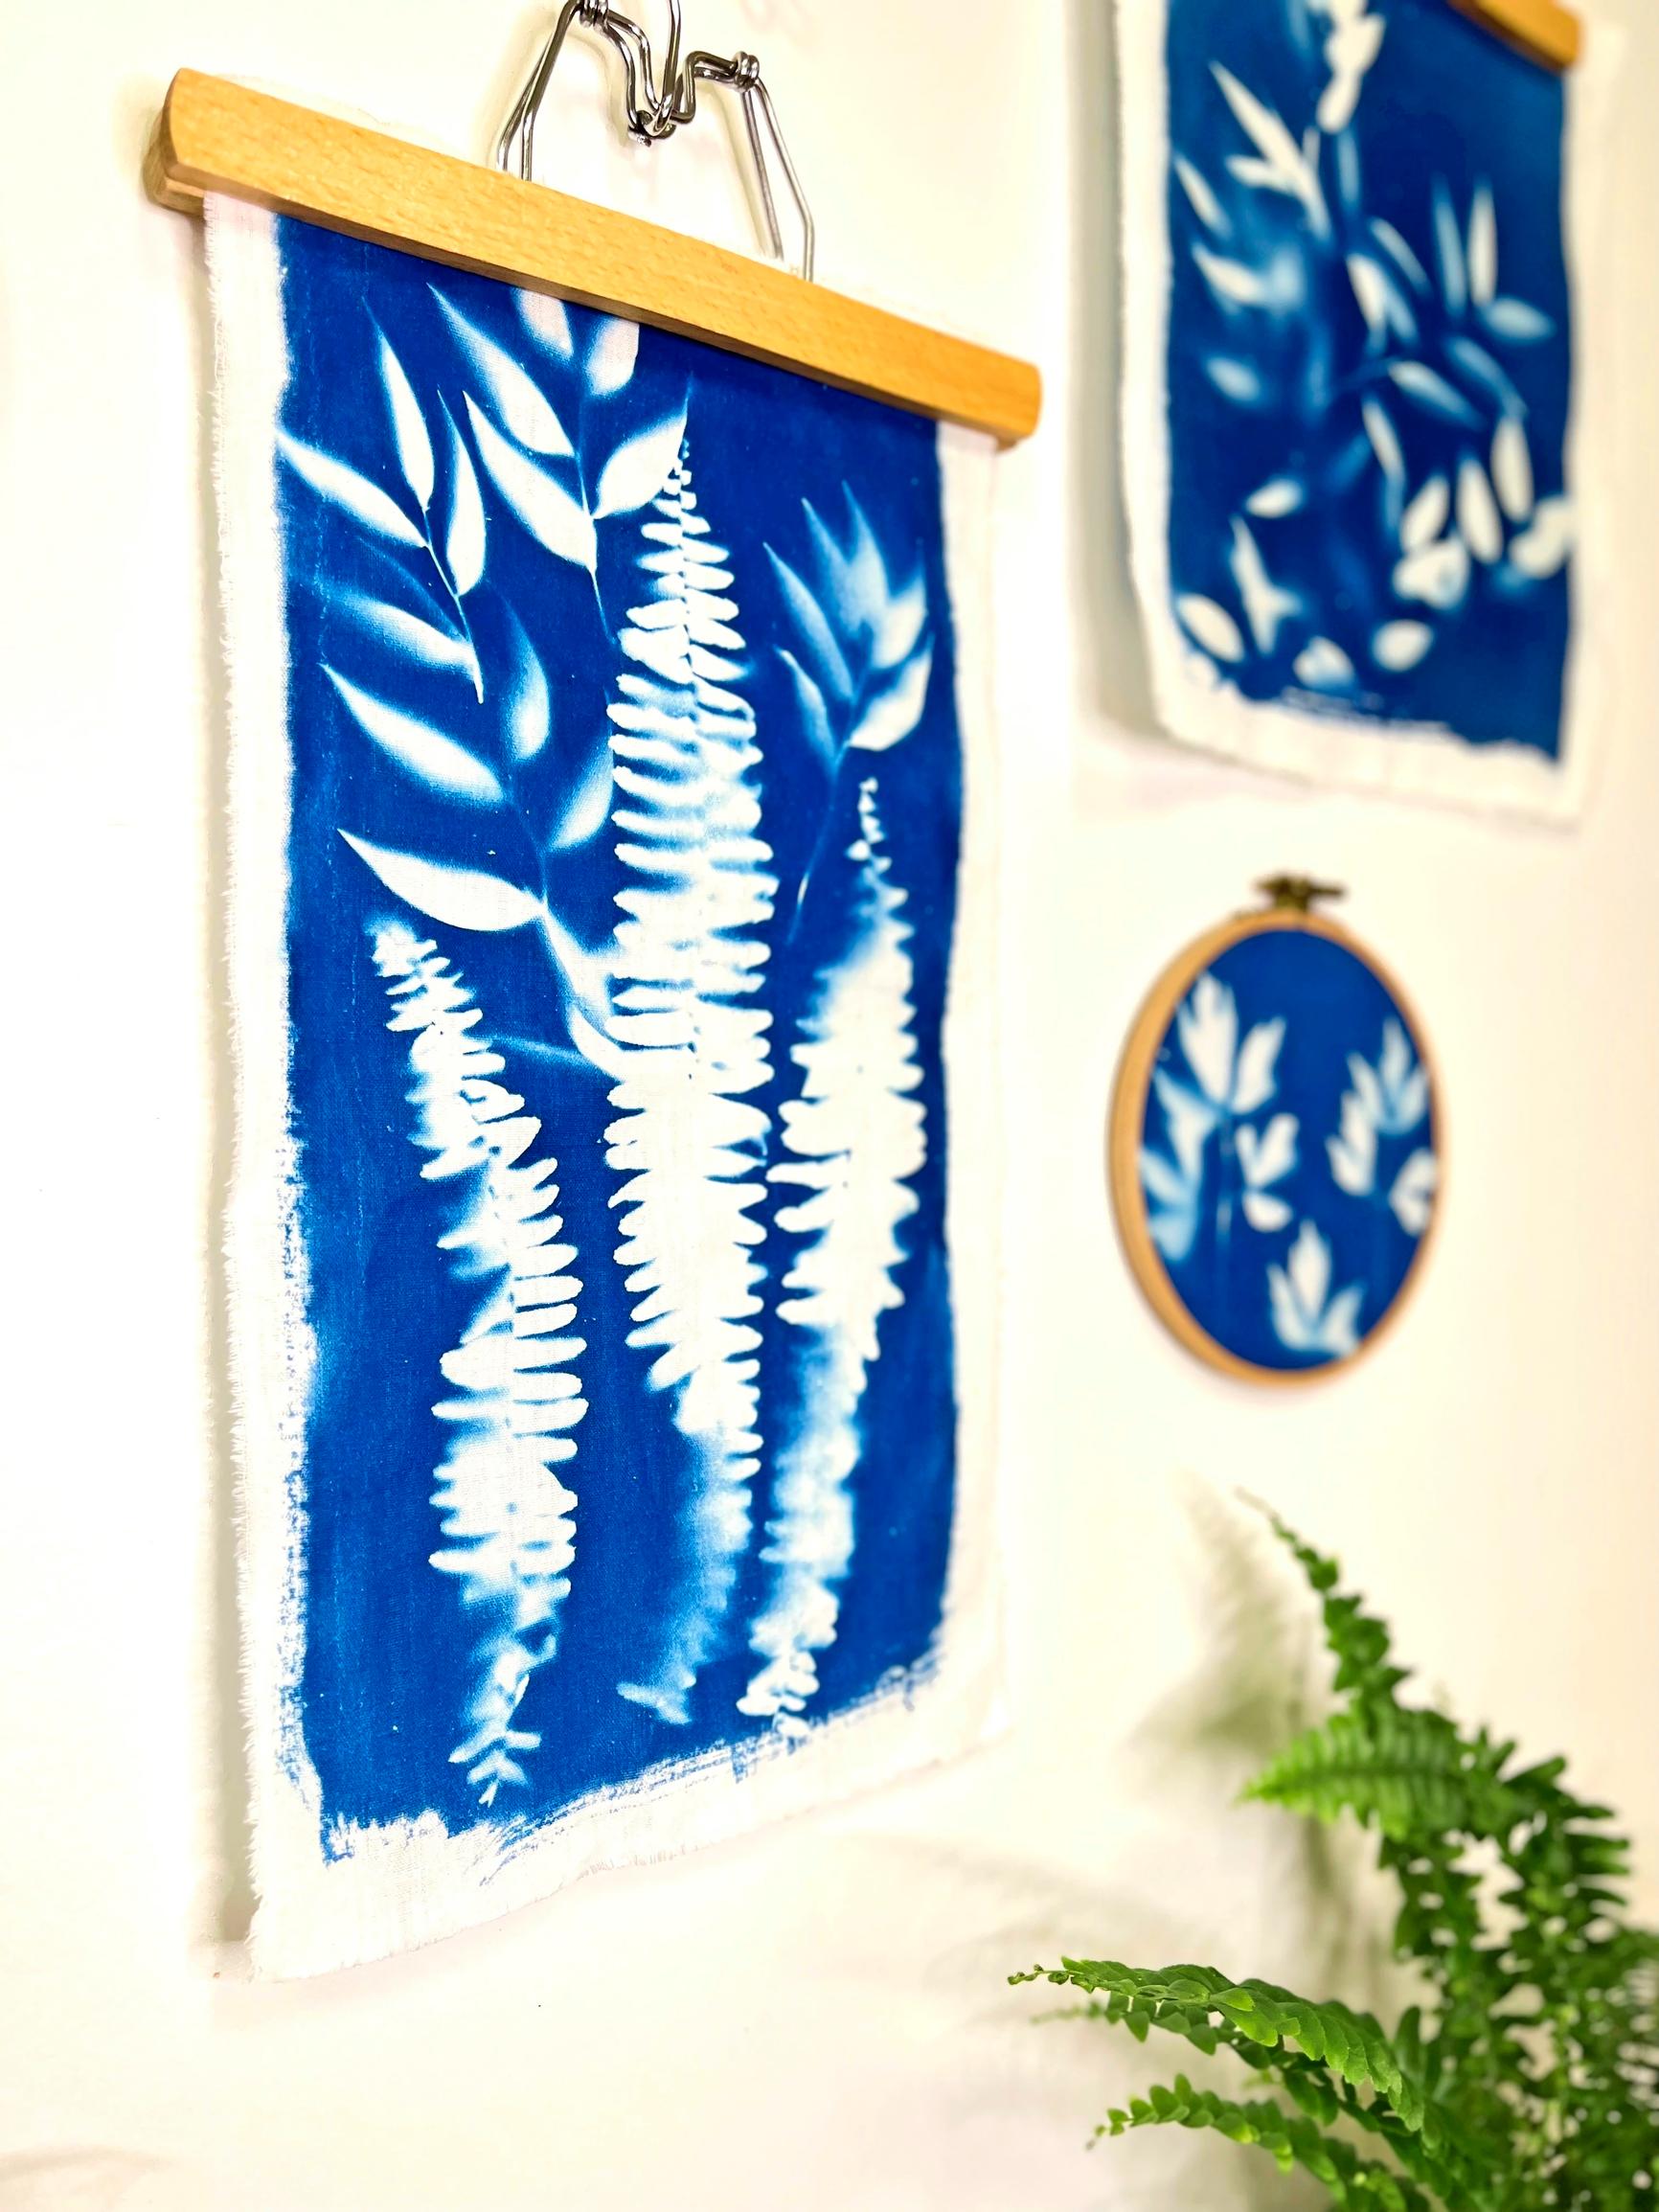
8. Iron the fabrics and hang your creations using a poster hanger, pants hanger, or embroidery hoop.

