DIY
Make a sturdy clothes-drying rack for your garden or summer cottage—check out our easy instructions!
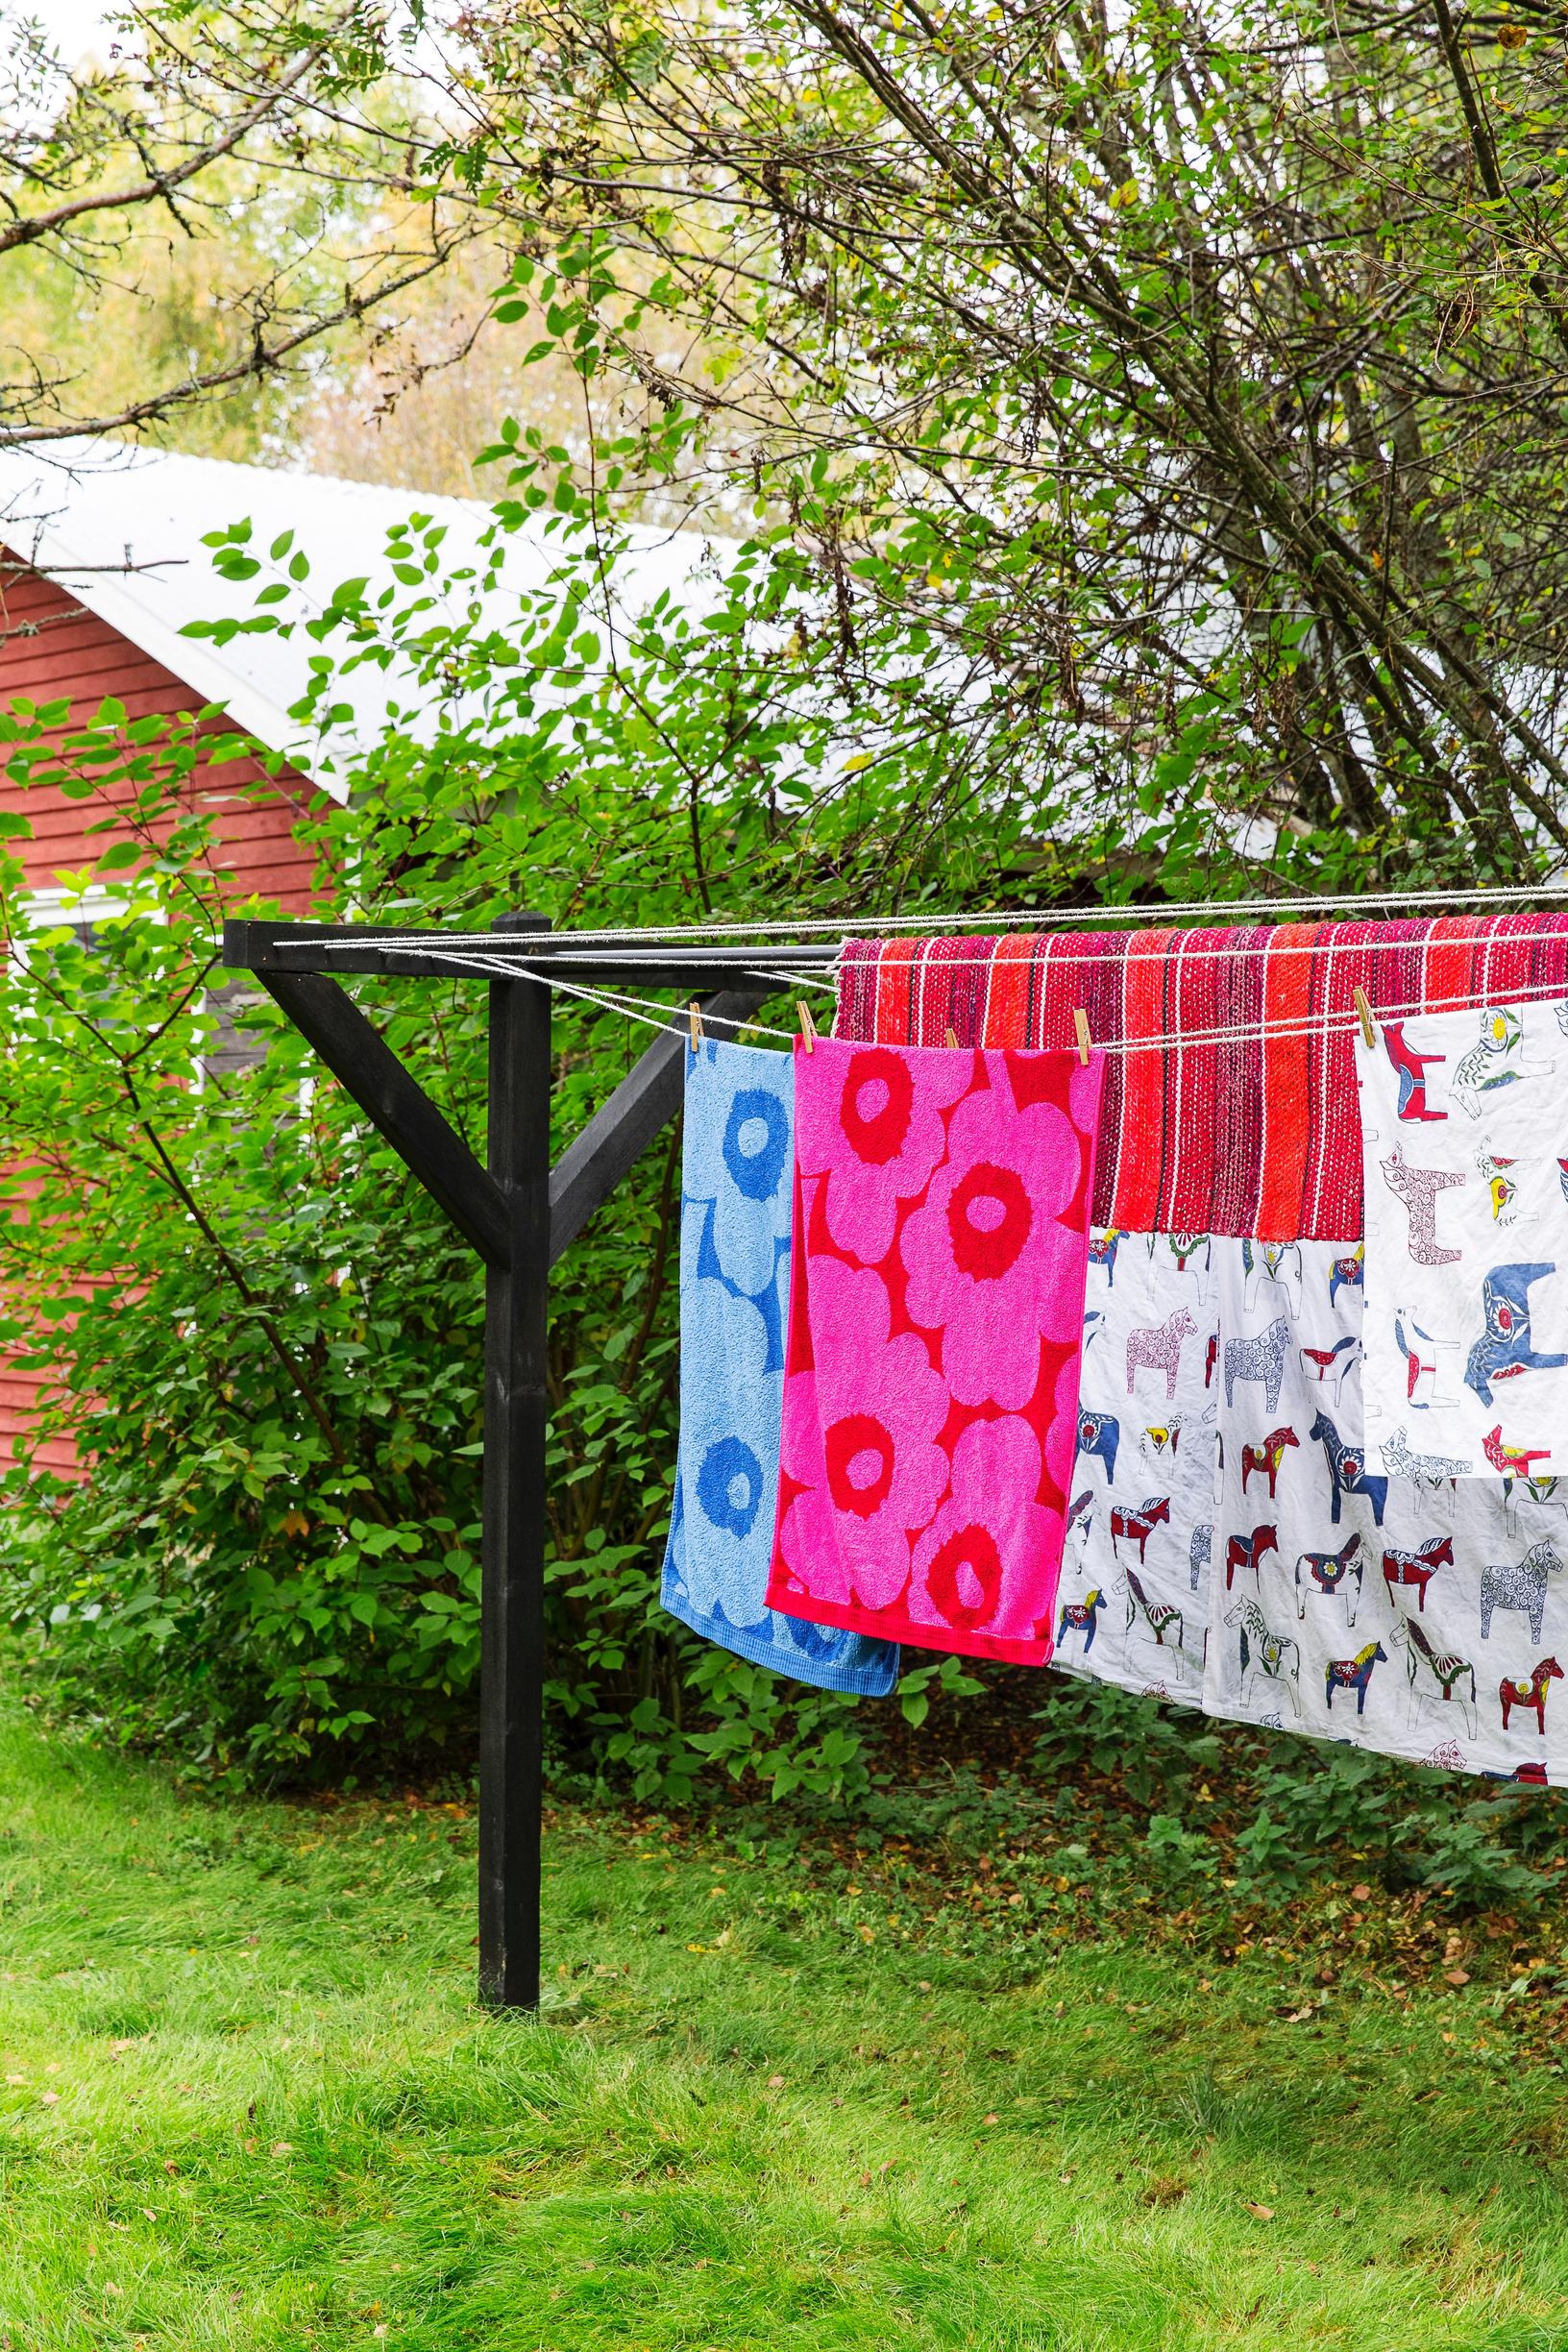
It’s easy to make your own clothes-drying rack. This sturdy design allows you to dry laundry and even rugs, thanks to the pipe installed between the posts that keeps them from bending inward.
Clothes-drying rack—materials
- Pressure-treated wood, 75 × 75 mm
- Screwdriver and drill
- Galvanized water pipe, 50 mm diameter
- Black metal paint and wood preservative
- Screws or nails
- Clothesline


How to build the clothes-drying rack
- Saw the upright posts for the drying rack.
- Attach the crosspieces and diagonal braces to the tops of the posts using nails or screws. Create a lap joint where the upright meets the crosspiece.
- Drill holes for the clotheslines in the crosspieces.
- Bury the posts into the ground about 50 centimeters deep. If you prefer, you can use ready-made steel bases.
- Cut a piece of water pipe to fit between the posts. Drive a nail into each post for the pipe, leaving a couple of centimeters of the nail head exposed. Place the pipe onto the nails and tighten the lines.
- Paint the pipe with metal paint and the wooden parts with colored wood preservative.
Tip!
You can install a couple of pipes between the posts, if you have several rugs to wash at the same time.

Most recent
Latest