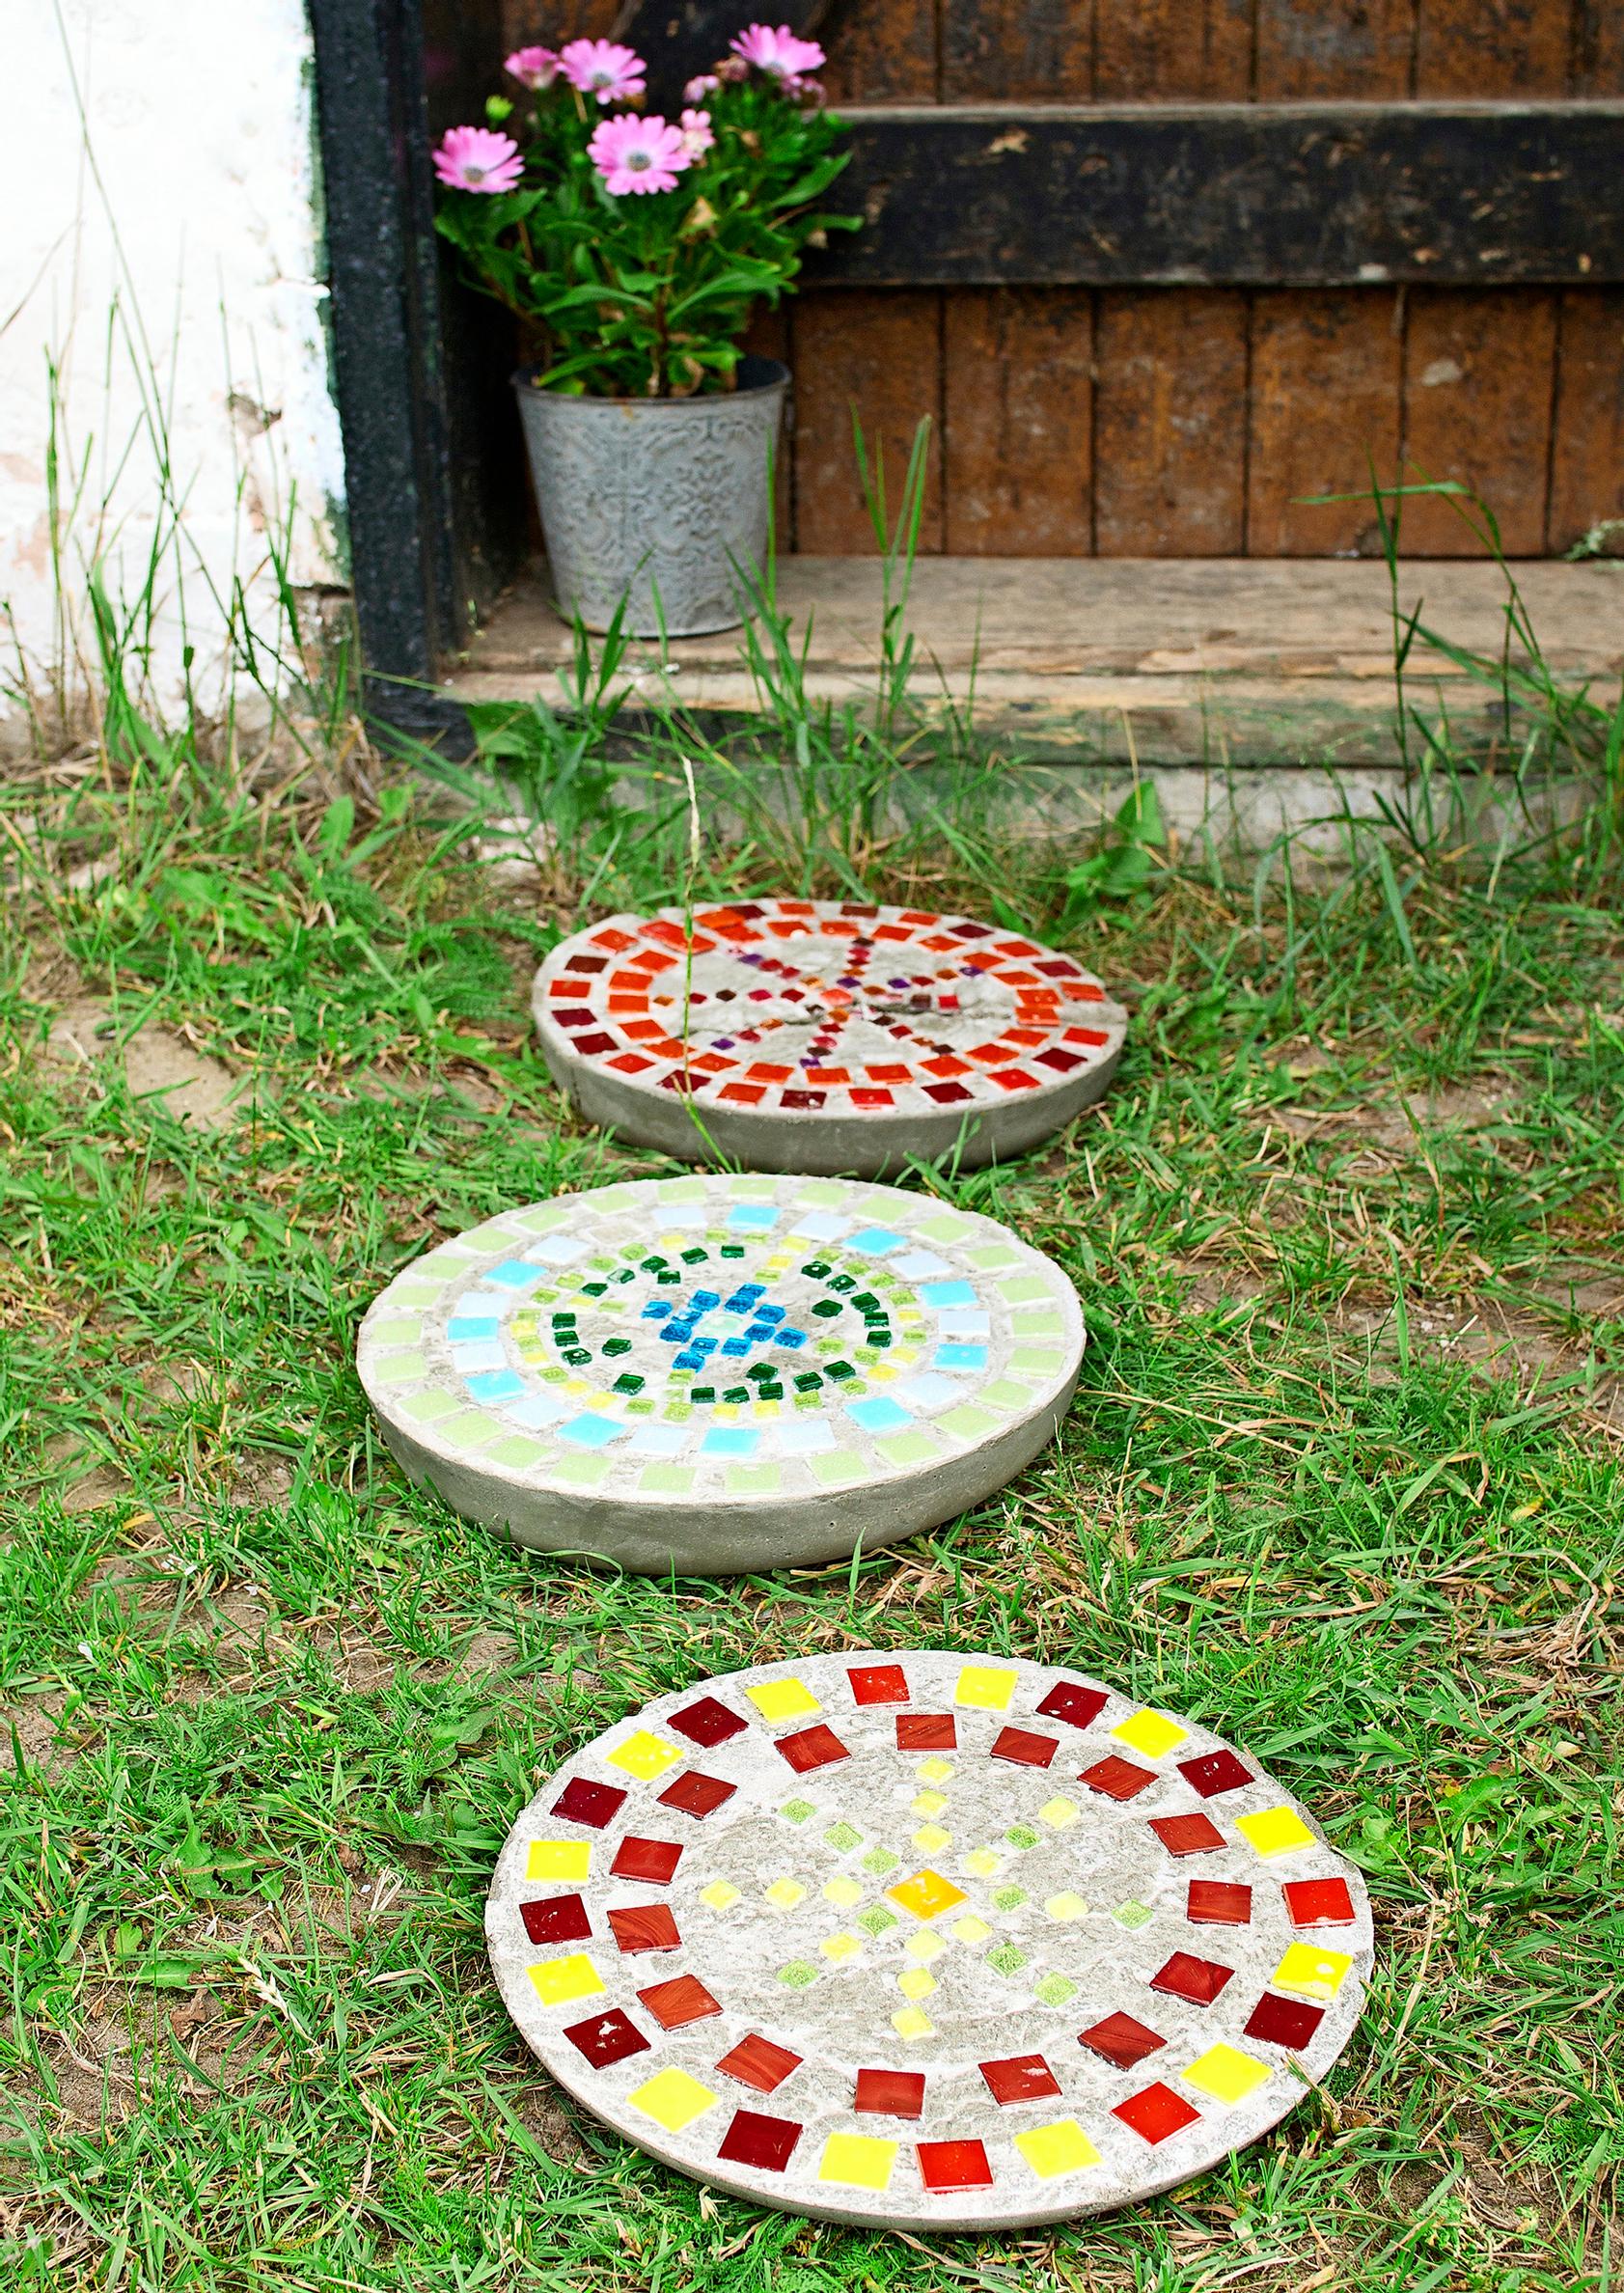
Add a pop of color to the yard—Design your own concrete pavers with a mosaic surface!
Bring joy and personality to your garden with a colorfully decorated concrete paver, or an entire area paved with them. You can draw inspiration from mandalas for your design.
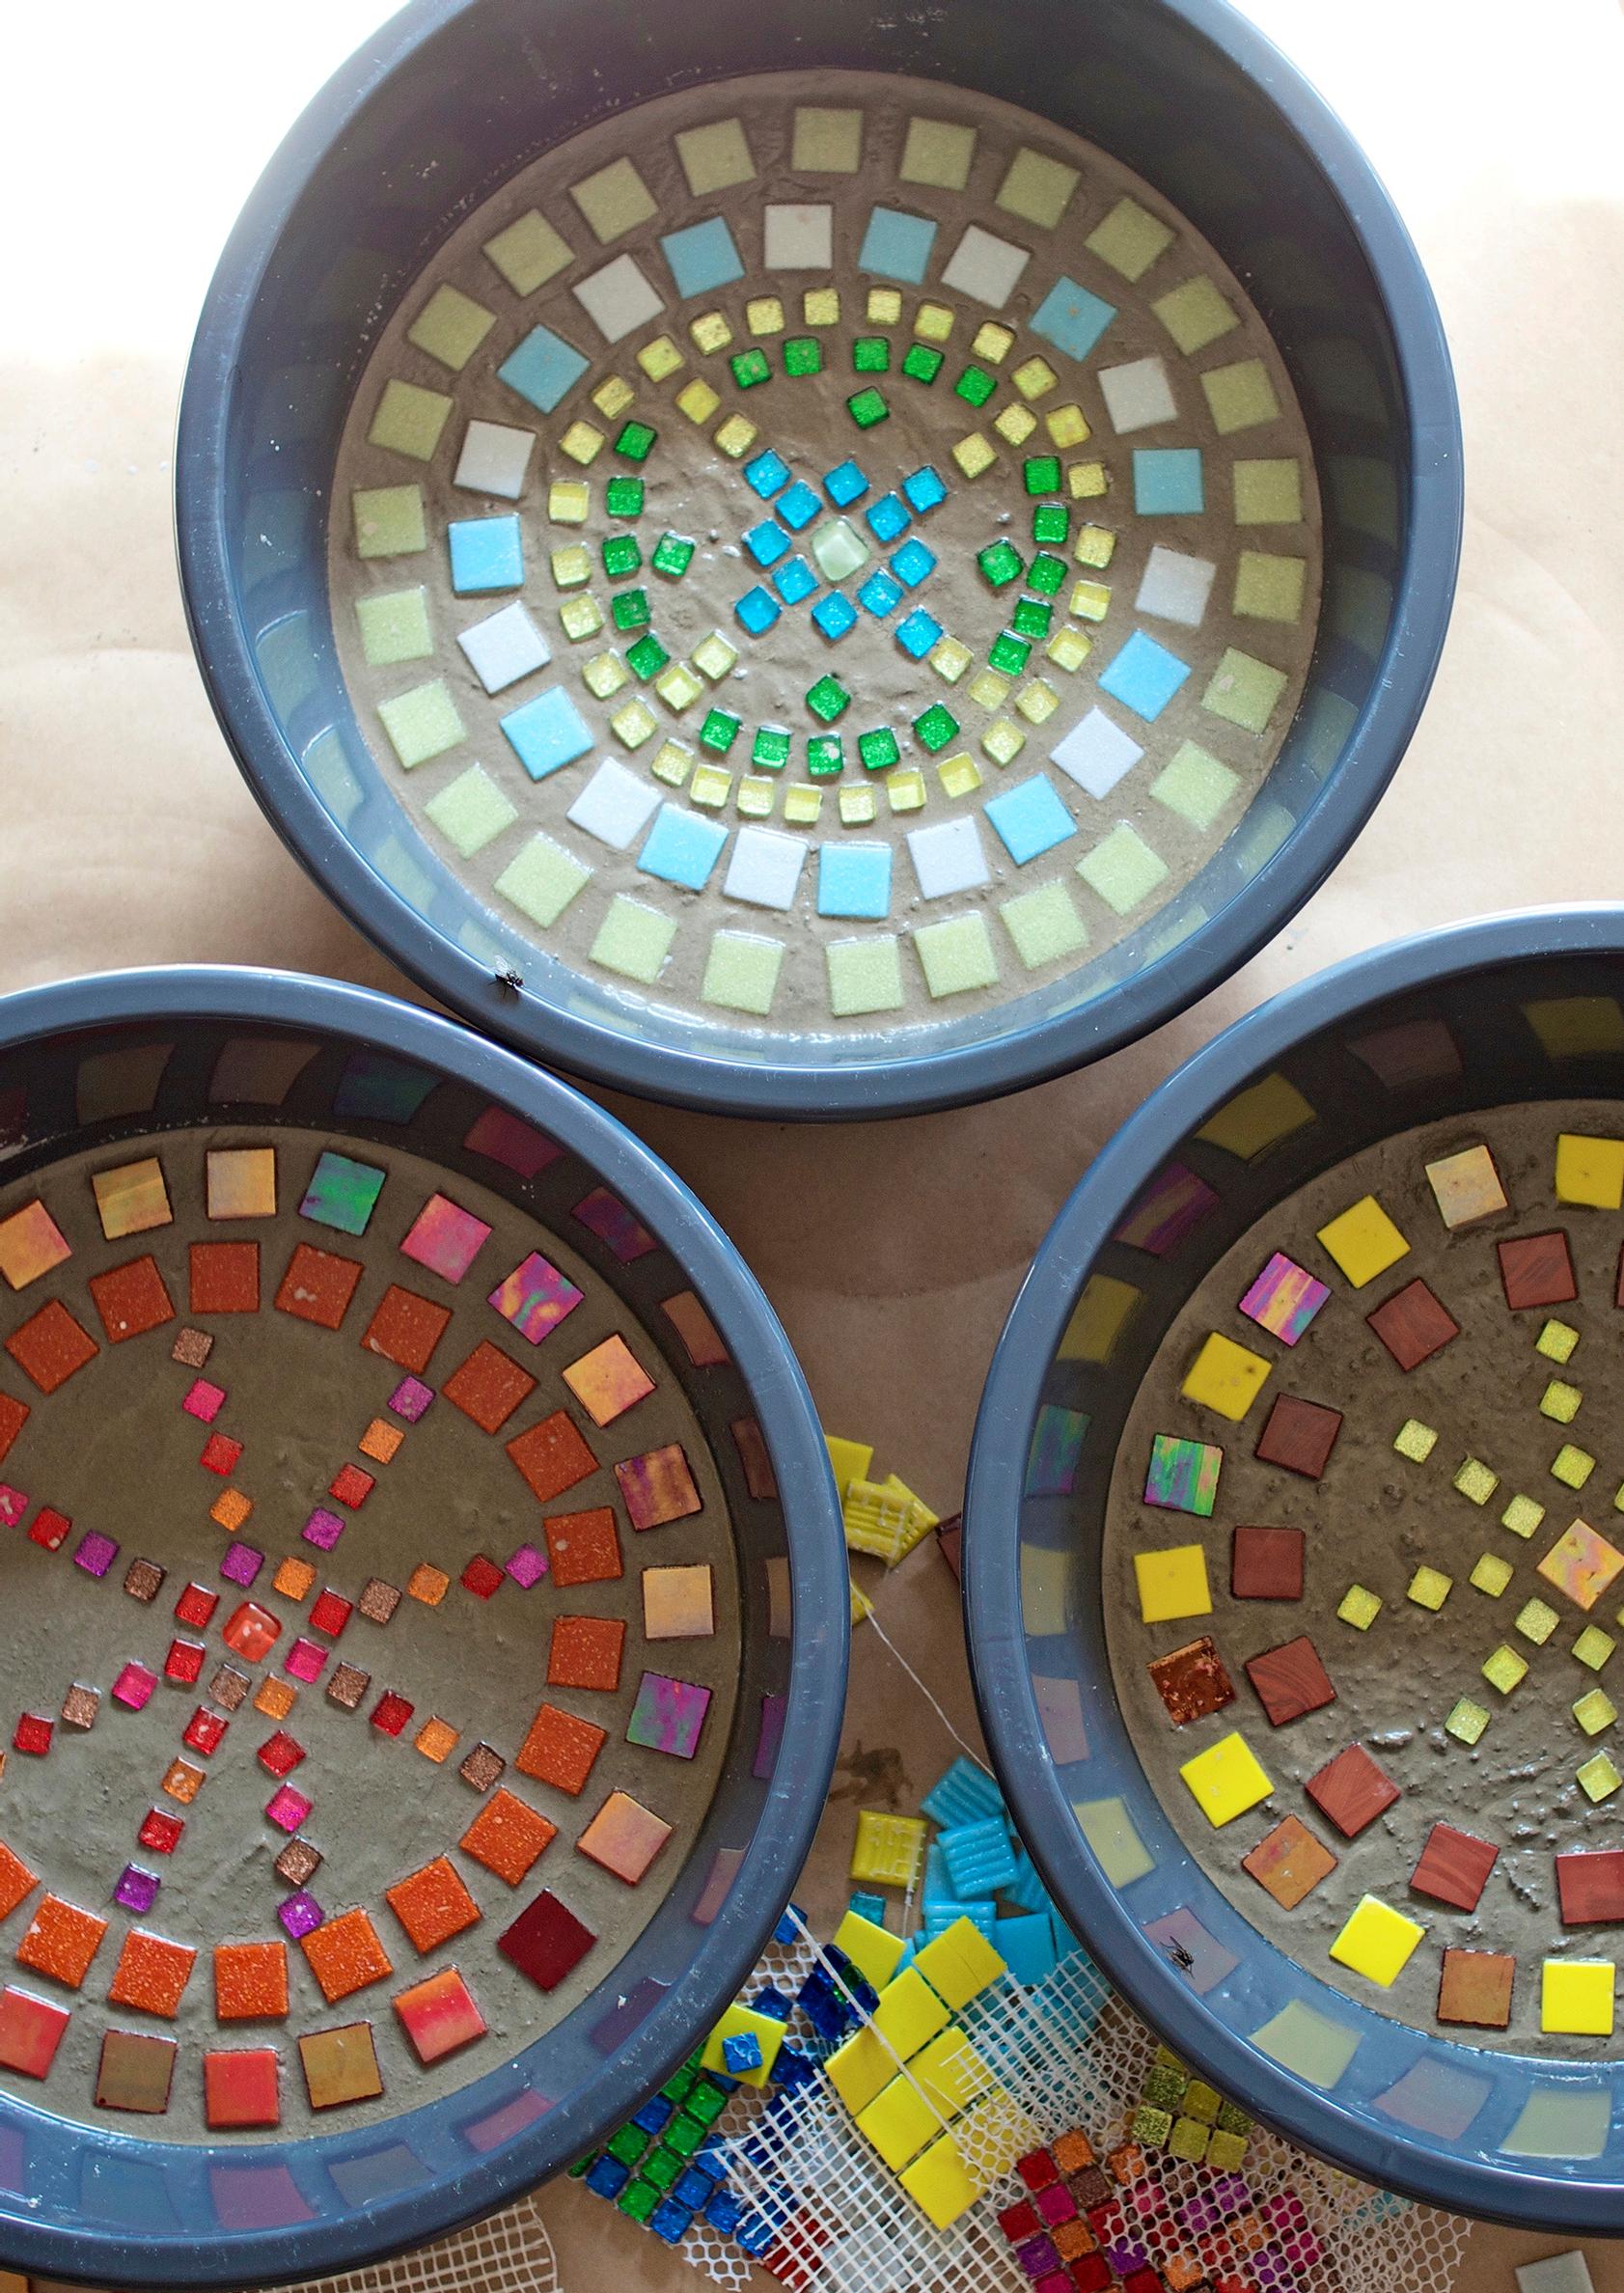
Playful and colorful concrete pavers add a fresh look to your yard. You can create ones exactly to your liking. Our instructions feature round pavers, but feel free to cast them in any shape you like. You can build angular molds from wood or plywood.
In addition to mosaic tiles, broken dishes also work well for decoration. Just make sure that any sharp edges are set into the paver so the surface stays smooth.
Mosaic-finished concrete pavers—supplies:
- A bag of cement mortar (Type S)
- Water
- A bucket
- A drill and mixer or a strong stick for mixing
- Plastic wash tubs
- Cooking oil
- A sponge
- Mosaic tiles
- Protective gloves
- Protective plastic sheeting
Create your mosaic-finished concrete pavers

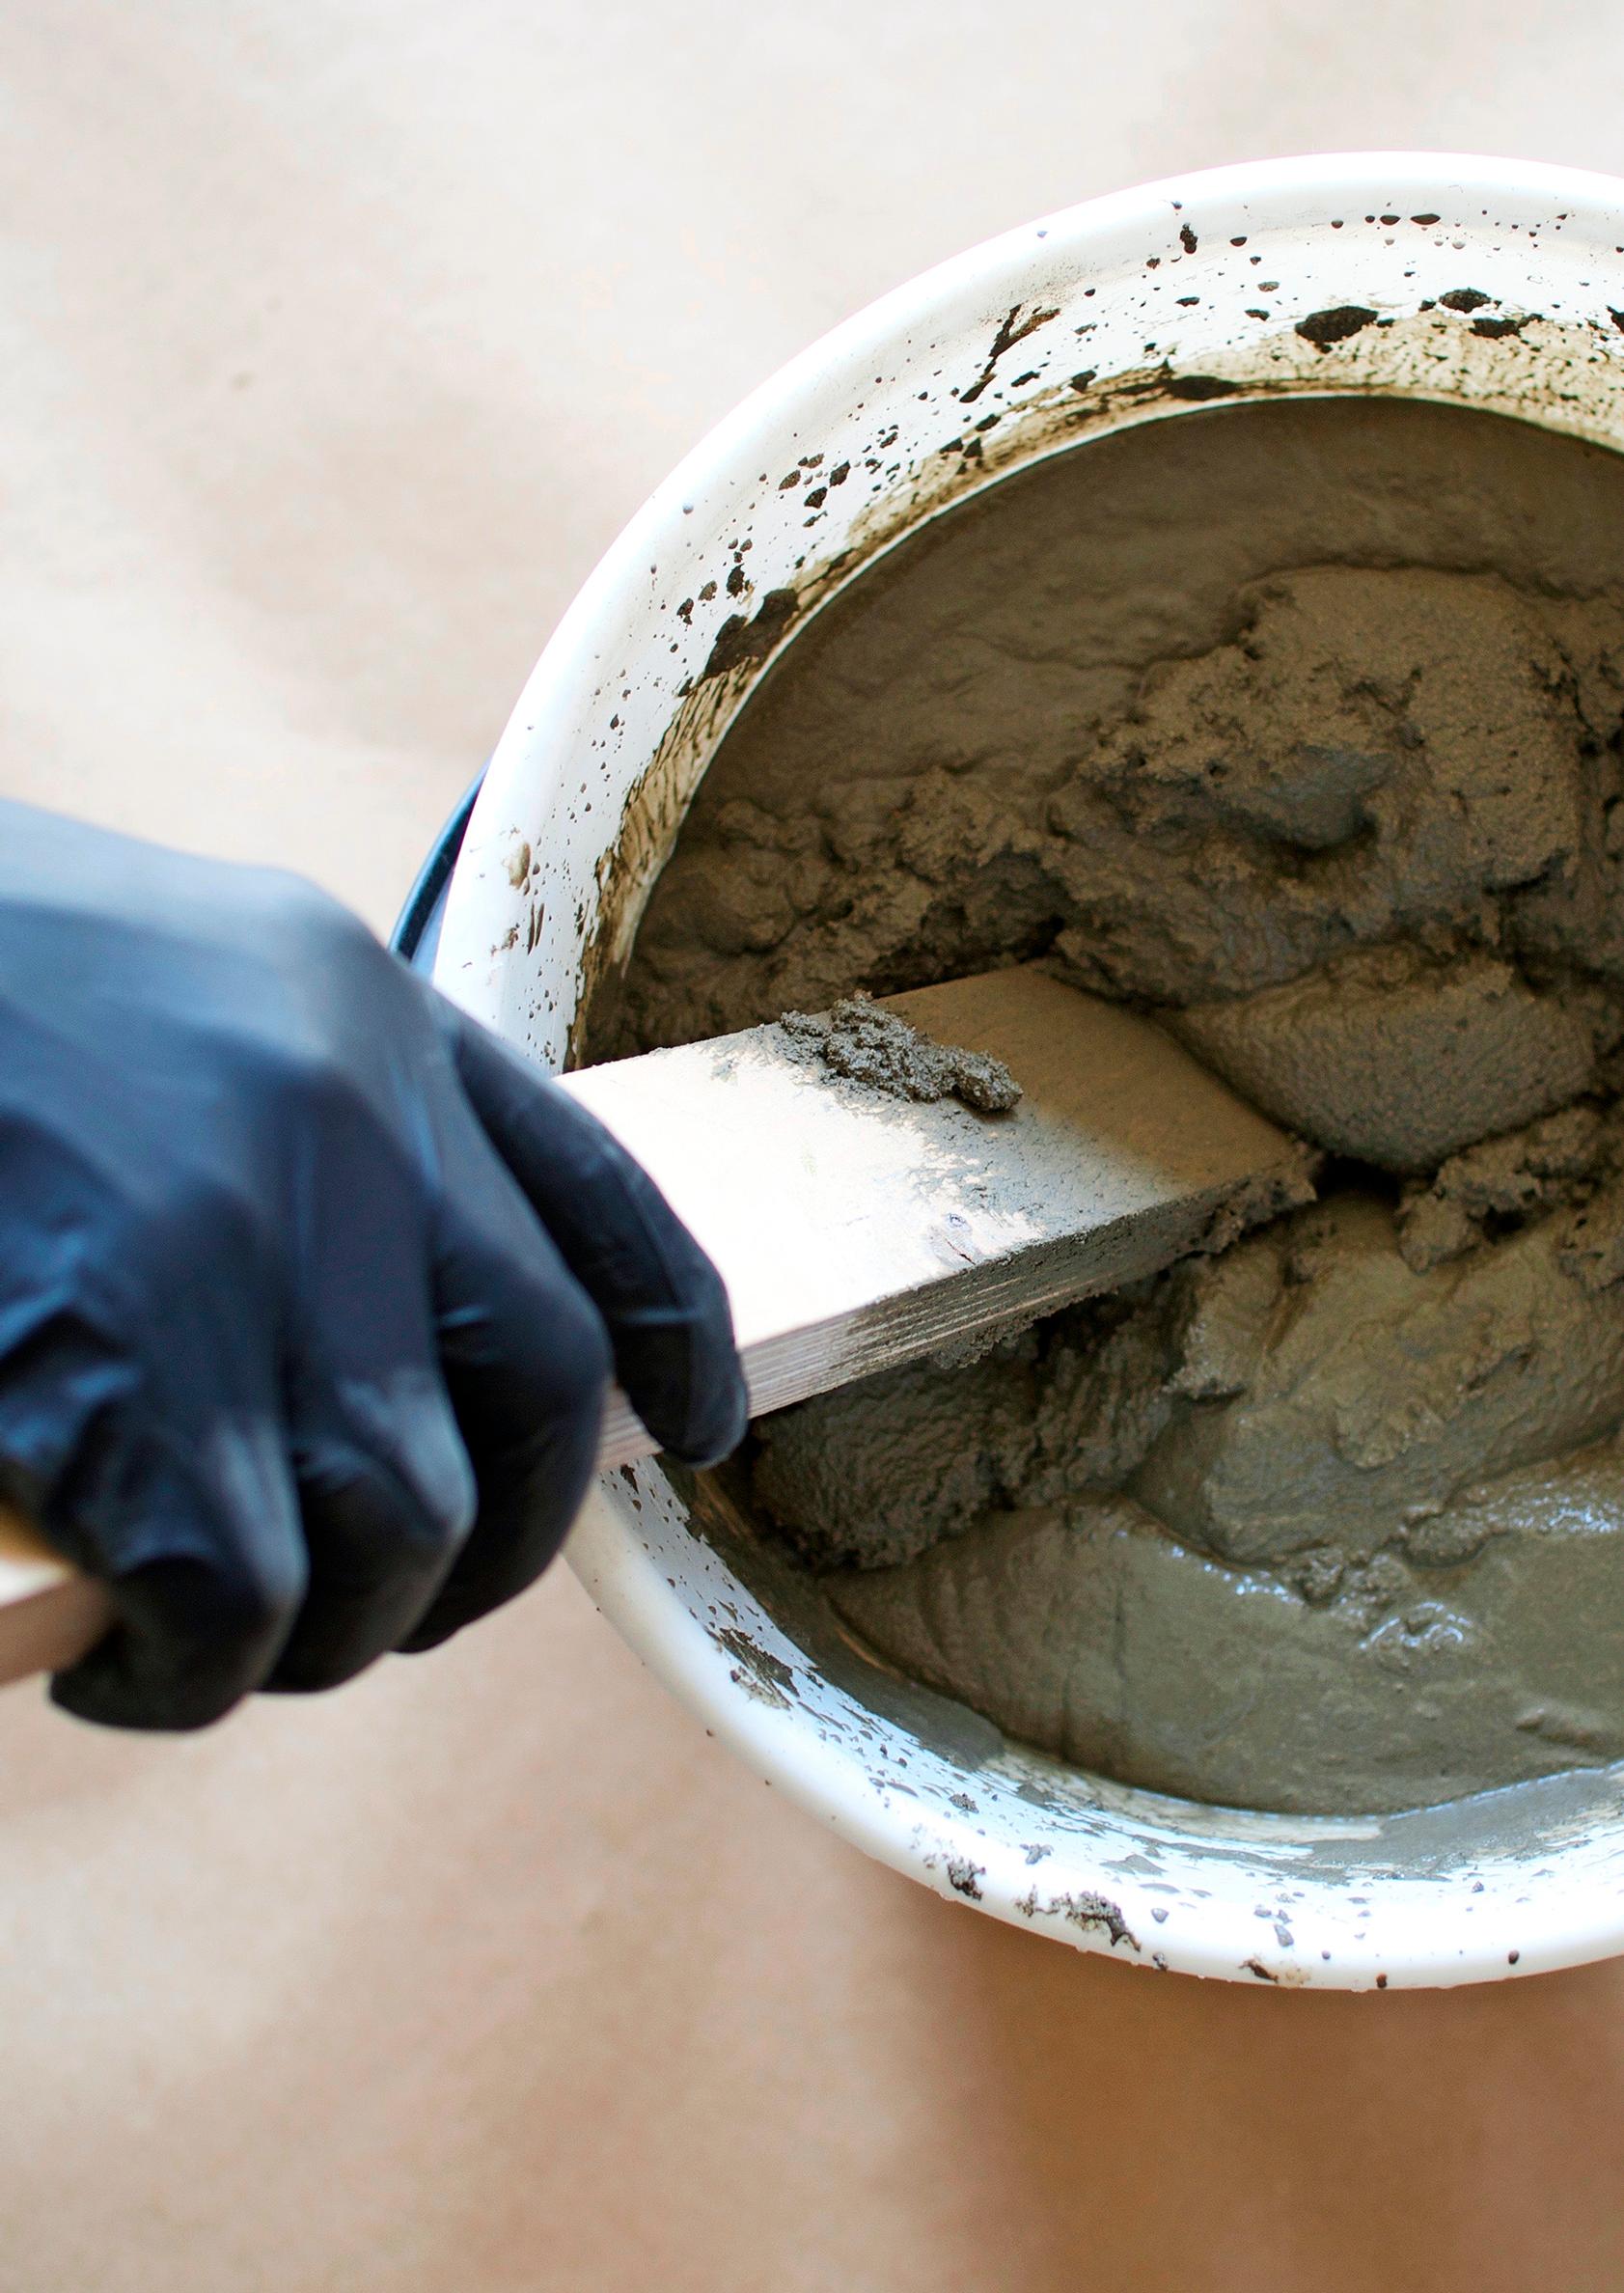
1. Mix the cement in a bucket, adding water a little at a time. The consistency is right when you can form a ball that crumbles with a gentle shake of your hand. Make sure you wear protective gloves and avoid breathing in the dusty mortar. It’s best to use the opened bag of cement right away, as moisture in the air will harden the mixture.

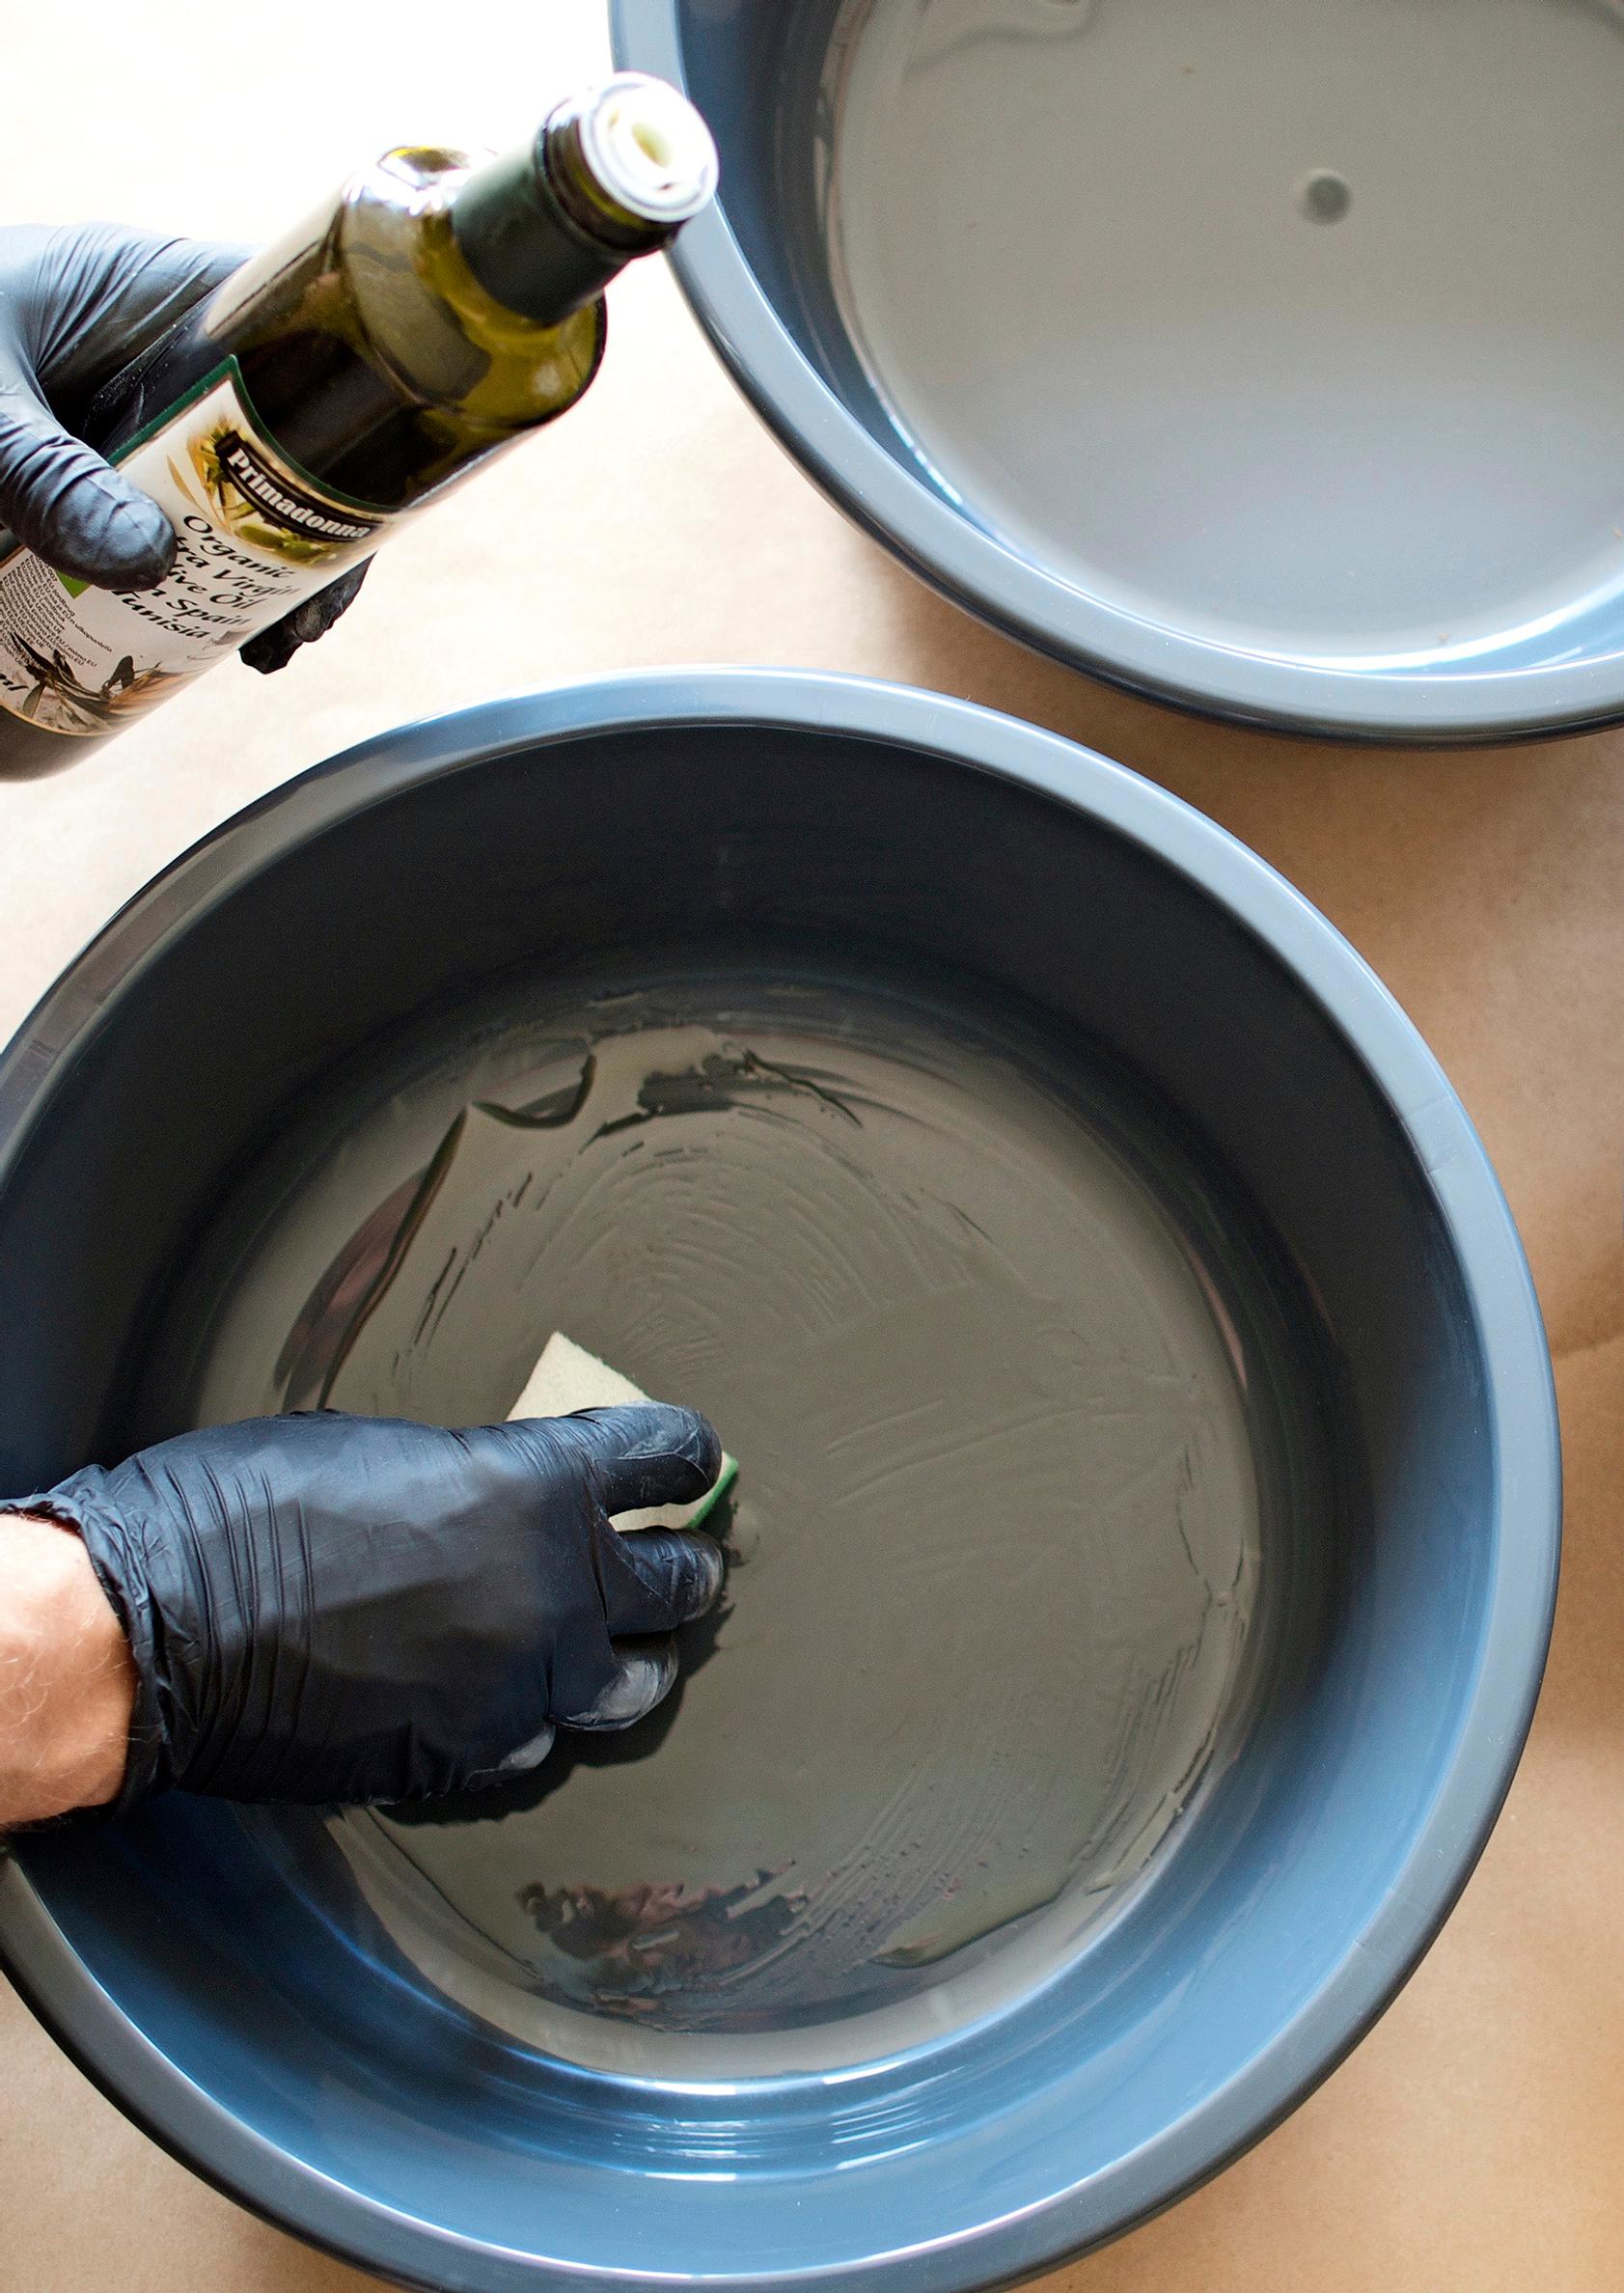
2. Carefully oil the plastic wash tubs using cooking oil and a sponge or a spray-on baking oil. The oil will keep the cement from sticking to the mold. Well-oiled tubs can be reused many times.

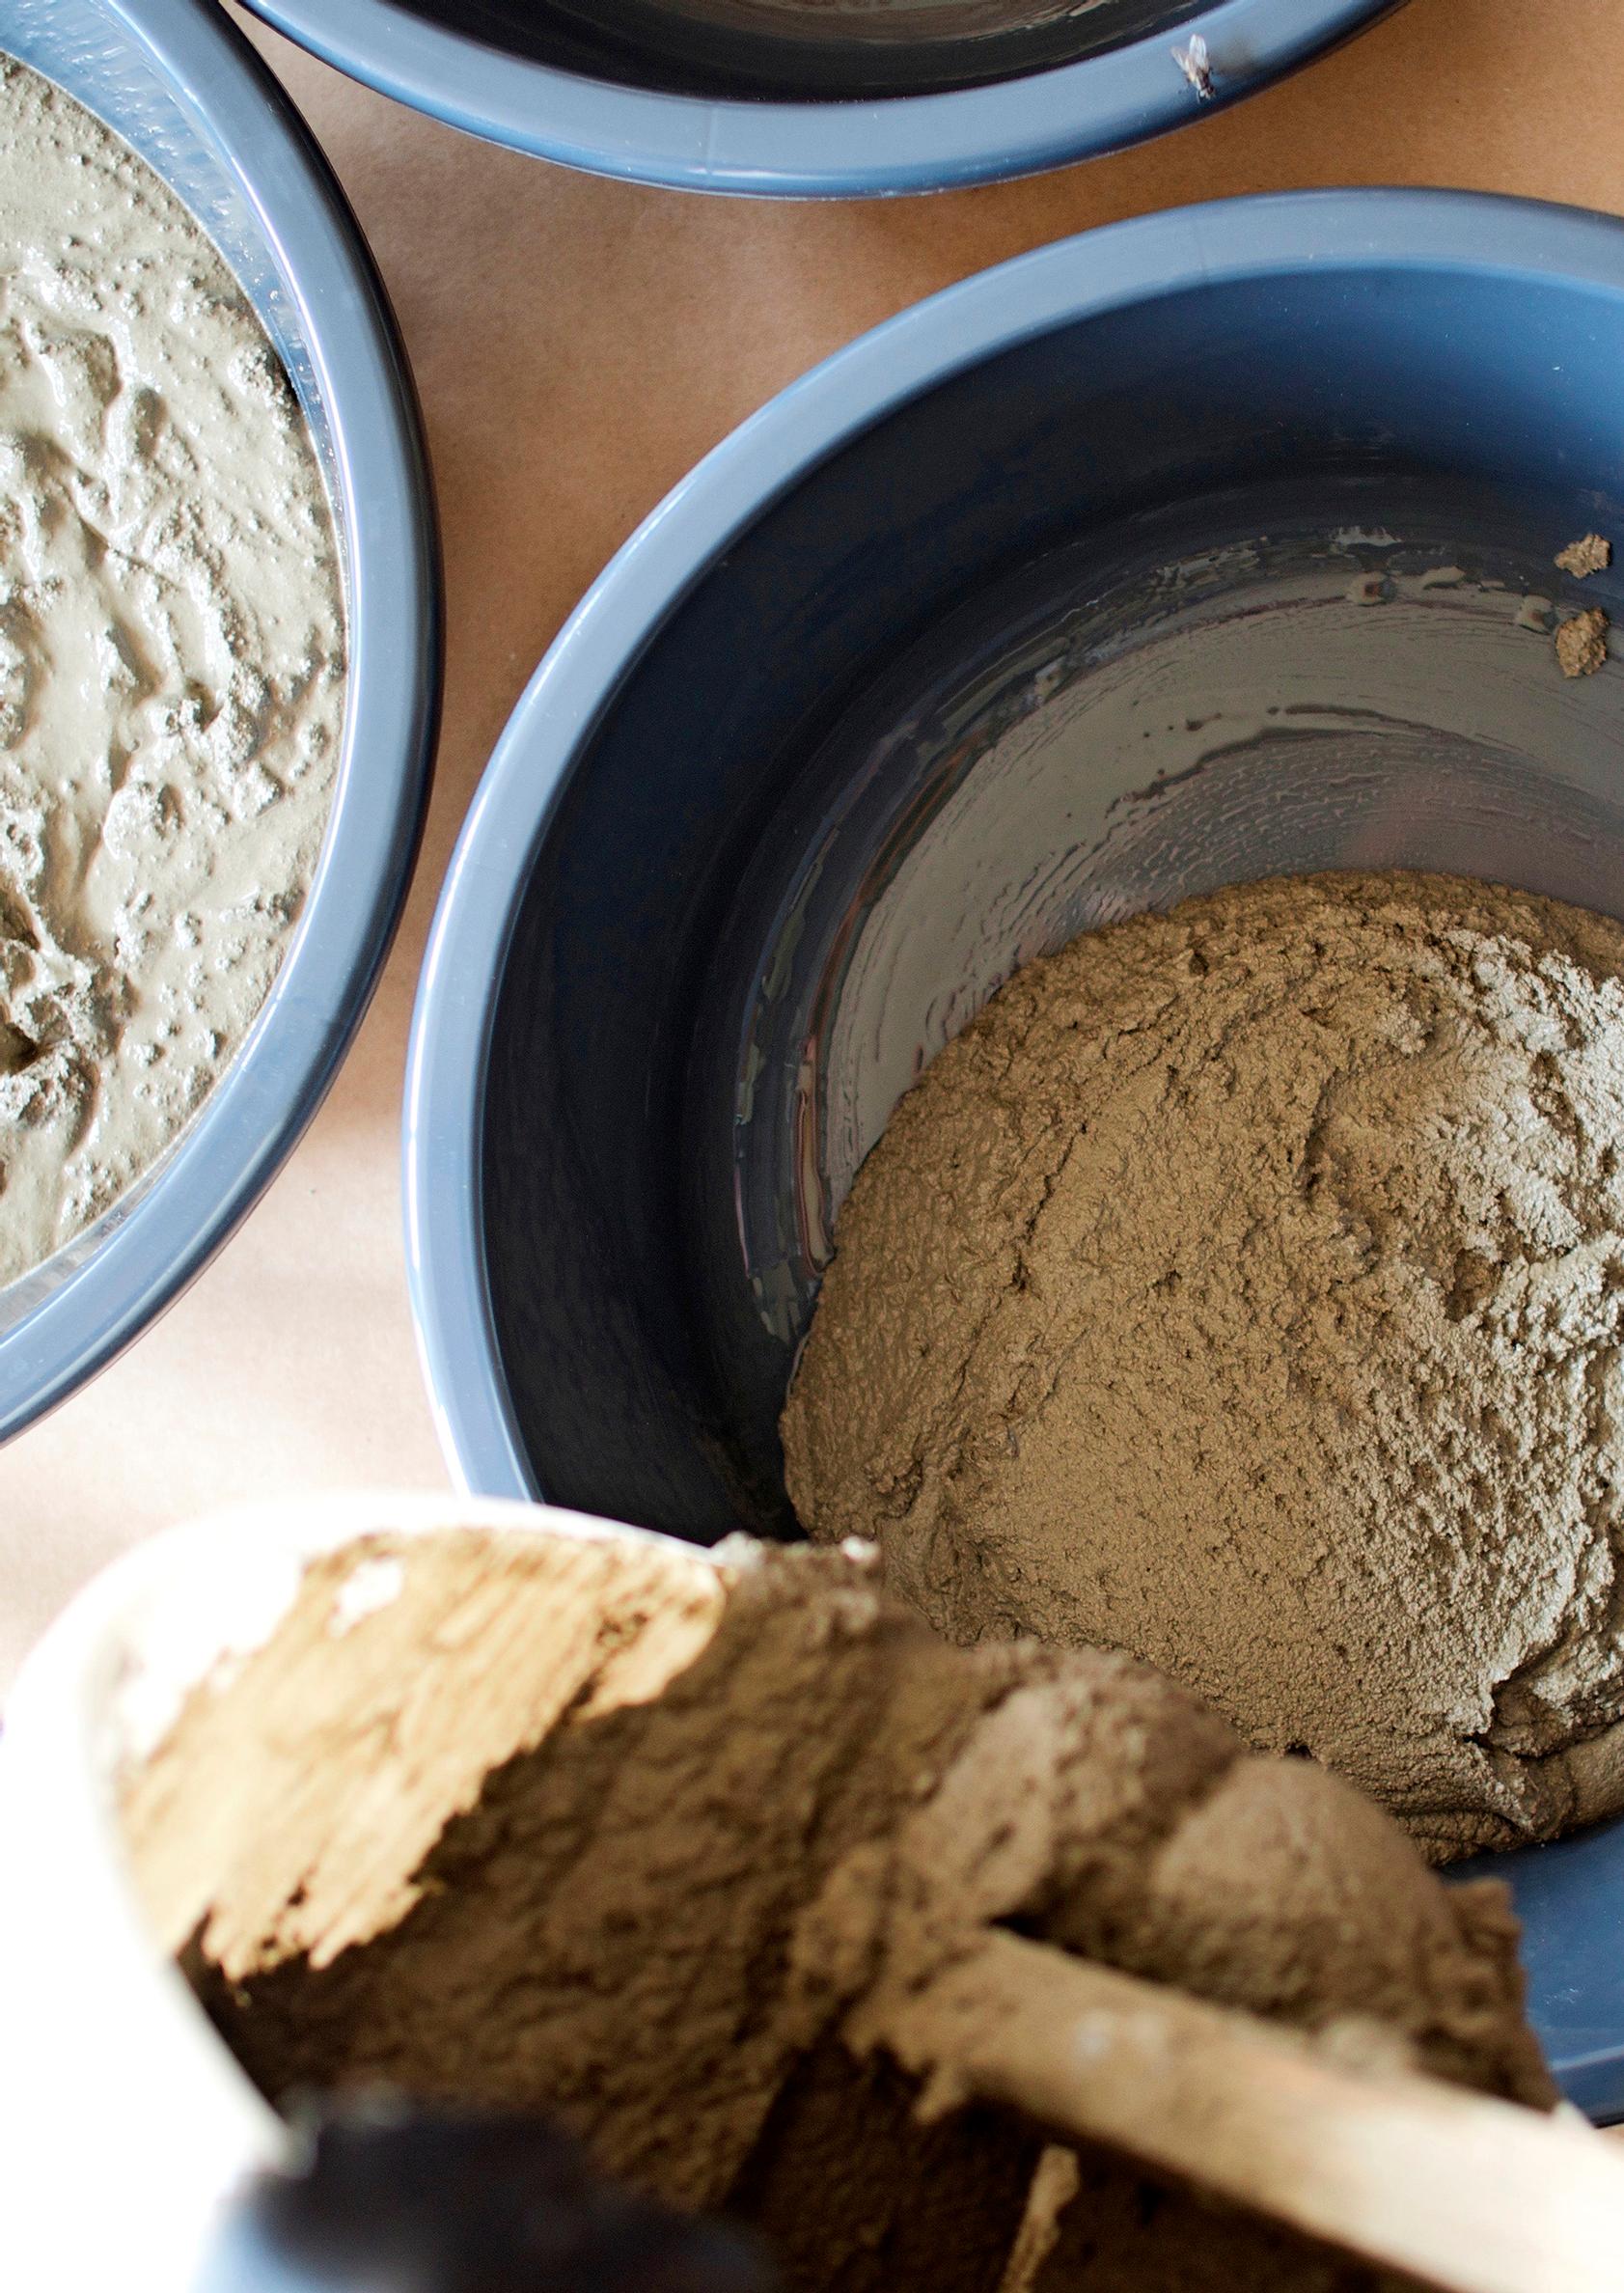
3. Pour a 4–5 cm layer of cement into the molds. Tap the tub’s edges with a wooden block to even out the surface and remove any air bubbles. Let the surface set for a few minutes before decorating.

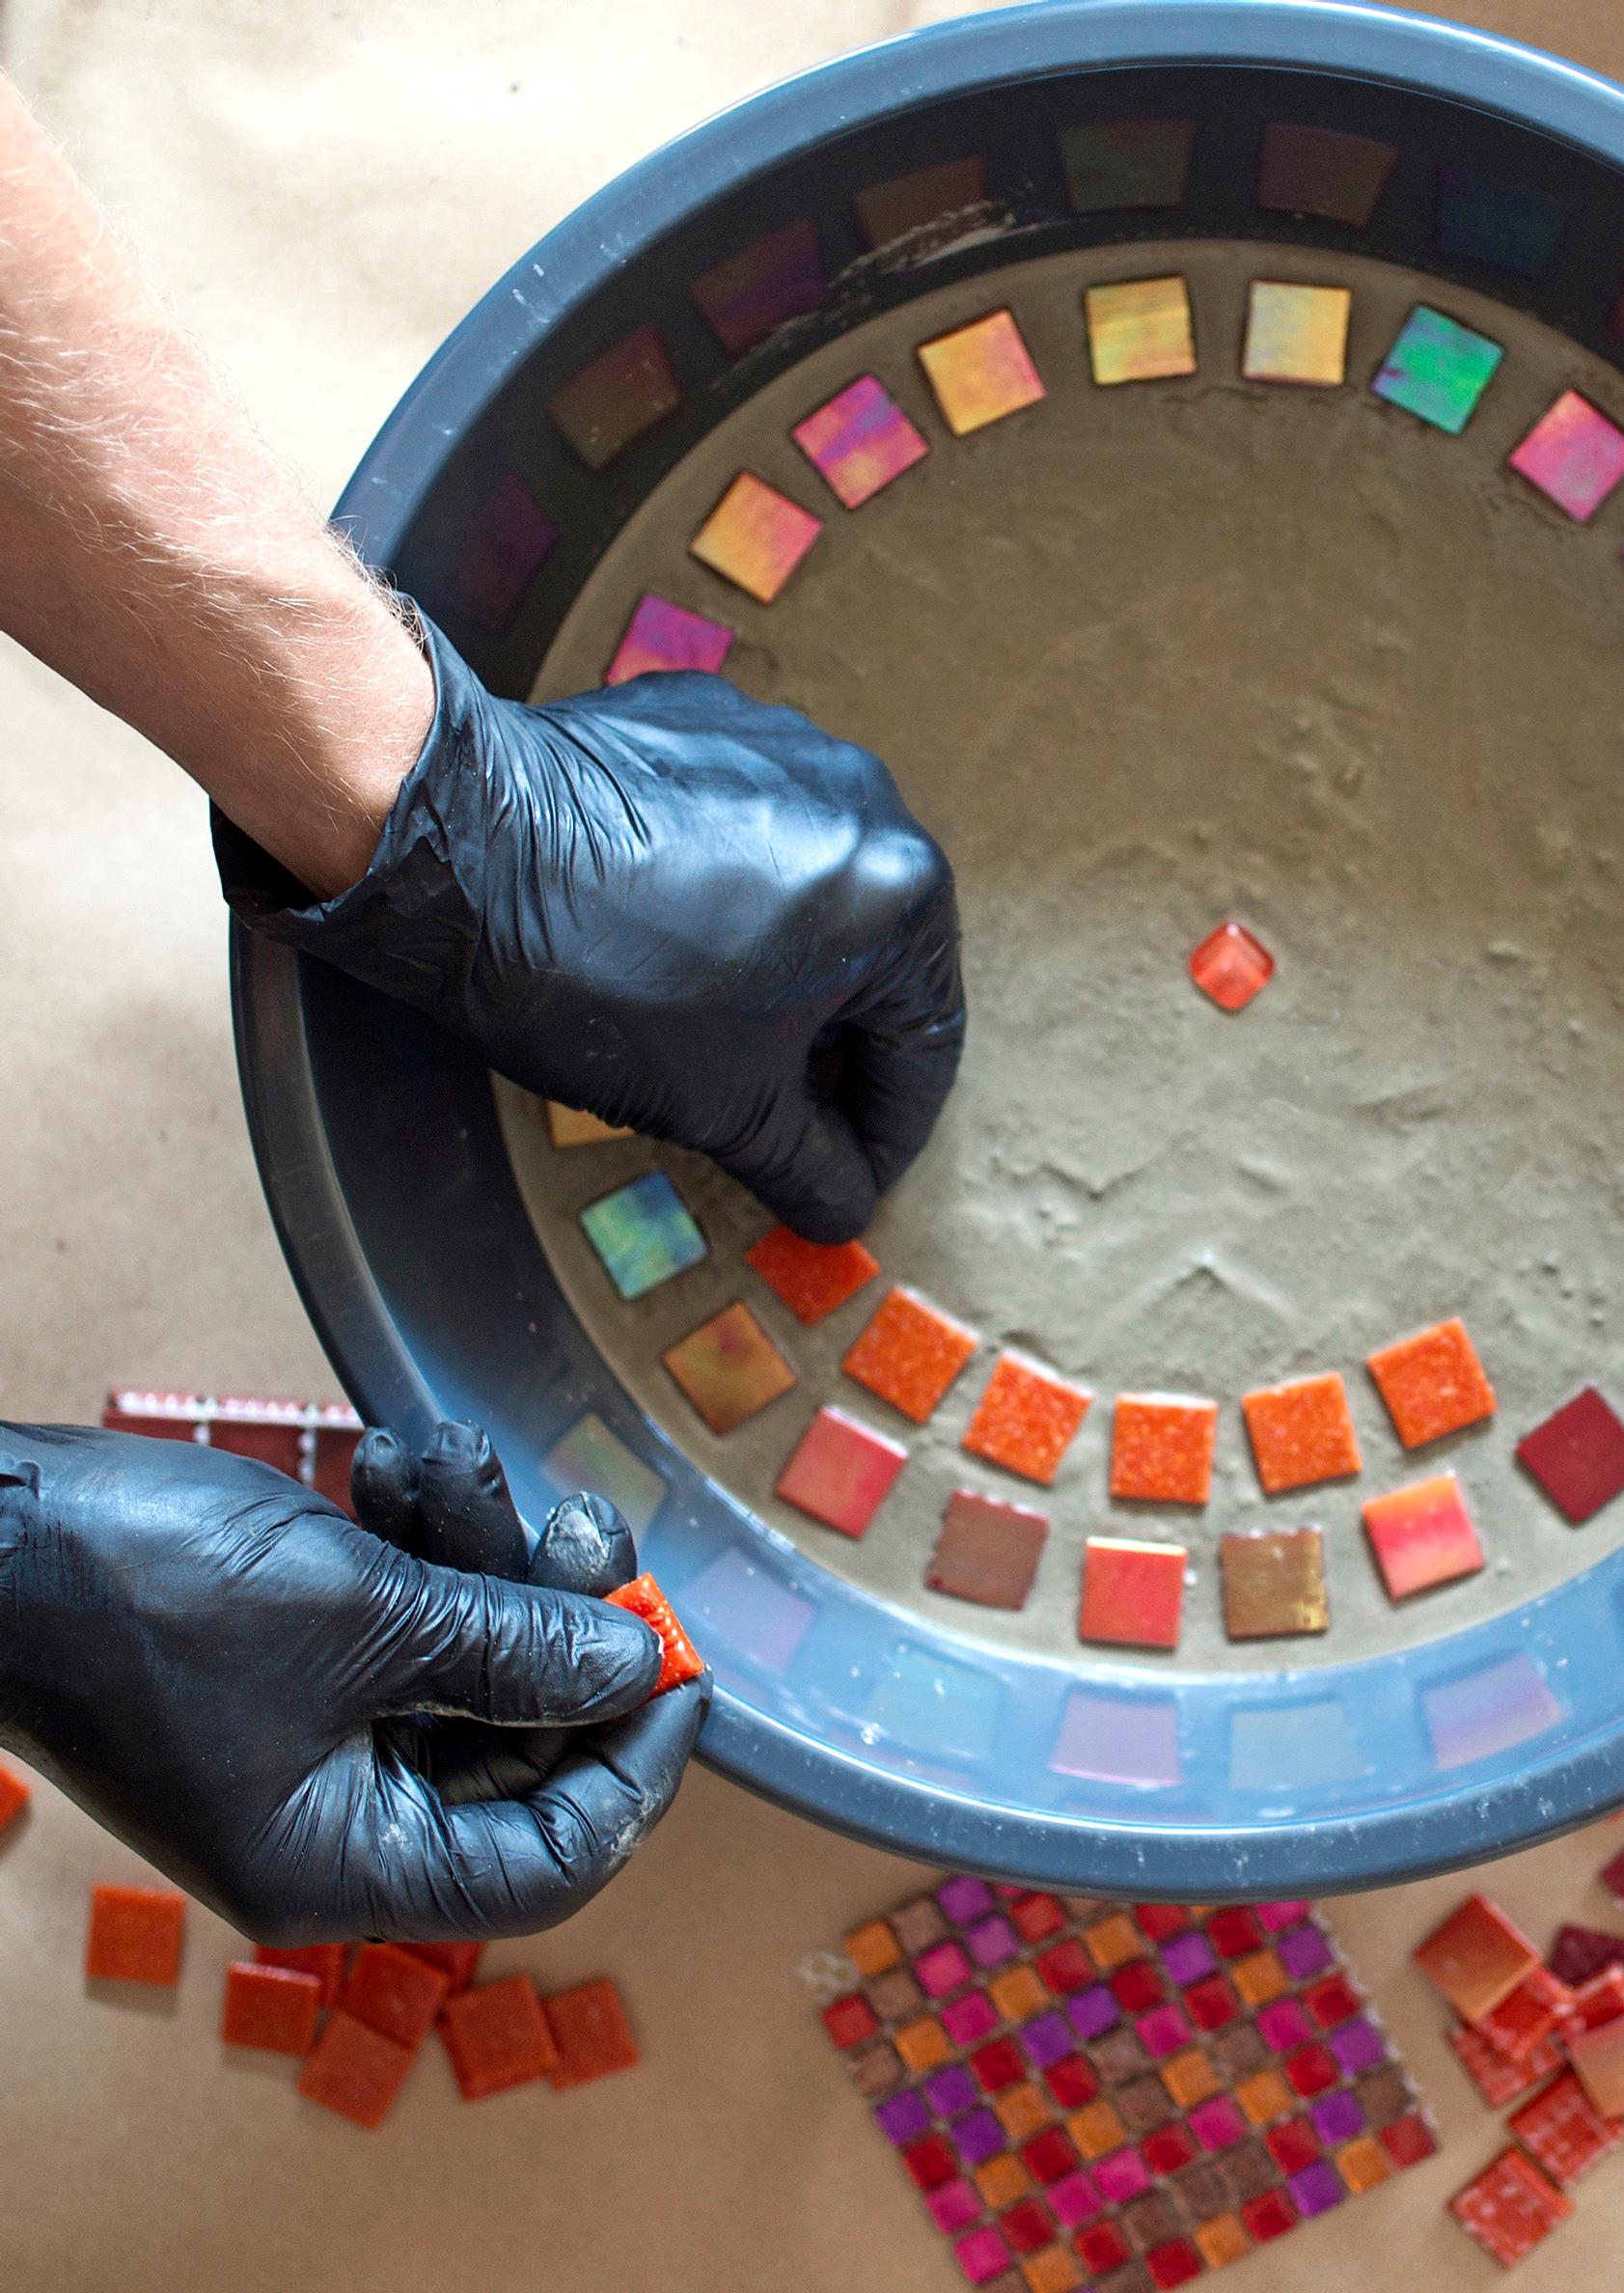
4. When the cement surface is firm enough to support the mosaic pieces, start decorating. Place each piece gently on the surface and press lightly with your fingertip to ensure it sticks. Remember to wear protective gloves!

5. Let the pavers dry in the molds overnight. Carefully loosen them by running a knife around the edges. Then flip the tub so one hand supports the paver from underneath. Gently press the bottom of the tub to release the paver, and place it on a board or on sand.

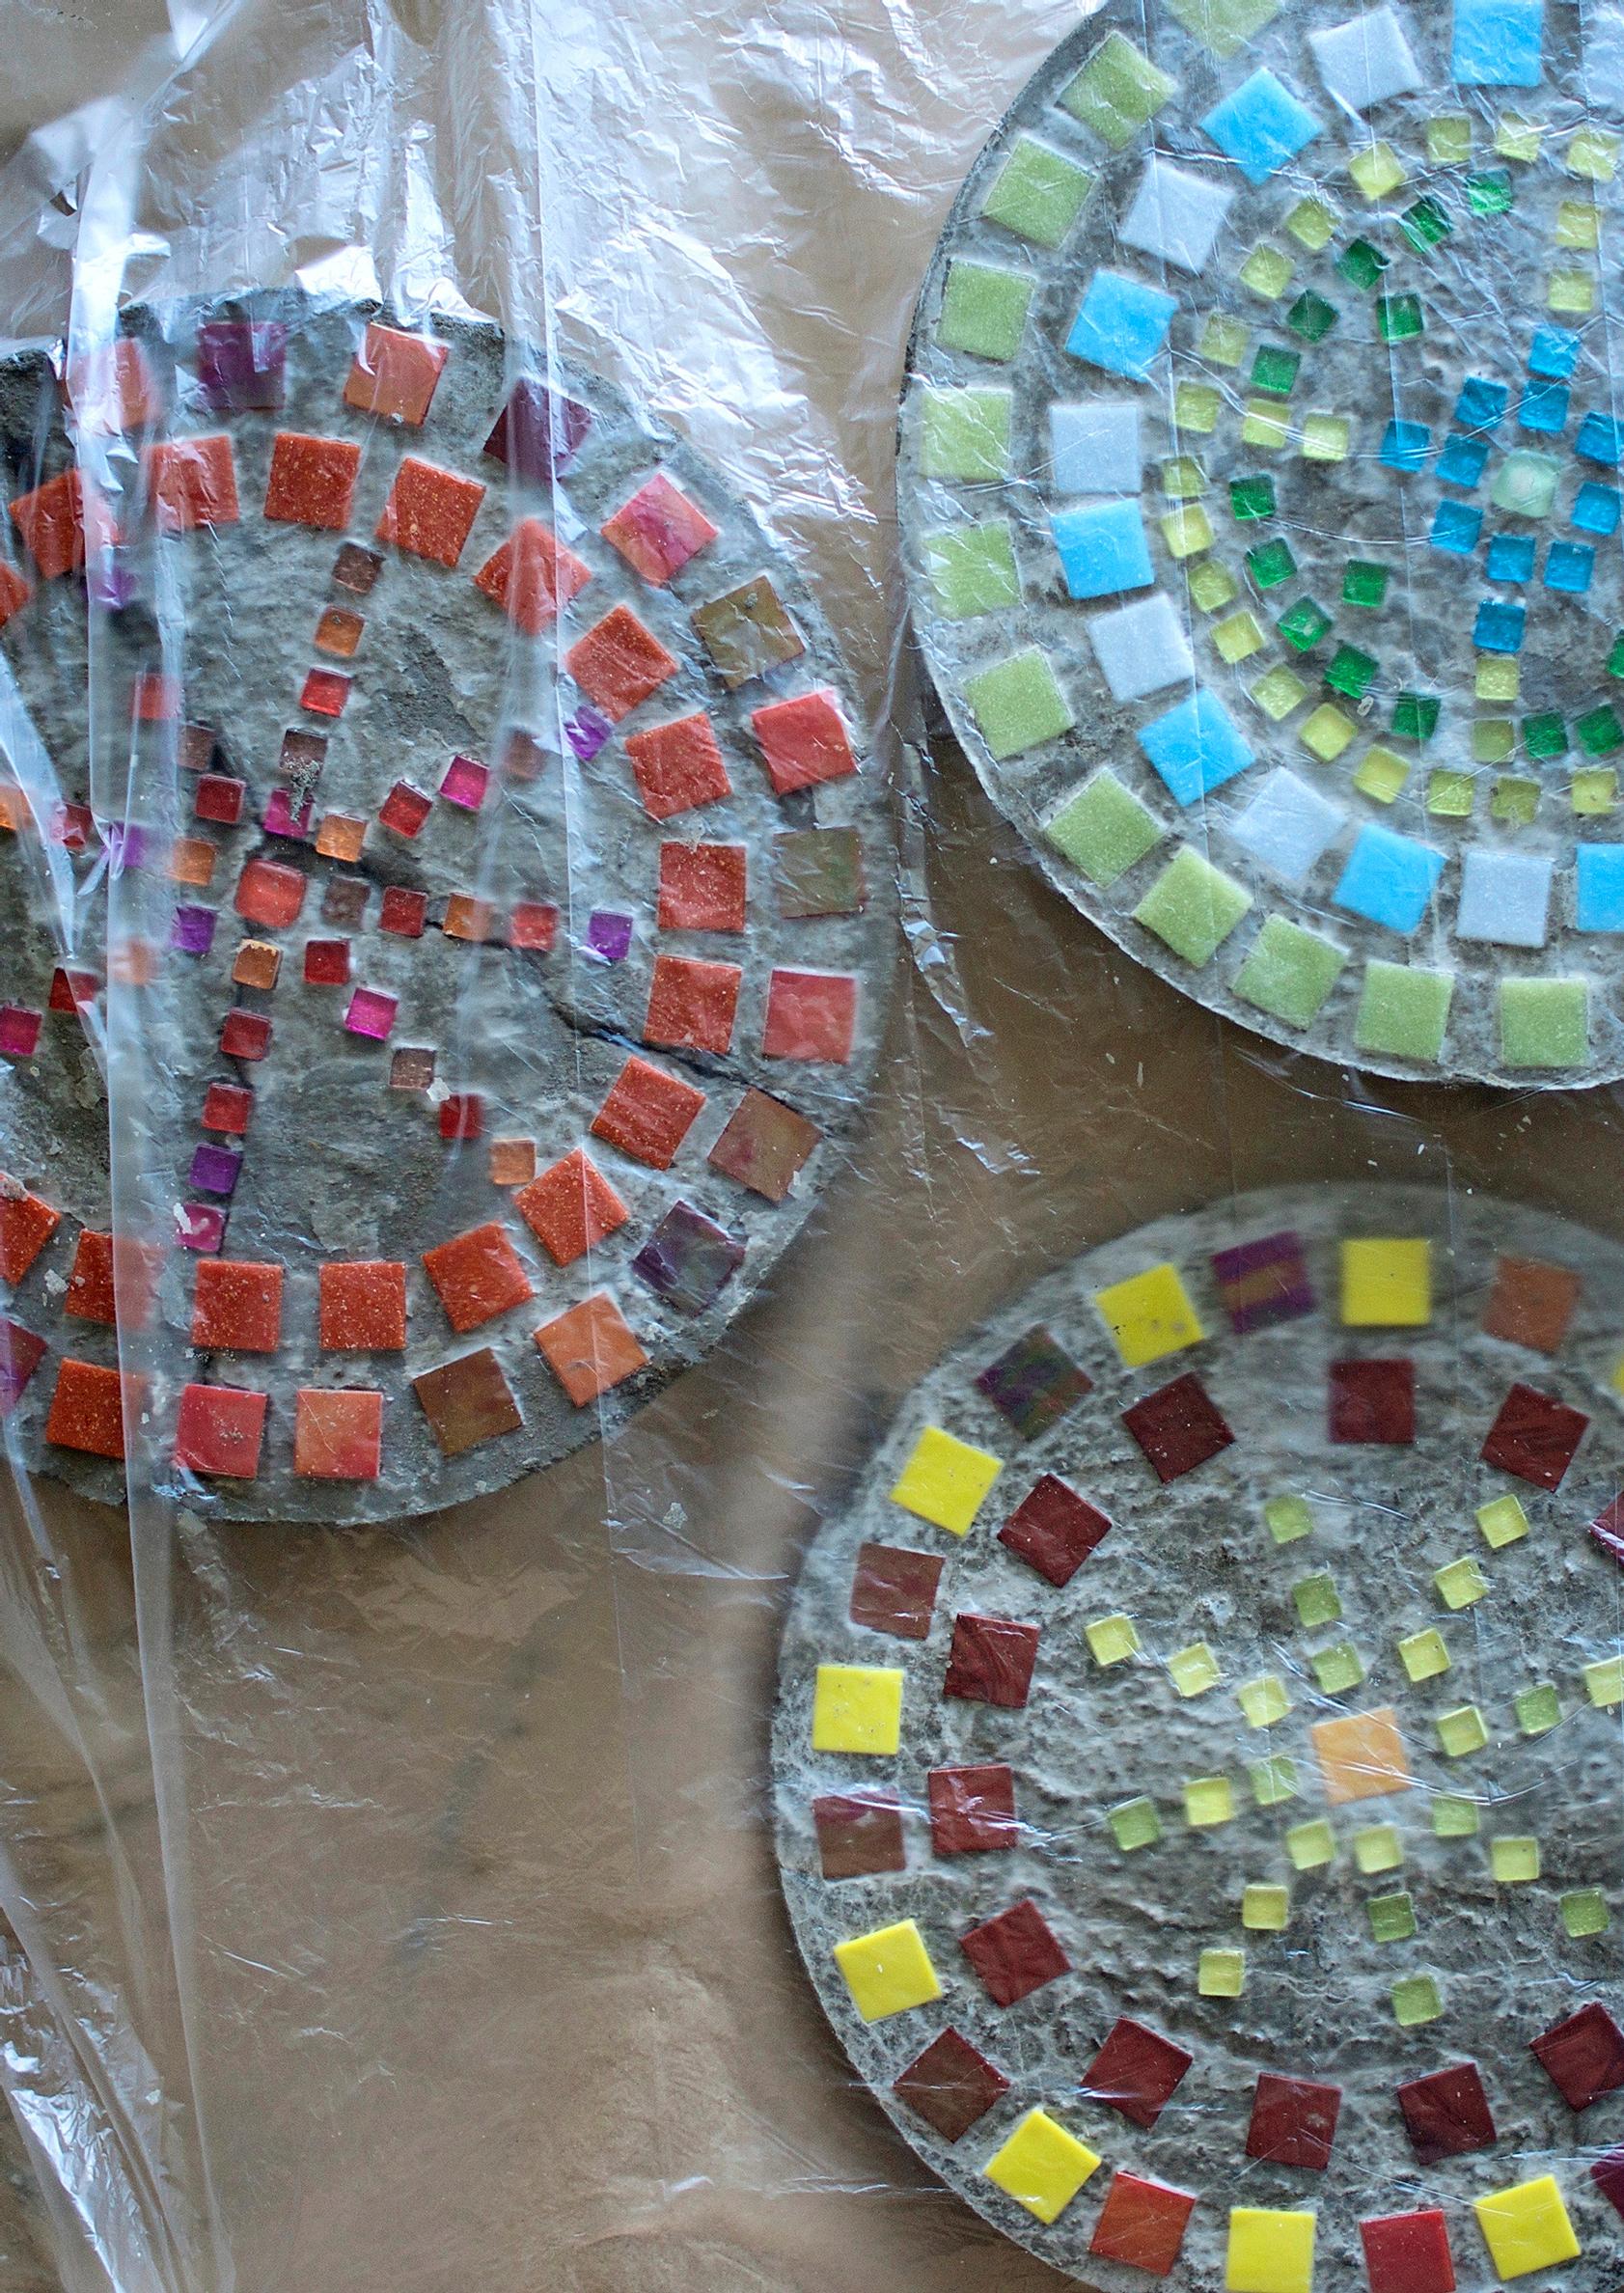
6. The cement will continue to dry and strengthen over several days. Mist the pavers with water and cover them with plastic so they dry slowly and evenly, which makes them more durable. They’re ready when they feel cool to the touch. You can apply marine varnish for a glossy finish, but always only do this in a well-ventilated area or outdoors.