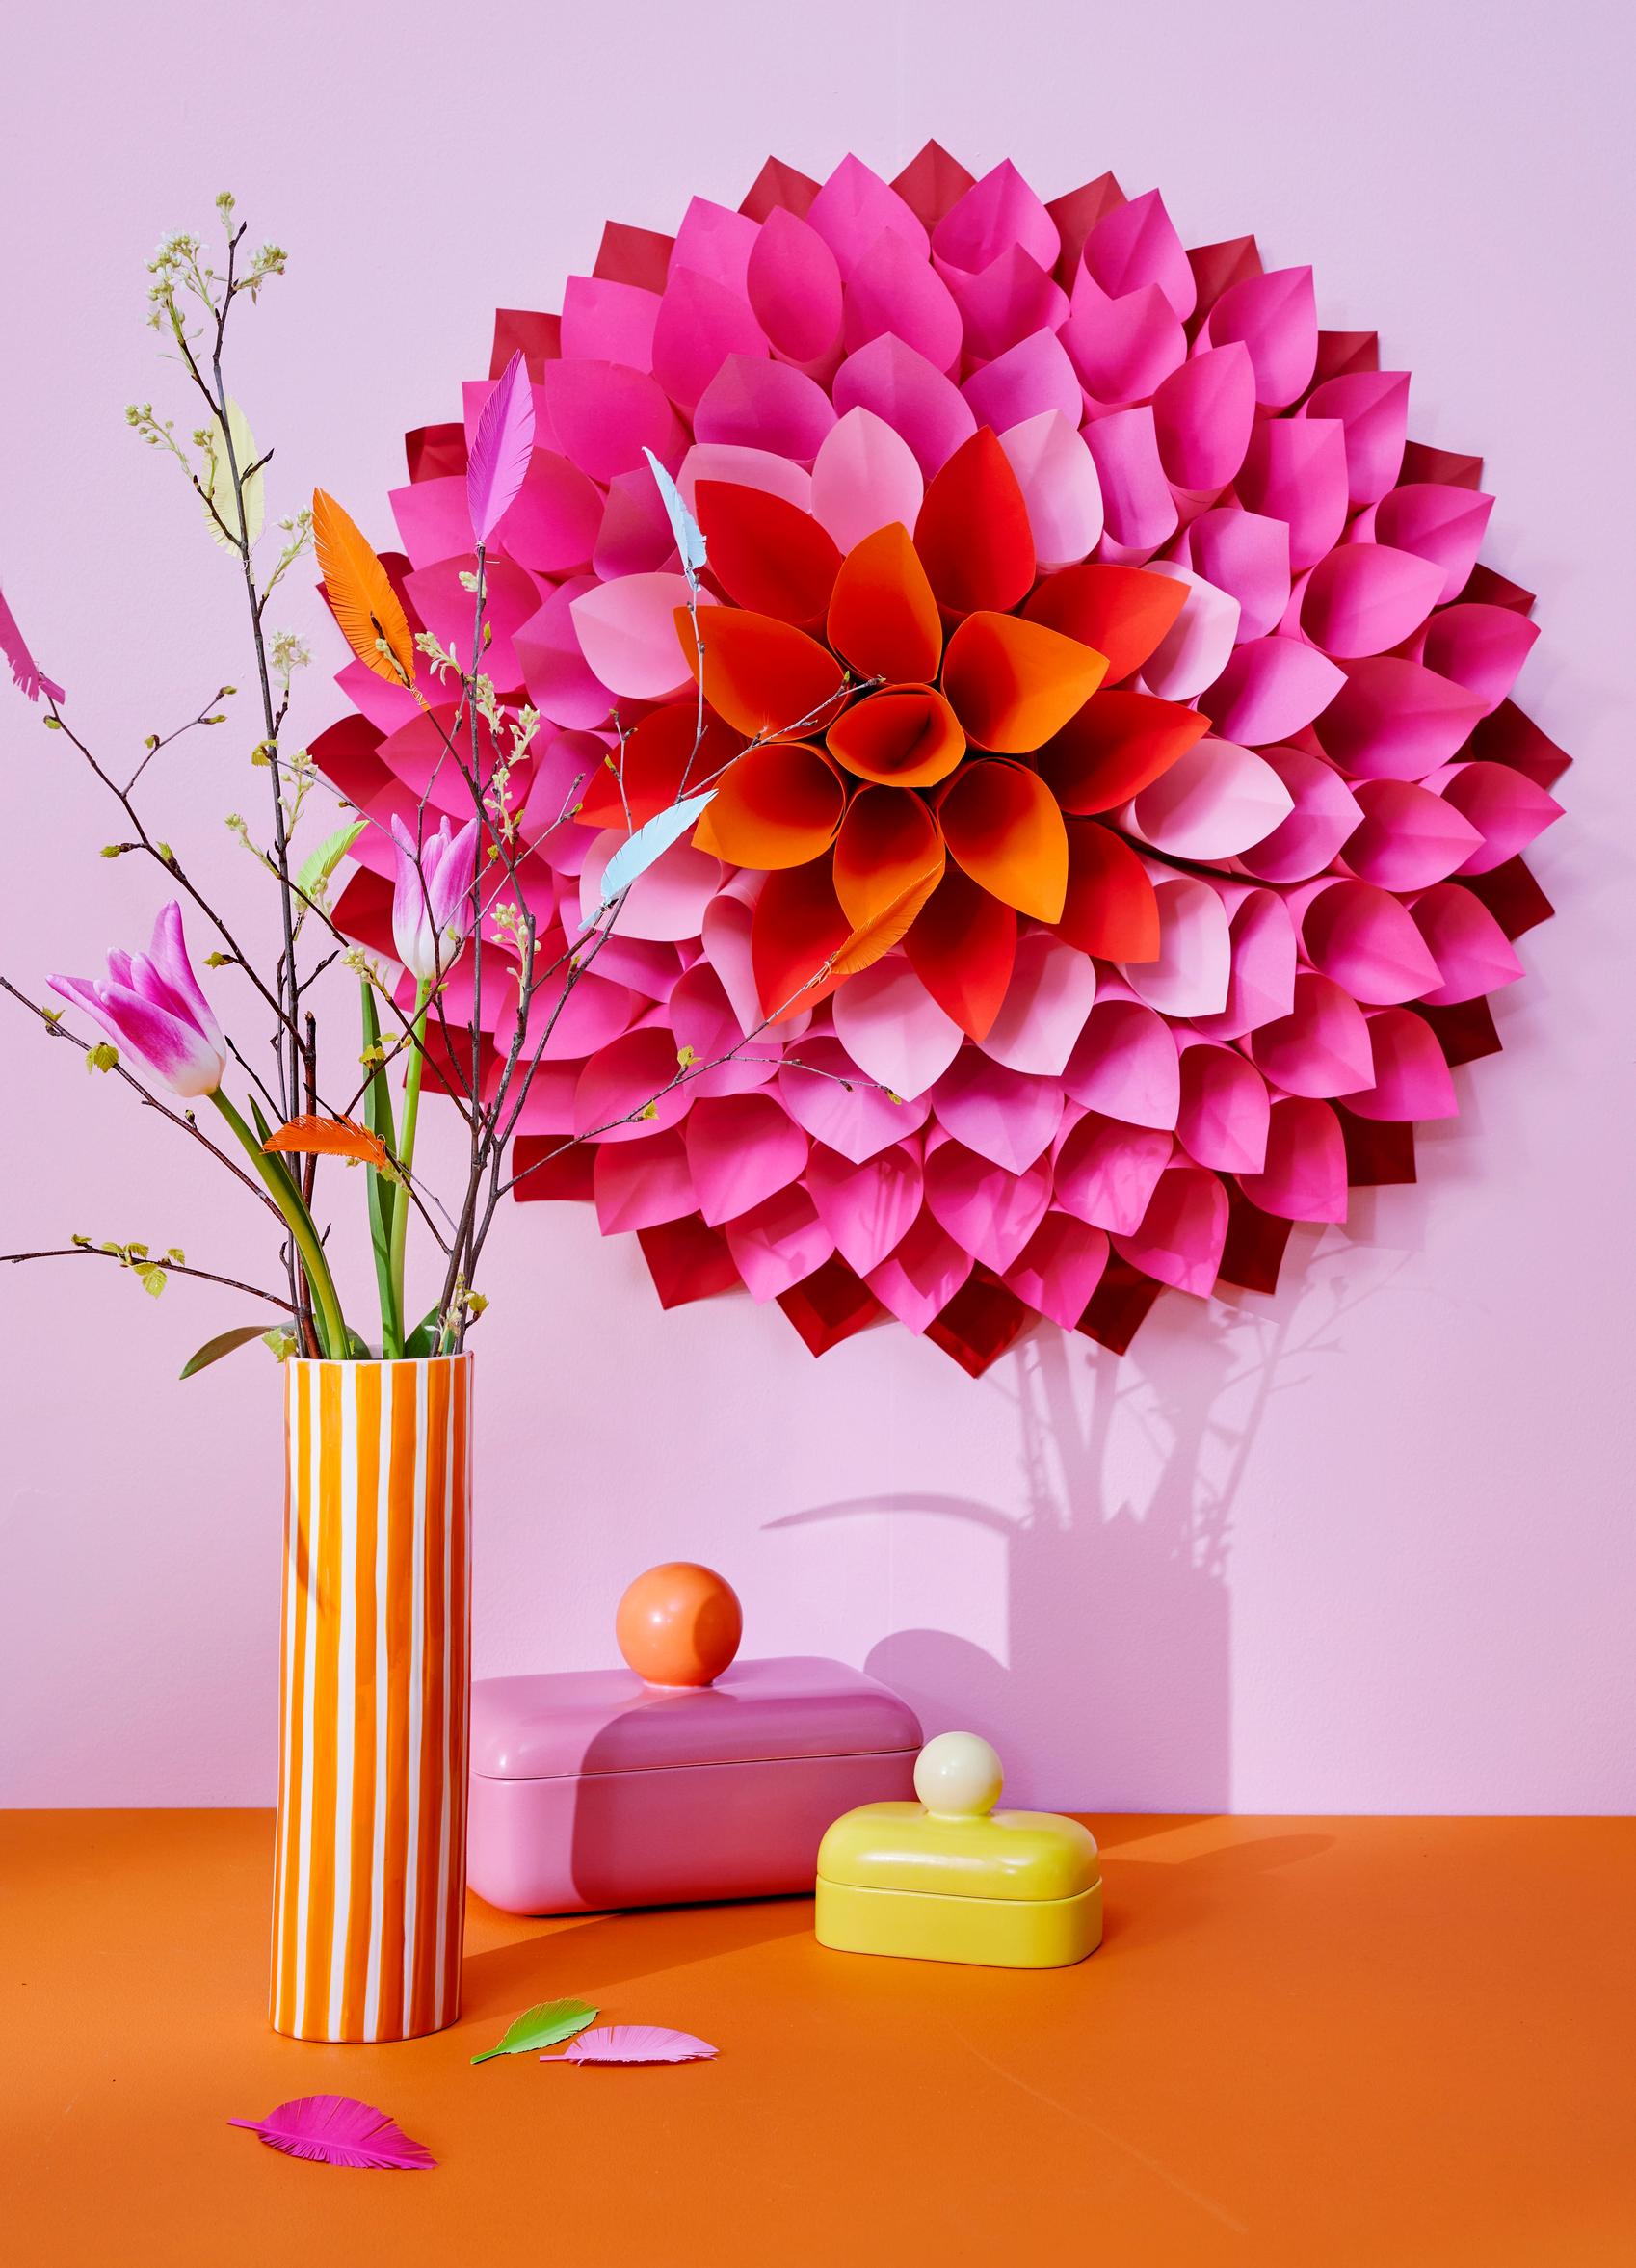
This colorful paper dahlia won’t be a wallflower: make a striking decoration for your home or party
This colorful paper dahlia is made by layering paper cones onto a sturdy base. Different shades of red add contrast and depth. Hang it on the wall, and the party is ready to begin!
Diameter of the paper dahlia: about 68 cm.
Colorful paper dahlia—supplies:
- assorted colors of craft paper (and/or cardstock)
- a piece of cardboard
- scissors
- double-sided tape
- a hot glue gun
- tape and string for hanging.

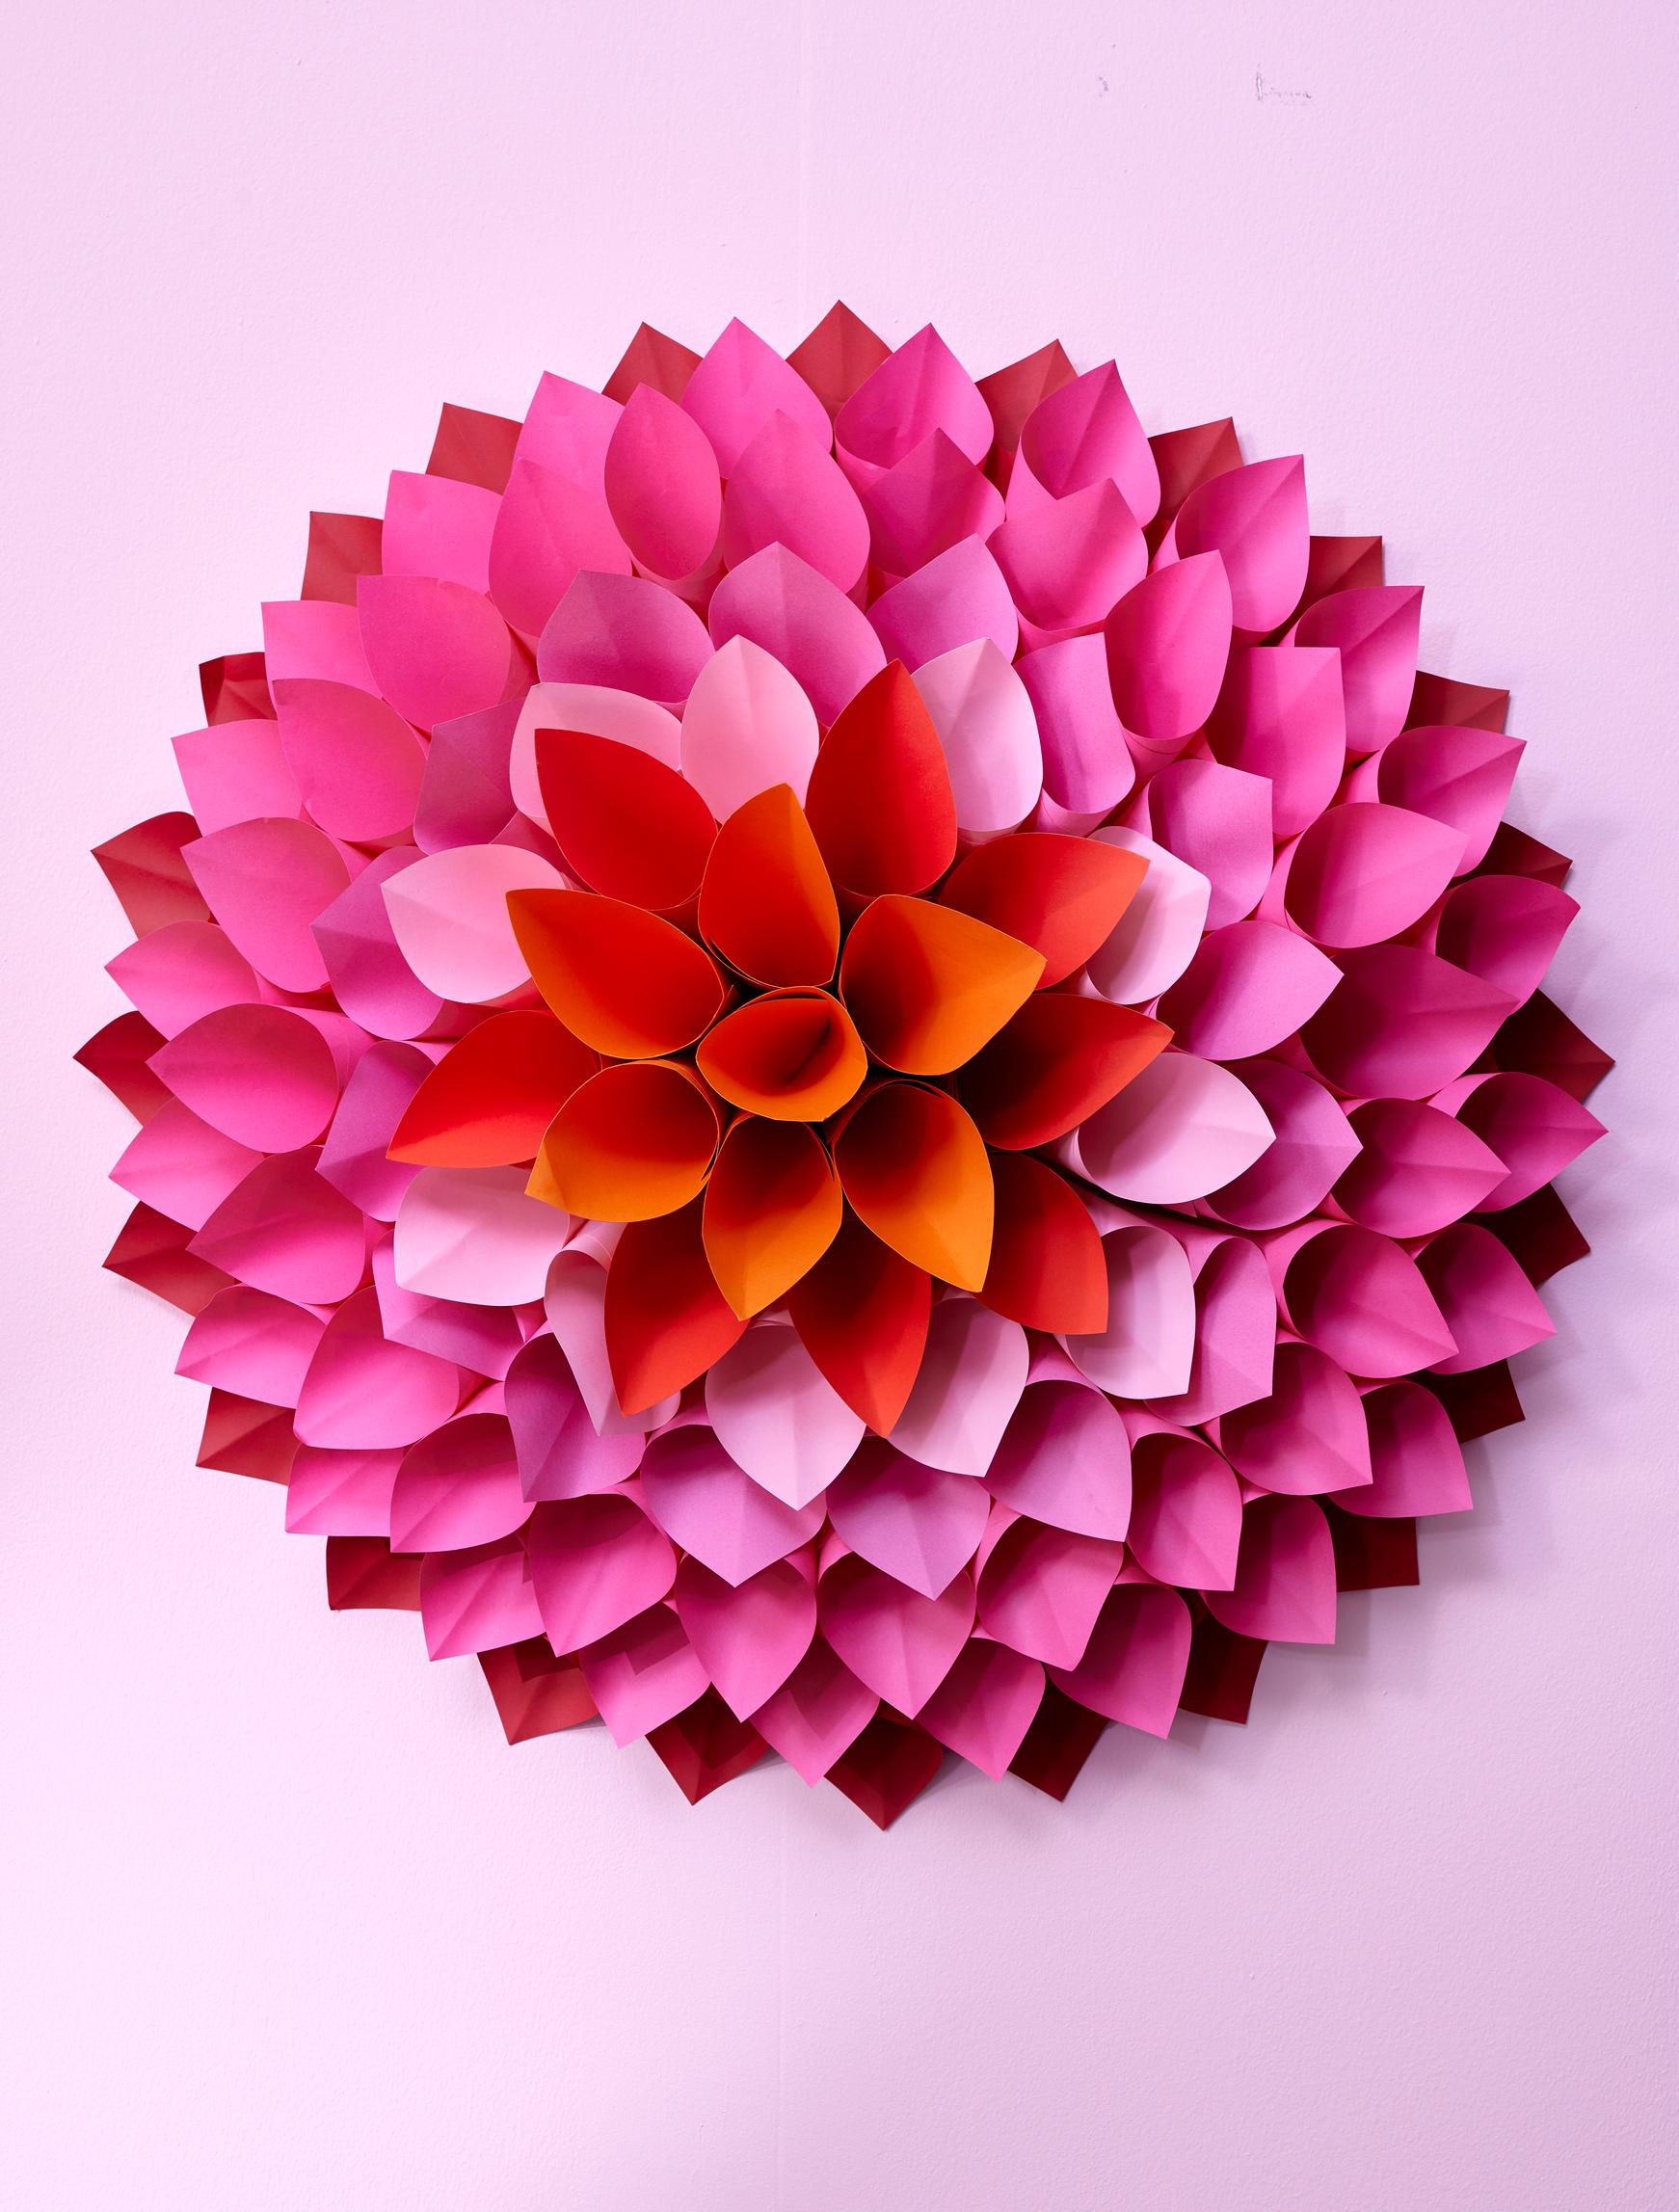
The paper dahlia in these instructions is made with a total of 114 cones in six different colors:
- 1st layer: 24 deep red cones
- 2nd and 3rd layers: 24 + 24 for a total of 48 pink cones
- 4th layer:16 rose-pink cones
- 5th layer: 11 light pink cones
- 6th layer: 8 dark orange cones
- 7th layer: 7 lighter orange cones.
Colorful paper dahlia—instructions:

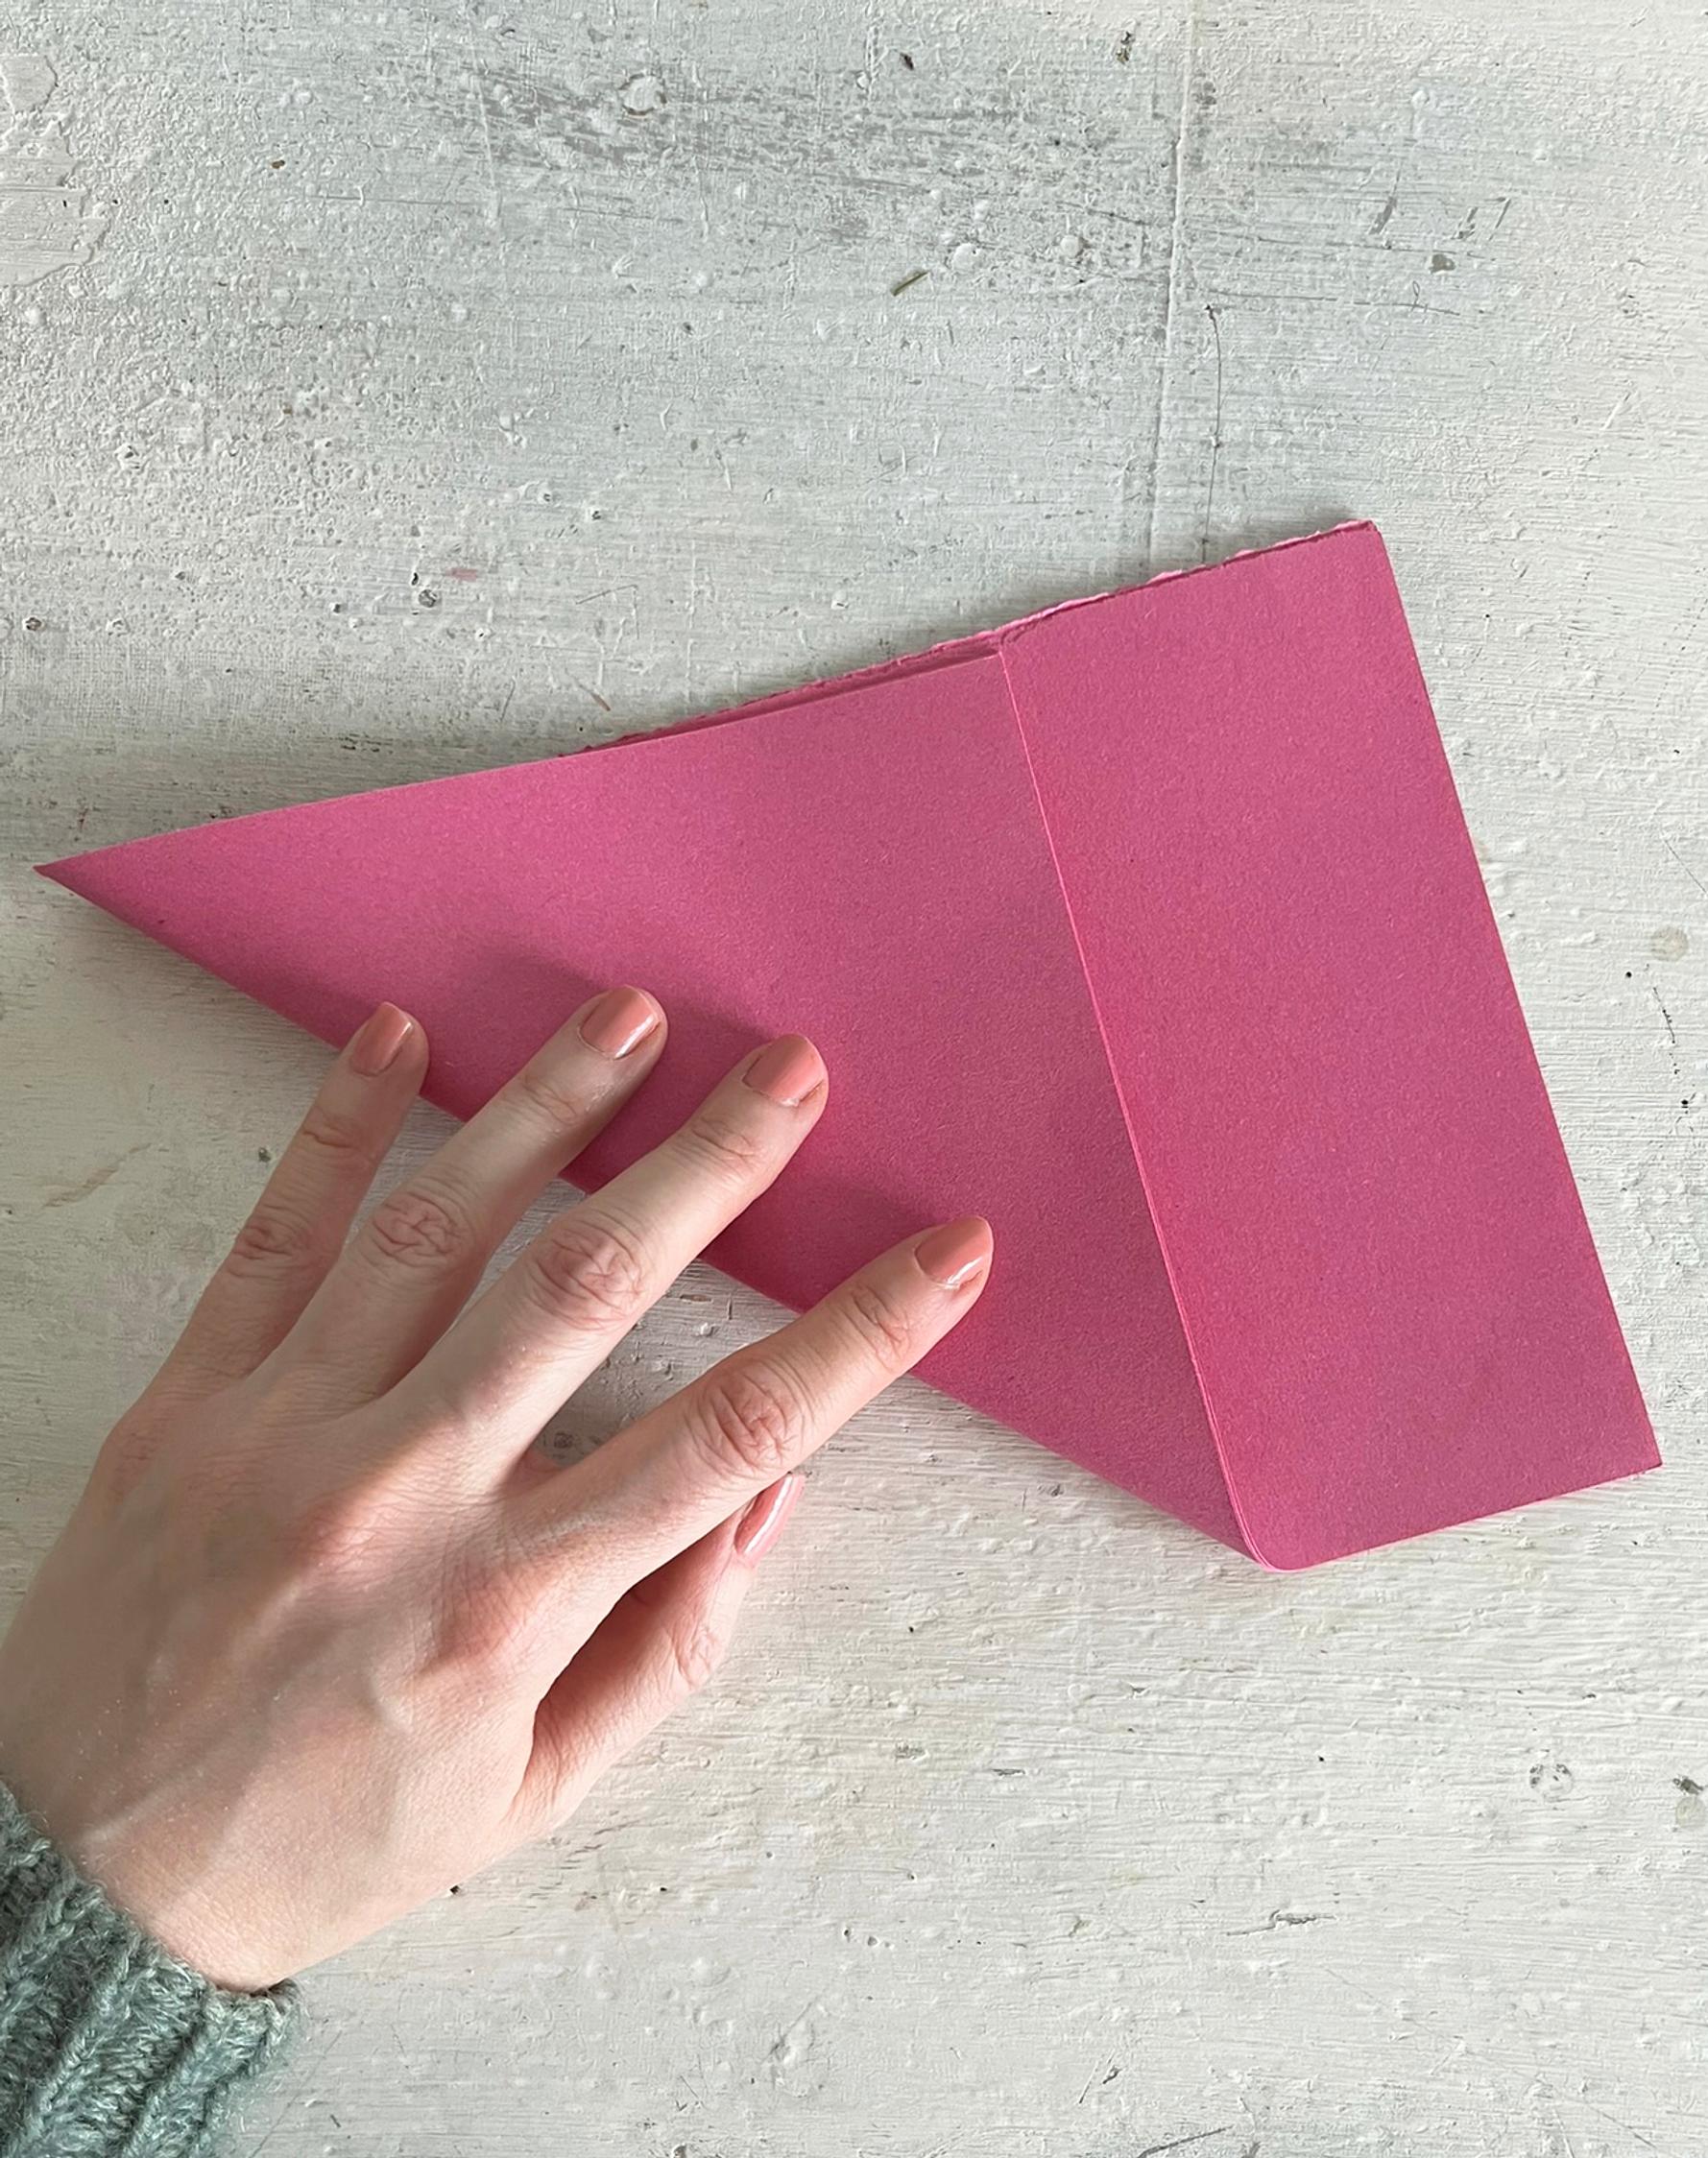
1. Take a small stack of craft papers (about five sheets). Fold the stack diagonally in half to form a triangle.

2. Cut off the excess strips at the end. Make more stacks like this.

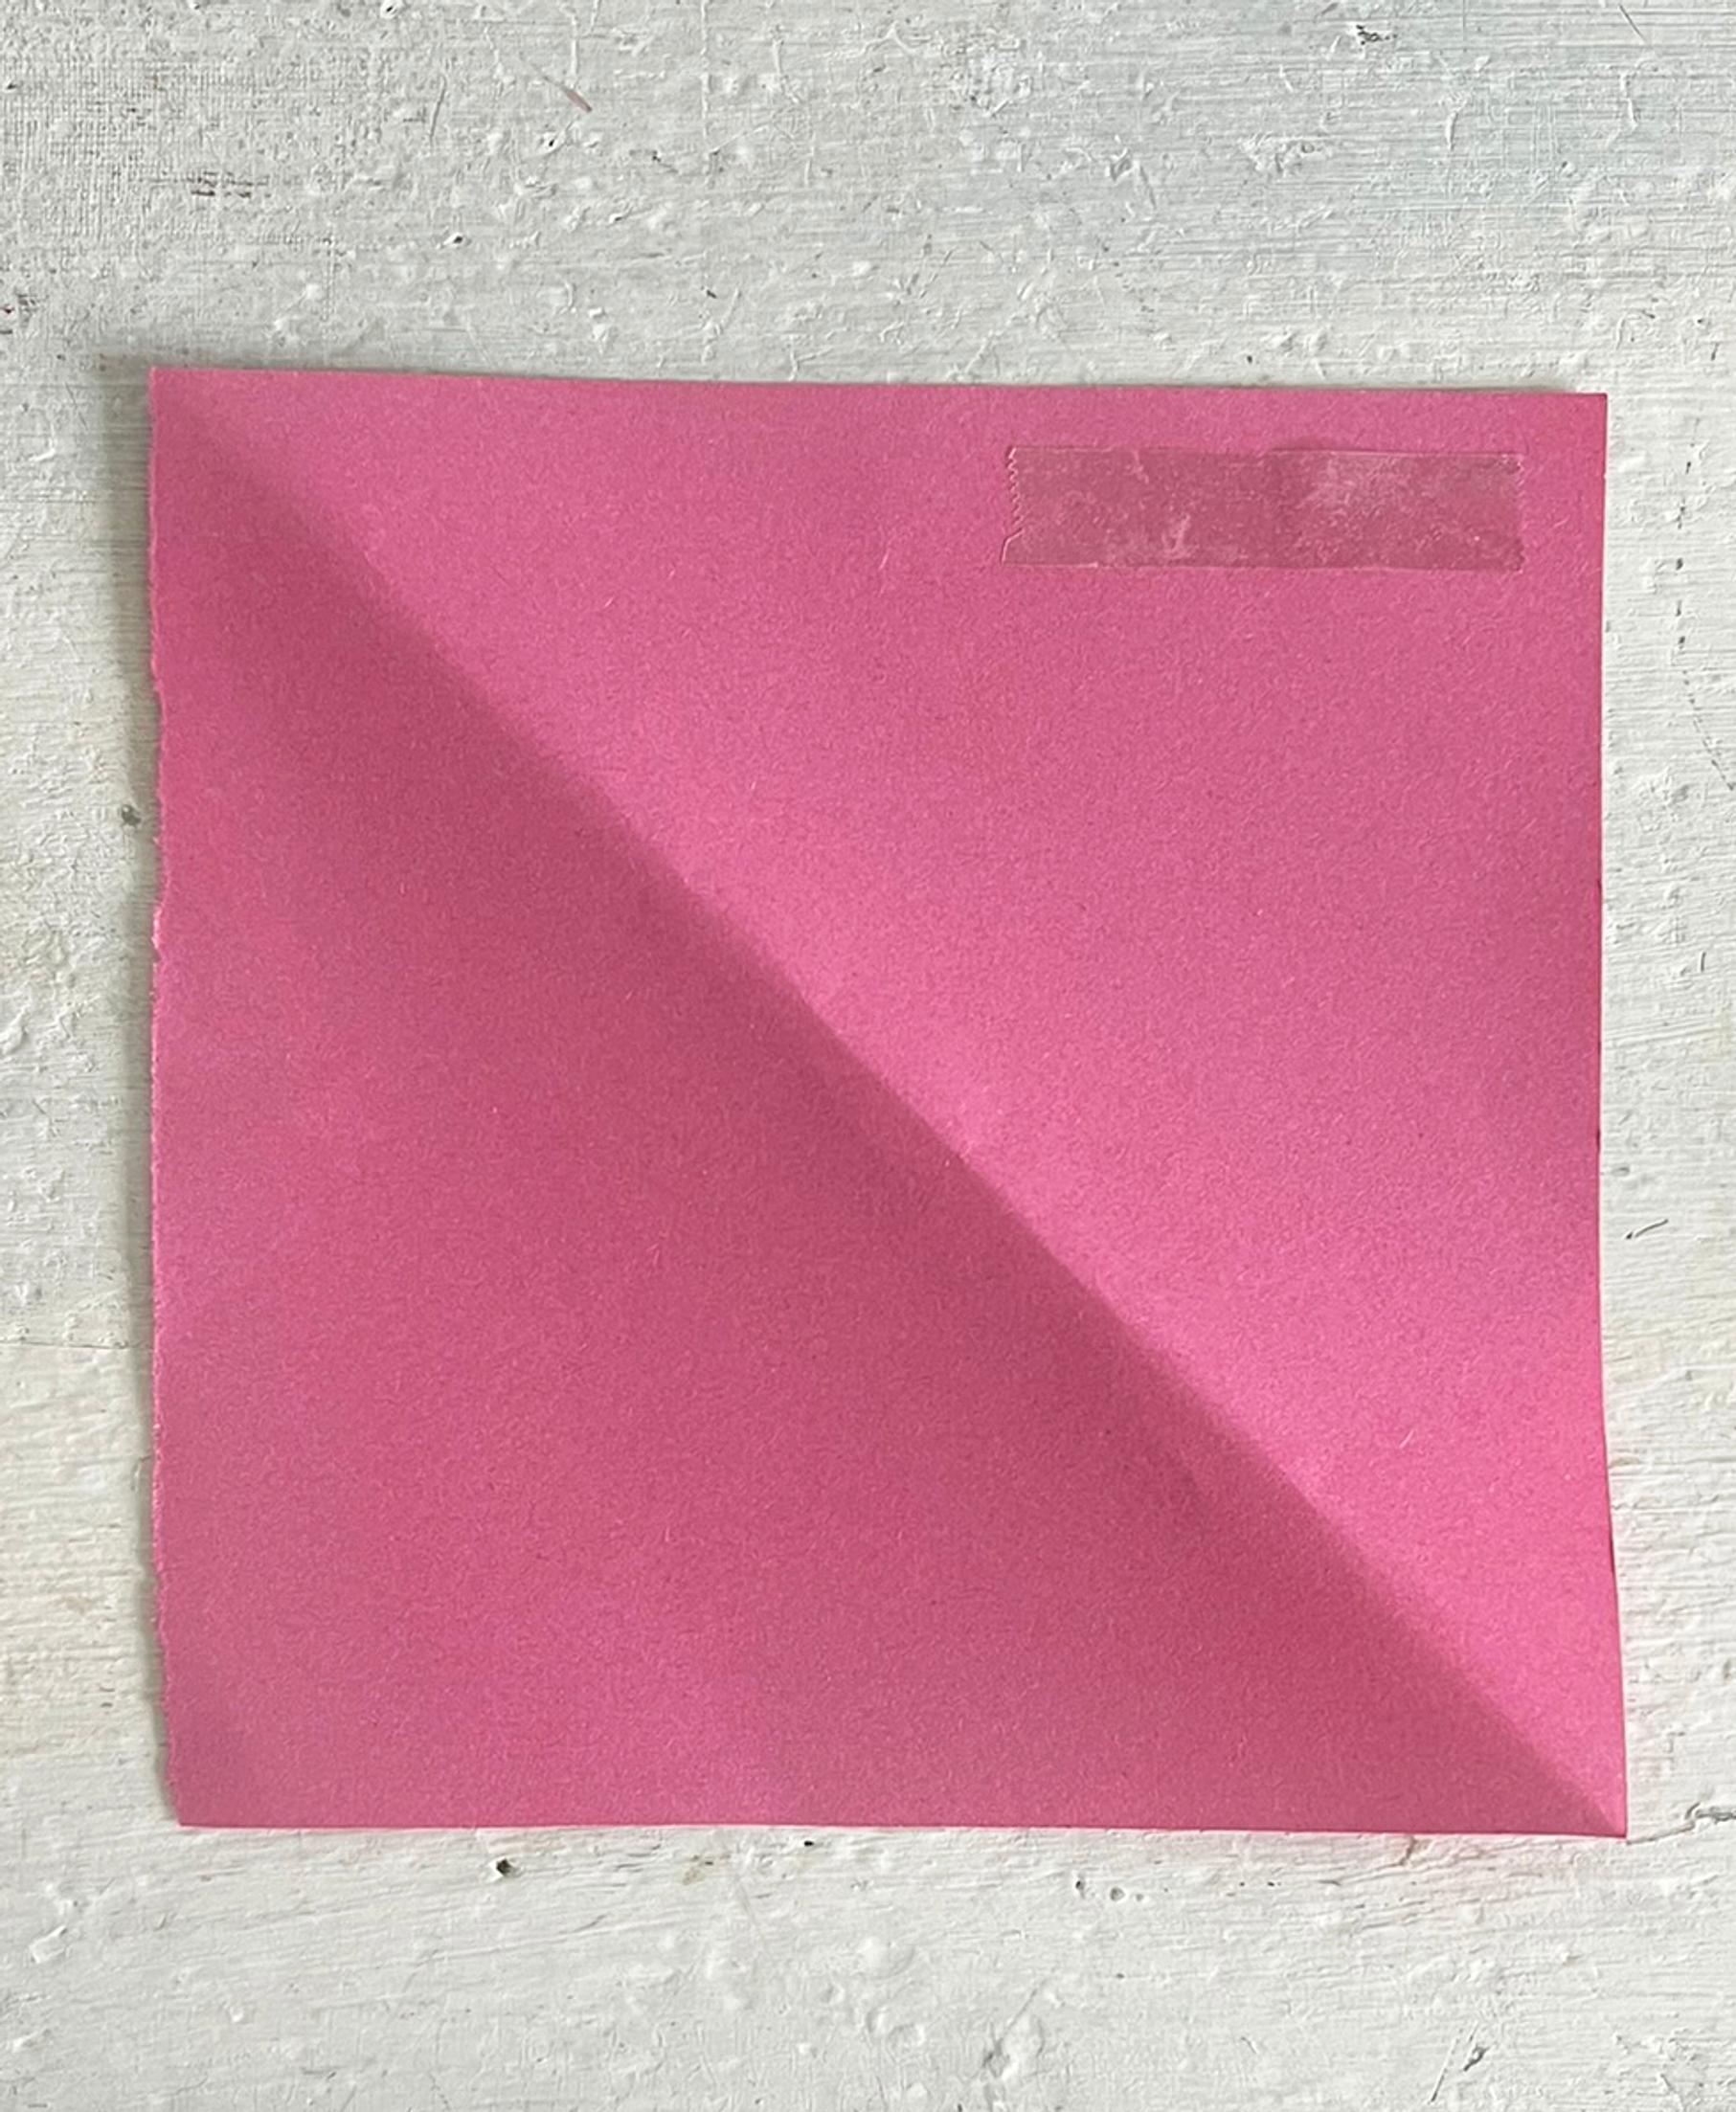
3. Take one sheet of paper and unfold it into a square. If you’re using half-torn A4 sheets, for example, and want to hide the torn edge, place it as shown above. Attach a piece of tape to the upper right corner of the paper.

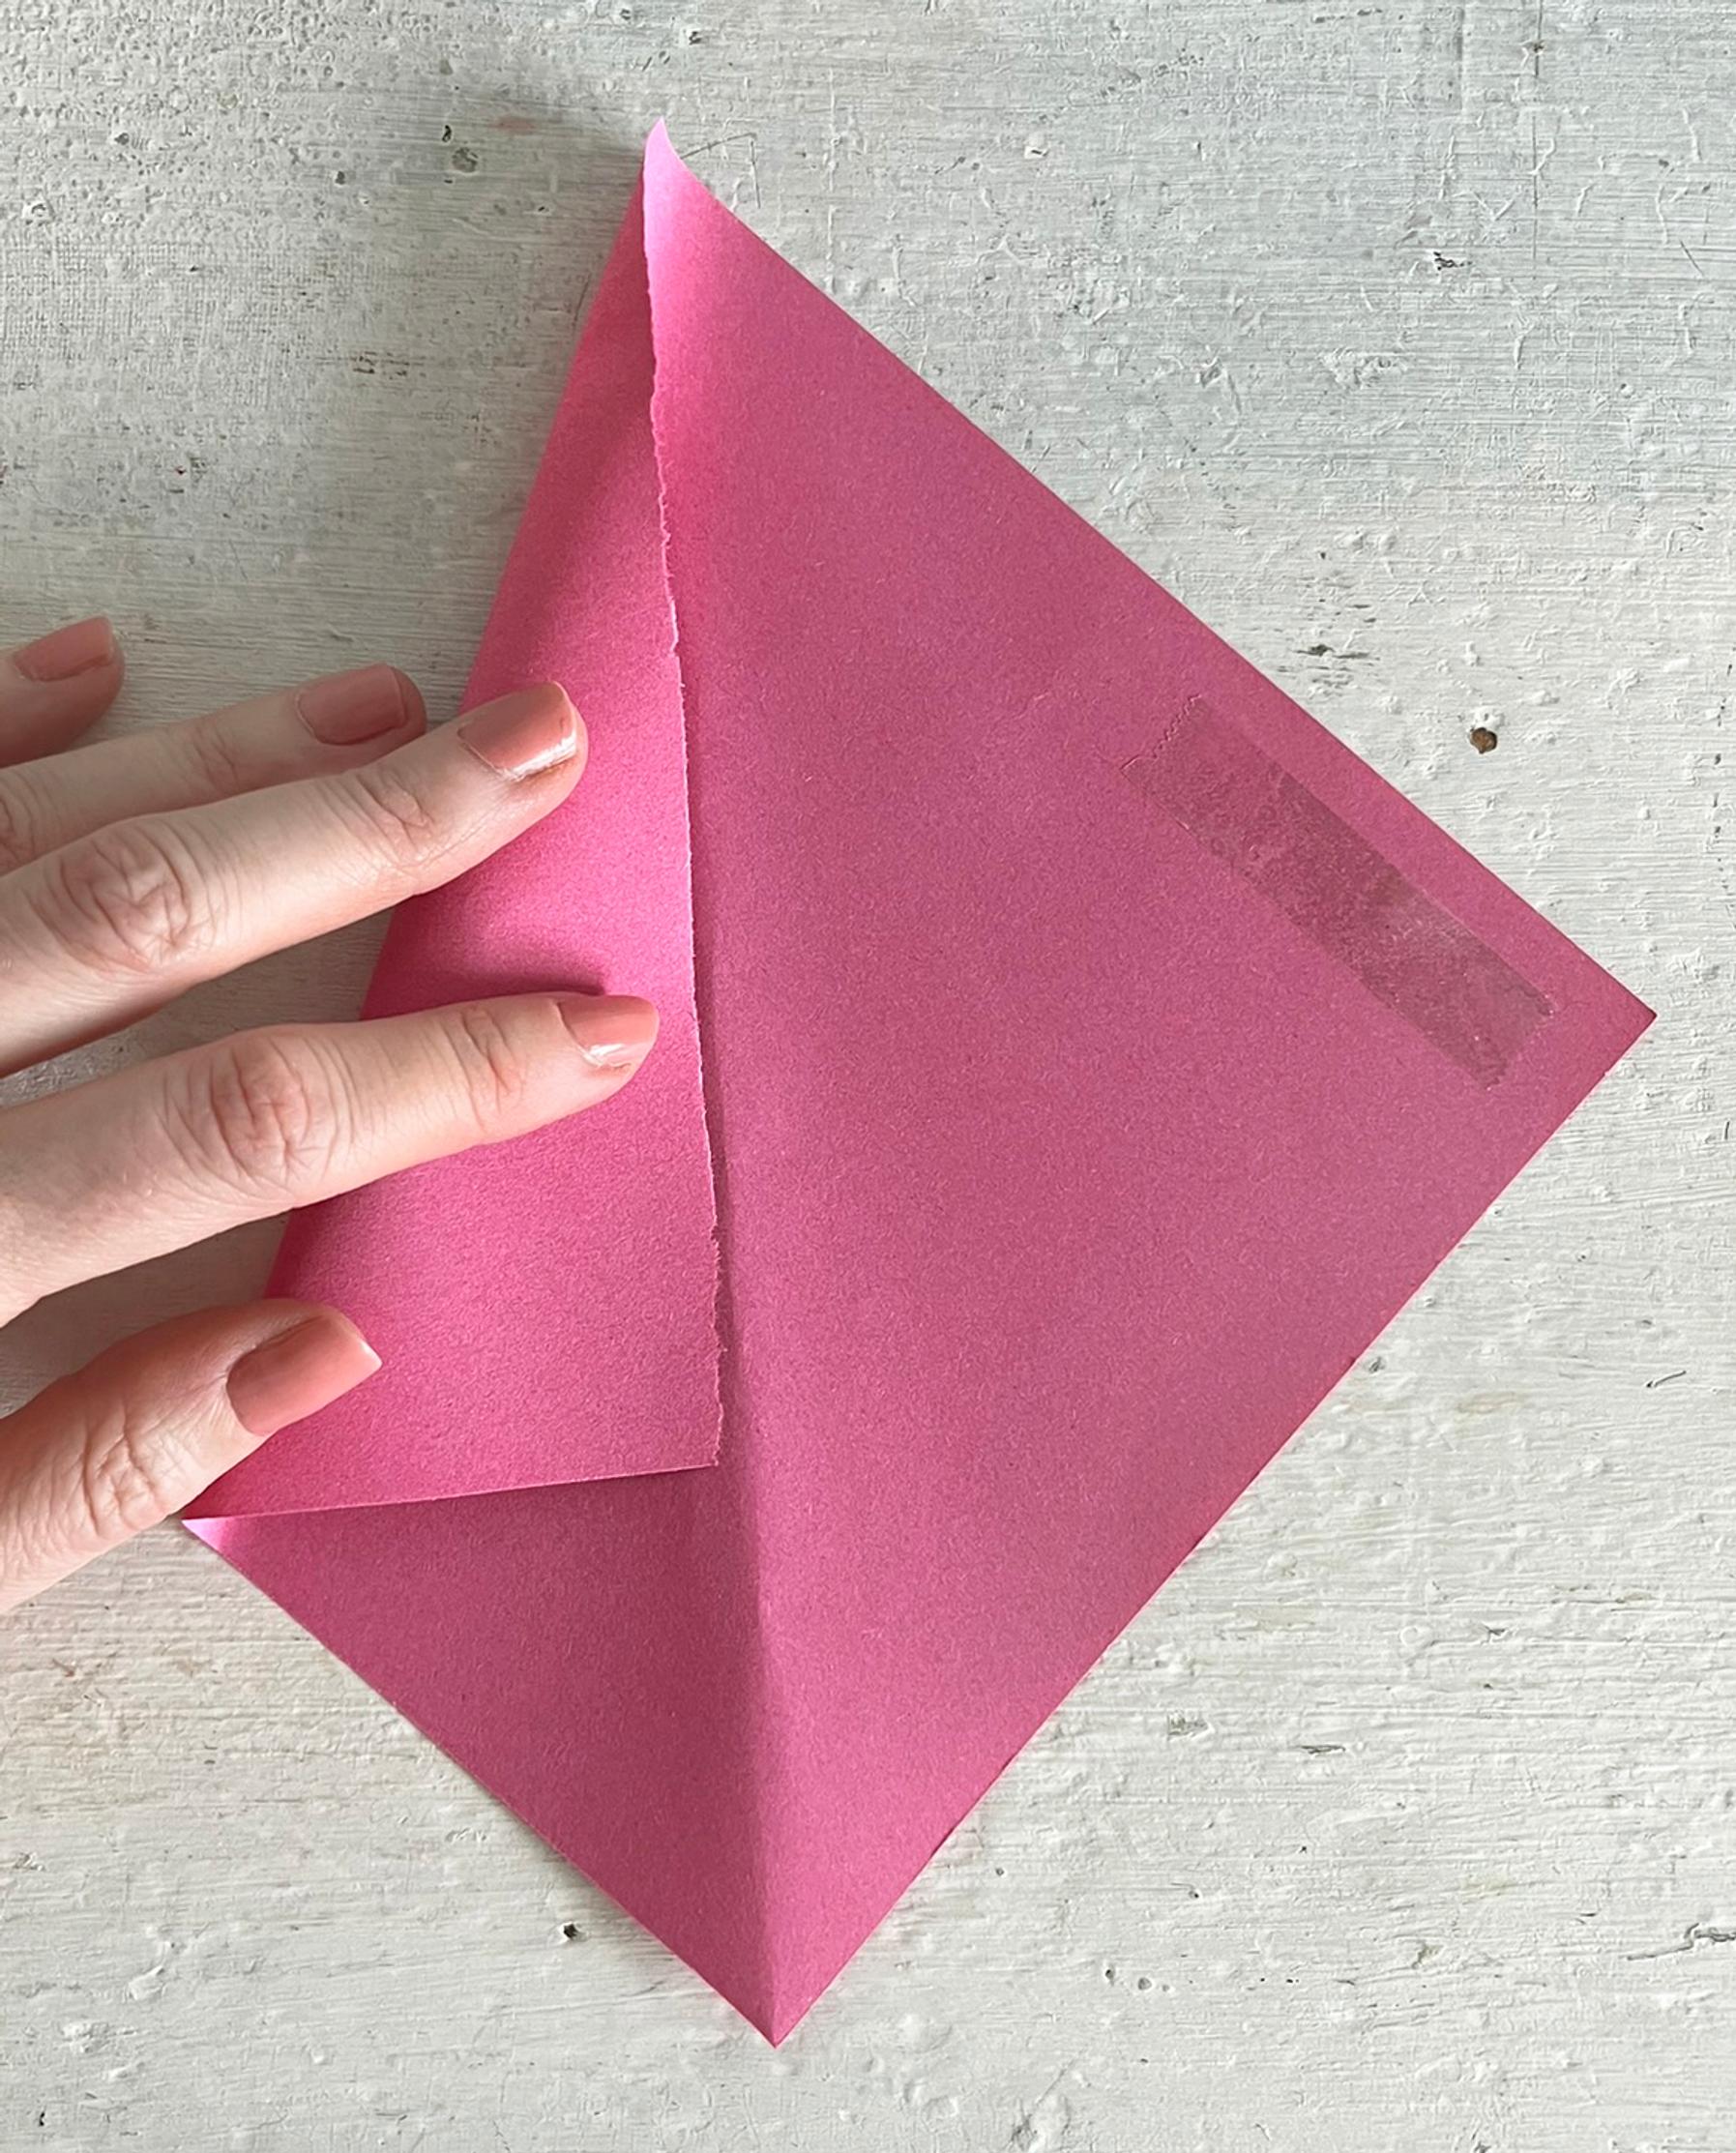
4. Align the left corner of the paper with the diagonal fold.

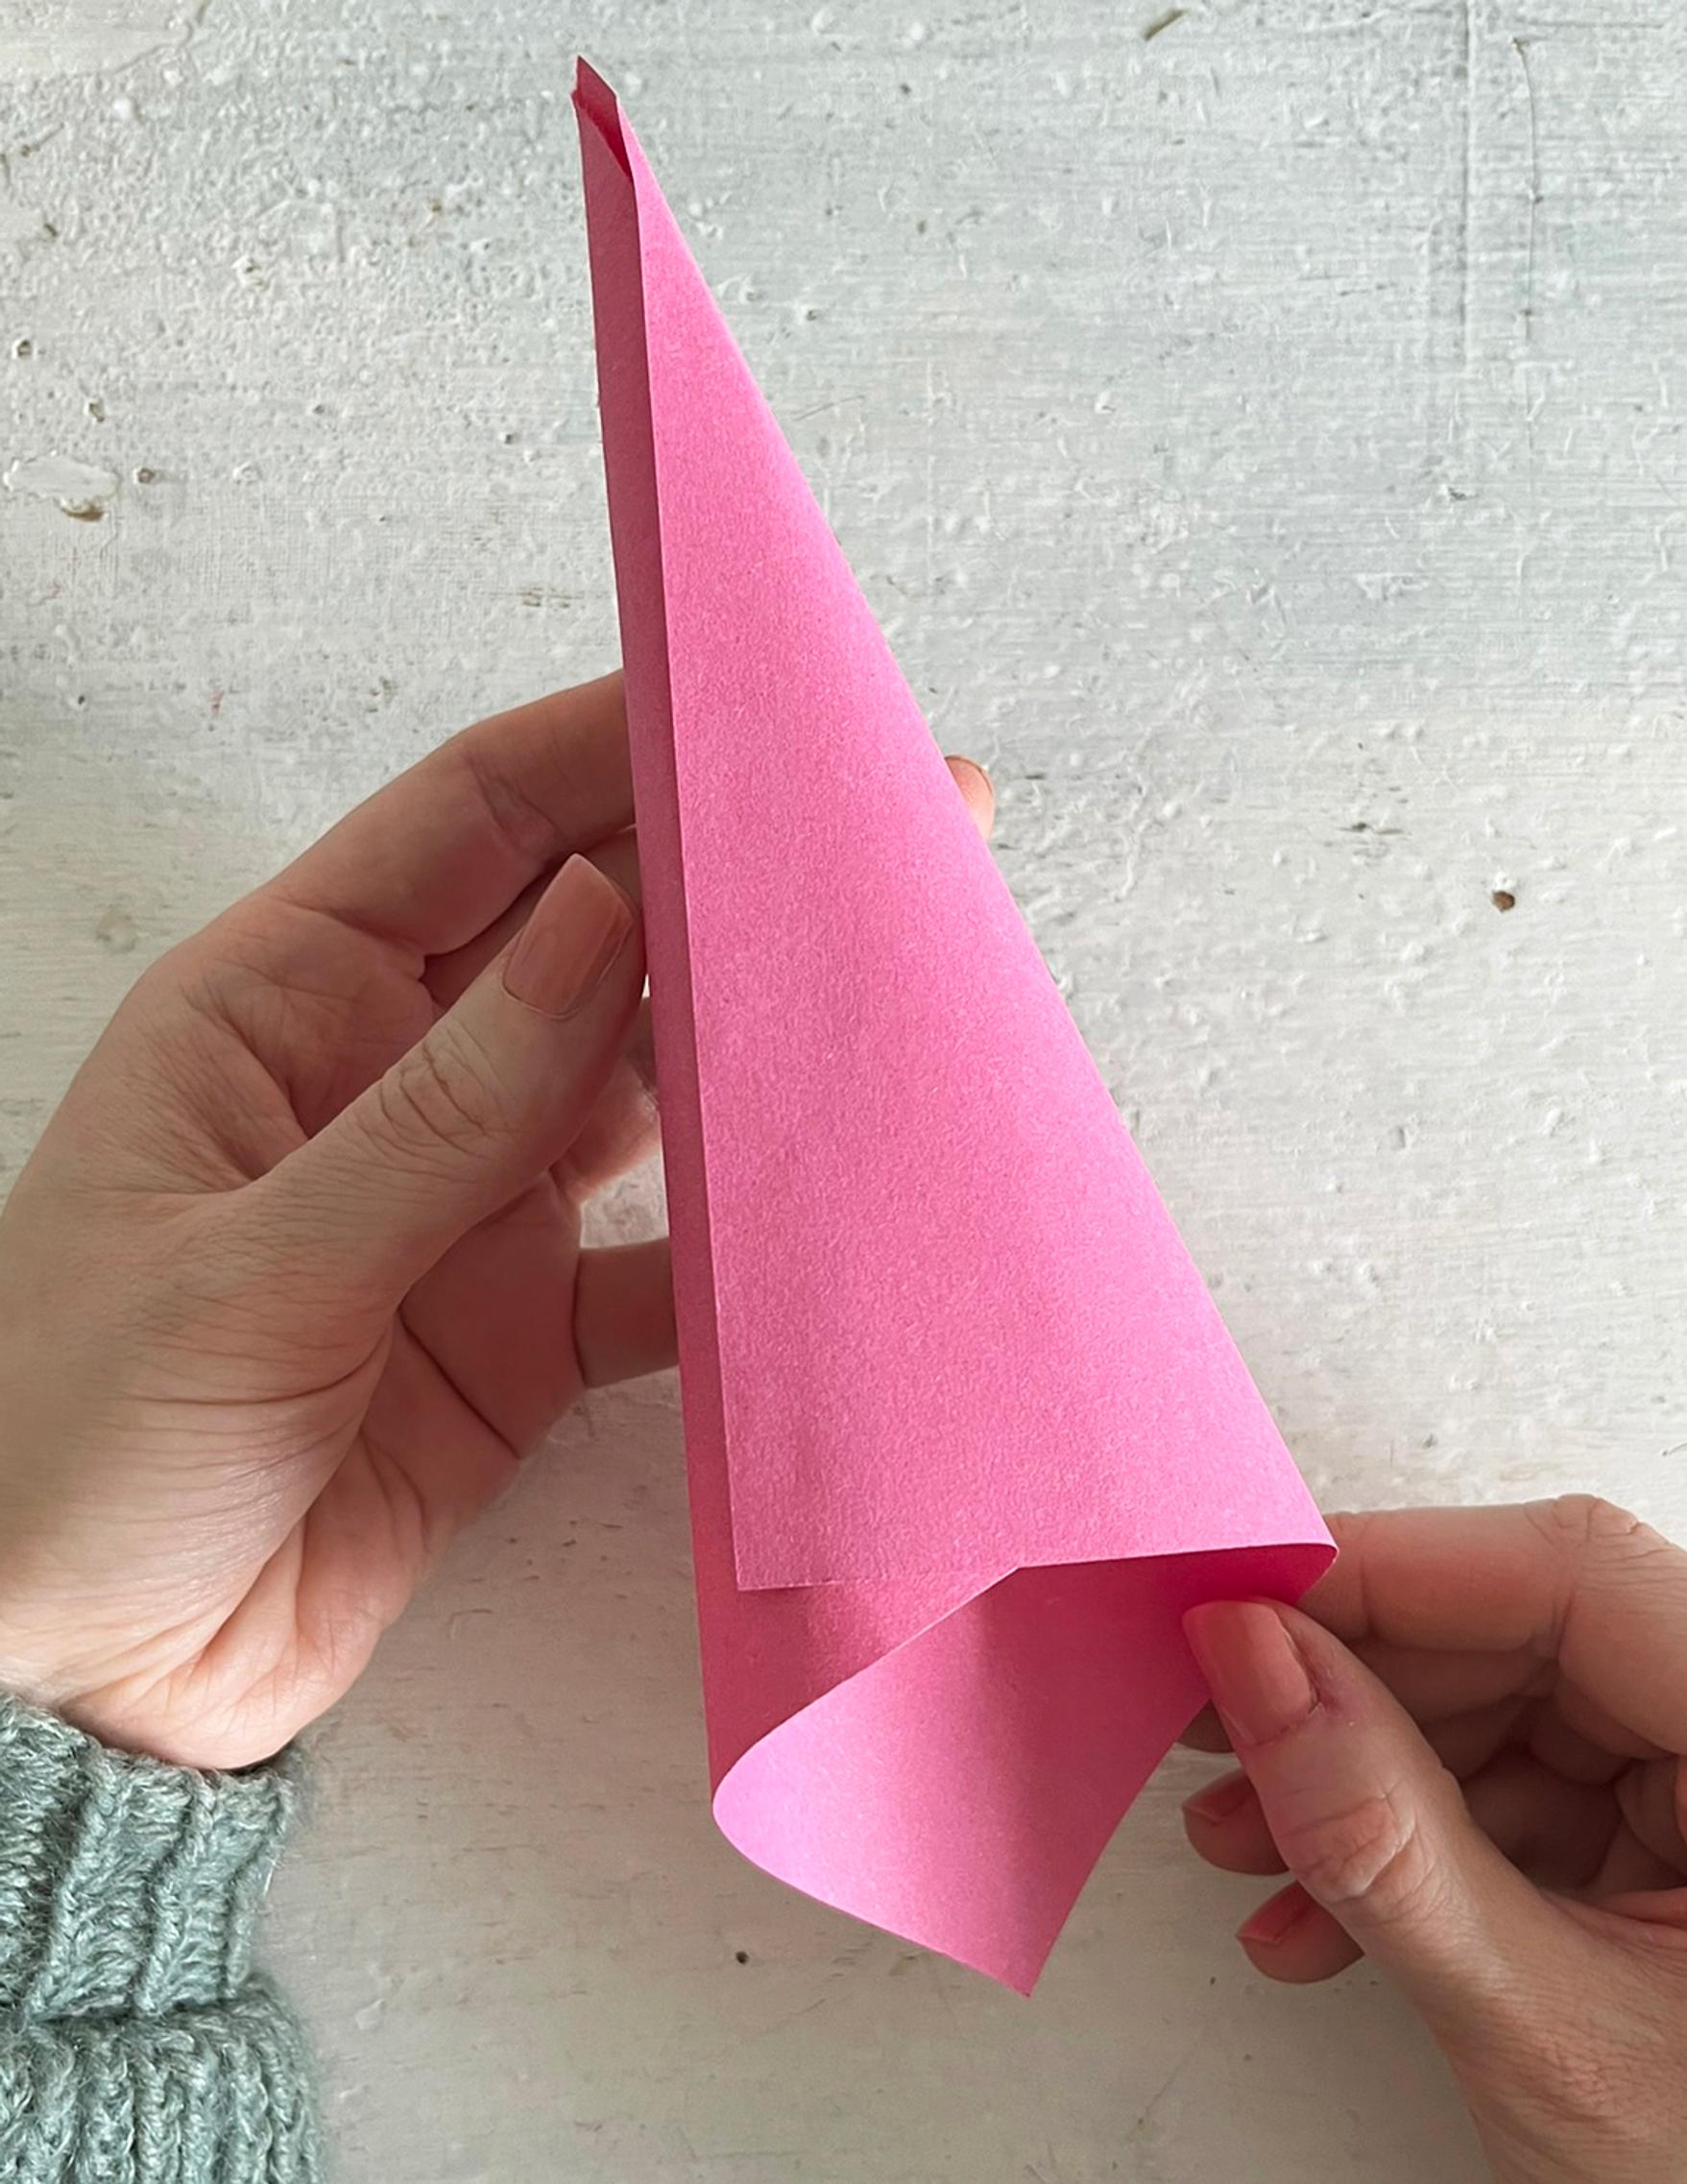
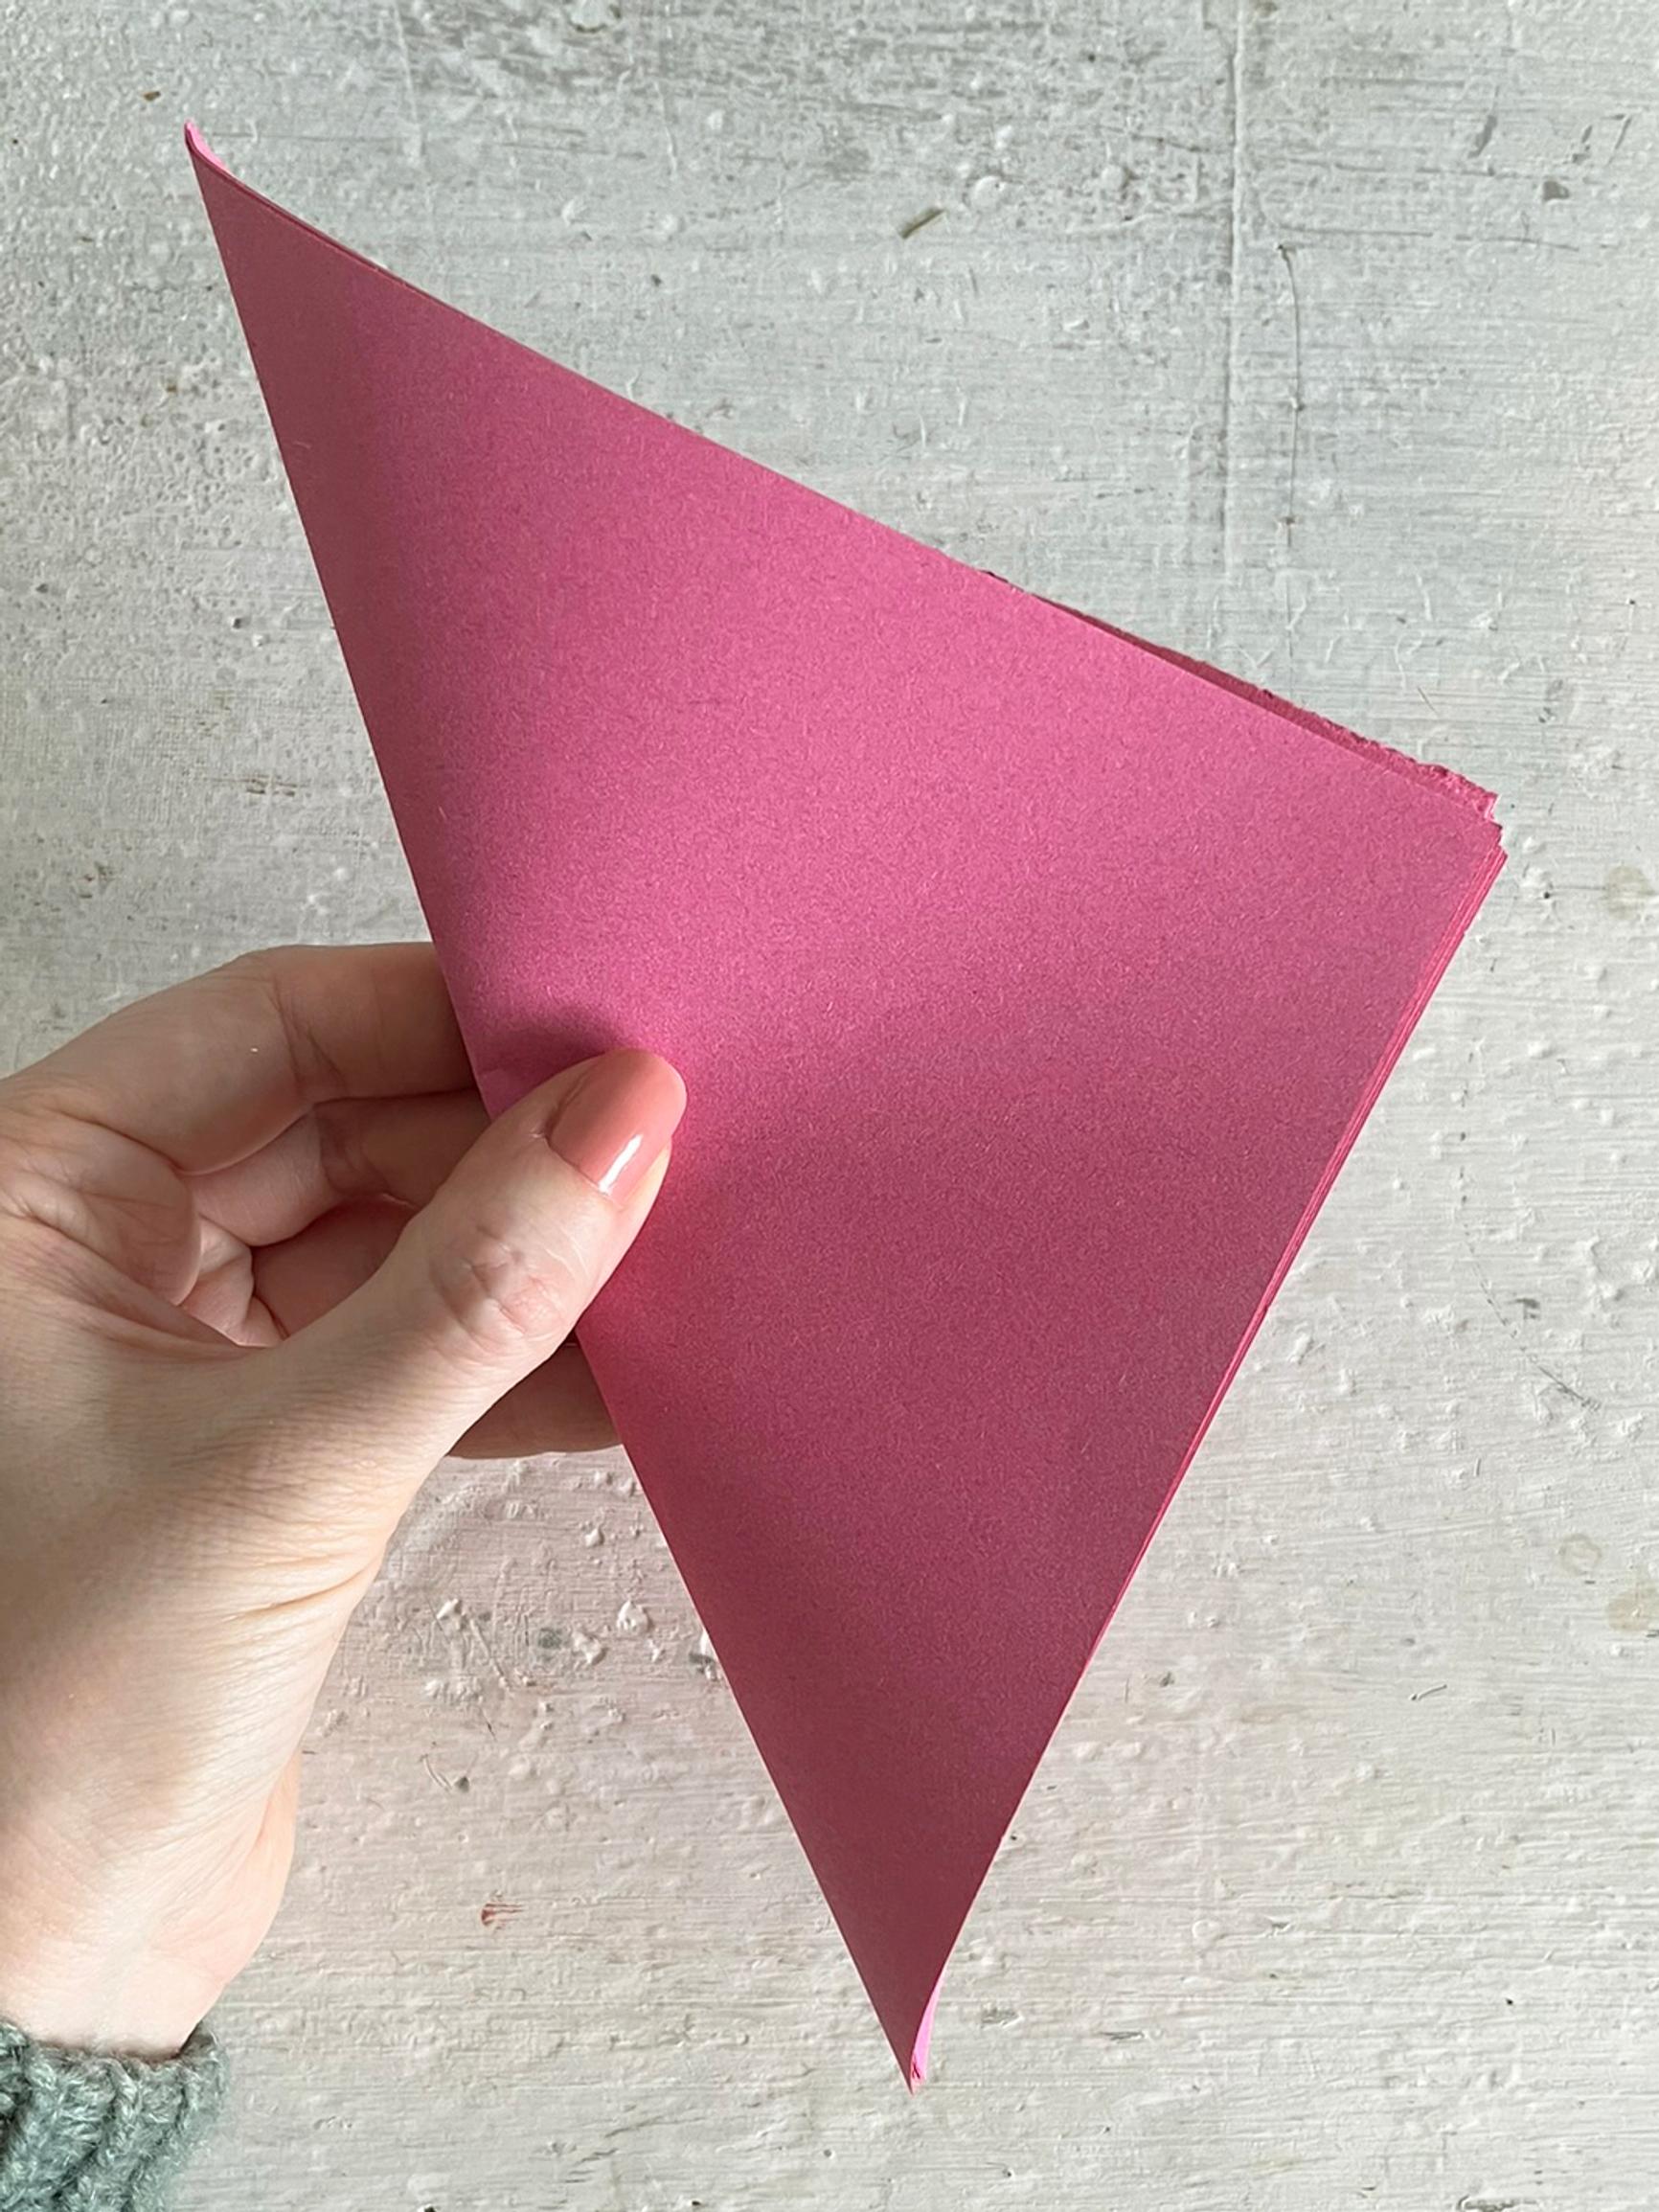
5. Fold the right corner over the left to form a cone with a sharp tip.

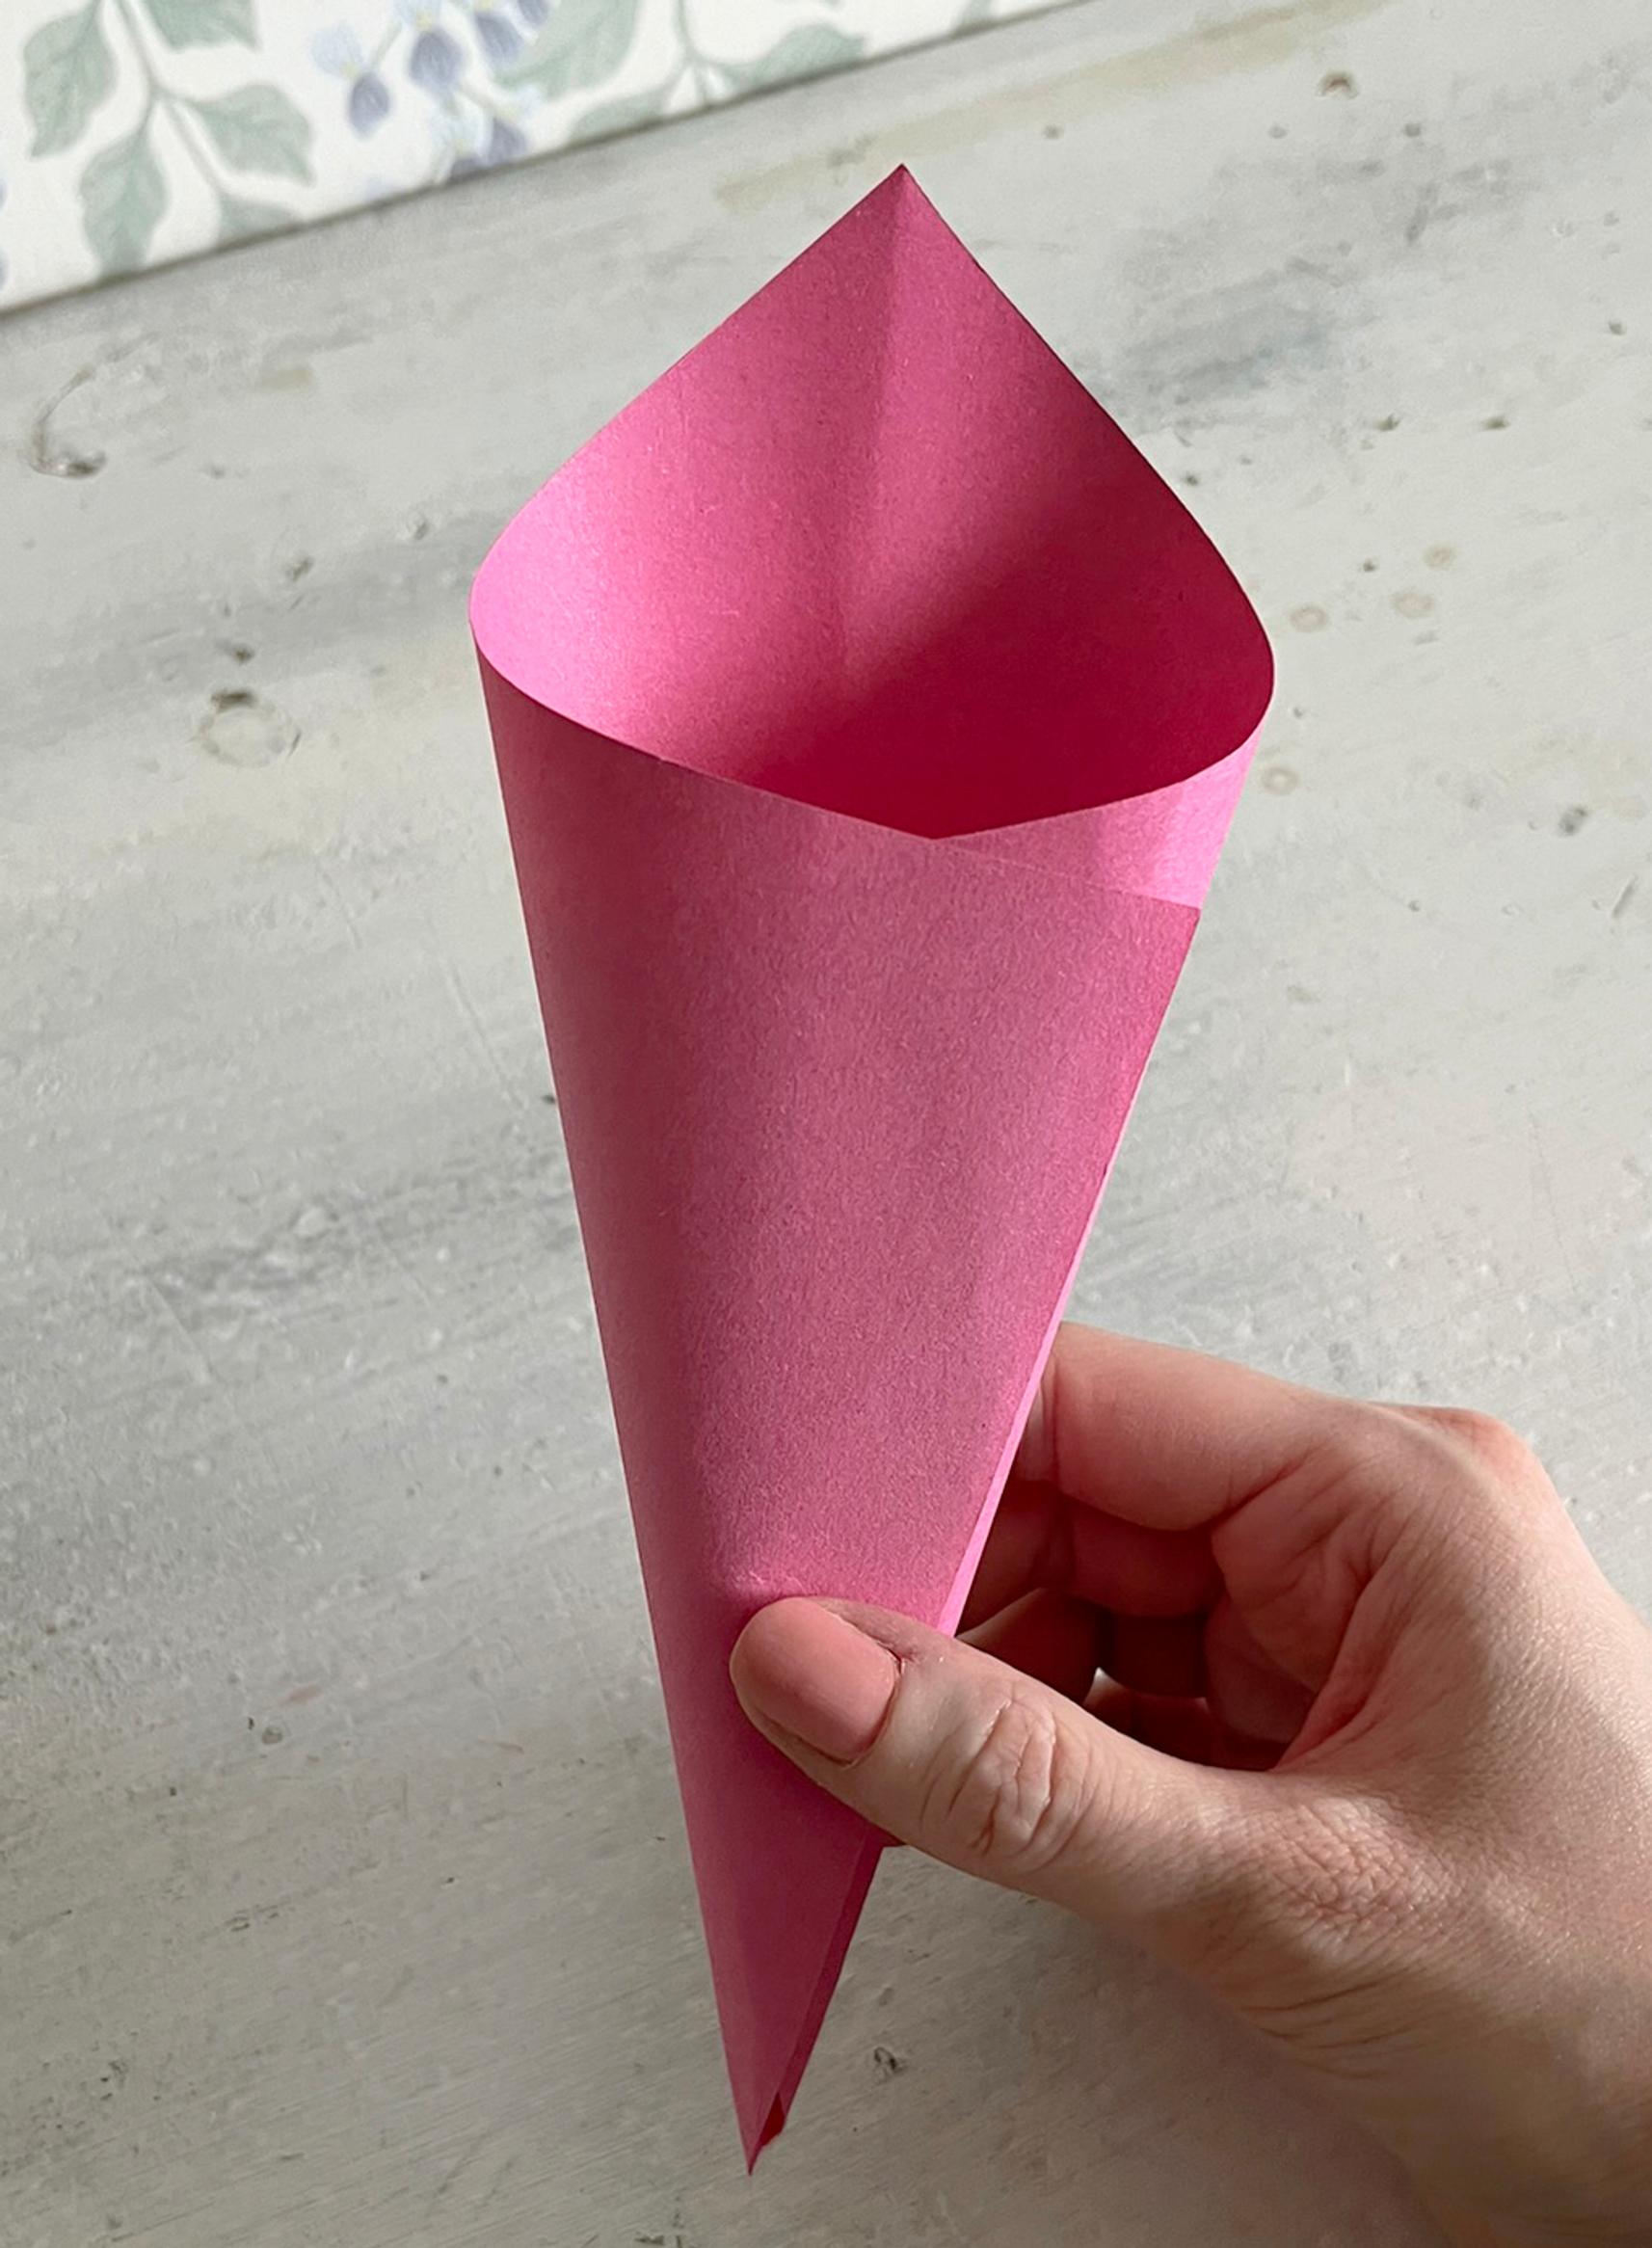
6. Make the rest of the cones the same way.
7. Cut a circular piece of sturdy cardboard. Make a hole for hanging, and thread the string through it.
8. Begin assembling the paper dahlia from the outermost layer. Attach the cones side by side so their tips point to the center of the circle. This ensures the dahlia is symmetrical. If you like, you can draw guide lines on the base. For sturdiness, attach each cone by a few centimeters along the base. Use hot glue or strong liquid glue; glue sticks won’t hold the pieces together.
9. Attach the next layer of cones so it slightly overlaps the previous one. Continue in the same way, layer by layer, until the paper dahlia is complete.
10. Hang your finished decoration on the wall!