Makeover
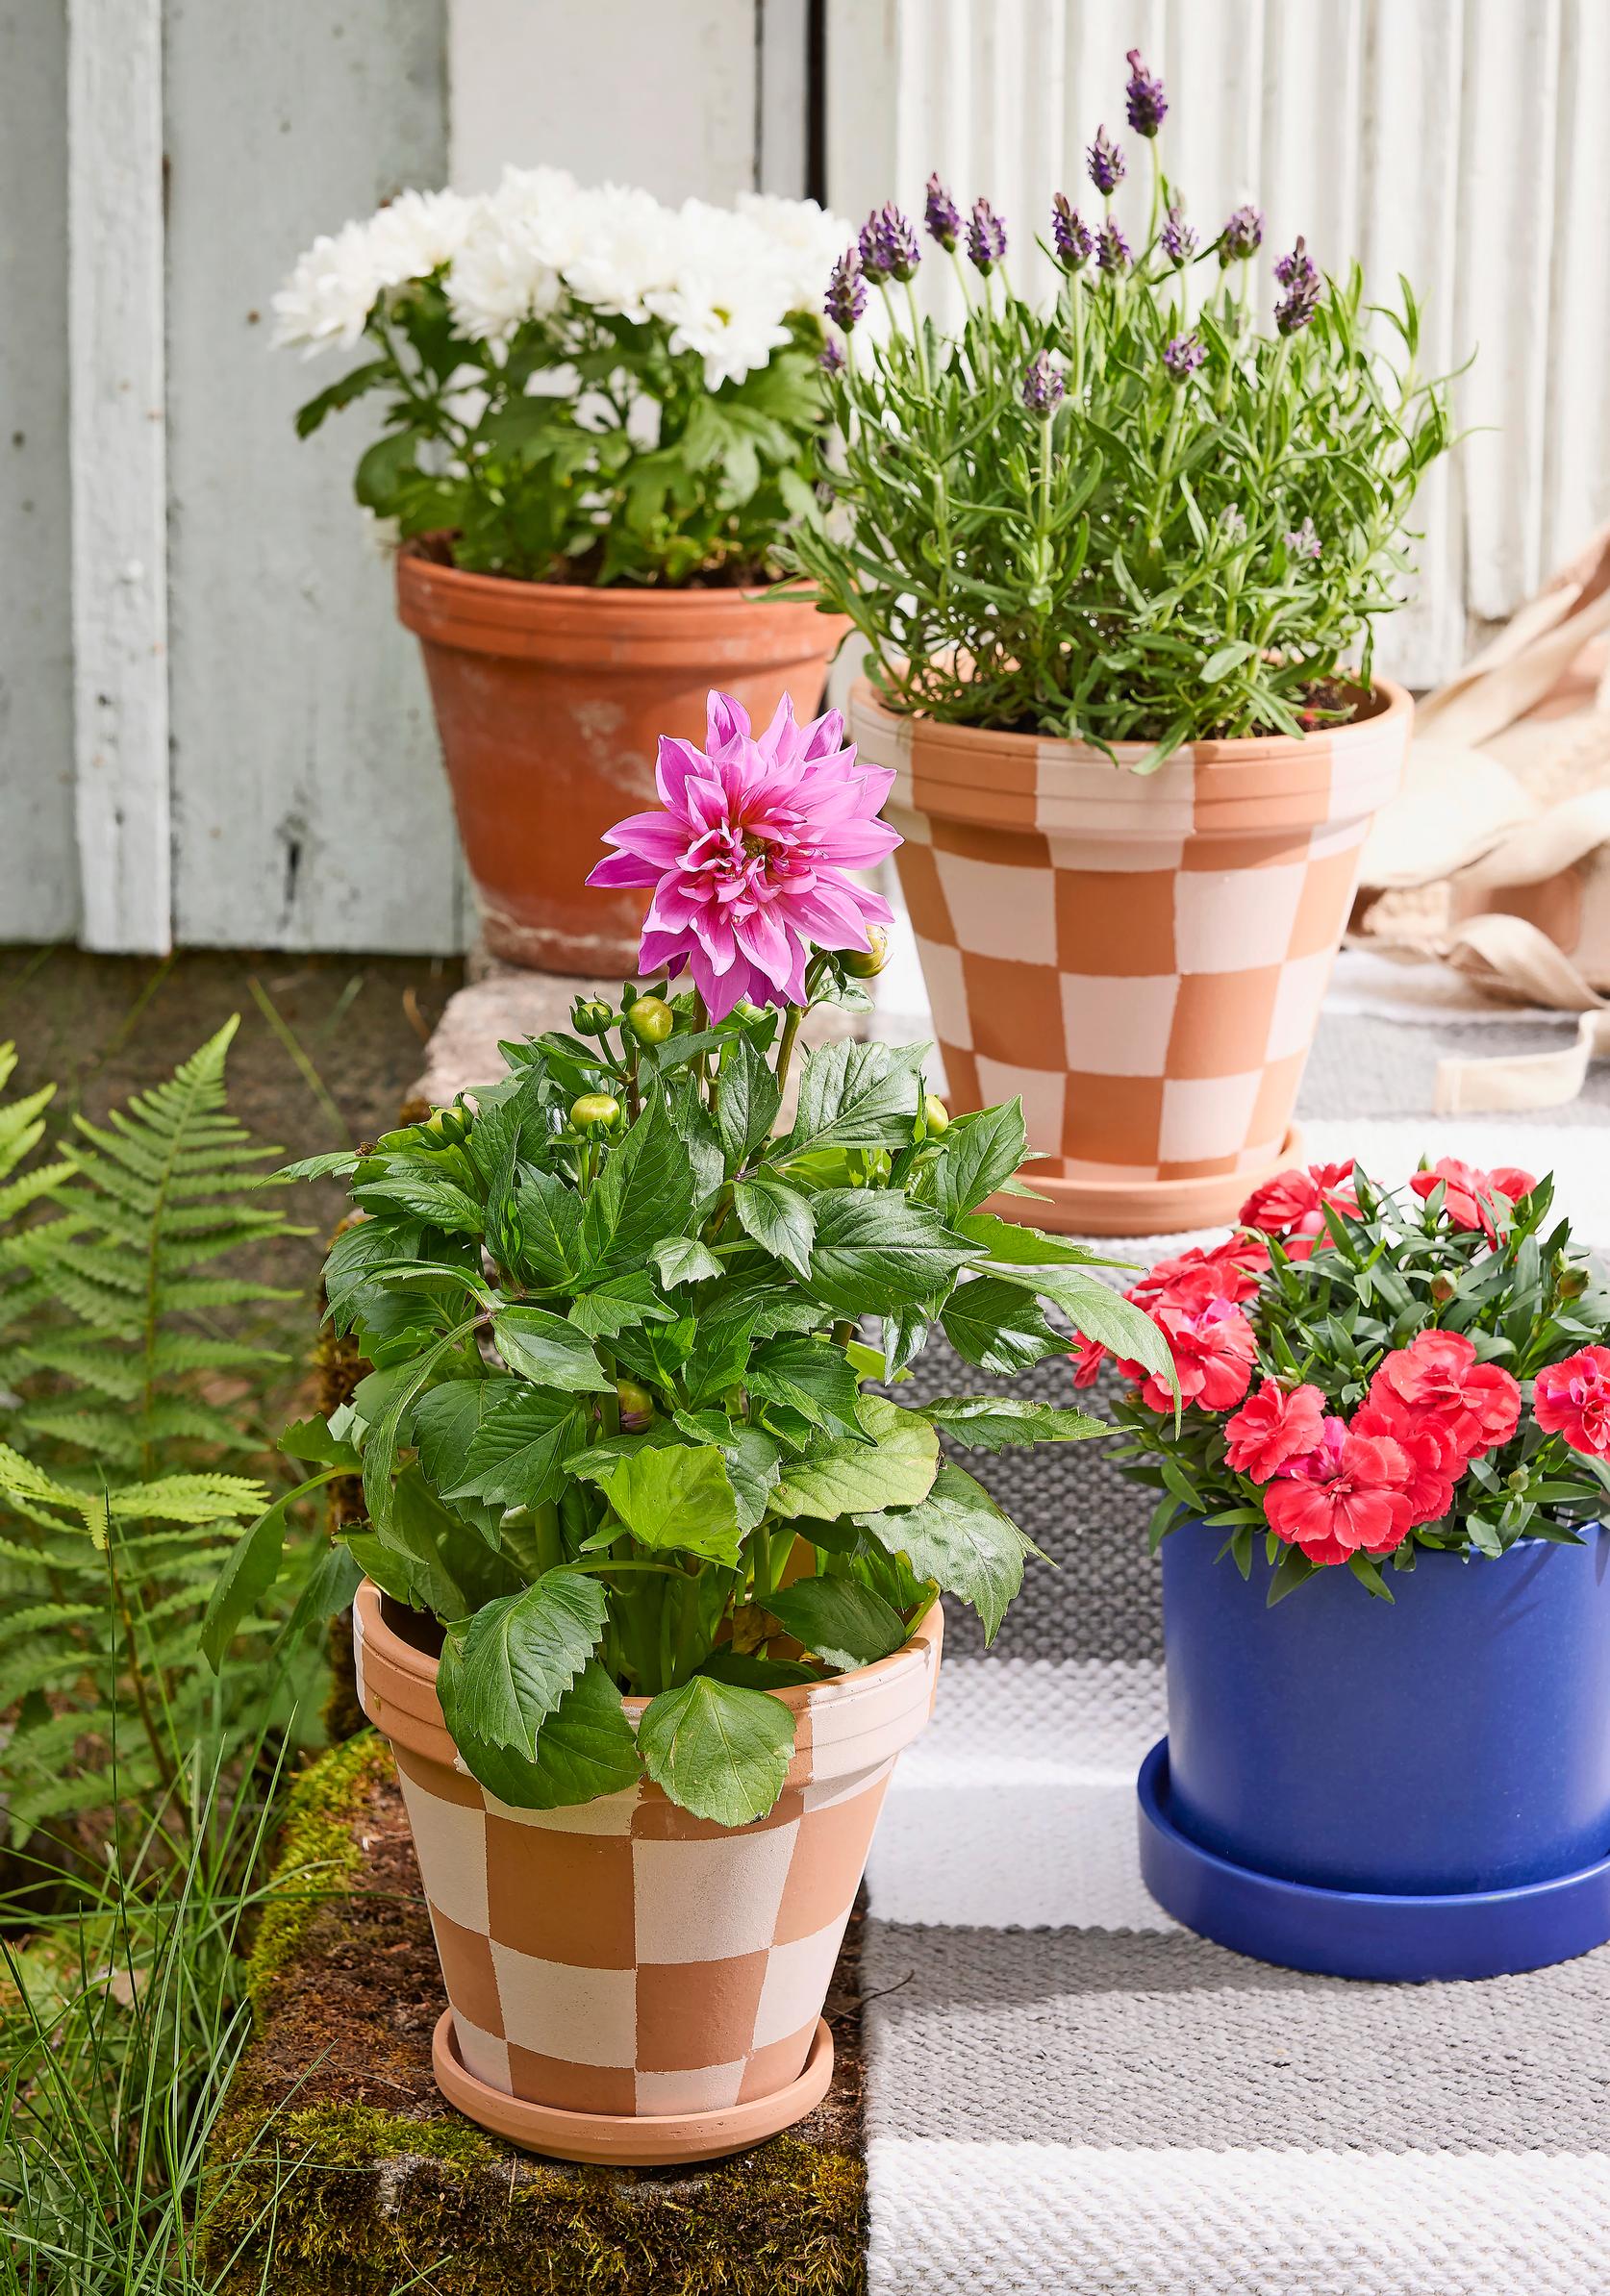
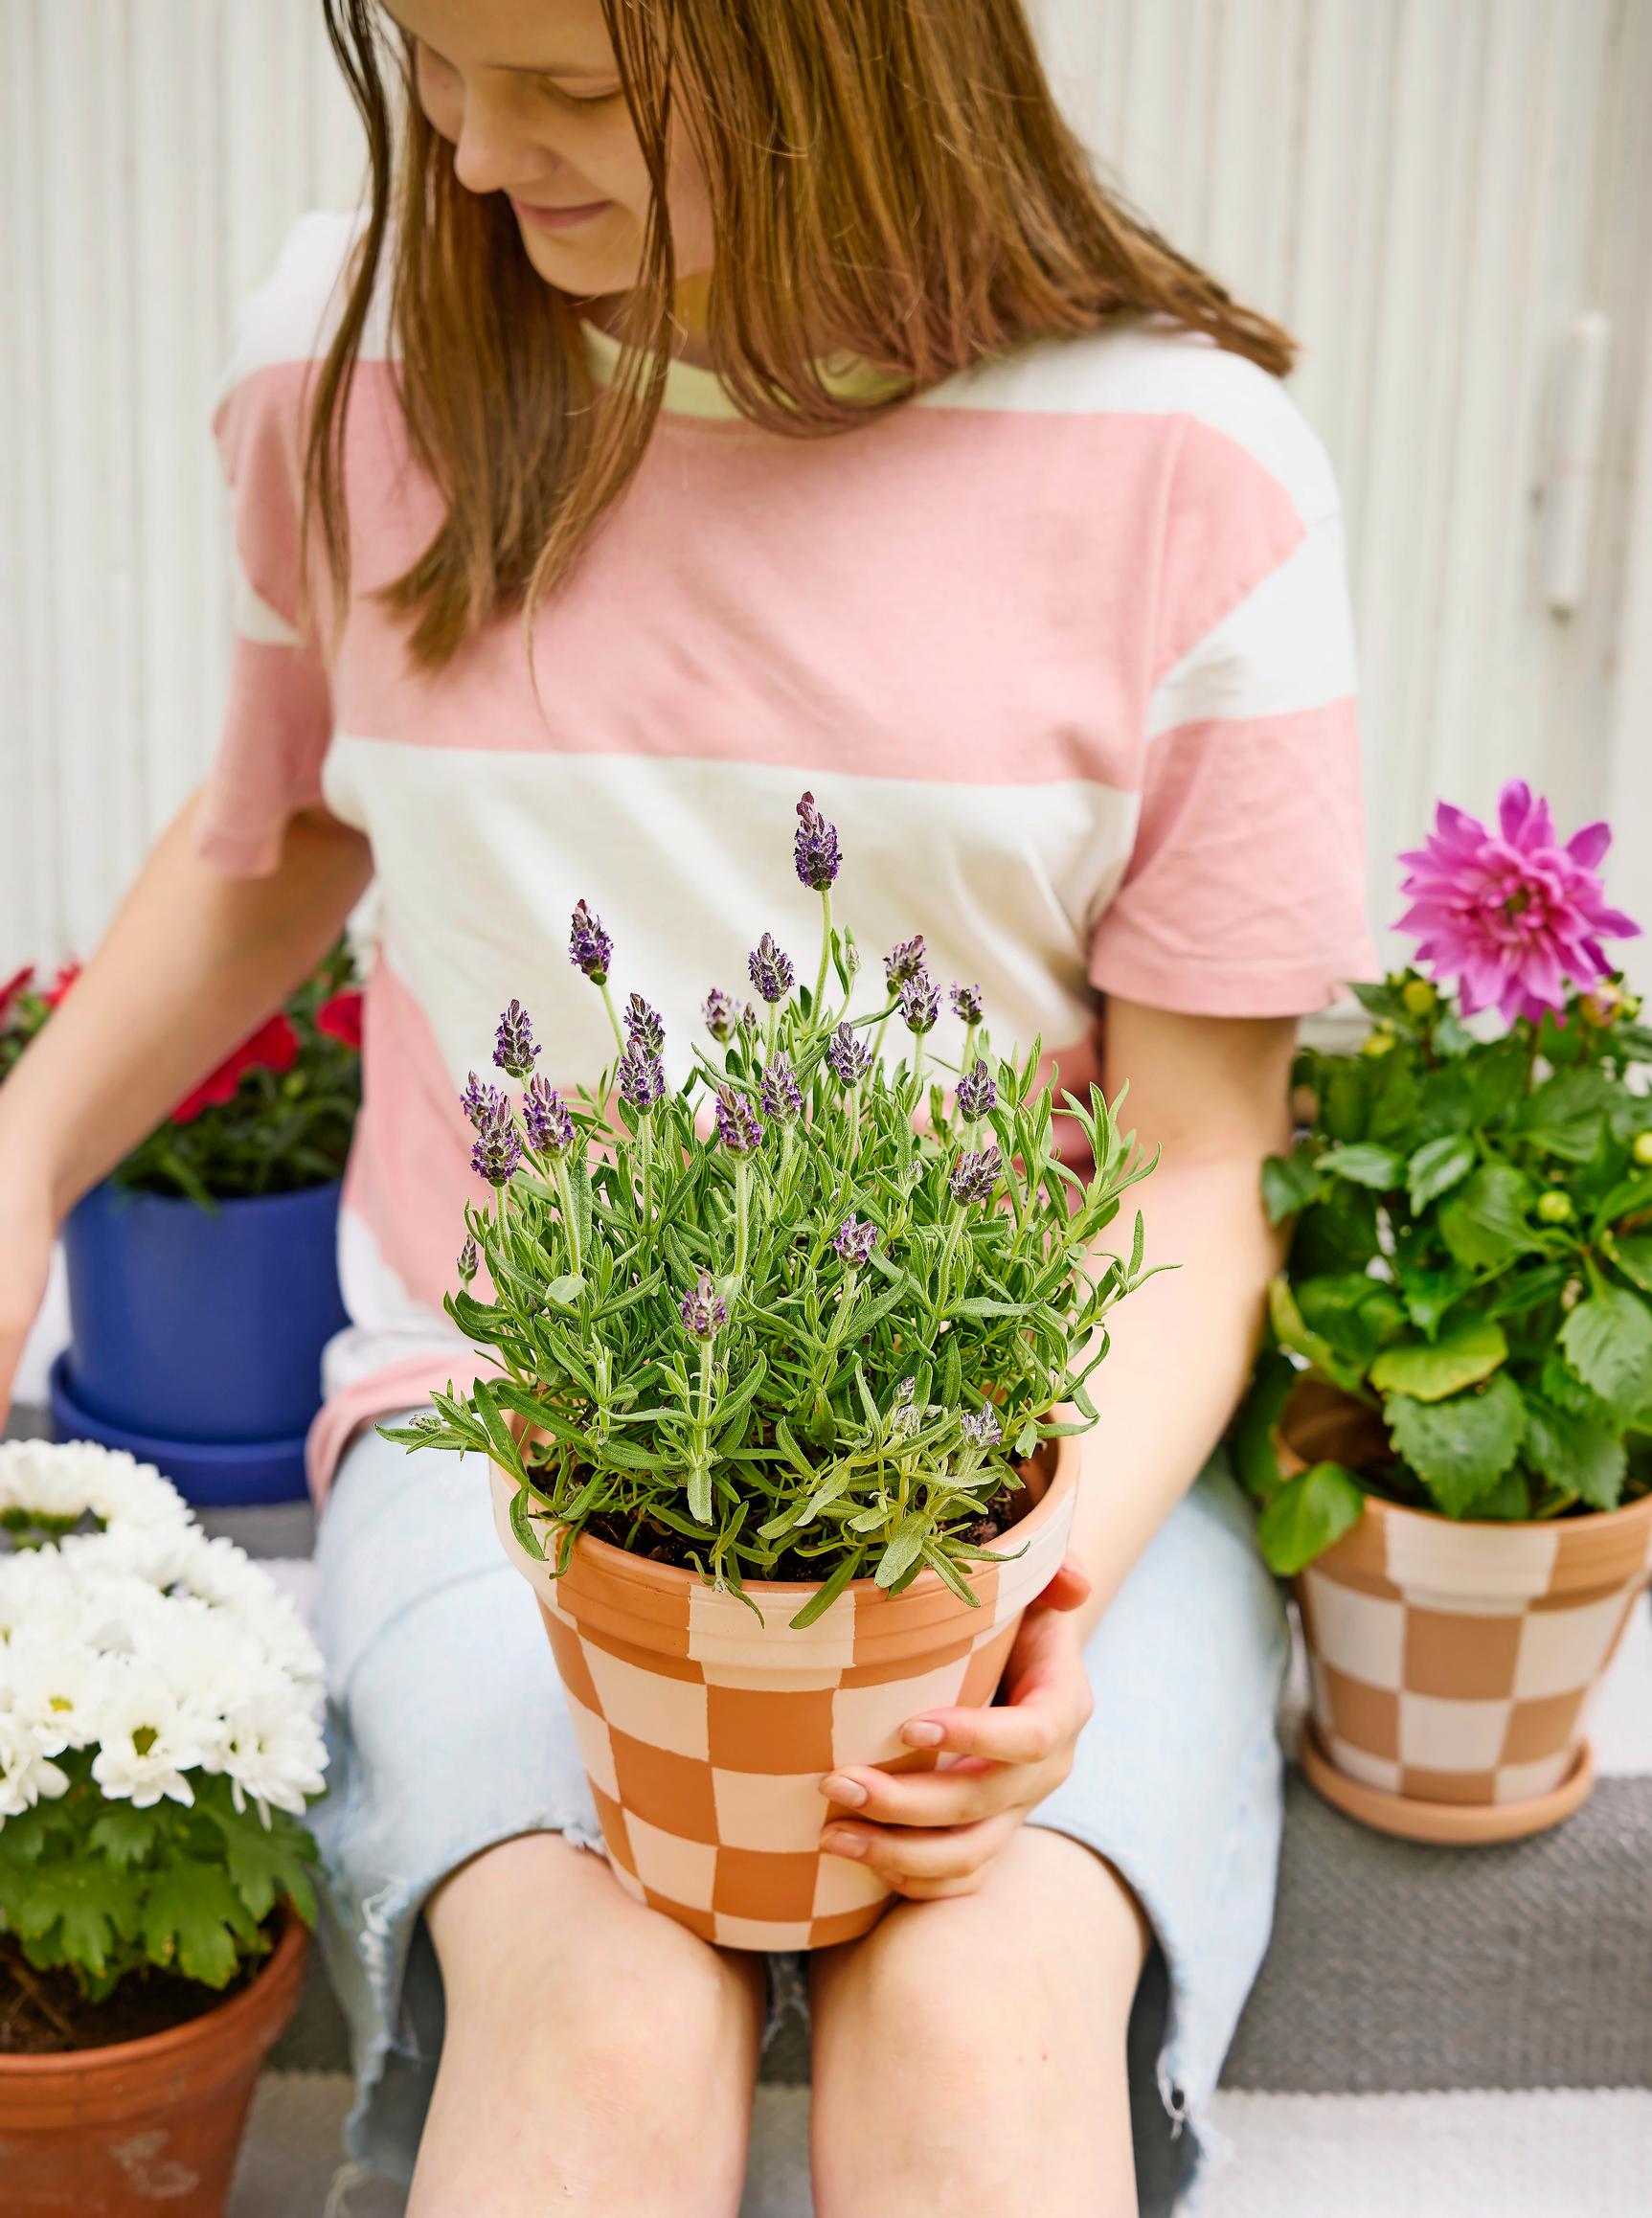
Clay pot painting: have fun with a playful checkered pattern
Clay pot painting works especially well with a weather-resistant foundation paint that lets moisture evaporate. Use painter’s tape on a smooth, sealed surface to create a precise checkered pattern.
Painting a clay pot—supplies:
- unglazed terracotta pot
- measuring tape
- a roll of painter’s tape (48 mm wide)
- scissors
- paint primer tinted in a light shade (the pots in this example used Tikkurila 537X)
- mini roller, brush, or stippling sponge

Painting a clay pot with a checkered pattern—instructions:
- Wash the pots if needed, and let them dry. The surface must be dry and clean before you start painting.
- Tape the squares. Measure the rim of the pot on the outside and divide it into squares of your preferred size. Cut out matching squares of painter’s tape and place them evenly around the pot’s top edge. Because the pot narrows toward the bottom, each row of squares will be slightly smaller than the previous one. Measure the next row from the taped squares above and apply them using the same logic. Arrange them in a checkerboard pattern below the previous row. Continue until the entire pot is covered. Press the edges of each taped square firmly onto the pot’s surface.
- Stipple, roll, or paint the squares. If needed, apply a second coat. Remove the tape while the paint is still wet.