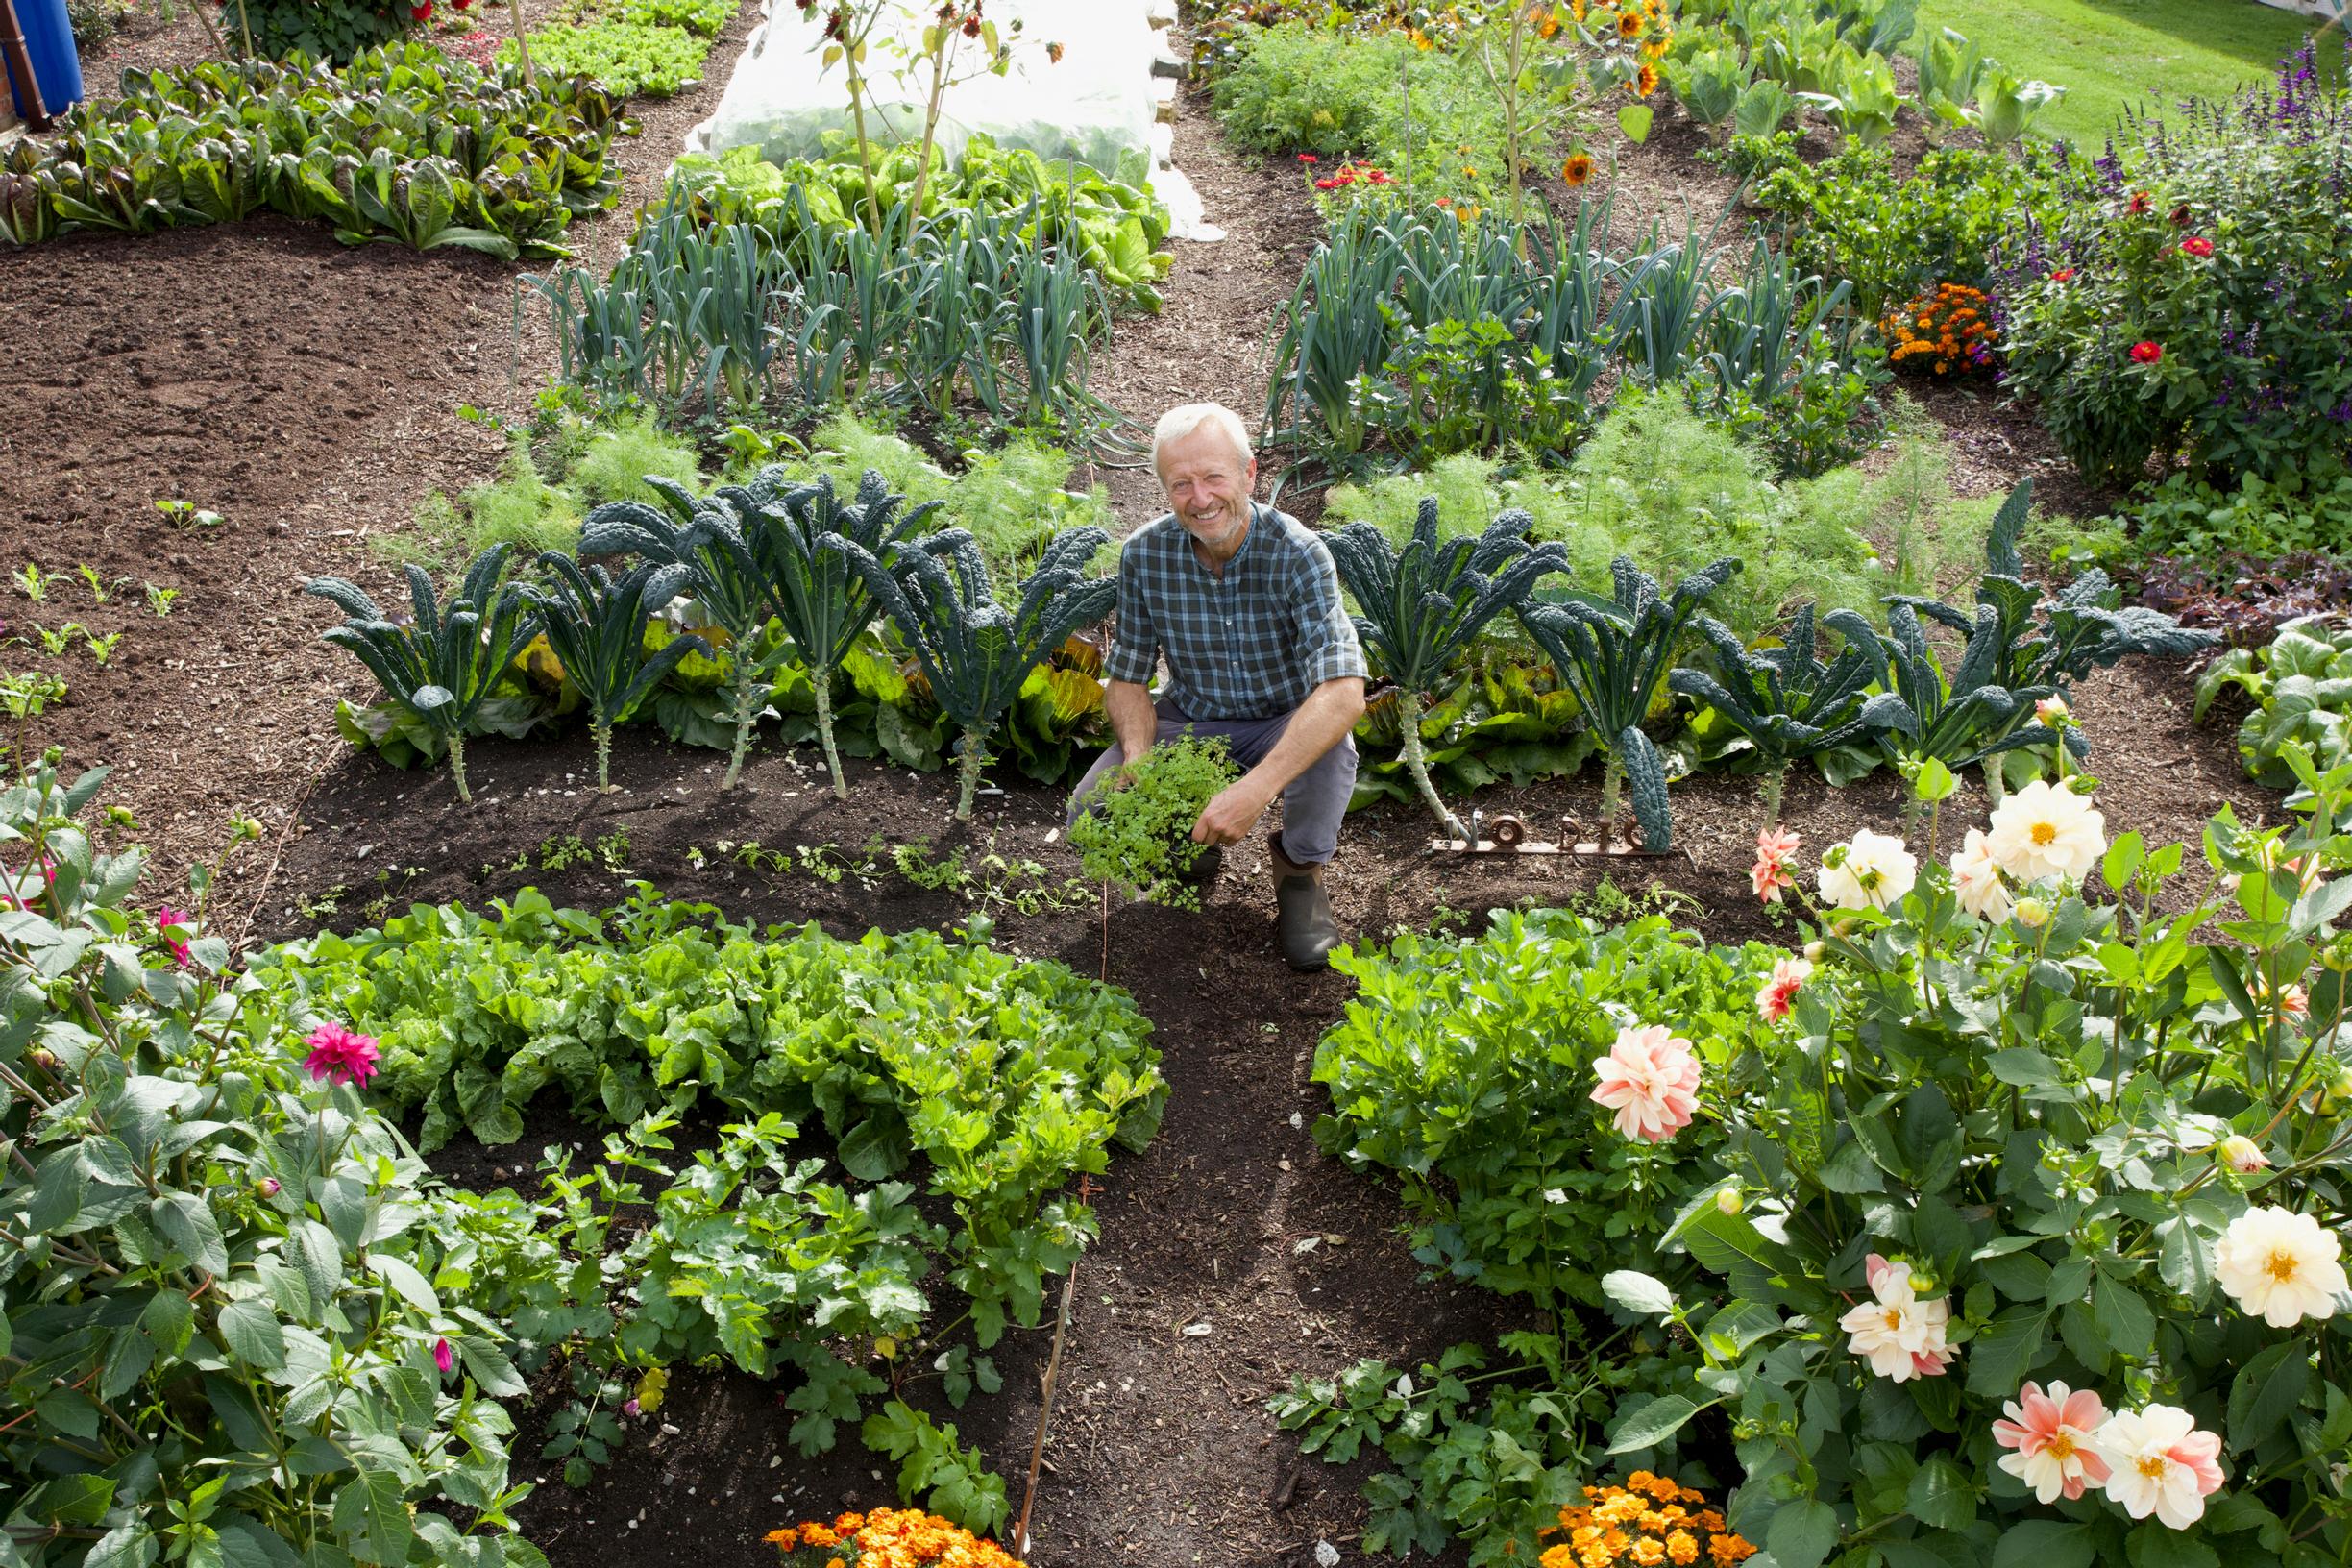
No-dig gardening master Charles Dowding reveals his secrets: how to start growing without turning soil
With four decades of no-dig gardening experience, English gardener Charles Dowding has witnessed firsthand how this method enhances soil health and boosts crop yields. Follow his detailed guide to creating and maintaining a mulched garden bed.
1. Prepare the growing area
First, remove any large stones from the soil and as much of the roots of woody plants as possible. If the ground is very uneven, level it by filling any holes with soil or compost. Then, cut all vegetation down to ground level.
2. Plan the size of the bed
You can decide the length of the bed freely, but the recommended width is 120 cm. Beds wider than this are difficult to tend, and narrower beds waste valuable growing space.
3. Lay cardboard on the bottom
Select brown, uncoated cardboard and remove any tape and metal staples. Extend the cardboard about 15 cm beyond the bed’s edges. The cardboard will decompose in 8–12 weeks and suppress most weed growth. Note that persistent perennial weeds may still emerge through the cardboard layer, so be prepared to remove them. If the ground is dry, thoroughly water the cardboard. You can place planks on top of the cardboard as bed edges.


4. Add compost
Fill the entire bed area with a 15 cm thick layer of compost. Compact the entire surface by tamping it down with your feet. Then, level the surface with the flat side of a rake and water thoroughly.
For borders, use stones or bricks to support upright planks against the compost layer. These are temporary supports intended to keep the compost neatly in place.
5. Plant or sow
Create planting holes in the compost mulch using a trowel or dibber. Plant seedlings slightly deeper than their previous depth. For seeds, make grooves in the compost with a rake or finger. Water thoroughly and cover with fleece to protect against pests and promote growth and seed germination.


6. Weed and water as needed
Tend your no-dig bed throughout the summer by removing weeds and watering when necessary. The amount of watering needed depends on the weather and the composition of the compost layer.
7. Add mulch annually
From now on, apply approximately 3 cm of fresh compost as mulch to the beds each year.


Do I have enough compost?


At the setup stage, the no-dig method requires substantial amounts of compost that most gardeners don’t have readily available.
“I understand that in the beginning, it may seem challenging to get enough compost. But it’s worth the effort because it will make your gardening easier in the future,” Charles Dowding encourages.
He points out that suitable compost is often available cheaply or free from various sources. Horse stables frequently have excess manure compost. Well-rotted manure and spent mushroom growing medium are both excellent mulching materials.
Even after establishing your garden, you can supplement homemade compost with purchased compost.
“I recommend starting with a thick layer of compost, but you can certainly begin no-dig gardening with a very small amount of compost. You just need to be prepared to weed, and the first harvests may not be very large.”