Sculpt, pattern, dry, and paint: Create lovely candle holders from air-dry clay
Set up a clay workshop at home and craft unique candle holders from air-dry clay. Finish the creations with acrylic paint in shades inspired by your home decor.
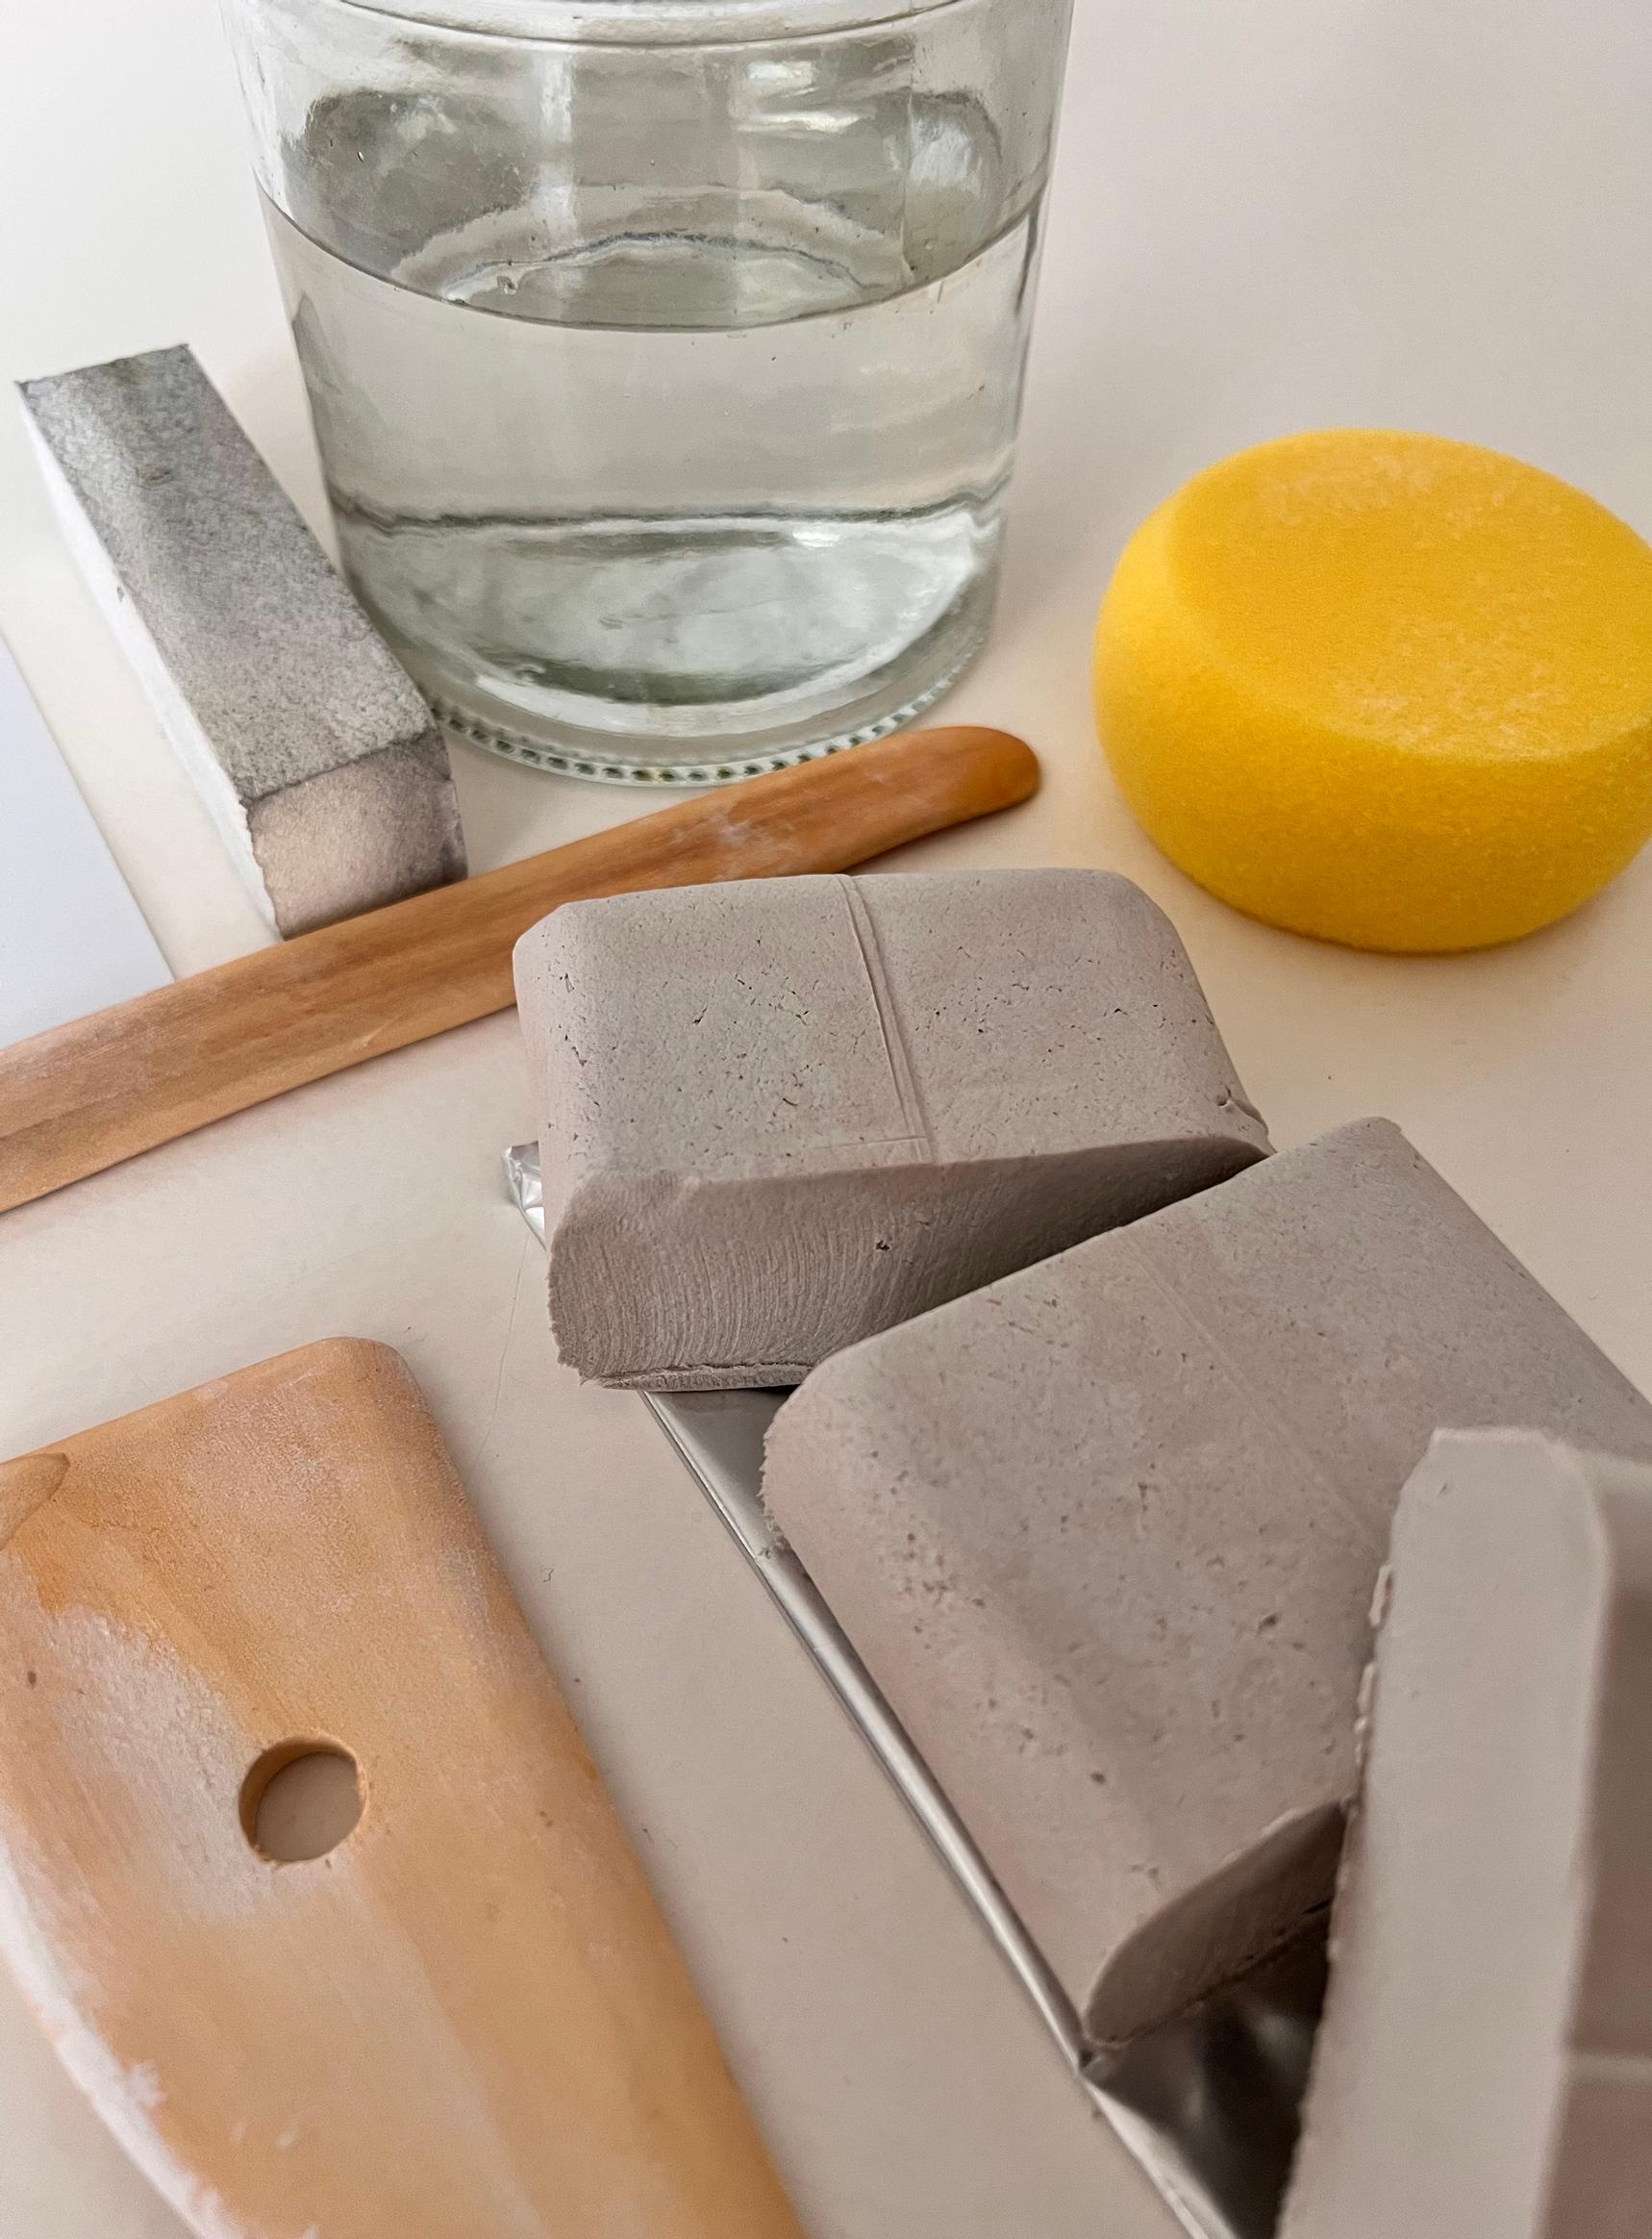
Candle holders from air-dry clay—supplies:
- craft clay
- sculpting tools (for example from your kitchen drawer)
- acrylic paints
- candles
- a sponge or a piece of foam
- a base, for example, a piece of plastic
Candle holders from air-dry clay—instructions:


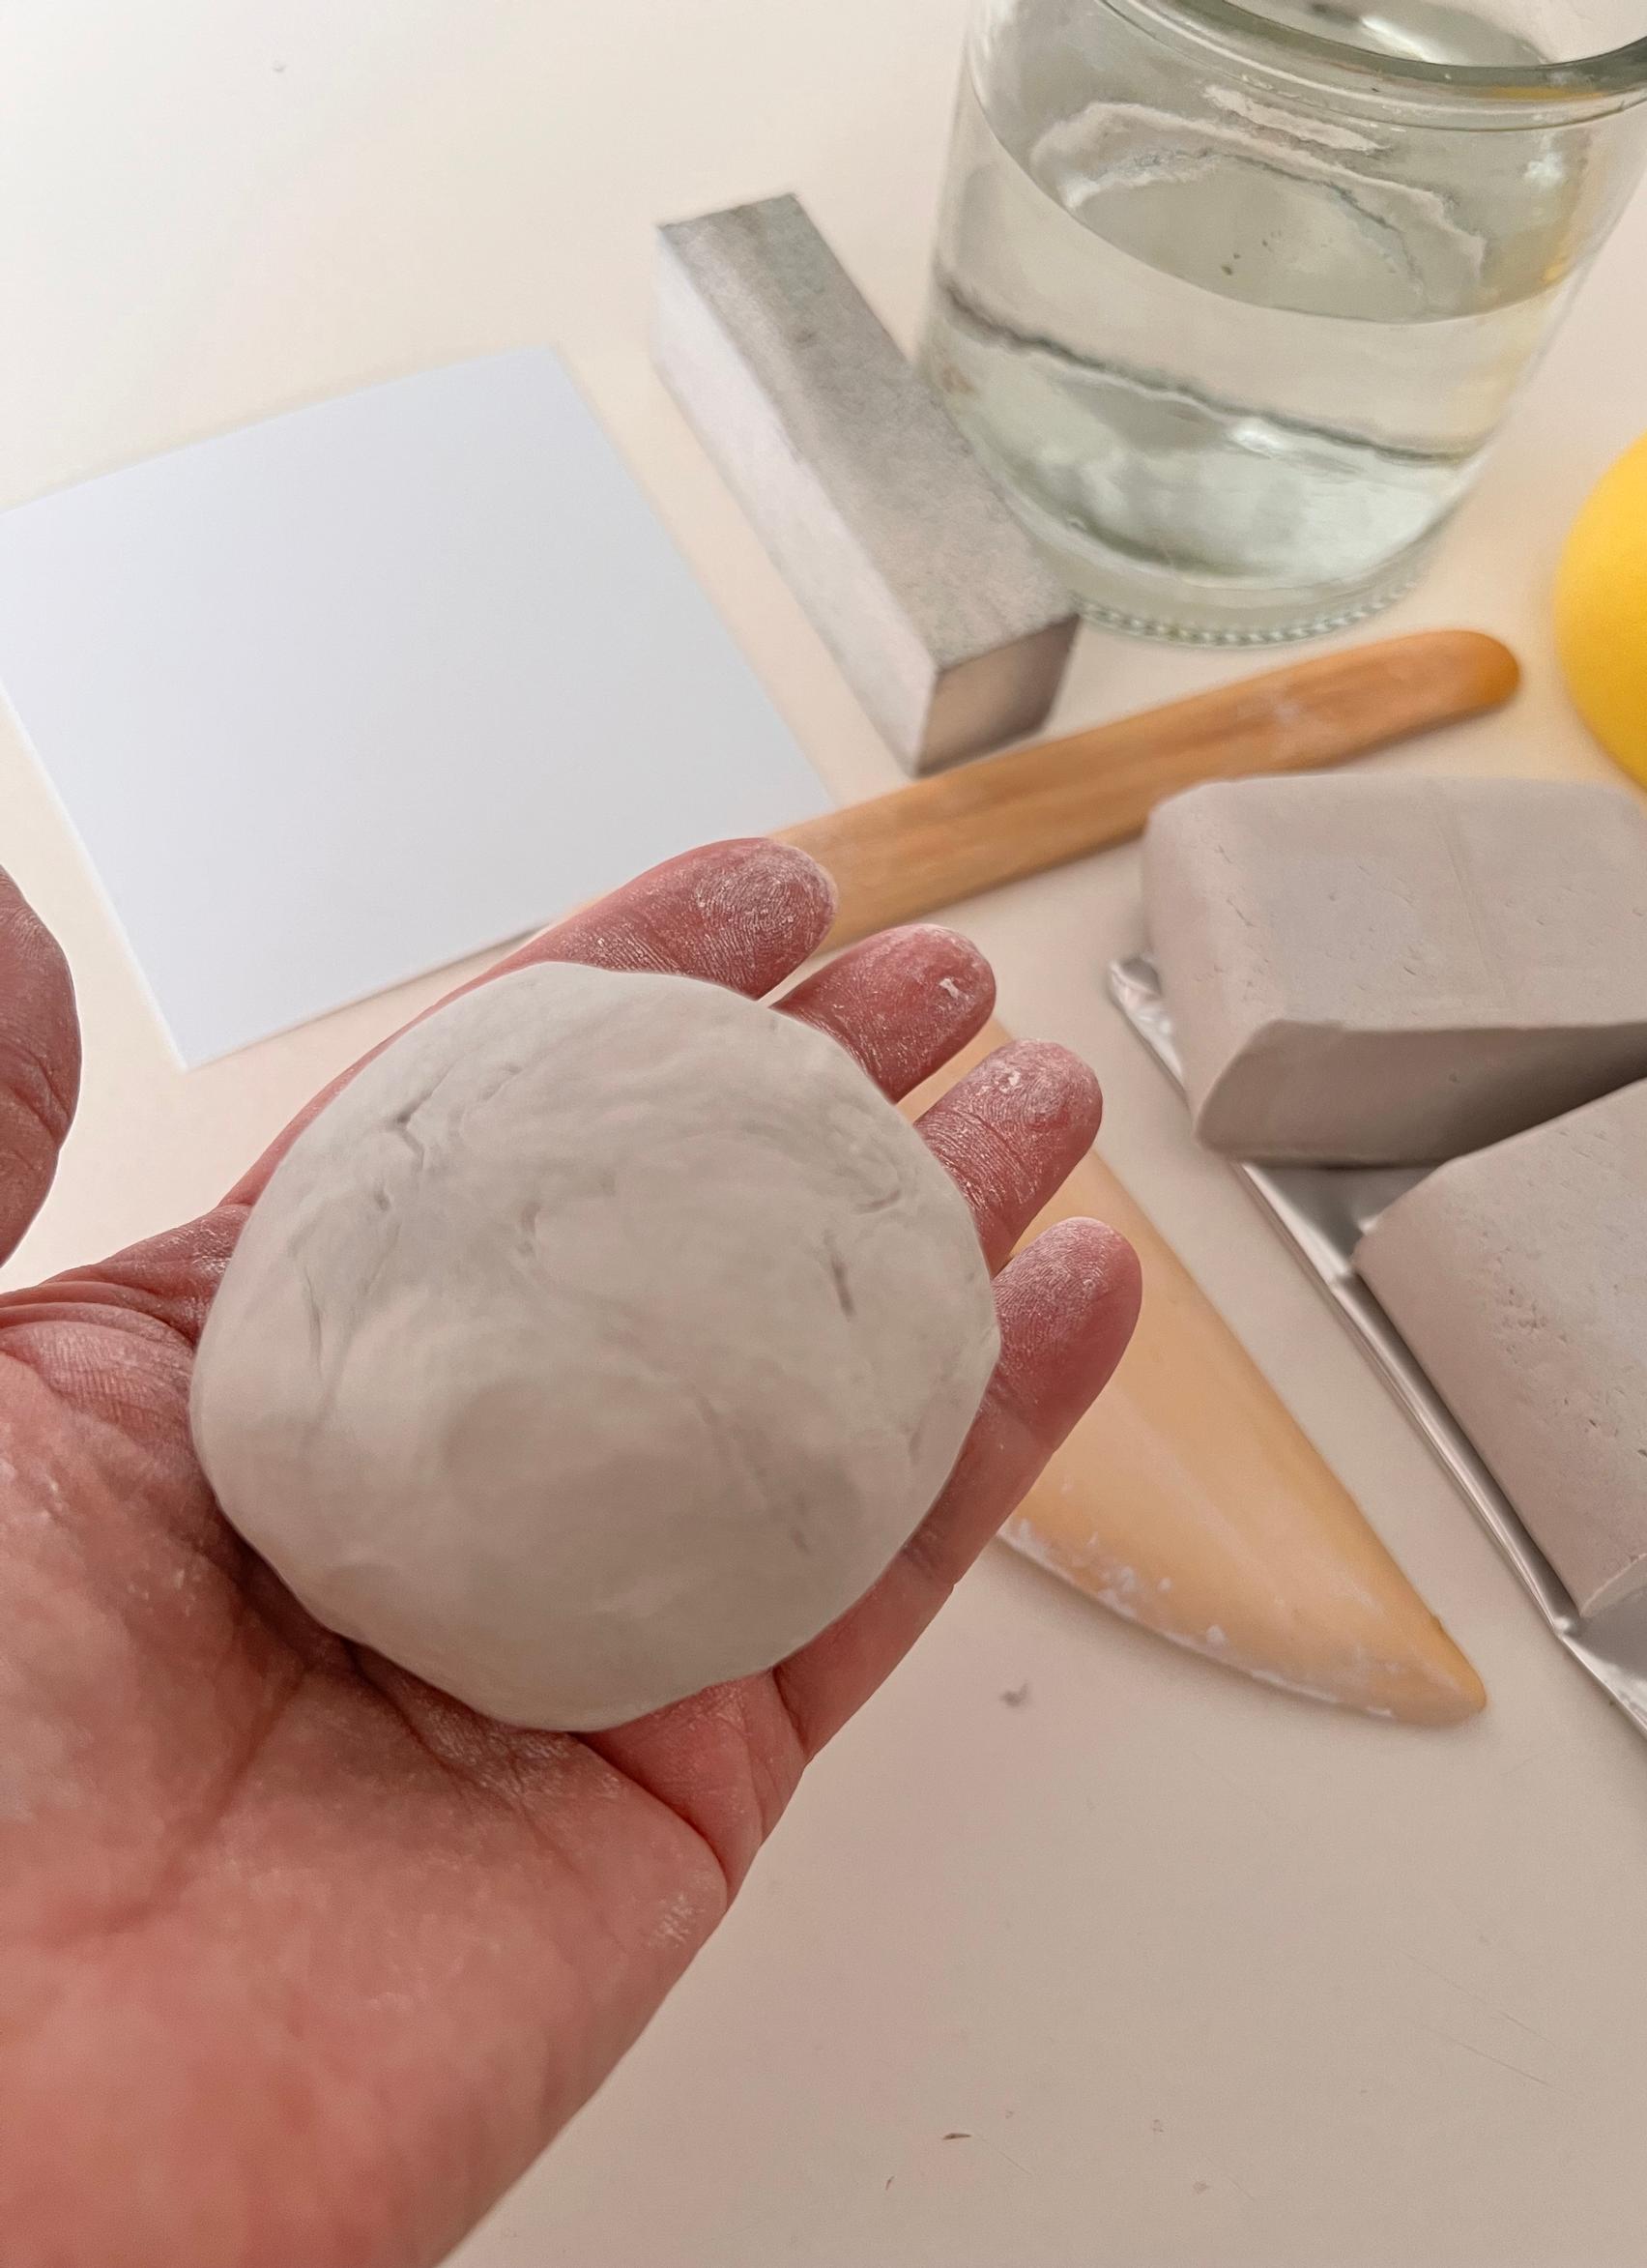
1. Divide the clay into two or three parts and knead them into round shapes.

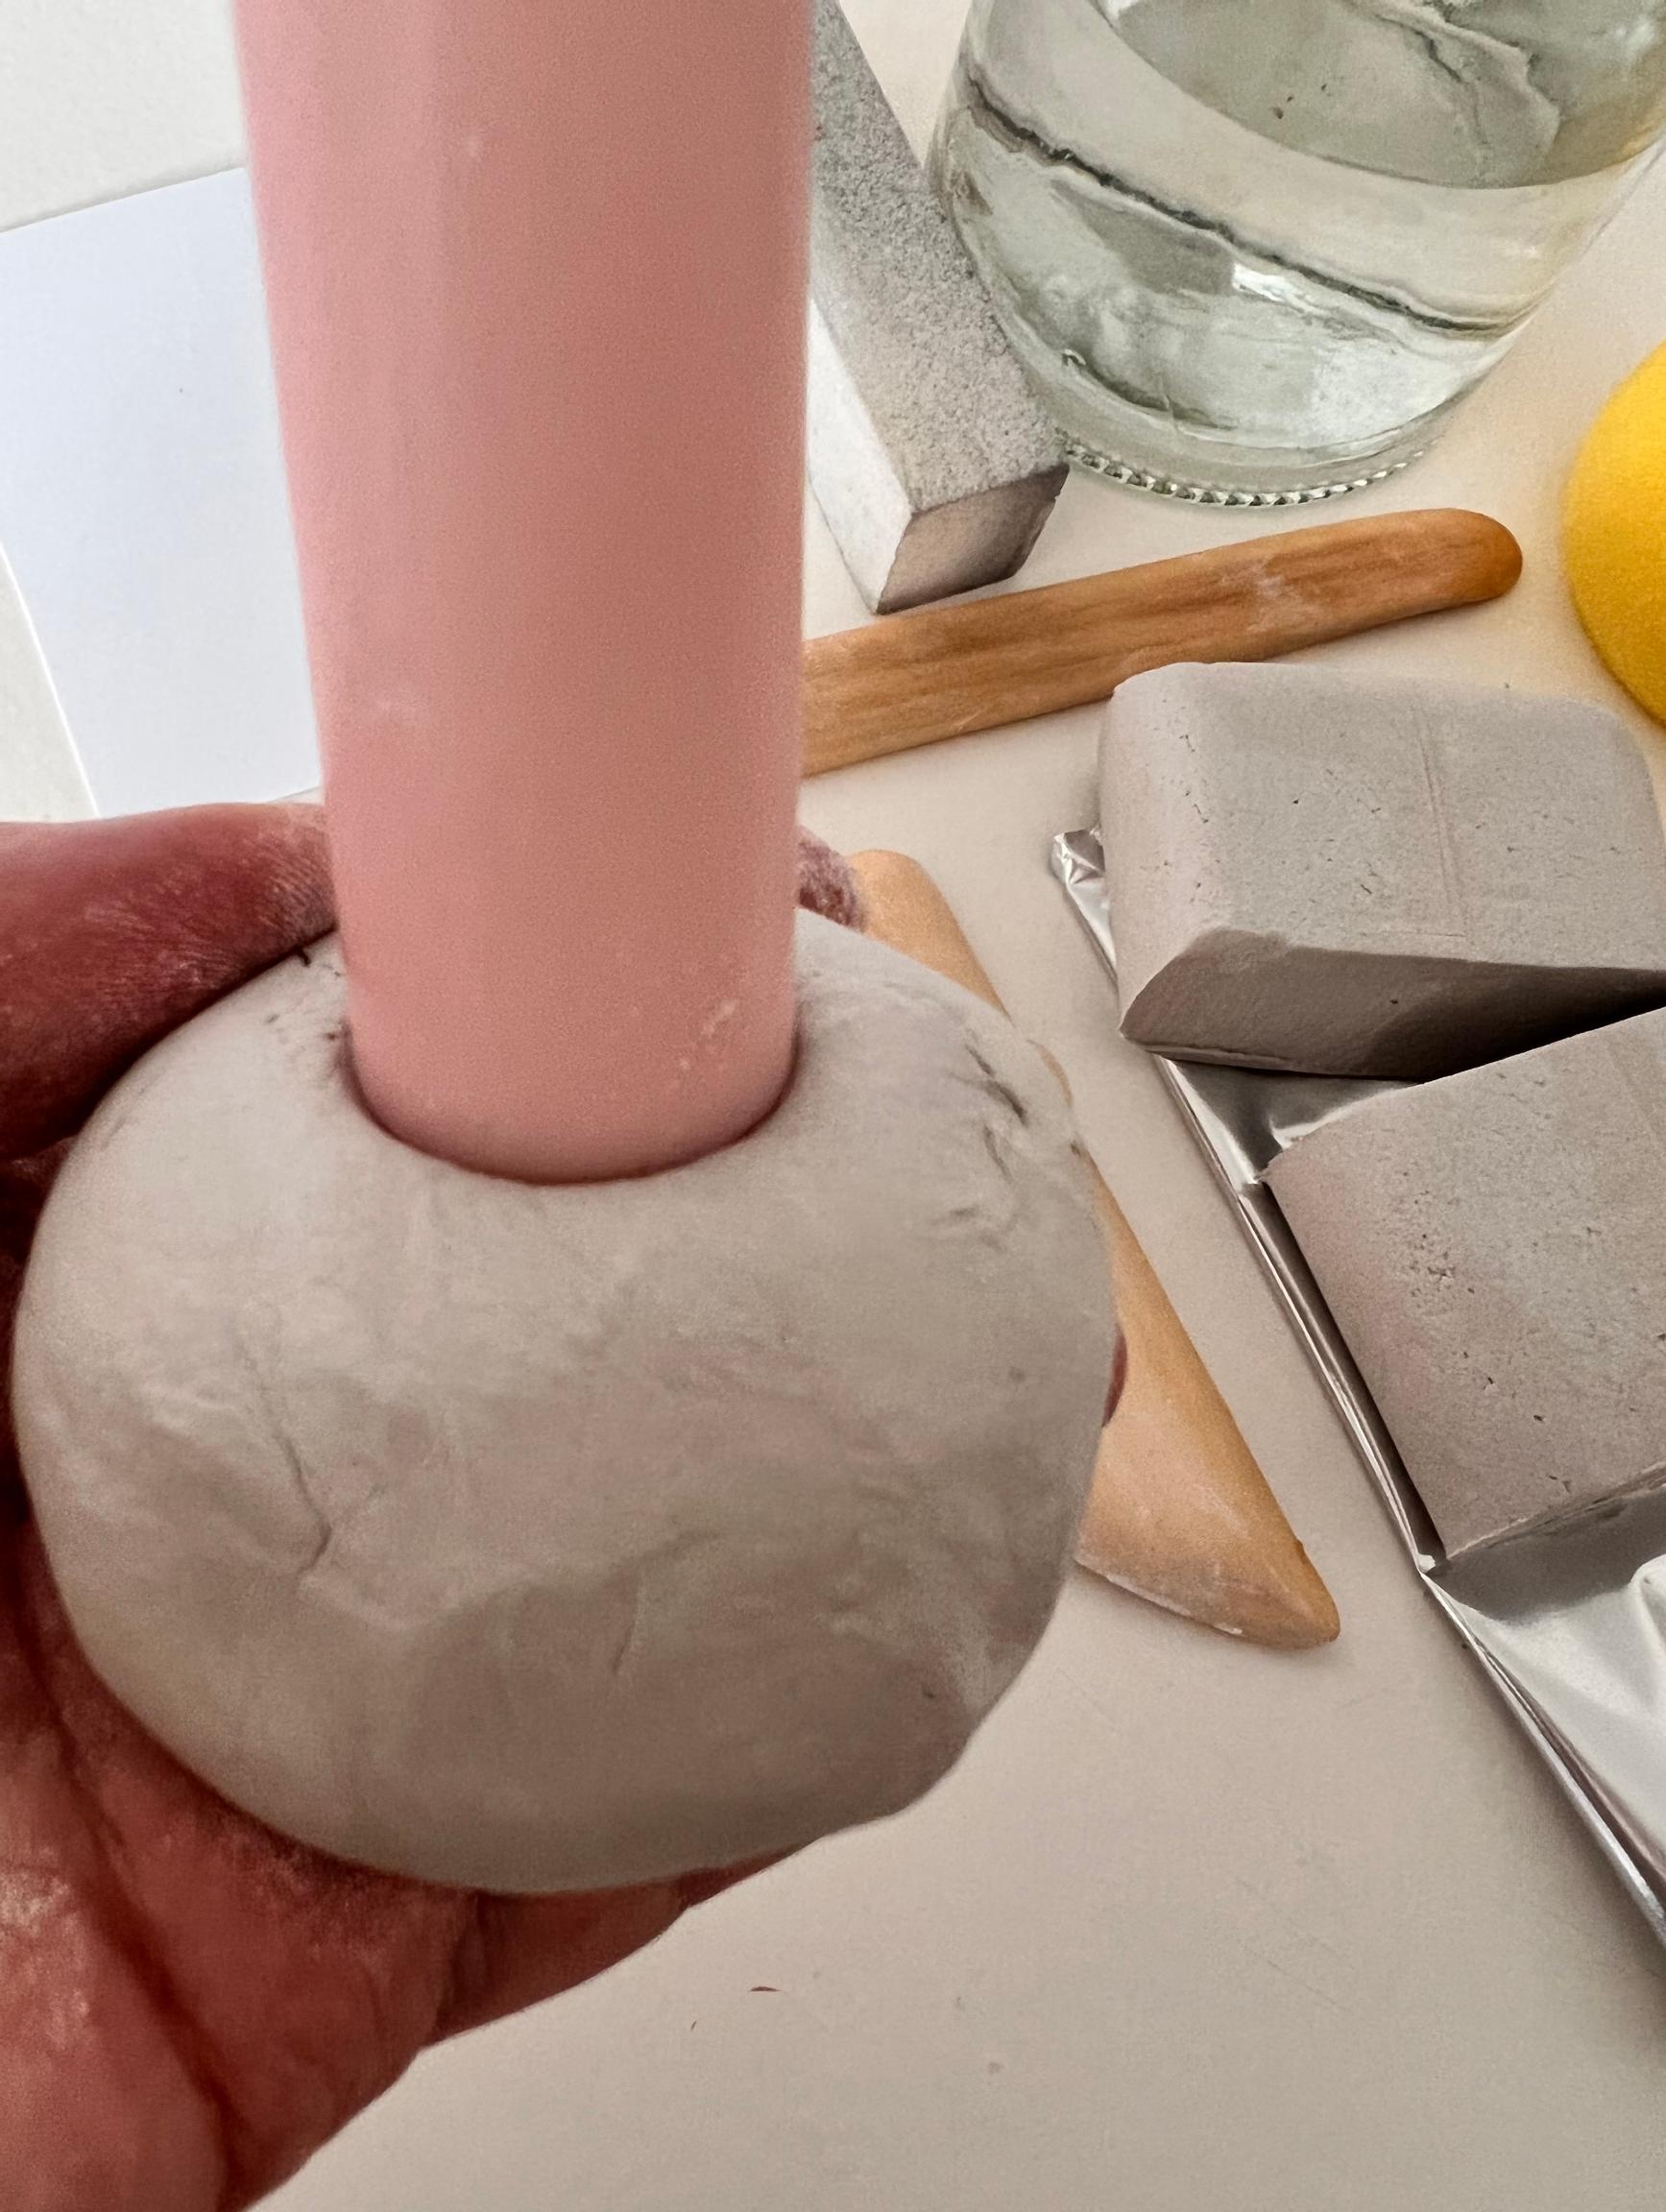
2. Push a candle into each piece of clay, then sculpt it into the style you want.

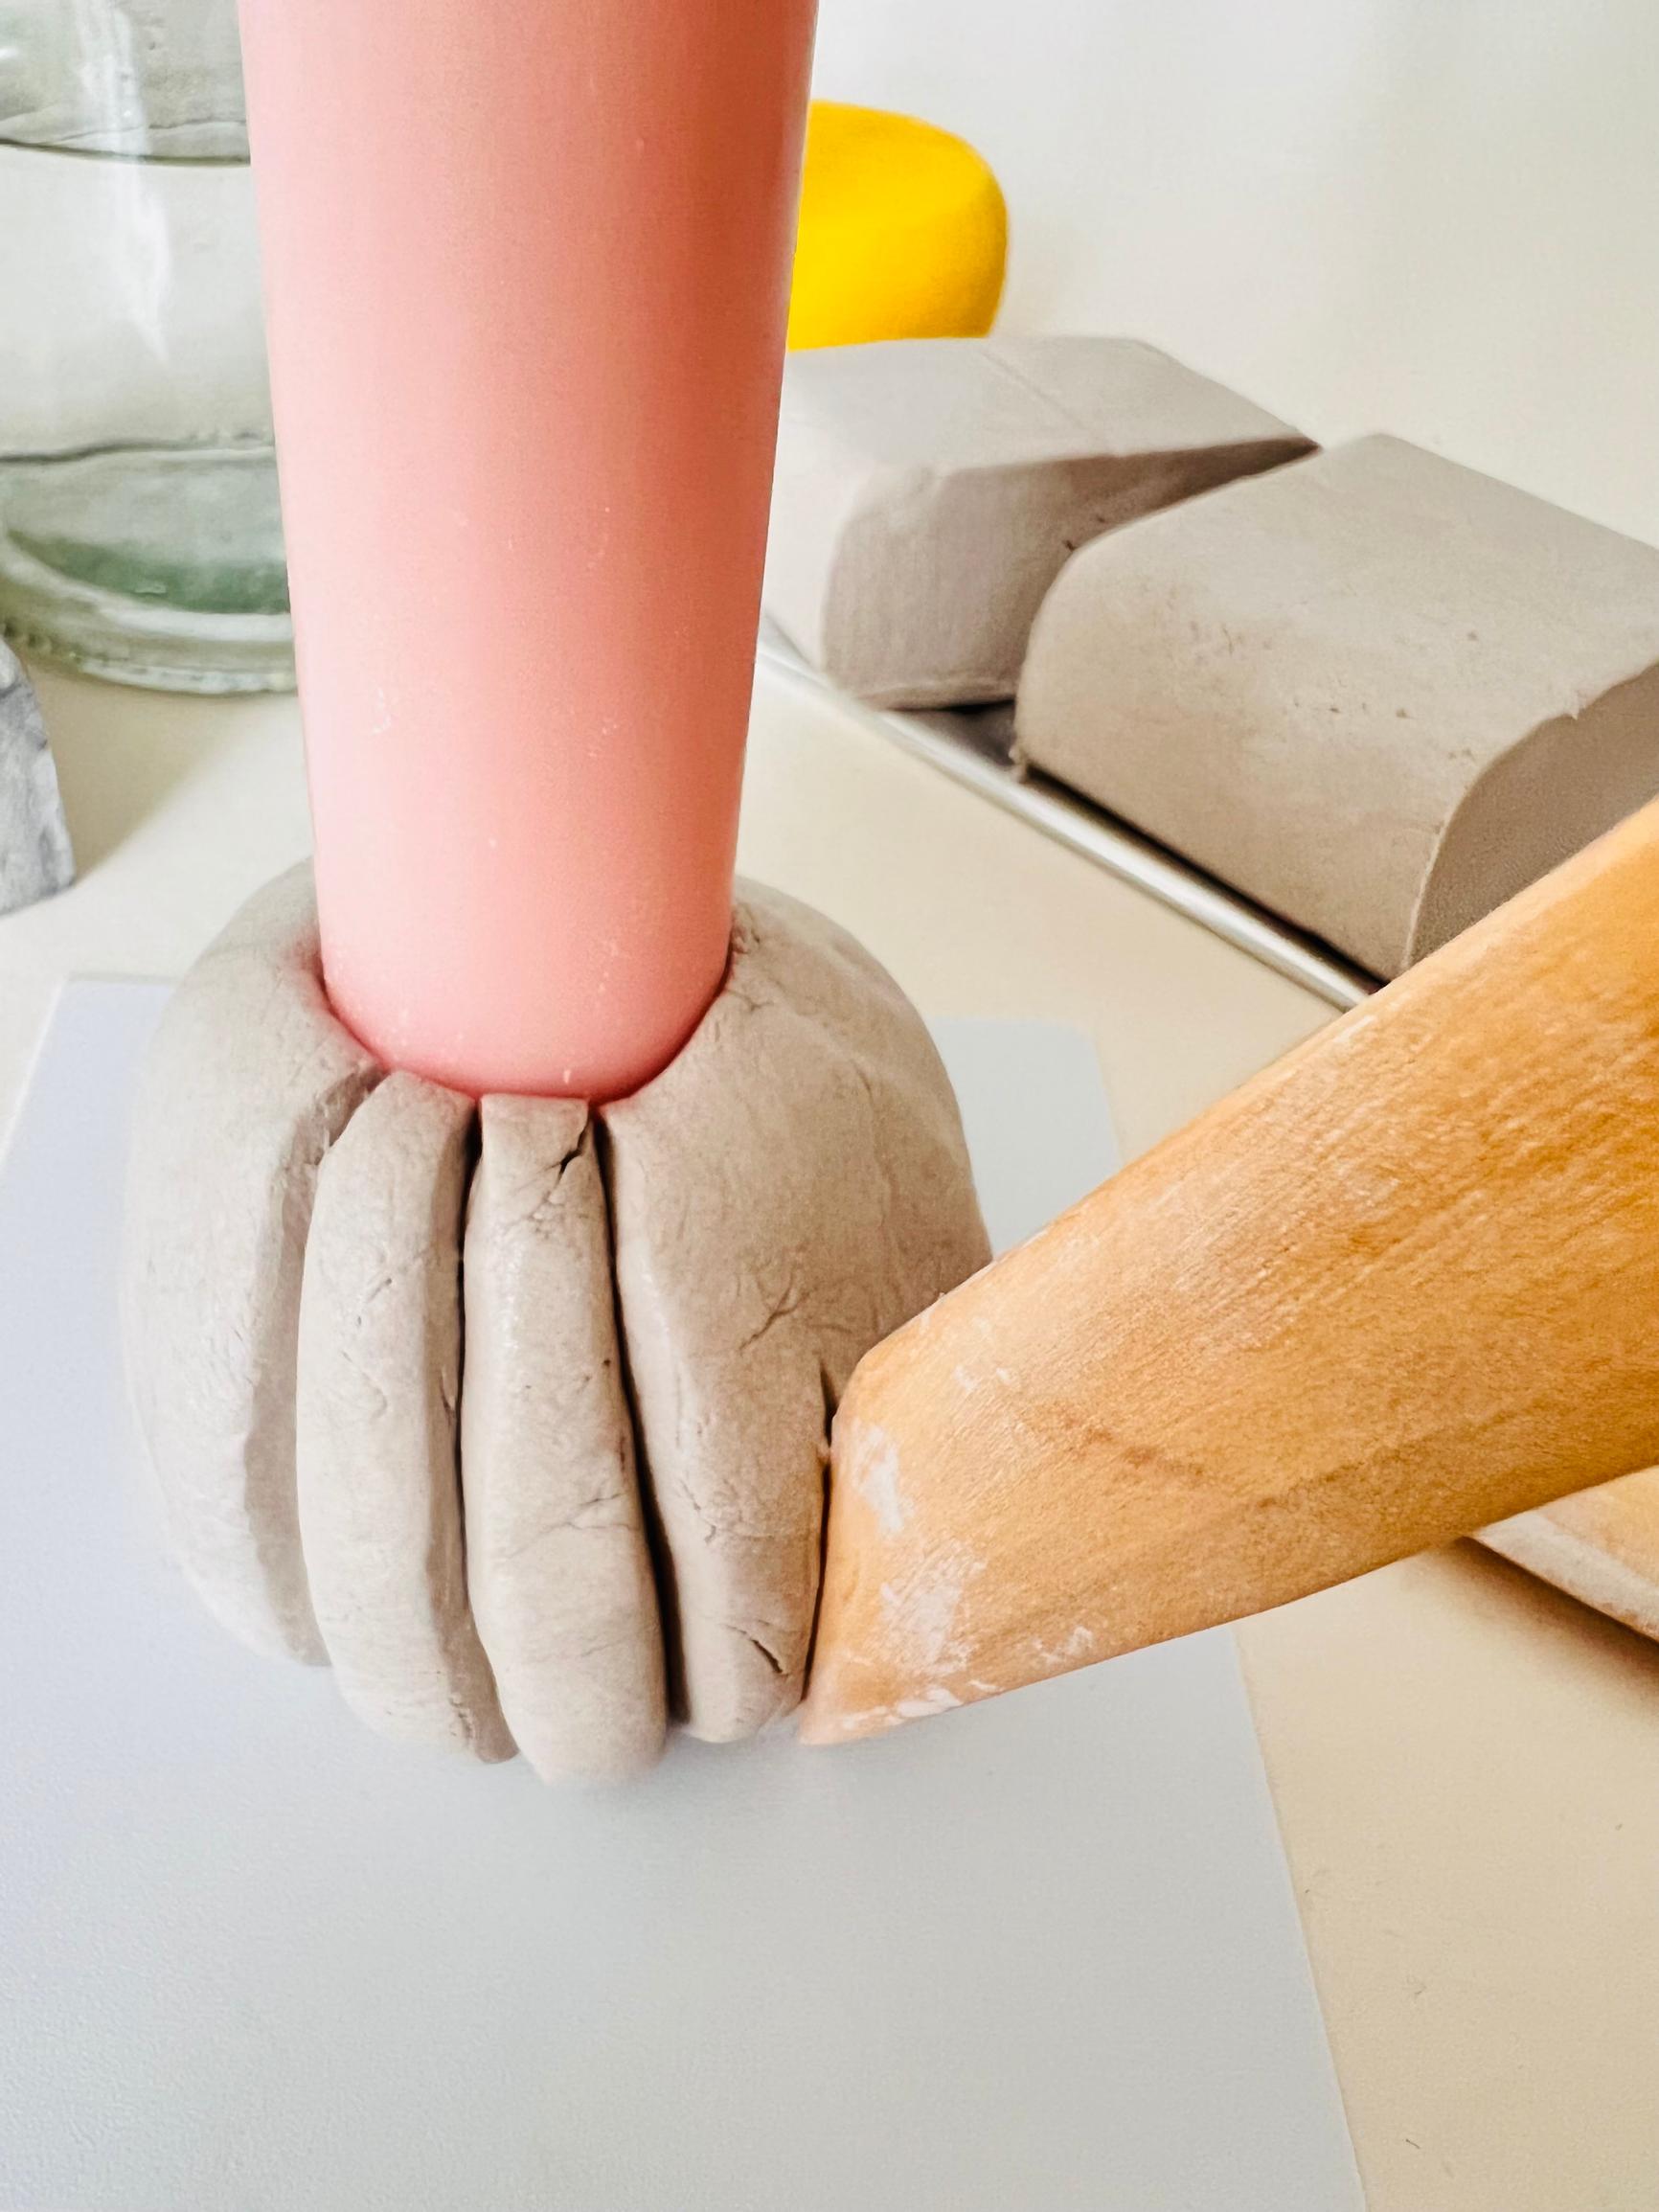

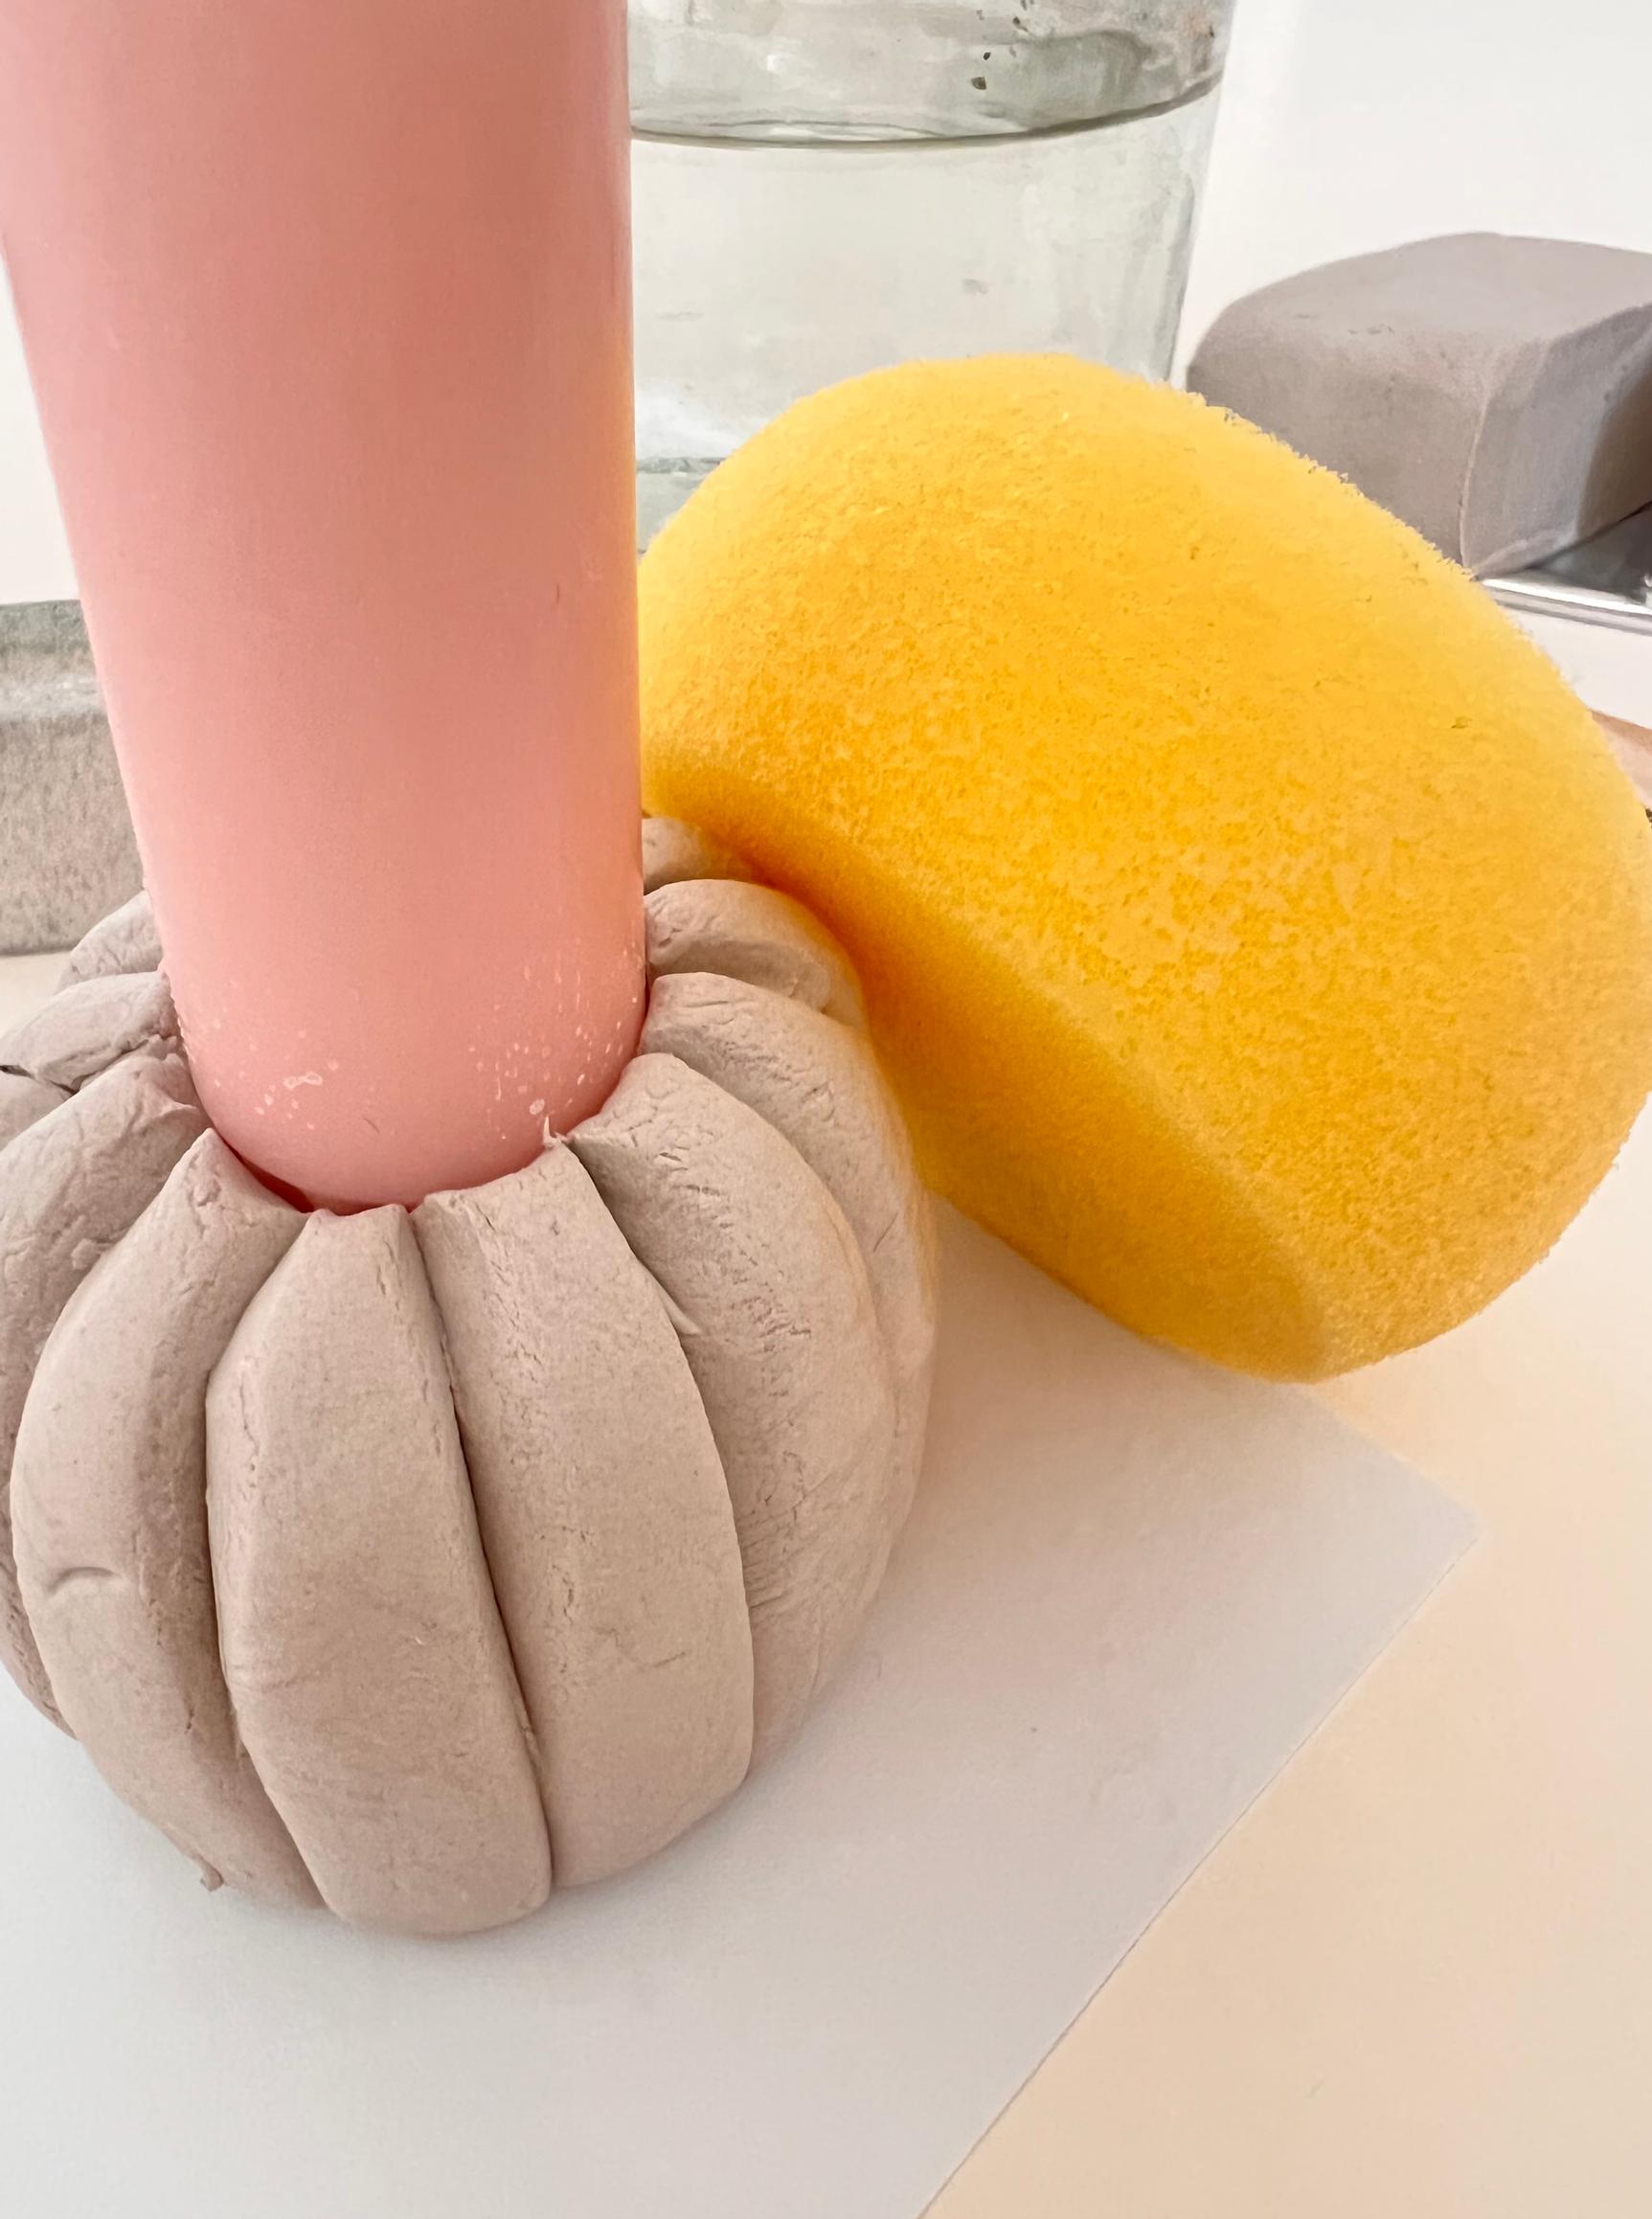
3. Smooth the clay's surface by wiping with a damp sponge.
4. Create any patterns you want and wipe the surface once more with the sponge.
5. Gently remove the candle, and place the candle holder on its base in an airy spot to dry.
6. The clay mass dries at a rate of about one centimeter (0.4′′) per day. Turn the candleholder a few times during the drying process. It will be completely dry in a week, at which point you can sand the surface with sandpaper or a nail file.
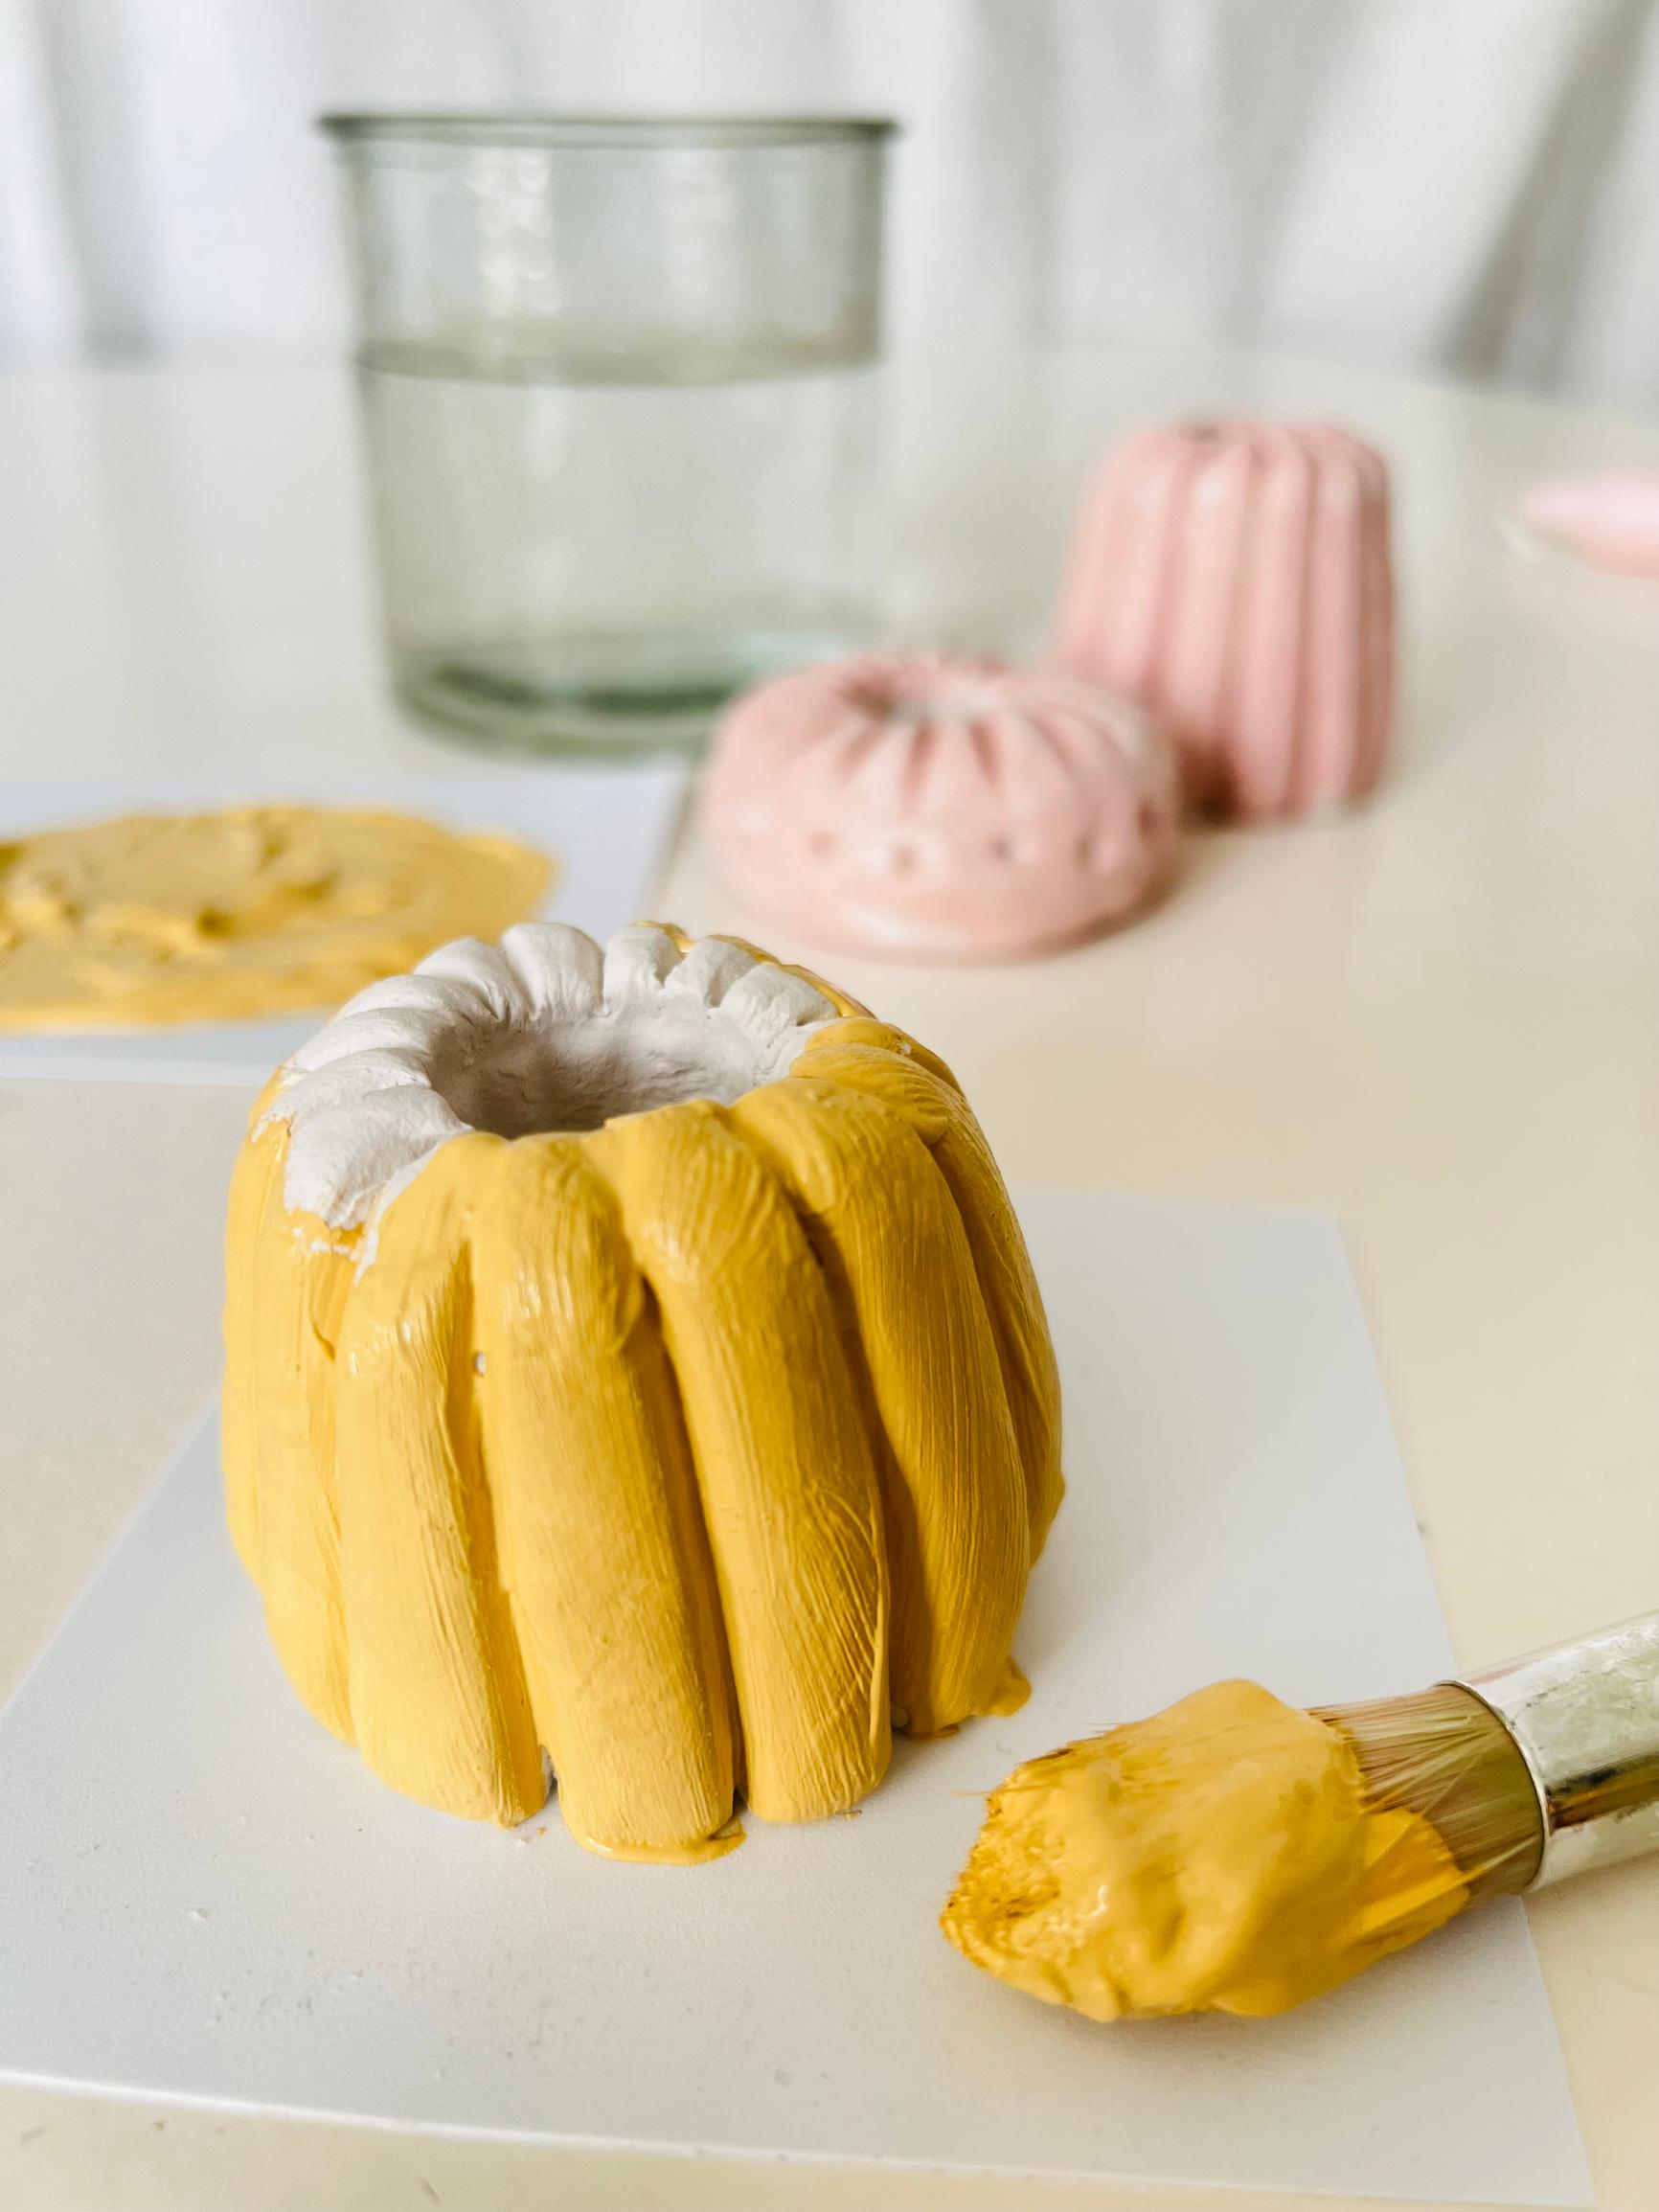
7. Once the candle holder is dry, there are several finishing options. You can leave it completely untreated so that the beautiful matte surface remains visible. However, if you want to paint it, acrylic paints will give an opaque finish. After the paint has dried, sanding the surface slightly will add a bit of texture. If you want a glossy finish, apply a glossy clay varnish as the final layer.