Build a DIY cabinet to keep shoes and small items tidy—step-by-step photos
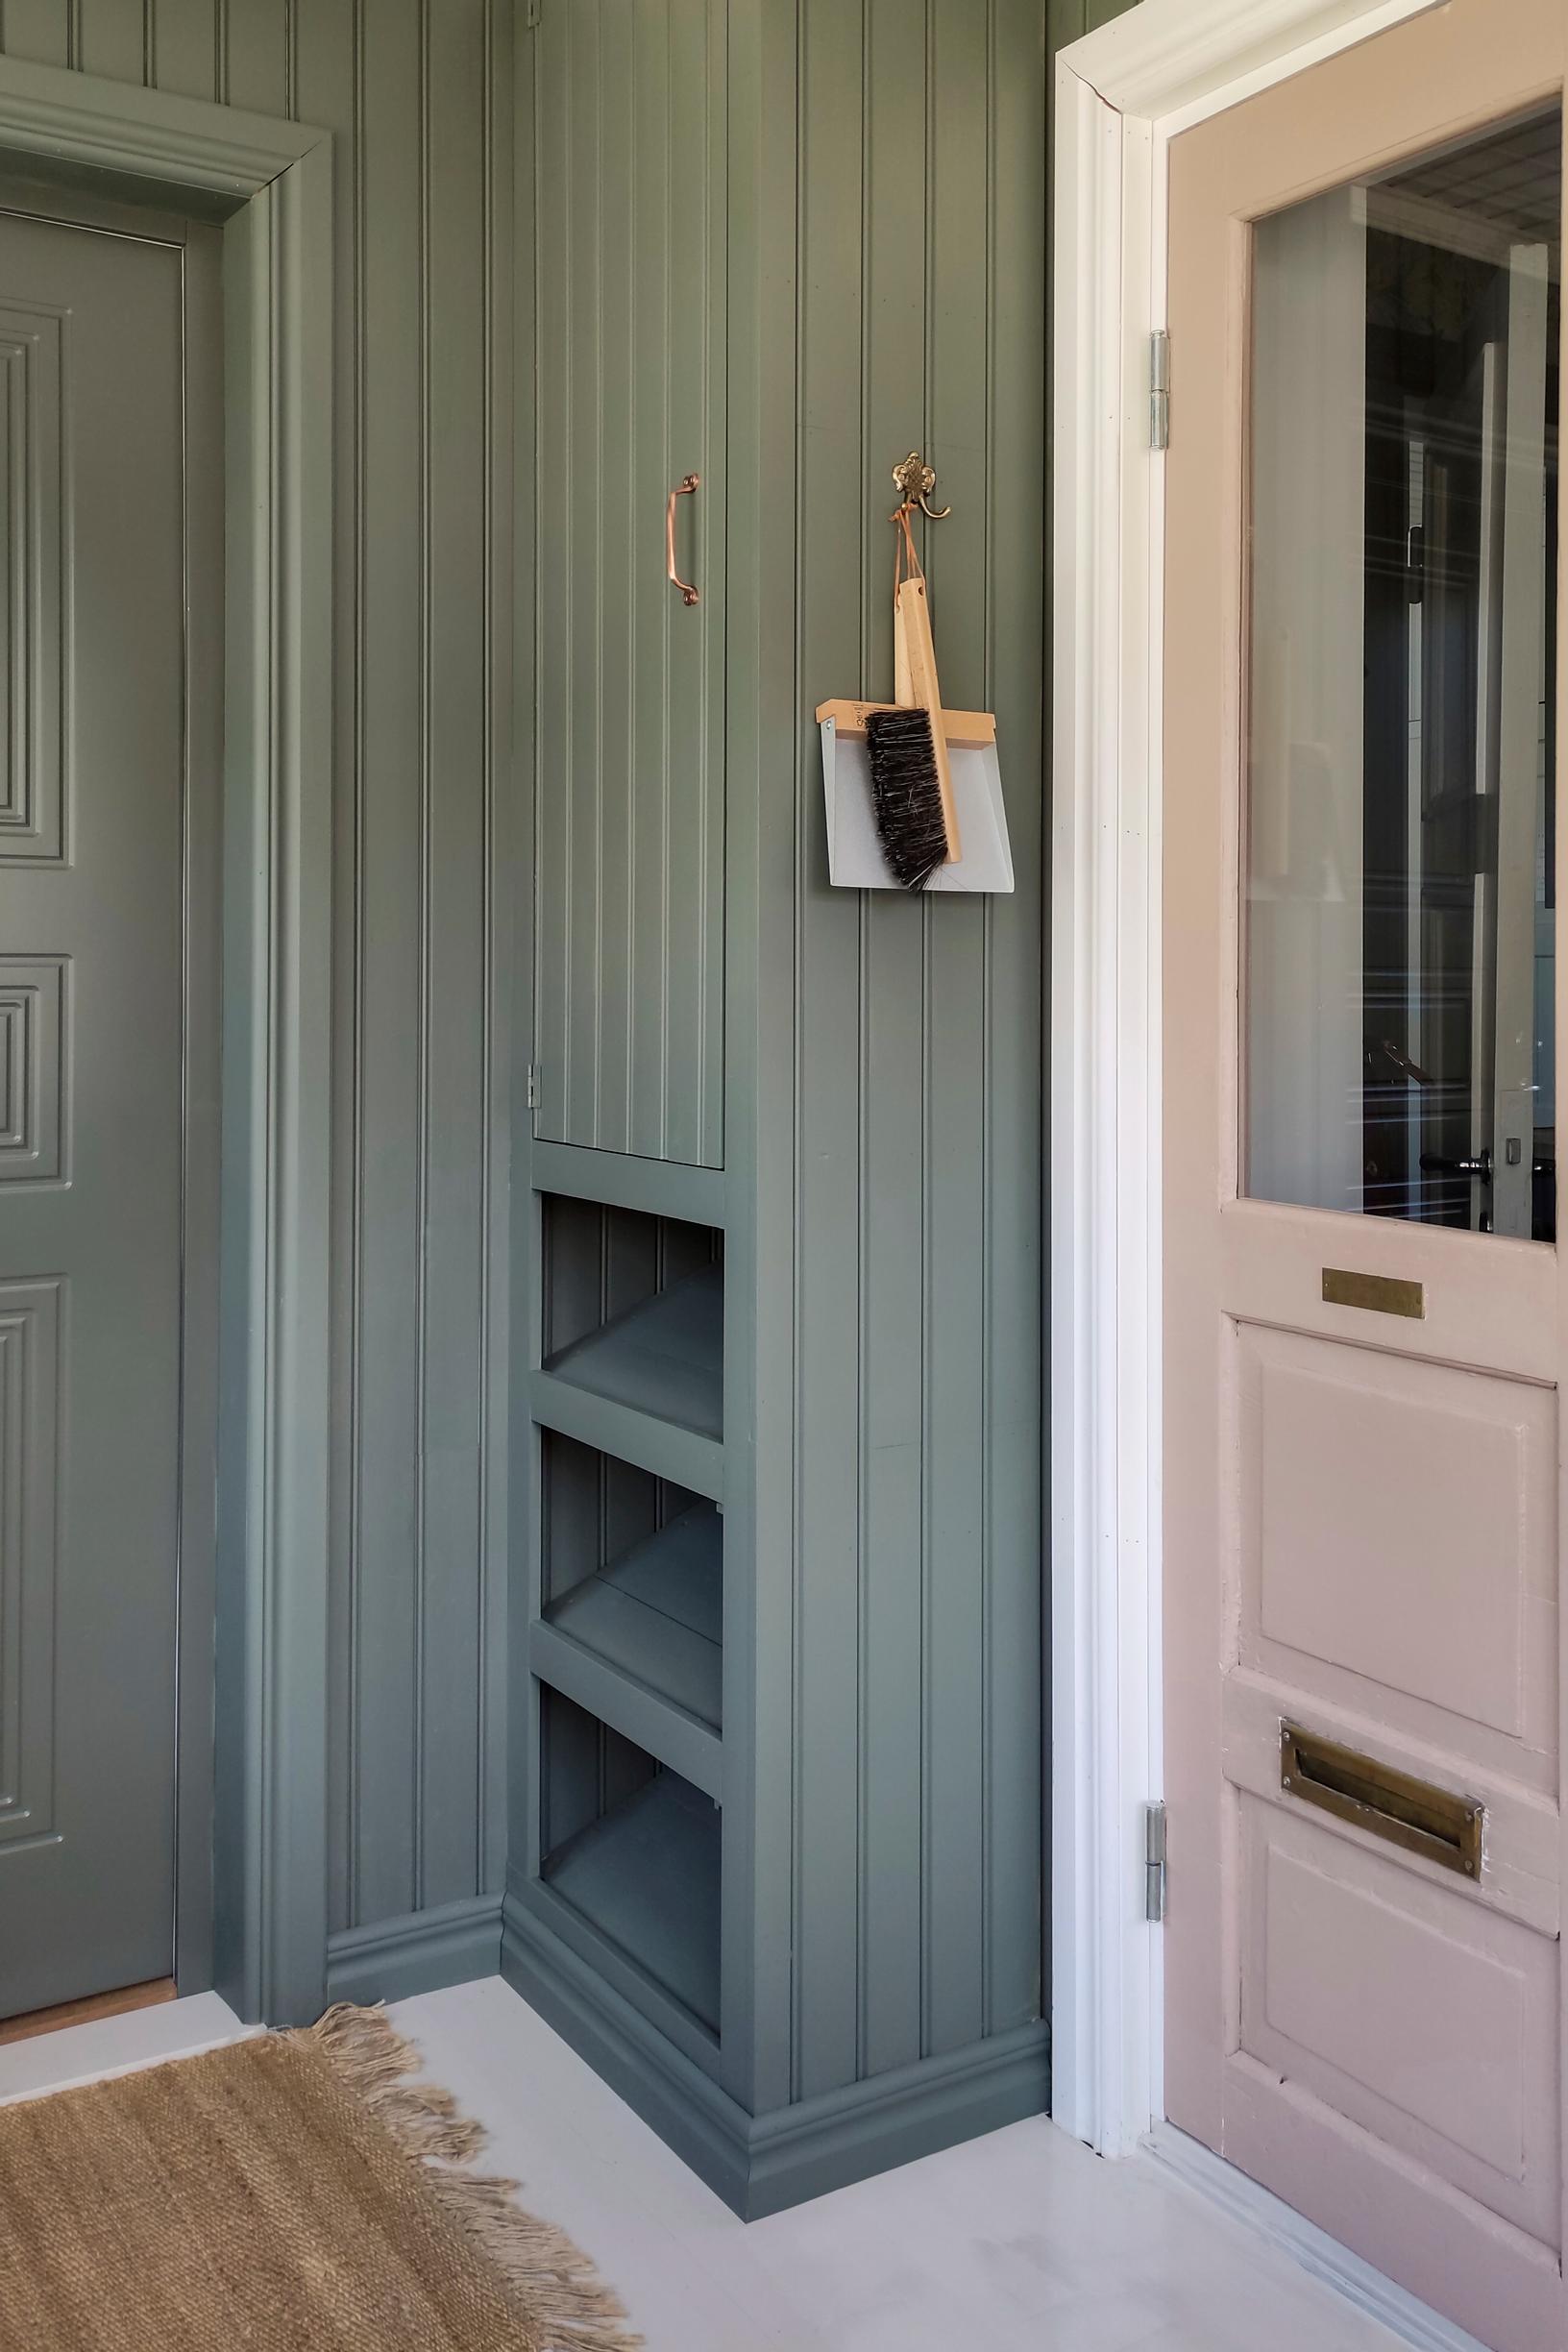
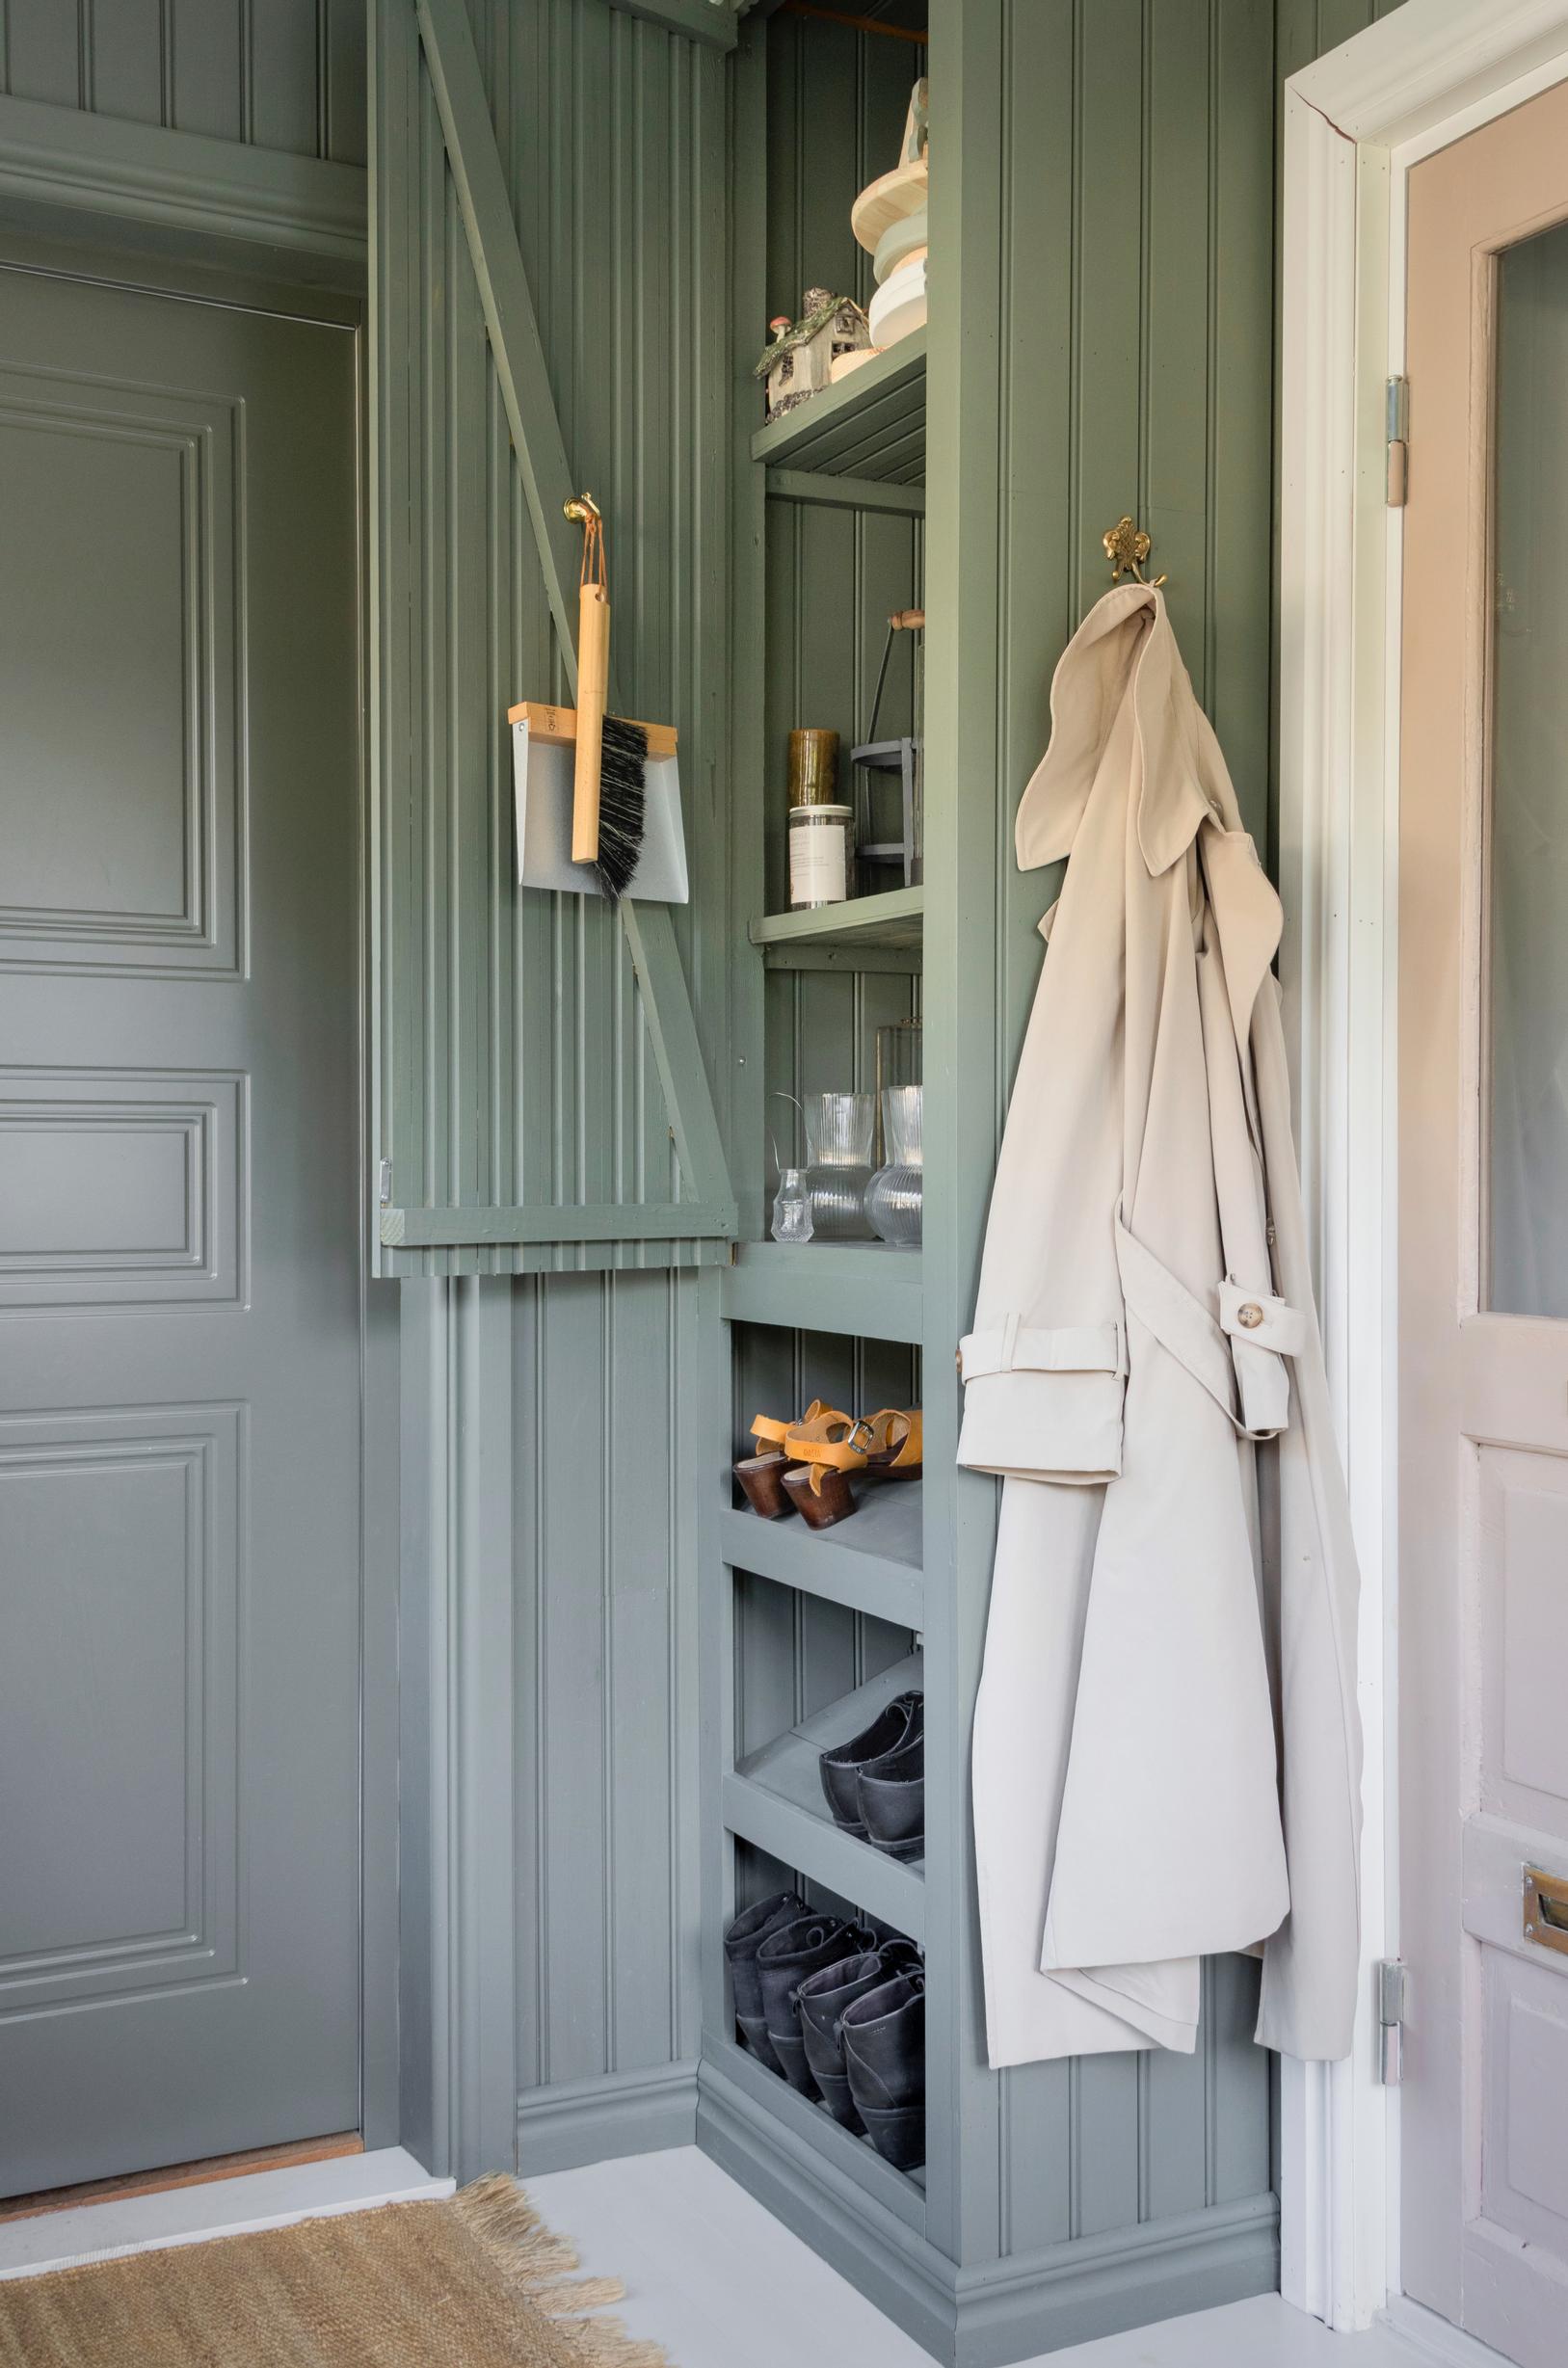
Built in the corner of the porch, this cabinet looks like it’s always been there. The shoe shelves at the bottom keep footwear in order, and the upper shelves can hold smaller items that tend to stray in the entryway.
Shoe chow to build a shoe cabinet abinet: supplies
- a measuring tape and a pencil
- circular saw or hand saw
- spirit level or laser level
- beadboard
- finishing nails
- 5 × 80 mm (about 3.2 in) long screws and an electric screwdriver
- panel paint of your choosing
- paintbrush
- laminated board or plywood 9–20 mm (about 0.35–0.8 in) thick
- 48 × 48 mm (about 1.9 × 1.9 in) boards or similar for the frame
- 22 × 50 mm (about 0.9 × 2 in) boards for the door frame and front trim
- cabinet hinges, 2 pieces (25 × 19 mm or about 1 × 0.75 in)
- a handle and 2 magnetic catches
Shoe cabinet: instructions
1. Build the frame. Measure and cut two vertical supports from floor to ceiling and one half-length vertical support from the framing timber. Measure the cabinet depth and cut about five horizontal supports. Screw the horizontal supports between the vertical supports. Measure the desired width of the cabinet from the wall and attach the frame to the wall. Also screw the half-length vertical support to the front edge at the wall.

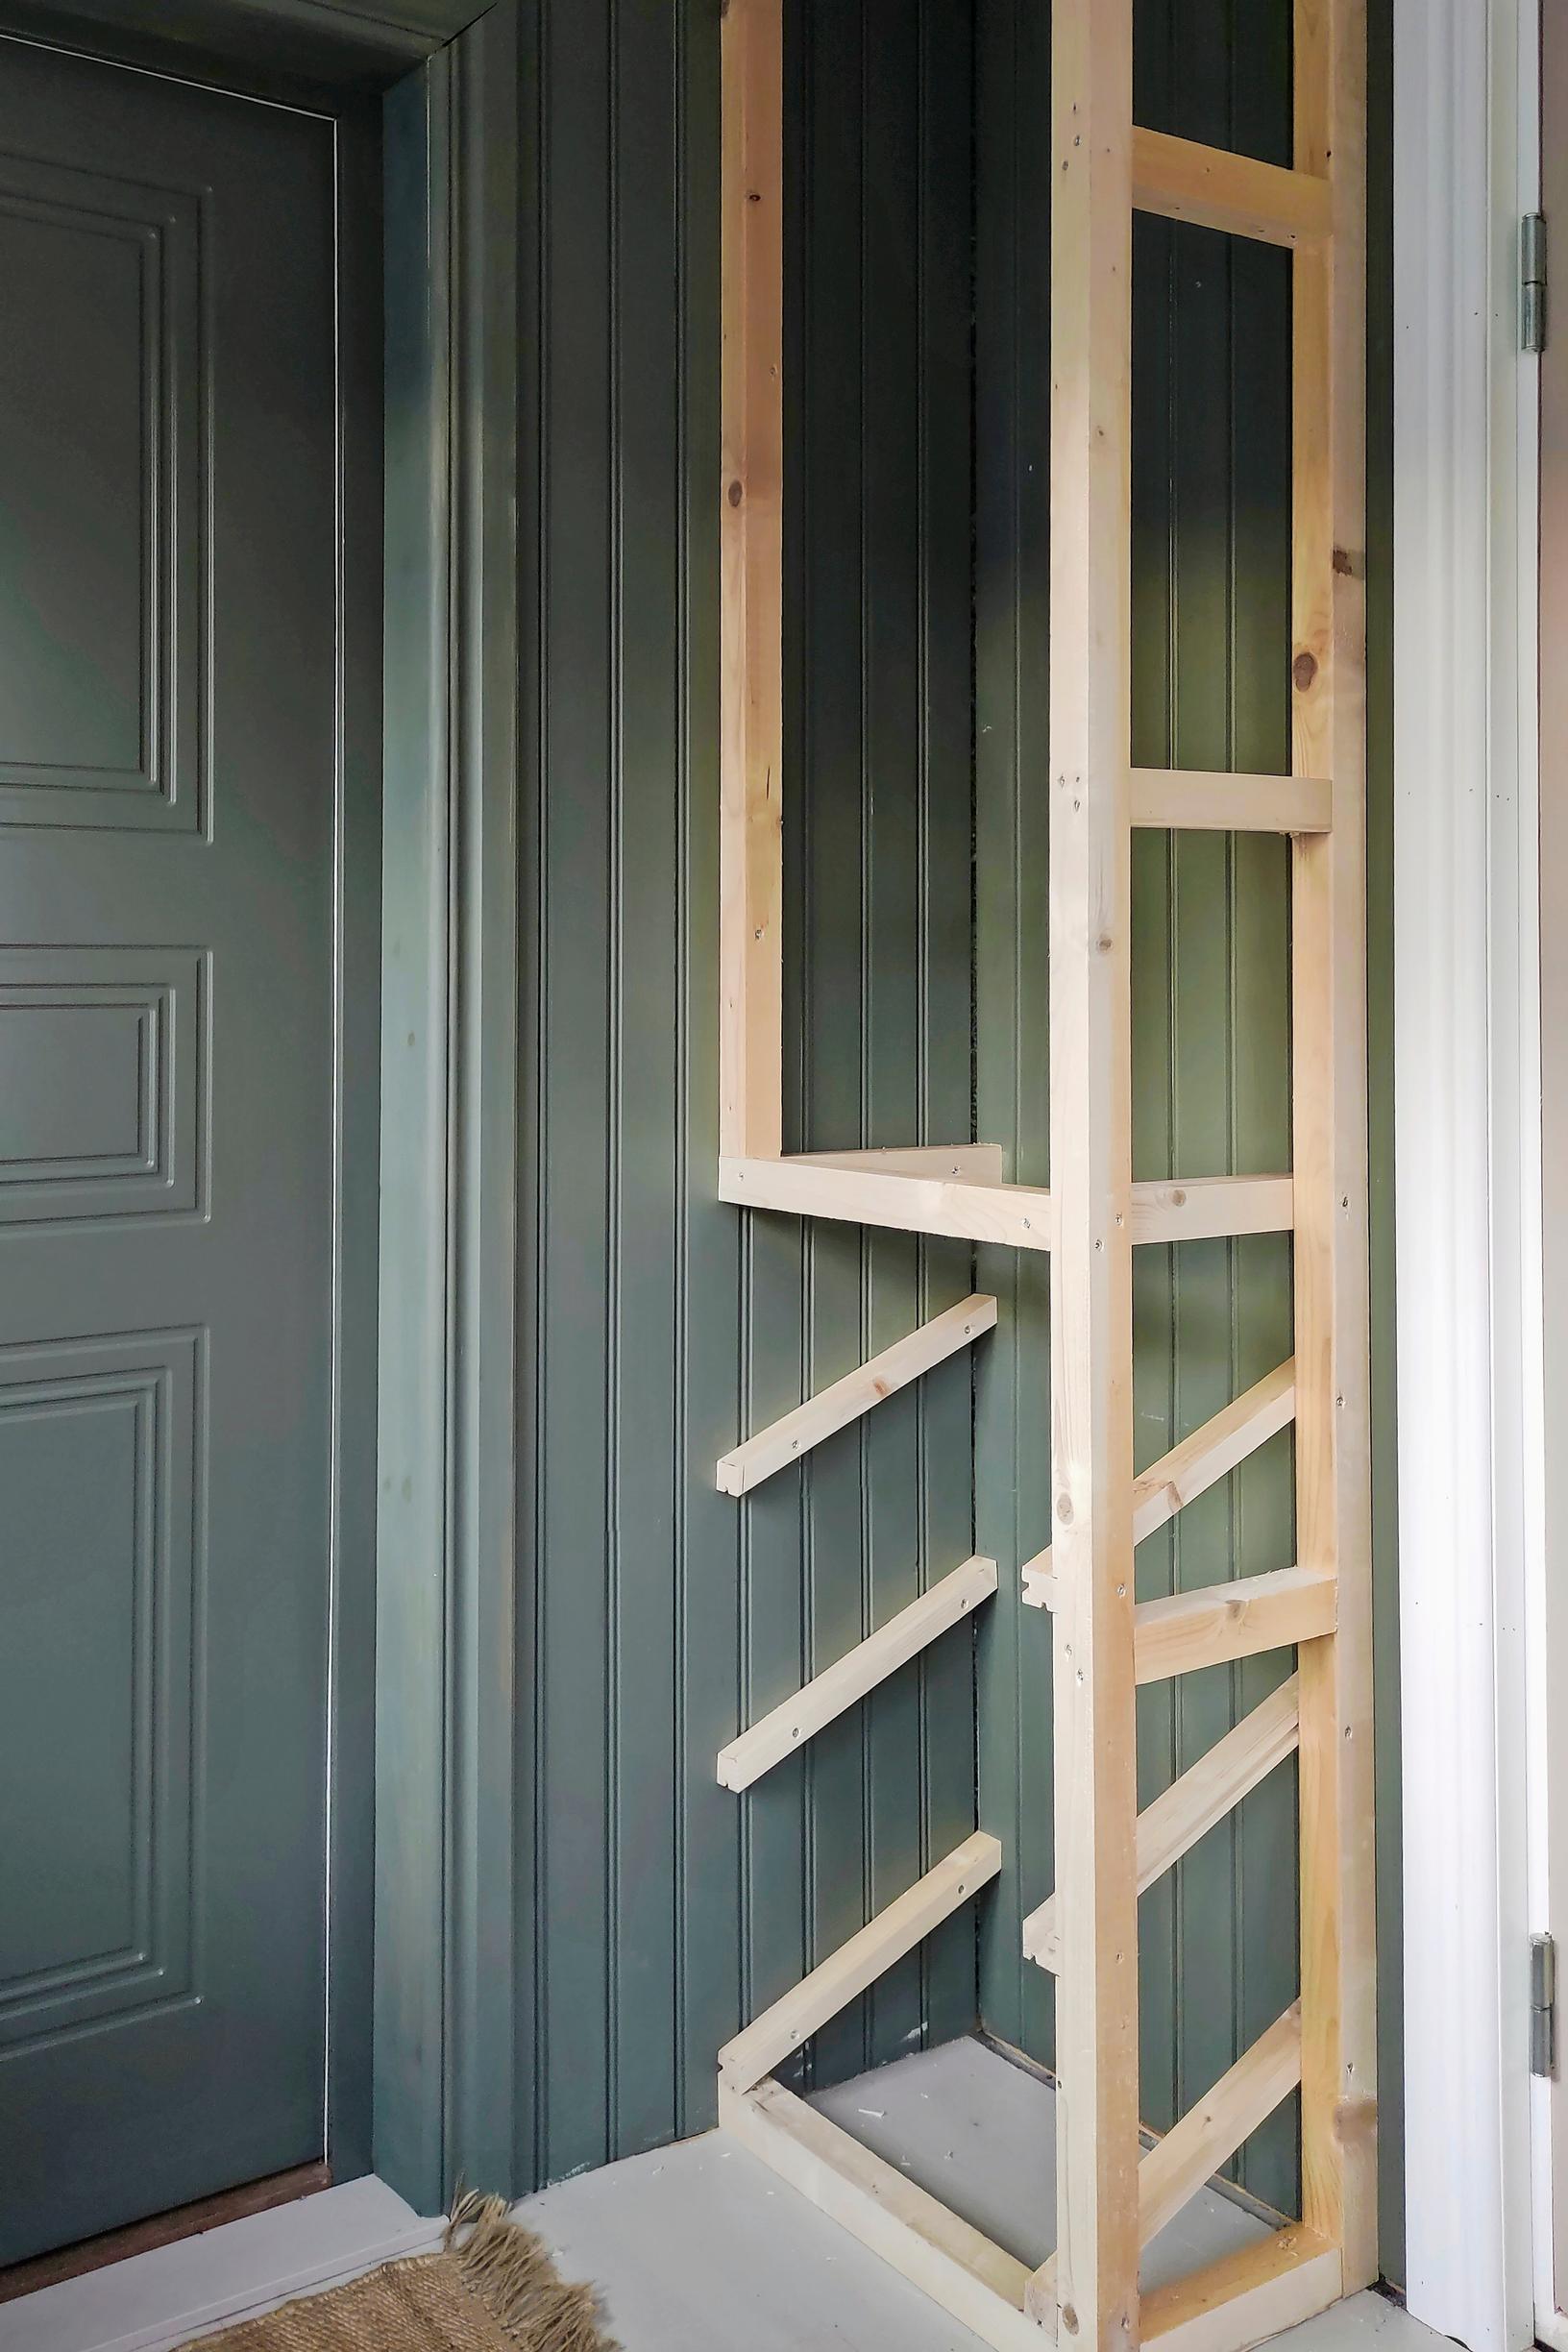
2. Build the front support structure. Measure and cut three horizontal pieces from the framing timber to match the cabinet’s width. Screw them into the vertical supports and the wall.

3. Make six horizontal supports from the framing timber for the upper shelves and six angled supports for the shoe shelves. Measure and cut the supports for the lowest upper shelf at the front crosspiece, then place the others above it however you prefer. Measure and cut six supports for the shoe shelves and saw the front edges at an angle. Screw them all to the wall and the vertical supports.
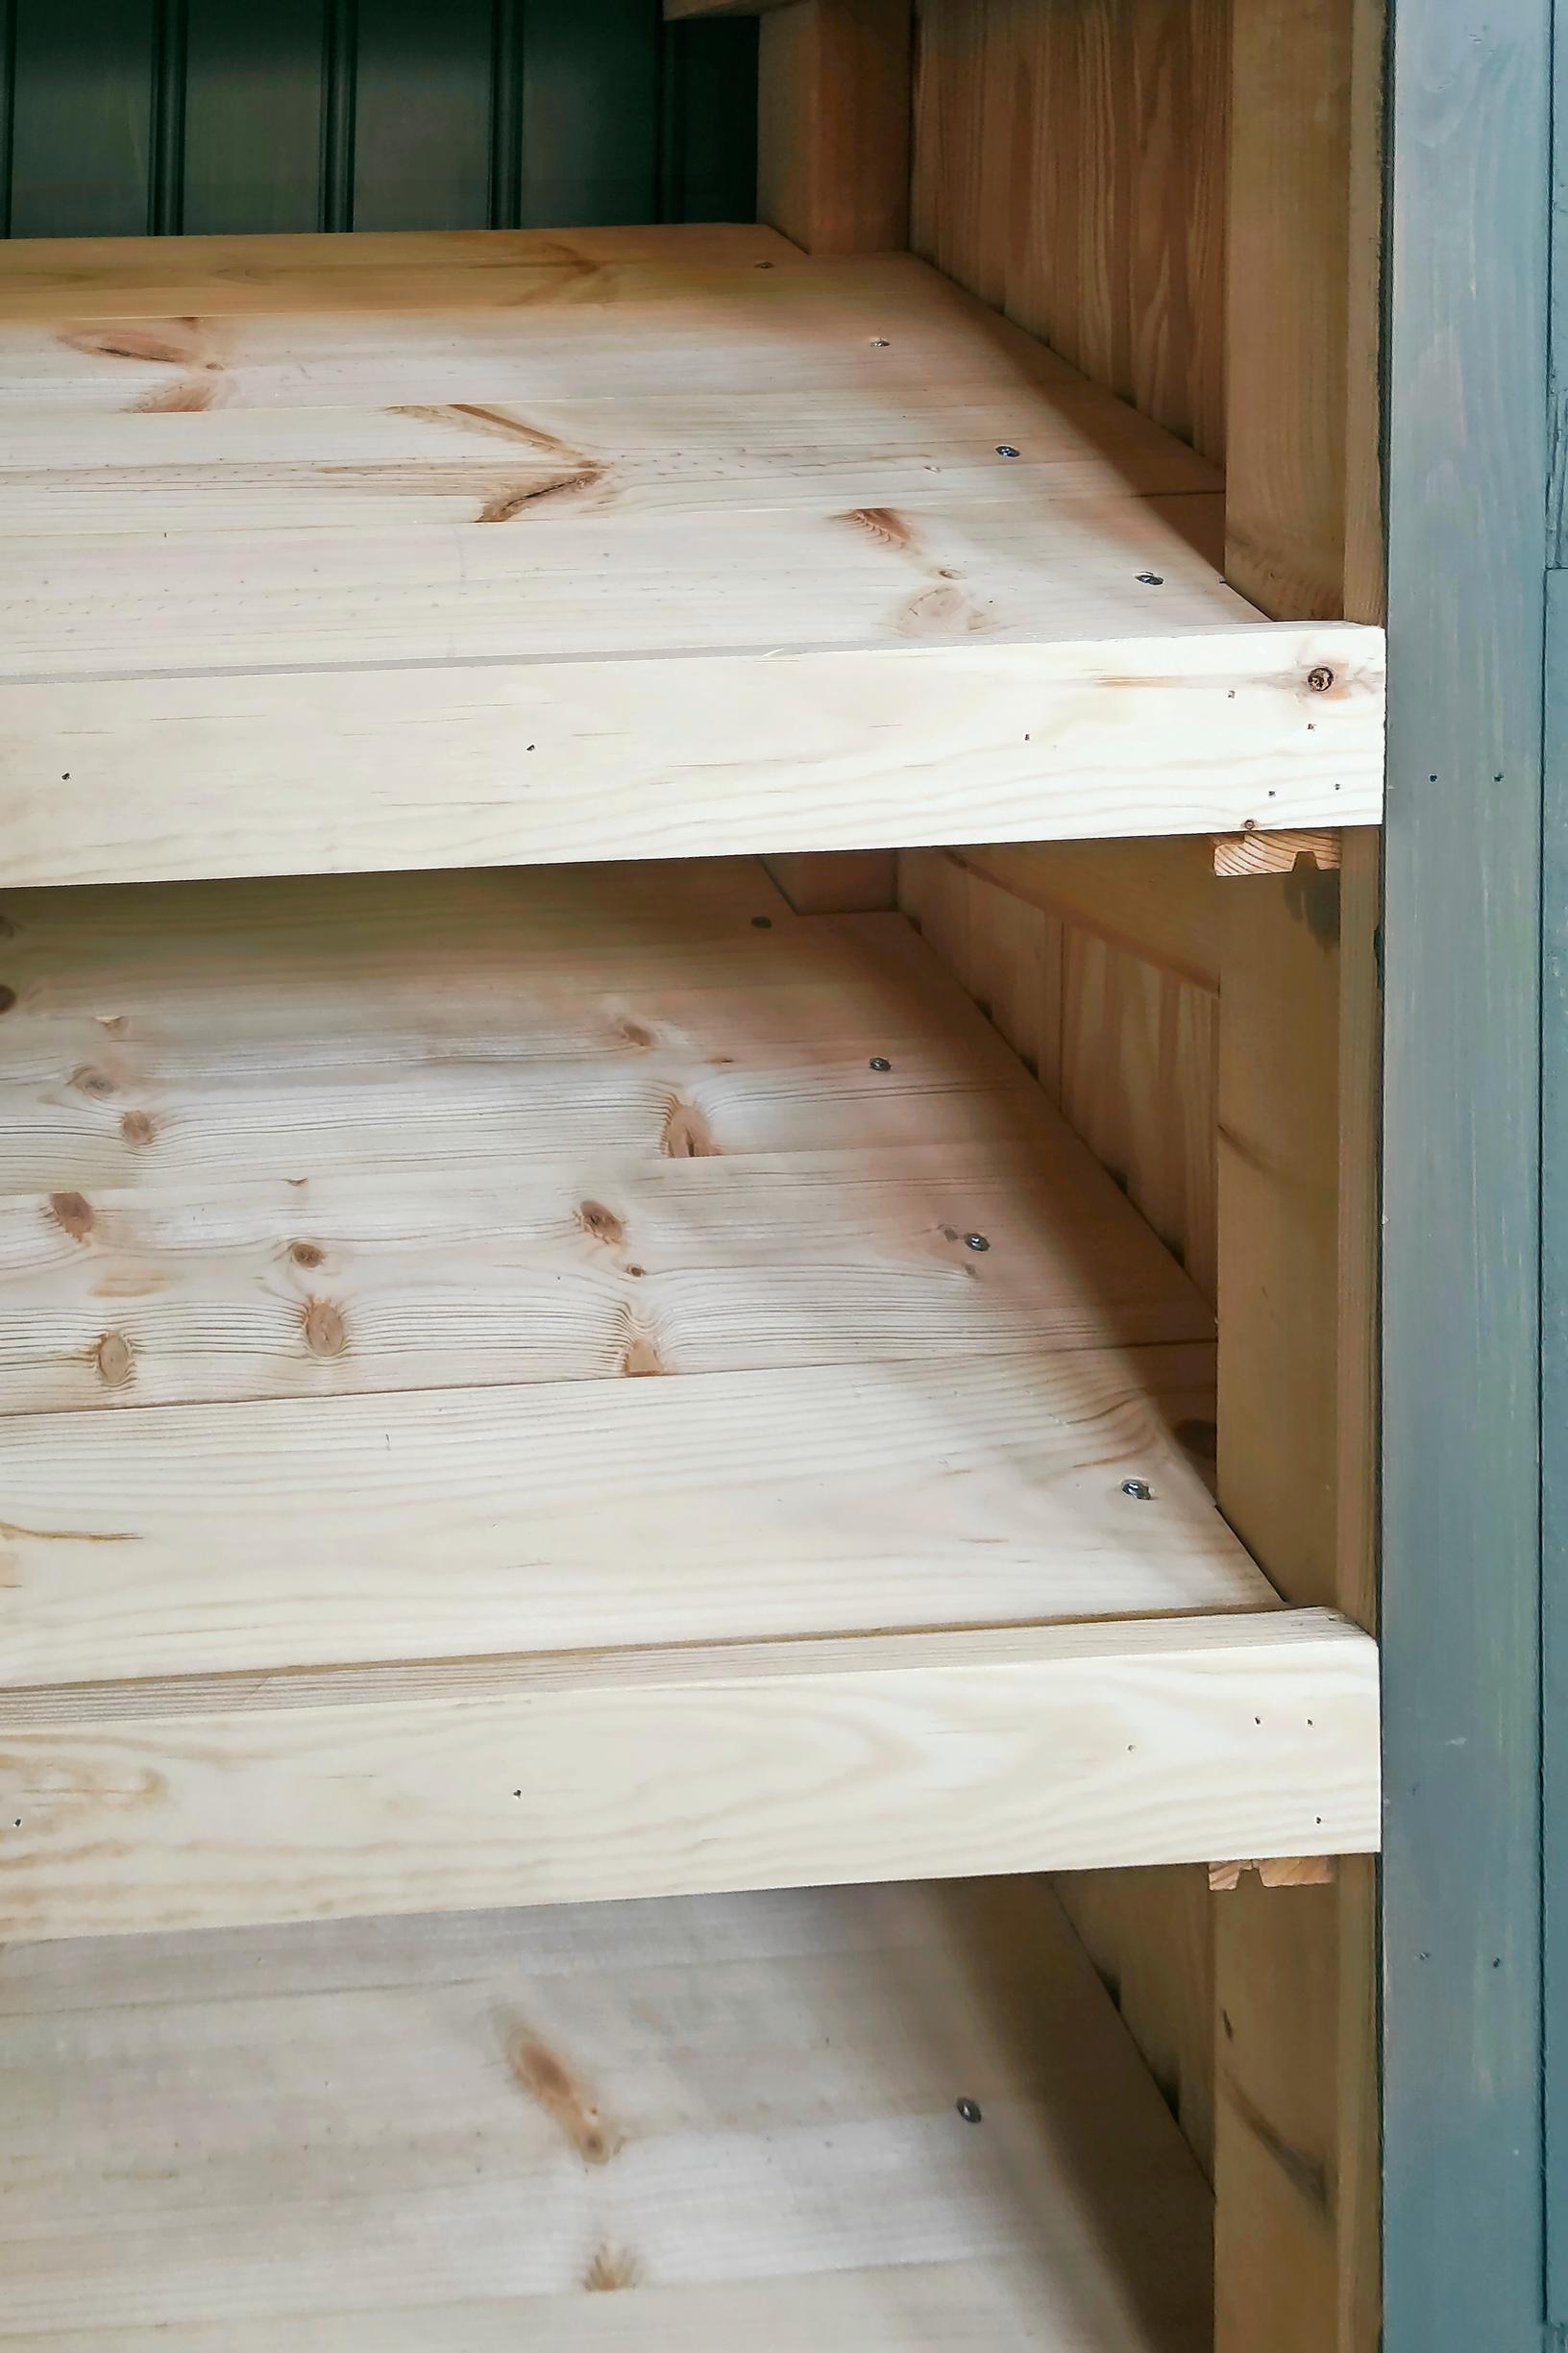
4. Cut six shelf boards from laminated board.
5. Cover the frame with beadboard. Use a finish nailer. Make narrow trim pieces for the front edge of the cabinet and the shoe shelves.

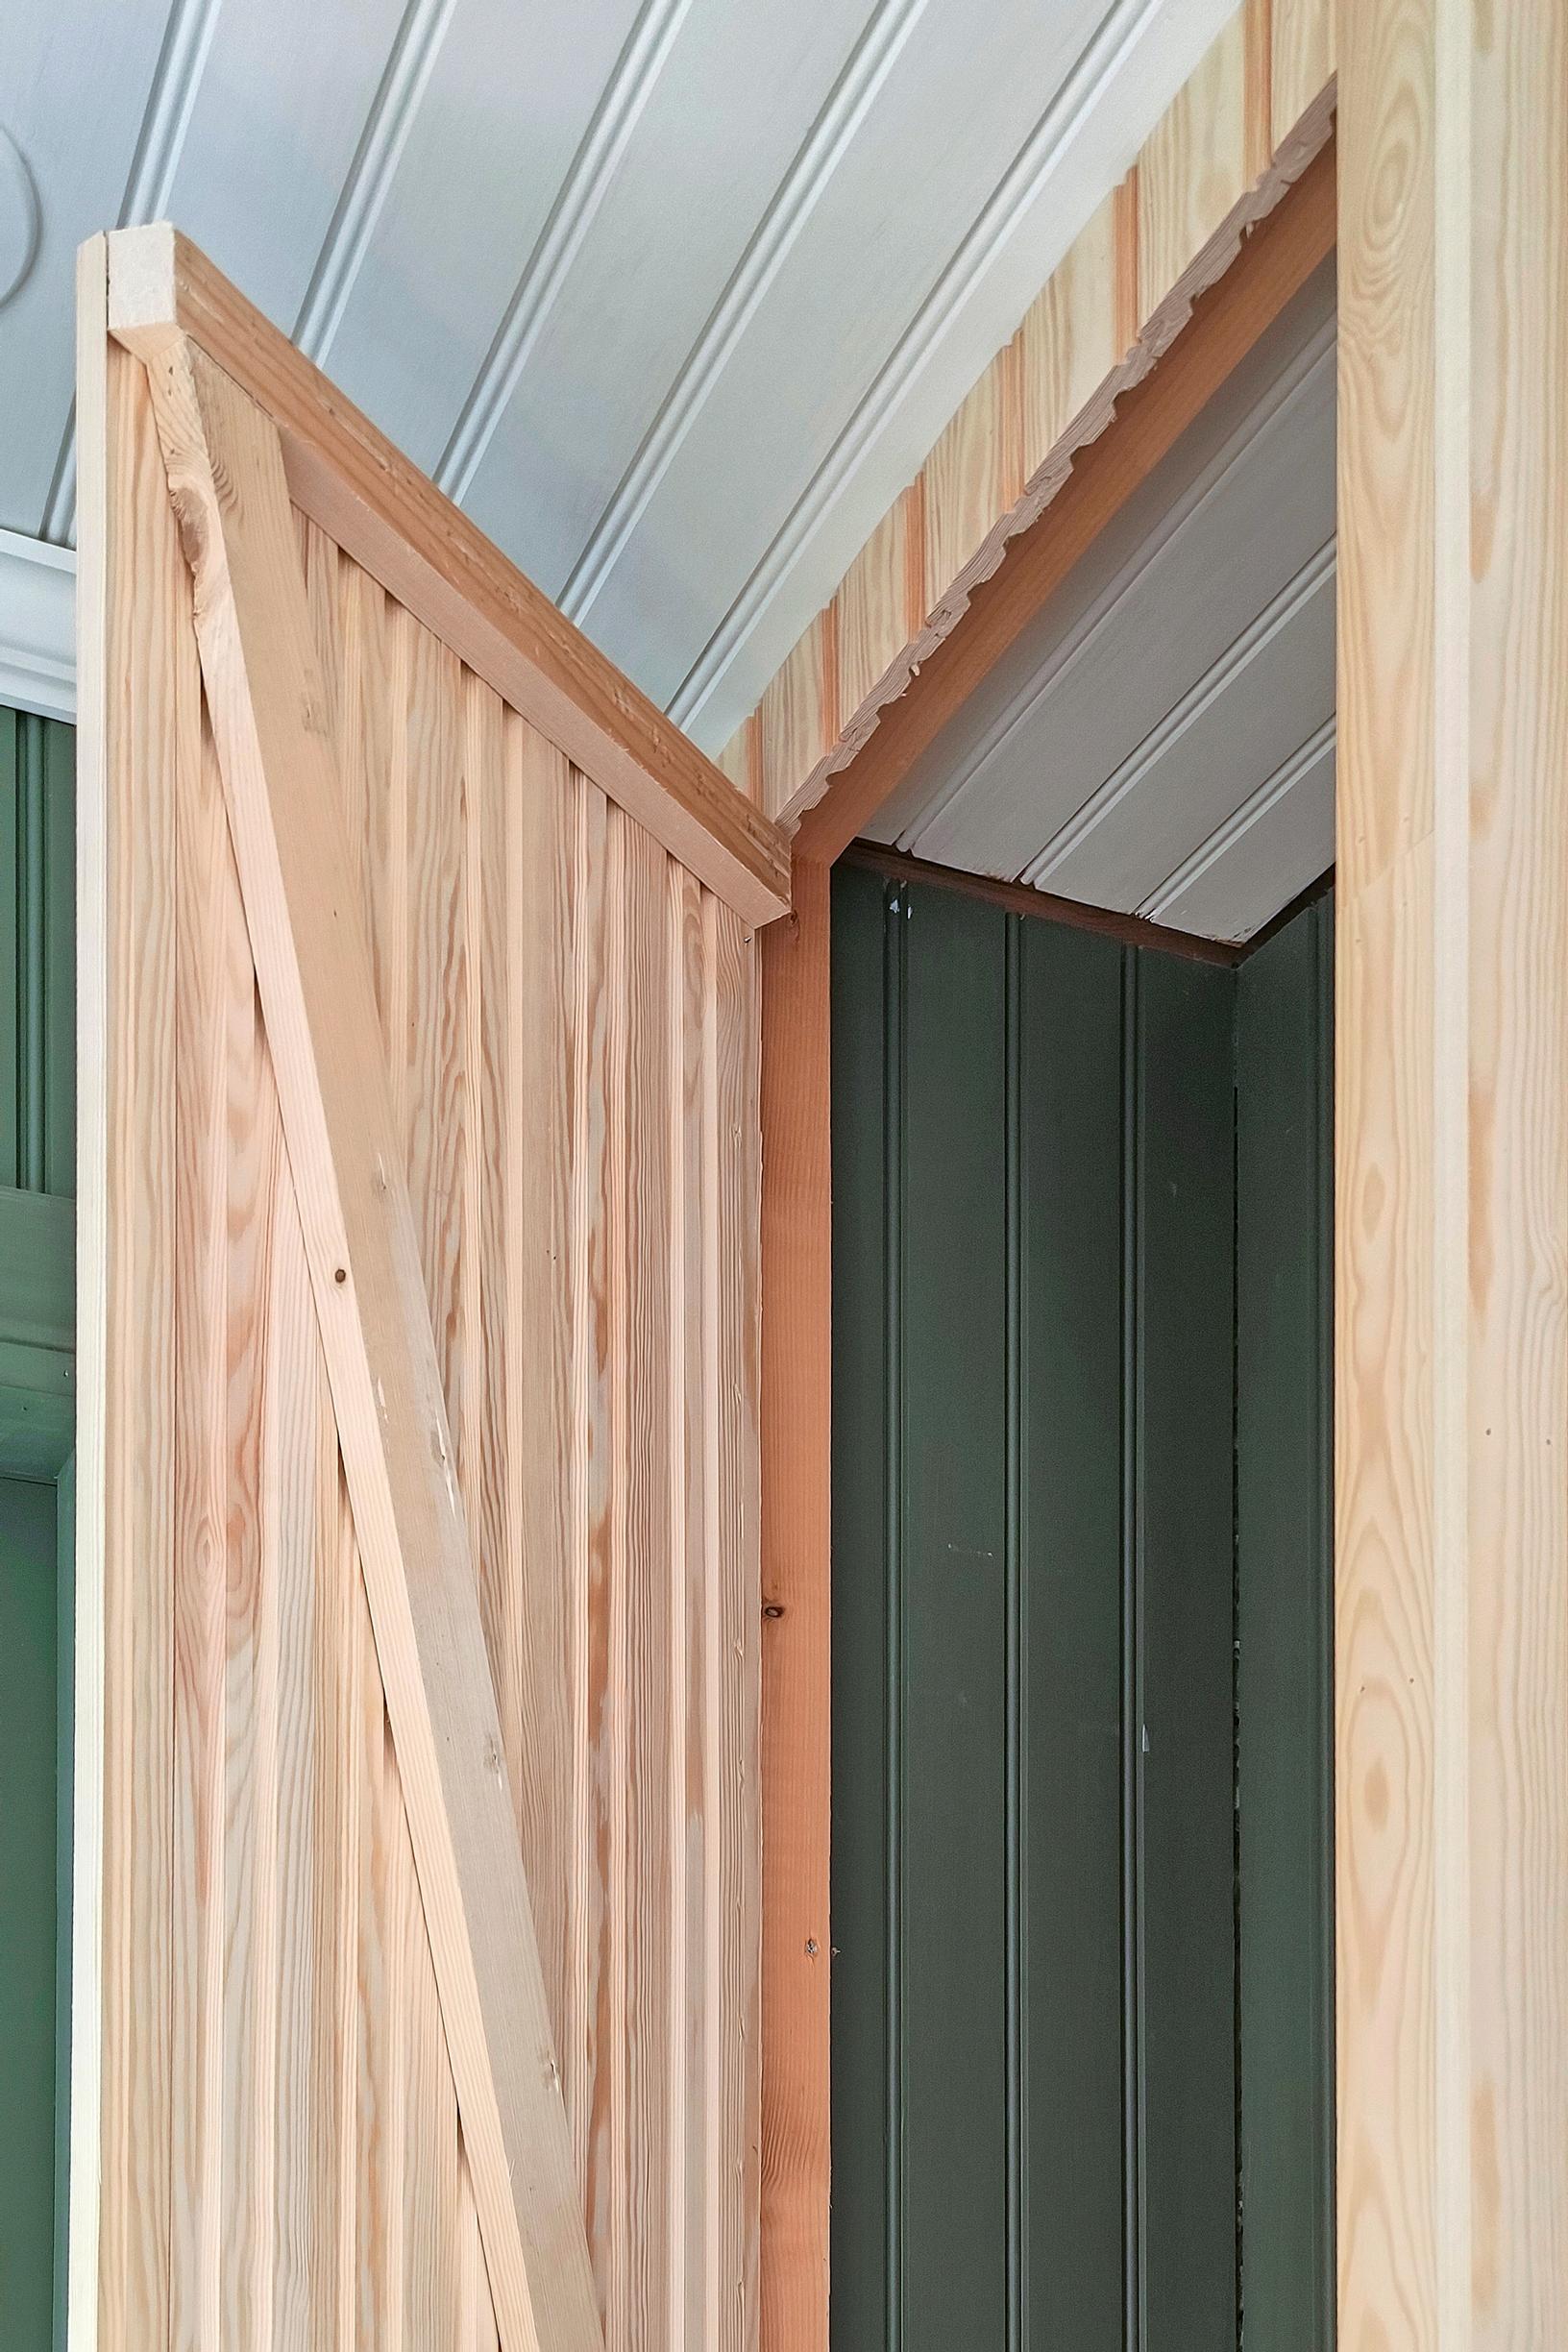
6. Build the door using beadboard. Measure the door opening and cut two horizontal boards for the top and bottom. Attach the panels to these horizontal pieces. Measure the diagonal for the angled brace. Make sure the horizontal boards don’t collide with the shelves when the door is closed. Attach the hinges to the door and the cabinet frame.
7. Paint the cabinet with panel paint. Install the handle on the door and two magnetic catches, one at the top and one at the bottom. The magnets prevent the panel from warping and keep the door neatly closed.
Tip! It’s easier to build the shoe shelves if you make them all horizontal instead of angled.