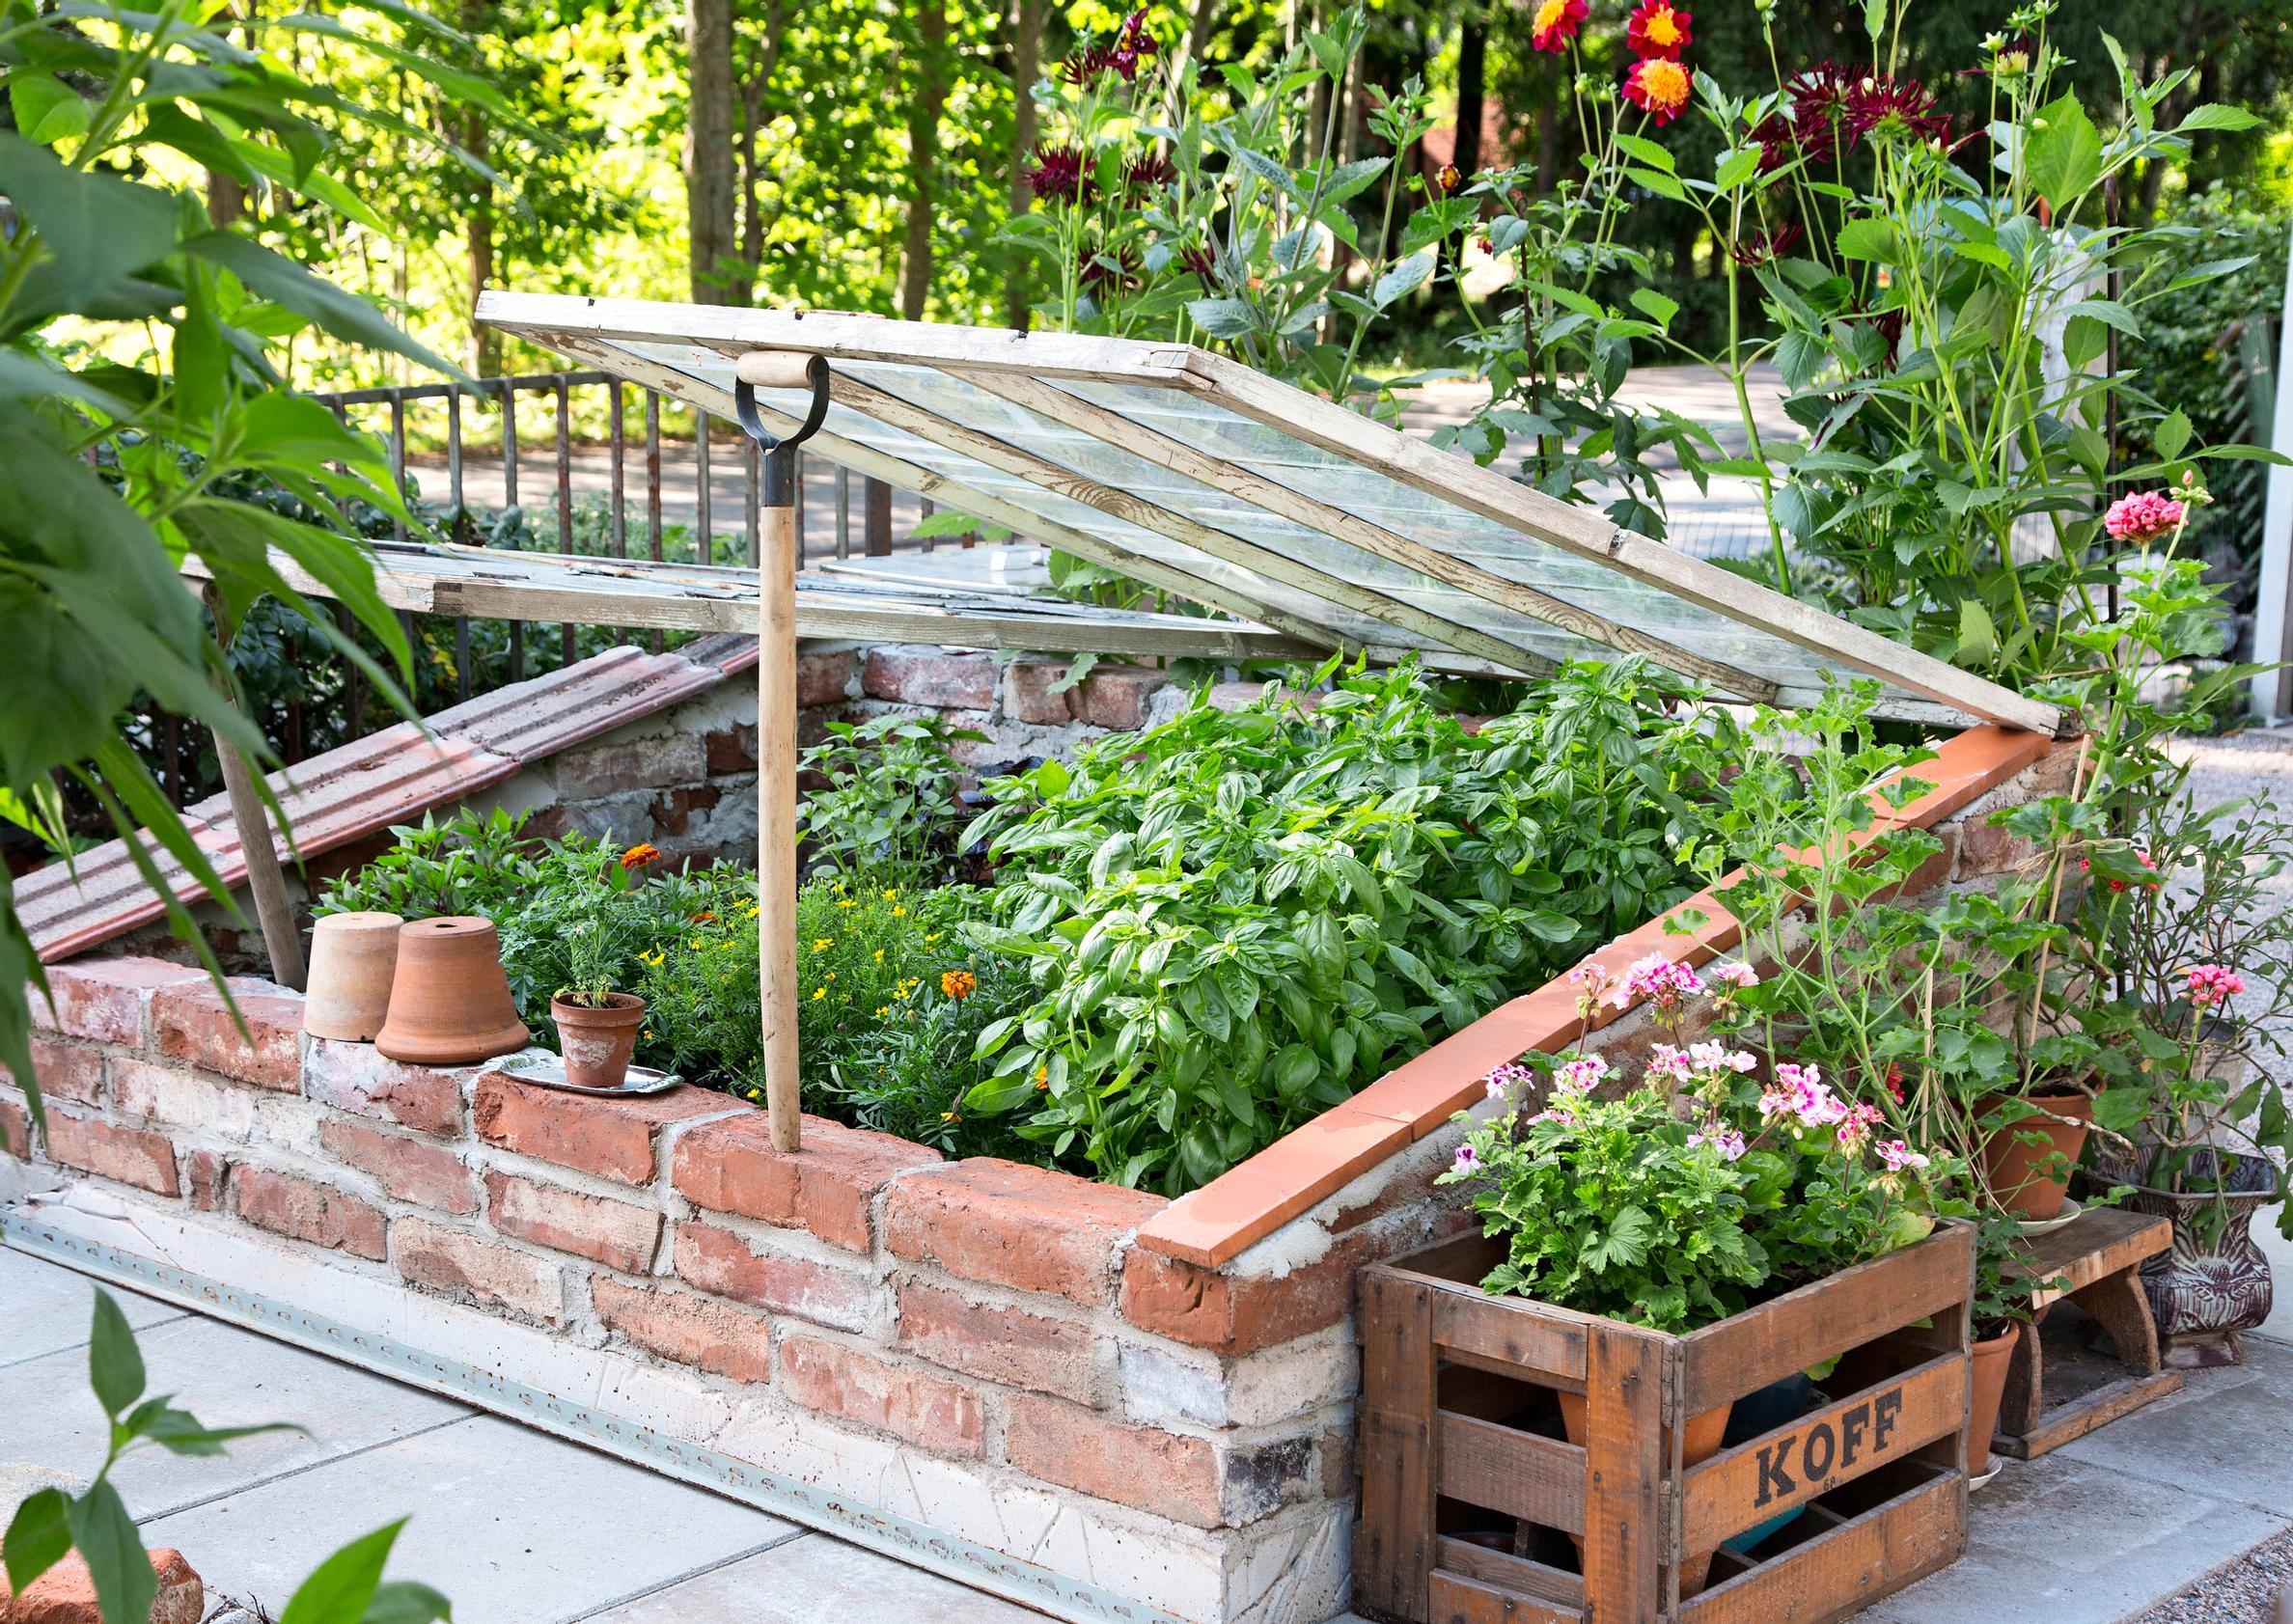
Build your own stylish brick bed for plants—see our illustrated guide!
Build this brick bed in a bright and warm spot in your garden. This heat-retaining bed is the perfect place to grow cold-sensitive basil and to start seedling cultivation early in spring.

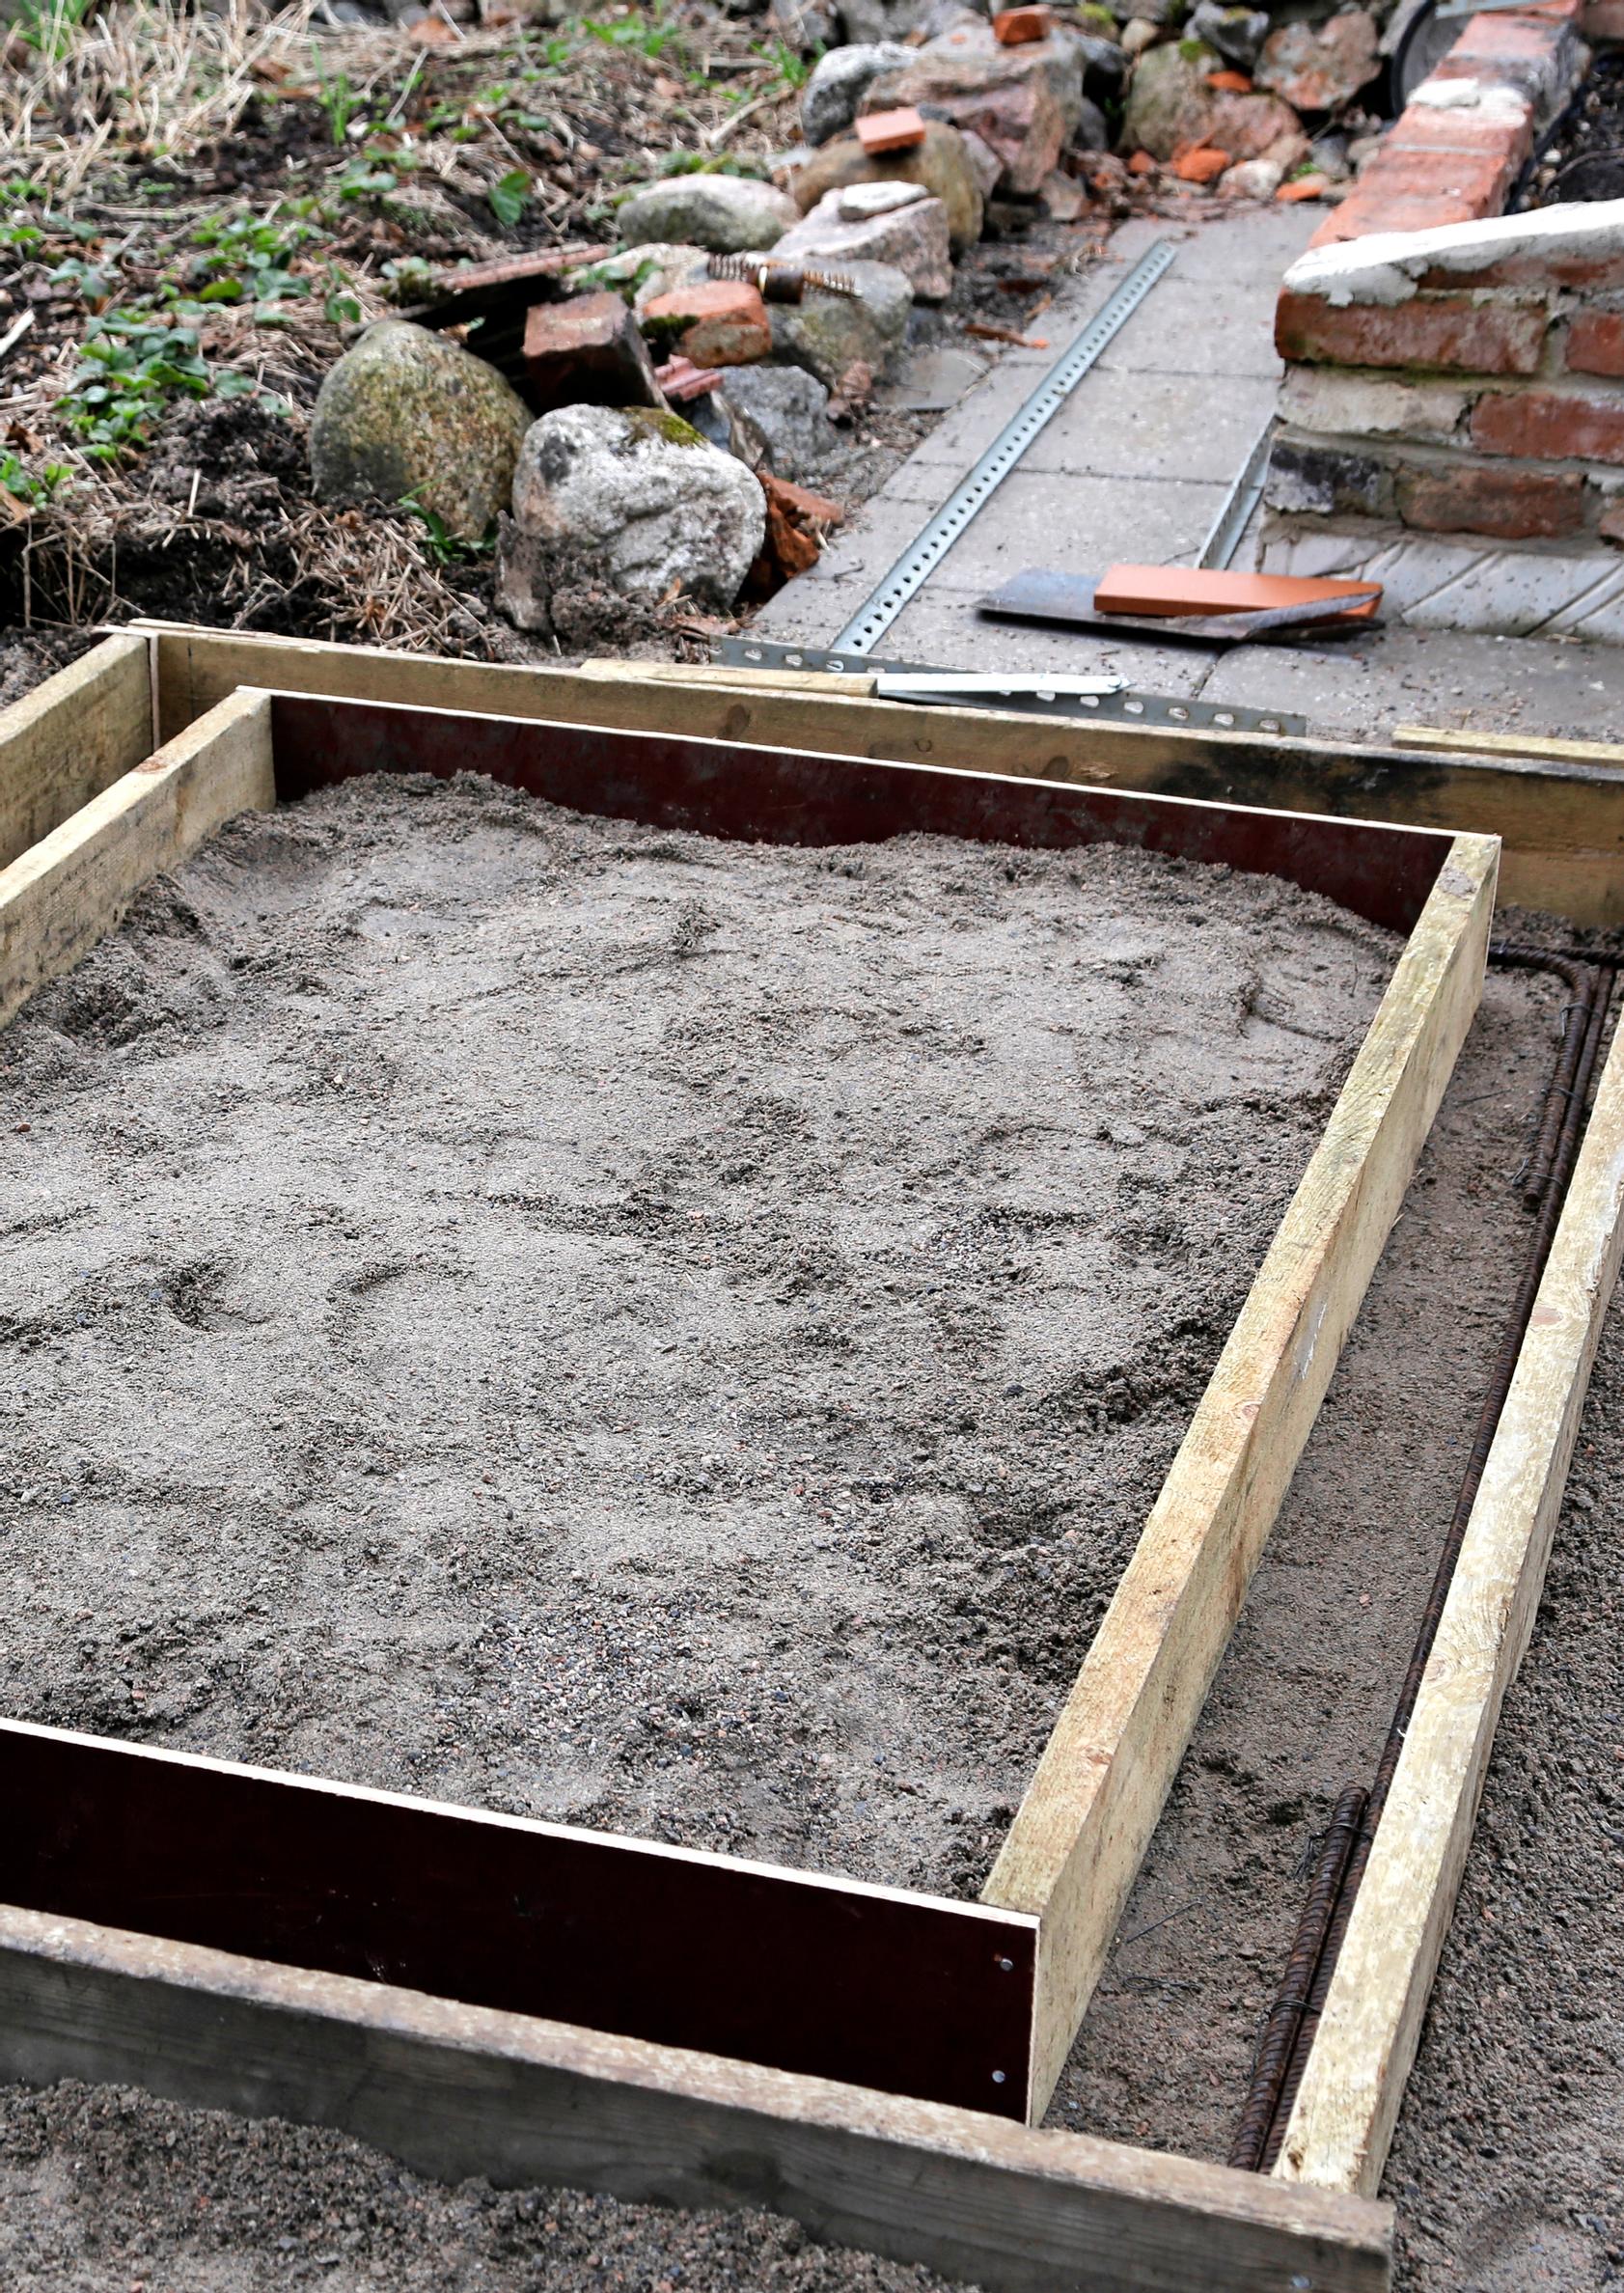
1. Dig a pit for the bed’s foundation so that the top of the foundation remains about 20 cm above the surrounding ground level. The finished brick bed will measure 150 cm by 200 cm. If needed, adjust the dimensions for your own bed based on the glass panels that will be placed on top. The front wall of the bed will be 30 cm high and the back wall 55 cm high. The foundation will be 15 cm wide and 20 cm high. Spread gravel on the base of the foundation and level it. If needed, install frost insulation under the casting mold.
Next, build the casting mold for the foundation from plywood and planks. The upper edge of the mold should line up with the future top edge of the concrete foundation. Check with diagonal measurements that the corners are straight. Once the mold is ready, reinforce it with 5 mm rebar.

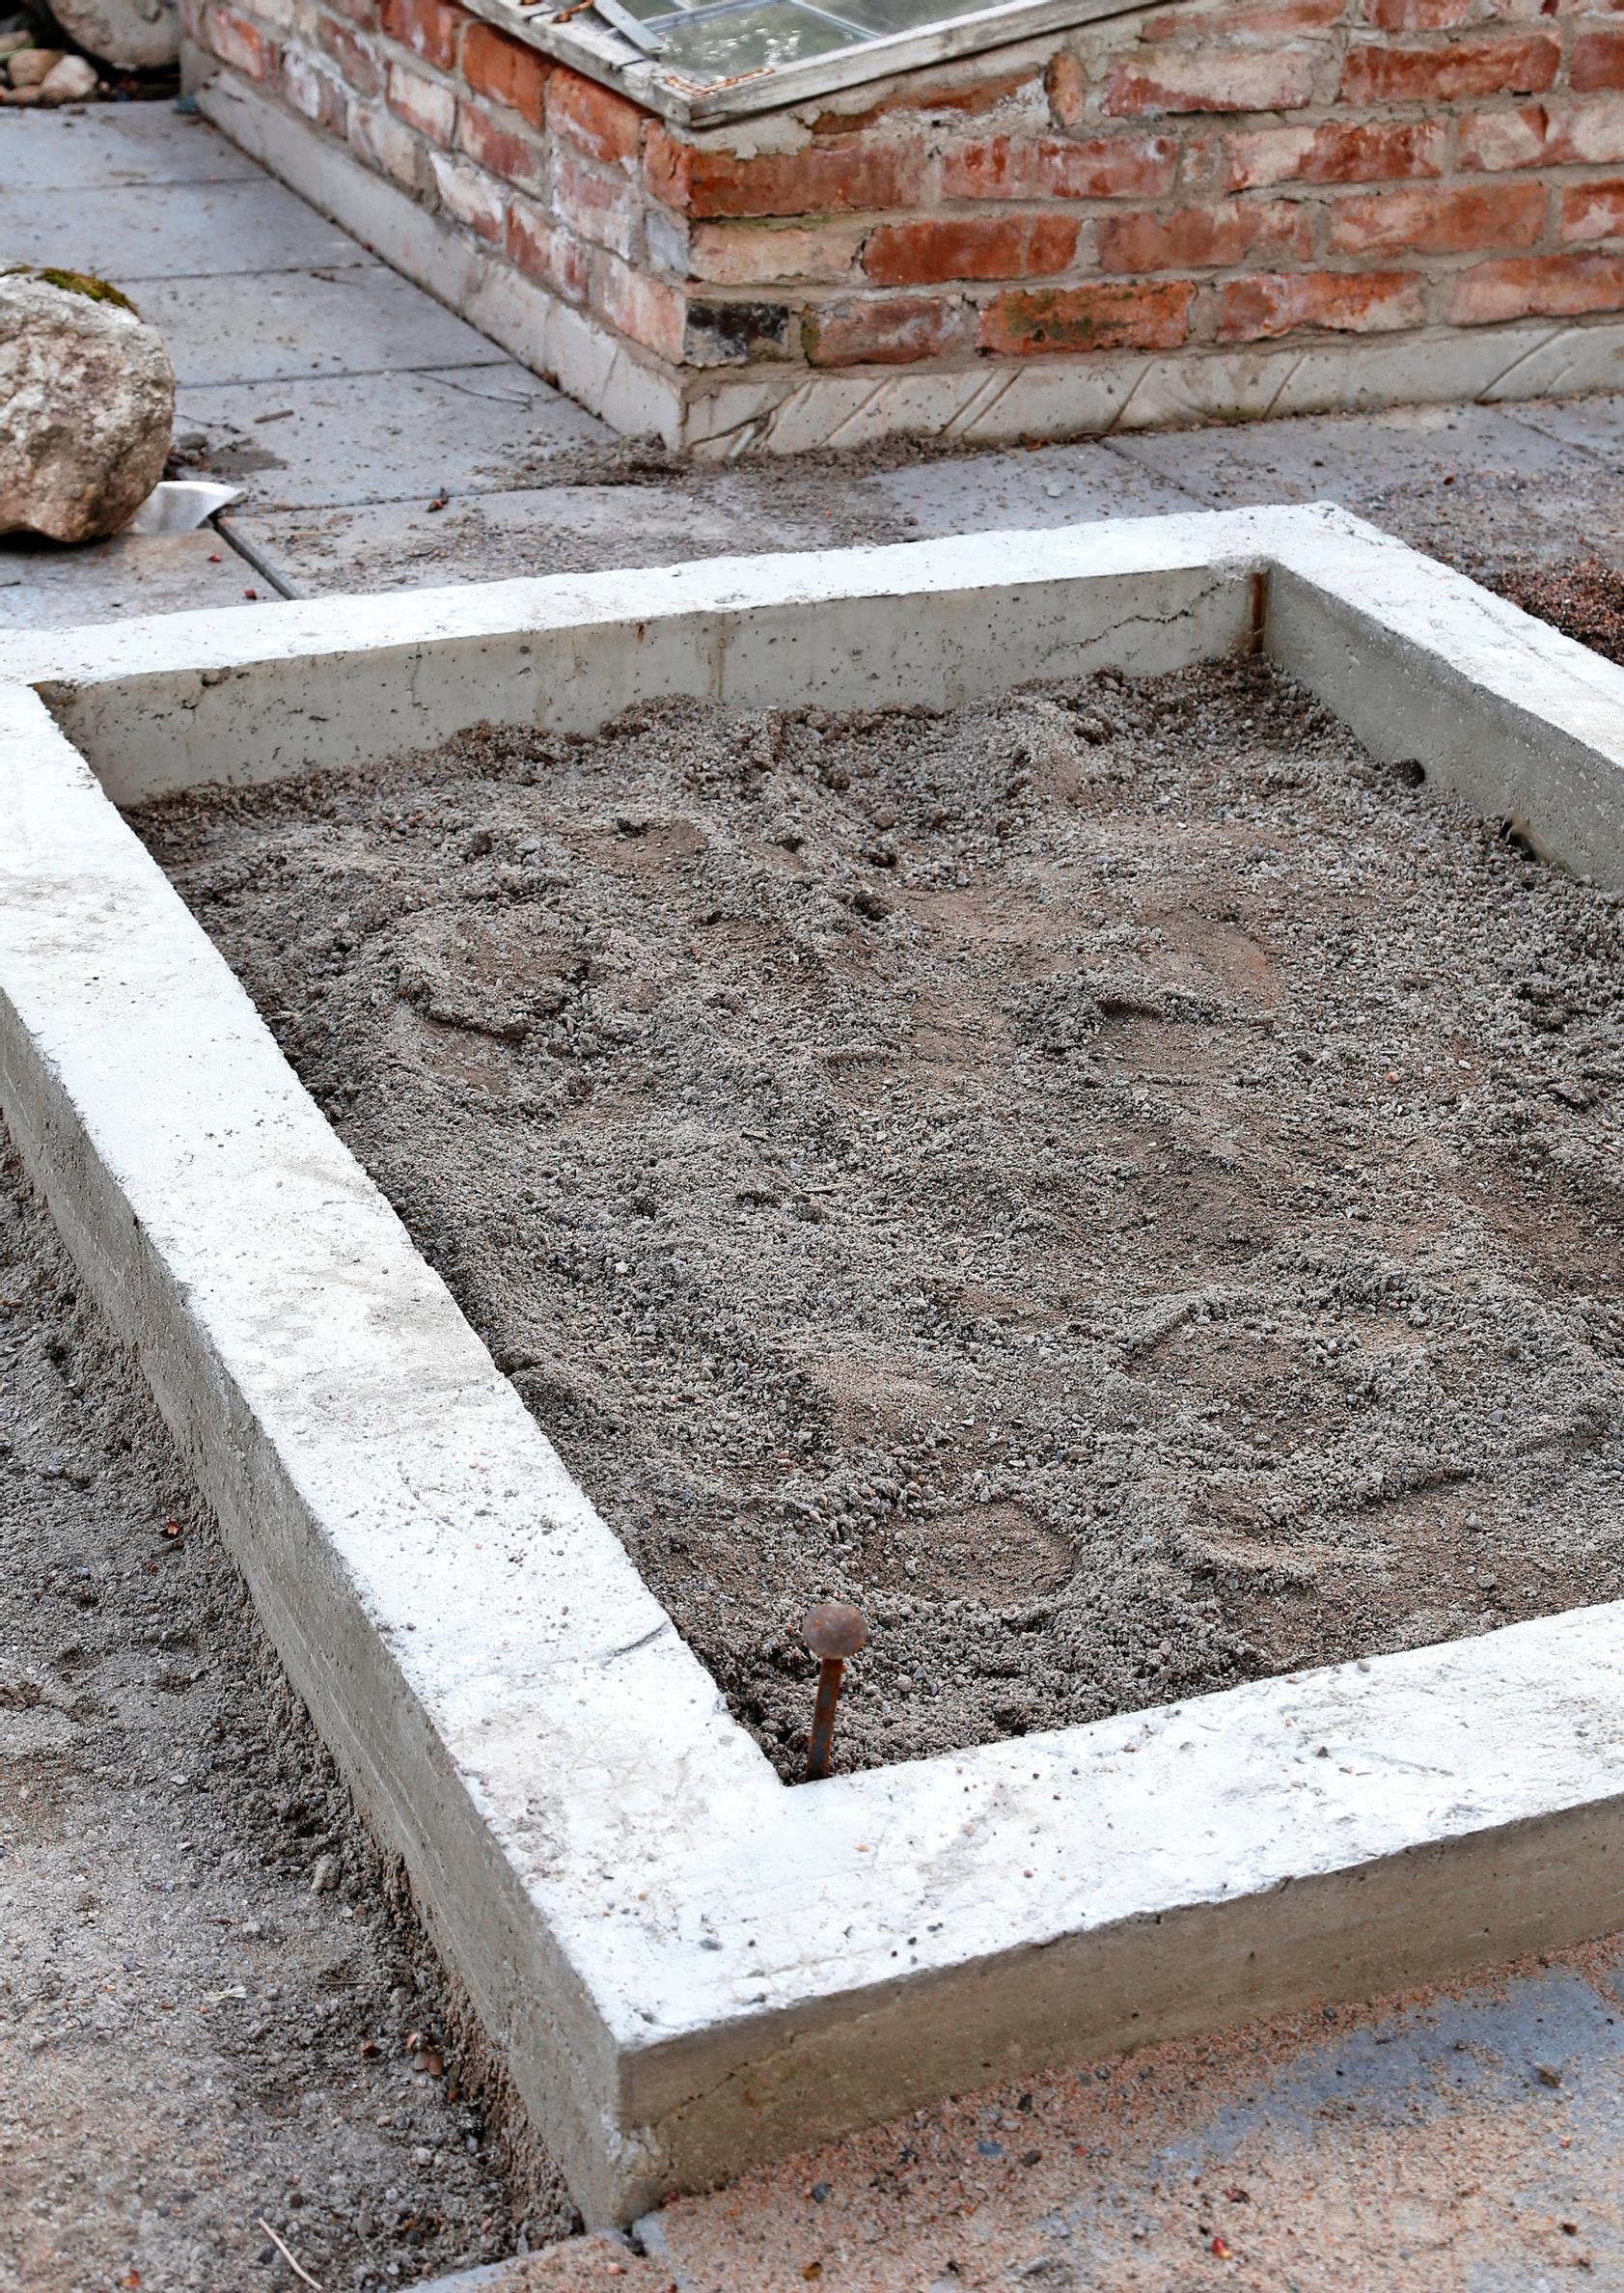
2. Use S100 ready-mix concrete to cast the foundation for the bed. You will need about 15 bags for a foundation of this size. Mix the concrete in a cement mixer according to the package instructions, then fill the mold. Cover the finished cast with plastic and let it dry for 1–2 weeks. Moisten the surface from time to time during drying. Once the cast is dry, remove the mold.

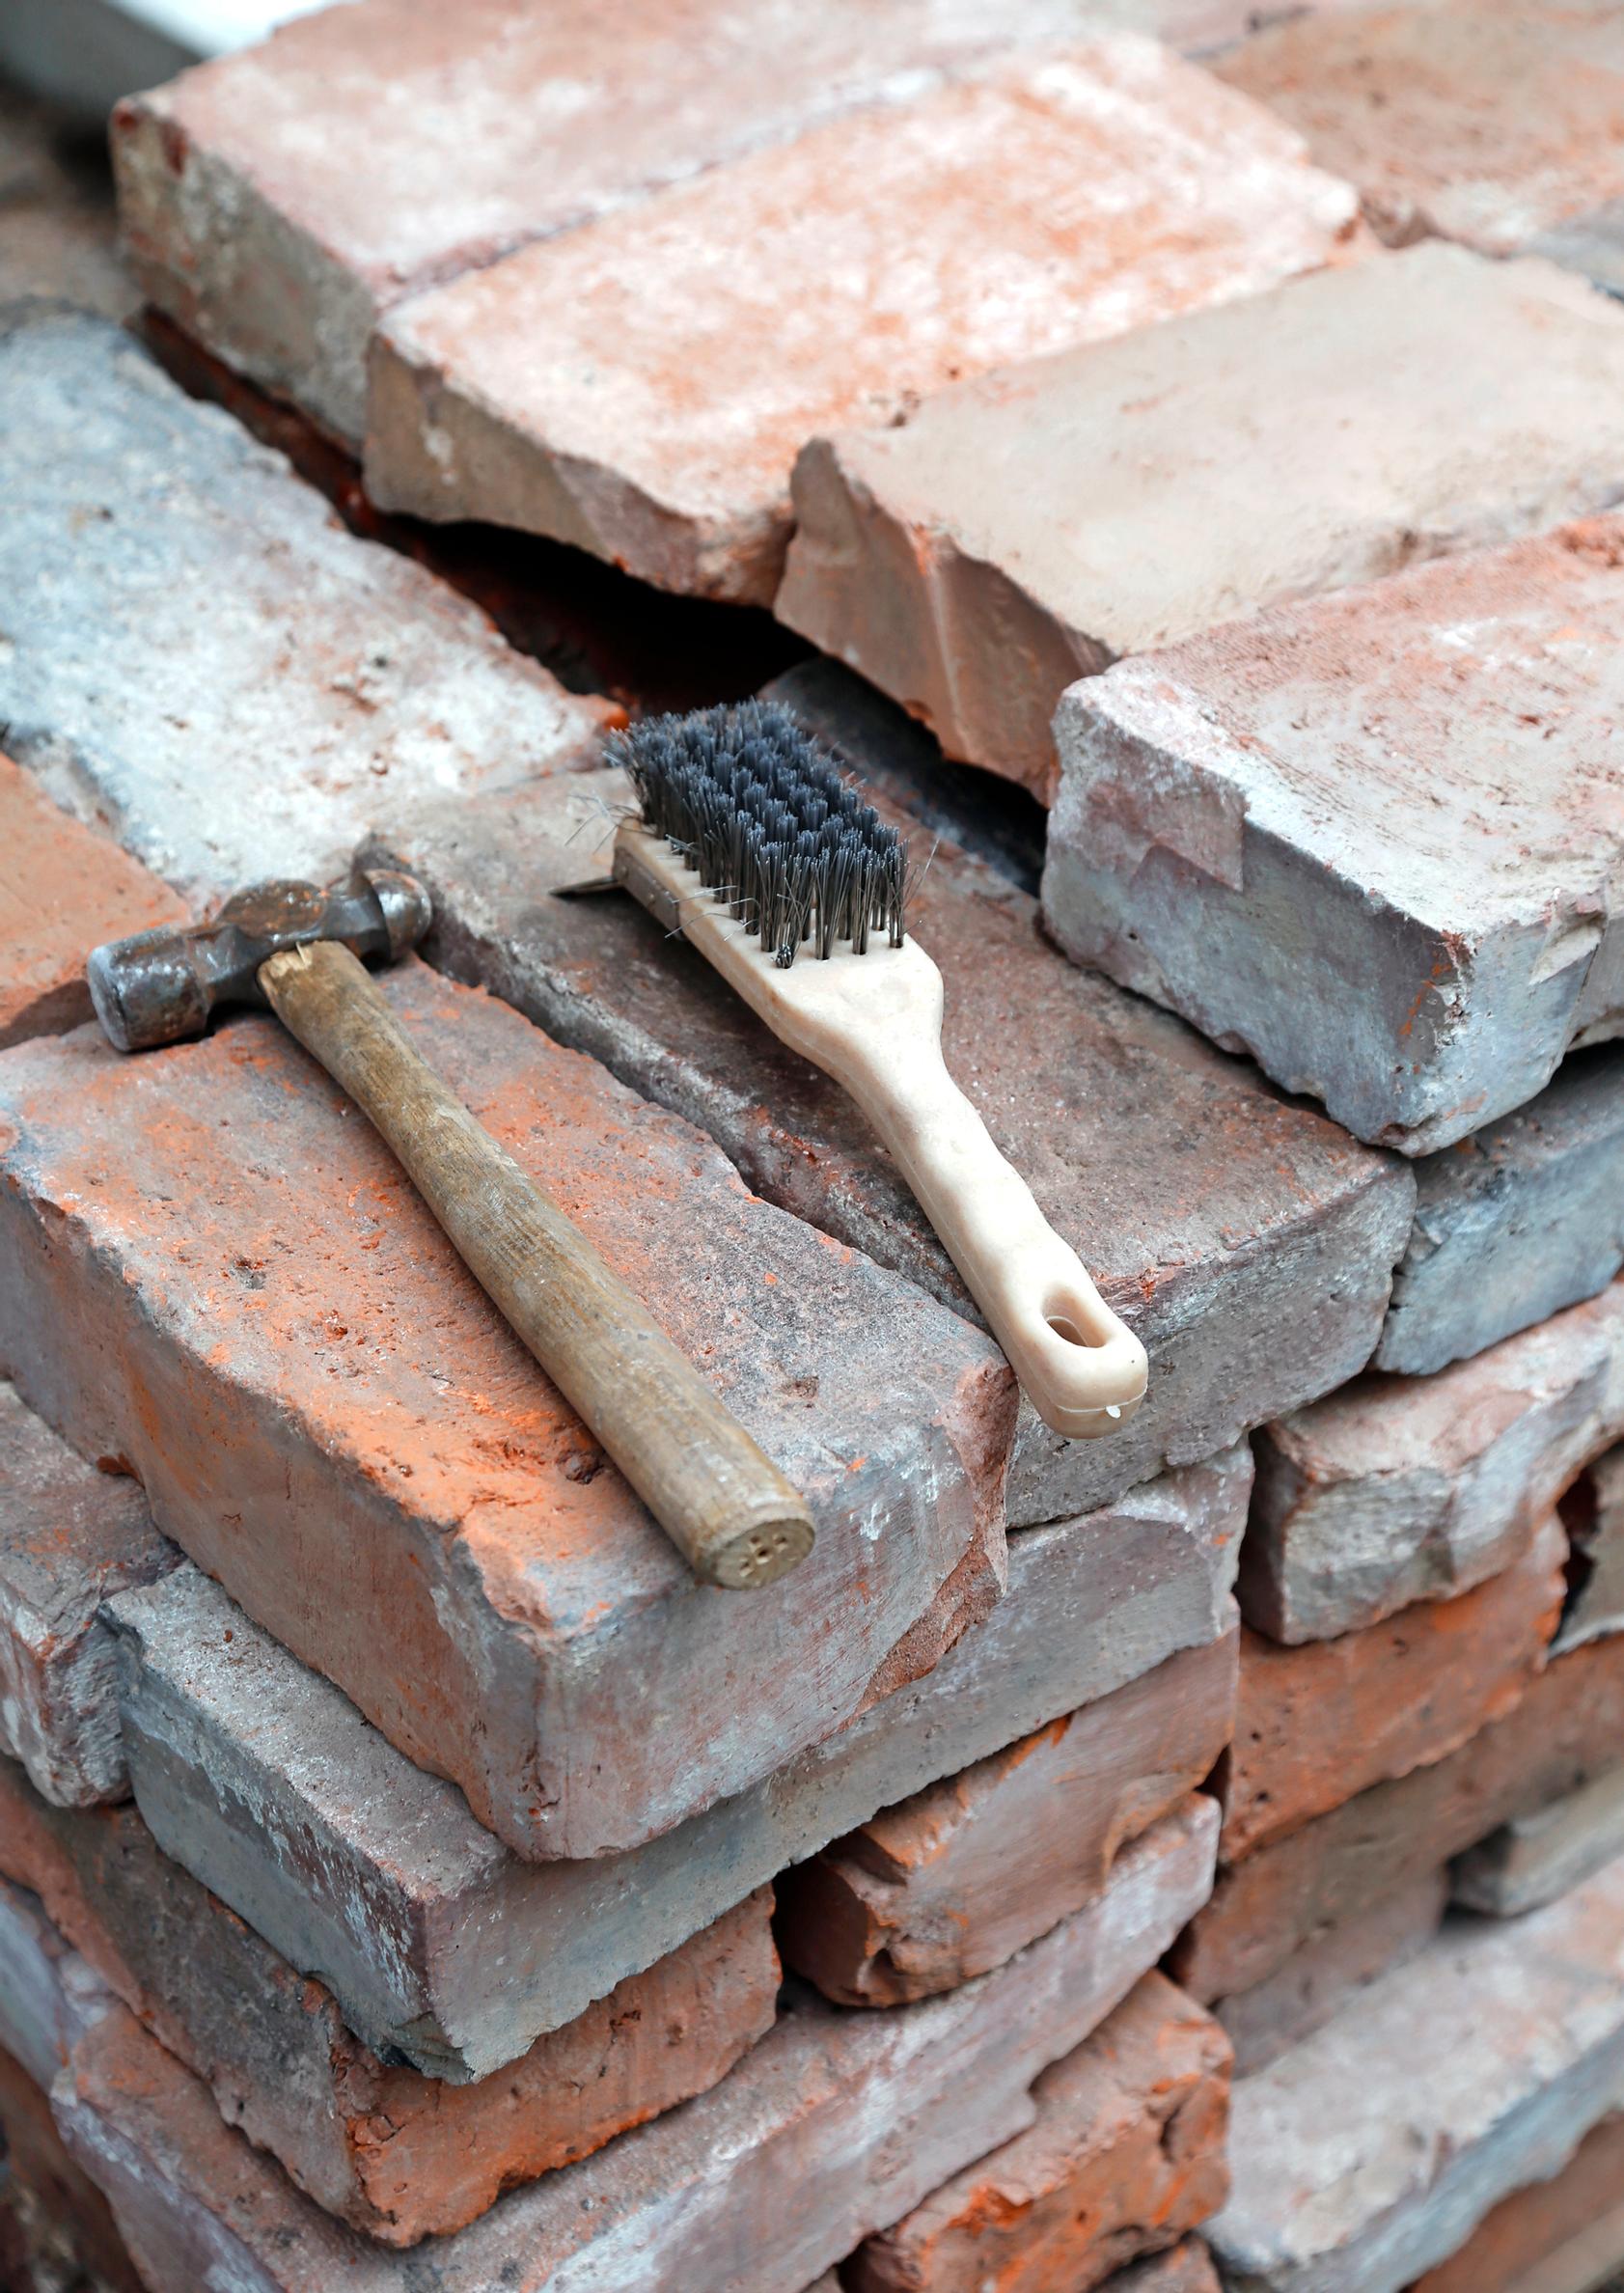
3. Clean old, used bricks of any remaining mortar, for instance with a wire brush and masonry hammer. Choose bricks that are as uniform as possible in size and quality. You will need about 100 bricks for one bed. You can use brand-new or salvaged ones. If you are using old bricks, soak them before laying and cutting. About ten minutes of soaking is sufficient.

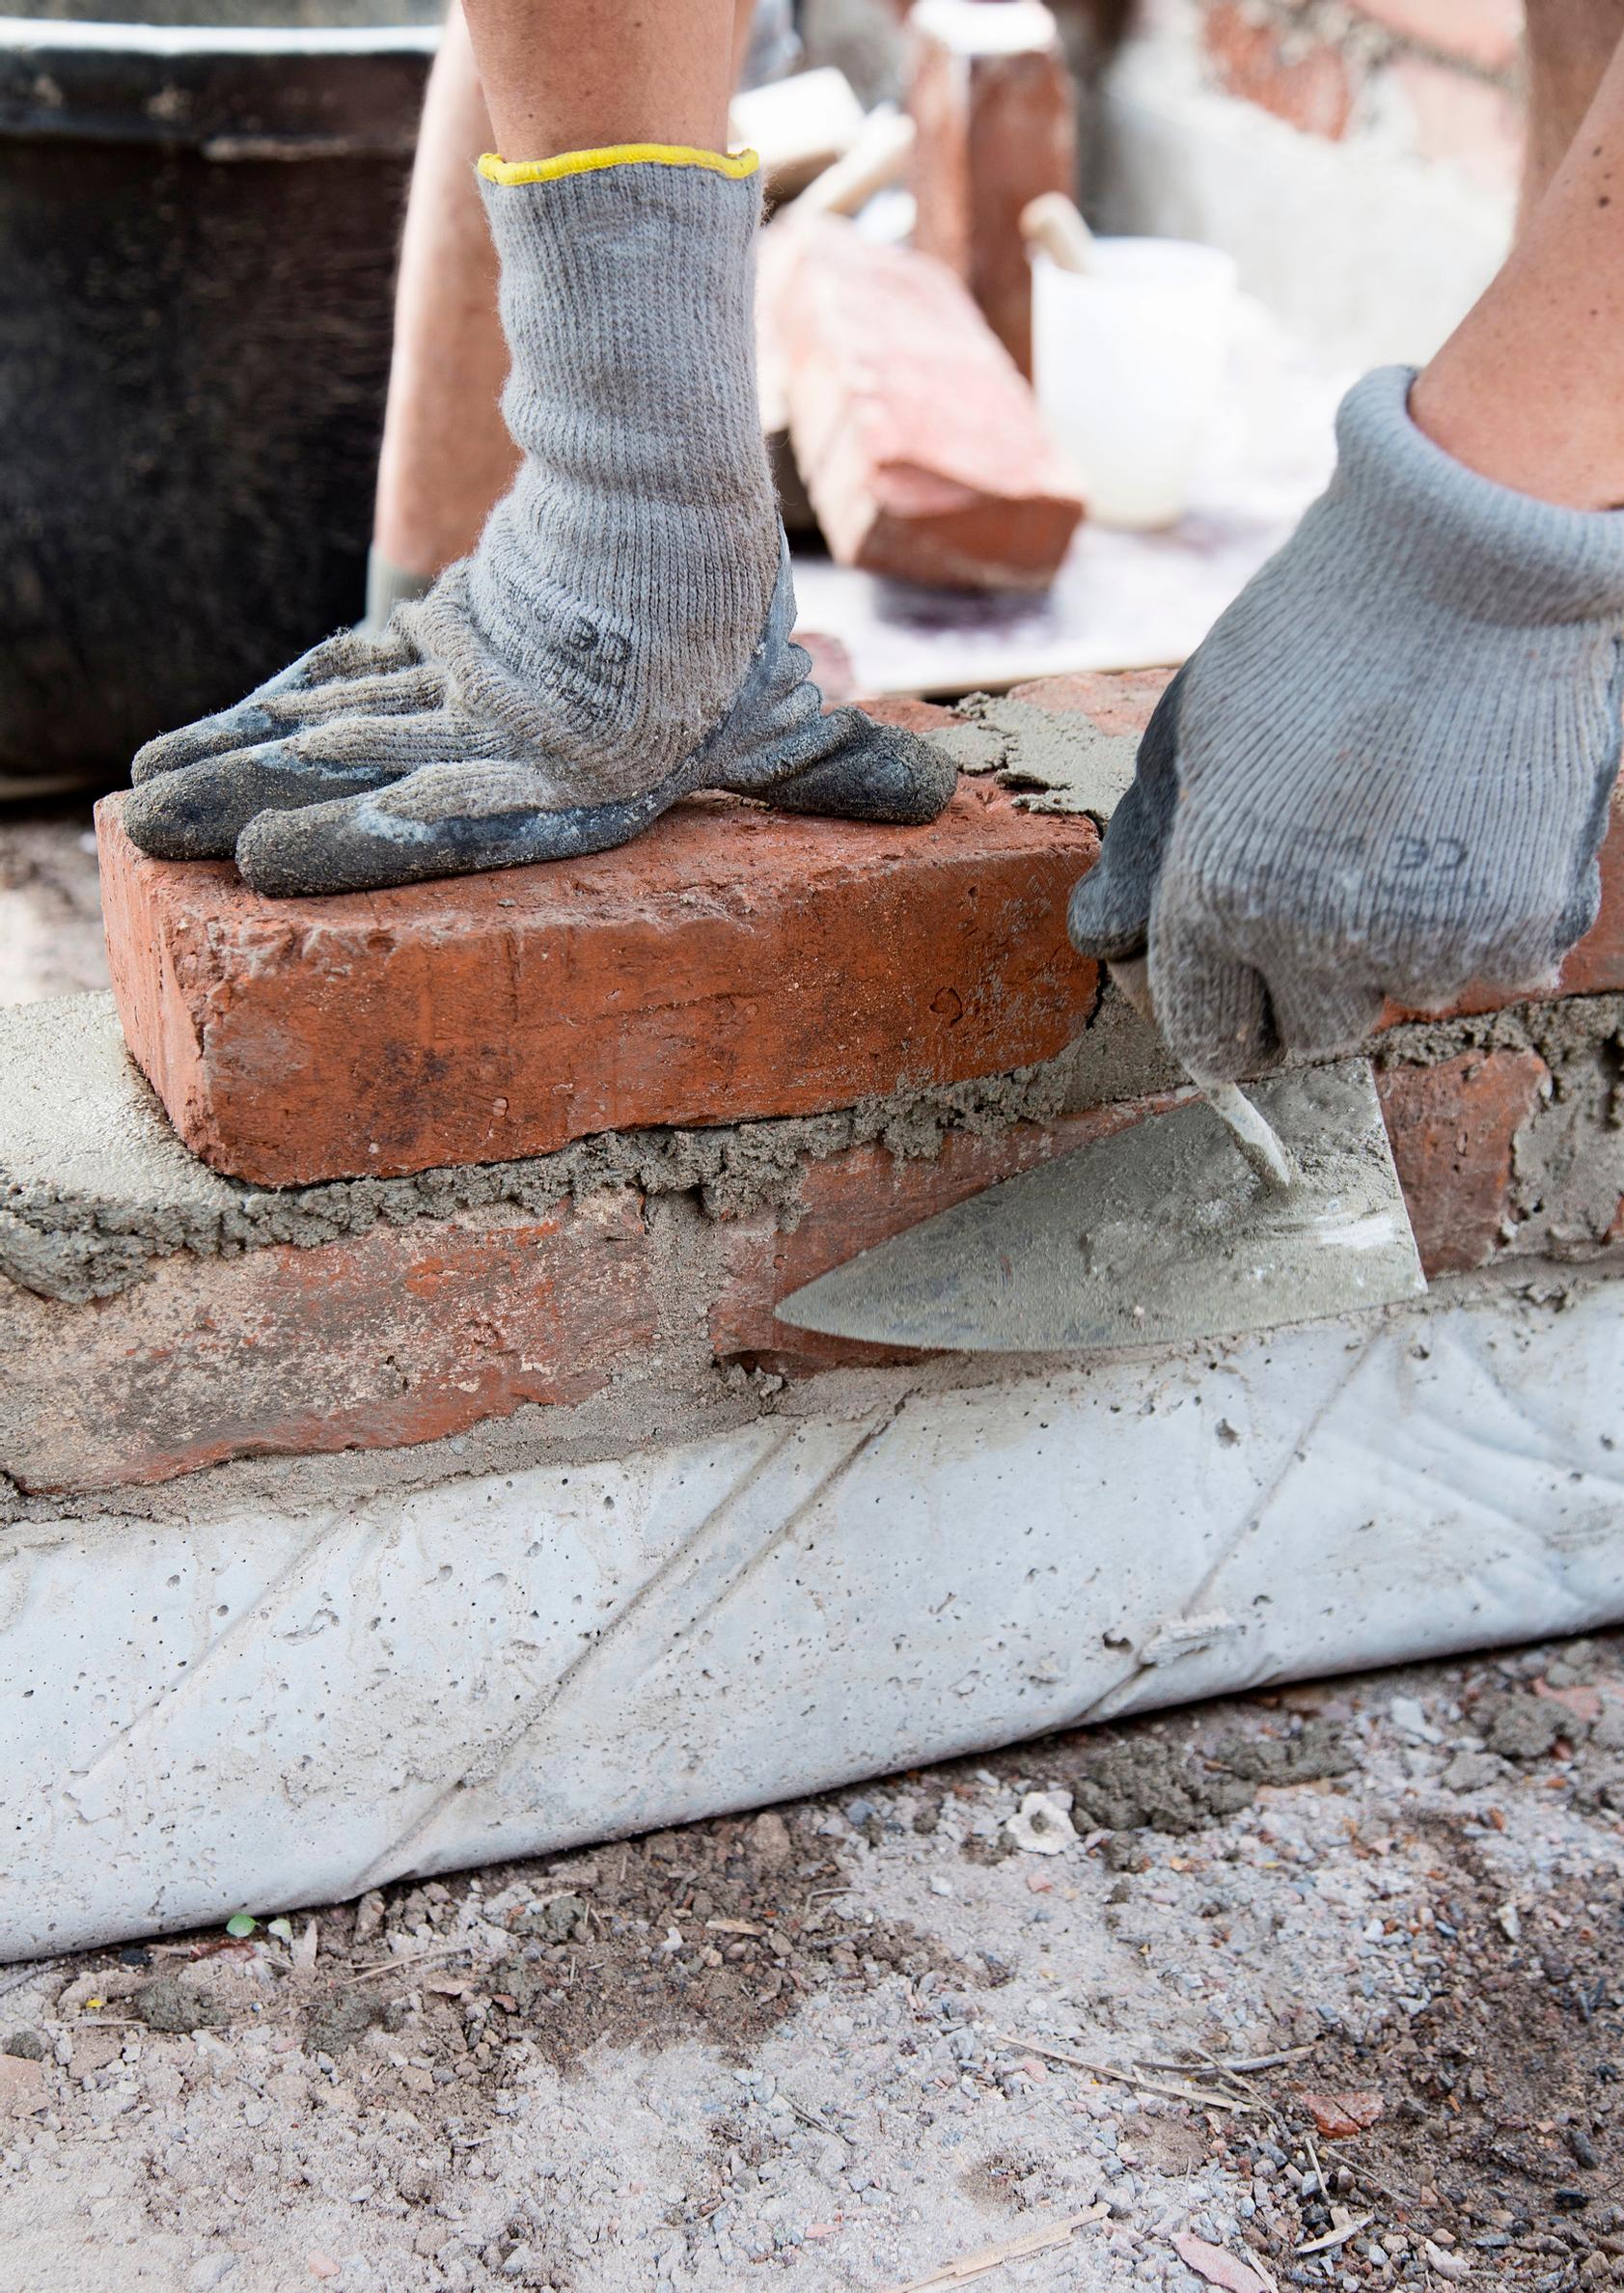
4. Lay three full layers of bricks on top of the foundation with masonry mortar. Tidy the mortar joints on the outside of the bed as you go along.

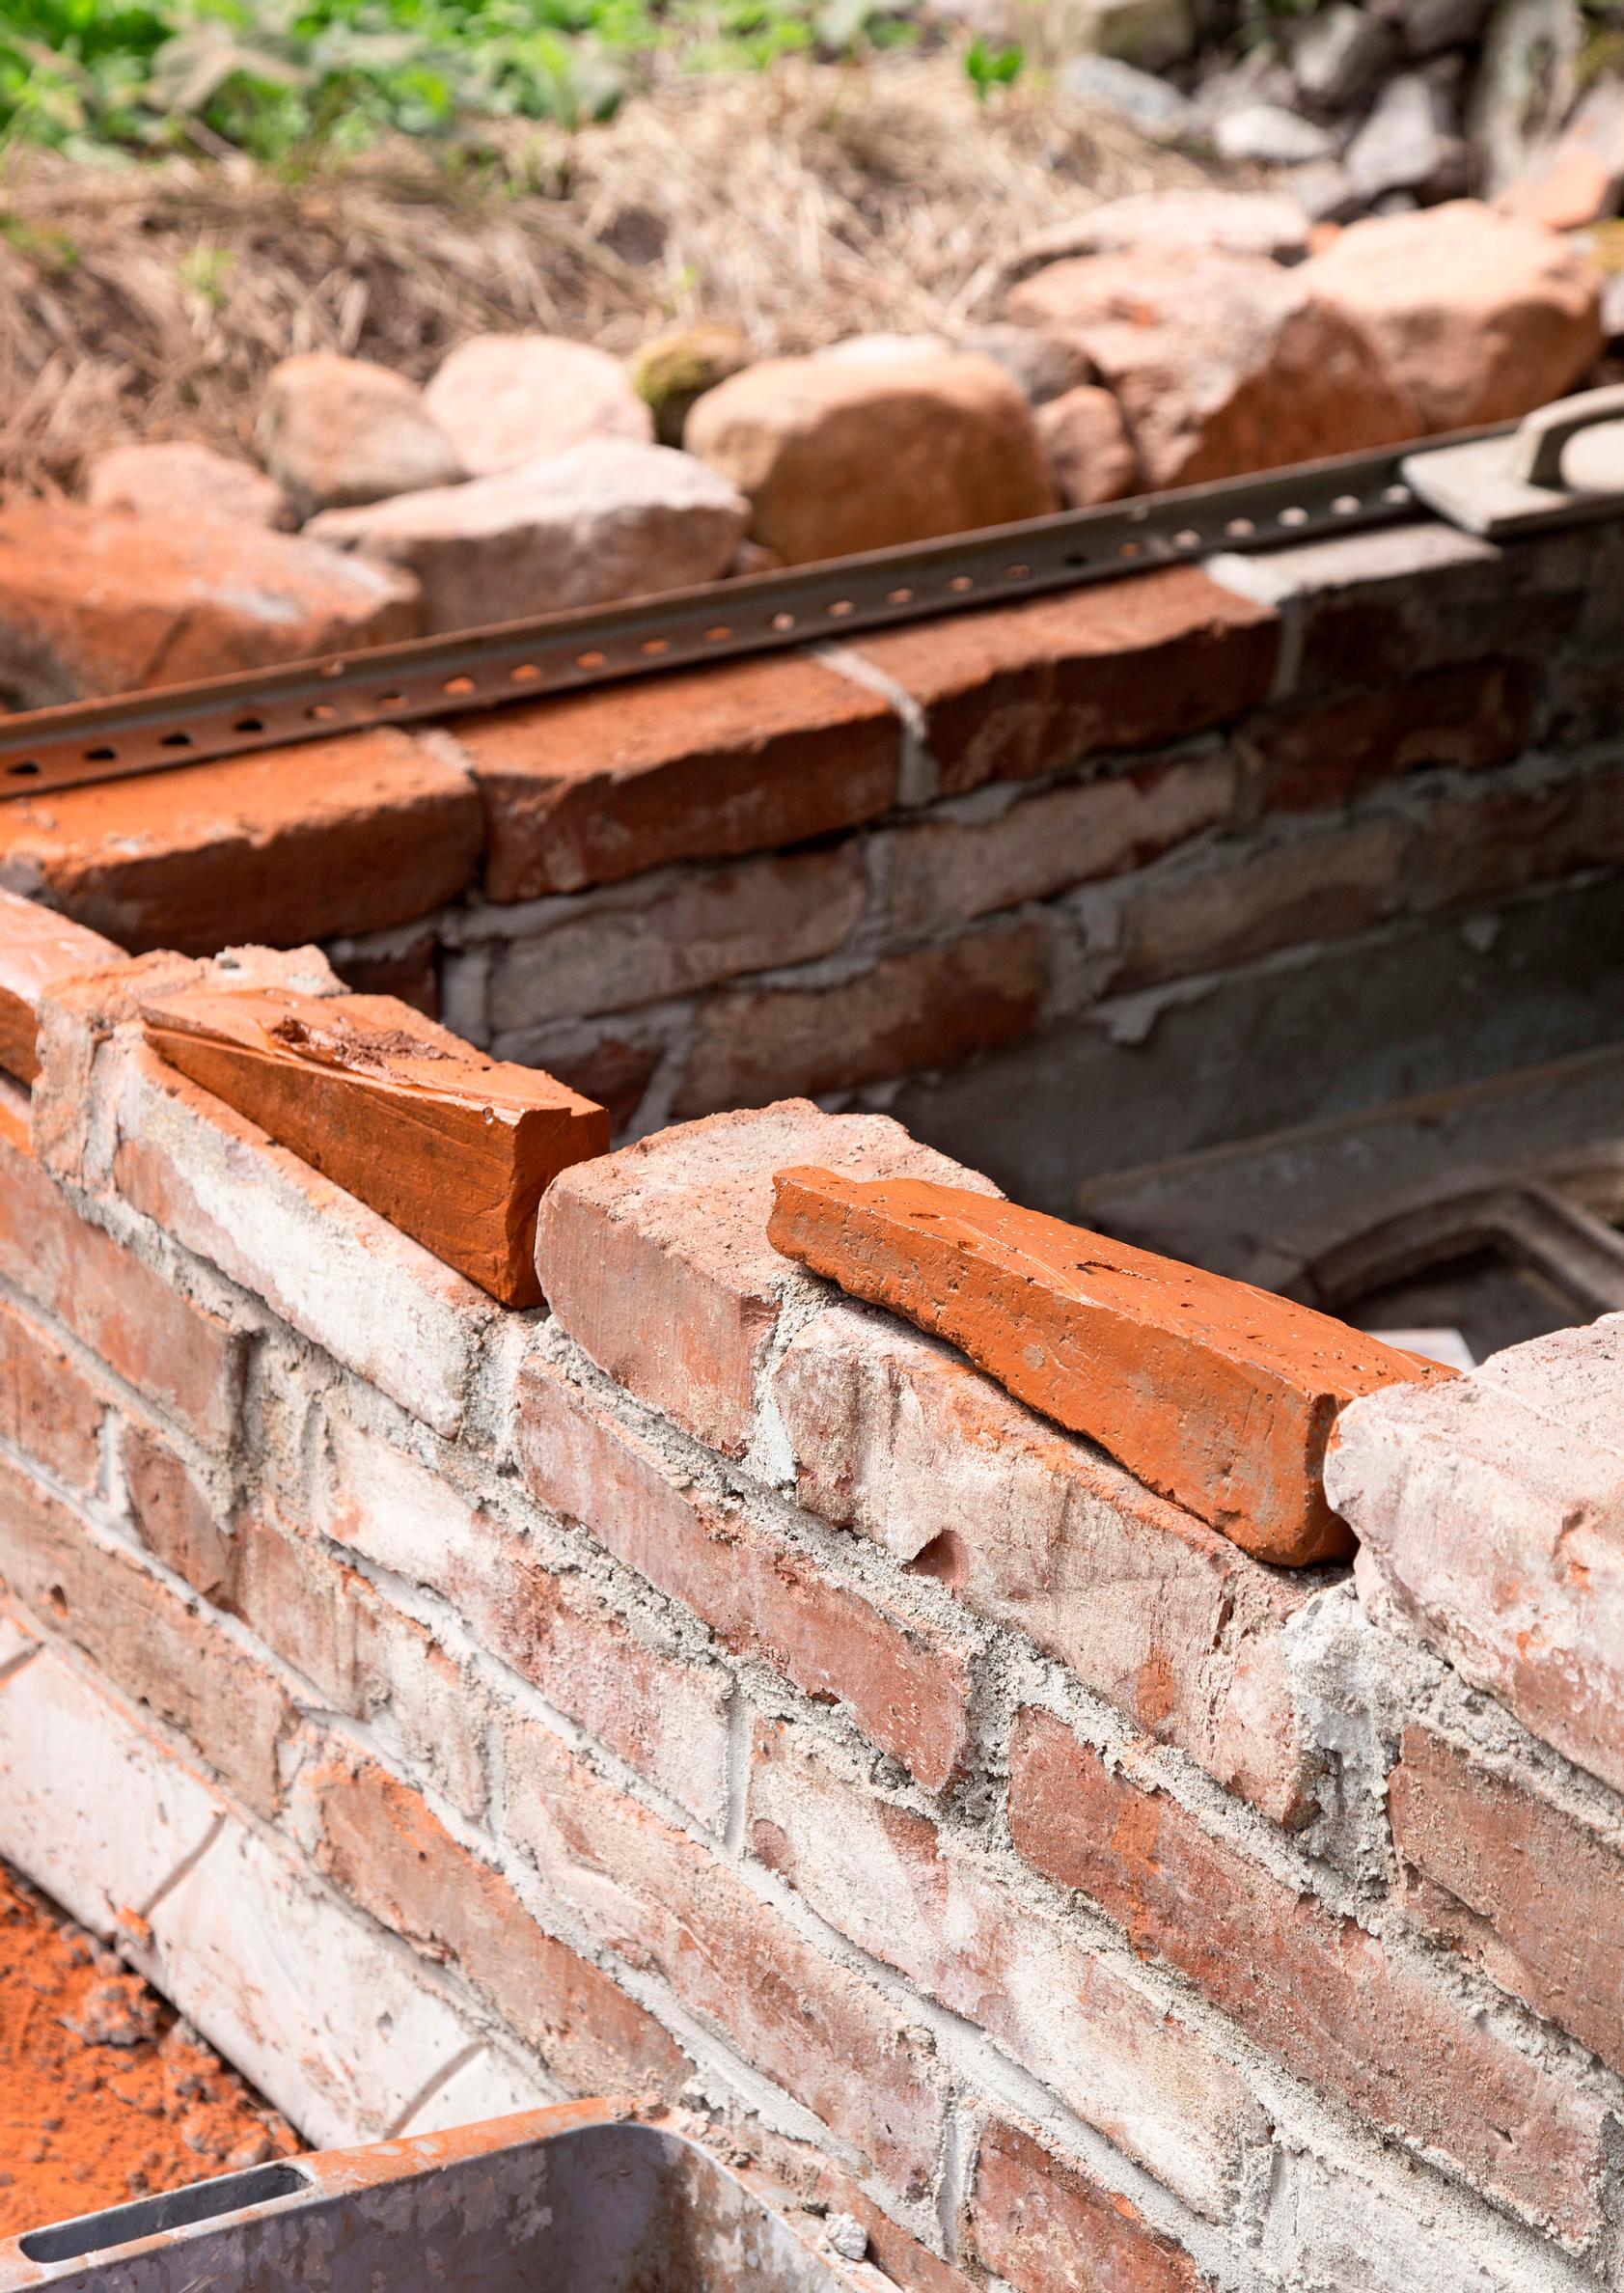
5. Cut the bricks for the side walls at an angle using a diamond grinding disc on an angle grinder. Remember to wear safety goggles and a respirator! Next, add two more layers of bricks to the back wall for a total of five layers. The side walls will be slanted so that their front edge is three layers high and the back edge aligns with the back wall. Allow it to dry for 1–2 weeks.

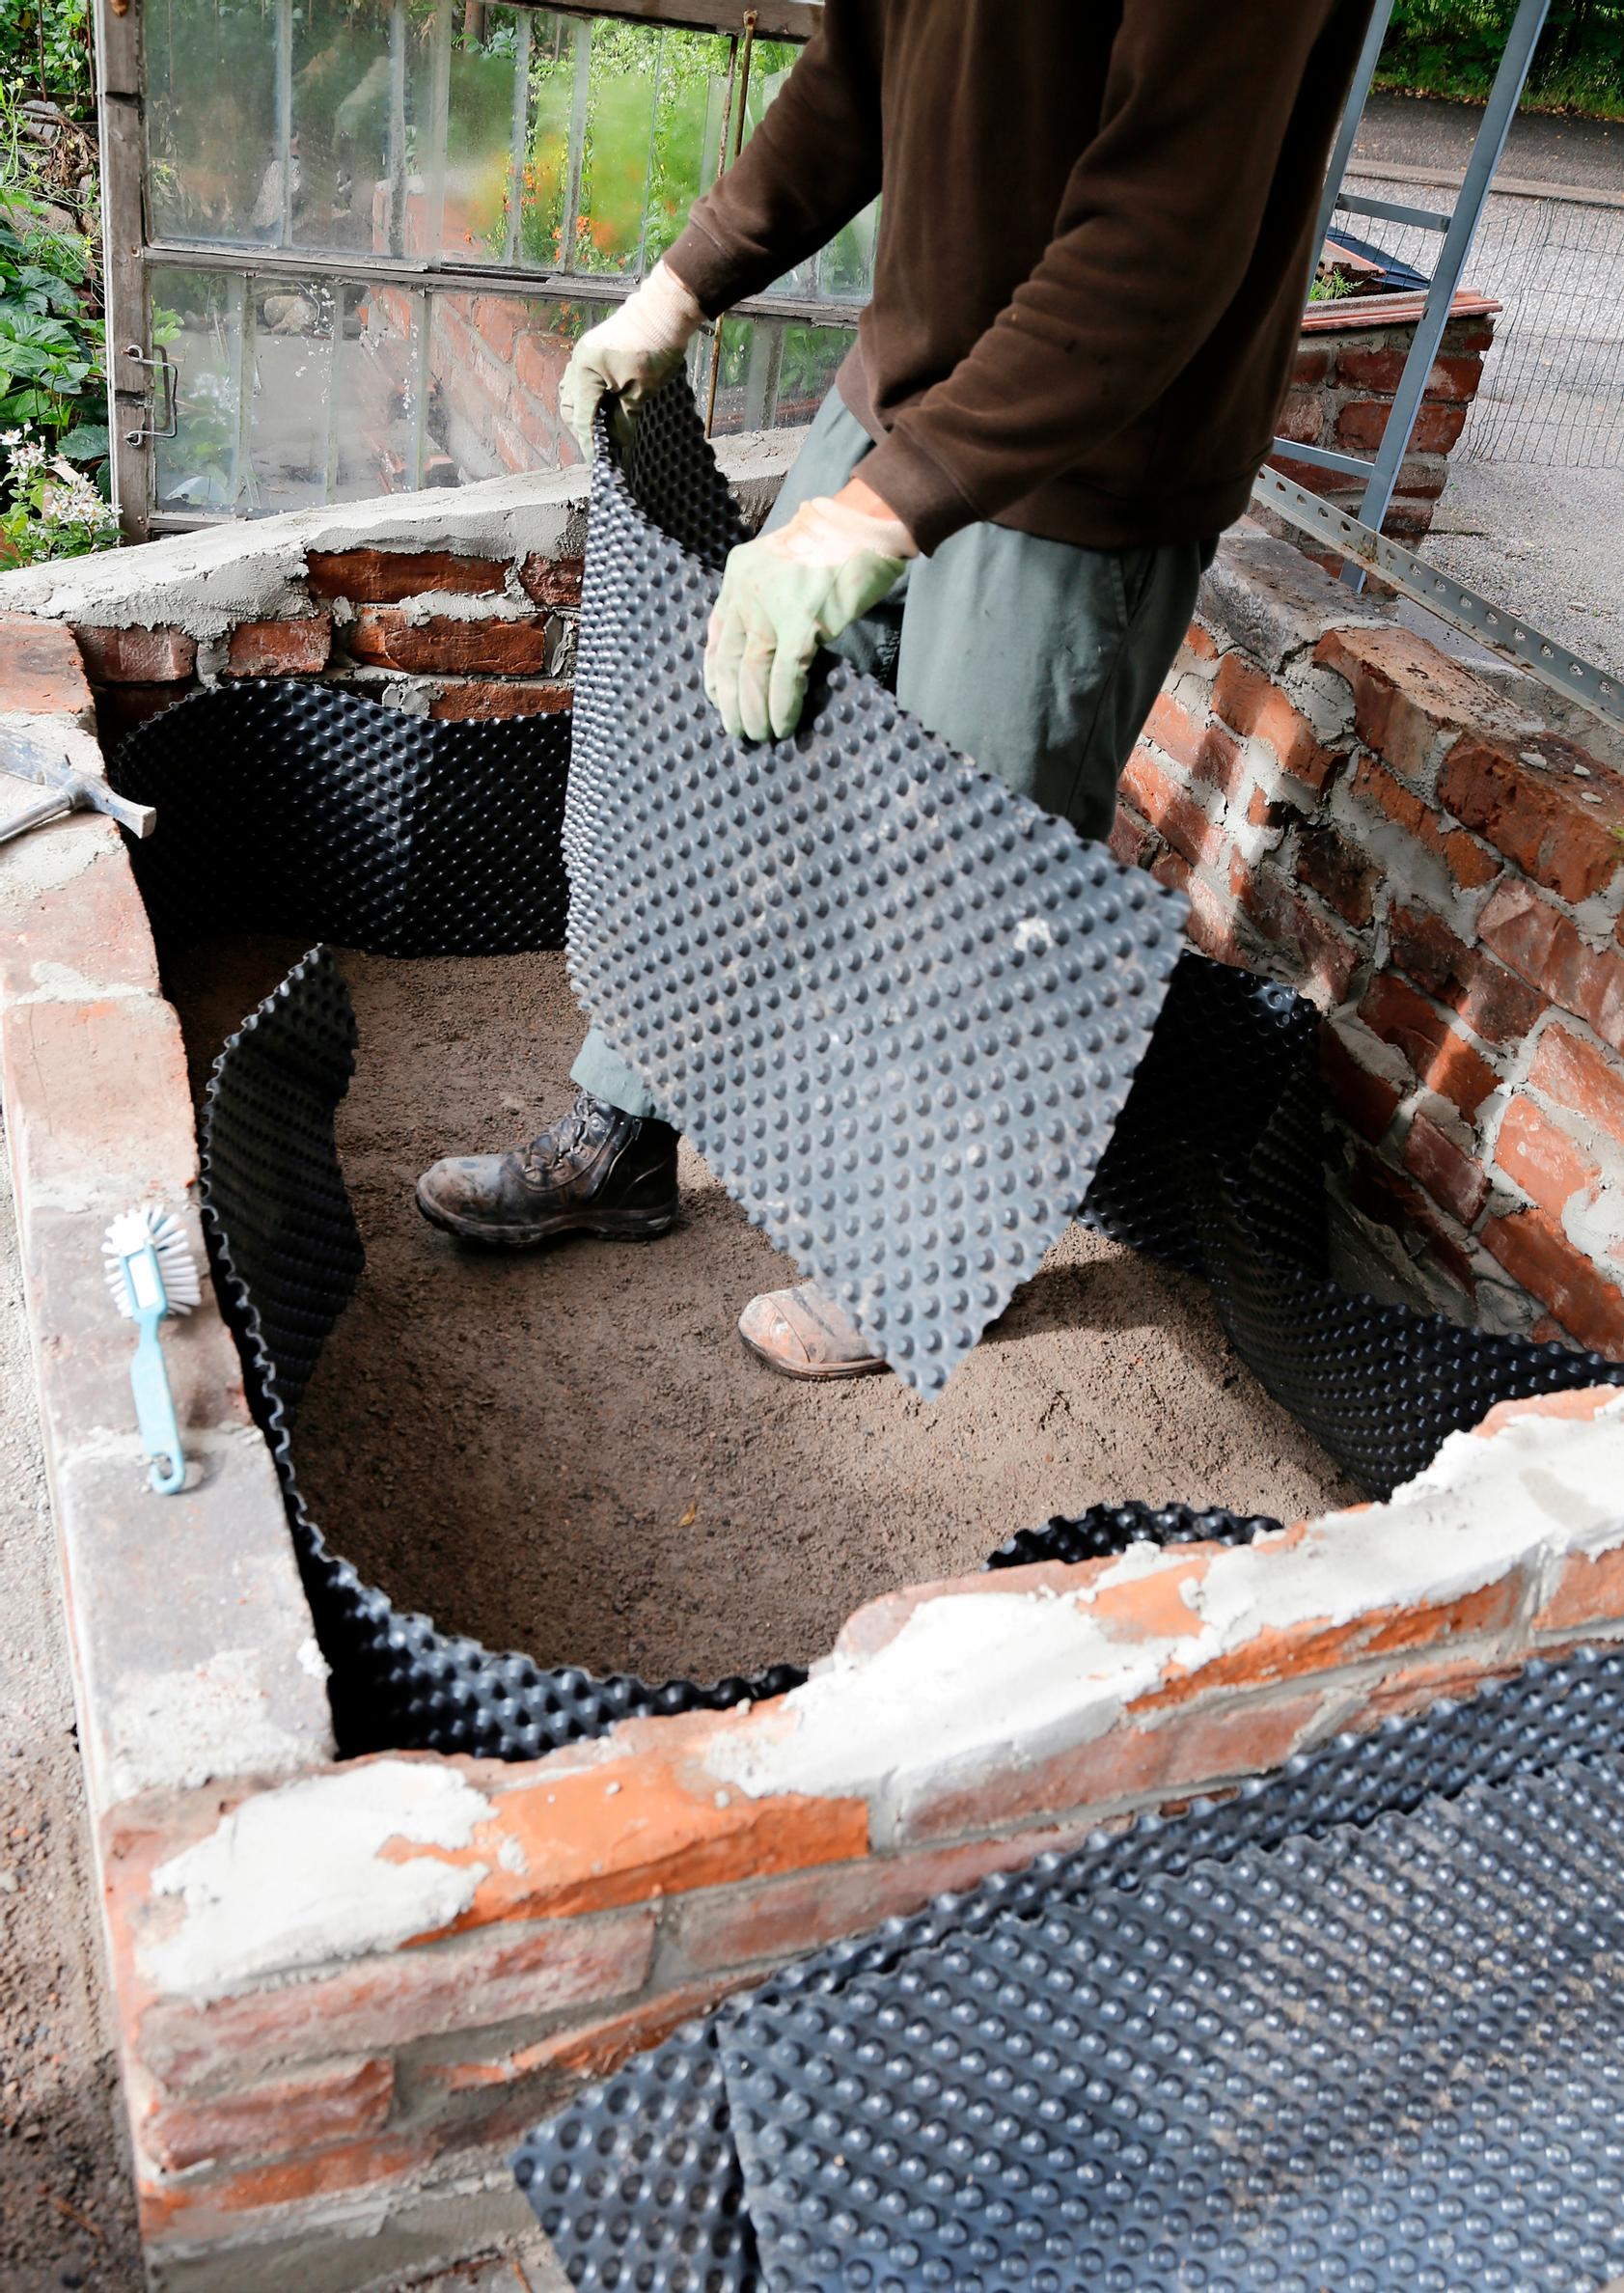
6. Line the inside of the bed with dimpled membrane to protect against moisture. You can attach an L-profile steel piece to the top edge of the brick bed as a support for the windows. Finish the angled upper edges of the side walls with brick clinker tiles.


7. Fill the finished brick bed with soil. In spring, you can use the bed for seedling cultivation, as the soil there warms up earlier than in the vegetable garden. Later in the summer, the bed is a perfect spot for basil, chili, and other cold-sensitive varieties. Raise the window of the brick bed as the seedlings grow taller and the weather warms up.
Tip!
The brick bed requires no maintenance. However, it’s best to take the glass panels off for the winter and store them in a sheltered place.